


The volume buttons on the side of your iPhone can do more than just adjust the volume levels for media, ringers, alerts, Siri, and other sounds and voices. You can use them to perform different actions in certain apps and even create custom actions using the Shortcuts app. It's not exactly button mapping, but it's as close as you'll get without jailbreaking iOS.
While some third-party apps can utilize your iPhone's volume buttons for tasks besides volume adjustments, it's limited to just the normal expected behavior of the iOS software, including the most recent iOS 16 and upcoming iOS 17 versions.
The number of non-volume tasks using the volume buttons may increase on the upcoming iPhone 15 Pro or iPhone 16 Pro models, one of which may get capacitive solid-state buttons with haptic feedback to replace the physical side, volume, and ring/silent buttons. Entirely new volume buttons may come with entirely new non-volume possibilities.
Things You Can Do Using Just the Volume Buttons
The volume buttons themselves can tackle quite a few tasks on your iPhone beyond raising and lowering media or ringer and alarm volume. Here's everything you can do with one or both of them:
1. Take Photos in Camera Apps
When using Photo, Portrait, or Pano mode in the Camera app, you can use your iPhone's volume up or down button as a shutter button. It works in Photo and Portrait modes for the front and rear cameras but only on the rear for Pano. The concept is the same when taking pictures in other Apple apps, such as Contacts, Magnifier, Mail, Notes, and Reminders.
- Press once to take a picture in Photo and Portrait modes.
- Press once to start a panorama in Pano mode, then a second time to stop it.
- Press and hold to start a panorama, then release to stop it.
You can also use the volume up or down button as a shutter-release button in many third-party camera apps. For example, Adobe Lightroom, Camera+, FiLMiC Firstlight, Focos, Halide Mark II, Pro Camera by Moment, ProCam 8, and Snapseed. You can even use it to take pics with Snapchat and the Instagram Stories camera.
2. Record Videos in Camera Apps
Like with pictures, you can use the volume up or volume down button in the Camera app to start a video using the front or rear camera. Choose a shooting mode such as Video, Slo-Mo, Time-Lapse, or Cinematic, then use either the volume up or down button:
- Press once to start recording, then a second time to stop.
- Press and hold to start recording, then release to stop.
It also works in third-party video recording apps, including FiLMiC Pro and ProMovie Recorder. (You may need to enable the feature in the app's settings.)
3. Record QuickTakes in the Camera App
On iPhone XS and newer models, you can press and hold either volume button in the Photo shooting mode to start recording a QuickTake video. Then, just let go to stop recording. QuickTakes are convenient because you can take them quickly when shooting photos without fumbling with the mode selector.

4. Snap Photo Bursts in the Camera App
If you have an iPhone X or older, pressing and holding either volume button won't start a QuickTake recording since these iPhone models don't support the feature. Instead, you can press and hold a volume button in the Photo shooting mode to take a burst of images; let go to stop.
On an iPhone XS or newer model, long-pressing one of the volume buttons will start taking a QuickTake, but you can bring back the burst option to one of the buttons. Go to Settings –> Camera, then toggle on the "Use Volume Up for Burst" switch. From now on, the long-press volume up gesture will take bursts, while the long-press volume down gesture will stick to QuickTake videos.
5. Scan Documents in Files, Mail, and More
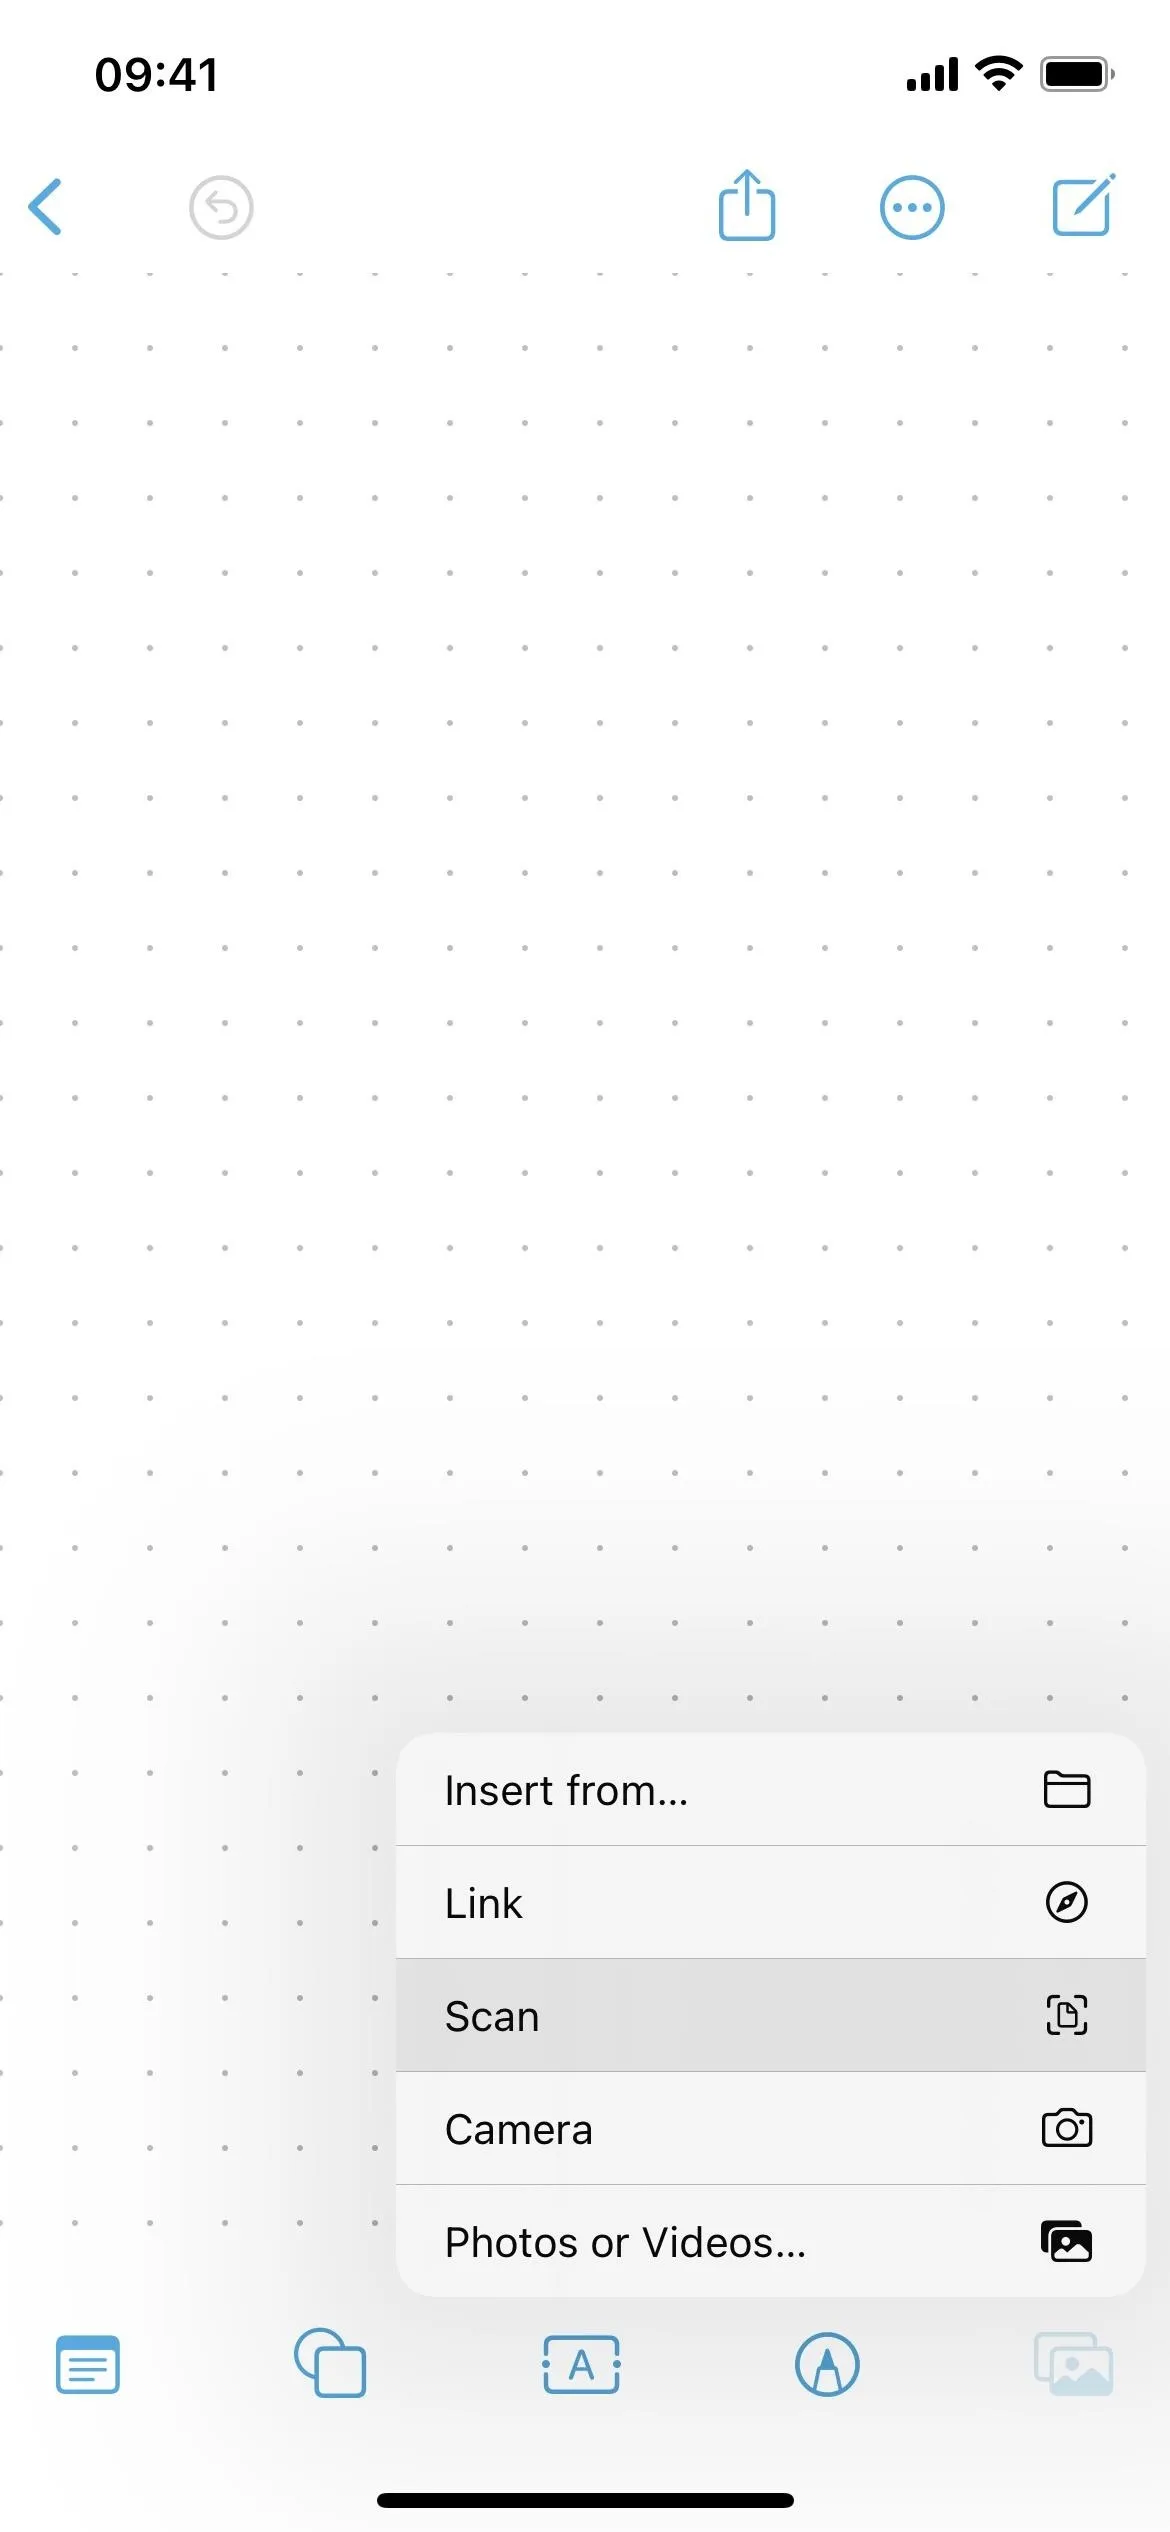
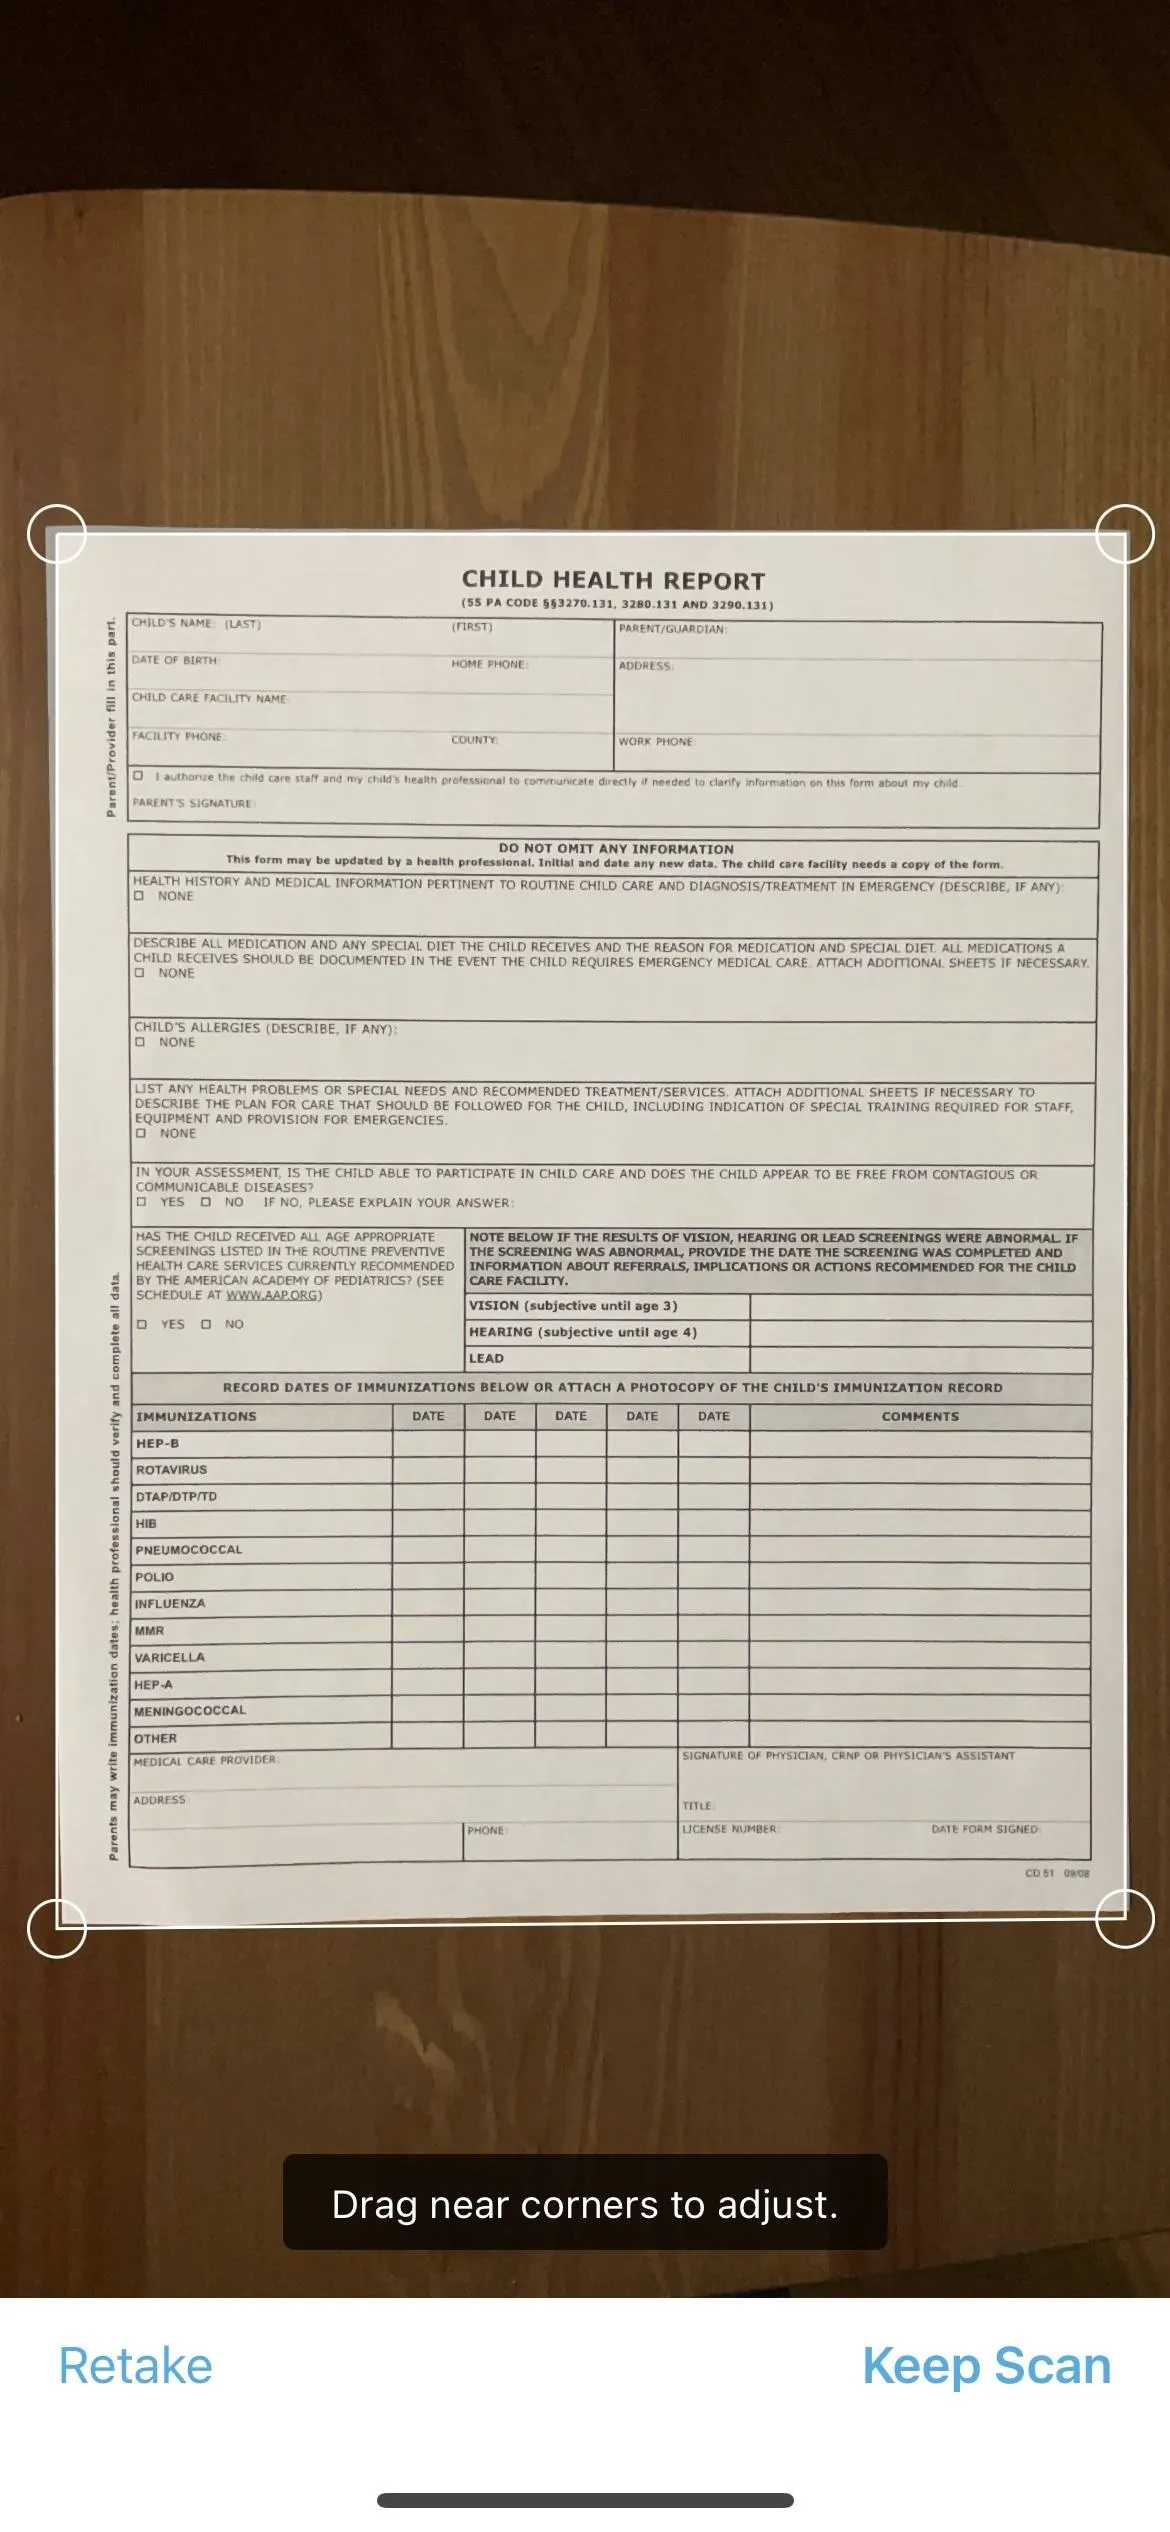
In apps like Freeform (available on iOS 16.2 and later), Files, Mail, Notes, and Reminders, you can scan a document using your iPhone's built-in document scanner. It's the Camera app modified to focus on documents, which means you can use a volume button on your iPhone to snap a picture of a document.
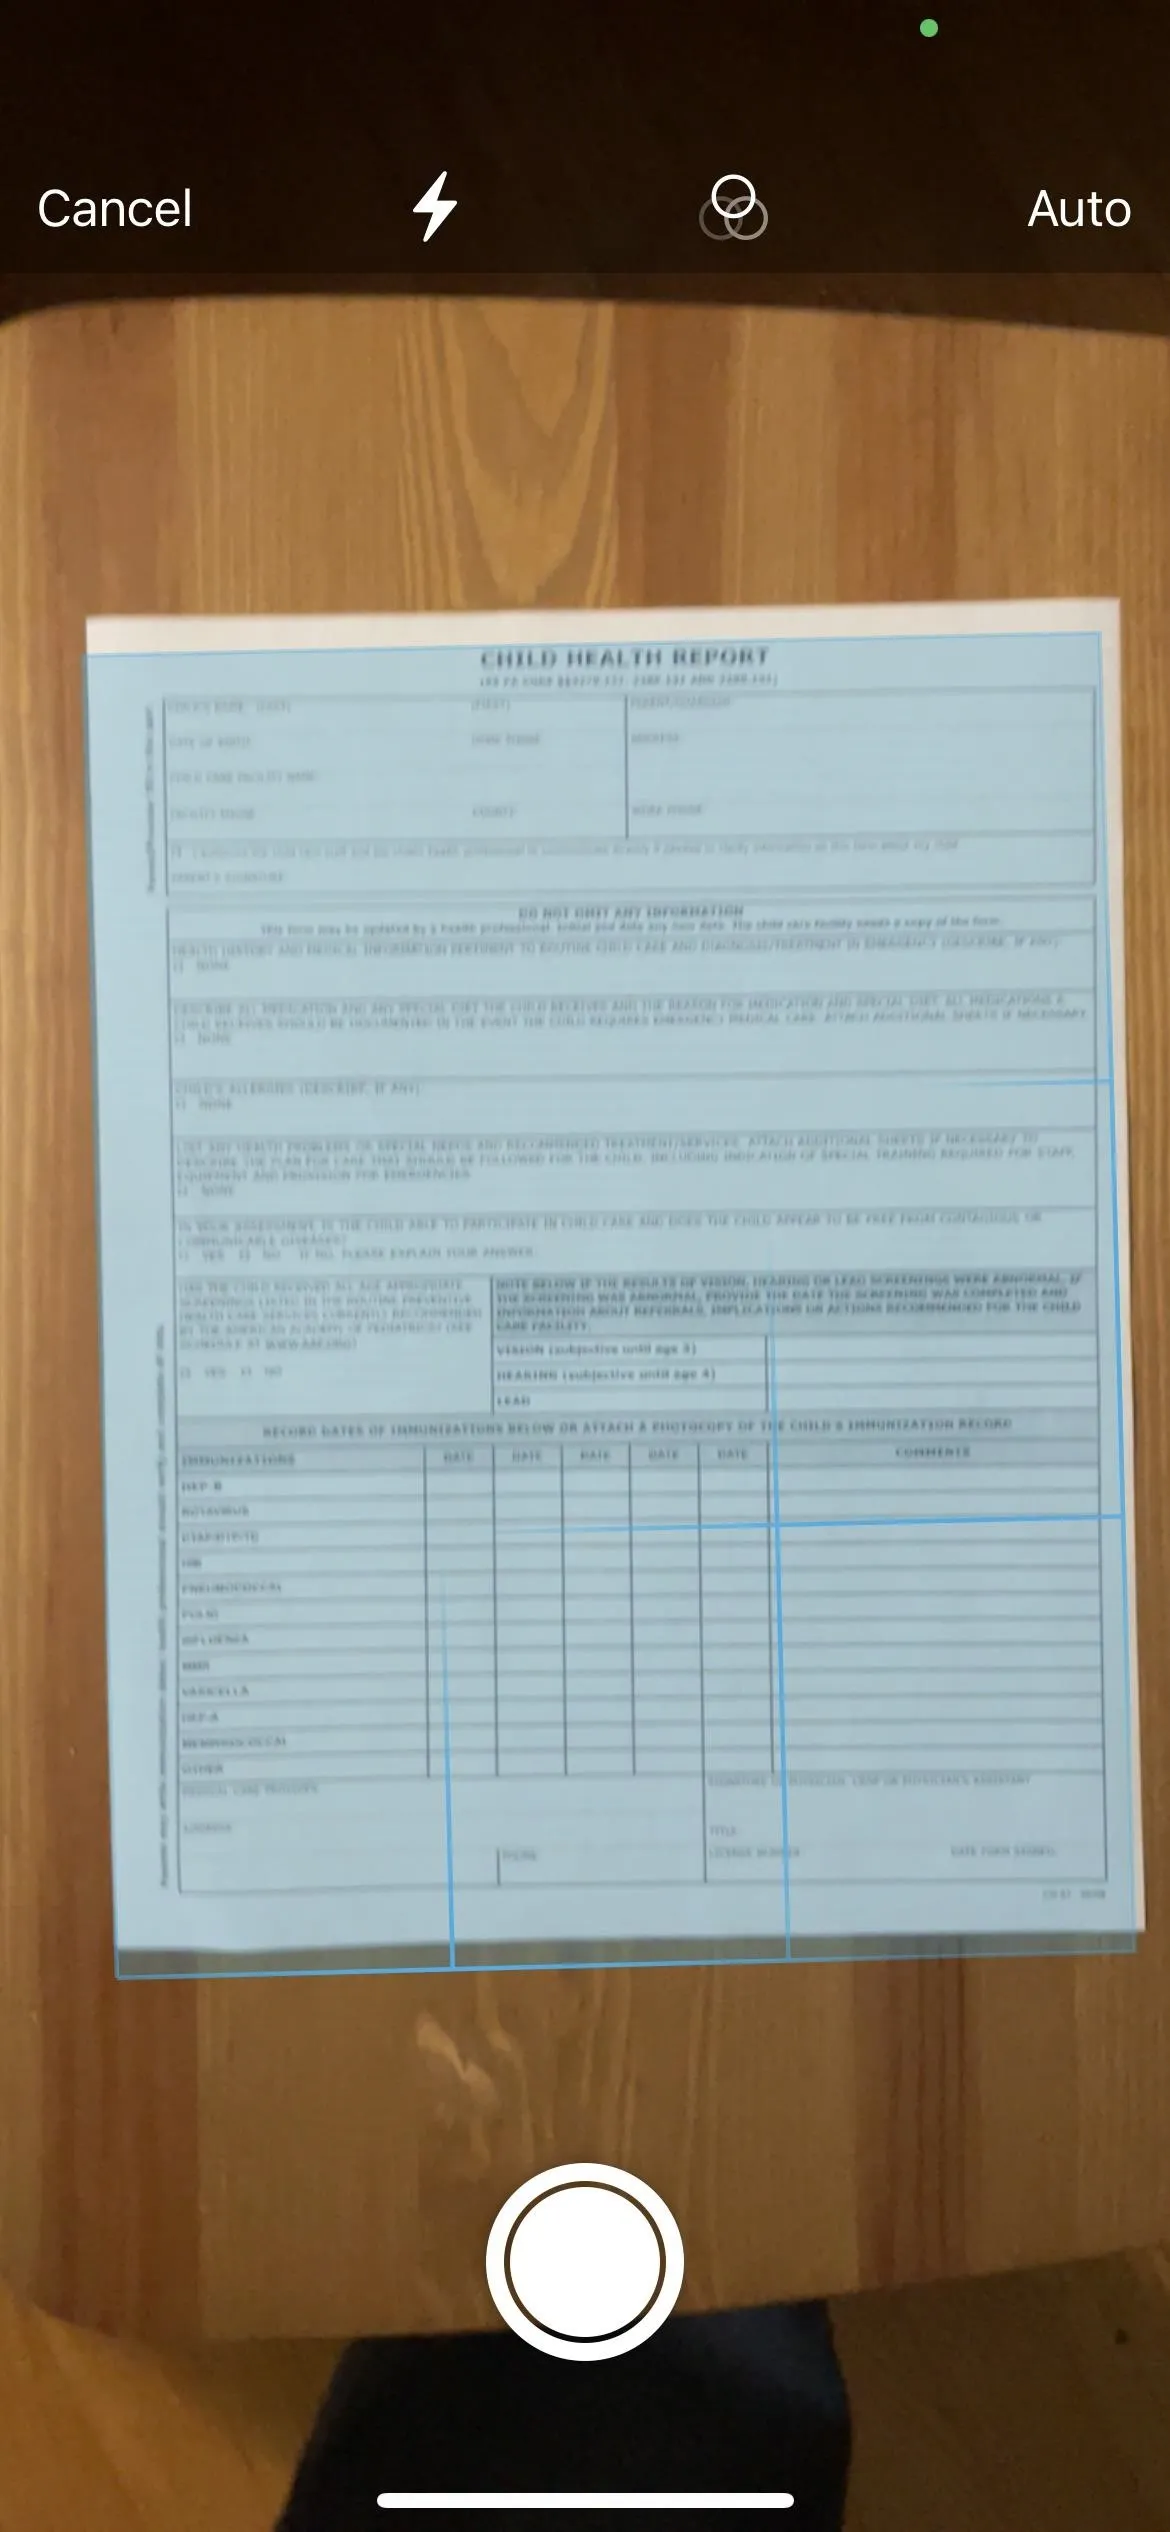
The document scanner will often automatically scan and snap an image, but if it doesn't, you can use the volume up or volume down button to take the scan instead of hitting the shutter button on the screen. After that, drag the corners to adjust the crop before saving the image.
6. Snooze an Alarm in the Clock App
By default, you can snooze an alarm from the Clock app on your iPhone by pressing either volume button. It's as simple as that. If you can't get it to snooze the alarm, you may have "Snooze" disabled for that particular alarm, so double-check its settings.
7. Turn Off an Alarm in the Clock App
If you don't like snoozing alarms, you can toggle off the "Snooze" switch for each alarm in the Clock app. Without a snooze option, pressing either volume button after an alarm sounds will turn the alarm off.

8. Silence an Incoming Call
The volume buttons are also handy for incoming calls from Phone, FaceTime, and other calling apps. You can press either volume button when a call comes in to silence the call. If your iPhone's ringer is enabled, it will silence it. If your iPhone is on vibrate only, it will stop the vibrations. You can then answer if you'd like, hit the side or home button to reject the call, let the call go to voicemail, or wait for Live Voicemail (iOS 17 only) to appear on your screen before deciding what to do.
9. Turn Off Find My Sounds
If you ever lose your iPhone and need to use Find My on another device to play a sound to locate it, pressing either volume button on your iPhone when you find it will turn the loud sound off.
10. Play Games
Some third-party app developers incorporate the volume buttons on your iPhone into gameplay. For example, the Blackbox - Brain Puzzles app (seen below) uses the sensors on your device to complete puzzles, and some of the solutions require you to press your volume buttons.


These types of apps will be rare since altering the volume buttons' functionality violates Apple's App Store Review Guidelines. Section 2.5.9 states: "Apps that alter or disable the functions of standard switches ... will be rejected." Blackbox gets around this limitation because the volume buttons still control volume; the app reads the volume changes, meaning you could also use the volume slider in Control Center to accomplish an in-game task.
11. Count Things
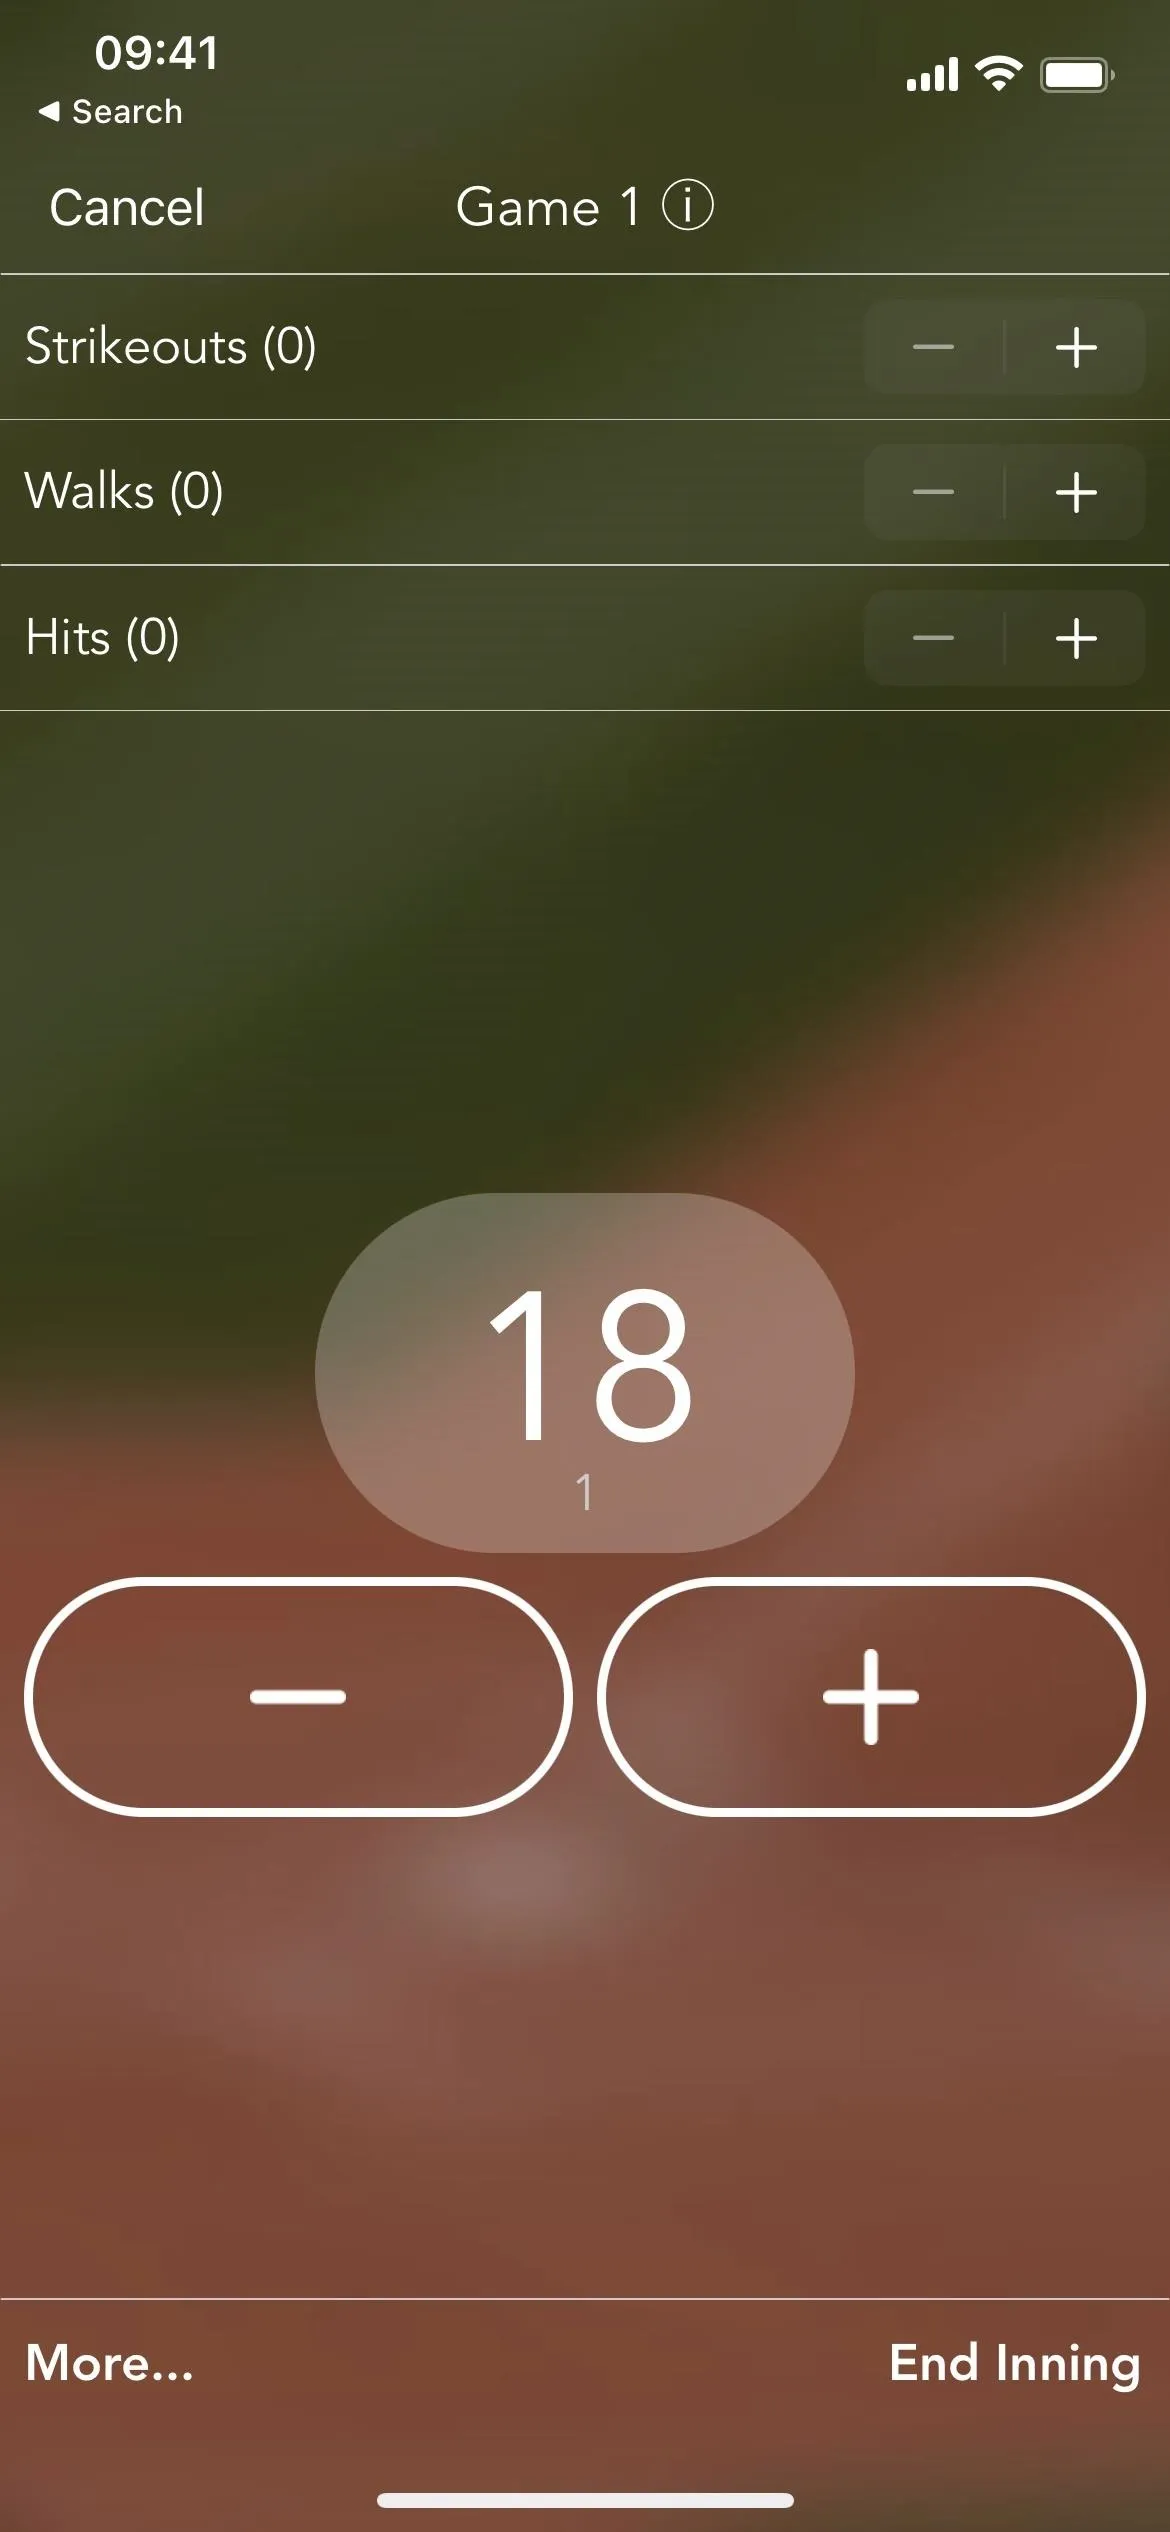
Third-party developers of tally counter apps usually add volume button support for adding or subtracting numbers when counting. And you can use them to count anything: people, laps, pitches, animals, golf strokes, prayers, etc. It sure beats carrying around a separate digital or mechanical tally clicker.
The Pitch X - Pitch Counter app works well with the volume buttons. The volume slider does not appear on the screen as it does for Blackbox, so it's unclear if Pitch X uses the same workaround to skirt the App Store guidelines. Tally Counter by button press also works well.
Multiple Smart Counter also claims to support counting via the volume buttons, but it may be hidden behind an in-app purchase. Things Counter could also use the volume buttons, but it is no longer available. I didn't test out anypaid apps.
12. Perform Custom Actions in Shortcuts
Unfortunately, there is no automation trigger involving hardware buttons on the iPhone, so you can't set up an automation to detect when you press a volume button to initiate a task. However, you can use them as an interactive component to custom shortcuts and automations.
For example, I've created a shortcut called Perform Actions with Volume Buttons, and you can incorporate it into another shortcut or run it from within an automation that's triggered by something else.
- iCloud Link: Perform Actions with Volume Buttons
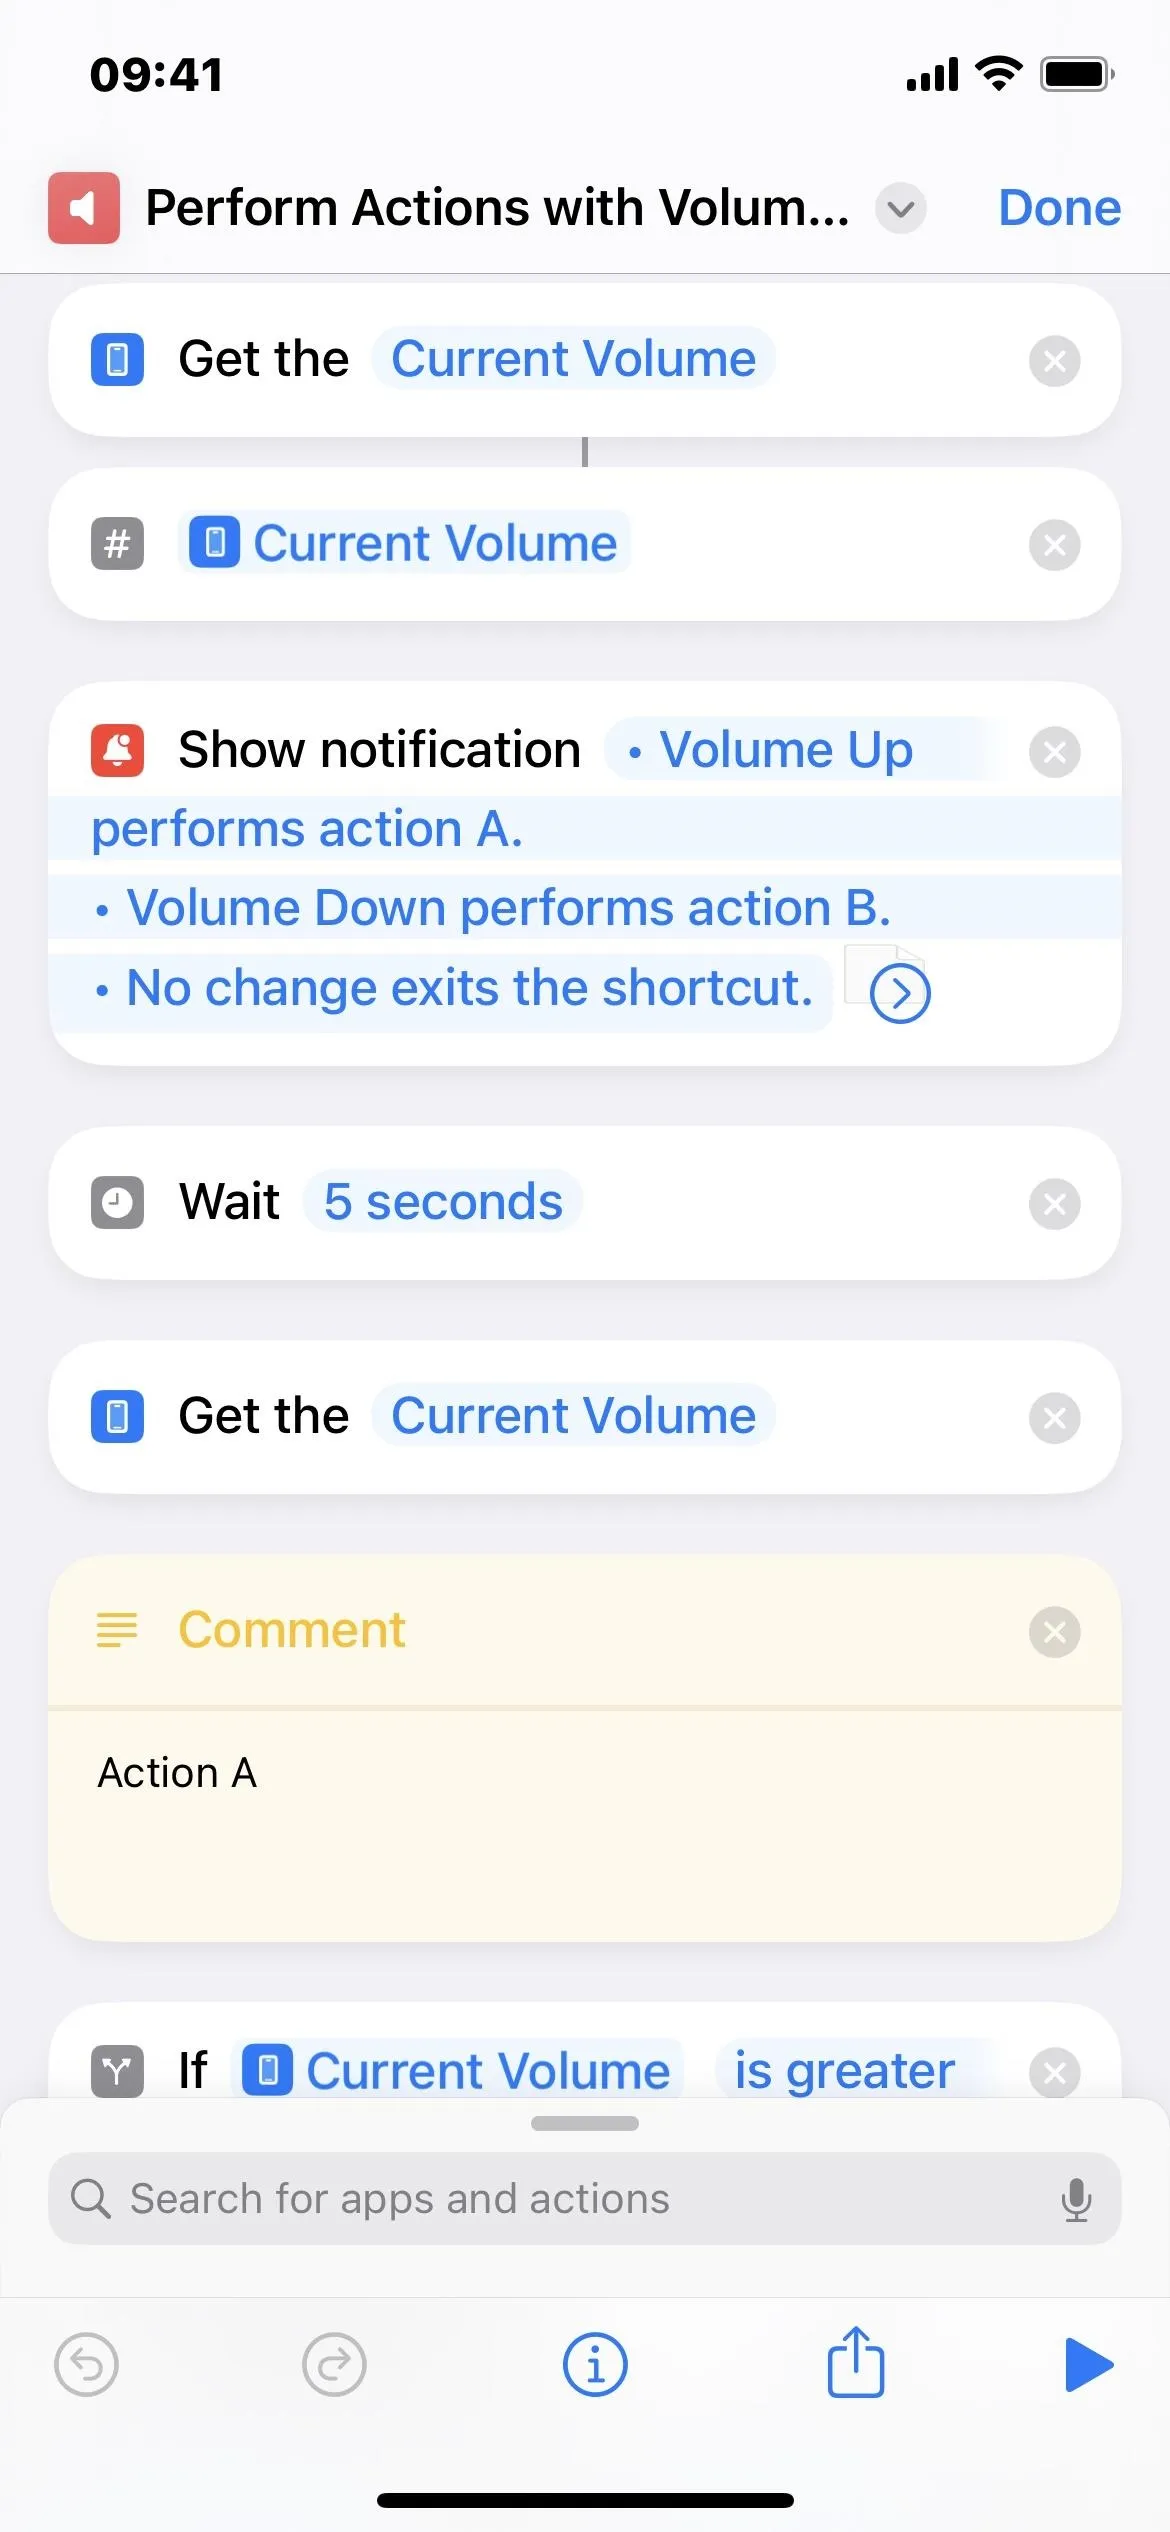
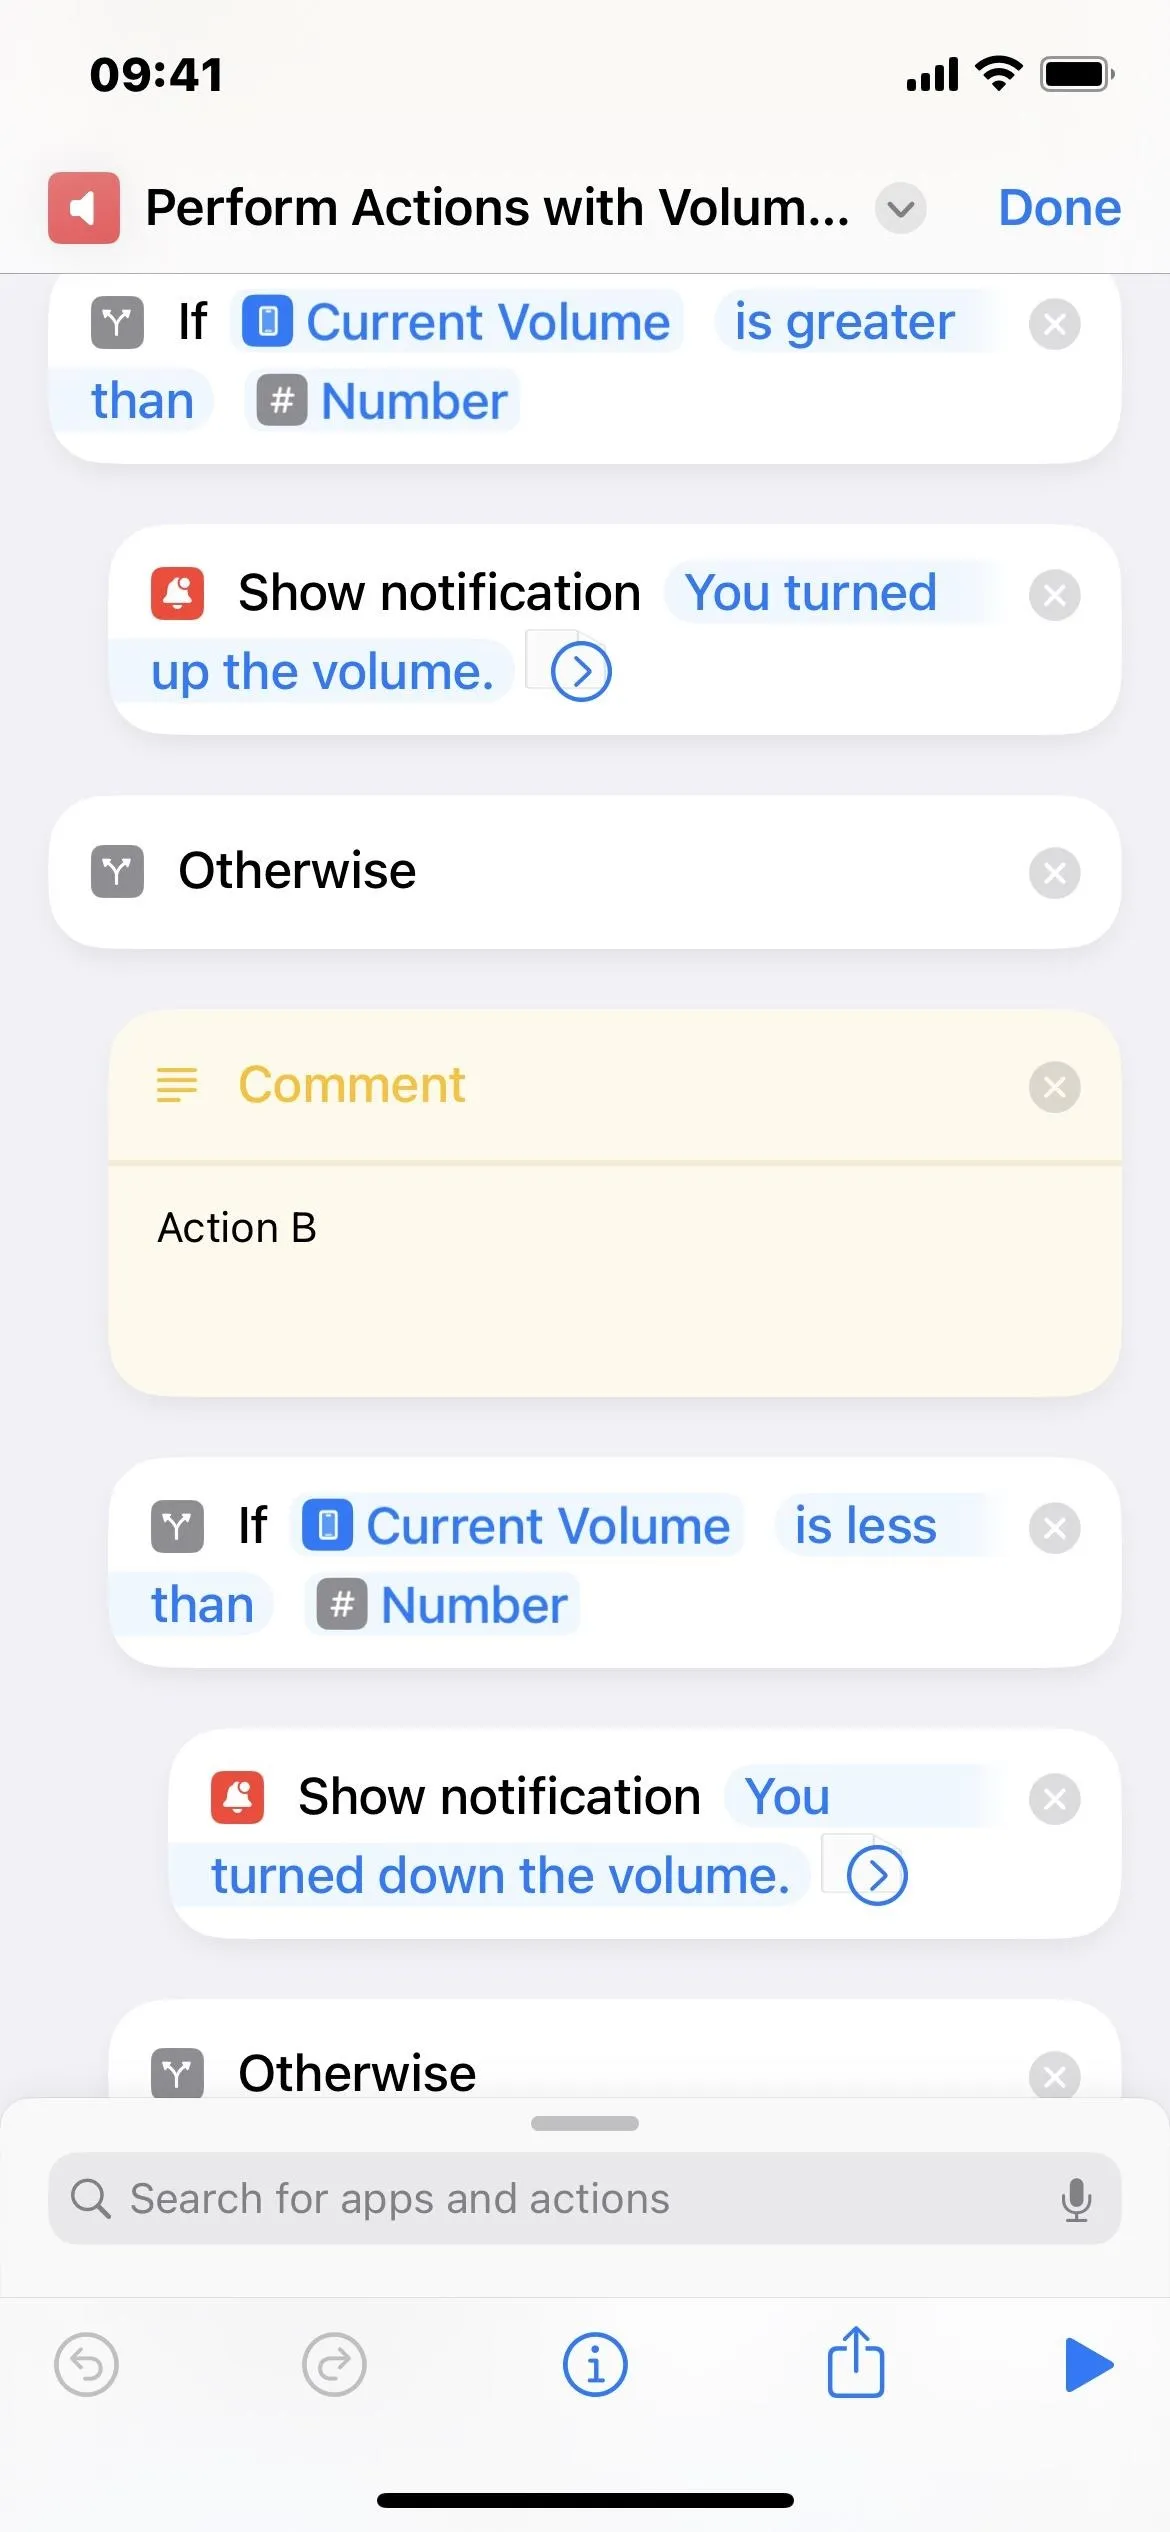
It gets your iPhone's current volume, converts it to a number, and then shows a notification that explains what pressing the volume buttons will do. In this case, pressing volume up executes Action A, pressing volume down executes Action B, and doing nothing stops the shortcut.
Then, it waits five seconds to give you enough time to read the notification and press a volume button. After five seconds, it retrieves the current volume again and compares that to the number the shortcut previously recorded. Action A runs if the present volume level is greater than that number. If it's less, Action B runs. If you don't press anything, it stops the shortcut.
13. Disable Them Altogether
If you don't want the volume buttons to affect anything on your iPhone when you're using a specific app, like when you don't want to lower or raise the volume accidentally, you can take advantage of Guided Access. The accessibility feature restricts whoever's using your iPhone to the current app, so they can't mess around with anything else on the device.
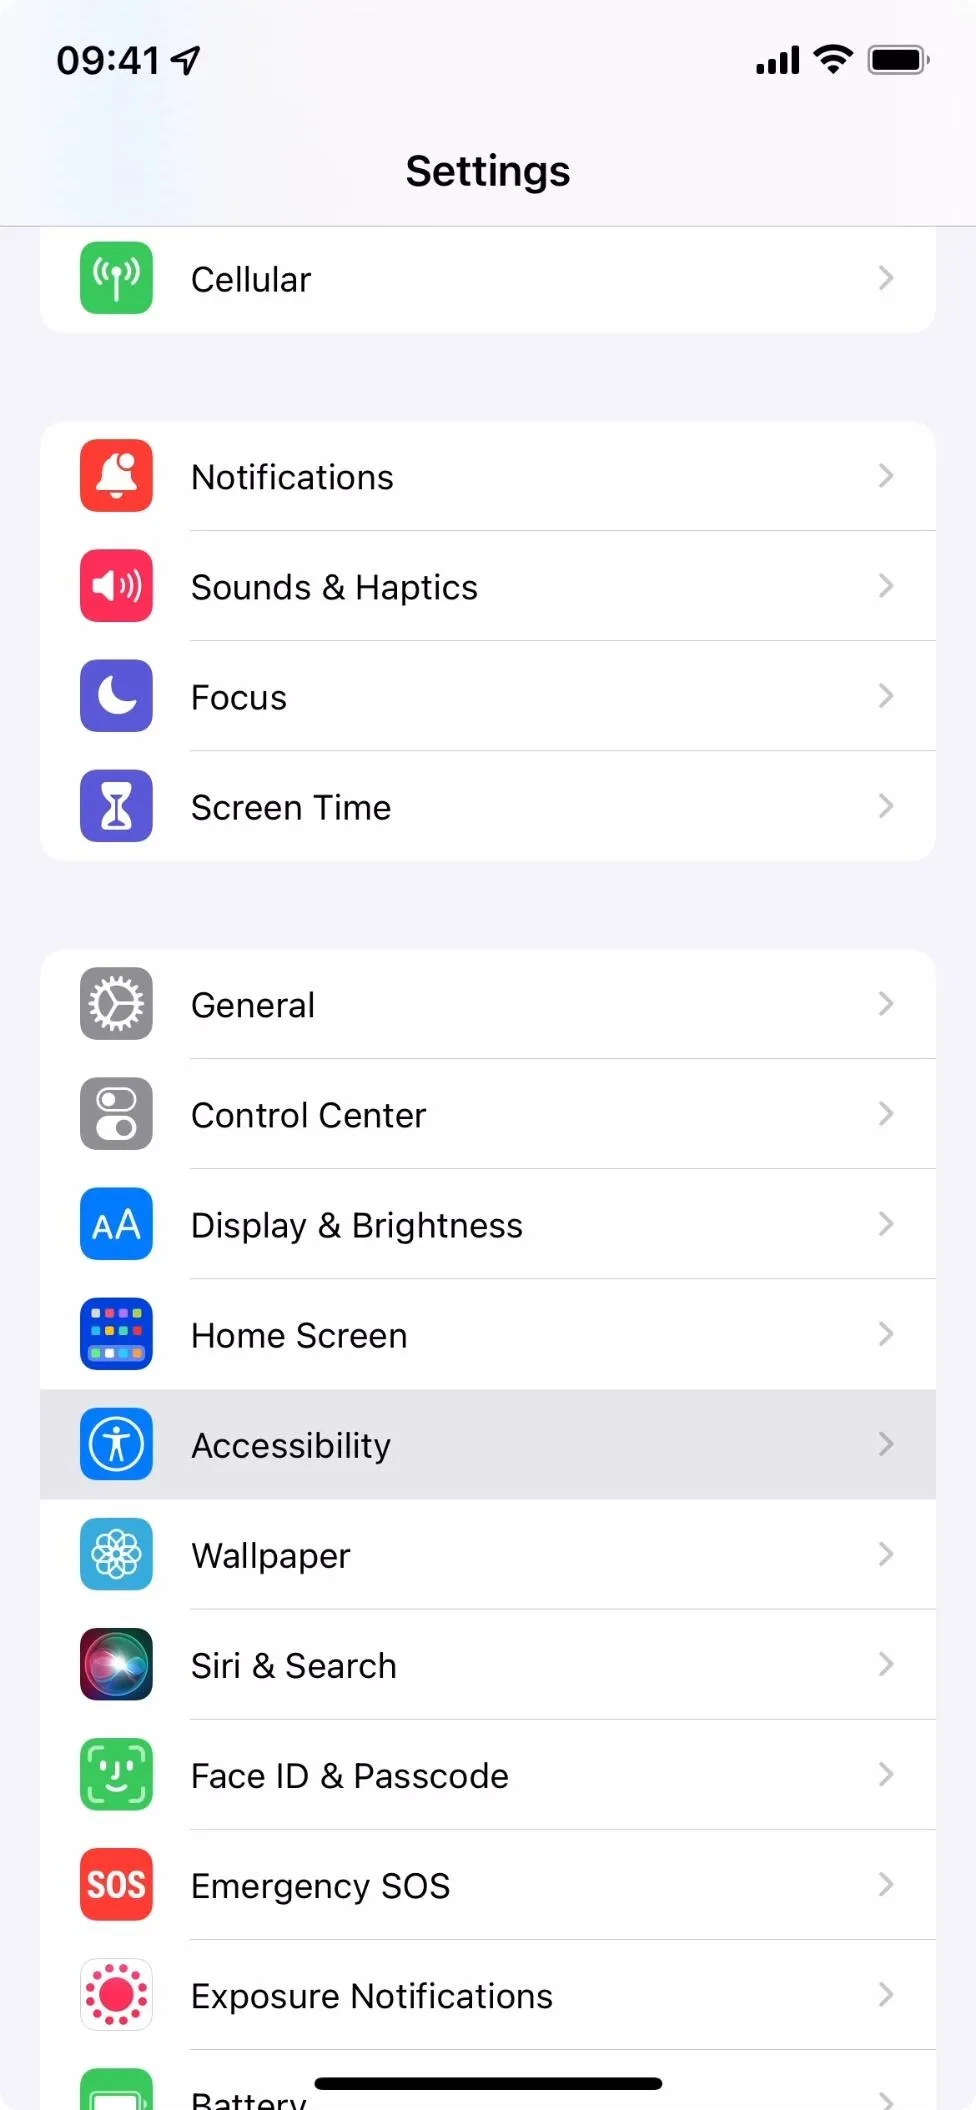
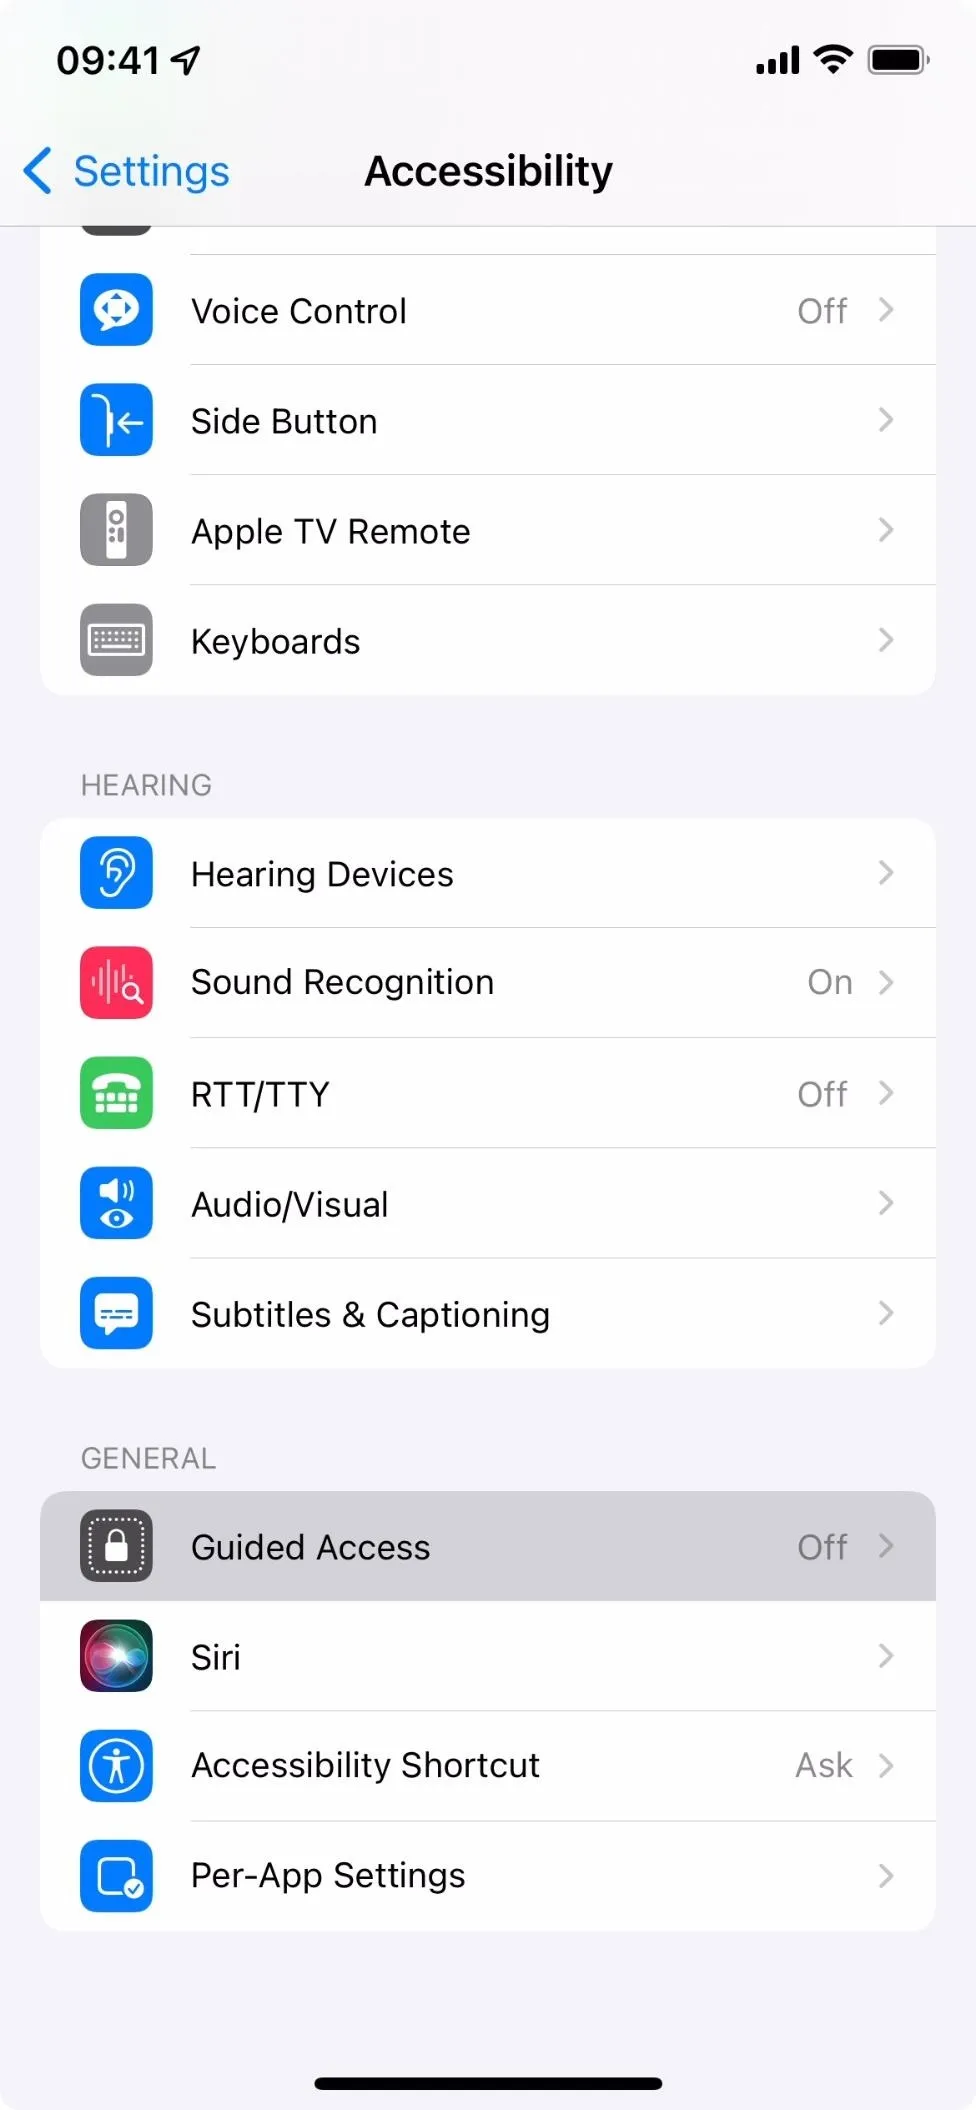
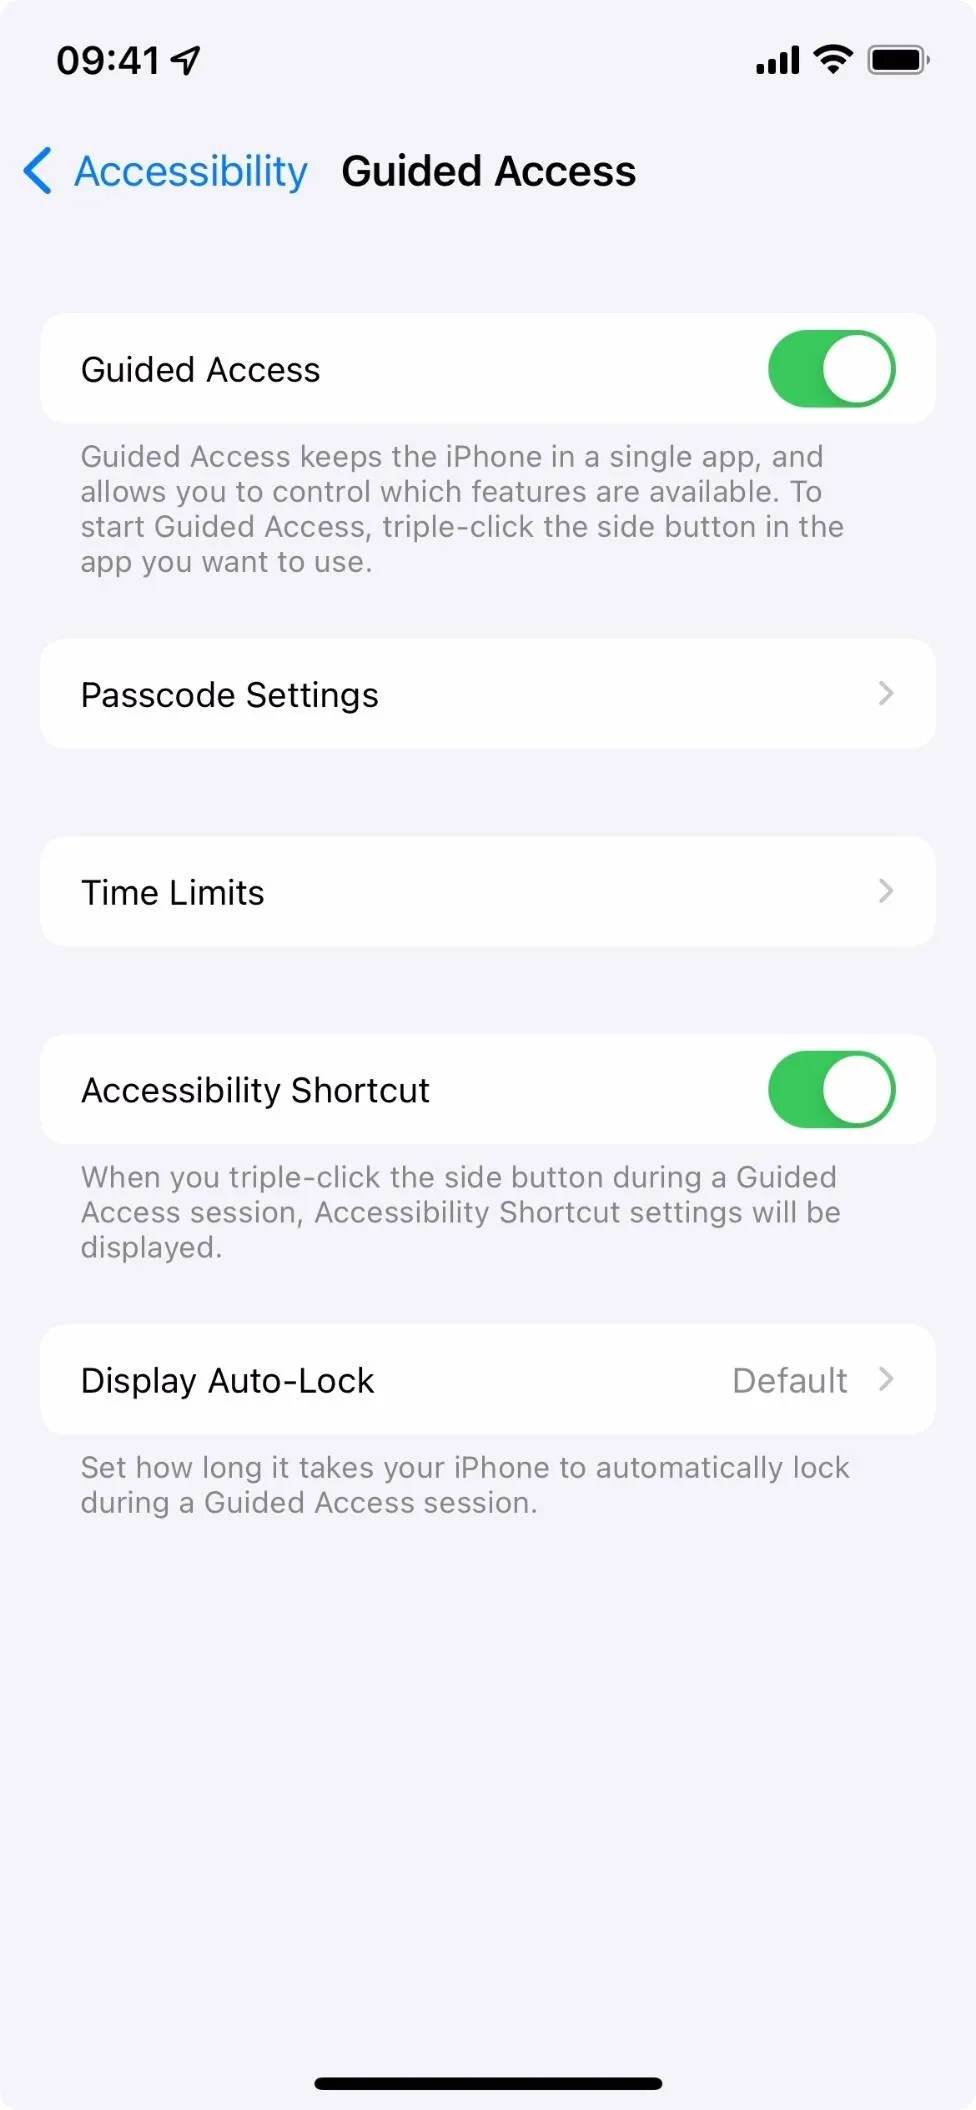
Go to Settings –> Accessibility –> Guided Access, then toggle "Guided Access" on.
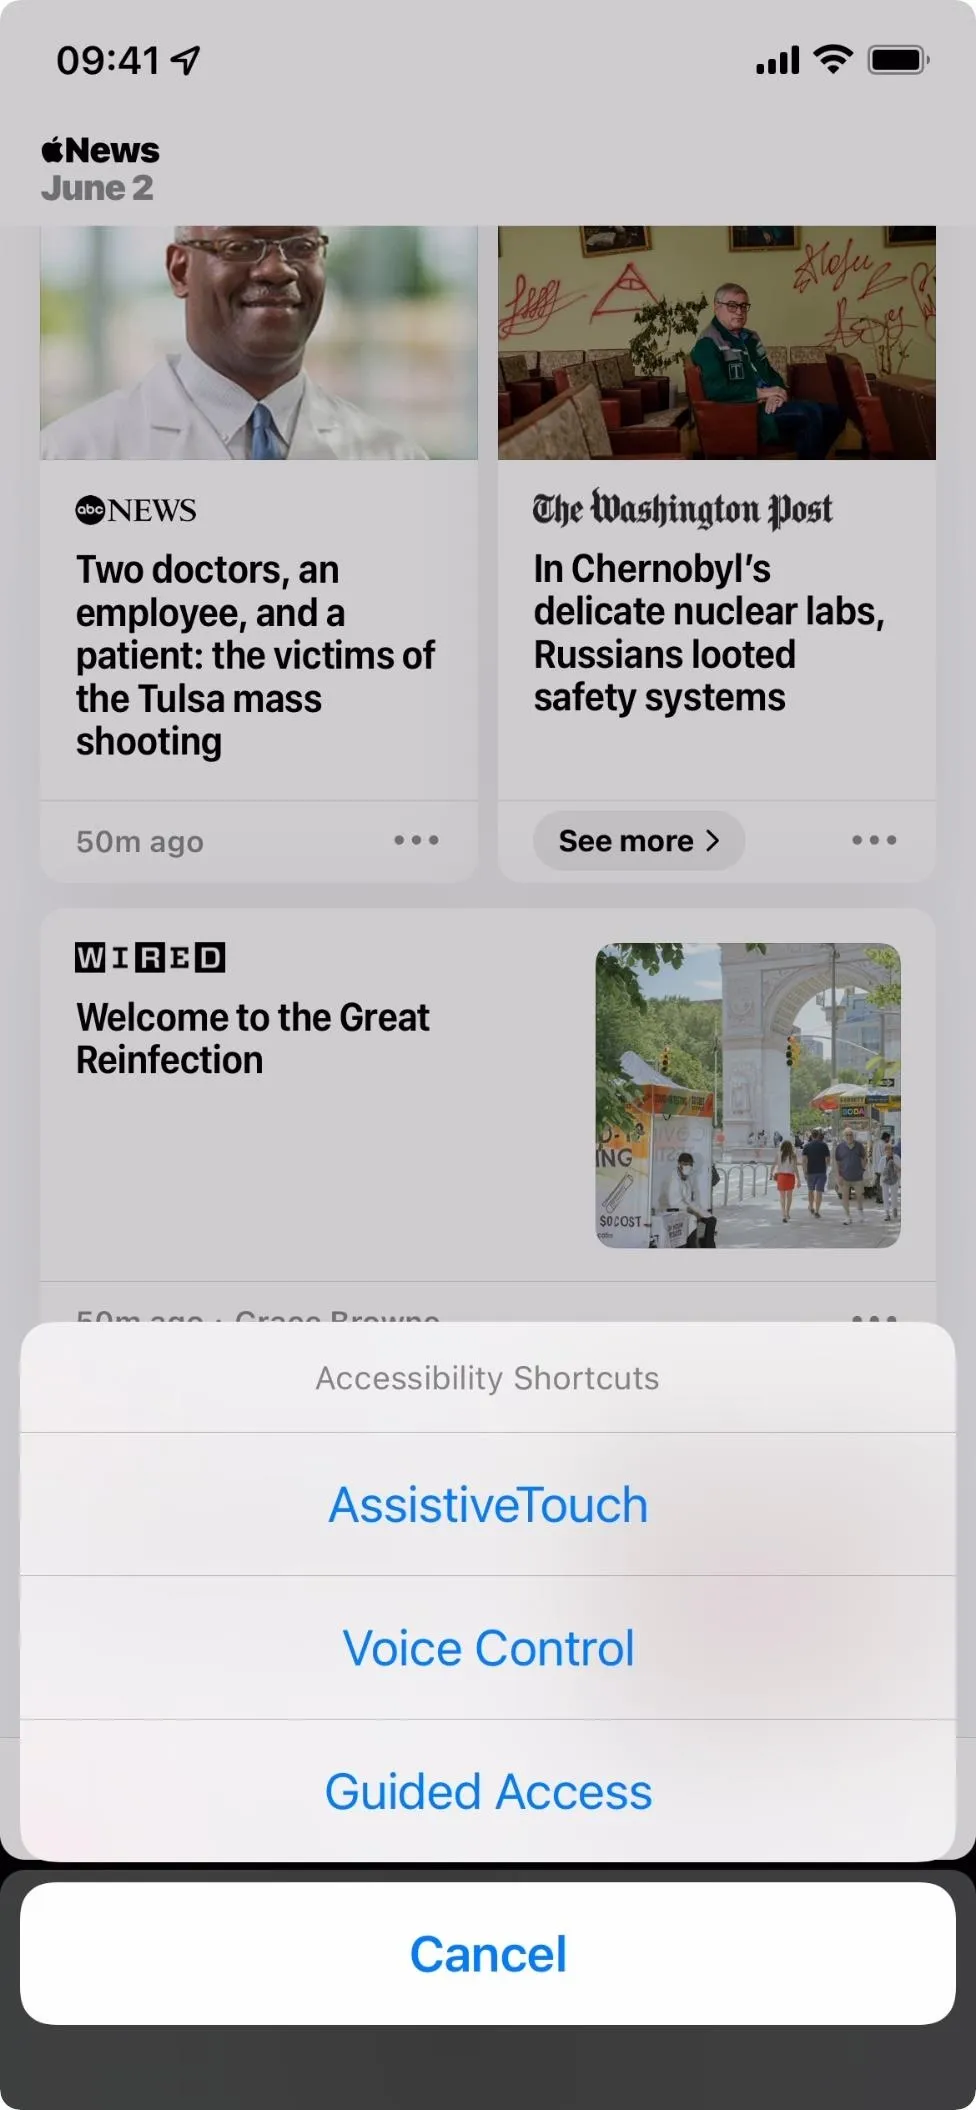
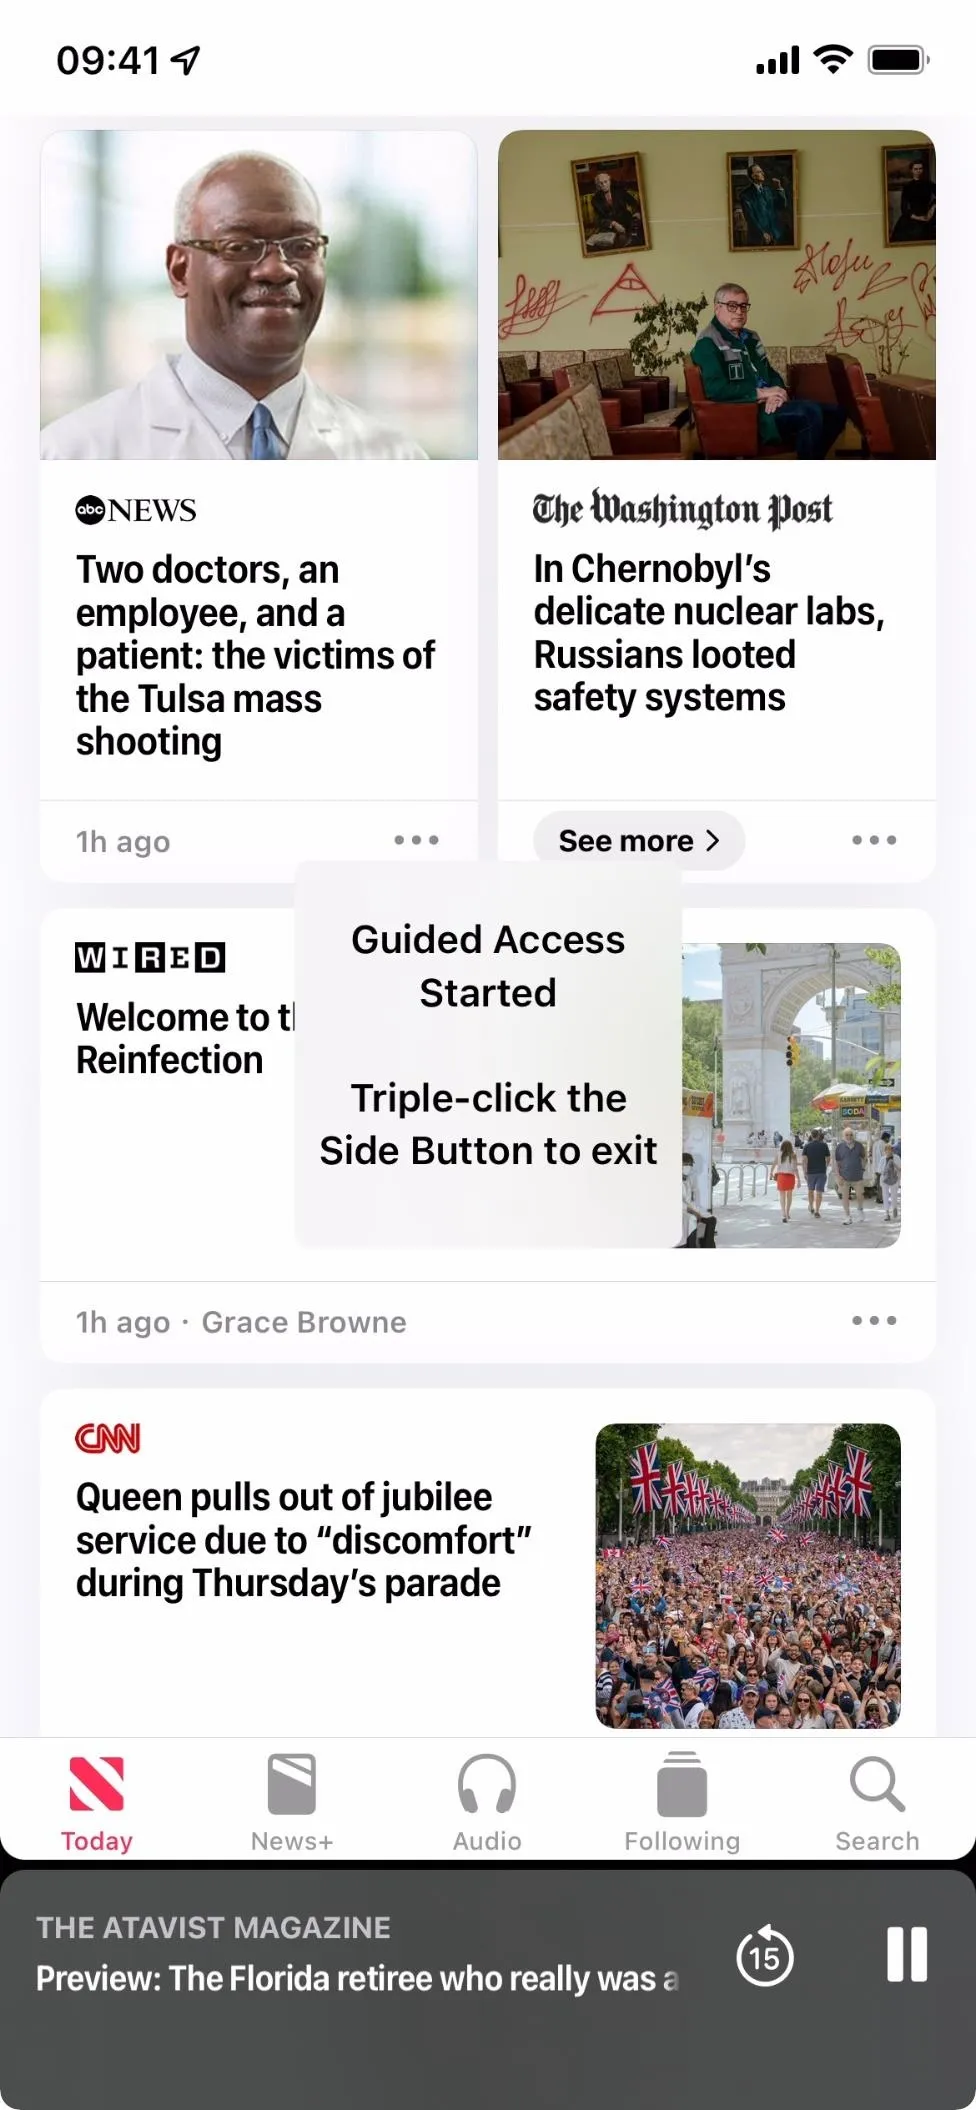
Then, go to the app you want and triple-click your iPhone's side or home button. If you have more than one action assigned to the triple-click gesture, choose "Guided Access" from the action menu.

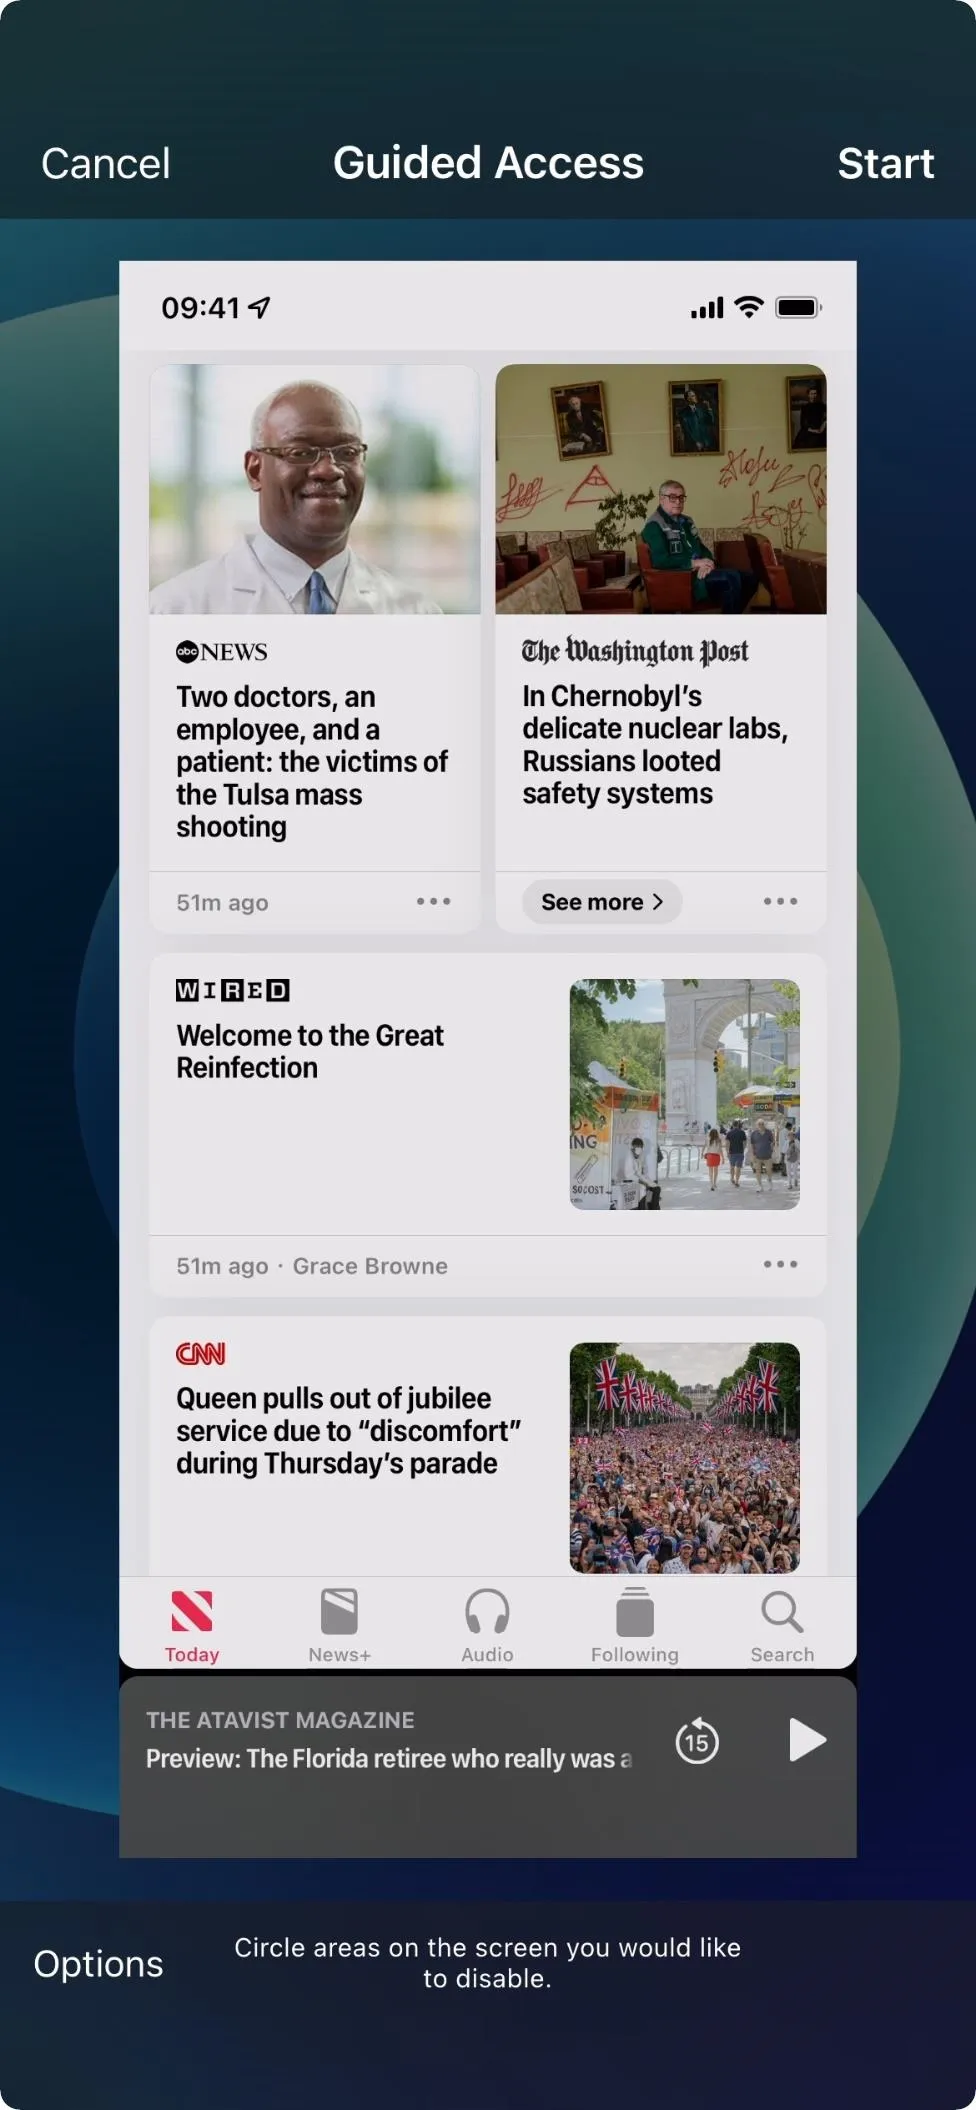
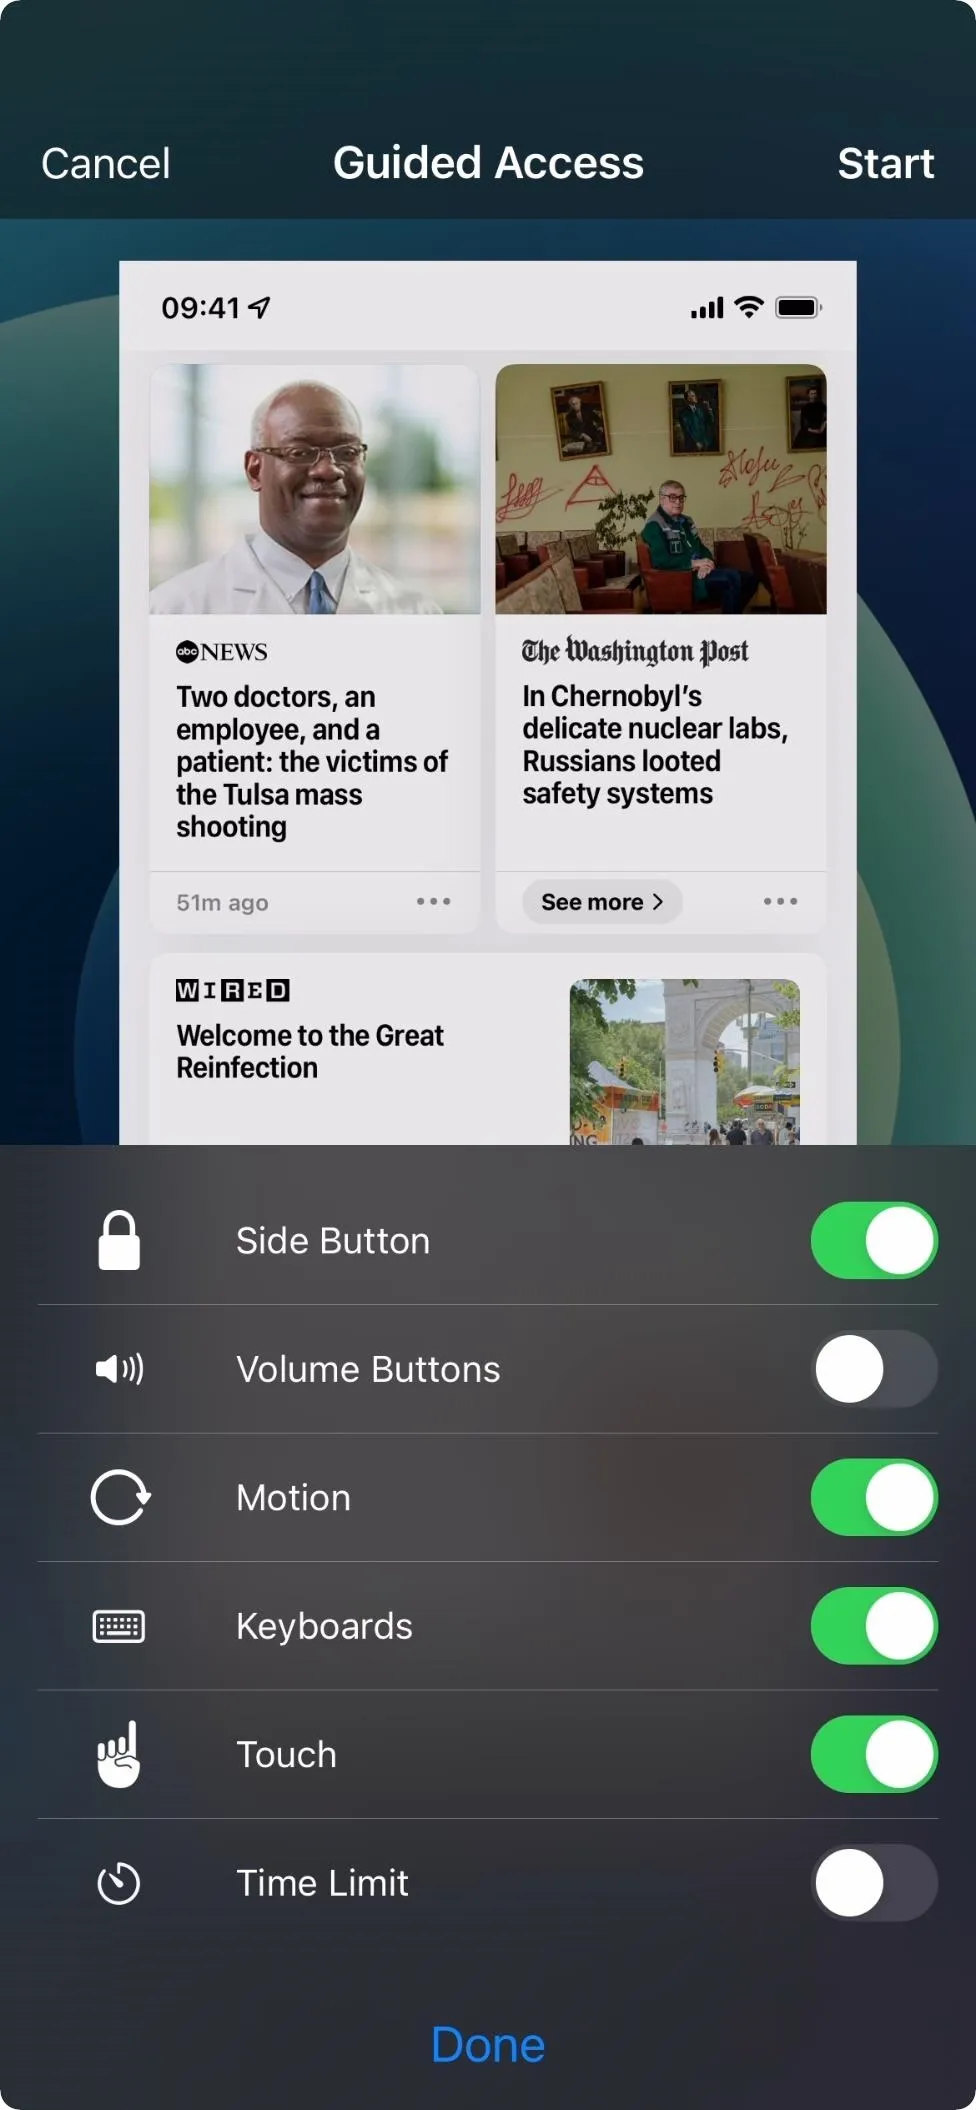
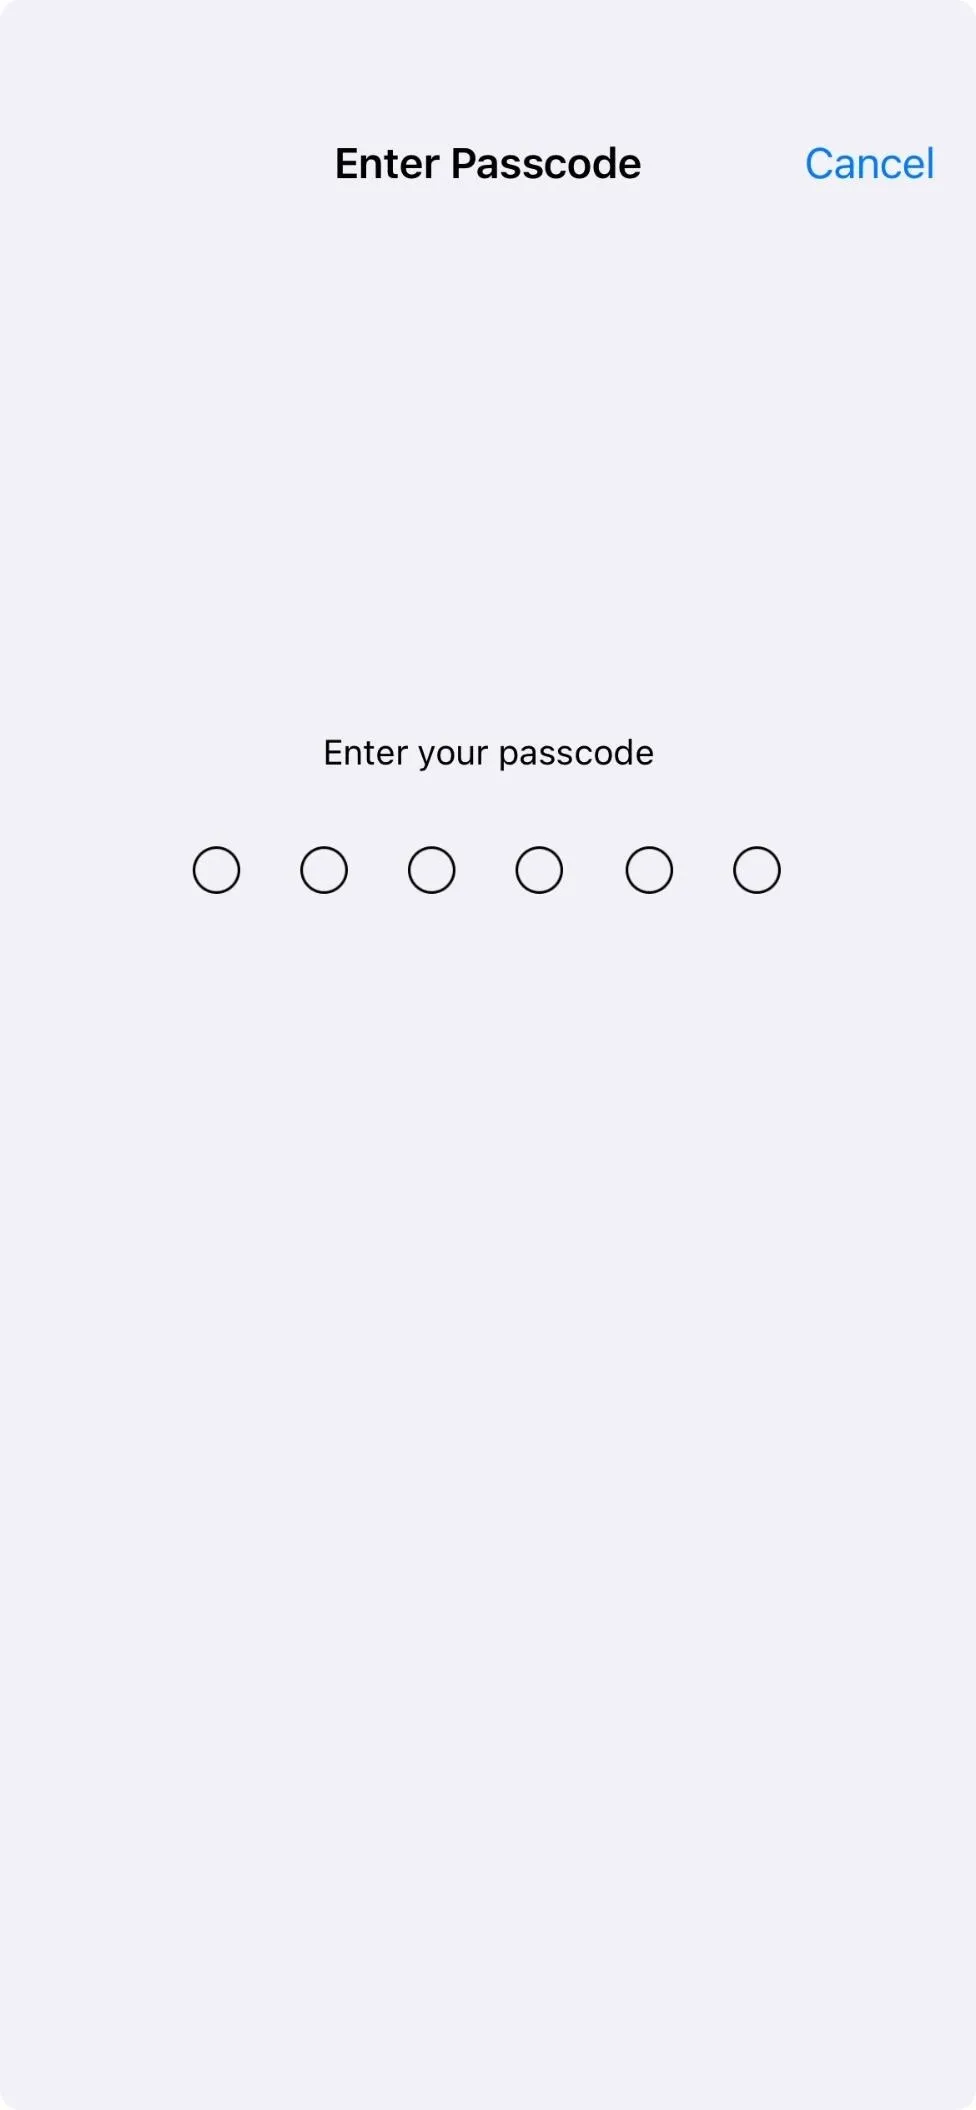
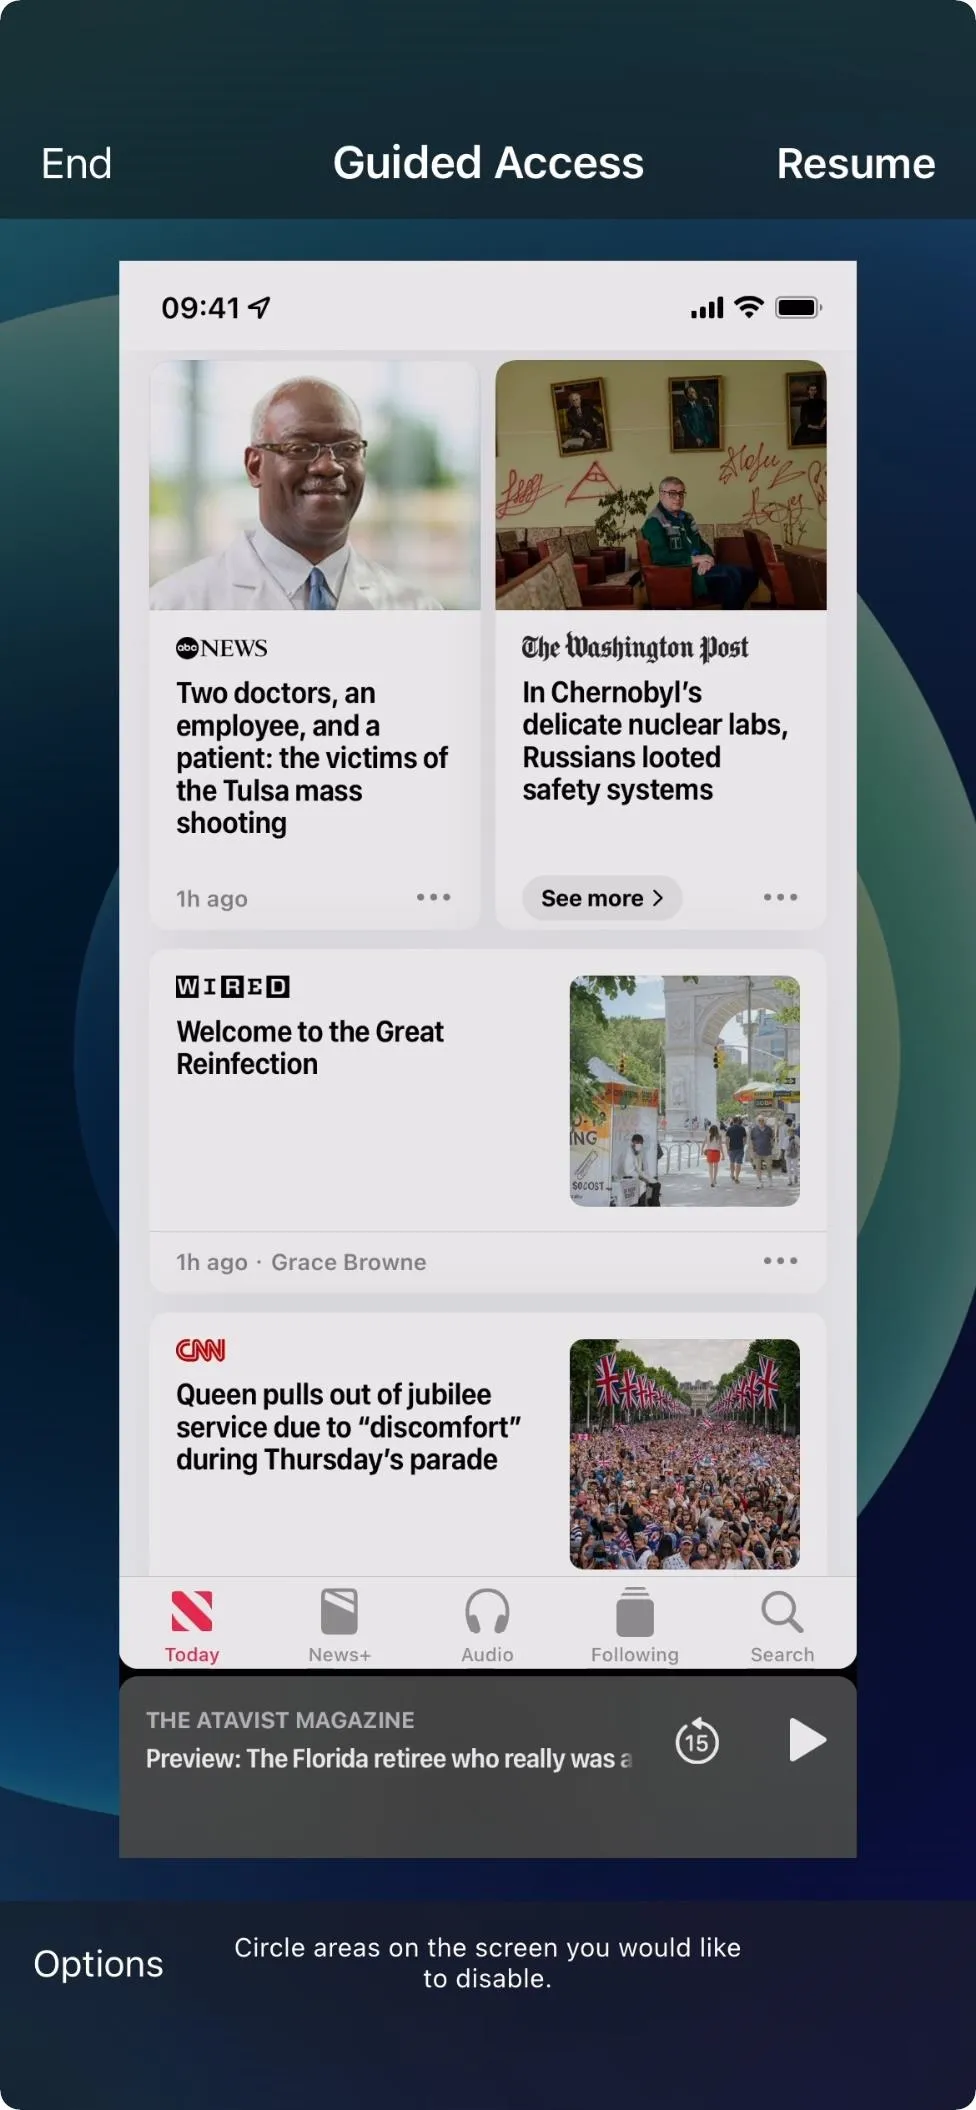
On the Guided Access screen, choose "Options," make sure the "Volume Buttons" switch is off, and hit "Done." Next, hit "Start," then set and verify a passcode.
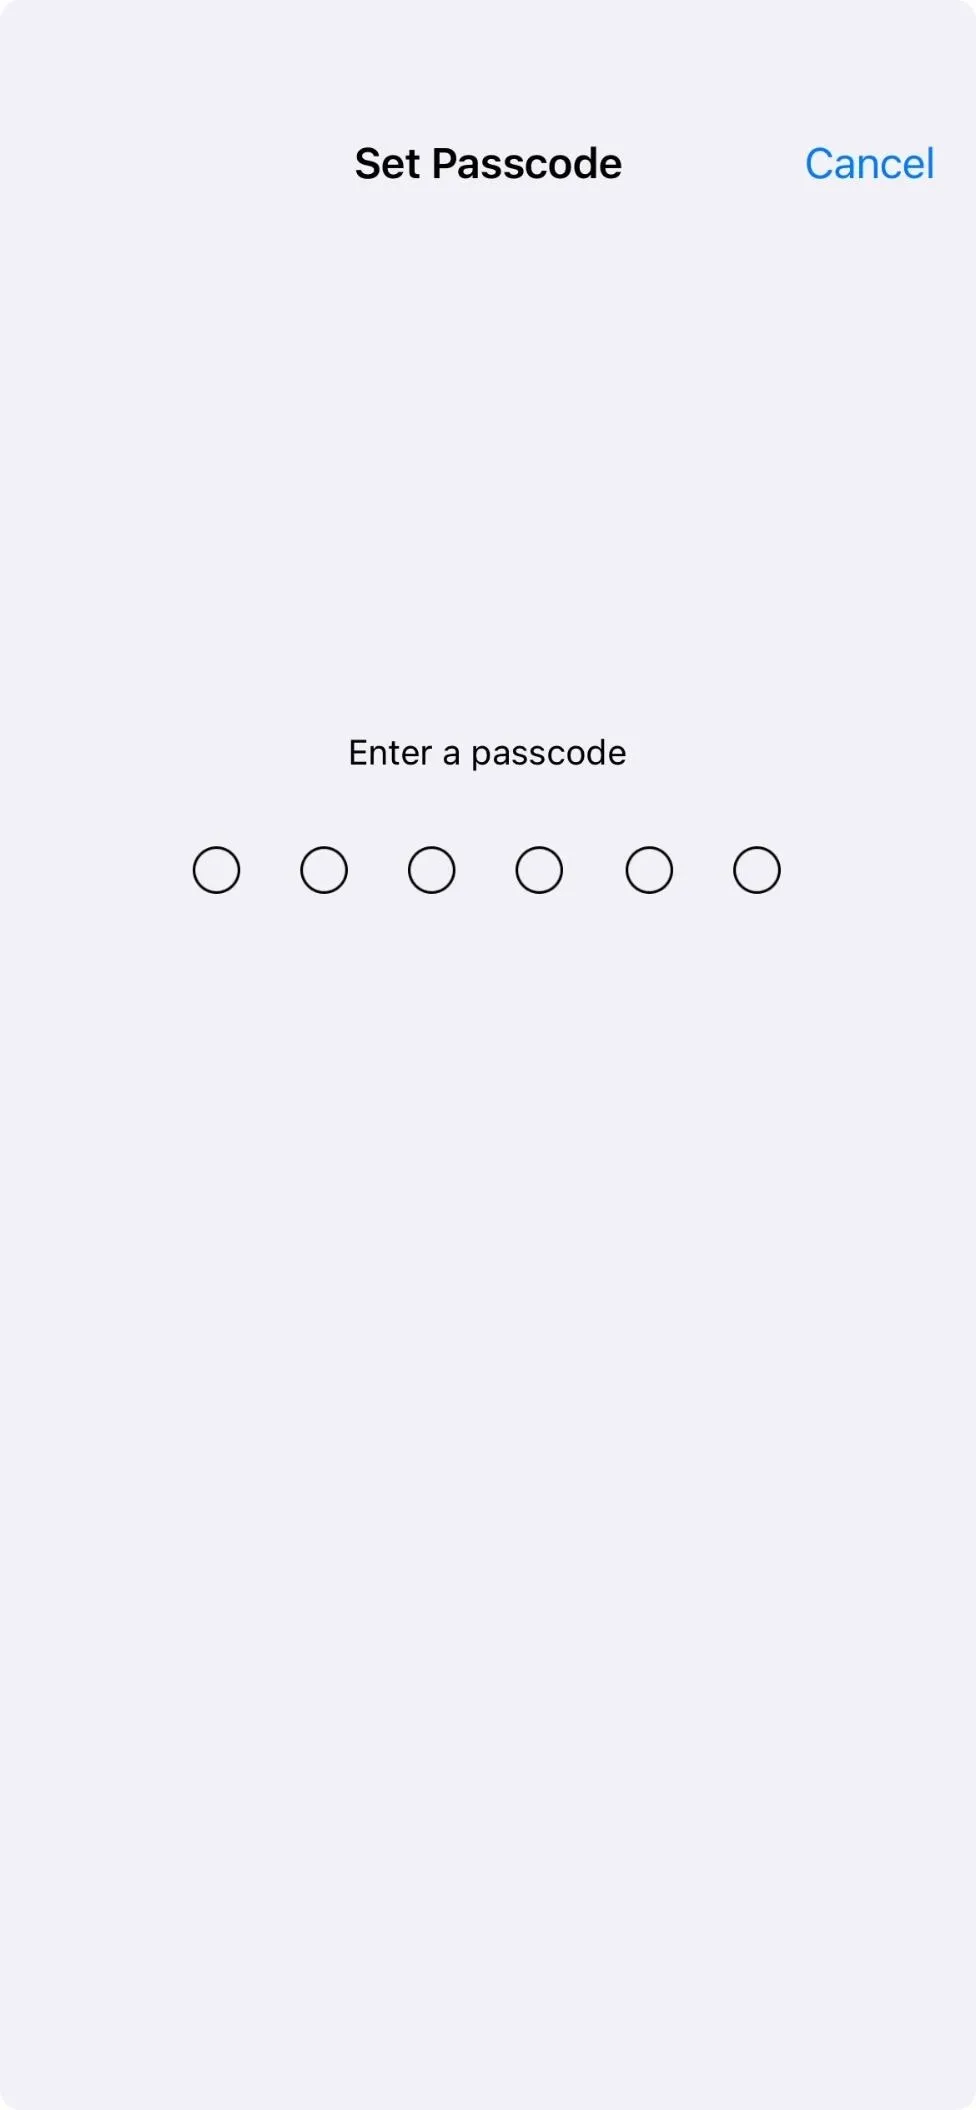
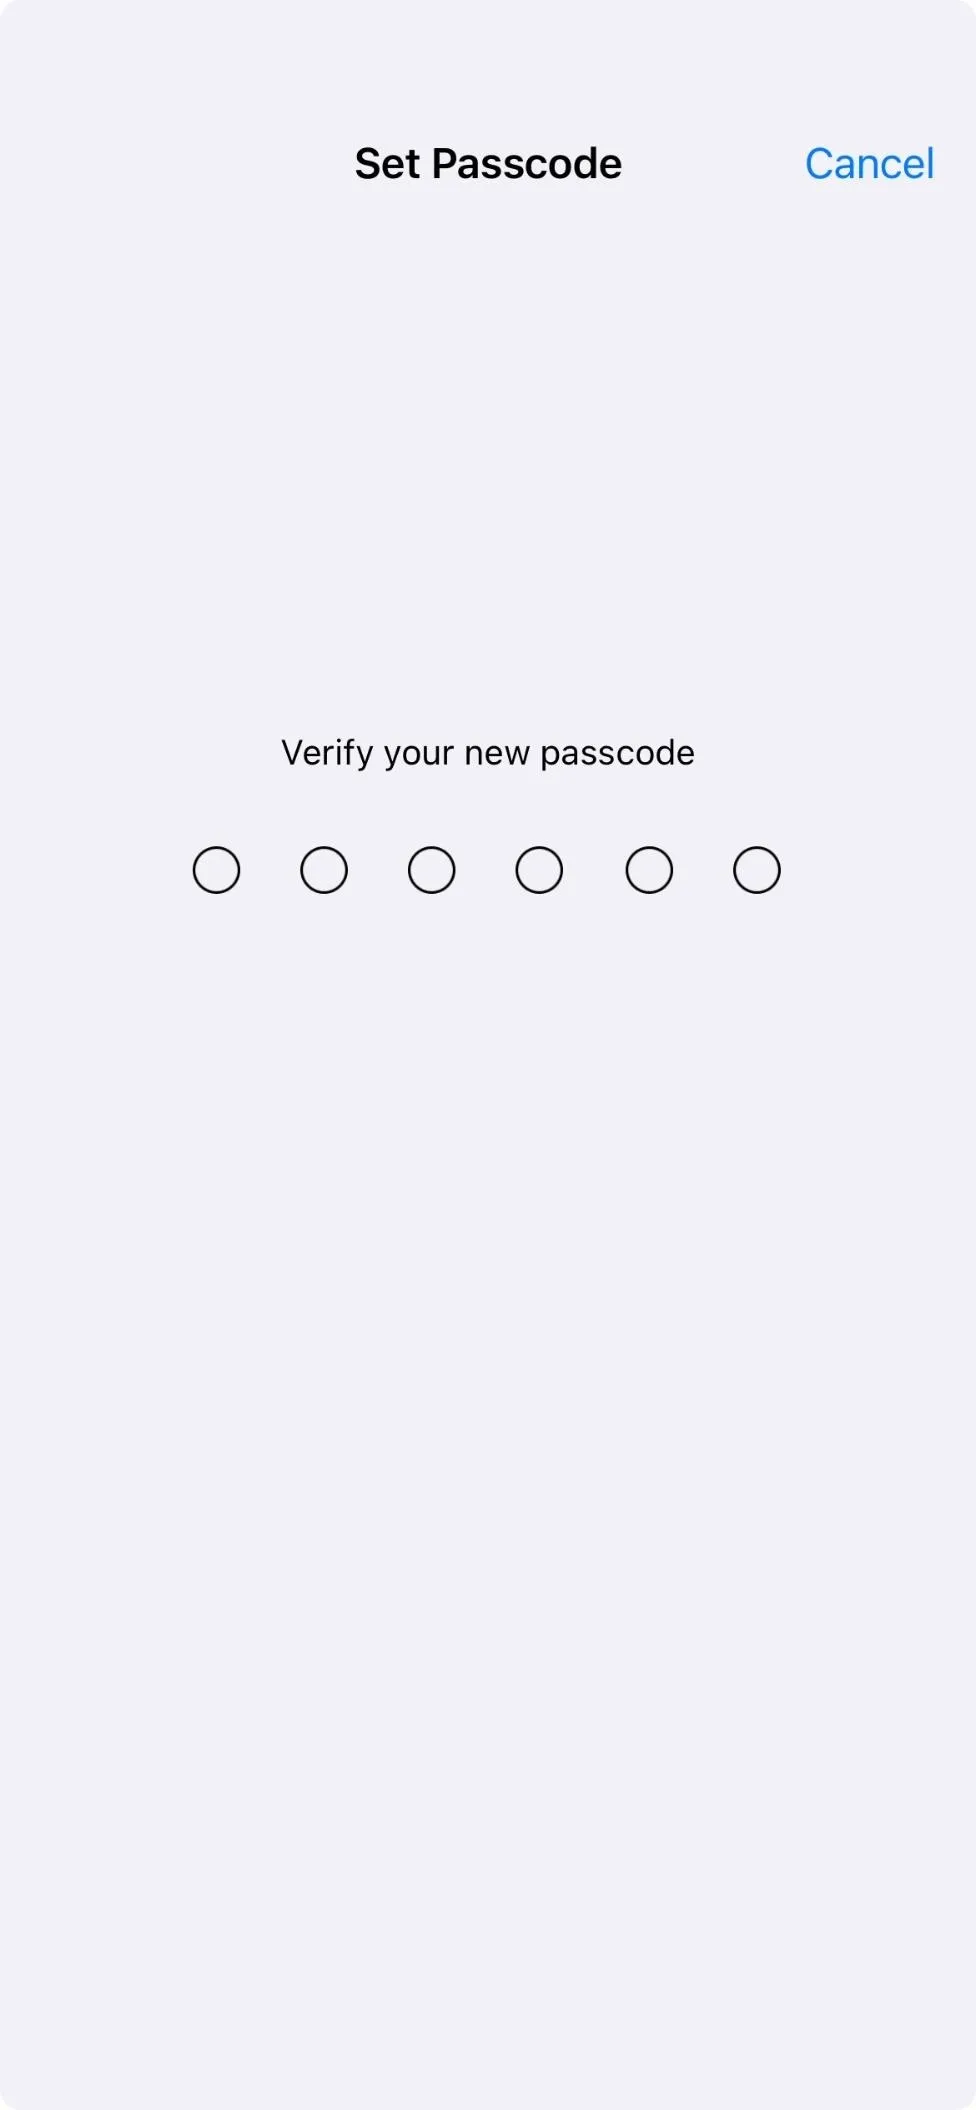
After verifying the passcode, Guided Access will start, and the volume buttons won't do anything while you're in the app. To end Guided Access, triple-click your side or home button. If you have more than one action assigned to the triple-click gesture, choose "Guided Access" from the action menu. Then, enter your passcode, and hit "End" when you return to the Guided Access screen.
Things You Can Do Using the Volume Buttons and Other Keys
The above tips are for the volume buttons by themselves. However, they are used for other tasks when combined with other hardware buttons. Here's a quick list of everything they can help accomplish:
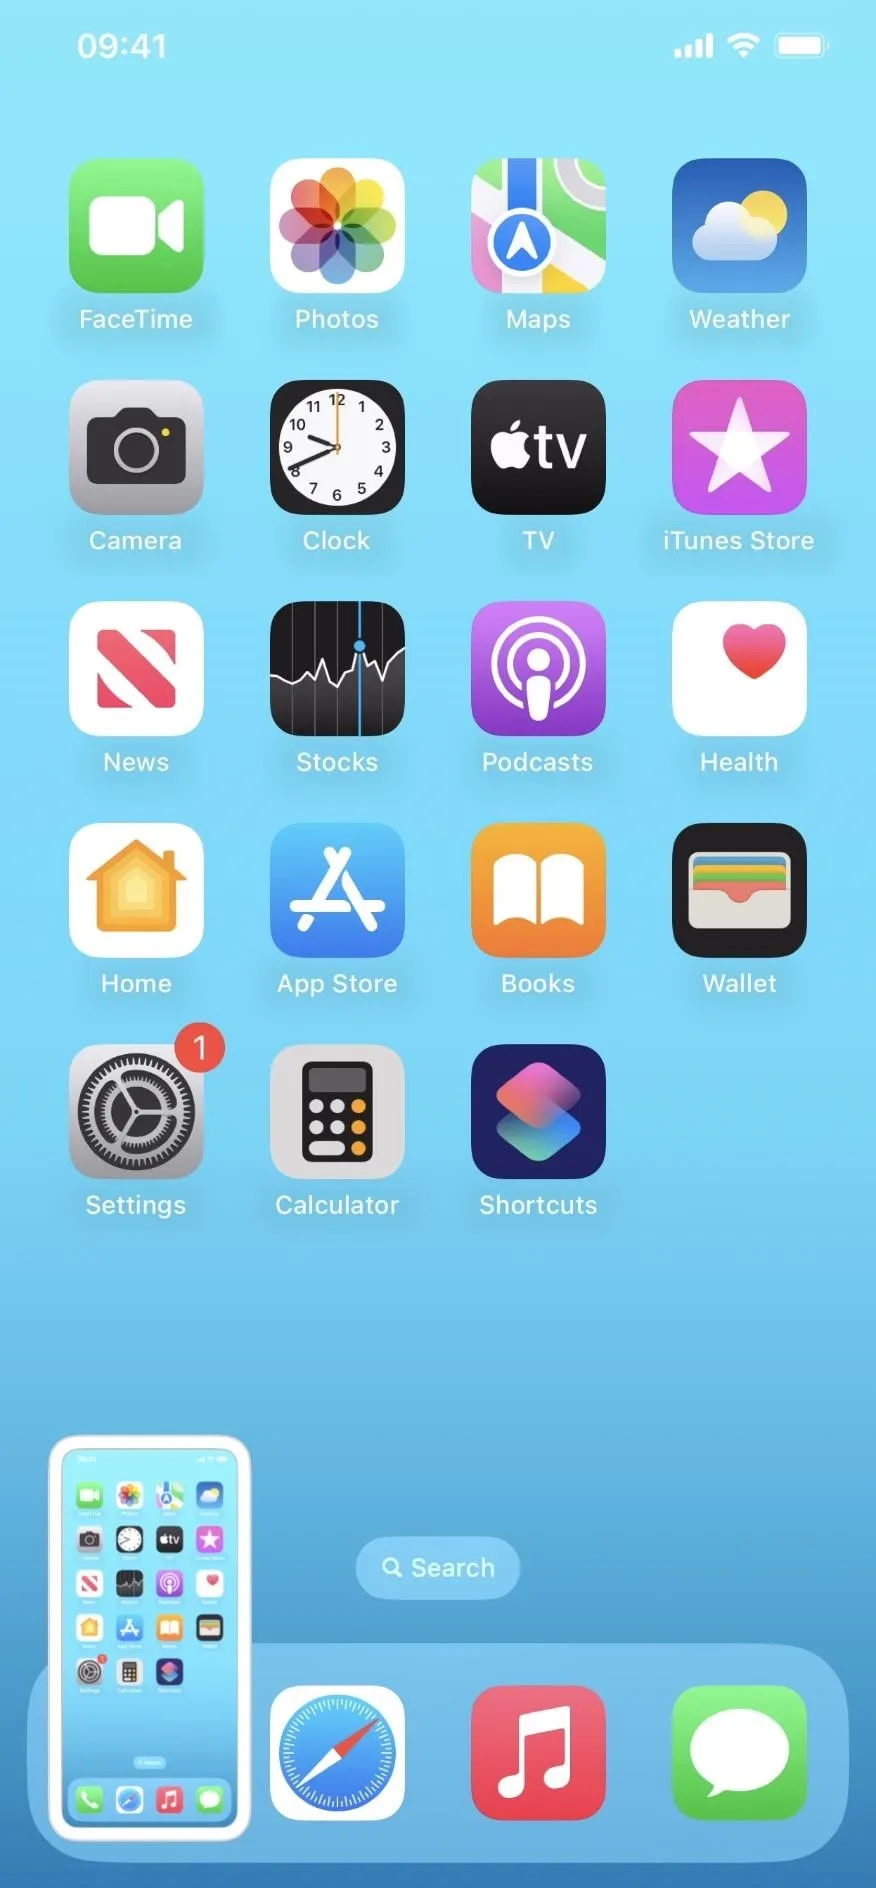
14. Take Screenshots
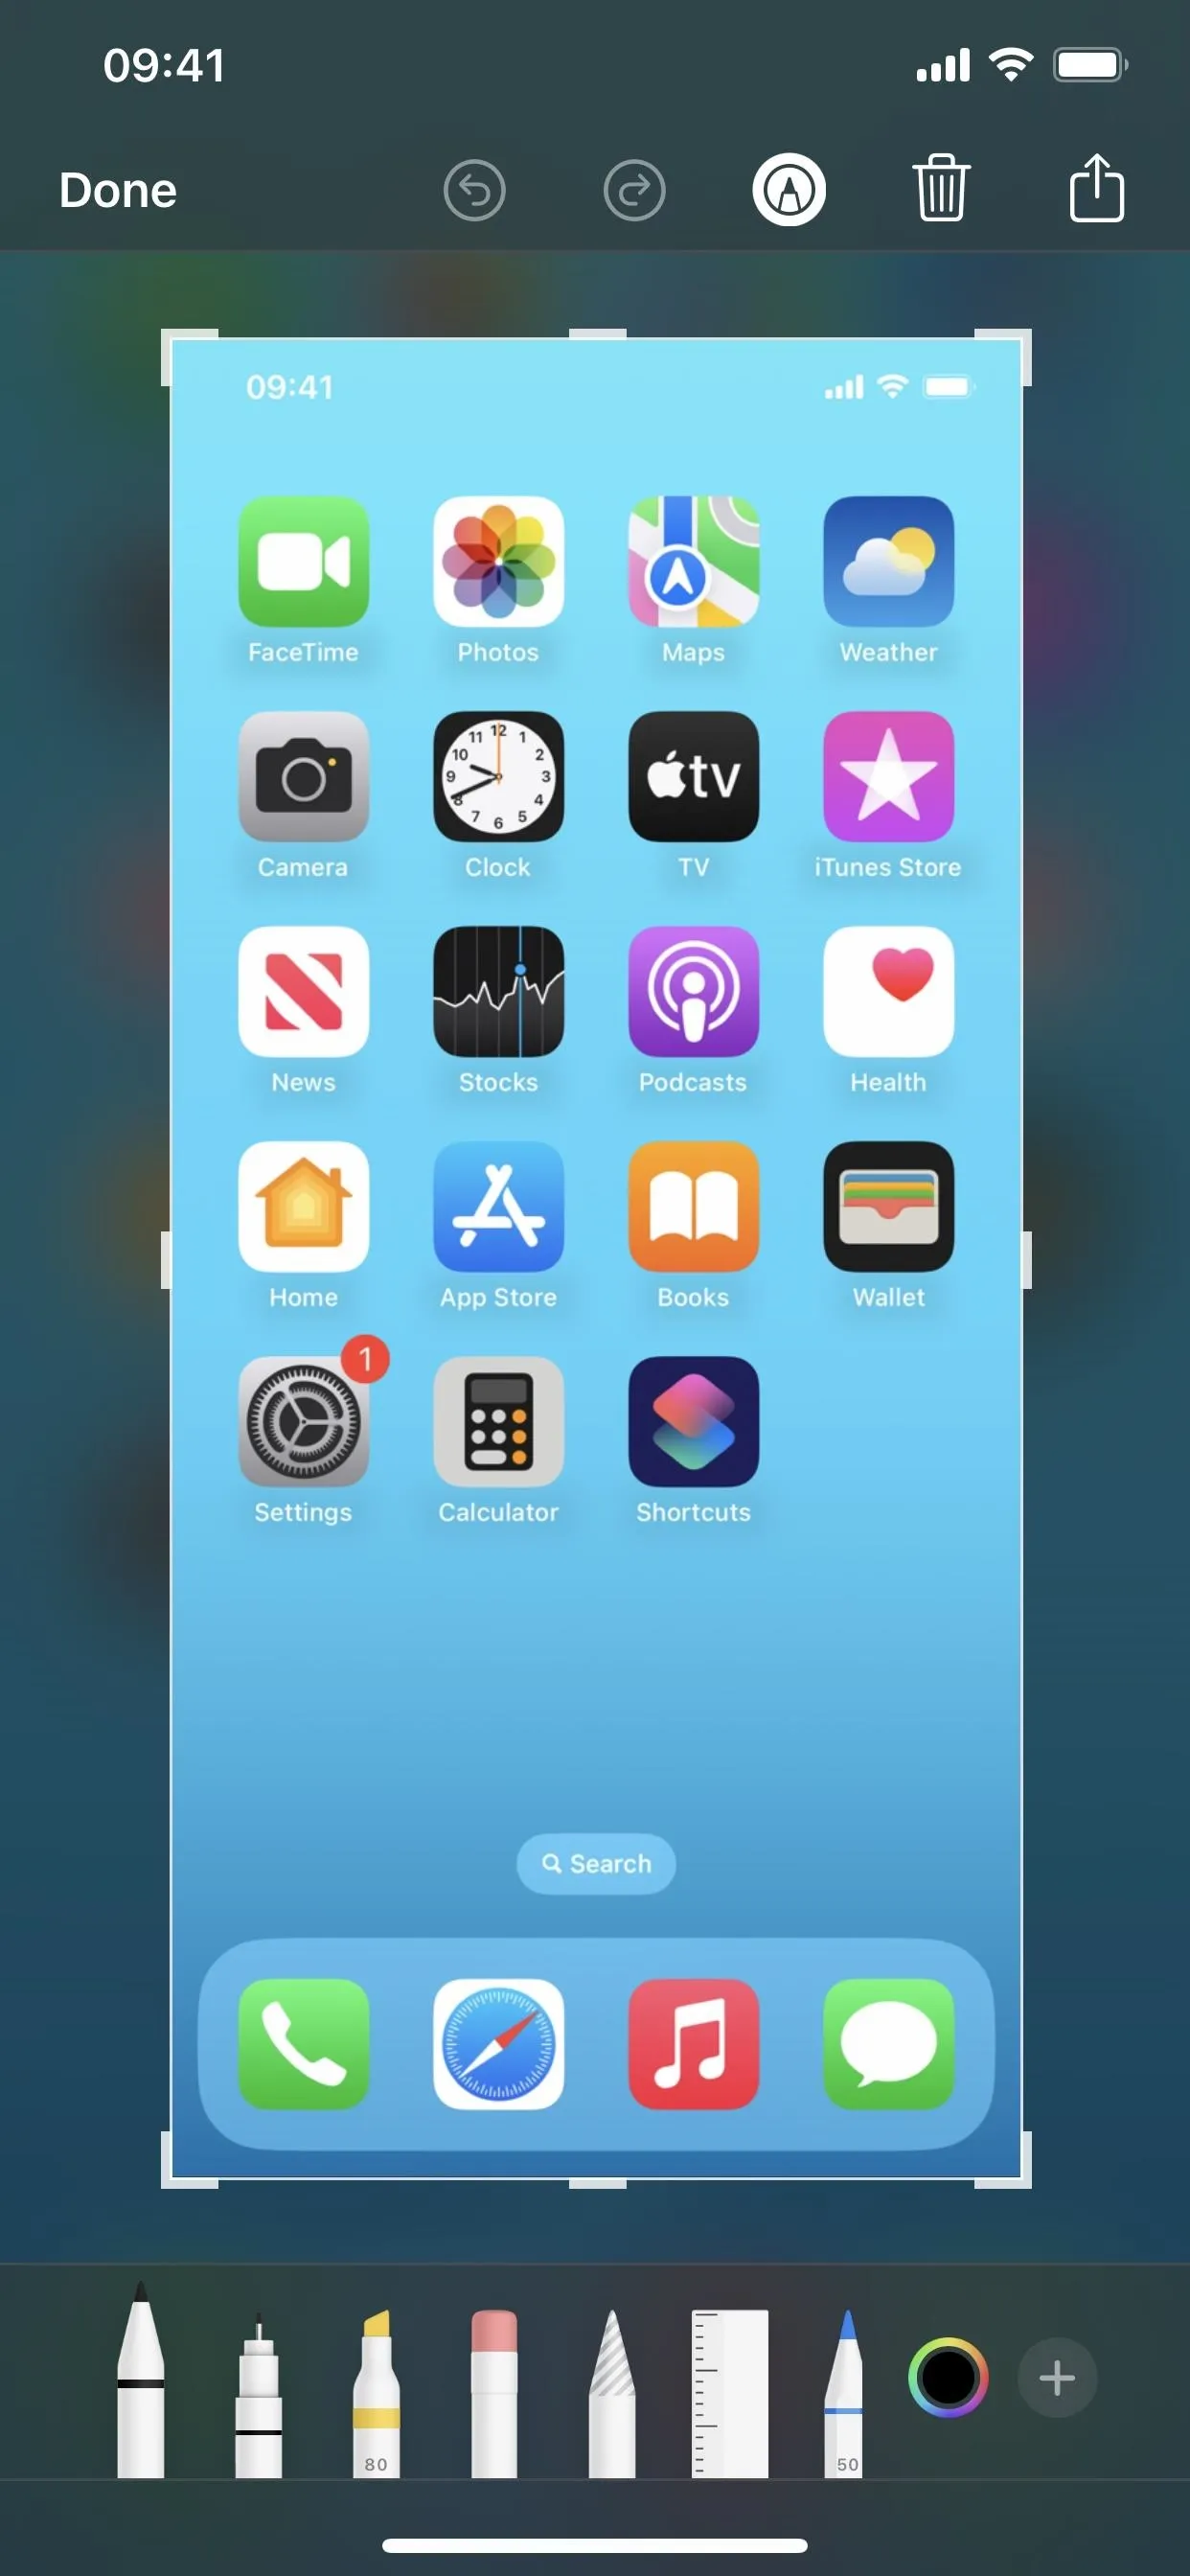
On Face ID models, press the side and volume up buttons simultaneously and let go quickly to take a screenshot. A thumbnail preview of the screenshot will appear in the bottom left; tap that to open the screenshot editor. Screenshots are saved in the Recents album and Screenshots folder in your Photos app.
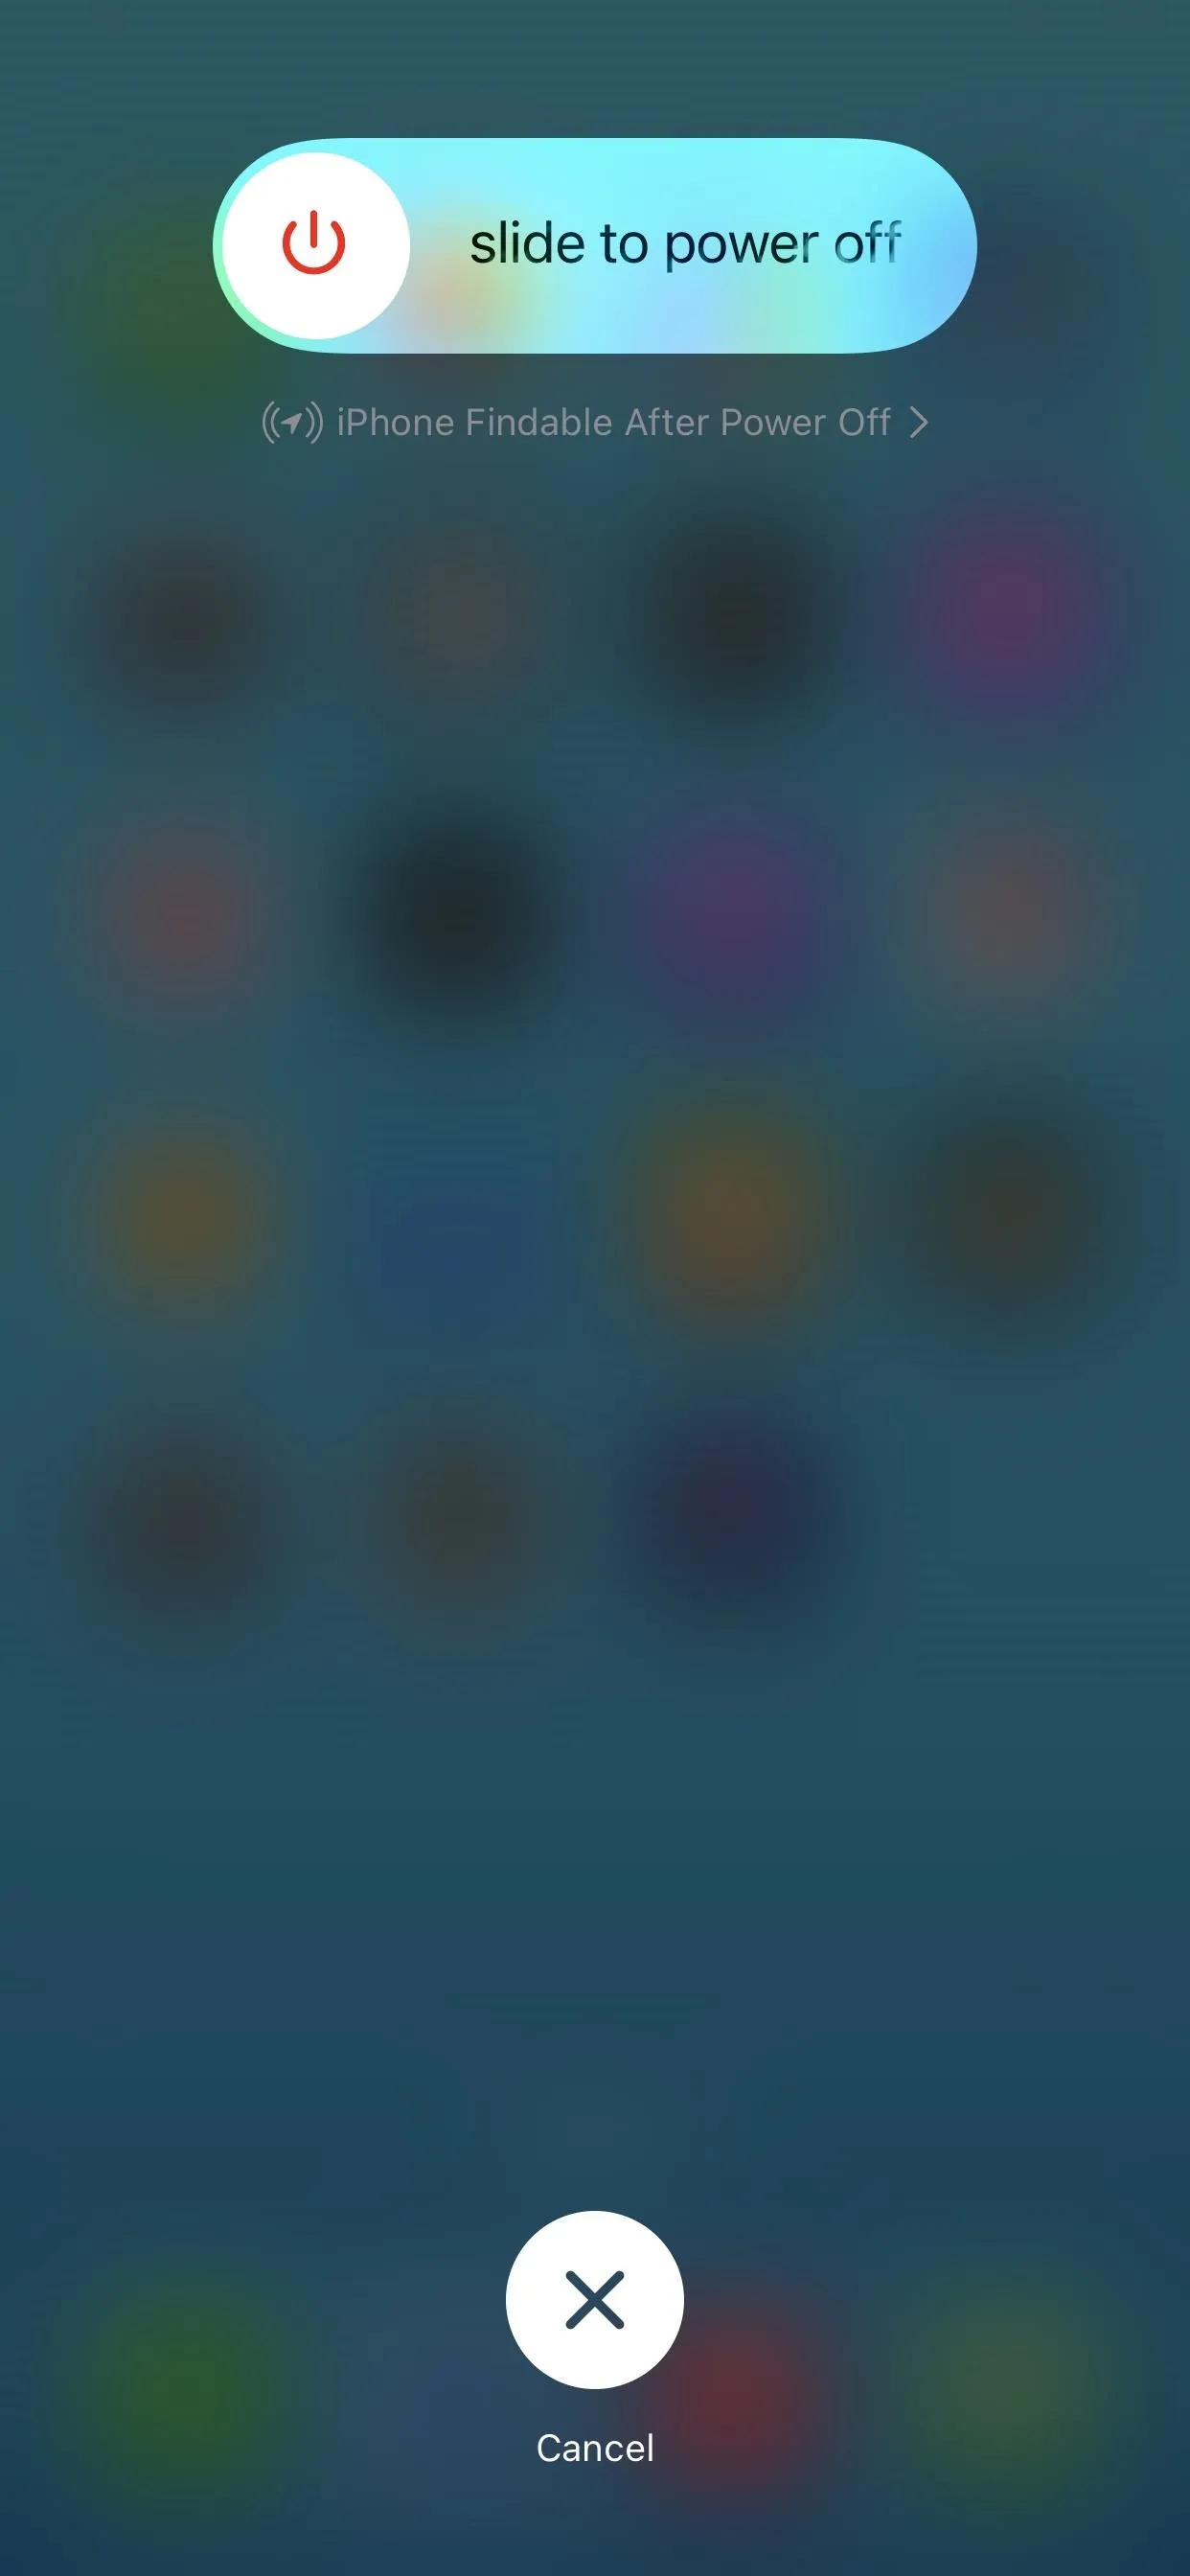
15. Power Off Your iPhone
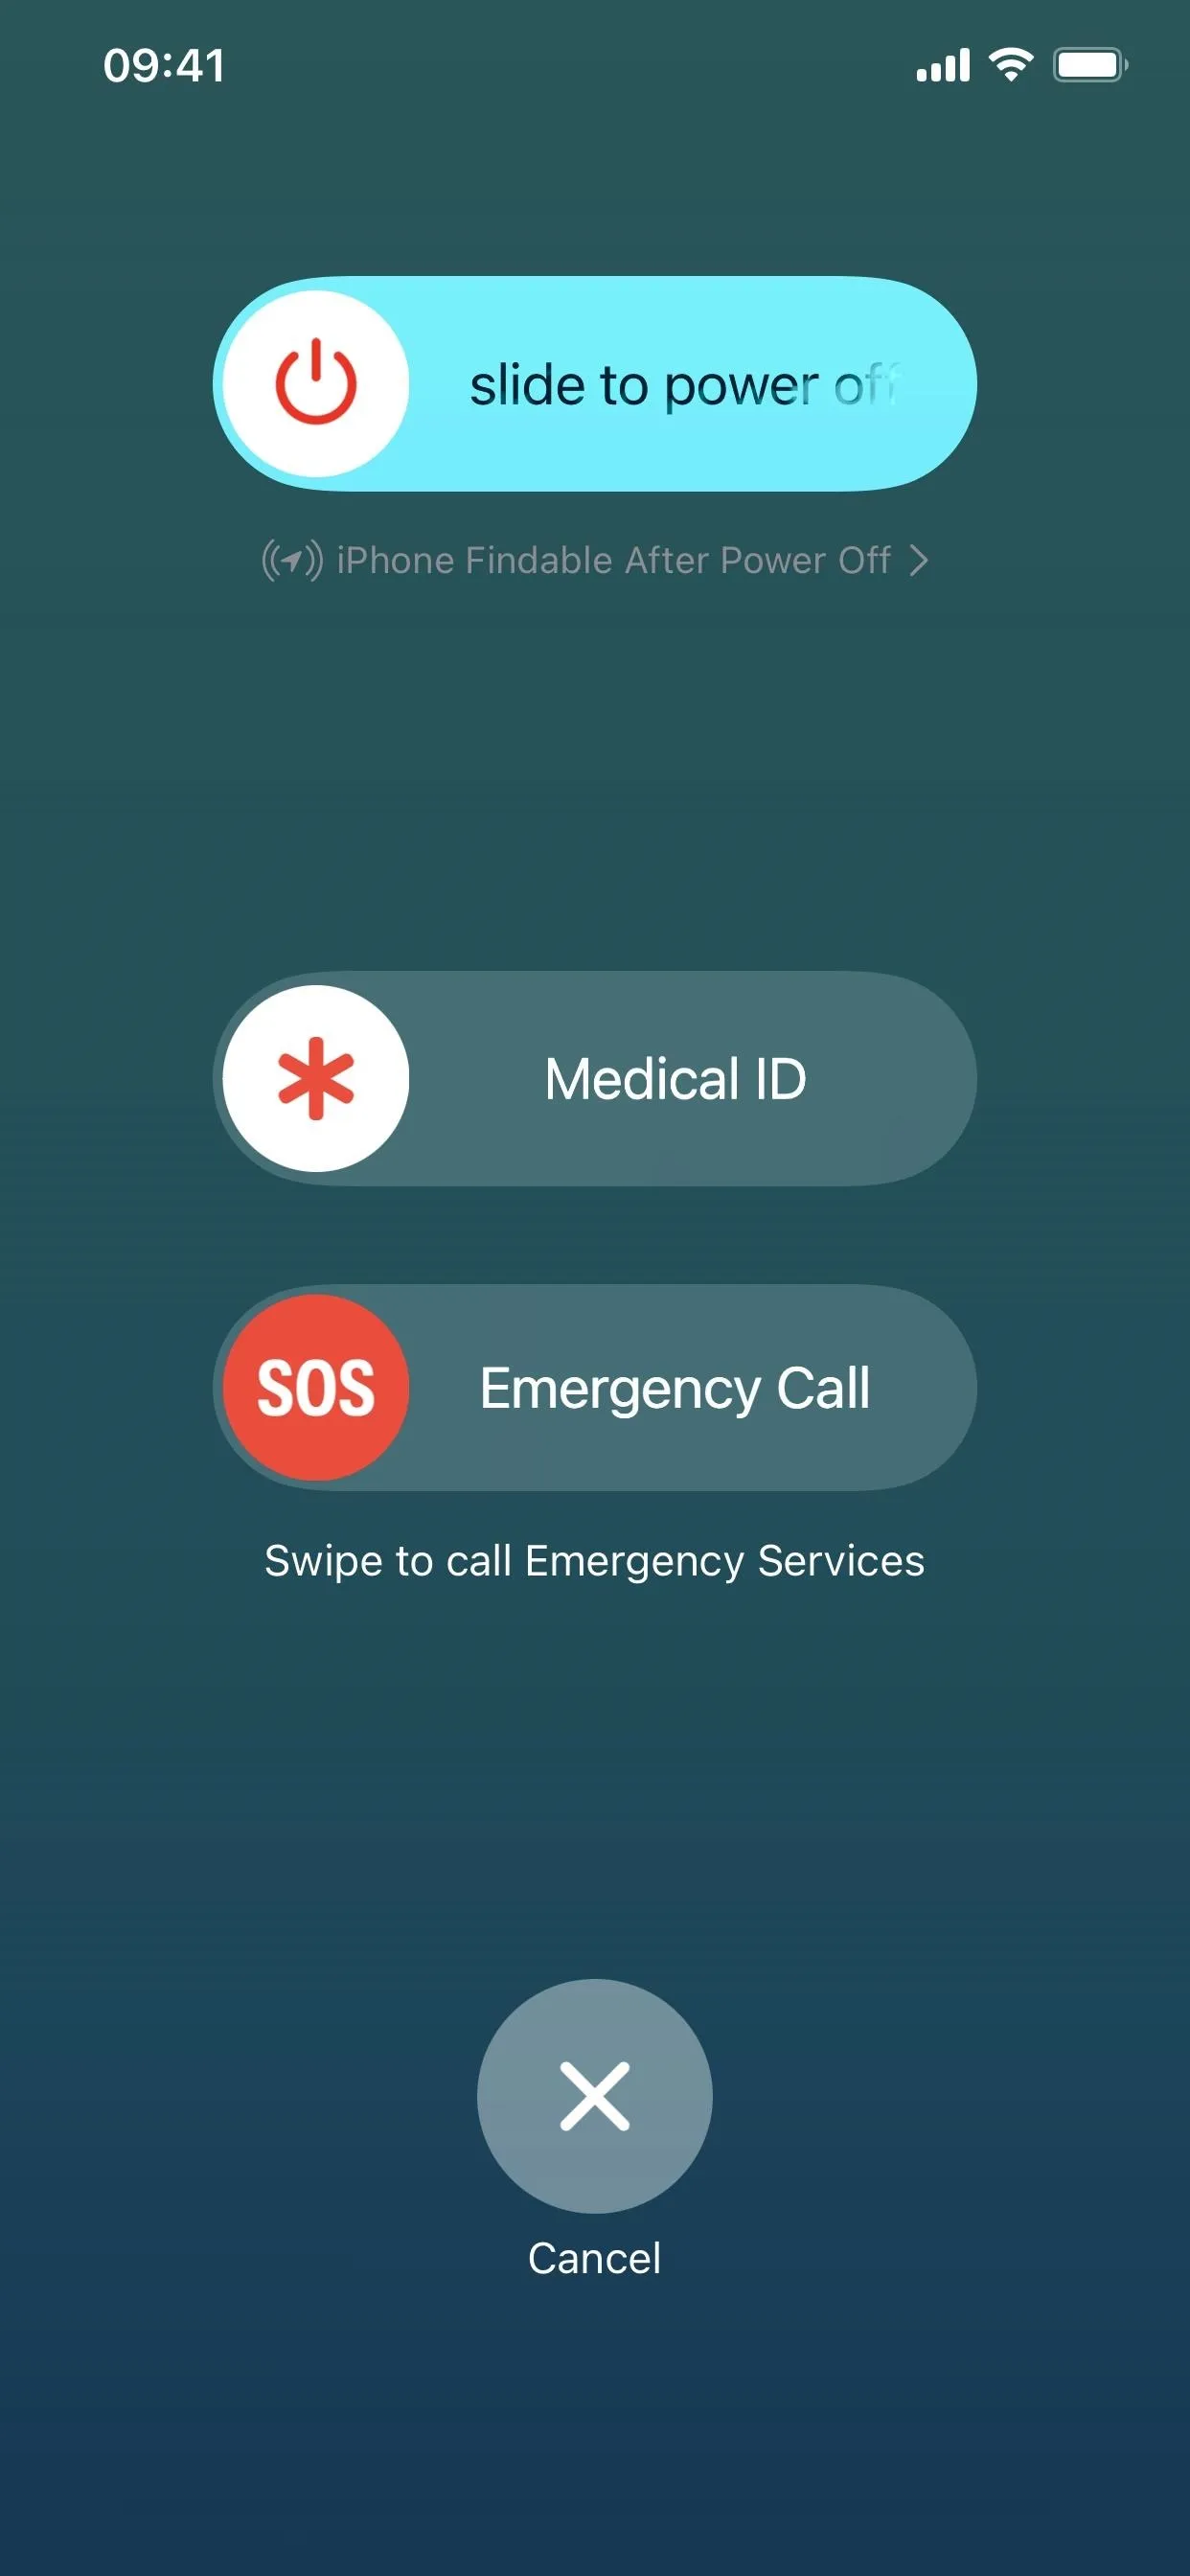
Press volume up, then volume down, then hold the side button down until you see the Power Off slider (left image below). You can also press and hold the side button and either volume button together, as well as hold all three together (right image below). To shut down your iPhone, slide the power icon to the right.

16. Call Emergency Services
Press and hold the side button and either volume button together, or hold all three buttons down together, until you see the Emergency Call slider (left image below). To make the call, slide the SOS icon to the right.
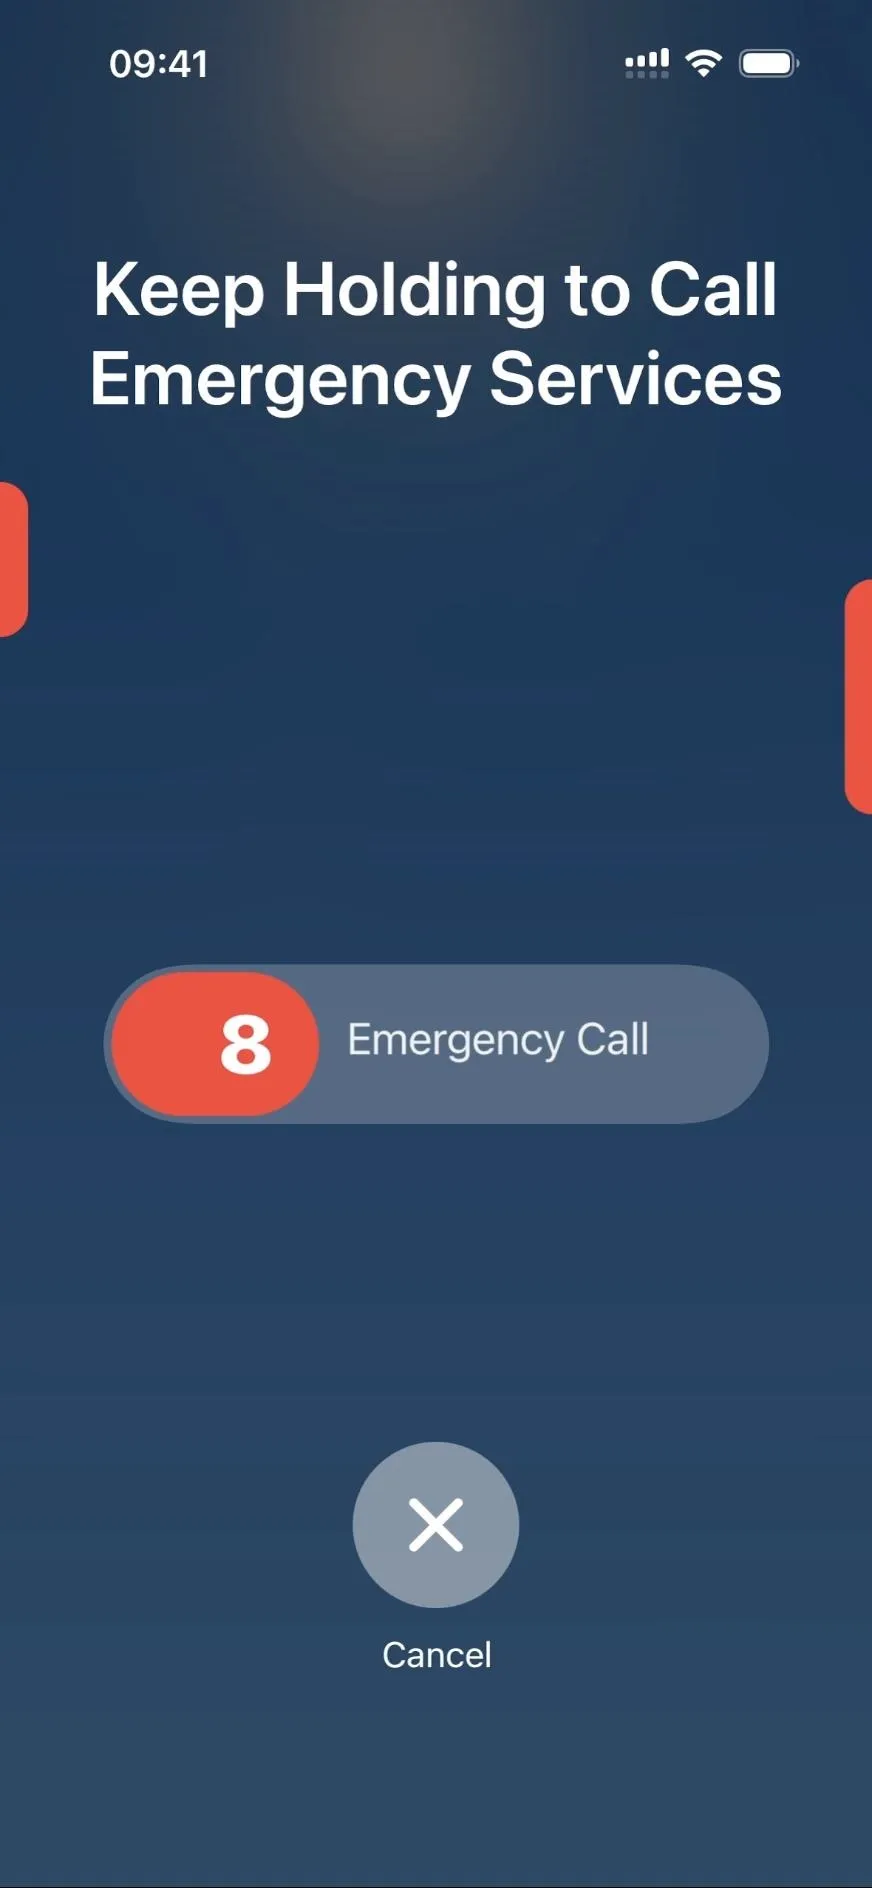
Alternatively, ensure "Call with Hold and Release" (iOS 16.3 or later) or "Call with Hold" (older iOS versions) is toggled on via Settings –> Emergency SOS. Then, continuously press and hold the side button and either volume button together, or hold all three buttons down together, to start a countdown for auto-calling 911 or other local emergency services (right image below). When the countdown ends, release the buttons to make the call.
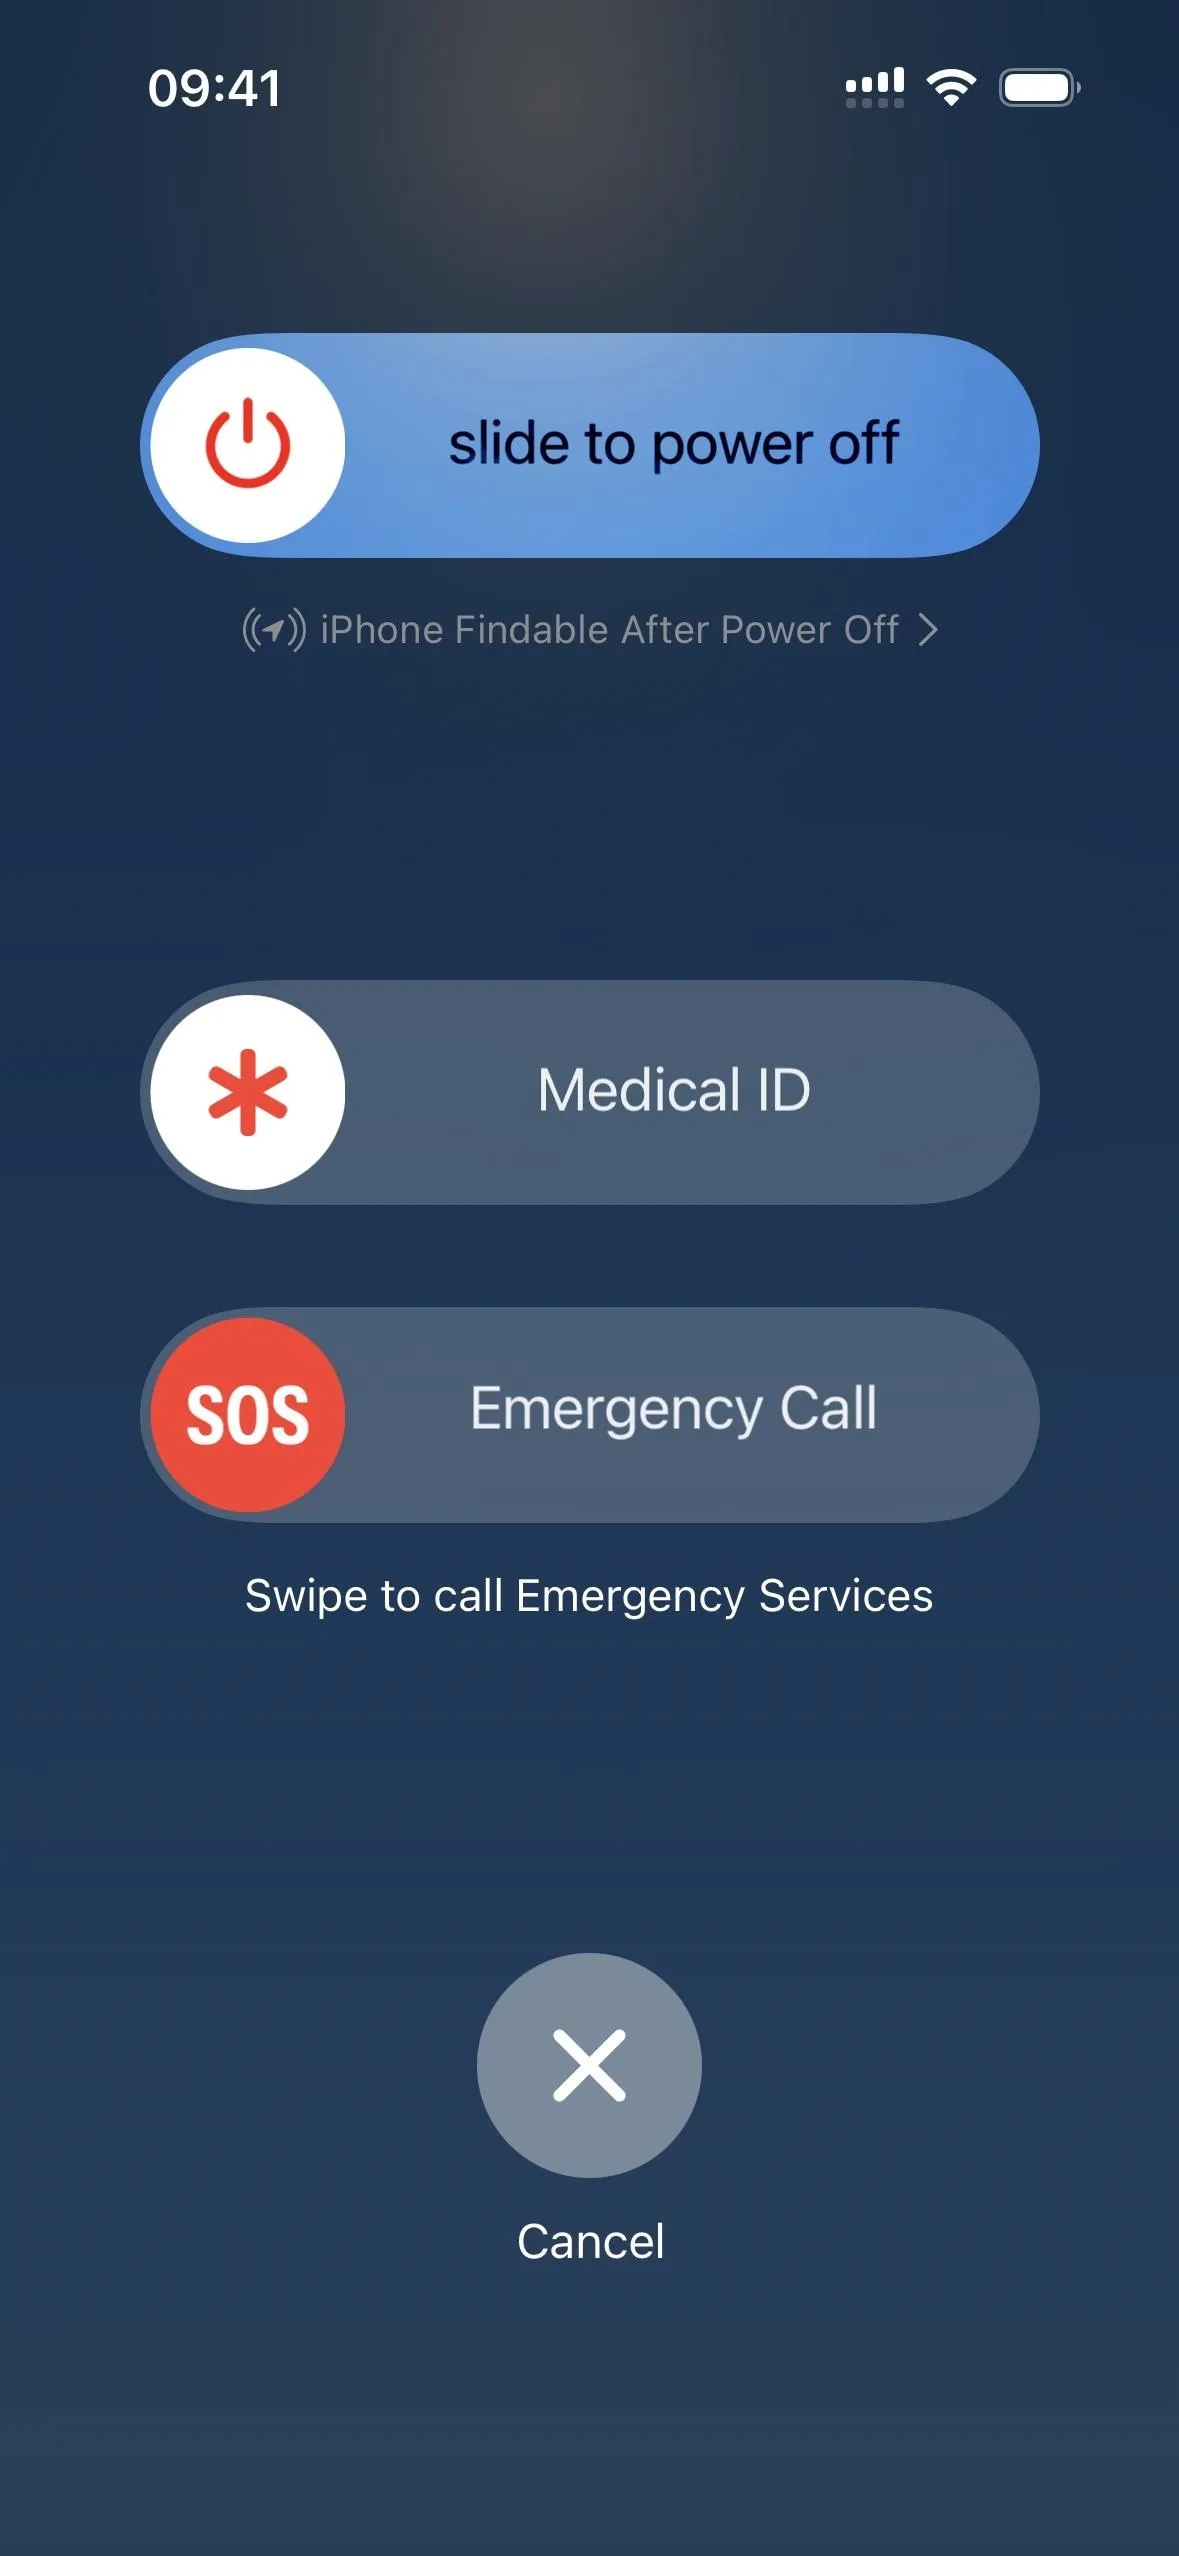
17. View Your Medical ID Information
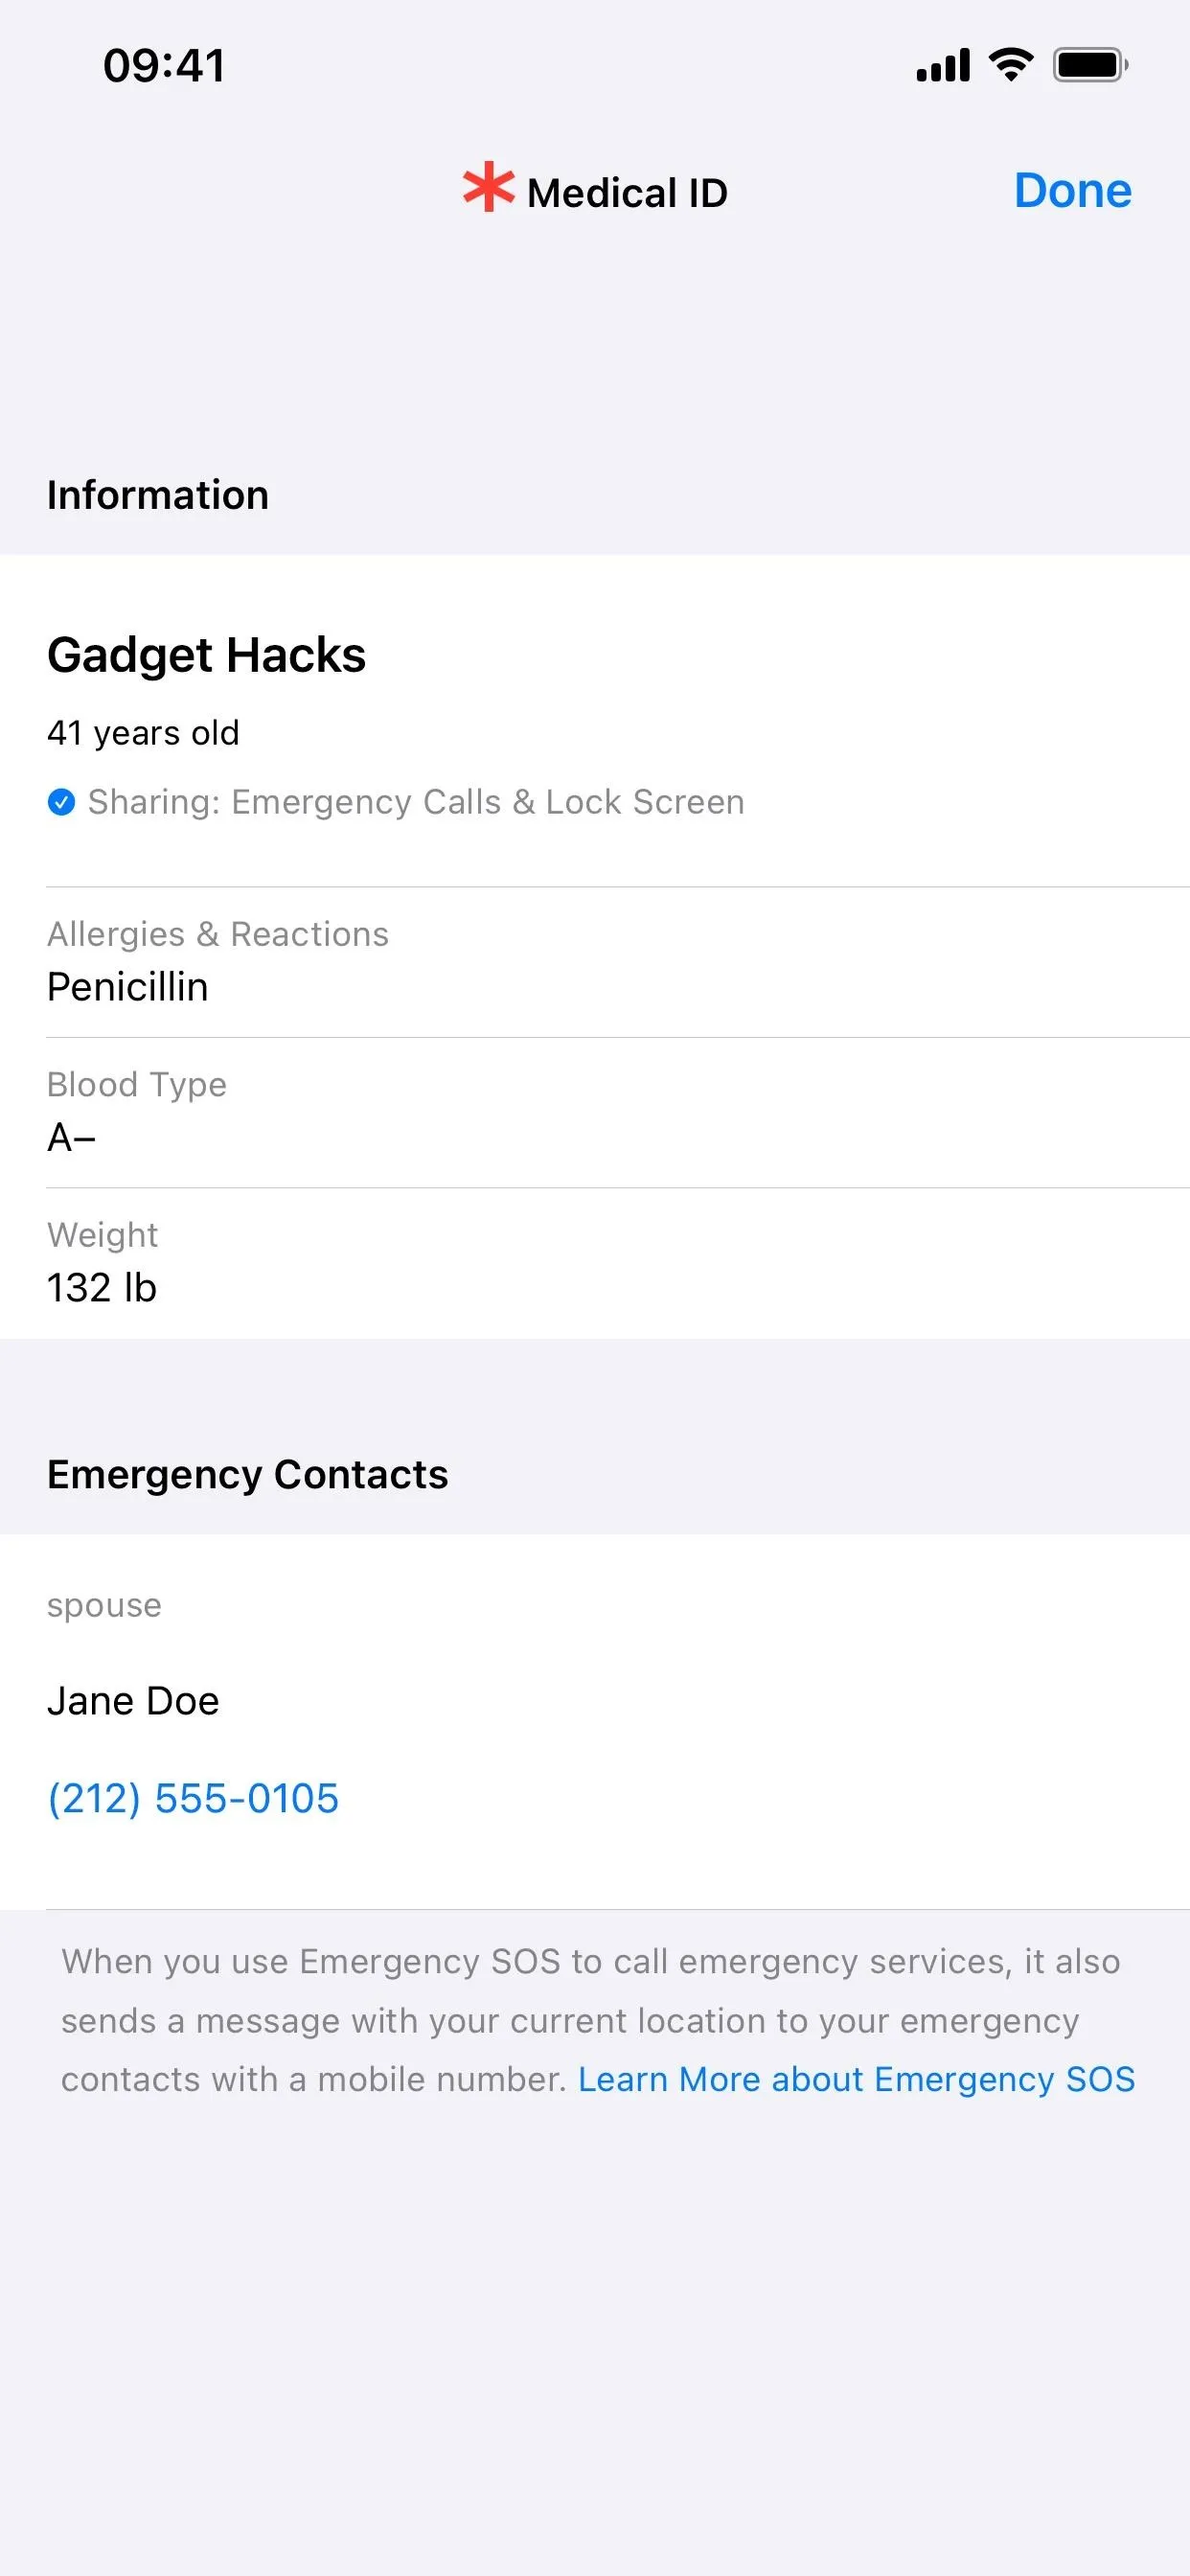
Press and hold the side button and either volume button together, or hold all three buttons down together, until you see the Medical ID slider. Slide the asterisk (*) icon to the right to view your Medical ID information. The info you can display here includes your name, age, allergies and reactions, blood type, weight, and emergency contacts.
Alternatively, if you use the press-and-hold method mentioned above for calling emergency services, letting go before the countdown completes will default back to the view with the Medical ID slider.
To edit the information displayed, go to Settings –> Health –> Medical ID or open Health directly, tap your profile image in the Summary or Browse tab, and choose "Medical ID."
18. Disable Face ID or Touch ID Quickly
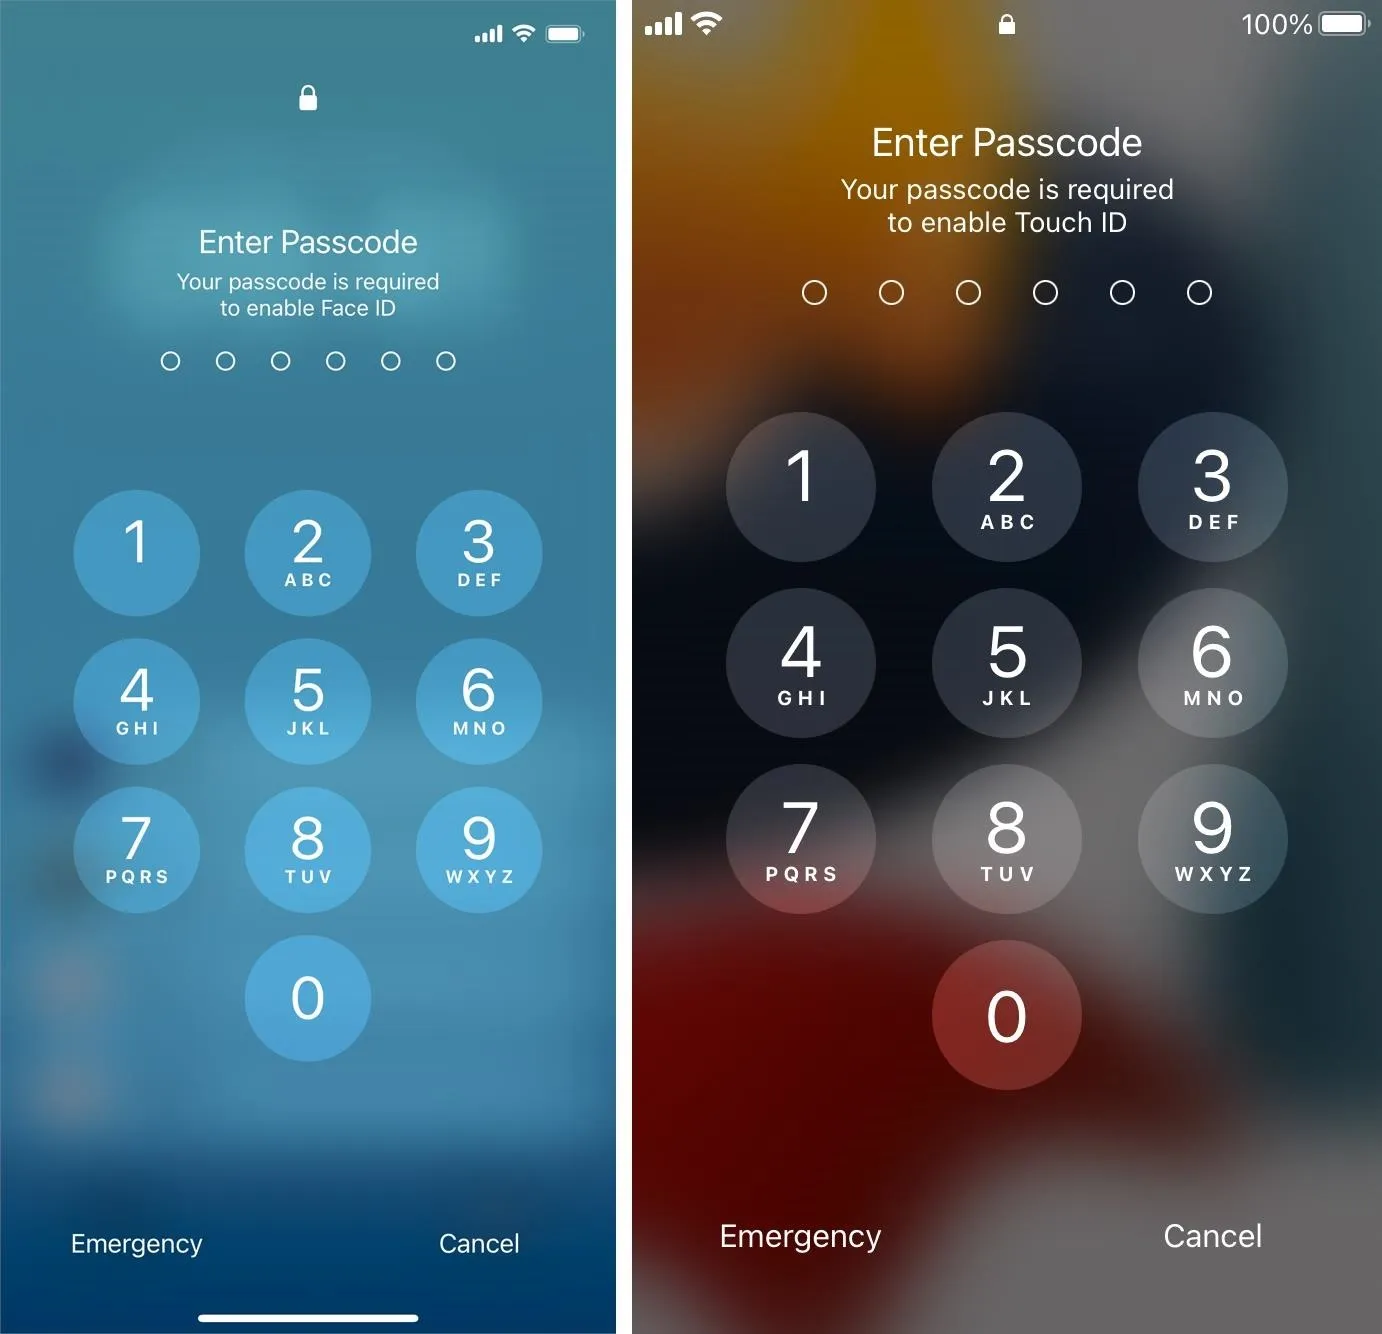
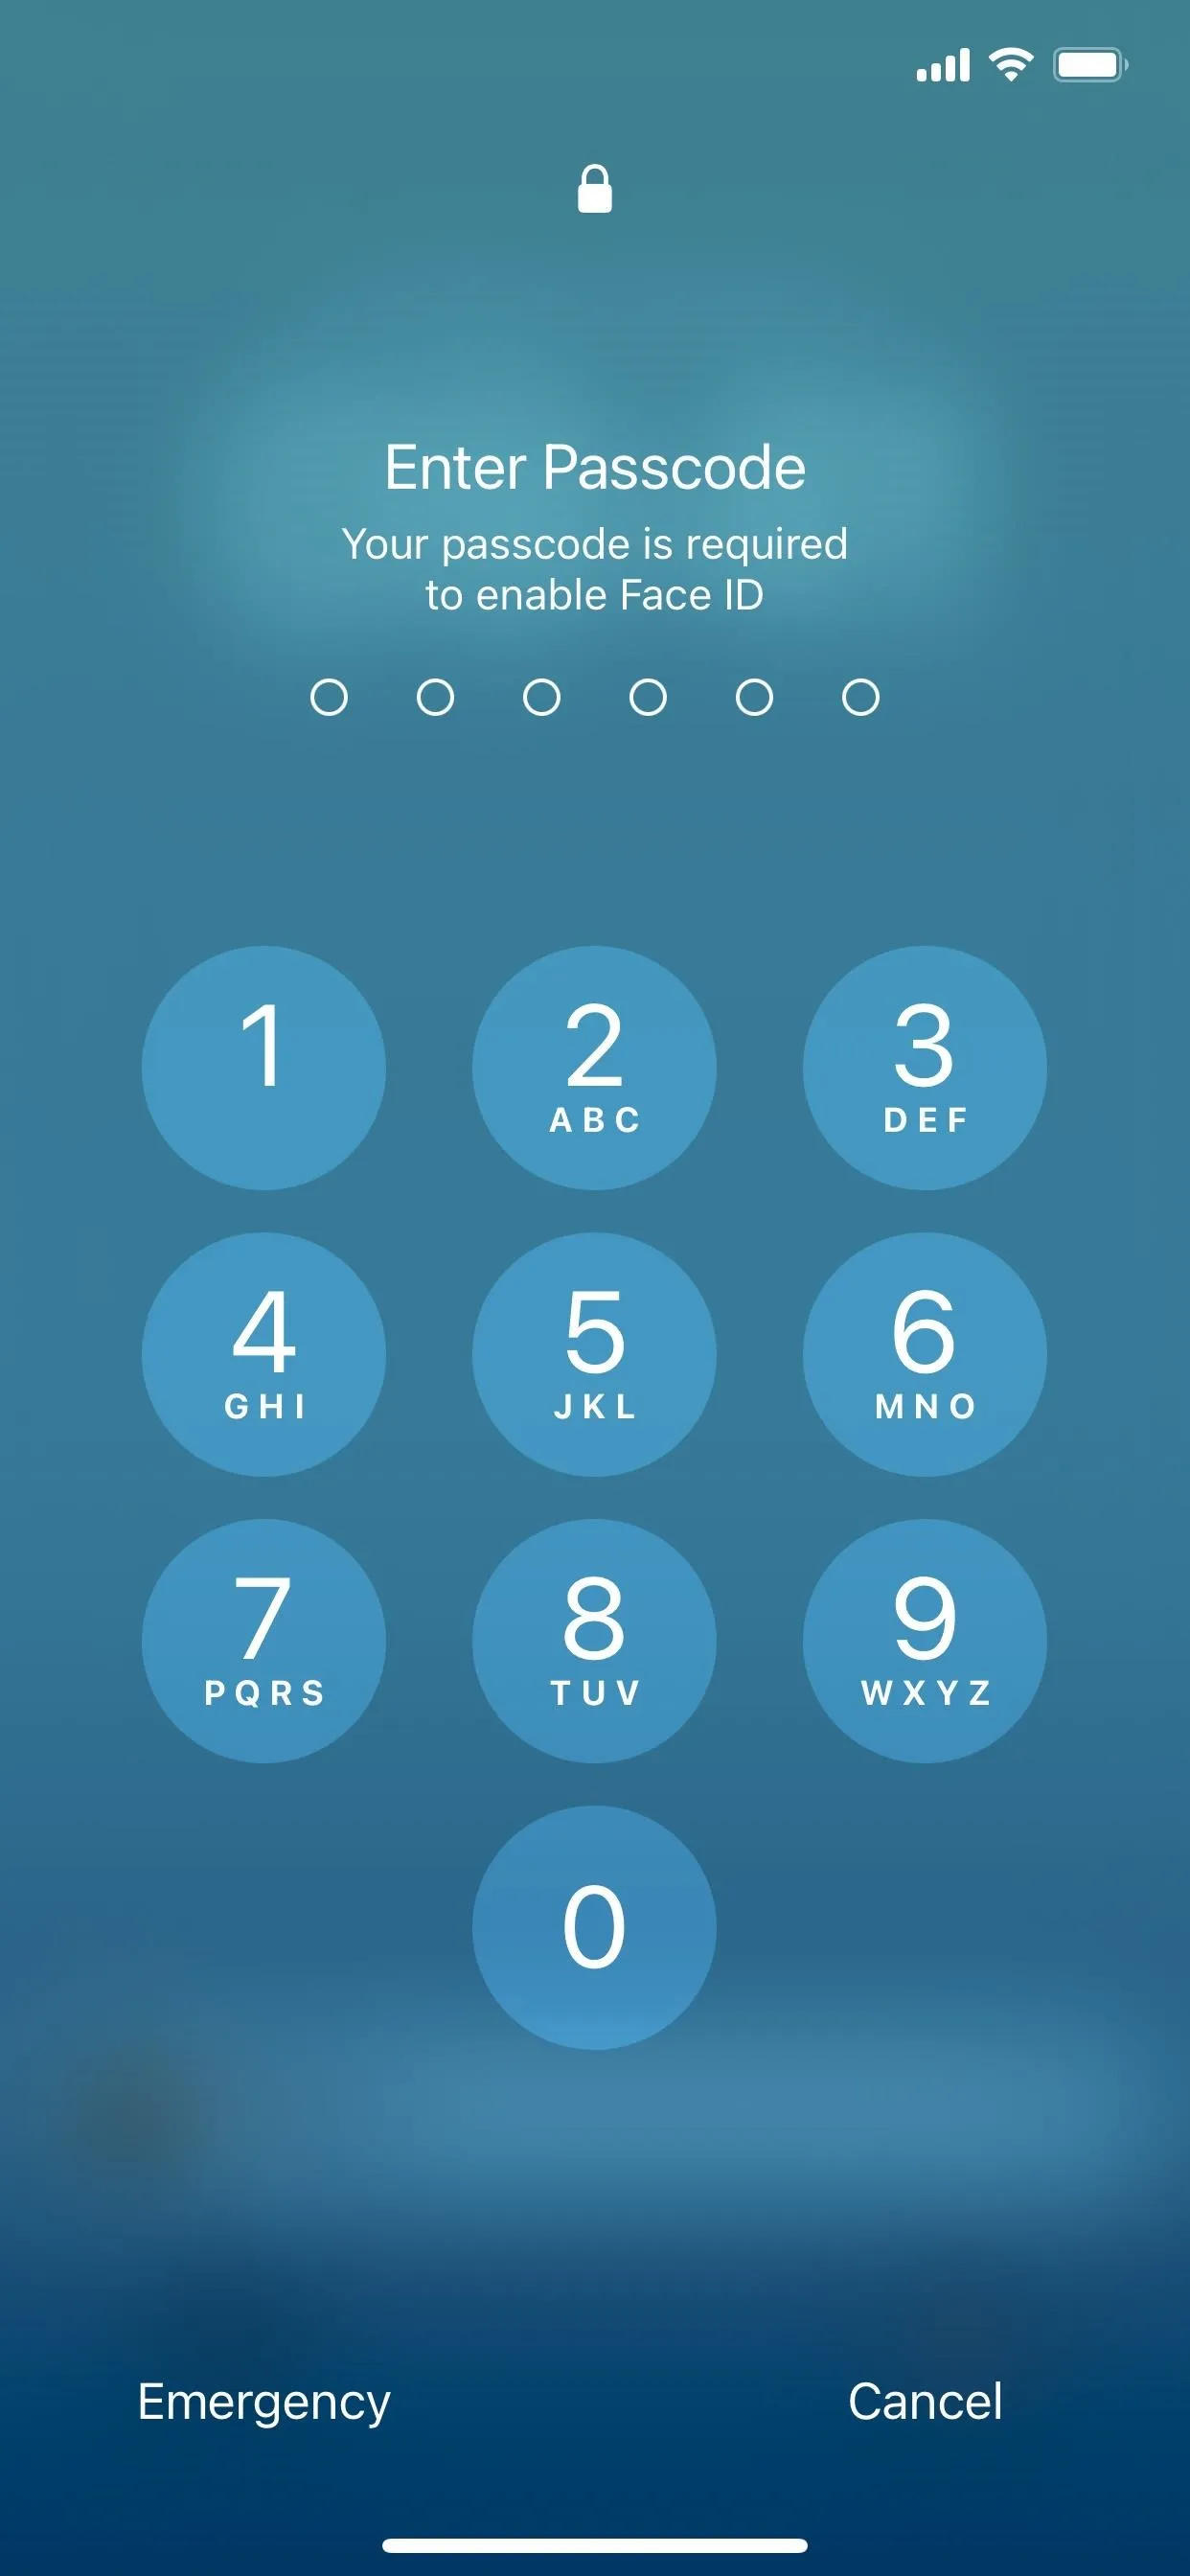
Any of the button combinations listed above for powering off your iPhone, calling emergency services, and viewing your Medical ID will also disable Face ID on your iPhone. The same goes for Touch ID on an iPhone 8, 8 Plus, or SE (2nd or 3rd generation).
When Face ID or Touch ID is disabled, you must enter your device passcode to unlock and gain access to your iPhone. This is useful whenever you only have a second or two to prevent other people from accessing your iPhone, such as snatch-and-run thieves or law enforcement after getting pulled over.
19. Force Restart Your iPhone
Press volume up, then volume down, then hold the side button until you see the Apple logo on a black screen. When your iPhone displays the Lock Screen, a force restart, or hard reset, has just been performed.
A regular restart happens at the software level, while a force restart works at the hardware level. Forcing your iPhone to restart is useful when your device is frozen, acting buggy, or can't be shut down or turned on normally.


20. Enter Recovery Mode in Finder or iTunes
With your iPhone connected to your computer, press volume up, then volume down, then press and hold the side button to enter recovery mode in Finder or iTunes. You'll see the Apple logo eventually, but don't let go. Instead, release the side button when you see the recovery mode screen.
Recovery mode interacts with your iPhone's bootloader to fix issues that a force restart can't solve. Your computer pushes the ramdisk and kernel from the software's restore file before subsequently flashing the filesystem and other dependencies. This process can keep or wipe all your data, depending on whether you update or restore it. Either way, it's essential to keep a backup on iCloud or macOS that you can use to restore your iPhone's data should it be necessary.
21. Enter DFU Mode in Finder or iTunes
With your iPhone connected to your computer, press volume up, then volume down, and then press and hold the side button to enter DFU mode in Finder or iTunes. As soon as the screen turns black, press and hold the volume down button without letting go of the side button. Release the side button after about five seconds, then let go of volume down when you see the "recovery mode" prompt in Finder or iTunes on your computer.
DFU mode, or Device Firmware Upgrade mode, interacts with your iPhone's bootrom at the hardware level to fix corruption issues that recovery mode can't solve. It flashes entirely new software onto the iPhone, overwriting the failed operating system and bootloader. This is why it's important to keep a backup on iCloud or macOS that you can use to restore the data on your iPhone.
22. Enter Diagnostics Mode
To enter diagnostics mode on your iPhone, press and hold the side button and either volume button to show the Power Off slider. Drag the slider off, wait 30 seconds, then press and hold both volume buttons simultaneously. While holding those, plug your iPhone into power using a cable. Release the buttons when you see the Apple logo appear.
23. Use Sysdiagnose to Troubleshoot Software and Network Issues
To run sysdiagnose, helpful for troubleshooting software and network issues on your iPhone, press and hold the side and both volume buttons for 1–1.5 seconds. You must let go before making an emergency call or opening the menu with the Power Off, Emergency Call, and Medical ID sliders. If any of those happen, you're holding the buttons too long. Think of it as taking a screenshot, only holding an extra button.
When you release the buttons, sysdiagnose starts, your iPhone takes a screenshot, and you should feel a short vibration. If you're running beta software, you should see a "Diagnostics are in flight: Perform the following" message after a few moments with Send Feedback and Ignore options. When you're not on a beta, sysdiagnose still runs, but you may not see any messages.
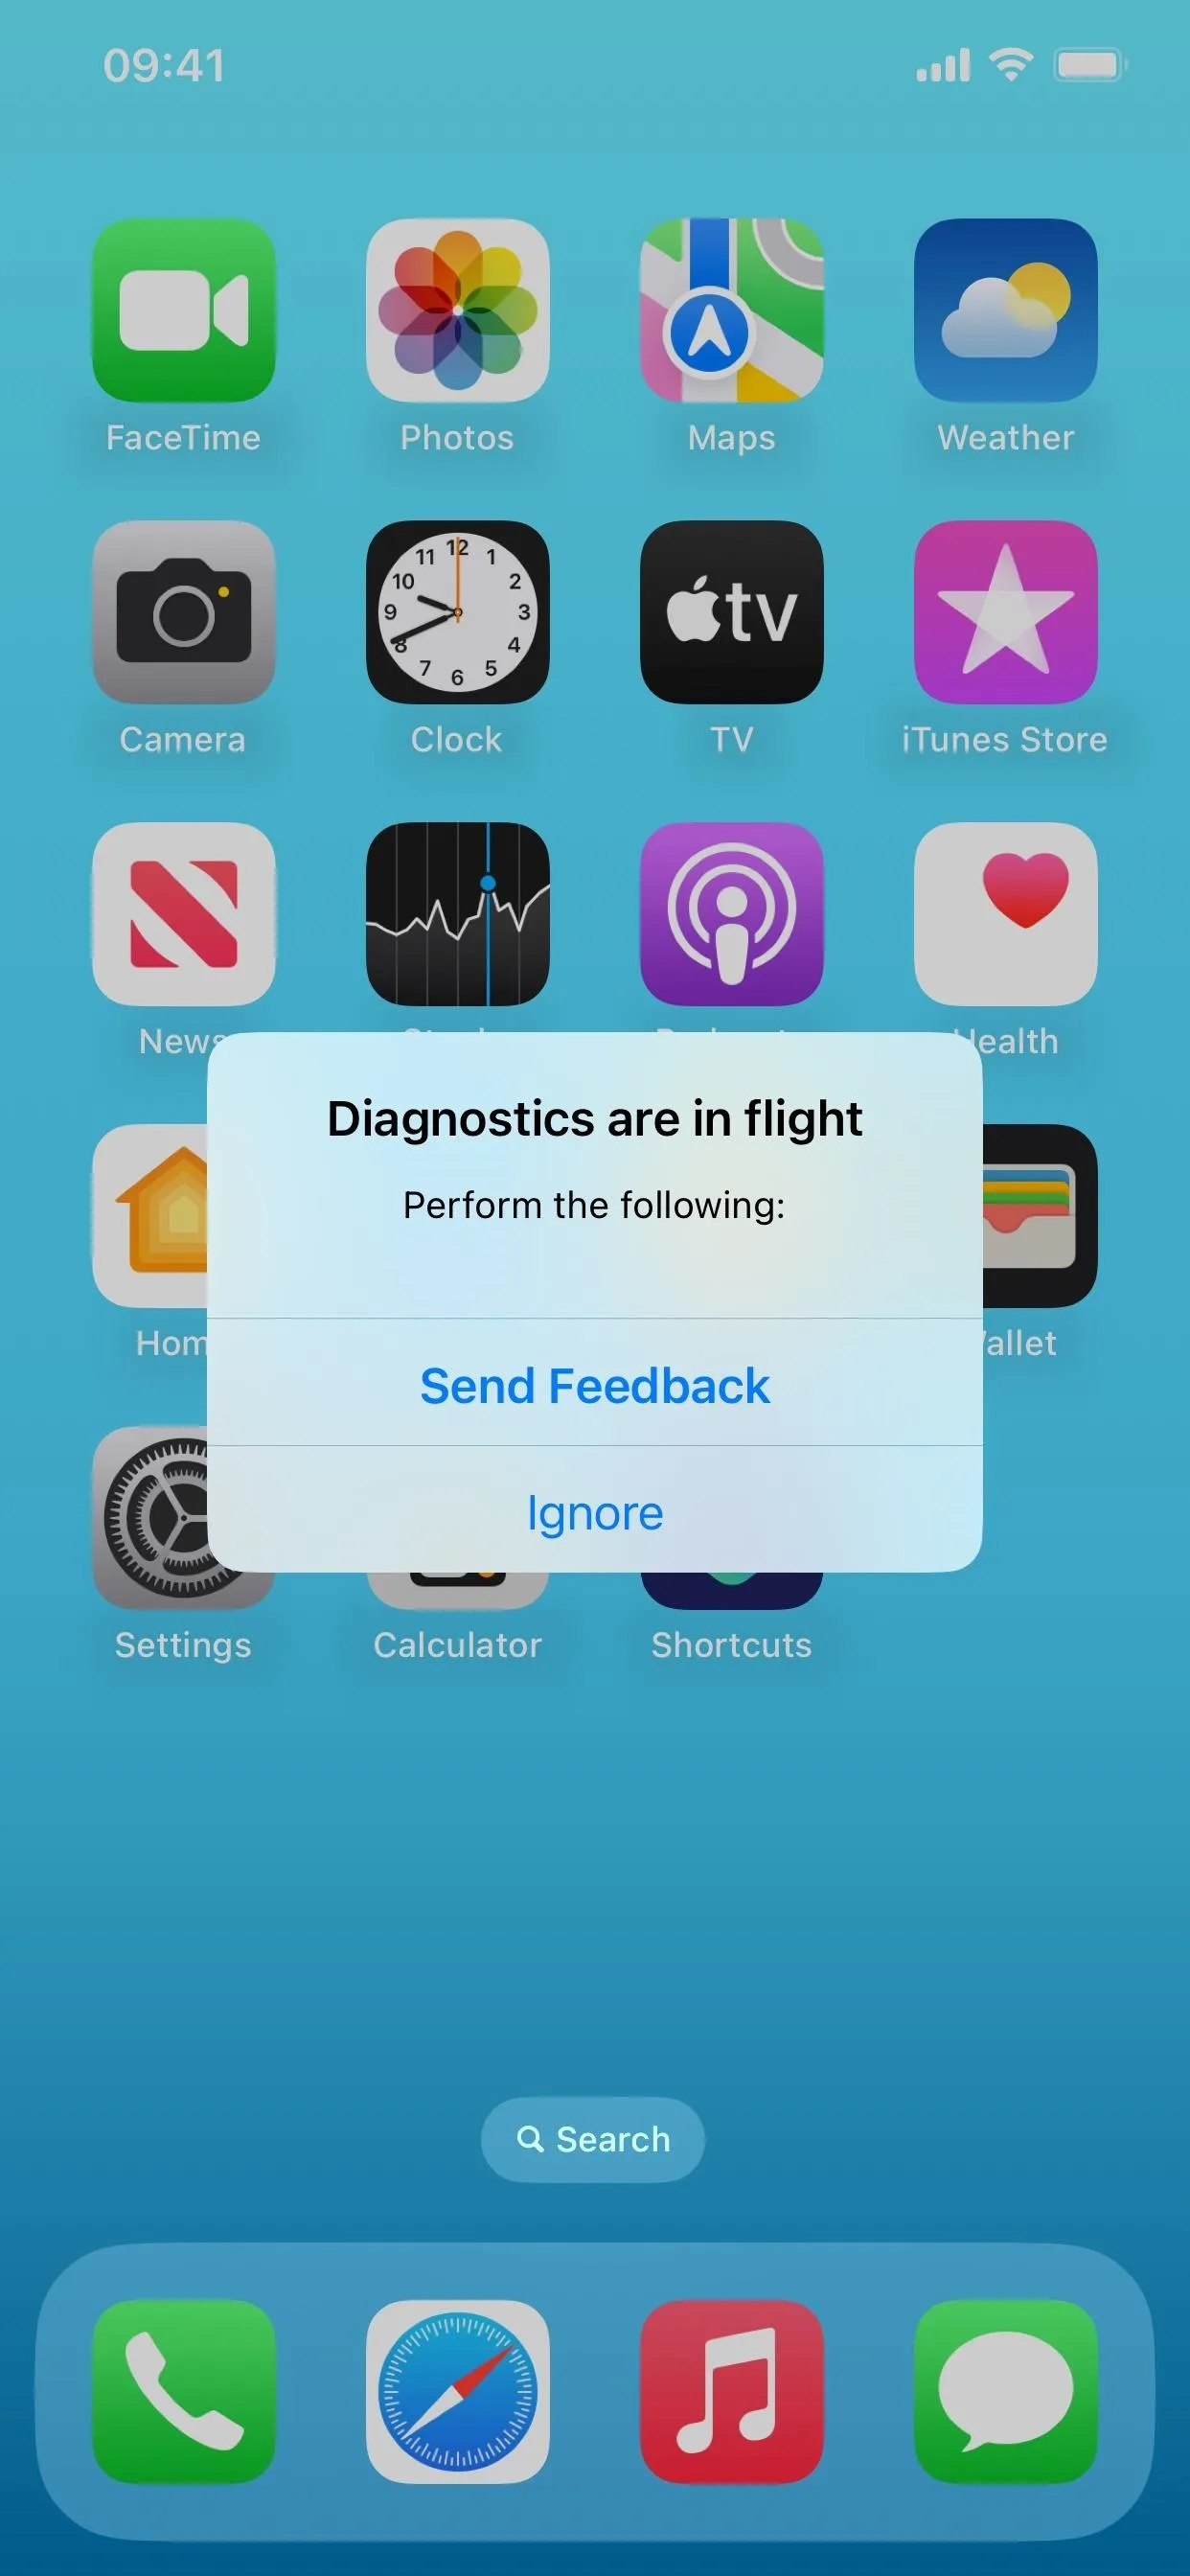
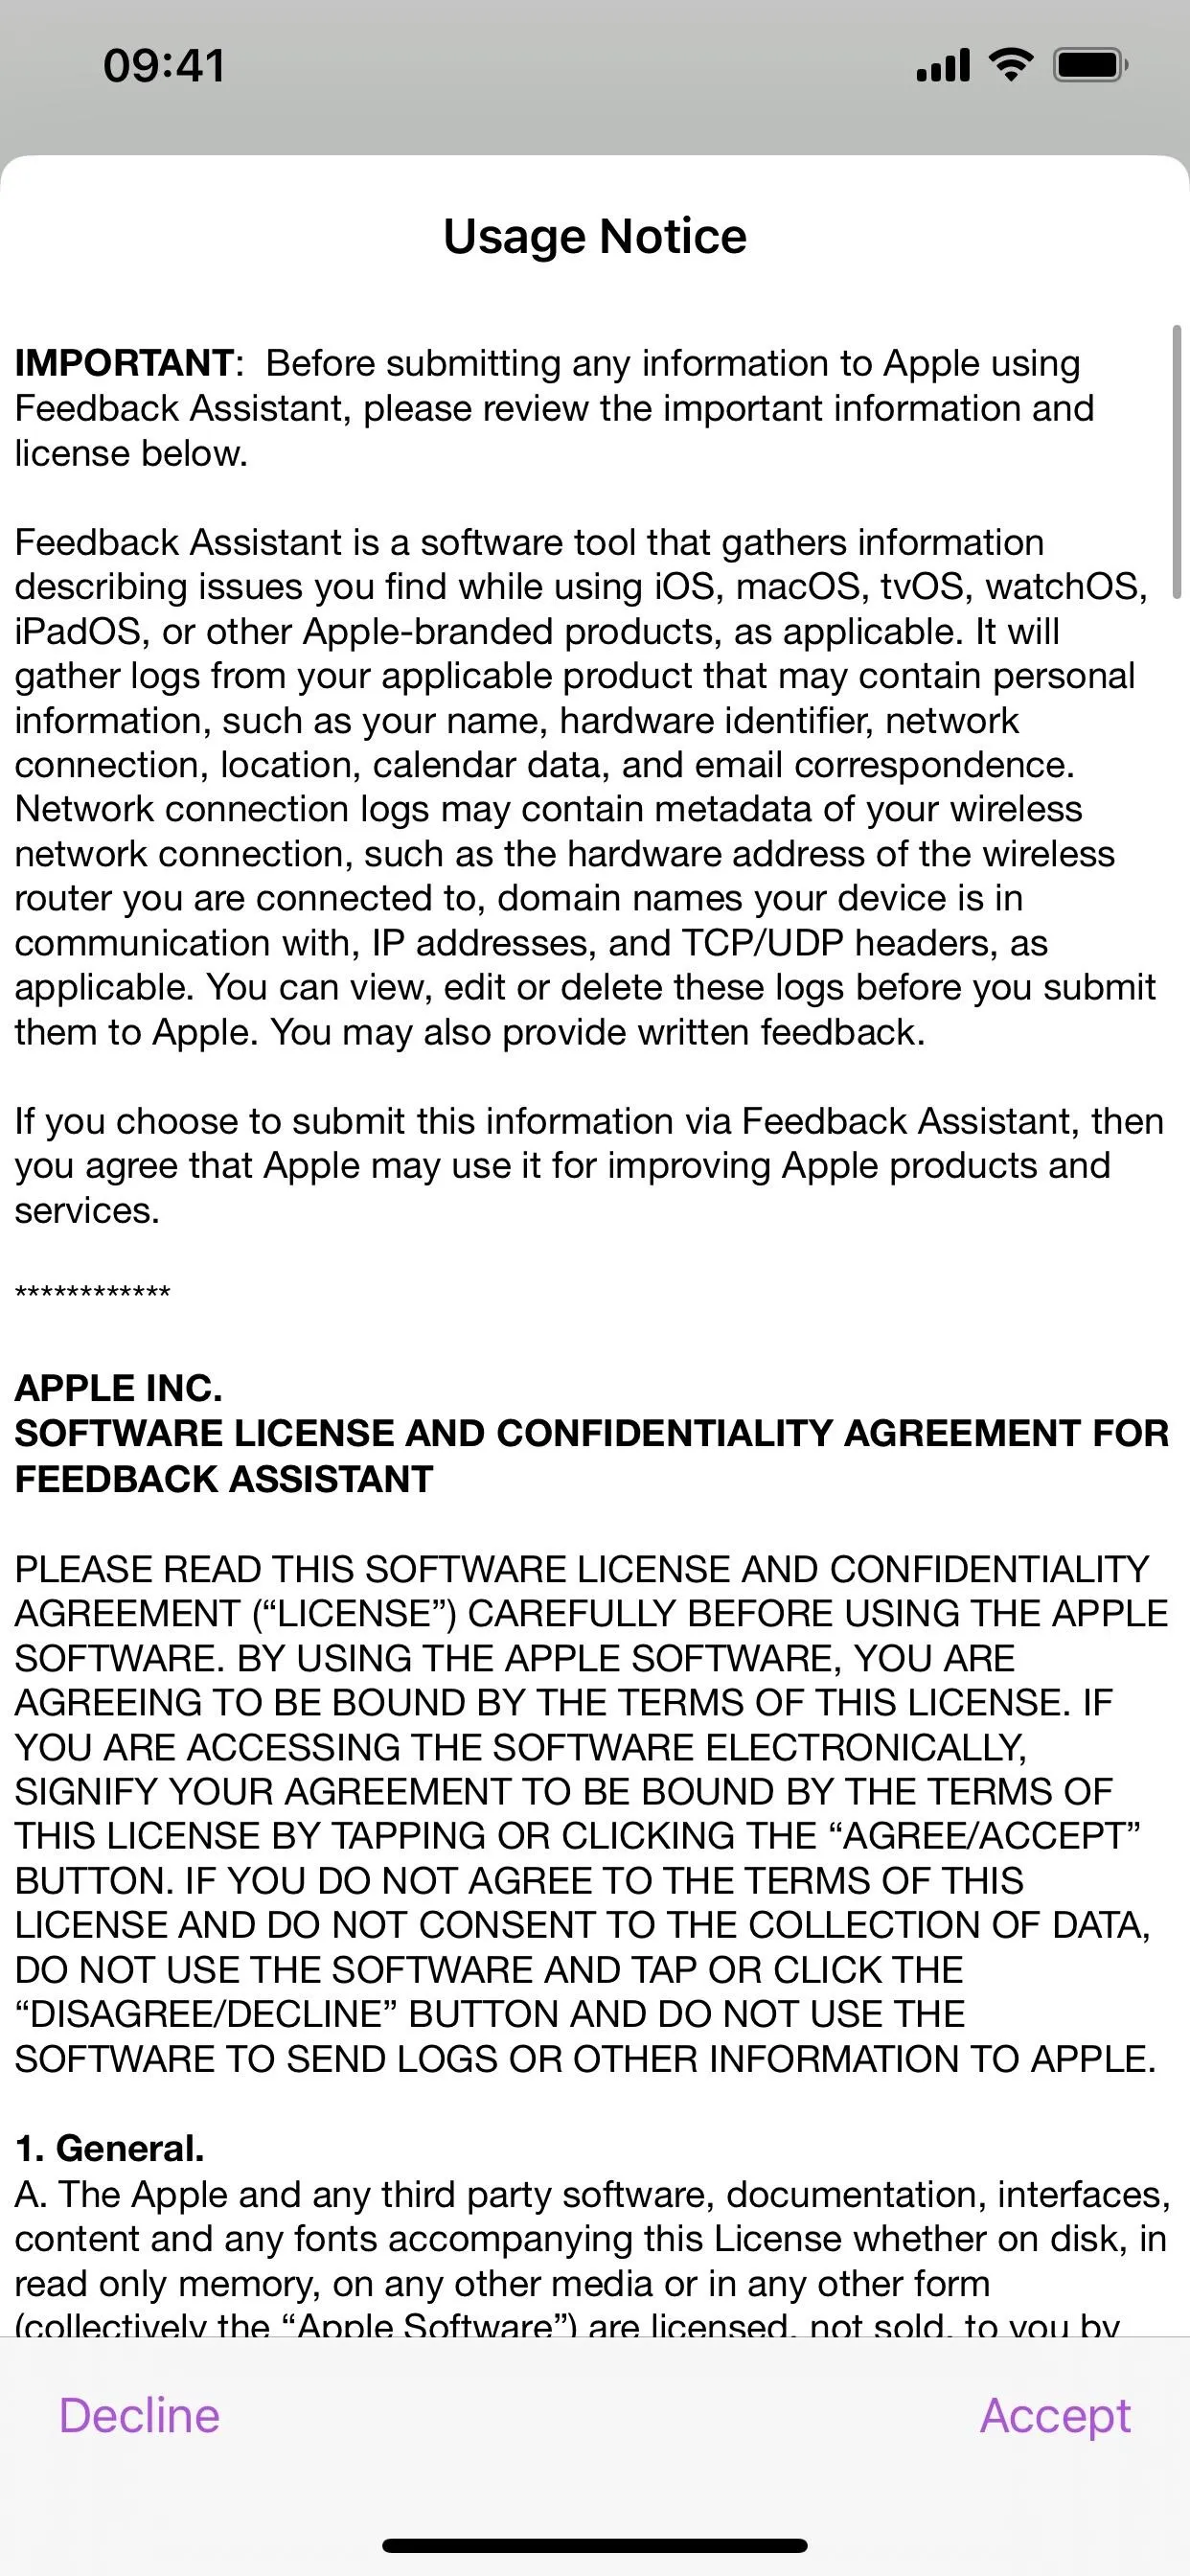
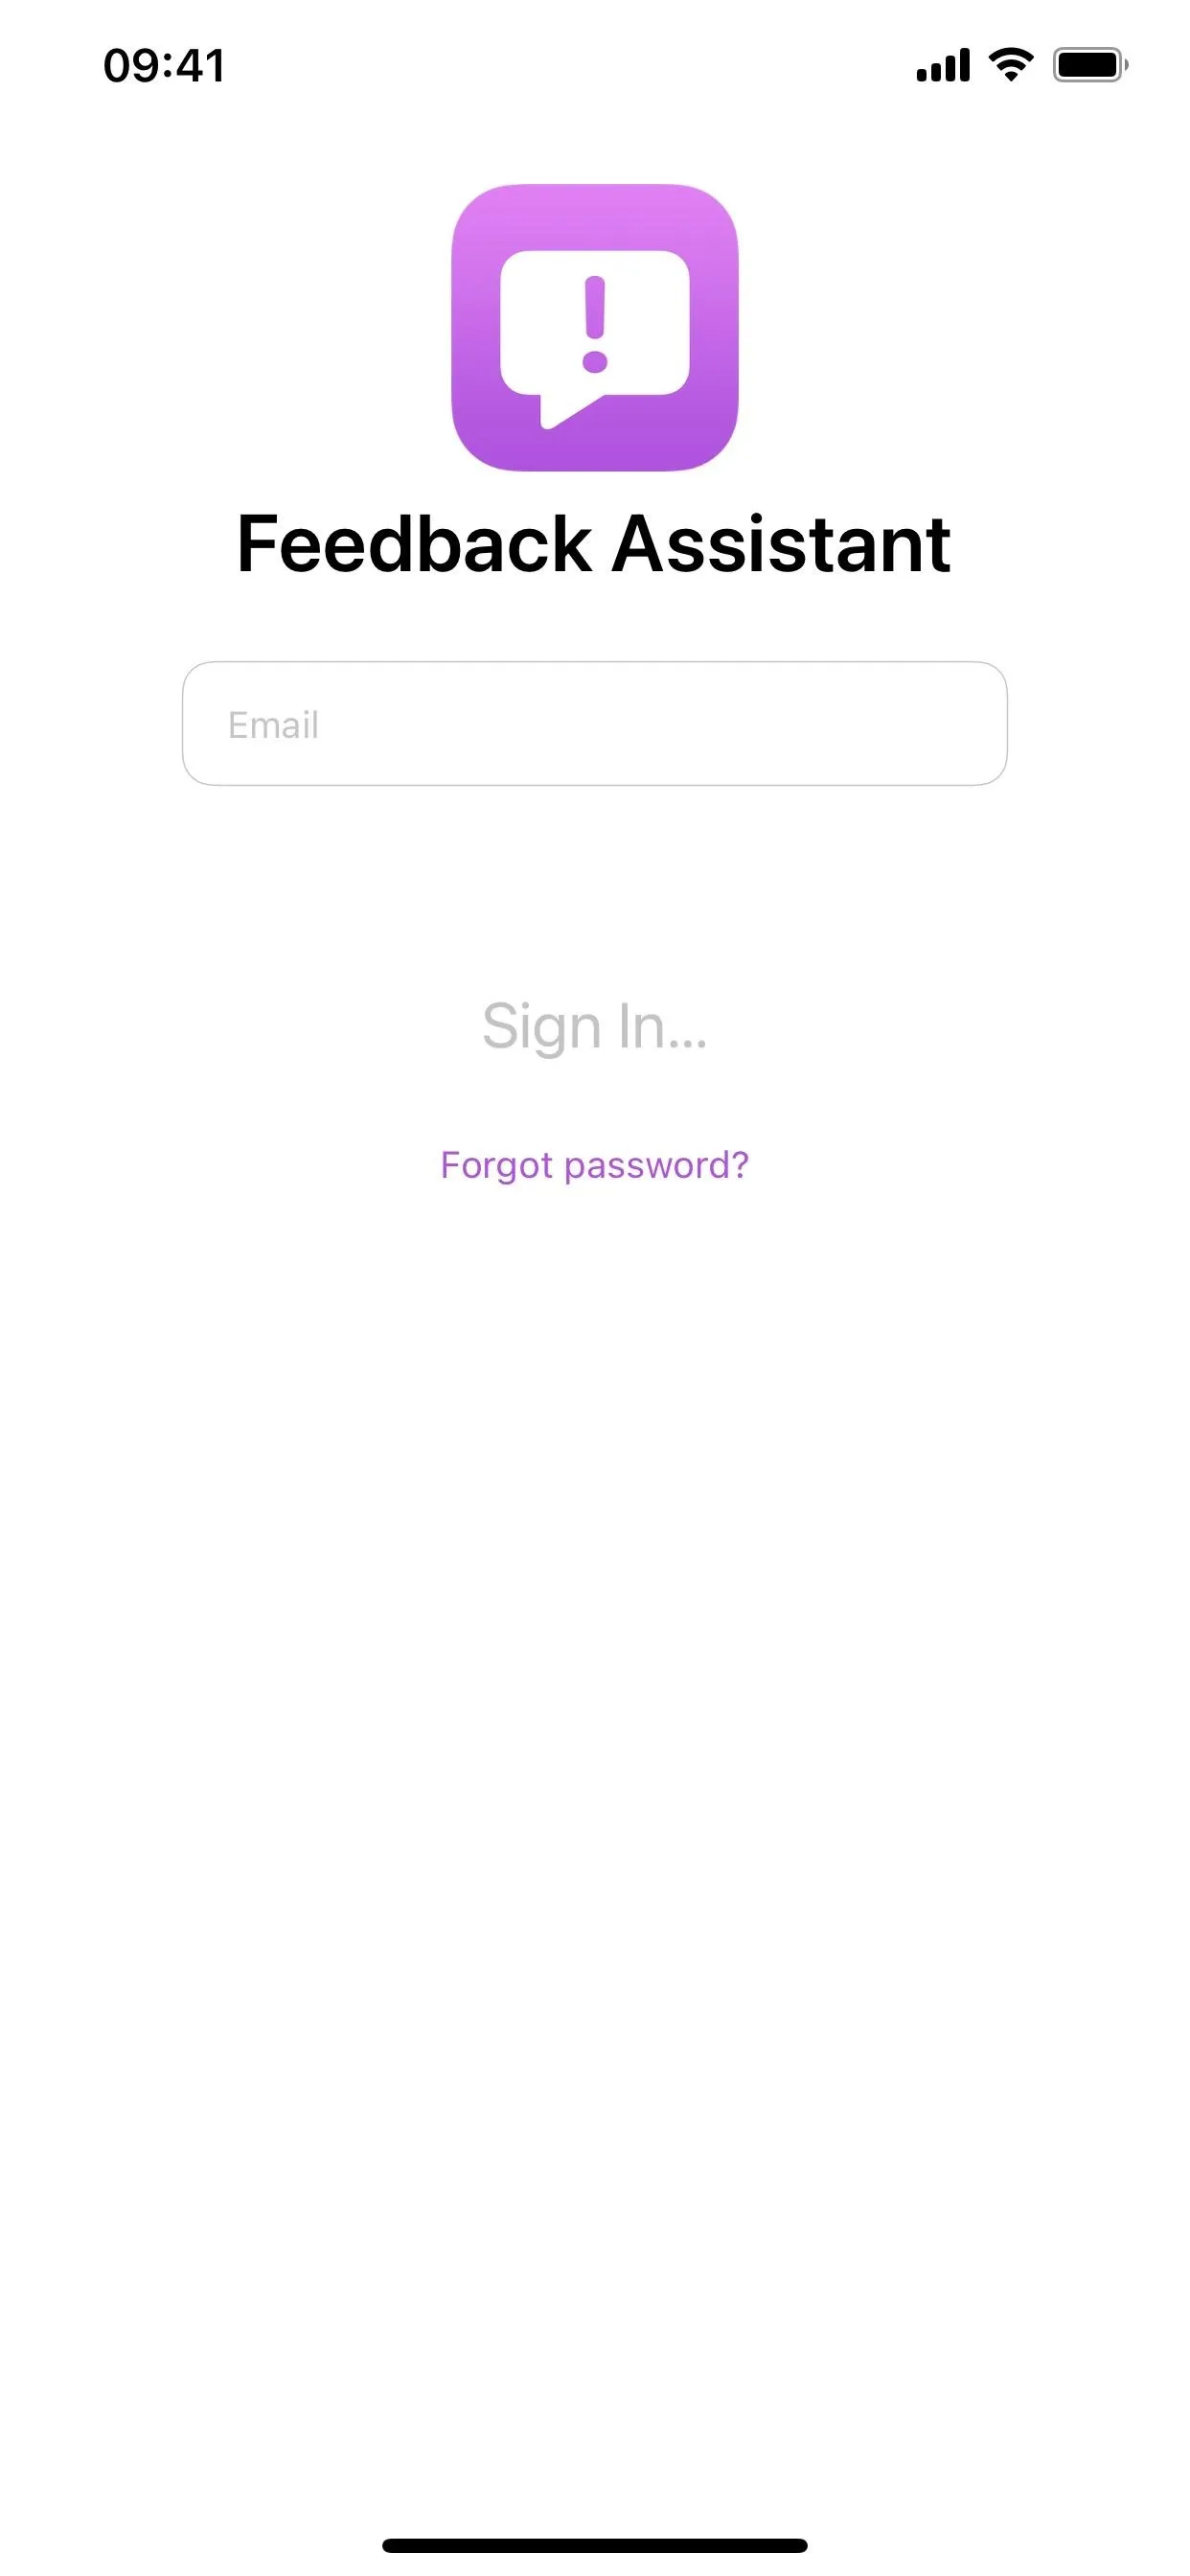
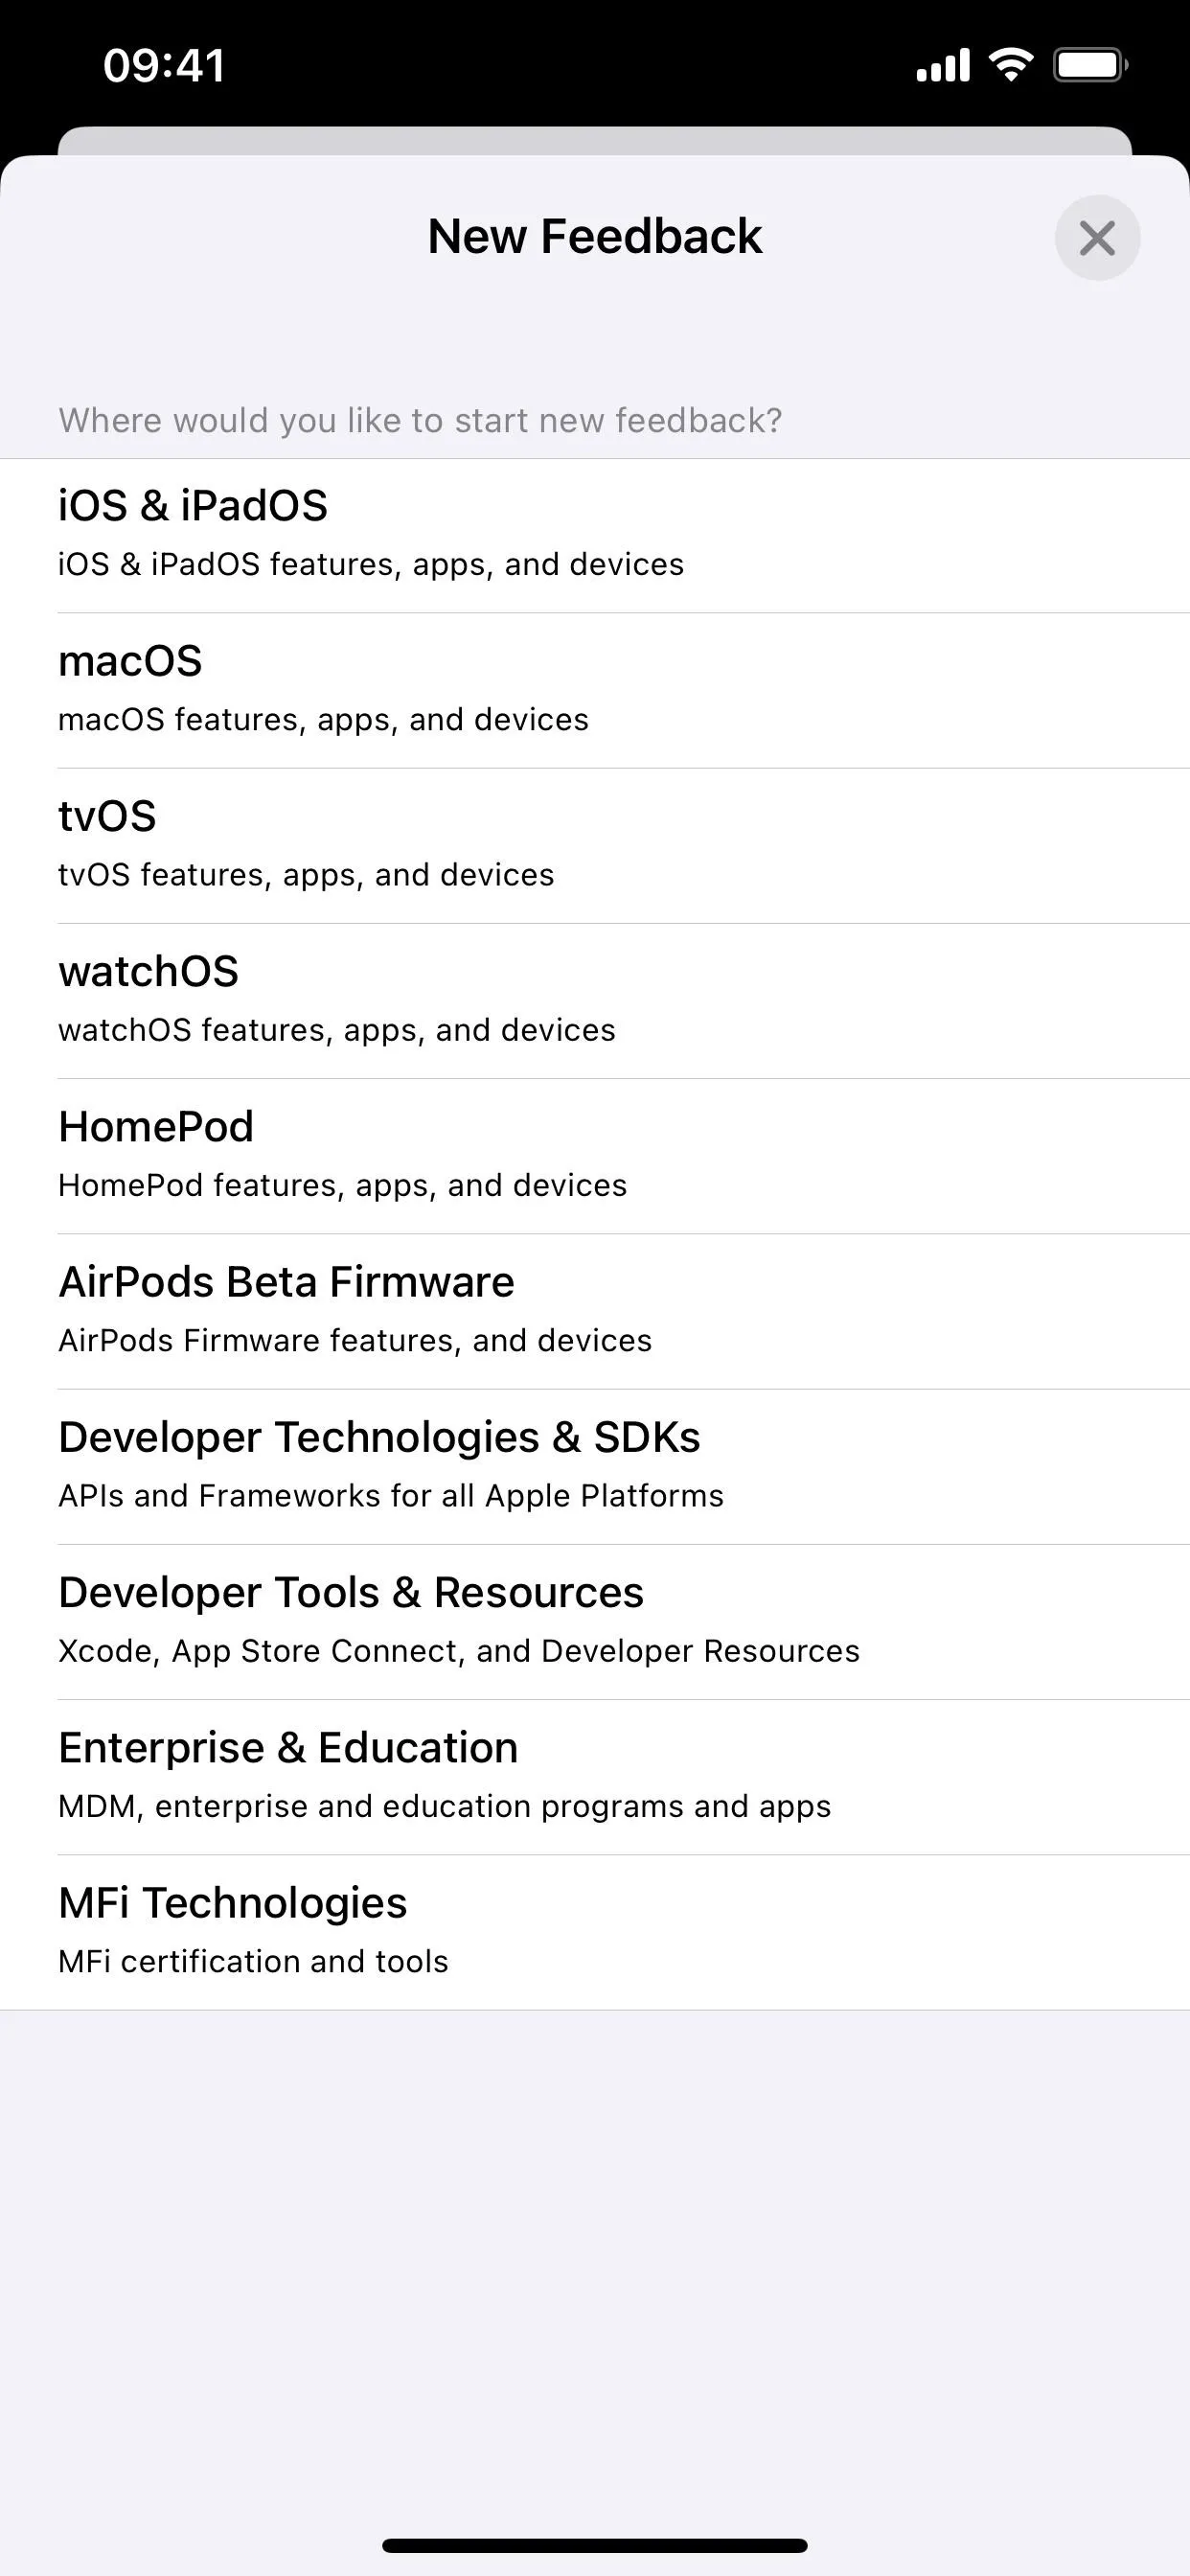
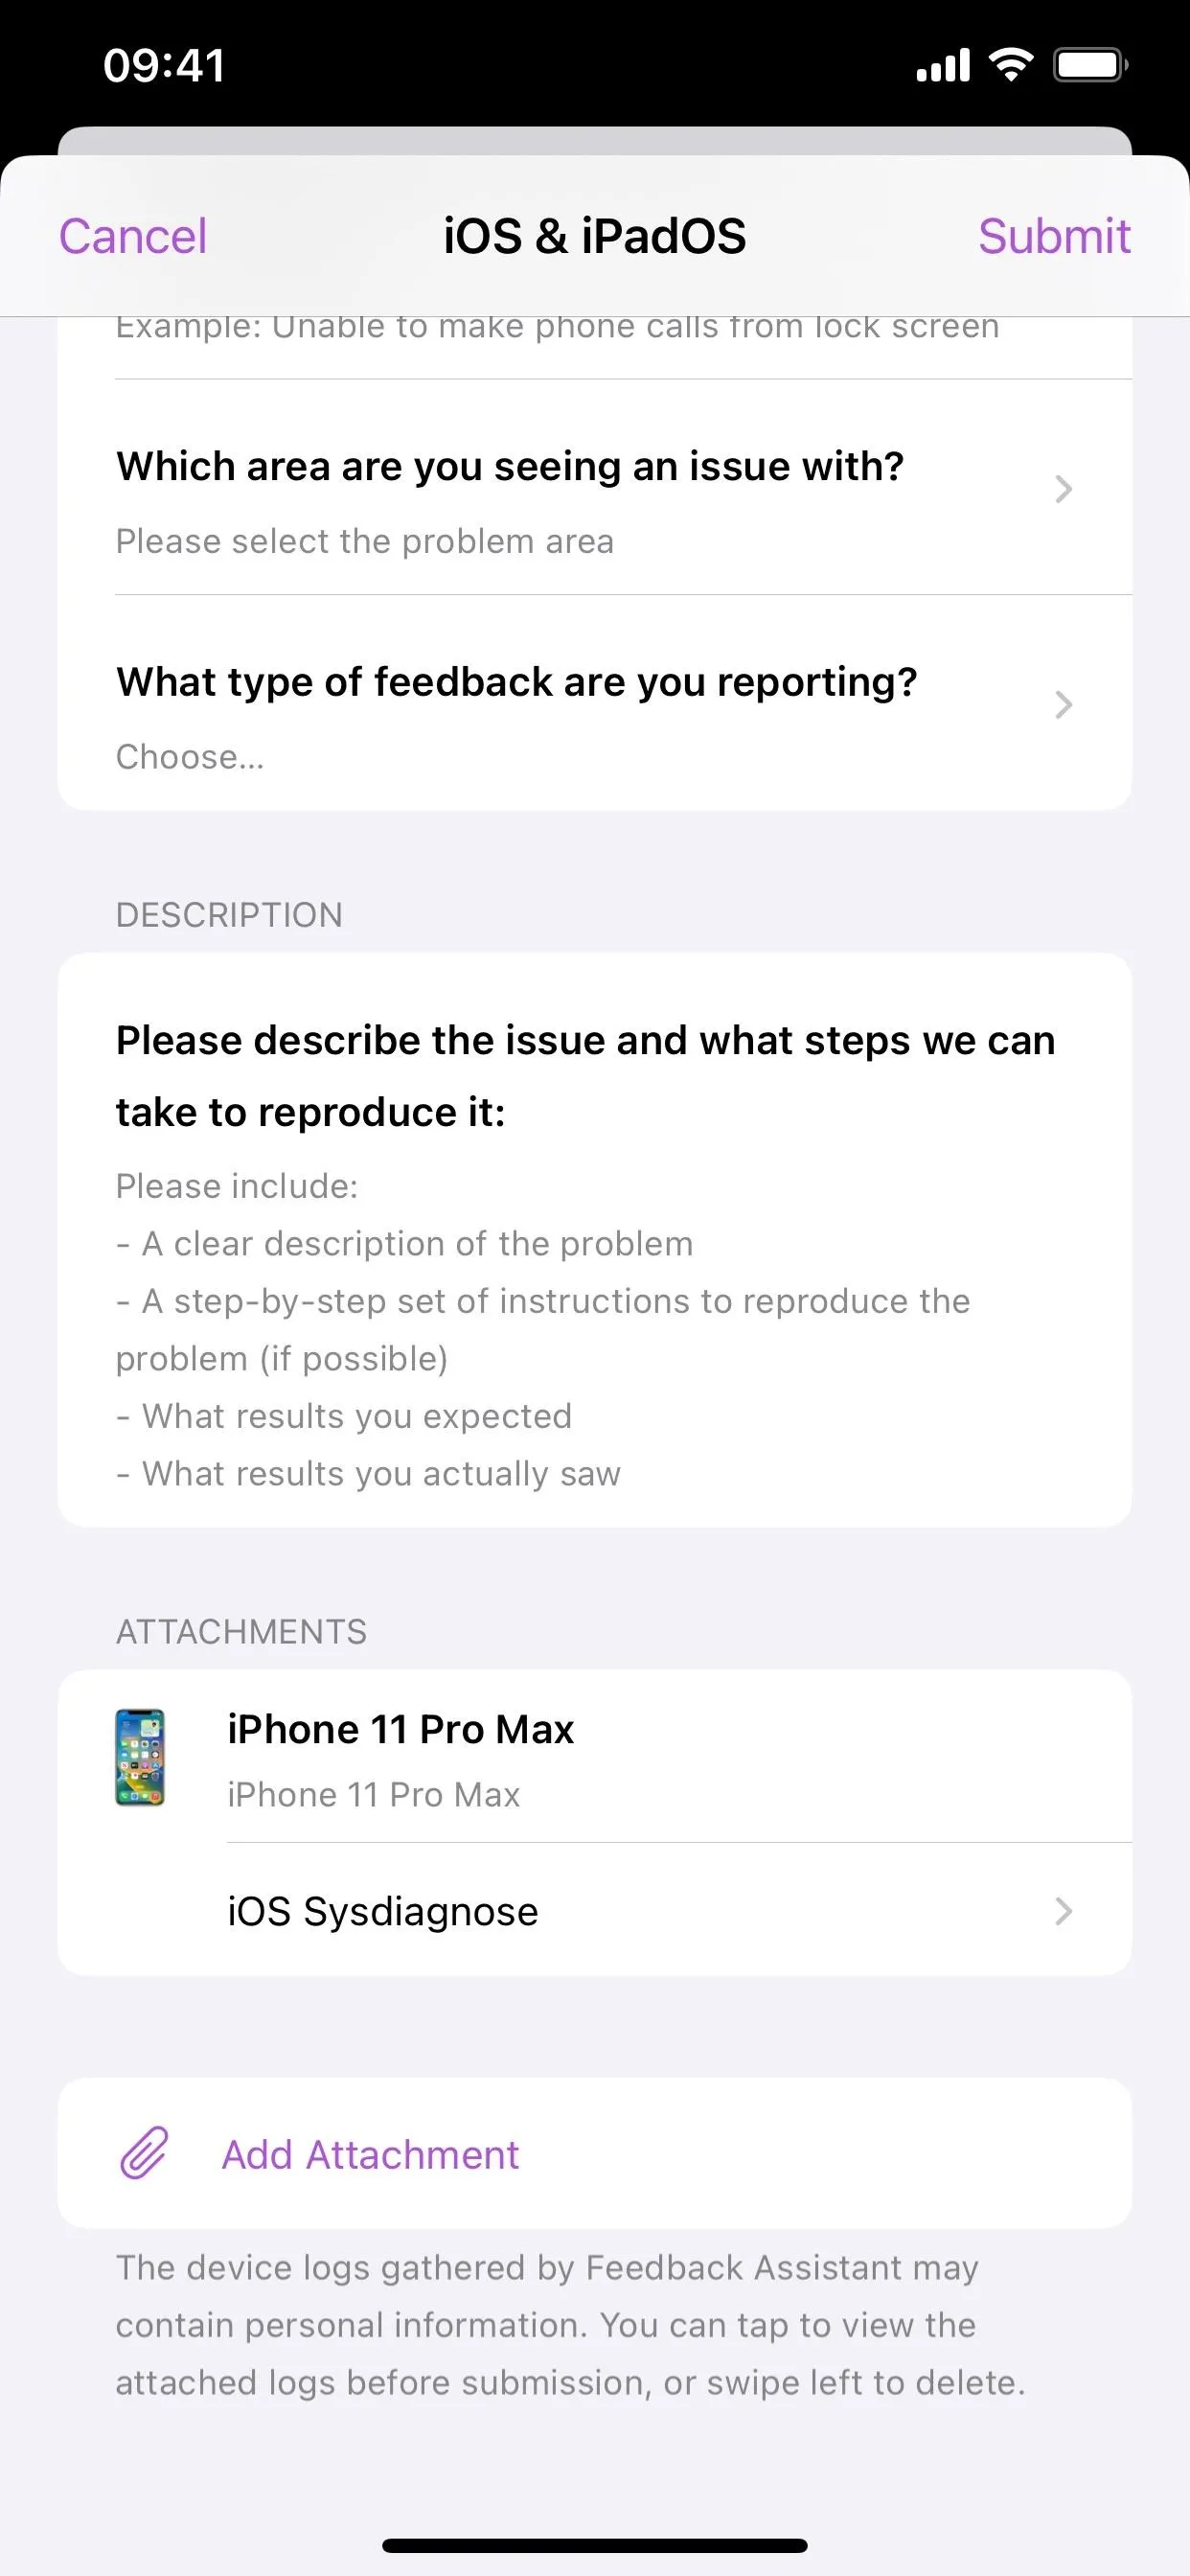
If you want to submit a ticket through the Apple Feedback app when using beta software, choose "Send Feedback," agree to the terms if they appear, and sign in to your Apple account. Choose the iOS option on the New Feedback screen, and you should see the "iOS Sysdiagnose" file attached once it's been compiled; it can take up to 10 minutes. Continue filling out the form to submit feedback.

You can also hit "Ignore" and find the sysdiagnose log file yourself. You'll also have to find the file manually if you're not running beta software.
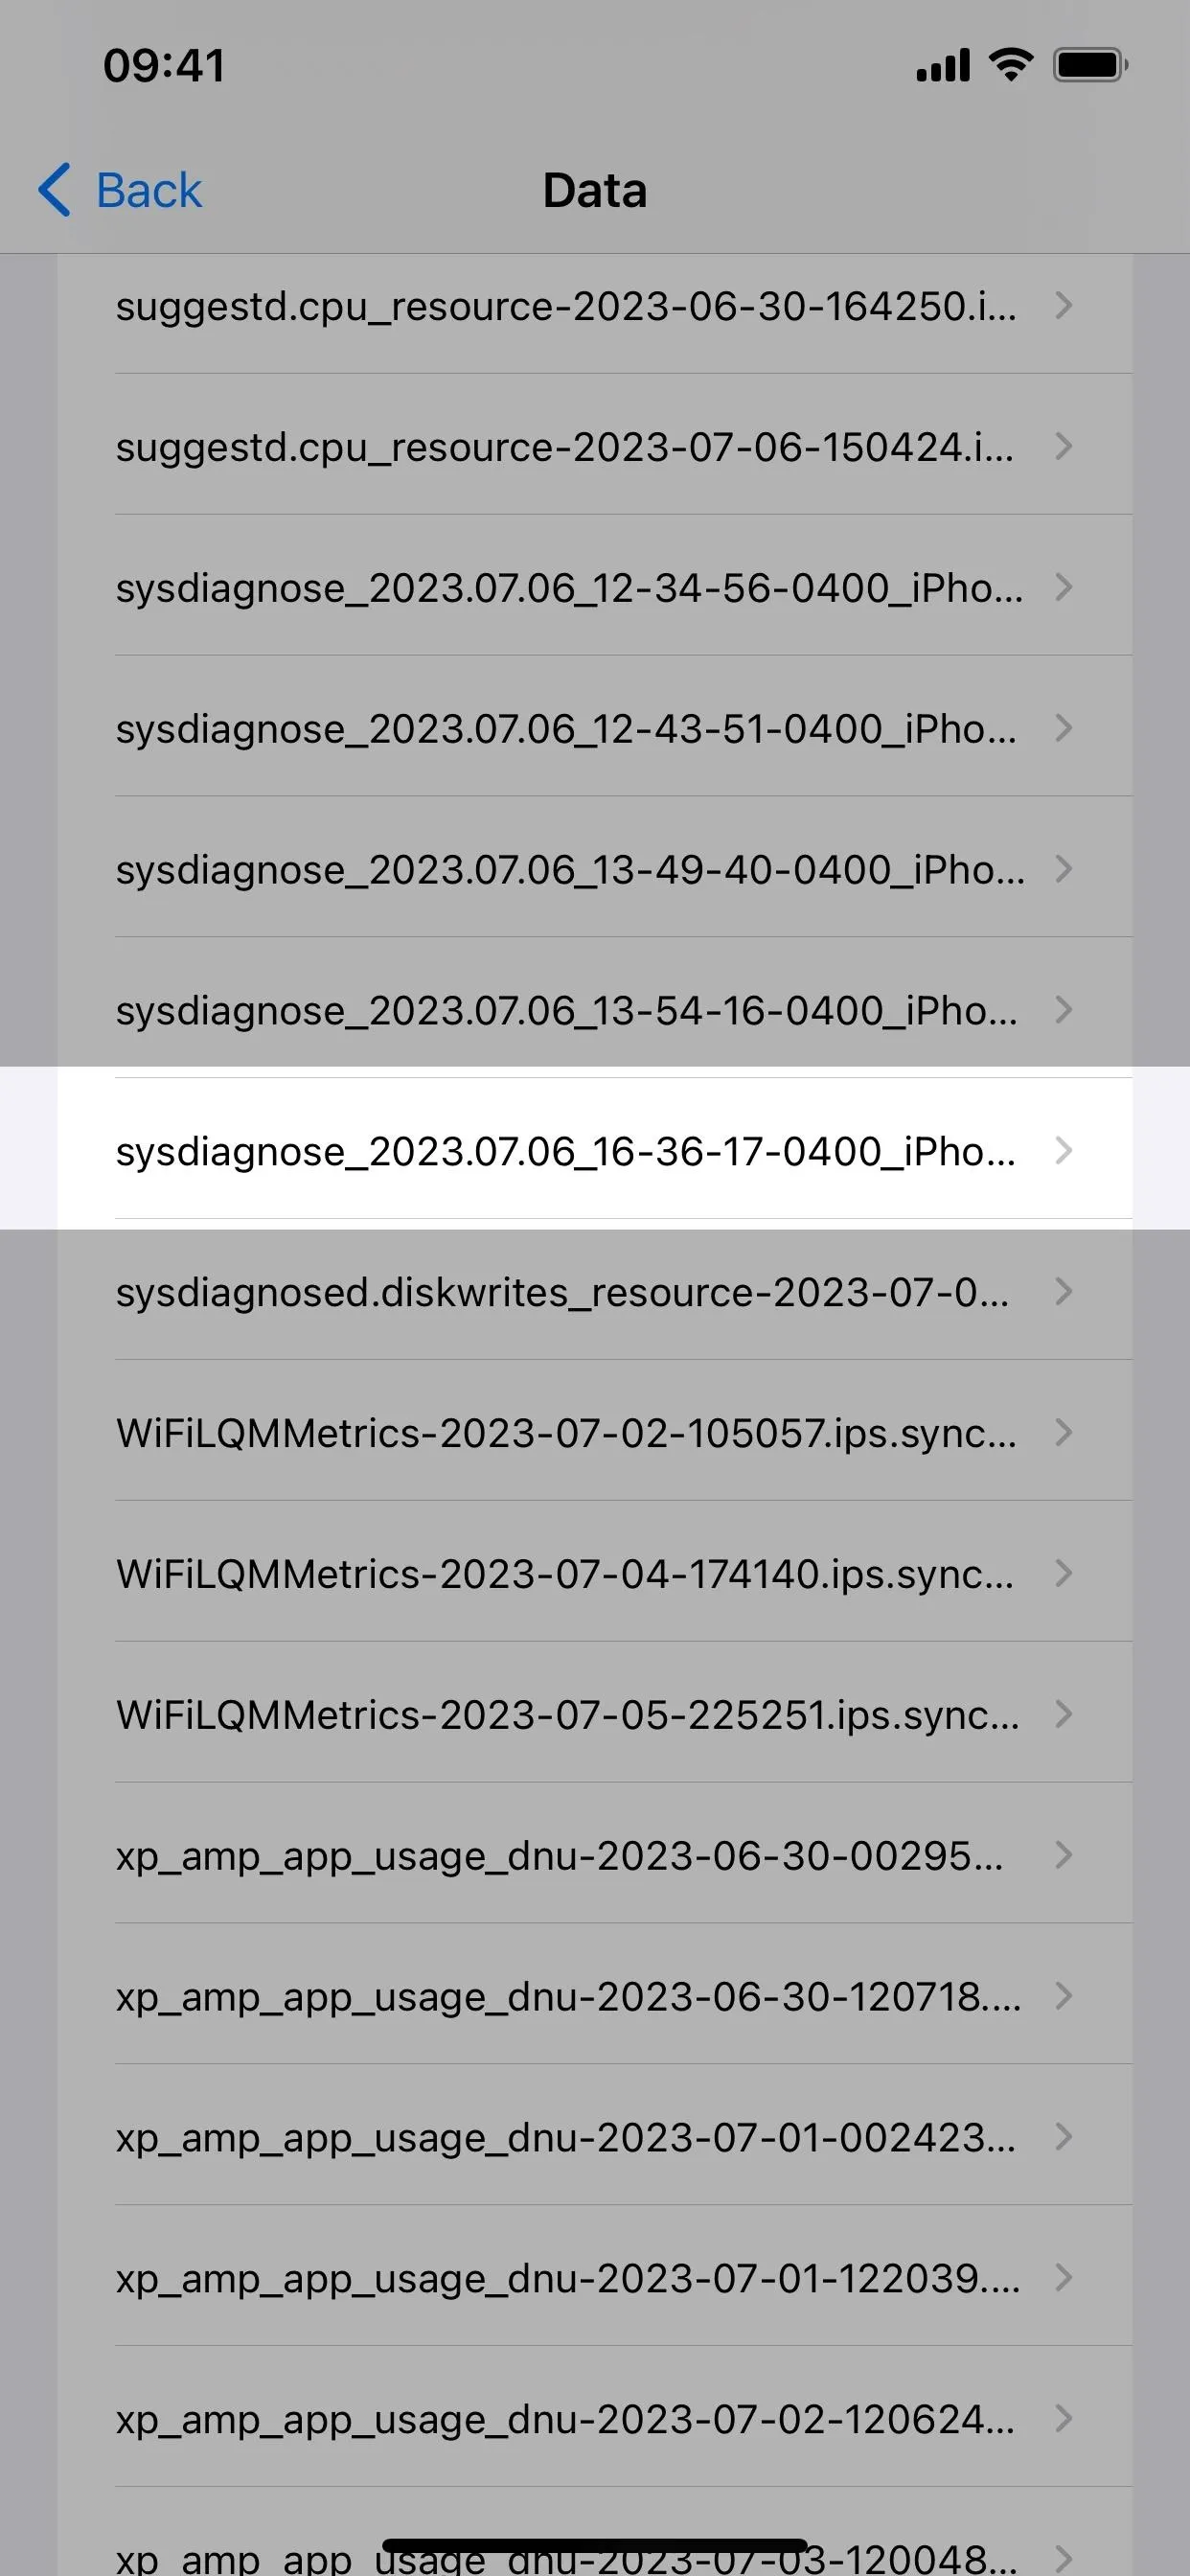
It can take iOS up to 10 minutes to capture all the data, so be patient. To find the file, go to Settings –> Privacy & Security –> Analytics & Improvements –> Analytics Data, then locate the files beginning with "sysdiagnose" followed by the date and time. You can then share the file to your Mac or with an AppleCare tech to unzip and decipher.


You can also sync your iPhone with your Mac using Finder, then locate the sysdiagnose file directly on macOS via Macintosh HD –> Users –> [your username] –> Library –> Logs –> CrashReporter –> MobileDevice [device name] –> DiagnosticLogs –> sysdiagnose.
Cover photo, screenshots, and GIFs by Justin Meyers/Gadget Hacks


Comments
Be the first, drop a comment!