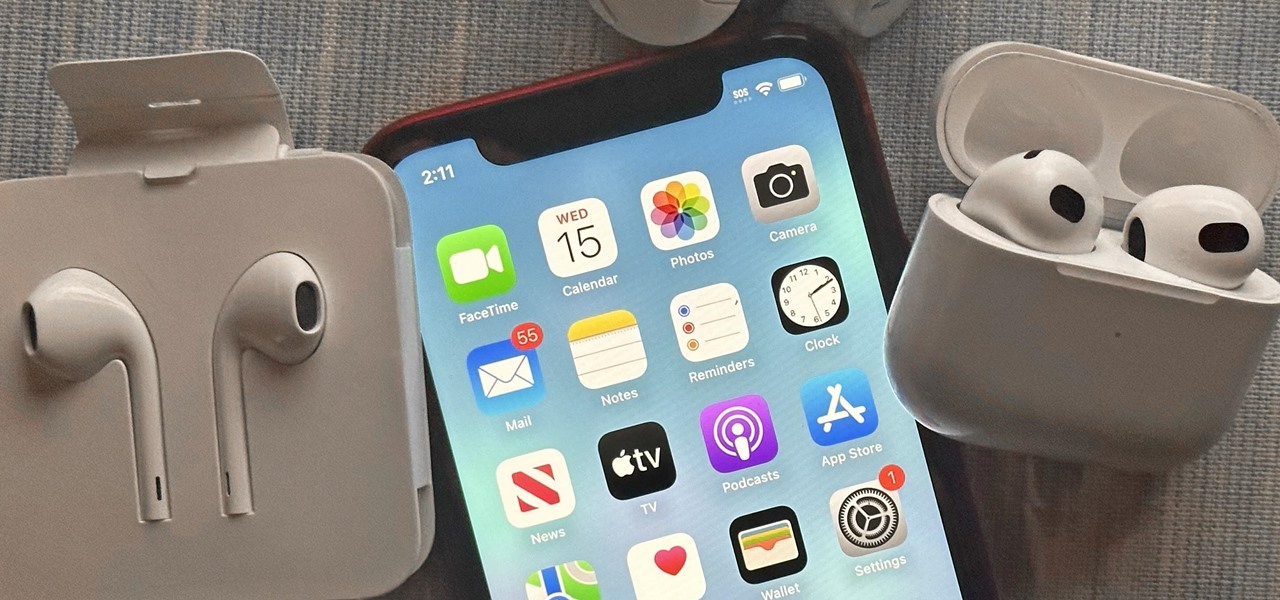
There's an iOS feature that benefits many users, but it's absolutely vital if you wear AirPods or other headphones models connected to your iPhone. A large number of iPhone users don't even know about it, especially since it's disabled by default and hidden deep in the system settings.
Imagine being able to identify crucial sounds even when you're not paying attention — sounds that could alert you to danger, help you take care of your loved ones, or simply make your life easier. This crucial feature can do just that, and it's a must-have whenever listening to music, podcasts, movies, calls, and other audio with your wired or wireless headphones — especially noise-canceling ones.
Why You Should Be Using Apple's Sound Recognition
Sound Recognition, the feature in question, leverages Apple's Sound Analysis framework and on-device intelligence to listen for and identify specific sounds in your environment using your iPhone's default microphones. It was introduced on iOS 14 with 13 recognizable sounds available, and it has only gotten better since. Two additional sounds were implemented on iOS 15, and iOS 16 opened up the possibilities with custom sound detection.
When enabled, your iPhone can recognize a set of predefined sounds, including life-saving sirens, fire alarms, and smoke alarms. It's also capable of detecting car horns, doorbells, and door knocks for when you have a special delivery you need to sign for, like a new MacBook or hot meal. And you can use it to help identify your baby crying in the next room or over a baby monitor, tell you when your oven timer is up, or let you know when your tea kettle is whistling.
Your iPhone can detect these sounds and issue alerts for you when your iPhone is locked. More importantly, it works when you're wearing headphones that would otherwise make it easy to miss important sounds in your vicinity. If you wear an Apple Watch, you'll even receive alerts there and not just on your iPhone.
While the feature is built for deaf people and those hard of hearing, everyone should enable it when listening to audio via connected headphones, earbuds, earphones, or headsets. And it's an absolute game changer if you have unique sounds such as special security alarms, a quirky doorbell chime, Alexa notifications on an Echo smart speaker, and so on.
Step 1: Enable Sound Recognition on Your iPhone
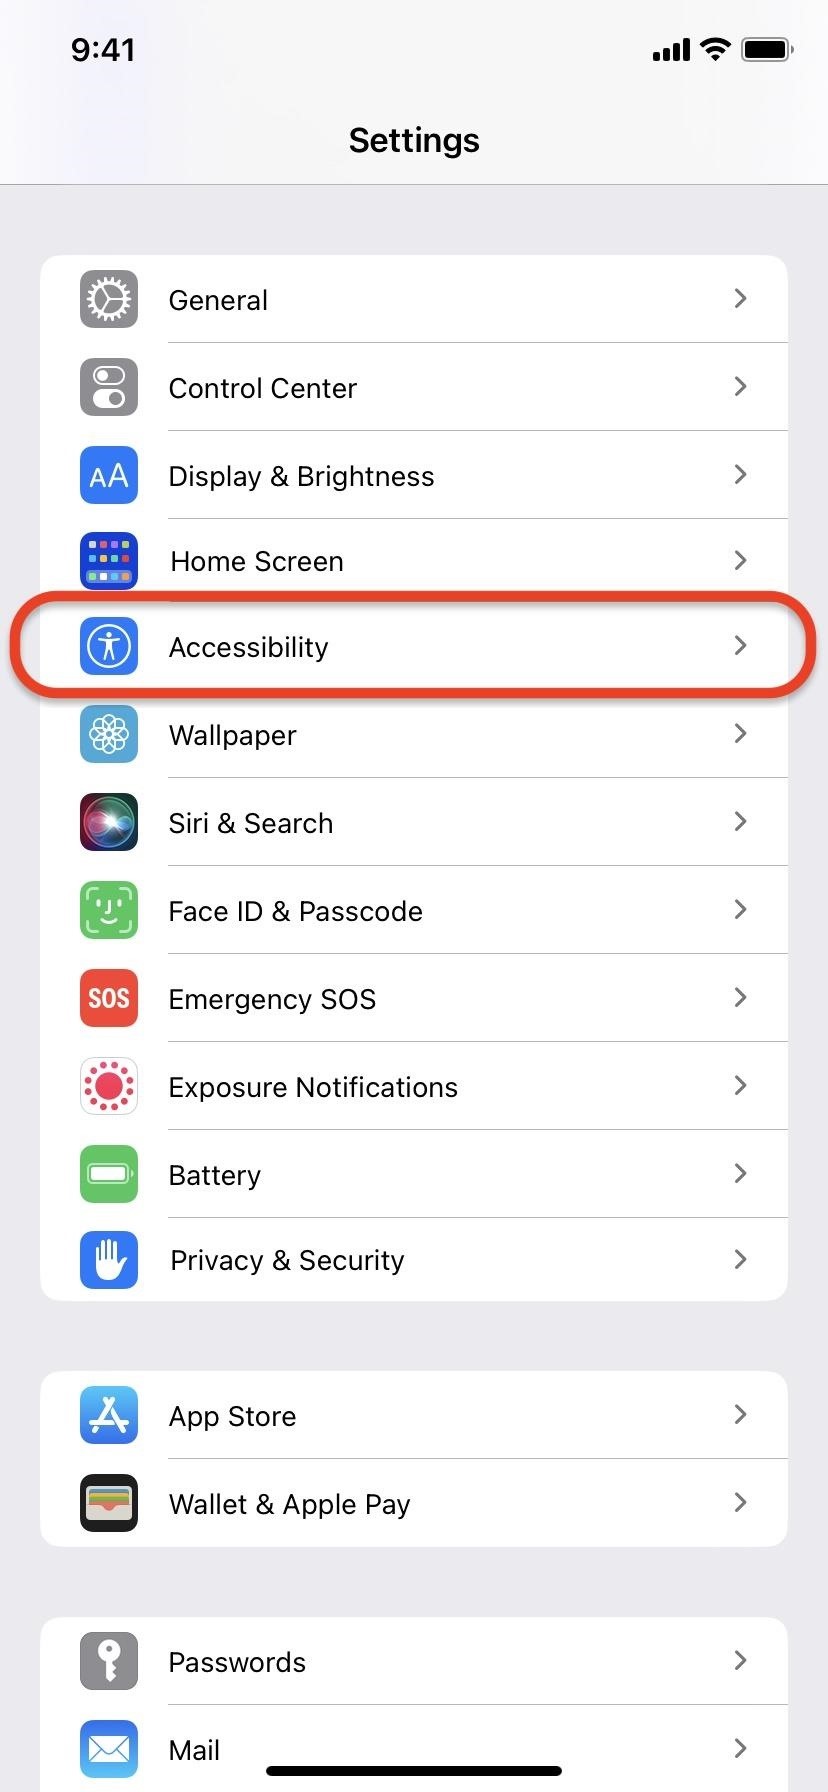
To set up Sound Recognition on iOS 16, head to Settings –> Accessibility –> Sound Recognition (in the Hearing section). If it's off, tap the toggle to switch Sound Recognition on. You can also skip the Settings app altogether by using the Sound Recognition control in Control Center, which I explain in Step 4 below.


Step 2: Choose the Sounds You Want Alerts For
Tap the "Sounds" submenu, and you'll find the following list of 15 predefined sounds your iPhone can recognize out of the box. Toggle on any sound you want your iPhone to be on the lookout for, or toggle a switch off if you no longer need your iPhone to listen for it.
- Alarms: Fire, Siren, Smoke
- Animals: Cat, Dog
- Household: Appliances, Car Horn, Door Bell, Door Knock, Glass Breaking, Kettle, Water Running
- People: Baby Crying, Coughing, Shouting
If you have "Hey Siri" enabled on your iPhone, you may see a message saying, "Hey Siri is unavailable while using Sound Recognition." Like Hey Siri, it's always listening, and unfortunately, they can't listen together. Tap "Turn On Sound Recognition" to continue.


Step 3: Create Custom Alarm, Doorbell, and Appliance Sounds (Optional)
The real power of Sound Recognition comes from the ability to train your iPhone to recognize custom electronic sounds and alarms. To add a custom electronic sound, tap "Custom Alarm" or "Custom Appliance or Doorbell" from the list of sounds. Read the quick splash screen that appears and hit "Continue."


Next, enter a name for your custom sound and hit "Continue." Your iPhone will then need to listen to and save the sound five times to ensure it can identify it correctly later. Tap "Start Listening," play the sound, and wait for Sound Recognition to detect it.


Once it identifies the first sound, tap "Save Sound." Repeat this process four more times until Sound Recognition has recorded five different instances of the sound.


Tap "Done" when all five sound files are saved. It may take a few more minutes until Sound Recognition finishes training your iPhone to listen for and identify your custom sound. During this time, it will say "Off" for your sound in the list, but it will turn on automatically when the training is complete.


If you choose "Custom Alarm" and Sound Recognition identifies the sound as an appliance or doorbell, your custom sound will still end up in the "Household" section of the sounds list. Likewise, using "Custom Appliance or Doorbell" to record a sound identified as an alarm should appear in the "Alarms" section.
When Sound Recognition can't detect the sound you're trying to save, it will say it hasn't been detected. Tapping "Learn about custom sounds" will provide more information, as such:
About Custom Sounds
Custom Sounds is able to train and detect electronic sounds. For example:
• Microwaves
• Washing Machines
• Alarm Clocks
• DoorbellsCustom Sounds works best in quiet environments with little background noise. When training your sound, place your device close to the sound you are targeting for the best results.
You can use the Start Listening button to make sure you don't capture extra sounds. For example, if you need to press a few buttons to set a timer on your microwave, tap 'Start Listening' after you press those buttons and before the microwave timer goes off. This will ensure you capture only the correct timer sound for the microwave.
Step 4: Use Control Center to Control Sound Recognition Faster
Sound Recognition makes your iPhone constantly listen to your surroundings, which may be more annoying than helpful in some cases, like when you're not wearing your headphones. To toggle Sound Recognition on and off faster, use Control Center. You can visit Settings –> Control Center to ensure "Sound Recognition" is in the list of included controls. Its icon should be visible when you pull down or swipe up Control Center.


If you don't anticipate having any custom sounds, you don't even need to do all the work in Settings, as seen above, since you can set everything up from Control Center.
When no sounds are turned on for Sound Recognition, you can tap the Sound Recognition tile in Control Center to bring up the list of available sounds.
If you have "Hey Siri" enabled on your iPhone, you may see a message saying, "Hey Siri is unavailable while using Sound Recognition." Like Hey Siri, it's always listening, and unfortunately, they can't listen together. Tap "Turn On Sound Recognition" to continue.


When you have sounds chosen for Sound Recognition, tapping the Sound Recognition tile in Control Center will turn on the feature. You may need to hit "Turn On Sound Recognition" on the prompt if it appears. Tapping the tile again will pause Sound Recognition and reactivate Hey Siri, but it will leave the "Sound Recognition" switch enabled in the Accessibility settings.
To view the list of sounds, long-press the Sound Recognition tile. To create custom sounds, tap "Settings" to jump there and follow Step 3 above.


Step 5: Customize Alert Vibrations and Tones for Each Sound (Optional)
Once you've set up all your Sound Recognition noises, you can customize how you want to be alerted when each recognized sound is detected. You can have your iPhone play a specific sound or vibration pattern, both, or neither.
For sounds, you can use any alert tone or ringtone on your iPhone, purchase one from the Tones Store, or use ones you've created manually. For vibration, you can choose between the standard options, none, create a new vibration pattern, or choose a pattern you've already created.


Step 6: Customize Notifications for Sound Recognition
Navigate to Settings –> Notifications –> Sound Recognition, and you can change how notifications appear on your iPhone. Ensure "Allow Notifications," "Time Sensitive Notifications," and all the alert locations are switched on.


I'd also suggest switching your "Banner Style" to "Persistent" so there's no way you can miss the notification, as well as using "Always" for showing previews on your Lock Screen.


Disabling the "Sounds" switch here will disable all your alert tones for each sound, so it's not recommended. Tapping "Customize Notifications" takes you directly to the main Sound Recognition settings, where you can toggle Sound Recognition, select and deselect sounds, and choose new tones.
Step 7: View Your Sound Recognition Alerts
Whenever Sound Recognition detects a sound you've chosen to be on the lookout for, you'll get a notification when in apps, on your Lock Screen, and in the Notification Center. If it's the first notification, choose "Leave On" if presented with an option to leave time-sensitive alerts on or off for Sound Recognition.
If you chose sounds, you might not hear them if your iPhone is set to Silent Mode, but you should still feel a vibration if set.


If you have an Apple Watch, you should also get a notification and feel a vibration, which is great if you're not paying attention to your iPhone.
Using Sound Recognition with Shortcuts
The Shortcuts app lets you create automations that perform custom actions whenever your iPhone detects and identifies a specific Sound Recognition noise. For example, if you'd like to send a text message to someone else alerting them to the sound detected, it's easy to set up.
Start a new automation, choose "Sound Recognition" as the trigger, and pick the sound or sounds you want.


Choose "Next," then build your action or group of actions. Hit "Next" again when done.


Then disable "Ask Before Running," hit "Don't Ask" on the prompt, and hit "Done" to save your automation. Now, whenever Sound Recognition detects one of the selected sounds, your automation will run, performing any actions you set.


Warning About Sound Recognition
Apple's explicit note about Sound Recognition says, "Don't rely on your iPhone to recognize sounds in circumstances where you may be harmed or injured, in high-risk or emergency situations, or for navigation." It's helpful, but it may not always detect the correct sound when you need it.
Just updated your iPhone? You'll find new features for Podcasts, News, Books, and TV, as well as important security improvements and fresh wallpapers. Find out what's new and changed on your iPhone with the iOS 17.5 update.






Be the First to Comment
Share Your Thoughts