


While it's rare, there could be a day when your iPhone 12, 12 mini, 12 Pro, or 12 Pro Max isn't responding, where taps and swipes on the screen do nothing, and the Side button won't let you force a restart. The culprit could be any number of problems, from corrupted files to beta software or even manufacturing issues. But one thing is certain: recovery mode could help you get back up and running.
Using recovery mode won't fix all of the software issues you might have, but it at least gives you the chance to turn your iPhone 12 model back on again, which is always a good thing. With it, you can restore your iPhone to its original settings with the latest firmware and make it usable once again.
What Is Recovery Mode?
Recovery mode is a way to repair your iPhone's operating system when something goes wrong, and you need a computer with either Finder or iTunes to use it. But there's also something called DFU mode, which should only be used as a last-ditch effort. So what's the difference between the two?
When using recovery mode, your computer interacts with iPhone's bootloader, aka iBoot, which is part of iOS 14. Your computer pushes the ramdisk and kernel from the operating system's IPSW file, then the filesystem and other dependencies are flashed to the iPhone, which will eventually make your iPhone functional again. You can choose to update to the newest iOS version in recovery mode, which keeps your data intact or restores it to factory settings using the newest iOS version.
DFU mode is very similar, but your computer communicates with the bootrom, aka SecureROM, baked into your iPhone's hardware. It basically flashes a whole new iOS 14 version onto the iPhone, overwriting the operating system and bootloader that failed. DFU mode is best used when your bootloader gets corrupted and won't let recovery mode work. Unlike with recovery mode, DFU mode will only let you restore iOS 14 on your iPhone, so all of your data is lost.
With both of these modes, once you're system is back up and running on your iPhone, you'll be able to restore using a backup if you have one available, whether that's from iCloud, Finder, or iTunes. This is why it's a good reason to back up your iPhone periodically; because when you need to use recovery mode or DFU mode, it's too late to go back and do that.
We're only going to go over the process for using recovery mode — the first thing you should try whenever a restart or force restart doesn't do the trick. If it doesn't end up solving your problem, then you can move on to DFU mode.
What You Need
- Mac or Windows computer
- Lightning to USB or Lightning to USB-C cable
- Finder (on macOS Catalina or higher) or
- iTunes (on macOS Mojave and lower or Windows)
Connect Your iPhone to Your Mac or PC
First, you'll need to plug in your iPhone 12, 12 mini, 12 Pro, or 12 Pro Max into your computer using a Lightning to USB or Lightning to USB-C cable. Which cable you use depends on which computer you're using and its available ports.
Unlock Your iPhone
If your iPhone 12, 12 mini, 12 Pro, or 12 Pro Max is completely unresponsive, or if you don't use a passcode at all, skip to Step 3.
However, if it's somewhat responsive and you have a passcode set, you may have to unlock your iPhone before proceeding. If you see the "Unlock iPhone to Use Accessories" notification, you'll definitely have to unlock it. Wake the iPhone, then enter your passcode or use Face ID to unlock it.
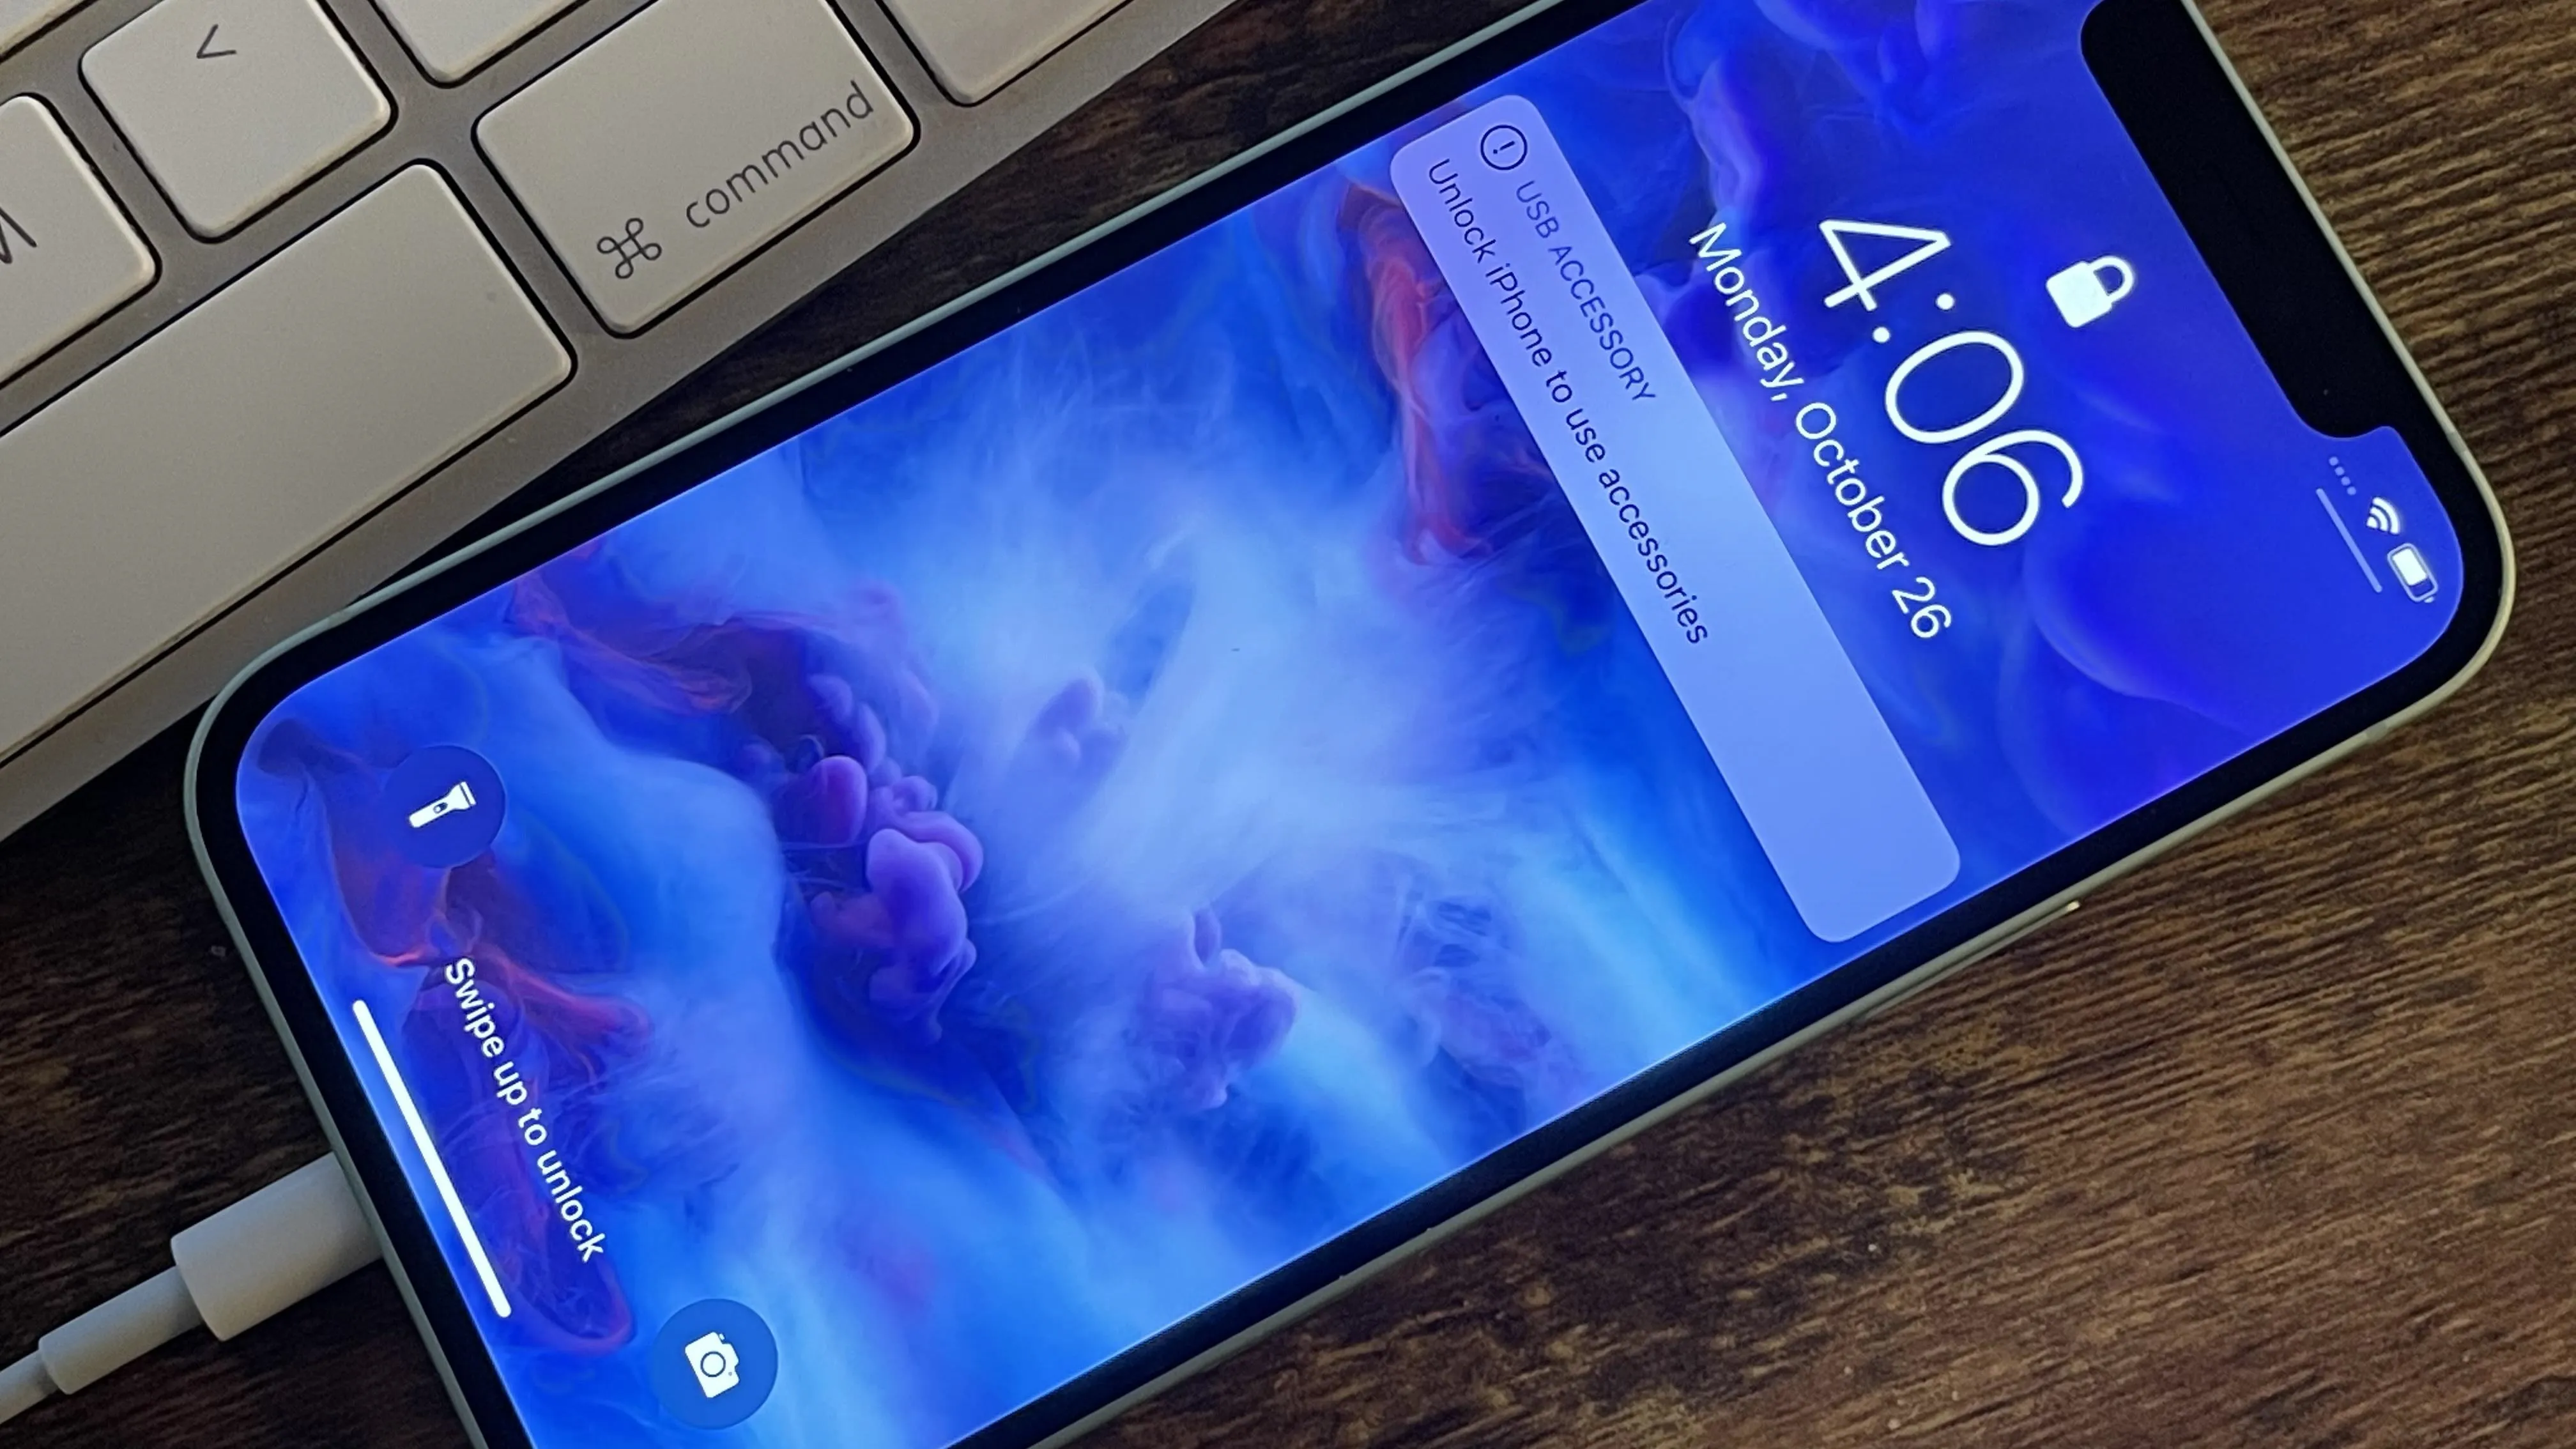
Justin Meyers/Gadget Hacks
Open Finder or iTunes
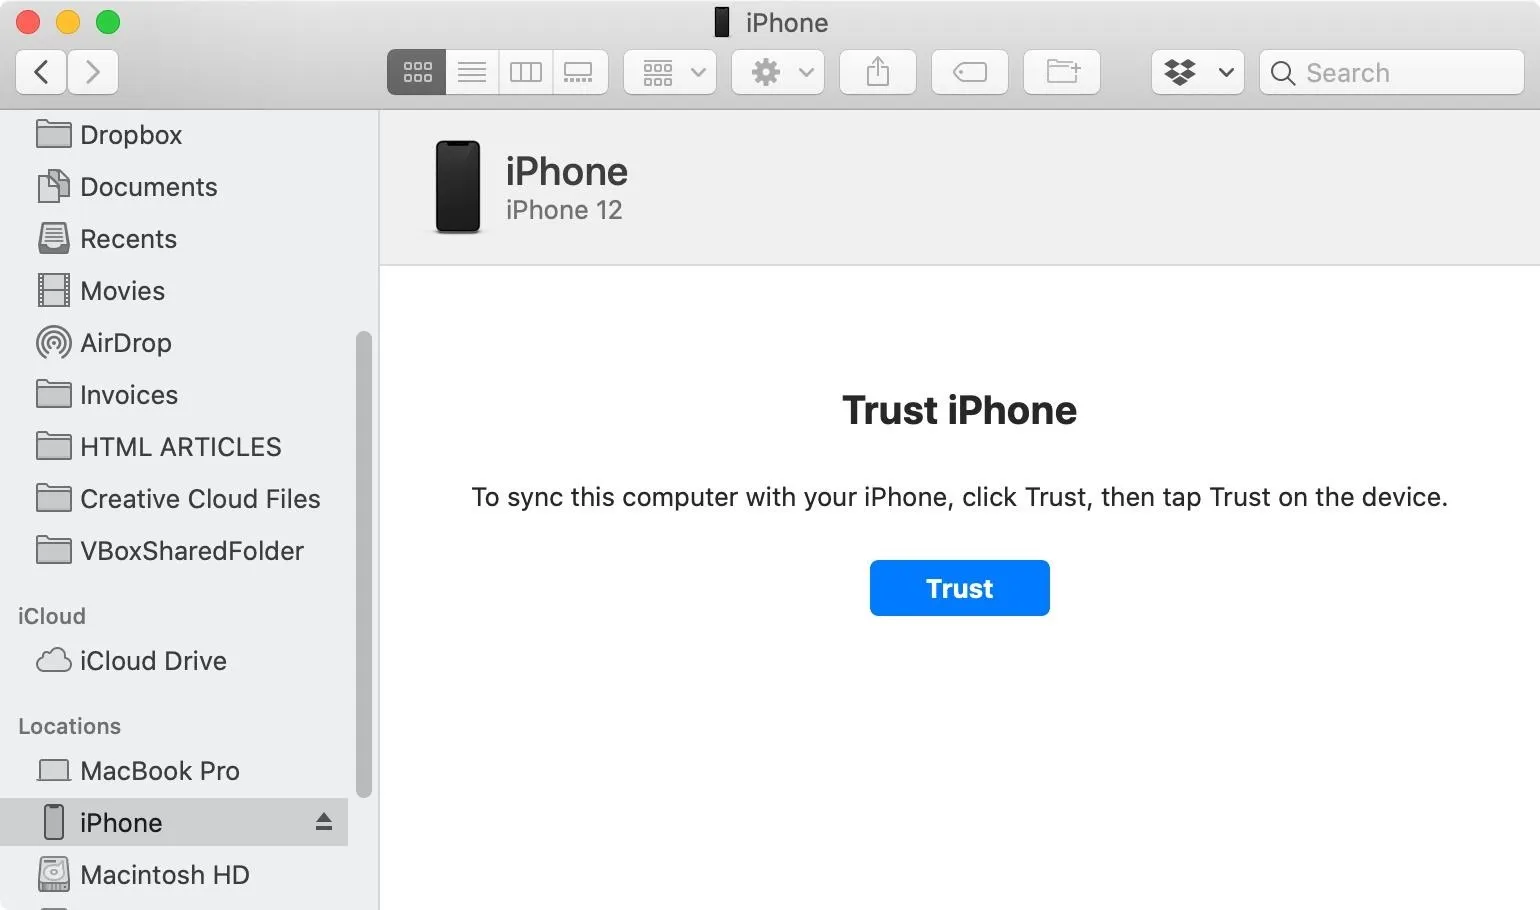
Whether your iPhone 12, 12 mini, 12 Pro, or 12 Pro Max is responsive or not, you'll need to open Finder or iTunes, depending on your computer. If you're running macOS Catalina (10.15 or later) or macOS Big Sur (11.0 or later), open the Finder app. If you see your iPhone's name appear under Locations in the sidebar, click that. If not, skip to Step 5.
If you're running macOS Mojave (10.14) or earlier, open up iTunes. You'll do the same on a Windows computer, but if you don't have iTunes yet, you'll have to install it first. If you see that iTunes is already open, quit the app, then reopen it to make sure it can communicate with the iPhone. Once you see the iTunes window, click on your iPhone's icon near the top of the window or your iPhone's name under Devices in the sidebar. If you don't see it there, skip to Step 5.
Trust the Computer
When your iPhone 12, 12 mini, 12 Pro, or 12 Pro Max is still responsive enough to show up in Finder or iTunes, you will have to "trust" your Mac or Windows PC. If you previously trusted it but had recently reset your iPhone's location and privacy settings or network settings, you'll have to trust it again. If the computer is already trusted, skip to Step 5.
In Finder, after selecting your iPhone's name, you should see the "Trust" button appear — click that. For iTunes, you'll click "Continue" instead of "Trust."
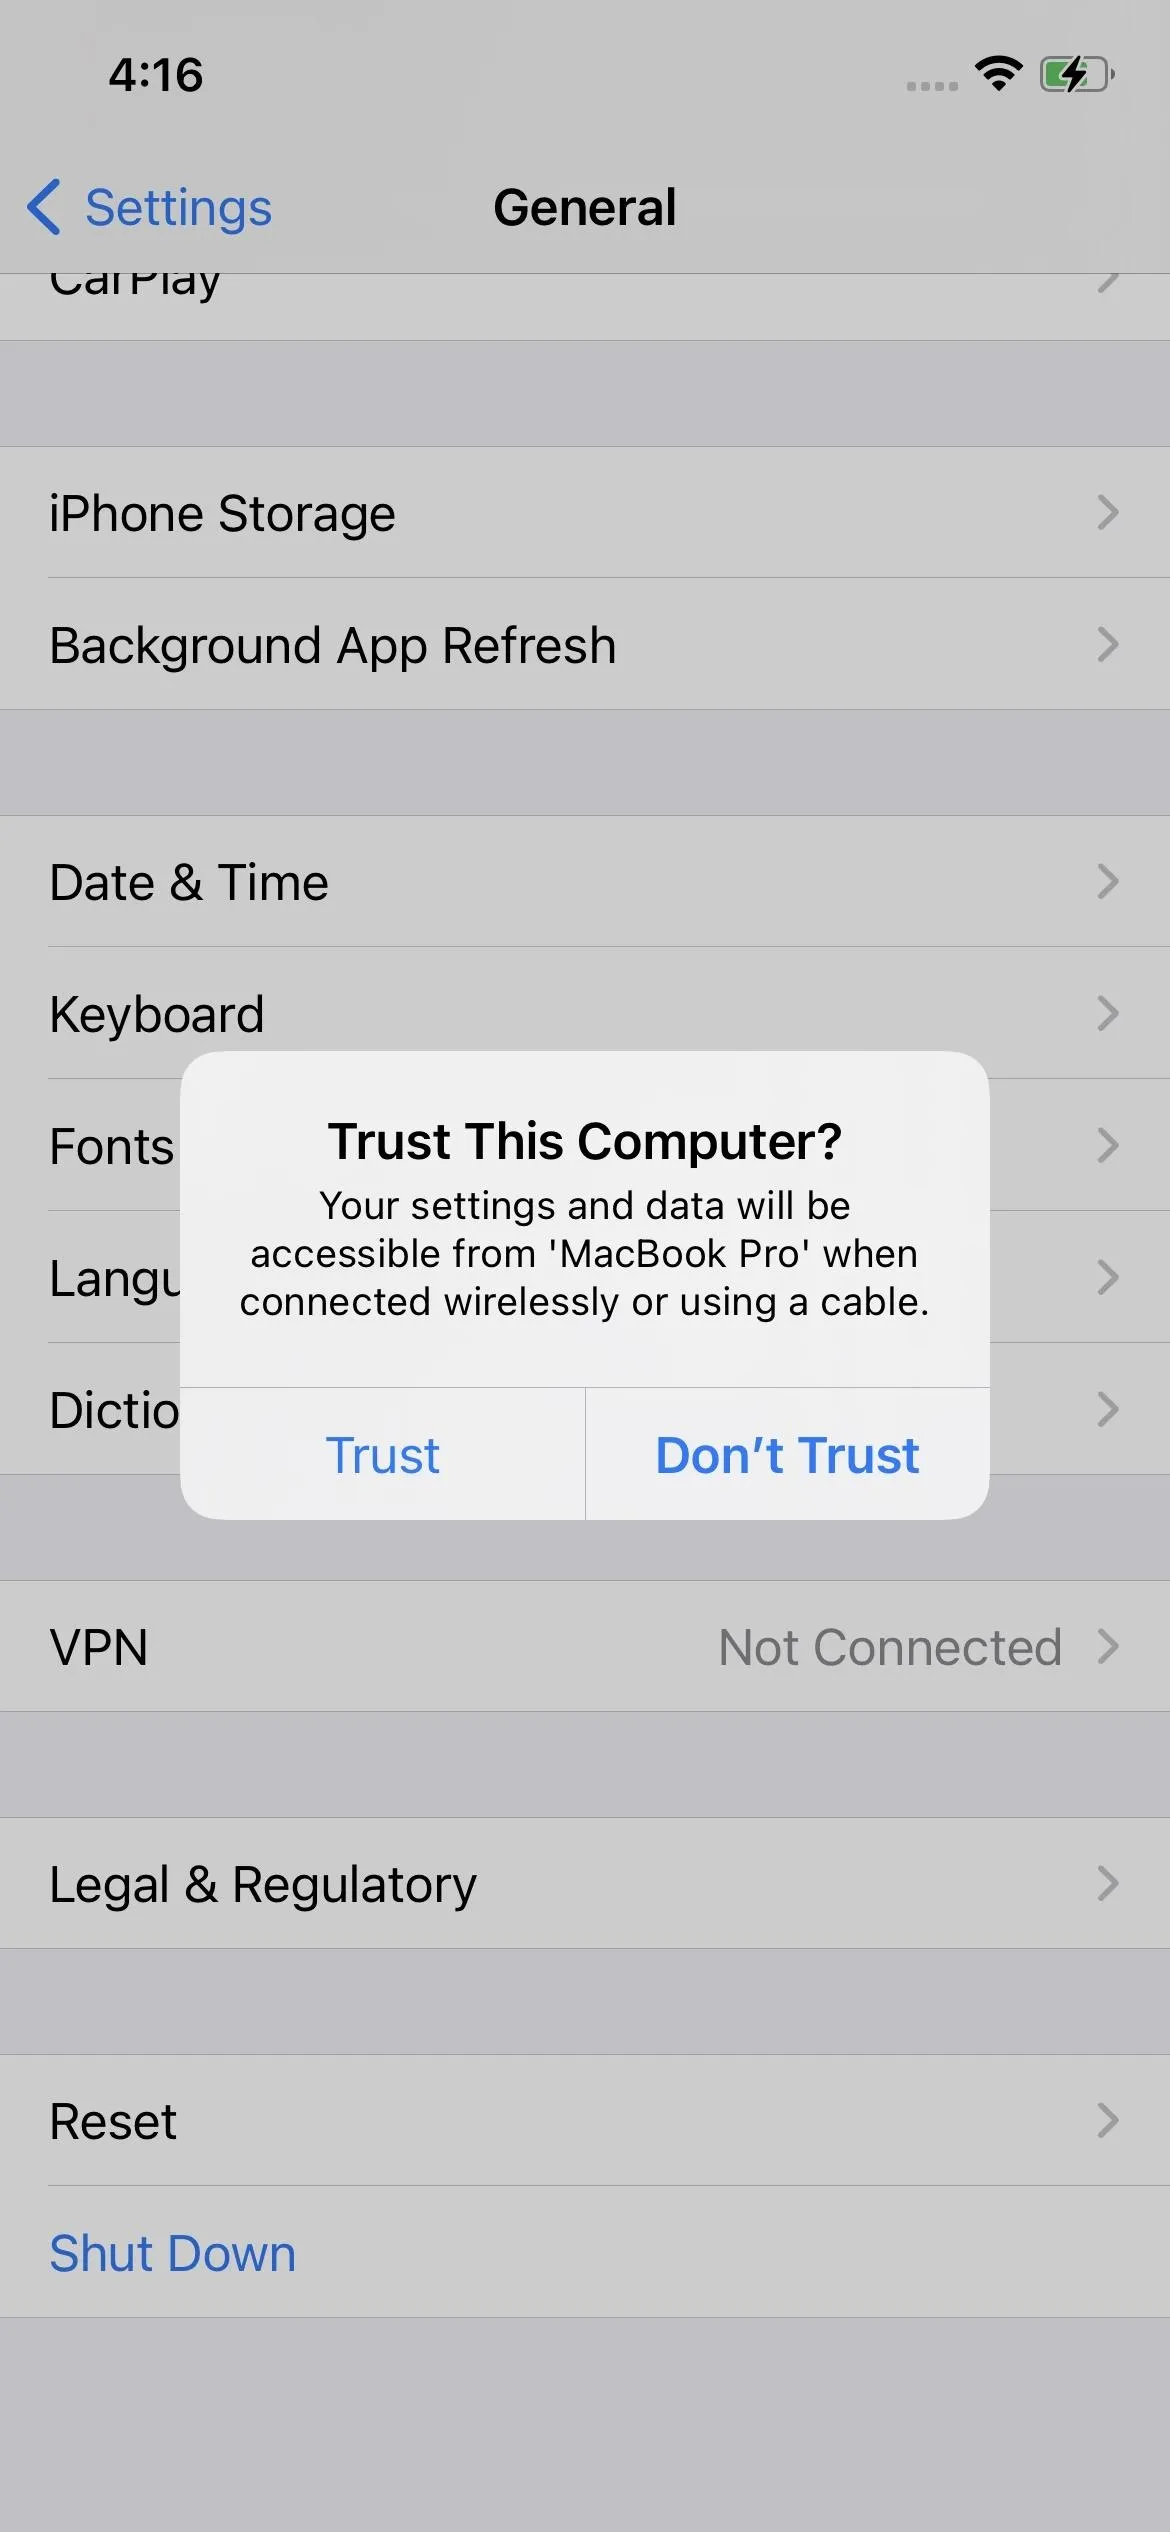
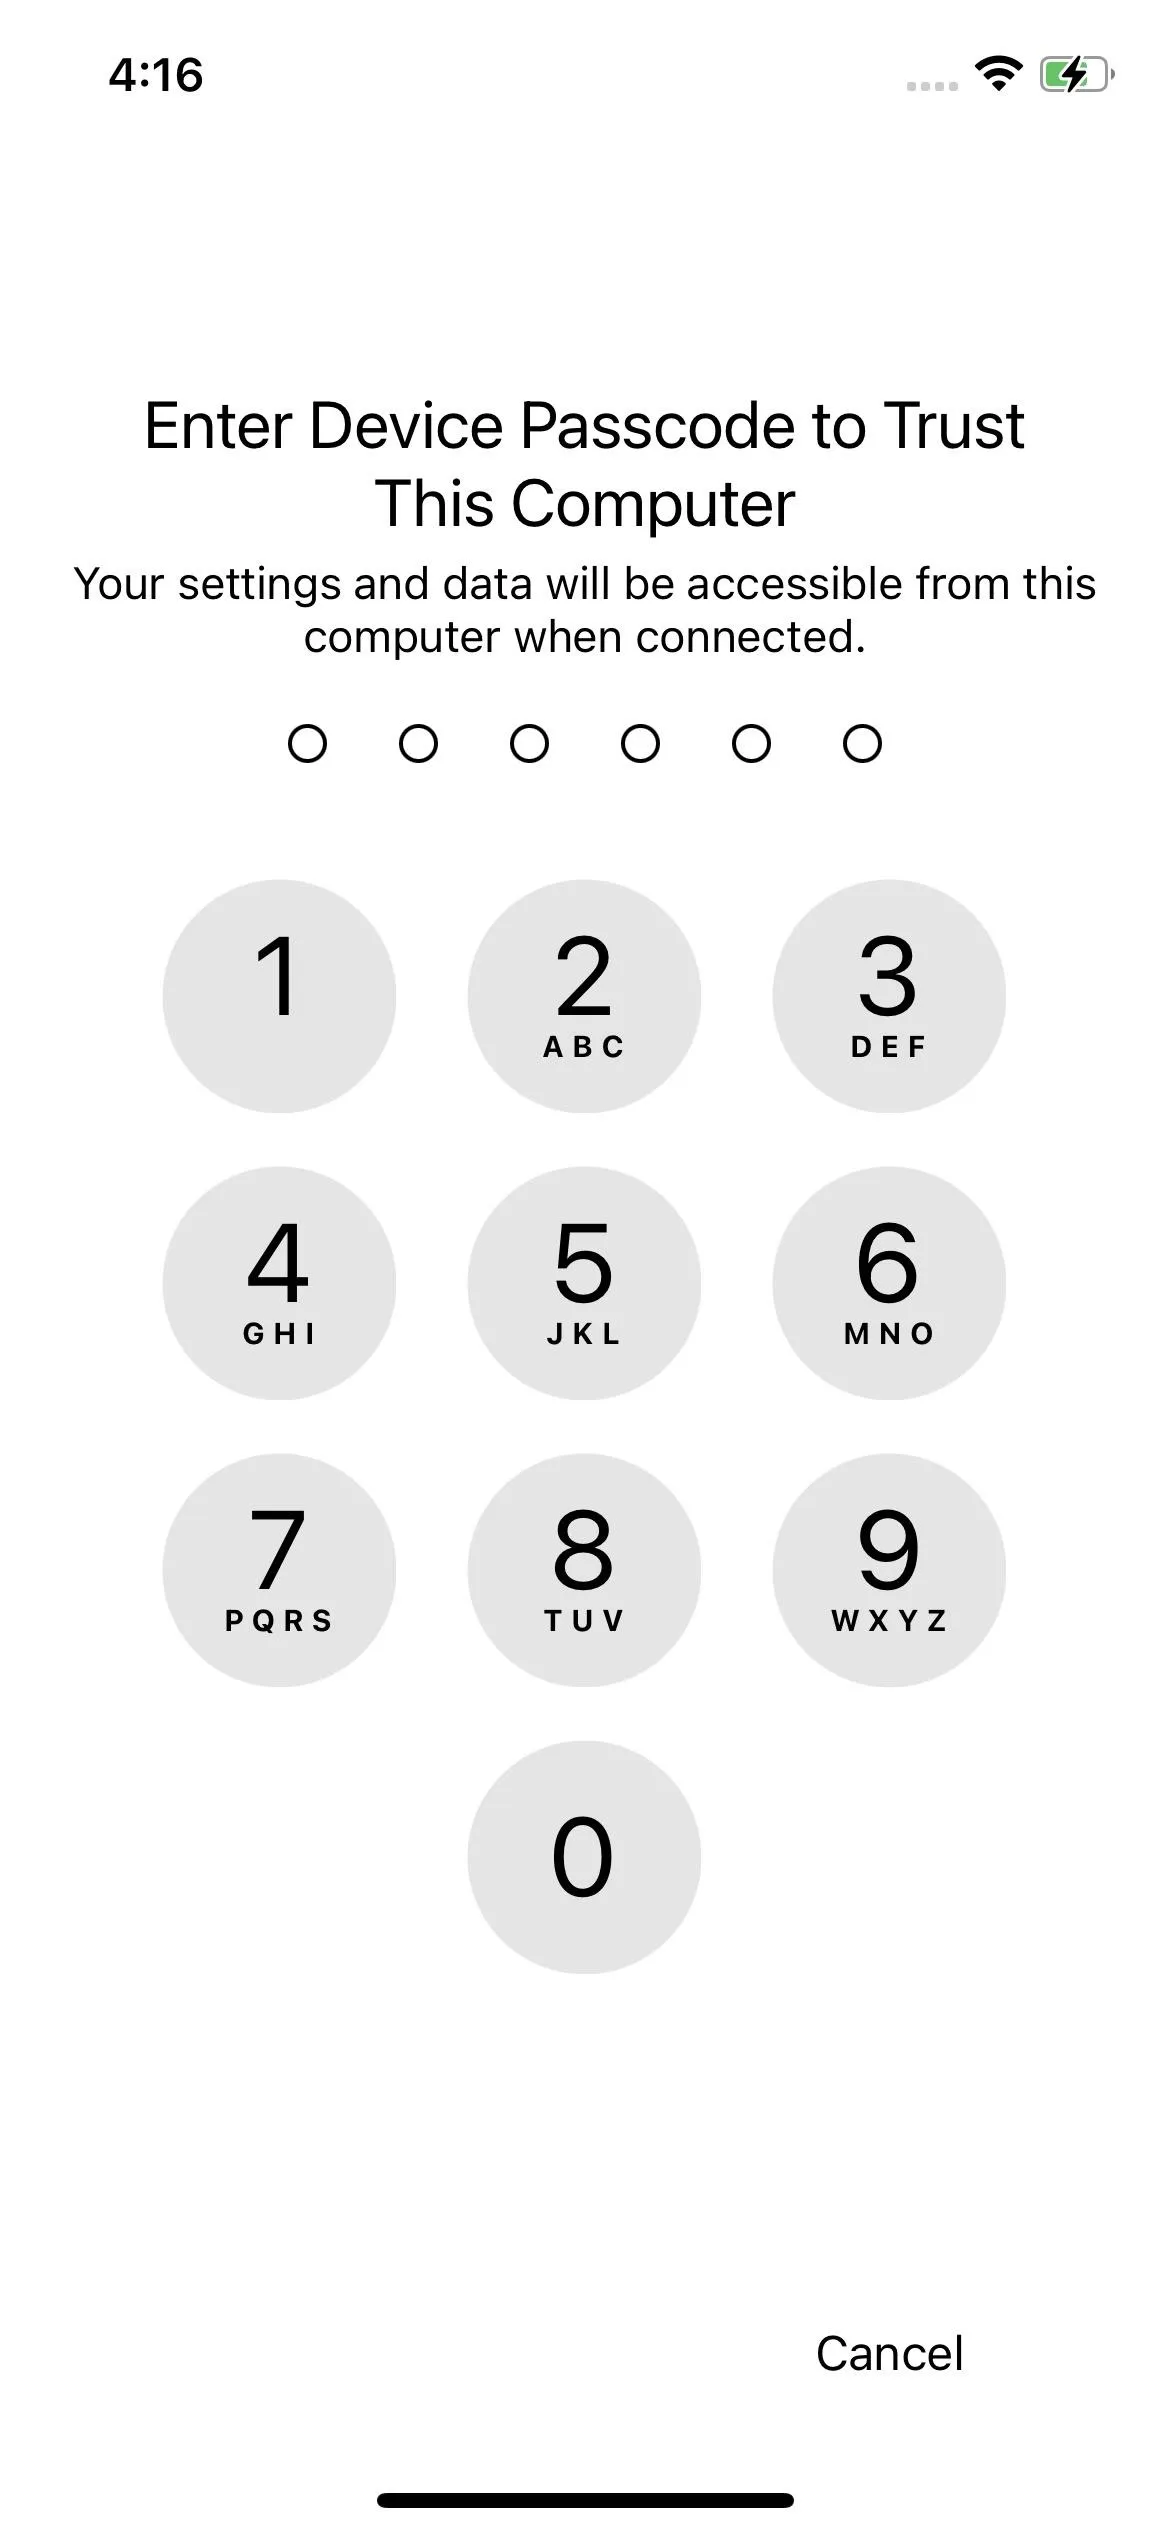
A prompt will pop-up on your iPhone's screen, asking you to "Trust This Computer?" Tap the "Trust" button, then enter your iPhone's passcode. After that, your computer is trusted and can communicate with your iPhone's data.
Whenever you do this on a public computer, feel free to untrust the computer once you're done restoring your iPhone. That way nobody else can connect your iPhone to it to access your data.
Boot into Recovery Mode
With your iPhone 12, 12 mini, 12 Pro, or 12 Pro Max connected to your computer, whether you got it to show up in Finder/iTunes or not, you'll need to press a combination of buttons on the iPhone to enter recovery mode. Do the following:
- Click the Volume Up button.
- Then, quickly click the Volume Down button.
- Then, quickly press-and-hold the Side button for about 15 seconds.
- Wait for the Apple logo to appear on your iPhone, but don't let go of the button.
- Release the Side button once the recovery mode screen appears on the iPhone's display, about 8 seconds later, which looks like a Lightning cable attached to a computer.
This is pretty much the same process as force-restarting your iPhone, only you hold the Side button down for longer.
Exiting Recovery Mode if You Change Your Mind
You might change your mind about recovery mode, which is perfectly fine because you can easily exit and restart your iPhone 12, 12 mini, 12 Pro, or 12 Pro Max without any issues after you're already entered into recovery mode. To do so, you could leave your iPhone alone and wait for it to restart itself since it can't live in recovery mode forever. But to do it right away, all you need to do is force restart the iPhone.
- Click the Volume Up button.
- Then, quickly click the Volume Down button.
- Then, quickly press-and-hold the Side button for 5 to 10 seconds.
- Release the Side button when you see the Apple logo on the iPhone's screen.
If your iPhone were accessible before you entered recovery mode, you'd be able to use it again once it boots back up and you enter your passcode.
Update or Restore Your iPhone
After your iPhone 12, 12 mini, 12 Pro, or 12 Pro Max is in recovery mode, you'll get a pop-up in Finder or iTunes telling you that there was an issue with the iPhone.
There is a problem with the iPhone "[iPhone's Name]" that requires it to be updated or restored.
The problem may be fixed by updating your iPhone, which preserves your settings and content. However, if updating doesn't work, it may be necessary to click Restore, which erases all settings and content. If you backed up this iPhone to this Mac [or computer] or iCloud, you'll be prompted to restore the backup onto the iPhone. You will need your iCloud password if Find My has been enabled.
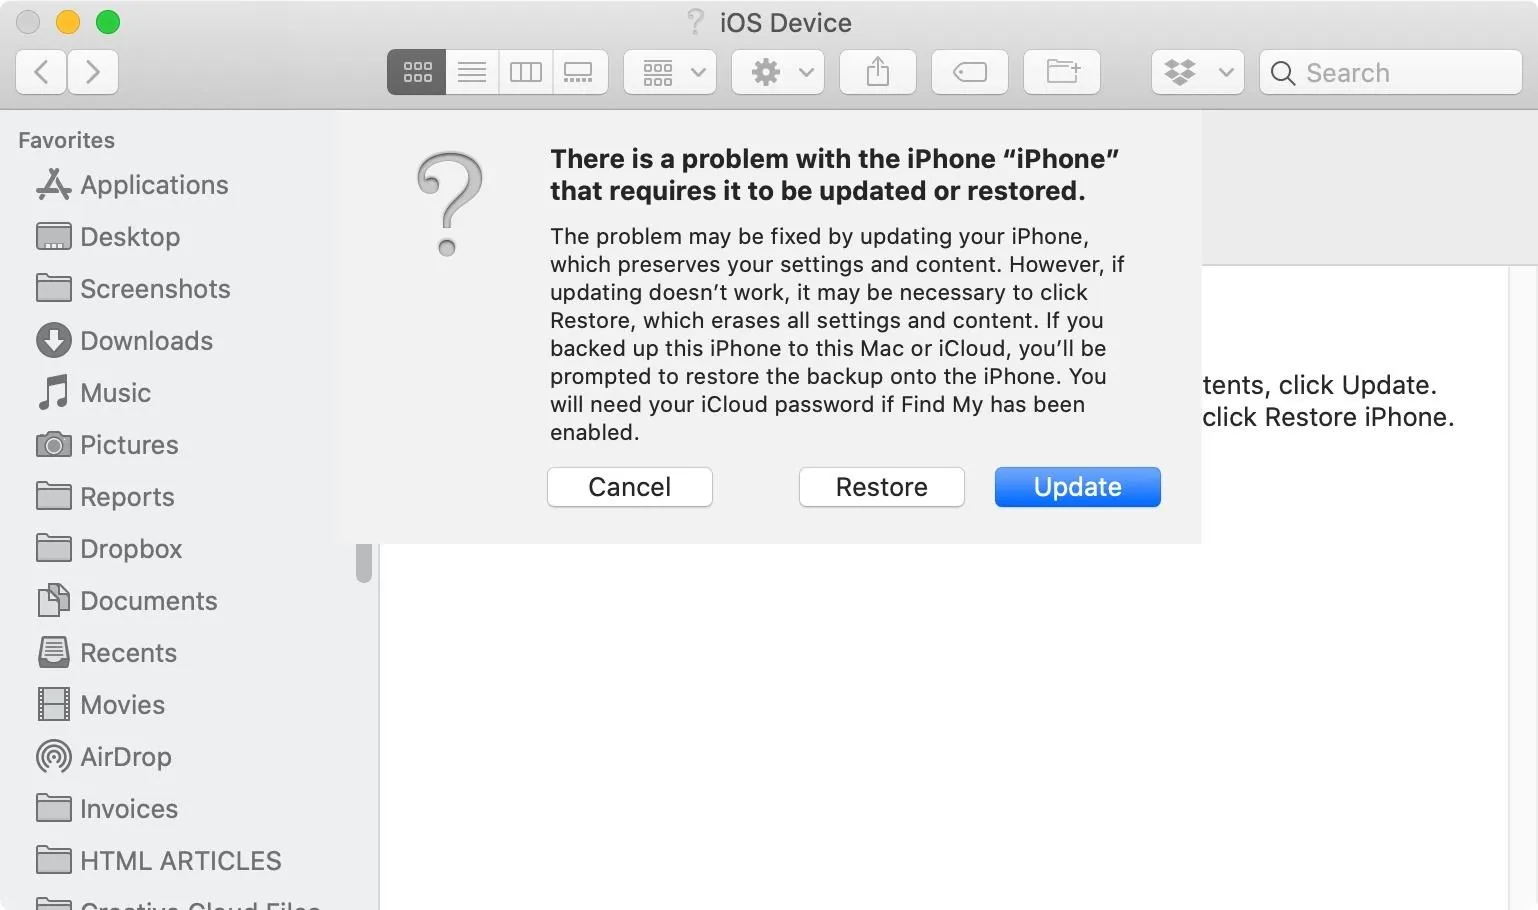
You can now click on "Update," which will attempt to fix your iPhone while keeping important information intact, like settings, media, and other data. This is usually the first thing you should try unless you want a completely fresh start.
For a factory reset, or whenever the "Update" option doesn't work, click on "Restore" to wipe out all of your existing information and install a fresh version of the latest iOS 14 firmware. You can later restore from a Finder, iTunes, or iCloud backup.
Whatever option you choose, follow the on-screen prompts, then wait for your iPhone to boot back up. Your computer will download the software and then send it to your iPhone, which could take some time. Either way, you'll have to wait a few minutes while your computer attempts to update or restore your iPhone. Once finished, the iPhone will (hopefully) boot back up, and you can enter your passcode to use it.
Cover photo, screenshots, and GIF by Justin Meyers/Gadget Hacks


Comments
Be the first, drop a comment!