


There are plenty of third-party apps for scanning documents on your iPhone, but they can all be tossed out the door since iOS 11 includes one by default now. Instead of a dedicated app, it's included as part of the Notes app, and it's fairly easy to use. After scanning, you can save it, print it, turn it into a PDF, add markup, and more.
It's amazing that Apple waited until 2017's iOS 11 to implement a built-in document scanner, as we would have loved to have this iPhone feature a lot earlier. Better later than never, and the first iteration of it is pretty impressive. Maybe more scanning features will become available in future updates, but in the meantime, it's got all the basic tools needed right now.
Access the Scanner
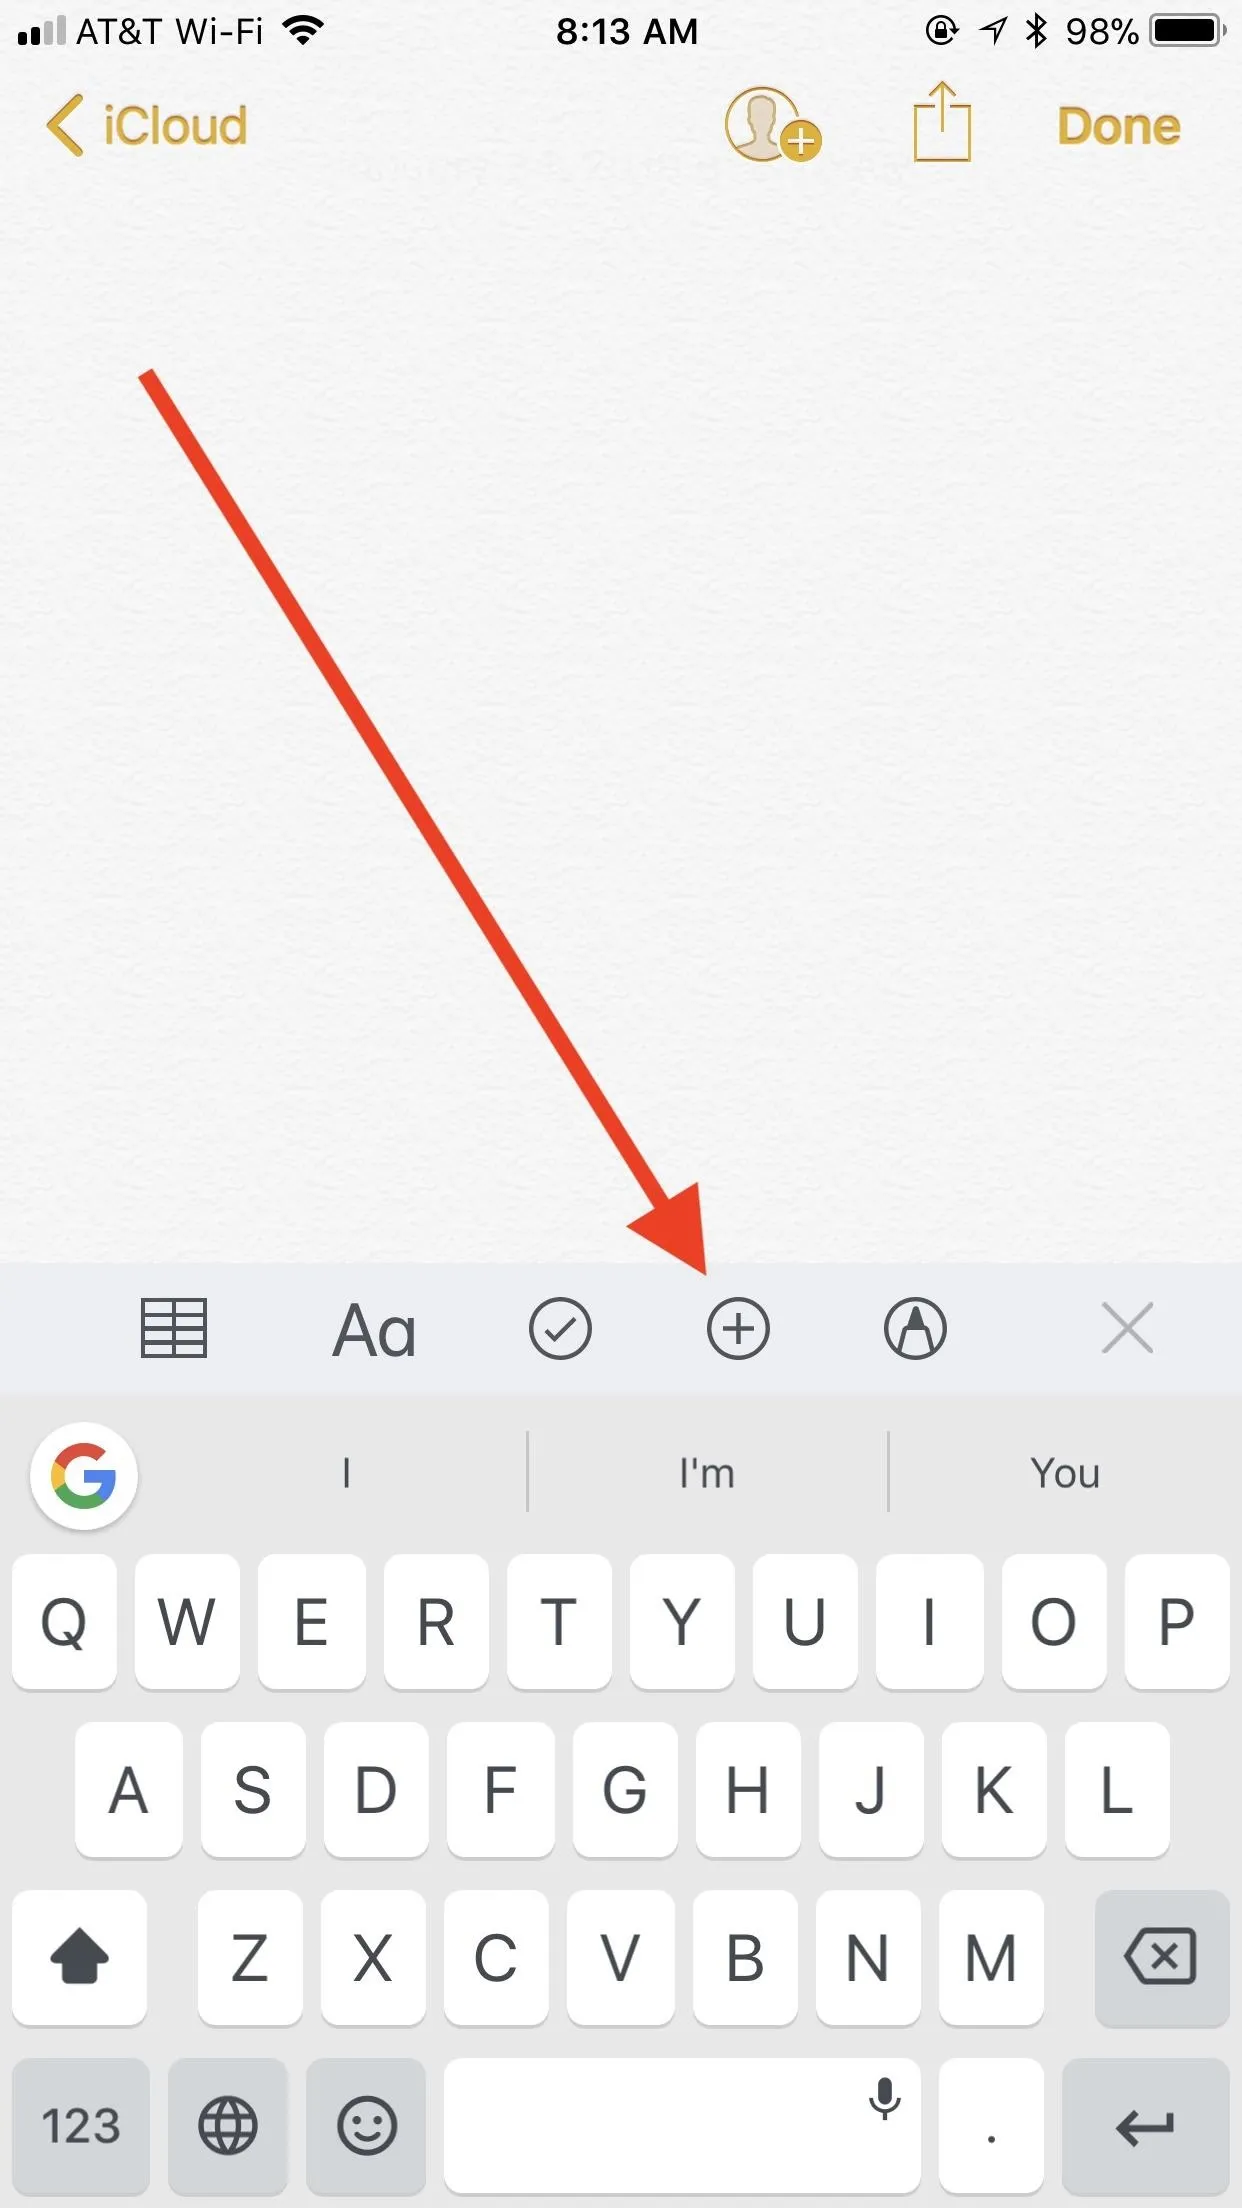
While we would like to see Apple give us the option to add the document scanner to the 3D Touch menu for Notes on the home screen, getting to the scanner is still simple. Just open any existing note or start a new one.
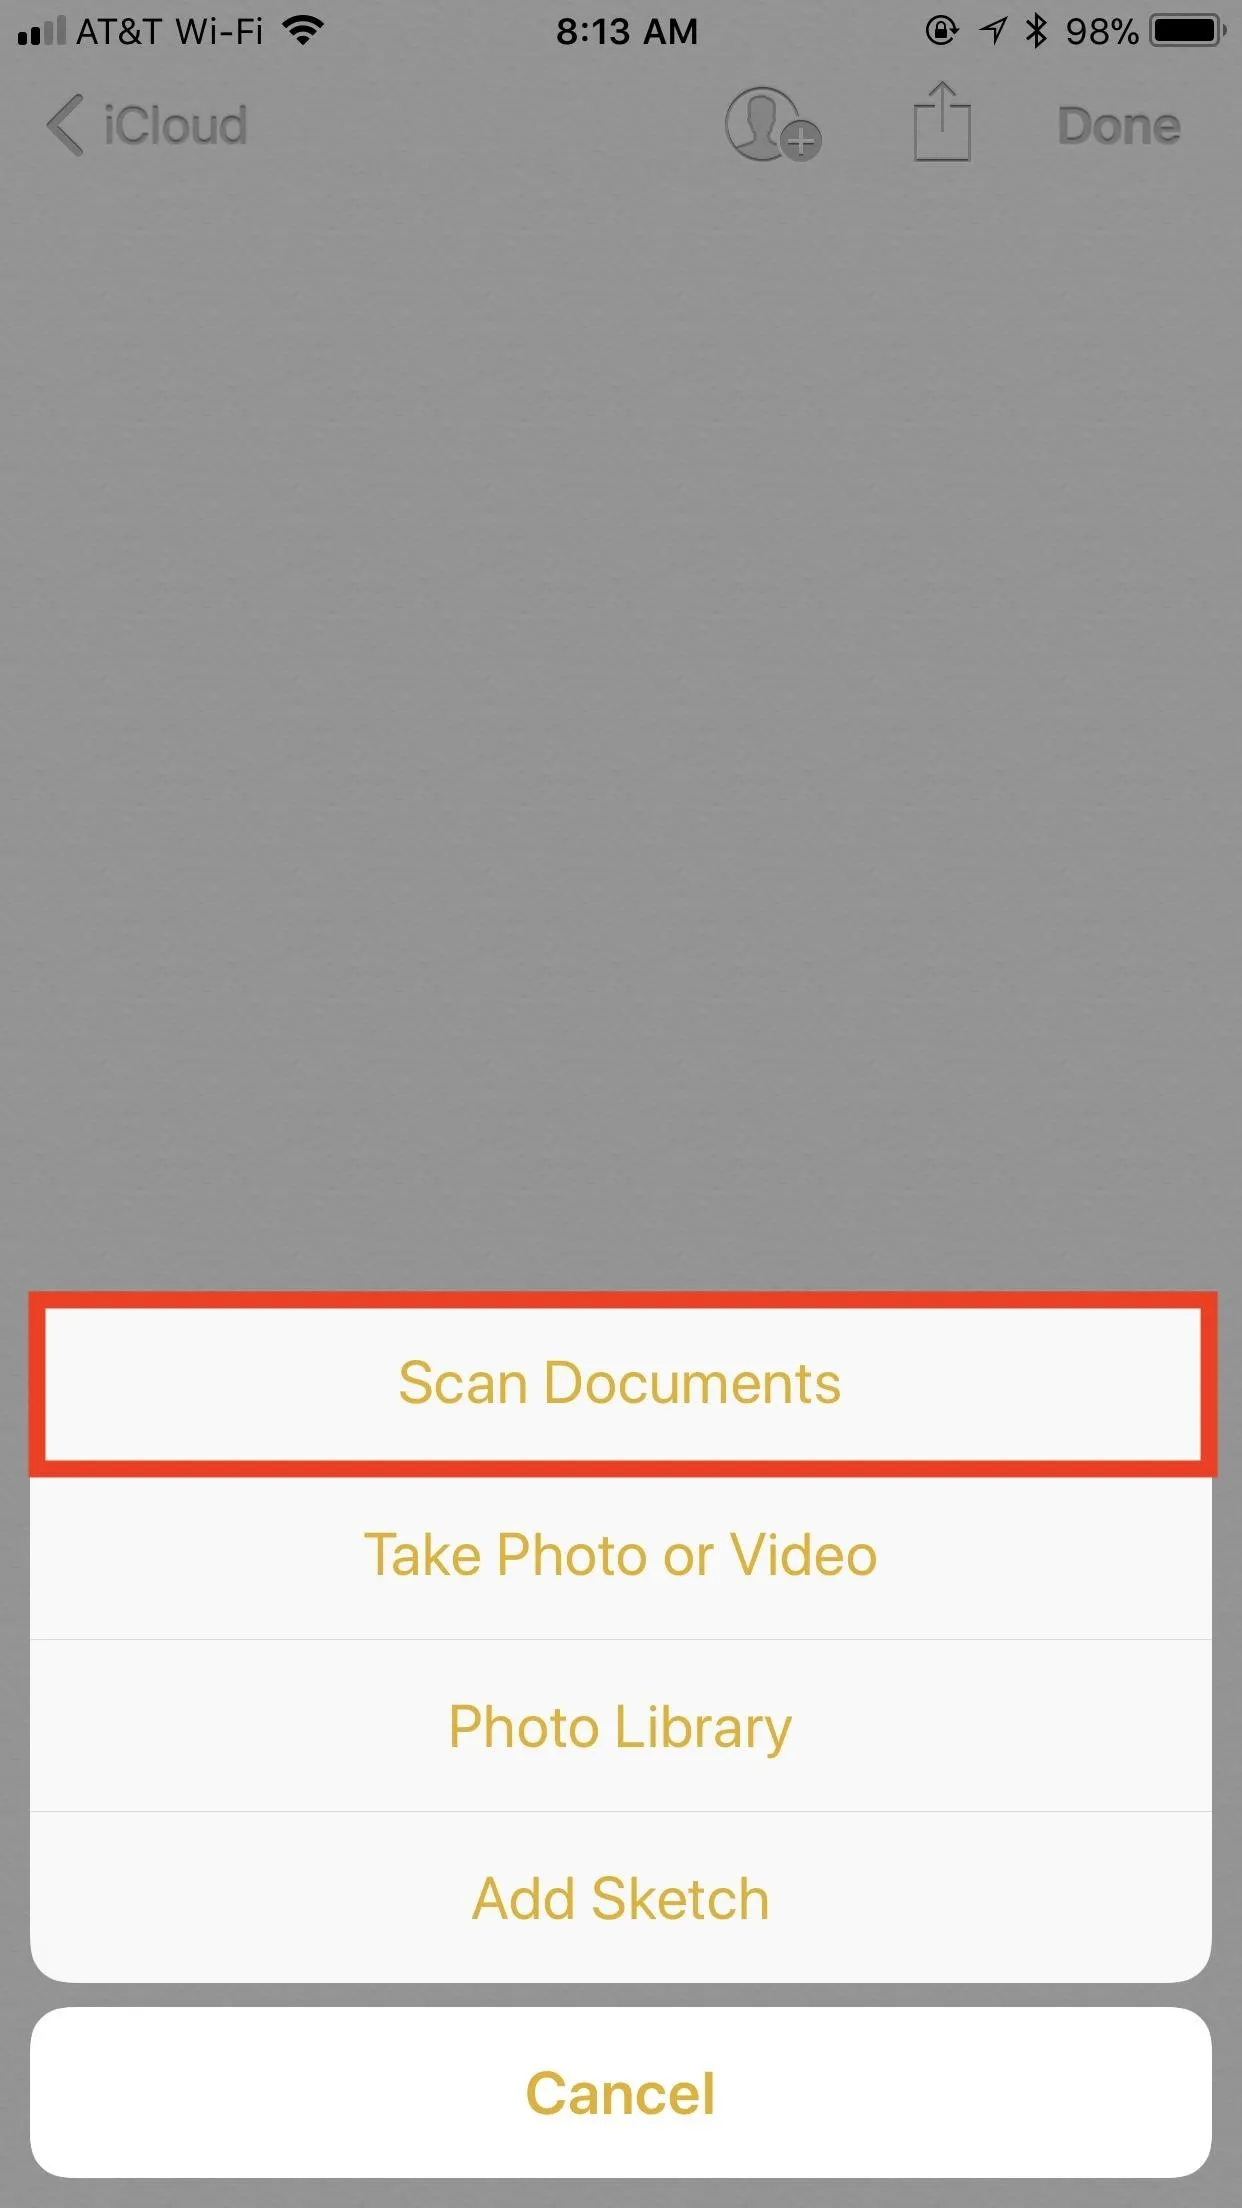
If the keyboard is hidden, tap the "+" icon in the bottom menu. If the keyboard is visible, hit "+" in the formatting toolbar above the keyboard (you may have to hit "+" first to expand the formatting toolbar). Lastly, tap "Scan Documents."
Select Your Options
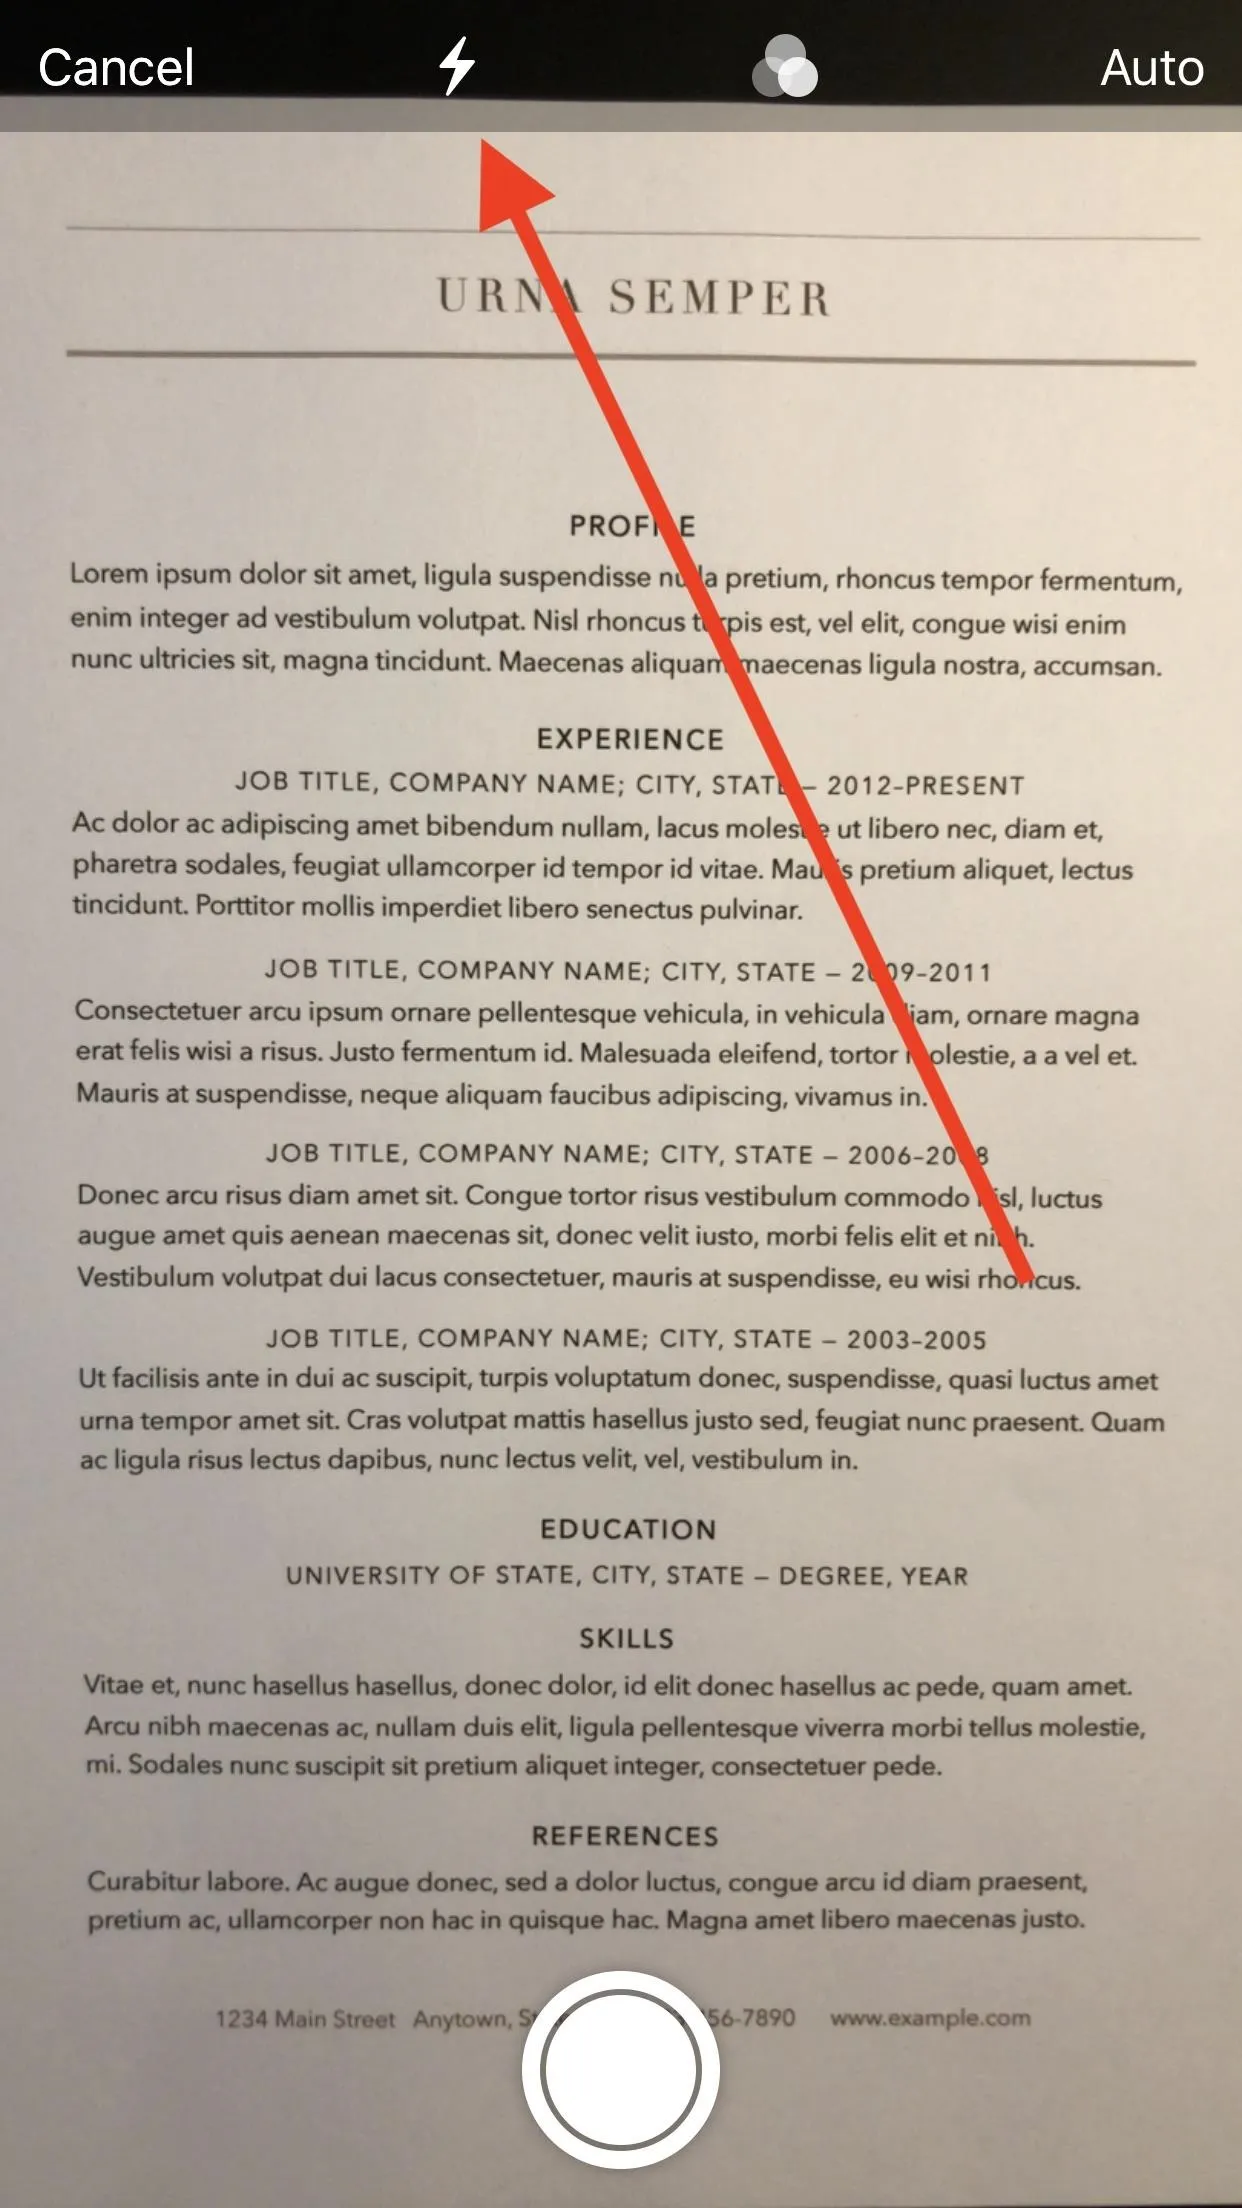
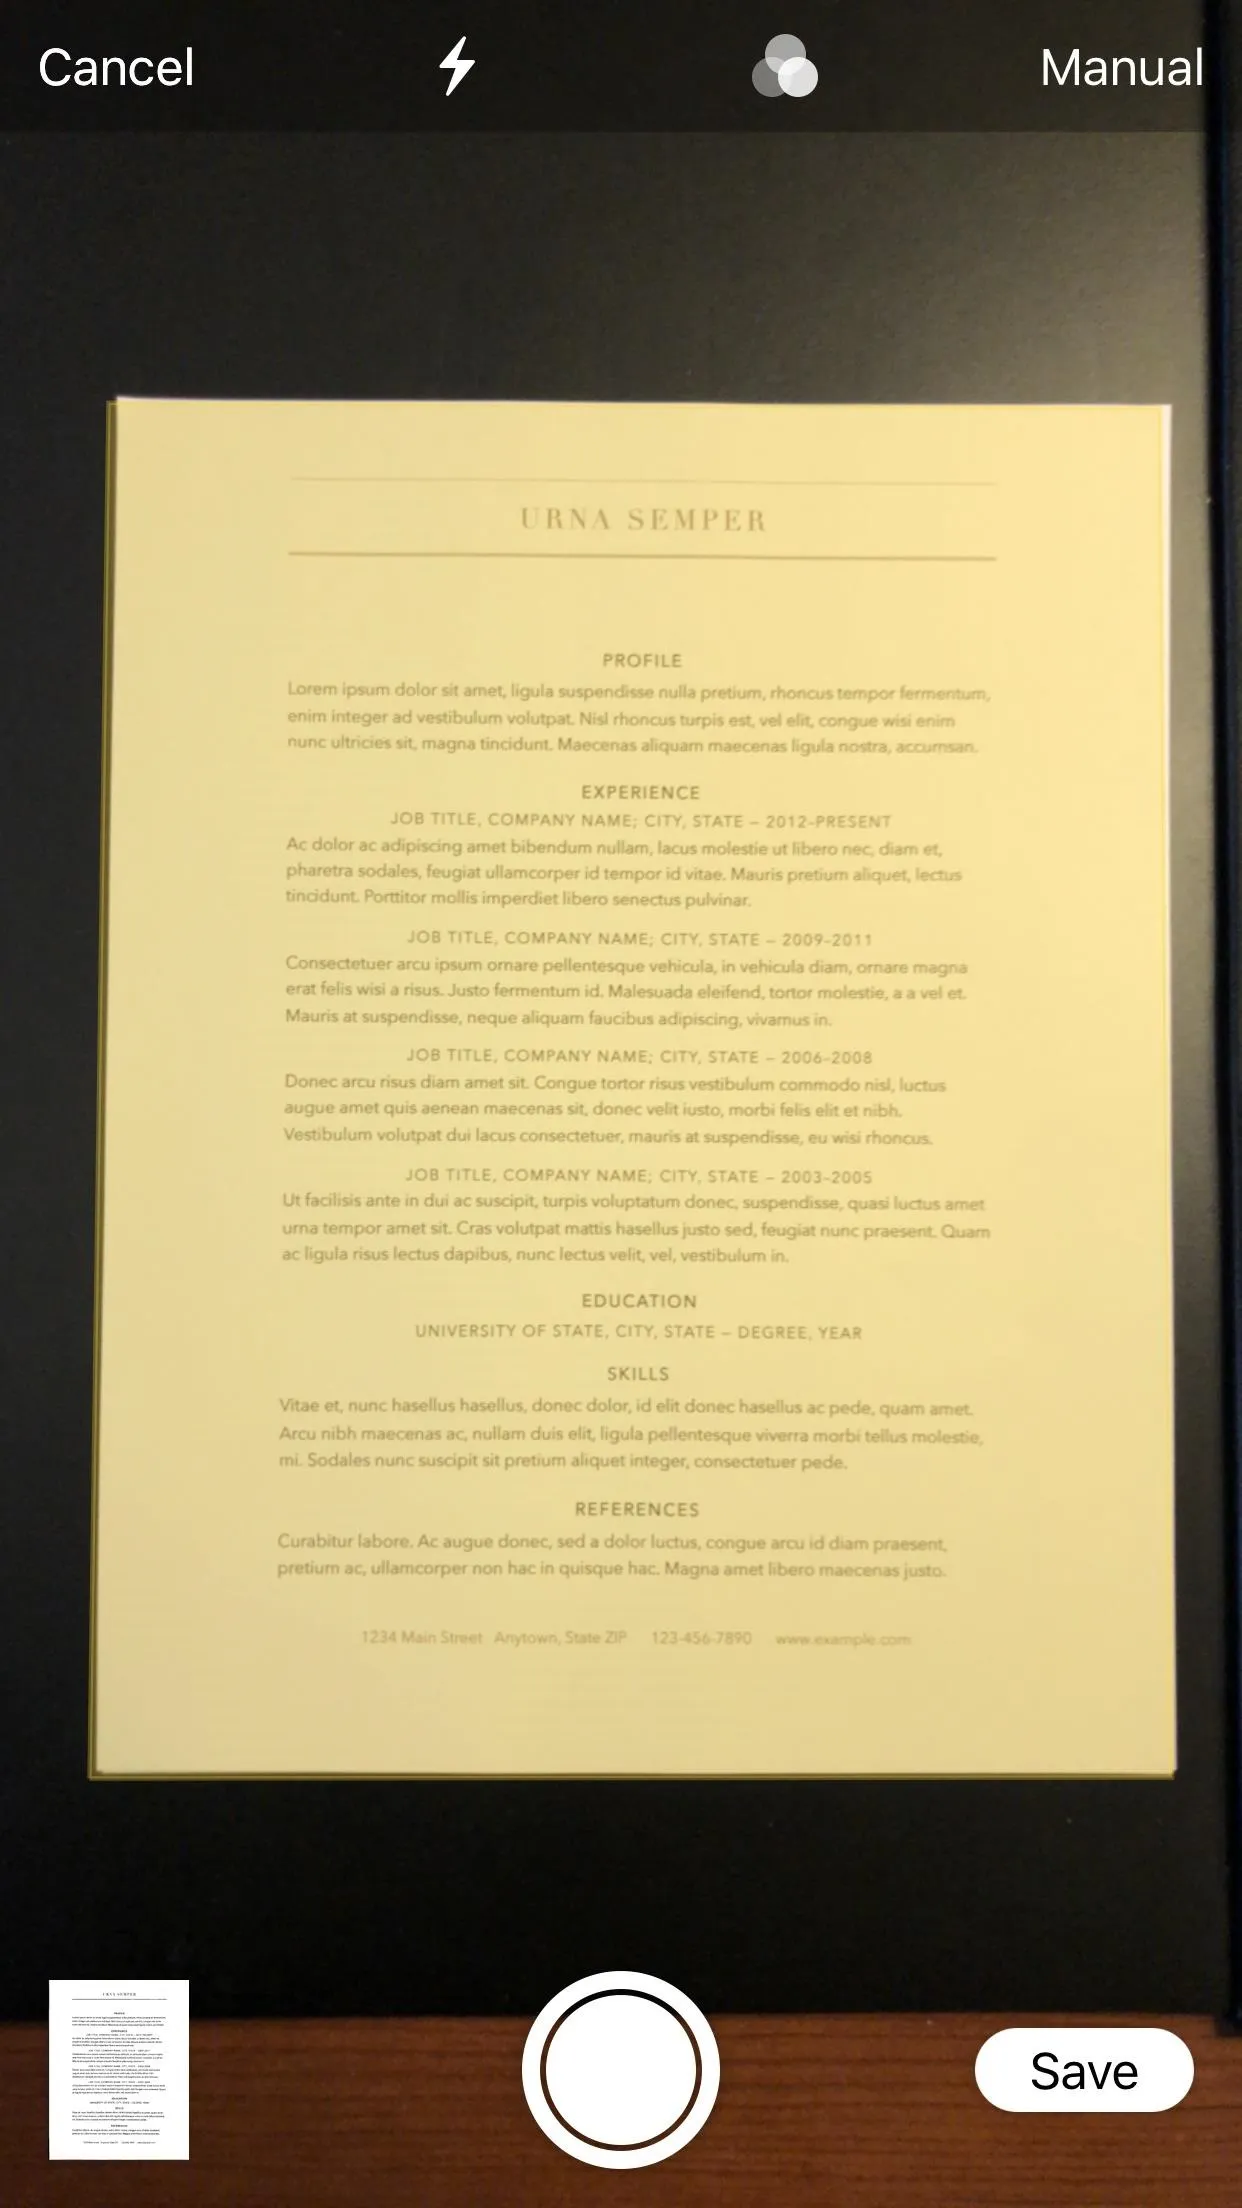
At first, the document scanner looks a lot like the iPhone's main Camera app. However, you will notice some different options at the top of the display.
- Flash: The lightning bolt is your flash control. You can set it to "Auto" to automatically activate when needed, or you can manually enable ("On") or disable it ("Off") as you see fit.
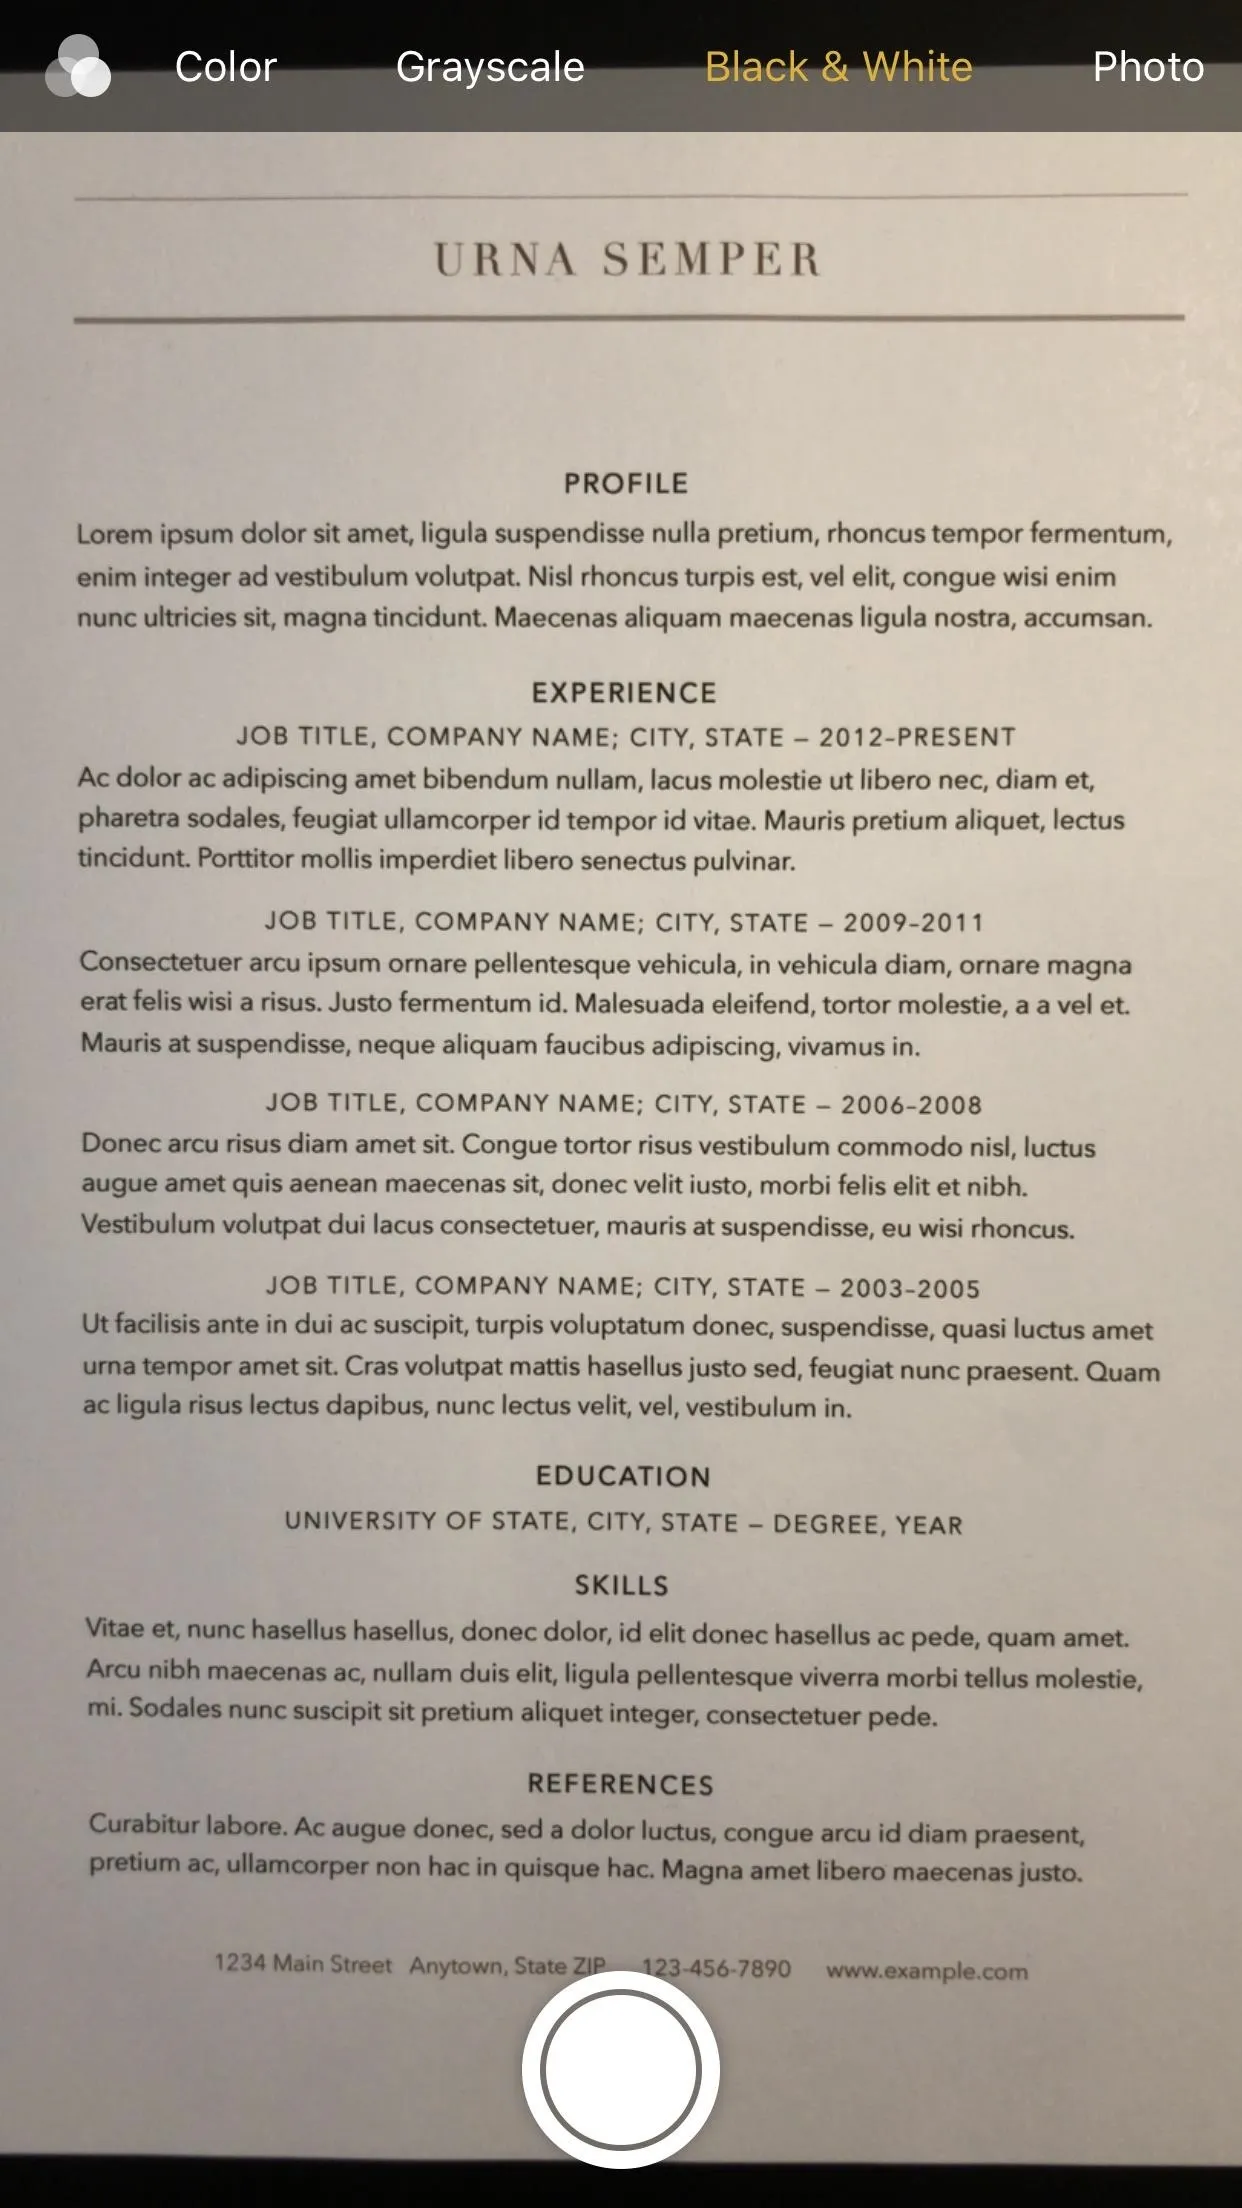
- Filters: The three circles are your color control. You have the following options: "Color," which takes a color scan of your document; "Grayscale," which gives you a spectrum of hues between black and white; "Black & White," which simply scans the document in black and white colors; and "Photo," which takes a regular photo of your document. You do have the option to choose from any of these options after the scan, so don't worry about them too much now.
- Shutter control: The "Auto" option on the far-right is your shutter control. Notes will automatically take a scan of your document when in the correct position (you'll see this when Notes presents a yellow overlay over your subject). If you choose "Manual," Notes will still show the overlay, but it won't scan until you tap the shutter button at the bottom of the screen.
Flash (left), color filter options (middle), and the shutter control option (right).
Flash (left), color filter options (middle), and the shutter control option (right).
Scan Your Document
This is pretty intuitive and was pretty much explained above in the "Shutter control" bullet. Hover your iPhone's camera above the document, trying to keep it parallel and level, until the yellow overlay has covered the note perfectly. It's okay if it's not totally level, as Notes will correct it as best as possible.
Automatically Scanning
If you have "Auto" chosen, it will take a scan of it as soon as it looks good. The scan will move to the bottom-left corner of the display for later viewing. If you need to take more scans, you can do so now, but otherwise, tap your scan now to view the editing options.
Manually Scanning
Unlike with the "Auto" option, you'll have to tap the shutter button yourself if "Manual" is selected. You can also press a volume button to take the scan if tapping the shutter is too much finger gymnastics.
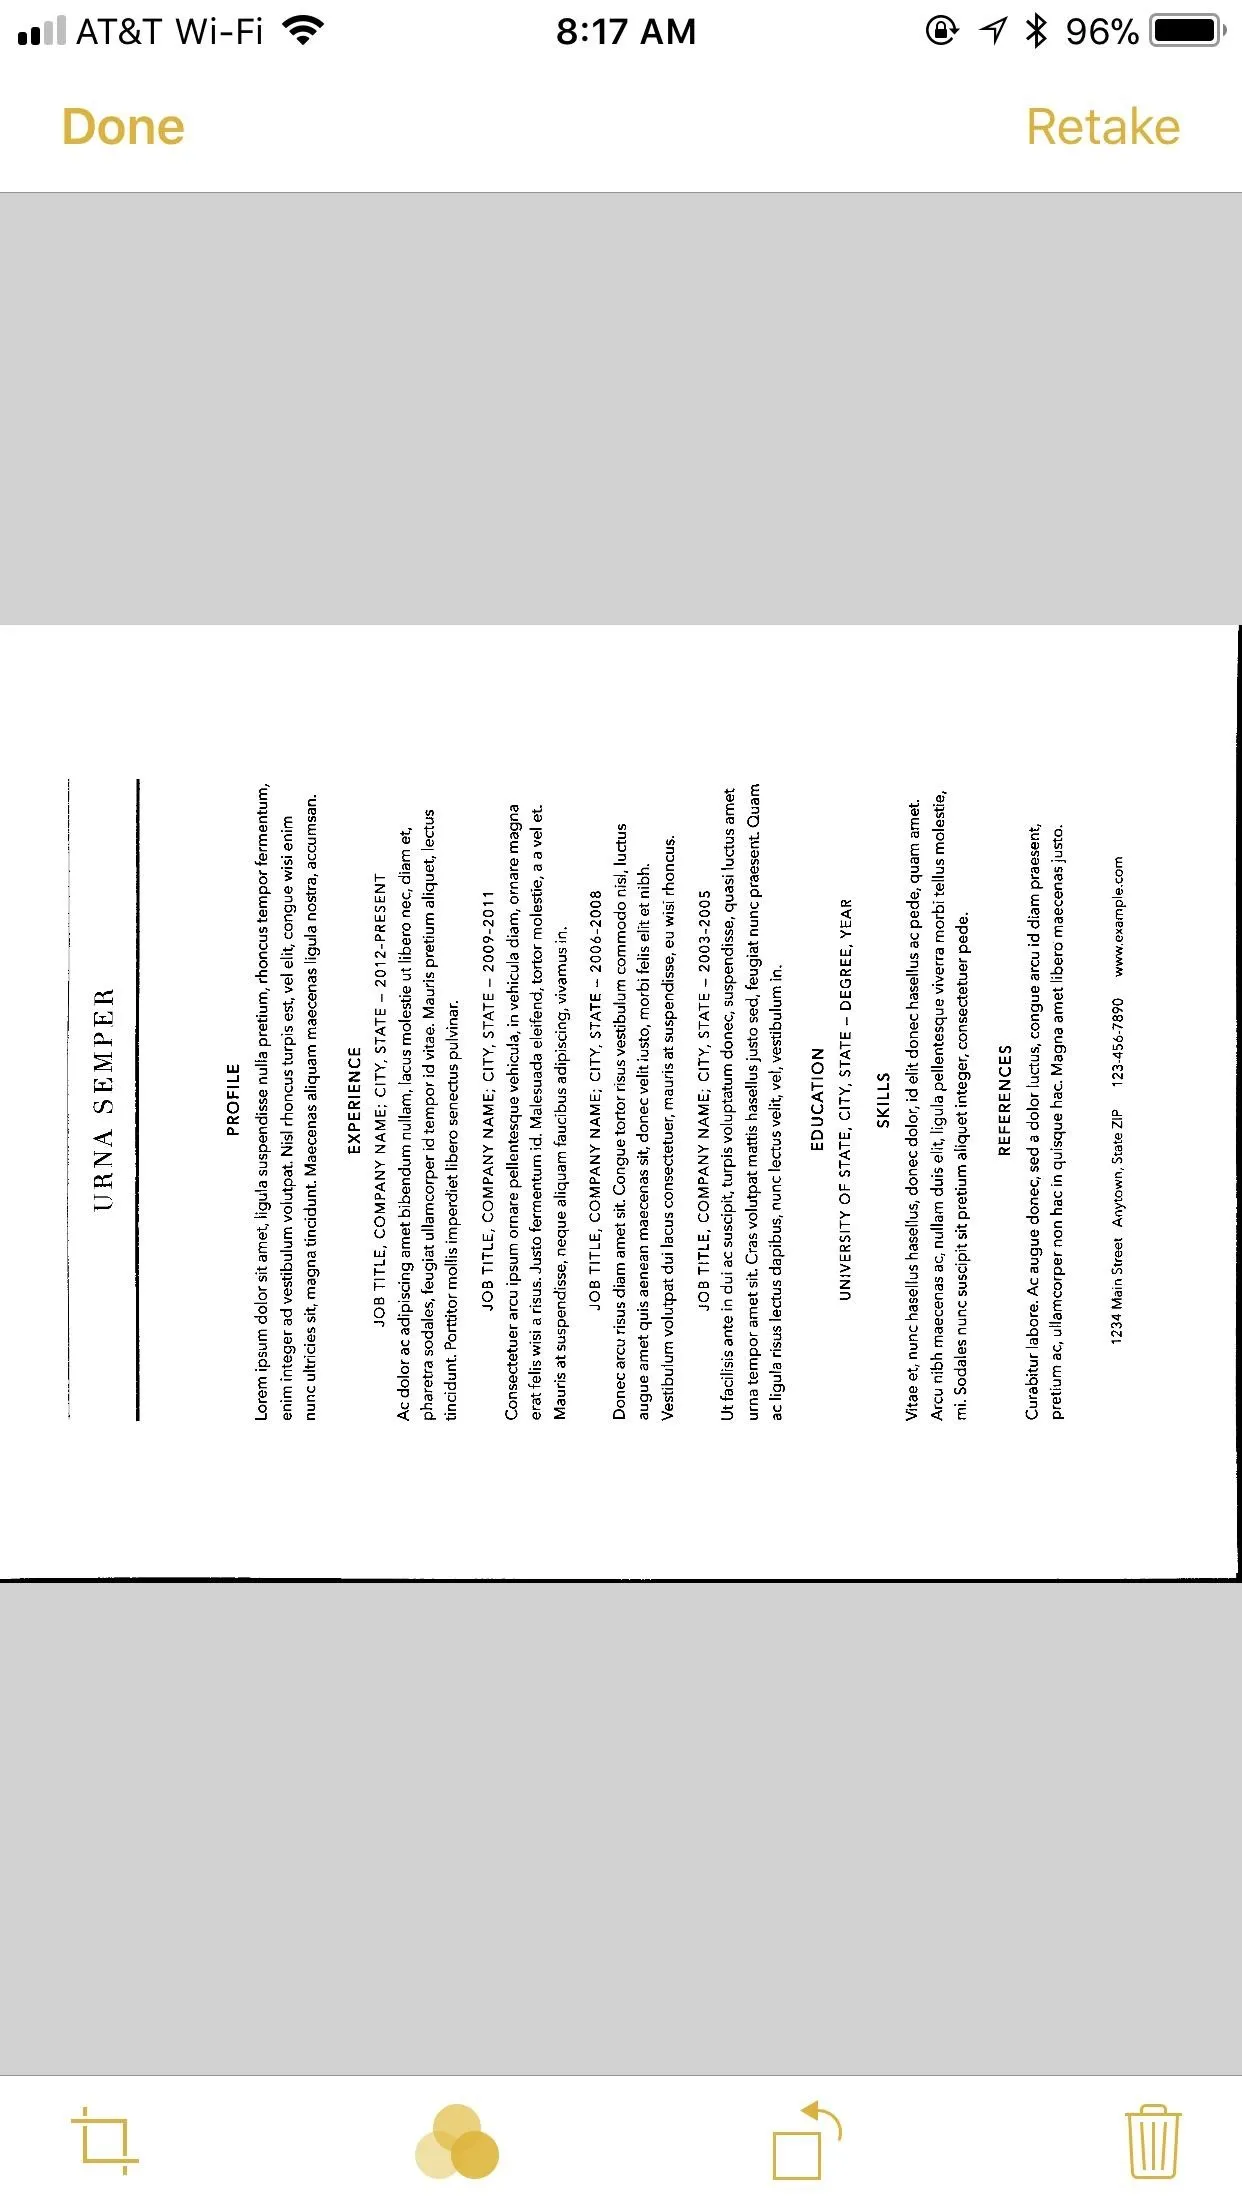
After manually scanning, you have the option to adjust the crop of the document. Drag the four corners of the selection until your scan is how you like it. Keep in mind, your image will always fit itself into a rectangular shape — the "crop" options are based on the angle of the document, not the shape.
If you need to redo the scan, simply tap "Retake." When finished, tap "Keep Scan," which will move it to the bottom-left corner so you scan more documents if necessary. If it's just that one scan, tap on it to view the editing options.

Edit Your Scanned Document
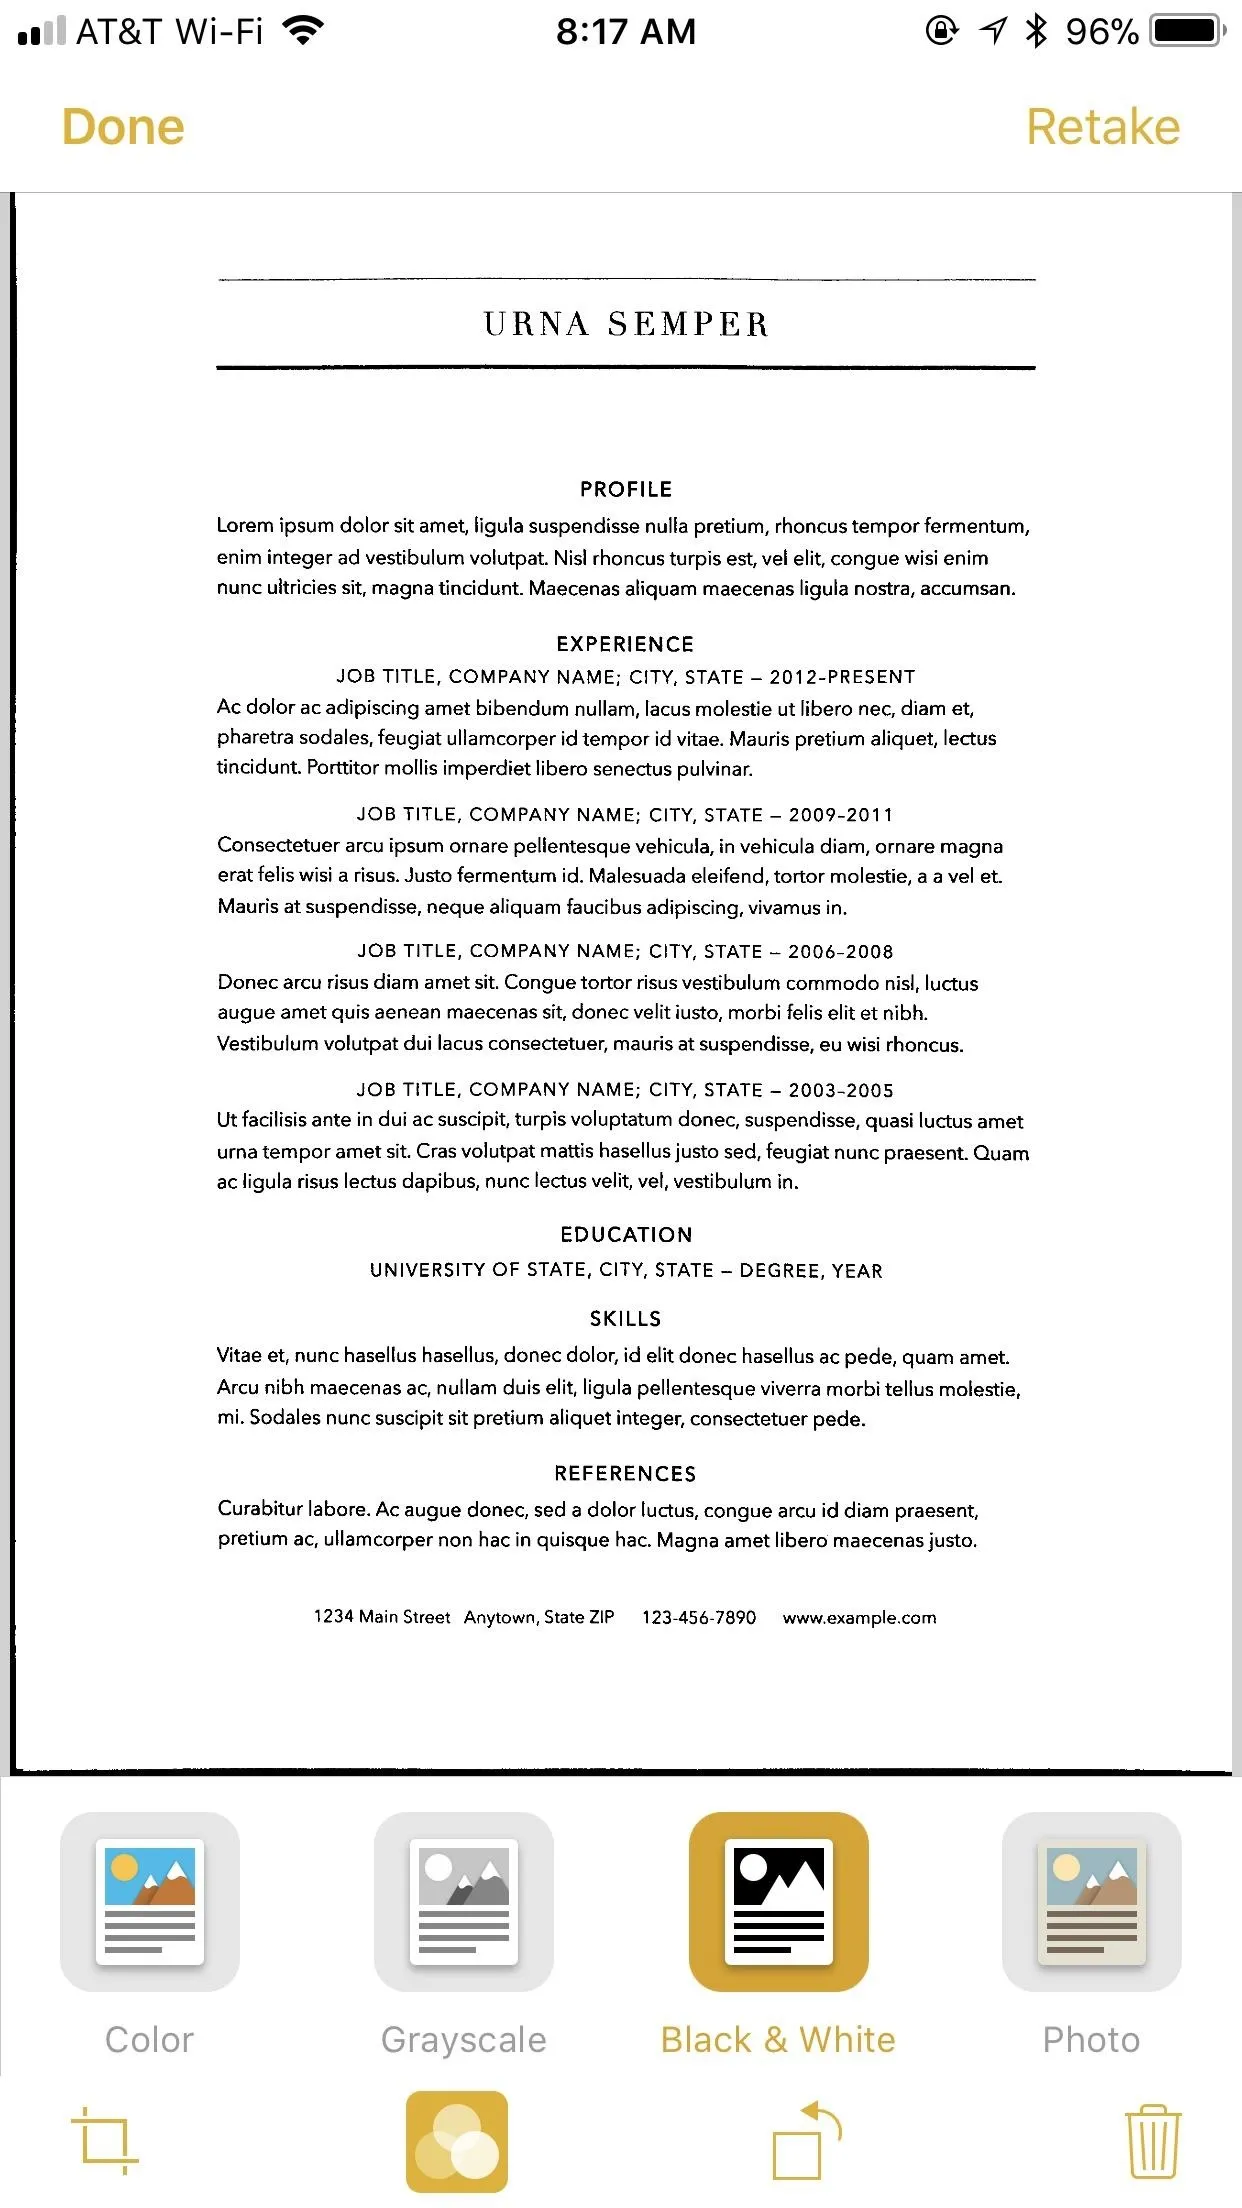
On the edit screen, the bottom row features some new and old tools to adjust your scan. If at any time you're not satisfied, you can tap "Retake" in the top-right corner of the display to go through Step 3 all over again to get a better scan.
- Crop: This button allows you to adjust each of the corners Notes has set to be a part of your scan. This is especially useful if your document was taken at an odd angle. Tap "Done" when finished.
- Filters: The three circles are, again, your color filter options. If you didn't choose an option previously, or if you'd like to change your choice, you can pick from the same four options here. Tap the circles again to leave this menu.
- Rotate: The third option lets you spin your document 90 degrees at a time.
- Trash: Finally, the trash can icon is exactly what it looks like; If you're you don't need the scan anymore, tap it, and your document is toast.

Cropping (left), color filter options (middle), and rotating (right).
Cropping (left), color filter options (middle), and rotating (right).
Save Your Edited Document
If you're happy with both your scan and any edits you have made, tap "Done." This action brings you back to the scanner, but tap "Save" to return to your note and embed the document(s).
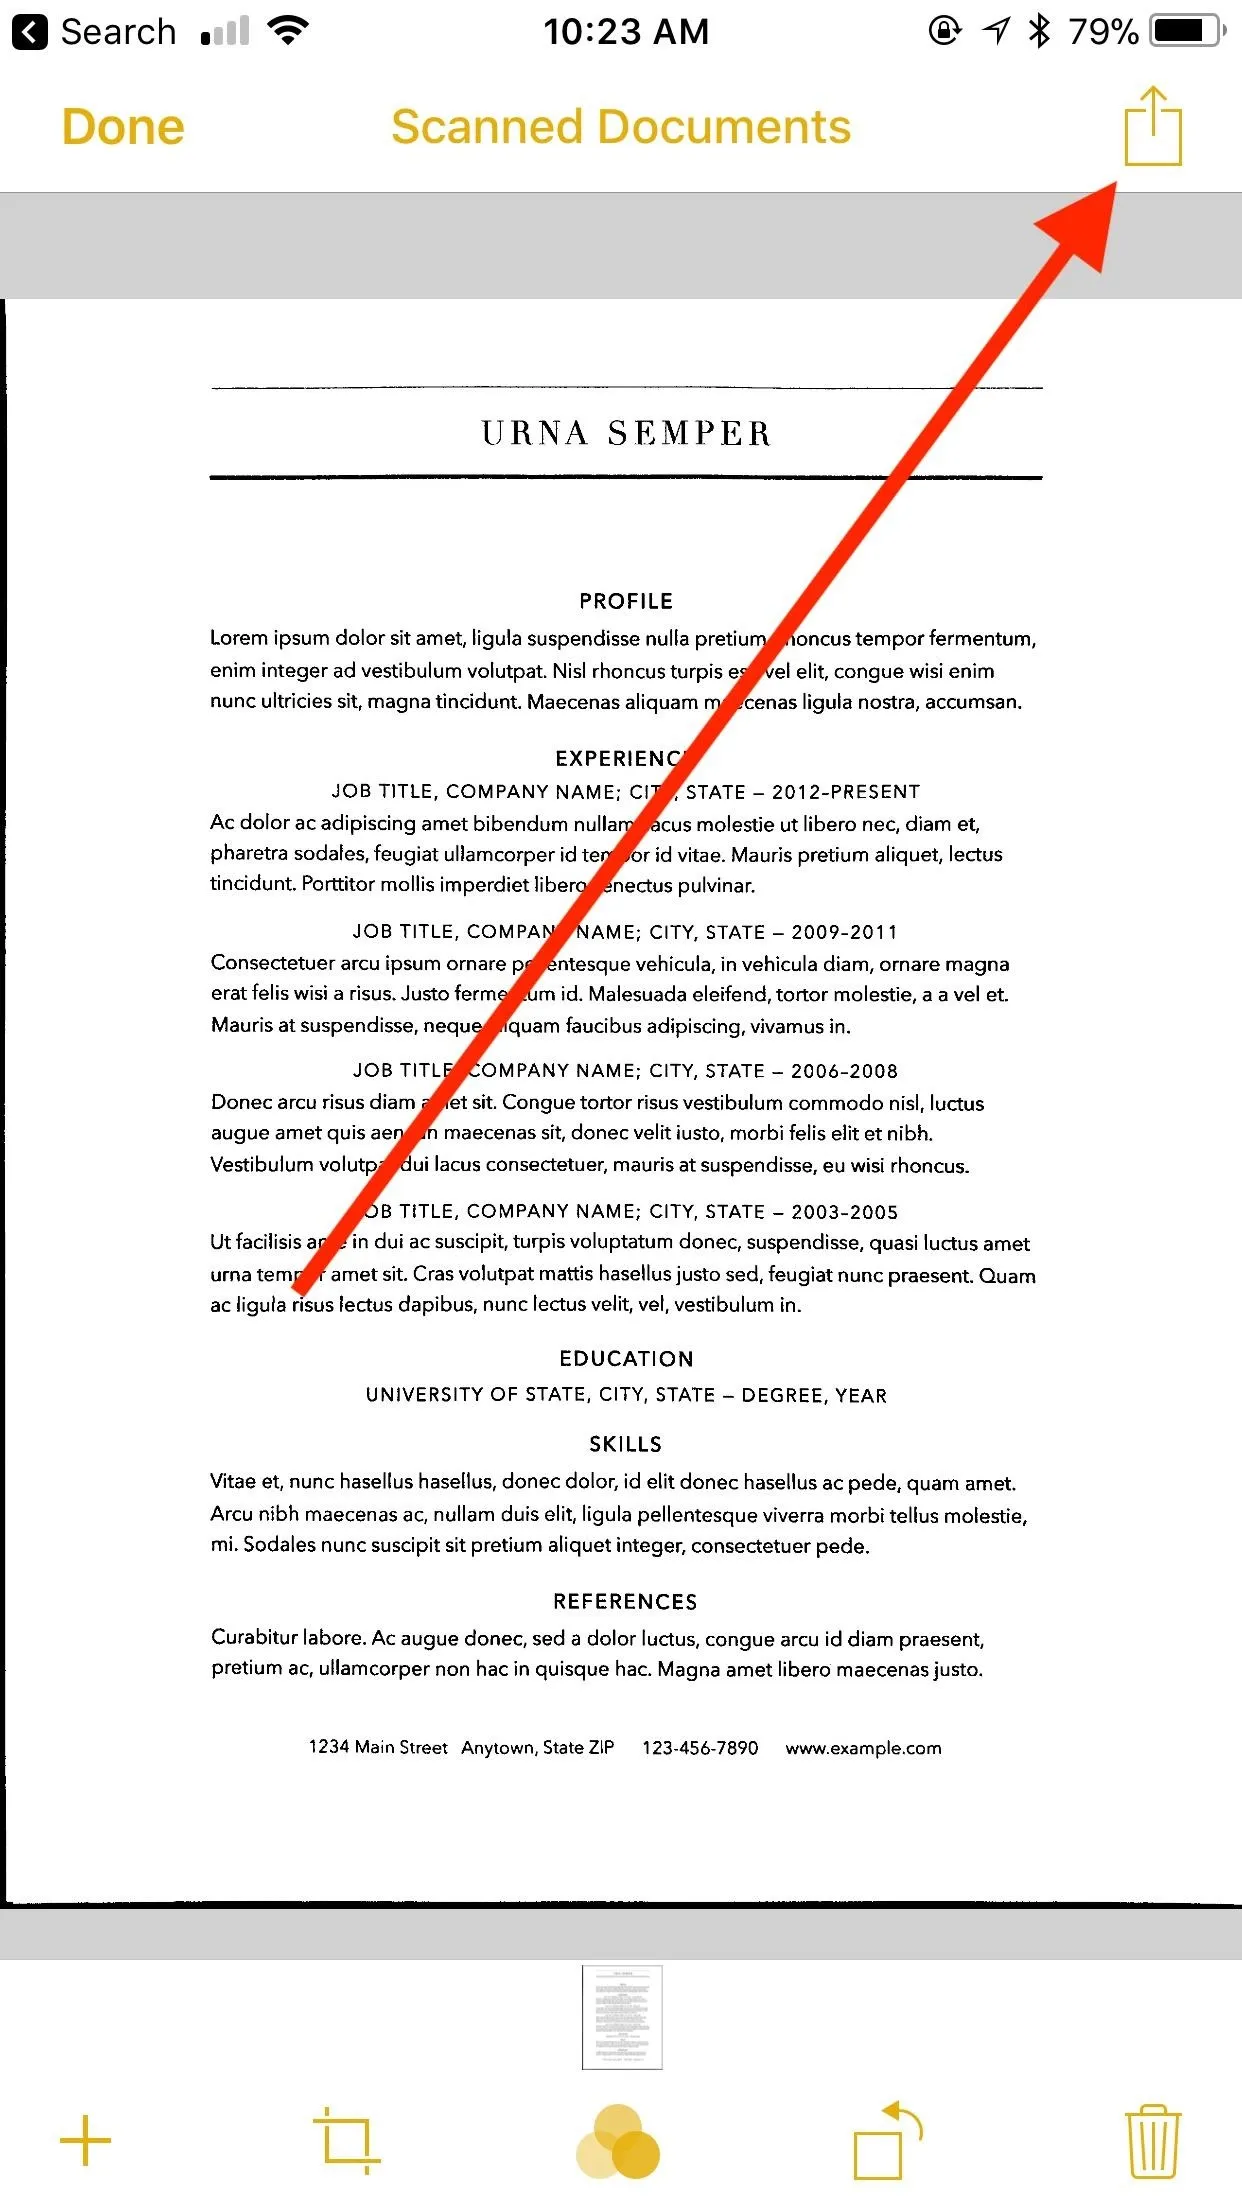
If you tap on an attached document in a note, you have access to all the same editing tools as before, plus some new options. A "+" button in the bottom-left corner of the display will let you add a new scan, while the share button in the top-right corner allows you to send your note to any of the options in the share sheet.
Use the Share Sheet Options
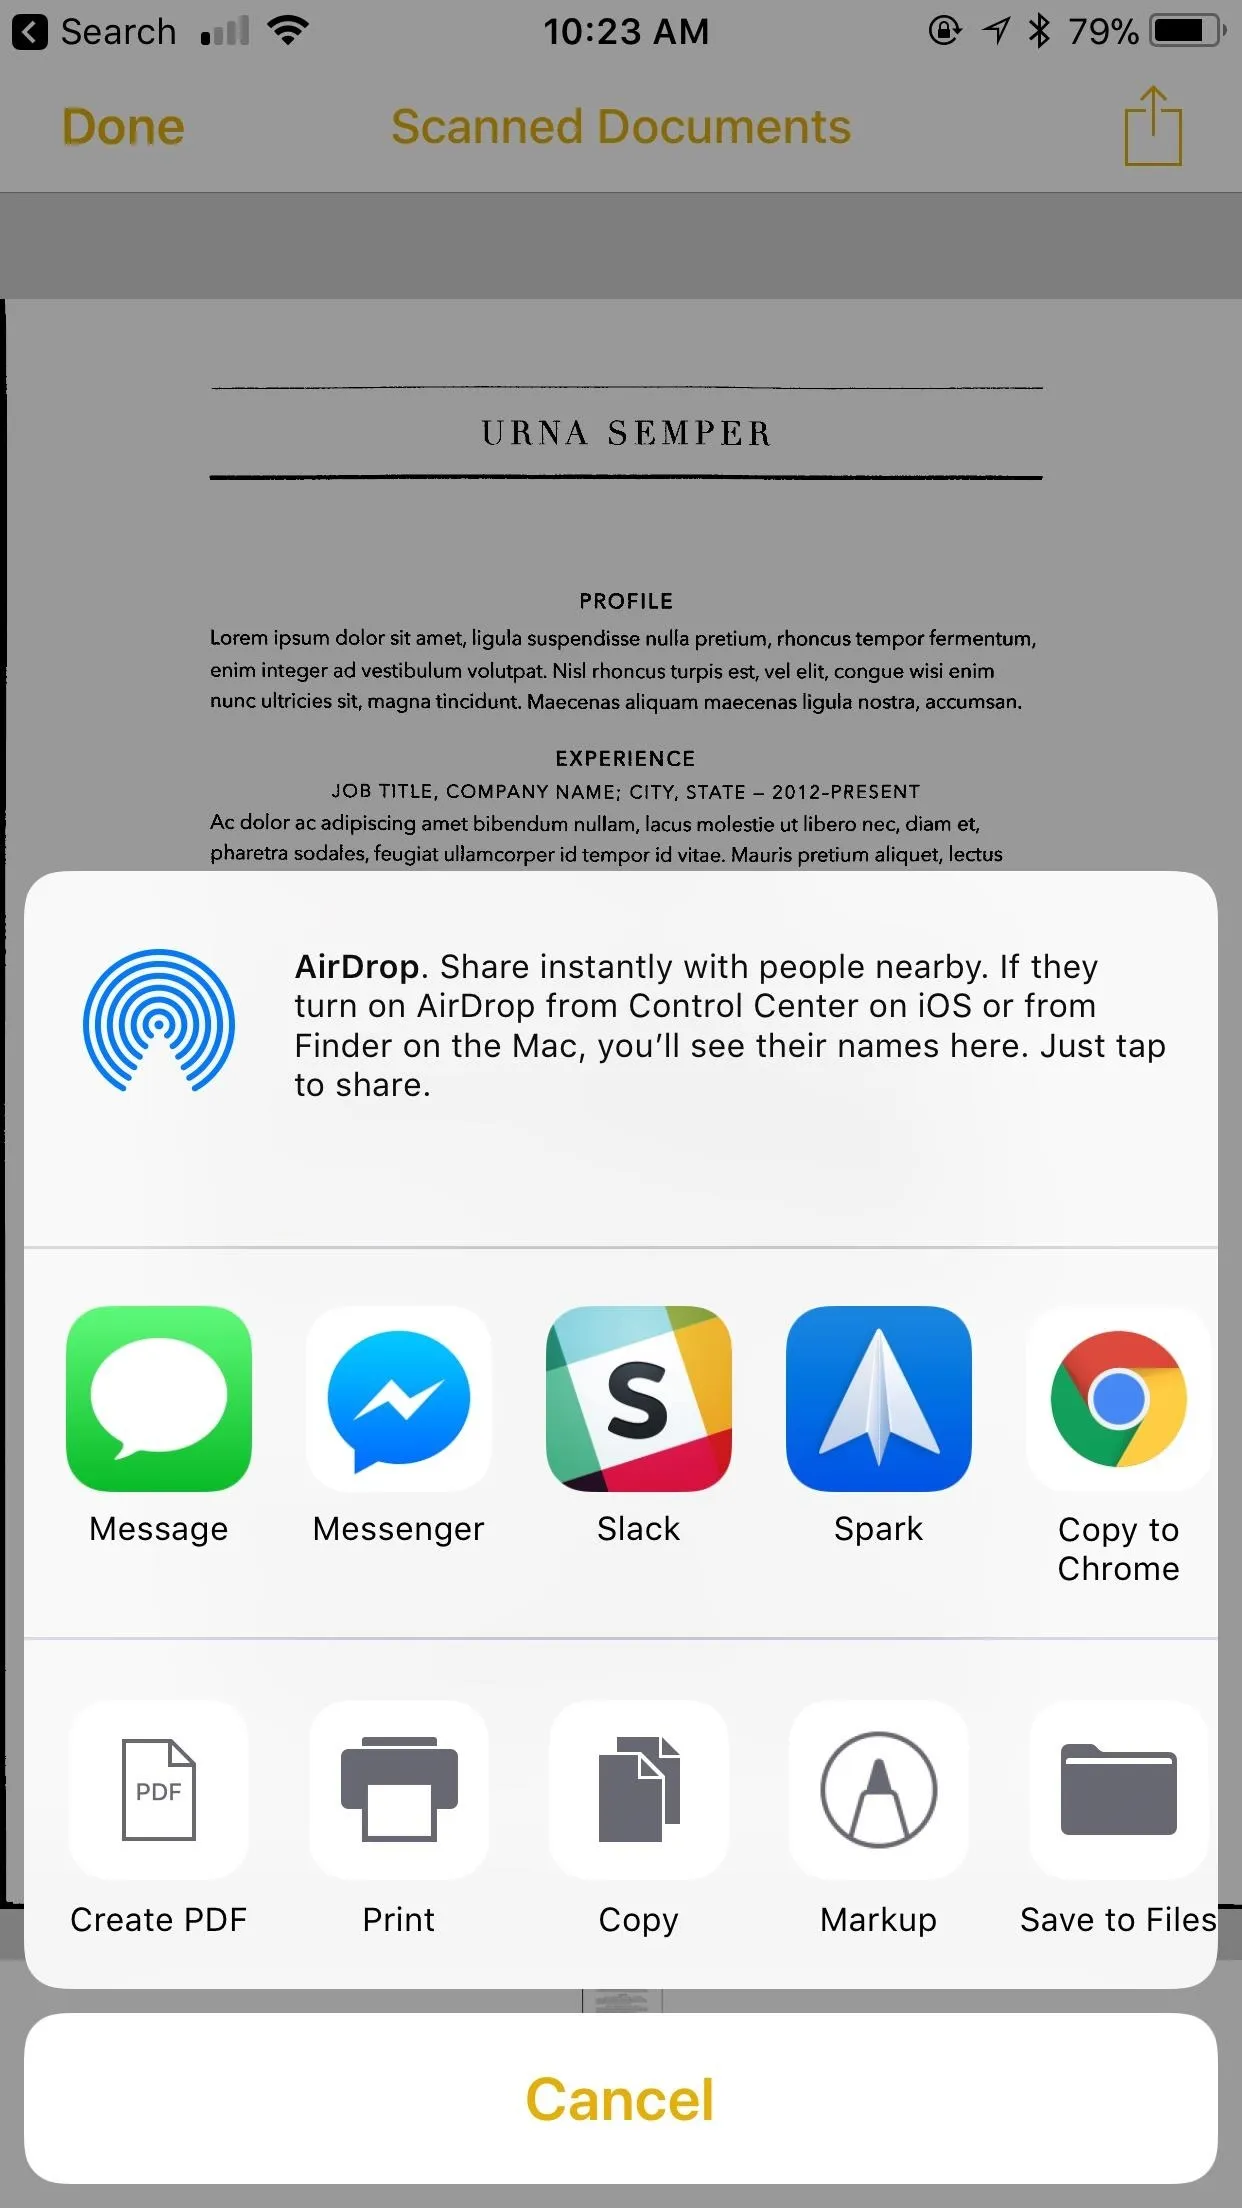
Let's go back to the share sheet from Step 5. There are a lot of functions here, but let's focus on the bottom row of activities. The top sharing row will vary based on which apps are installed on your device, but the bottom row features most of the same options across all iOS devices.
- Create PDF: As you would expect, tapping this option turns your scan into a PDF. From here, you can access a new share sheet specifically for your PDF, as well as access the Markup tool in the top-right corner (more on that later). Tap "Done," then choose "Save File To" to save the file or "Delete PDF" to erase it.
- Print: Tap this option to print your scan. Choose your printer, then select how many copies you'd like to print.
- Copy: Tap on this option to save your scan to your iOS clipboard. Move to another note or another app to paste your scan as you see fit.
- Markup: Markup gives you tools to write and draw on your scan. Choose your writing tool from the table below. Tap the black dot to choose from six different colors. Tap the "+" button on the far right to access an additional suite of tools, such as "Text" for text boxes, "Signature" to add a signature, "Magnifier" to add a magnifying glass to your scan, or adding shapes by tapping on one at the bottom of the menu. Use the undo and redo arrows at the top of the display to fix any mistakes.
- Save to Files: Tap this option to save your scan to either your iCloud Drive in the Files app or to a folder on your device with "On My iPhone."
- Follow Gadget Hacks on Facebook, Twitter, YouTube, and Flipboard
- Follow WonderHowTo on Facebook, Twitter, Pinterest, and Flipboard
Cover image and screenshots by Jake Peterson/Gadget Hacks


Comments
Be the first, drop a comment!