


As part of the iOS 11 update, Apple added a document scanner function that creates high-quality digital copies of physical documents, but it was only available inside the Notes app. With iOS 13, Apple has built its scanner right into the Files app, enabling you to quickly create PDFs with your iPhone and do more with them.
By including the scanner in Files, scans can be saved locally on the iPhone, on iCloud Drive, or in any third-party app with Files support such as Box, Dropbox, and Google Drive. The scanner supports some powerful features, including scanning documents with portrait and landscape pages, as well as options to scan in color, grayscale, or black and white. It will also compensate for scanning at an angle, skewing the document so that the final image looks like it was scanned head-on.
Many of you may find that you can get rid of third-party scanner apps entirely.
- Don't Miss: 200+ Exciting New iOS 13 Features for iPhone
Choose Where to Save the Scan
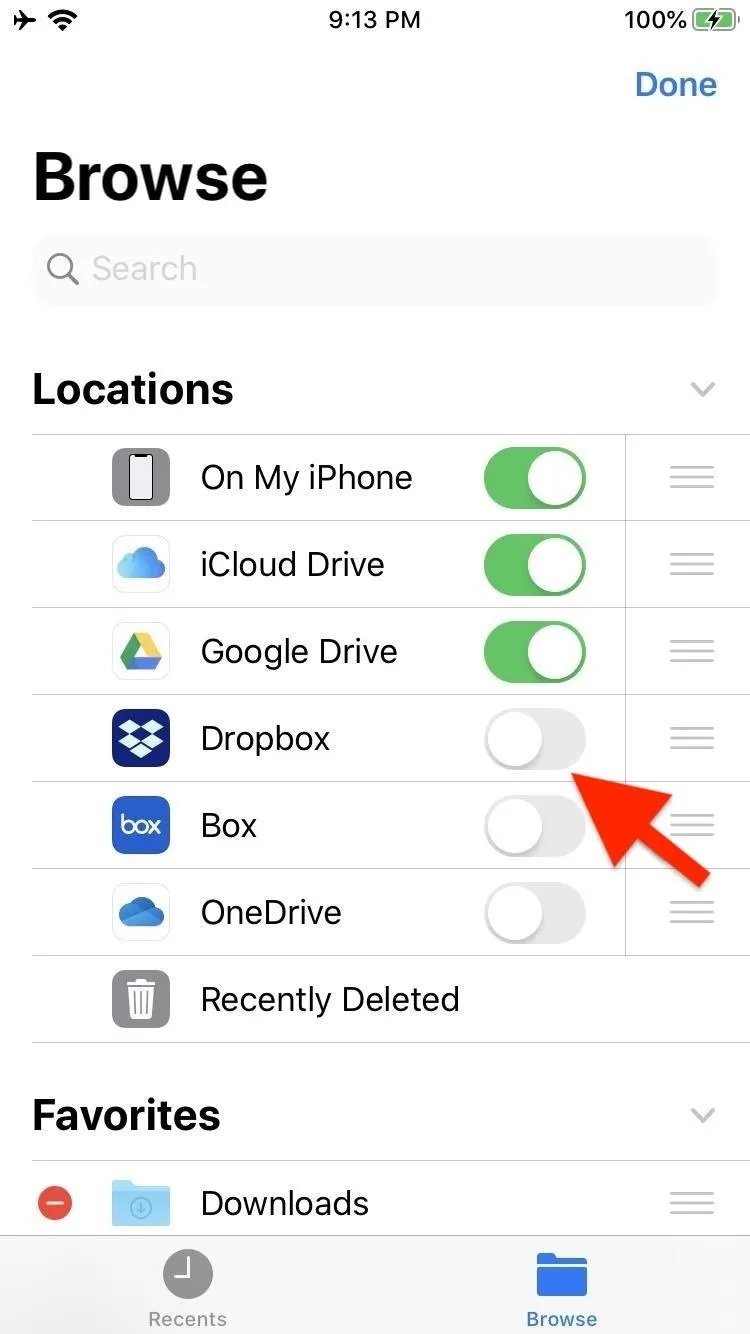
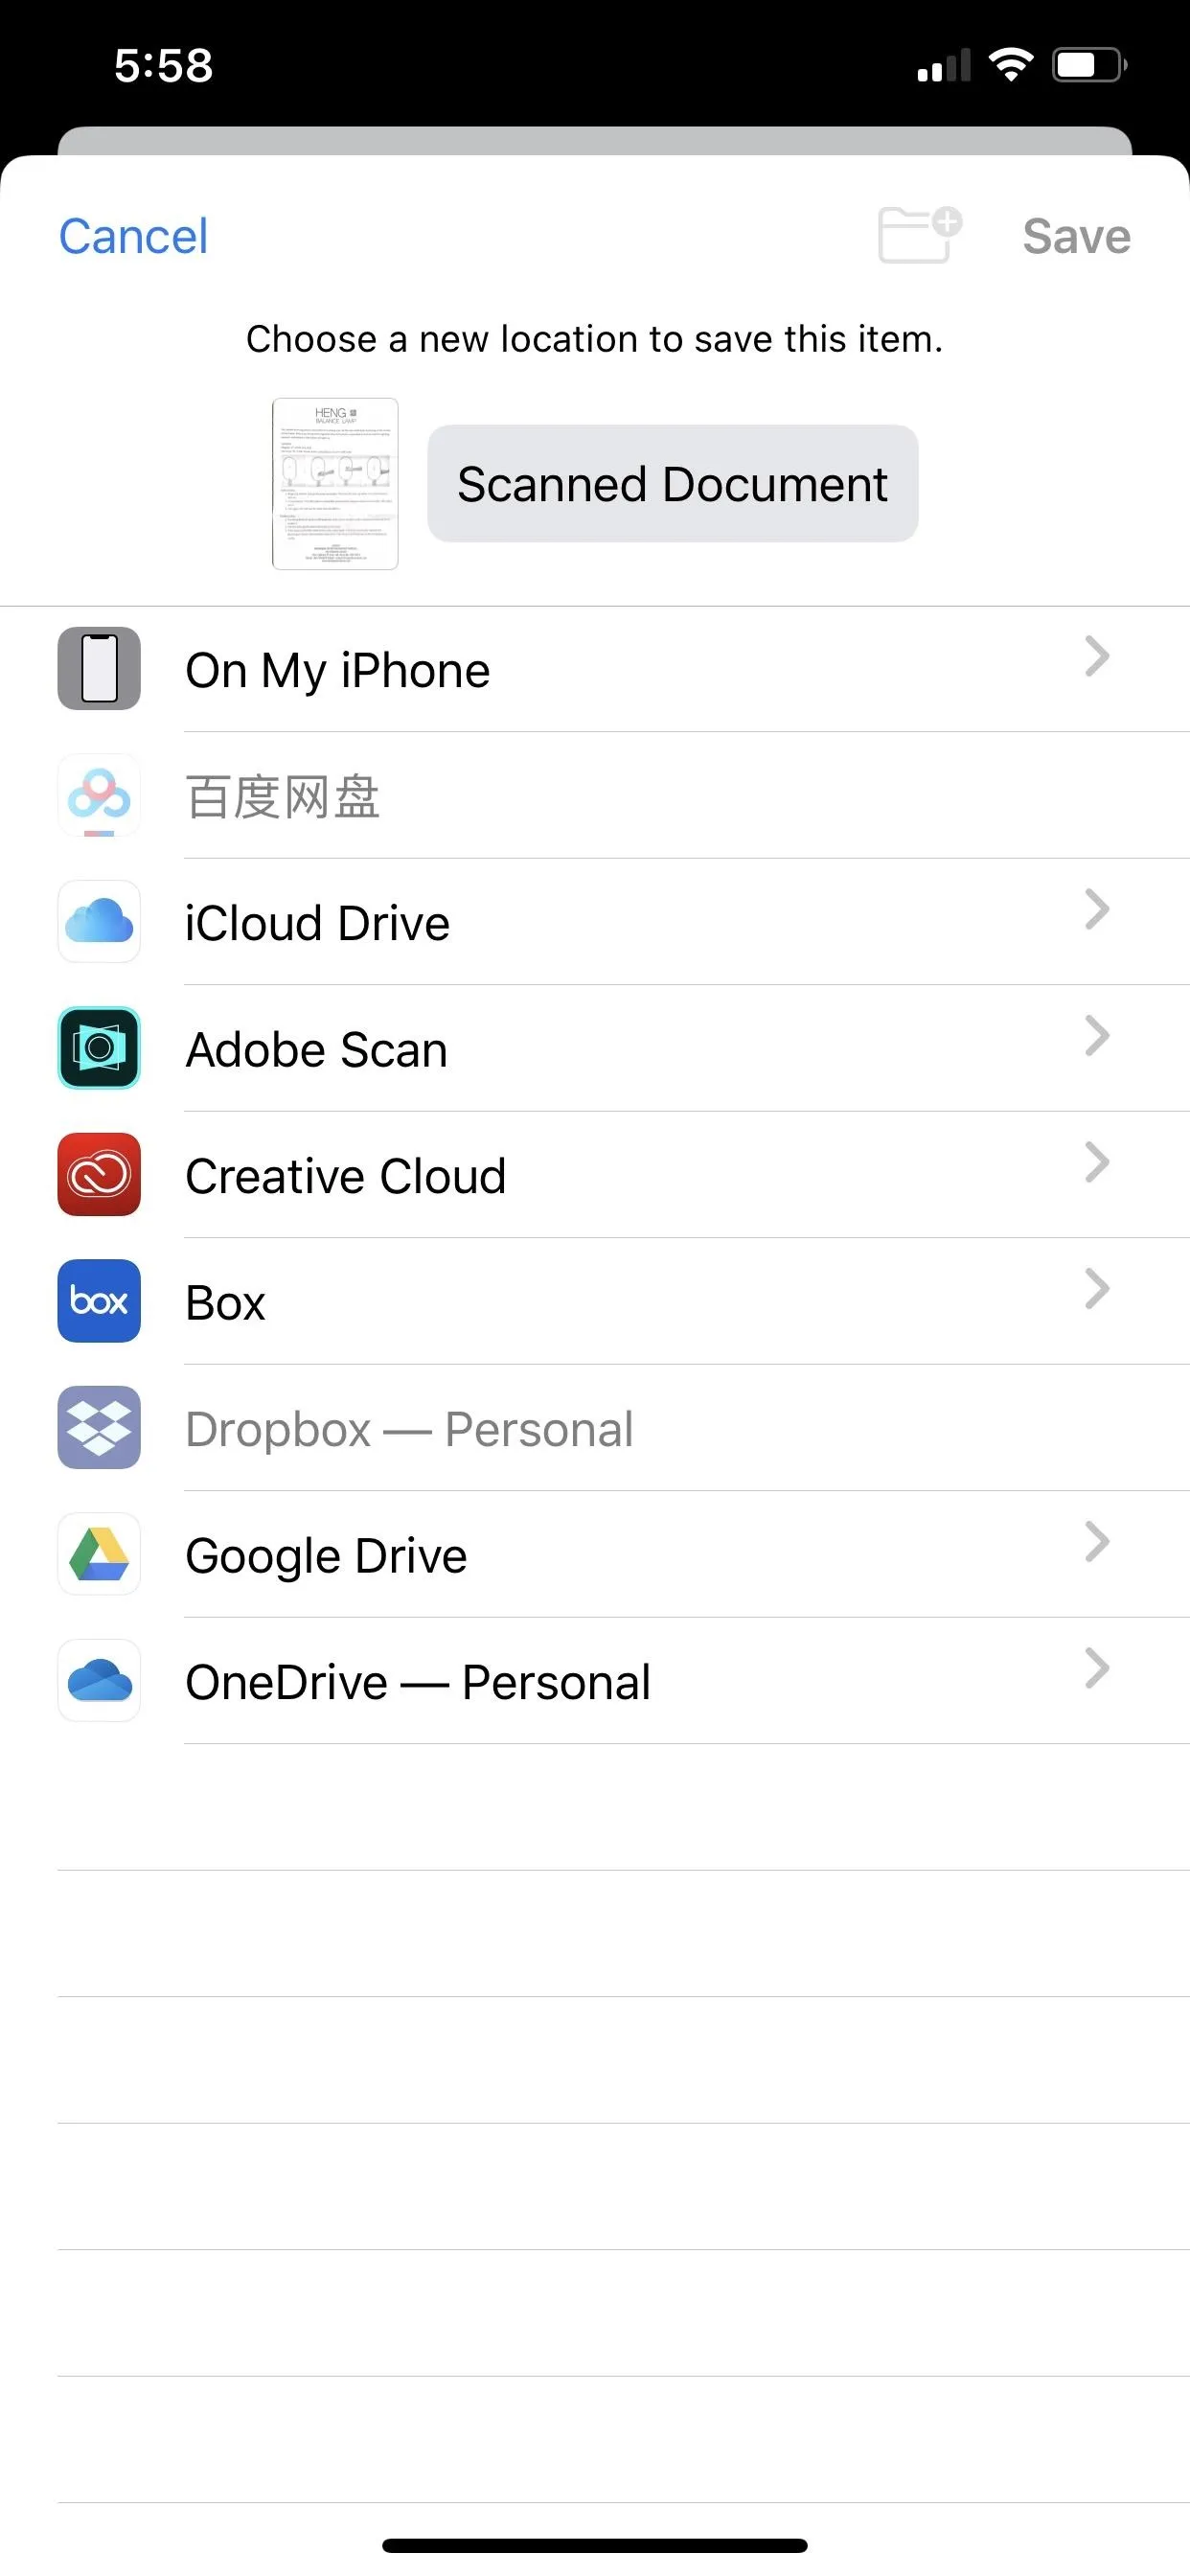
Open the Files app and navigate to where you would like to save the scan. Locations include anywhere in iCloud Drive; third-party cloud storage apps such as Adobe Creative Cloud, Amazon Drive, Baidu Network Disk, Box, Boxcryptor, Dropbox, Google Drive, Microsoft OneDrive, and SugarSync; and the "On My iPhone" built-in storage to keep the file locally.
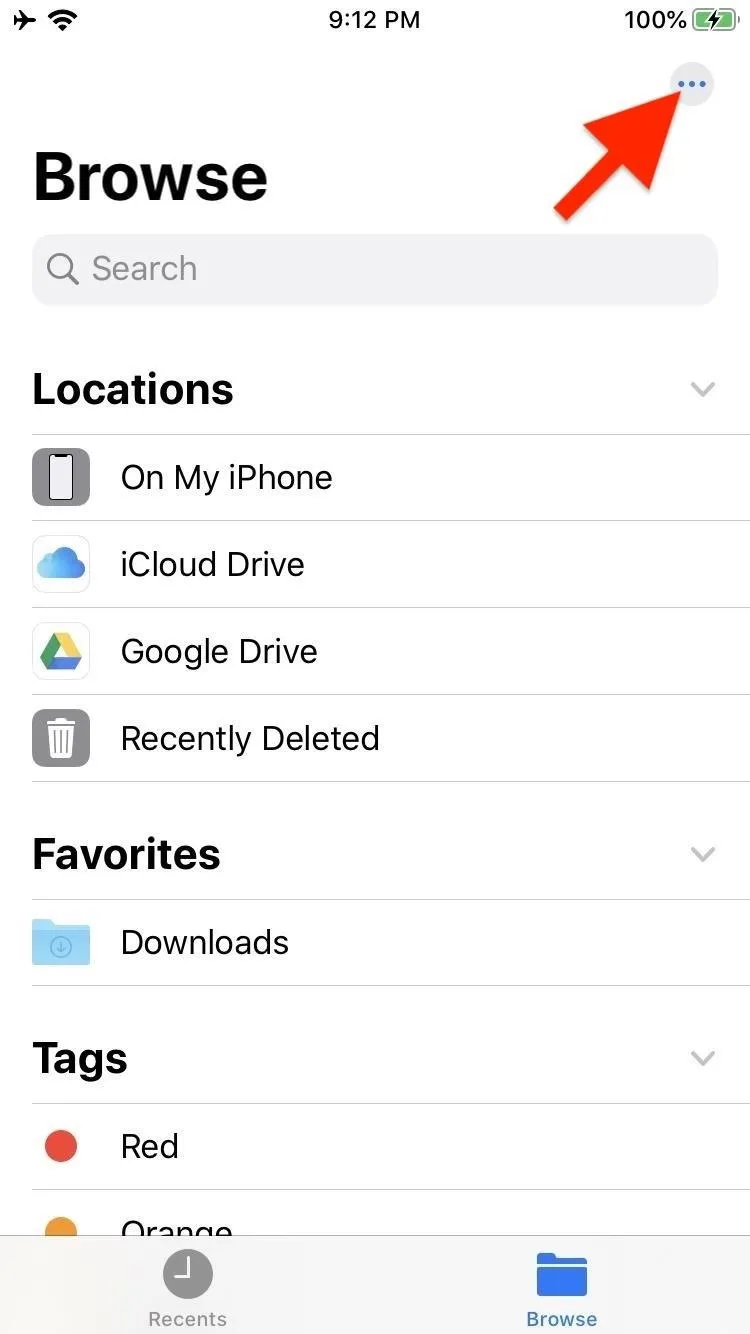
If the service you would like to save to doesn't show up, tap the ellipsis (•••) in the upper right of the "Browse" page, then tap "Edit" on the action sheet. From here, you can choose which services you can see in the Files app, but only ones that are currently installed on your device.
If you toggle one on, make sure to open it up from the "Browse" page after hitting "Done" because you may need to authenticate it first with your user credentials before you can read and write from Files. Also, note that apps that use iCloud may show up here too, such as Adobe Scan and Documents by Readdle, but likely will not be able to scan files to them since they are read-only.
Open the Document Scanner
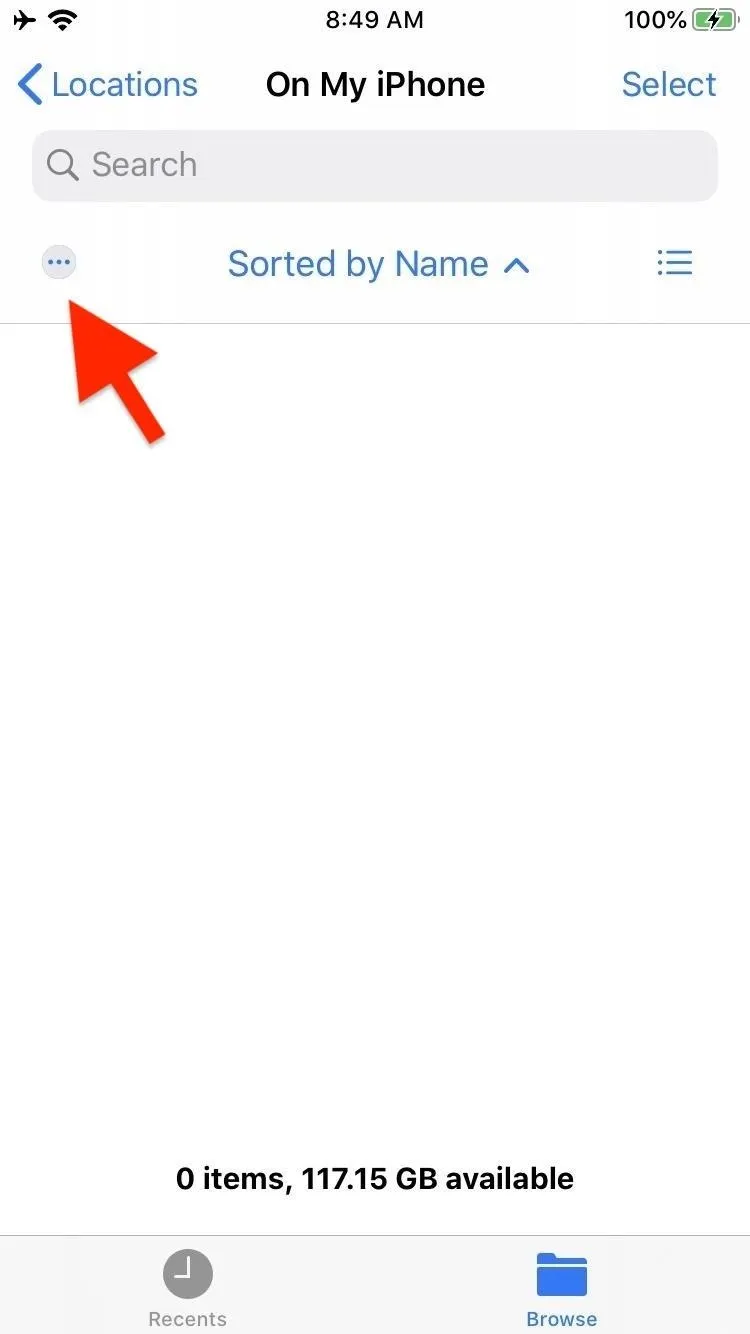
When you get to where you'd like to save the file, scroll up a bit to expose a hidden toolbar under the search field. Tap the ellipsis (•••) icon, and then tap "Scan Documents."
Select Your Scan Options
Placing the document on a surface with good contrast and lighting will help the scanner to find the edges of the paper. For example, a white document on a black table will be easier to scan compared to one placed on a white table.
The scanner can also handle both portrait and landscape documents. Just flip your iPhone sideways to whichever orientation the paper is, and iOS will take care of the rest.
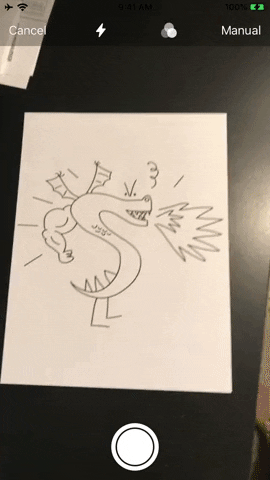
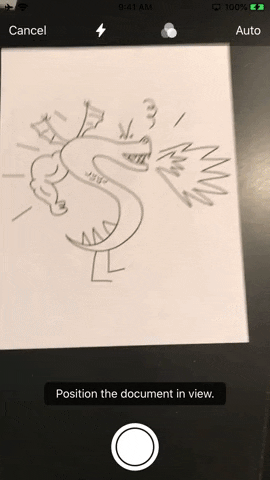
The toolbar at the top gives you a few options for how to scan the document, including flash activation, color options, and automatic or manual scanning.
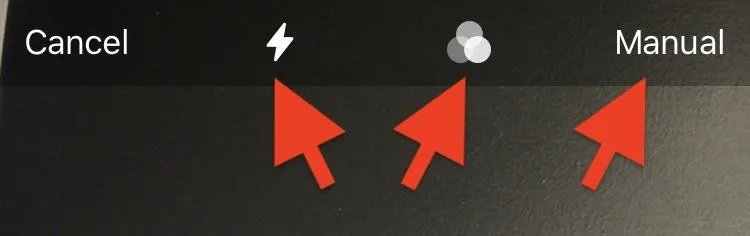
Flash Activation
Tap the lightning bolt icon to view flash options, which include Auto, On, or Off. Generally iOS does an excellent job of knowing when to use the flash, so "Auto" should be fine for most scans. If not, use "On" or "Off" to control the flash manually. If you follow the above suggestions for document placement, "Auto" or "Off" will give you the best result.
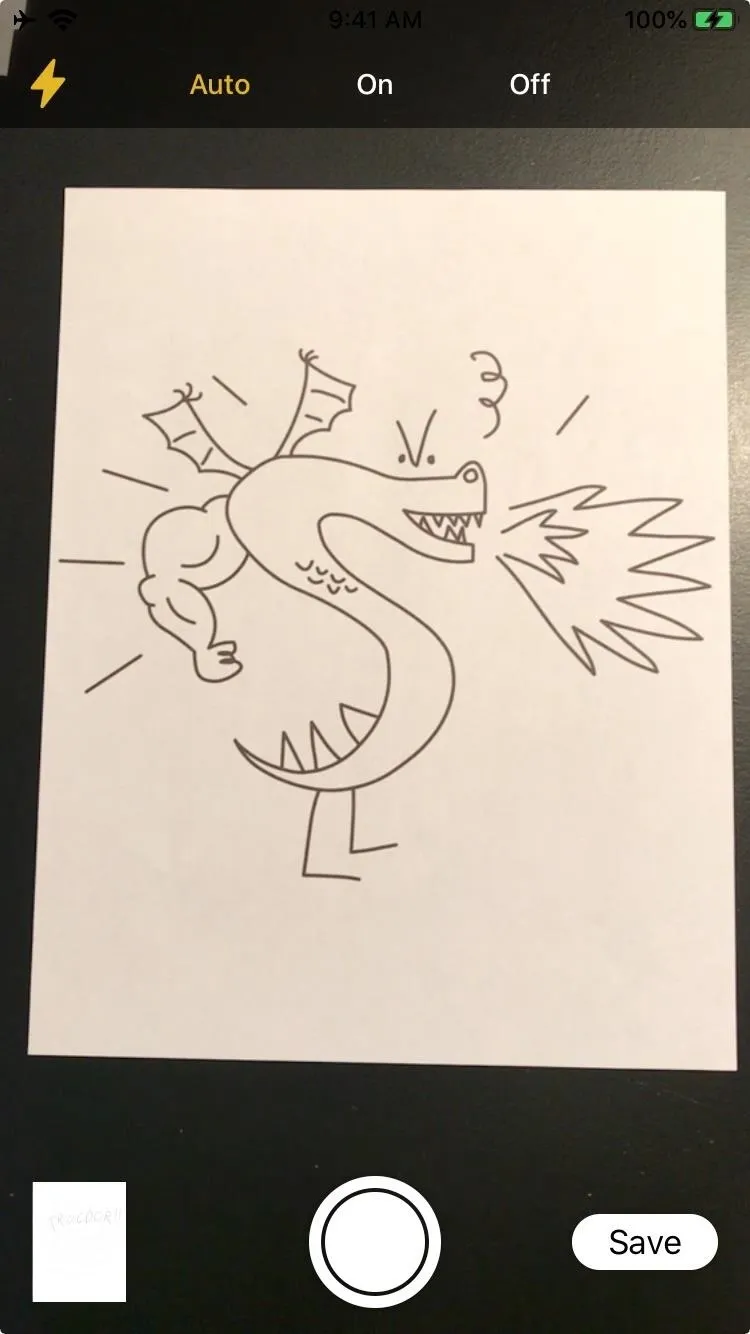
Note: You will likely see a blue box rather than yellow, but it works the same no matter the color.
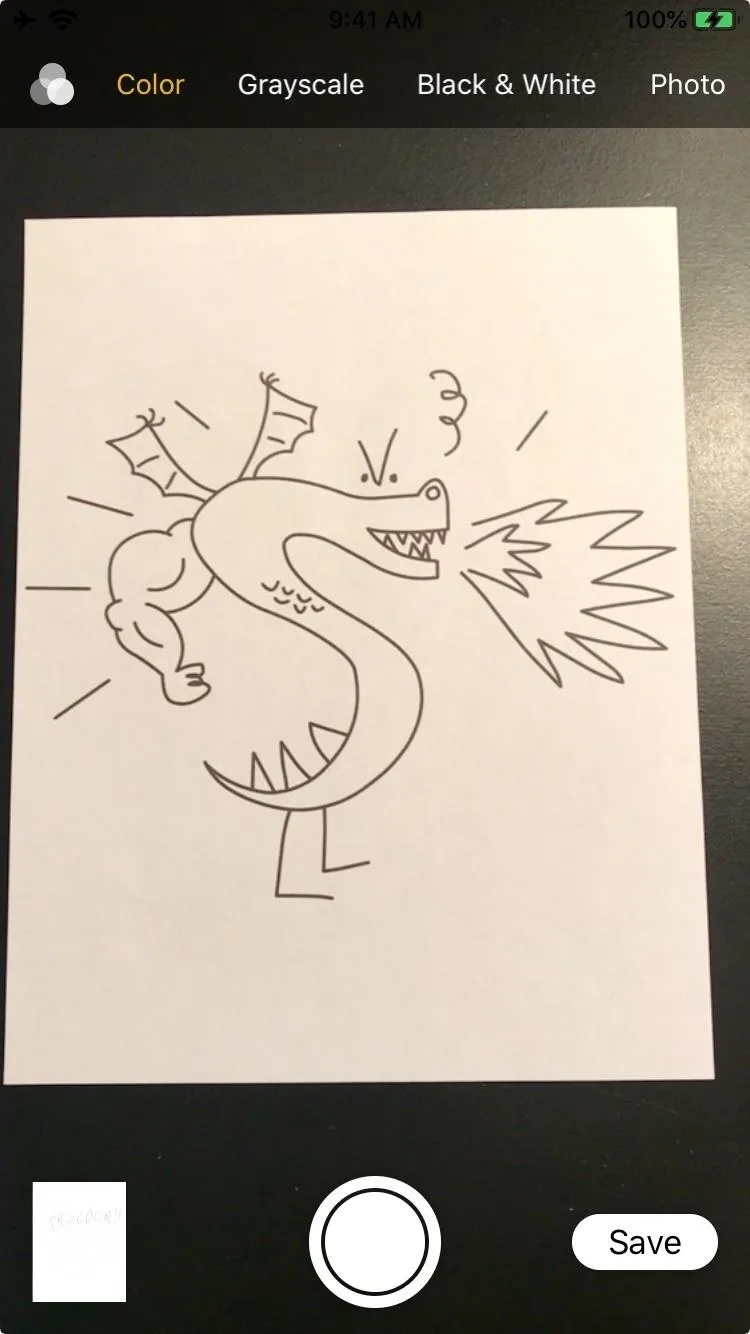
Color
From the three-circled icon, the color options include Color, Grayscale, Black & White, and Photo. "Color" is best for color documents, while "Grayscale" is best for documents with images that aren't in color. "Black & White" works best for documents that are mostly text and will help create a scan with good contrast. Finally, "Photo" will keep the scans as image files, rather than converting them to a PDF.
If file size is a concern, the "Black & White" option will create the smallest size PDF, followed by "Grayscale," then "Color." The "Photo" option will create the largest files of all of the options.
Shooting Mode
The shooting mode options include Auto or Manual. In "Manual," a blue or yellow box will appear around the document, and it won't scan until you press the shutter button. After that, you'll have the chance to fine-tune where the corners of the paper are, then complete the scan by tapping "Keep Scan" or go back to the scanning screen by tapping "Retake."
With "Auto," iOS will attempt to find the document and automatically scan it. You'll know when it finds the document when you see a blue or yellow box around it, followed by a small spinner and a thumbnail of the image going down to the corner. You can also force iOS to scan early by hitting the shutter button, at which point you can tweak the corners similar to using Manual mode.
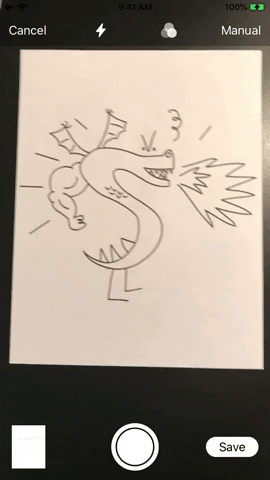
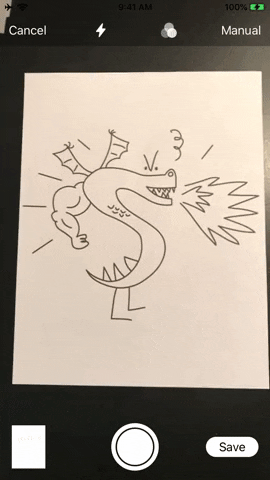
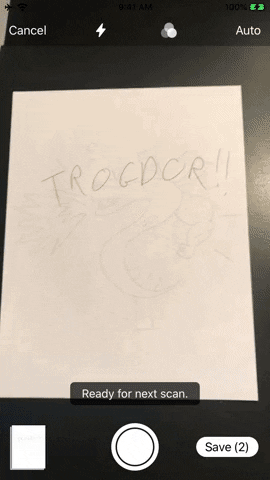
Scan the Document
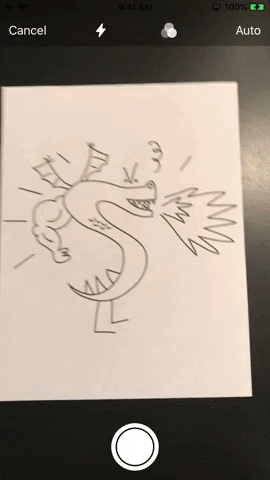
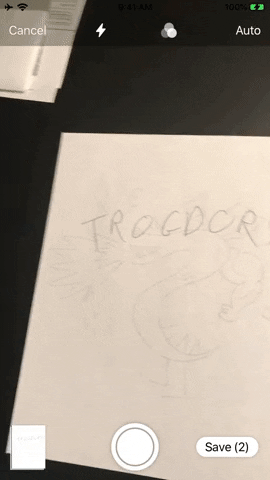
After selecting the scanning options, point the camera at your document. Move the camera around until you see a blue or yellow box surround the document. Hold the camera steady, and iOS will scan the document if using Auto mode. Otherwise, tap the shutter button.
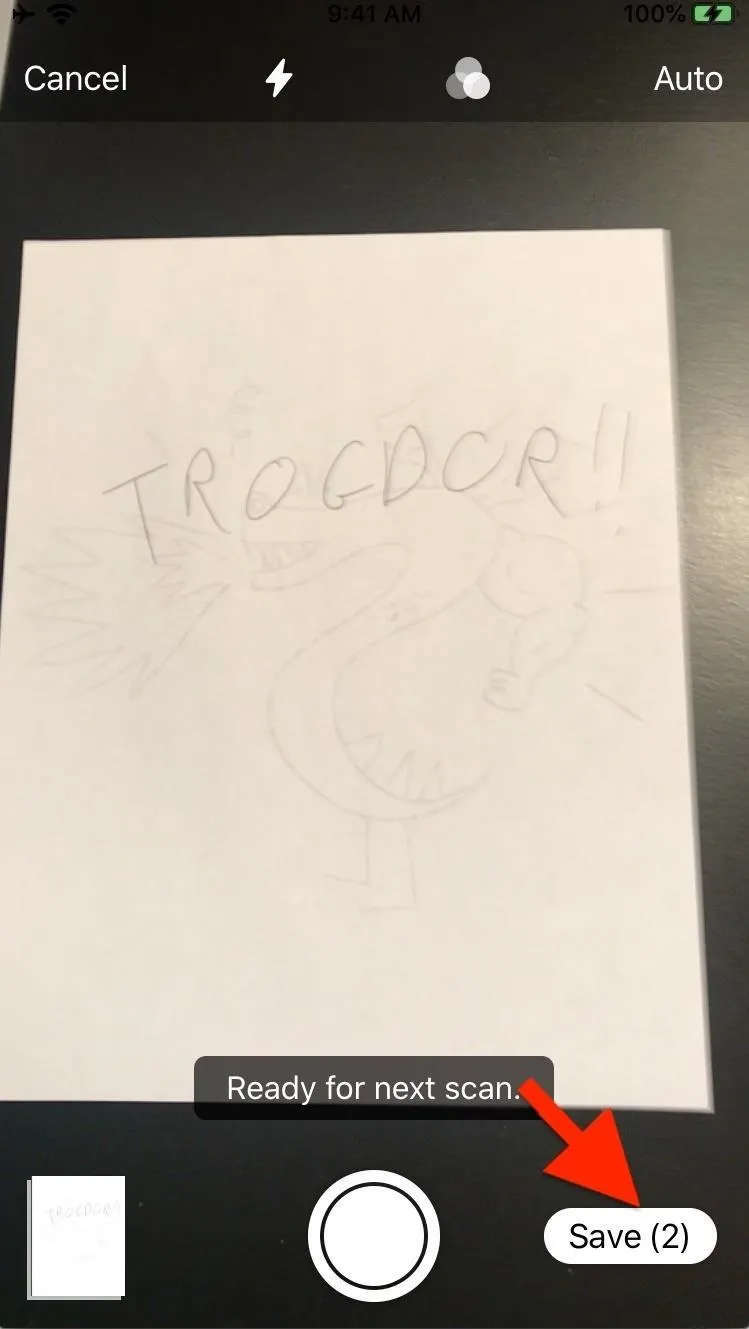
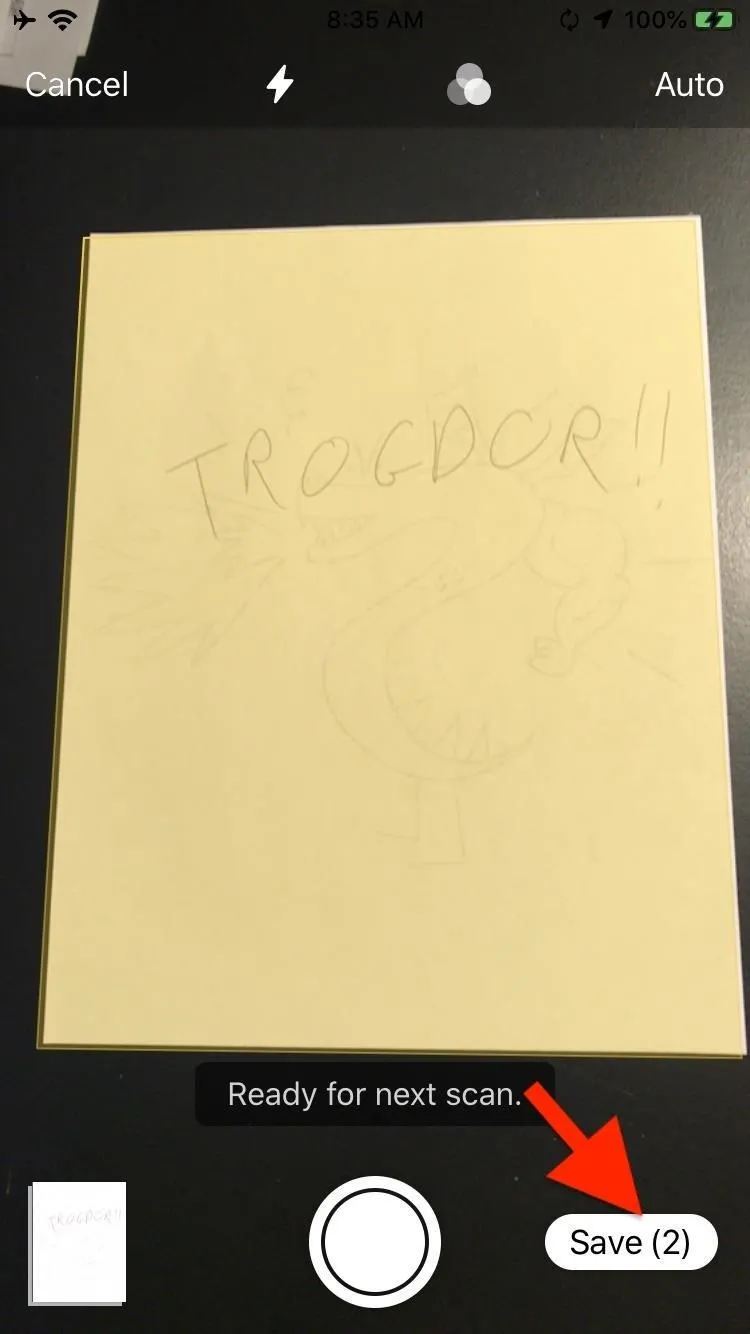
After scanning, you can keep scanning more documents. The "Save" button in the lower right will show how many pages have been scanned, which will later be saved as either a multipage PDF or multiple images. You can also combine portrait and landscape pages in the same set of scans, and the final PDF will accurately reflect their orientation.
If your scans look good, you can tap "Save" to finish up and jump to Step 6. But if you want to make some changes to the color, crop, or orientation, move on to Step 5 below.
Edit the Scan (If Necessary)
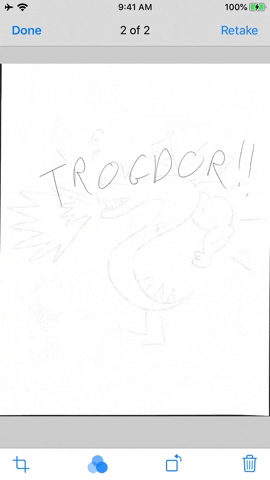
Tapping the thumbnail of your scans in the lower left will open the scan editor. Here, you can swipe between all of the scans you've made and edit each of them. You can tweak the edges of the document by tapping the Crop tool in the toolbar, change the Color mode (Color, Grayscale, Black & White, or Photo), or Rotate counterclockwise.
If any pages look particularly bad, you can tap "Retake" to rescan just that page, which will replace it while keeping the pages in the same order they were originally scanned in. Alternatively, you can tap the trash can icon to delete any page completely. When done making edits, tap "Done" to exit the editor.
Save Your Scan
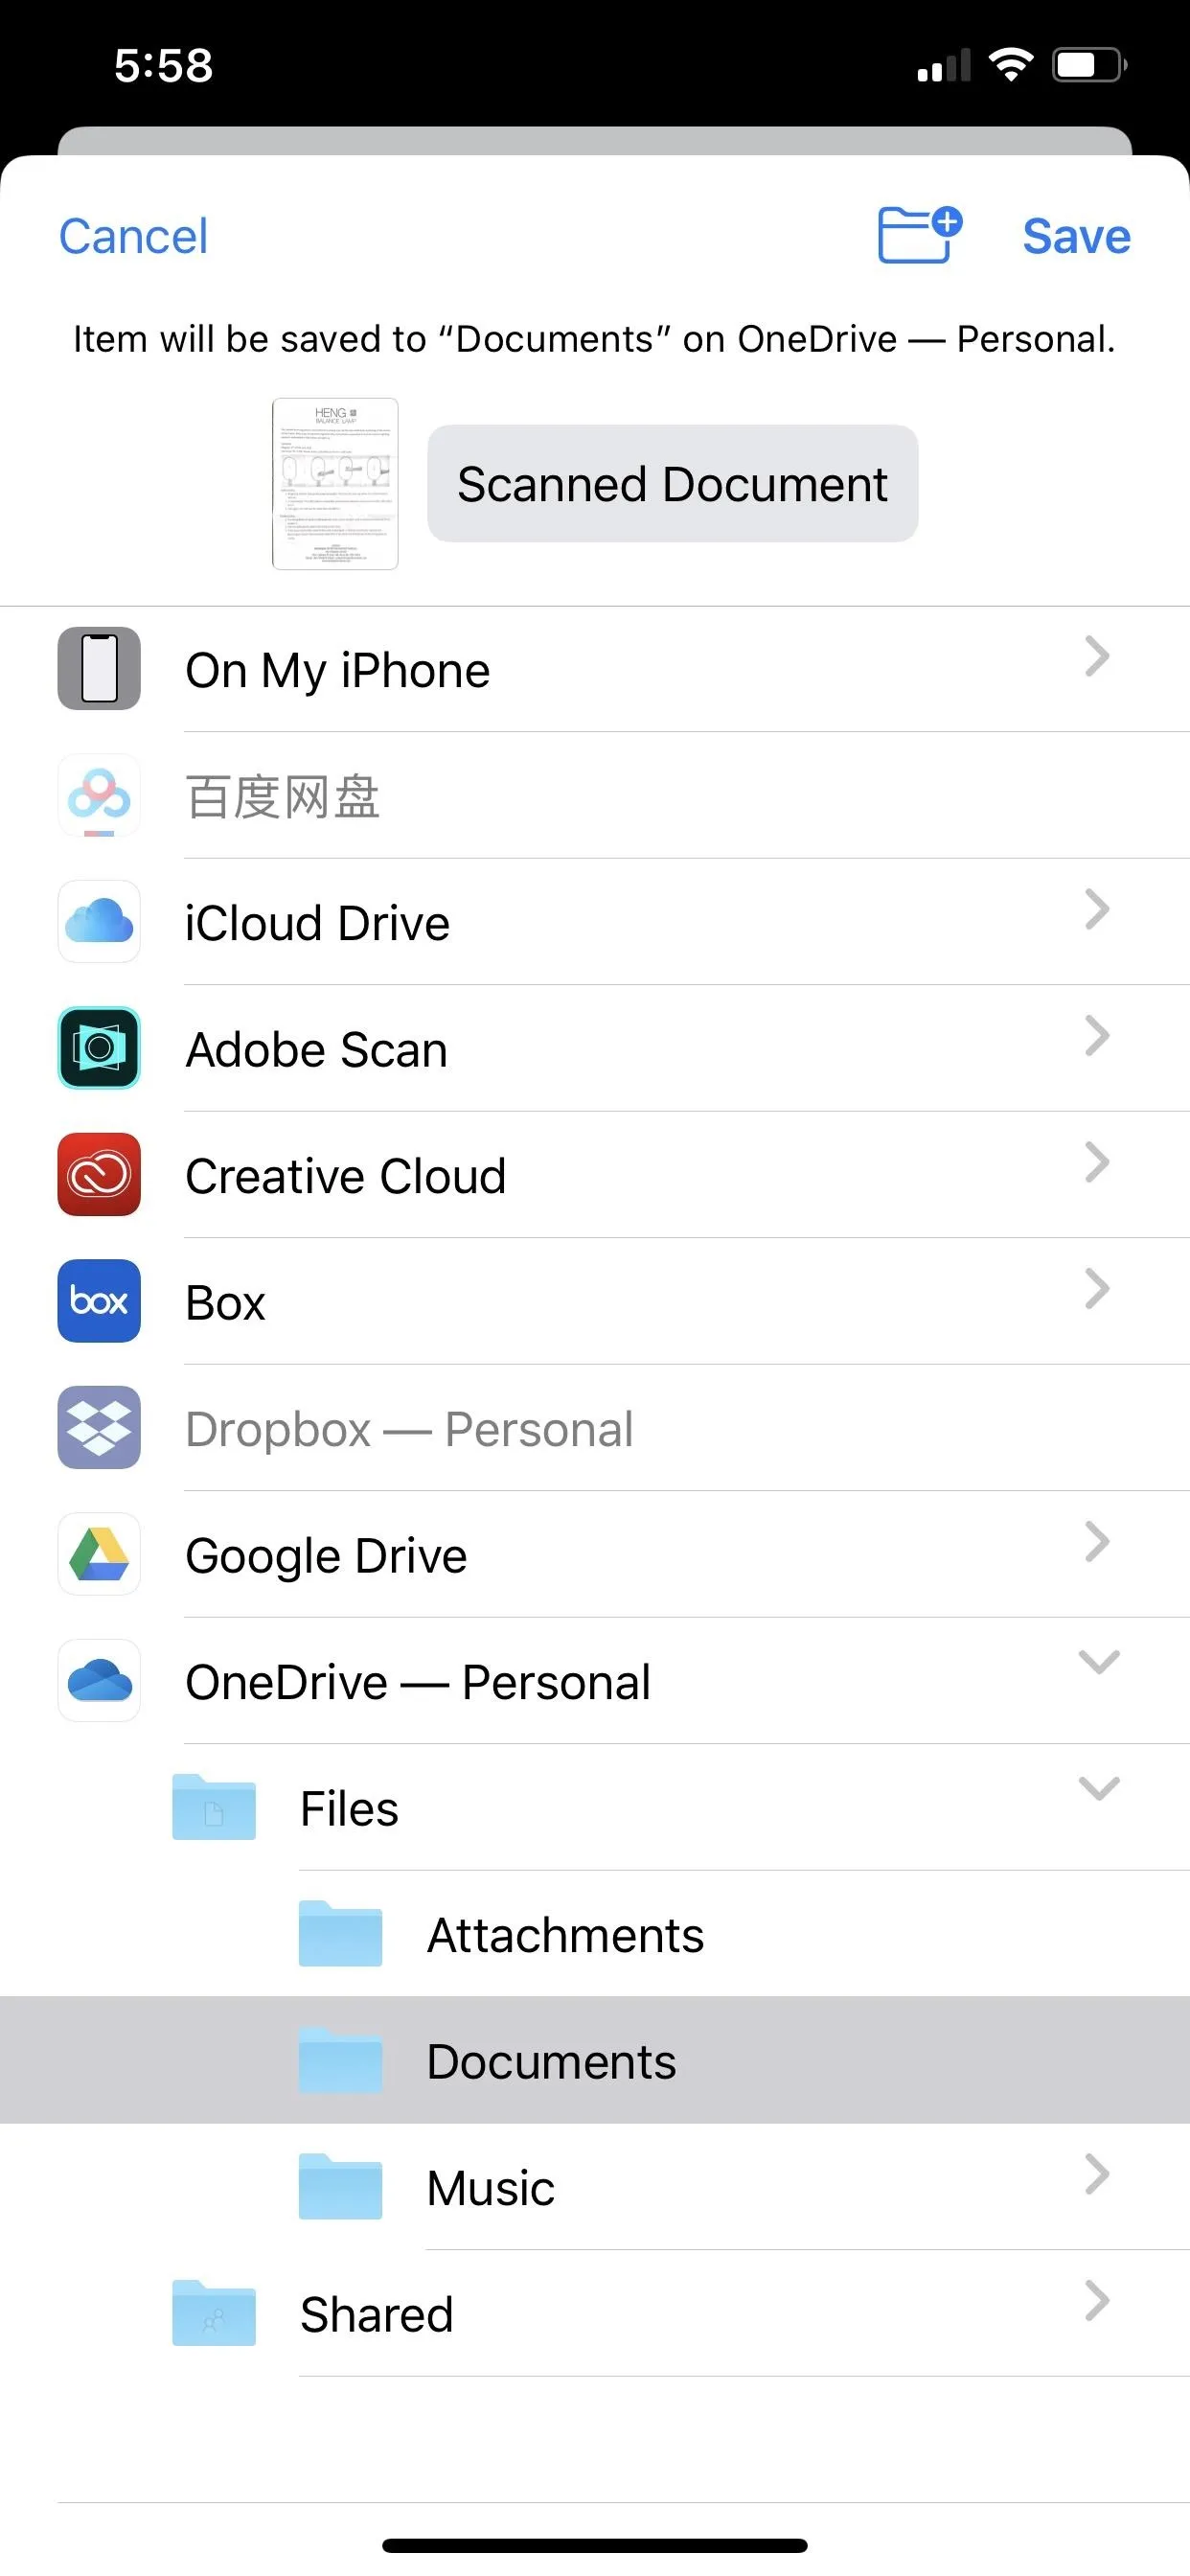
When you've scanned and edited all of your pages, tap the "Save" button in the lower right. A new file in your selected folder will be created named "Scanned Document." Tap the file name, and you can change it to something else. Tap "Done" one more time to save the new name.
However, if you're trying to save a scan or set of scans to a read-only destination, you will have to select another location before you can save. On the modal window, select from any available location. If you choose another read-only one, you'll be prompted to "Choose a new location to save this item." Some cloud storage services will have folders you can't save to, though, you may be able to save to a folder within the prohibited one.
Once you have your file saved, you can treat it like anything else in the Files app. Tap the file to preview it, and tap the Share button to send it to other apps. If it's saved as a PDF, you can also tap the marker icon to use the built-in PDF markup tool to add drawings, text, and shapes. All of this can be done in one place in iOS 13, getting rid of the need to scan a document in Notes only to send it to the Files app to really make use of it.
Cover photo, screenshots, and GIFs by Mike Goril/Gadget Hacks


Comments
Be the first, drop a comment!