


The cutting-edge iPhone X, XS, XS Max, and XR have one-upped their Android competitors when it comes to facial recognition. Apple packed these flagships with an array of front-facing sensors to complement its selfie camera, which allows the new device to more accurately analyze faces, which you need for Face ID, Touch ID's replacement.
The aptly named Face ID has taken over the tried-and-true Touch ID as the primary biometric security feature on the iPhone X, XS, XS Max, and XR, and Apple claims it's more secure with one in a million odds of someone unlocking your device without your face. This is the same as using a six-digit numeric passcode, though obviously more convenient, and stomps Touch ID's one in 50,000 odds.
So, if you skipped this step when first setting up your brand new iPhone X, XS, XS Max, or XR, we'll show you how you can go back and set up this awesome new security feature.
Enroll Your Face
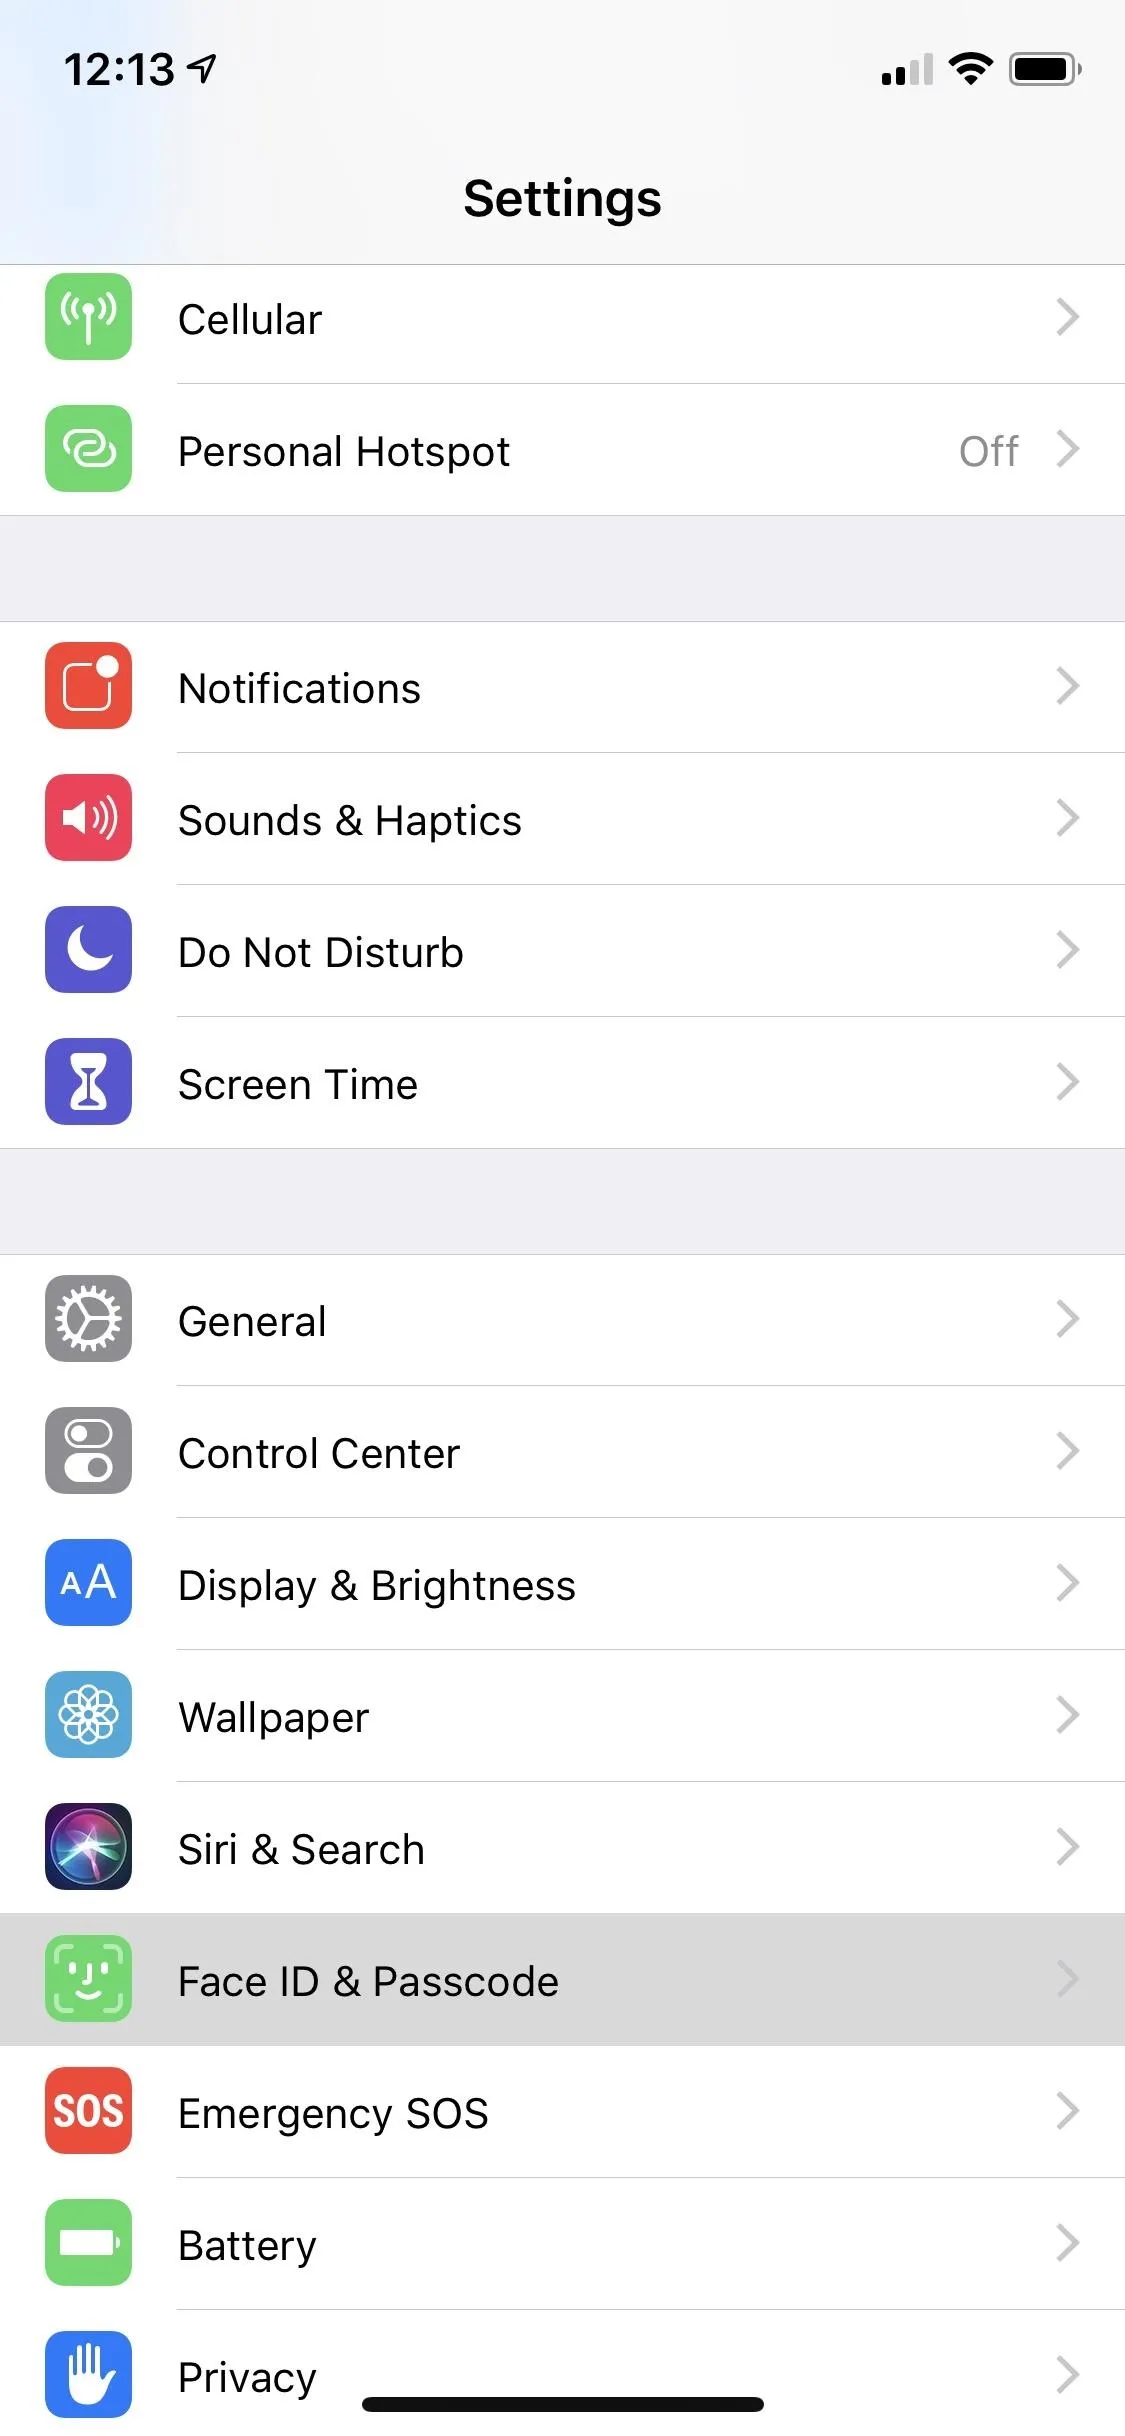
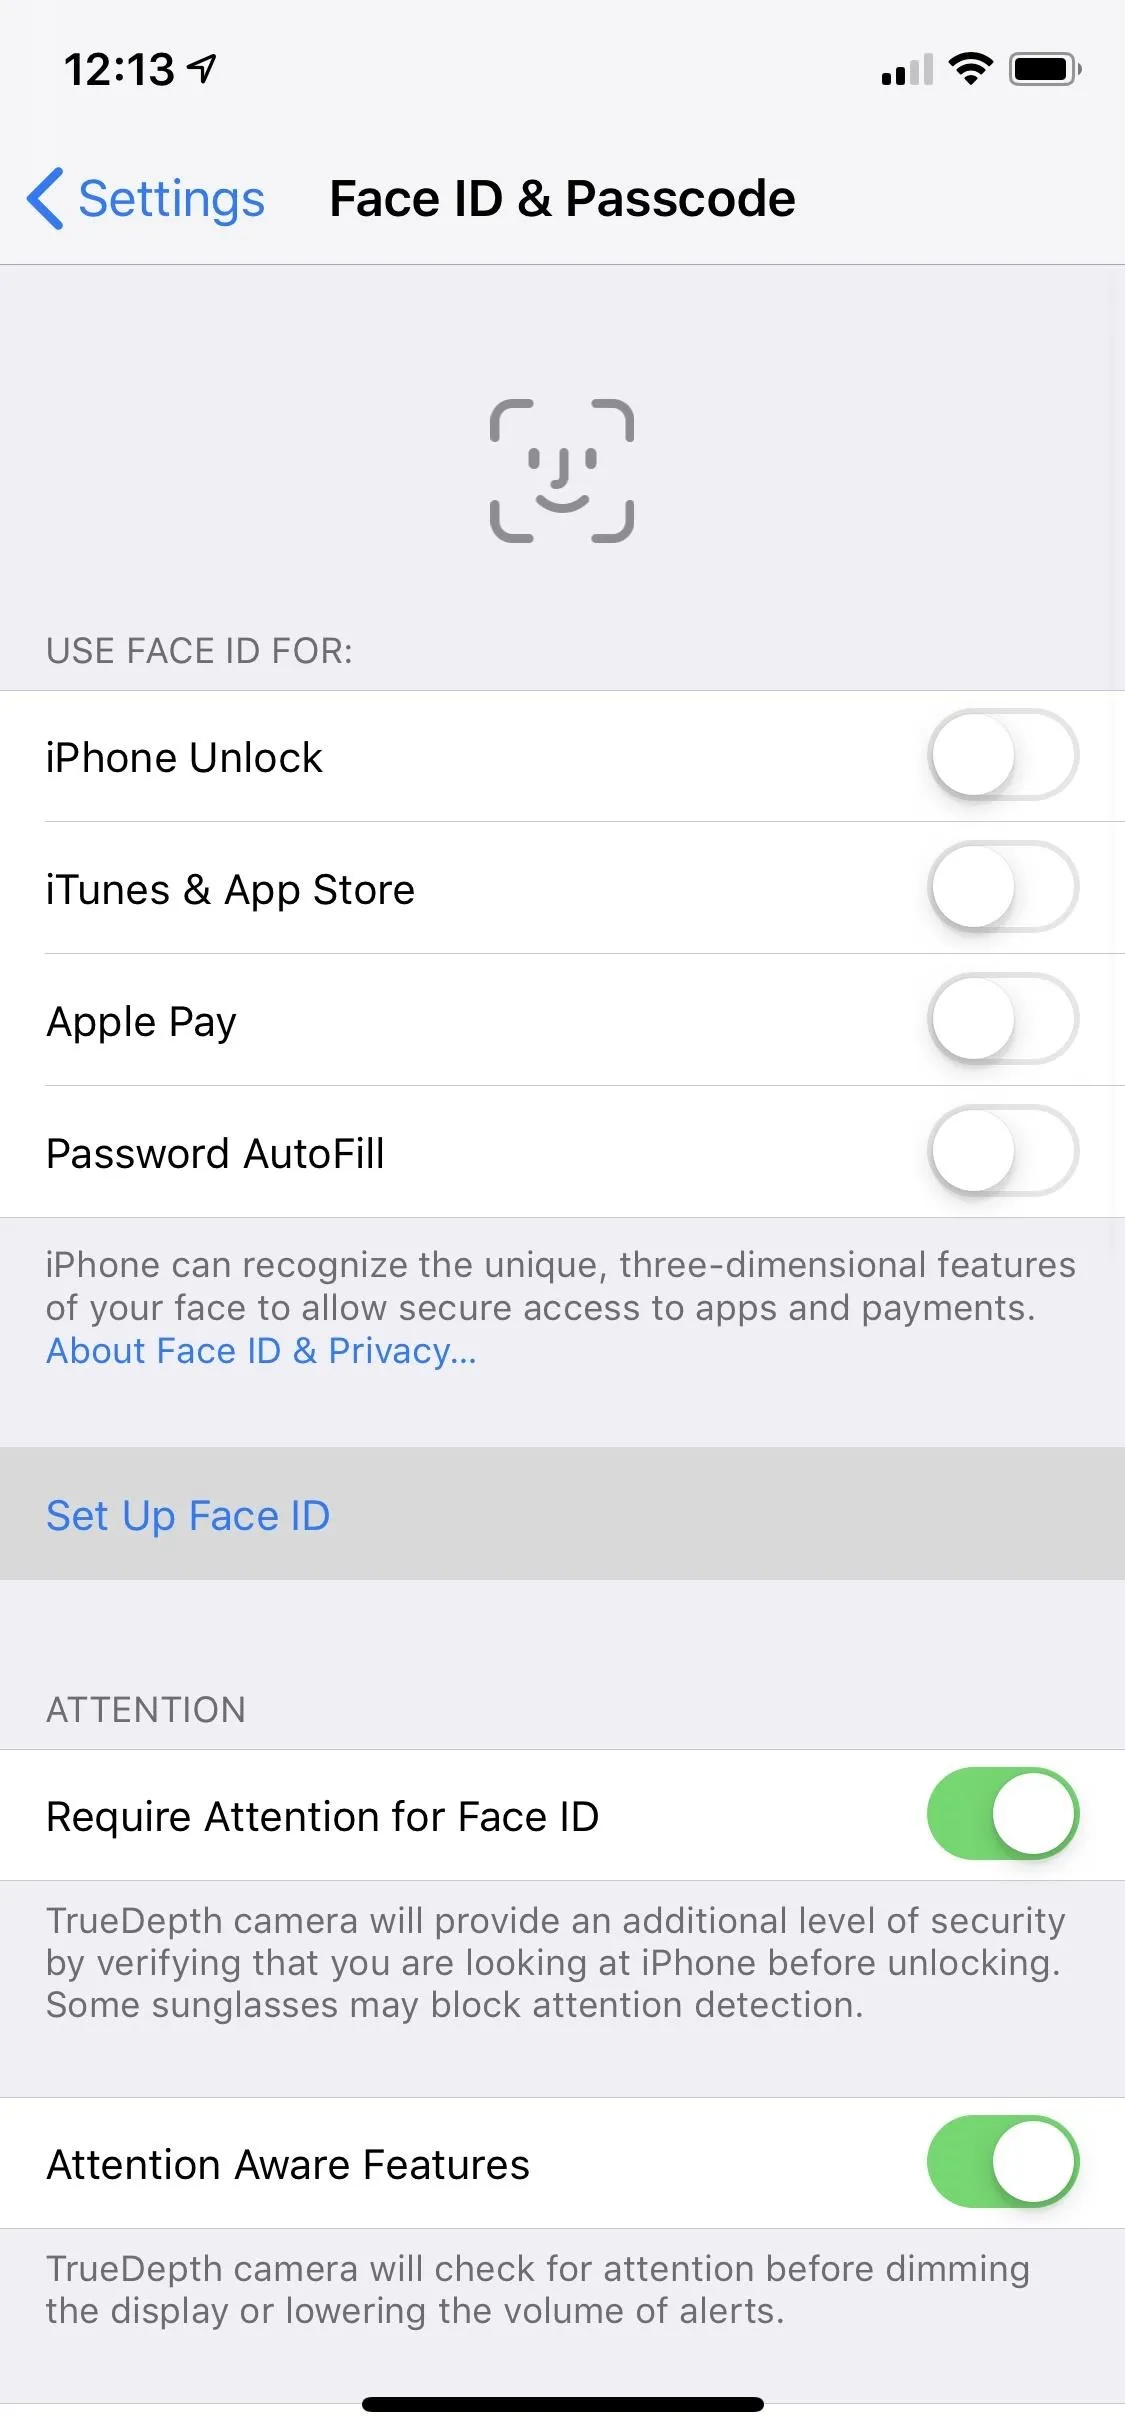
To get started, open the Settings app on your iPhone X, XS, XS Max, or XR, select "Face ID & Passcode," then enter your passcode. From there, choose "Set Up Face ID."
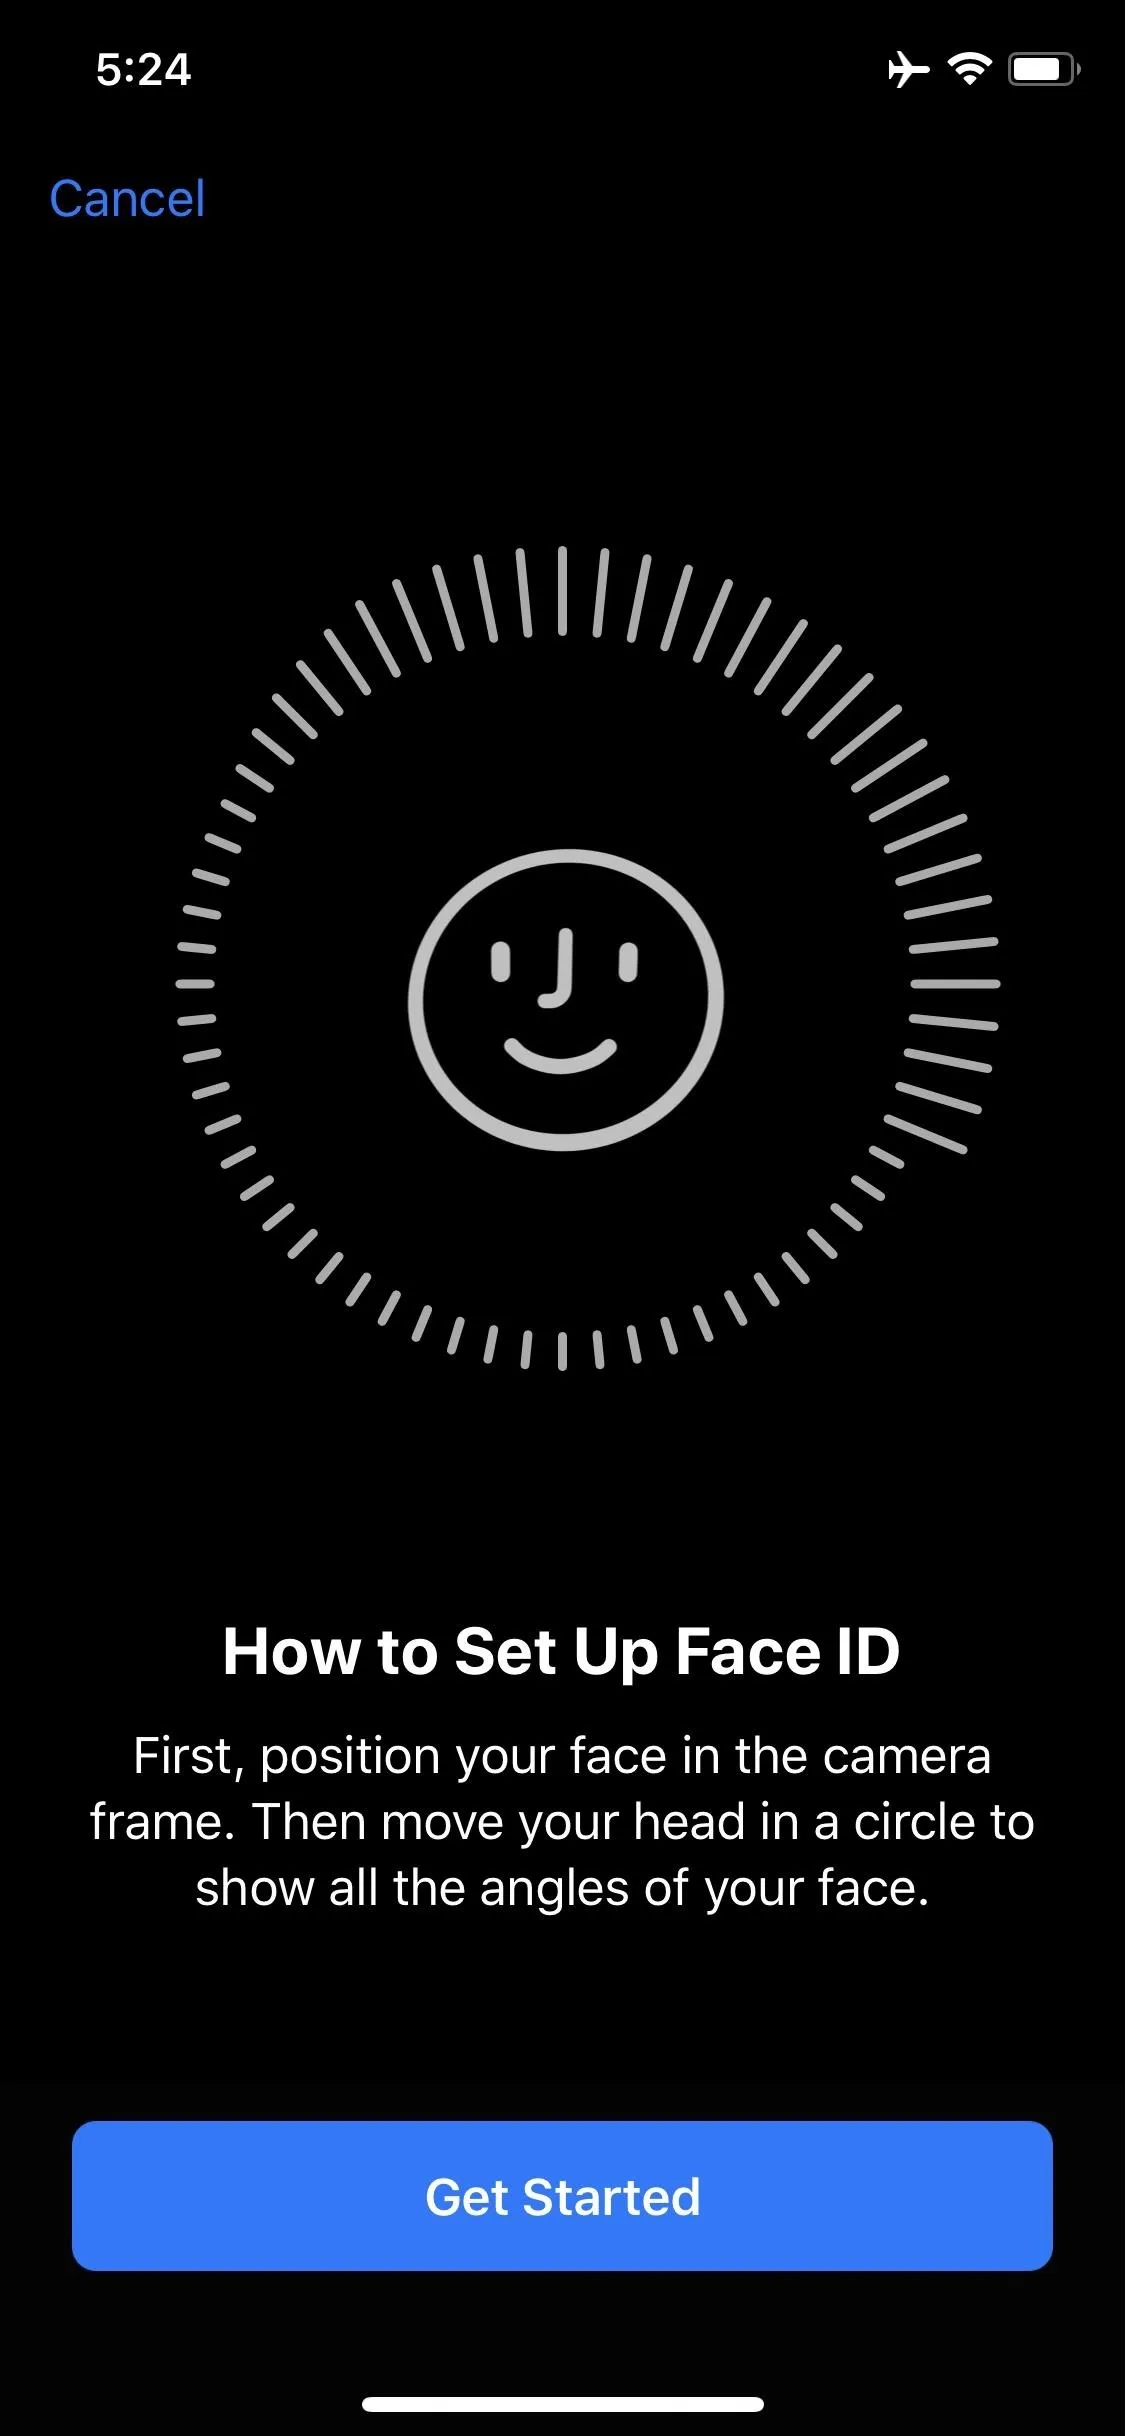
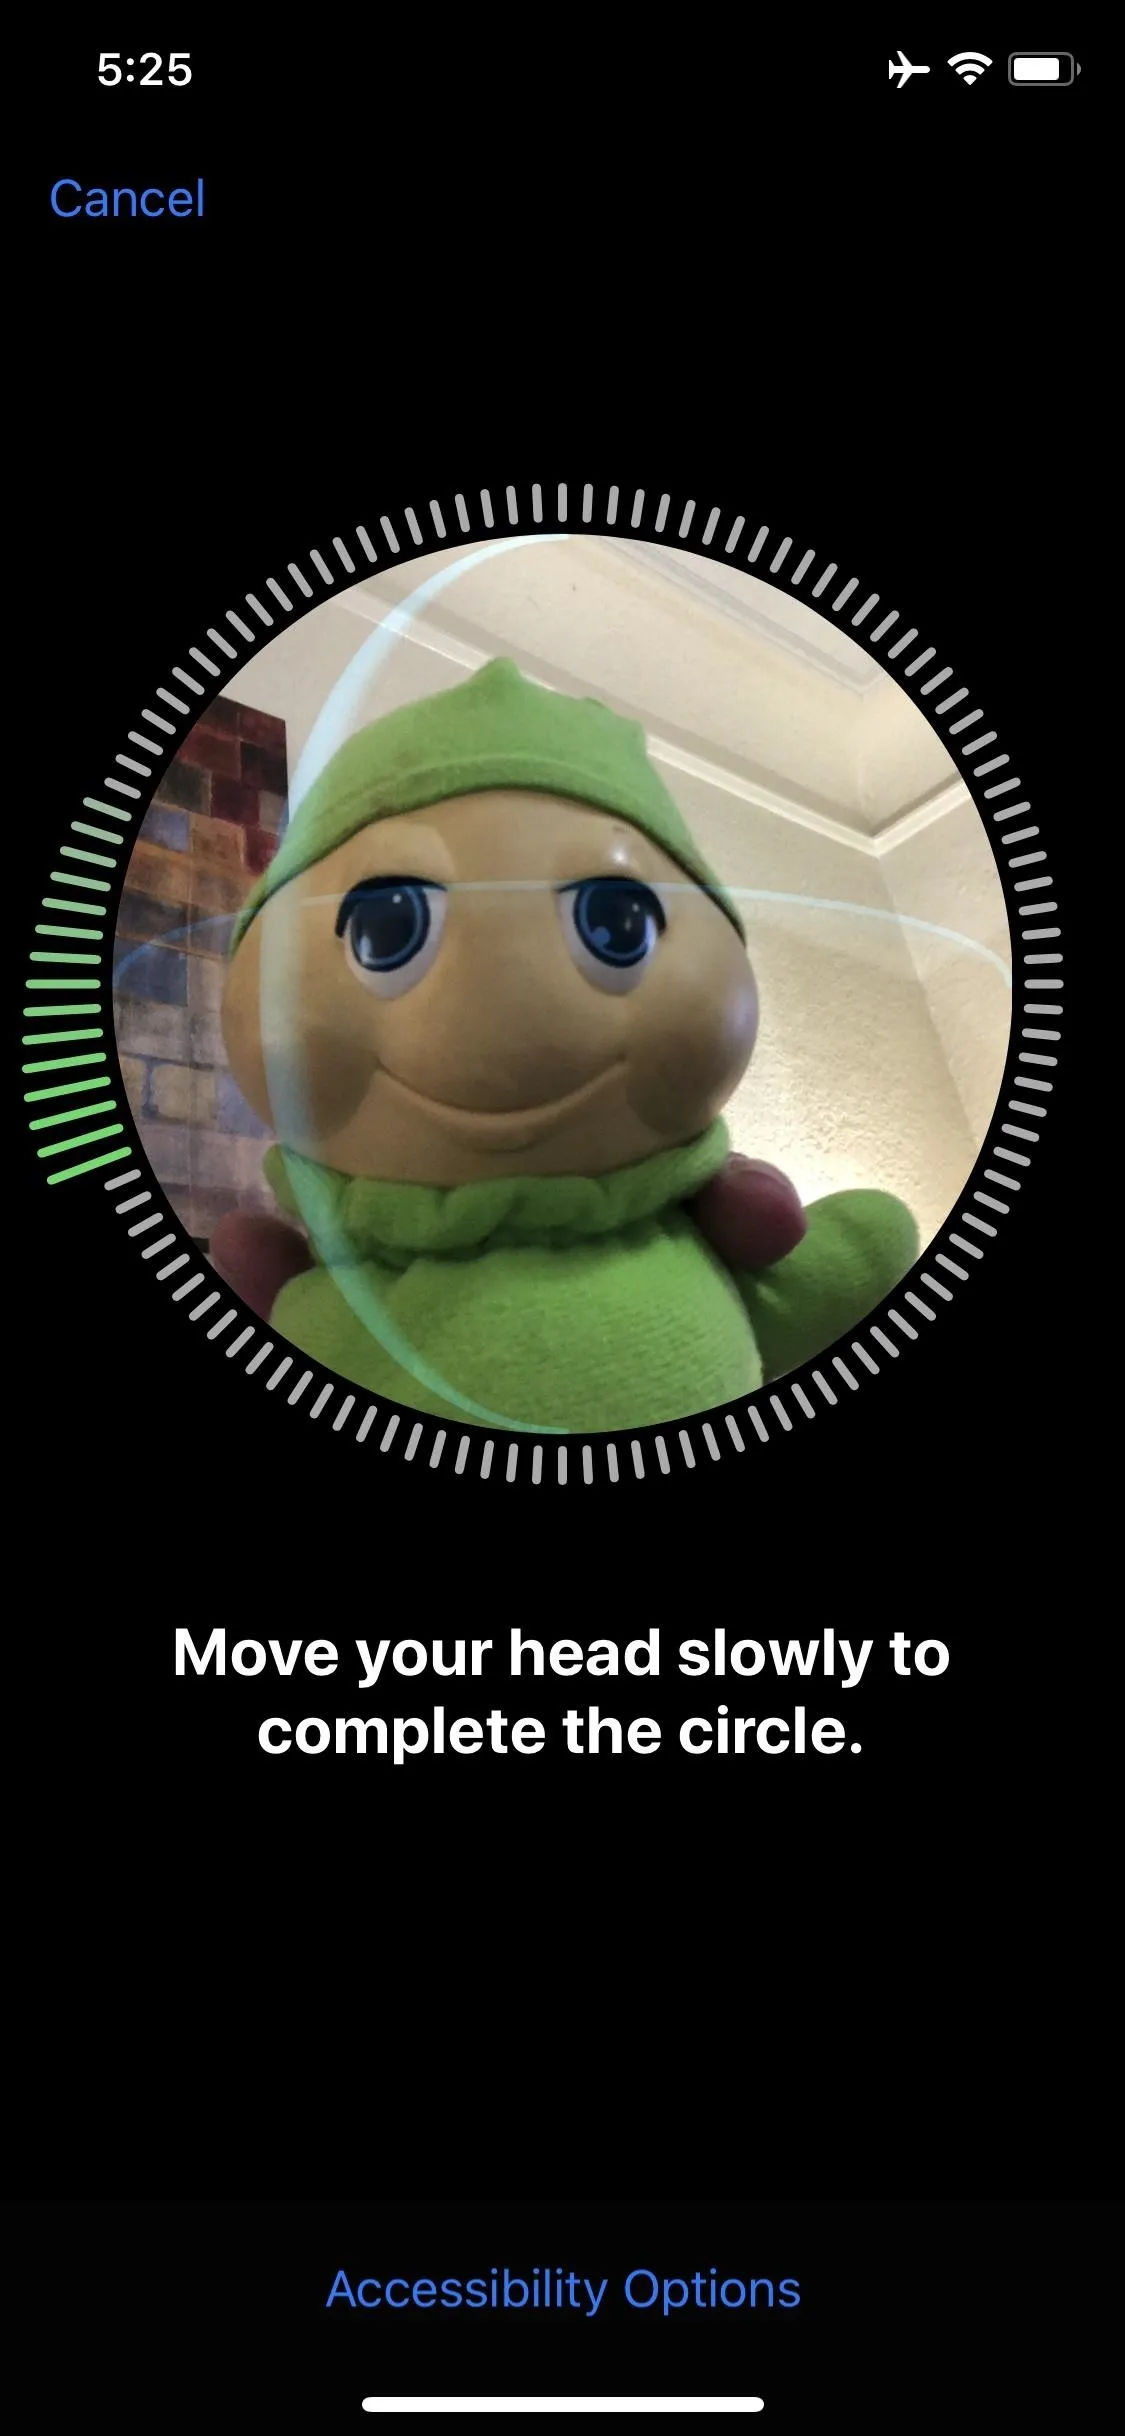
Next, tap on "Get Started," which will then activate the front camera and infrared sensor. This, in turn, will show a circle on the screen surrounded by lines for you to align your face with. This helps the camera and sensors detect and analyze your face.
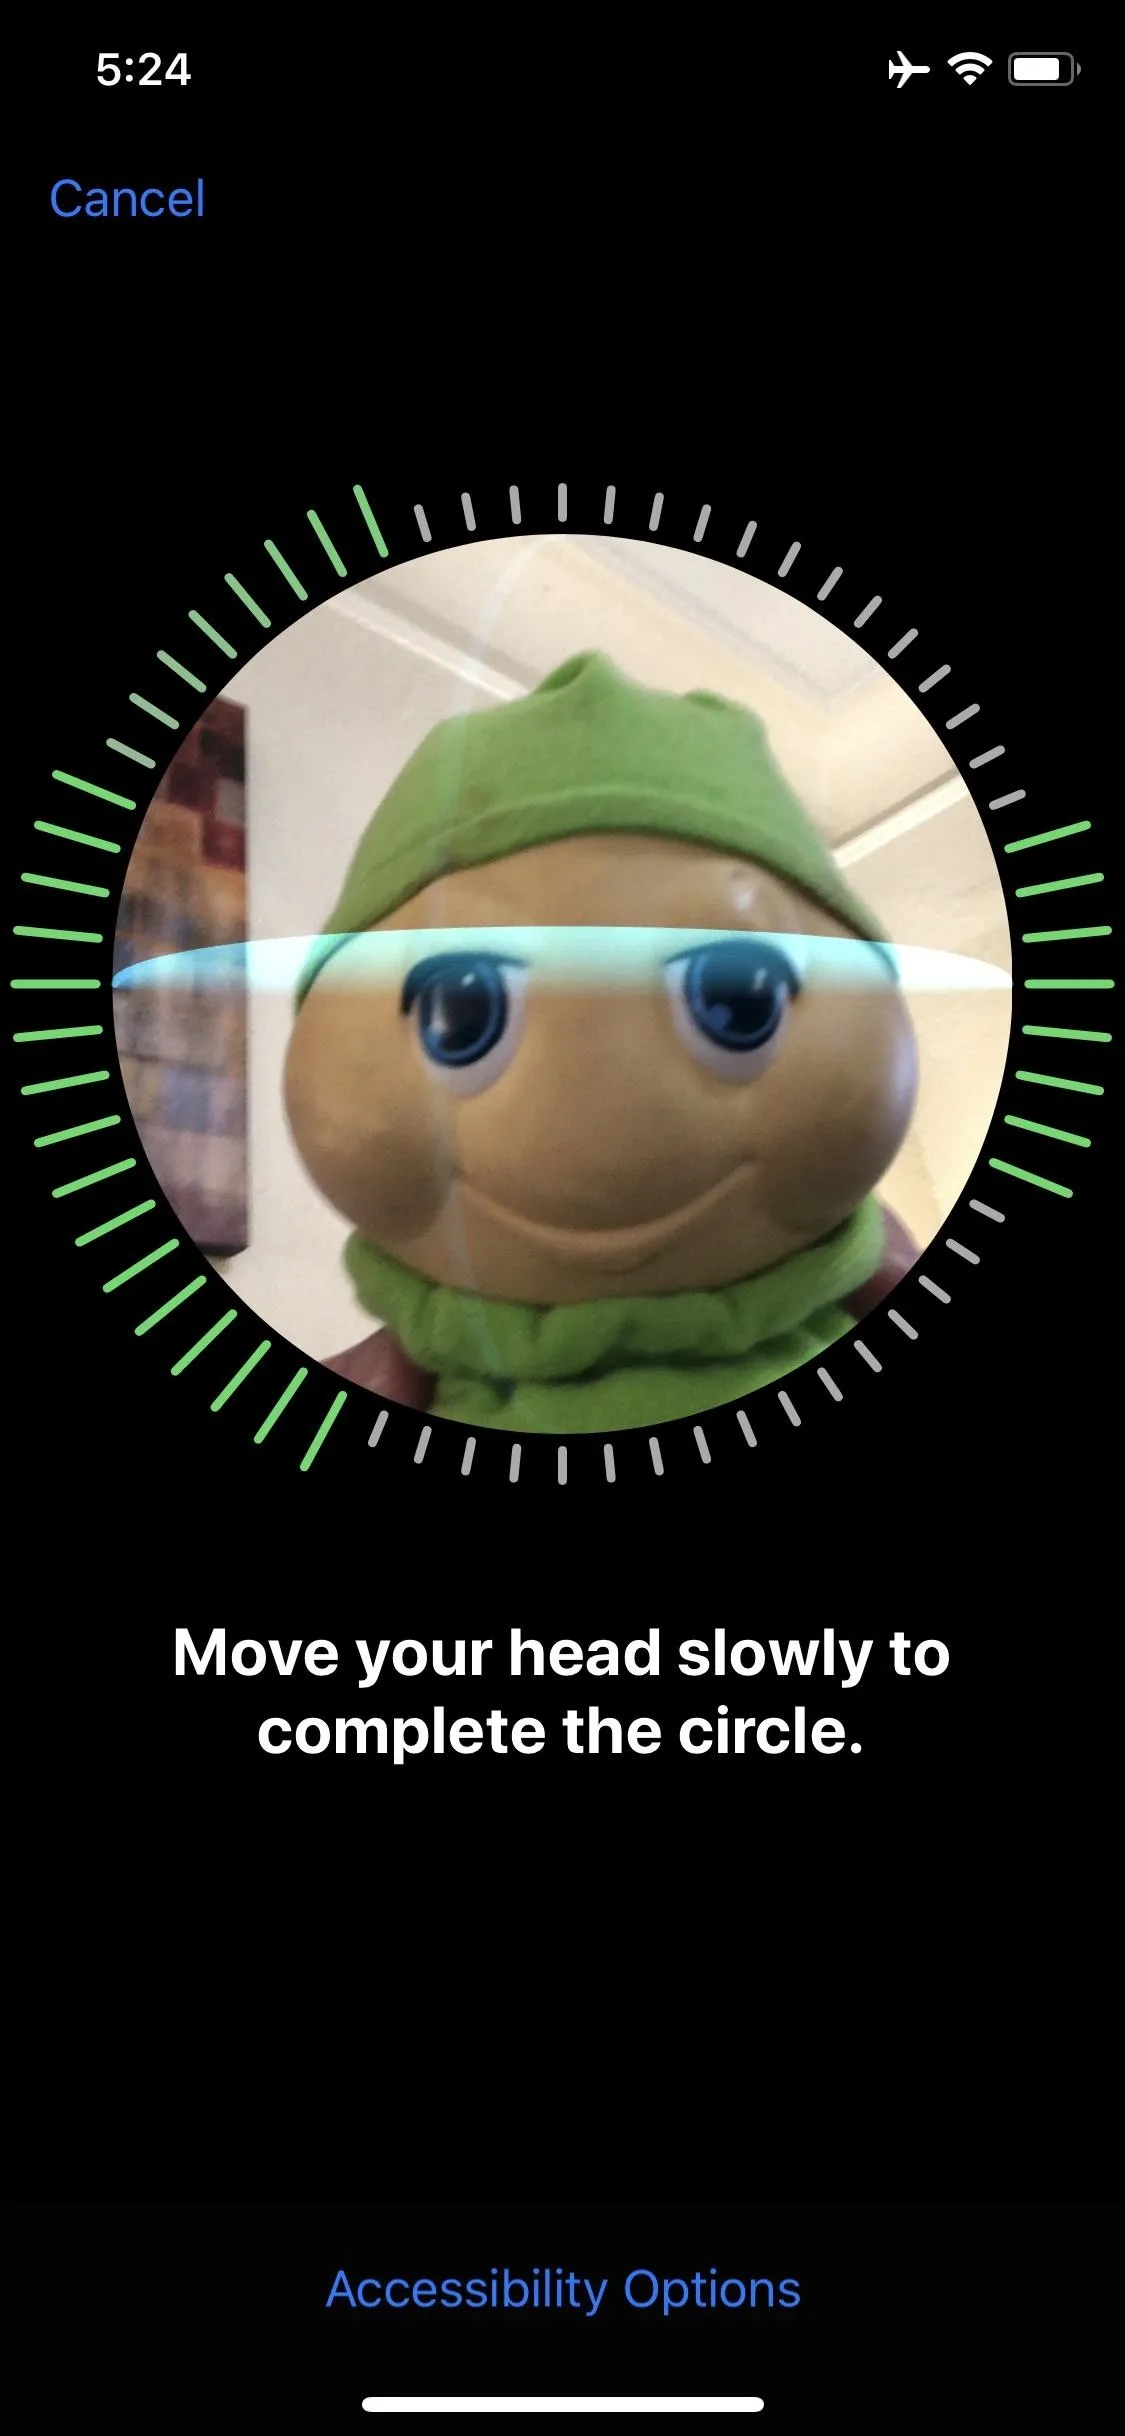
You'll now be instructed to move your face around in a circular motion for the camera and sensors to capture. As you do, the gray lines surrounding the circle will turn green as it captures your facial characteristics.
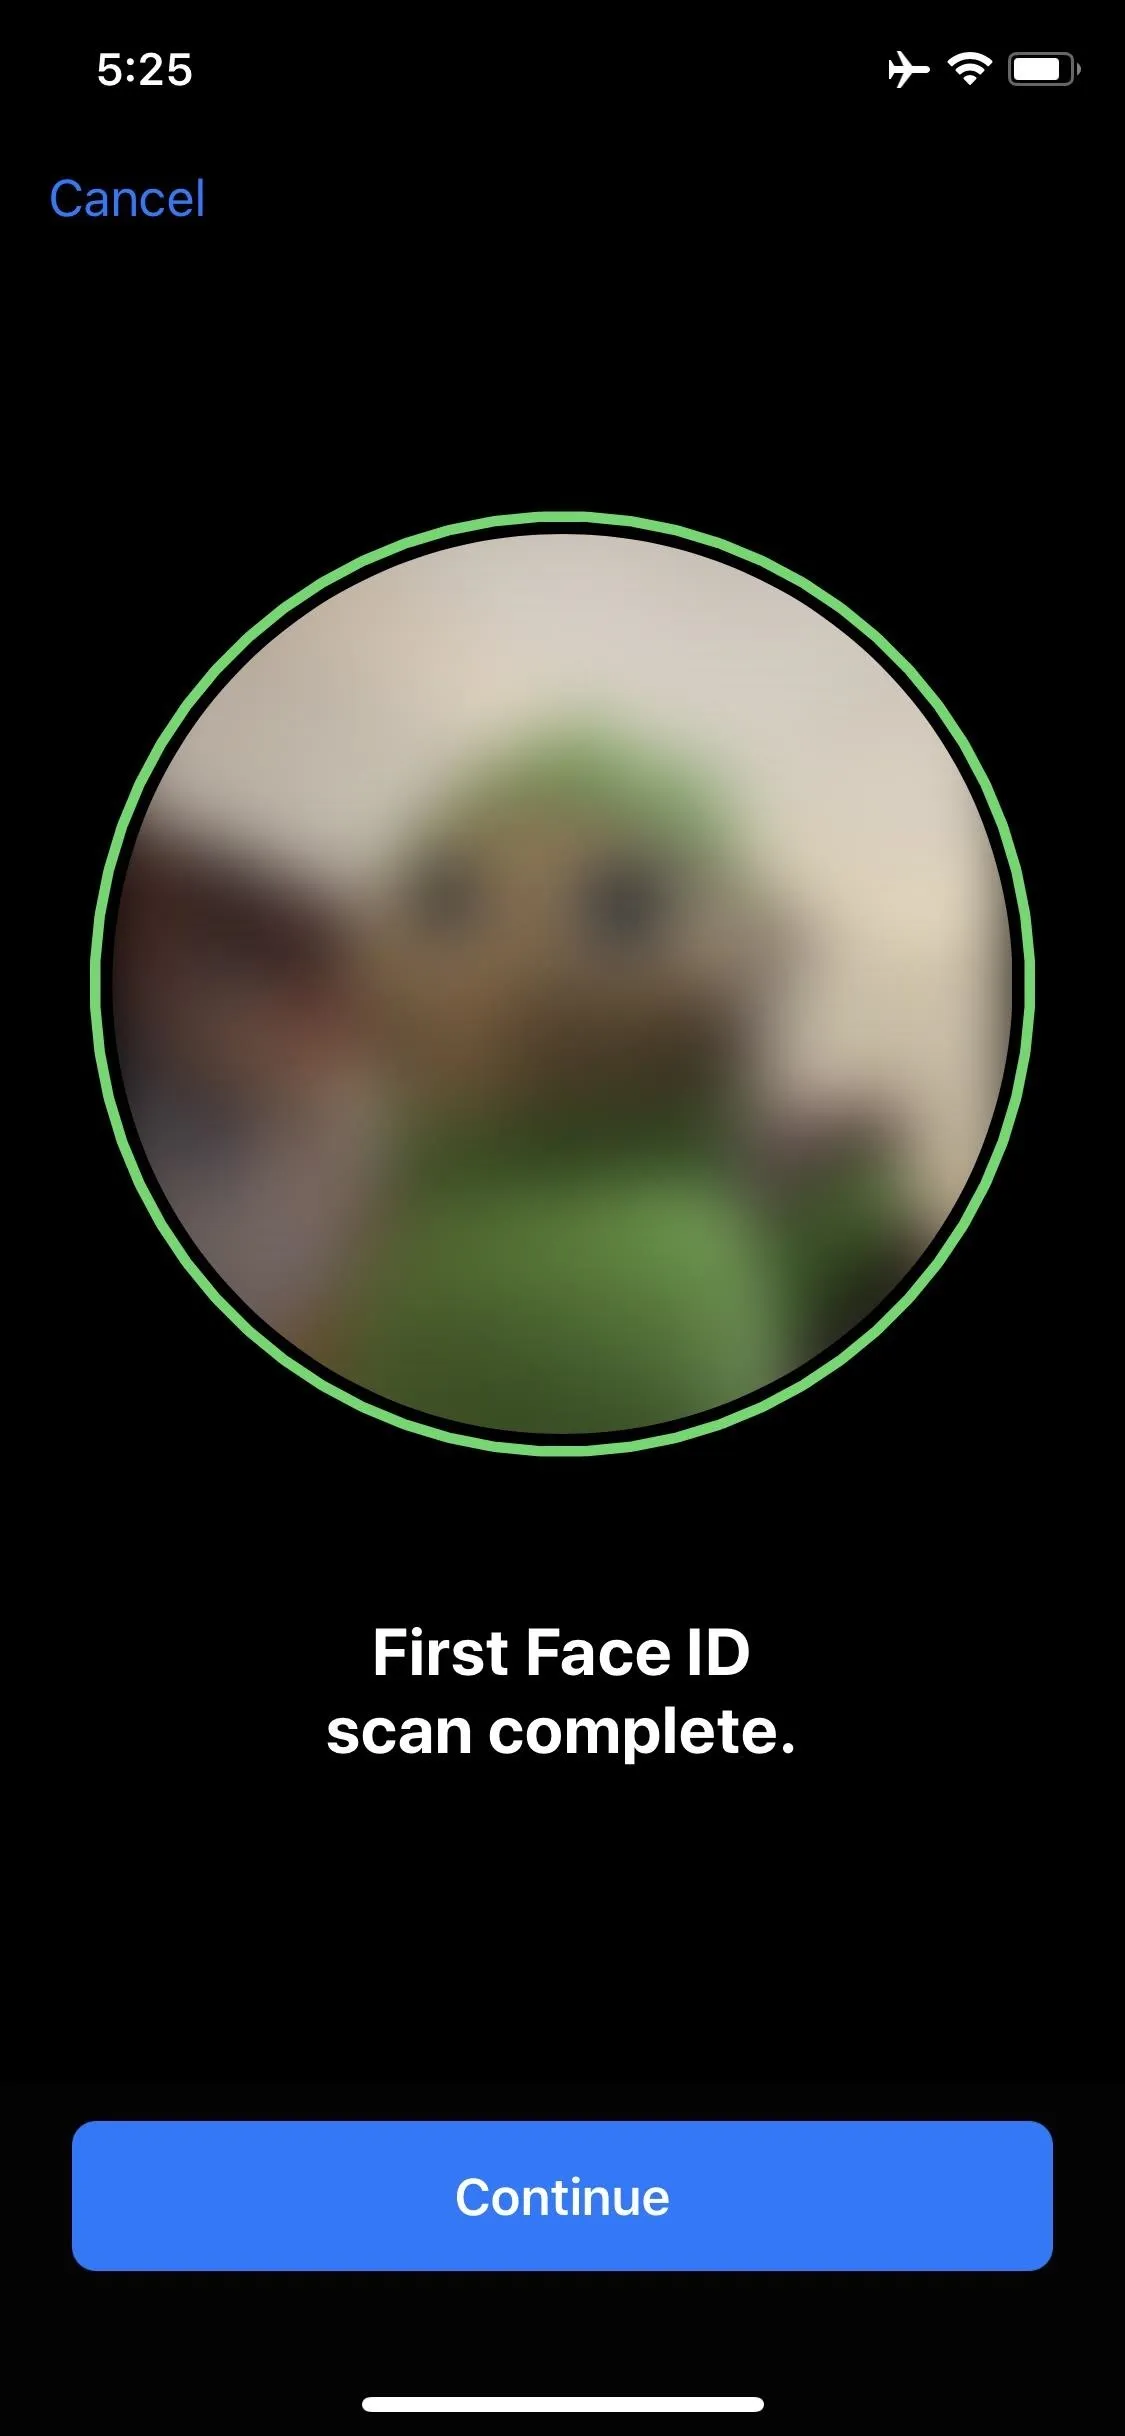
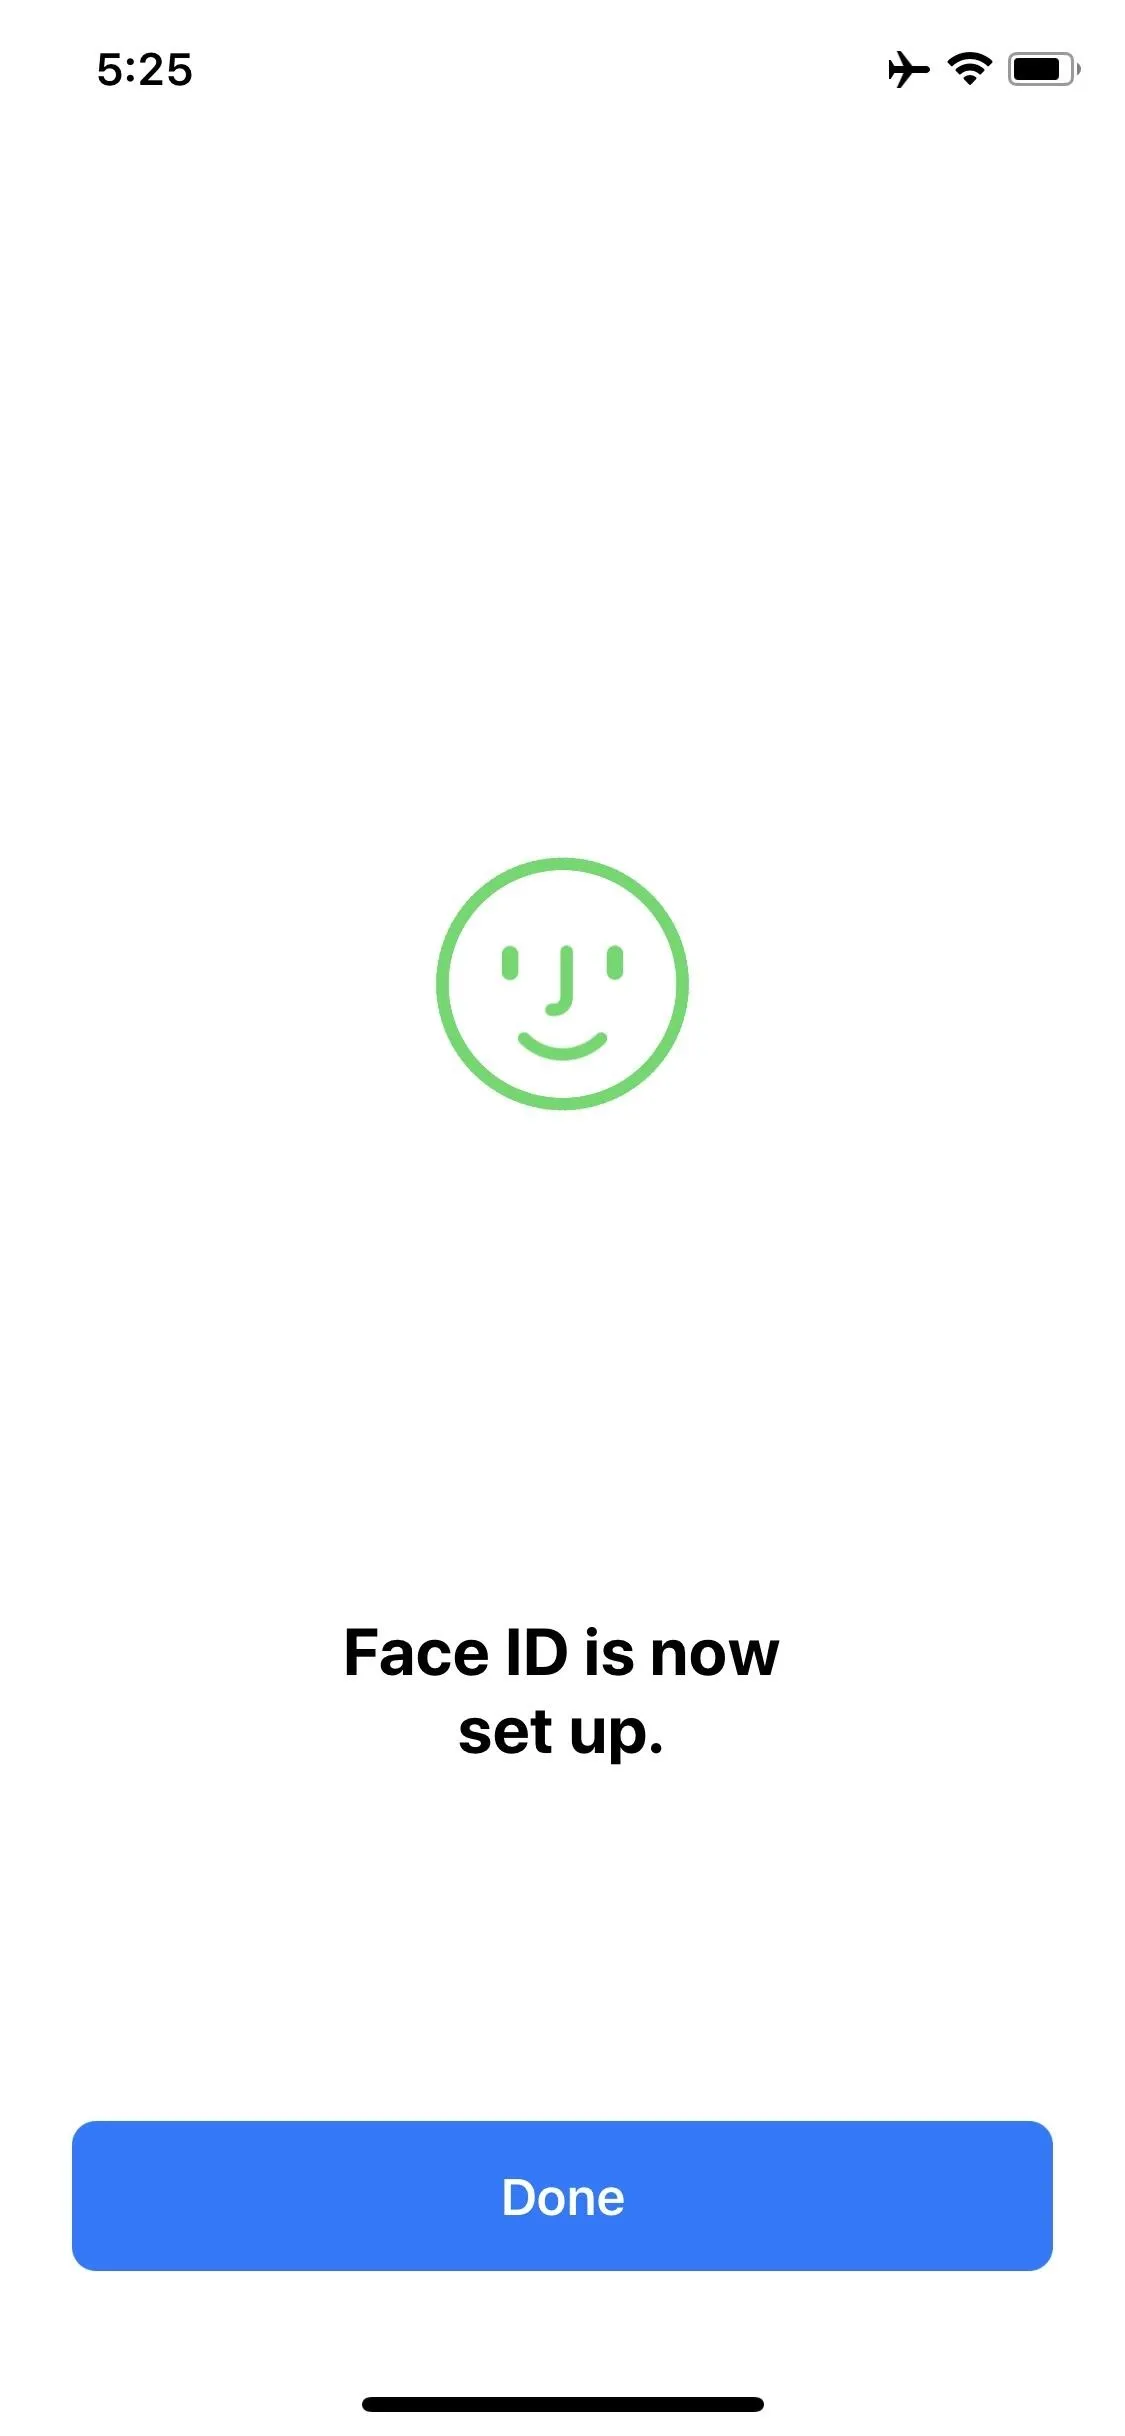
When you finish the first scan, you'll be prompted to run another, so tap "Continue." From there, just repeat the same process of centering your face in the circle, then moving your head around in a circular motion slowly. After the second pass, you're all set — just tap "Done" to finalize setup.
Register a Second Face (Optional)
In iOS 12, you have the option to add another face scan to the local database. This can be an entirely different person if you share the iPhone with someone else, or it can just be your face again. For the latter, it's best to register at times when Face ID has trouble acknowledging your face, like right when you wake up or when you're wearing your favorite hat or sunglasses.
To do so, just hit "Set Up an Alternative Appearance" under the Appearances section. For more information, check out our full guide.
Use Face ID to Unlock Your iPhone
When you're finished, you'll be able to unlock your iPhone with nothing but your face. To start, wake the device either by picking it up (if you've enabled raise to wake through Settings -> Display & Brightness -> Raise), by pressing the Side button or by simply tapping your screen.
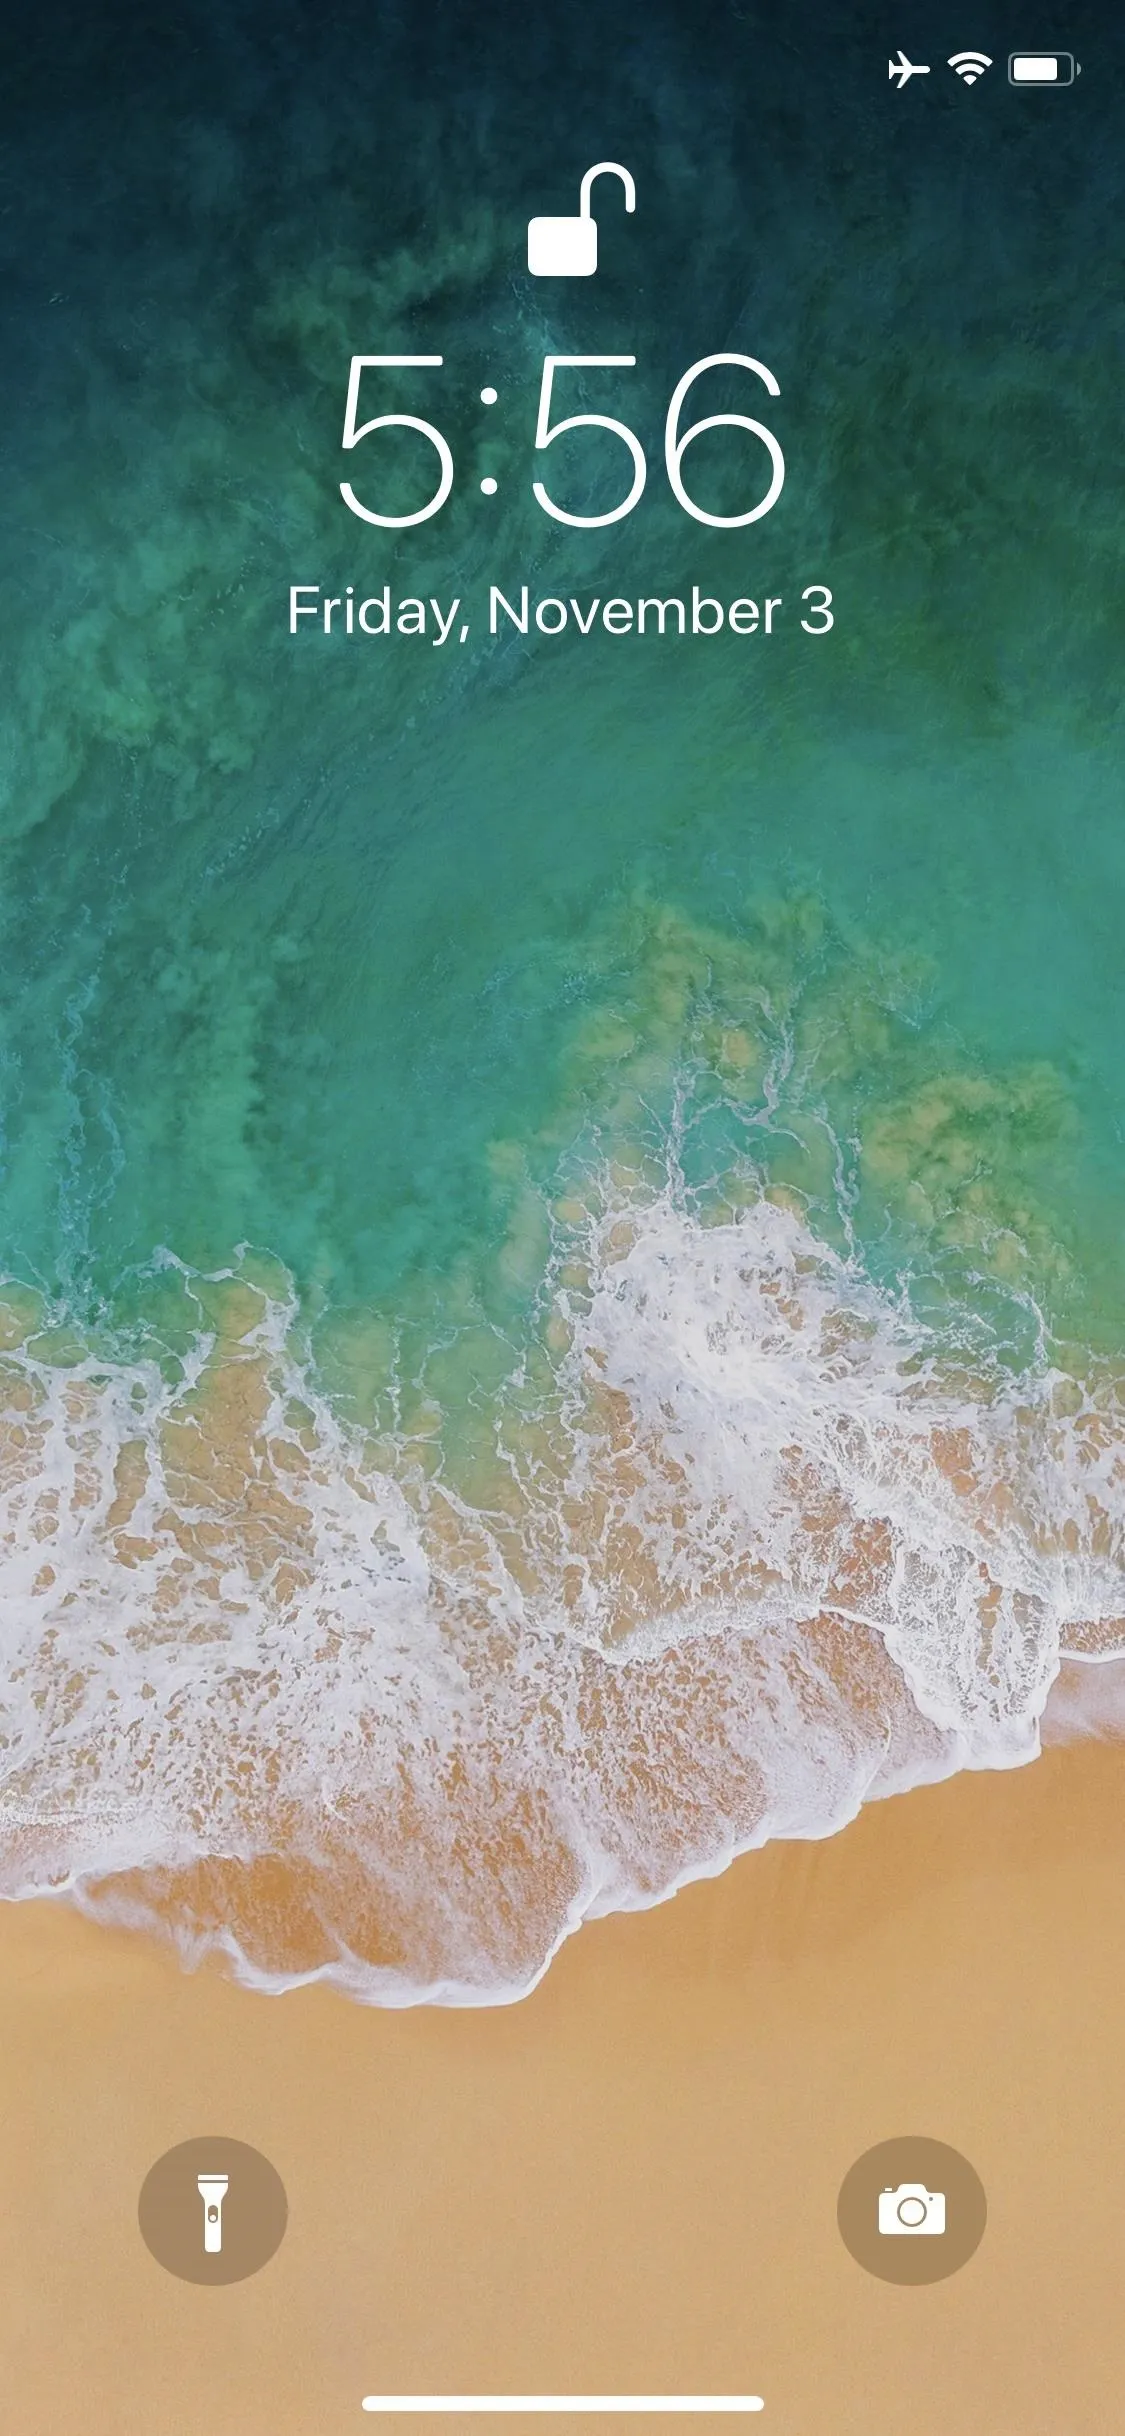
Next, look directly at the device with your eyes wide open. The padlock icon will now open to show you you've successfully unlocked your iPhone, leaving you free to go to the home screen using the swipe up gesture. If it doesn't work and you see the passcode screen, if you're running iOS 12, you can simply swipe up on the passcode screen to try Face ID again.
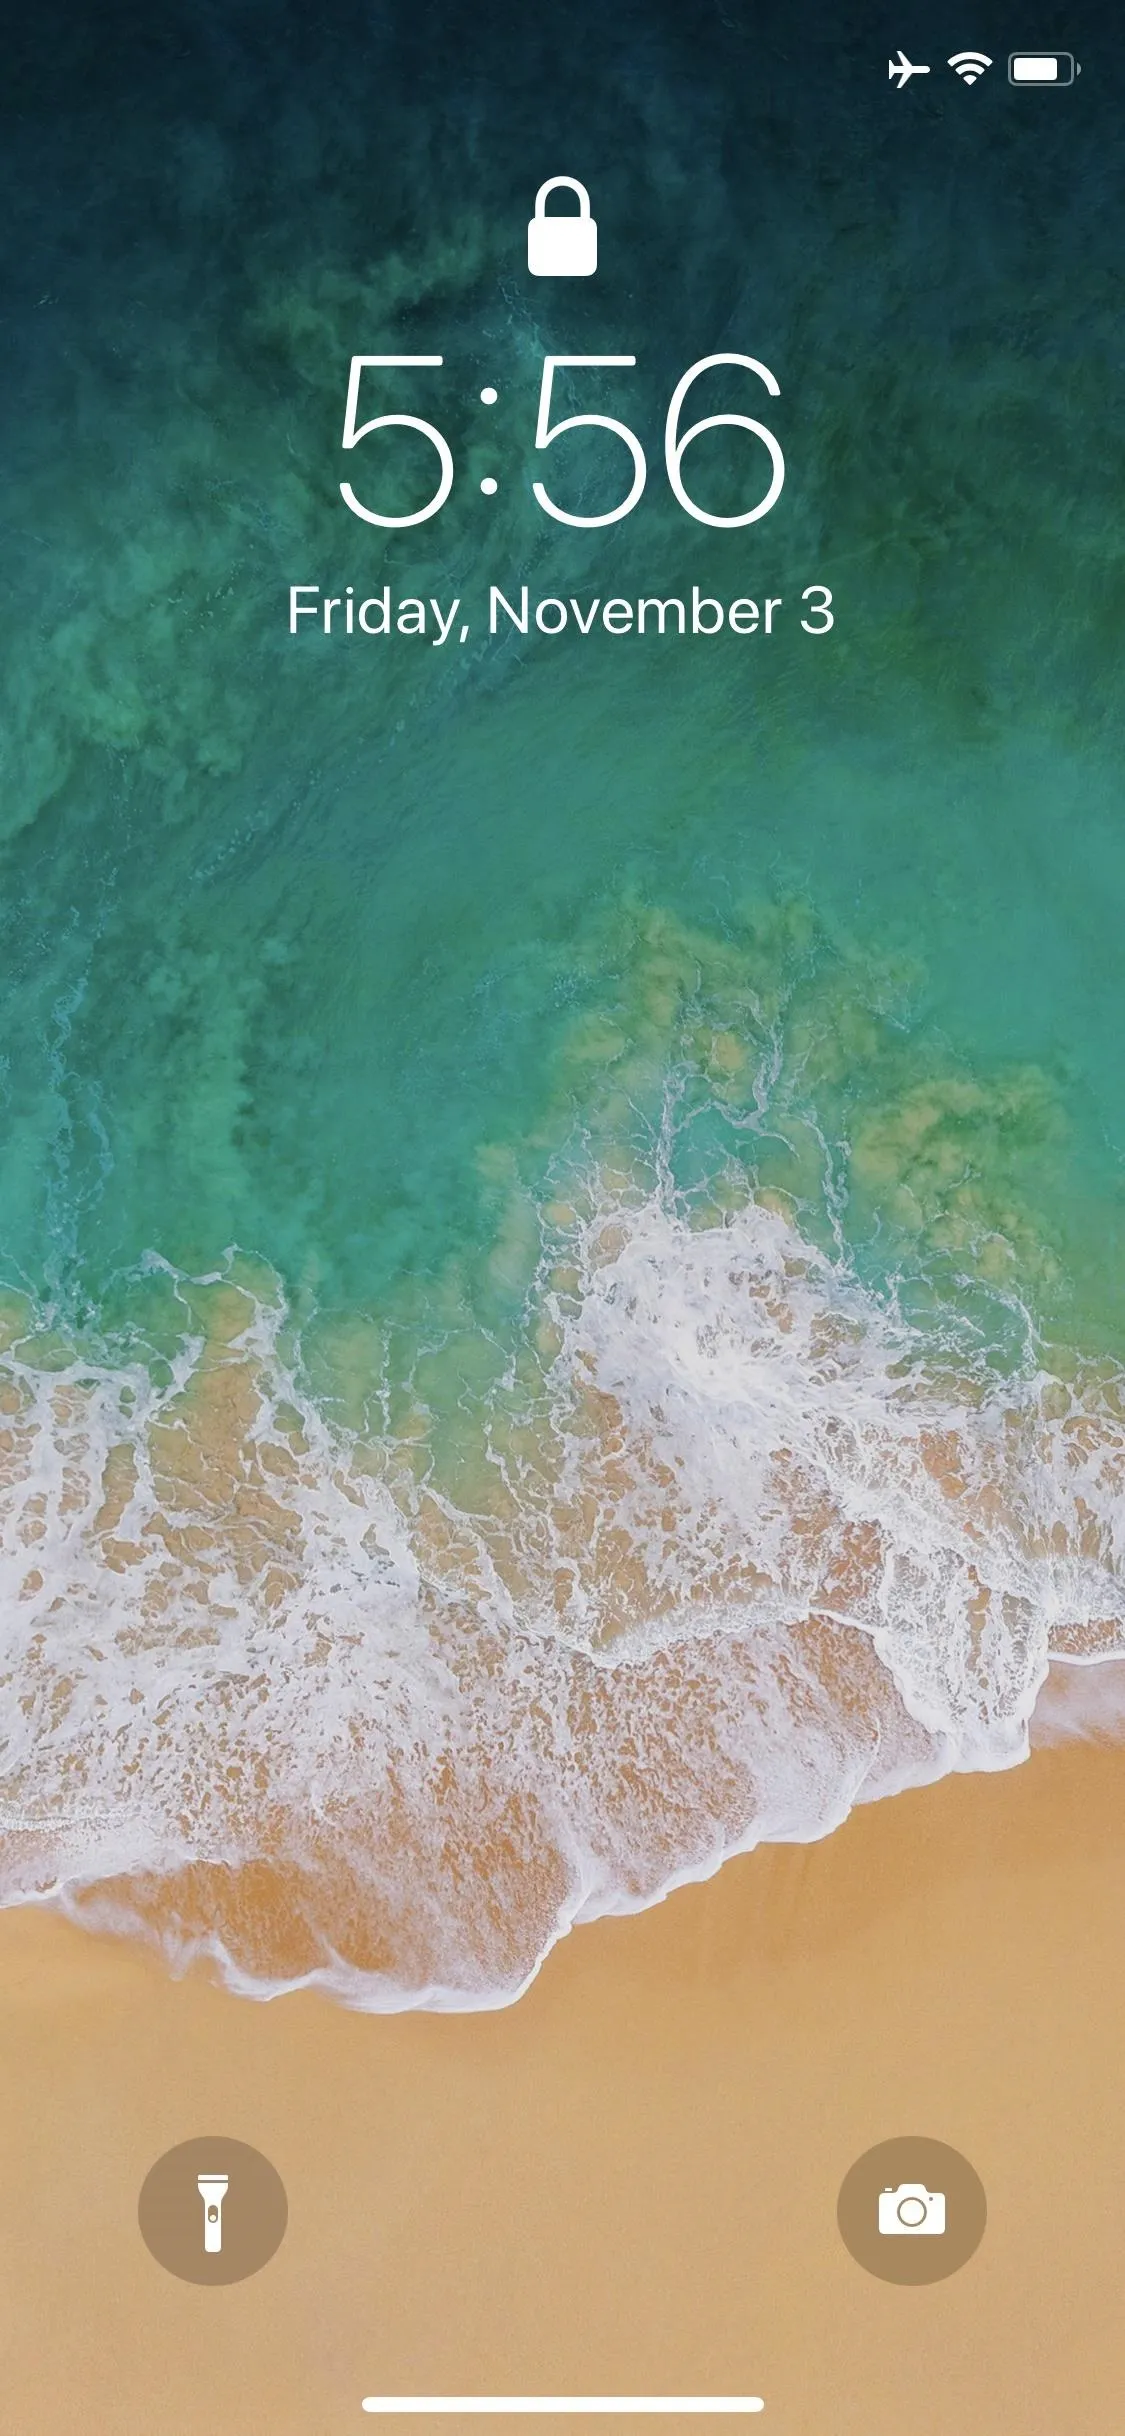
iPhone locked (left) vs. unlocked after Face ID was recognized (right).
iPhone locked (left) vs. unlocked after Face ID was recognized (right).
If you're curious as to how to disable Face ID and stick to the time-tested password/PIN method of securing your iPhone X, XS, XS Max, or XR, check out the post below to find out how.
- Follow Gadget Hacks on Facebook, Twitter, YouTube, and Flipboard
- Sign up for Gadget Hacks' daily newsletter or weekly Android and iOS updates
- Follow WonderHowTo on Facebook, Twitter, Pinterest, and Flipboard
Cover photo and screenshots by Dallas Thomas/Gadget Hacks


Comments
Be the first, drop a comment!