


While Apple has moved on from Touch ID to Face ID in newer iPhone models, there are still plenty of iPhones with fingerprint sensors — in fact, Apple's second-generation iPhone SE is the first new Touch ID iPhone in three years. With Touch ID, you can register up to five fingerprints, but it doesn't stop there. Using a little-known trick, you can sneak another five fingerprints in there for a total of ten.
Apple doesn't advertise this trick for doubling the number of fingerprints you can store with Touch ID, and that's because it's not really a feature. Instead, the trick takes advantage of Touch ID's registration process, which seemingly limits a finger's scan to one finger.
It's well known that you can use the same finger over and over again for all five scans to improve accuracy. If you're a fan of this method, you've already unknowingly performed the trick we're about to show you, which is more useful when you want ten different fingerprints stored, not all identical.
Access Touch ID Settings
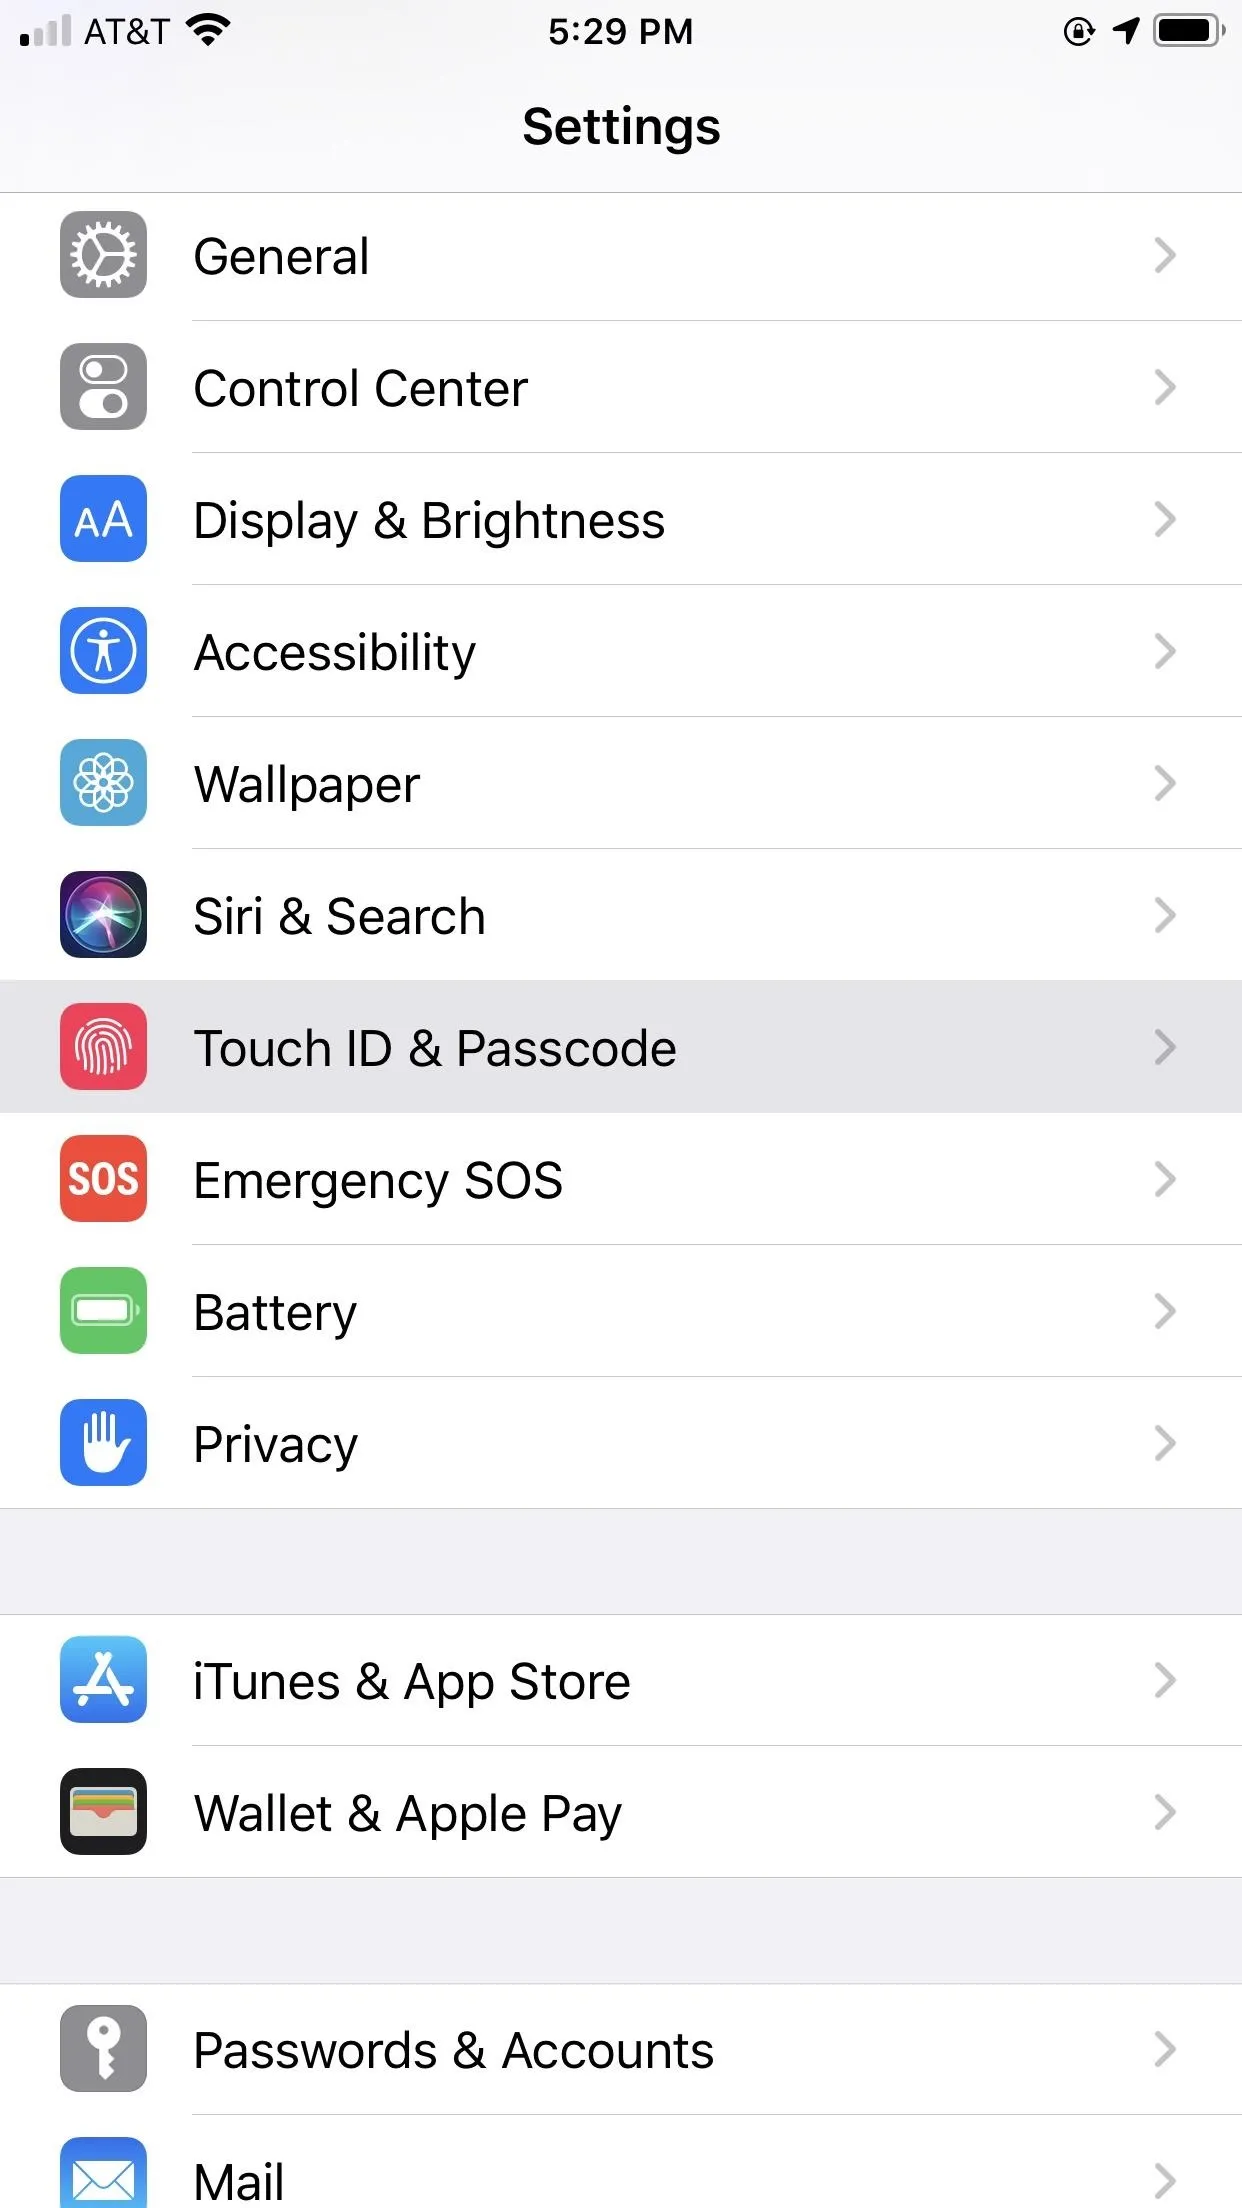
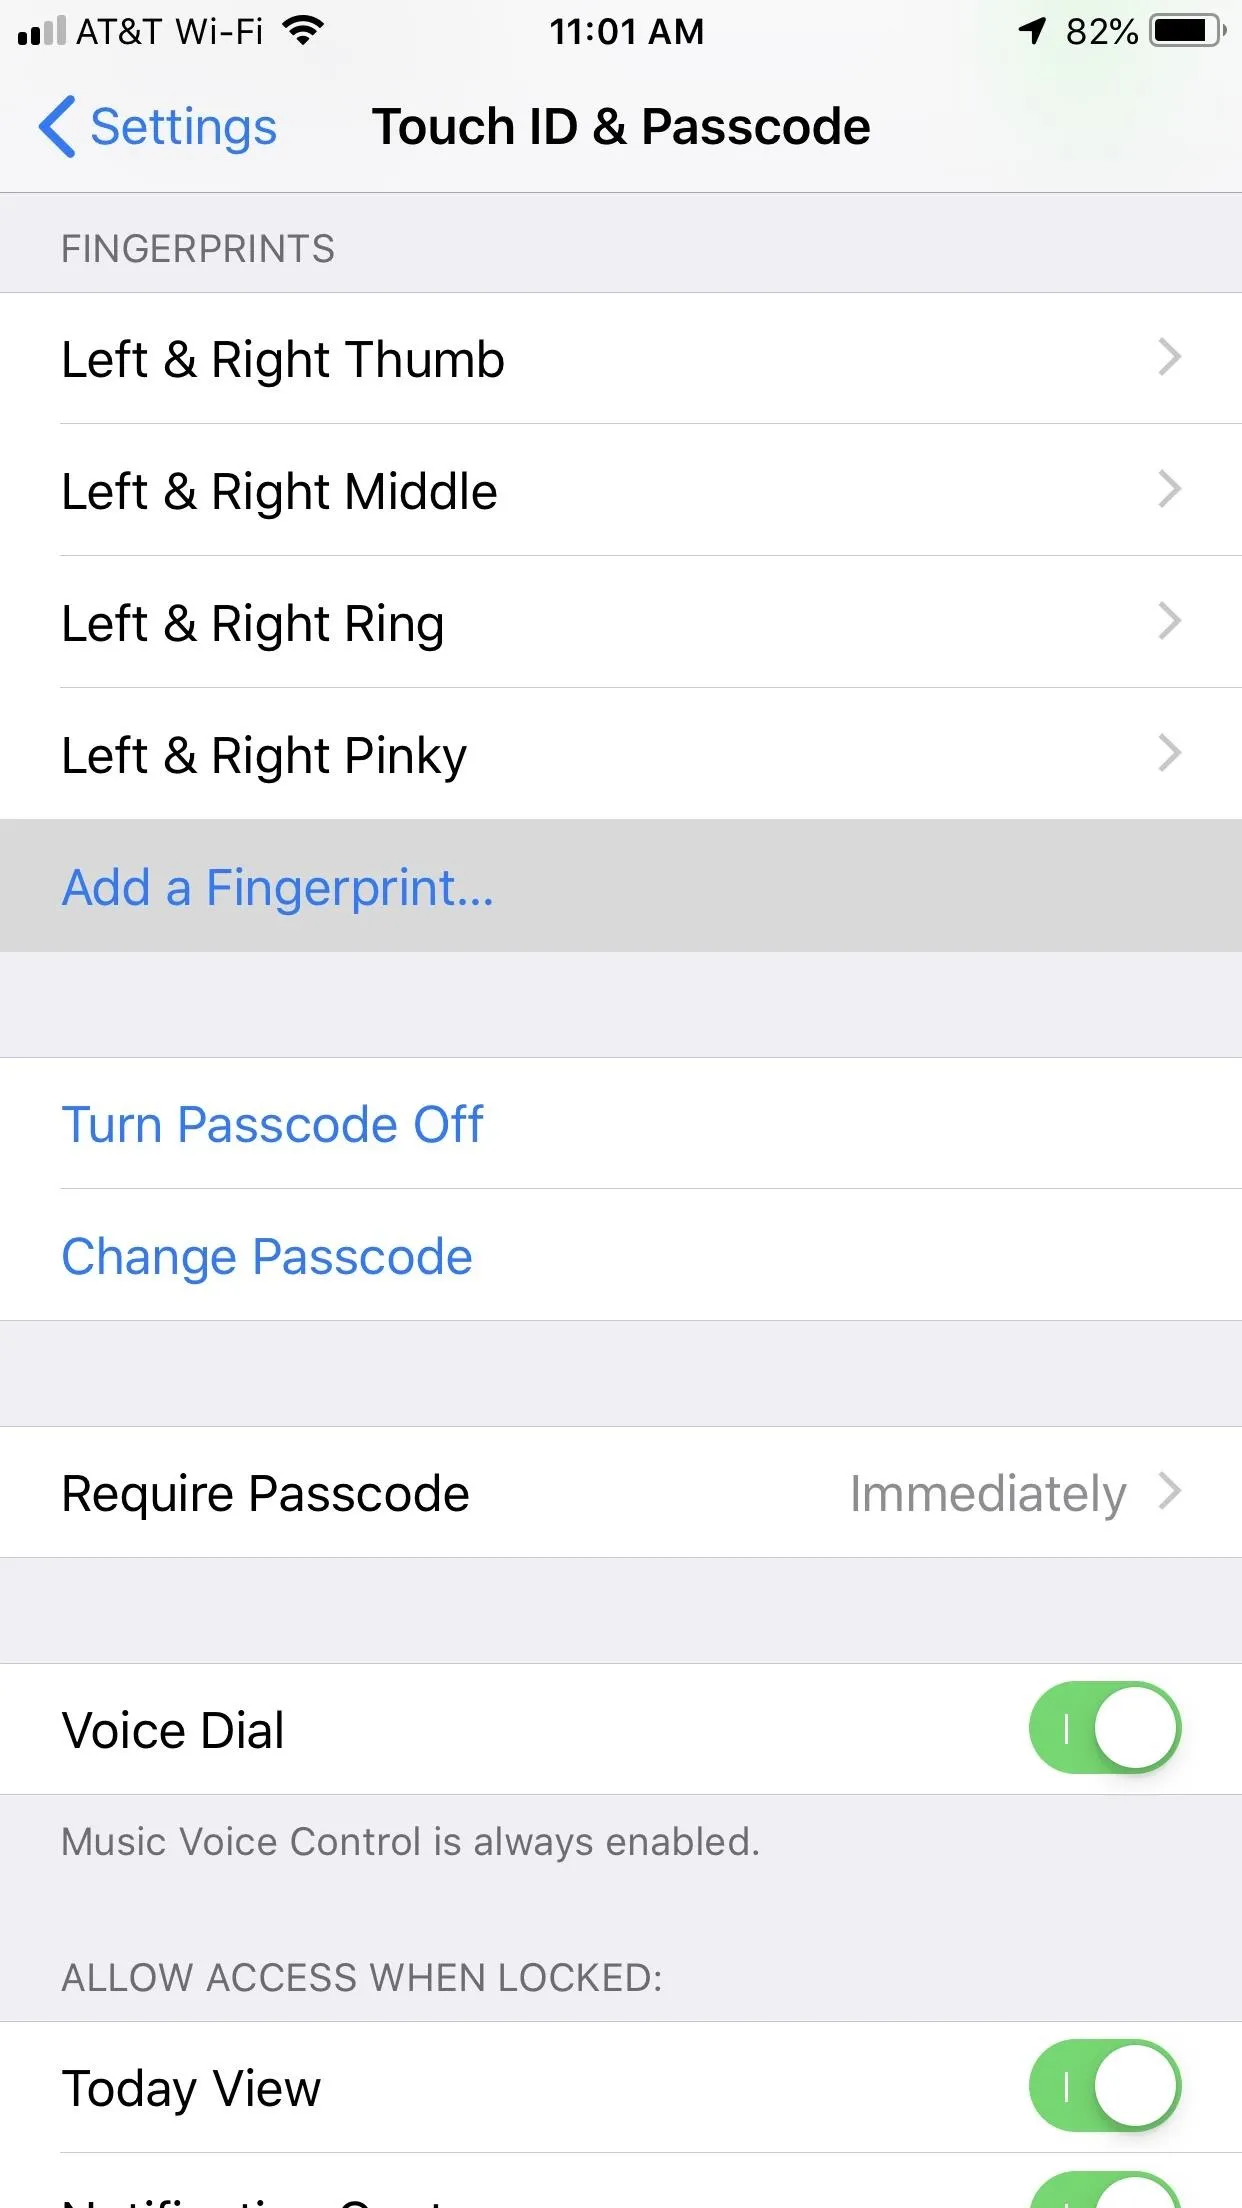
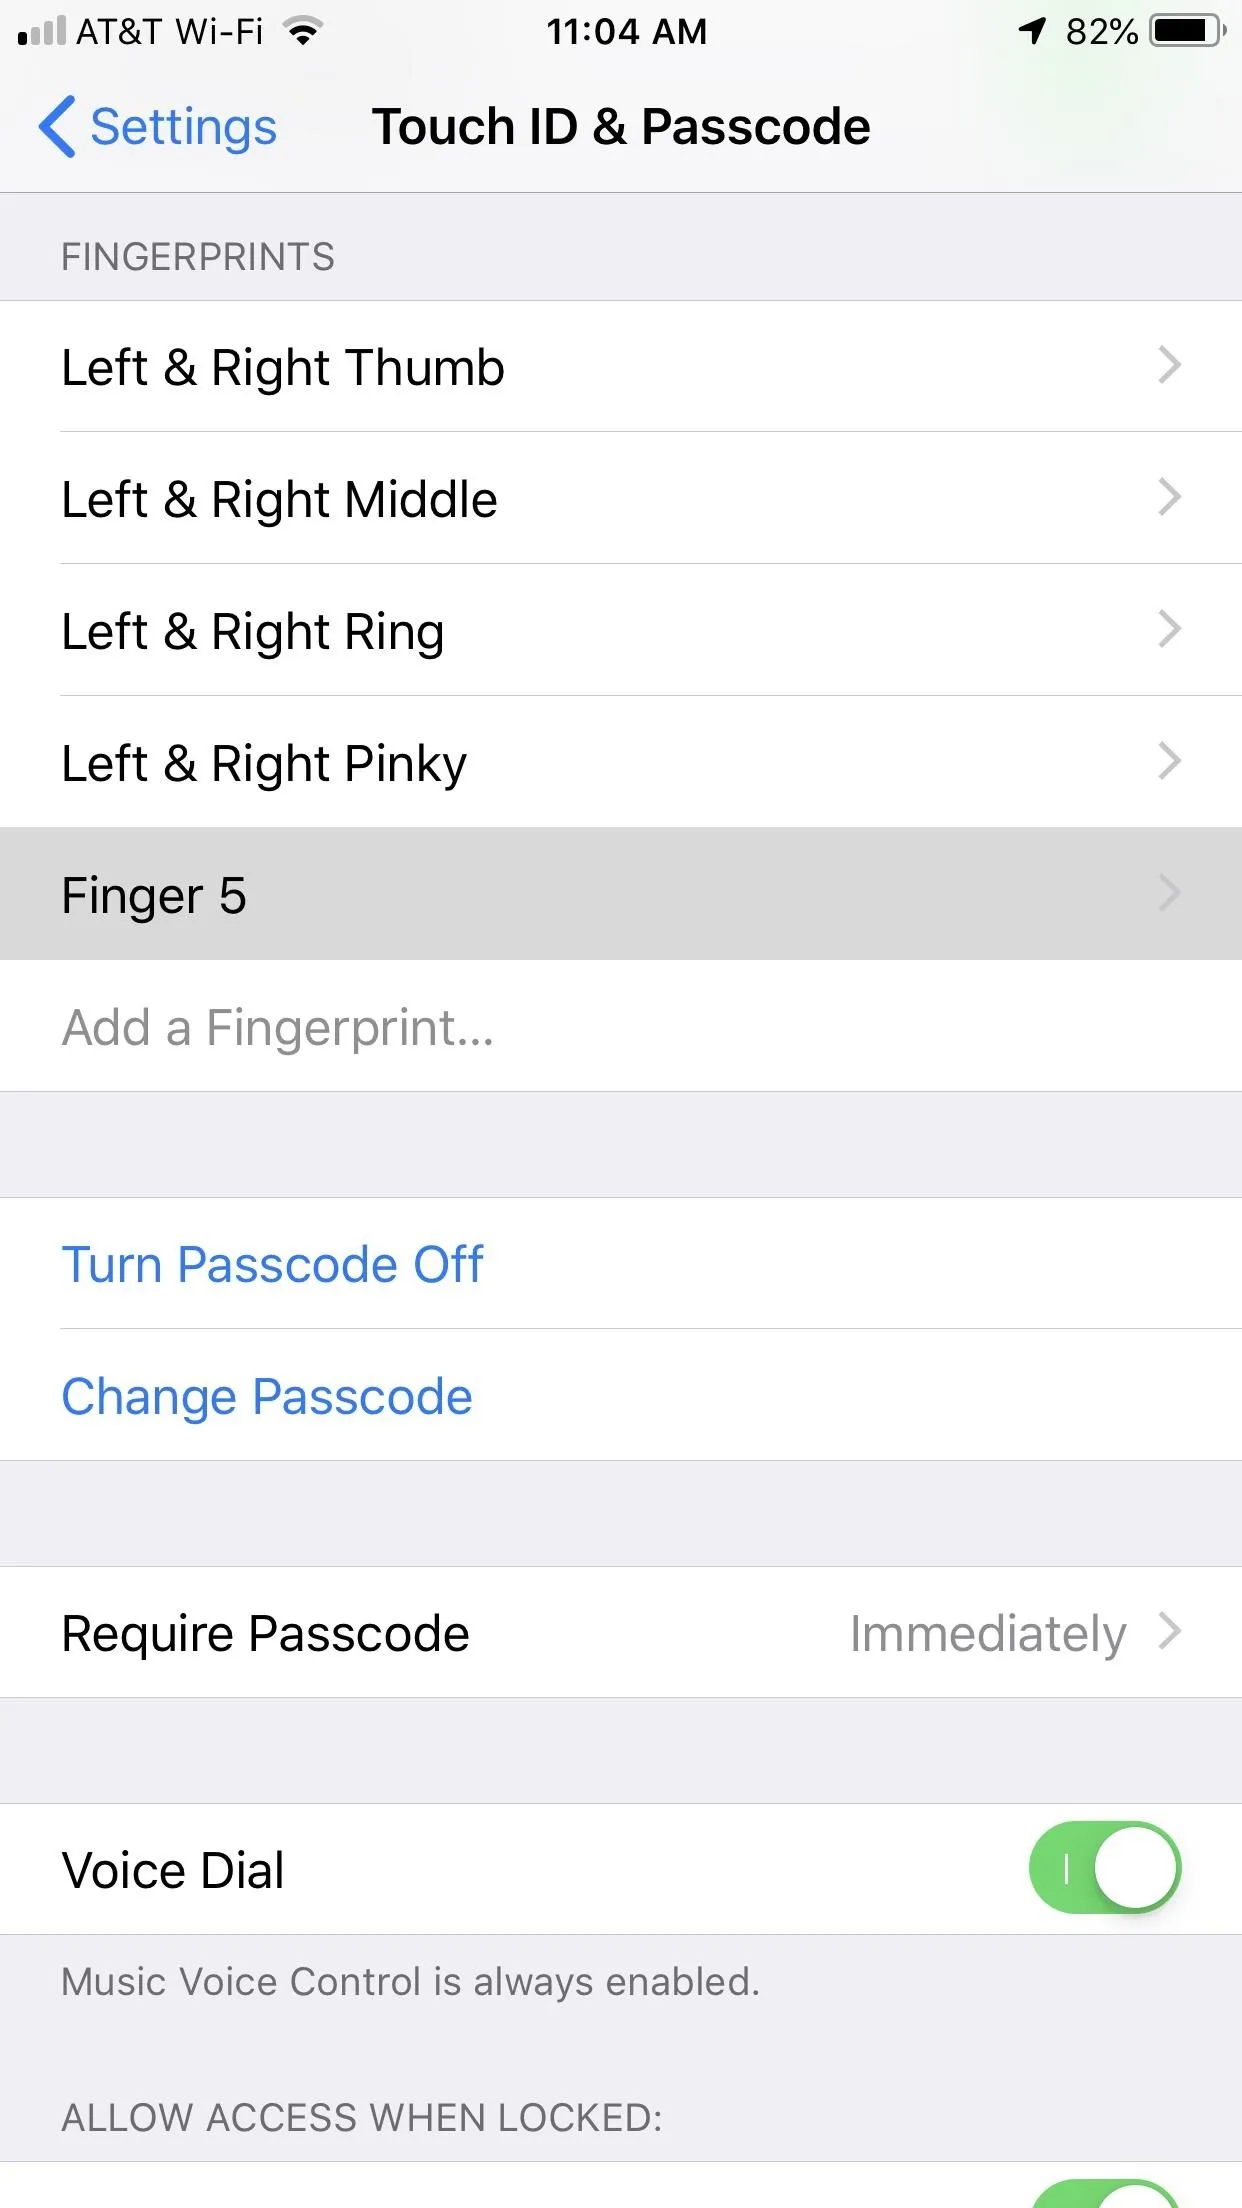
Open the Settings app, tap "Touch ID & Passcode," then enter your passcode. If you don't have any fingerprints registered with Touch ID yet, it will just say "Add a Fingerprint" under the Fingerprints section. Skip to Step 3 if that's the case.
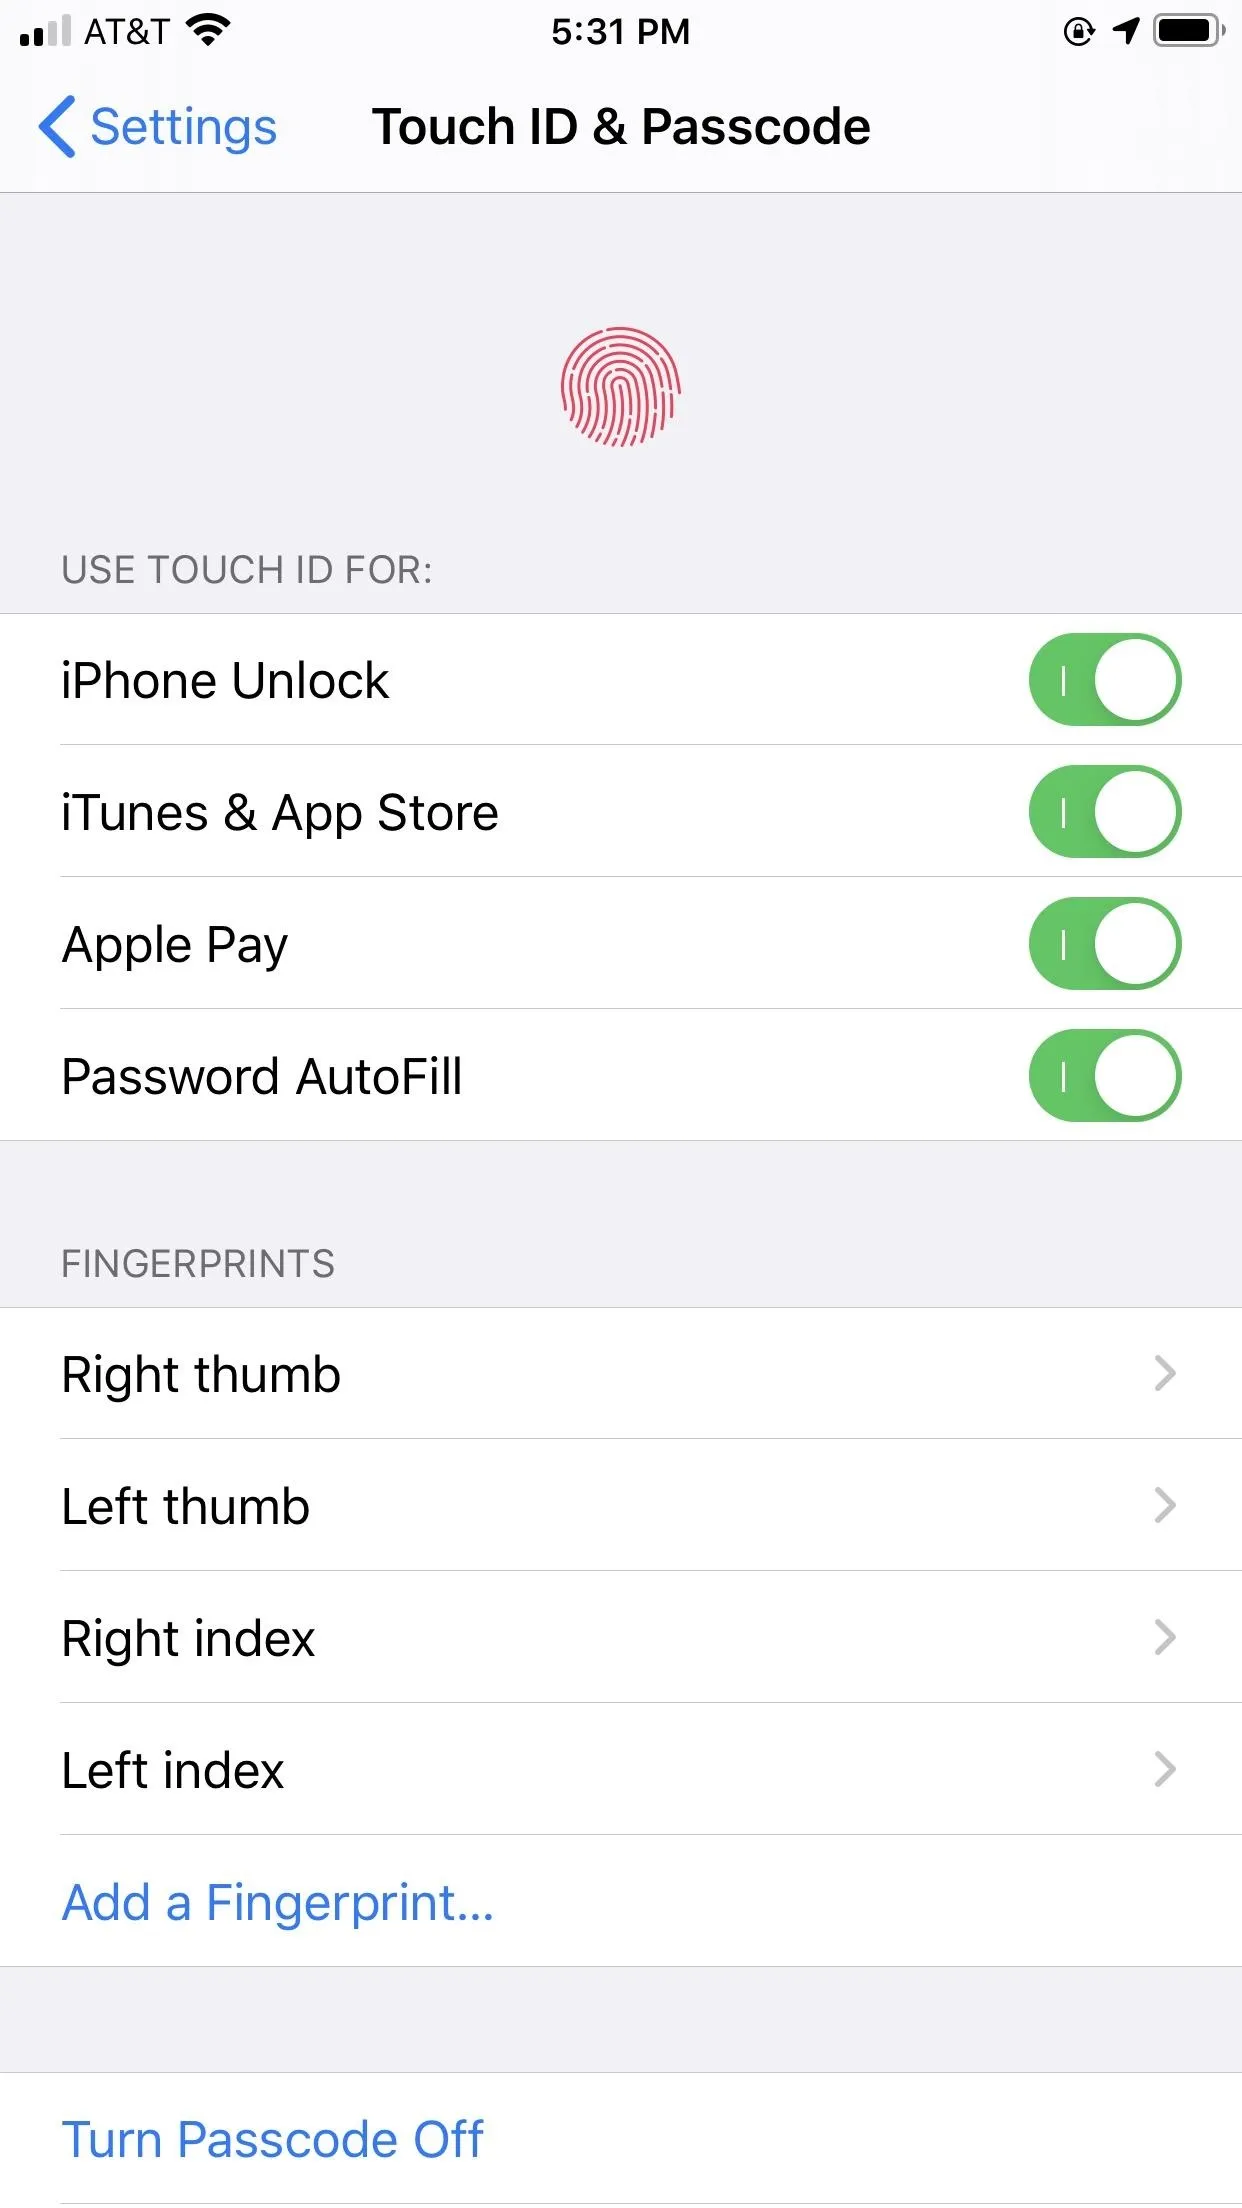
If you have one to five stored fingerprints, they will be listed with the name you gave them during the initial setup. What you do next depends on how many fingerprints you want to be scanned.

Delete Old Fingerprint Scans (If Needed)
If you want to use all ten of your fingers on Touch ID, or if you're going to use five of yours and five of somebody else's, then you'll want to delete all fingerprints already registered. If you only want six of your fingers to work with Touch ID, you just need to free up one slot, if not previously available.
When one of your thumbs is the main finger used for Touch ID, you may want to keep that one as normal, then just add eight other fingerprints for backup in situations when you're cooking and have dirty thumbs or something. You get the picture, I'm sure. Just figure out how many prints and which ones you'll need based on your usage.
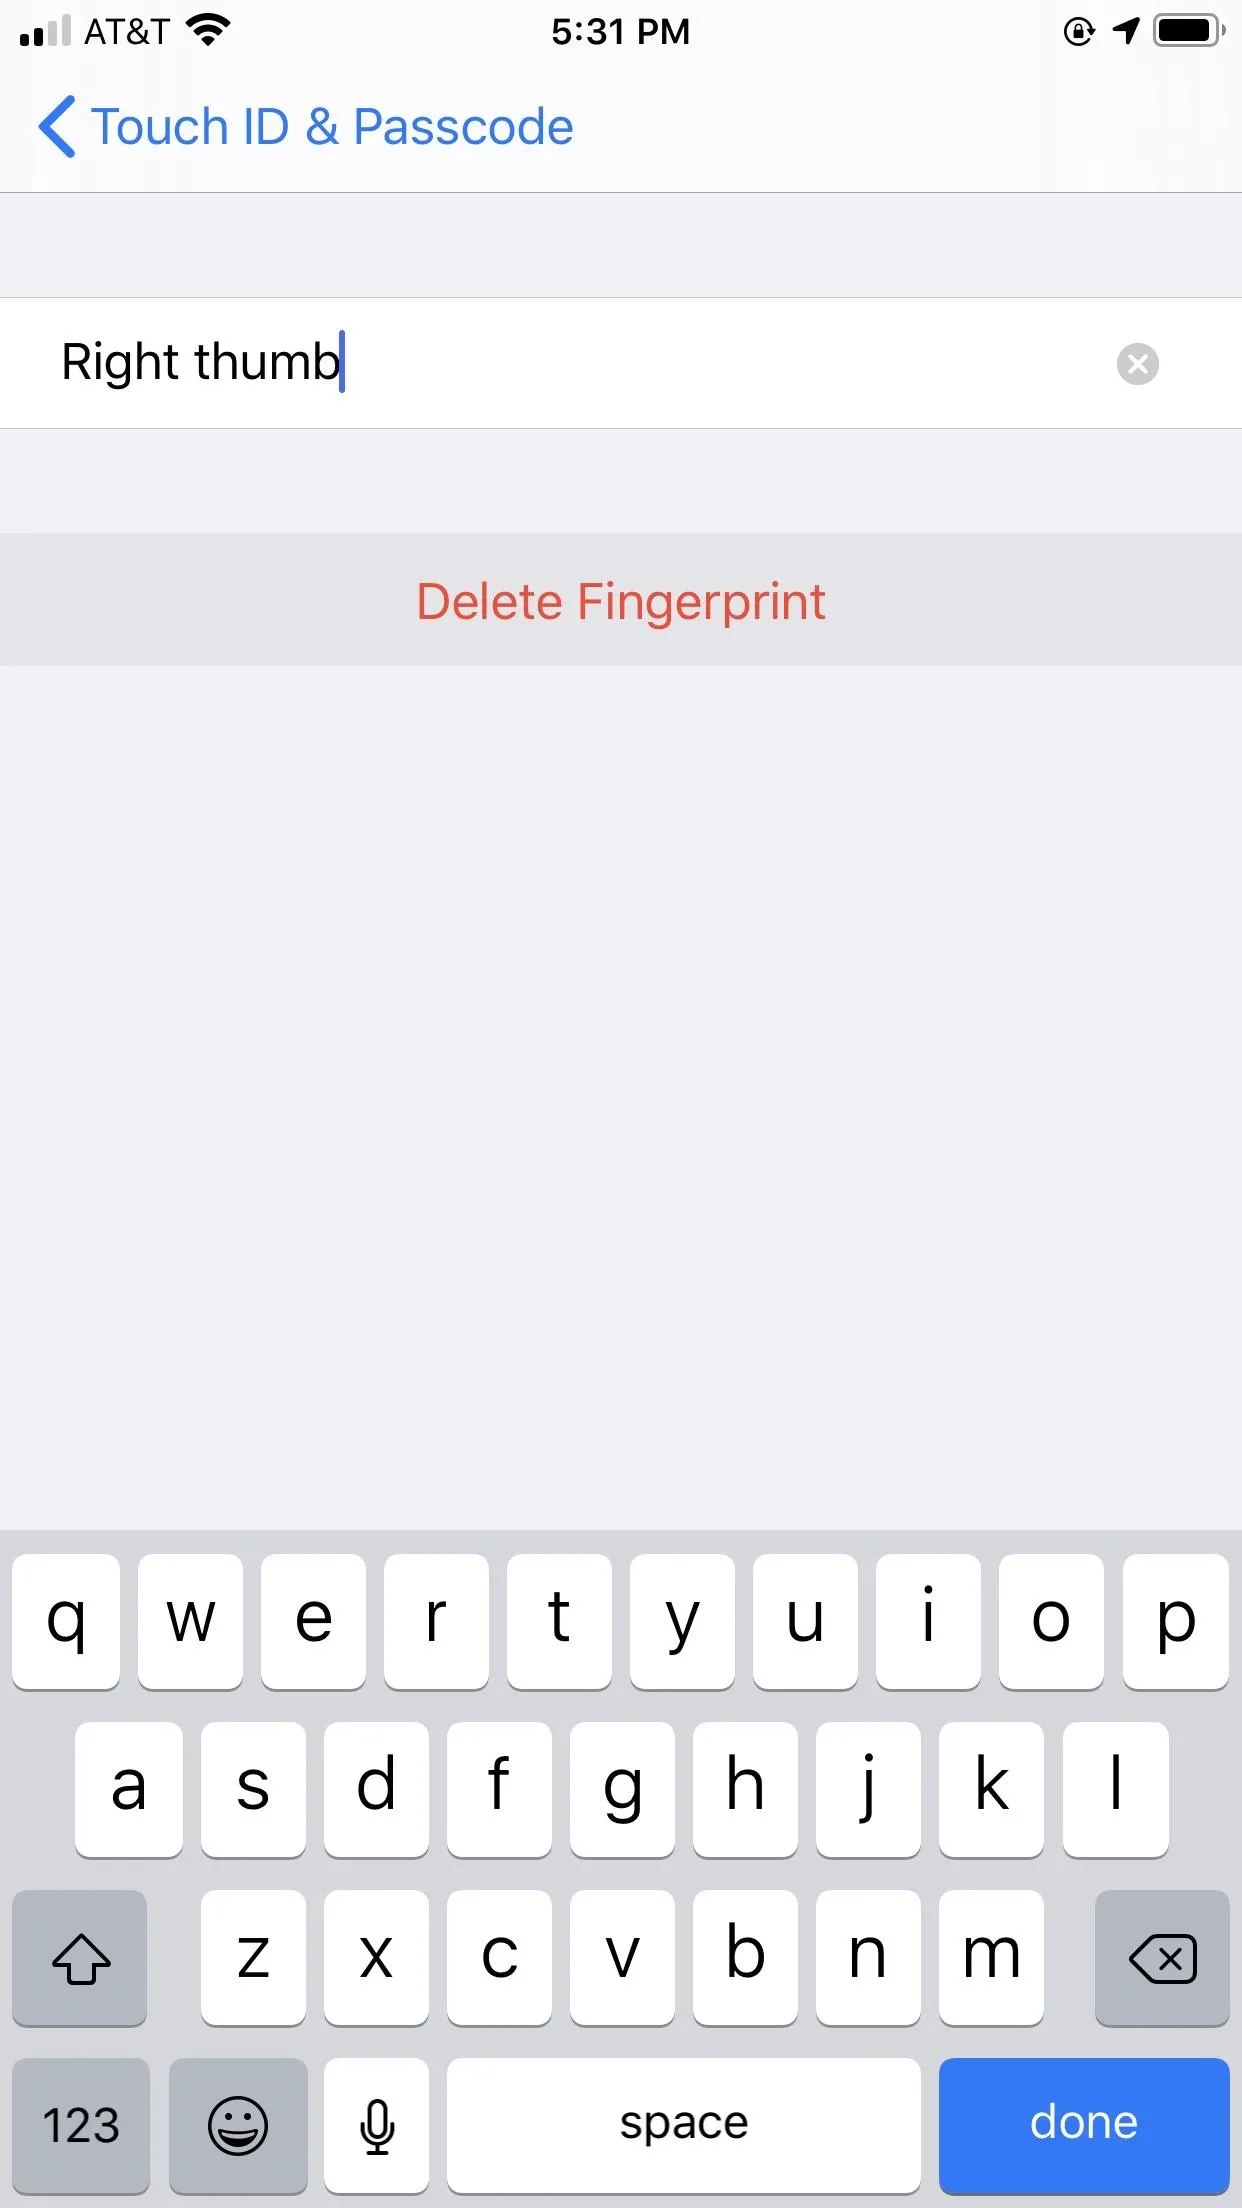
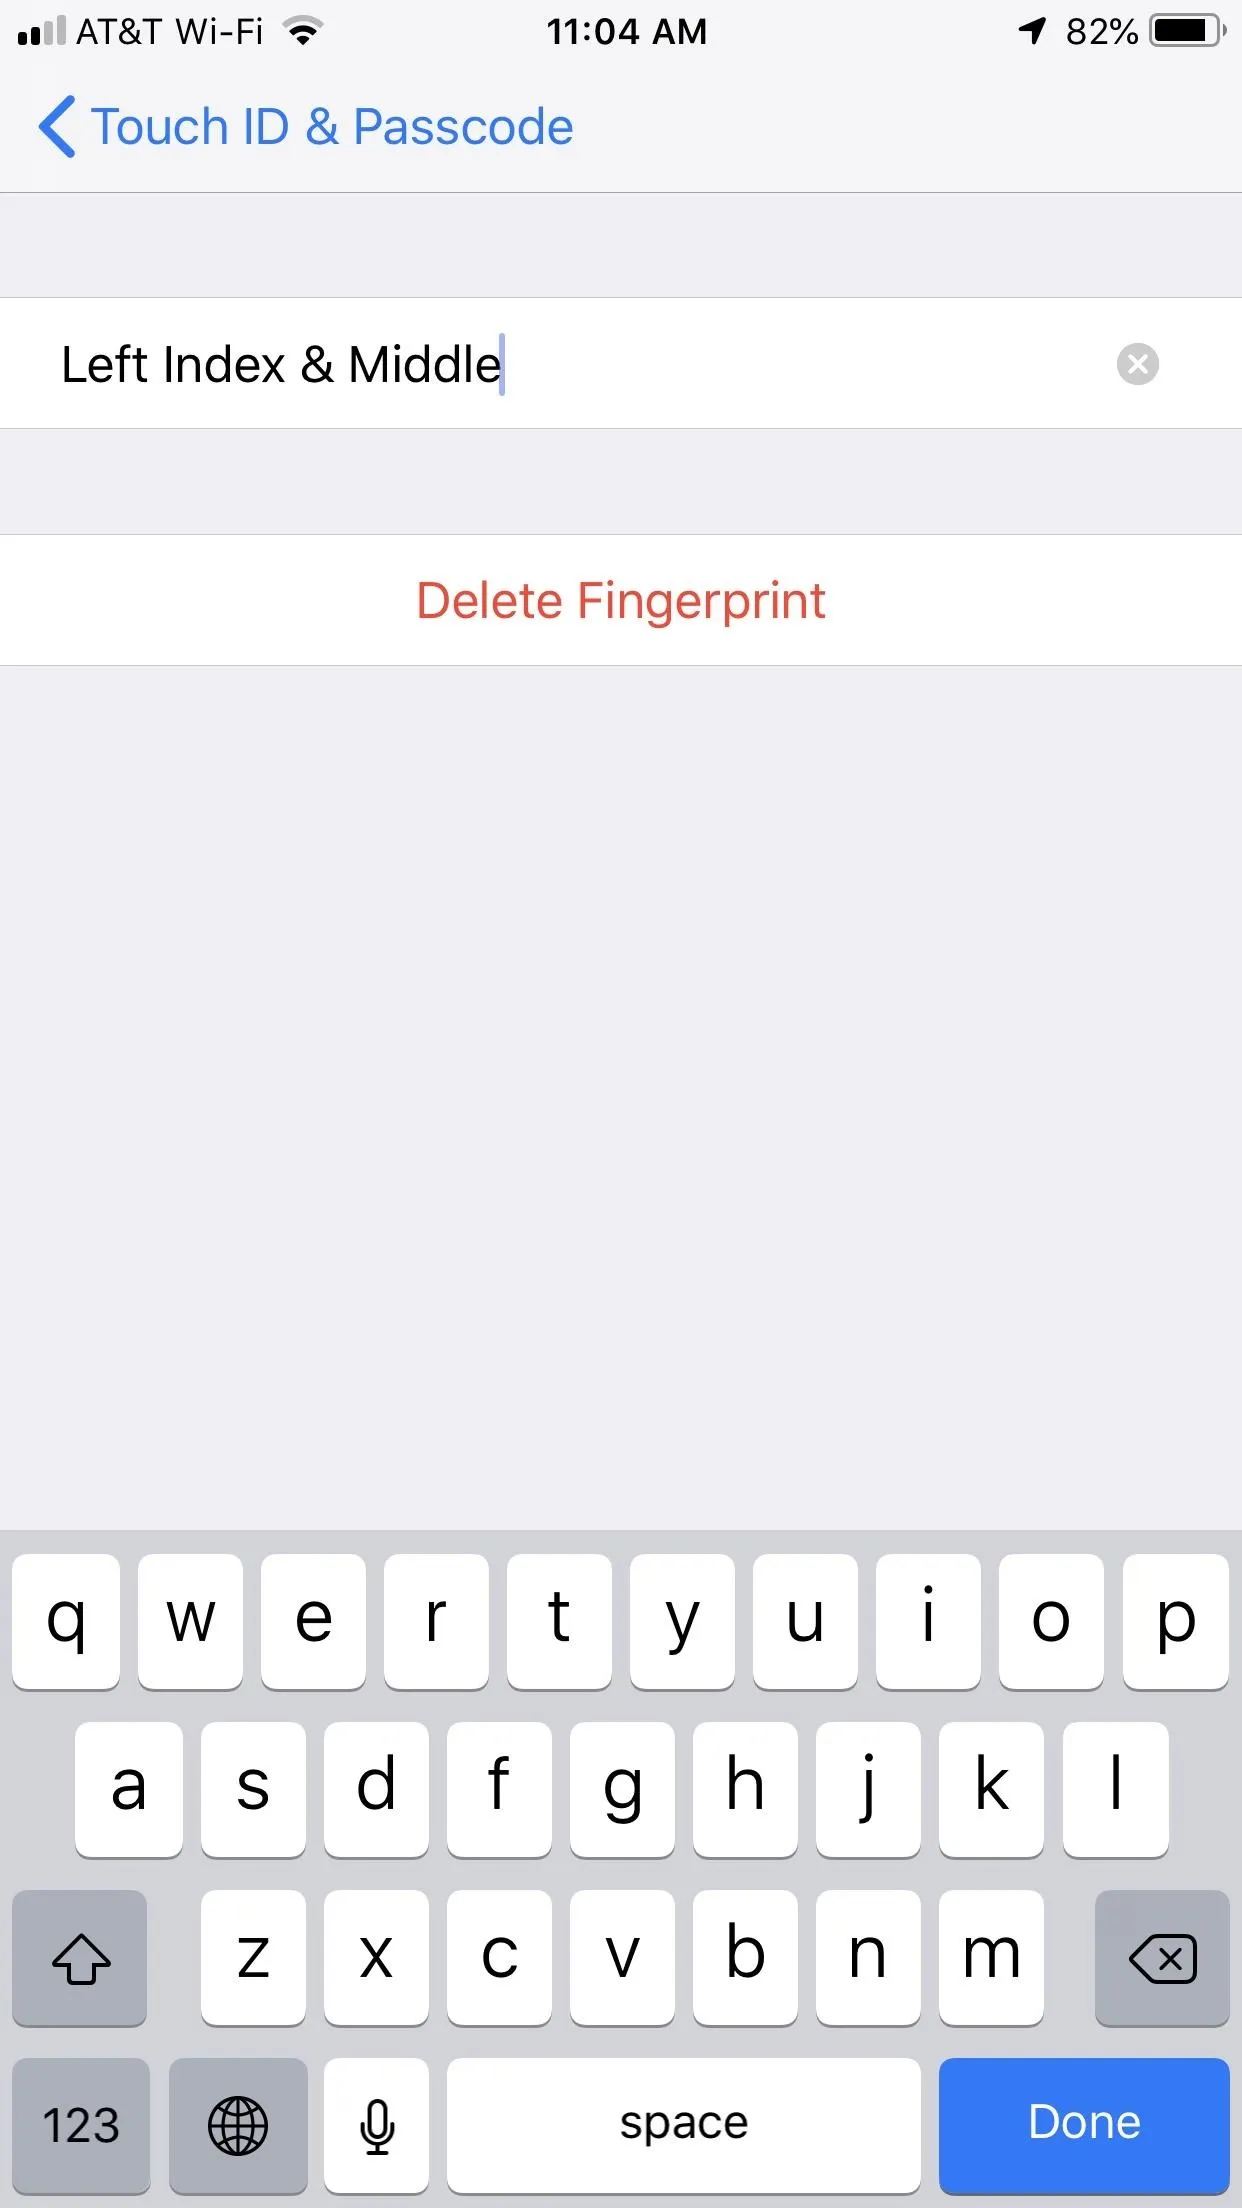
Once you know how many, one by one, tap the fingerprint's name and choose "Delete Fingerprint. Do this until you have enough open slots for what you need.
Scan Two Fingers for One Slot
During the fingerprint registration process, iOS will ask you to scan your desired finger twice, once to get the main middle area, and once to get the outside edges of the fingertip. It increases the accuracy of Touch ID since it has more to work with, so you can unlock your iPhone or use Apple Pay no matter how you're holding the device. This is why it may be good to only scan nine fingers in total, keeping your most used finger to one slot to prevent any hiccups during a Touch ID press.
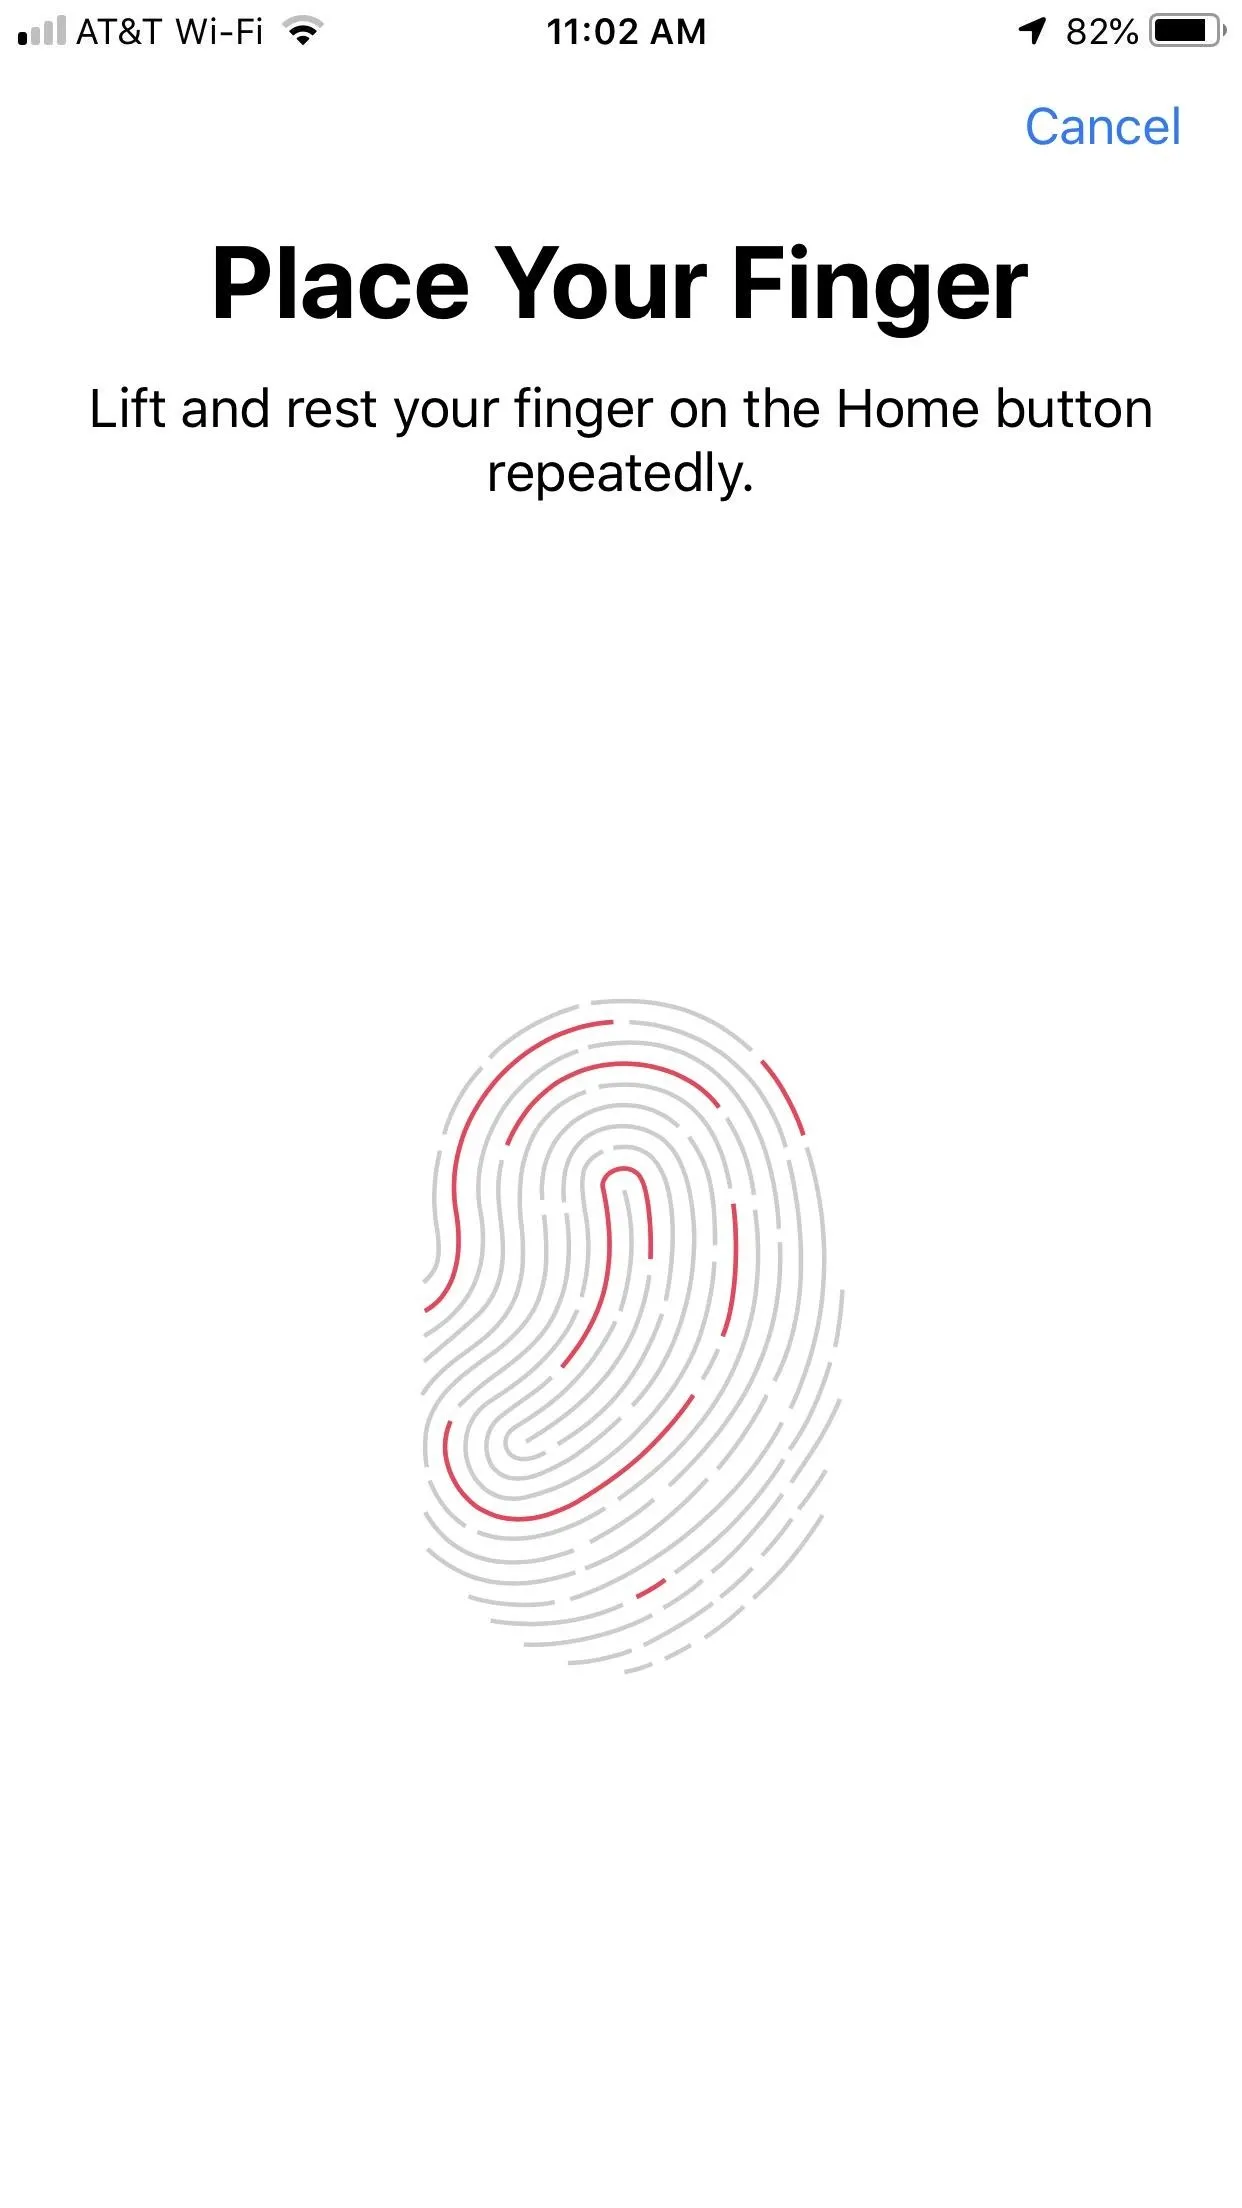
To start a new scan, tap "Add a Fingerprint" under the Fingerprints section. If you didn't have any fingerprints stored, you'd get an explanation screen — just press the finger you'll be scanning on the Touch ID button to get started. If you already had fingertips scanned, you'll jump right to the initial Place Your Finger screen.
The Easier Way
Scan your first of two fingerprints. While you would normally just keep tapping the Touch ID button to scan the middle of the fingertip, move it around a little more to scan some of the edges as well. When it has enough information, you'll jump to the Adjust Your Grip screen — tap "Continue."
Scan your second fingerprint, moving it around as you lift the finger up and down, just like the first one. Tap "Continue" when it's done.
The Harder Way
Alternatively, you could perform the two-finger scan by alternating the fingers throughout the whole process. Scan one finger, wait for the buzz, pick it up, place the other finger on the scanner, wait for the buzz, pick it up, and repeat. It's a lot more confusing and doesn't seem to work any better than the first method, so we suggest sticking with that one.
Name the Fingerprint Slots Appropriately
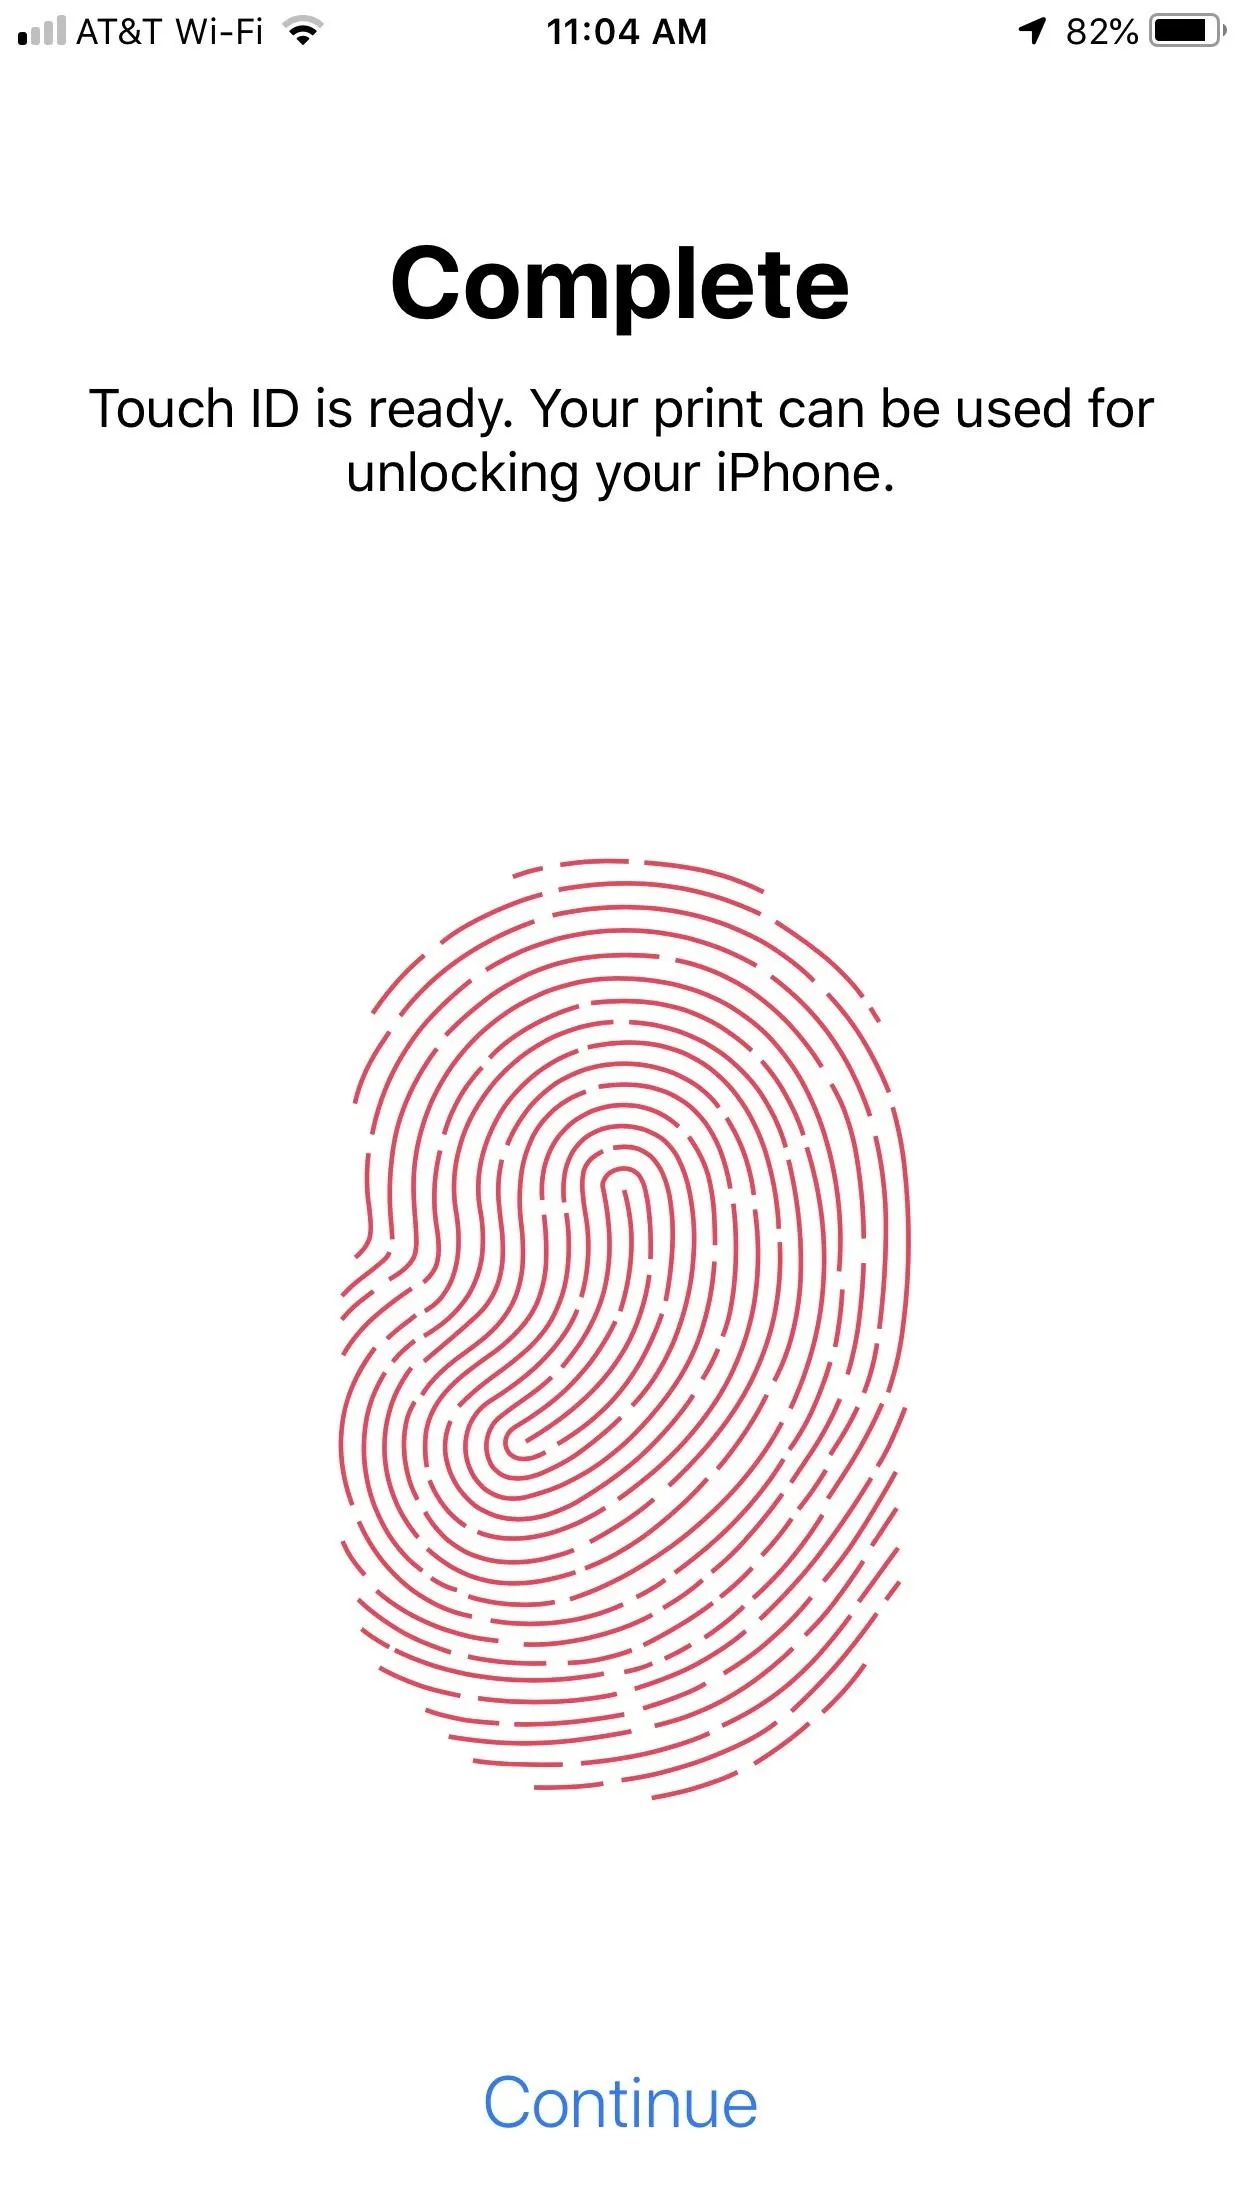
After you tap the final "Continue," iOS will save your two-finger scan alongside any other scan you might already have. Tap the new scan to change its name to something more specific, such as "left and right pinky," so you don't get confused by which fingers you've scanned and which you still need to do.
Unlocking your iPhone, using Apple Pay, using AutoFill for passwords, and installing new apps with any of your ten fingers should work remarkably well. For the most part, you won't even notice a difference. However, since you don't have full scans of one fingertip, you may experience the "try again" message or get the passcode prompt. If it happens too frequently, try deleting and repeating the scans.
This article was produced during Gadget Hacks' special coverage on smartphone privacy and security. Check out the whole Privacy and Security series.
Cover image, screenshots, and GIF by Jake Peterson/Gadget Hacks


Comments
Be the first, drop a comment!