


For lack of a better word, a missing iPhone sucks. Not only do you lose a physical device that cost you a small fortune, but there's also the probability you'll never see your precious data again. Hackers and thieves might, just not you. To keep this from ever happening, there are preventative measures you should take, and the sooner you do them the better.
Items you'll need to complete will range from making your password stronger and updating to the latest iOS version to disabling certain lock screen features and turning on Find My iPhone. These steps aren't just for preventing other people from getting in your iPhone, they can help you locate your device in a couch cushion or under the bed and can even help you get a stolen iPhone back if you're lucky.
Set Up Biometric Authentication
The first time you set up your new iPhone, Apple walks you through the process of signing in to your Apple ID, connecting to Wi-Fi, setting up a passcode, and more. While every step in this initiation is vital, the one that's most important is using biometric technology.
Yes, your passcode is one layer of security, and that may be enough for some, but Face ID (or Touch ID on older devices) beefs up your security and makes it more difficult for thieves and hackers to get into your physical device. When it comes to odds, both Face ID and a six-digit passcode limit unauthorized access to your iPhone to a one-in-a-million chance, while Touch ID has one-in-50,000 odds.
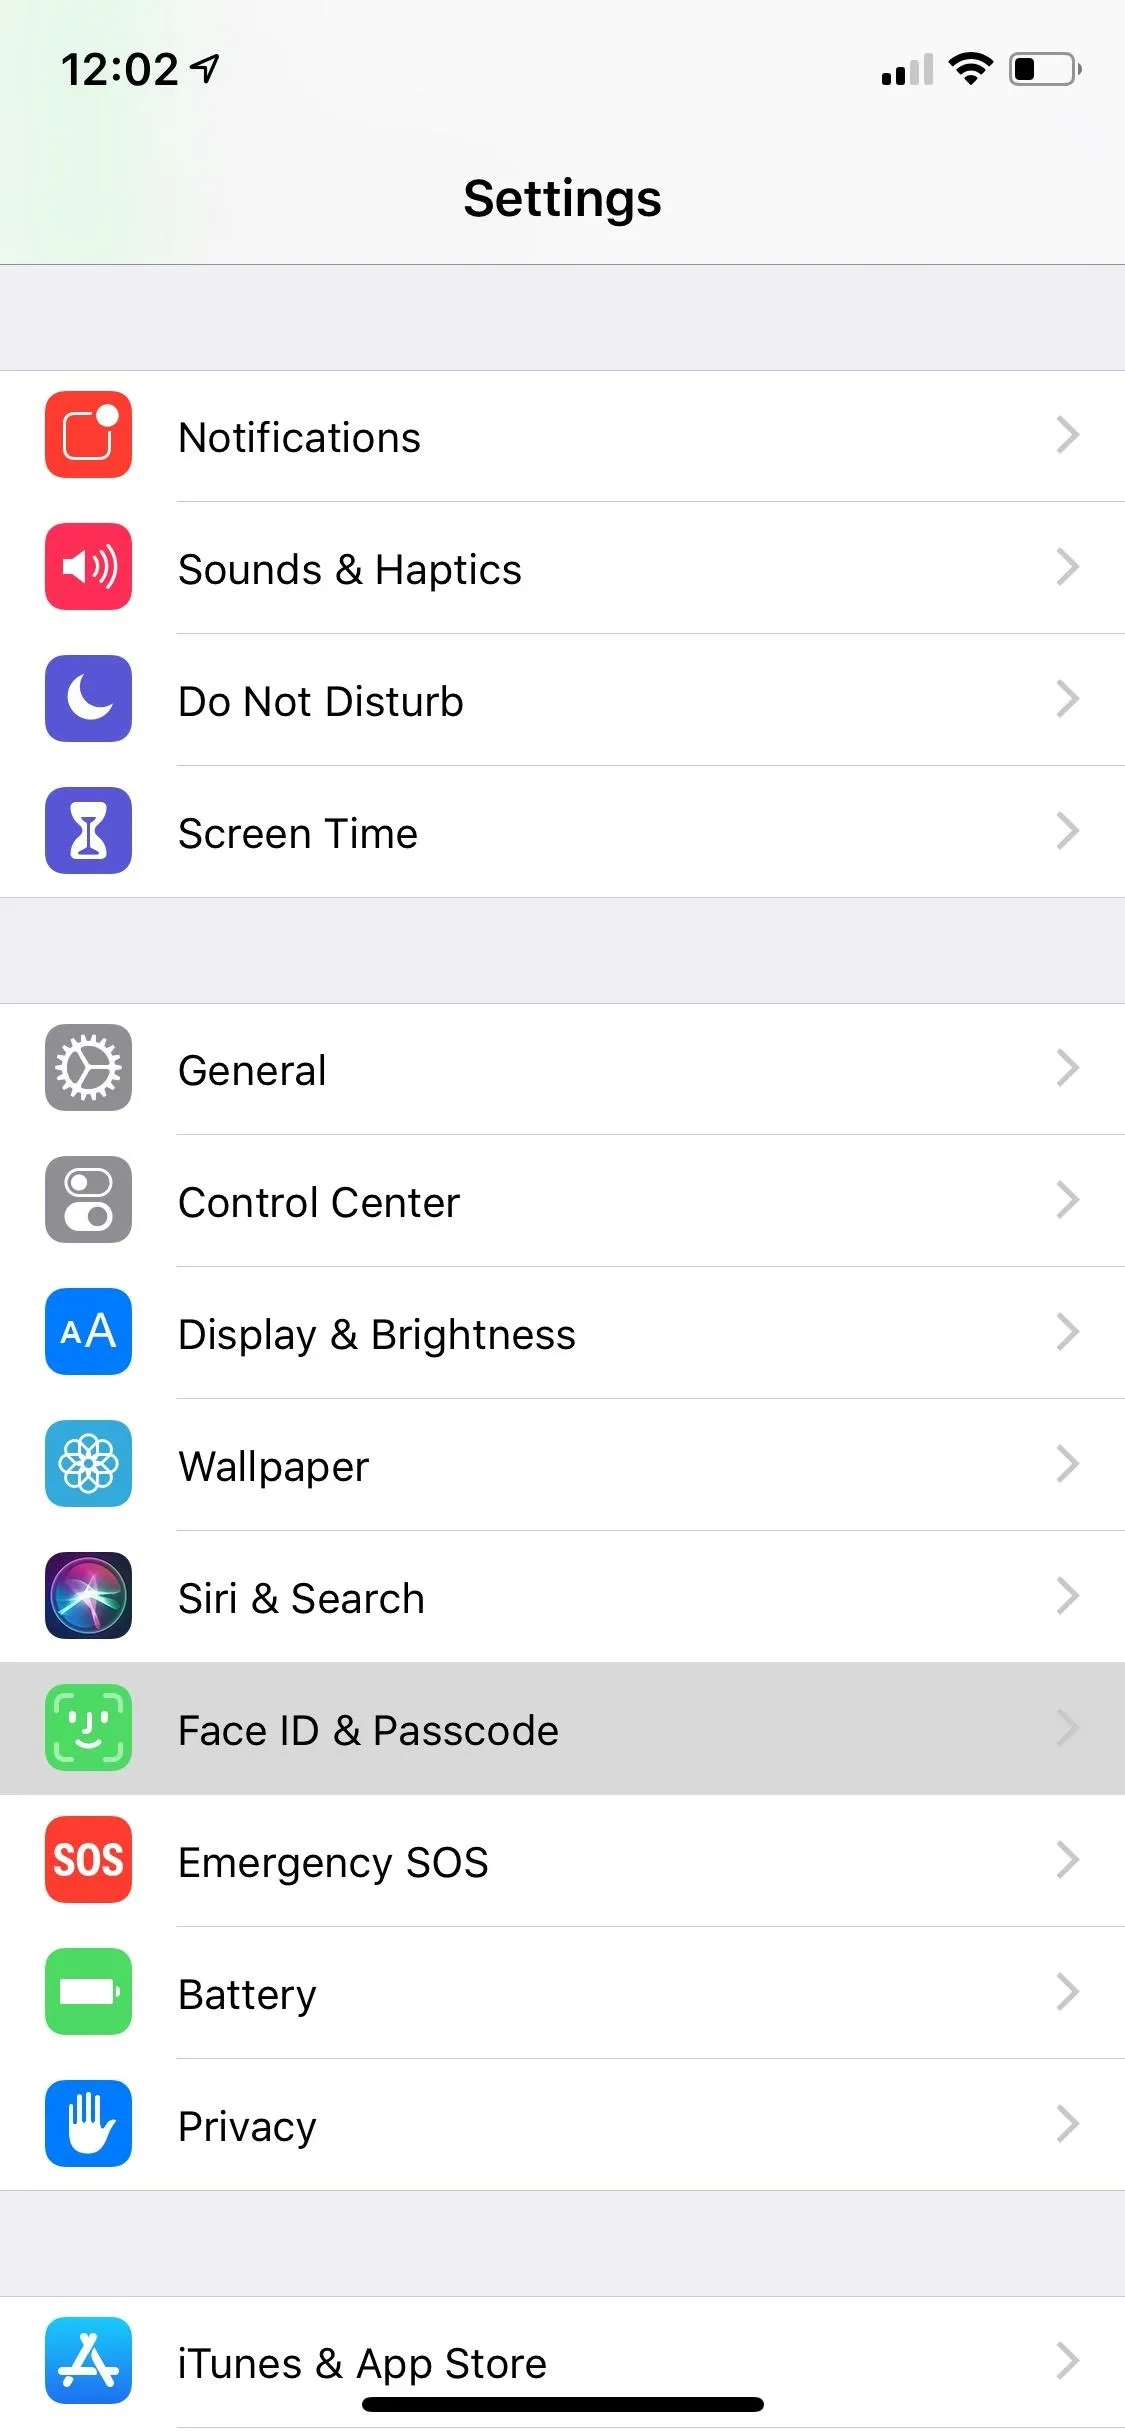
If you didn't set up biometric authentication during the initial setup, you'll just need to head into the "Face ID & Passcode" or "Touch ID & Passcode" settings to get started. Check out our Face ID setup guide and tips, as well as our ideas for getting Touch ID working at optimal performance.
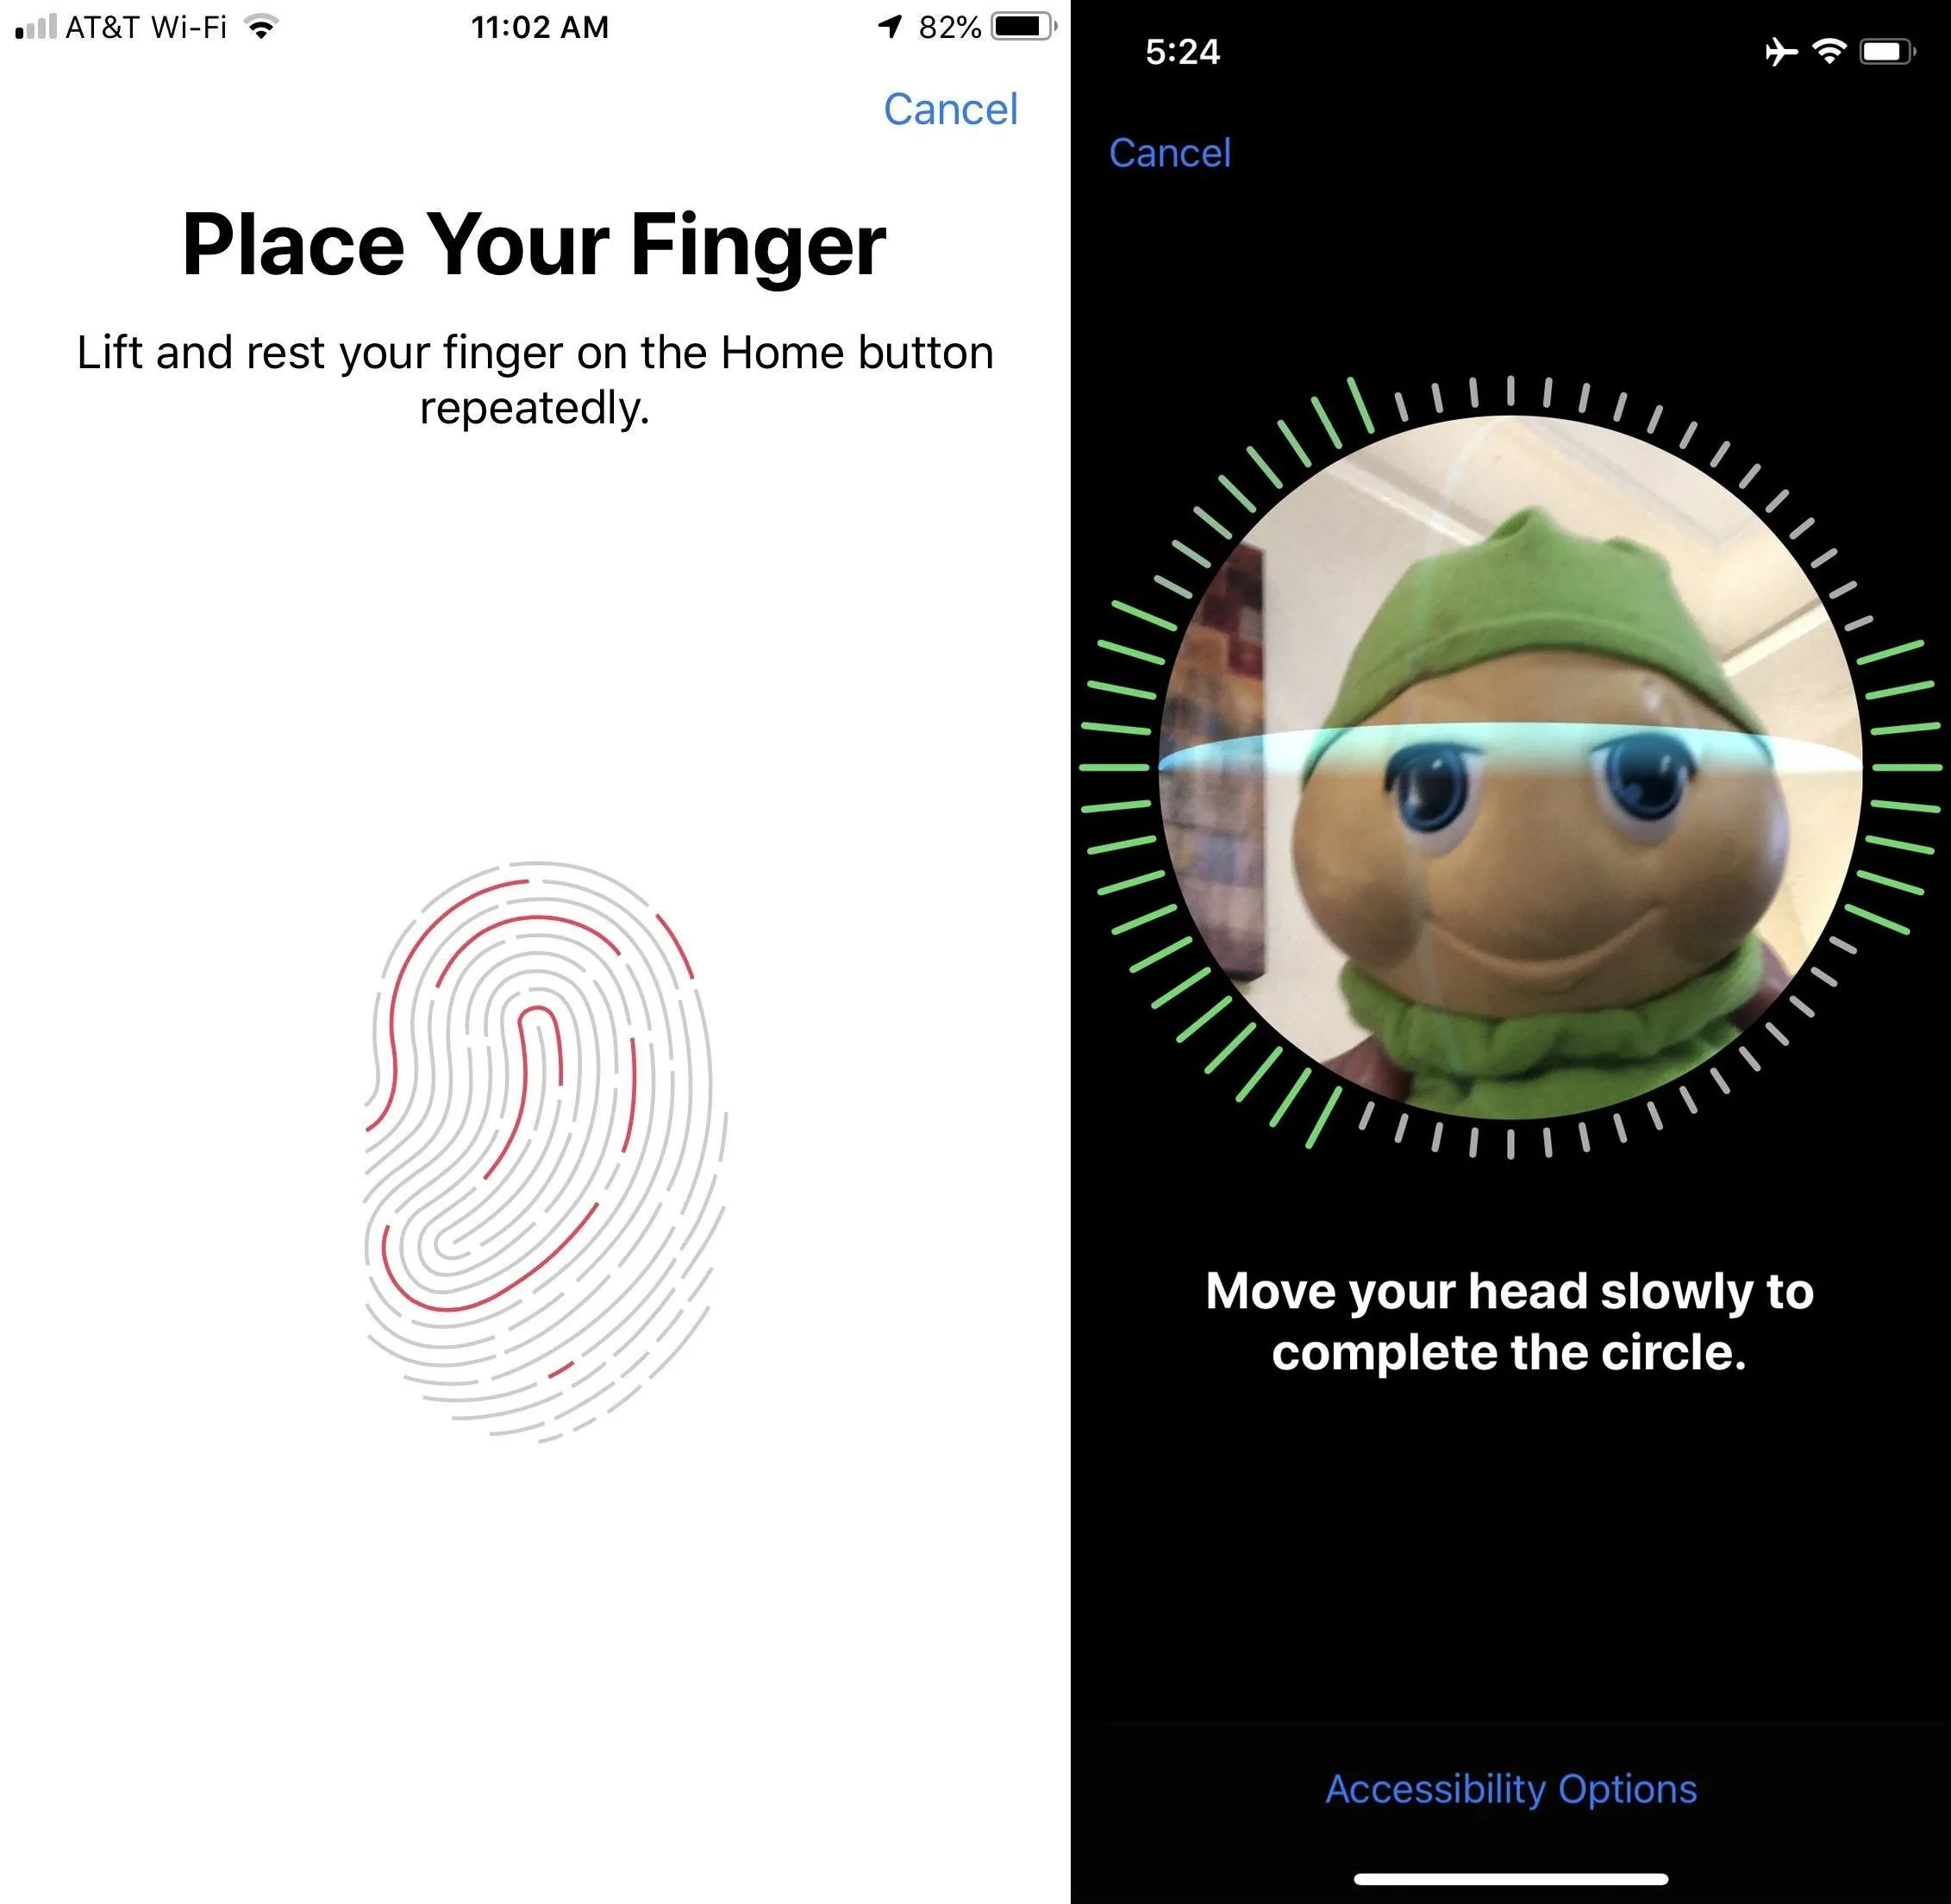
Jake Peterson and Amboy Manalo/Gadget Hacks
Know How to Disable Biometrics Quickly
Now that you have Face ID or Touch ID set up, there's an important thing to bring up: they can be used against you if a mugger or law enforcement takes your iPhone. Brazen thieves can force you to unlock your iPhone with your face or fingerprint before taking off, while the same can be done by confiscated devices in law enforcement's hands. It's much harder for a thief to get you to use a passcode, and by law, cops can't force you to give up your PIN.
In a split second, as long as you know how to do it, you can block Face ID or Touch ID from working without messing with anything on-screen. All it takes is a certain combo of button presses to lock down biometric access.
- Full Guide: Quickly Turn Off Face ID on the iPhone X, XS, XS Max & XR
- Full Guide: Quickly Disable Touch ID on Your iPhone for Extra Security
Make Your Passcode Stronger
If you set up your passcode the first time you turned on your iPhone, you probably have either a four-digit or six-digit numeric code. Although a six-digit code with one million possible combinations is more secure than the four-digit one with only 10,000, it's still pretty weak. According to cryptographer Matthew Green, an iPhone-hacking machine called GrayKey can crack a six-digit passcode in roughly 11 hours.
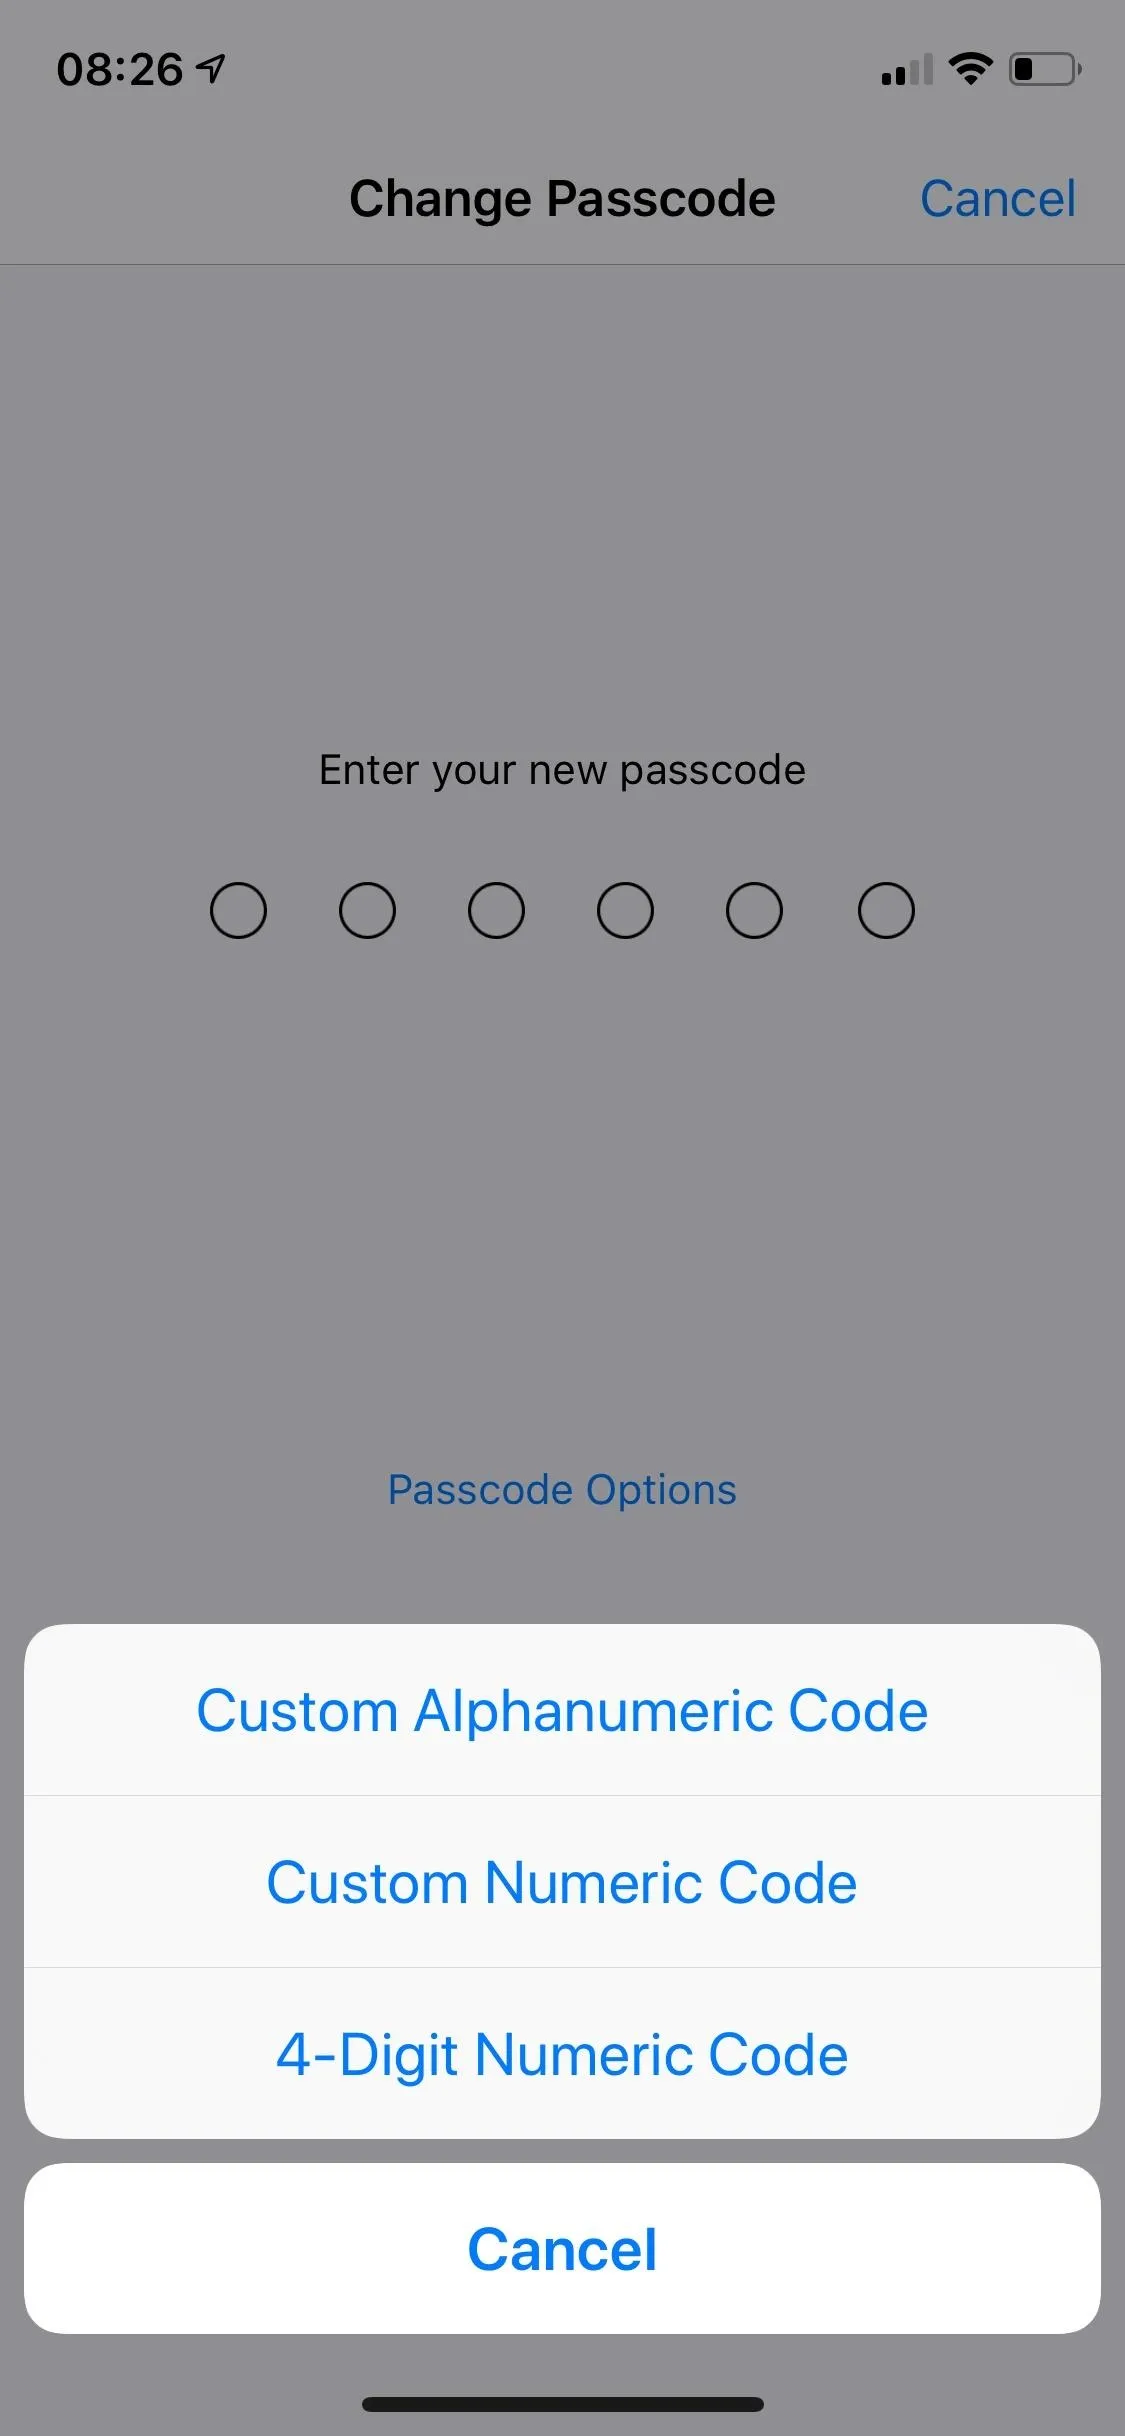
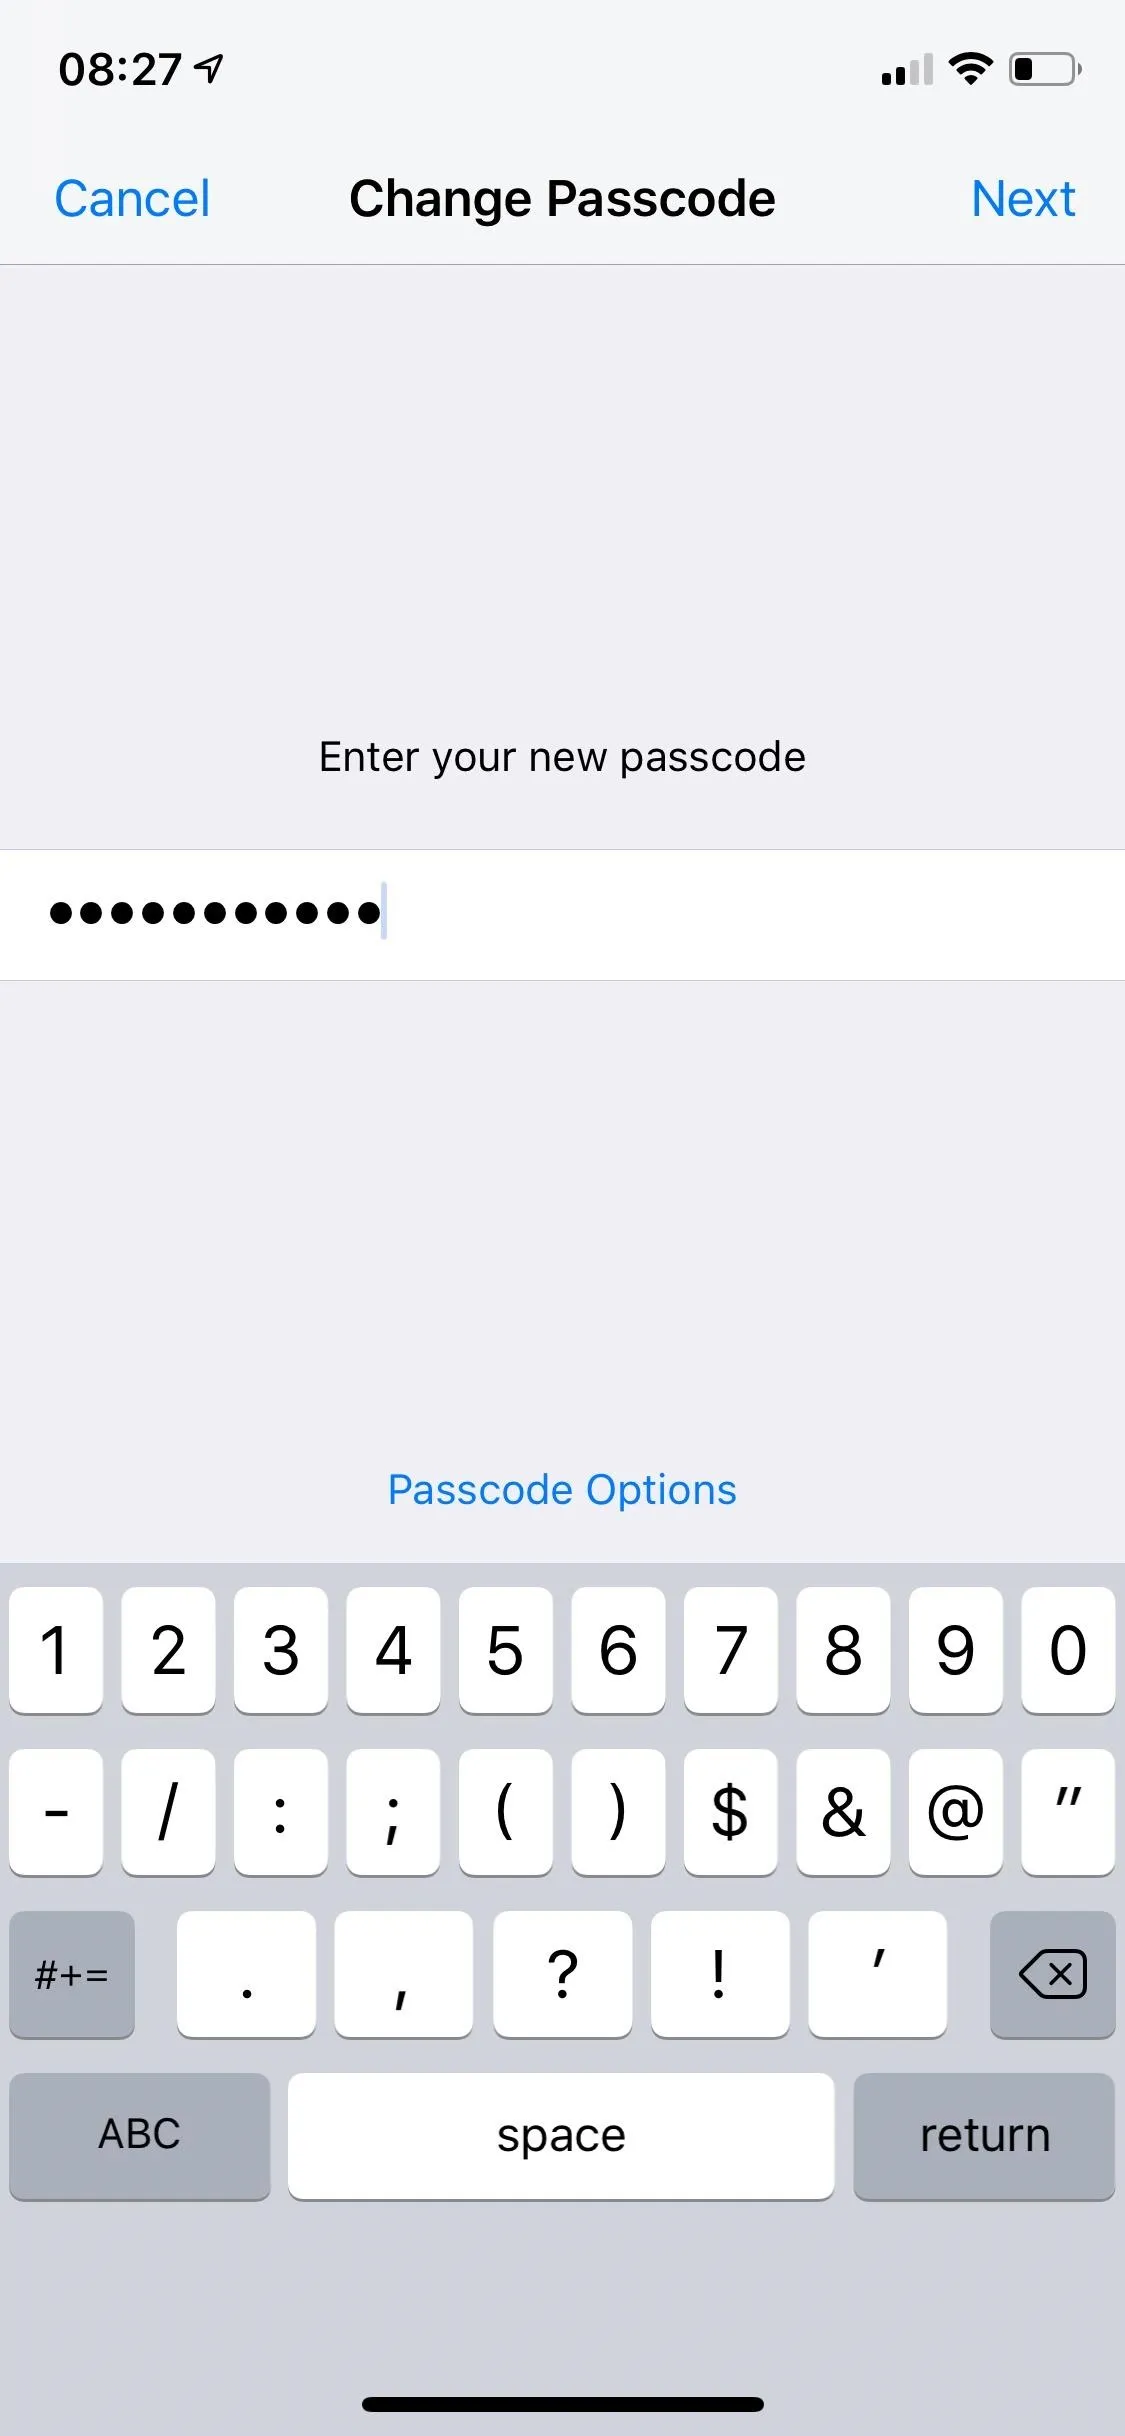
Longer passcodes are not for everyone, and we don't intend on changing your mind, but if you want the best possible security on your iPhone, you should switch to a custom alphanumeric or numeric code. Both types allow more digits/characters than the usual passcode options. And if you want to stick to all numbers, bumping your passcode up to 10 digits will give it 100 million different combinations!
Update to the Latest iOS Version
New iterations of Apple's mobile operating system usually comes with new security and privacy features (password and authentication enhancements, improved enhanced Safari tracking protection, etc.), as well as fixes to bugs and other issues that could potentially be or become security risks. For instance, iOS 12.1.4 fixed a huge Group FaceTime vulnerability. If you're running an older version of iOS, you should update your device as soon as possible to improve security.
The easiest way to keep your iPhone updated is by enabling "Automatic Updates," which can be found in Settings –> General –> Software Update –> Automatic Updates. With this turned on, your device will update overnight when an update is available, as long as it's connected to Wi-Fi and a power source.
In the "Software Update" menu, you can also "Download and Install" new updates manually. Additionally, you can connect your iPhone to your computer to update through iTunes, which some prefer over OTA updates since they're more stable.


Back Up Your Data
You should always prepare for the possibility that your device may be stolen or lost, which is why you need to back up your data more often than not. Luckily, you no longer need to back your device up onto your computer with iTunes — you can do so straight from your iPhone.
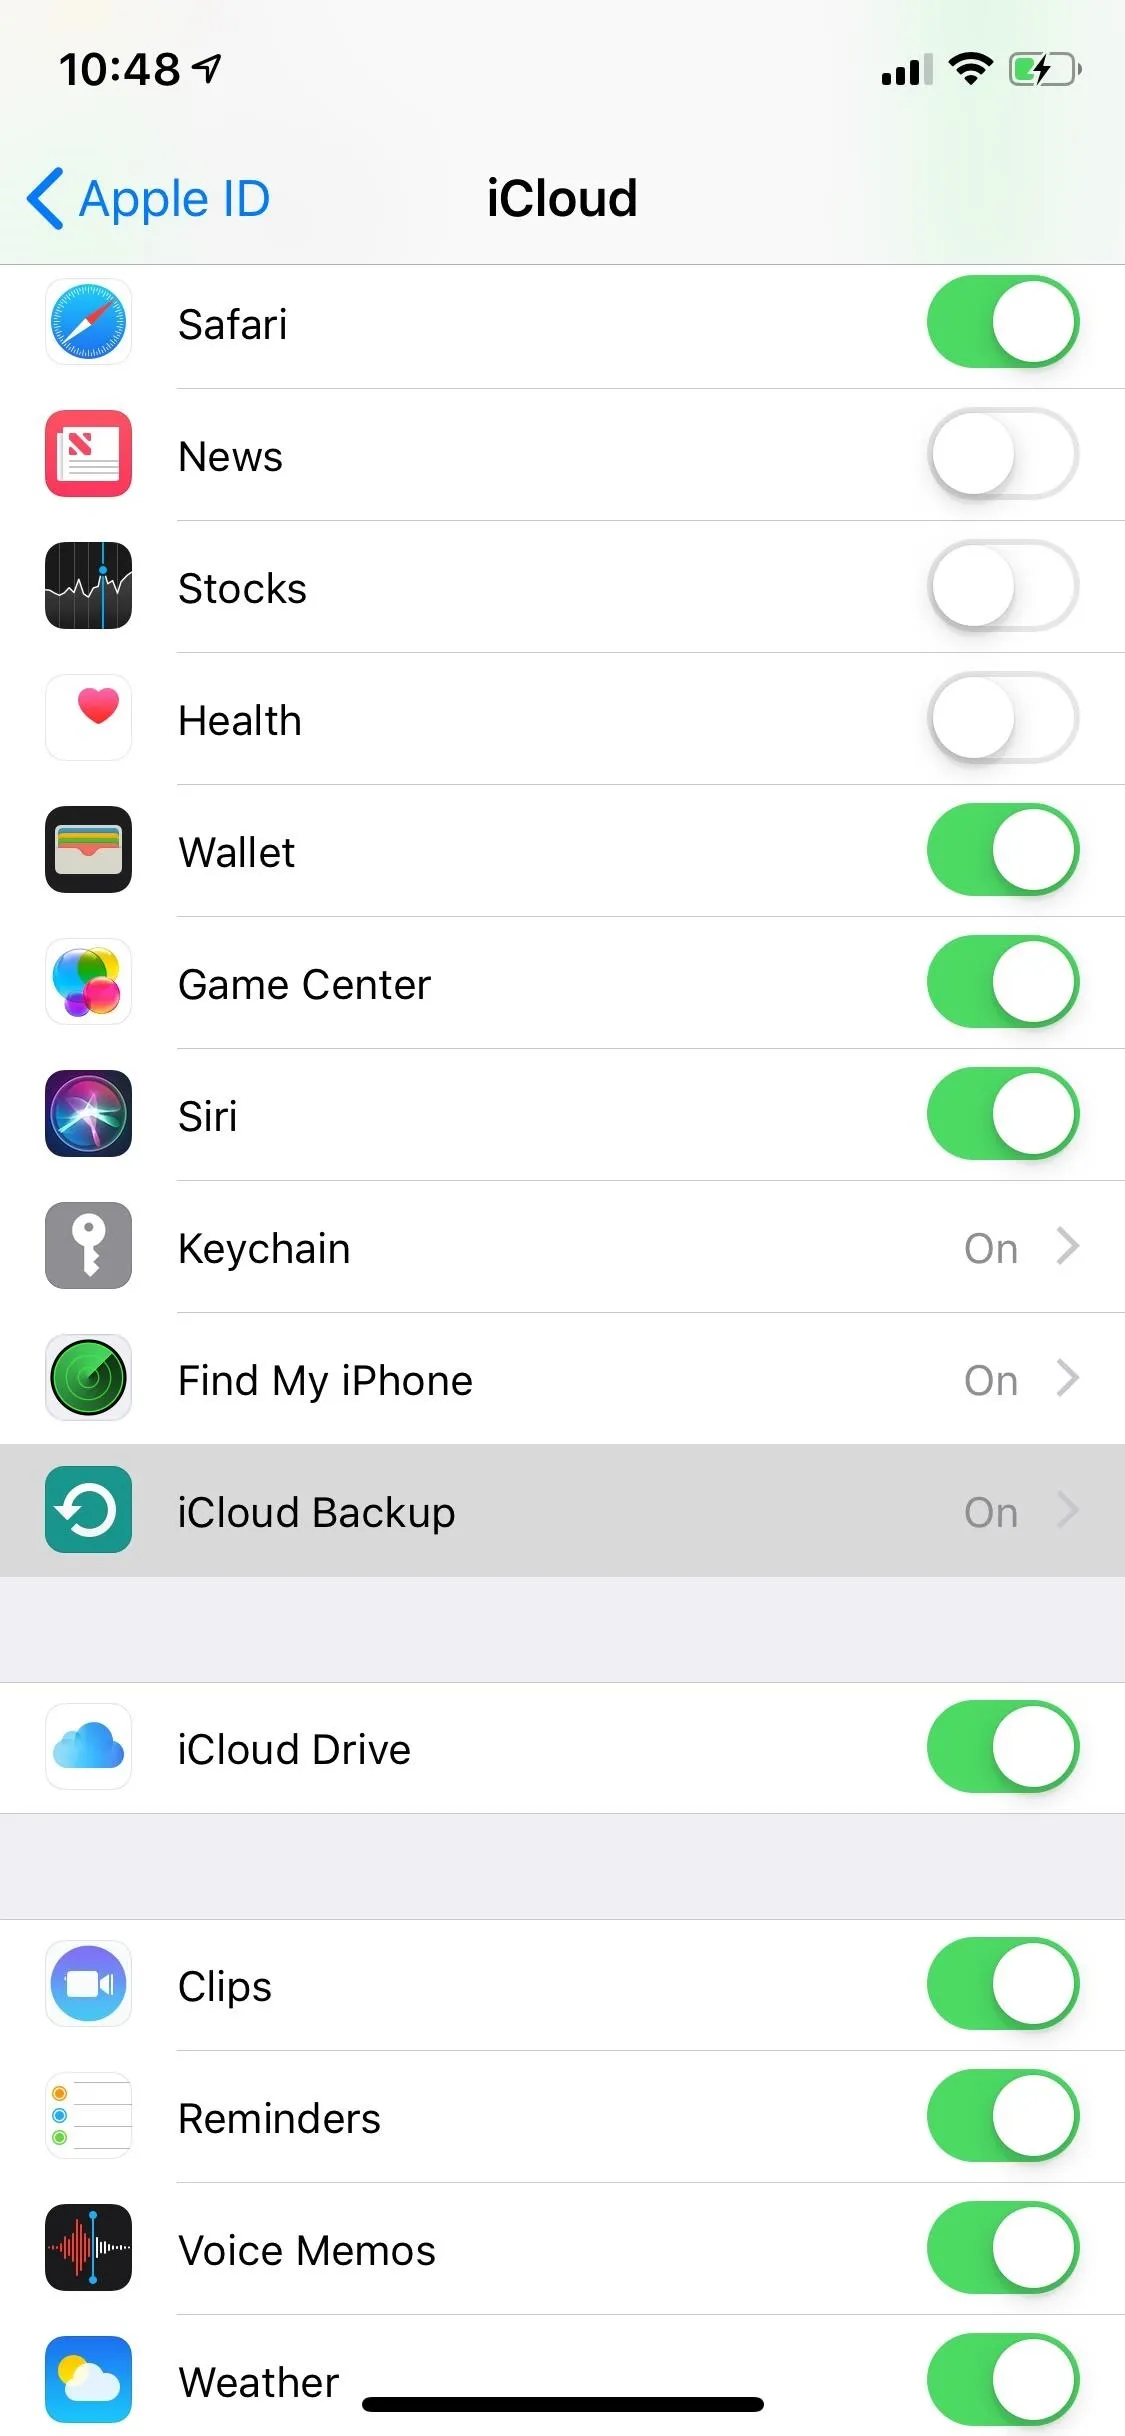
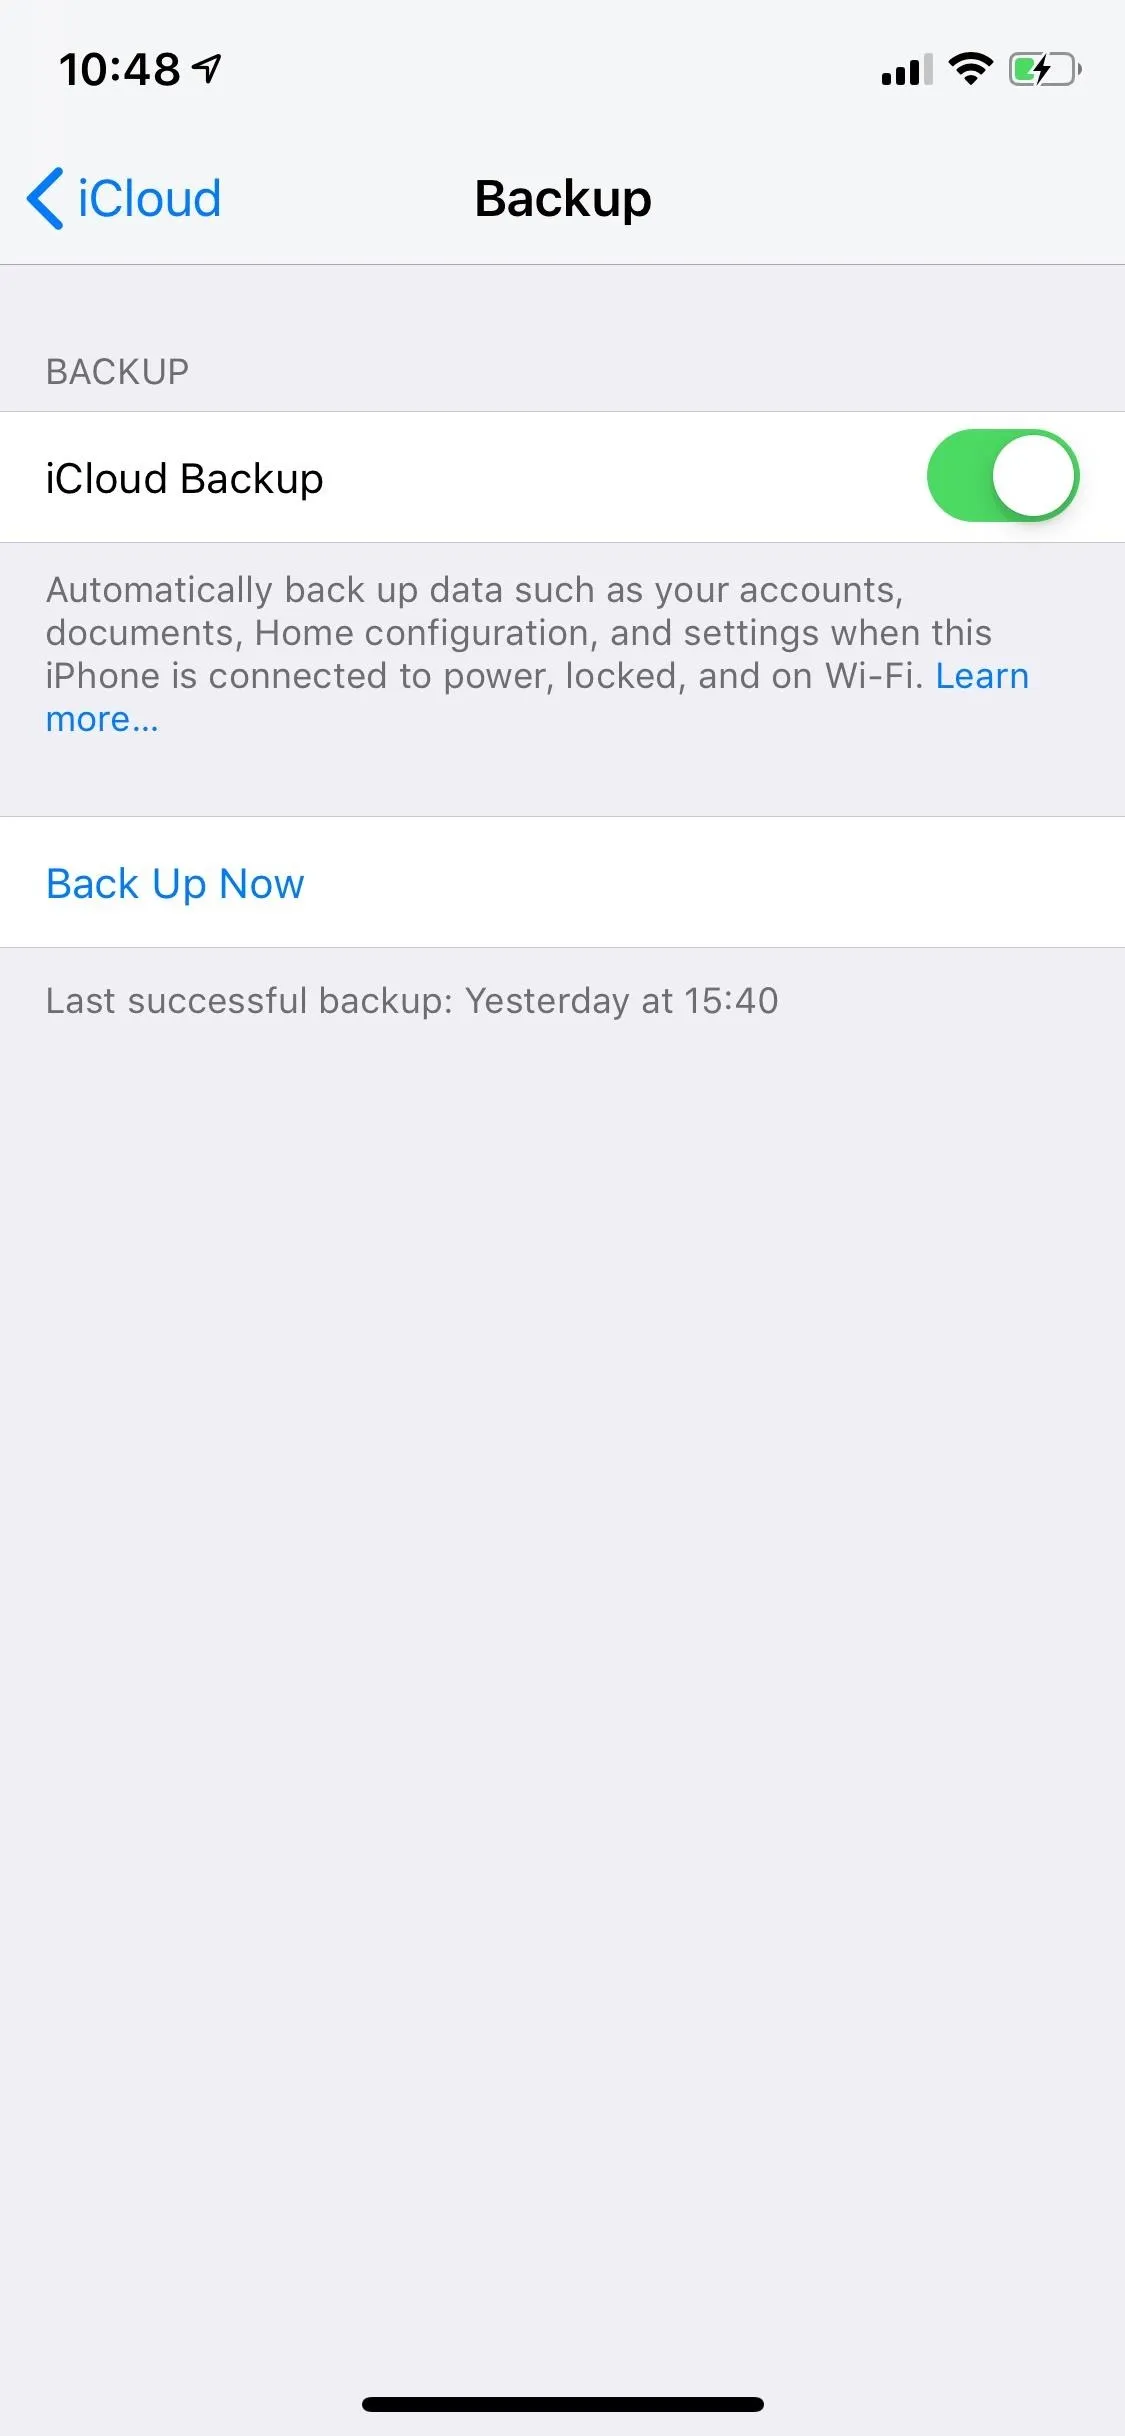
From the Settings app, tap on your name at the top, then on "iCloud," and then on "iCloud Backup." Enable "iCloud Backup" if it's not already, then tap on "Back Up Now" to back up your device. If "iCloud Backup" is enabled, your data will automatically be backed up when your iPhone is connected to a power source and you're connected to Wi-Fi.
However, note that you only get 5 GB free iCloud storage, so if you use iCloud for other reasons, you may need to upgrade or continuing using iTunes to make backups.

Disable USB Accessories on Lock Screen
There's a newer setting in iOS that allows you to connect to an accessory without having to unlock your device, and although that does simplify the process, it can also open you up to potential risks. Hackers, even the police, can take advantage of this to bypass your lock screen passcode and get into your phone — which is why you should disable USB accessories from your lock screen.
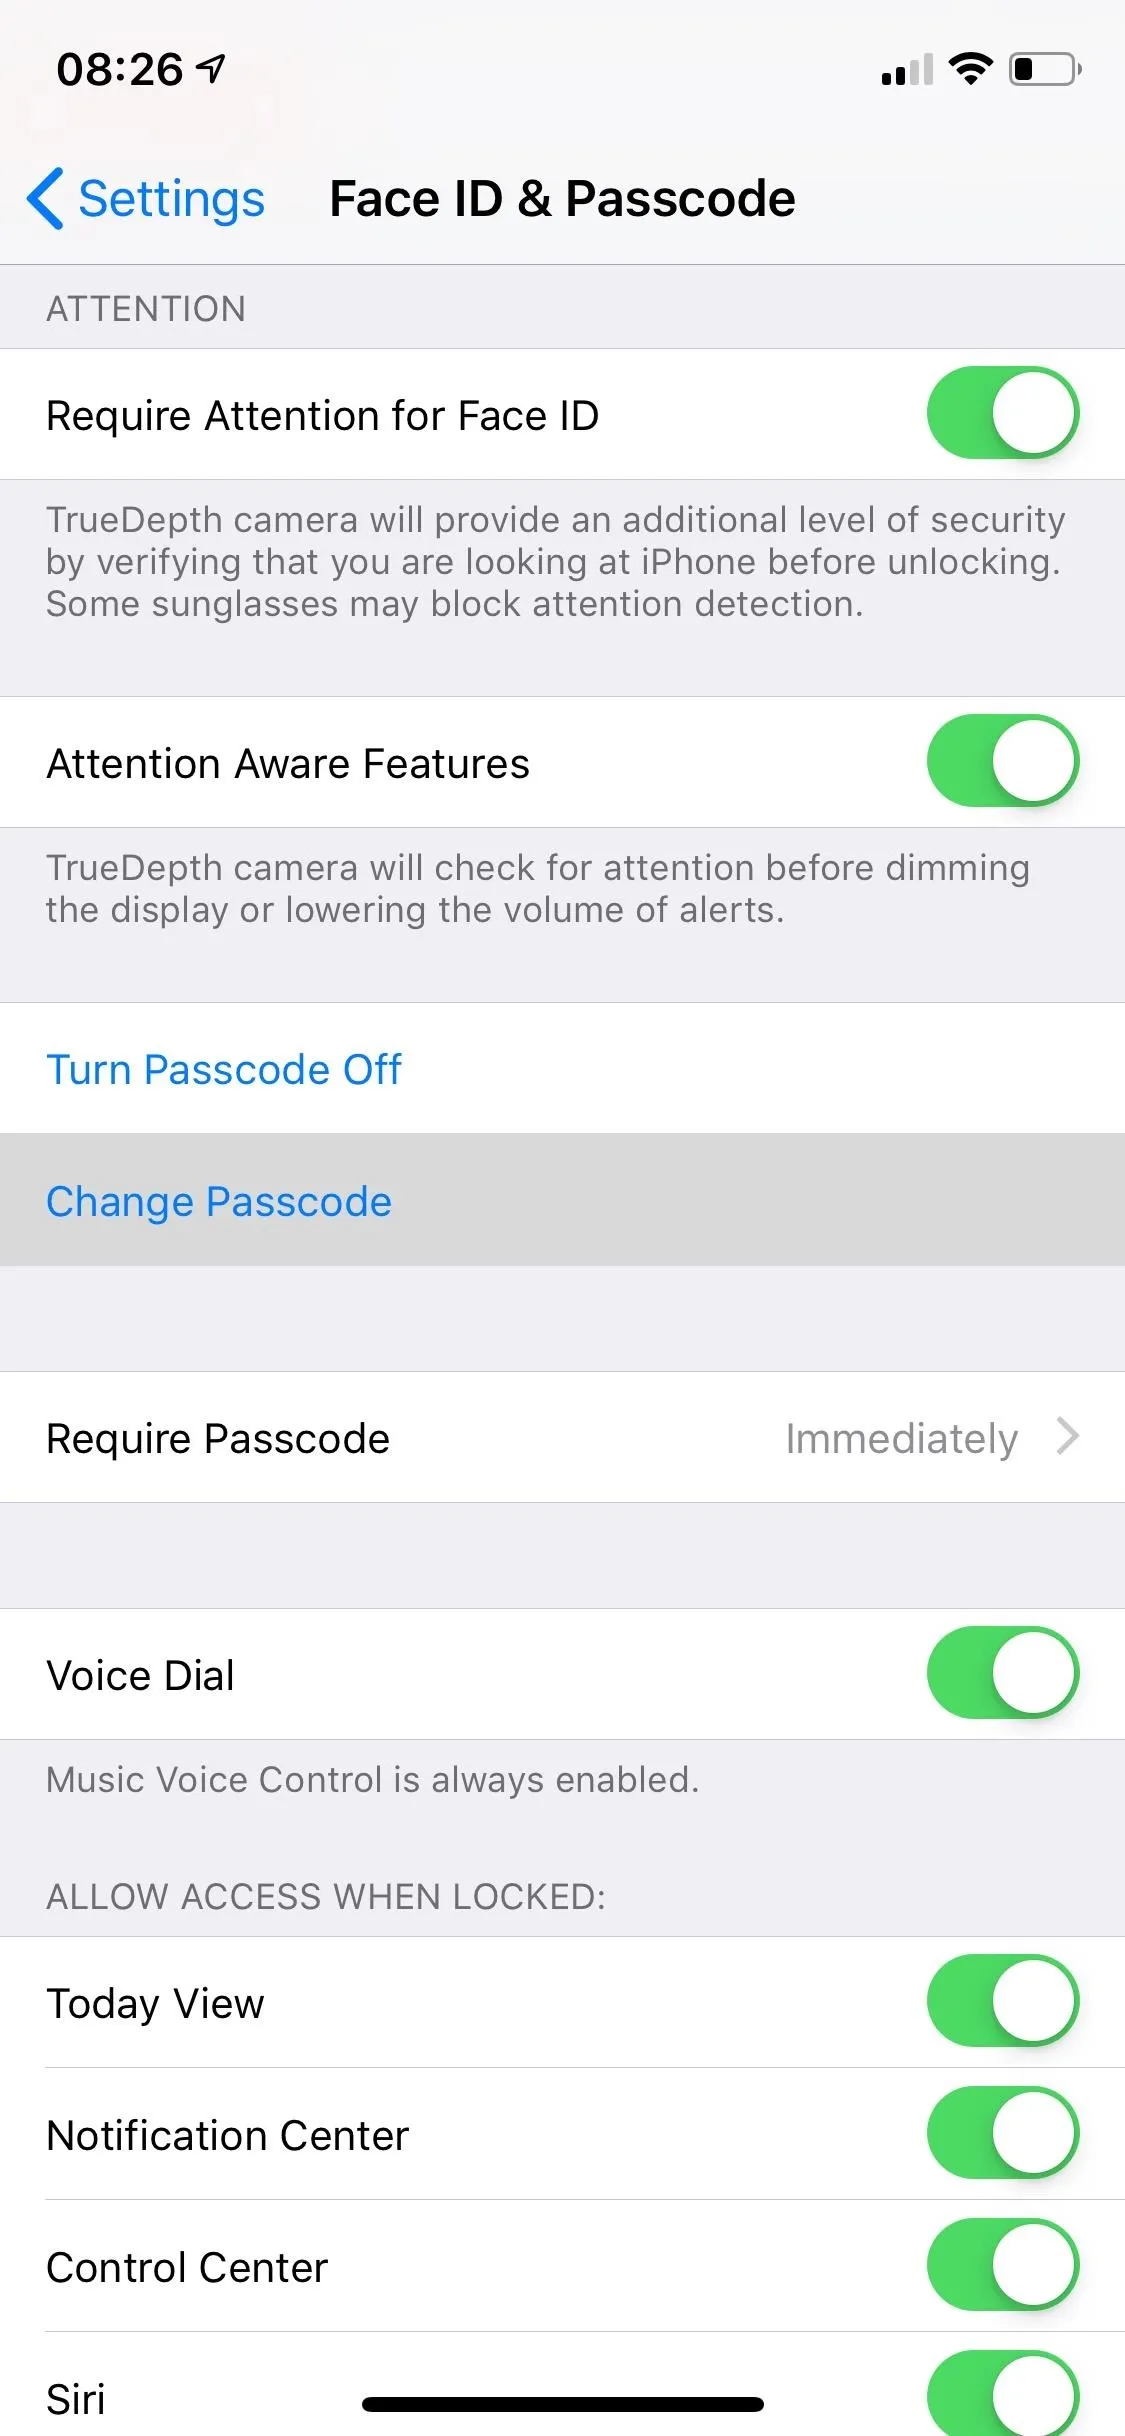
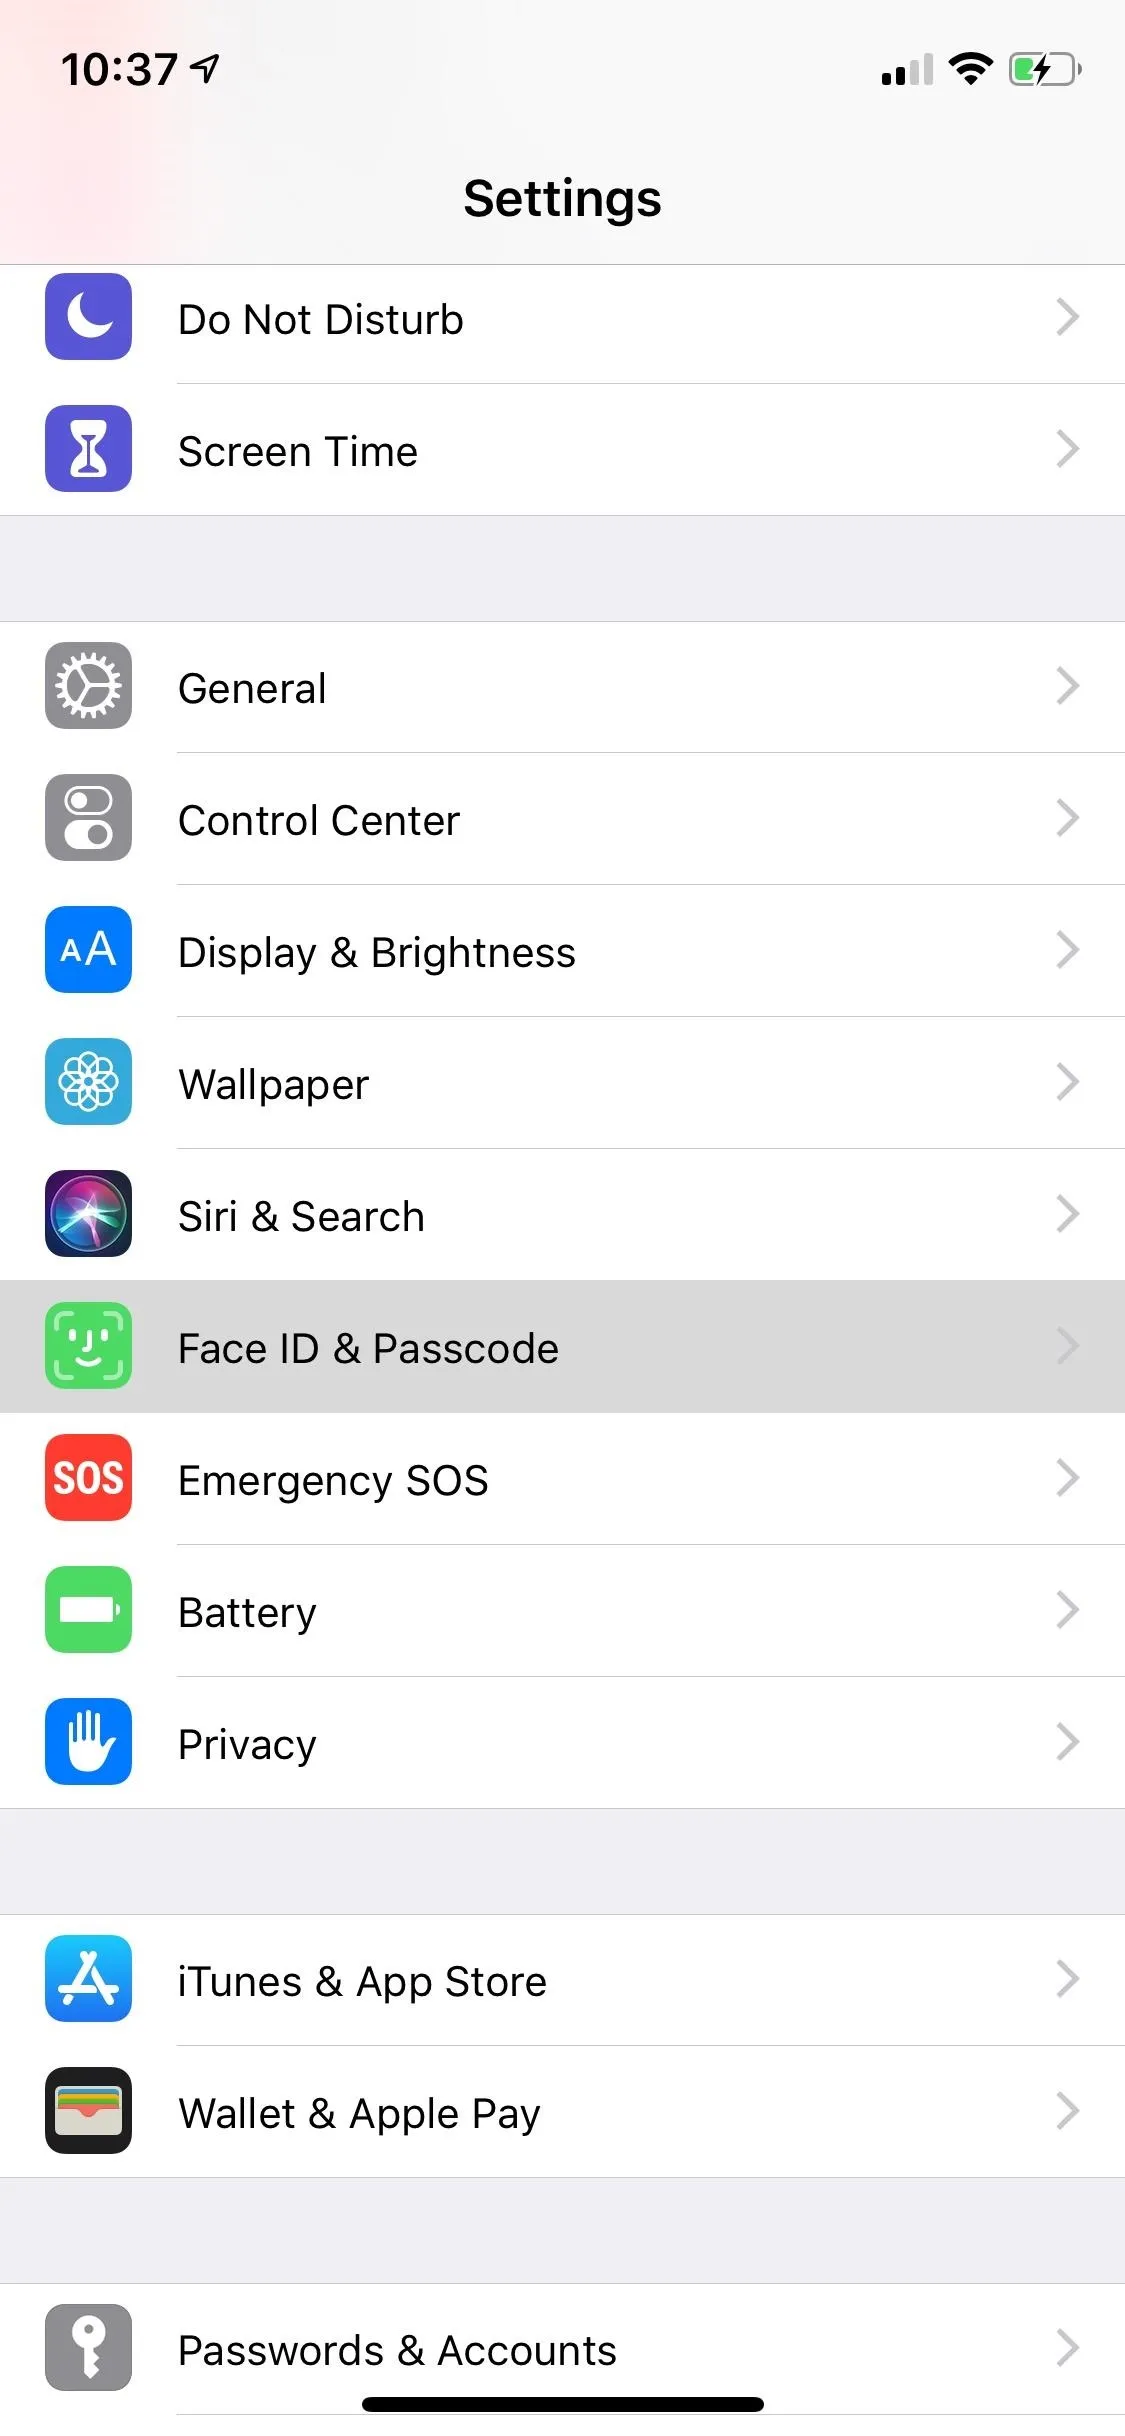
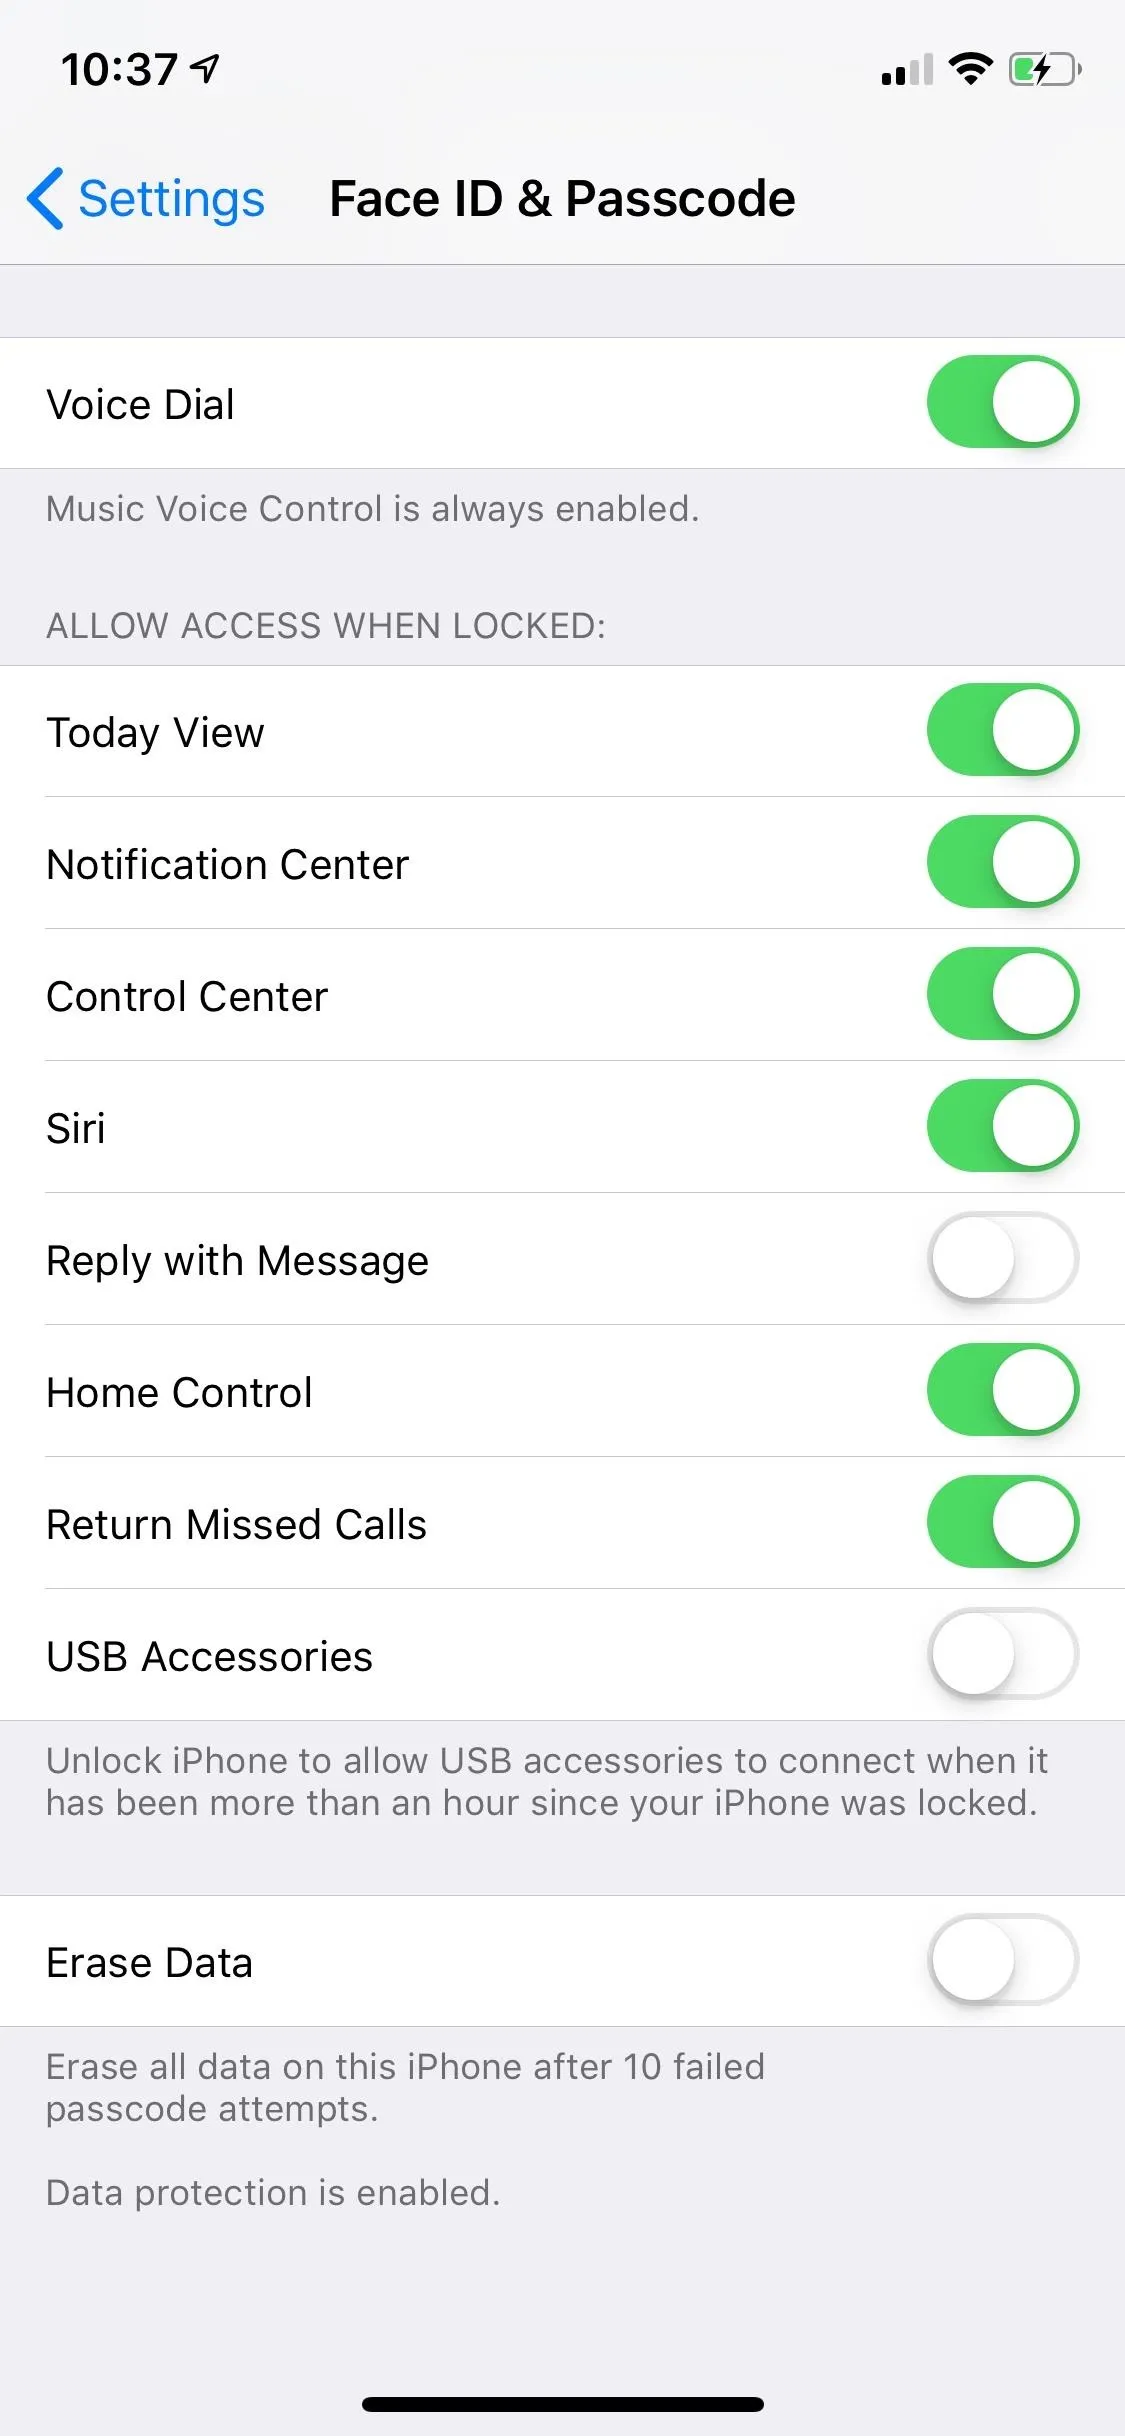
By default, it's already disabled, but it's good to check just in case. In Settings, go to "Face ID & Passcode" or "Touch ID & Passcode," enter your passcode, and scroll all the way down. Make sure the toggle next to "USB Accessories" is off (not green), which will prevent accessories from connecting to your device when it has been locked for over an hour.
Stop Others from Replying to Lock Screen Messages
Another feature that you should disable on your lock screen is "Reply with Message." Imagine someone steals your iPhone and you receive a text message from someone close to you. The thief could then potentially pretend to be you, text them back, and ask for your passcode in a sly manner.
Ugh, I'm such a klutz, do you remember my passcode? It's not working for me, not sure if I changed it or what???????
To prevent this, just disable the "Reply with Message" feature in the "Face ID & Passcode" or "Touch ID & Passcode" settings. Although you won't be able to reply to texts from your lock screen, it's better to take a second to unlock your device first before being able to respond, as opposed to making your device more vulnerable to getting hacked. Note that disabling lock screen previews will not prevent people from replying to messages.

Set Your iPhone Up to Auto-Erase Itself
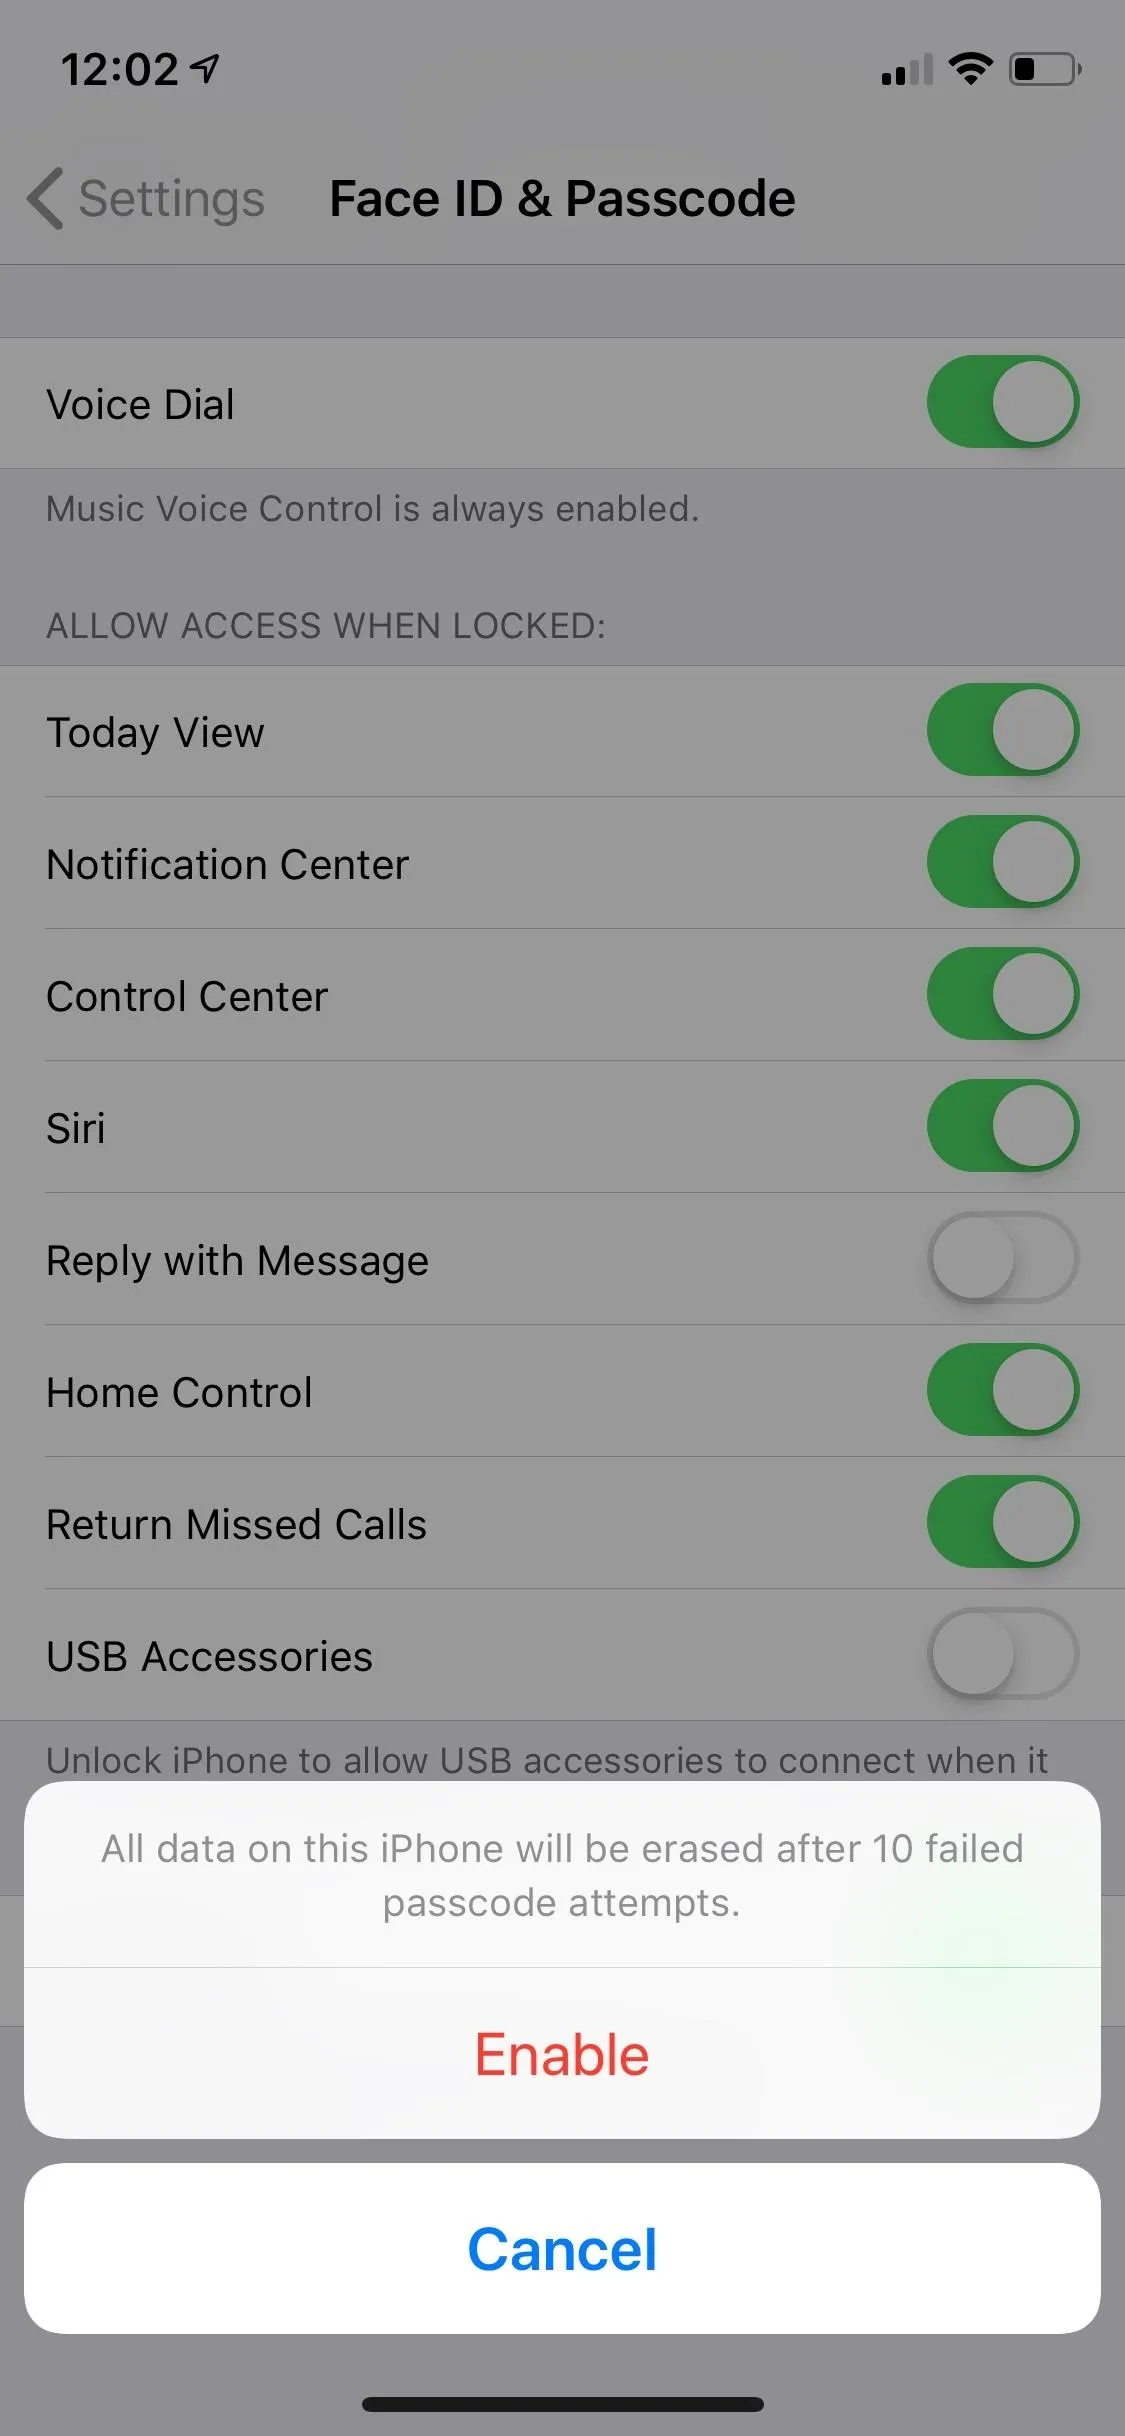
A very lucky thief can guess your passcode, but you can make it harder by only giving them 10 chances to get it right. The "Erase Data" feature on iOS wipes all data from your device after 10 failed attempts at unlocking, making it nearly impossible for a thief to access your precious photos, videos, text messages, and more. Just make sure you have an iCloud backup ready so you can still access it later.
In the "Face ID & Passcode" or "Touch ID & Passcode" settings again, turn on the toggle next to "Erase Data," and tap on "Enable" to activate it. If you're somebody who regularly forgets his or her passcode, you may not want to do, even if you have Face ID or Touch ID enabled, since you'll still need your passcode at times.

Add Name, Photo & Contact Info on the Lock Screen
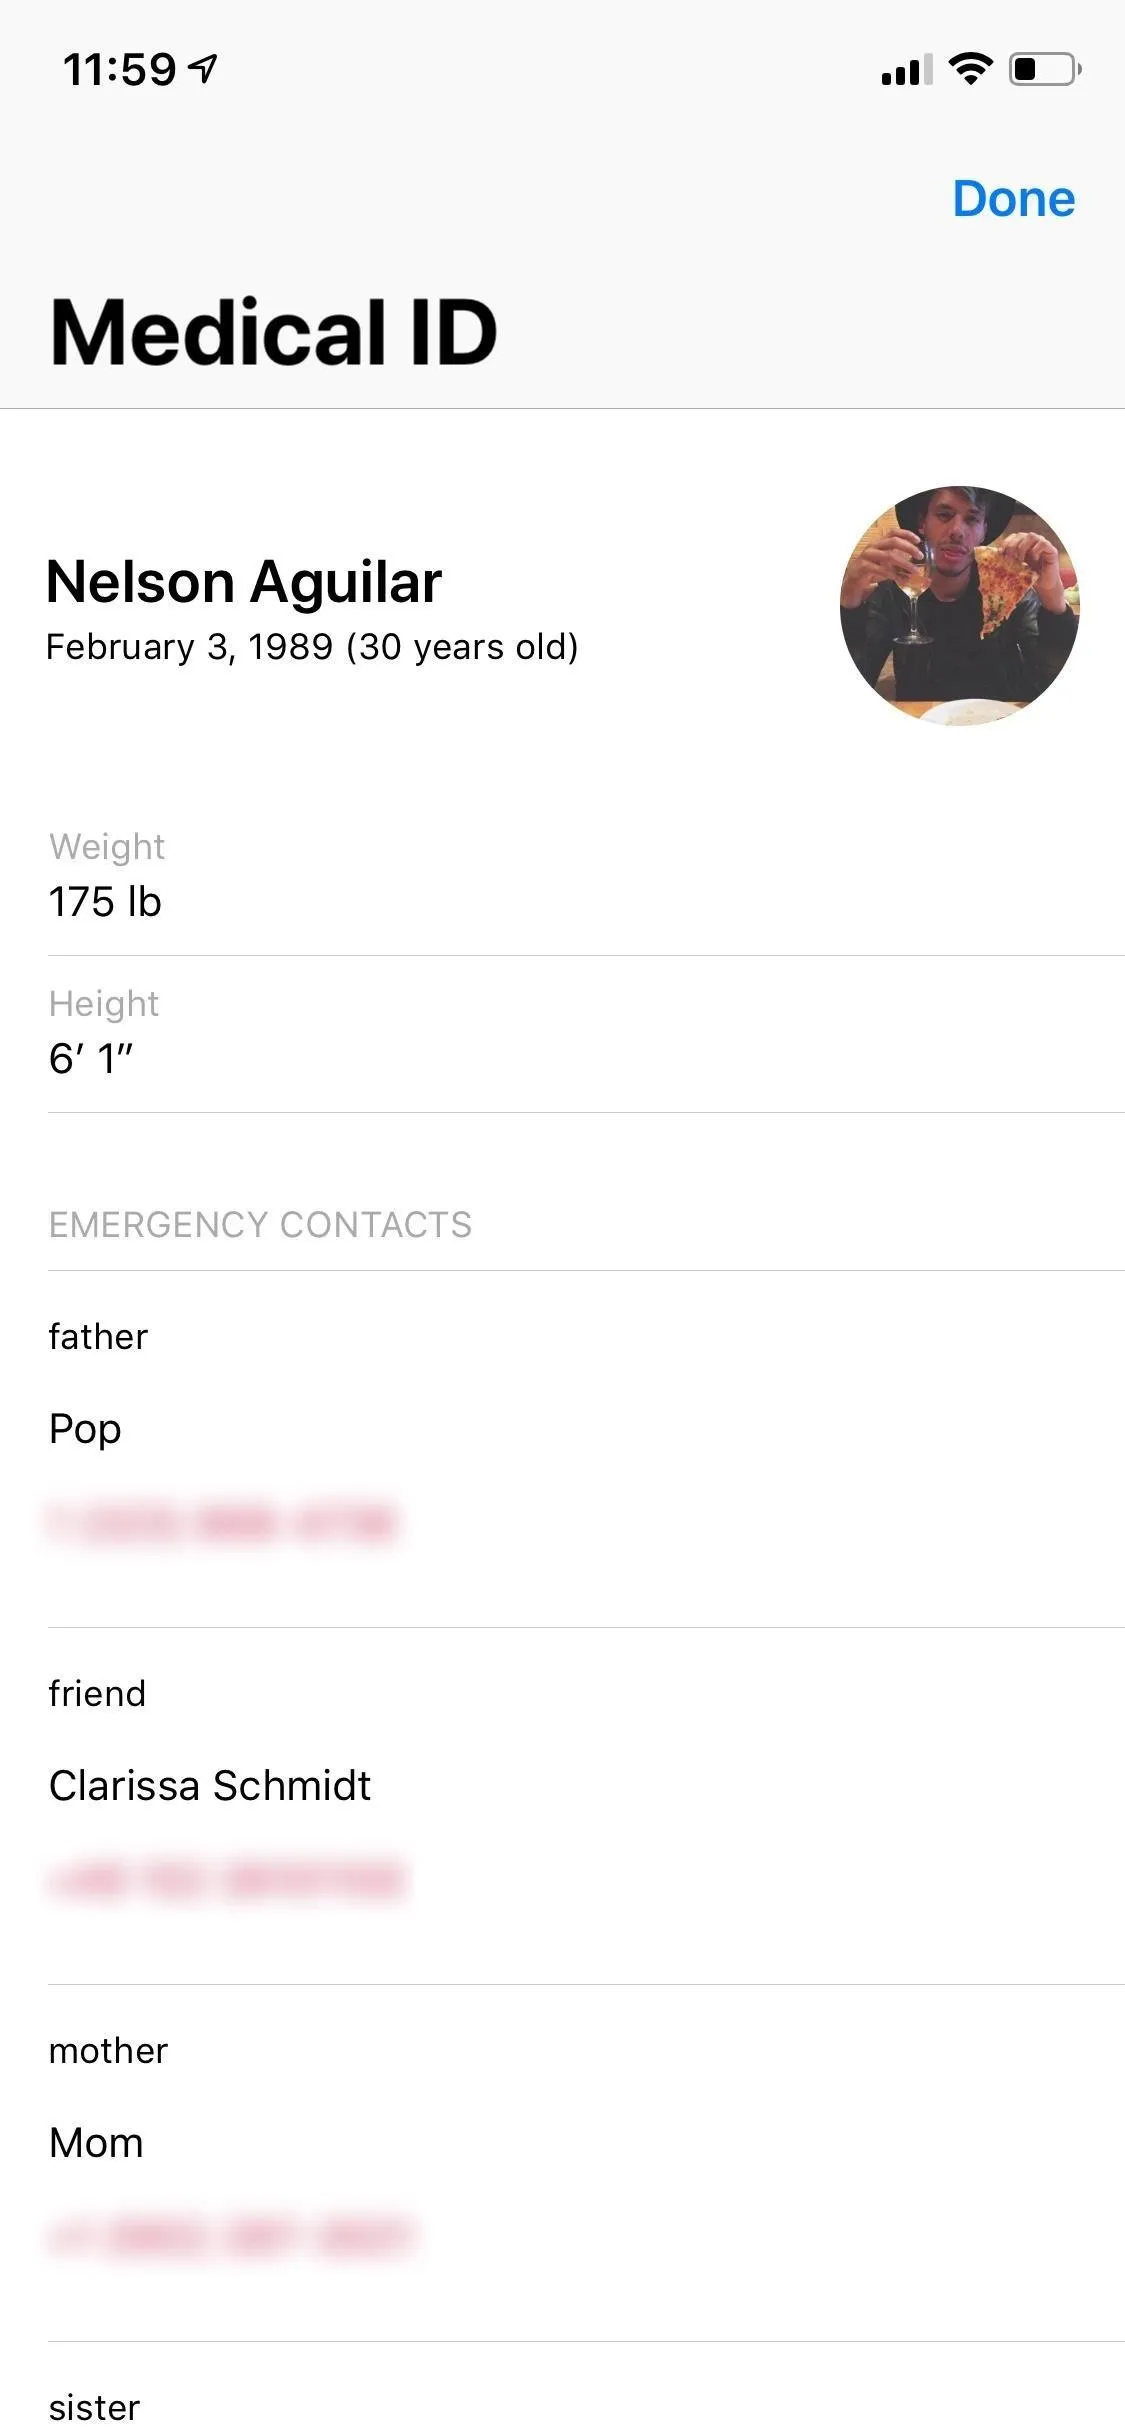
If someone finds your iPhone, there's a way they can quickly get it back to you without you having to go into Find My iPhone and send a message. They can look at your Medical ID information on your lock screen. But first, you have to enable it.
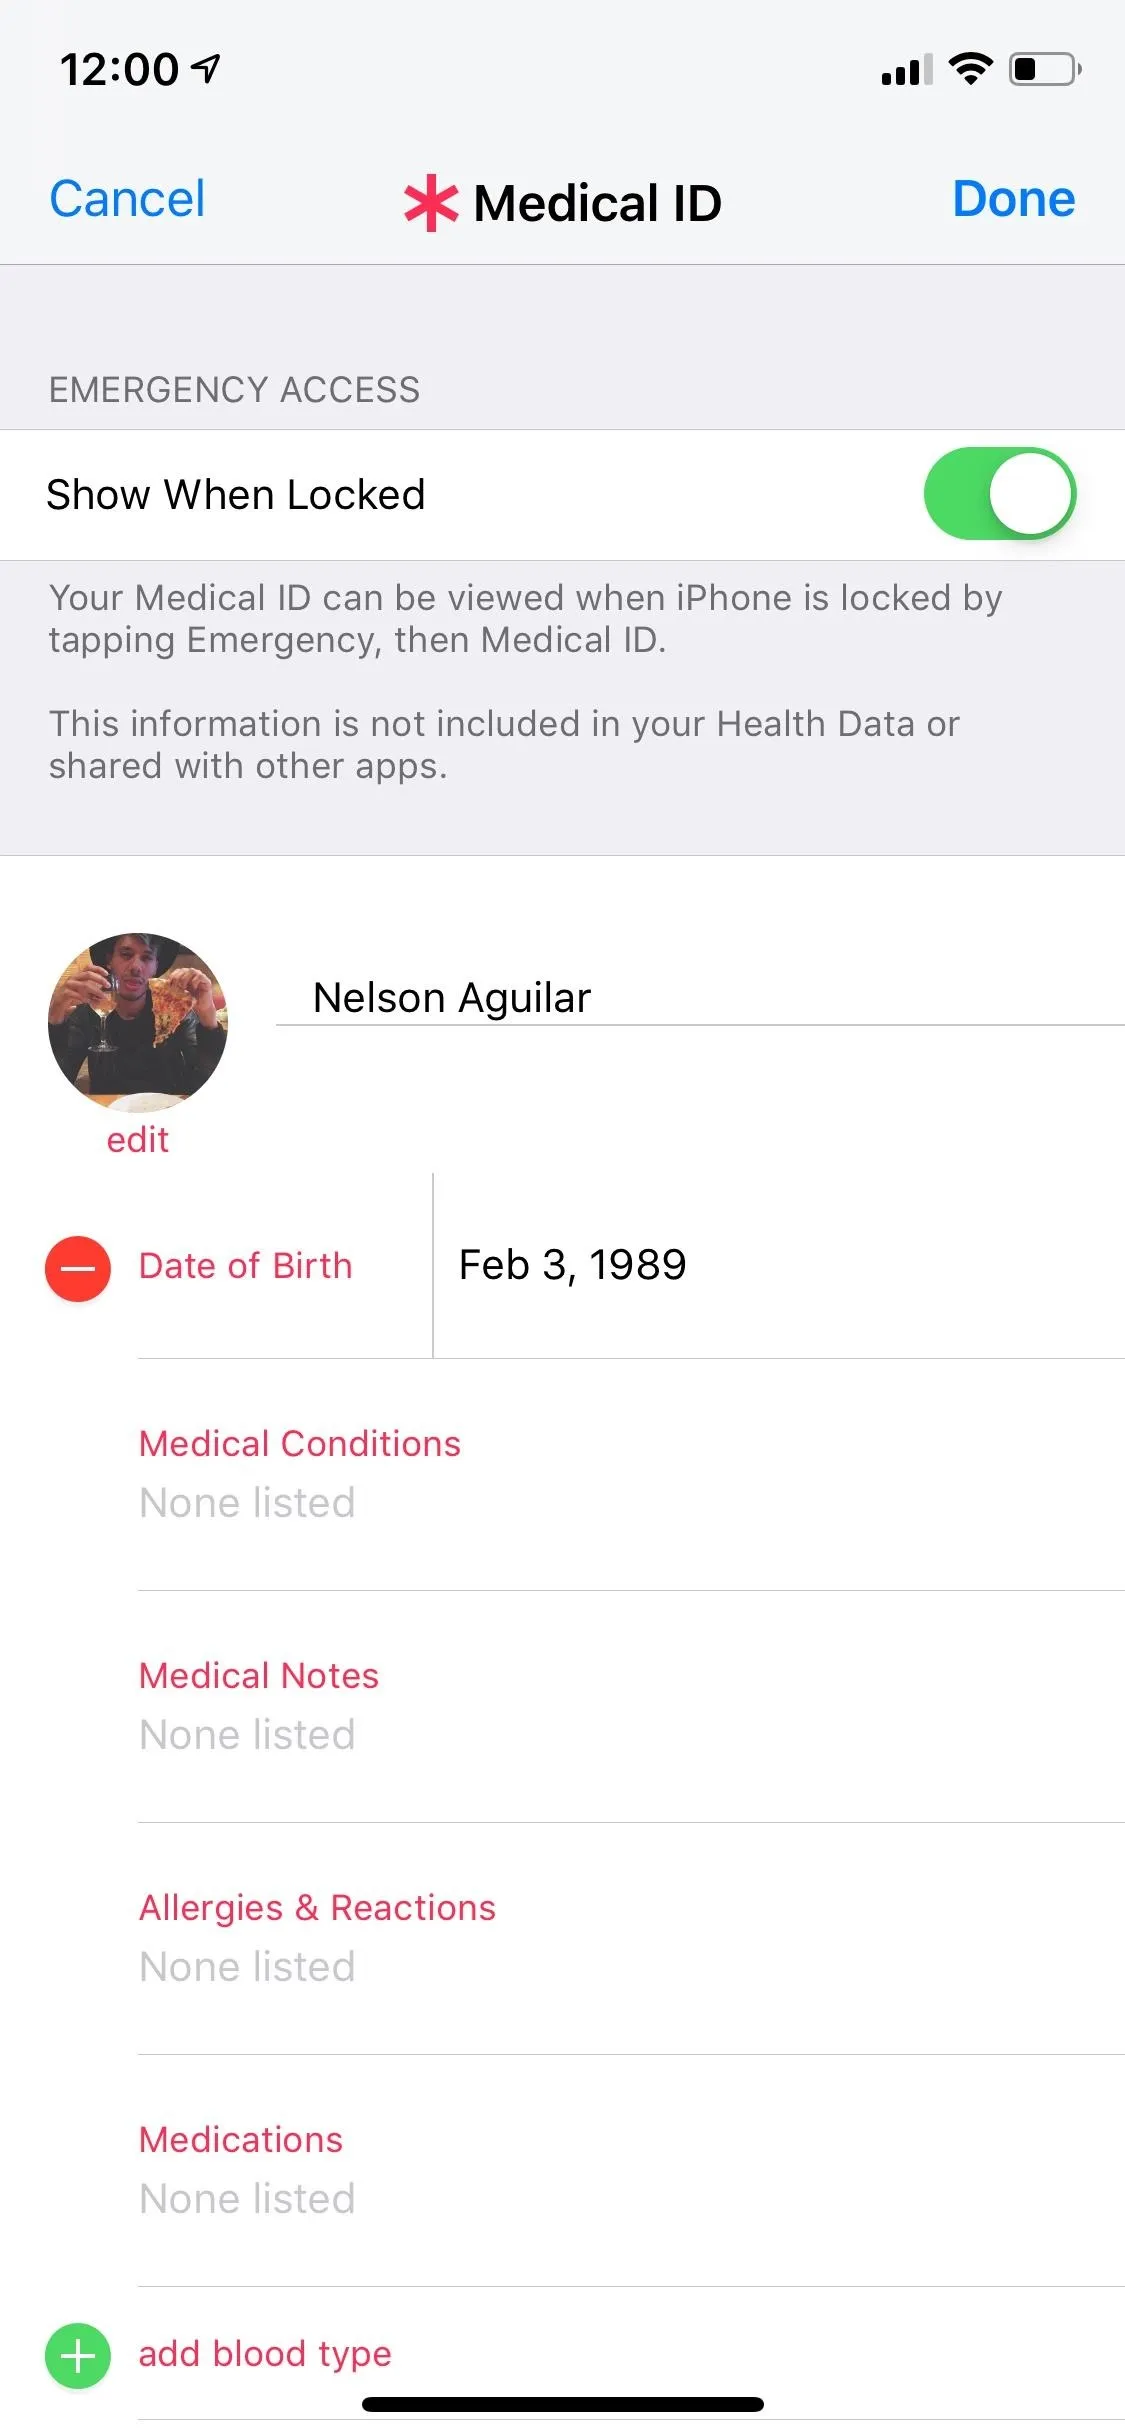
This can be done either from the Health app or Contacts. In the Health app, just select the "Medical ID" tab. In your list of contacts (accessible via the Contacts or Phone app), select yourself, then "Edit." Next, in either app, choose "Create Medical ID." If you already have one, select "Edit" or "Edit Medical ID."
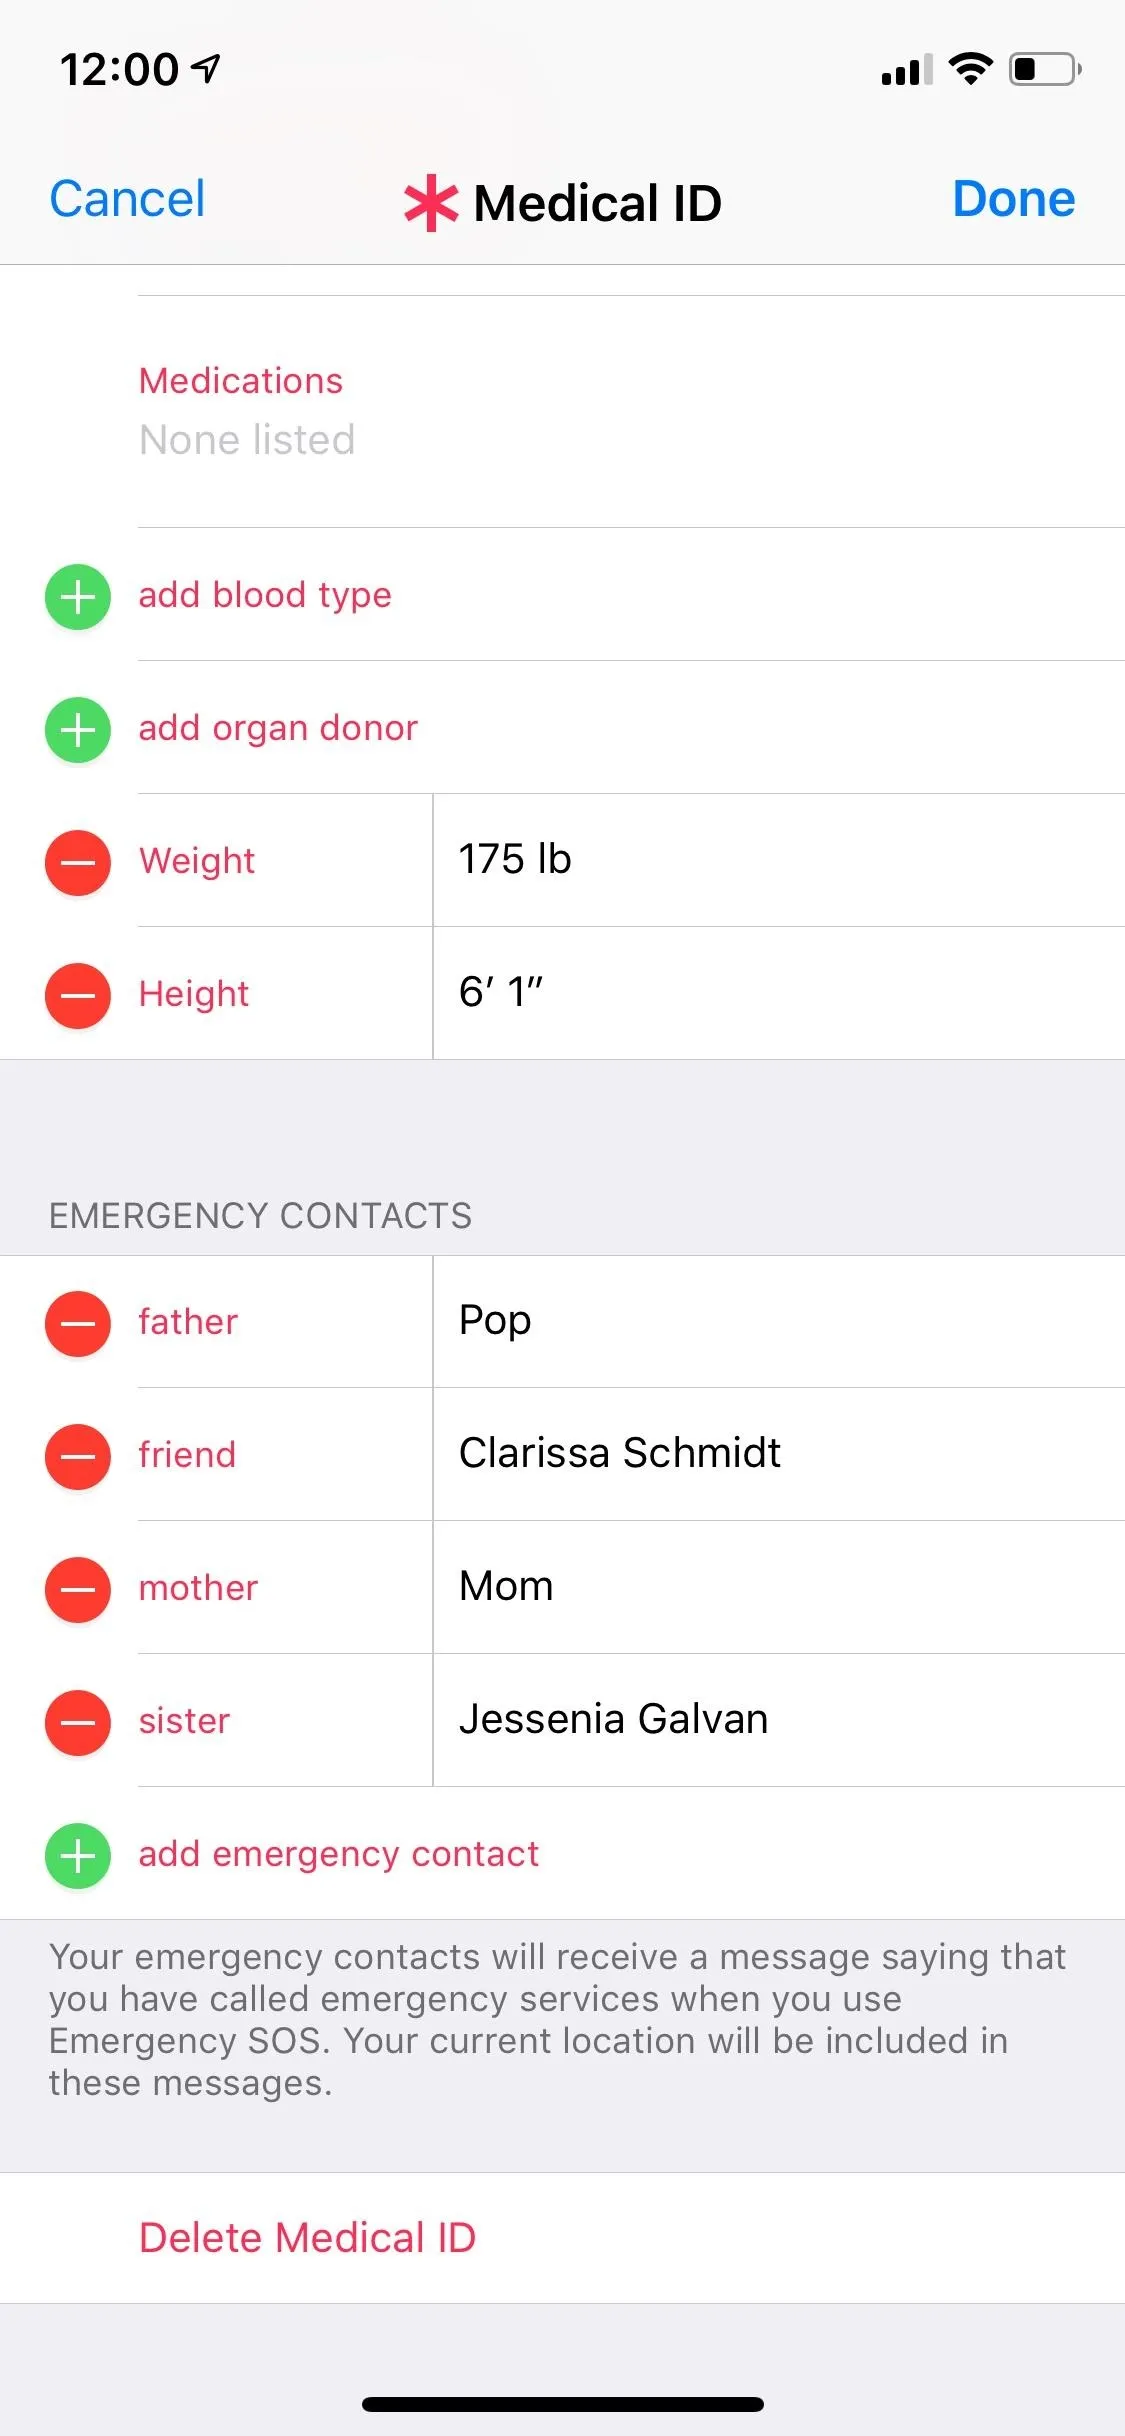
Make sure "Show When Locked" is toggled on (so people can actually access it), make sure there's a good photo of yourself (to help people look for you in a crowd), then add an emergency contact or two with phone numbers (so people can call them). Phone finders can then tap "Emergency" on the passcode screen, then "Medical ID," which will show everything listed (right screenshot below).
Set Up Find My iPhone (Don't Skip This One)
Last, but definitely not least, you need to enable the Find My iPhone feature if you want a higher chance of recovering a stolen or lost iPhone. Not only will Find My iPhone show you exactly where your device is, it also allows you to remotely wipe your device, play a sound (to make it easier to find), disable Apple Pay, and leave a message and your contact info on your lock screen.
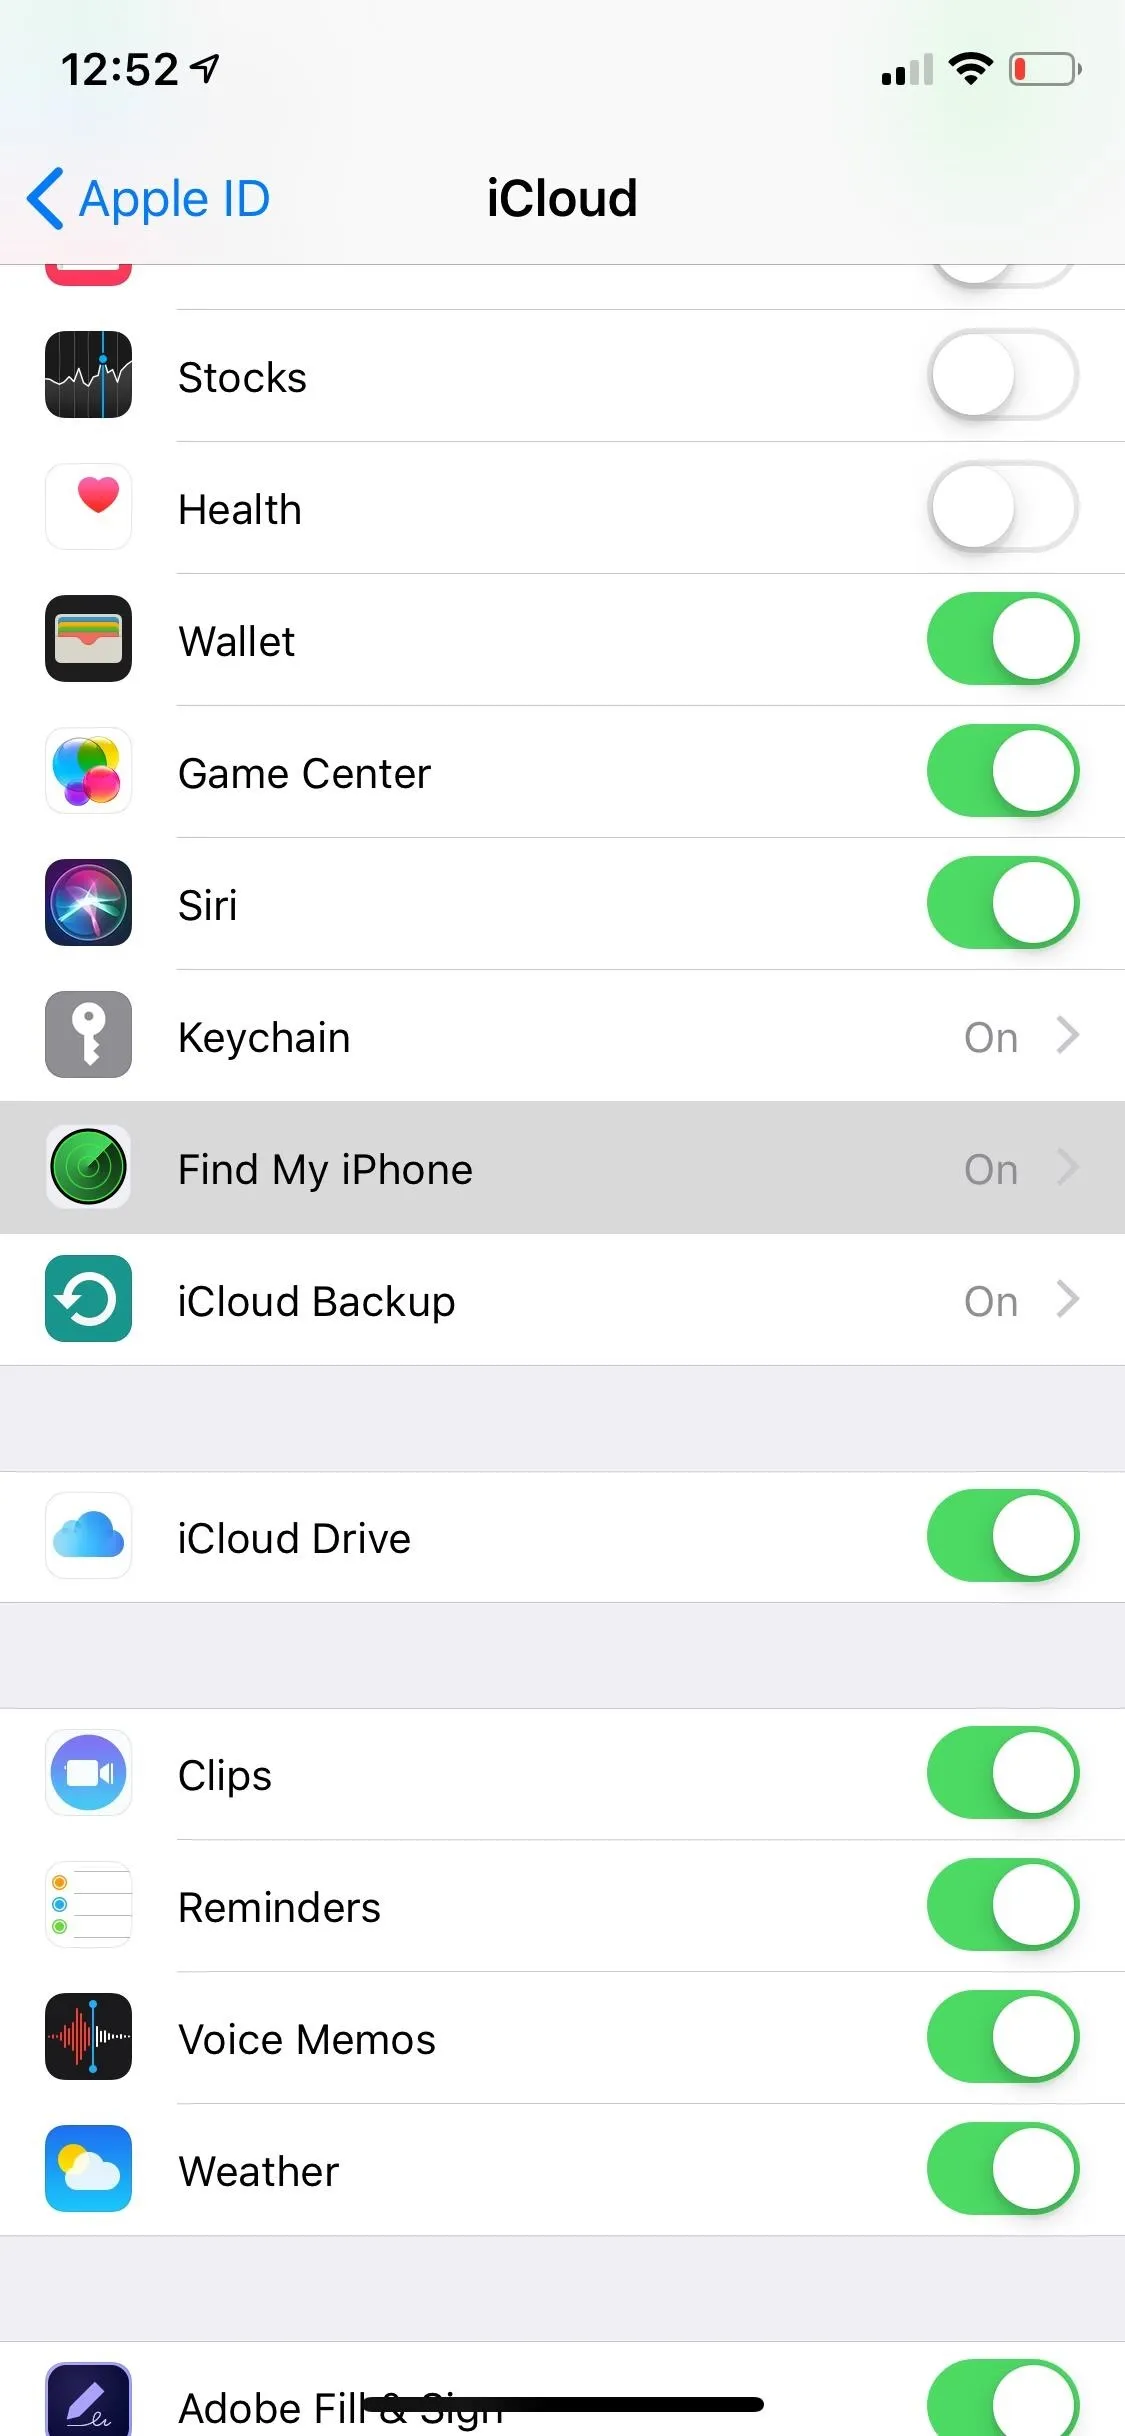
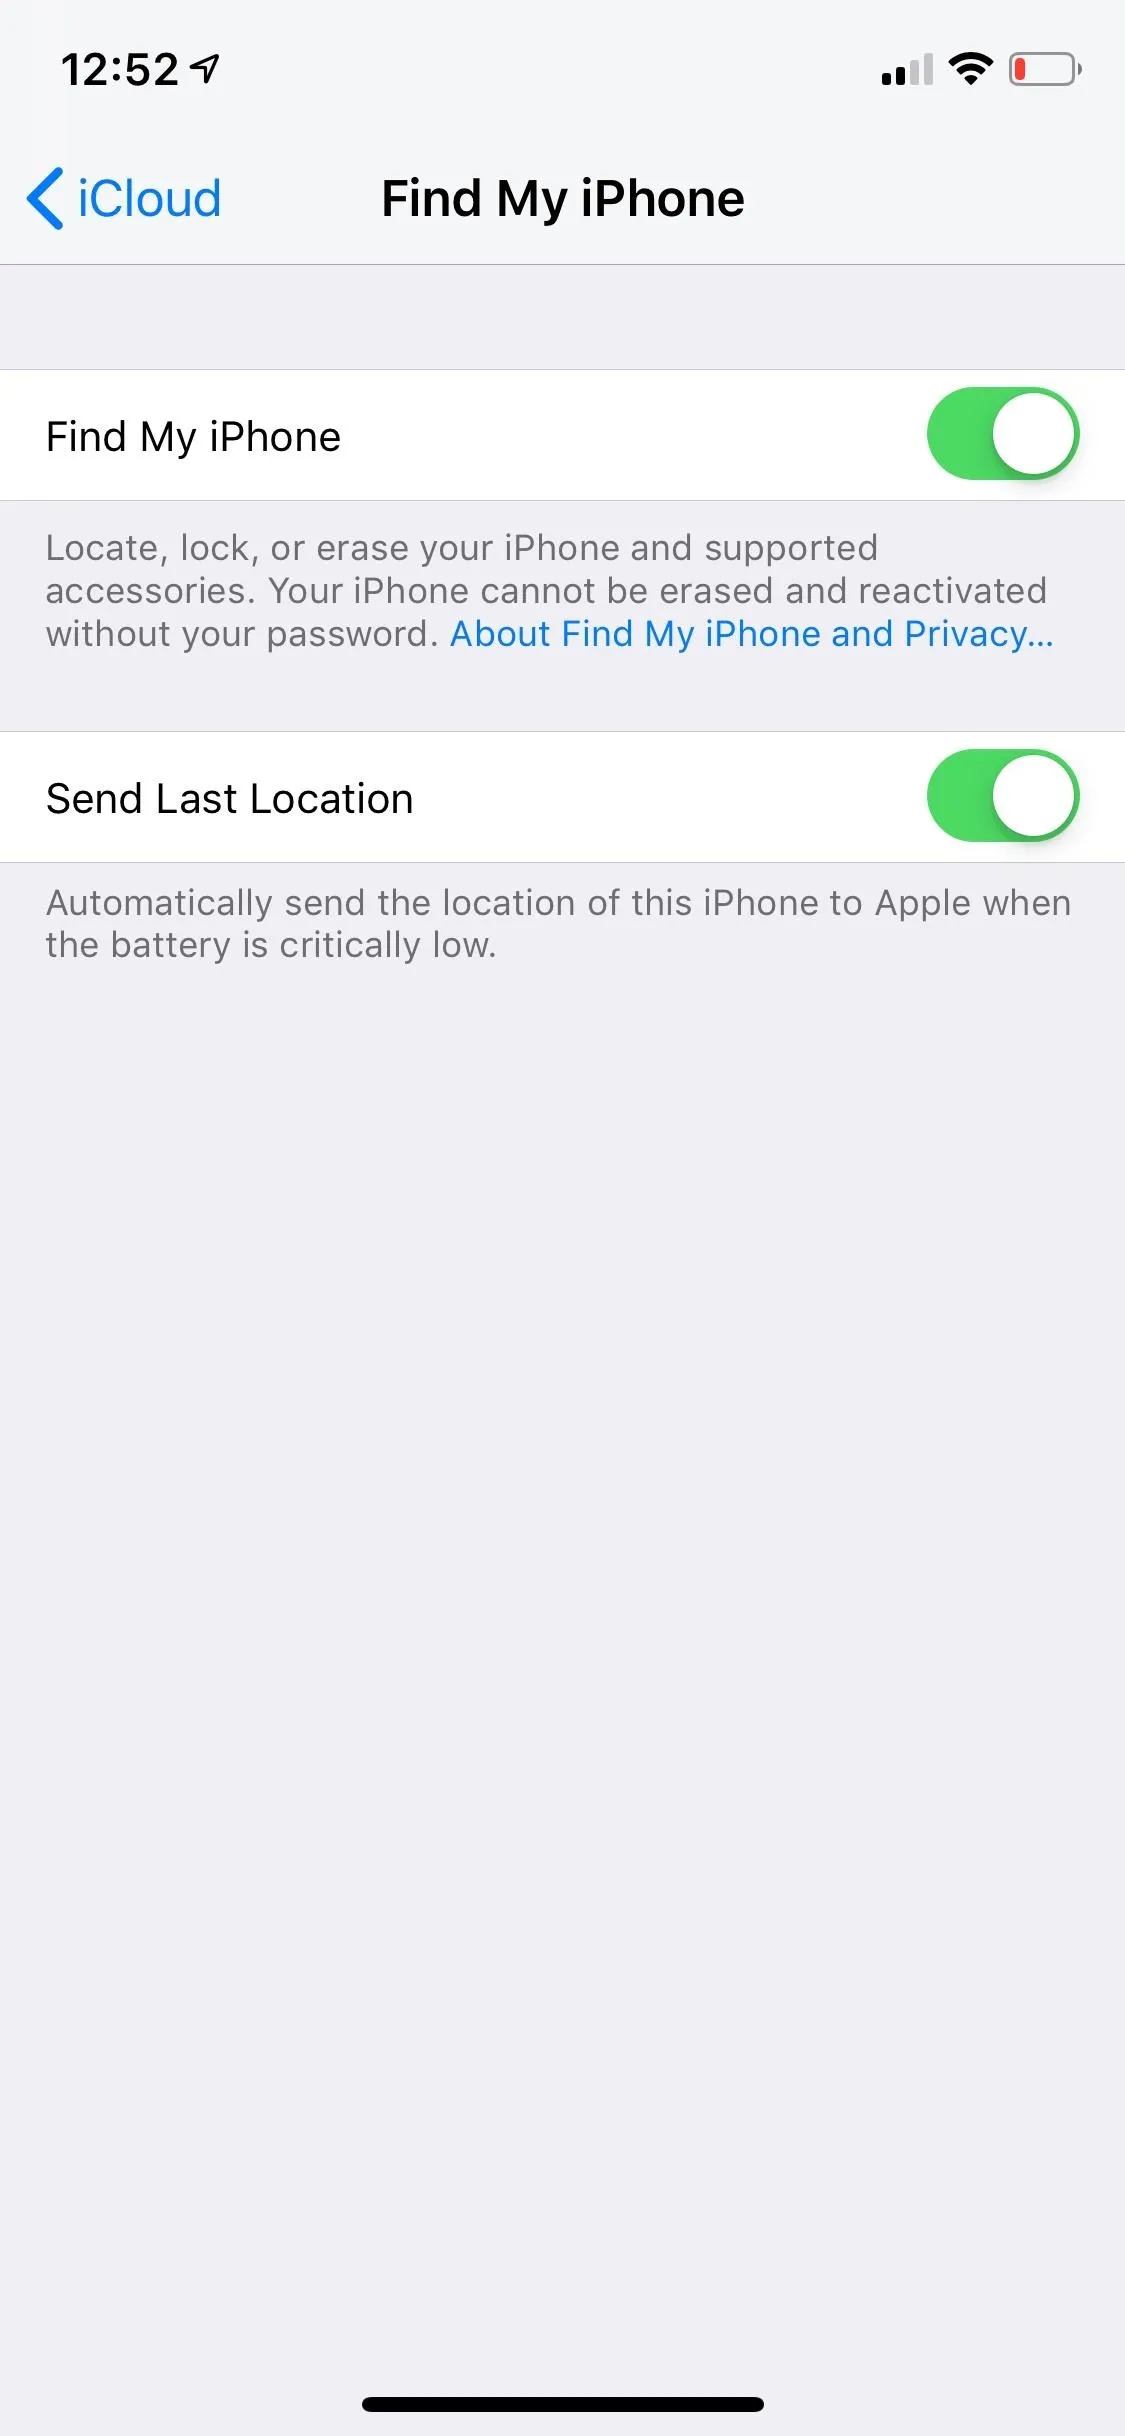
To enable Find My iPhone, tap your name in the Settings app, then tap on "iCloud" and scroll down until you see "Find My iPhone." Here you can enable Find My iPhone, as well as "Send Last Location," which automatically sends the location of your iPhone to Find My iPhone when the battery is very low.

This article was produced during Gadget Hacks' special coverage on smartphone privacy and security. Check out the whole Privacy and Security series.
- Follow Gadget Hacks on Pinterest, Reddit, Twitter, YouTube, and Flipboard
- Sign up for Gadget Hacks' daily newsletter or weekly Android and iOS updates
- Follow WonderHowTo on Facebook, Twitter, Pinterest, and Flipboard
Cover photo and screenshots by Nelson Aguilar/Gadget Hacks (unless otherwise noted)


Comments
Be the first, drop a comment!