
When it comes to give away or sell your iPhone, you can't just power it down, take out the SIM card, and hope everything will be okay. There's valuable data on your iPhone, and you need to get rid of it. Plus, if you don't perform all the necessary steps, chances are whoever ends up with the device won't even be able to use it. If you're selling it, that could ding your seller reputation.
If you're currently on an upgrade plan with Apple or your carrier, you likely won't be selling or gifting your iPhone to get a newer iPhone XR, XS, or XS Max, or even a hot new Android phone, but you still need to wipe it properly before handing it back.
For those of you who fully paid for your iPhone, you'll want to sell it to help pay for the new device. If you don't need the extra cash, you can give it to a friend, family member, or charity, or you can just keep it around as a backup phone.
No matter what you end up doing with your iPhone, if you're not keeping it as a backup or secondary phone, here's everything you need to do before getting rid it safely, including backing up, wiping, and carrier-unlocking it.
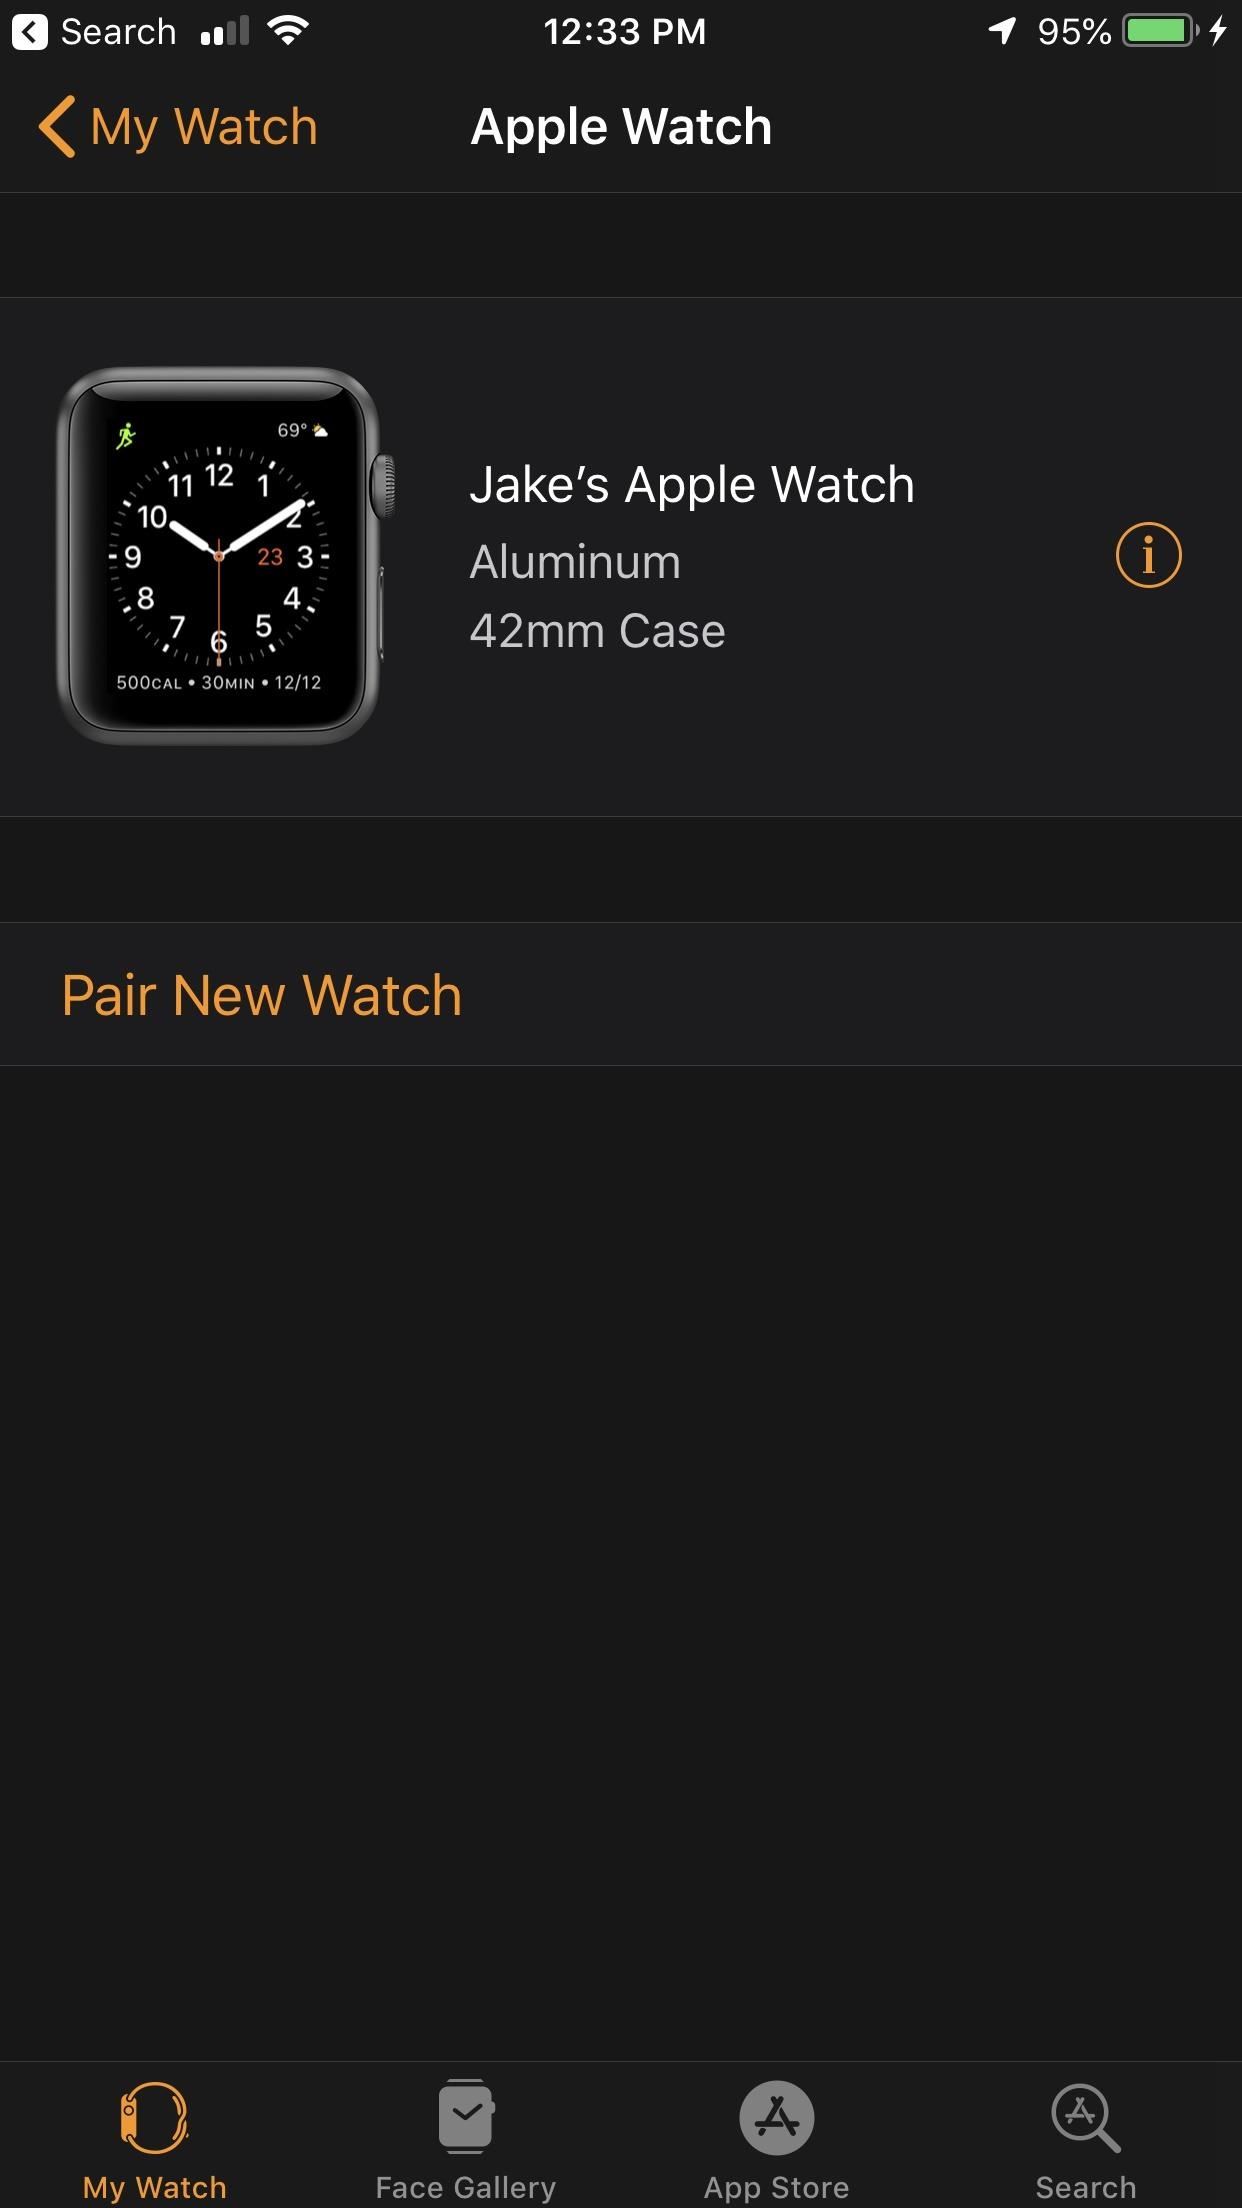
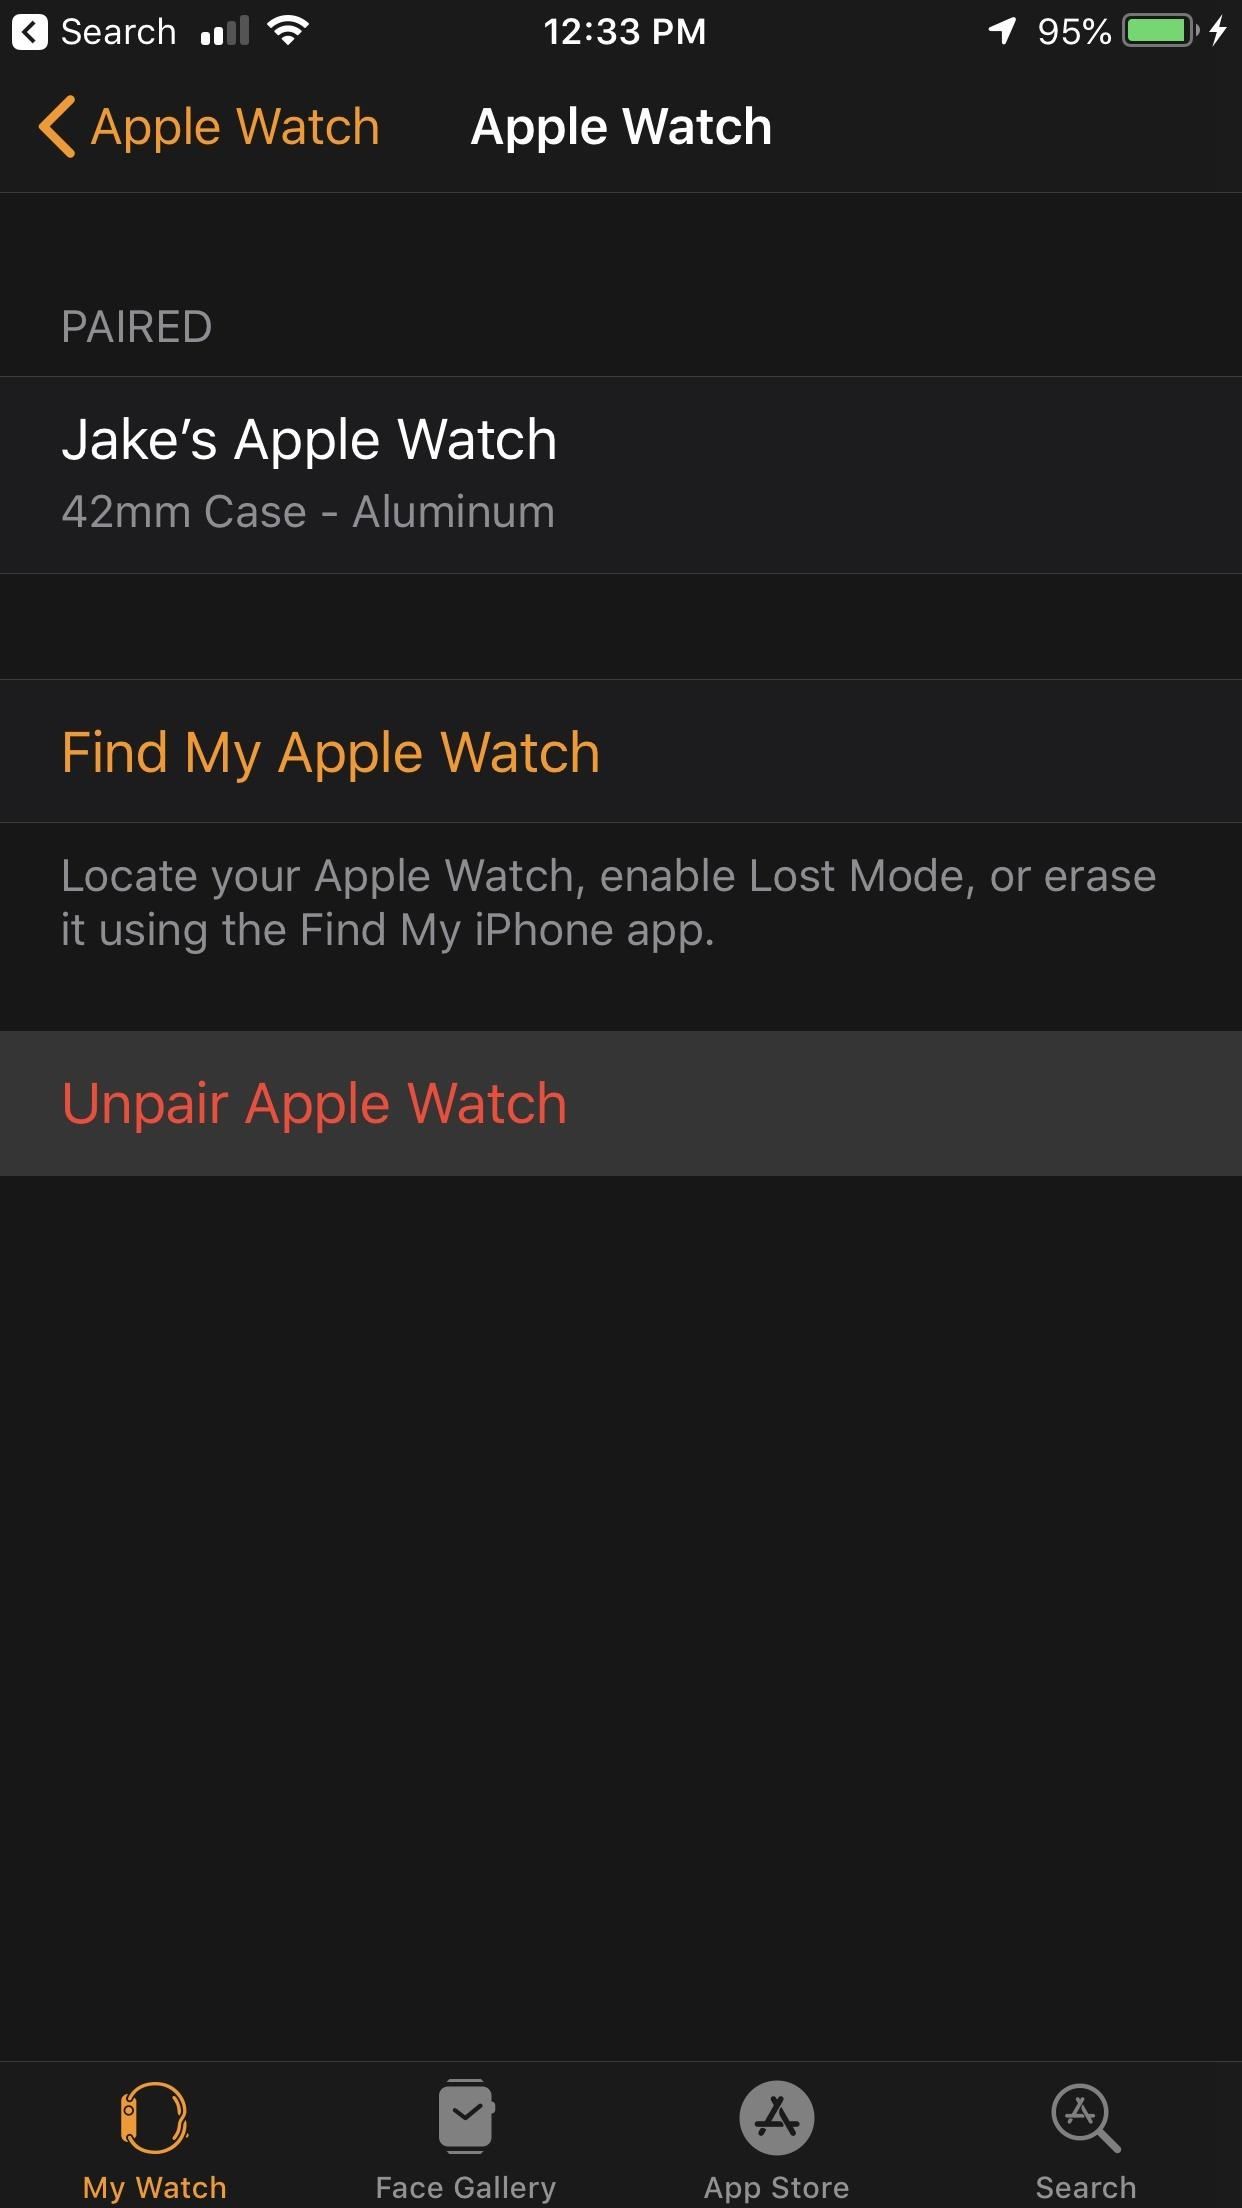
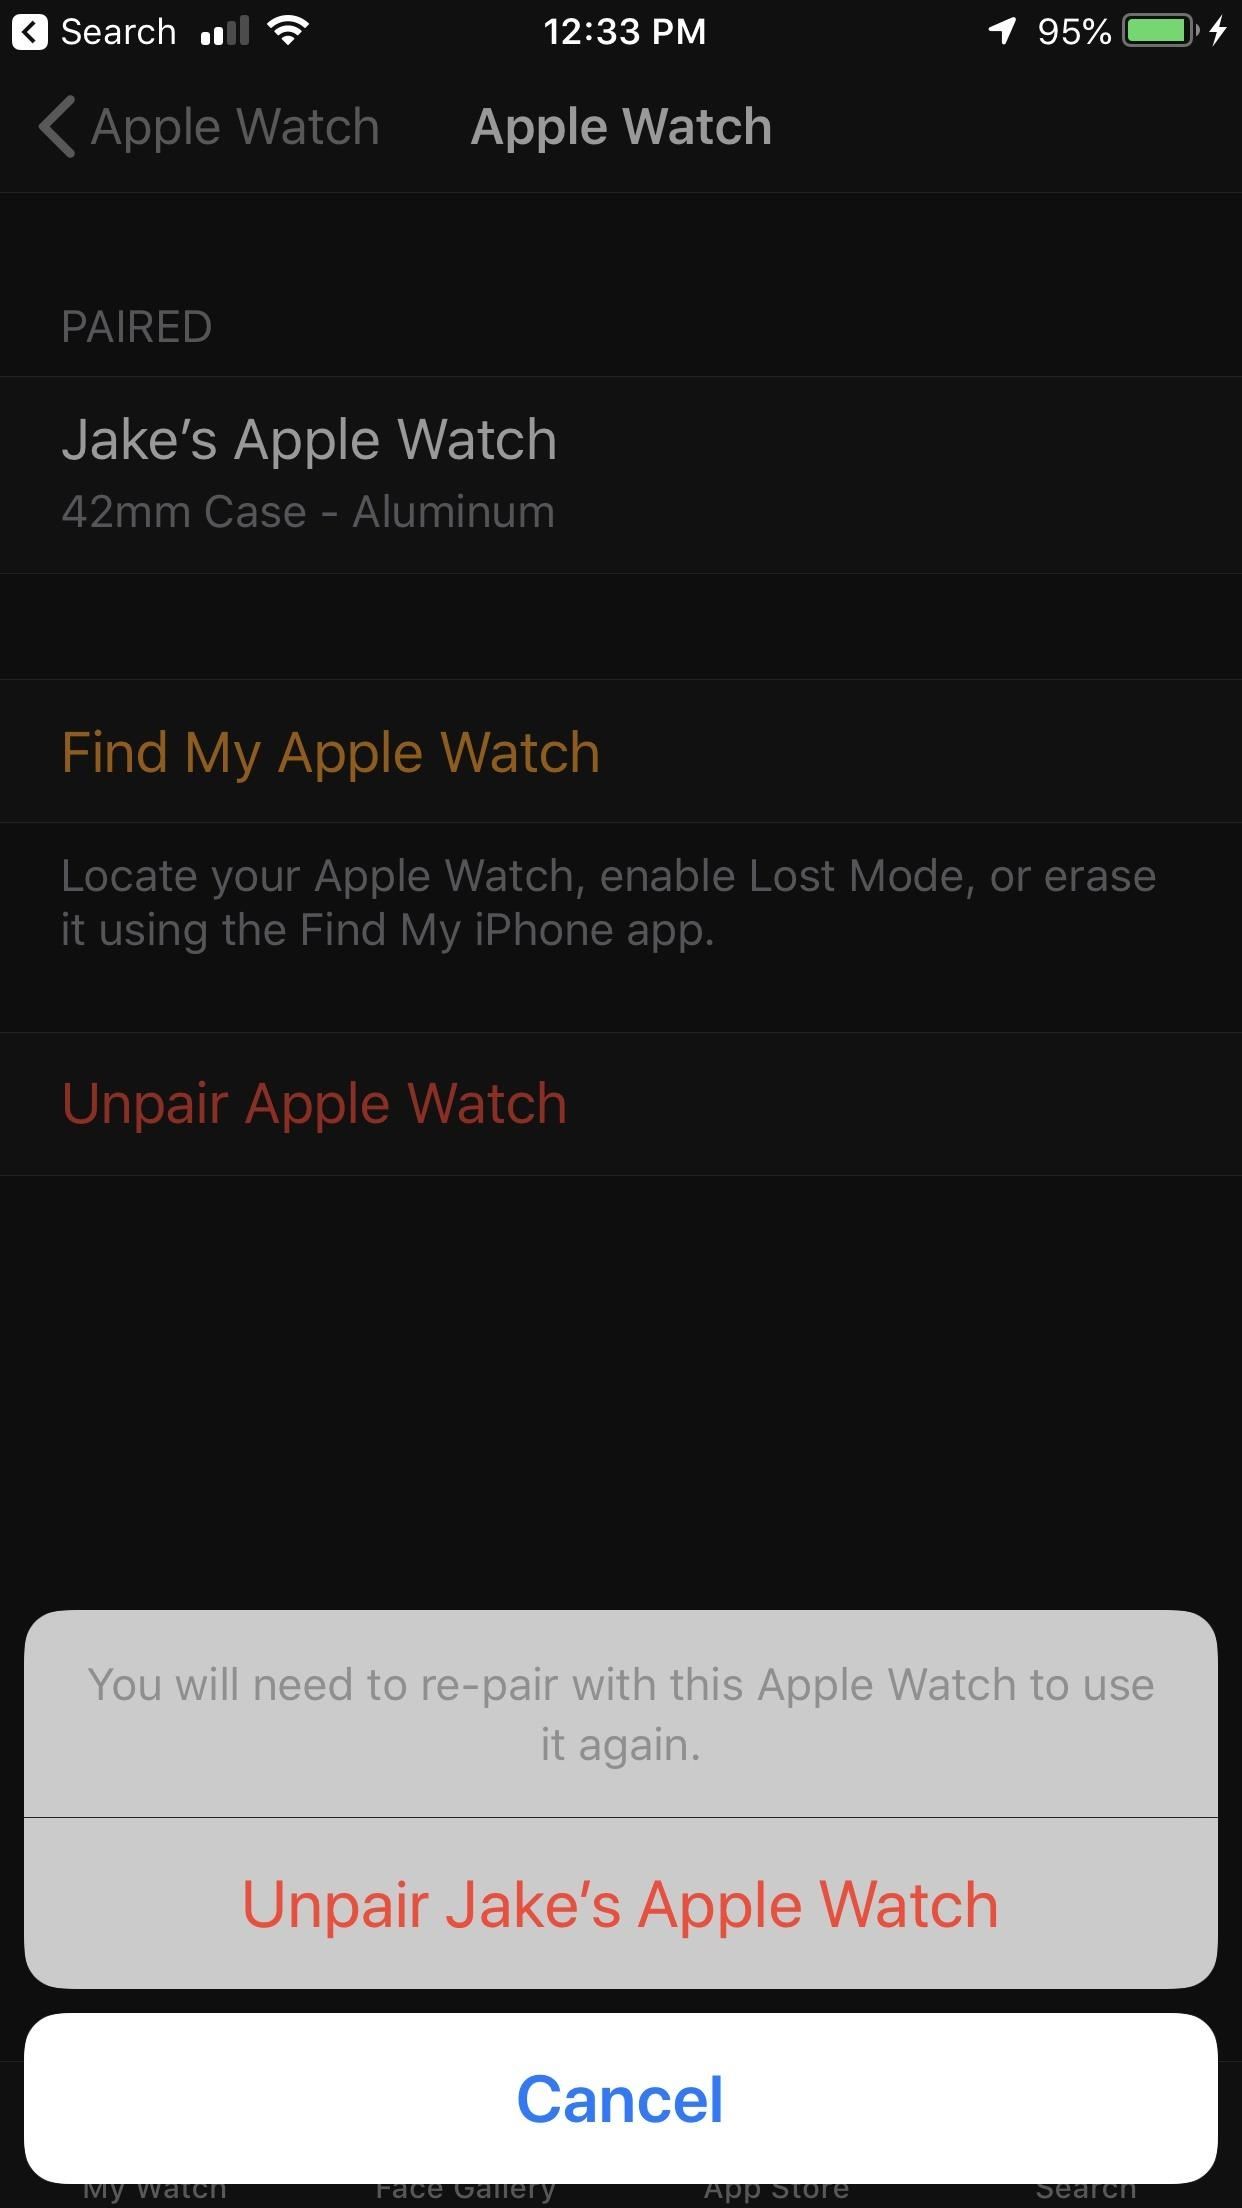
Step 1: Unpair Your Apple Watch (If You Have One)
You might not think about it, but if you have an Apple Watch, you now have an extra step to do before anything else, because you don't want your Watch to still be connected to the iPhone you're getting rid of. Just keep in mind that doing so will also erase your Watch and restore it to factory settings, a necessary evil.
Head over to the Watch app on your iPhone, tap your Watch from the top of the main page, select the "i" next it, then tap "Unpair Apple Watch." If you have a GPS + Cellular model (Series 3 and 4), you'll also have to choose "Remove Carrier Plan" — which does not cancel your plan, only frees you up to use it on another iPhone. Enter your Apple ID password and tap again to confirm.
Step 2: Deregister iMessage (If Switching to Android)
If you aren't planning to buy the new XR, XS, or XS Max, and instead have an Android device in mind, you'll want to deregister iMessage before selling or giving away your iPhone. If you don't, all your friends' iPhones will continue to think your number is connected to iMessage, ending in a fight between sending iMessages and SMS texts — and you might not get all of them.
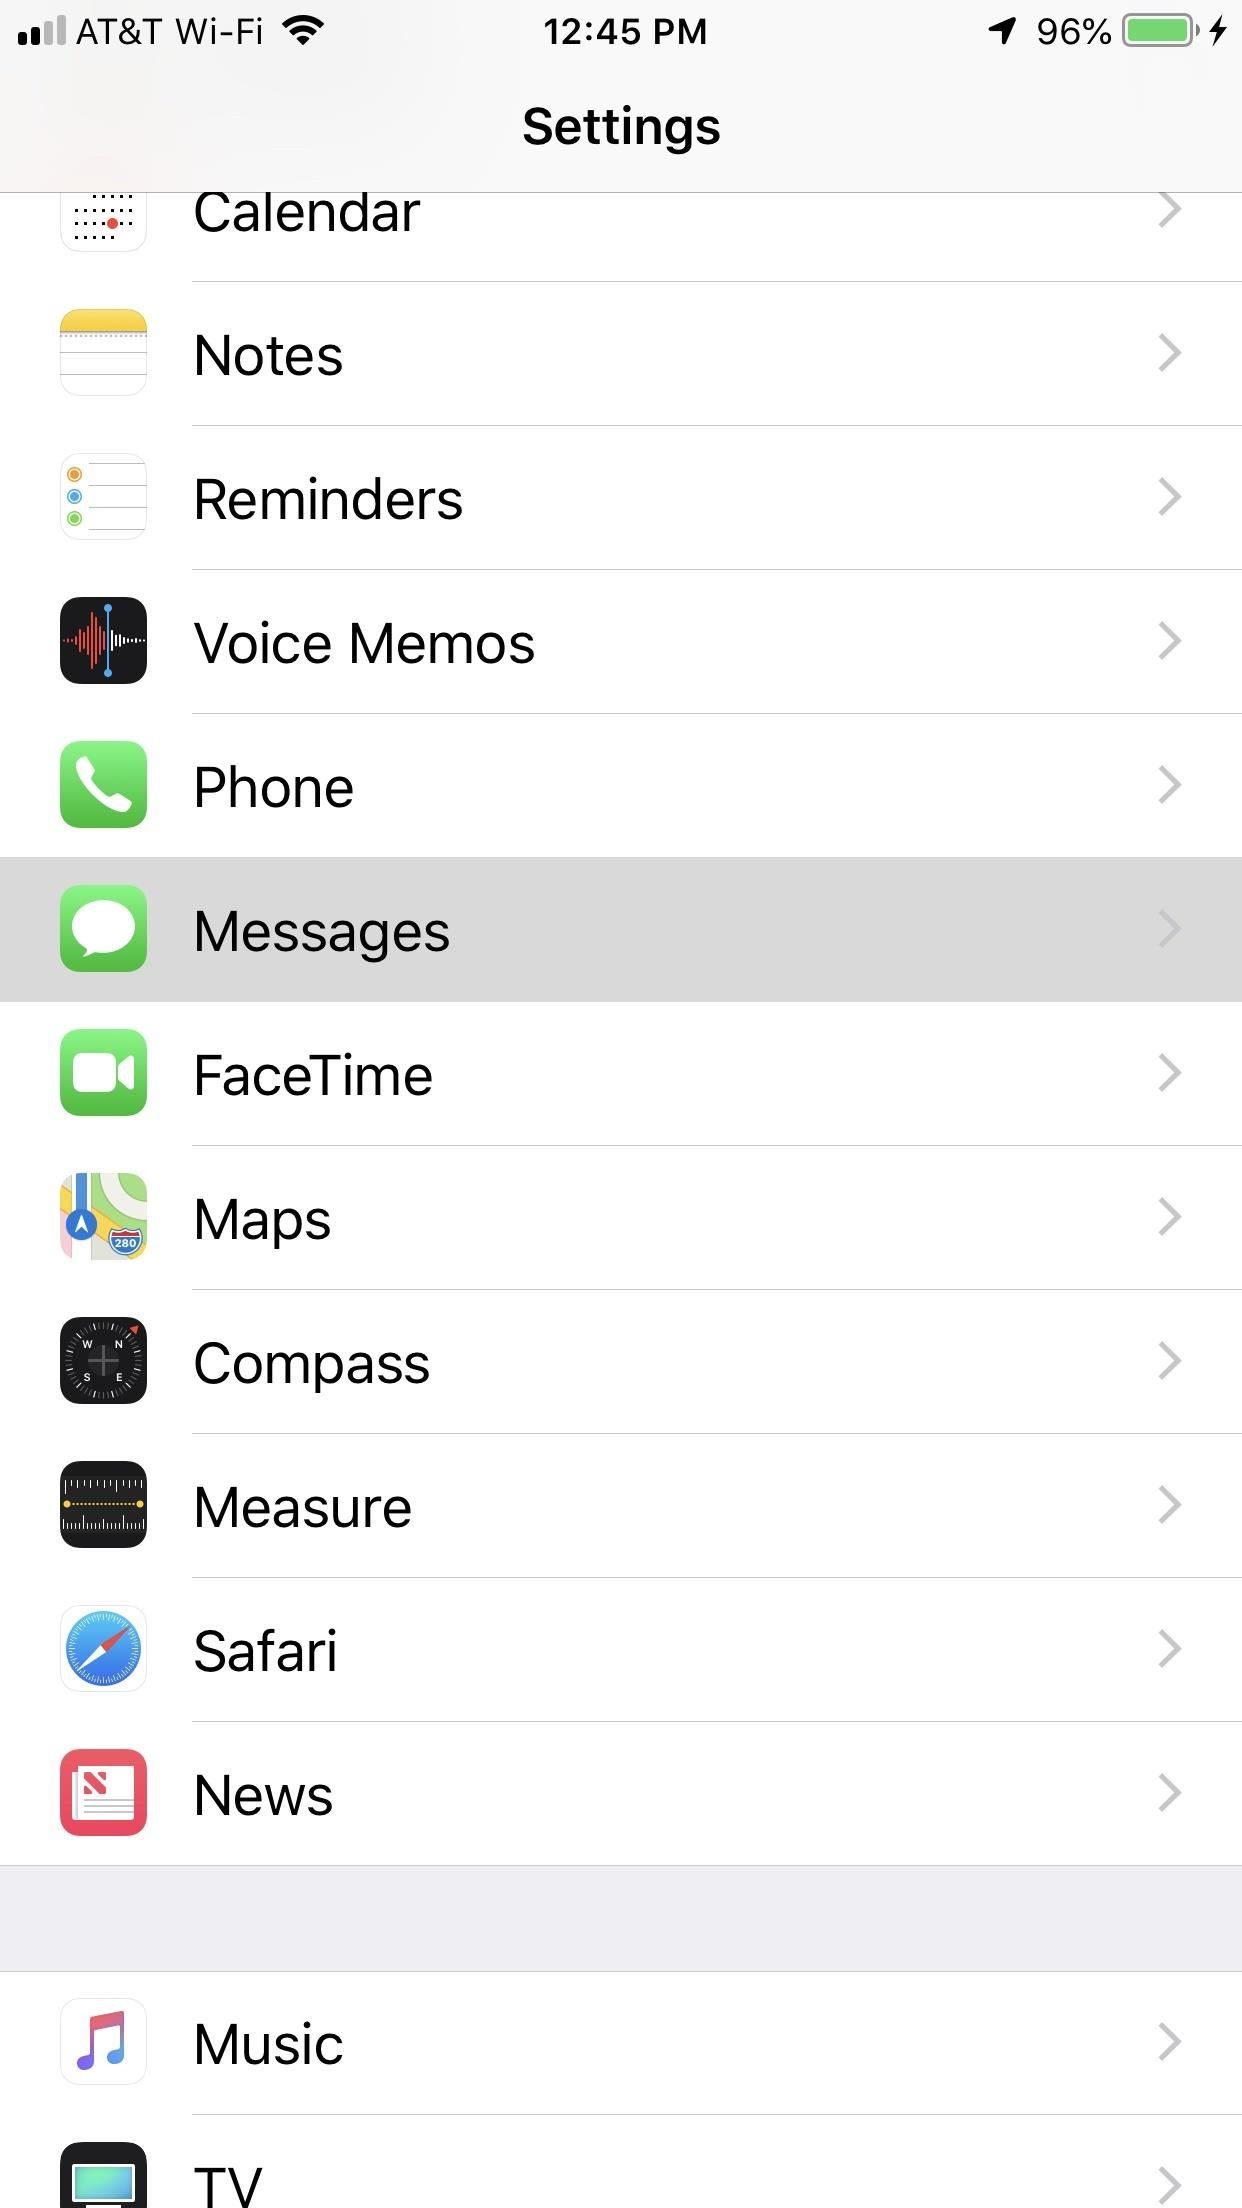
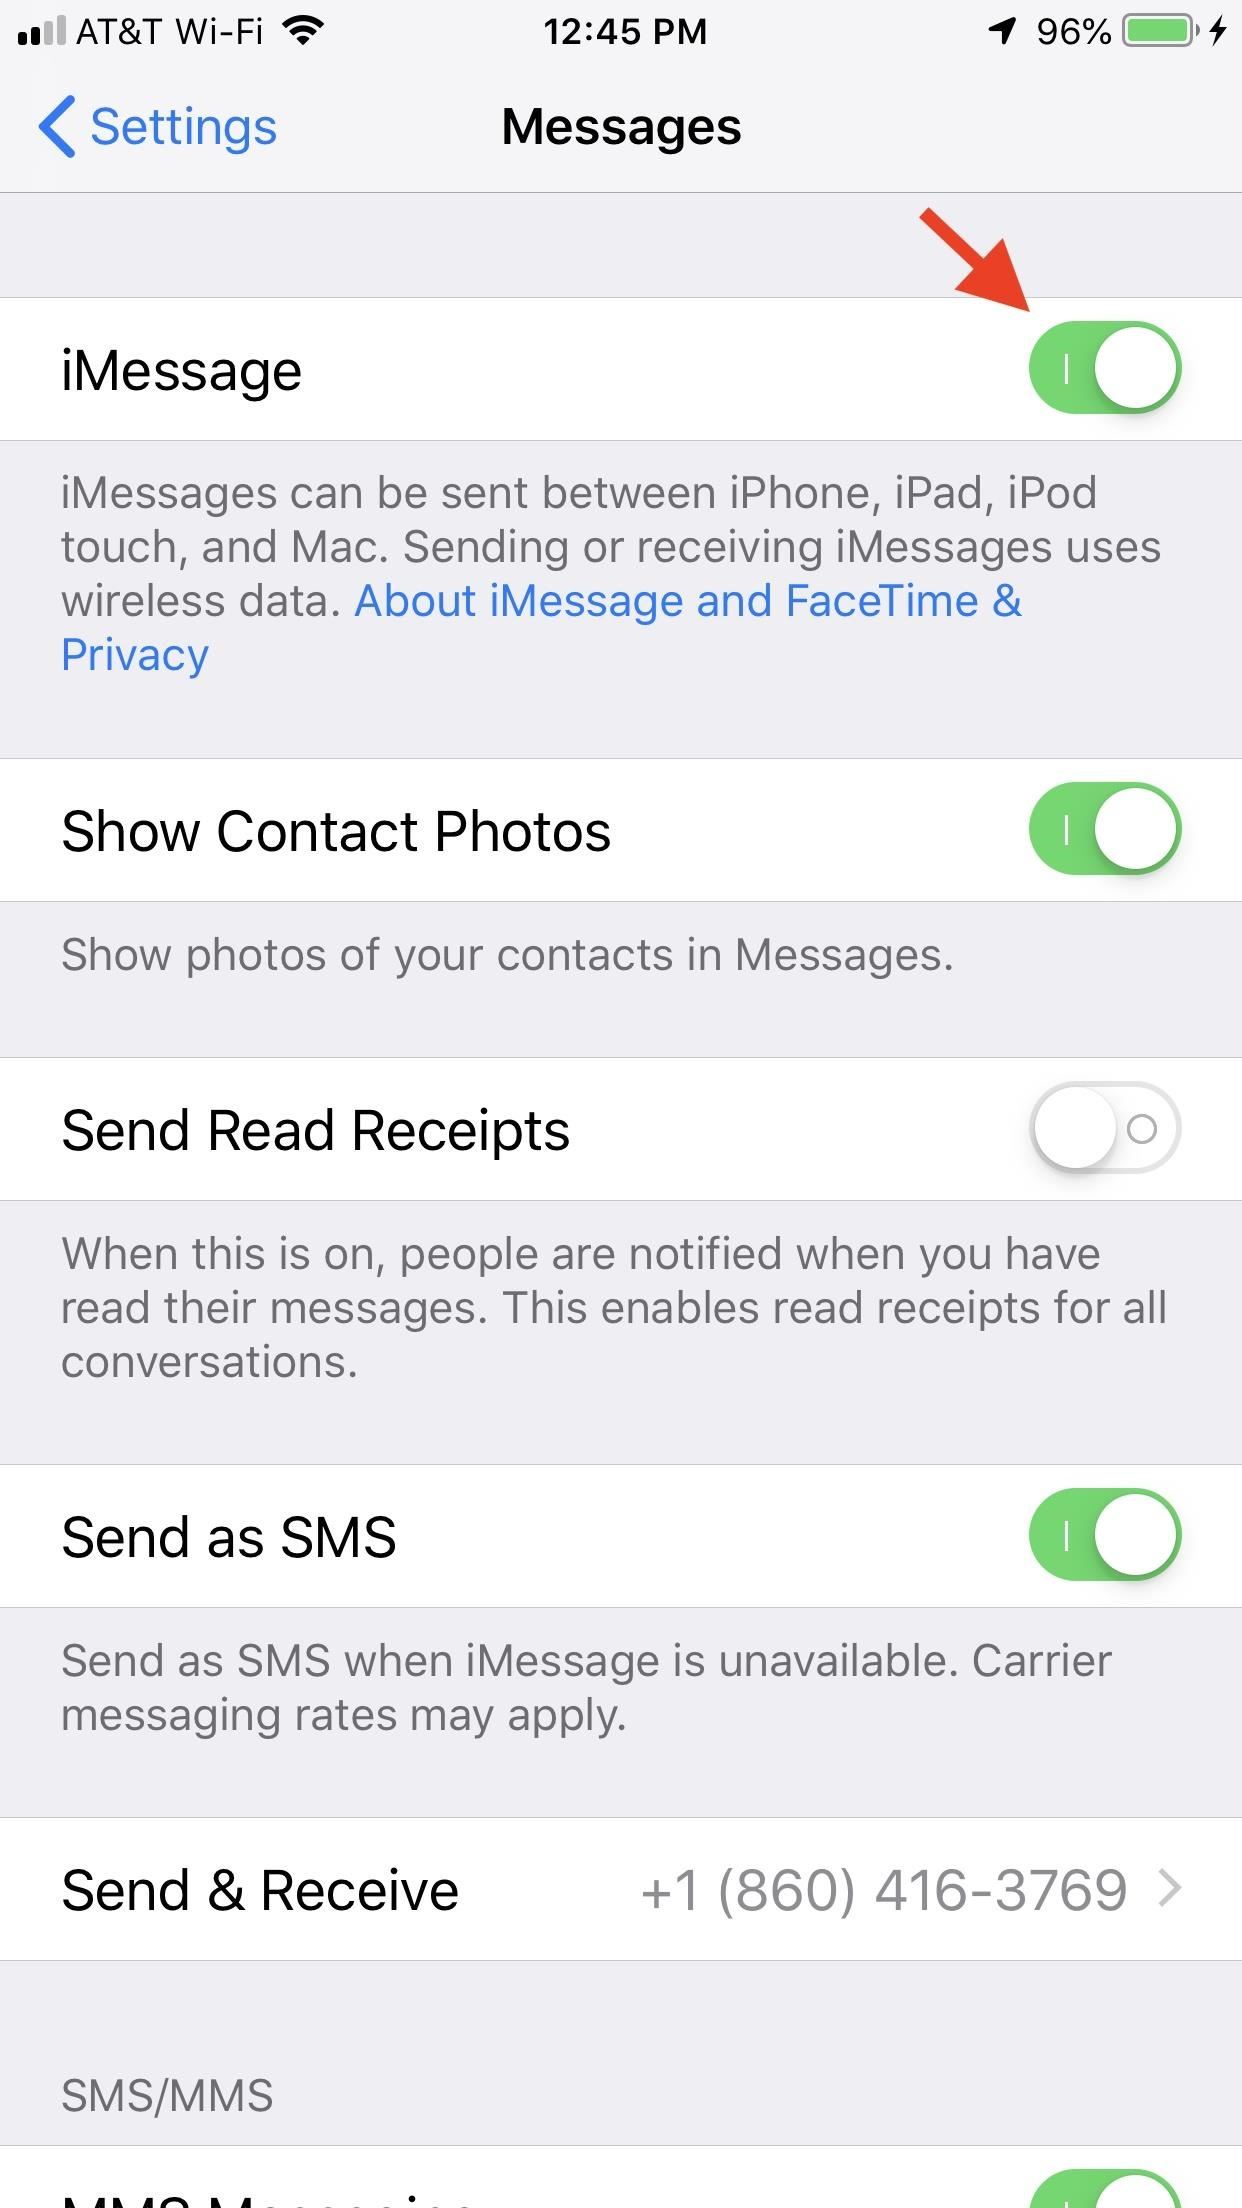
To deregister iMessage, make sure your SIM card is still in the device and that you're connected to your cellular network, then head to the Settings app on the iPhone, and tap "Messages." Finally, disable "iMessage" at the top of the page. You'll also want to go into the "FaceTime" settings and do the same thing. If for some reason you forget to do these things, you can still deregister on Apple's website.
Step 3: Back Up Your iPhone (If You Don't Want to Start New)
If you're getting a new iPhone and want all your data and media to transfer over, you'll want to create an iOS backup. There are a couple of ways to do this: through iTunes or via iCloud. The safest way to go is with iTunes, but if you don't have enough room on your computer for a backup, iCloud will suffice.
Back Up Using iTunes
Depending on your setup, use either a Lightning to USB or Lightning to USB-C cable to connect your iPhone to your Mac or PC. If for some reason iTunes doesn't open automatically, manually launch it. When connected, you should see the phone icon in iTunes next to the media dropdown and under "Devices" in the sidebar.
If it's not connected, check to see if an "Unlock iPhone to Use Accessories" notification is on your iPhone or not. This appears under certain circumstances when running iOS 11.4.1 or higher. If you see the alert, unlock your iPhone and see if it appears in iTunes. Also, you may have to trust your computer if this is your first time connecting to iTunes.
In iTunes, select the phone icon up top or choose your model from the "Devices" list on the left. Make sure you're on the "Summary" screen, then select "This computer" under Backups, and click "Back Up Now." Performing an encrypted backup is optional, but worth thinking about if you use the Health app at all.

All of your photos, videos, text messages, and app data will be saved on your computer, allowing you to easily restore a brand new iPhone XR, XS or XS Max to everything you had before.
Back Up Using iCloud
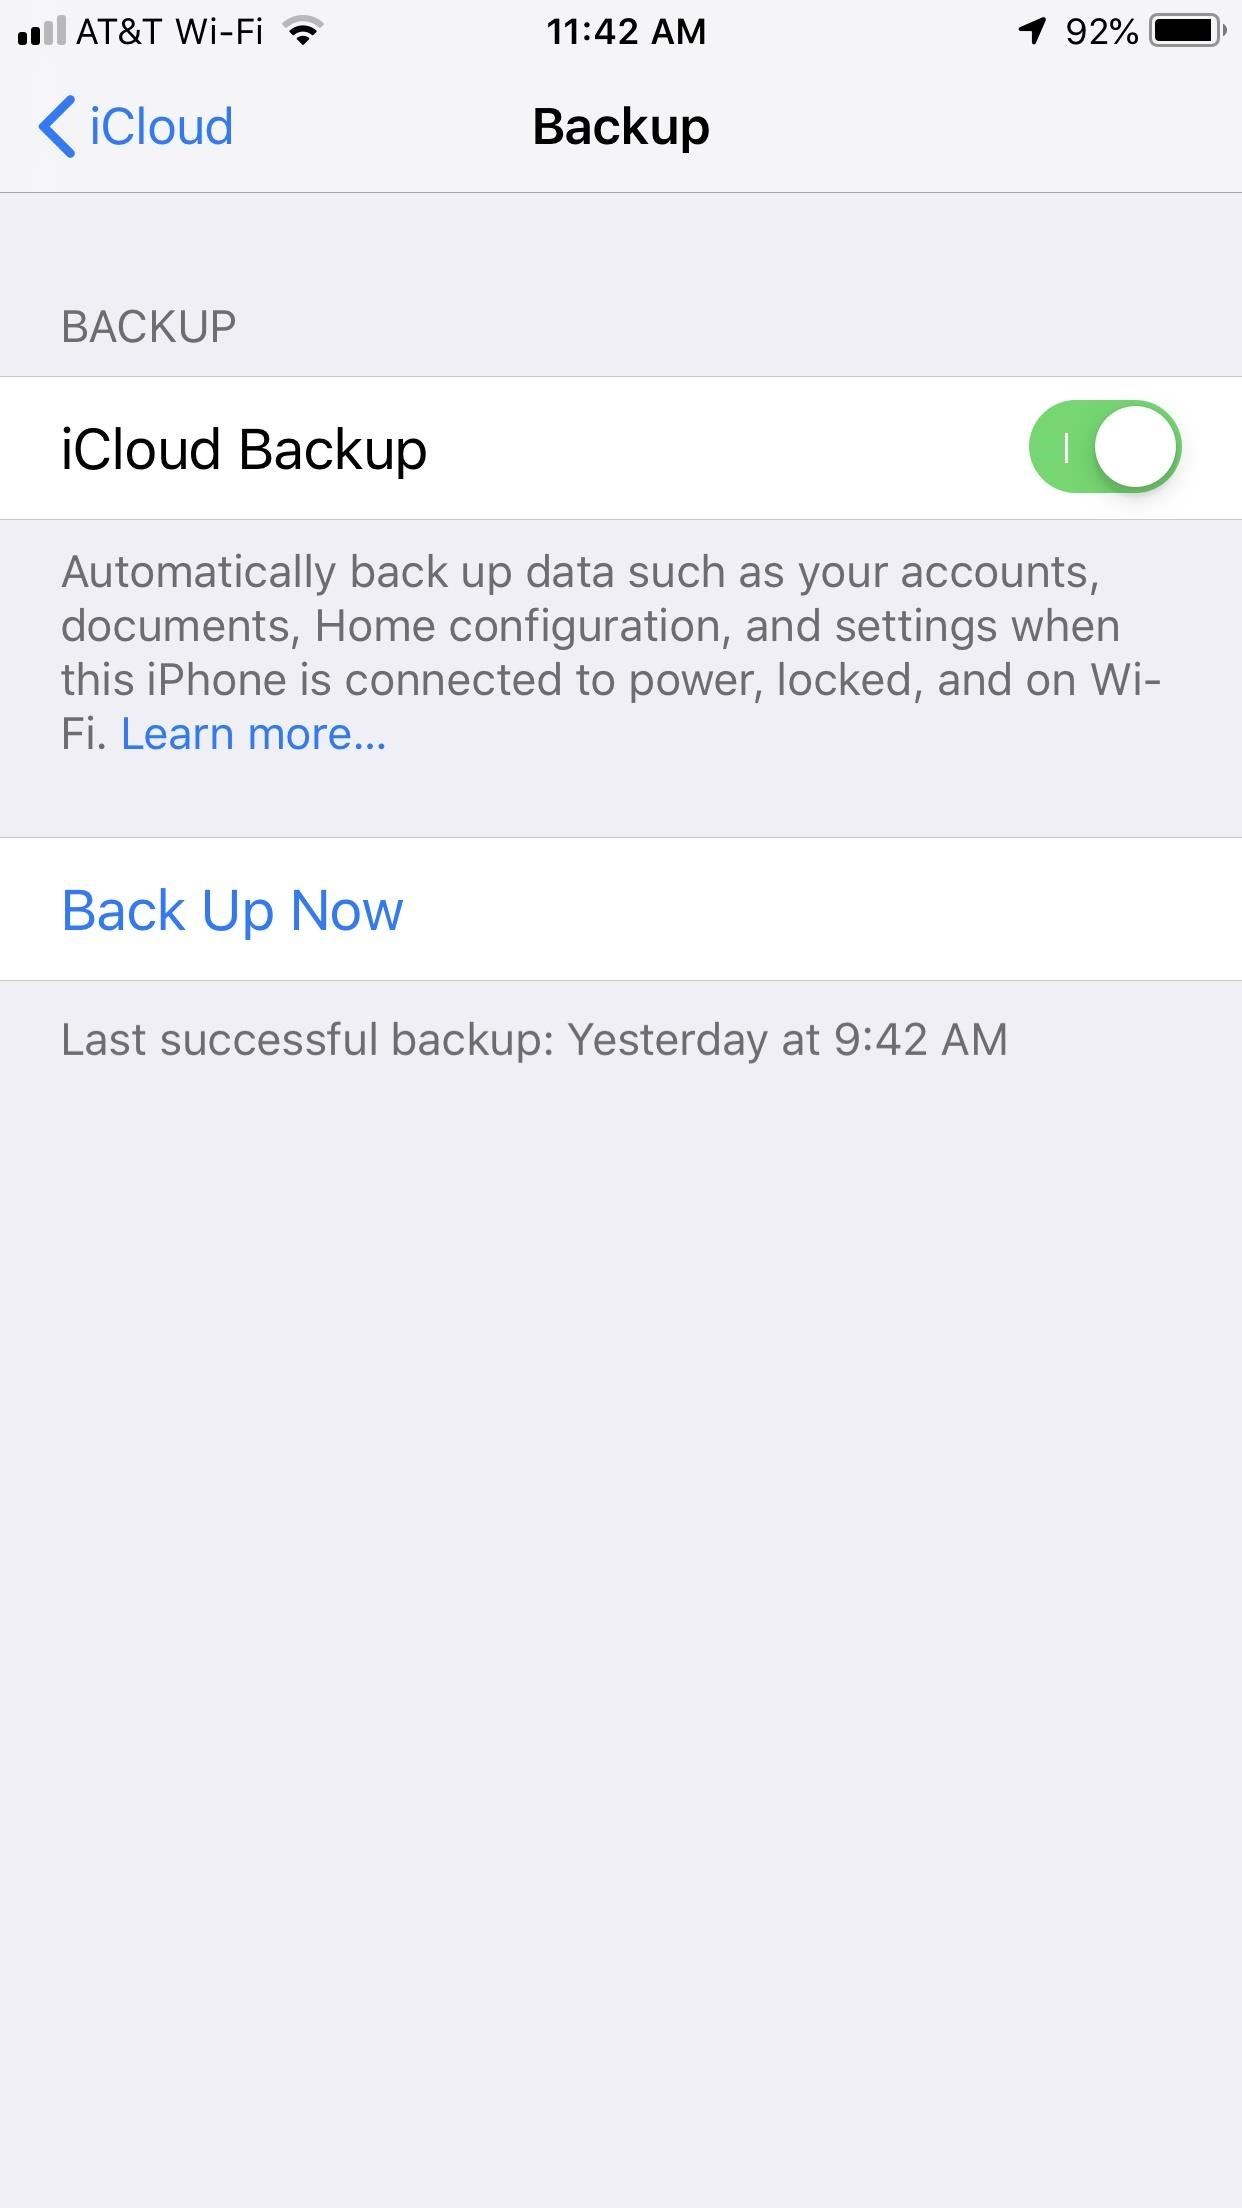
If you have enough iCloud storage available, you can back up your device directly to it. But before doing so, you have to make sure this option is turned on. Go to the Settings app, then tap on your name at the top of the page. Next, tap "iCloud," then "iCloud Backup," and make sure it is enabled.
If your iPhone was already connected to Wi-Fi and a charger while locked, you probably have a backup if "iCloud Backup" was already enabled. If you just enabled it or want a new one, you can tap "Back Up Now" to manually update.

Step 4: Turn Off Find My iPhone (If Enabled)
Now that all of your stuff is saved onto your computer or in iCloud, it's almost time to restore your iPhone and clear everything on it. But there's one important thing that needs to be done prior to doing that — disable Activation Lock.
Without disabling Activation Lock, whoever ends up with the device won't be able to reactivate or use it. We recommend doing this now, just in case you start wiping the iPhone and don't see the prompt to turn off Find My iPhone.
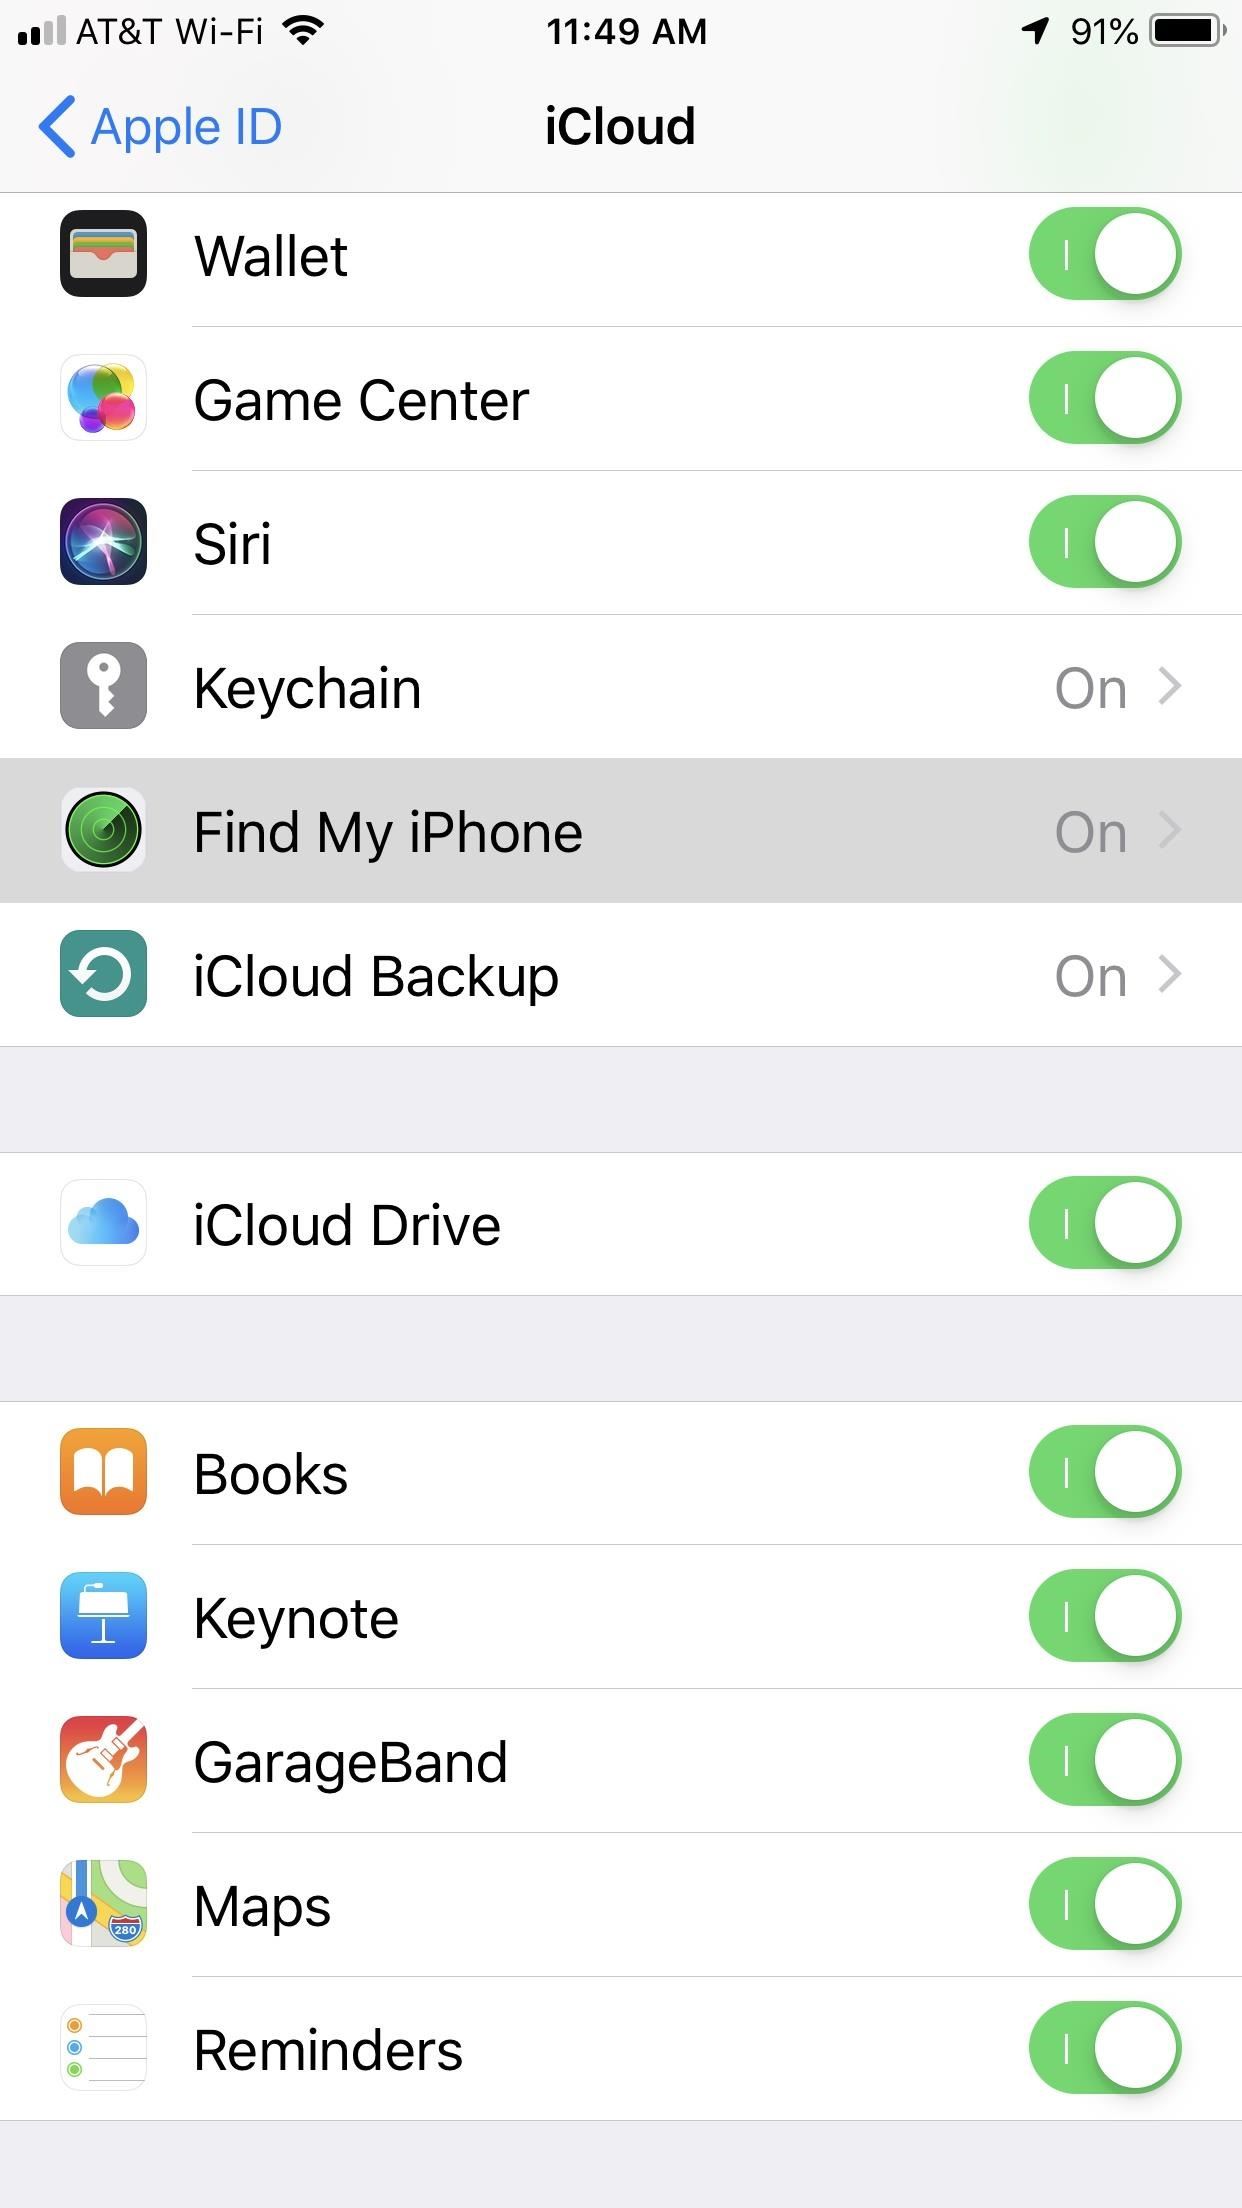
On your iPhone, open Settings, then tap on your name at the top of the page. Go to "iCloud," then "Find My iPhone," and toggle off the feature. Again, if you don't do this, you should be prompted to turn it off when factory restoring it, but better to get it out of the way.
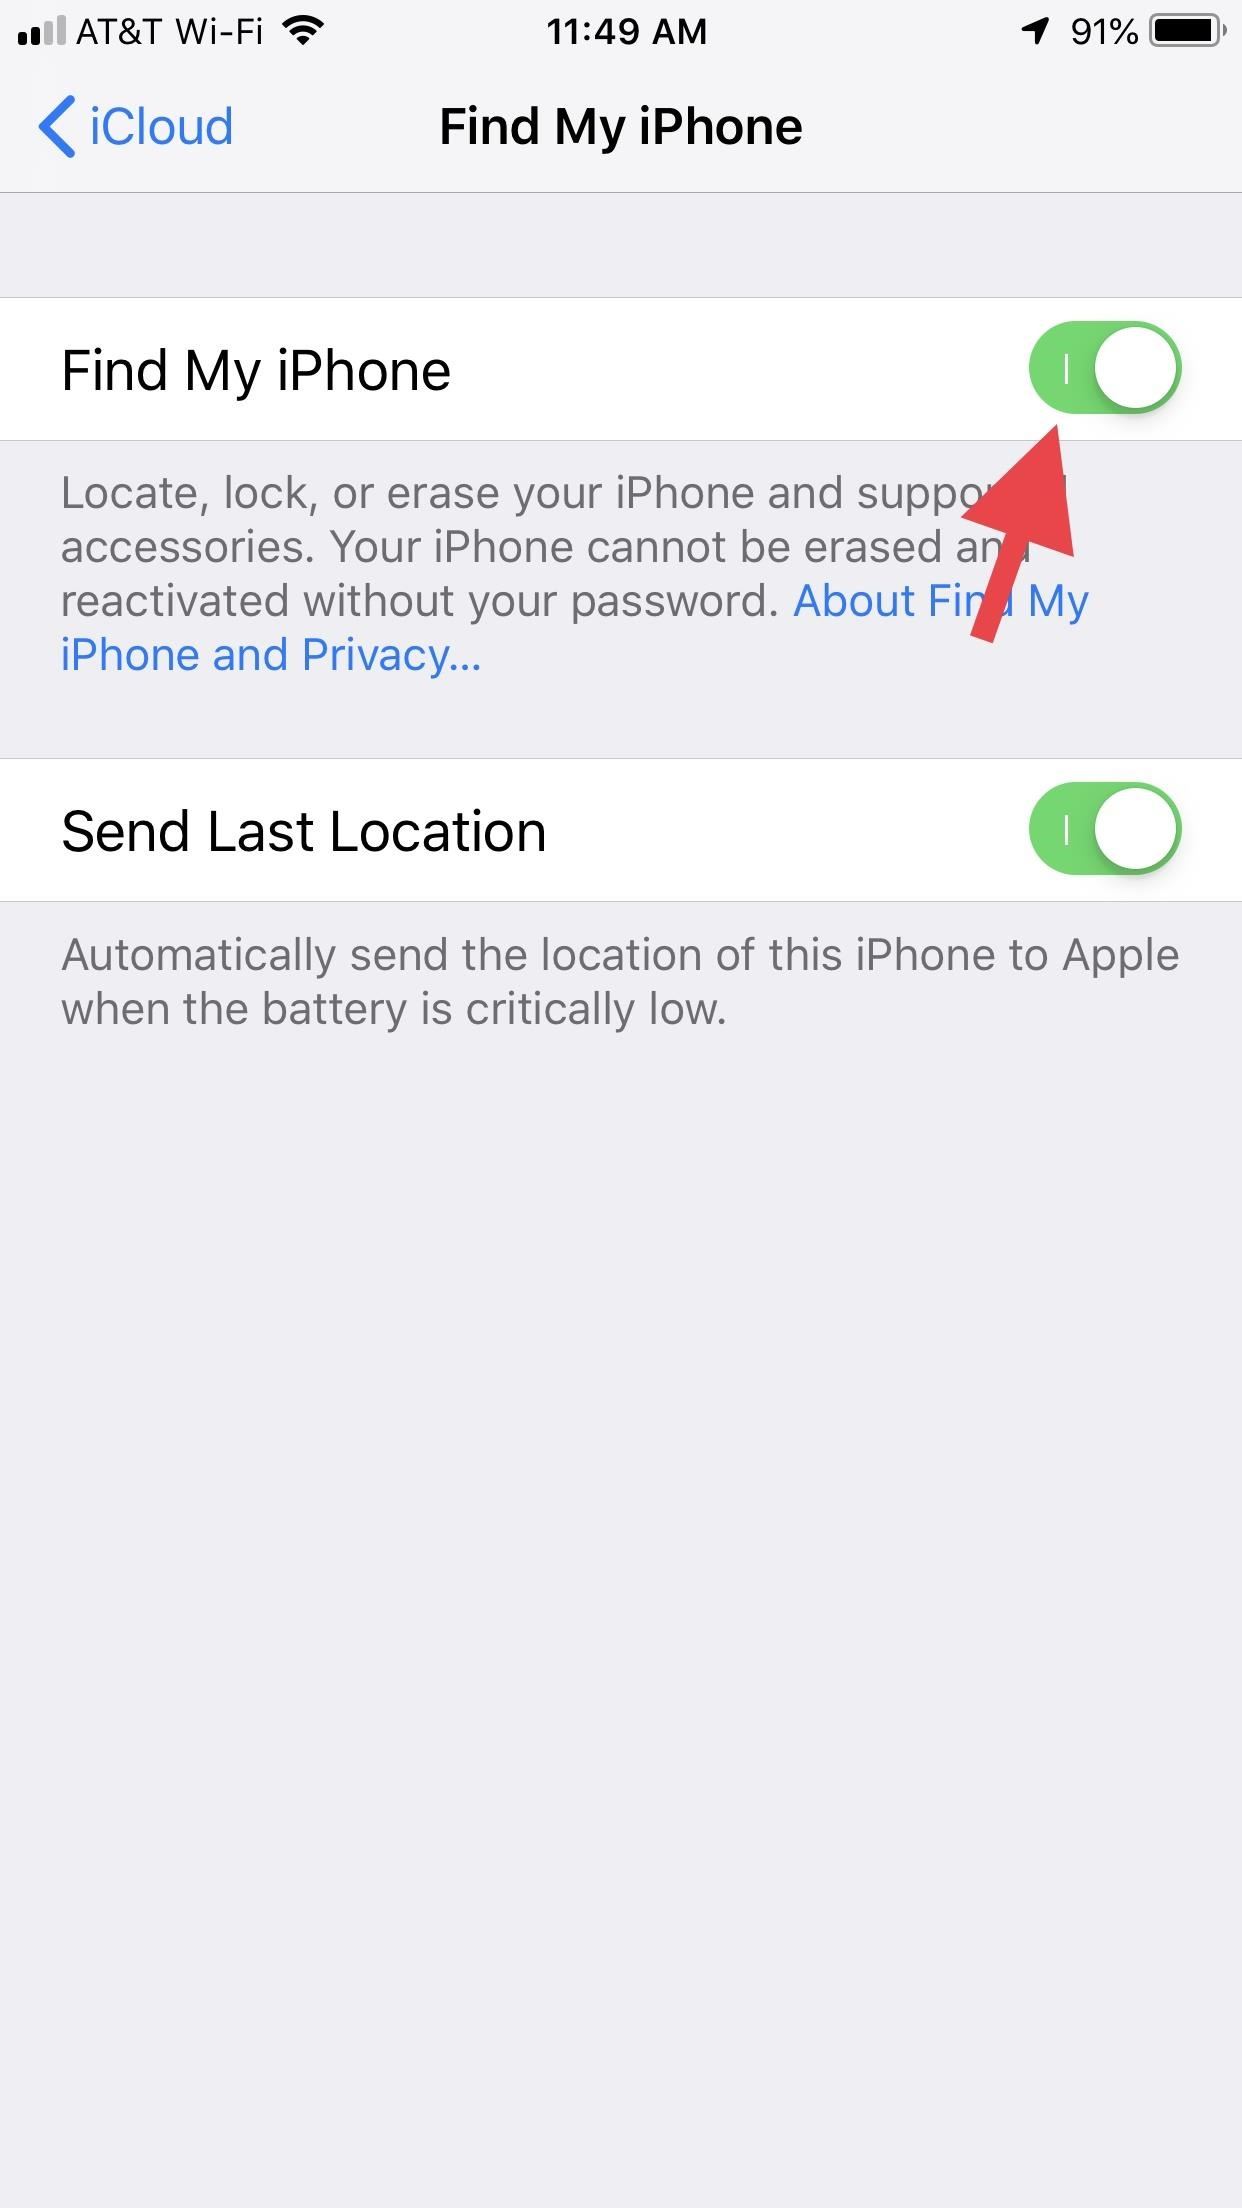
If you don't turn off Find My iPhone before selling or giving the device away, you will still be able to disable Activation Lock so that the new user can reactivate it. However, it's not the easiest thing.
- More Info: How to Turn Off Find My iPhone Remotely
Step 5: Sign Out of Your Apple Account
The last thing you need to do before wiping your iPhone is sign out of your Apple ID account for iCloud, iTunes, and the App Store. This just makes sure that the device is no longer connected to your Apple ID account, just as a precaution.
For those of your running iOS 10.3 or higher, open up Settings, then tap your name at the top. Next, tap "Sign Out" at the bottom of the page, enter your Apple ID password, then select "Turn Off."
If you're running an older version of iOS, the process is a little different; Open the Settings app, then tap "iCloud," followed by "Sign Out." Confirm by tapping "Sign Out," then tap "Delete from My iPhone," and enter your Apple ID password. After that, go to "iTunes & App Store" in Settings, tap "Apple ID," then "Sign Out."
Step 6: Wipe Your iPhone Back to Factory Settings
Now it's time to restore your iPhone, which will get rid of everything on your device, restoring it back to a factory-like condition. You can do this by either restoring it through iTunes or directly on your iPhone.
Also worth noting: Restoring your iPhone will remove any jailbreak on it, so you don't have to worry about a voided warranty in case you're selling or trading your device back to a carrier or Apple.
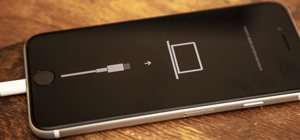
Restoring with iTunes
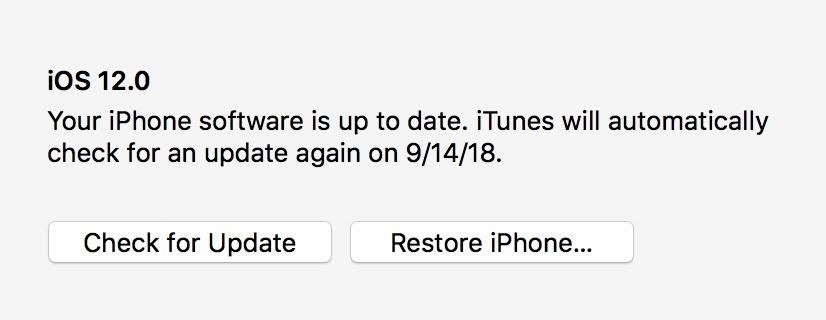
To do it via iTunes, make sure you're plugged in and on the "Summary" page for your iPhone, then select "Restore iPhone," which will download a new copy of the latest iOS version onto your iPhone, erasing everything in the process.
Restoring on Your iPhone
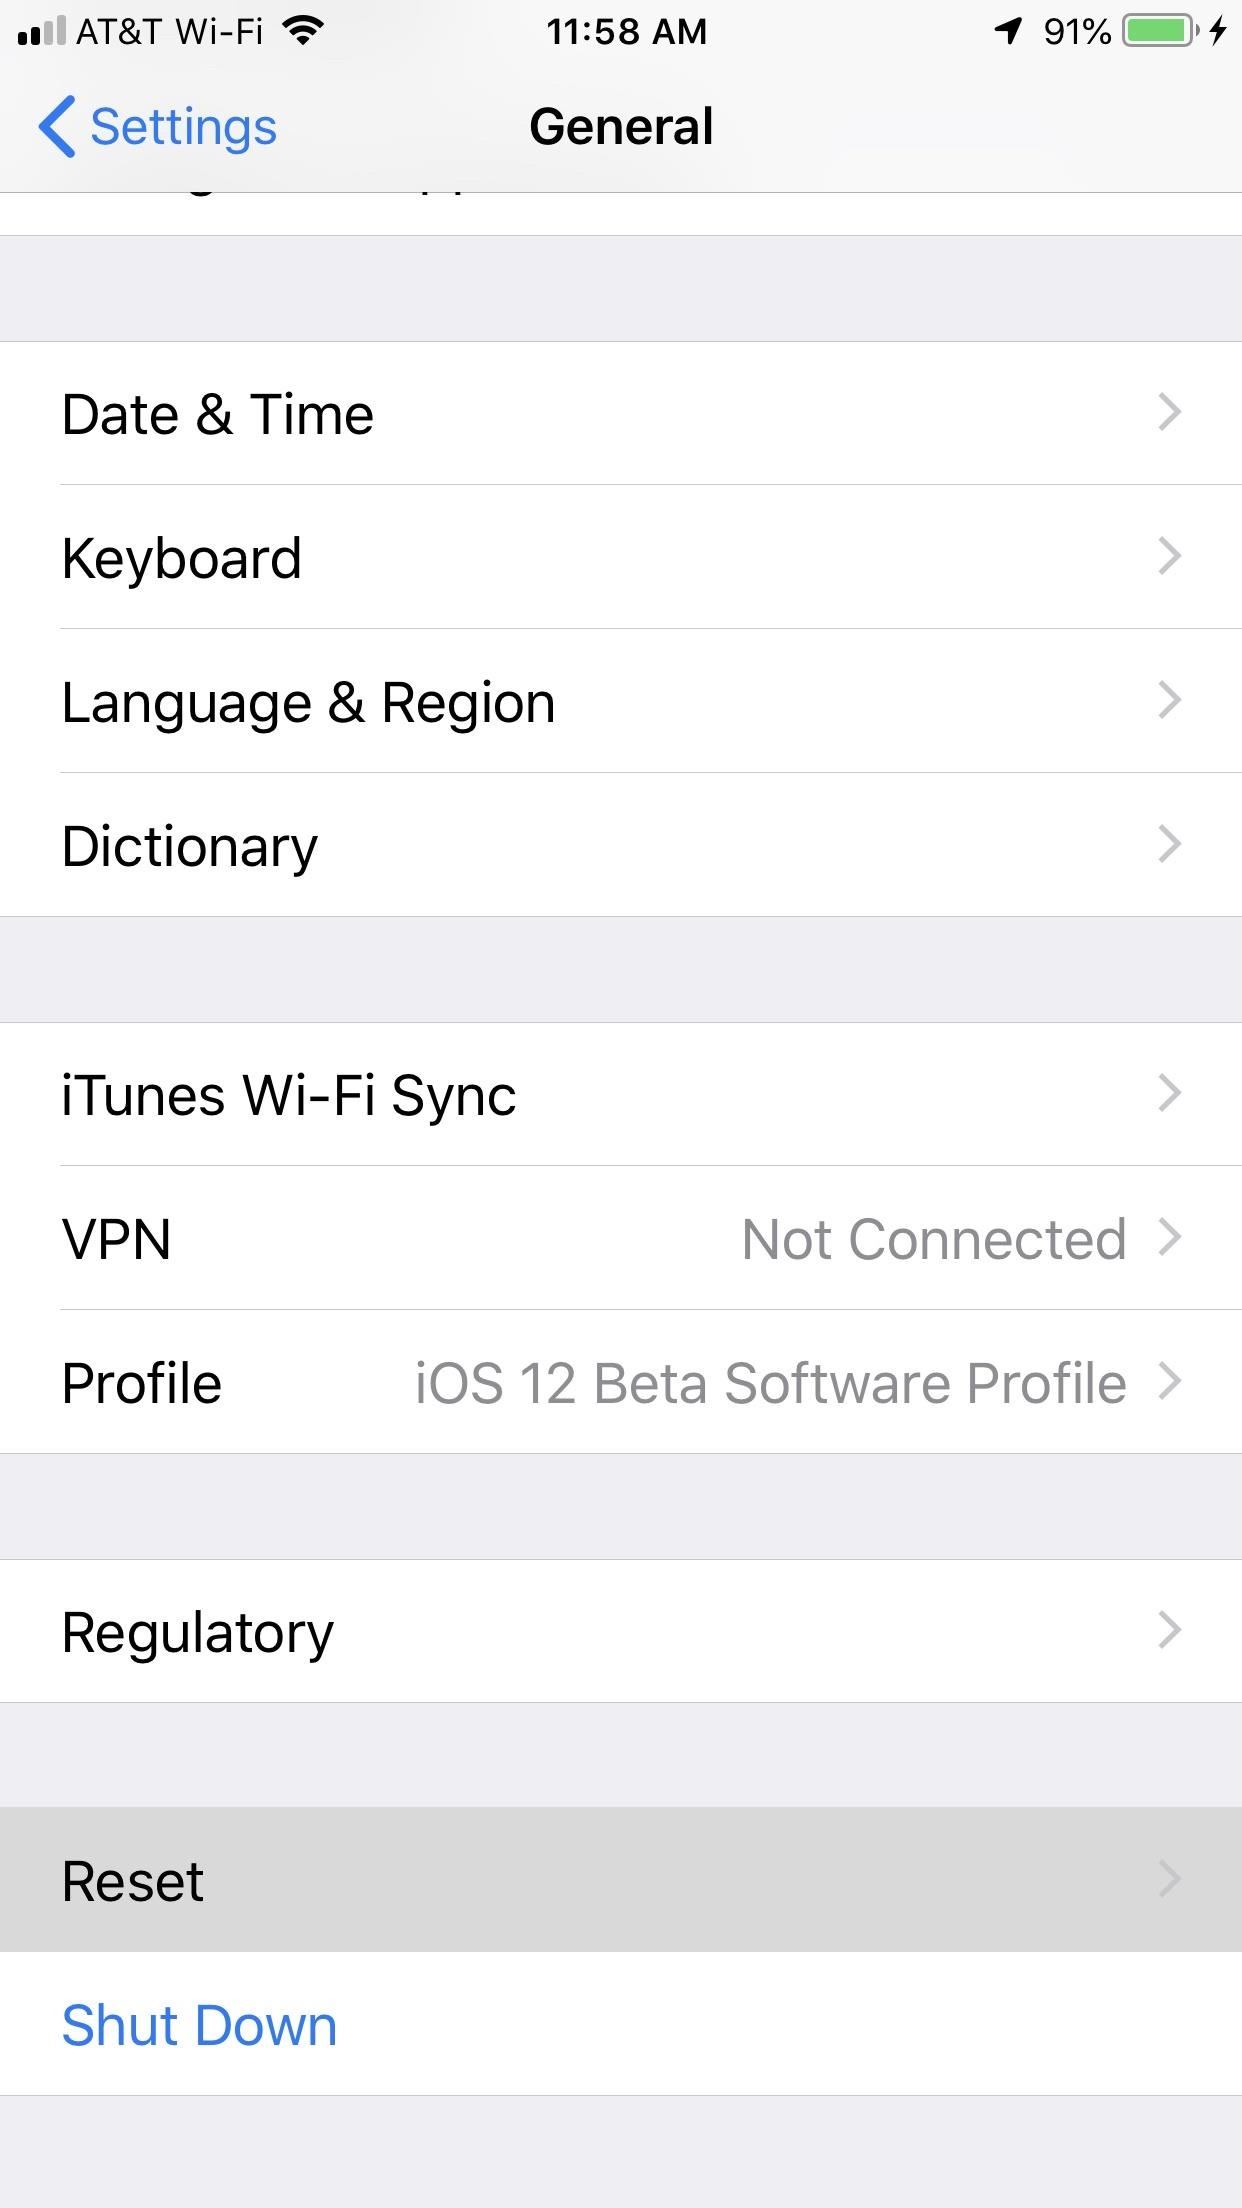
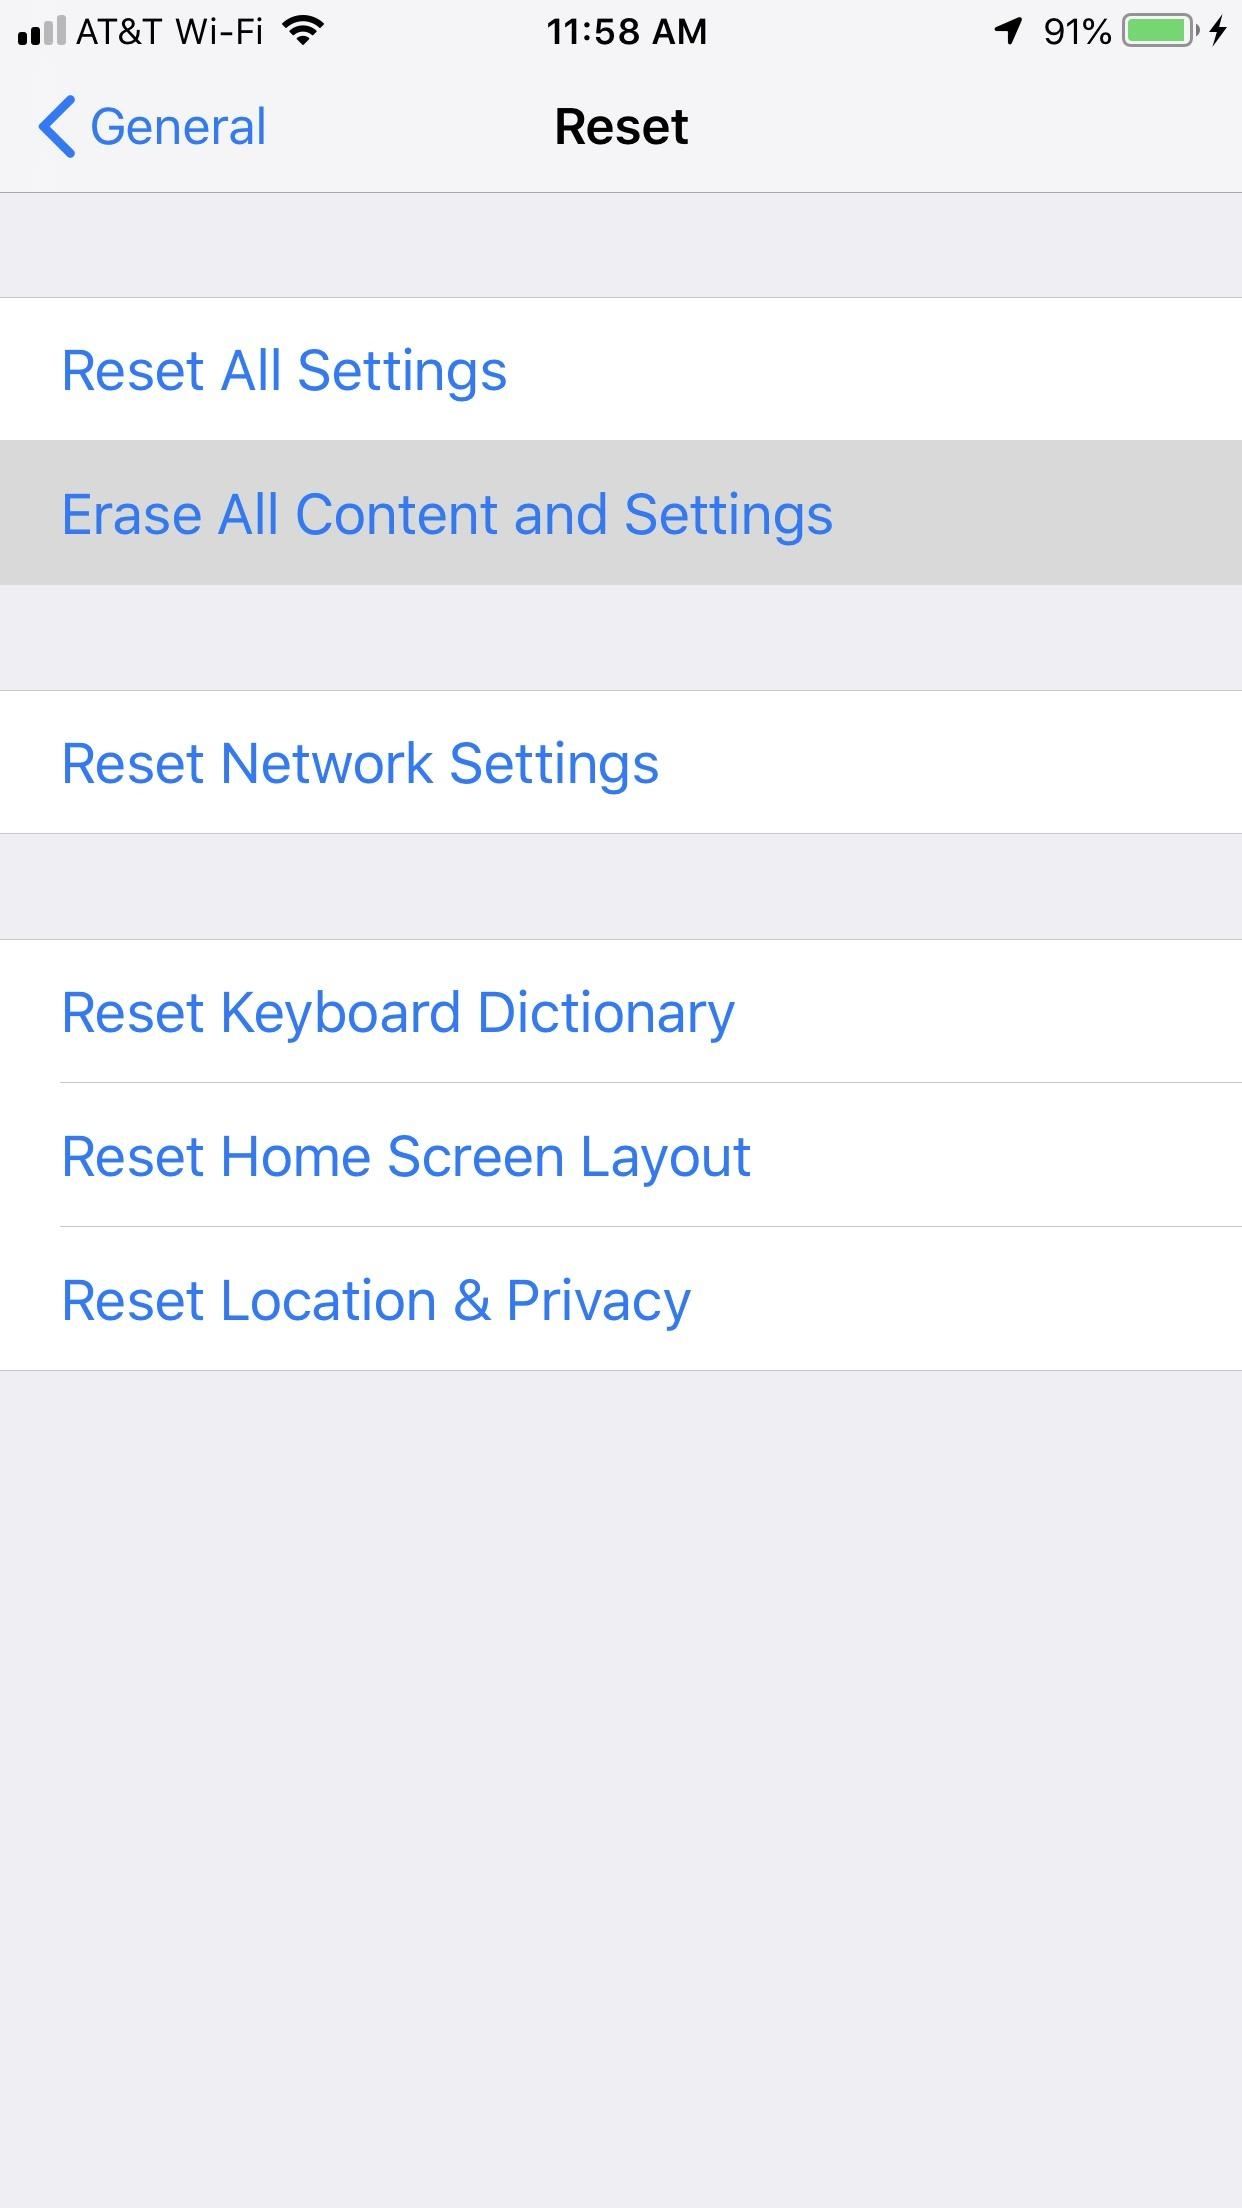
To do it on your iPhone, open Settings, then tap "General." Next, select "Reset," then "Erase All Content and Settings." Unlike the iTunes method, this does not install a new version of the software — just securely erases all of the content and settings.
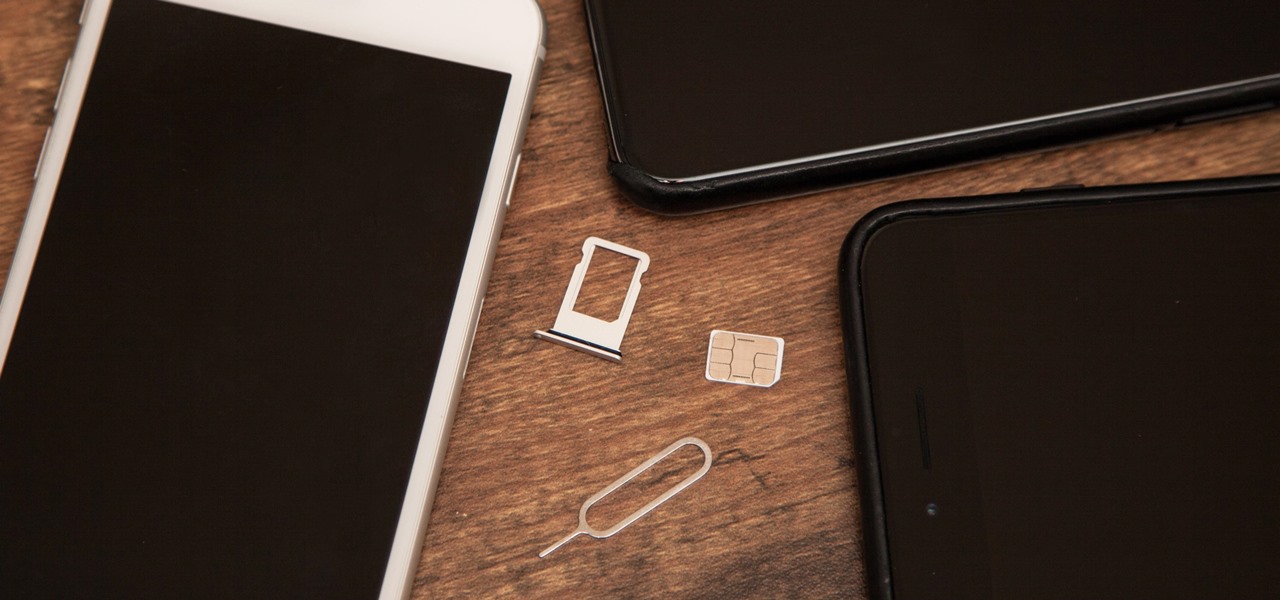
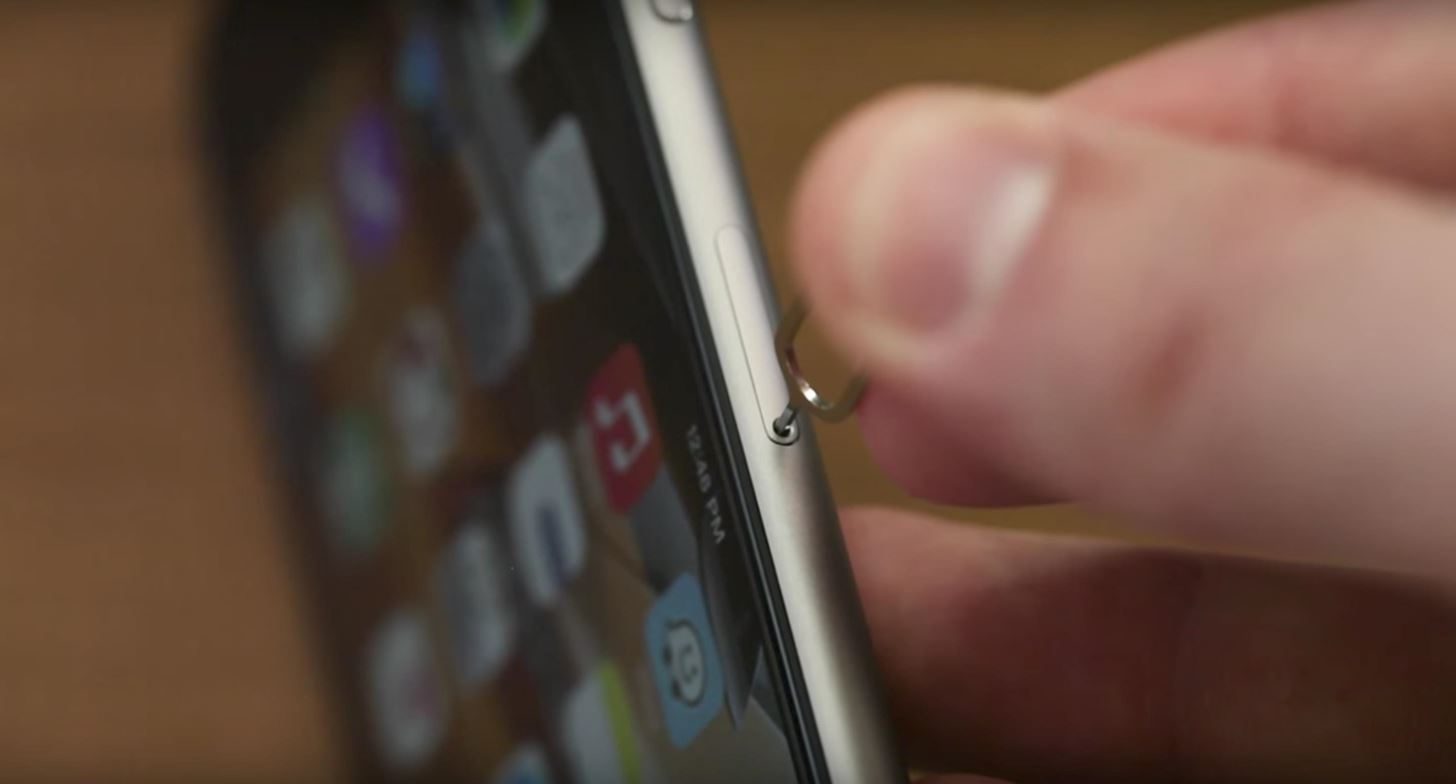
Step 7: Remove Your SIM Card
After your old iPhone has been wiped clean, make sure that you remove your SIM card when you're done restoring it, since you may need it for your new iPhone XR, XS or XS Max. Plus, you don't want somebody with your SIM card anyway. If you get a new SIM card with your new phone, just break and toss the old one.
Step 8: Carrier Unlock It (Optional)
If you're giving or selling your iPhone to someone who uses a different carrier than the one your device was originally connected to, you can unlock it by calling your current carrier. Just make sure that you meet the following requirements before you start.
- You're either a current customer of that carrier or a former customer that can provide a phone or account number connected to that device.
- Your device was initially designed for use on that carrier.
- Your device has been paid off in full.
- Your device has not been reported stolen or lost.
Each carrier may have different unlocking policies, but you can check them out for AT&T, Sprint, T-Mobile, and Verizon Wireless.
Step 9: Sell, Trade, Return, or Give It Away
If you're giving your iPhone away, rest assured that none of your data is being handed over. If you're selling or trading in your iPhone, you can get back a substantial amount of the original purchase price through services like Amazon, Gazelle, eBay, and even Craigslist, as long as it's in good working condition. While eBay will probably get you the biggest return, Amazon is an easier process; Just find your iPhone on Amazon, then select either "Trade in now" (for a small Amazon gift card) or "Sell on Amazon" if you want to try to get more money.

Once it's sold, it's time to enjoy your new iPhone or Android phone. If it's one of the 2018 iPhone models, it'll be running iOS 12, so check out our guide to all the new update's best features.
Just updated your iPhone? You'll find new emoji, enhanced security, podcast transcripts, Apple Cash virtual numbers, and other useful features. There are even new additions hidden within Safari. Find out what's new and changed on your iPhone with the iOS 17.4 update.


Be the First to Comment
Share Your Thoughts