
An awesome new feature appeared in iOS 11 that lets you easily share your Wi-Fi password to anyone else with iOS 11 or higher just by tapping "Share Password" on your iPhone when they try to connect to the same network. However, if your friend is using Android or another mobile OS, this feature doesn't help at all — but there's still an easier way than dealing with long, complicated passwords.
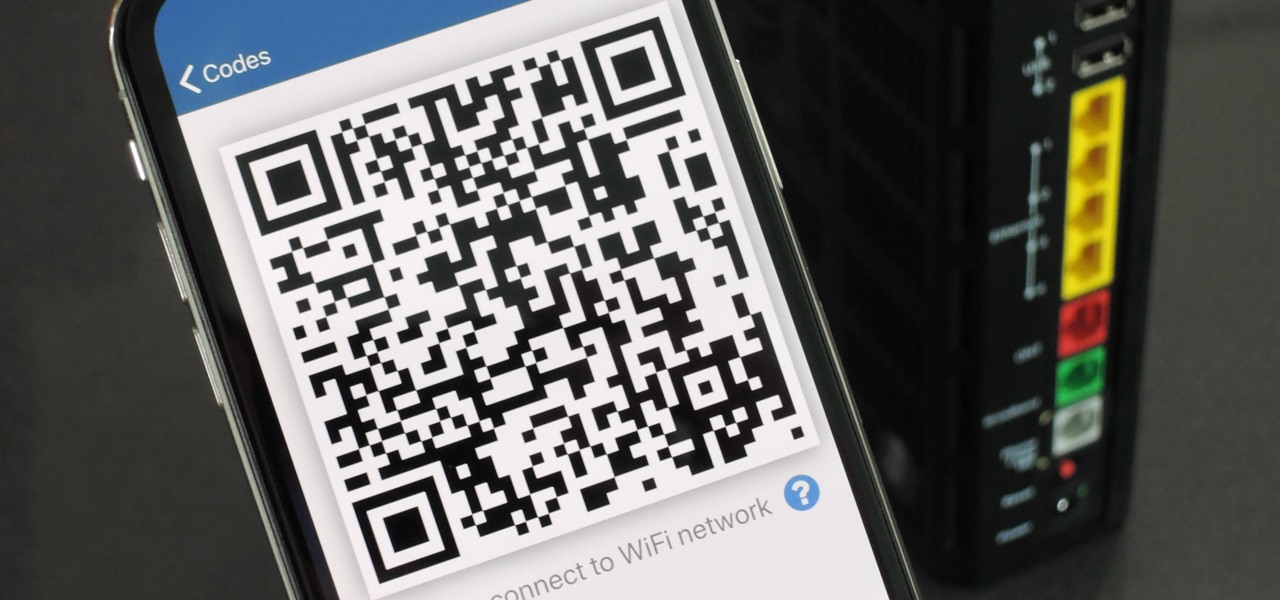
With a simple app, you can make a QR code that your guests can scan with their smartphone to connect to your Wi-Fi network. The whole process is automatic — once they scan the code, they'll be able to connect directly to your network. You can also save it for future use, so you don't need to tediously enter and re-enter in your Wi-Fi network's information whenever you need to do so.
Using a QR code is much faster than using an app like Wi-Fi Widget, which lets you share a password from the Today View on your iPhone that somebody can copy and paste into their Wi-Fi settings. The QR code route also eliminates having your network's password stored in plain text in someone's messages app or wherever.
Step 1: Find Your SSID (Wi-Fi Network Name)
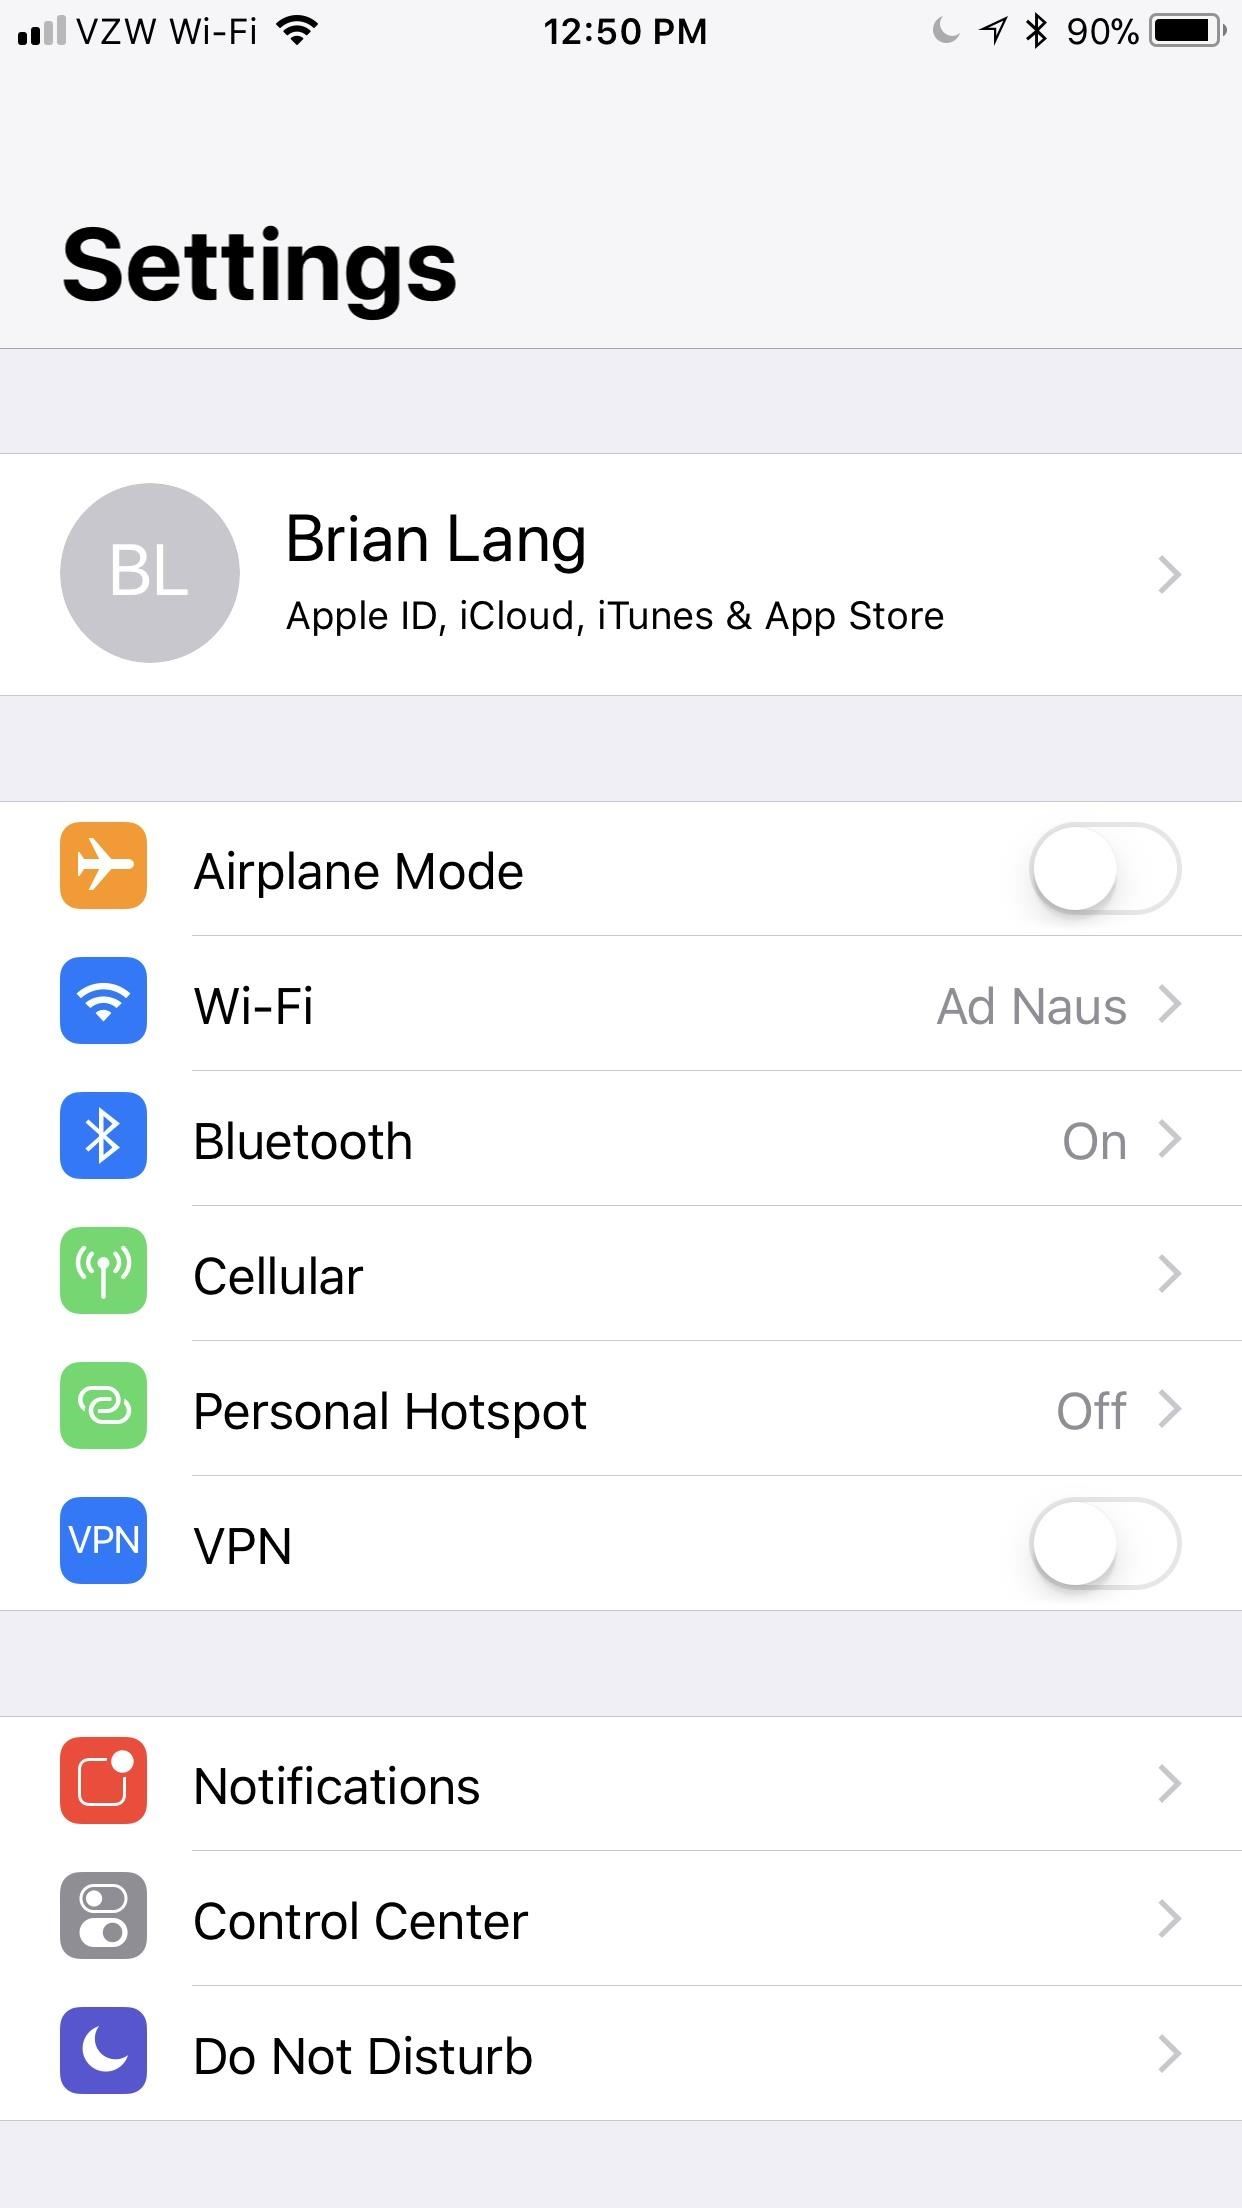
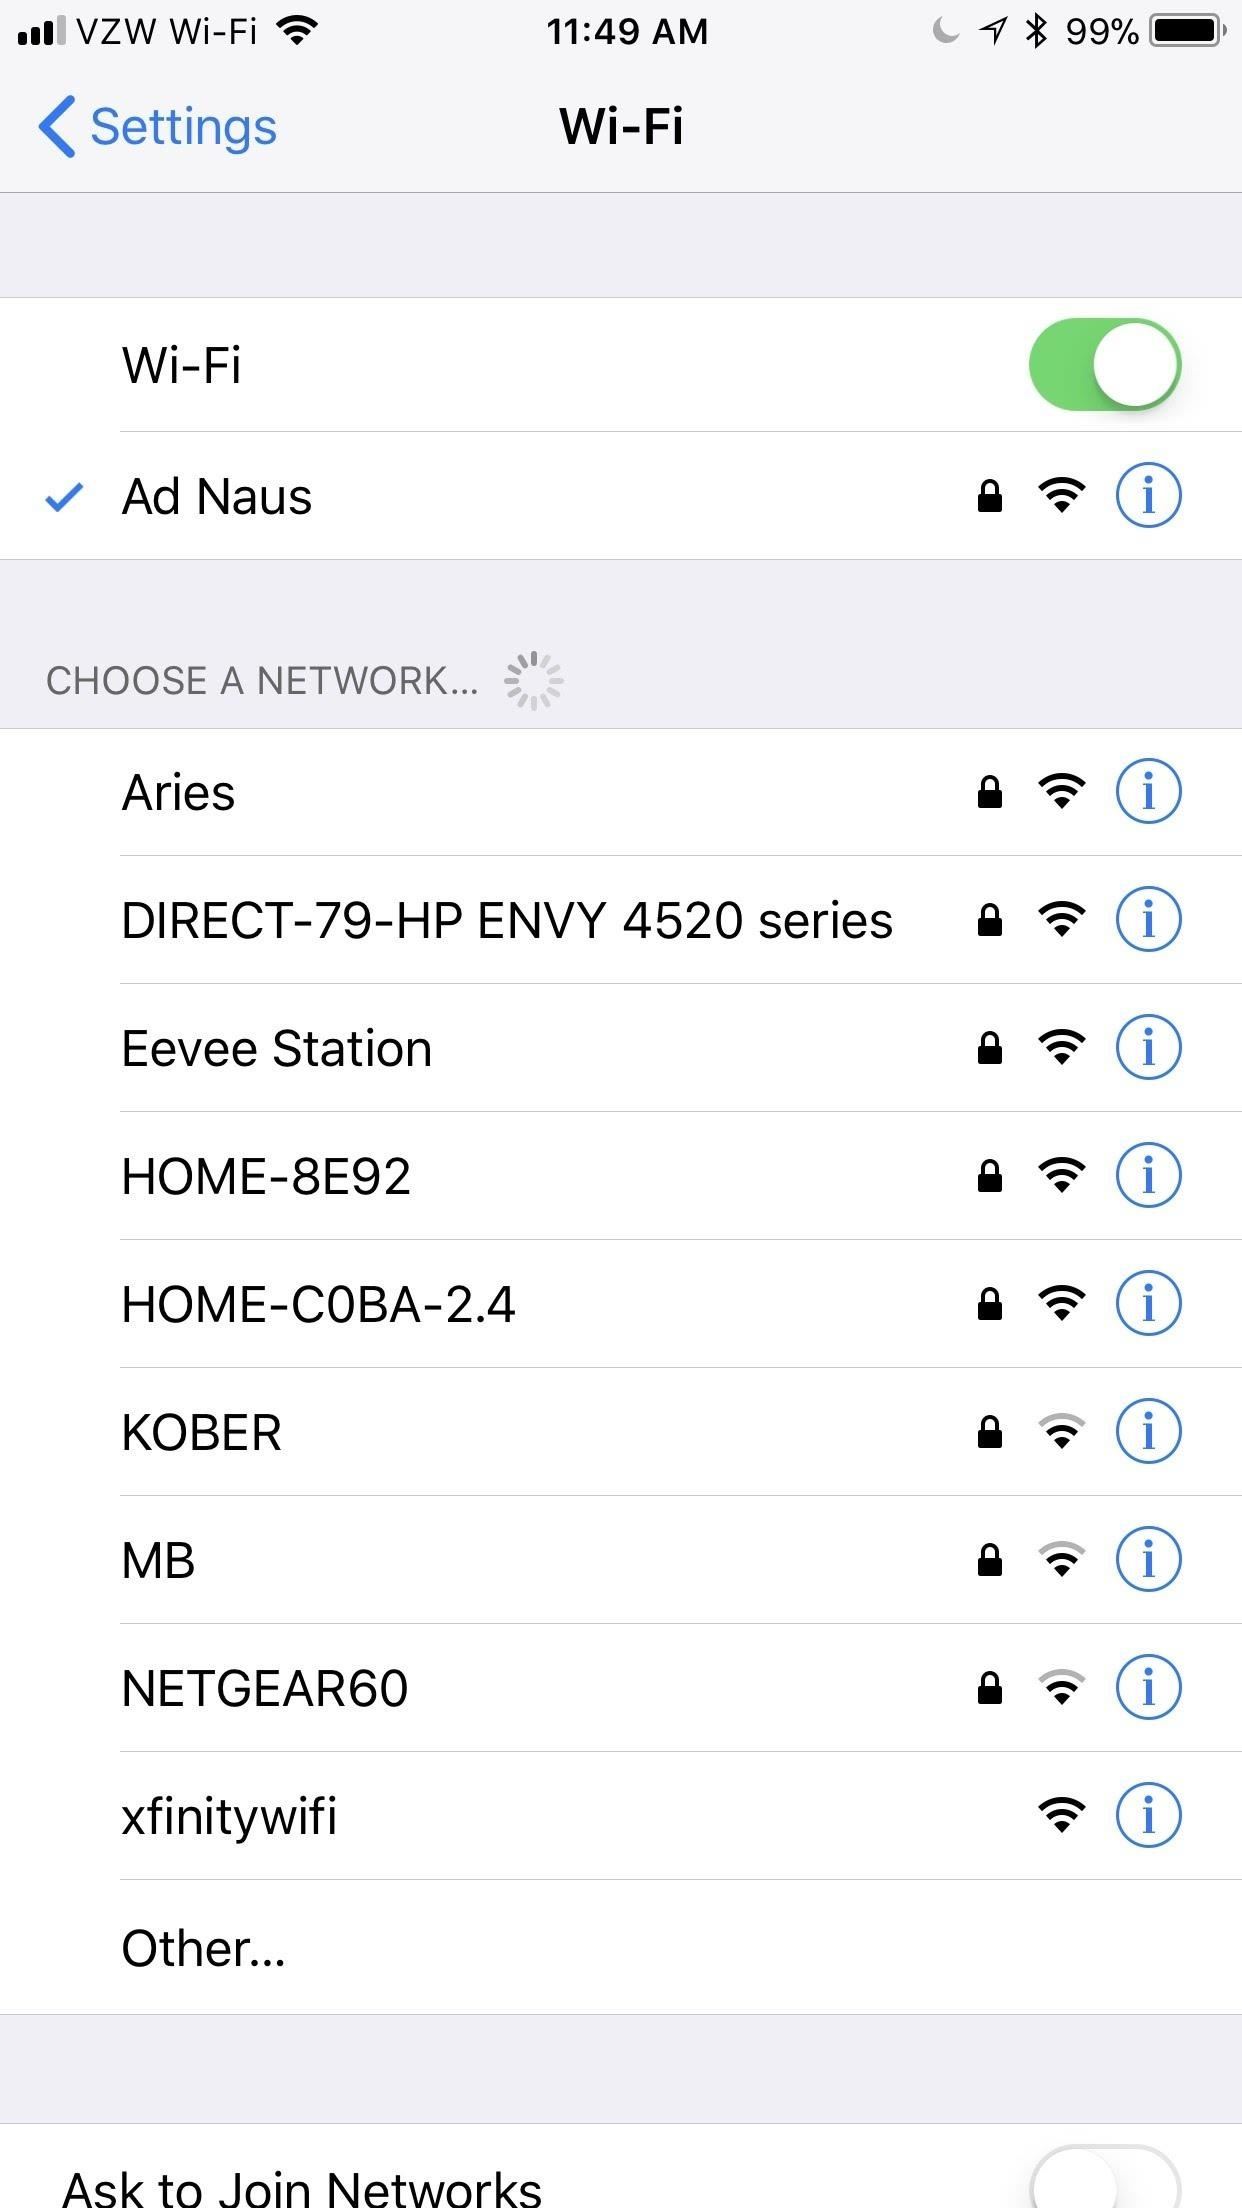
First, find your SSID (service set identifier), aka your Wi-Fi network's name. For example, if you named your wireless network "IL0V3D0G5," that's your SSID. If you're not sure what it is, open the Settings app, then tap "Wi-Fi." The network you're currently connected will show the SSID right there at the top. After you find your SSID, record it somewhere as you'll need it later on.
Step 2: Install Visual Codes
The app you'll use to create your QR code is called Visual Codes, by developer Benjamin Mayo. Search for it in the iOS App Store or go directly to its page using the link below, then tap "Get."

Step 3: Create Your QR Code
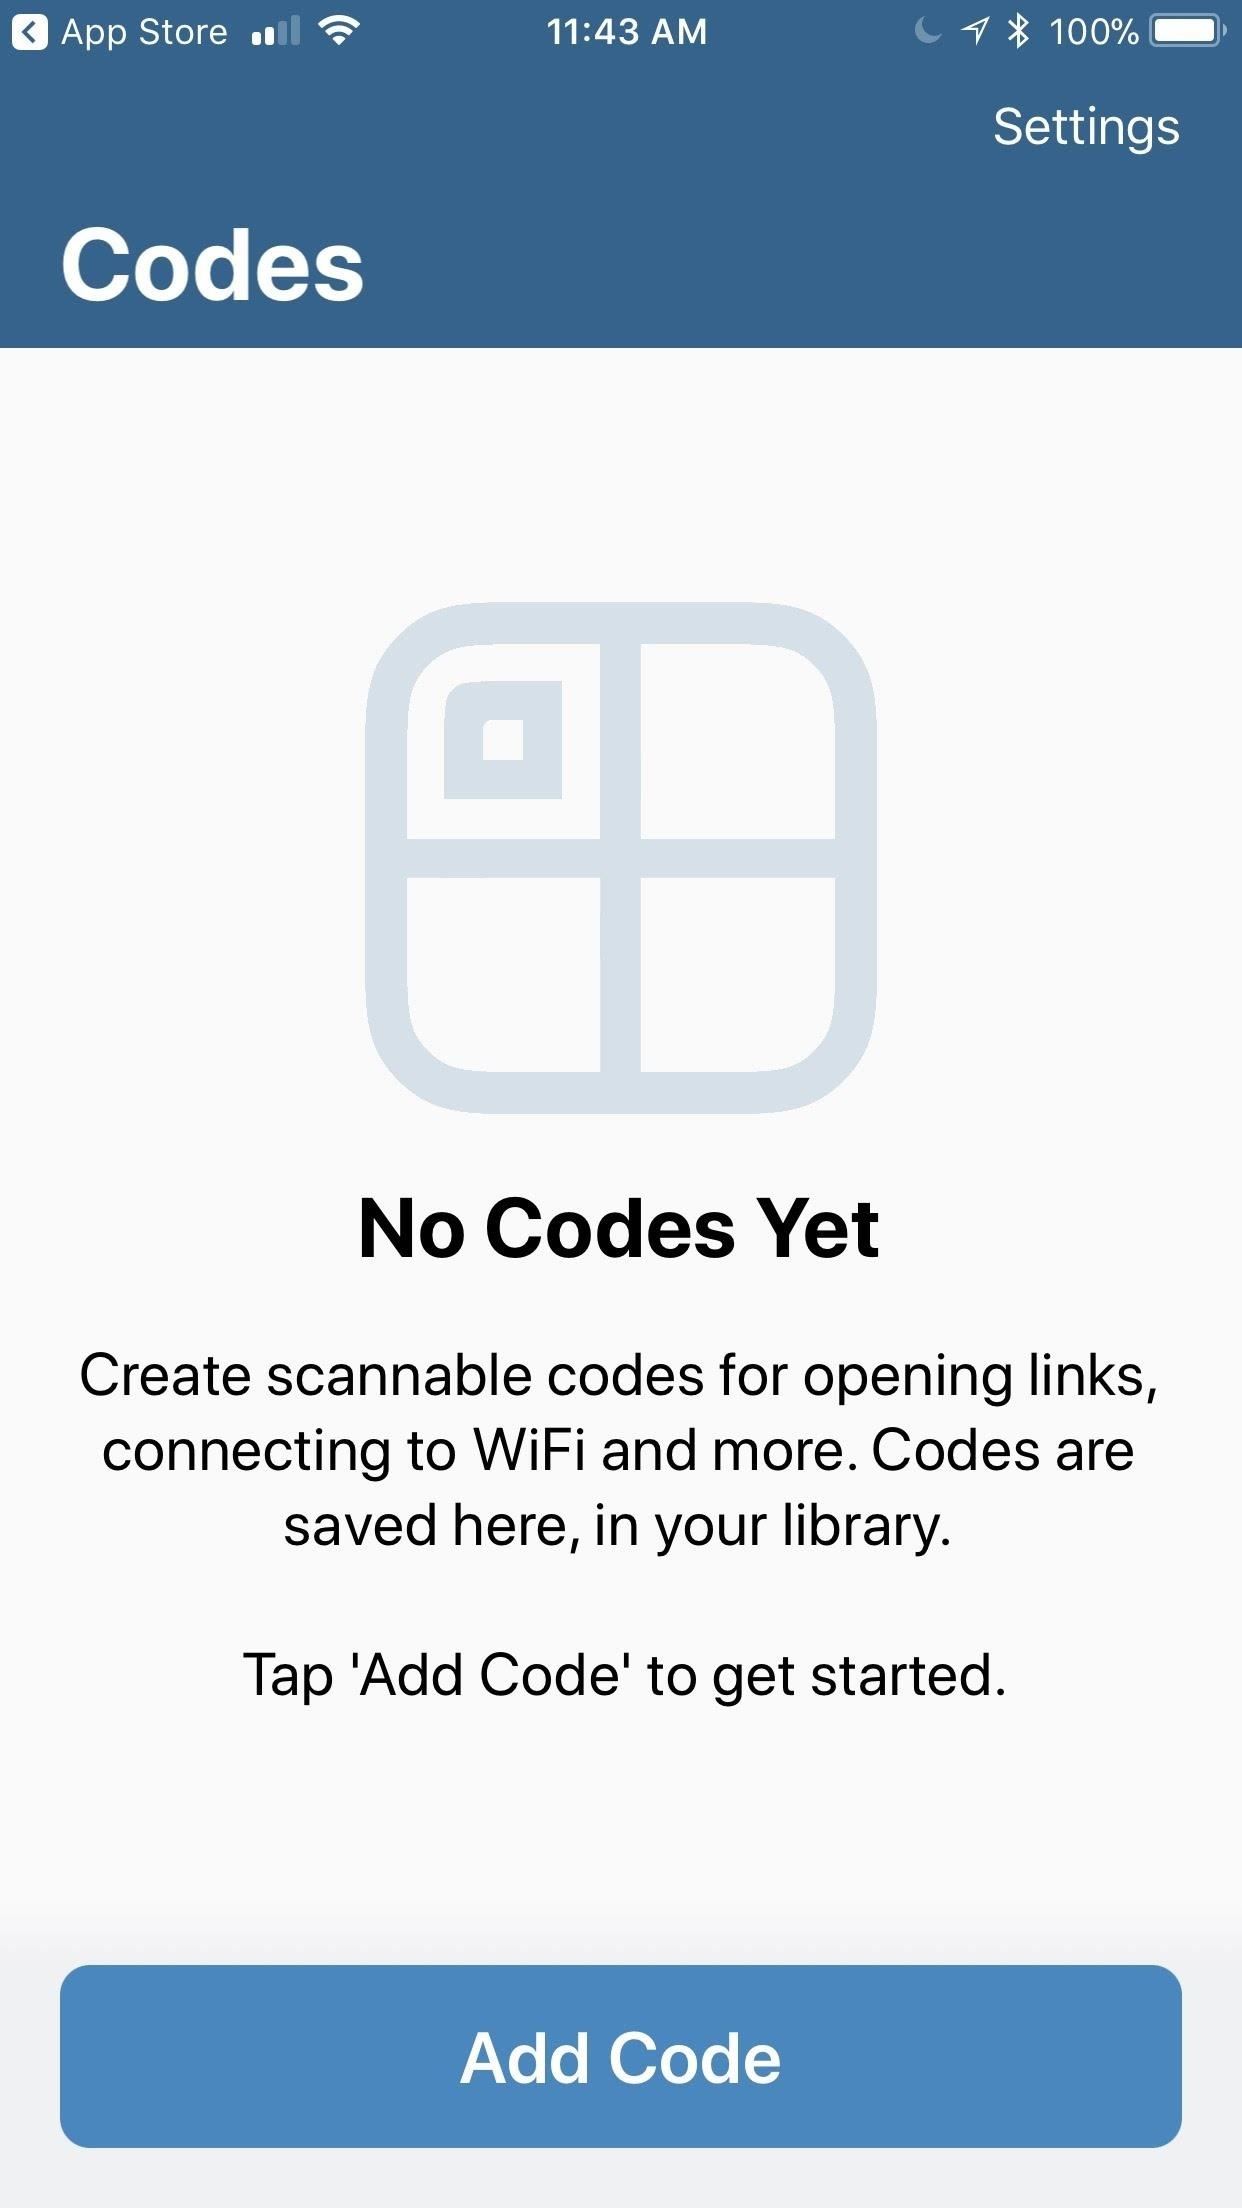
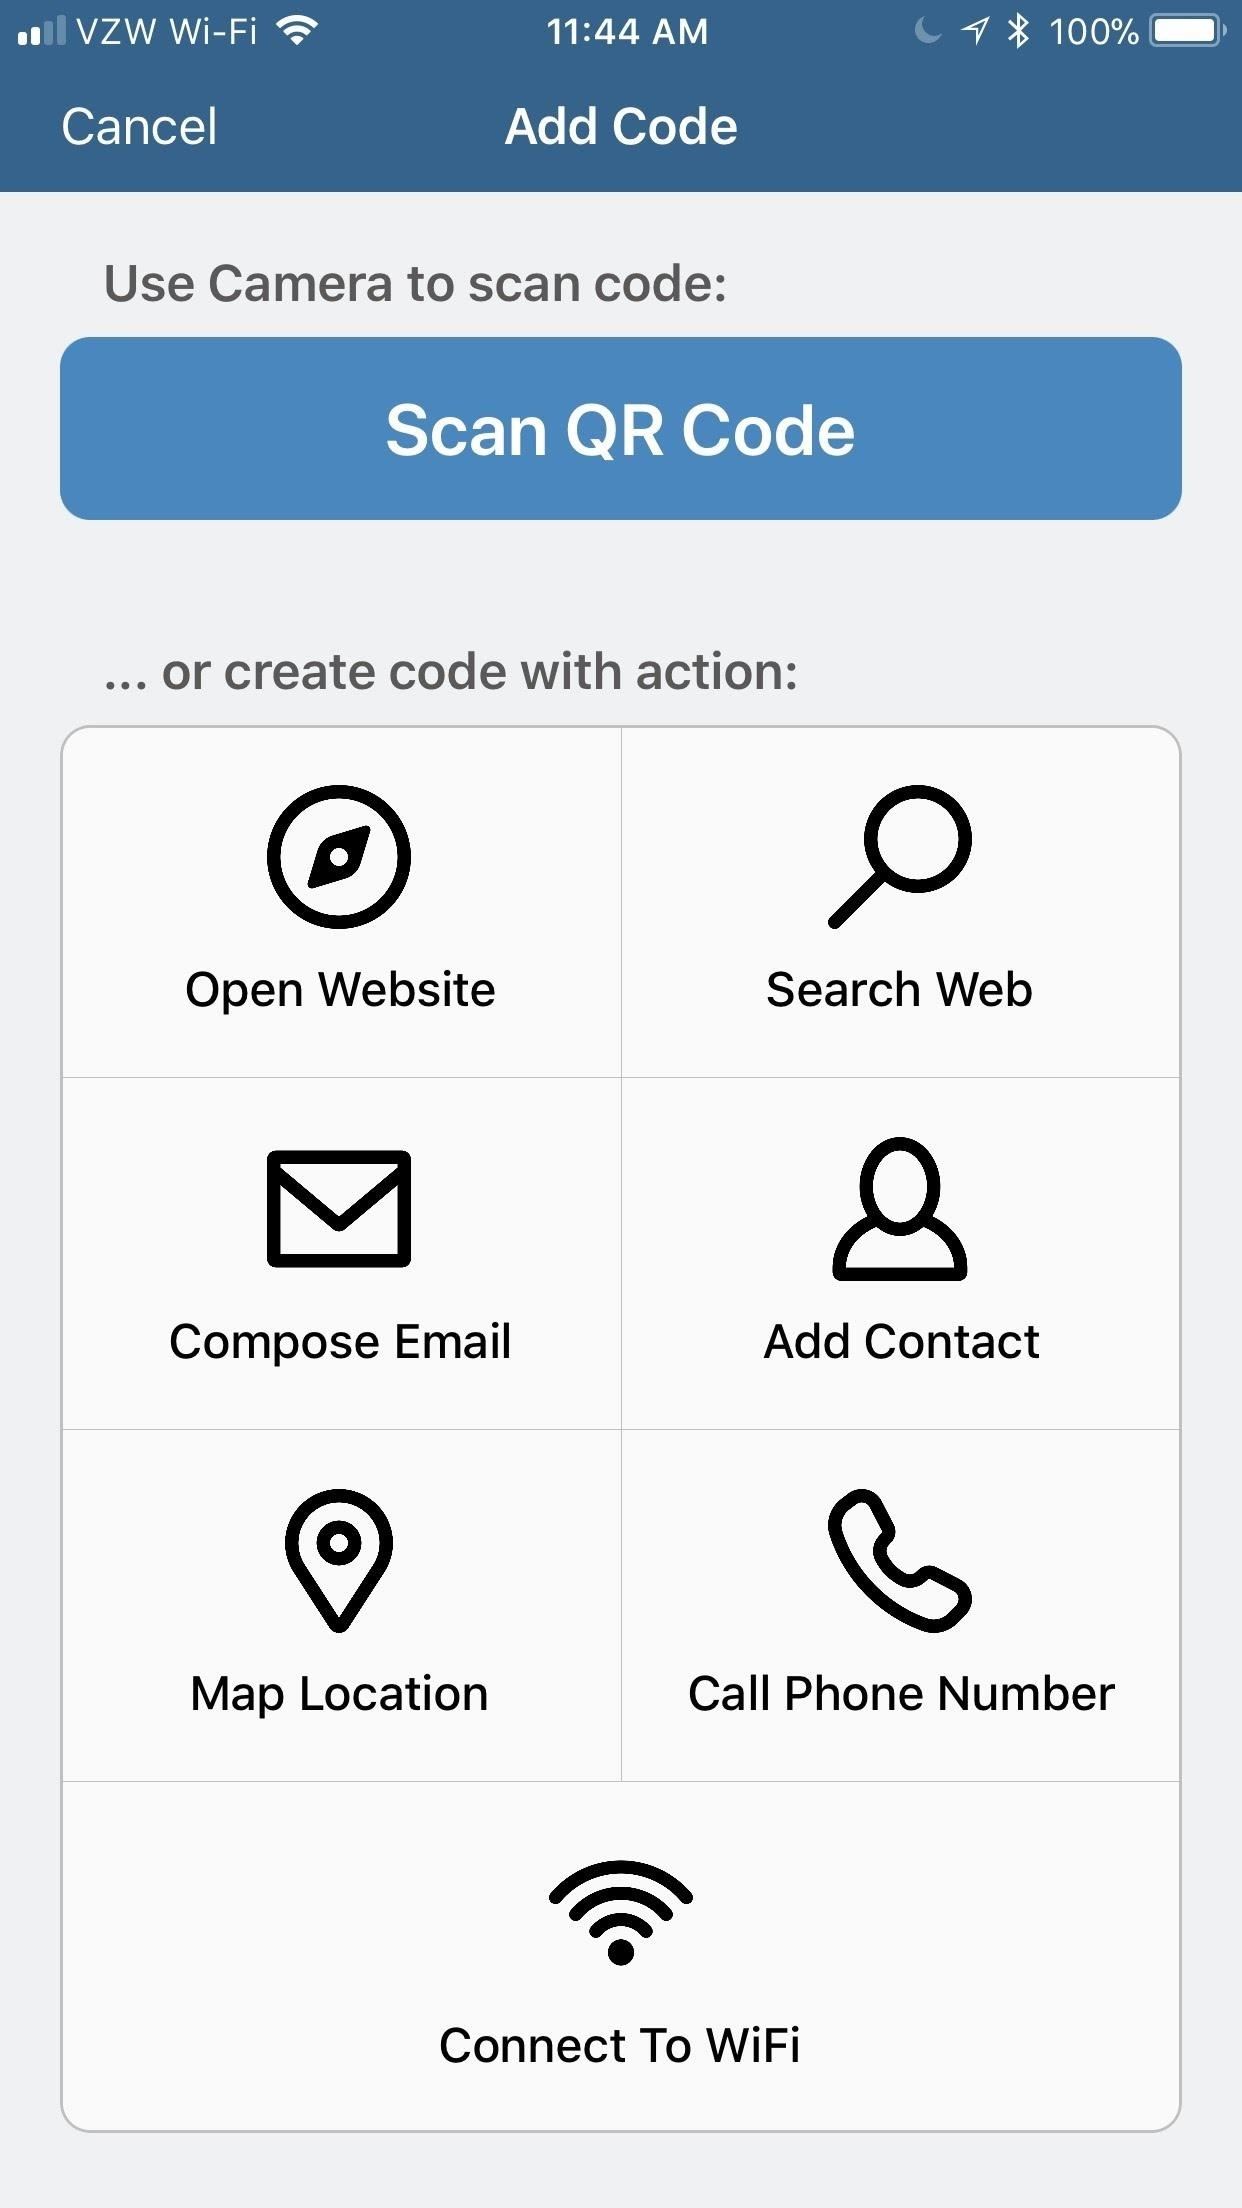
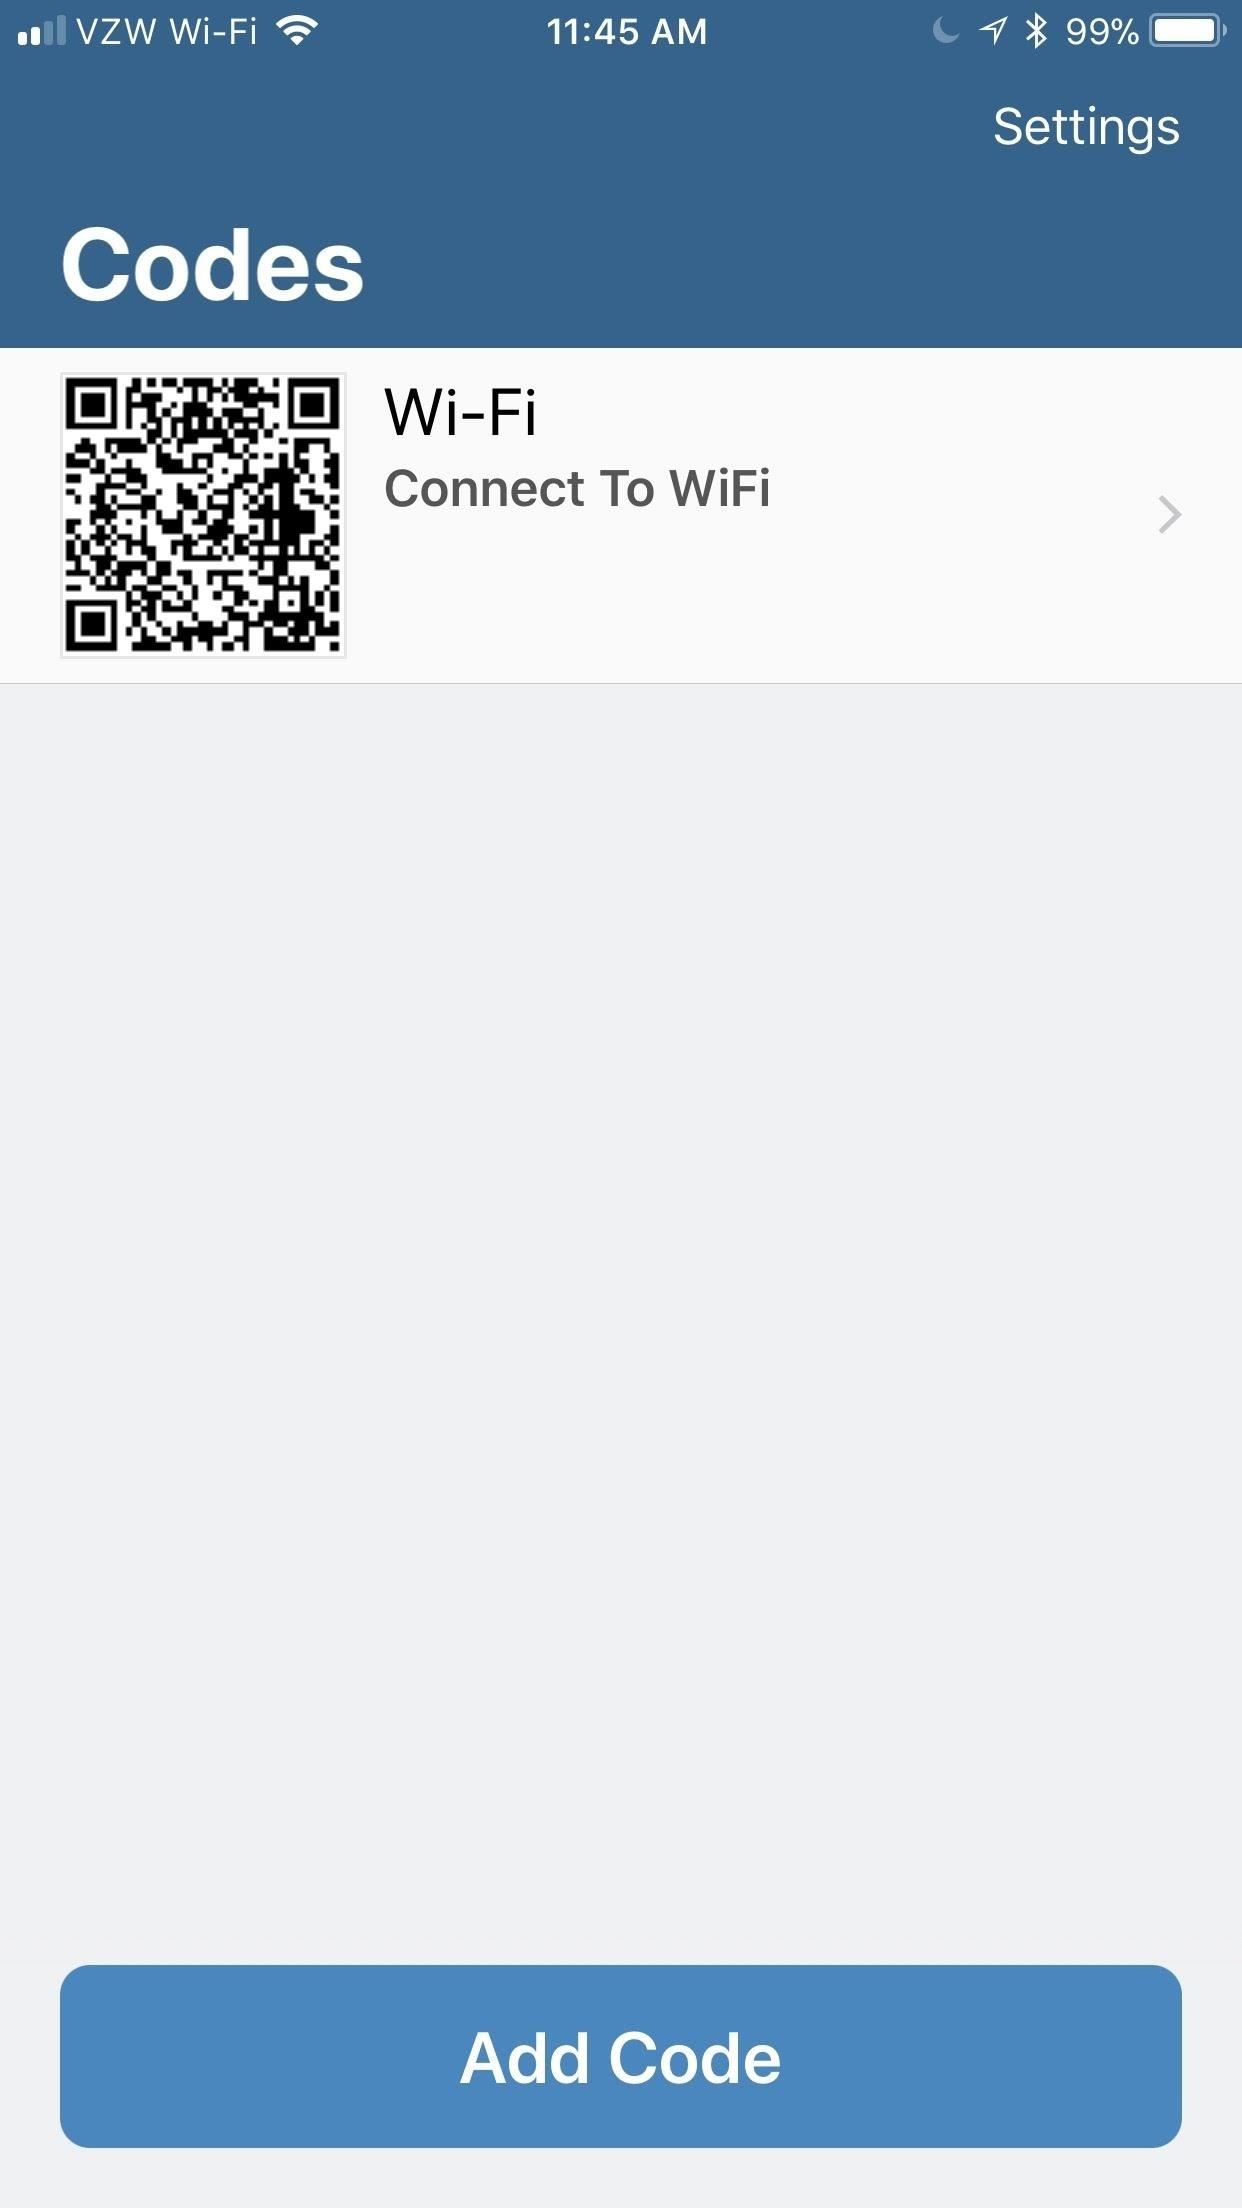
Creating a QR Code is simple. When you first open up the app, you'll be taken to the Codes screen. Seeing as you don't have any yet, tap "Add Code" at the bottom. Once you're on the code creation screen for Visual Codes, tap "Connect To Wi-Fi" underneath the header that reads or create code with action.
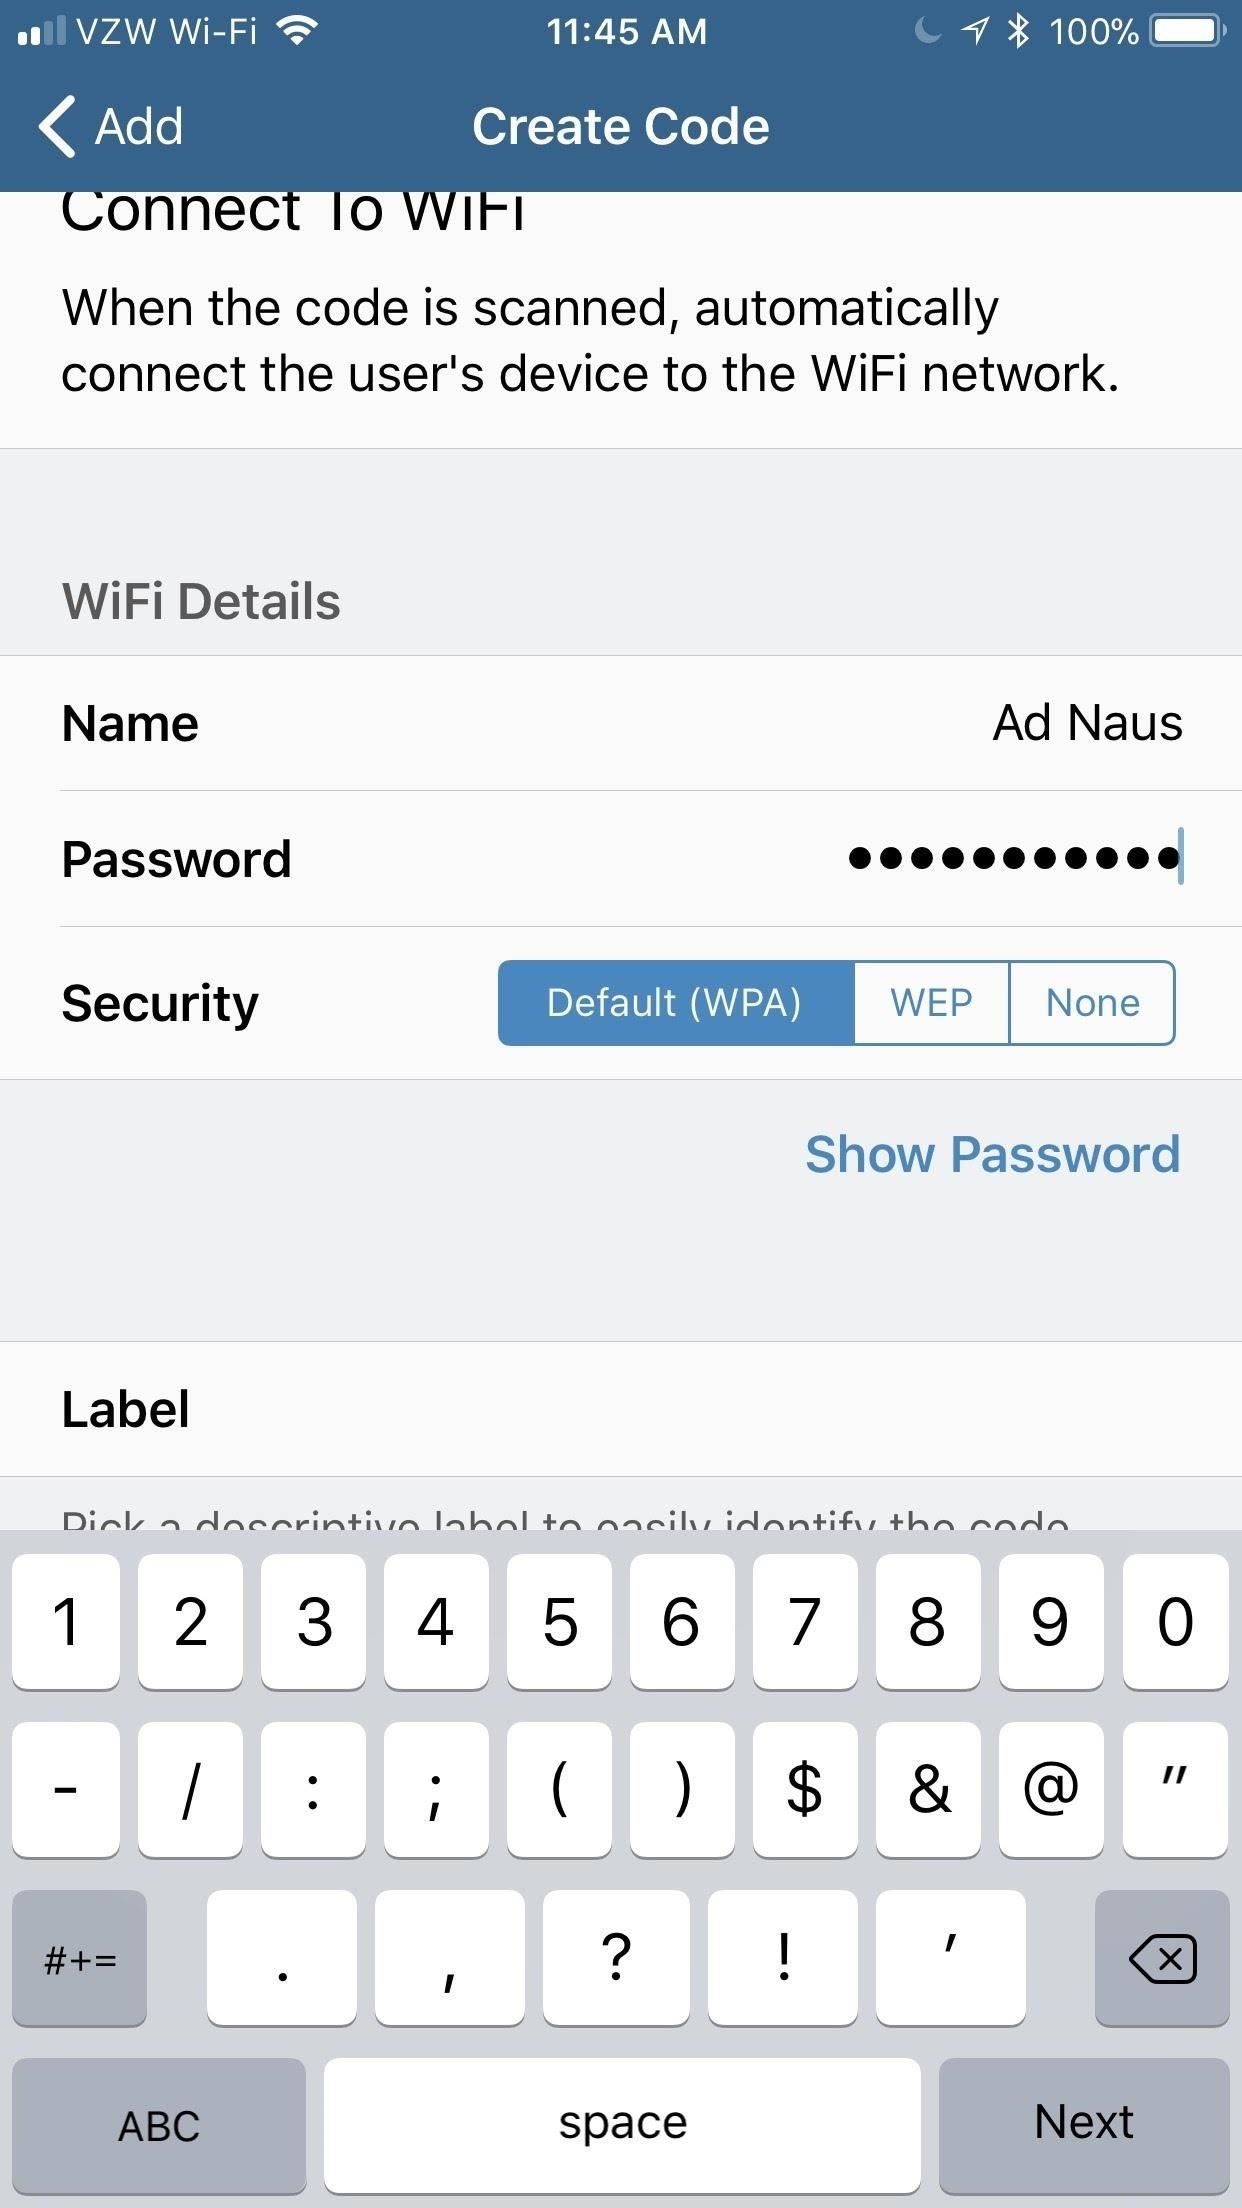
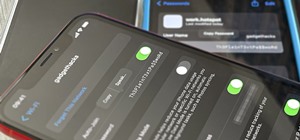
Now, you'll be asked to enter your network's name, password, and security. The name is the SSID, and the password is the one that you created for your W-Fi network. The security option will default to "WPA," and this is almost always the correct option. If your network uses WEP or nothing, you've got to beef up security!
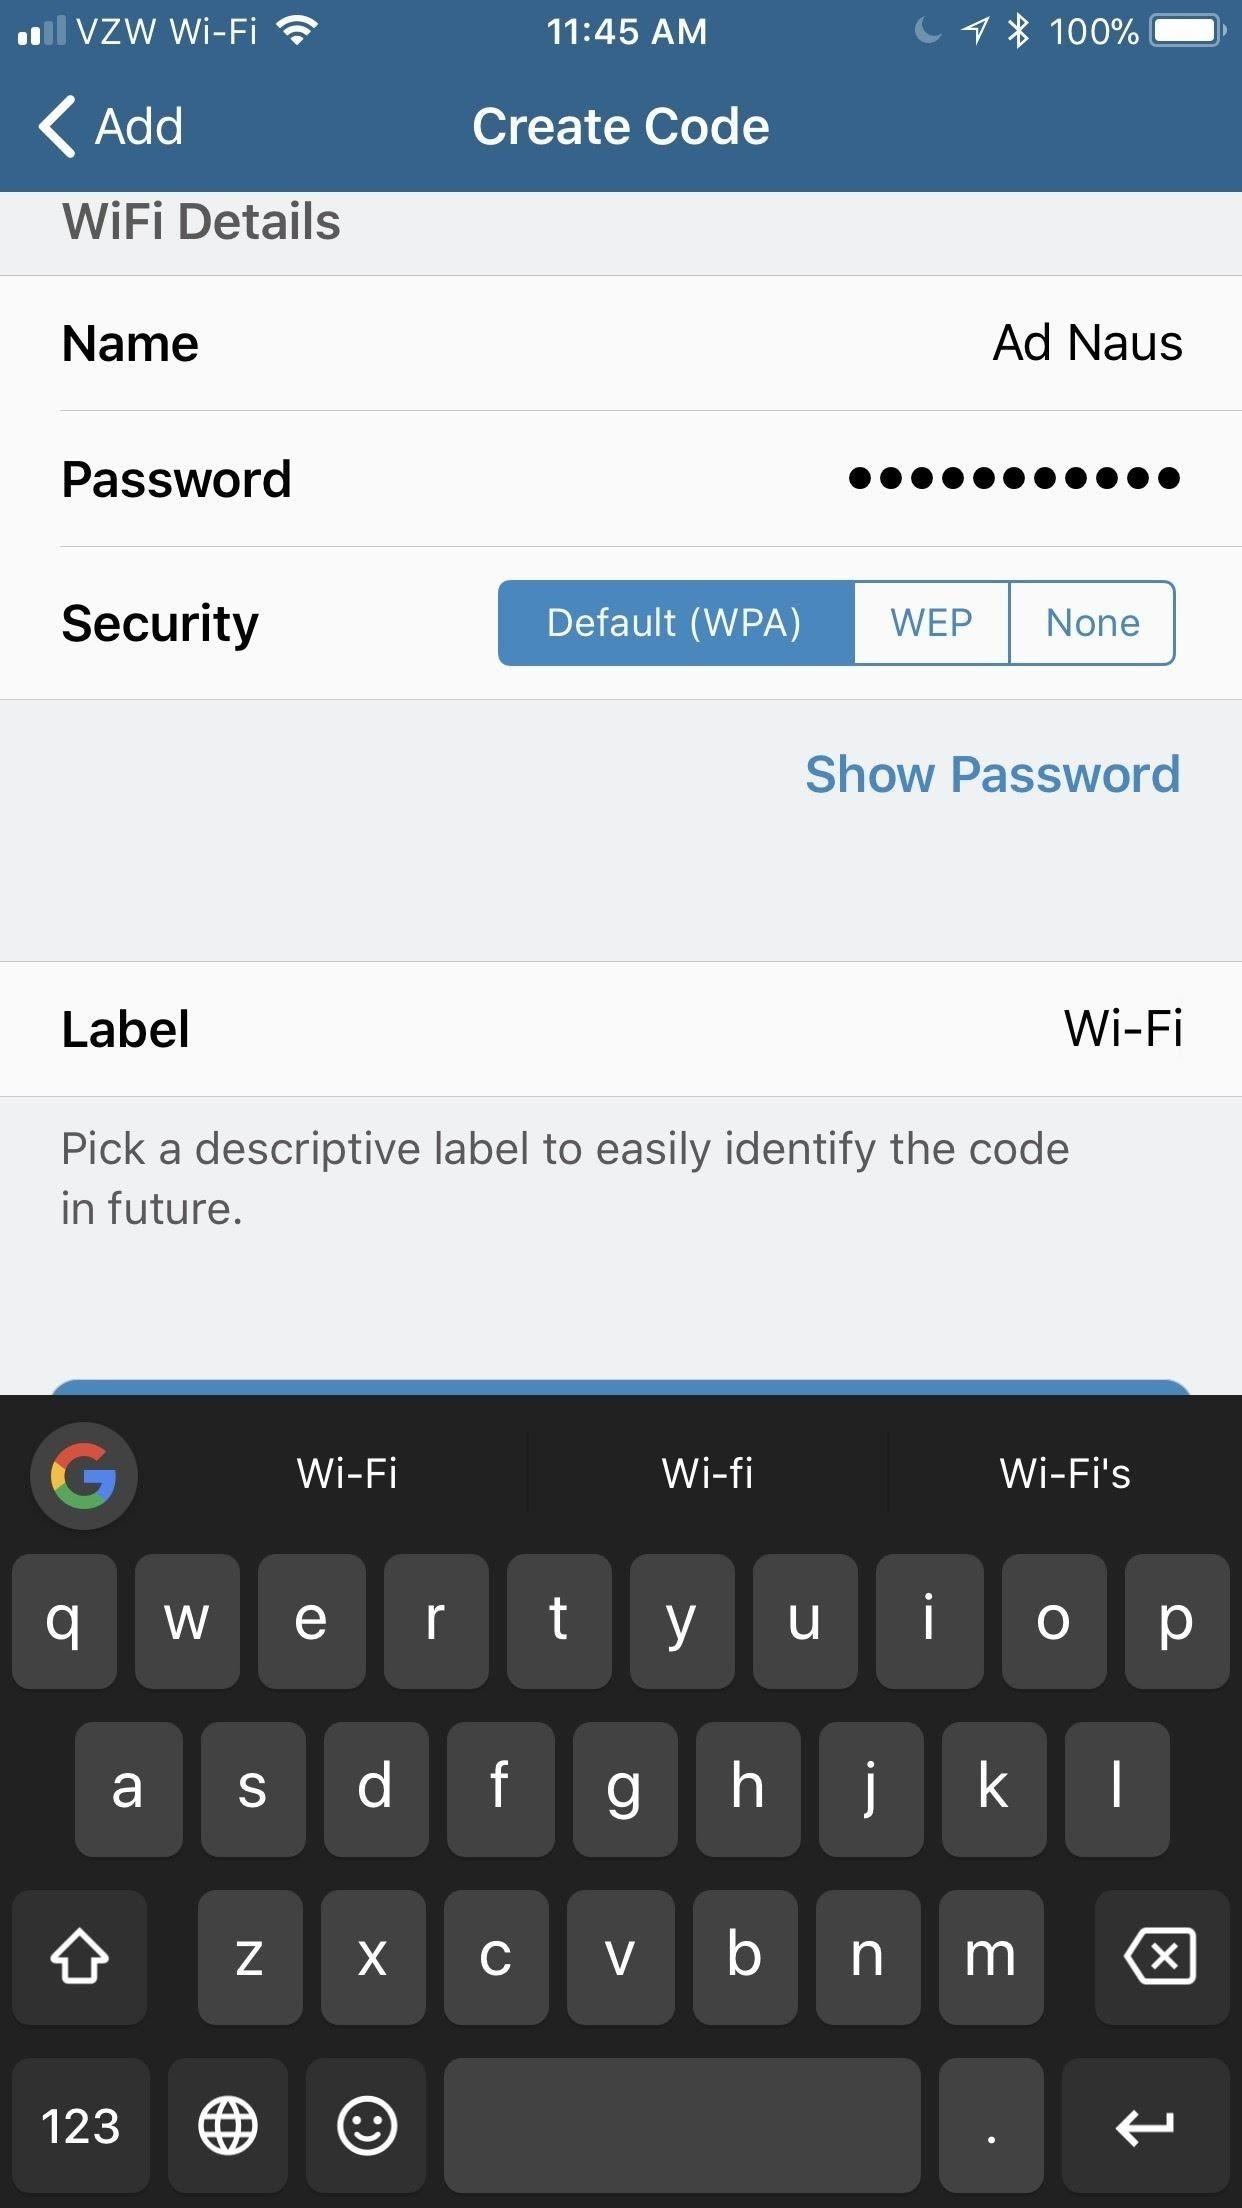
Underneath this, you can label this QR code. The label won't change how the code looks or works, but it can help you identify it if you create a lot of different codes, such as ones for "Home" or "Work."
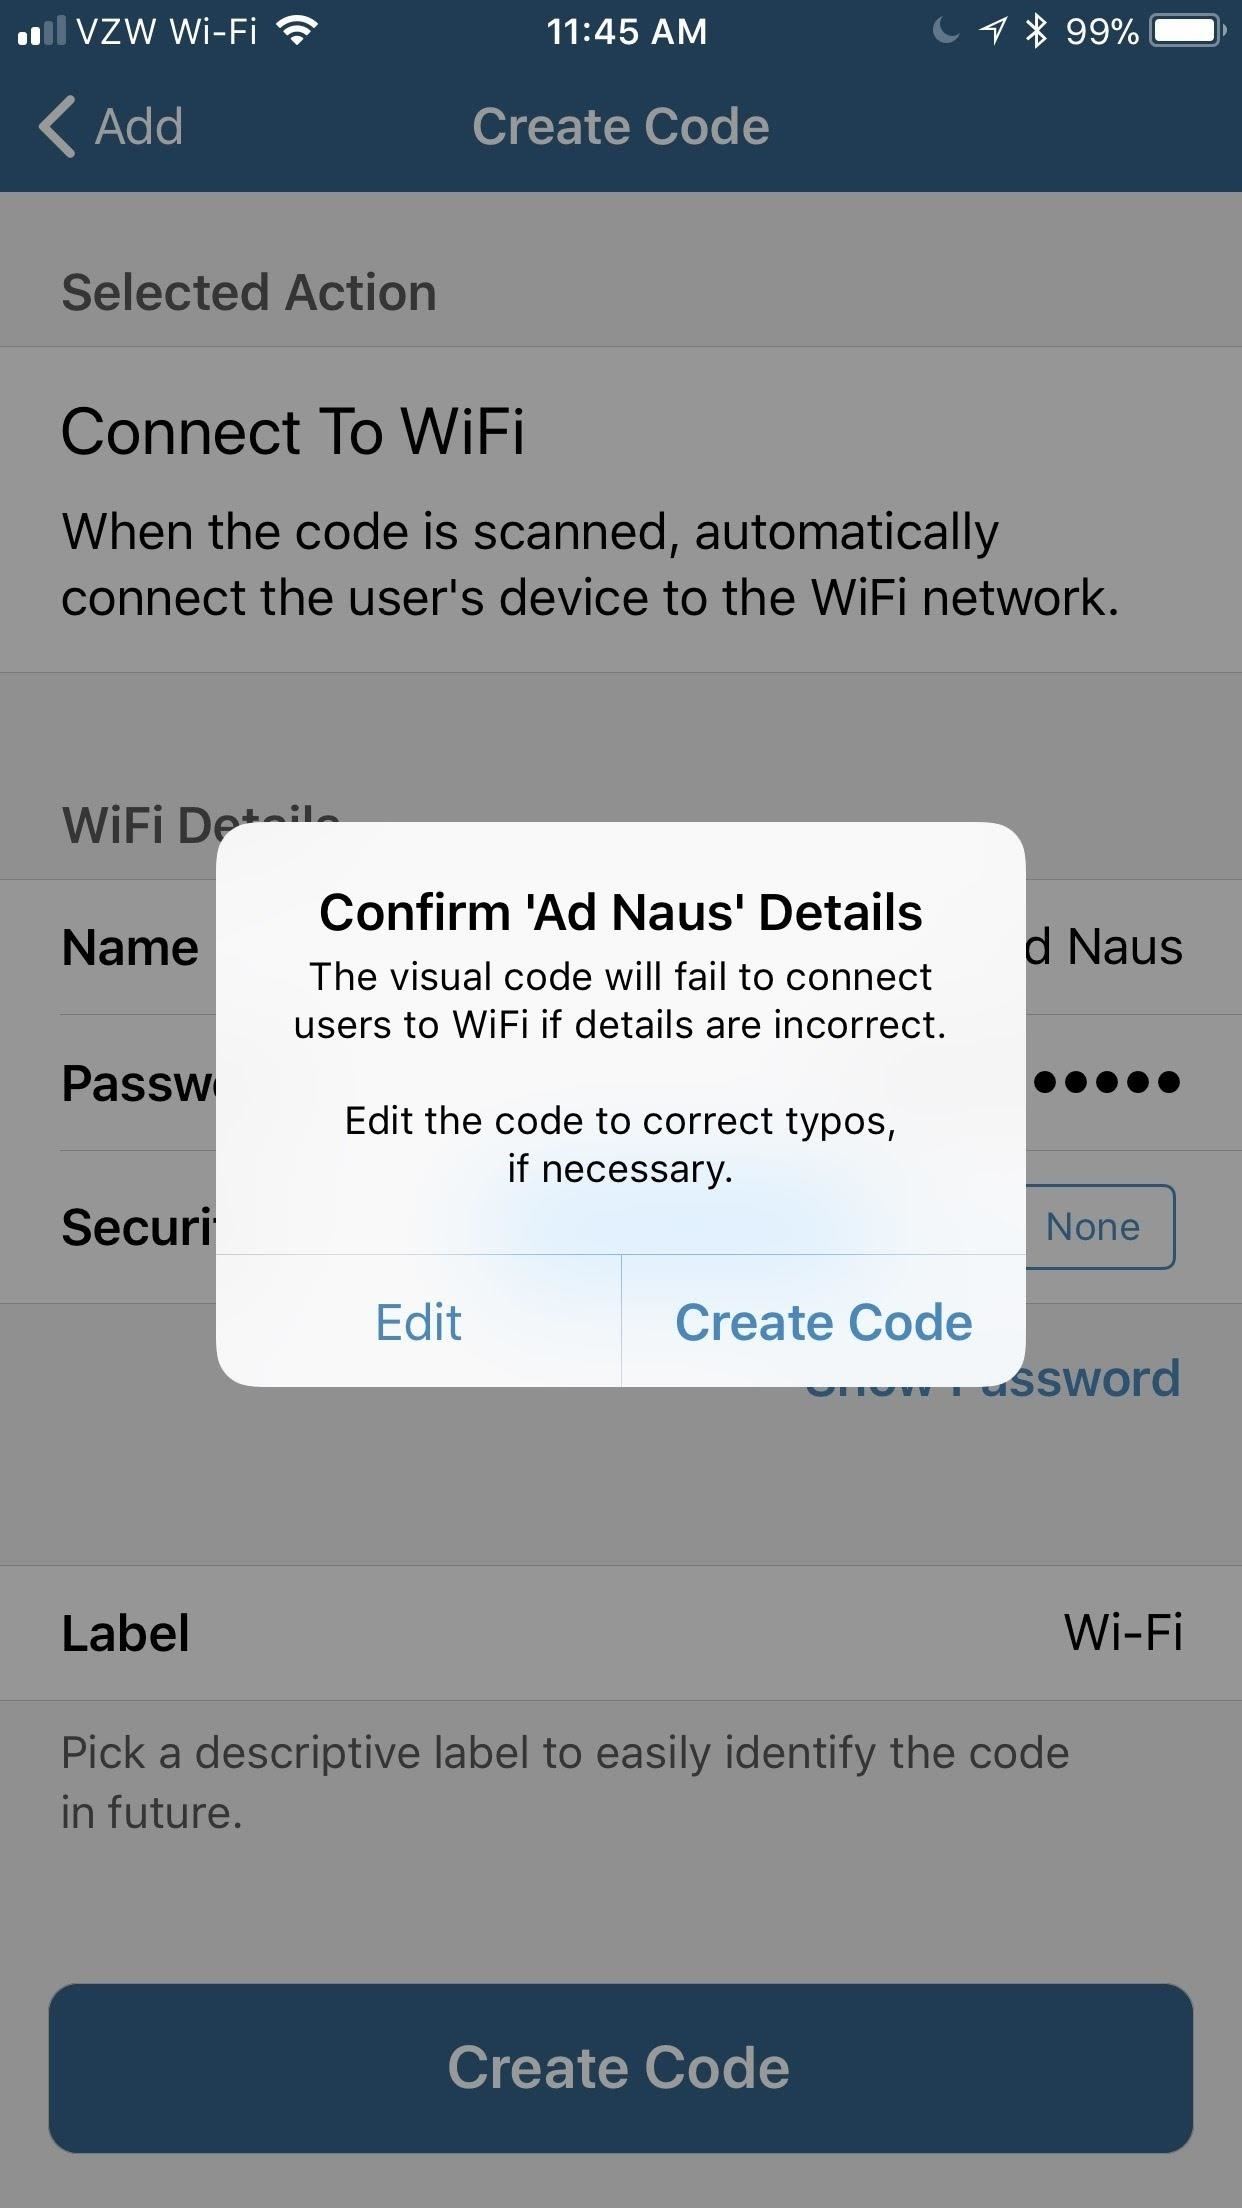
It's really important that you enter this information correctly, as the app itself has no way of knowing whether or not it's correct. Visual Codes doesn't have access to your Wi-Fi information inherently — it only knows what you feed it directly. Tap "Create Code" at the bottom when you're satisfied with everything. A screen will pop up, where you'll tap "Create Code" again to confirm.
Tip: After creating the code, you can tap on it in the Codes section, then tap "Edit" to select some colored themes to apply to your QR code.
Step 4: Make Your QR Code Easily Retrievable
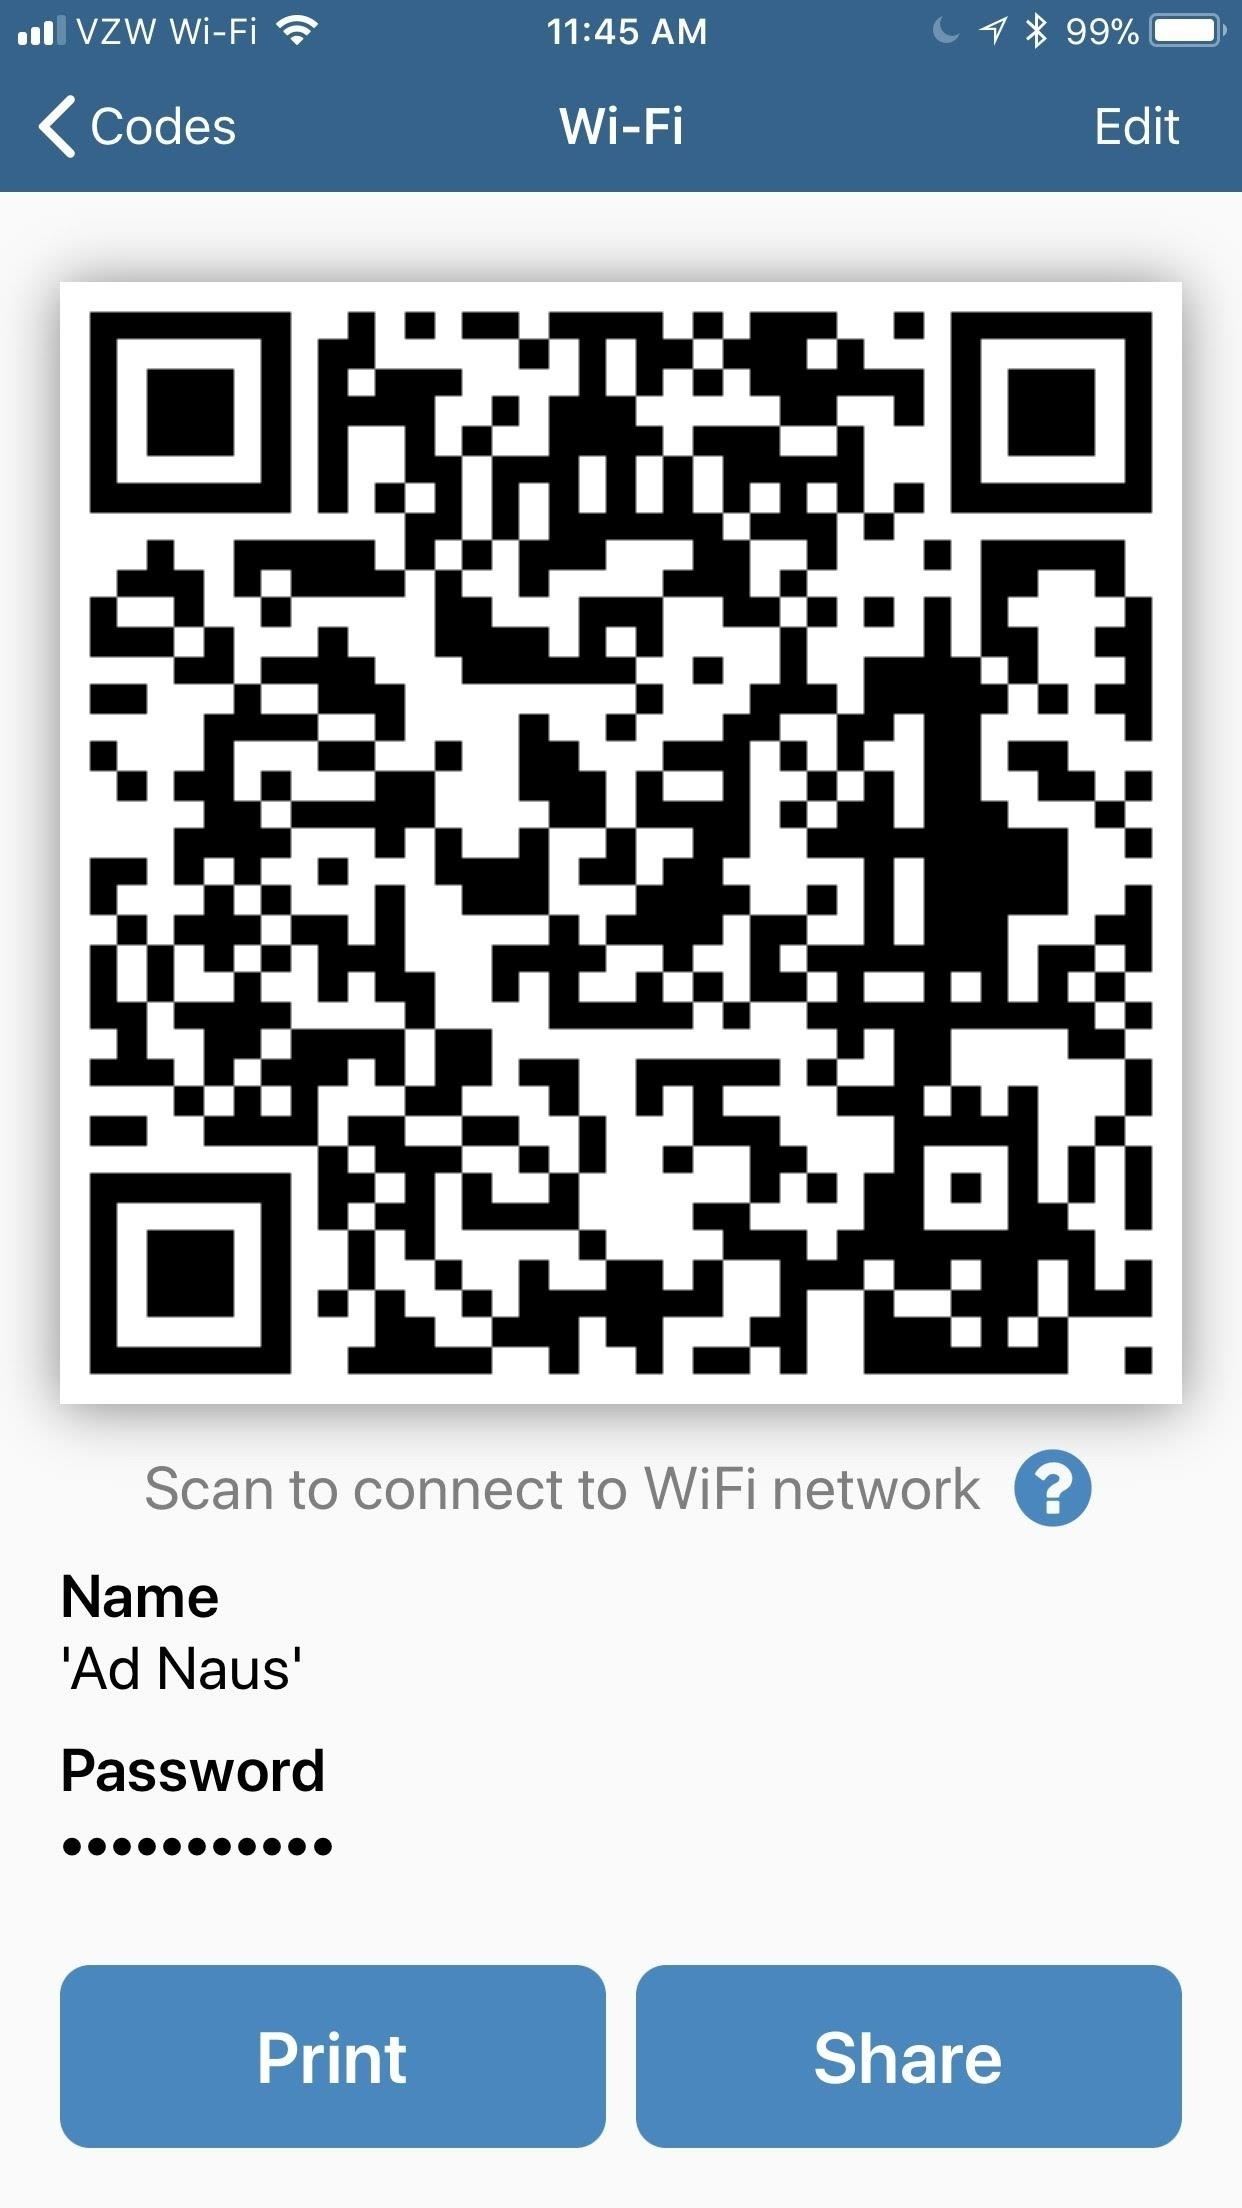
Once you create the code, it'll be stored in Visual Codes' library of your QR codes — called Codes. Tap on the code from here to see its full-sized glory. If you want a shareable version of the code, you can tap "Share," but this feature is locked behind a $1.99 paywall, as is the "Print" feature. If you don't want to help the developer out a bit, just take a screenshot of the QR code which will be stored in your Photos app.
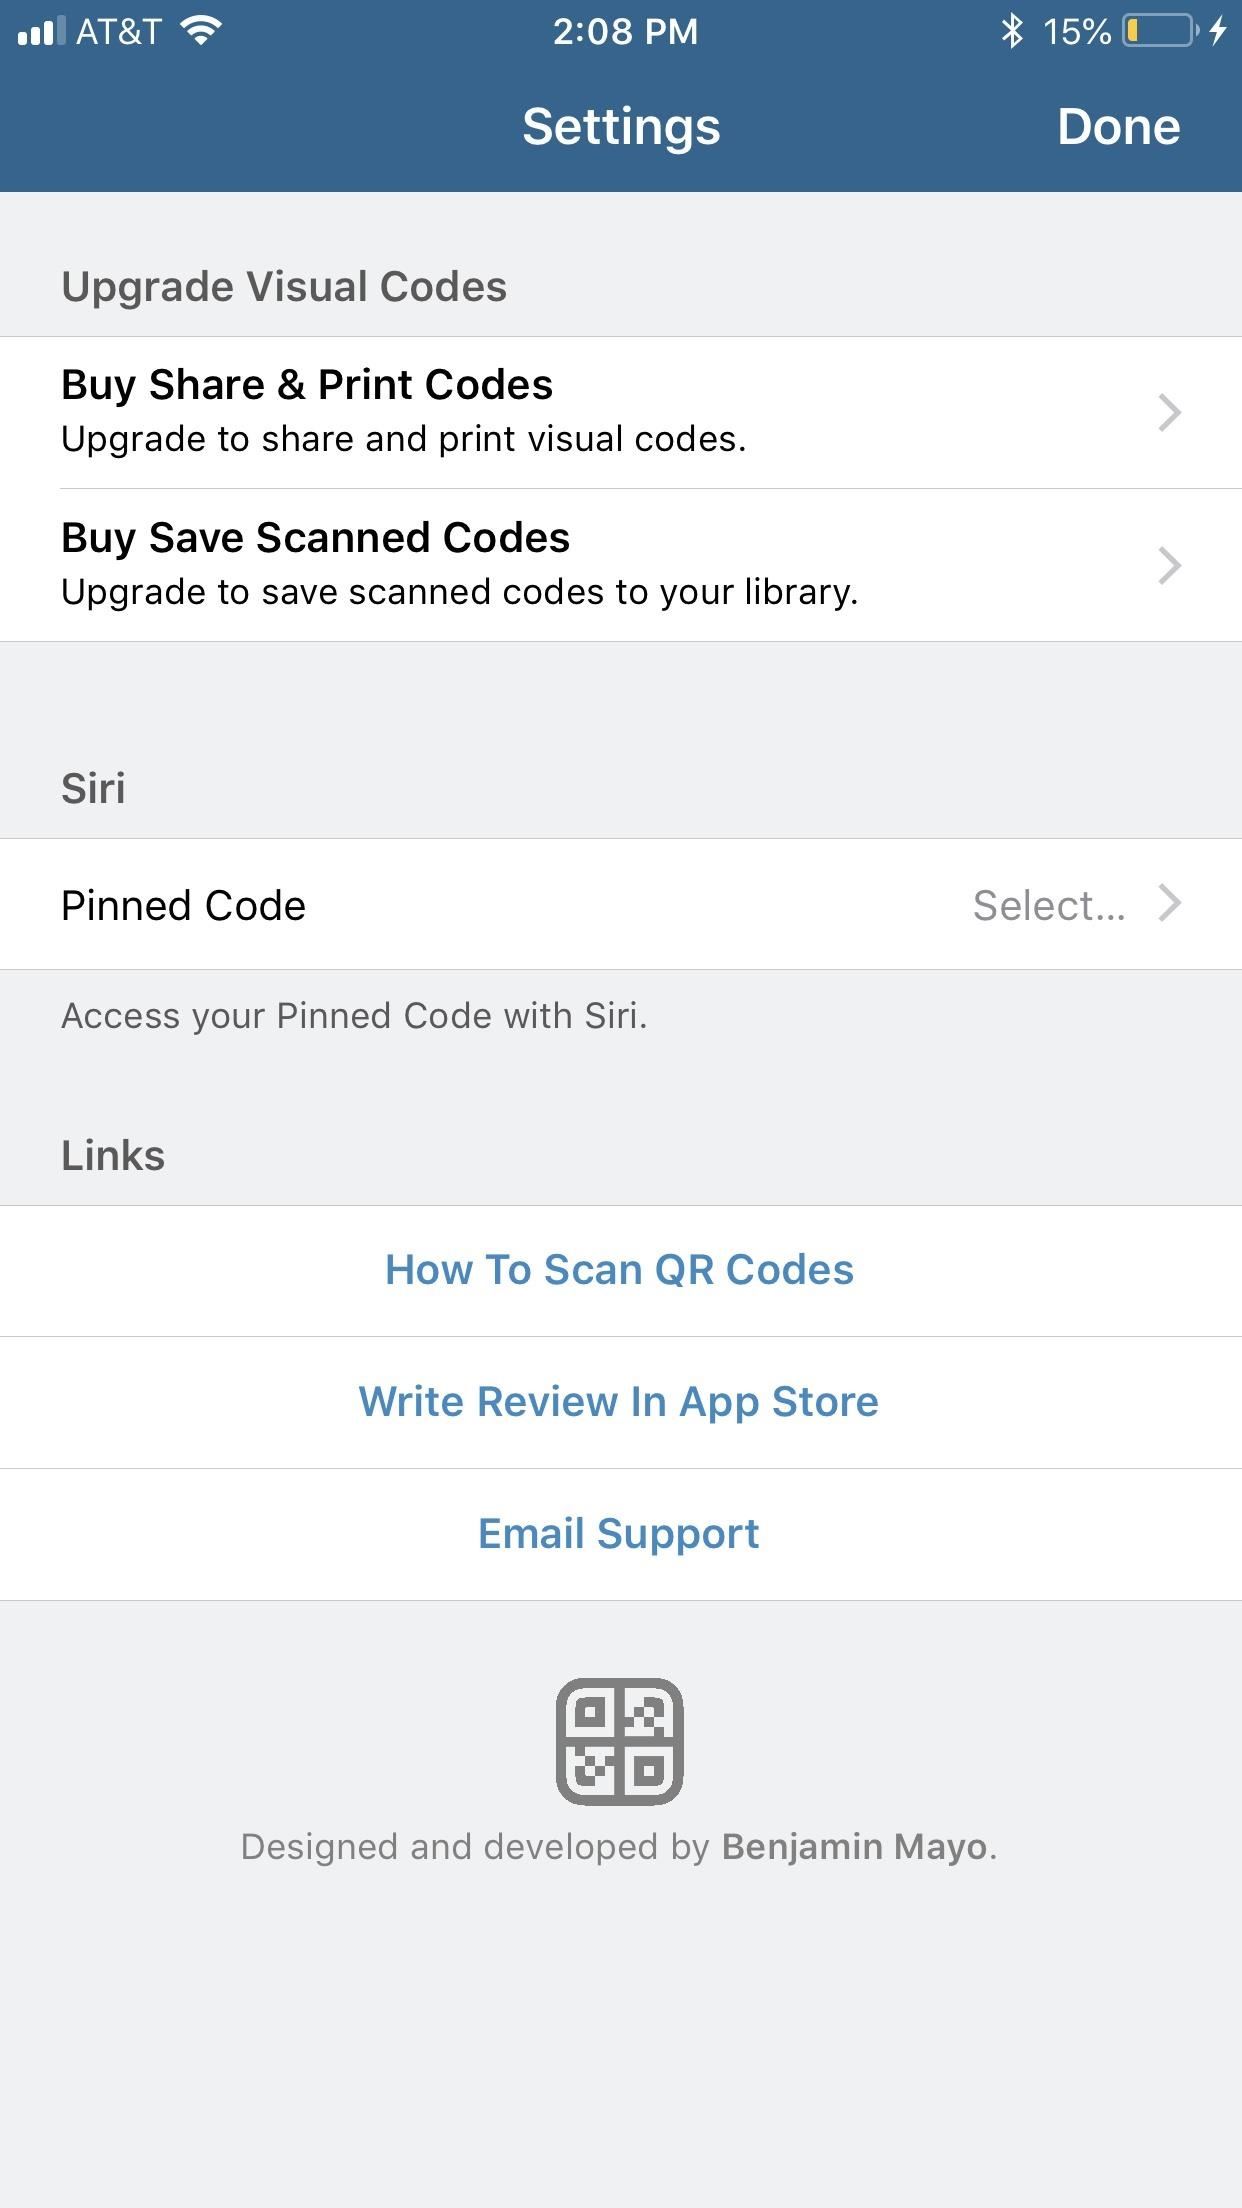
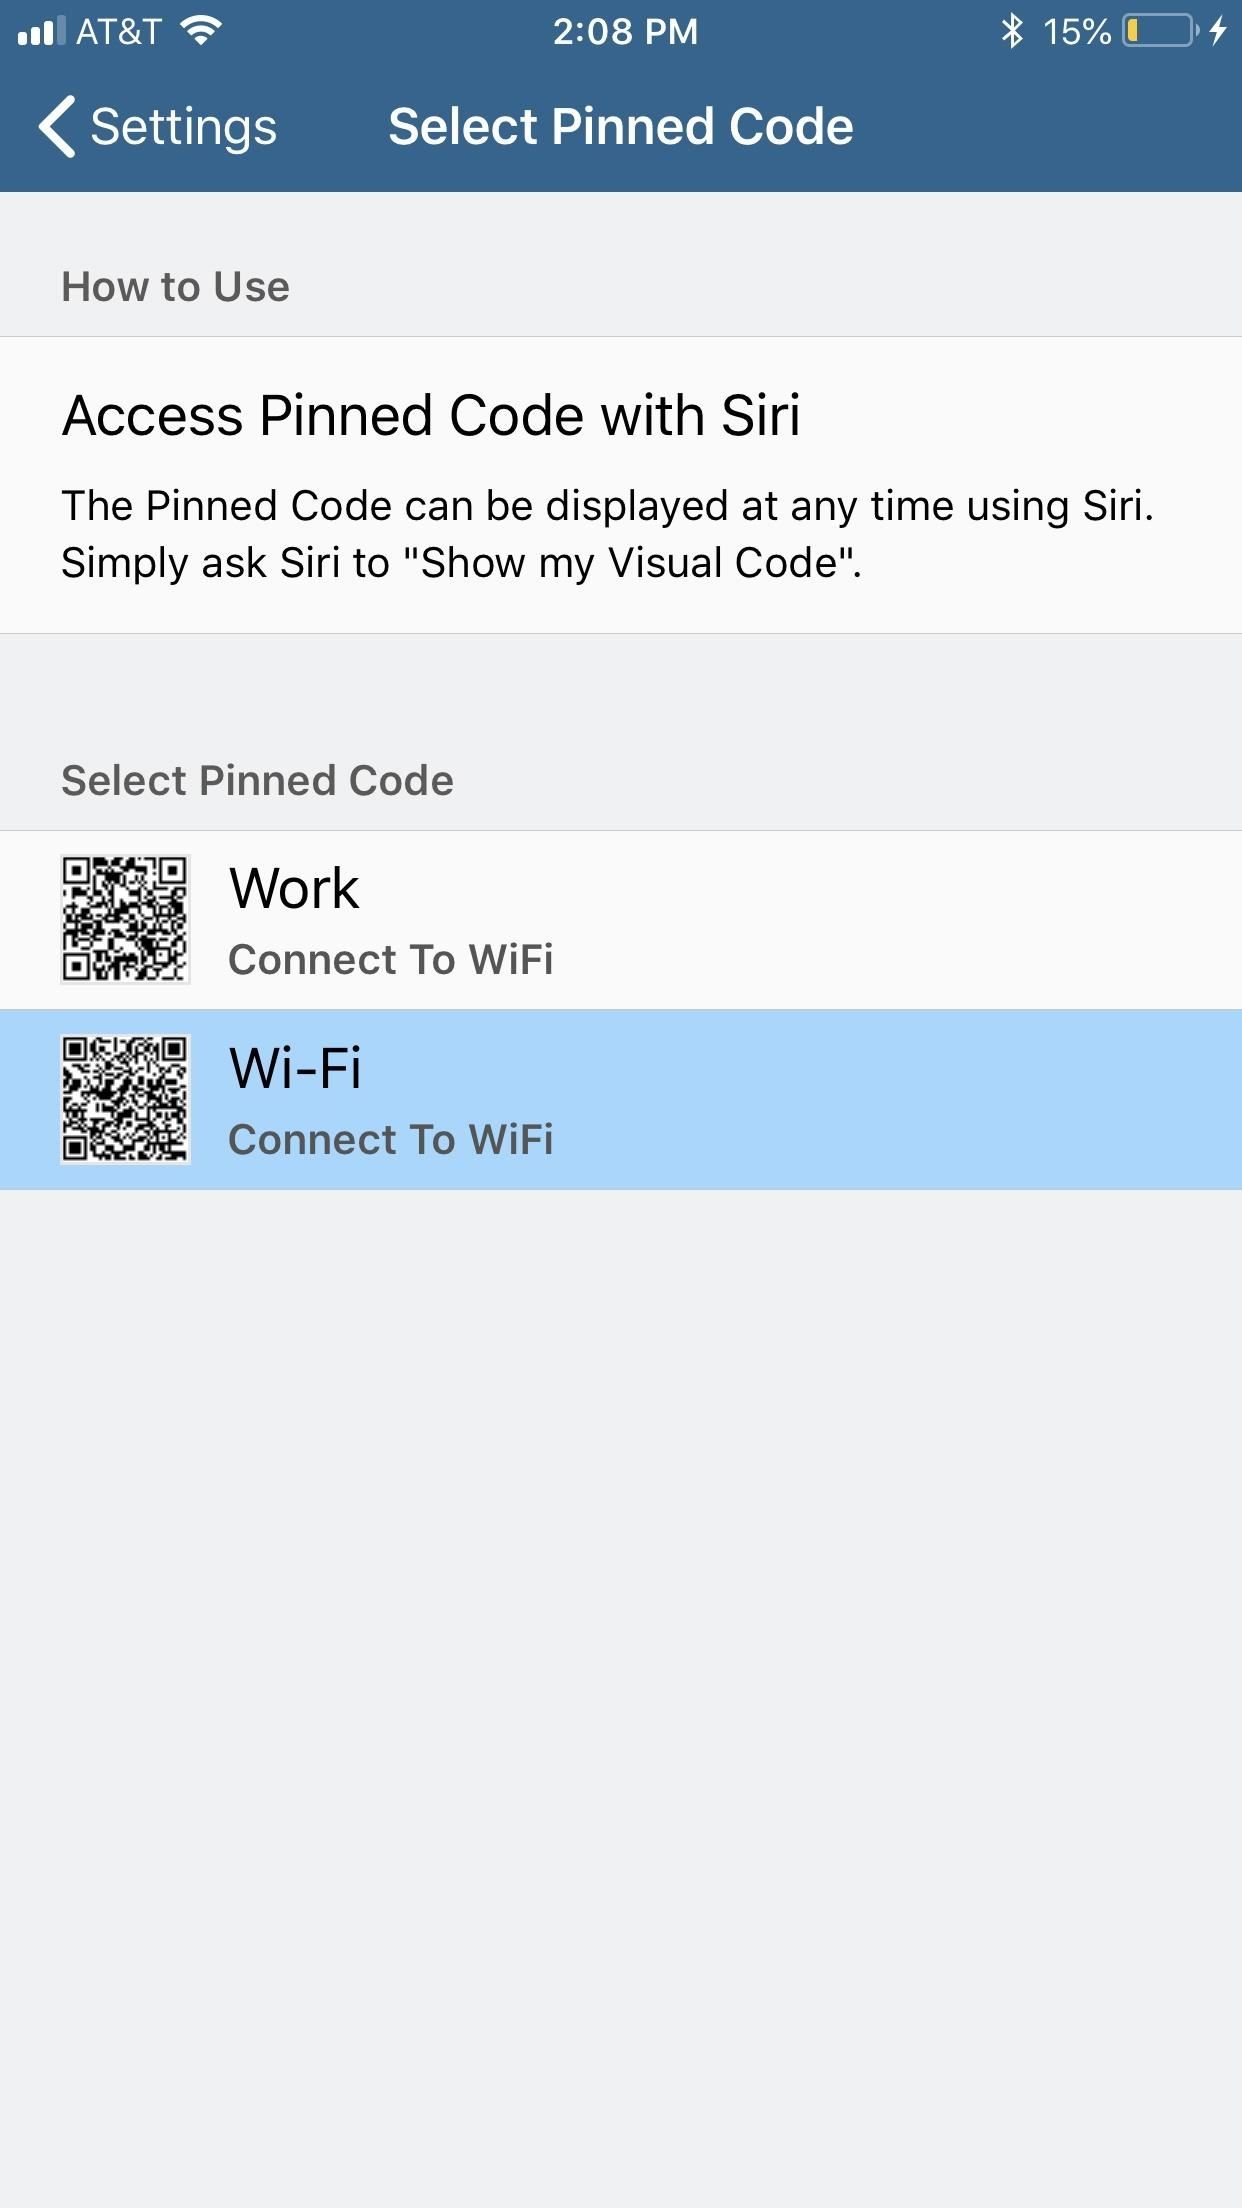
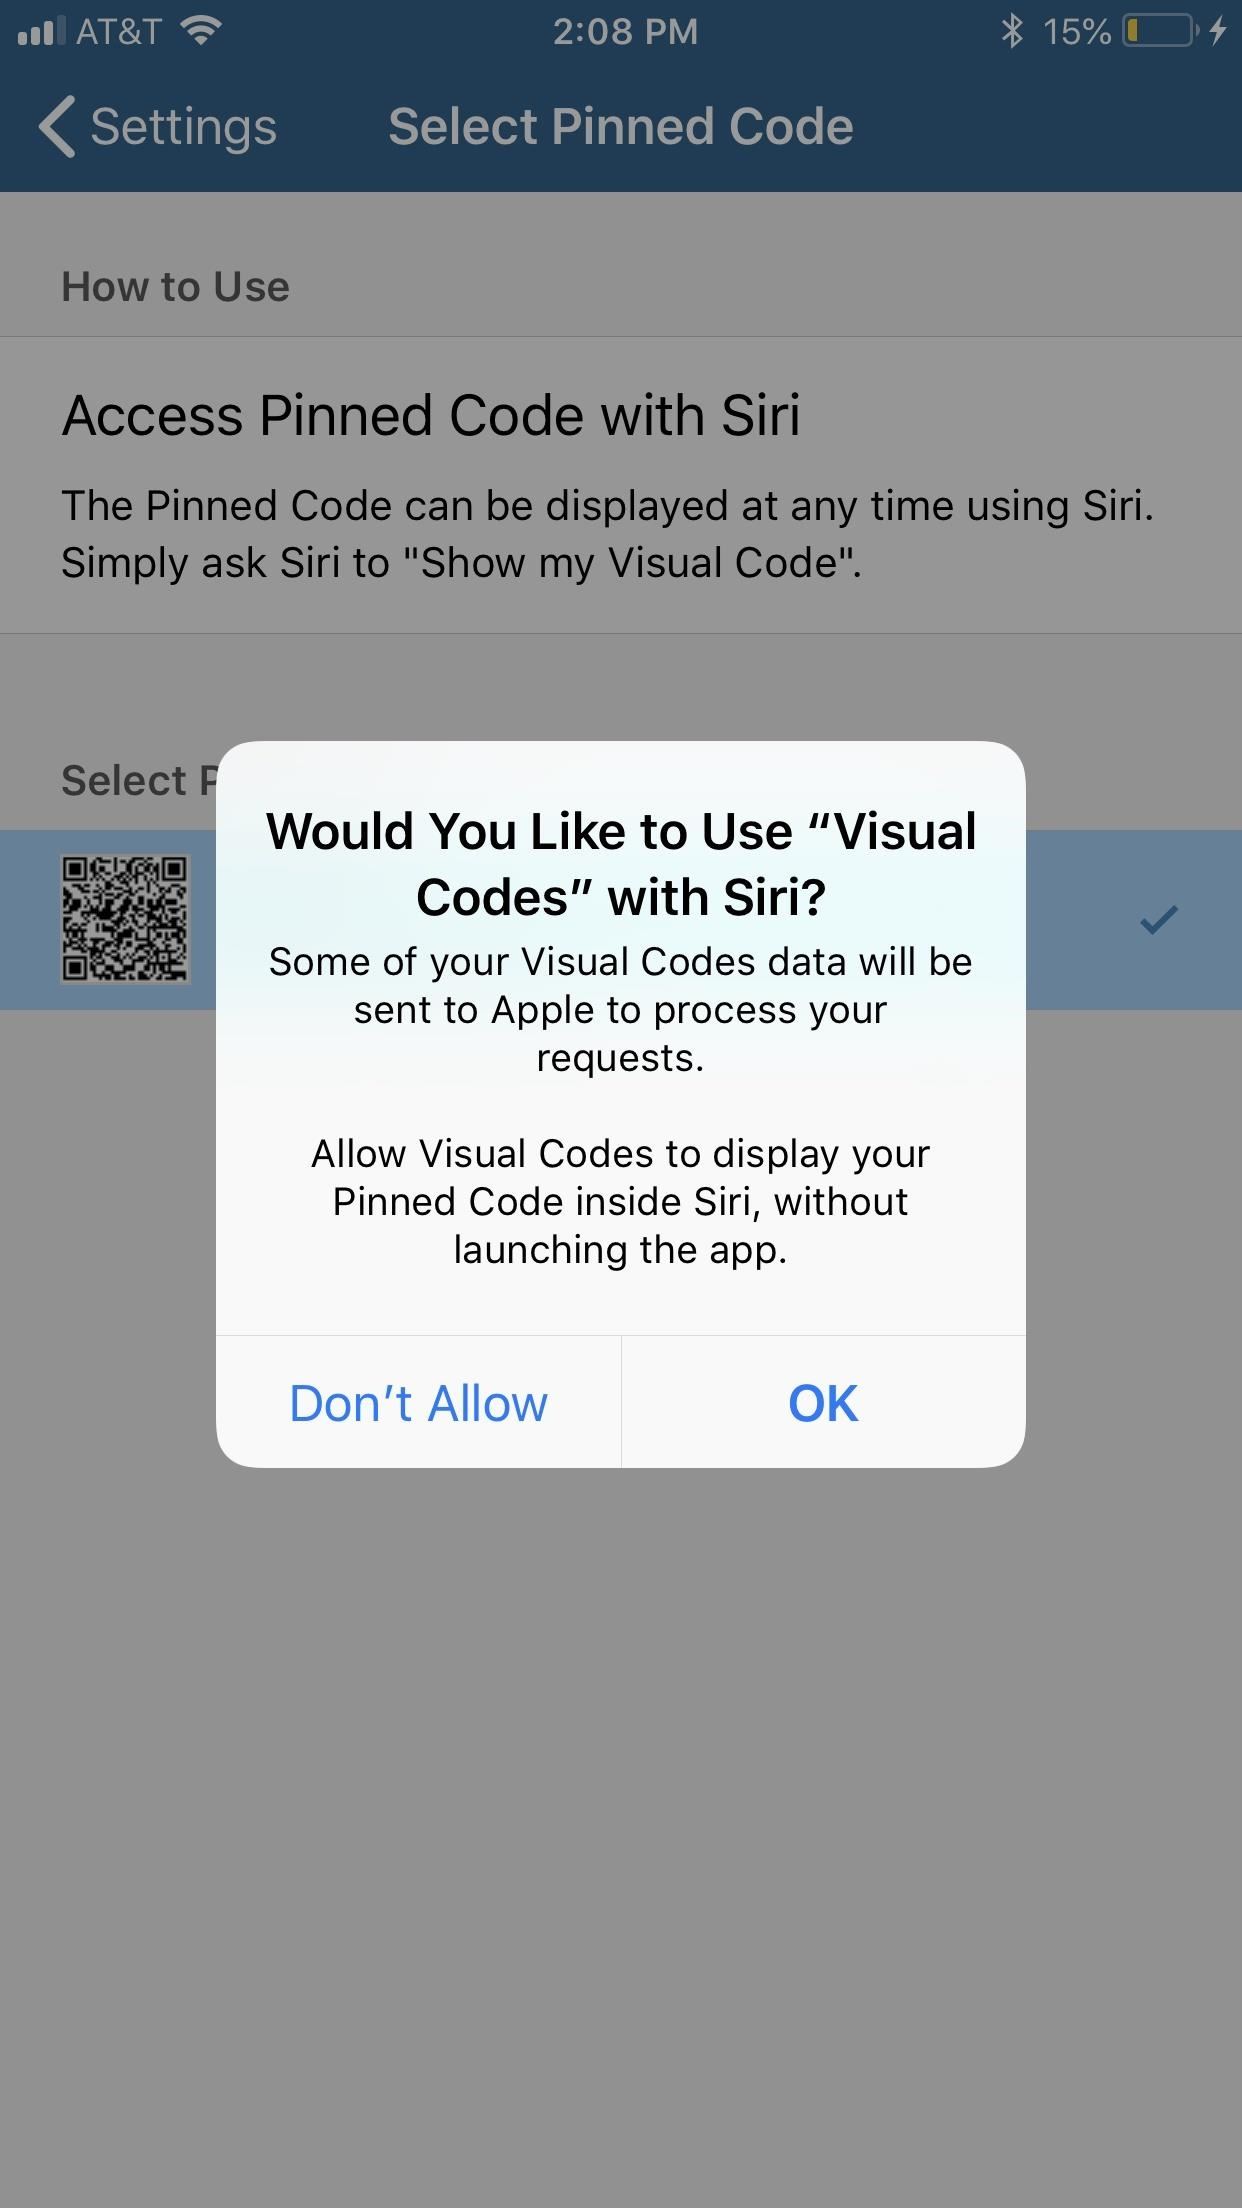
Alternatively, and an even better way, is to just tell Siri to open the QR code. This isn't enabled by default, so from the Codes screen in Visual Codes, tap on "Settings" in the top right. Next, tap "Pinned Code" under the Siri heading, tap the code you want to be your default code, grant Siri access with "OK" (if not already done), then go back to "Settings" and hit "Done" to finish.
Step 5: Give Your Friends Your Wi-Fi Login
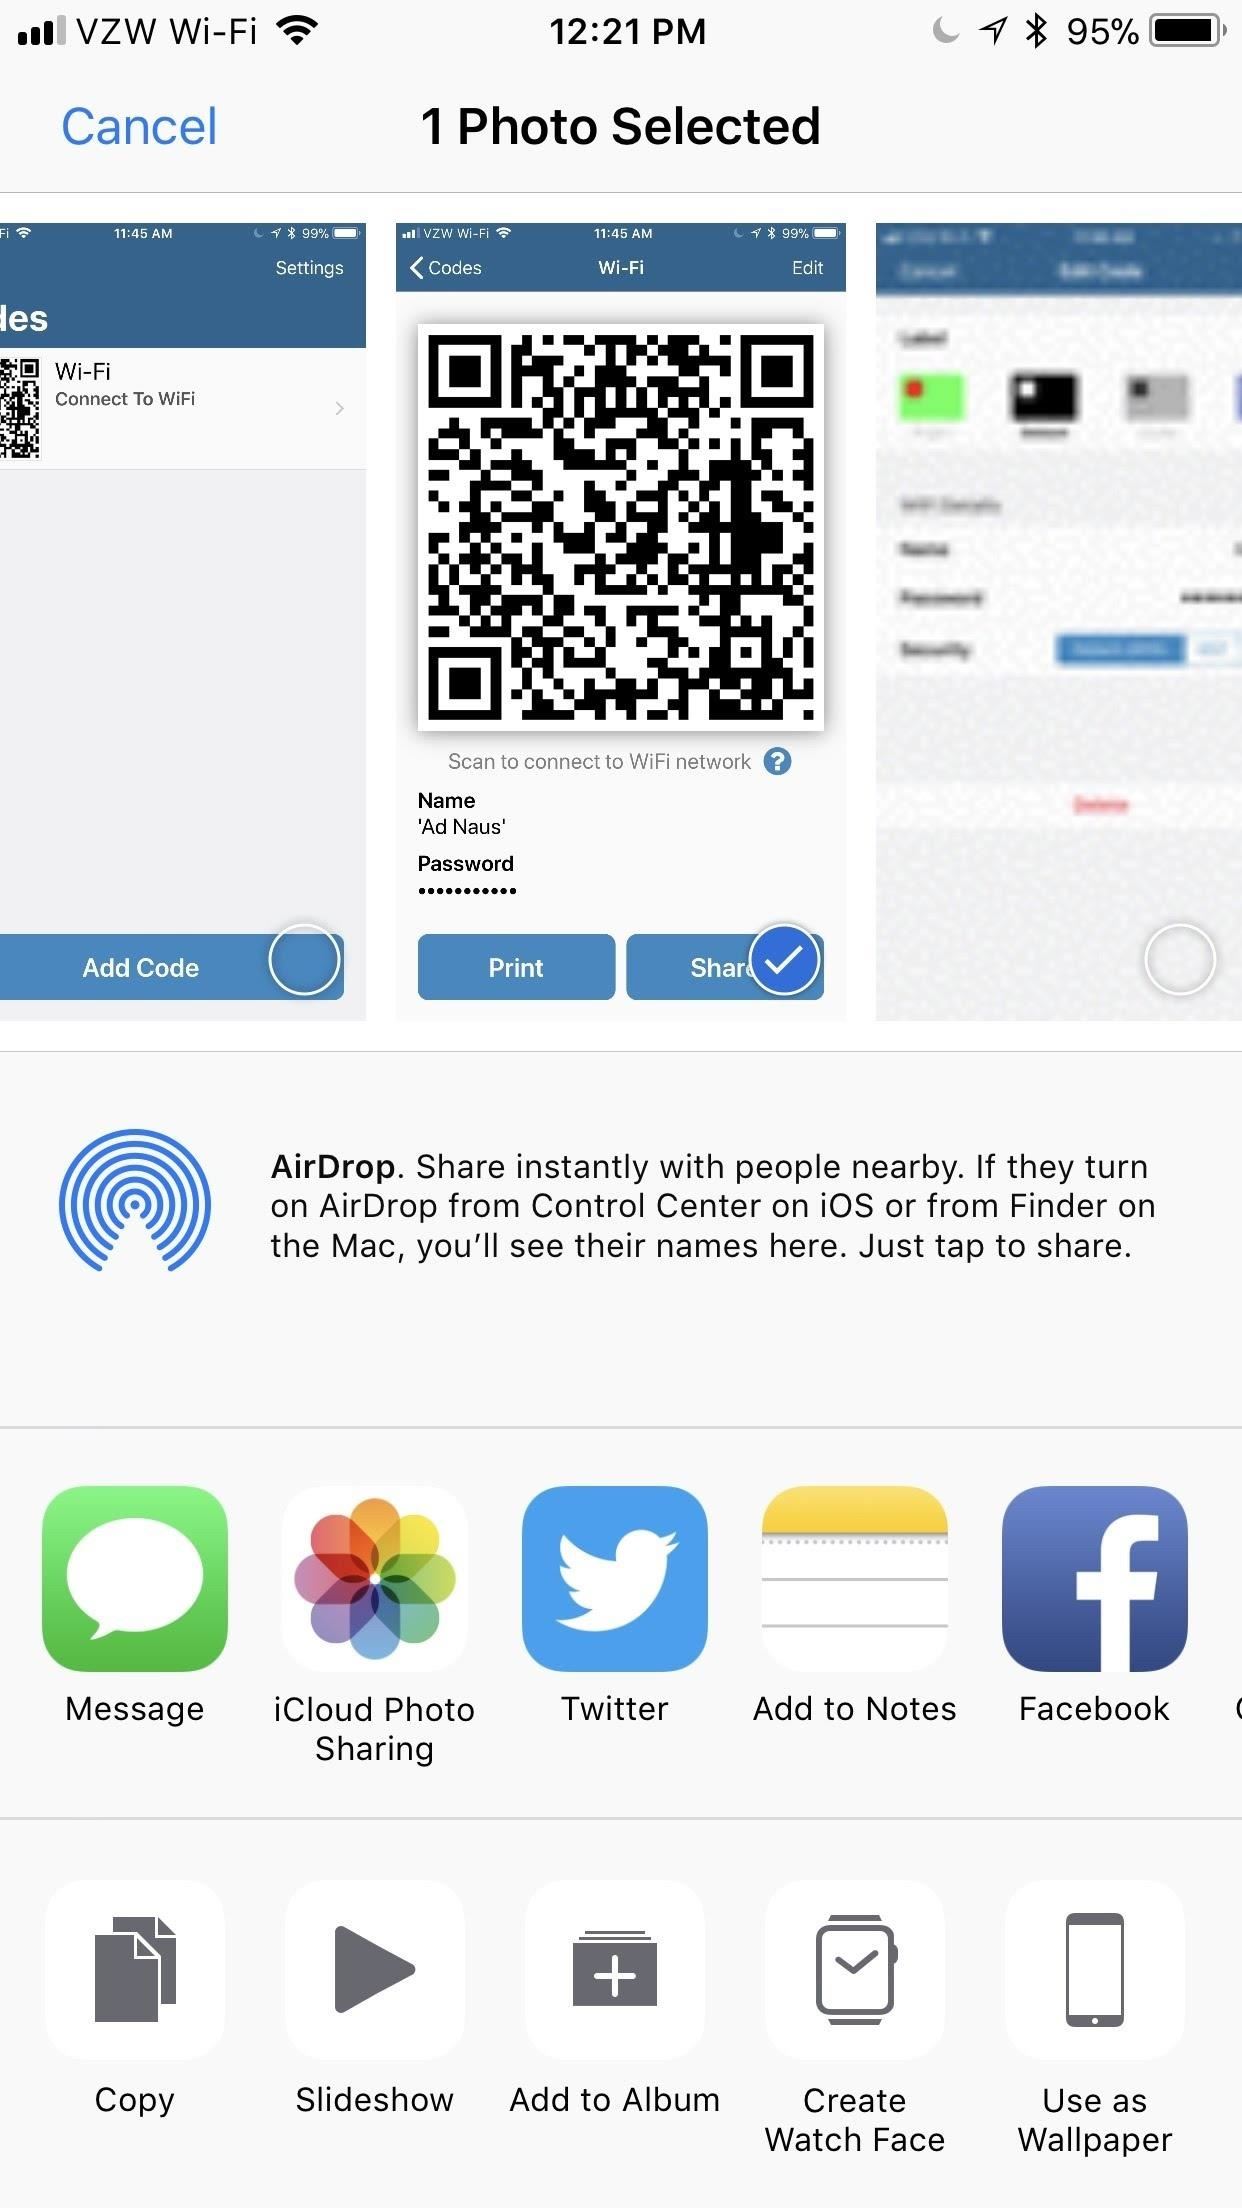
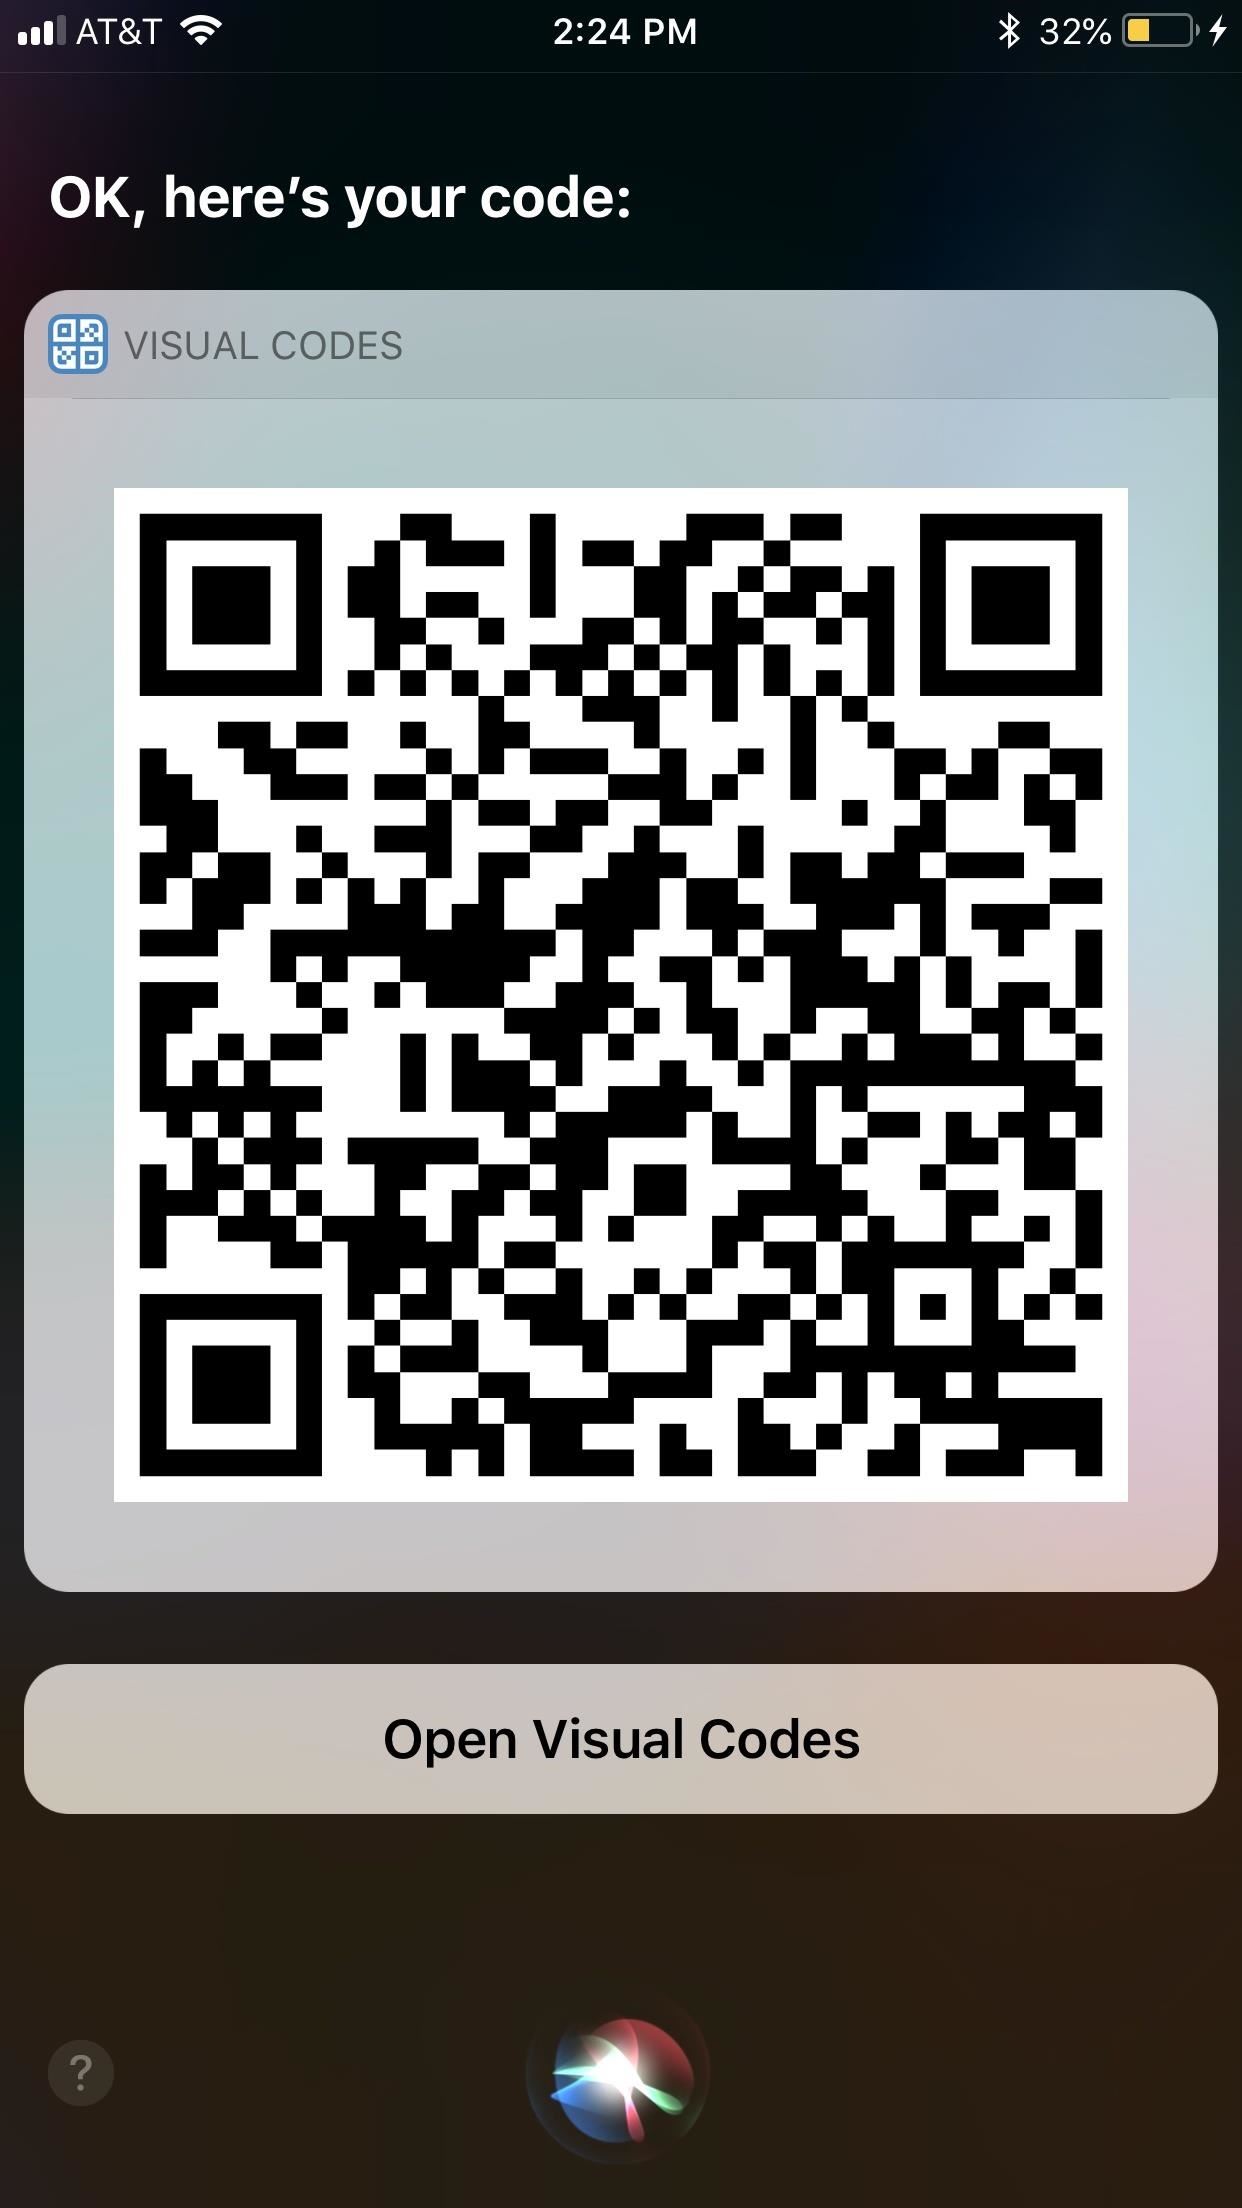
Now that everything's taken care of on your end, sharing your Wi-Fi network in the future is super easy. Go to "Photos" and open the screenshot you took of your QR code. If you pinned your code in Visual Codes instead, you can just ask Siri to "Show my Visual Codes code," and she'll show it to you right away. If you just say "Show my Visual Codes," Siri will open up the app instead.

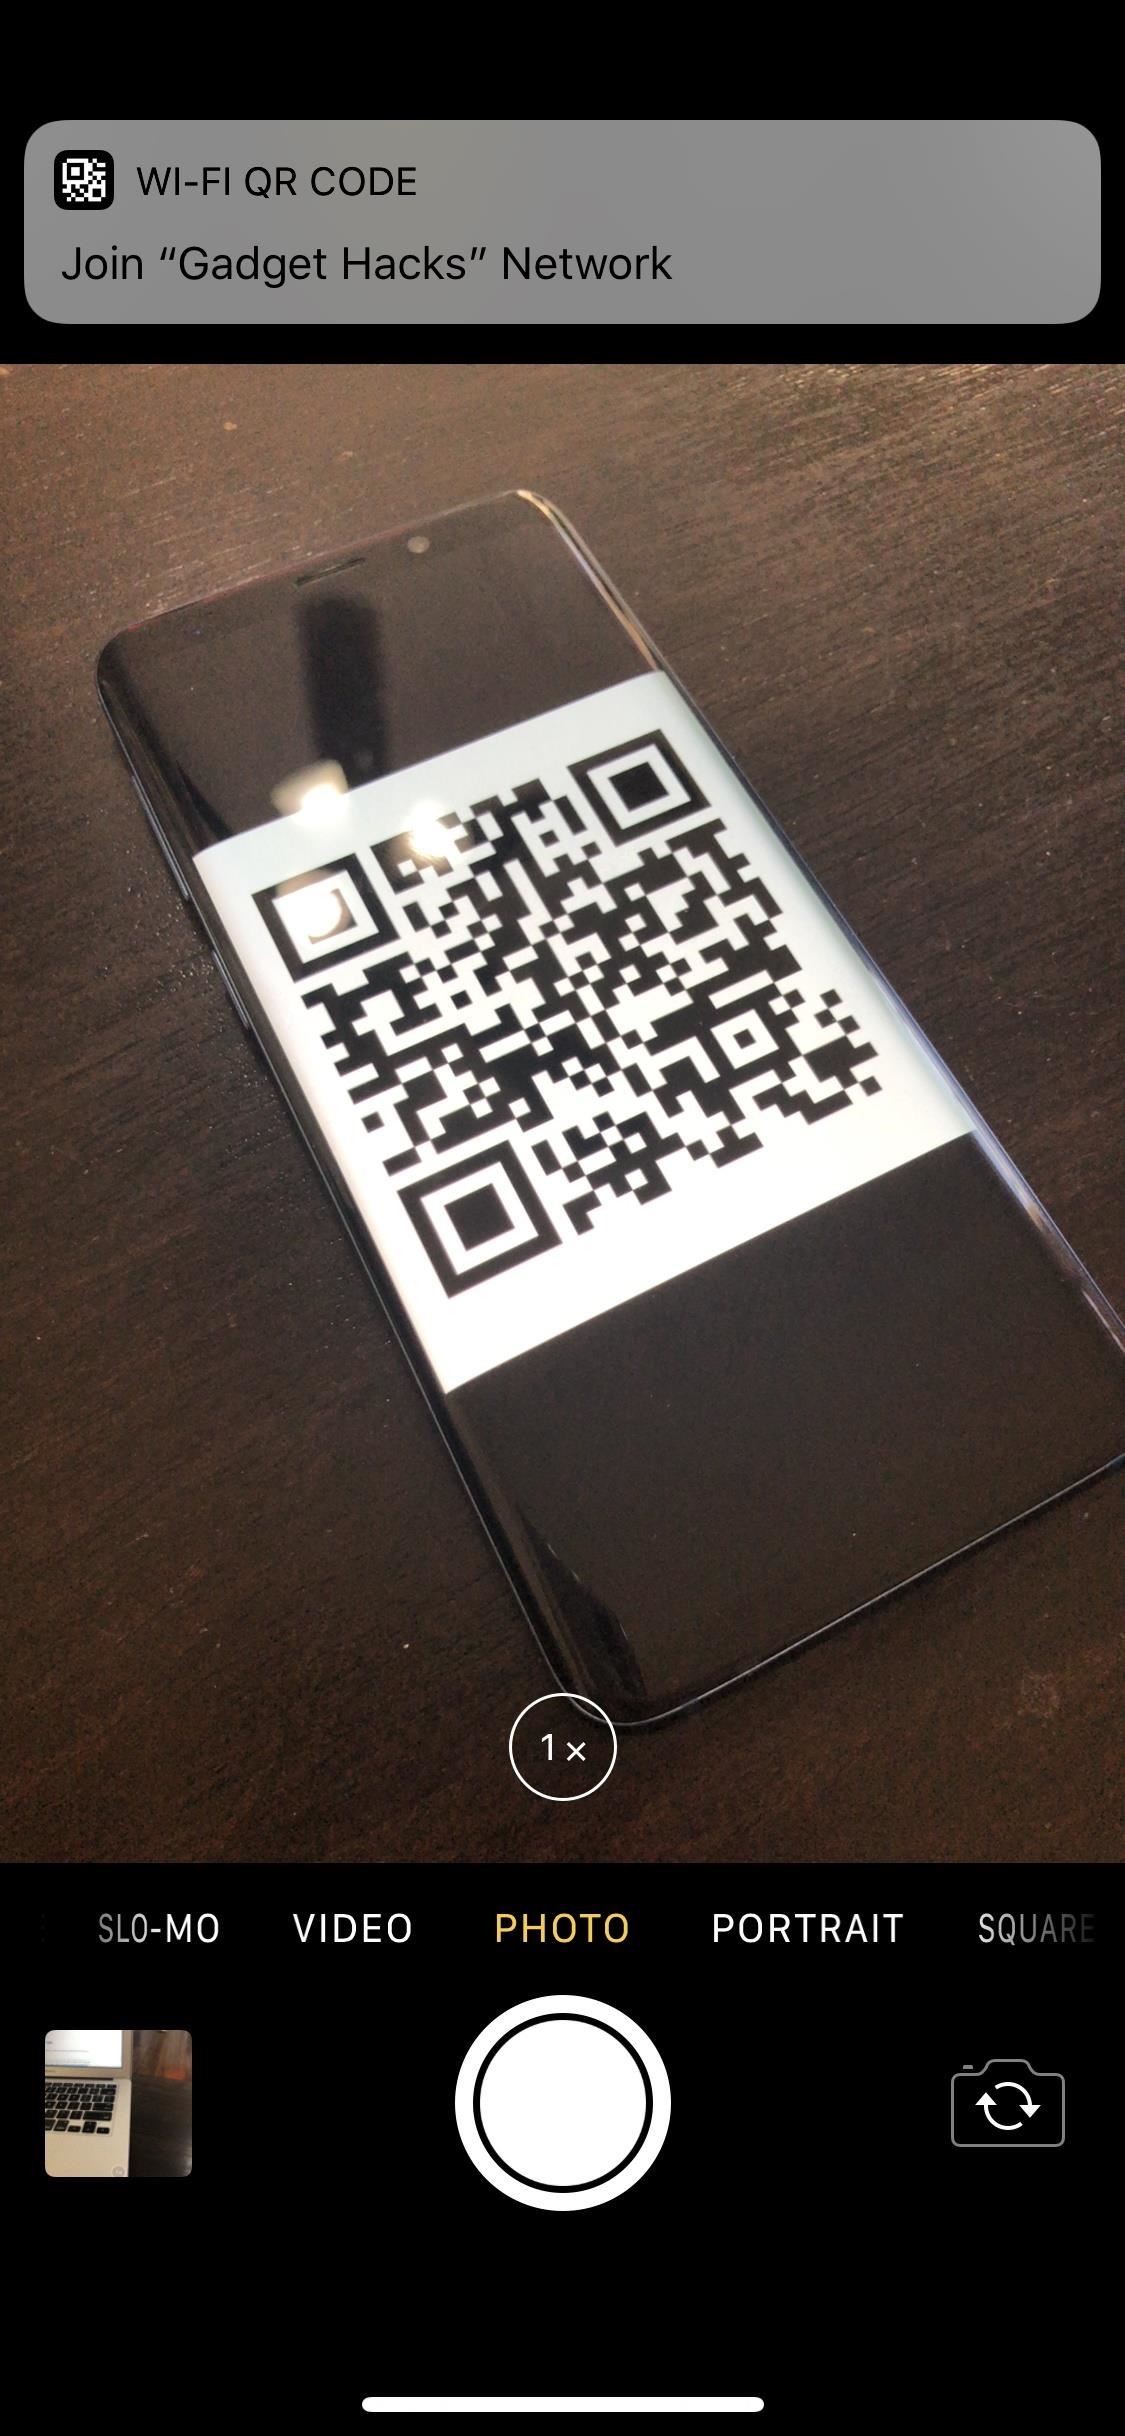
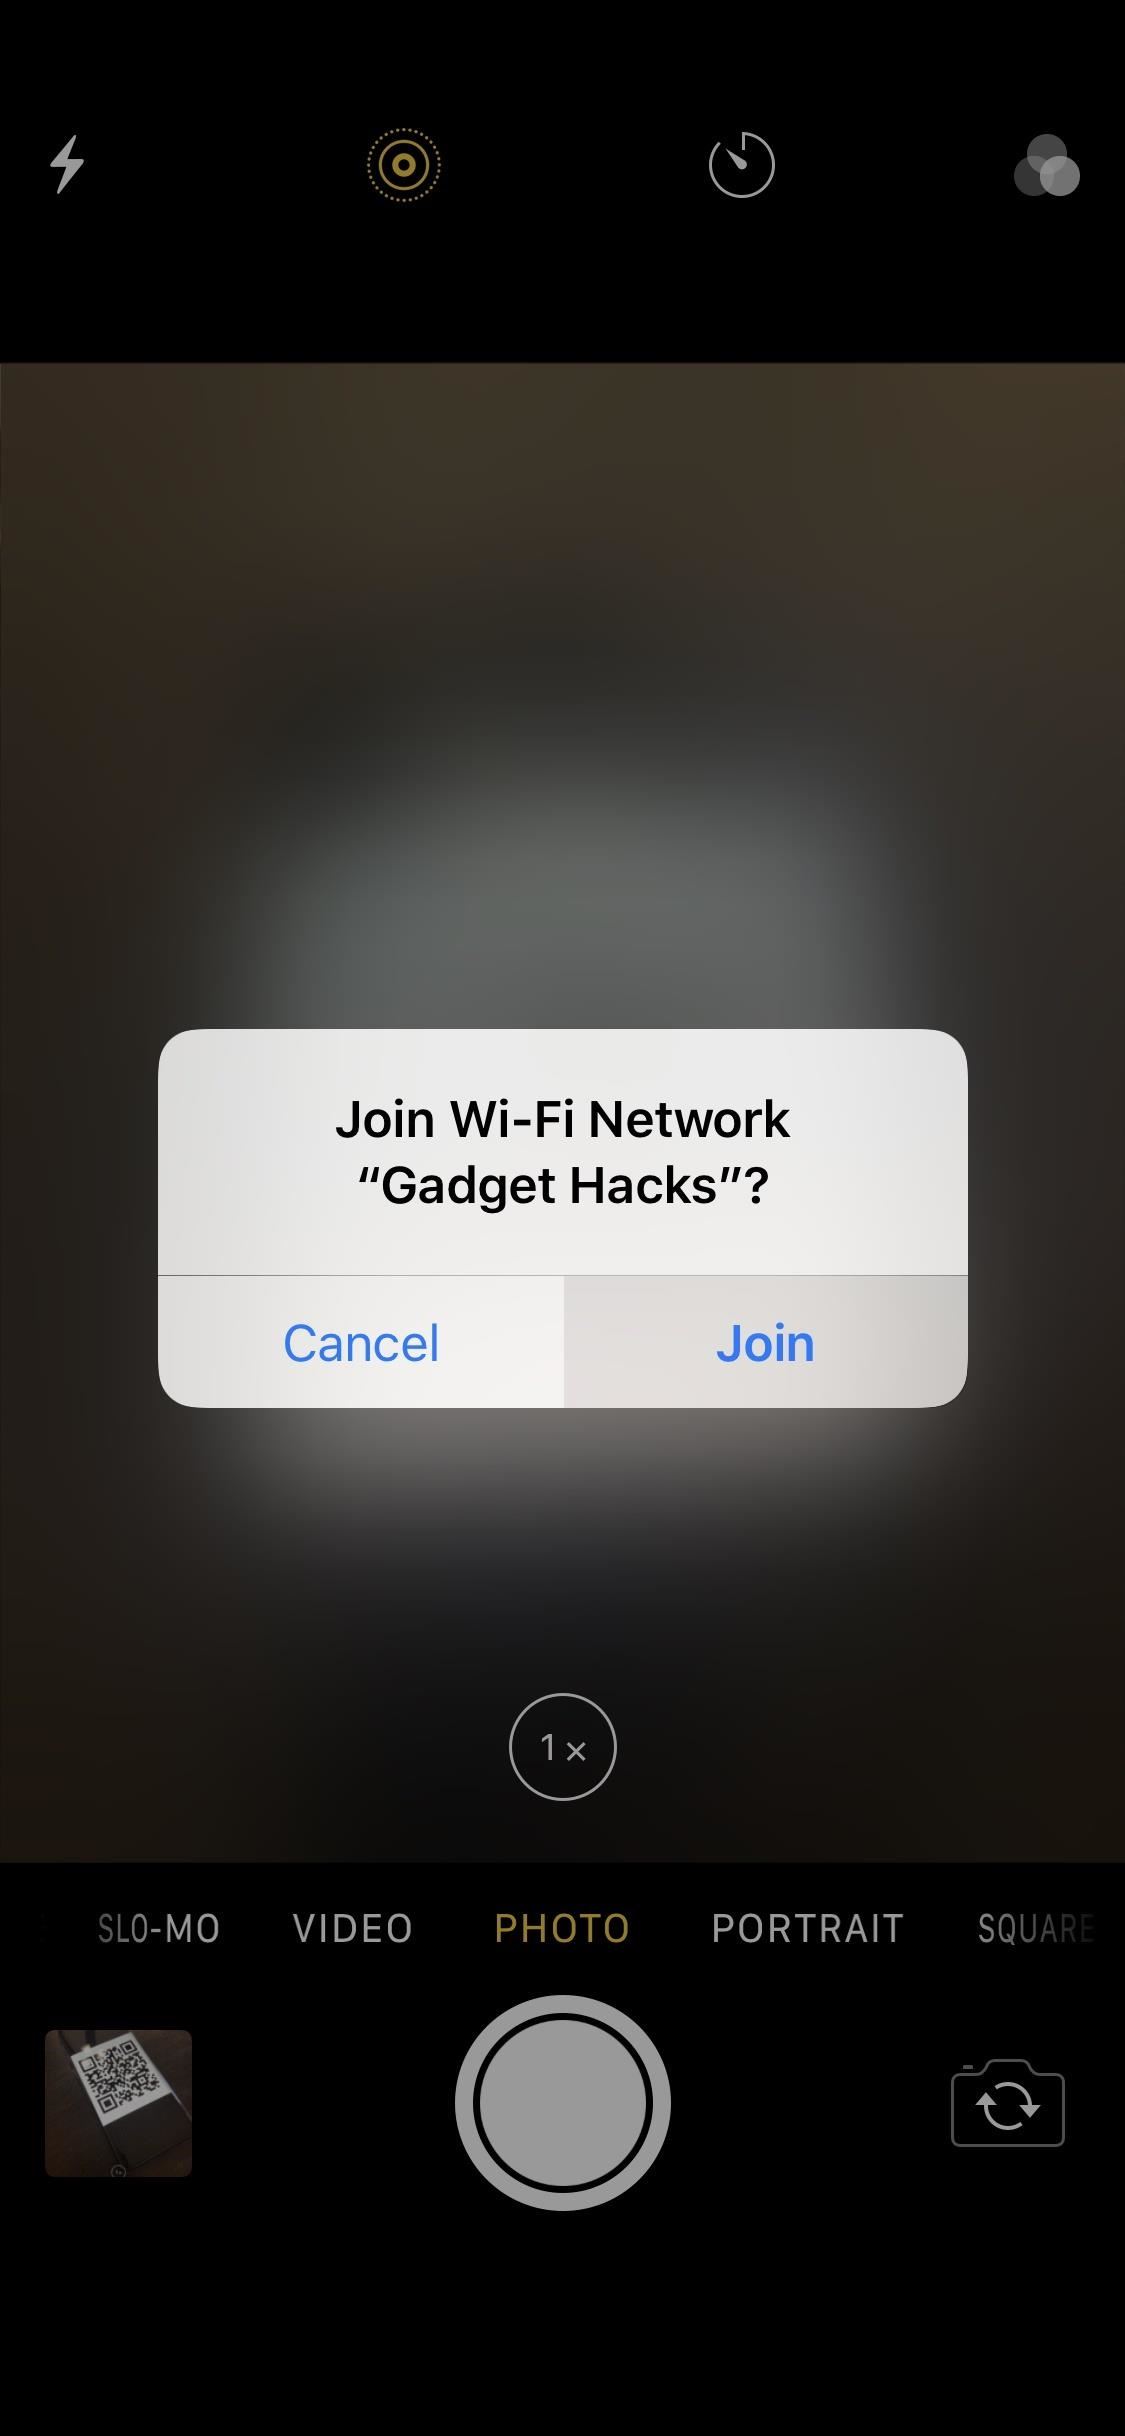
If your friend is using an iPhone and Apple's built-in "Share My Wi-Fi" feature isn't working for some reason, the next step is really simple. Ask them to open up their Camera app, and have them point their phone at your screen. Their iPhone should read the QR code immediately, and a notification will pop up asking them if they want to join your Wi-Fi network. Have them tap this notification, then hit the "Join" button. Now, they should be connected to your network.
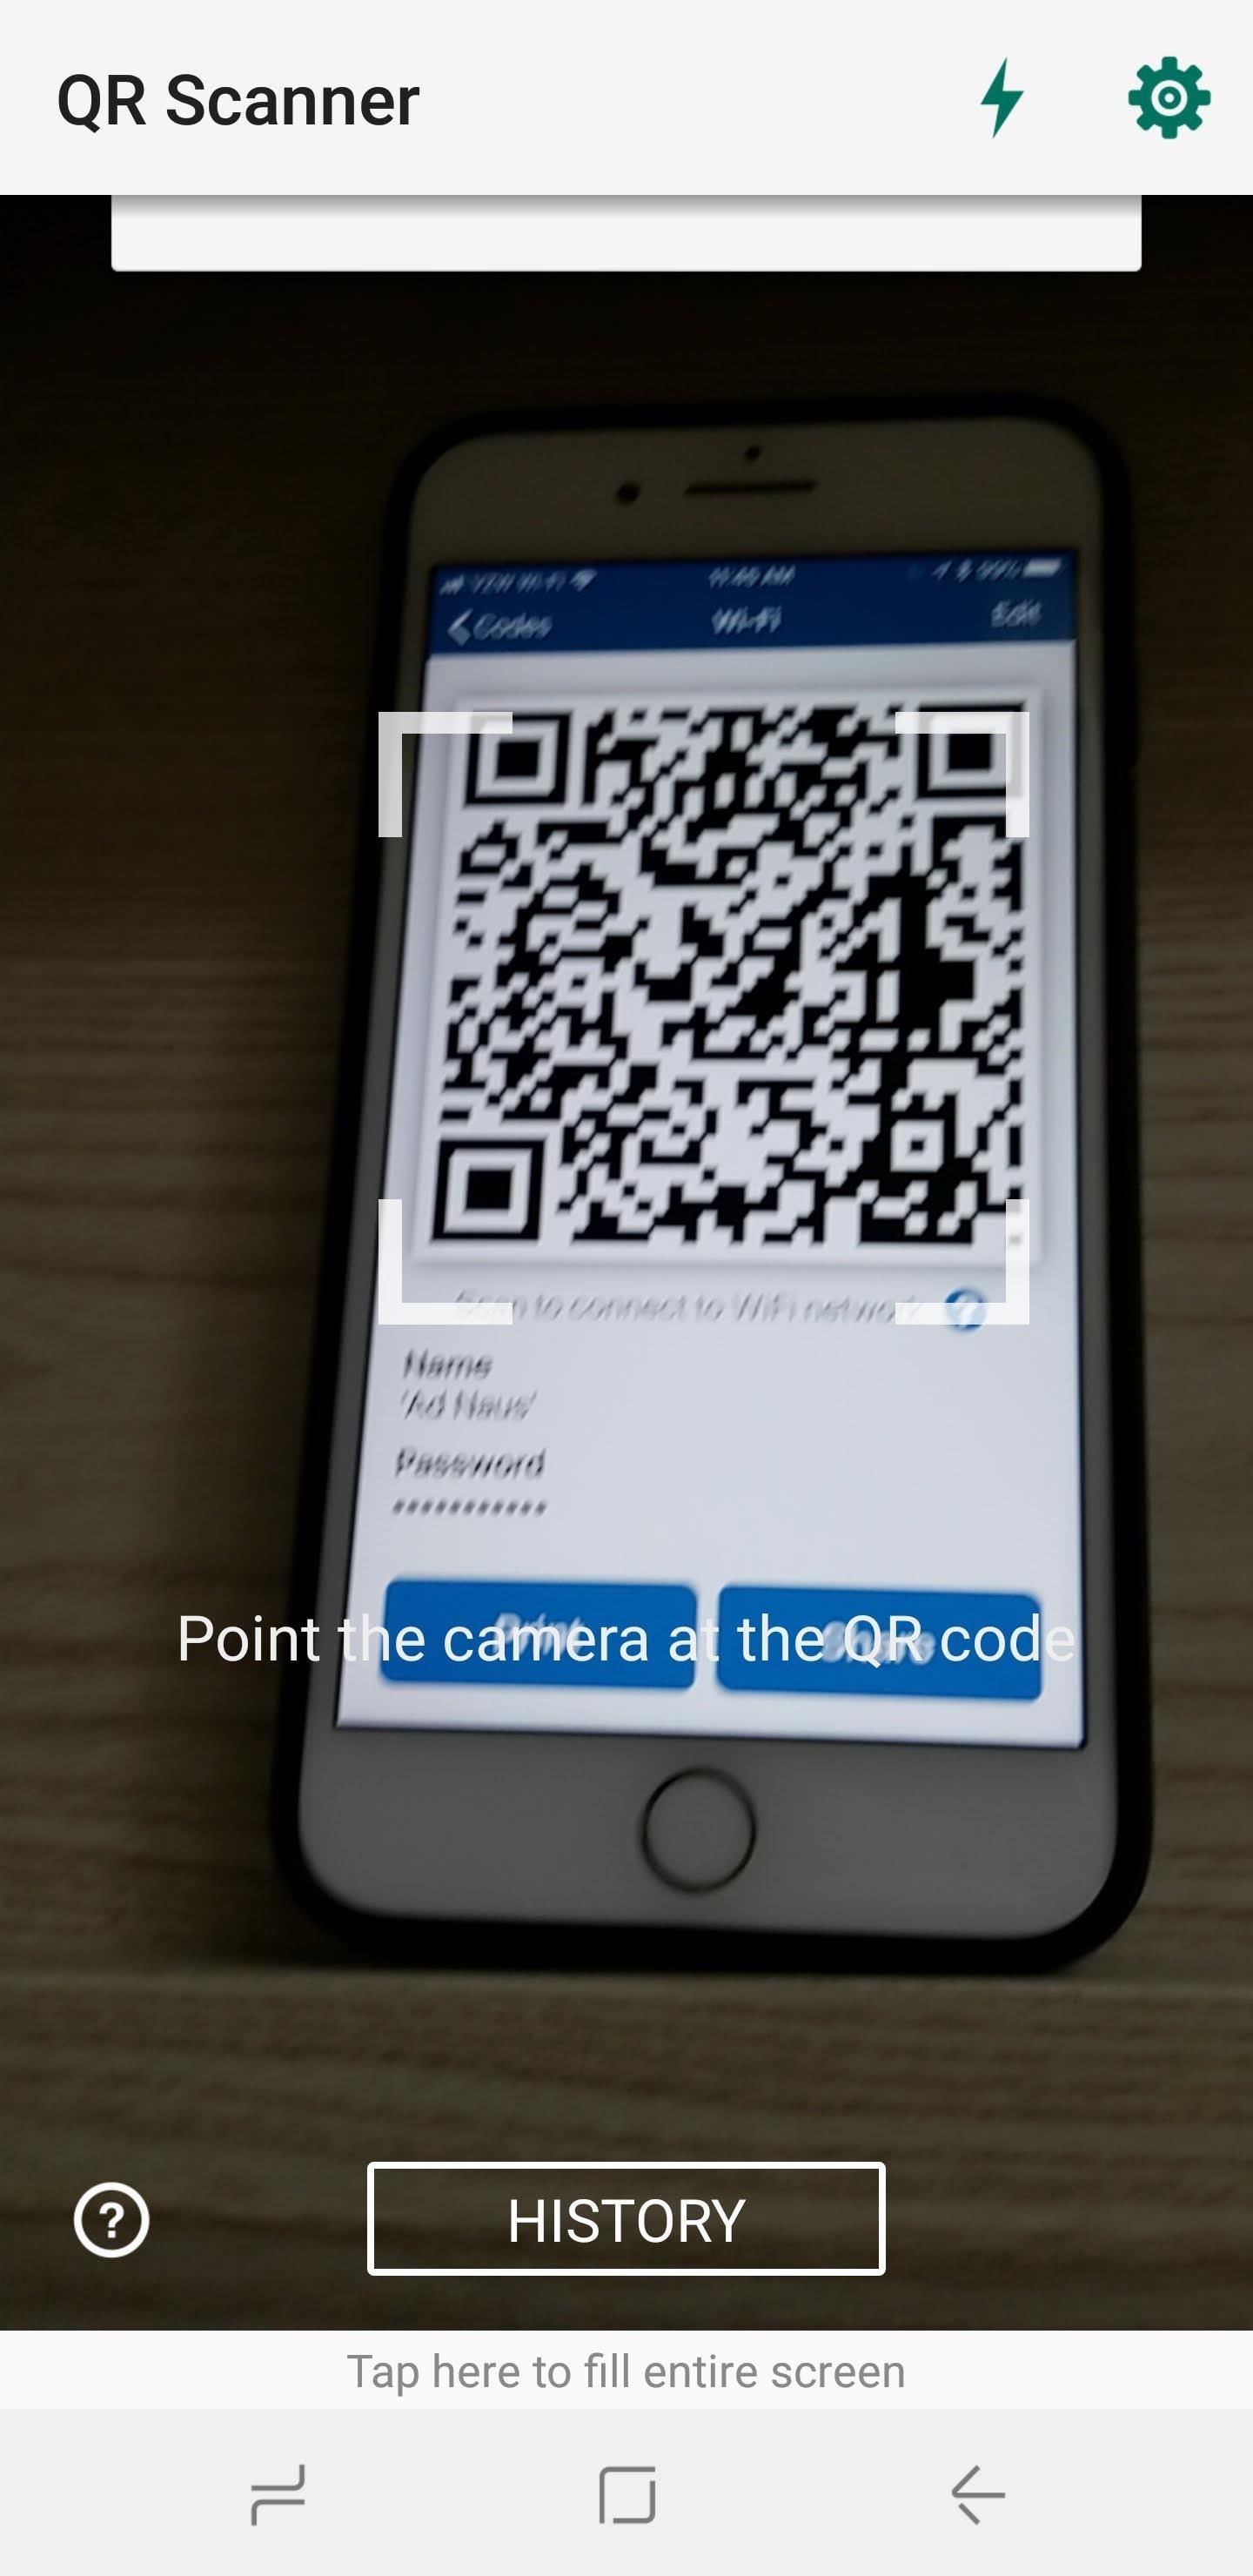
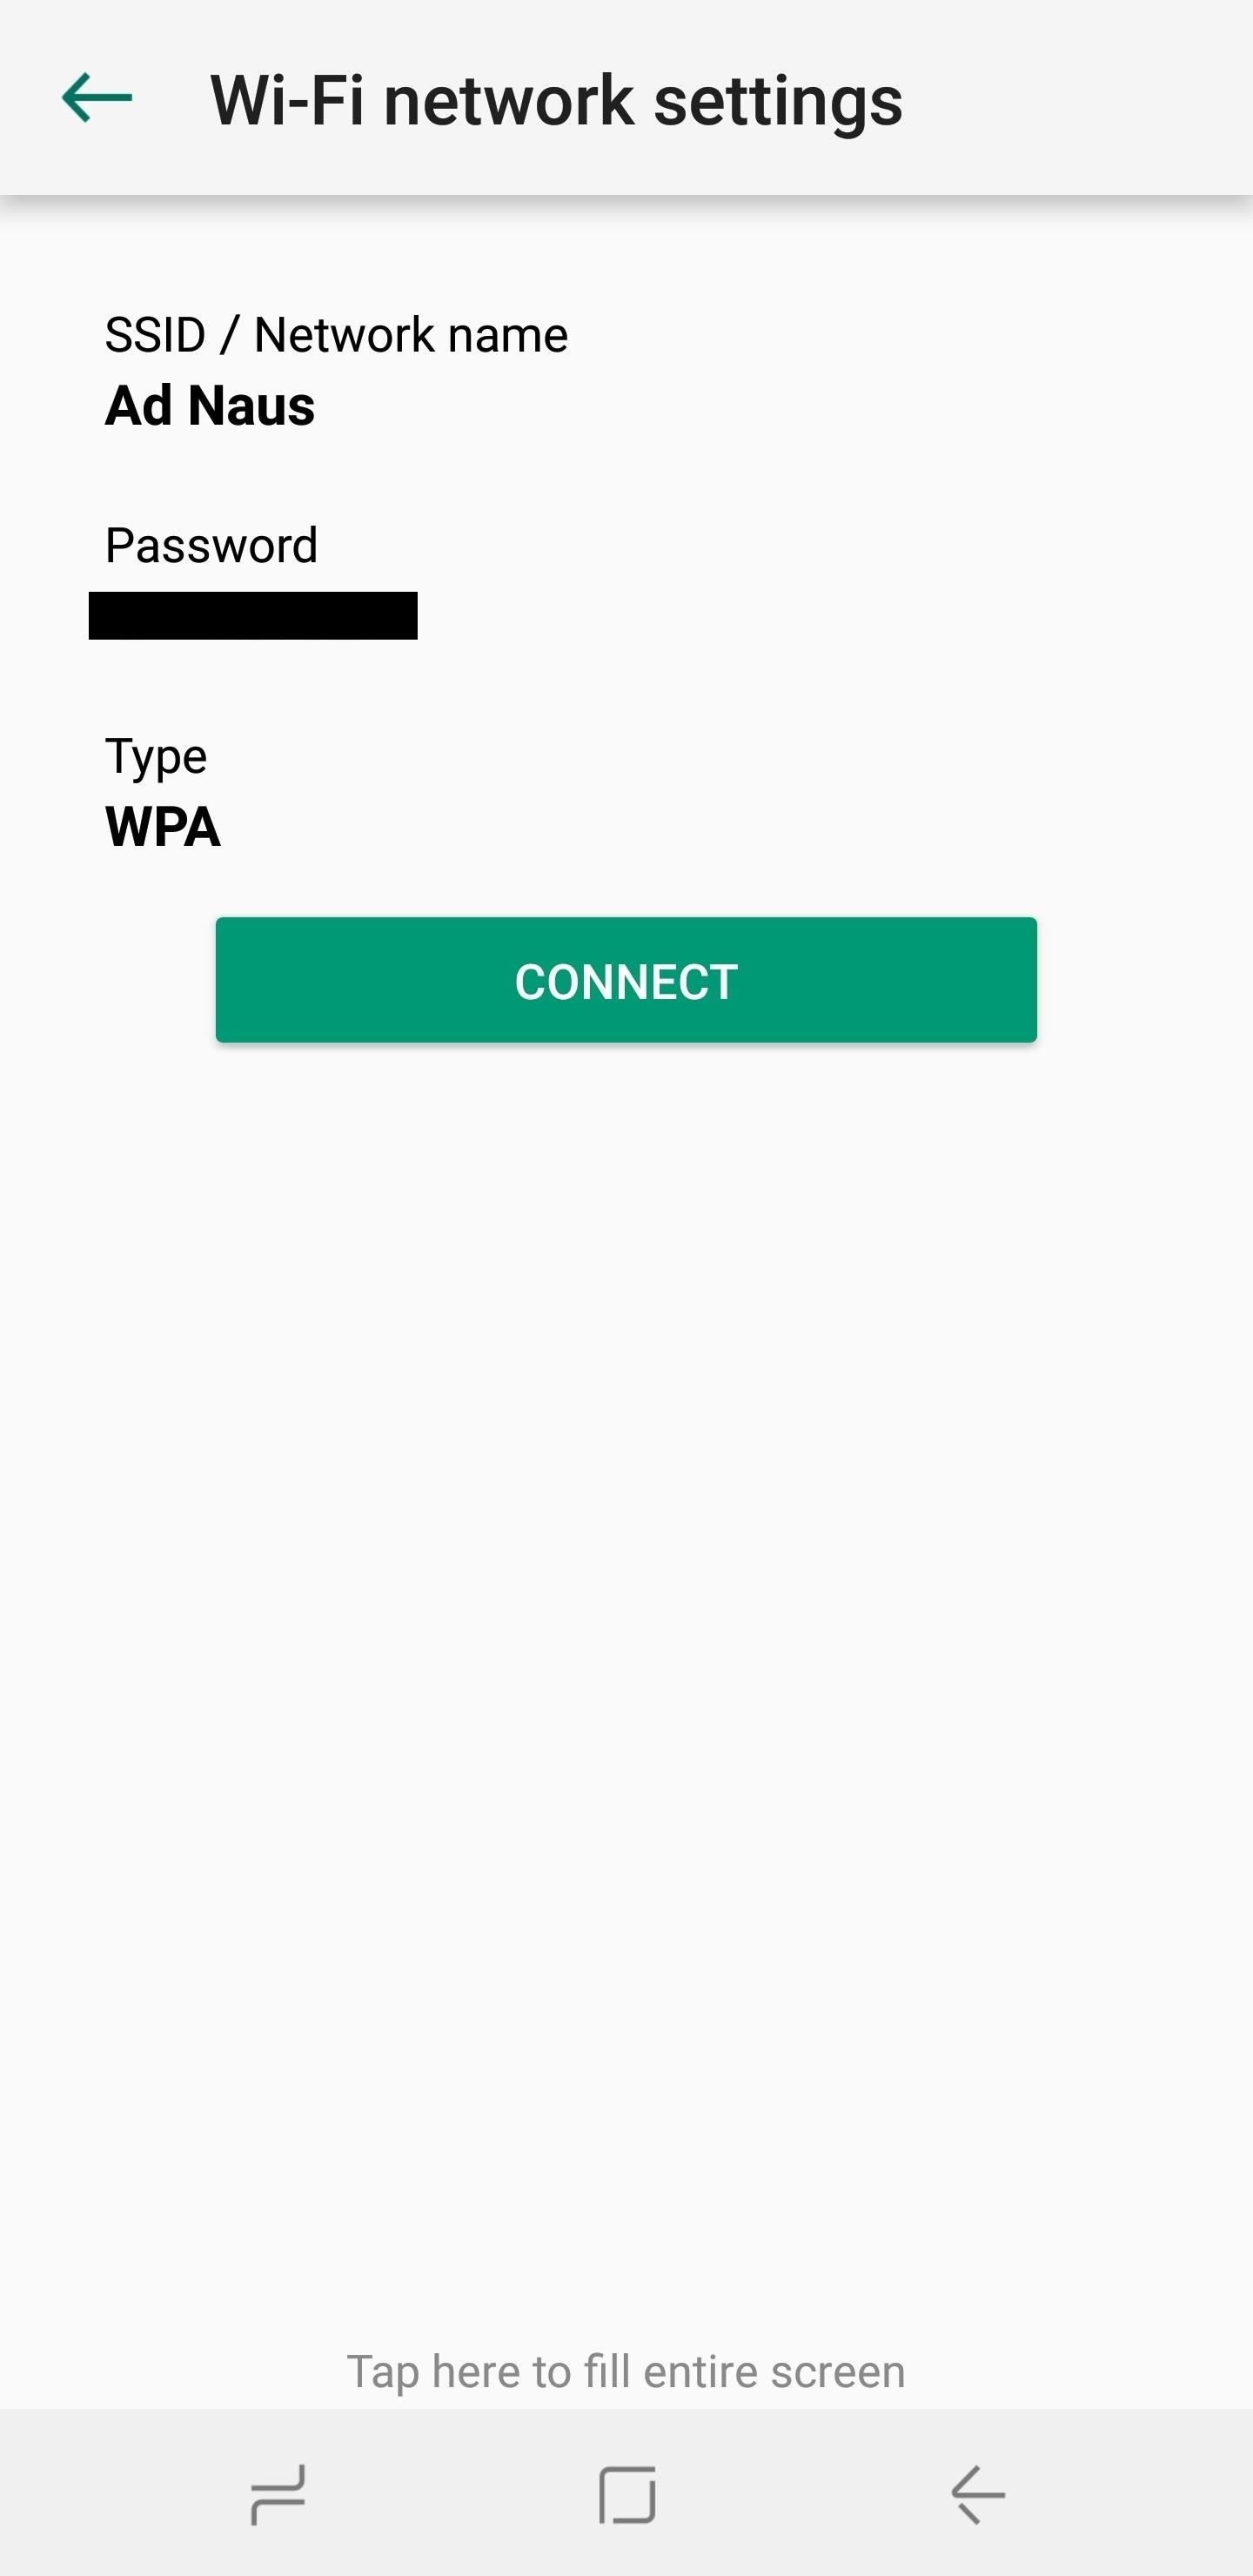
If your friend is using an Android device, however, they'll probably need a QR scanner app, as most phones don't have this built into the camera. We recommend QR Code Reader and Scanner by Kaspersky Lab. Once the code is recognized by the QR scanner app, your friend can tap "Connect" to connect automatically.
If you wanted to take things a step further, print out the QR code by sending the file over to your computer. From there, tape the code to your router or a surface nearby. Then your friends can just use Step 5, but with a physical QR code instead of your phone's screen!
Just updated your iPhone? You'll find new emoji, enhanced security, podcast transcripts, Apple Cash virtual numbers, and other useful features. There are even new additions hidden within Safari. Find out what's new and changed on your iPhone with the iOS 17.4 update.


1 Comment
with iOS 11, it is a lot easier, just be at bluetooth distance of the other person while he select your wifi network and a PopUP will appear on your phone that will ask you if you want to share your password and the rest is automatic on both phone.
Share Your Thoughts