


Since iOS 11, a thumbnail preview appears on your iPhone whenever you take a screenshot. It's useful for access to quick sharing options and editing tools, but you can't disable the preview image. You can wait for it to disappear or swipe it off-screen, but that's as good as it gets — until now. In an iOS 14 update, there's an option to disable the screenshot preview — only you won't find it in Settings.
That's because Apple hasn't added a convenient switch that you can toggle off to prevent screenshot thumbnails like there is on macOS. Apple may not even be aware that it included an option to avoid screenshot previews on iOS and iPadOS, and that's because the preference was added to the Shortcuts app. Starting in iOS 14.5, Apple's scripting and automation app now has a "Take Screenshot" action.
- Don't Miss: All the New Features & Changes in iOS 14.5 Including Updates for Gamepads, Privacy, 5G & Reminders
It's a fairly simple action that takes a screenshot whenever activated in a shortcut. This could be handy for many reasons, such as automatically inserting a screenshot into a frame, e.g., an iPhone mock-up image (an otherwise slow process). You could also have the image sent to an app right away, change the resolution, crop it to specific dimensions, and so many other things.
When used to save screenshots to the Photos app as normal screenshots do already, there's an interesting side effect — there is no thumbnail preview. So it acts more like screenshots used to in iOS 10 and earlier.
Requirements
- iOS 14.5: Apple's latest iOS update.
- Shortcuts app: The app is preinstalled on iOS and iPadOS, but if you've deleted it, you can get it back from the App Store.
Build the Shortcut
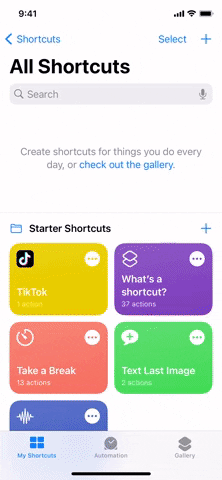
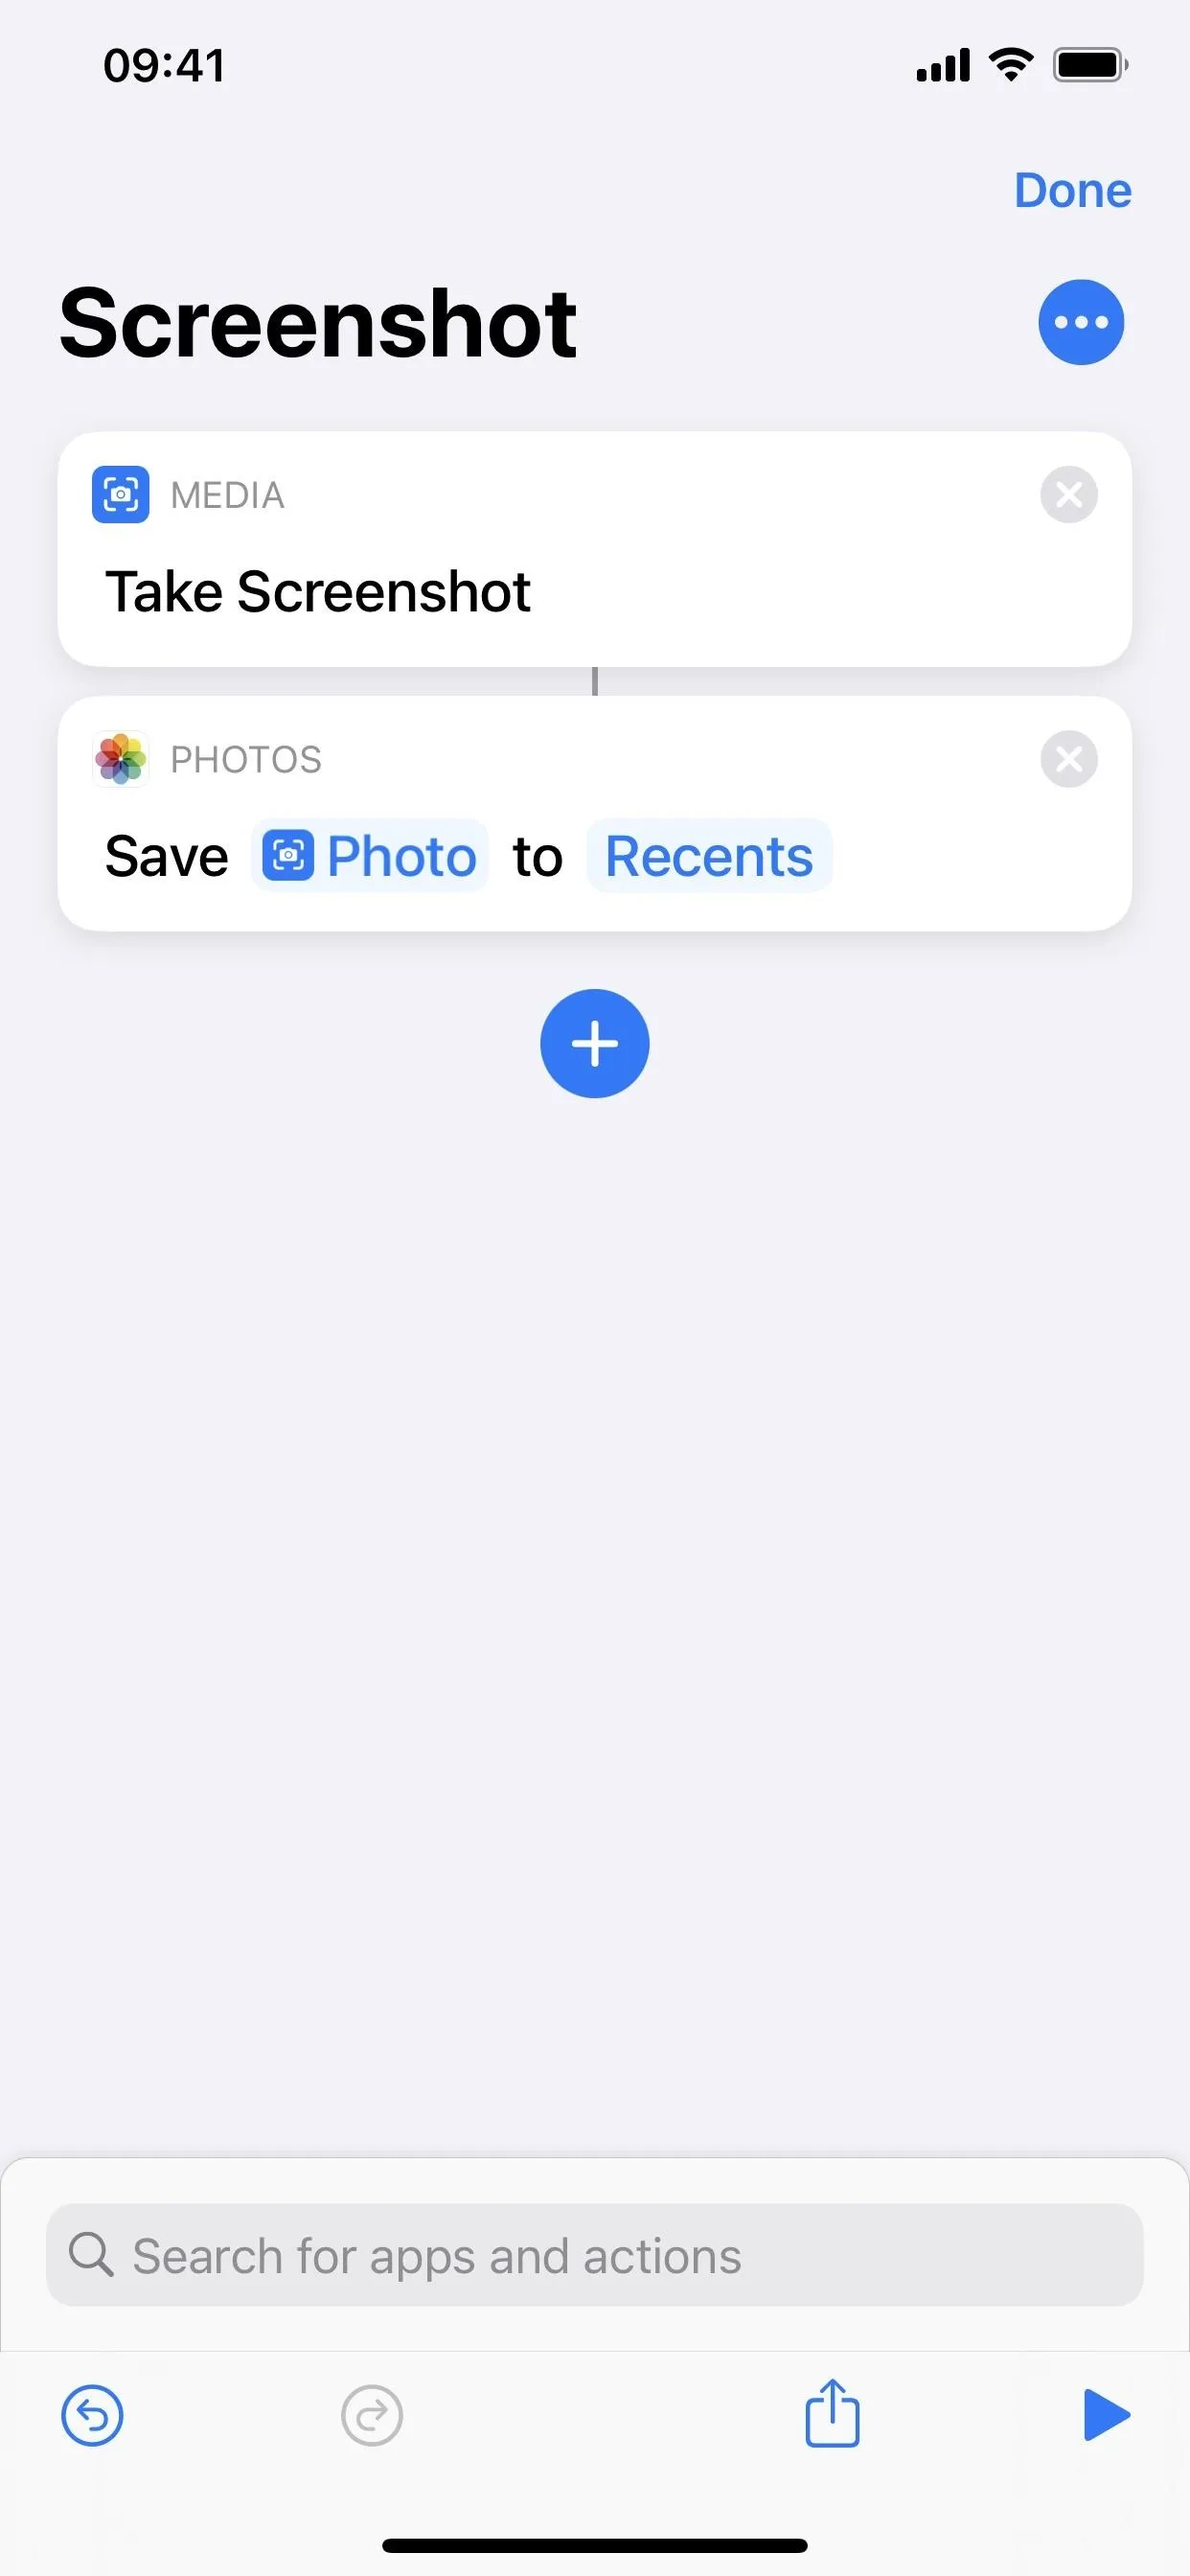
Open Shortcuts to the "My Shortcuts" tab, then tap the plus (+) in the top right to start a draft. Tap the "Add Action" button or the search bar, then search for and select "Take Screenshot" from the available actions. This is the base of our shortcut.
As it is now, the shortcut will take a screenshot when activated — but it won't do anything with it since we didn't add those instructions yet. To fix that, tap the plus (+) or the search bar again, but this time search for and select "Save to Photo Album." With this action, all screenshots will save to Photos.
You can change the album from "Recents" to one of your personal albums, but the screenshot will still show up in "Recents," naturally, as well as the "Screenshot" folder. Changing the album just gives you another place to put it if you want.
That's it for the workflow of the shortcut. Tap "Next," then enter a name for your shortcut and change its icon if desired. Tap "Done" to finish up.
You can now tap the shortcut's card to take a screenshot, but that's not very convenient. You could also say the name of your shortcut to Siri, and it'll take a screenshot for you, but you'll have the Siri interface in the image. To fix this issue, we'll need to use another feature new to iOS 14, which also benefits from being easier to use over pressing your iPhone's buttons to take a screenshot.
Assign It to Back Tap
Apple included a new accessibility feature in iOS 14 called "Back Tap," which lets you trigger actions by tapping the back of your iPhone either two or three times. Assign your new screenshot to it, and screenshotting just got so much easier.
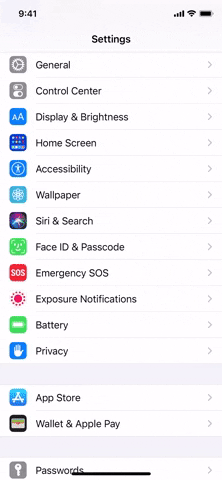
Open the Settings app and head to Accessibility –> Touch –> Back Tap. Choose either "Double Tap" or "Triple Tap" for the trigger, but know that it's easier to accidentally take screenshots with two taps. Next, scroll down, passing by the "Screenshot" option, which takes a screenshot with the thumbnail preview as before. Find the name of your shortcut from the shortcuts section of the list, and select it.
That's it! To test it out, double-tap or triple-tap the back of your iPhone. If it's your first time running the shortcut, you'll see a prompt on the screen asking if you want to let it take a screenshot, so tap "OK" to give it permission. You'll only see that prompt once after OKing it.
After double-tapping or triple-tapping, you'll see that familiar white flash, followed by a brief confirmation notification. It will disappear after a half-second, so it's much less intrusive than the thumbnail preview. While there are ways to remove notifications for the Shortcuts app as well as for automations, Back Tap ignores both of those workarounds, so there's no way to disable the brief alert with the checkmark at this time.
So what do you do with the other Back Tap gesture? Pretty much anything you can think up. Some ideas include activating Spotlight Search, opening your calculator, controlling your flashlight, or even starting an audio recording to record real-time conversations like a spy.
Cover photo, screenshot, and GIFs by Jake Peterson/Gadget Hacks


Comments
Be the first, drop a comment!