


Apple's screenshot editing tool first appeared for iPhone in iOS 11, and it's only gotten better with age. Instead of just a flash of light and maybe a noise, you're also greeted with a thumbnail preview of what you just captured — and that tiny image holds a lot of superpowers.
Before the tool existed, you'd have to go to the Photos app to view your screenshots, mark them up, share them, or delete them. But in iOS 11, iOS 12, iOS 13, and all foreseeable iOS versions, those little floating preview images are the key that opens the door to working with your screenshots right away. It's faster, more intuitive, and easier than ever to interact with your screenshots.
Take Your Screenshot
Taking a screenshot hasn't changed. It still works the same way as it did years and years ago. Just use the right button combination for your device:
- Click the Side and Volume Up button together (Face ID models)
- Click the Side and Home button together (Touch ID models)
The only difference now is that when you take that screenshot, you'll see a thumbnail in the bottom left of your screen that sticks around for about five seconds and disappears if you don't interact with it. If you want to get rid of it even quicker, just slide it over to the left.
Share Your Screenshot (The Fast Way)
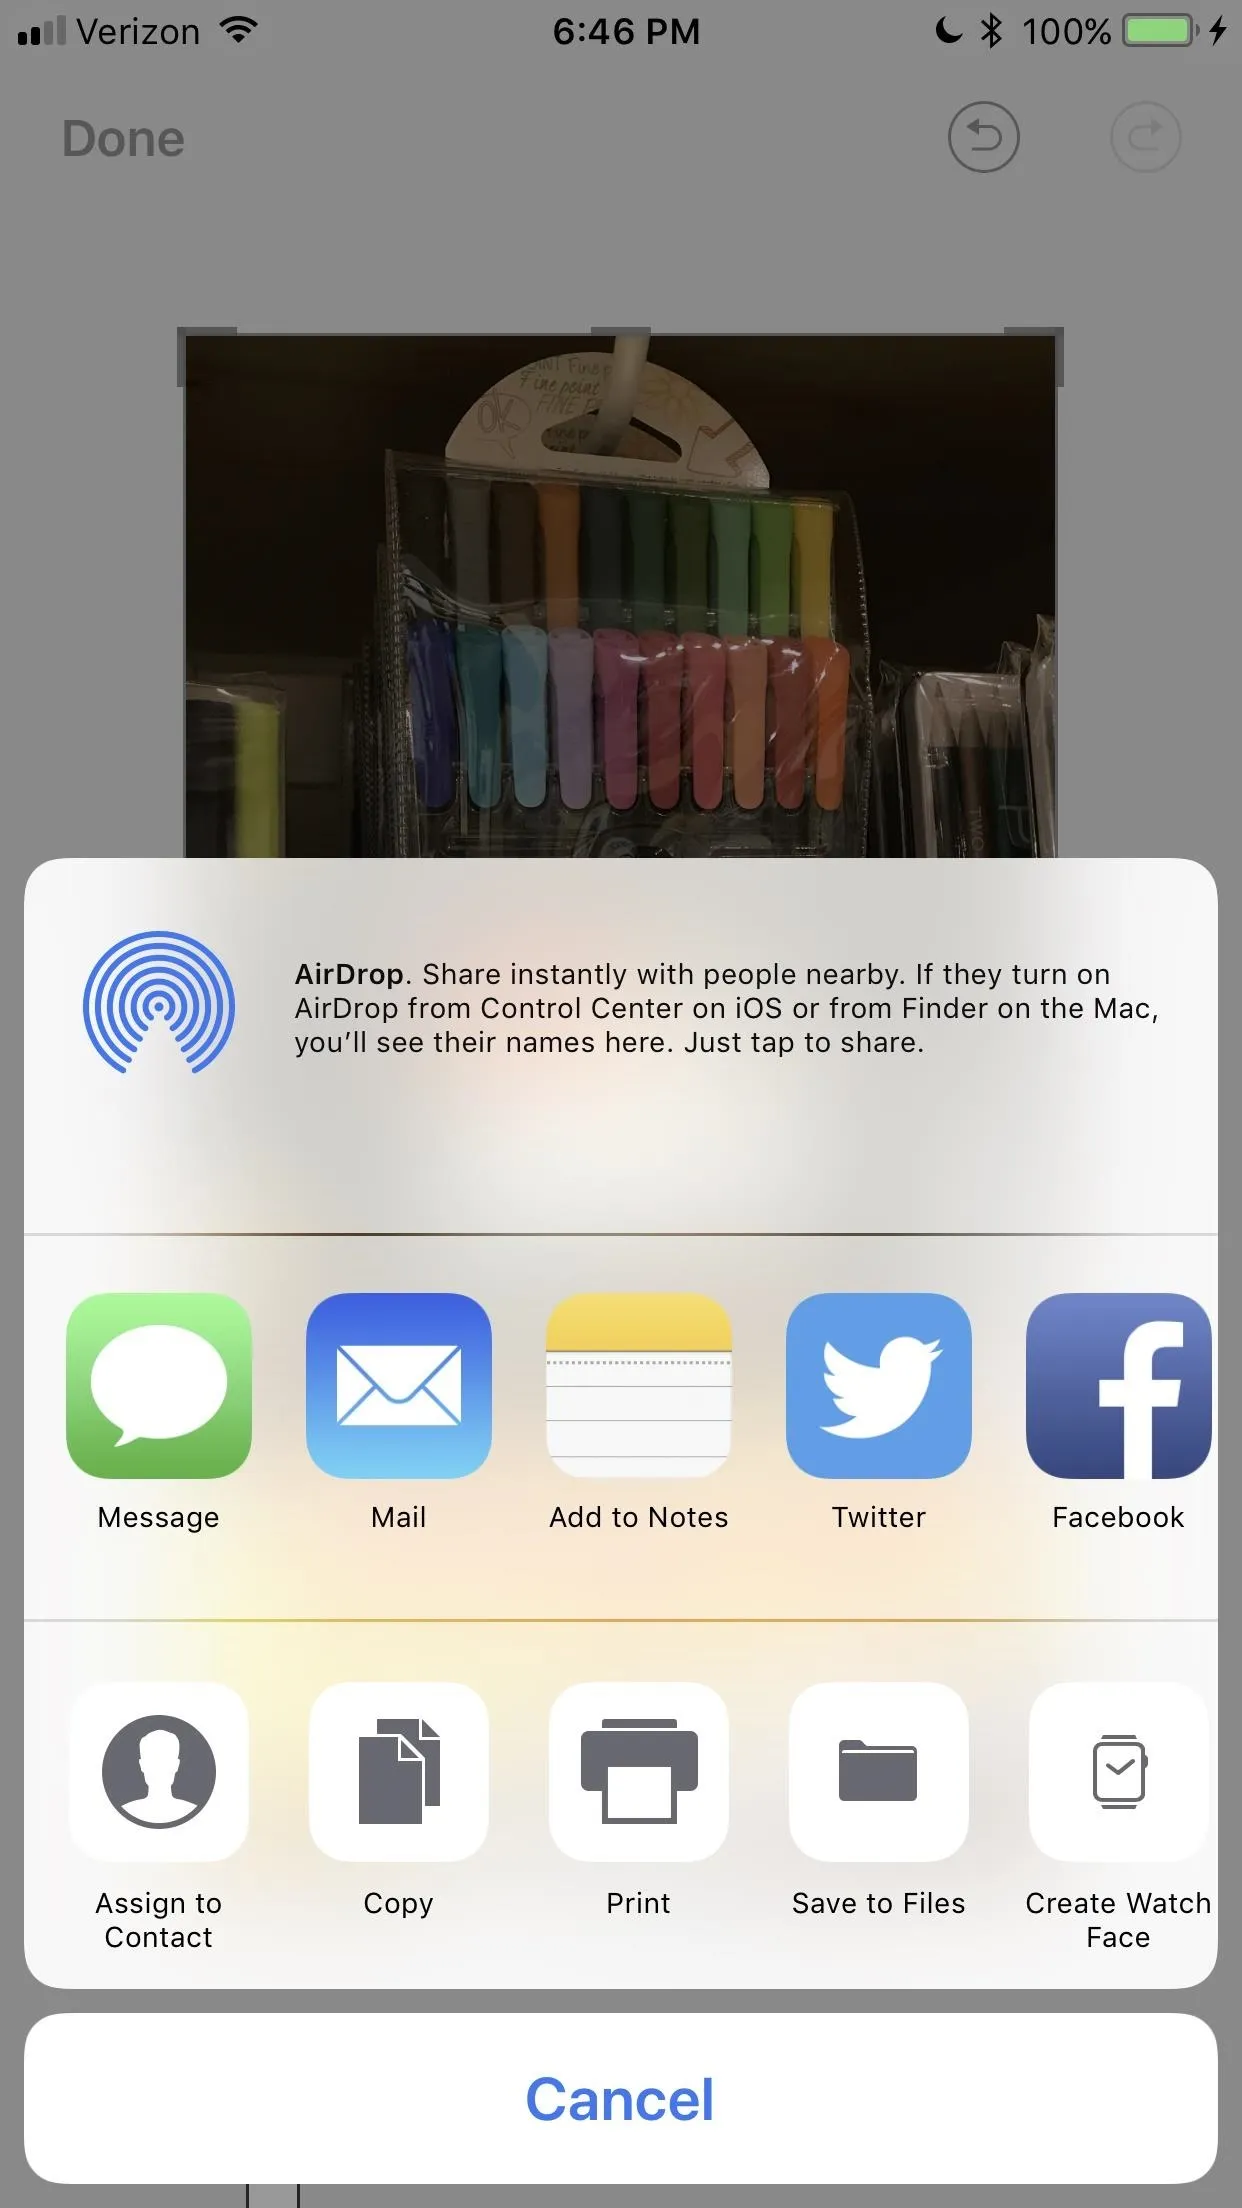
If you just want to take a screenshot to share with somebody real quick or to transfer to your computer, you don't have to open it up in Photos first — just press-and-hold on the thumbnail icon to bring up the share sheet. You can transfer the image instantly with AirDrop, text it, email it, add it to Notes, save it to the new Files app, and all the other stuff you'd expect in the share menu.


Mark Up Your Screenshot
If you actually want to edit the screenshot, tap on the thumbnail and the screenshot will open up in the Markup window. You can quickly jot something down with the default black pen or you go more in-depth with your edits. It's very similar to the Markup tool in Photos.
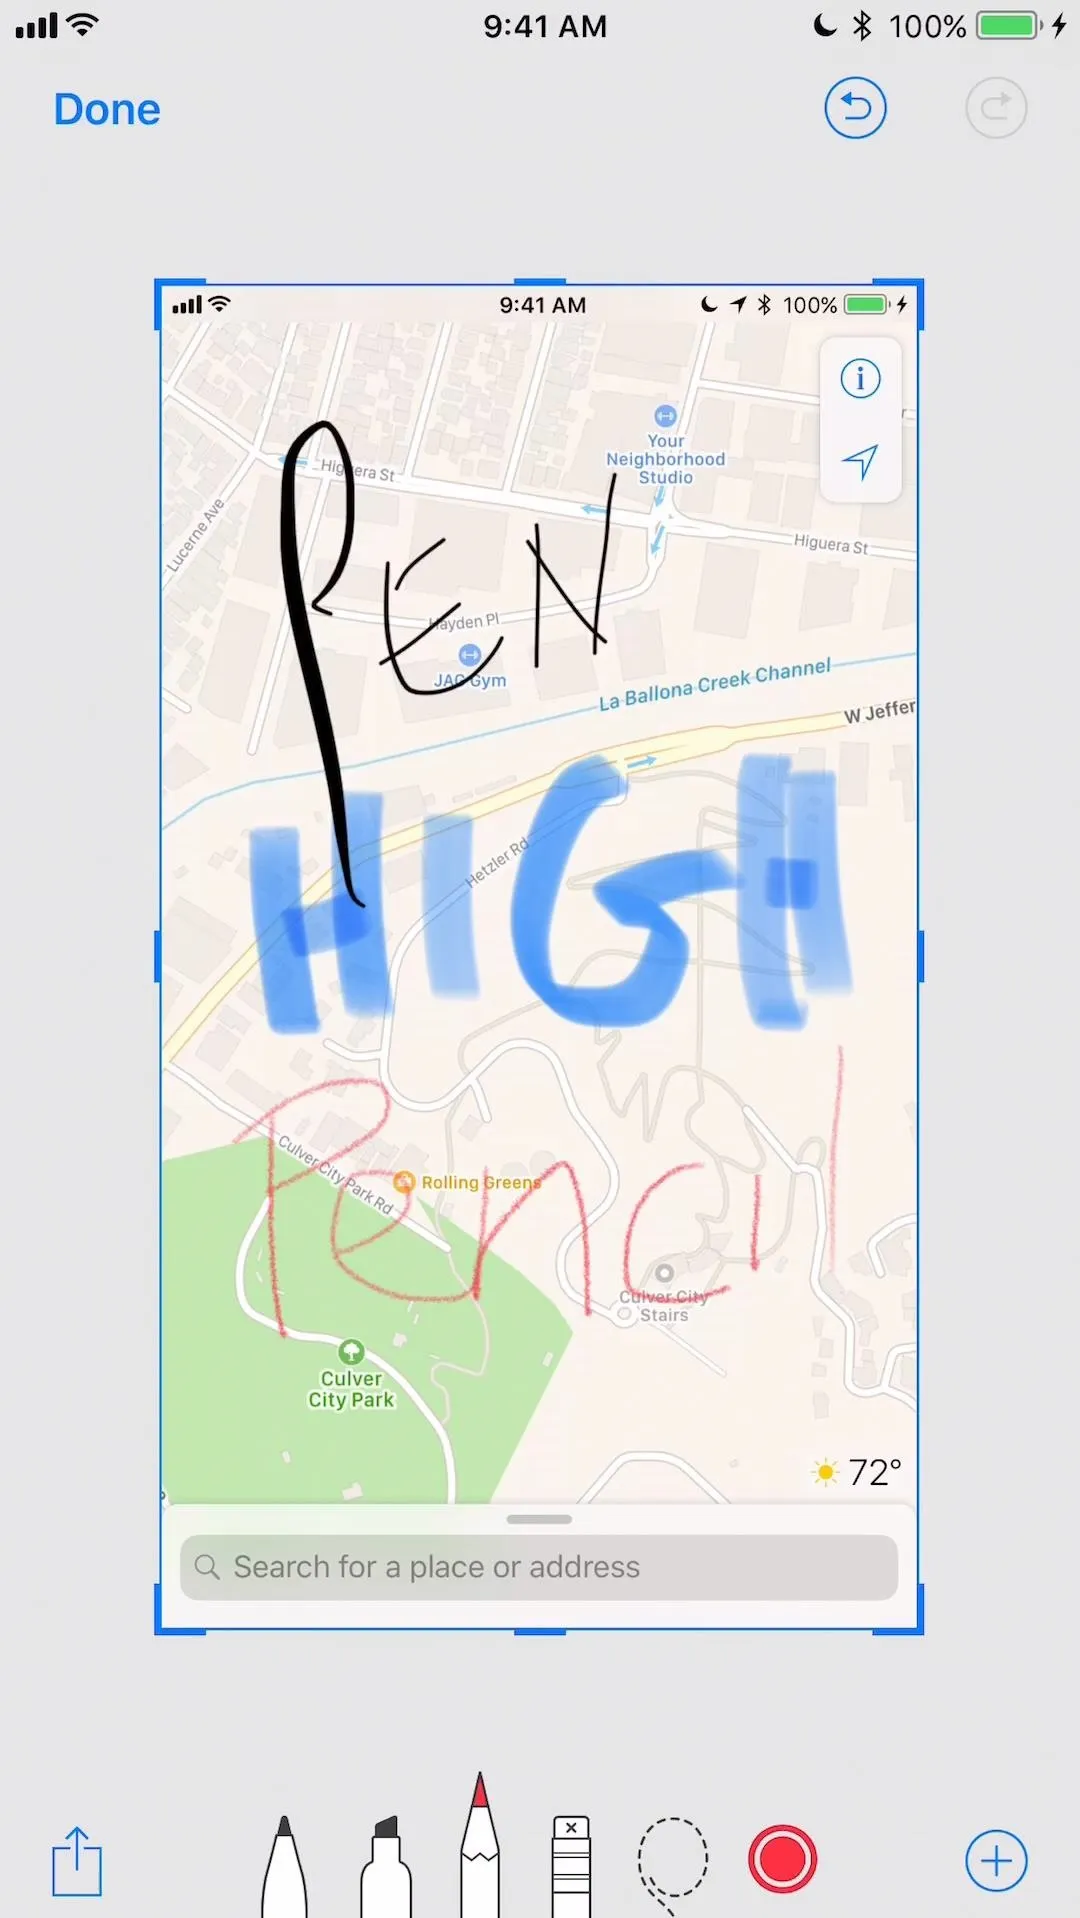
The images below show it in action in iOS 11, but since then, it's gotten more tools. Aside from the pen, highlighter, pencil, eraser, lasso (which looks like an invisible pencil now, not a dotted lasso), and color picker tools, there's a ruler, for instance.
Select Draw Tools
On the edit screen, you can select from a pen (the default), highlighter, or pencil in the formatting toolbar at the bottom. After you select one, you can tap on the color dot to change the color from black to white, blue, green, yellow, or red.
If you've marked up images before in Photos, you'll notice that this Markup screen doesn't have any options for sizes like it did in iOS 10, and that's because it's based on gestures instead. Move slow and precise with your finger and you'll get thin lines, go wild and crazy all over the screen and you'll get thick lines.
Fix Quick Mistakes
If you make a mistake, you can use the eraser to make fine-tuned adjustments, just like you can in the Markup screen in Photos.
Move Things Around
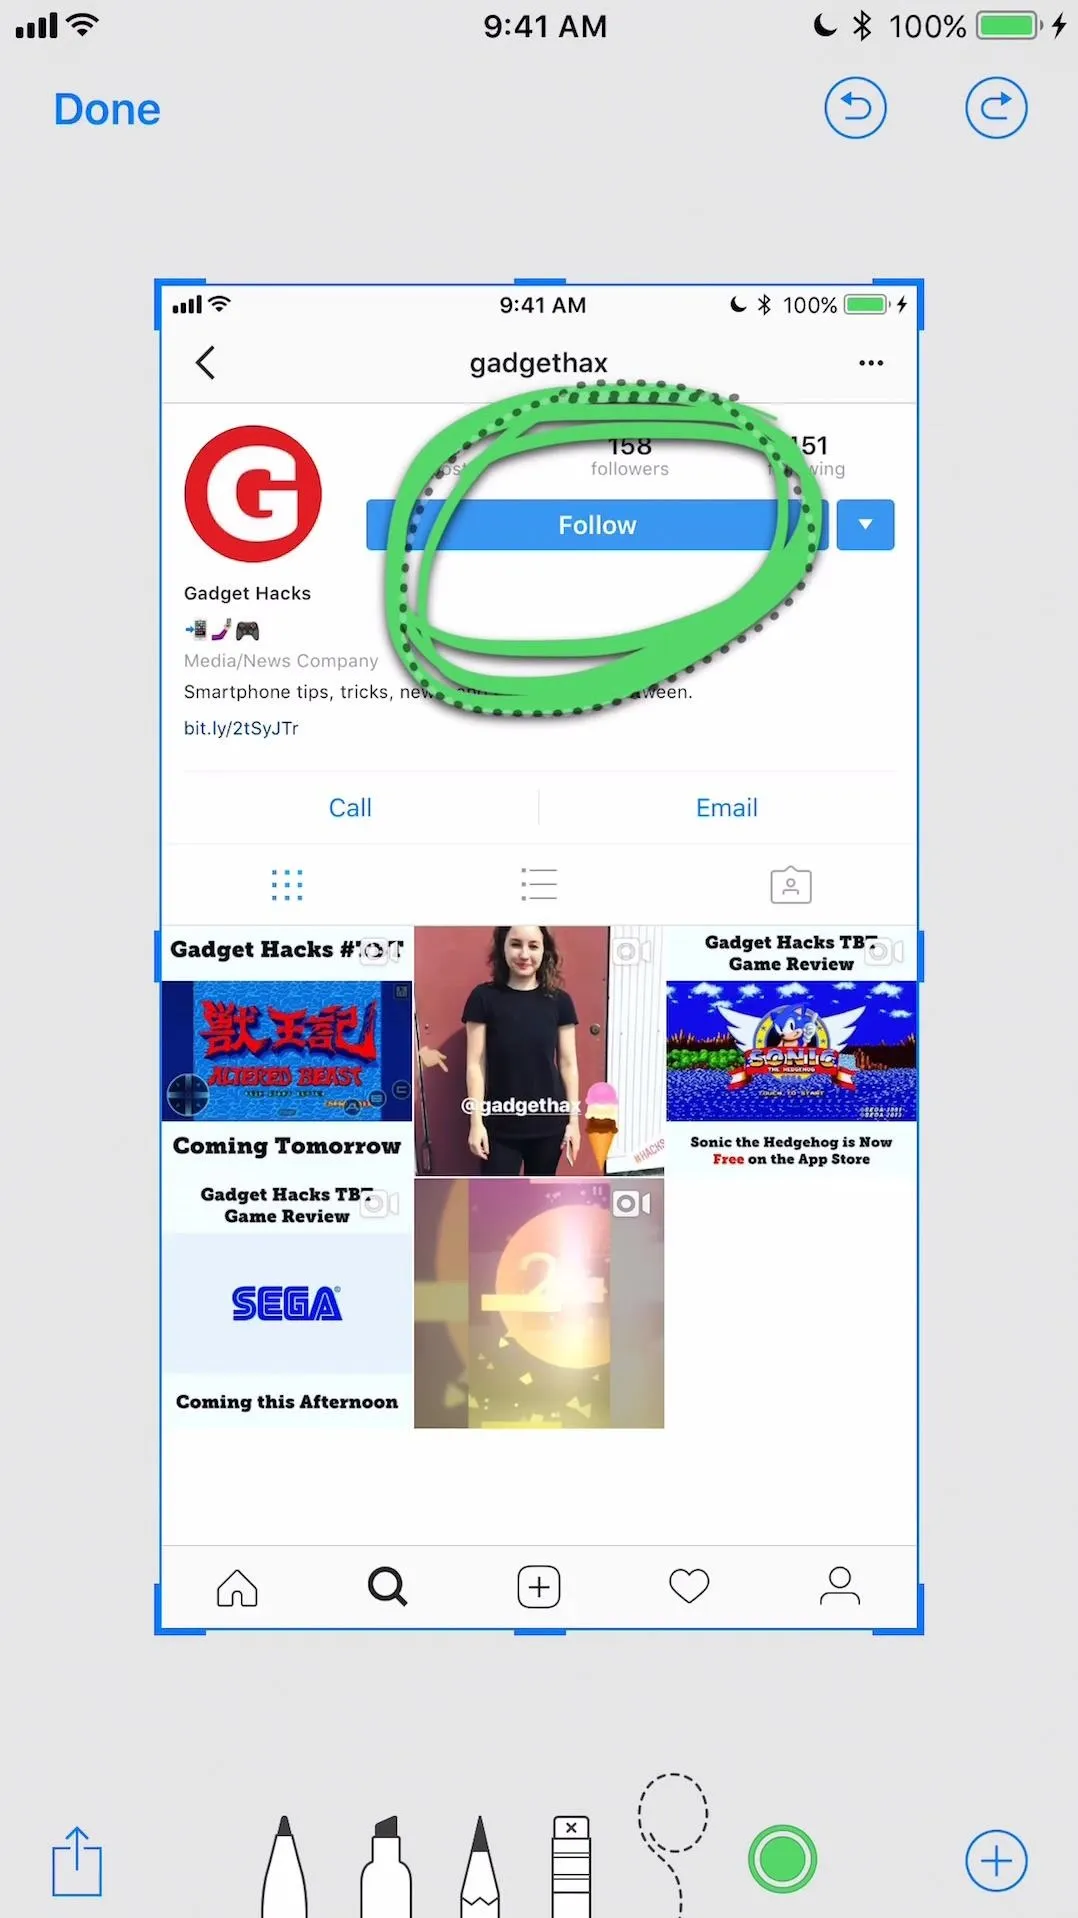
If you just drew your doodle in the wrong spot, you can use the dotted lasso tool to select the doodle in the image. After that, you can tap and move the specific doodle to where you want on the screen. Previously, you would just press and hold on a drawing to move it around in the Photos app, which I think was actually easier.
Undo & Redo
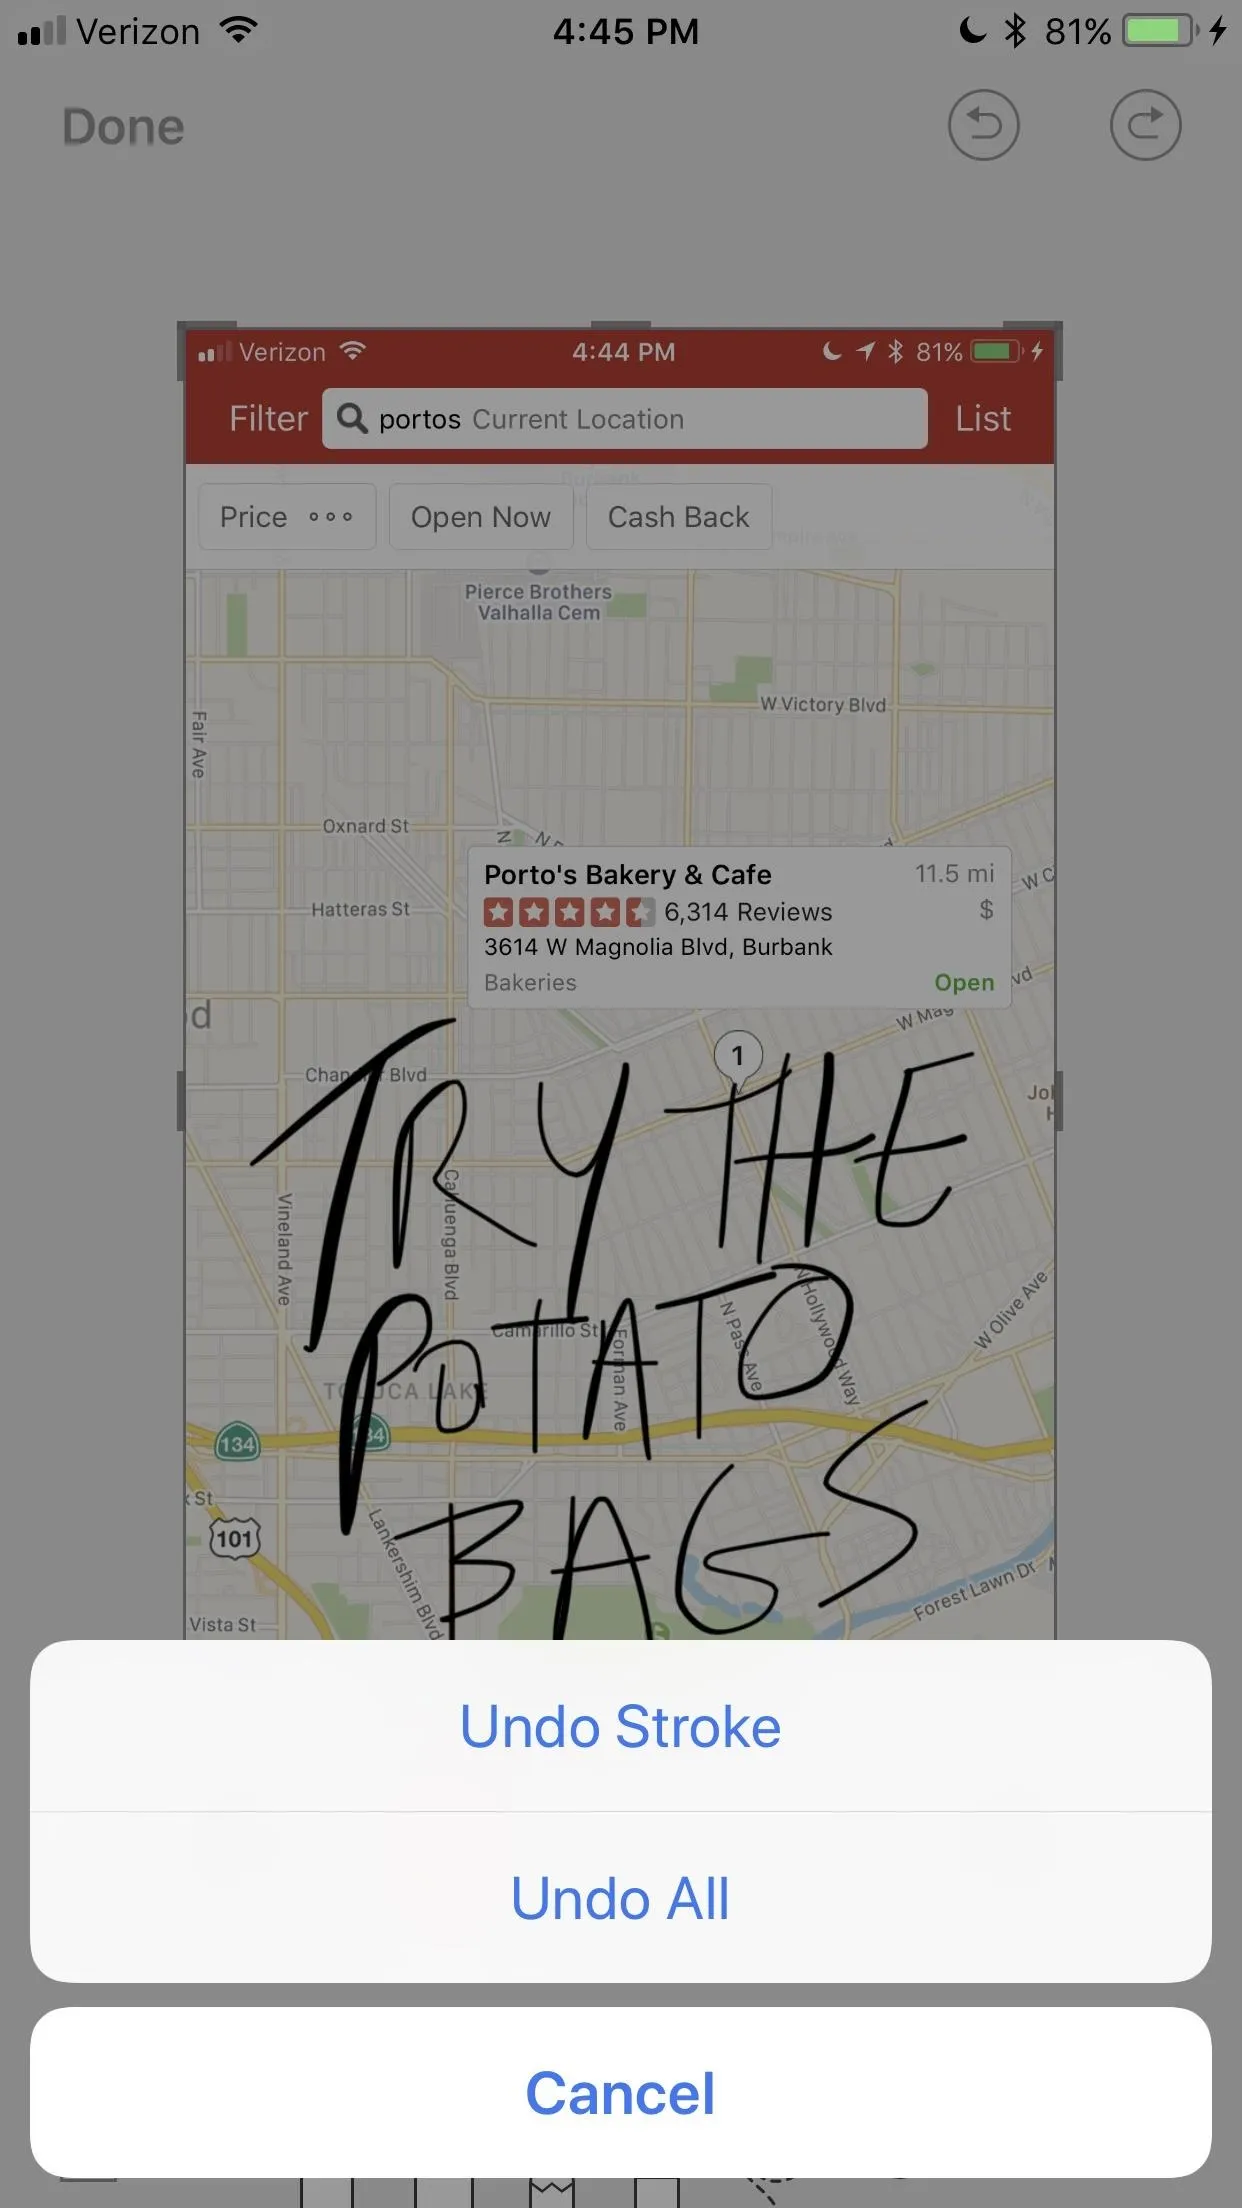
You can use the back arrow in the top right to undo your last edit or to keep going back as far as you need to. Conversely, the forward arrow will redo any action or actions. You can also press and hold on the buttons to bring up more undo or redo options. This is very similar to the Markup tool in Photos, with the addition of the redo button.
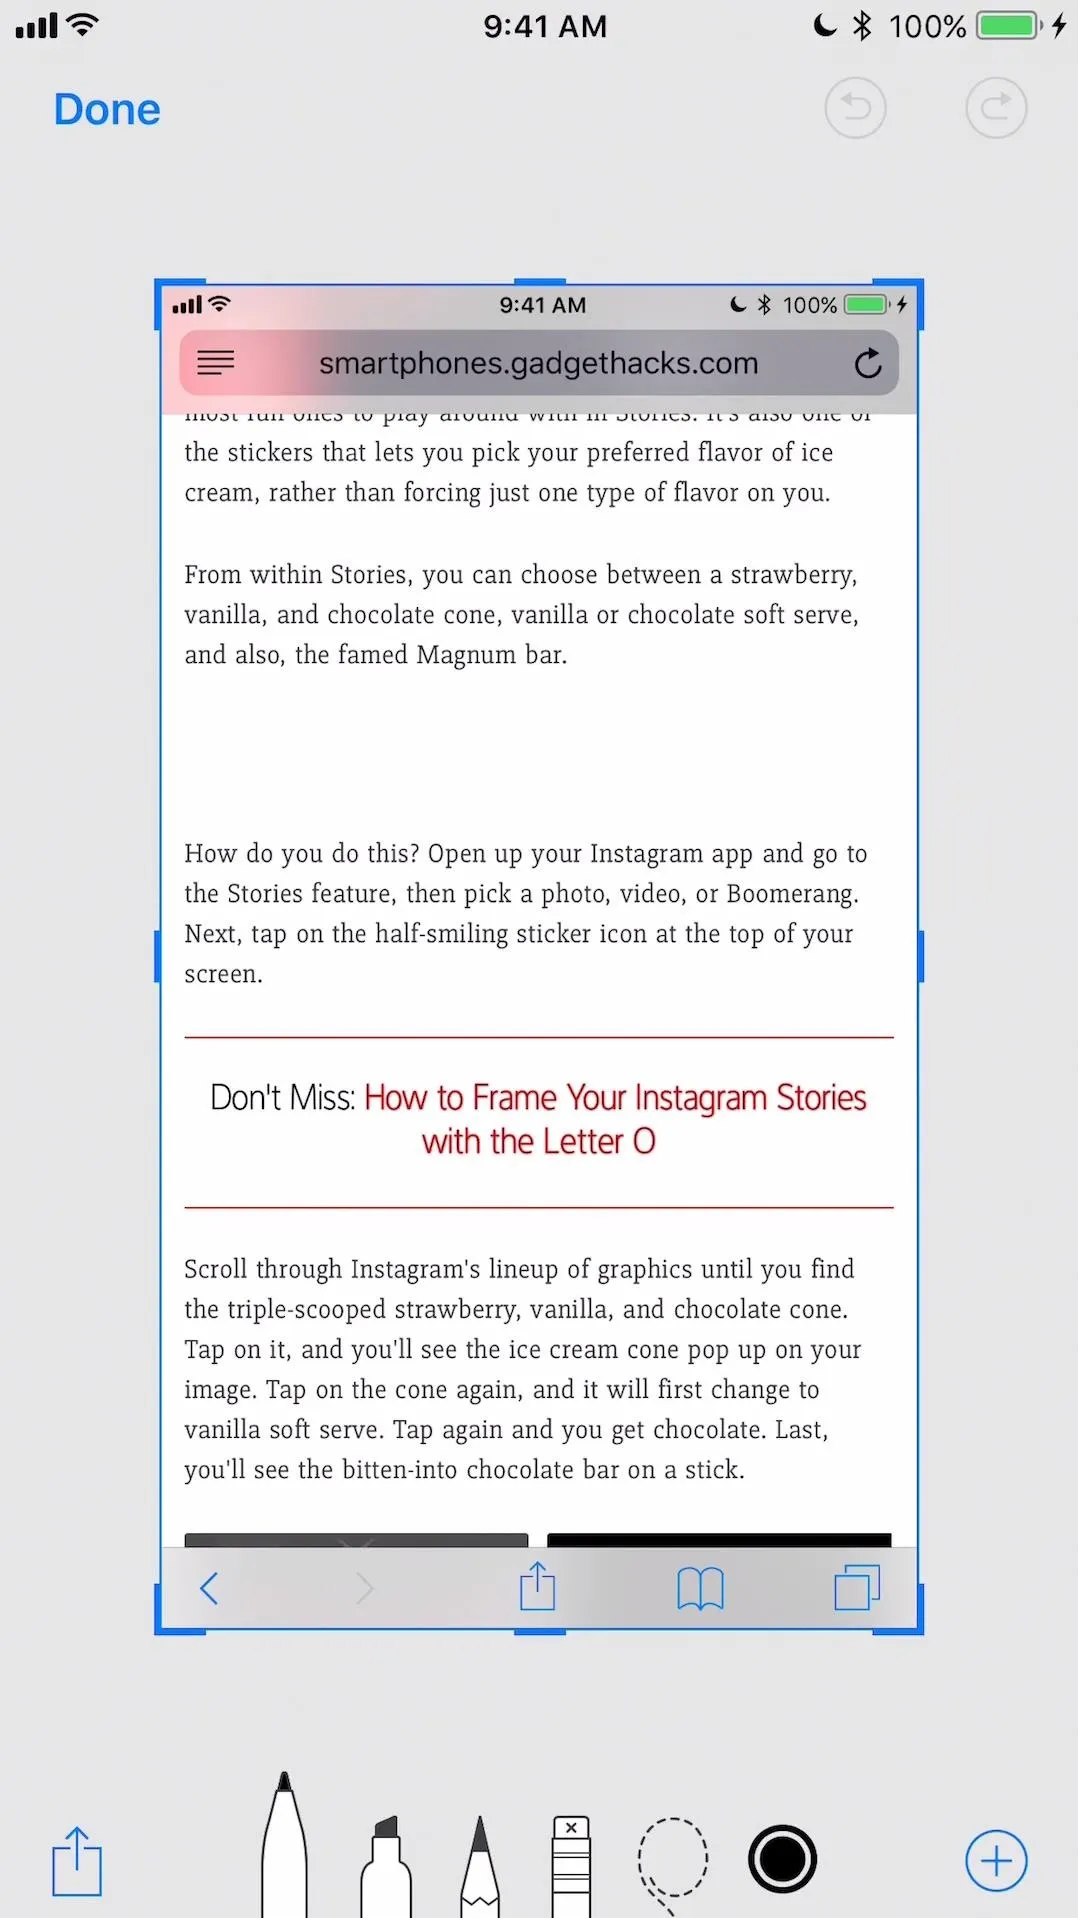
Crop & Zoom
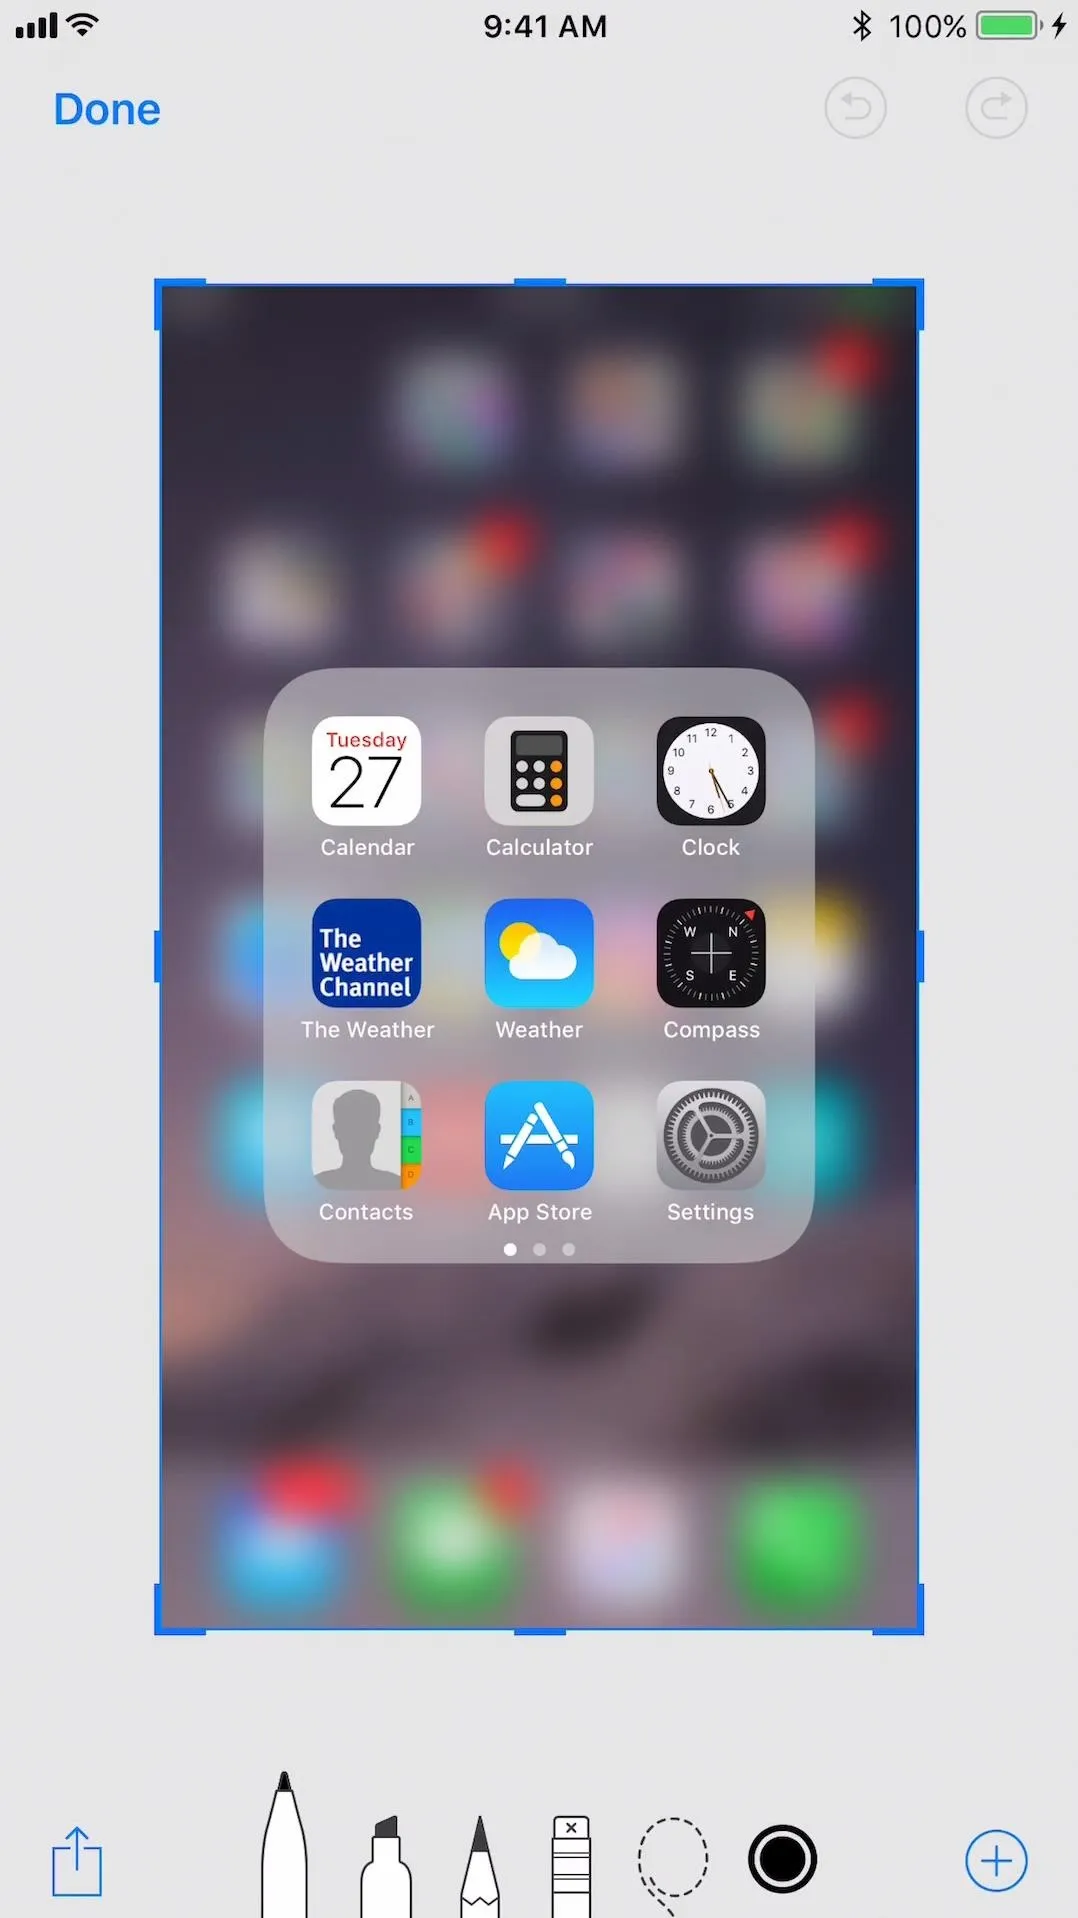
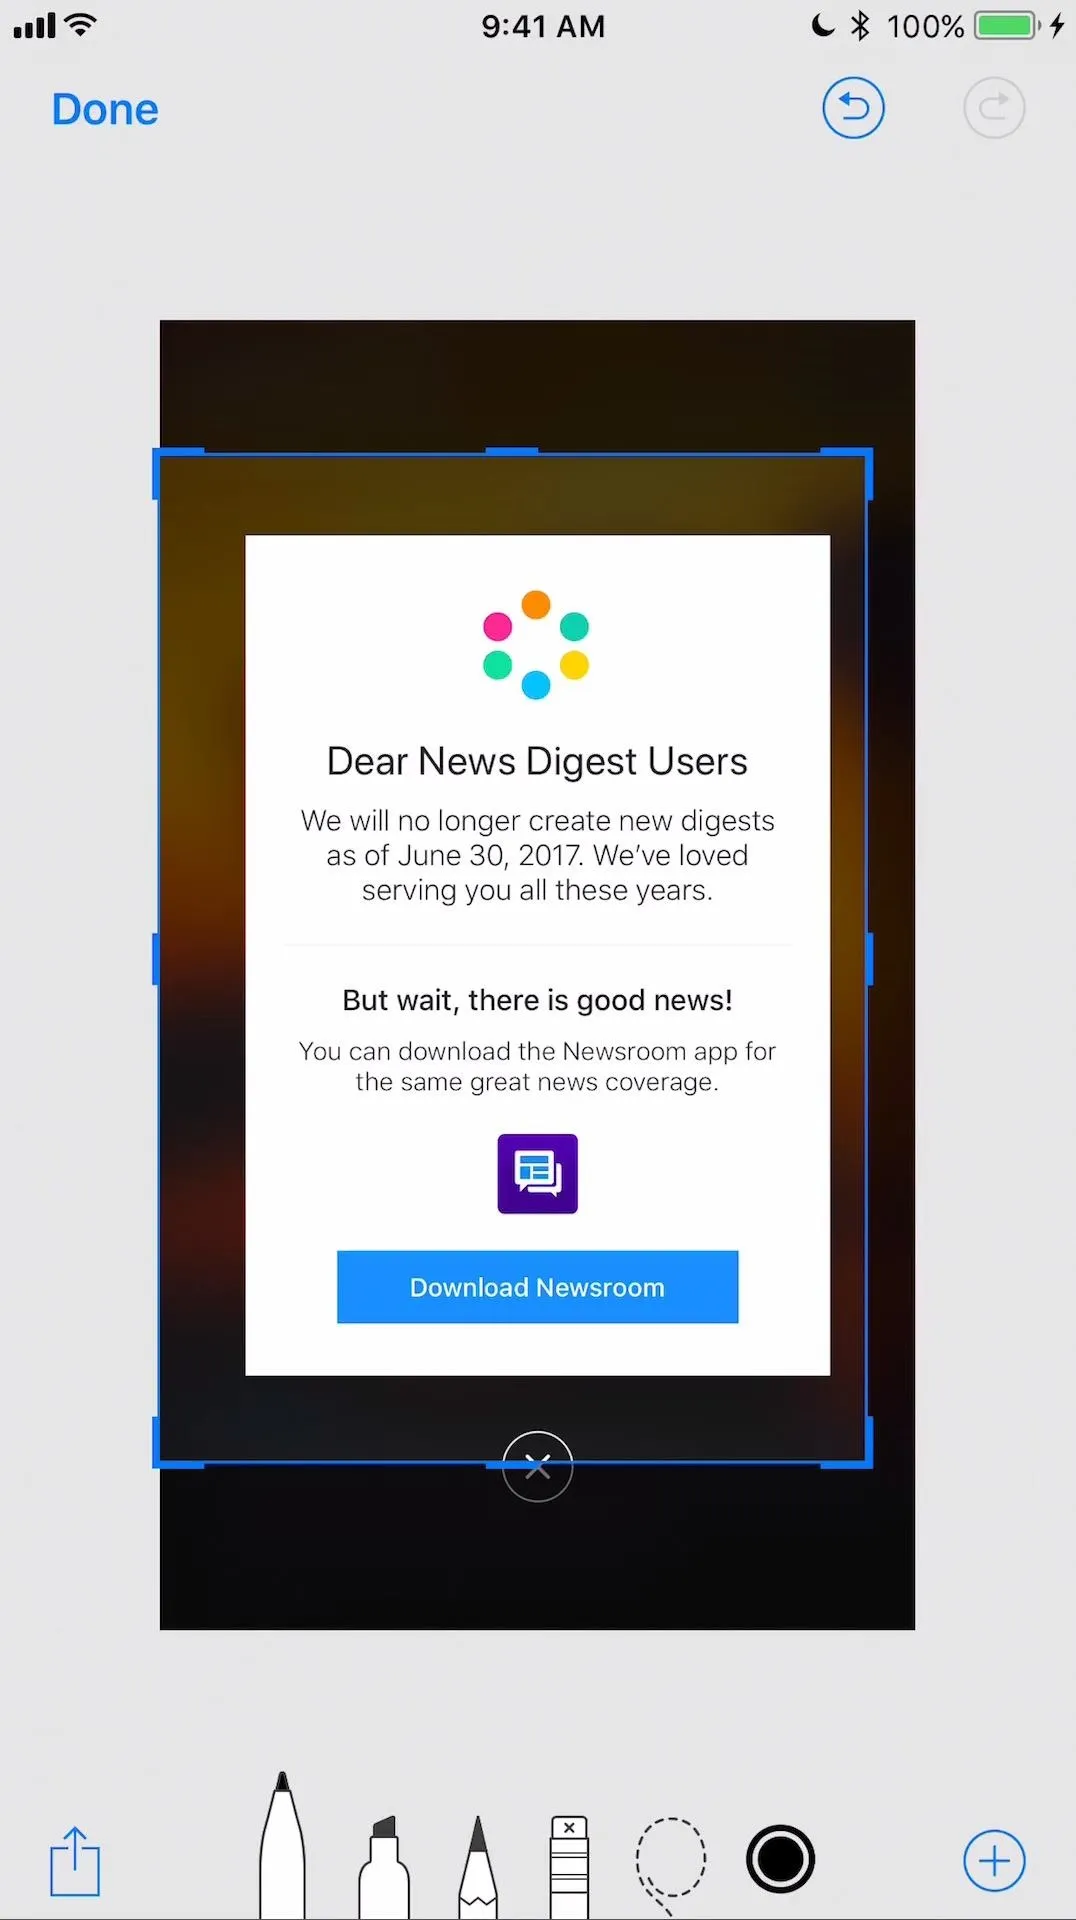
To crop the image, just move the blue border around the screenshot inward to your liking, similar to most other cropping tools on your iPhone. If you crop it too much, you can always move the borders back out. Nothing is permanent. You can also zoom in on the image with a pinch-out gesture, or zoom out with a pinch-in gesture. (It's more natural than it sounds.)
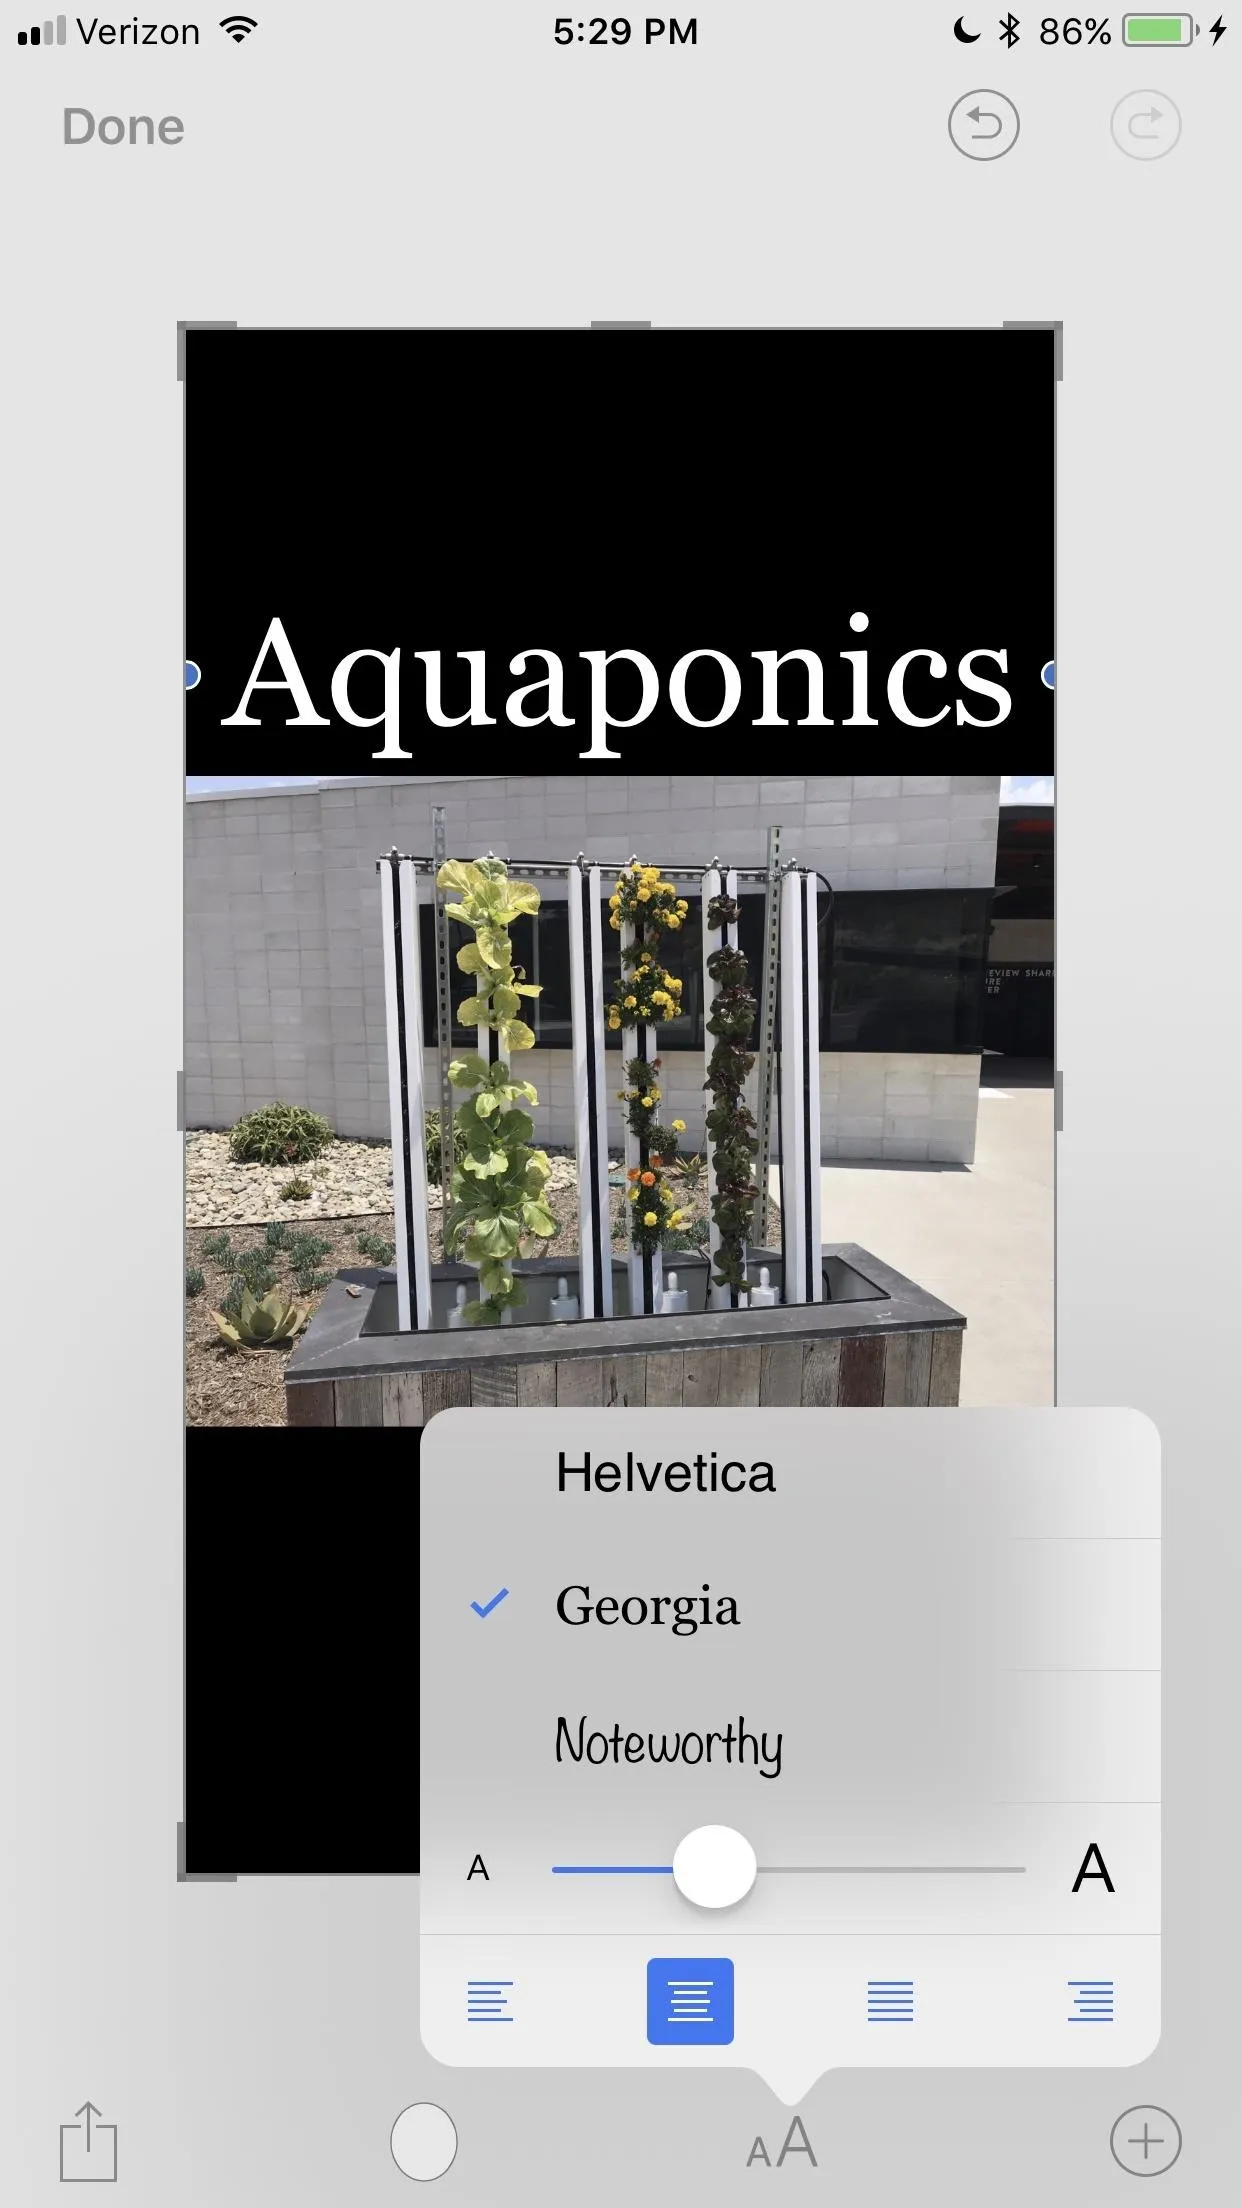
Add Text
Adding text is pretty much exactly the same as how it was in the Markup tool in Photos in iOS 10. Just tap on the "Aa" icon, tap on the text box, then "Edit," and start typing. You can choose different colors, different fonts, make it smaller or bigger, and/or change the text's justification or make it monospaced.
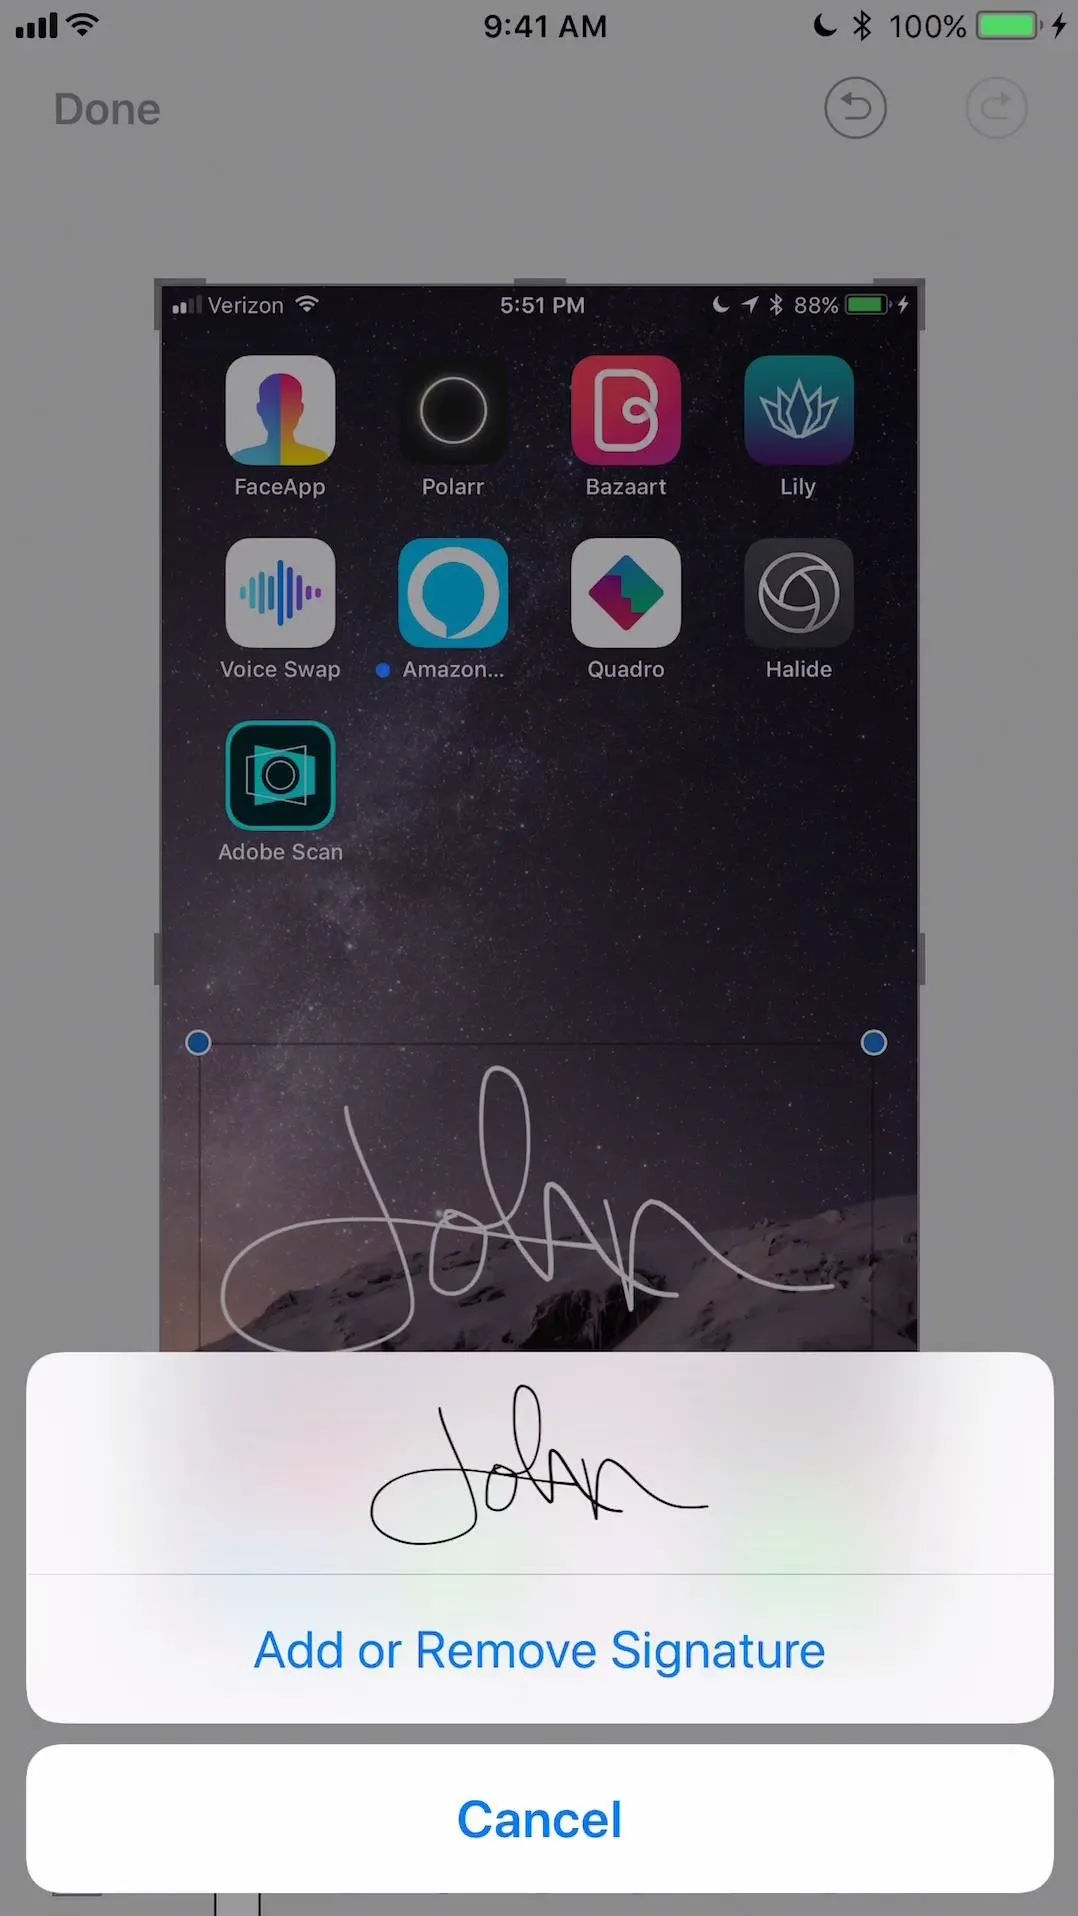
Add Your Signature
If you want to create a signature that you use all of the time, or any random word or phrase that you use a lot, just tap on the + icon and select "Signature." If you don't have any current signatures, you'll be prompted to create one. If you do, you can simply select which one you want to add.
Magnify Content on the Screen
The handy magnifying glass tool is also in the + menu. Just select "Magnifier" from the list, then drag the magnified circle to where you need it, use the blue dot to change the size of the circle, then the green dot to change the magnification.
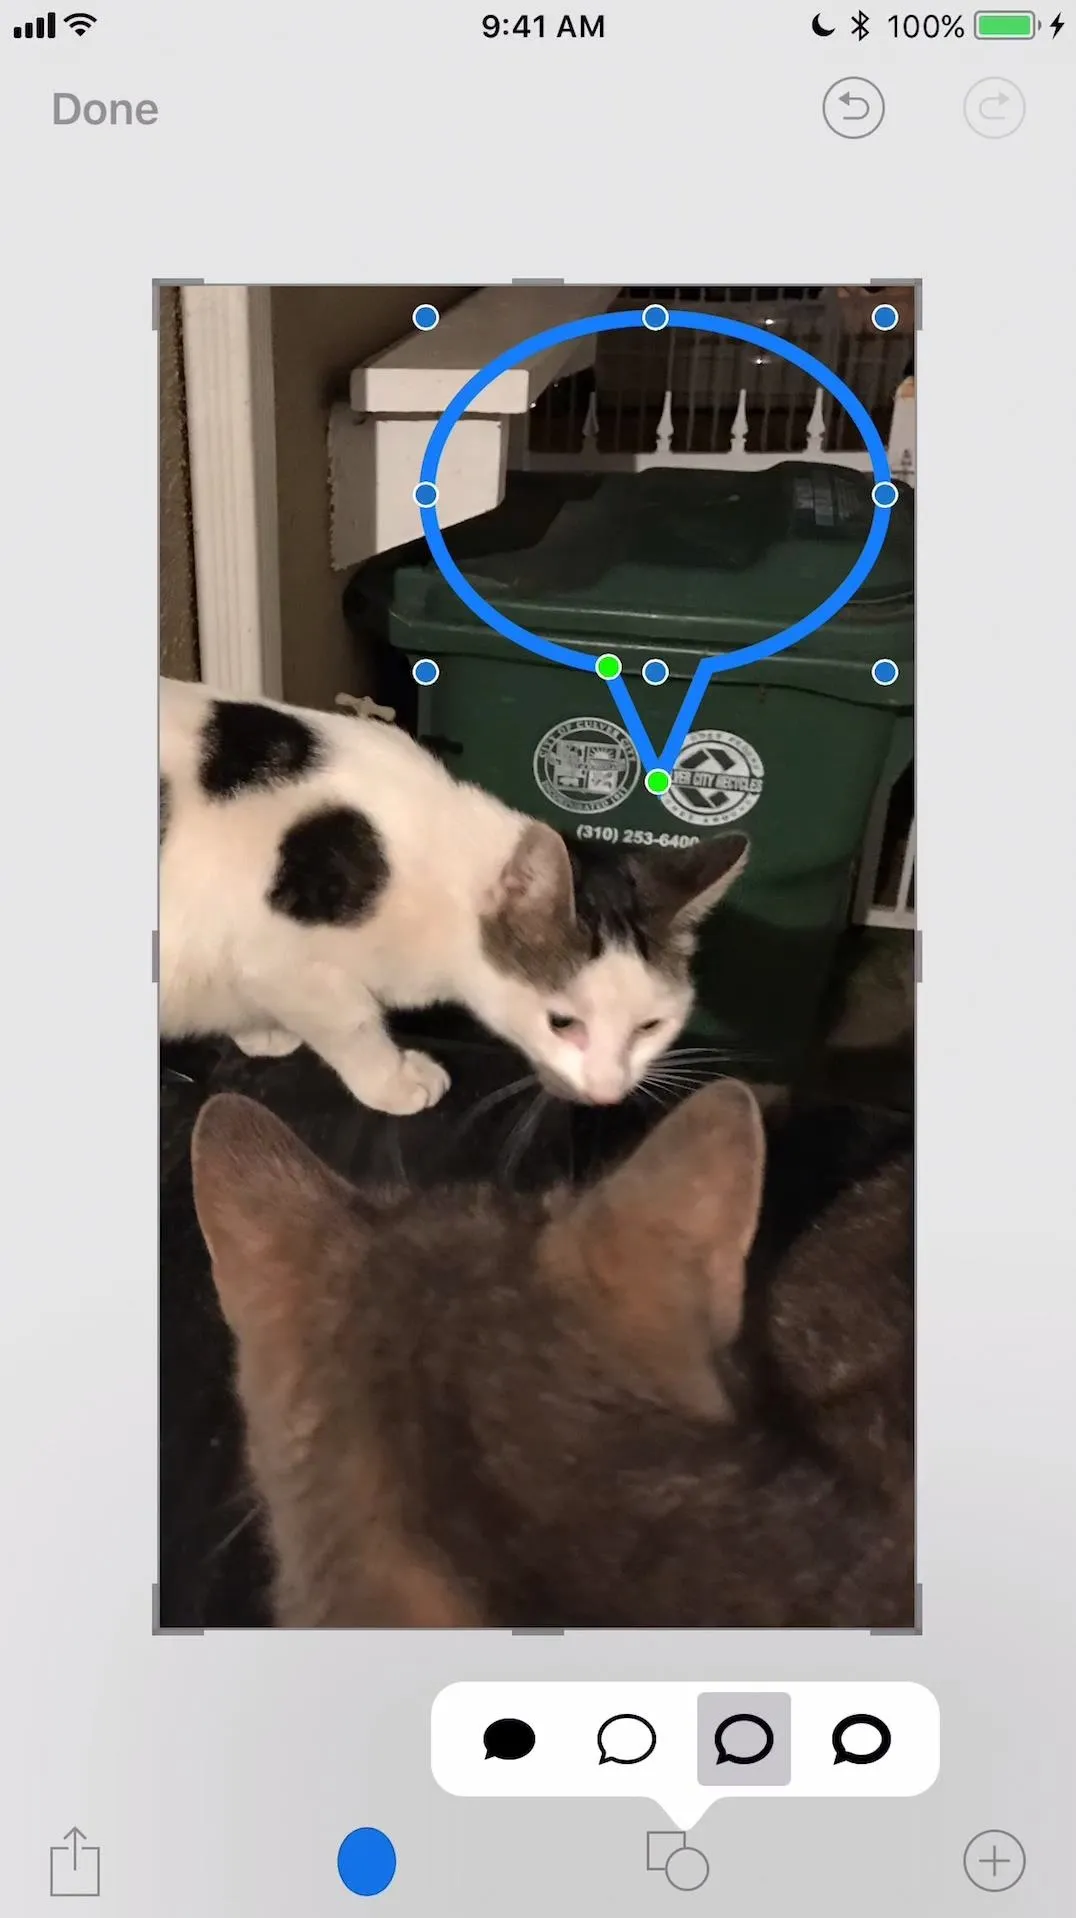
Add Customizable Shapes
Also available in the + menu list are shapes. There's squares, circles, speech bubbles, and arrows, all of which can be customized to your liking. You can make the shapes bigger or smaller, make the outlines thinner or thicker, fill them in with a solid color, and squeeze or stretch them. For arrows, you can also choose different types of lines.
Share Your Screenshot (The Slow Way)
Once your screenshot is marked up how you want it, you can now share it. Just tap the share sheet icon in the bottom left to see all of your options.
Save or Delete Your Screenshot
If you didn't tap on the thumbnail to edit the screenshot, and it either went away by itself or you swiped it away, the screenshot was automatically saved to your Screenshots album in Photos, so you don't have to worry about it. If you did edit it, you need to select "Done" to either save or delete your work of art.
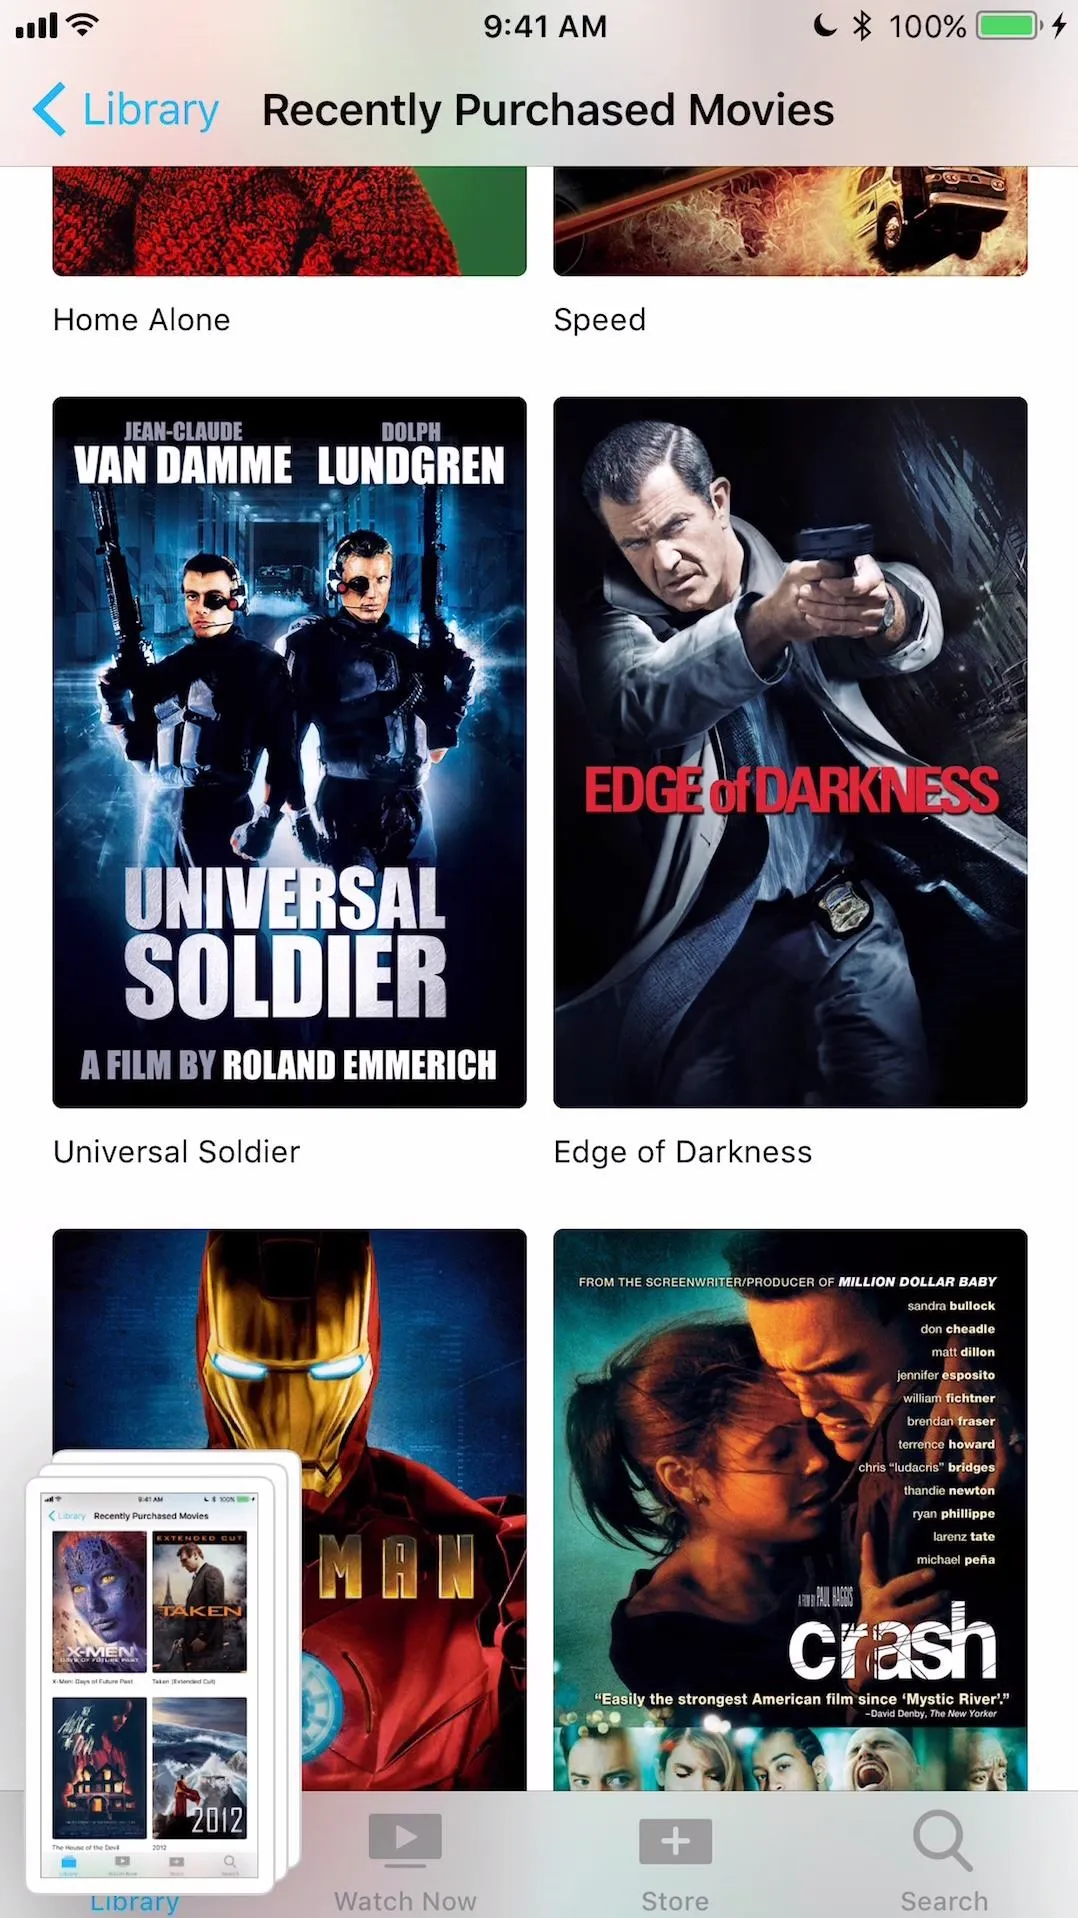
Take & Edit Multiple Screenshots
The best thing about this new screenshot tool is that you can take multiple screenshots in a row and edit them all at the same time. The thumbnail images are not visible in subsequent screenshots, so you don't have to worry about that either. Once you've taken enough screenshots, tap on the thumbnail group to open up the Markup screen and edit them all in the same sitting. Just swipe left and right to view the different screenshots.

Drag & Drop onto Other Screenshots
If you have multiple screenshots and want to duplicate shapes across screenshots or just move shapes around from screenshot to screenshots, it's totally possible. You can't drag and drop everything, like text, but drawings are definitely fair game. When you drag something off its current image (make sure to press down hard to select it), it'll show up as a box, then you can drag that and drop it where you want on another image.

Delete a Screenshot Right Away
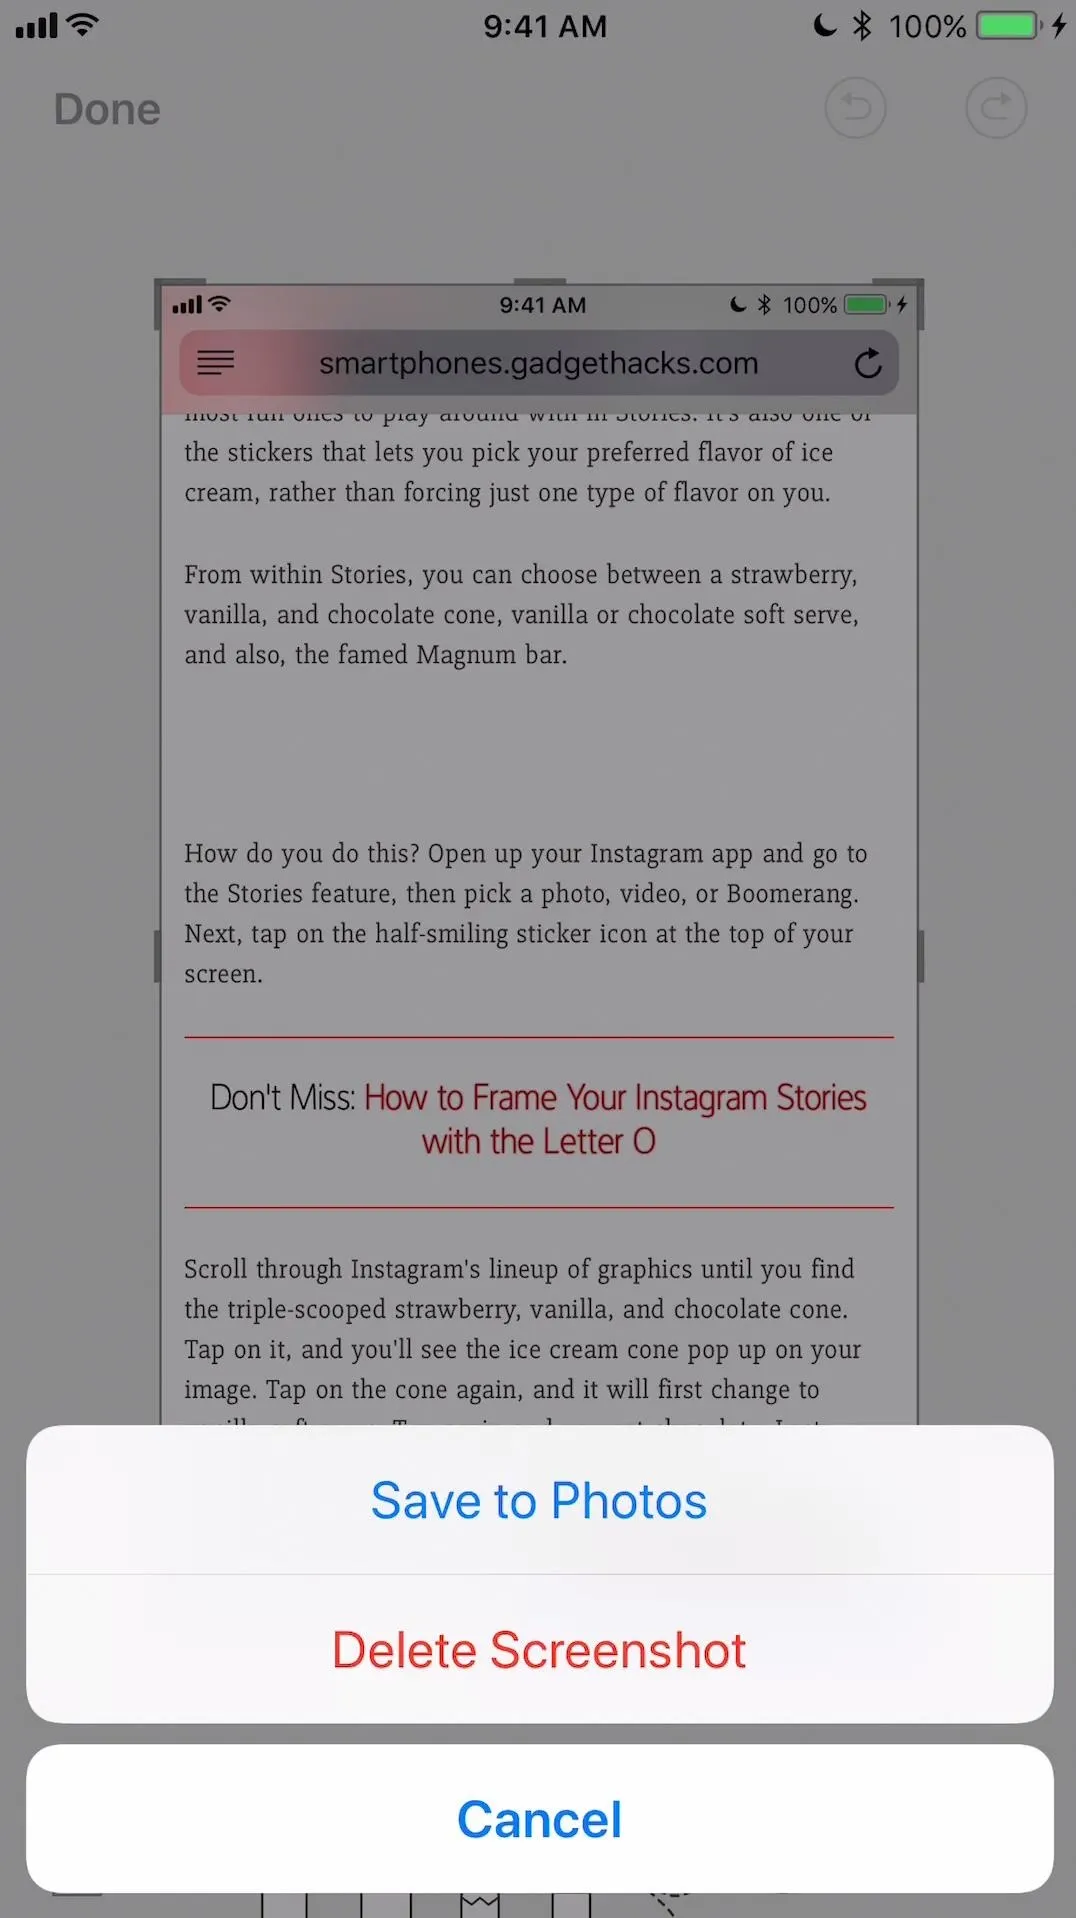
If you accidentally took a screenshot and don't want it showing up in your camera roll, there's no "X" to tap on the thumbnail preview to remove it instantly, and if you let it go it will automatically be saved. So, in order to delete something right away, tap on the thumbnail, hit "Done" real quick, then choose "Delete Screenshot."
Turn on DND & Don't Let You Screen Turn Off
If you're right in the middle of editing and someone calls you or your screen automatically turns off, all of your edits will be saved to the Screenshots album in Photos. However, you won't be able to undo any of your drawings or drag and drop them anywhere. So, to avoid this, make sure your screen stays awake and turn on Do Not Disturb mode so calls don't come in.
The One Thing Missing ...
As great as this new tool is, there's one thing it needs — a way to disable it. Some of you might not actually want that screenshot thumbnail appearing every time because you don't want to edit or share it right away. In that case, the only thing you can do right now is swipe it away. Maybe one day Apple will add a toggle for this feature in the Settings app, but until then, there's not much you can do.
Cover photo, screenshots, and GIFs by Justin Meyers/Gadget Hacks


Comments
Be the first, drop a comment!