


Apple does not provide a native way to lock apps on your iPhone behind Face ID, Touch ID, or your passcode. For a long time, we've wanted that option for improved privacy and security, but Apple does allow developers to use its authentication protocols. Apps like Messenger, Outlook, and WhatsApp give the option to lock them down, but for the apps that don't, you can force it with a little time and effort.
Before, we had to rely on jailbreak tweaks like Lockdown and Locktopus, but there's very little reason to jailbreak your iPhone these days. With the built-in Shortcuts app in iOS 13 and iOS 14, you can add a few shortcuts and configure them to lock any app behind Face ID or Touch ID biometrics or passcode authentication.
The process for locking apps behind using the LocalAuthentication framework with this method is a long one, but our guide clearly explains everything you need to do. That includes customizing the shortcuts, granting them access and permission to necessary apps and services, tinkering with settings, and creating the automations needed to make it all work.
Requirements
There's not much to it. You just need an iPhone model that supports iOS 14, or even one running iOS 13 since this guide will work for either iOS version. Beyond that, you need the Shortcuts app, which is installed on your iPhone by default, and "Allow Untrusted Shortcuts" toggled on in the "Shortcuts" settings.
Add & Configure AppDefense
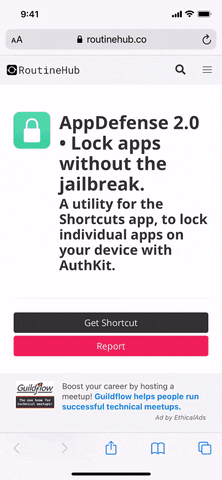
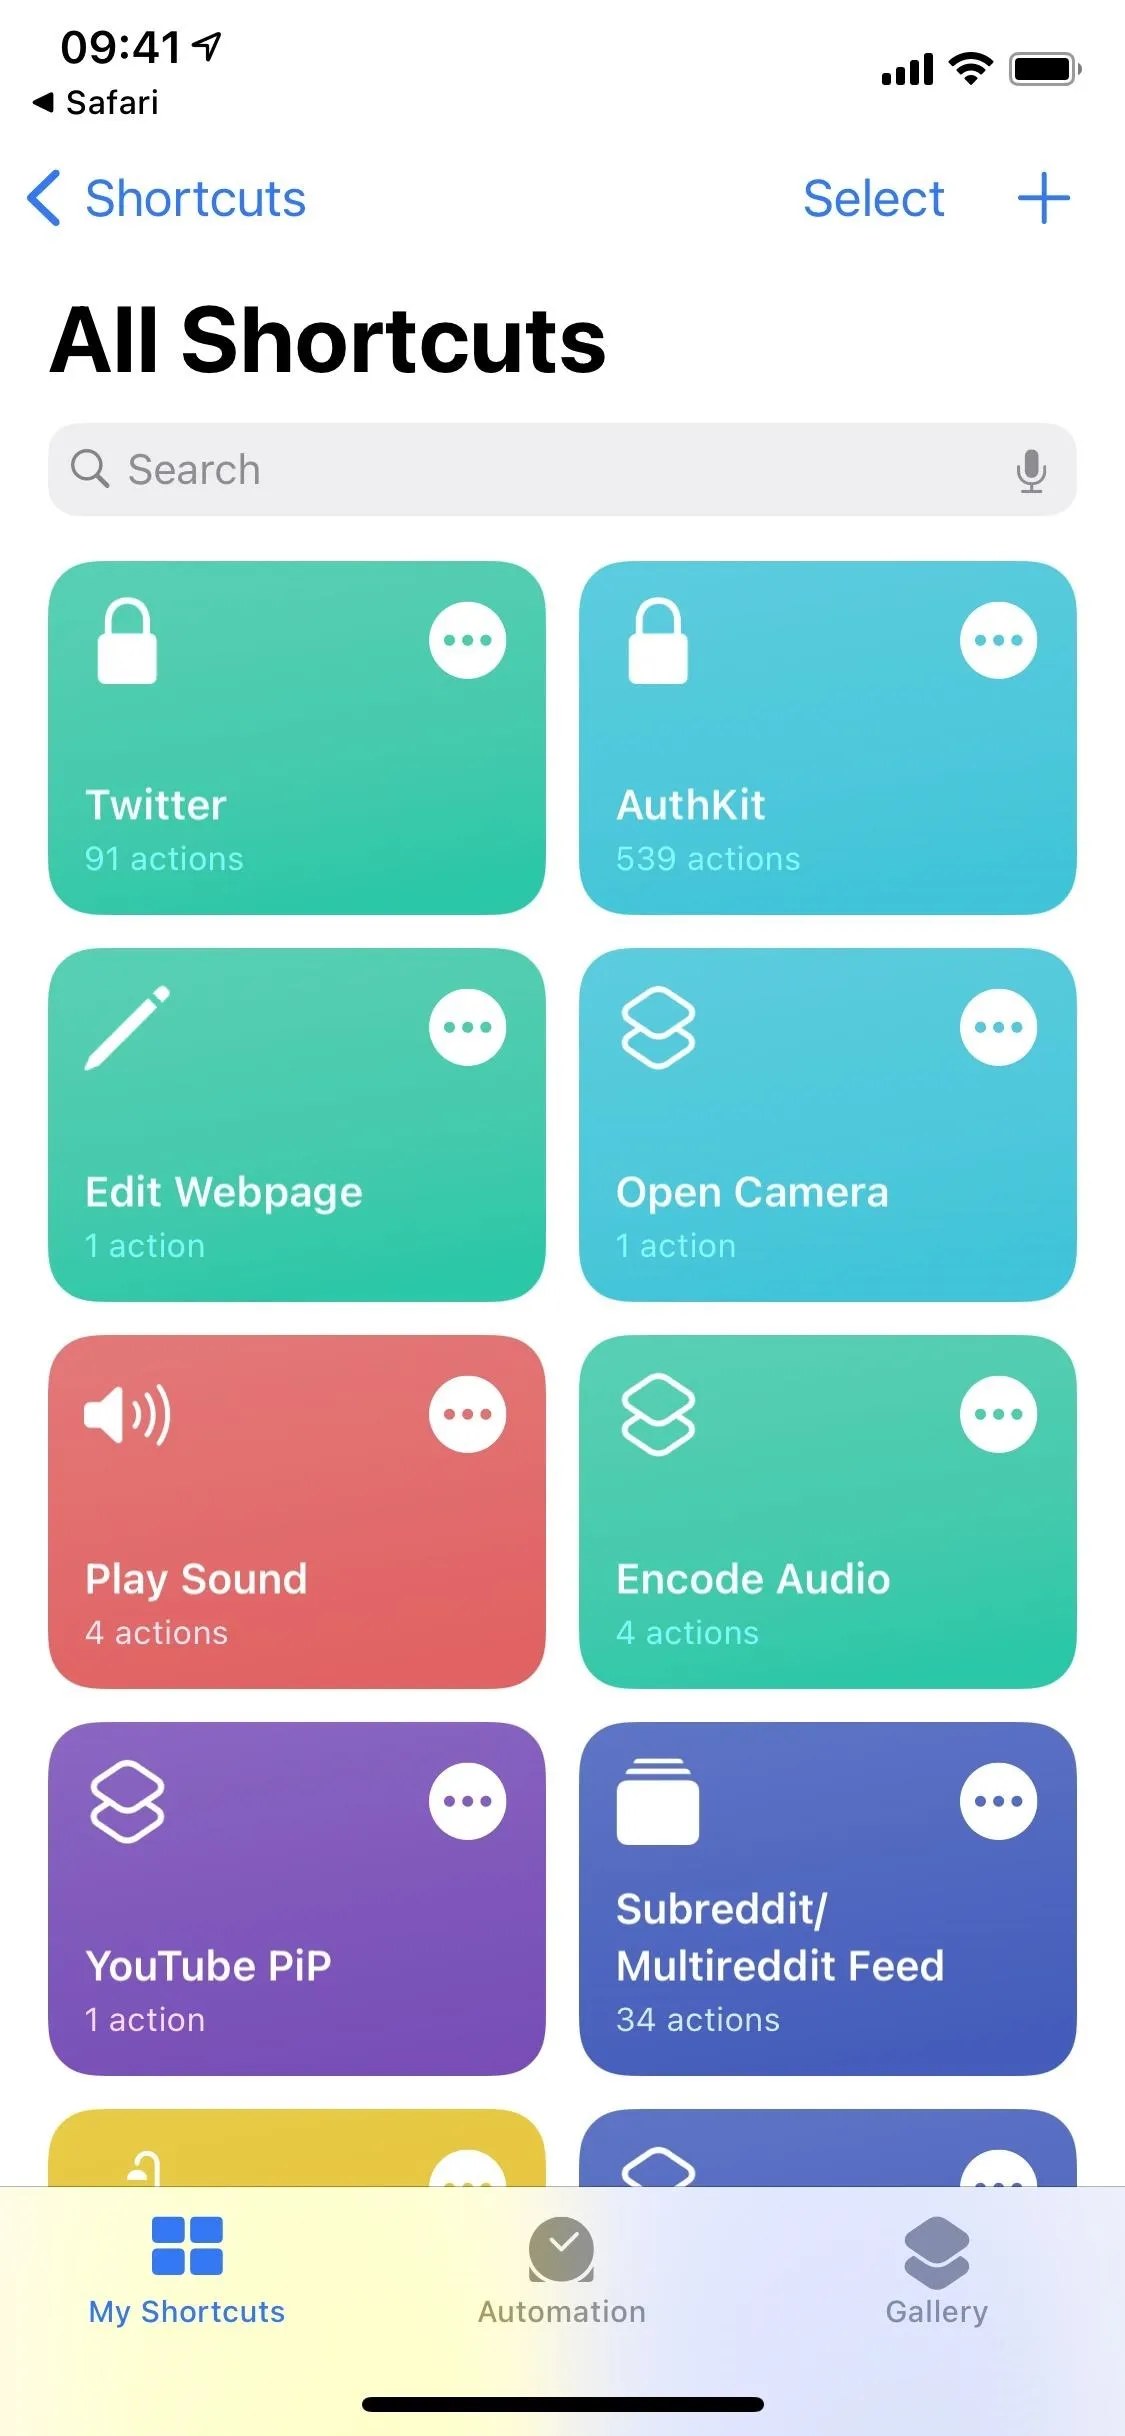
To start, you'll need the AppDefense shortcut, designed by BurritoSoftware. You can add it from BurritoSoftware's website, RoutineHub, or the iCloud link below. For the latest version, its website or RoutineHub are your best options.
- iCloud Link: AppDefense 2.0 (free)
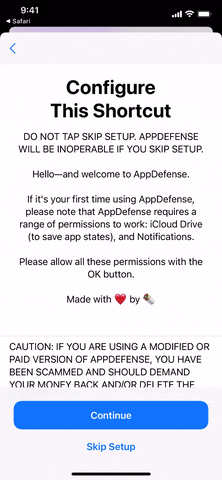
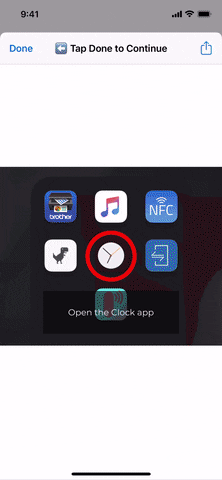
After hitting "Get Shortcut," you'll be redirected to the Shortcuts app, where you can view the actions within the shortcut's workflow. Scroll to the bottom, then tap on "Add Untrusted Shortcut" to add it to your library. As soon as you do that, you'll be asked to configure the shortcut.
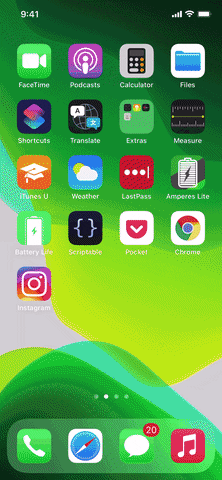
Tap "Continue," then select "App" on the next page and select the app you want to protect with Face ID, Touch ID, or your passcode. We're using Instagram in our example. Next, tap "Continue, then type in the name of the app you chose exactly how it appears on your device because it's case-sensitive.
Hit "Continue" once again, and you're finished with this part of the shortcut's configuration. The last page will ask you to rename the AppDefense shortcut, then continue configuration within the Shortcuts app, but we'll cover all of that in the following steps, so tap "Done."
Rename AppDefense to the App's Name
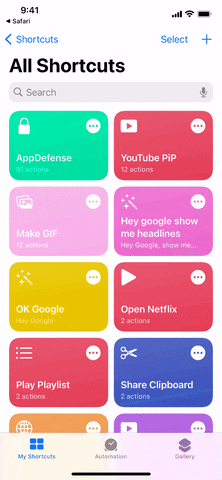
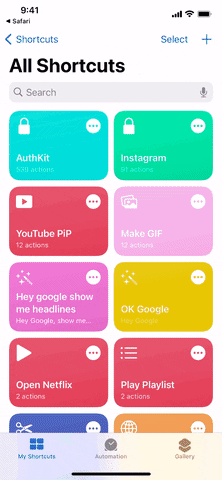
Now, you'll want to rename the AppDefense shortcut so that you can distinguish it from other apps you want to lock later. Go into "My Shortcuts" in Shortcuts, then tap on the ellipsis (•••) in the top right of AppDefense's card. Then, tap the ellipsis (•••) in the top right of the page with all of the actions.
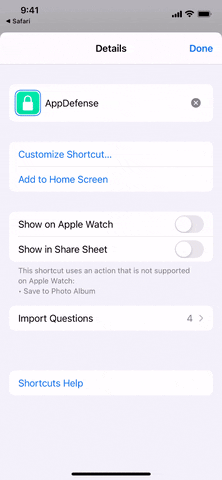
Here, you'll rename the shortcut. Tap on the tiny "x" button on the right side of the shortcut's name, then type in the name of the app you chose to lock. To distinguish it from other shortcuts involving that app, you can write something like "Instagram (AppDefense)." Finally, hit "Done" in the top right.
Add AuthKit 2.0
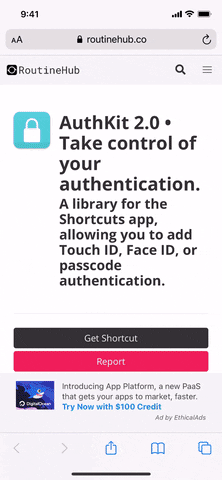
In addition to AppDefense, you'll have to get BurritoSoftware's AuthKit 2.0 shortcut, which allows you to add the Touch ID, Face ID, or passcode authentication. Again, you can add AuthKit from the BurritoSoftware's website, RoutineHub, or directly from the iCloud link below.
- iCloud Link: AuthKit 2.0 (free)
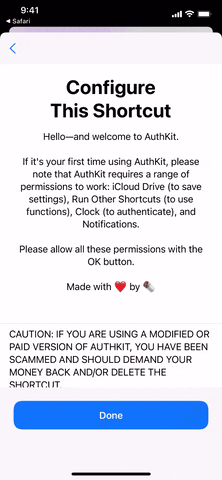
After hitting "Get Shortcut," you'll be redirected to the Shortcuts app, where you can view the actions within the shortcut's workflow. Scroll to the bottom, then tap on "Add Untrusted Shortcut" to add it to your library. As soon as you do that, you'll see a pop-up telling you how to grant several permissions to the shortcut, but you won't be doing that right now — tap on "Done" to finish.
Run AppDefense to Grant Permissions
Your two shortcuts are now added and configured, for the most part, but you'll need to configure a few permissions to get them both to work.
First, run the AppDefense shortcut, which will now be called whatever you named it in Step 2 — just tap its card in "My Shortcuts." The first time it's opened, you'll be asked to grant it access to iCloud Drive. — touch "OK." Then, you'll be asked to let the shortcut access other shortcuts — choose "OK."
Now the AppDefense quick start guide will begin, which will show you what to do next. We'll go over it in detail, so you tap "OK," then "Done" on all of the walkthrough cards. Once the guide is over, AppDefense will also ask you for access to the Photos app and your notifications. Tap "OK" on each.

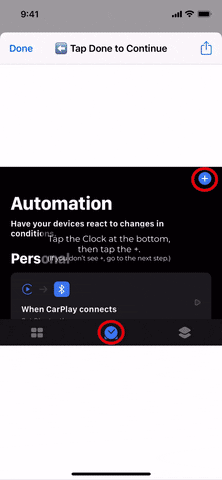
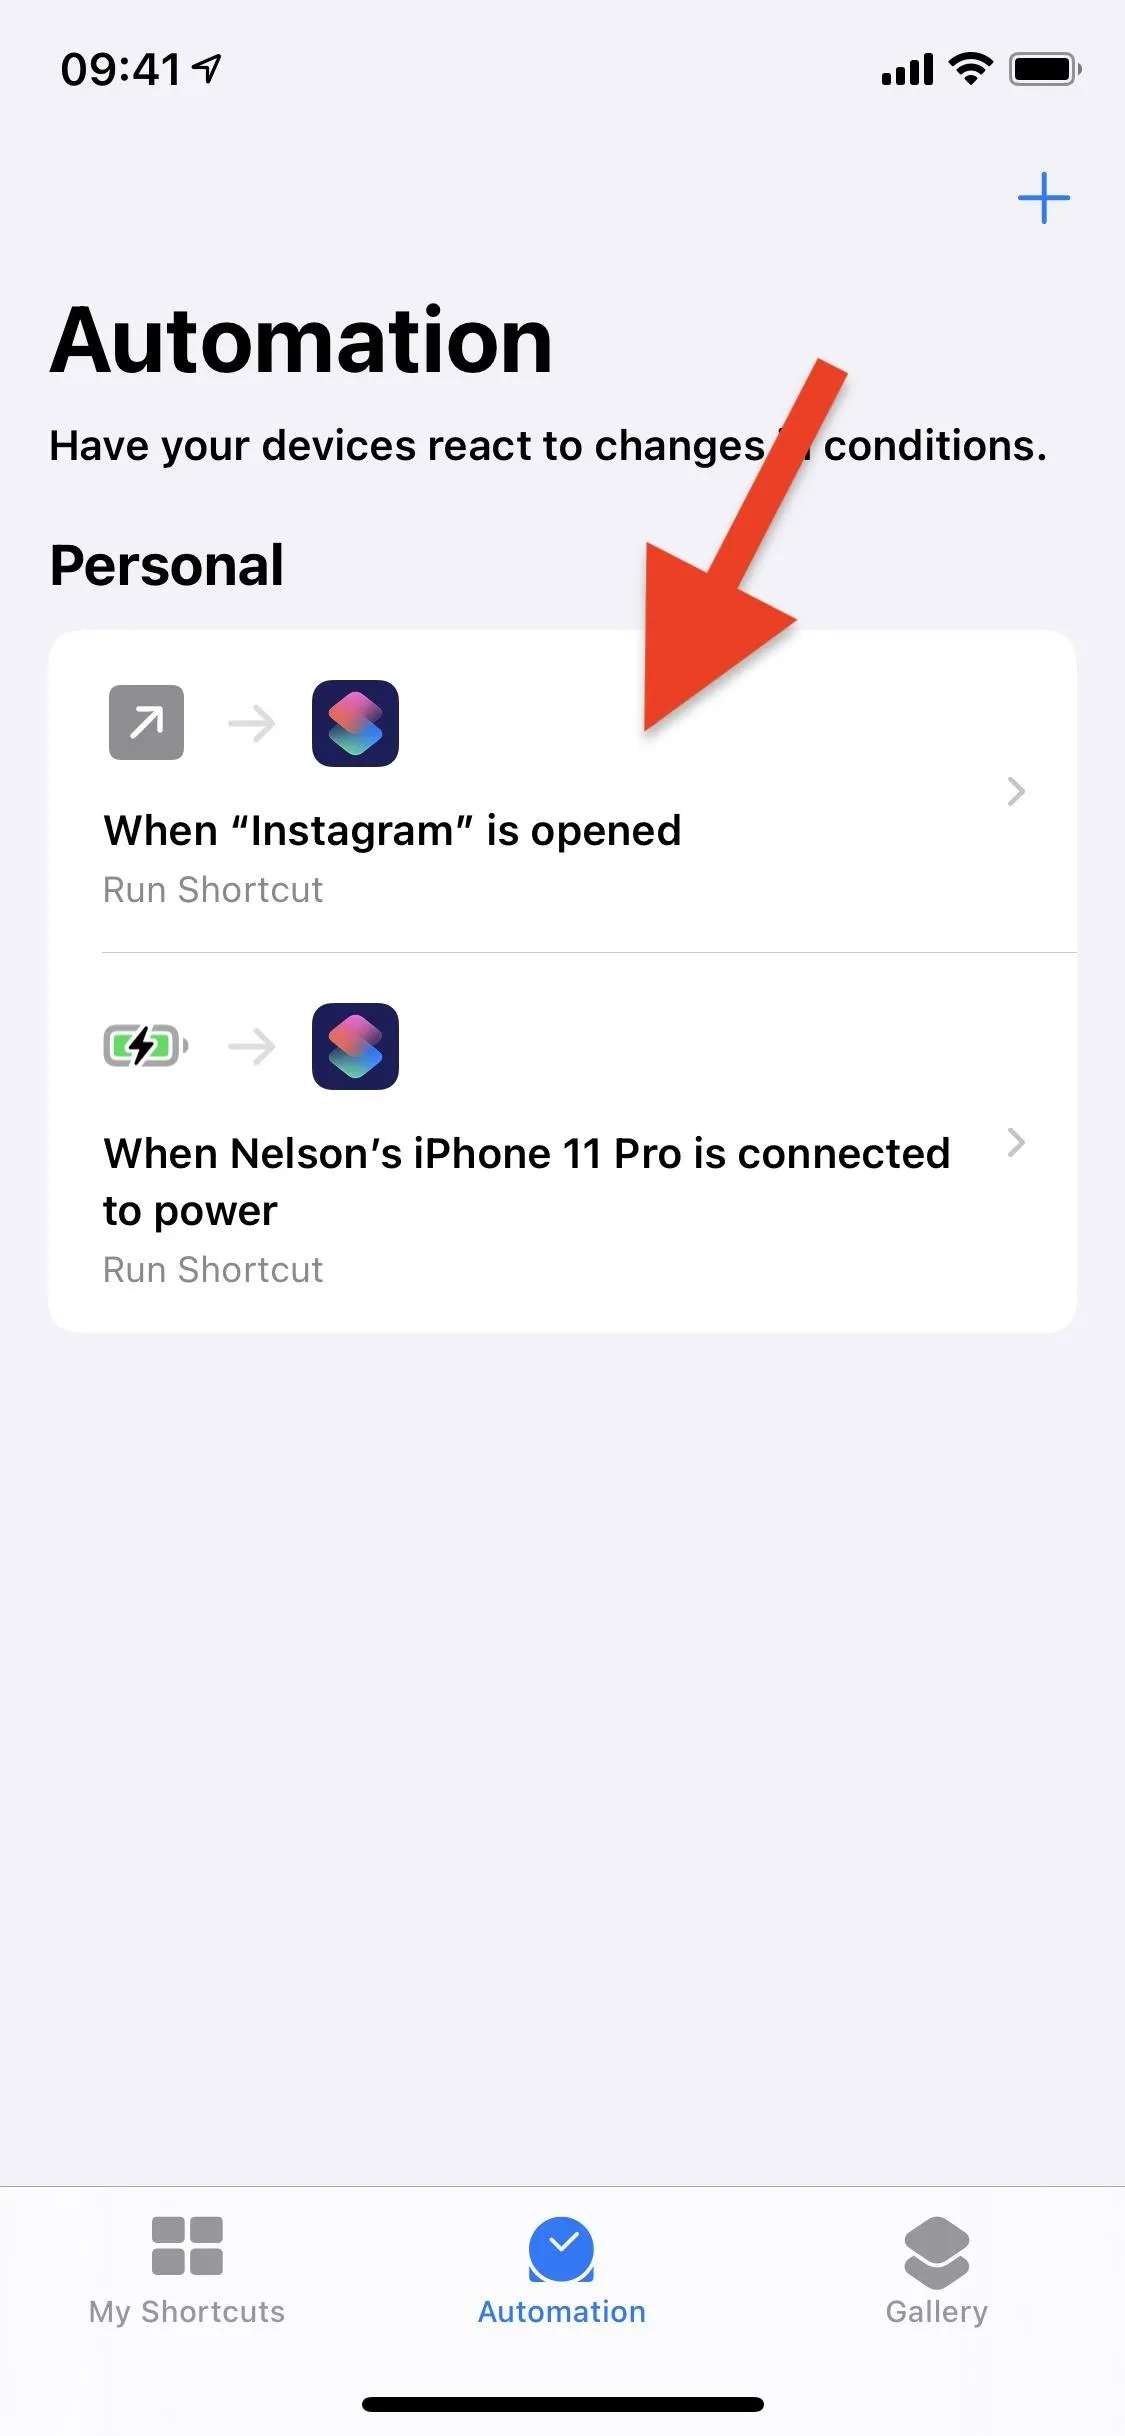
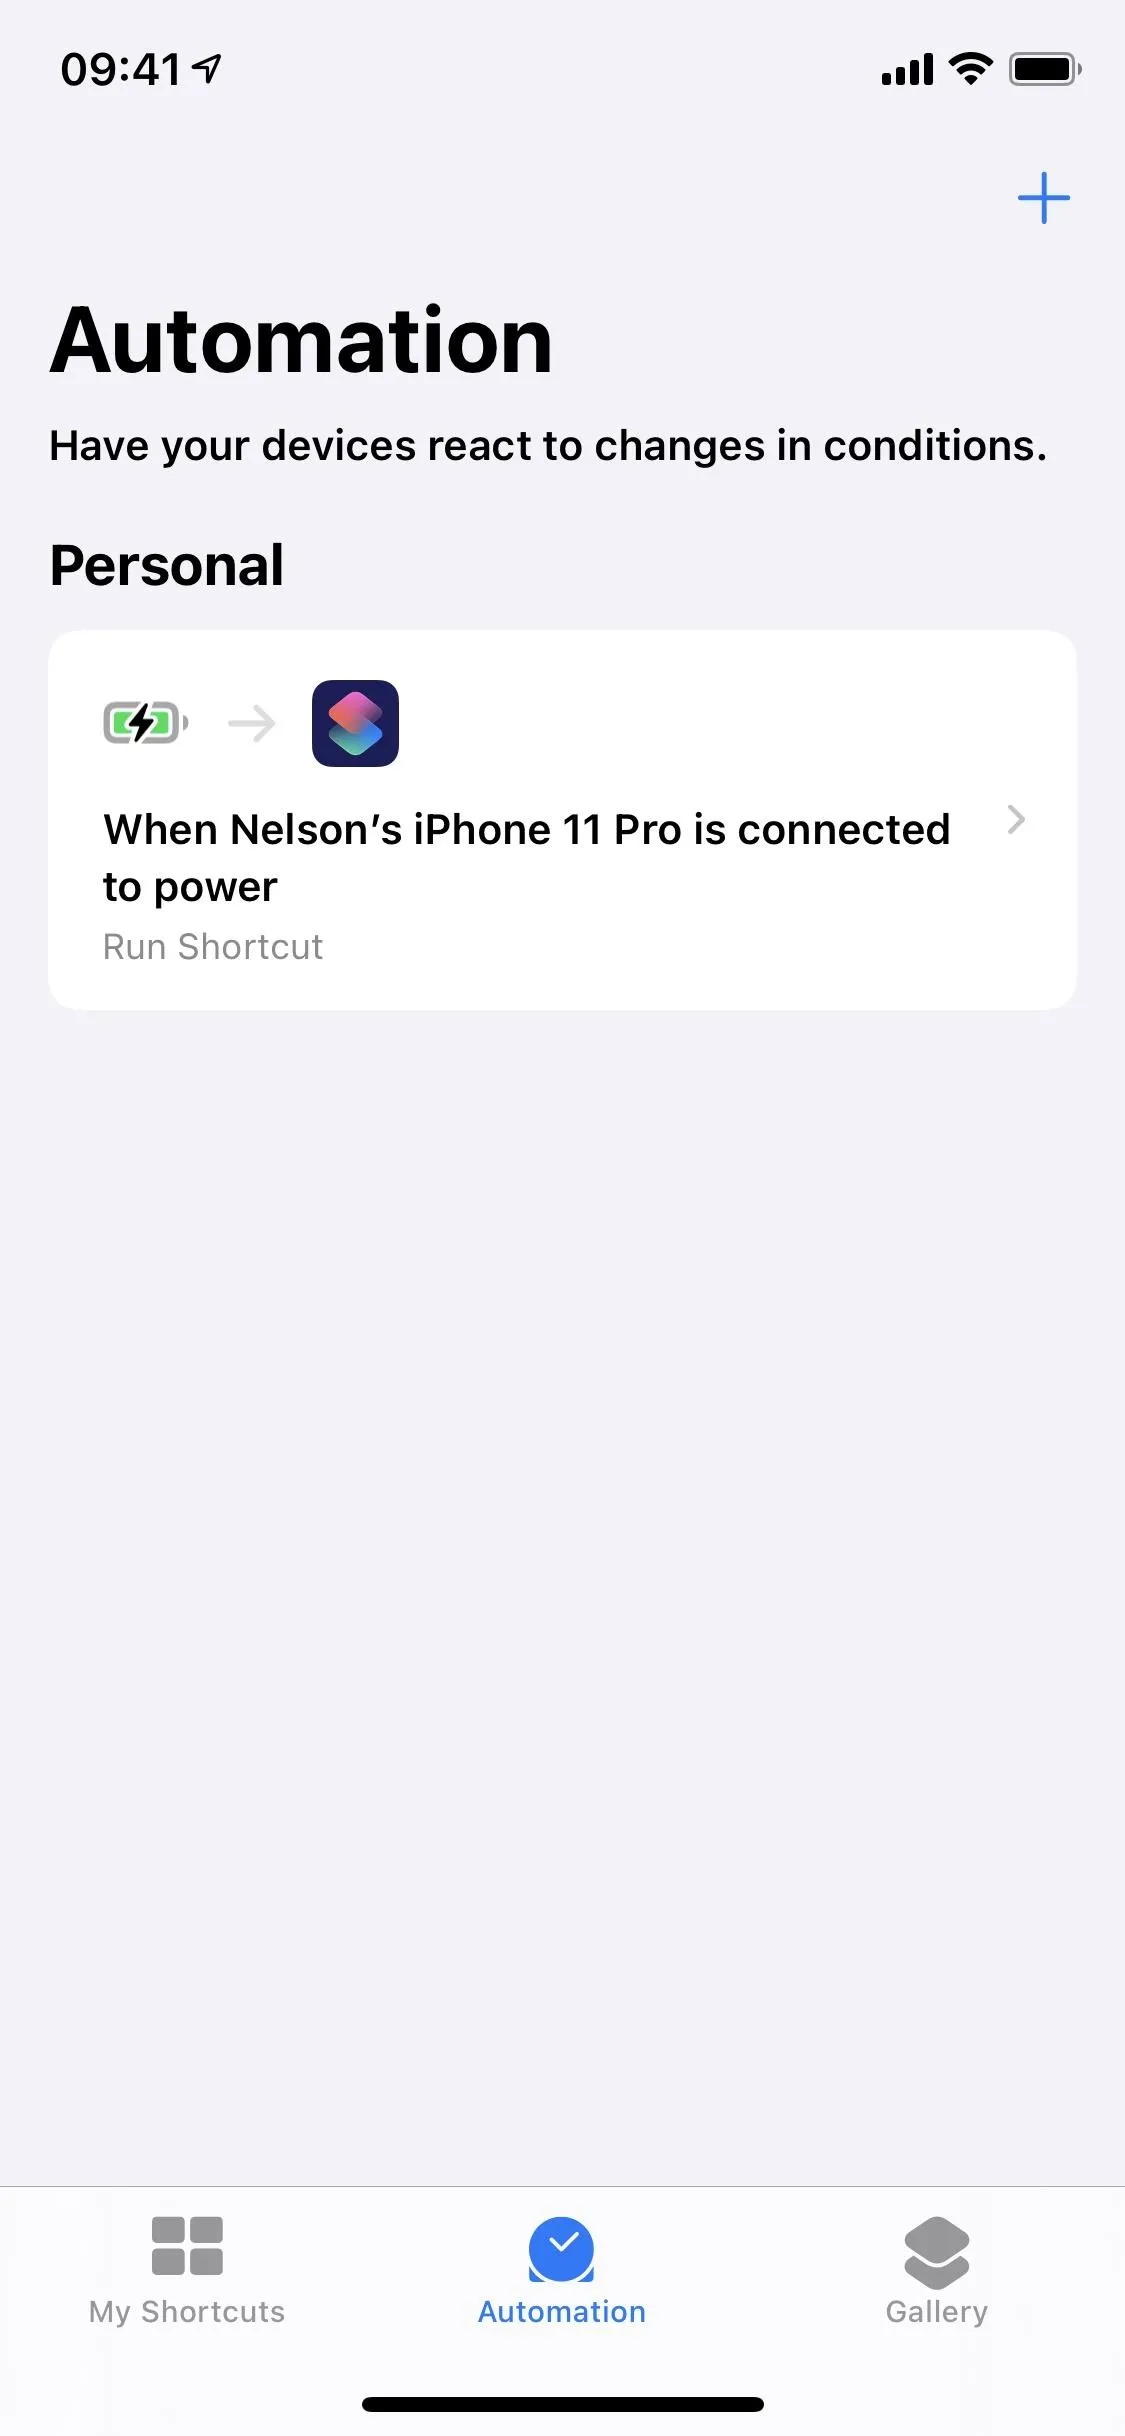
Create AppDefense's Automation
You'll now be creating an automated shortcut, which will open AppDefense anytime you open your chosen app, thus locking the app. In the Shortcuts app, tap on "Automation" at the bottom, then tap the blue "Create Personal Automation" button. If you already have automations, tap the plus (+) sign in the top right, then "Create Personal Automation."
Now, tap on the "App" or "Open App" option, make sure "Is Opened" is selected, then tap "Choose." From your app list, select the app you want to lock, then hit "Next." In the Actions builder, tap "Add Action" or the search bar at the bottom, then find the "Run Shortcut" action. Select that, and it'll be added to the automation.
In the action card, tap "Shortcut," then search for and select the AppDefense shortcut you renamed in Step 2. Your automation is pretty much finished, so hit "Next" in the top right. Lastly, toggle off the "Ask Before Running" switch, then tap "Don't Ask" on the pop-up that appears. Hit "Done" to finish creating your automation.


Run AuthKit to Grant Permissions
Like with the AppDefense shortcut, you need to run the AuthKit shortcut to grant it some permissions. Tap on its card in "My Shortcuts," choose "OK" when asked to give it access to iCloud Drive, tap "OK when asked to let it access other shortcuts, then select "OK" on the welcome card.
Afterward, you'll see a card telling you what's new in AuthKit — tap "OK." Hit "OK" again to view the quick start guide. Before getting to that guide, you'll need to tap "OK" when asked to let AuthKit run other shortcuts.
On the guide, tap "Done" on each card until it's over (we'll show you how it works in the following steps), then hit "OK" when shown how to reaccess the guide. You'll then be asked to tip, which you can do or not, and once you get past those screens, AuthKit will finally run and show you its main menu. Tap "Exit AuthKit" since that's all we need to do here.
Edit Your Clock's Timer Sound
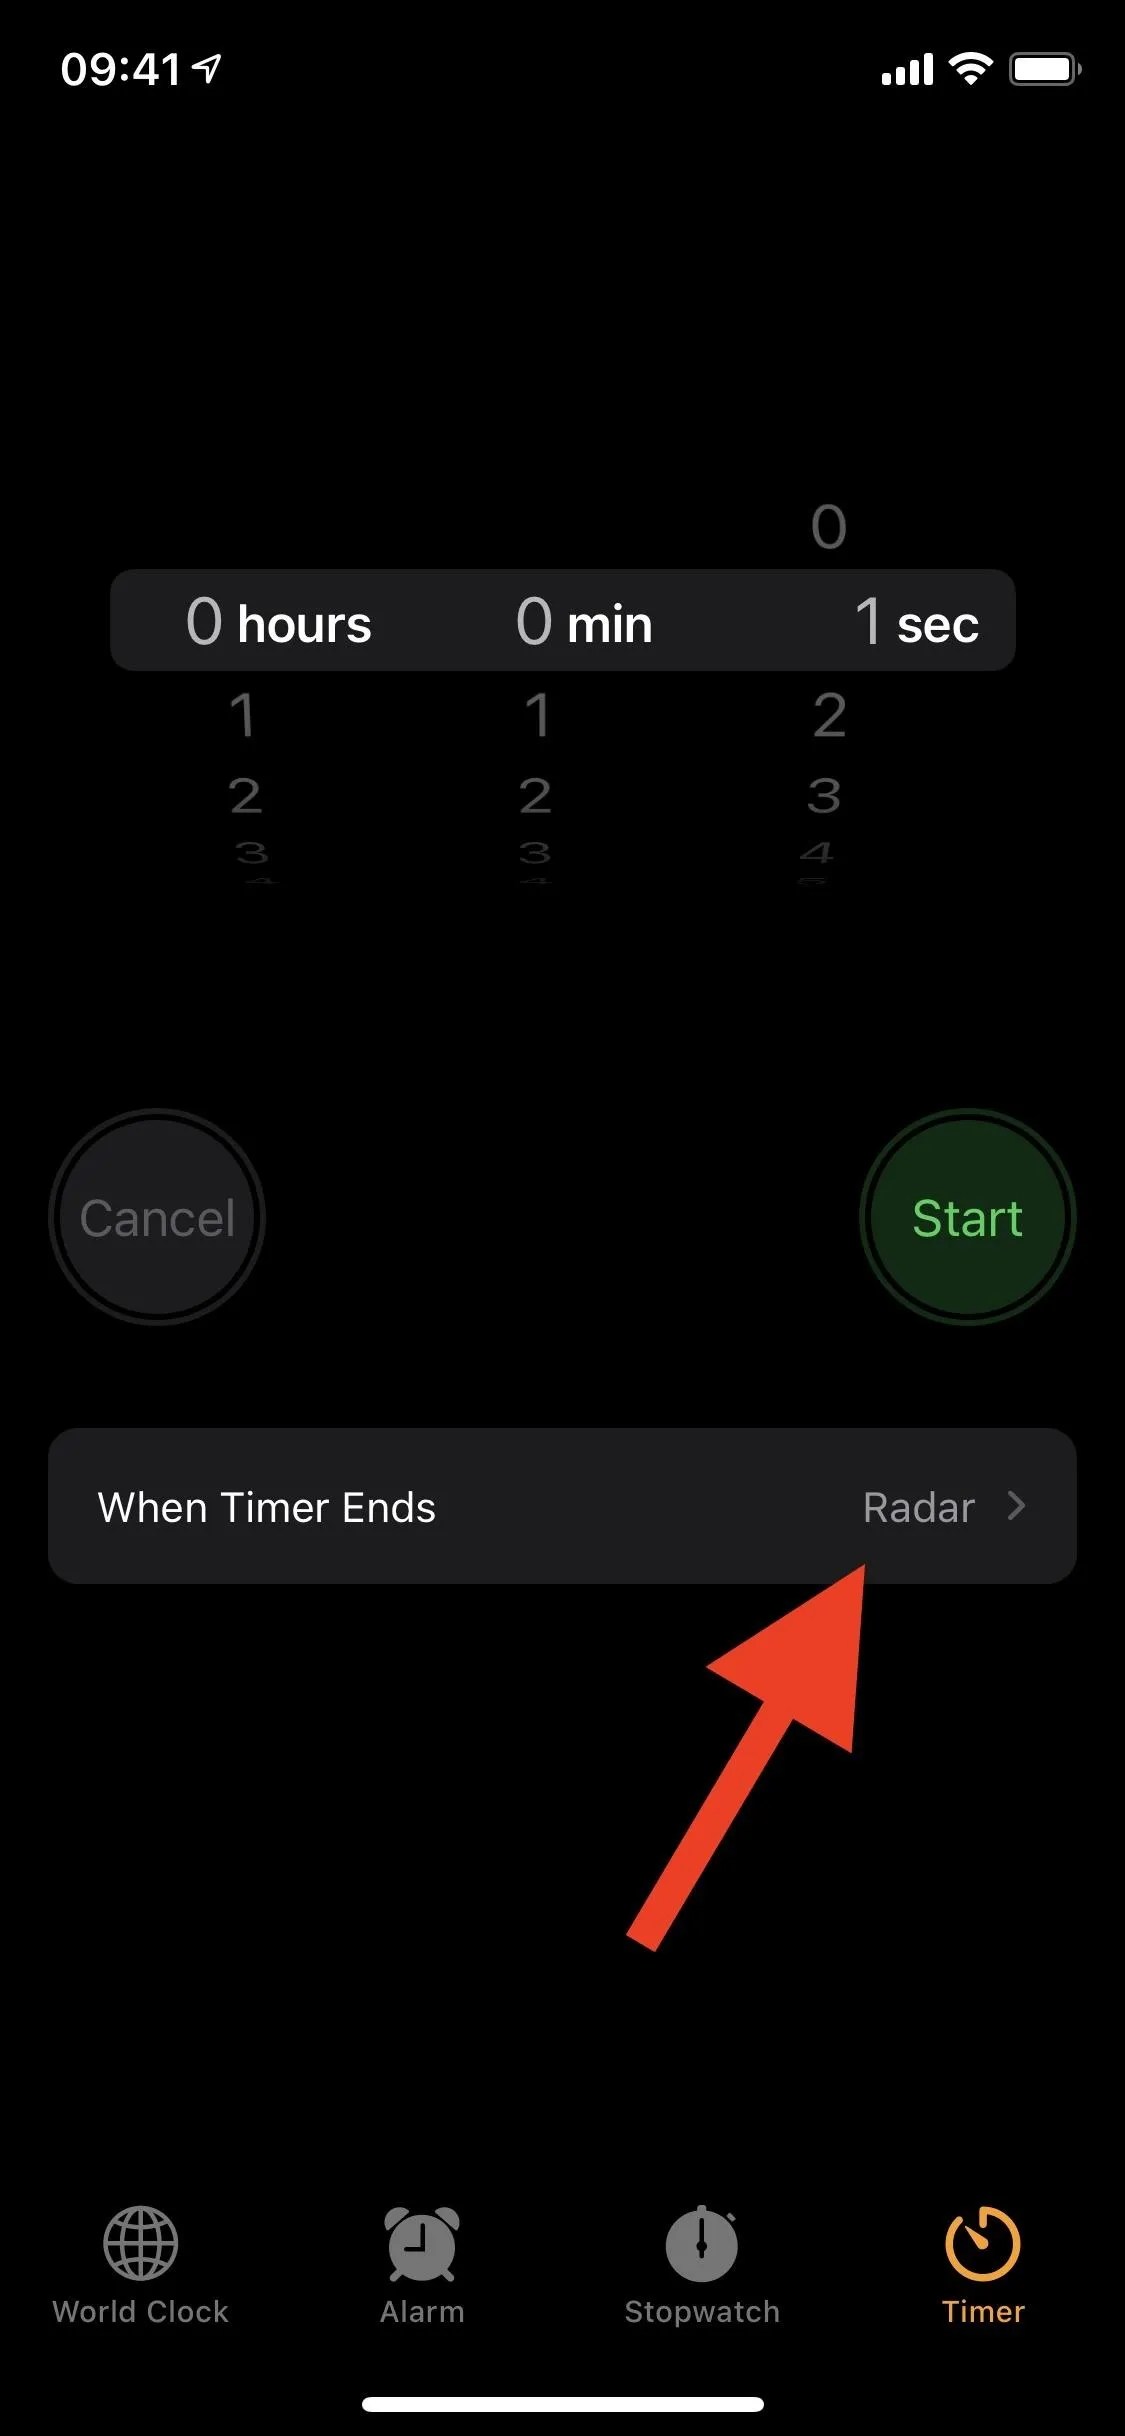
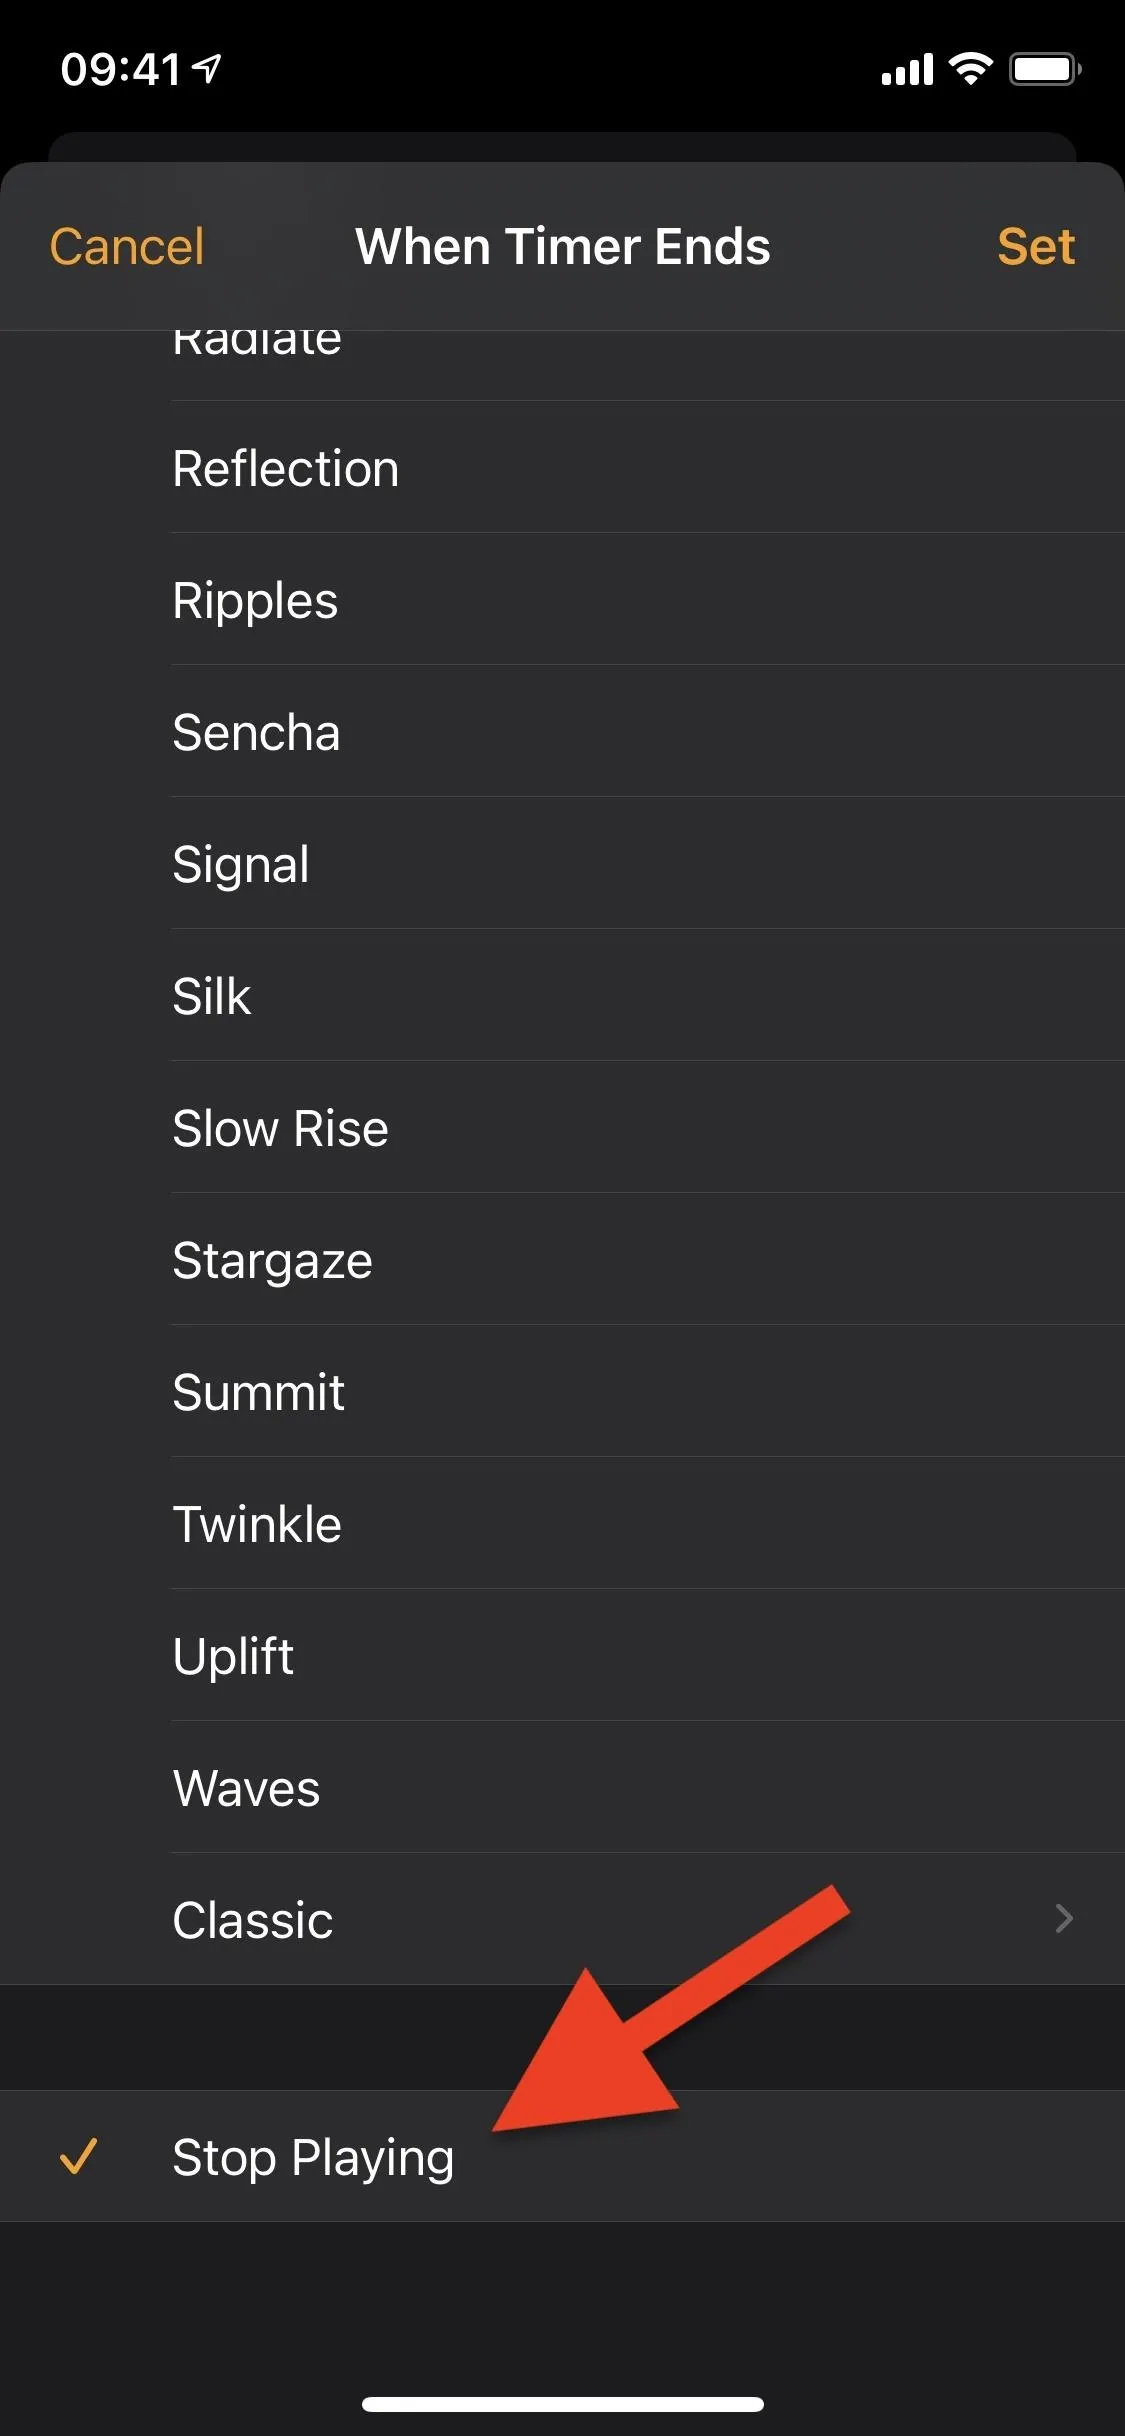
The timer in the Clock app on your iPhone is used to run multiple apps and shortcuts smoothly when locking an application, so you'll need to edit one setting there. In Clocks, tap on "Timer," then on "When Timer Ends" underneath the cancel and start buttons. By default, you should have the Radar option selected. Instead, scroll down and select "Stop Playing."
Open & Unlock Your Locked App!
Everything is set up, so you can test out your app lock now. The first time you open up the app, either from the home screen, App Library, or another location, you'll get a pop-up asking to let the shortcut run other shortcuts if you haven't already given it that permission yet. Tap "OK," then AuthKit will ask you to let it authenticate with your credentials, i.e., Face ID, Touch ID, or your passcode — tap "OK."
The rest of the shortcut will run, and it'll take you to the lock screen where you'll need to authenticate to open the app up. And that's it. On subsequent opens, as seen in the right GIF below, it'll run more smoothly without any interaction from you besides authentication. It's not a super fast process, but it's not so slow that you won't appreciate the benefit it provides.
Be aware that this process will start over any time you leave the app in question, even if it's just through the app switcher. Also, know that even if someone without your credentials attempts to open the locked app, they'll be able to look in the app for at least a second while the shortcut runs, so if you want the app to be completely secure, this option might not be for you. The app is still useable during that second, but it's rapid and doesn't allow you to do much.
Lock More Apps
To lock more apps on your iPhone, you'll have to re-add another AppDefense shortcut, so you can start back at Step 1 and skip Steps 3, 6, and 7. However, it's easier to just long-press on the AppDefense card you made in "My Shortcuts," then tap "Duplicate" from the quick actions. Then, you can just go in and change the names where necessary.
Removing a Lock from an App
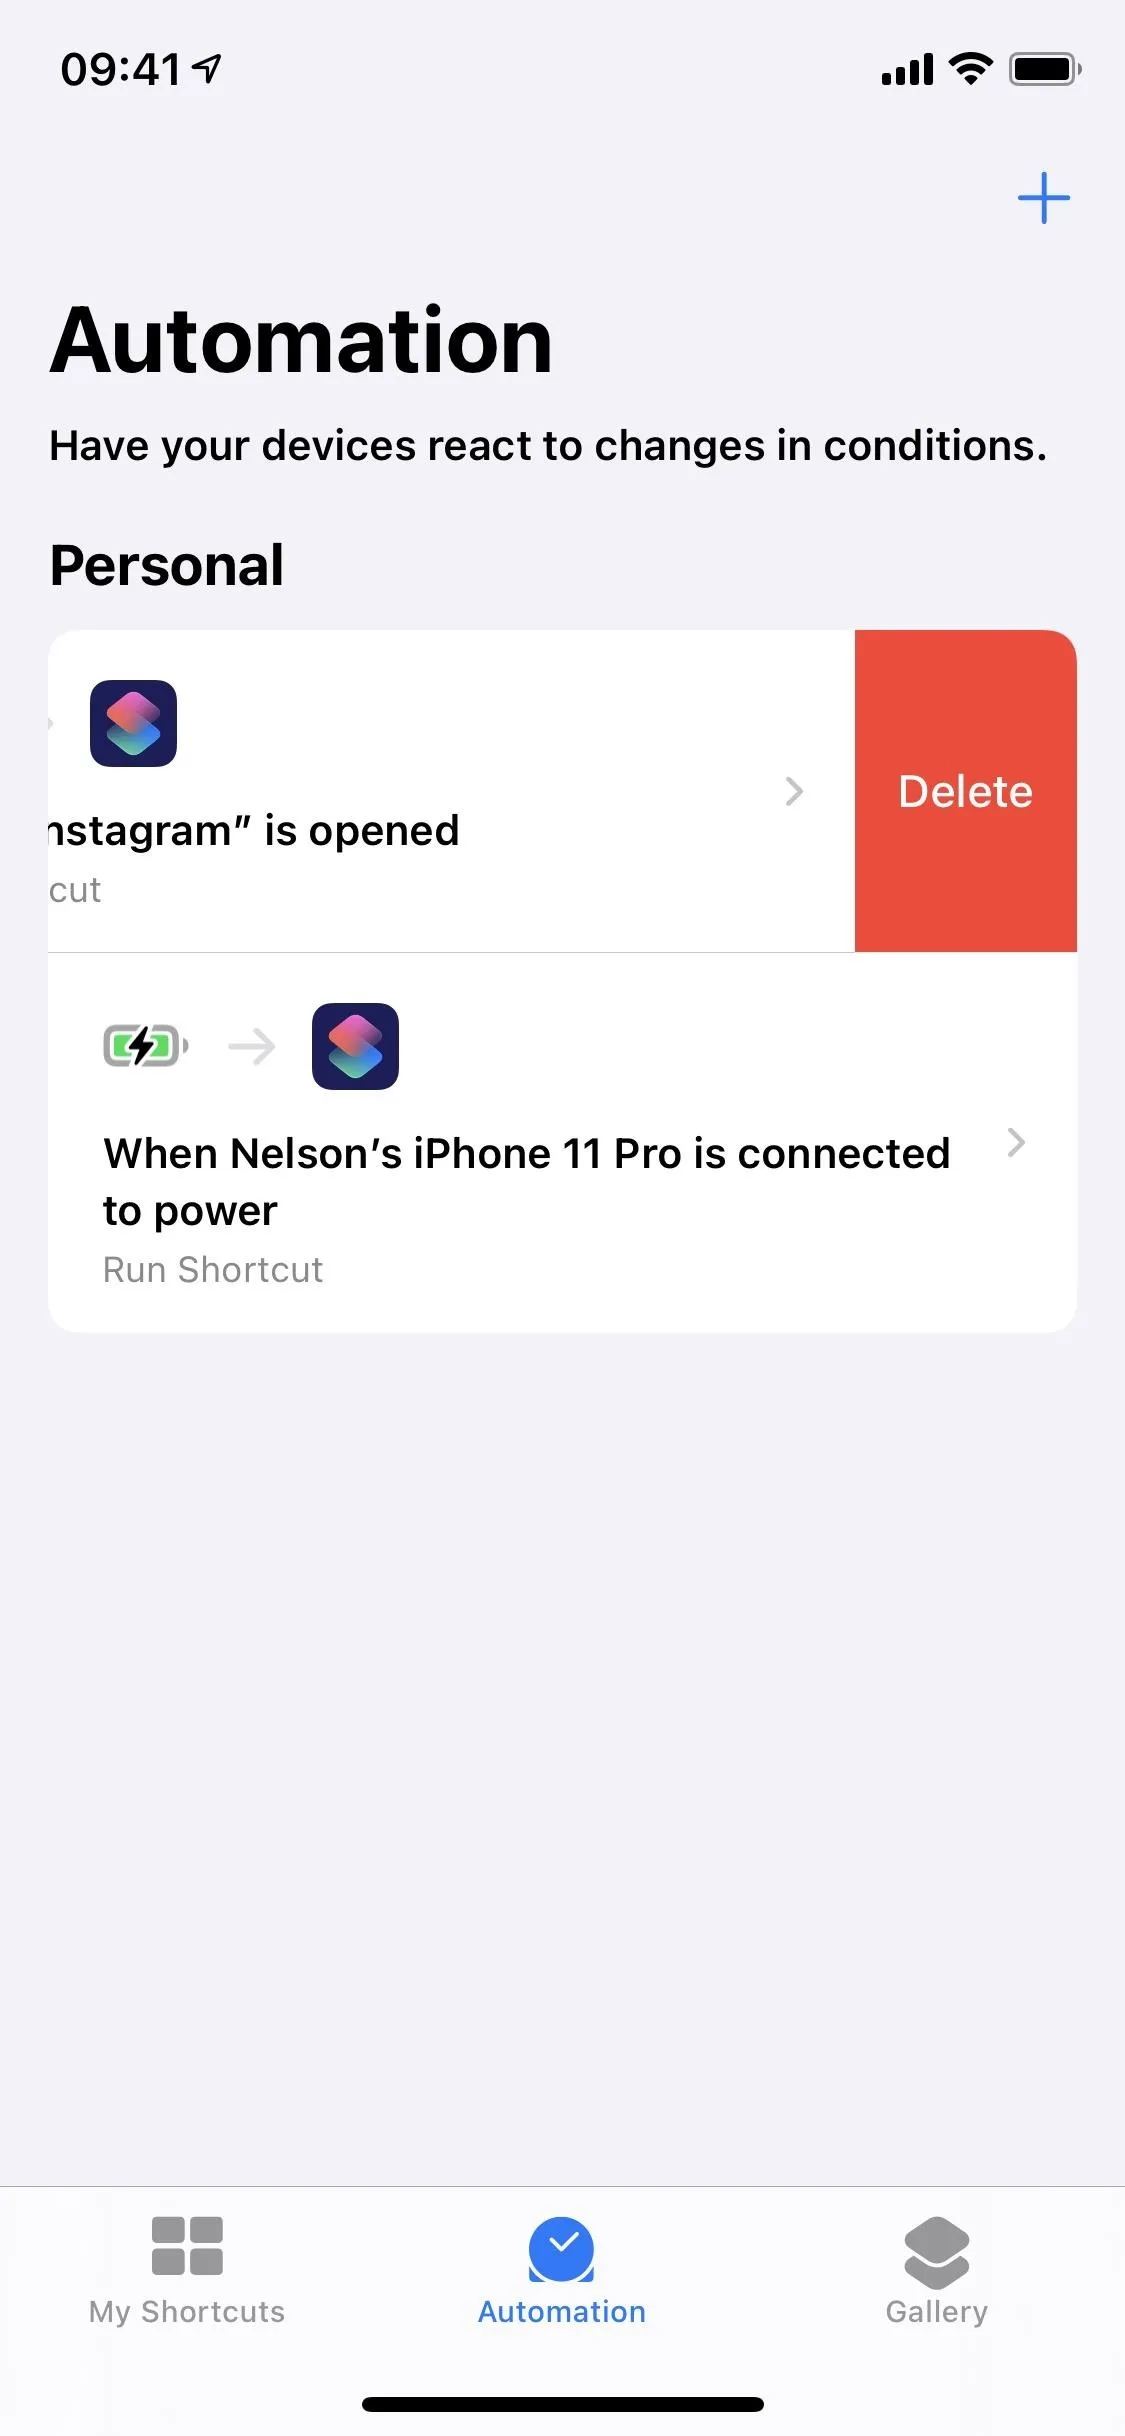
Unfortunately for you, anyone with knowledge about AppDefense, AuthKit, or Shortcuts can get into your locked app simply by deleting the automation you created. However, this is unlikely, but you can do the same thing to remove the lock from your own apps.
In Shortcuts, go into "Automation," and swipe left on the AppDefense automation you created until it disappears off the screen. If you didn't swipe far enough, tap on "Delete." The app in that specific automation will no longer be locked. Do this for as many automations as you need to.
Cover photo, screenshots, and GIFs by Nelson Aguilar/Gadget Hacks


Comments
Be the first, drop a comment!