


Since its introduction on the iPhone 5S, Touch ID has made unlocking Home button iPhones quick and secure. The second-generation iPhone SE brought back the beloved feature in 2020 but didn't take any steps to improve on the technology. So if you're rocking Touch ID and having trouble getting it to read your fingerprints, there are some things you can do to fix it.
Whether you're trying to unlock your iPhone, open a locked app or document, purchase an app, use Apple Pay, or scan a fingerprint in Settings, the fundamental idea is the same — letting the Touch ID sensor read your fingerprint. That's why you'll find most of the tips below apply to any Touch ID use.
Devices with Touch ID Sensors
There have been two models of the Touch ID sensor, the second of which is the faster one. So if you have a first-generation model, you might want to upgrade your device if speed is one of your issues. For the tips below, we're only focusing on iPhone and iPad models, not any Mac computers.
First-Generation Sensor:
- iPhone 5S, iPhone SE (1st gen), iPhone 6, iPhone 6 Plus
- iPad Air 2, iPad mini 3, iPad mini 4, iPad Pro 12.9, iPad Pro 9.7, iPad (2017), iPad (2018), iPad (2019)
Second-Generation Sensor:
- iPhone 6S, 6S Plus, 7, 7 Plus, 8, 8 Plus, SE (2nd gen)
- iPad Air (3rd gen), iPad mini (5th gen), iPad Pro 12.9 (2nd gen), iPad Pro 10.5
- MacBook Air (2018), MacBook Pro (4th gen); MacBook Pro (5th gen)
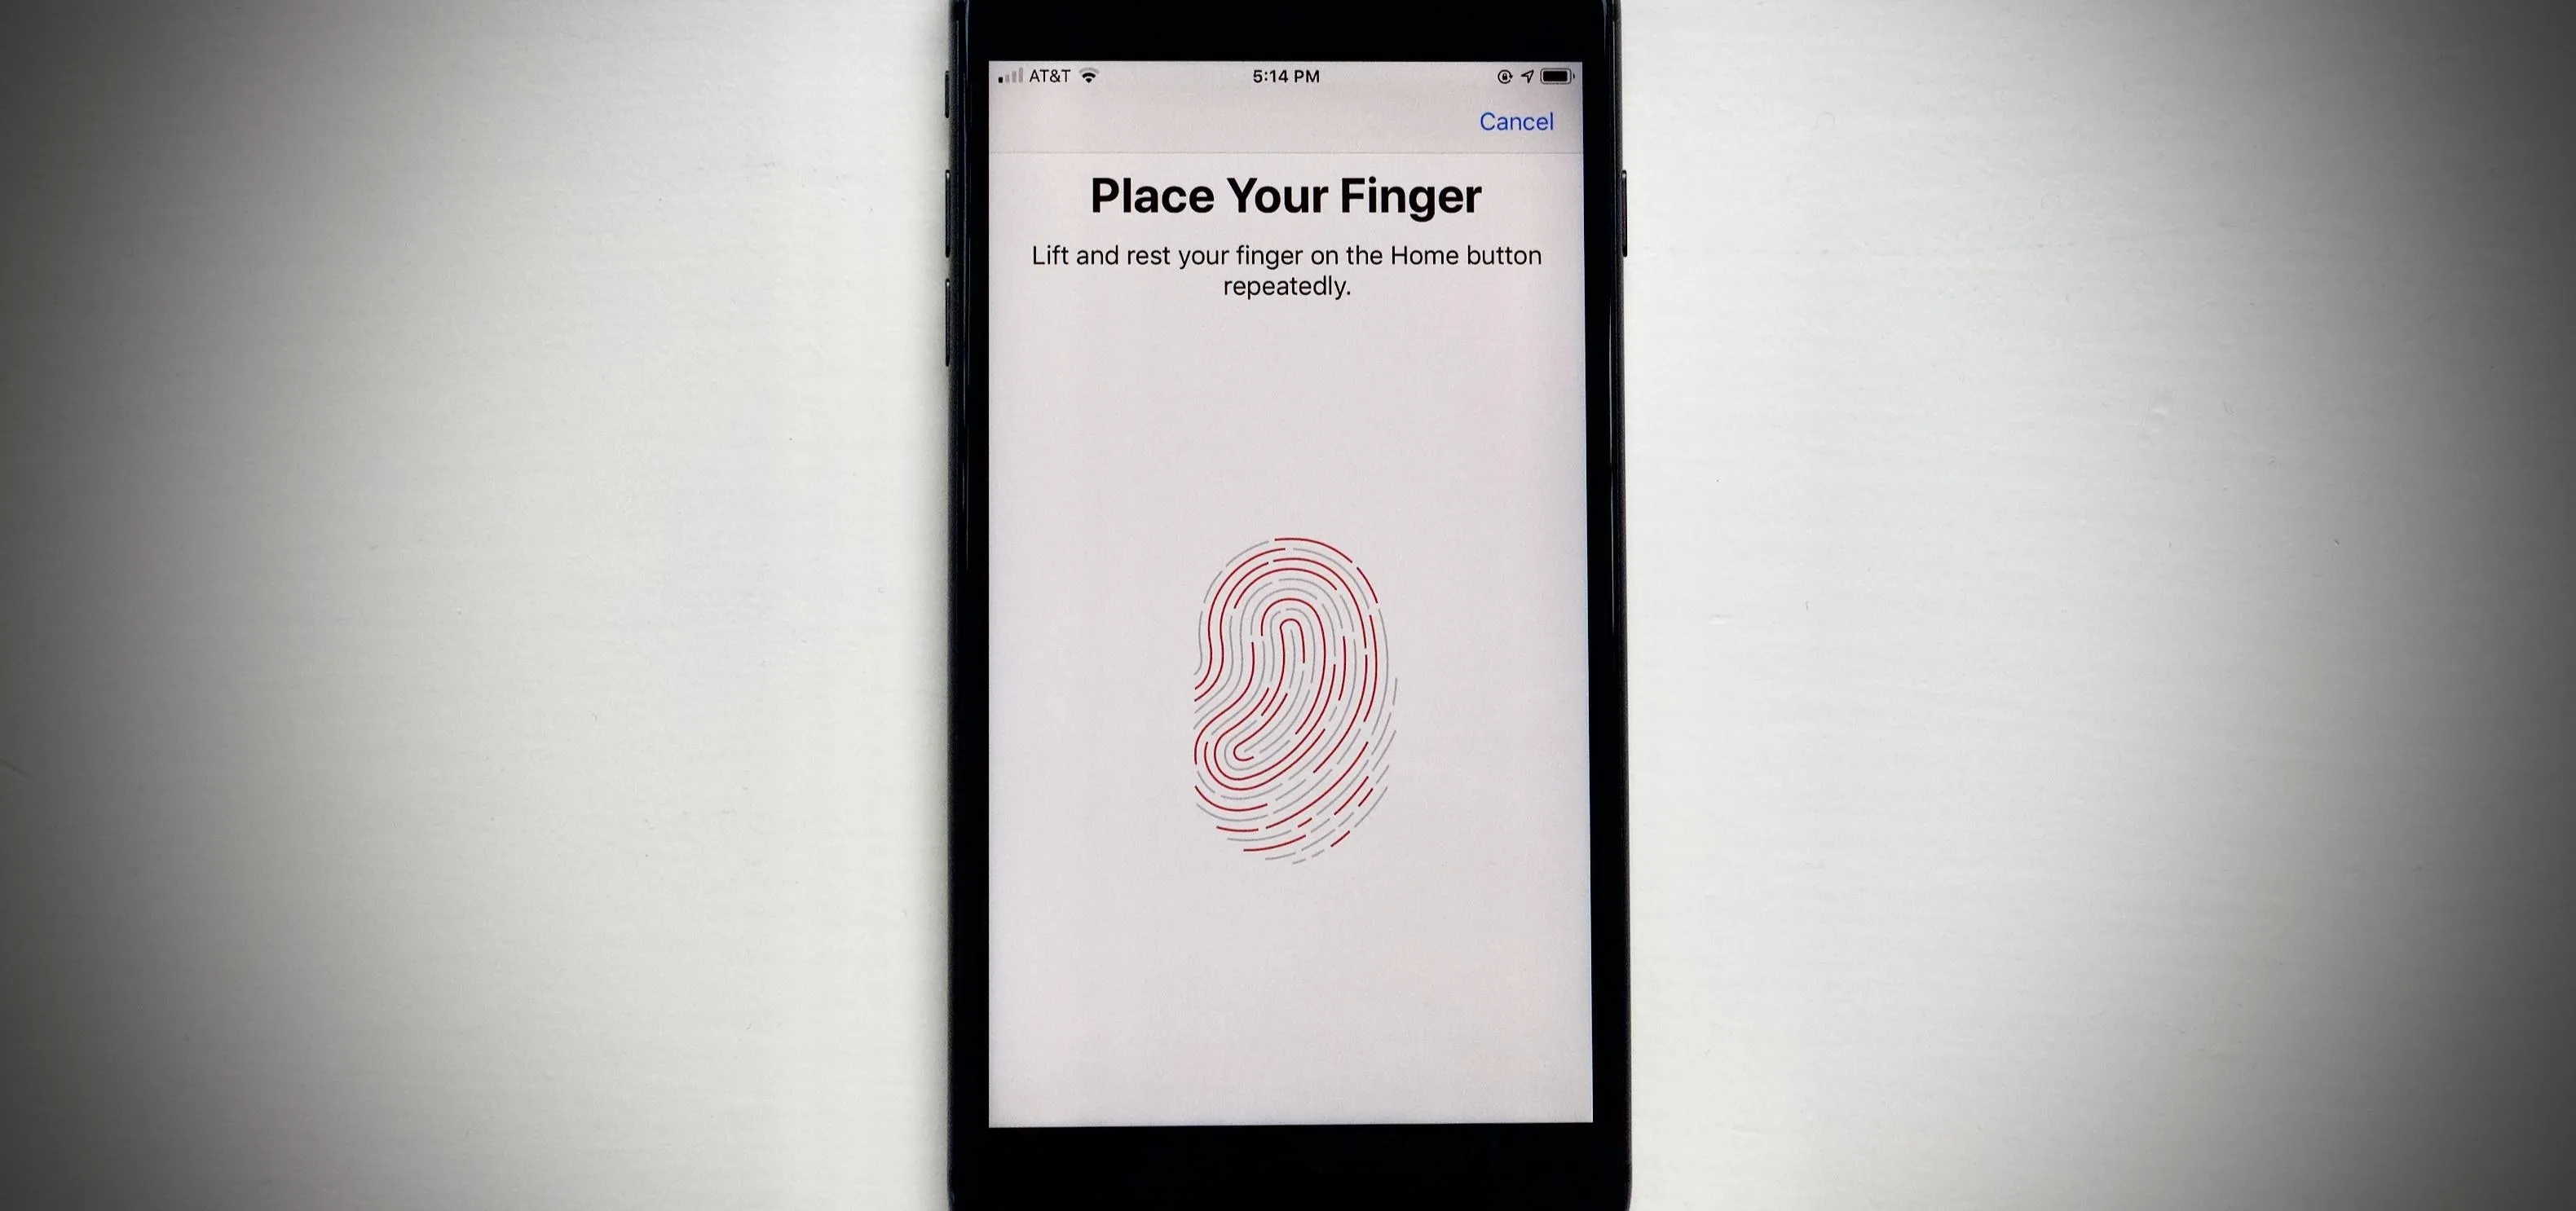
Register Your Finger Properly
When you make the initial scan of your fingerprint in Settings, make sure you're doing it right. The first phase is there to ensure you get the main surface of your fingertip scanned. So put the center of your fingertip in the middle of the Touch ID sensor and move it only slightly when lifting and resting the finger.
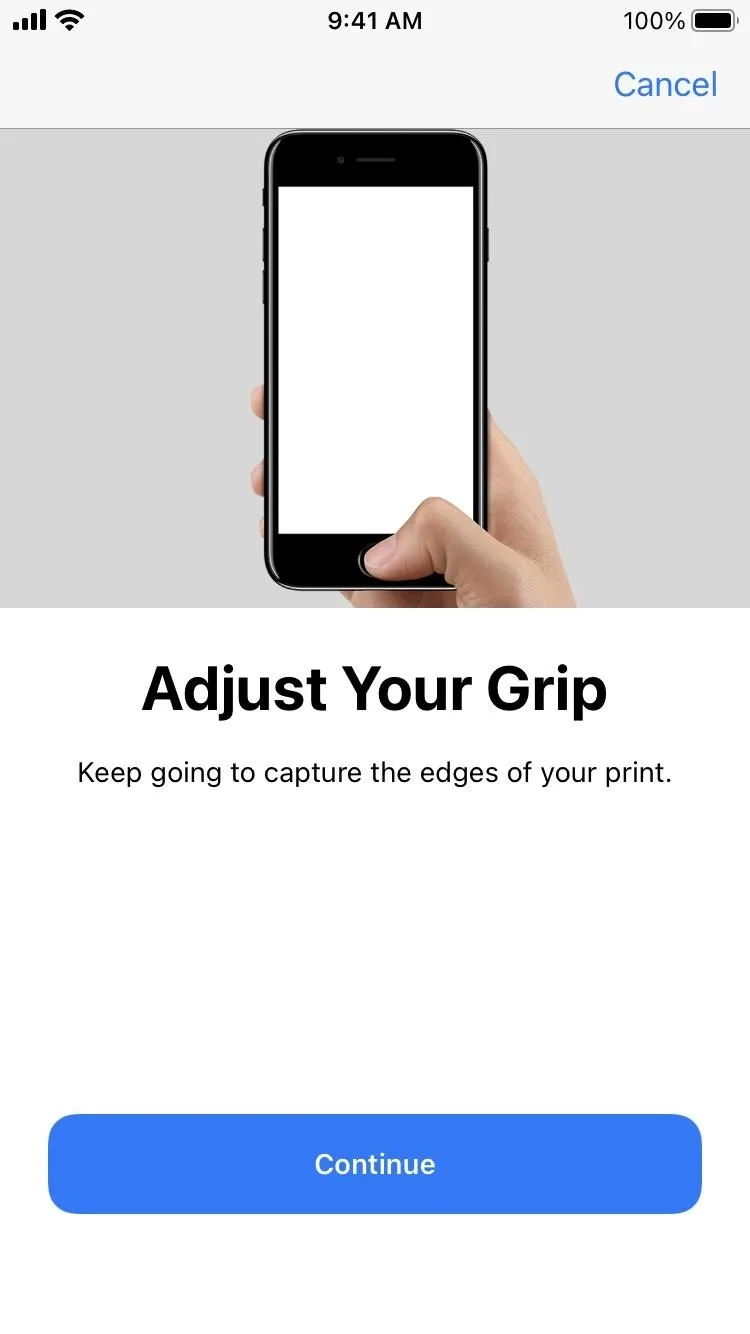
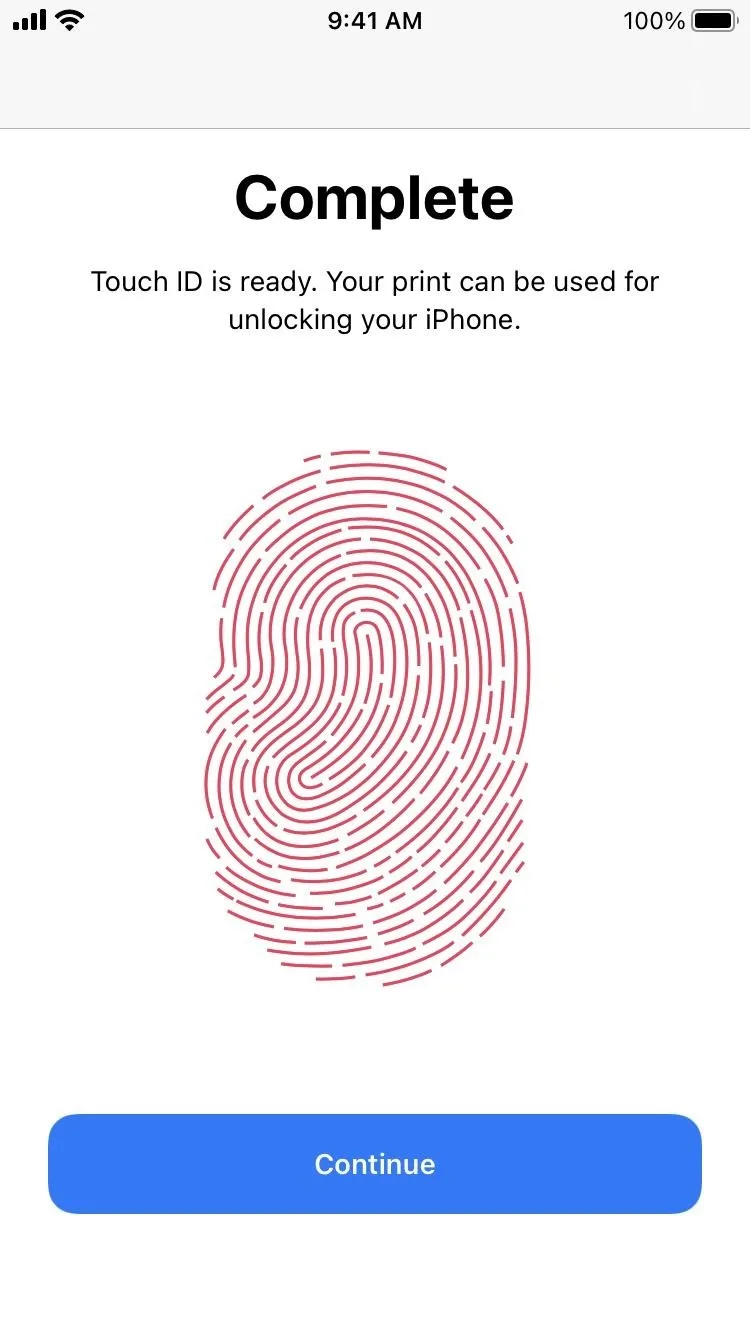
When Touch ID moves on to the second phase, it's looking for you to scan the further edges of your fingertip. So adjust your grip, and rest and lift your fingertip around the circumference of the sensor. Make sure to scan all of the spots just outside of the initial scan. If you manage to do it properly, Touch ID will have an adequate amount of data to scan your finger from here on out.
Keep Water & Sweat Away
Touch ID is a scan of your fingerprint, and anything that impedes that scan will cause it to fail. When your finger is wet, that water can often block Touch ID from getting a proper read. Why? Because Touch ID uses capacitive touch.
The capacitive sensor uses tiny amounts of electricity to measure the differences between the ridges in valleys of your fingerprint. That fingerprint is on the insulated epidermal skin layer. But the sensor connects with the conductive subepidermal skin layer beneath it to measure the differences in thickness in the fingerprint, then reconstructs the print mathematically from those readings.
Water and sweat can change the conductive readings, which can prevent Touch ID from accurately reading, building, and comparing your print. So to make sure the scanner can "see" your fingerprint correctly, make sure your finger is as dry as possible before attempting a scan.
While the iPhone 7, 7 Plus, 8, 8 Plus, and second-generation SE are all IP67 rated for water resistance, meaning they can withstand splashing and a depth of one meter in water for up to 30 minutes, it won't help any when it comes to your biometrics.
And Keep Dirt Away Too
In a similar vein, your finger, as well as the sensor itself, needs to be clean to make a proper scan. Dirt, sand, and other materials can throw off the reading of your biometrics just as easily as a liquid can. So if there's anything on your finger or sensor blocking that scan, you'll end up with a failed read. Wash your hands, and clean the sensor with a soft lint-free cloth until it looks as shiny as possible.
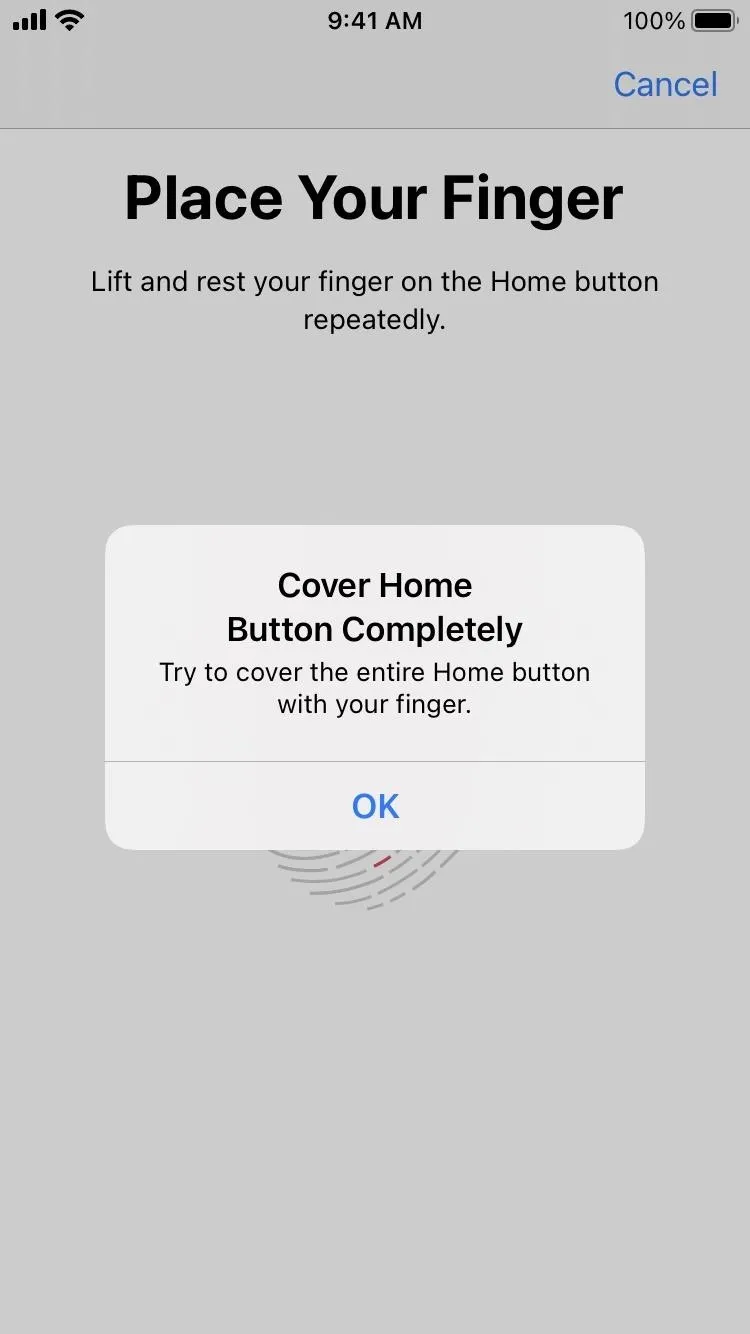
Cover the Whole Home Button
This might seem quite obvious, but it's important. Take care to cover the whole Home button, which houses the Touch ID sensor, when scanning your finger. The more data you feed the sensor, the more it has to rely on when you trying unlocking your iPhone, make a payment, open a document, or perform some other action.
Try a Different Orientation
It may not be obvious, but whenever you register a fingerprint, the Touch ID sensor can read your print in any orientation, not just how you scanned it initially. So if it's not working right-side-up, try coming from the side or even upside down. It can read fingerprints in 360-degrees of orientation, so coming in from any direction will work as long as you place your finger firmly on the sensor like in Tip 4.
Register One Finger Five Times
Touch ID can remember up to five fingers at once. While you could scan five of your most-used fingers, you could also scan one finger five times. That gives iOS five times the amount of information on one fingerprint or thumbprint, increasing the chances a scan goes through correctly.
The best use-case for registering one finger multiple times is if you can never seem to center your fingertip on the sensor when you're in a hurry. So when you're registering the prints, make sure to move your finger slightly for each of the five slots. That way, they read a different portion of your fingertip. So if you don't put your fingertip centered on the sensor, one of the other scans should still pick it up.
Register Backup Fingerprints
Instead of registering one finger multiple times, you could also register five different fingers to fill up all five slots you can use. So any time one finger fails to scan correctly, you'll have four other digits as backups.
Register All Ten Fingers
Sure, Touch ID allows for five saves, which you would assume means a maximum of five fingerprints. But that's not necessarily the case. With a little ingenuity, Touch ID will recognize all ten of your fingers, meaning you can use any fingerprint or thumbprint on either of your hands. Check out the guide linked below for more information on using this trick.
Registering two fingers in one open slot.
Make Sure It's Allowed to Read Your Print
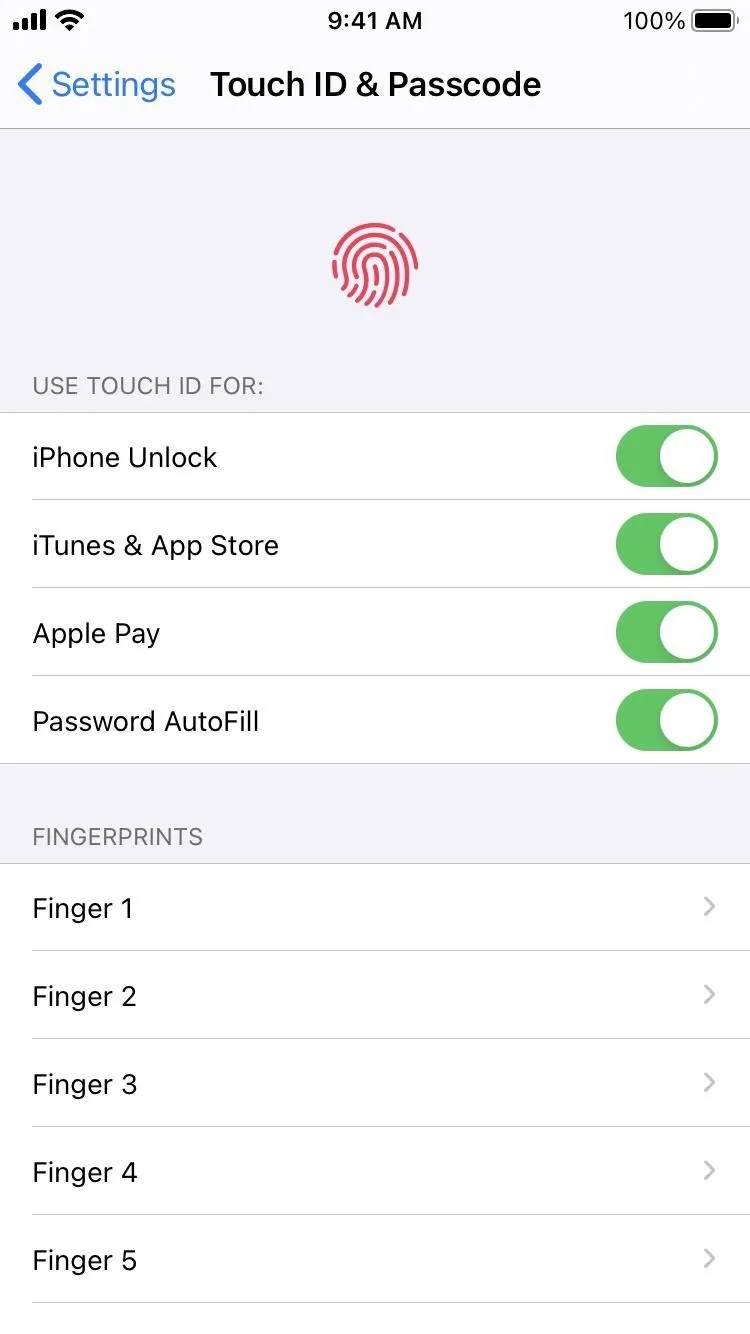
If you can unlock your iPhone with a fingerprint but can't use Apple Pay or buy an album or movie from iTunes, you may have Touch ID restricted to only some uses. Open Settings, tap "Touch ID & Passcode," enter your passcode, then find the Use Touch ID For section up top. There are four options:
- iPhone Unlock
- iTunes & App Store
- Apple Pay
- Password AutoFill
If you want to be able to use Touch ID with all of those, toggle each switch on. Otherwise, pick and choose the ones you wish to and remember your choices. That way, if your biometrics aren't working in one place on your iPhone, you'll know why.

Find Faulty Registered Prints
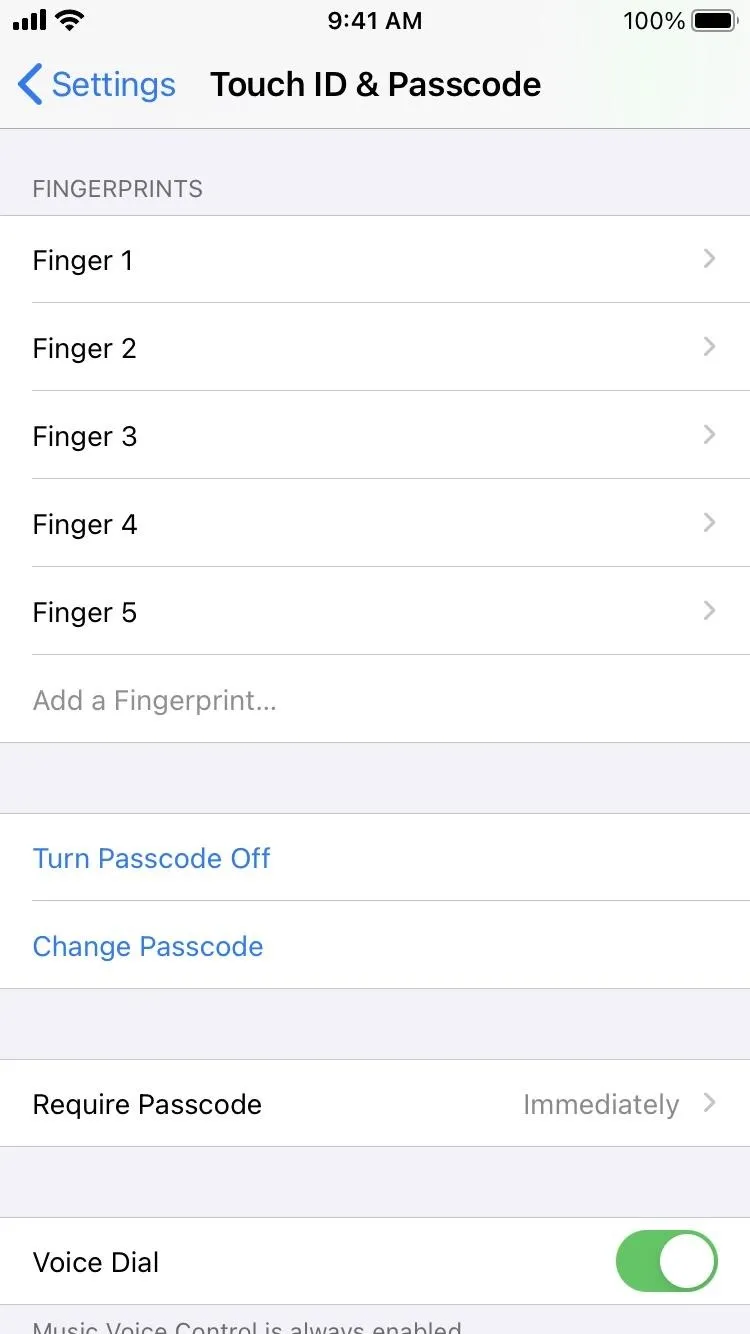
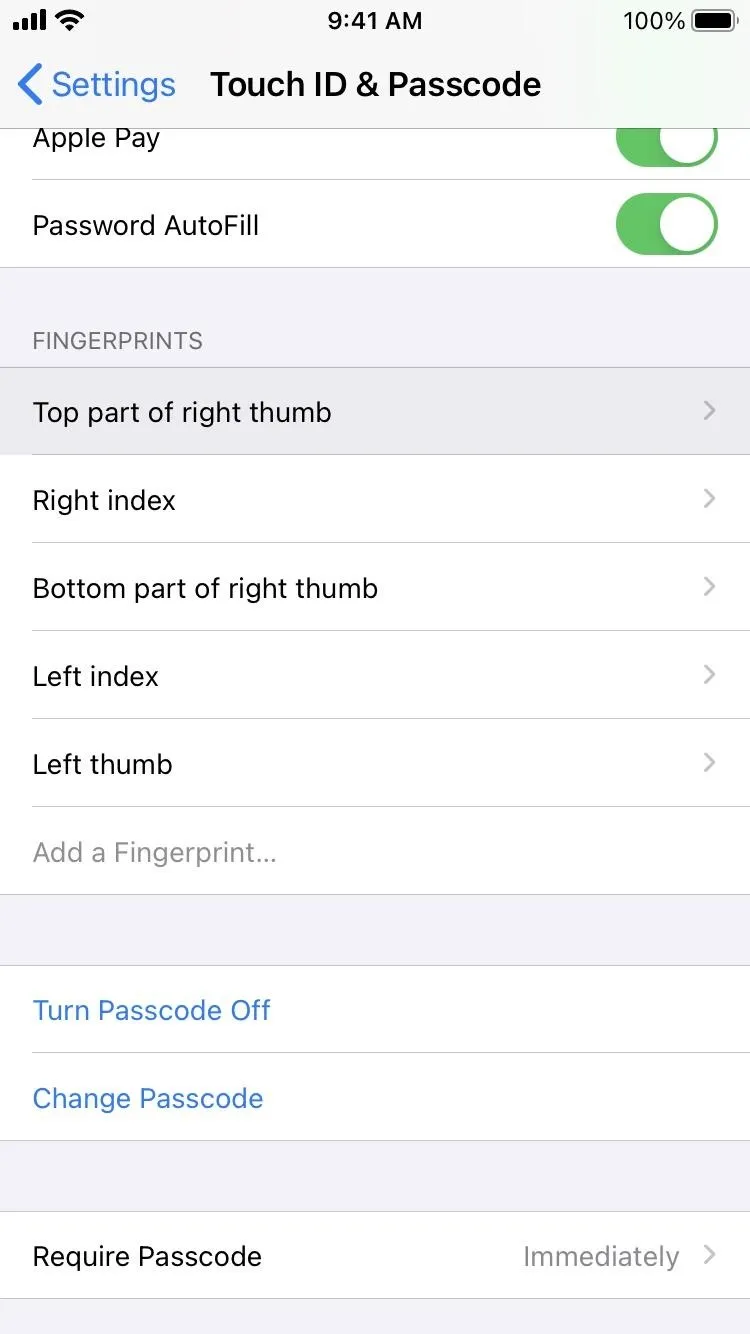
Did you know you can check on your fingerprints in Settings? Head to "Touch ID & Passcode," enter your passcode, then check under Fingerprints.
Here, you'll see all of the fingerprints you've registered with Touch ID. If you place a fingertip on the Touch ID sensor when in the menu, iOS will highlight its corresponding print, so you know which scan is which.
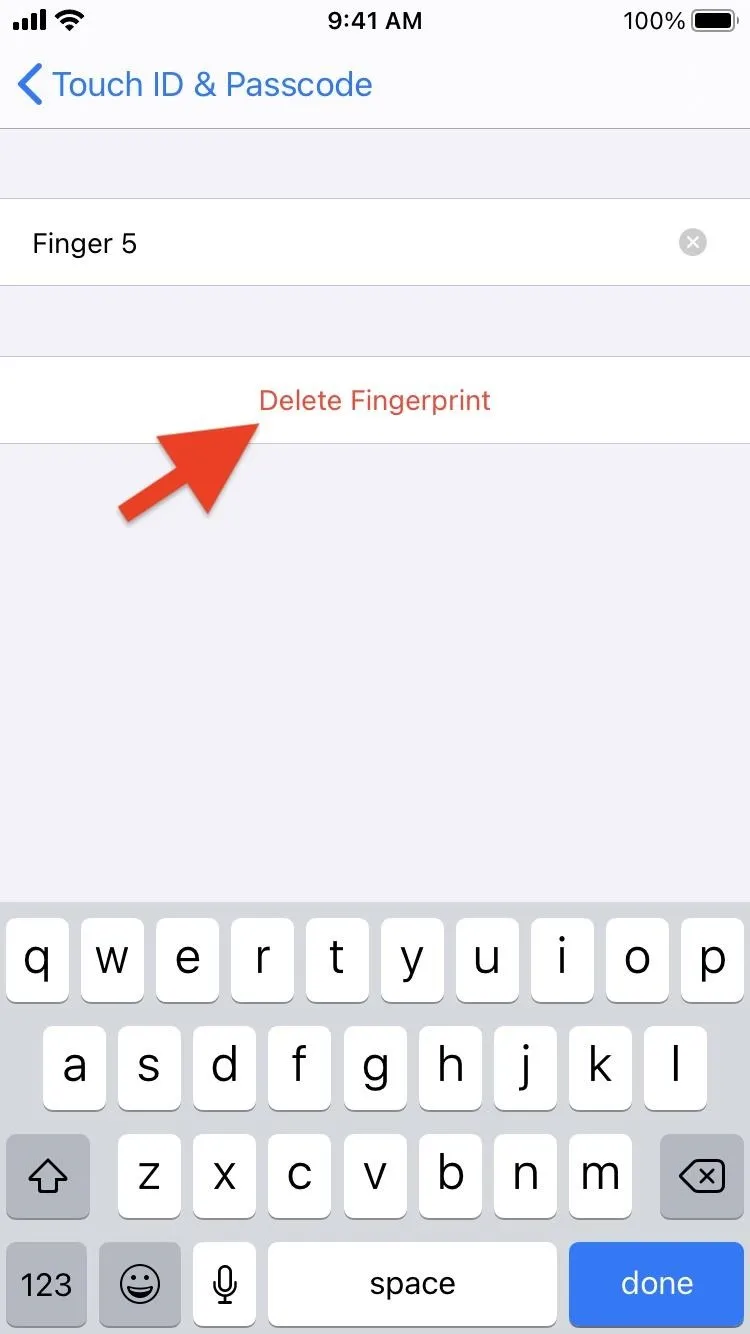
Now, when Touch ID isn't working every time, your initial reaction may be to reset Touch ID and start fresh. But if it's just one finger that's giving Touch ID a hard time, you can narrow it down here, delete it (tap it and hit "Delete Fingerprint"), then re-register just that one. Just tap all of the scanned fingerprints on the sensor until you see the one that doesn't get highlighted; that's your troublemaker.
Organize Your Scanned Prints
While you're in the Touch ID & Passcode settings, you don't always have to rely on Tip 10 to see which scan goes to which finger. Instead, you can give each a name. Tap the default name of the fingerprint, then rename it something like "Right Index" or "Left Thumb." This makes troubleshooting easier.
If you scanned multiple fingers to one slot, it could be something like "Right and Left Index." If you scanned different sections of the same finger, you could have "Top part of right thumb" and "Bottom part of right thumb," for instance.

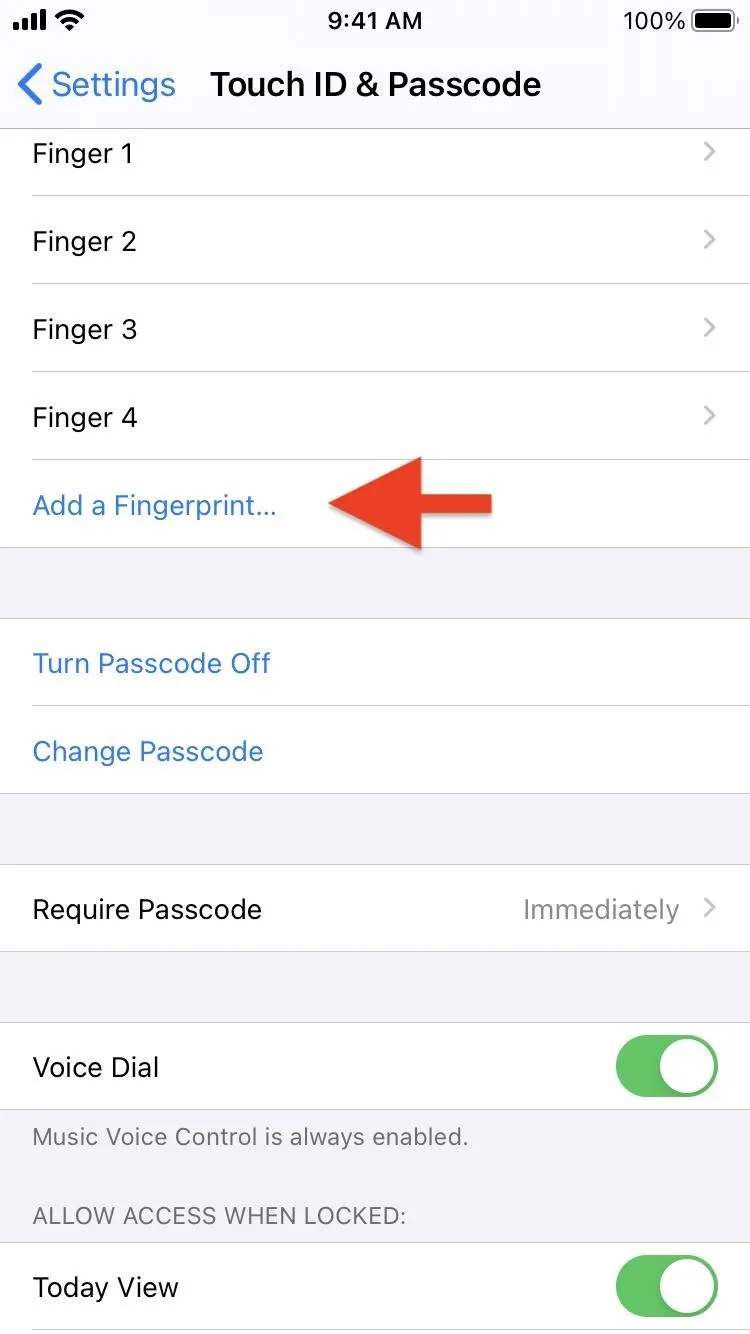
Re-Register a Fingerprint if Necessary
If you find that Touch ID refuses to read one of your fingerprints, but scans others without issue, it's possible that particular finger's scan just isn't working. You can use Tip 10 or 11 to help you identify the registered print that's gone faulty, then tap it and hit "Delete Fingerprint." Go back to the Touch ID & Passcode settings, tap "Add Fingerprint," then follow the on-screen prompts to re-register it.
If All Else Fails, Start Fresh
Using a combination of the above tips should keep Touch ID working smoothly at all times, but if you're still having issues, it's good to delete all of the prints as seen in Tip 12, then re-register them all. You could also "Turn Passcode Off," which removes all of your Touch ID scans, then reenable your passcode, but then you have to set the passcode up again before you can re-add your fingerprints.
Cover photo, screenshots, and GIFs by Jake Peterson/Gadget Hacks


Comments
Be the first, drop a comment!