


The updated Reminders app in iOS 13 makes productivity a little bit more seamless on the iPhone. The overhauled user interface makes it easier to find your reminders, the new Messages integration makes it simpler to remember to-dos regarding your contacts, and the new toolbar provides shortcuts to tasks that were once clunky and confusing.
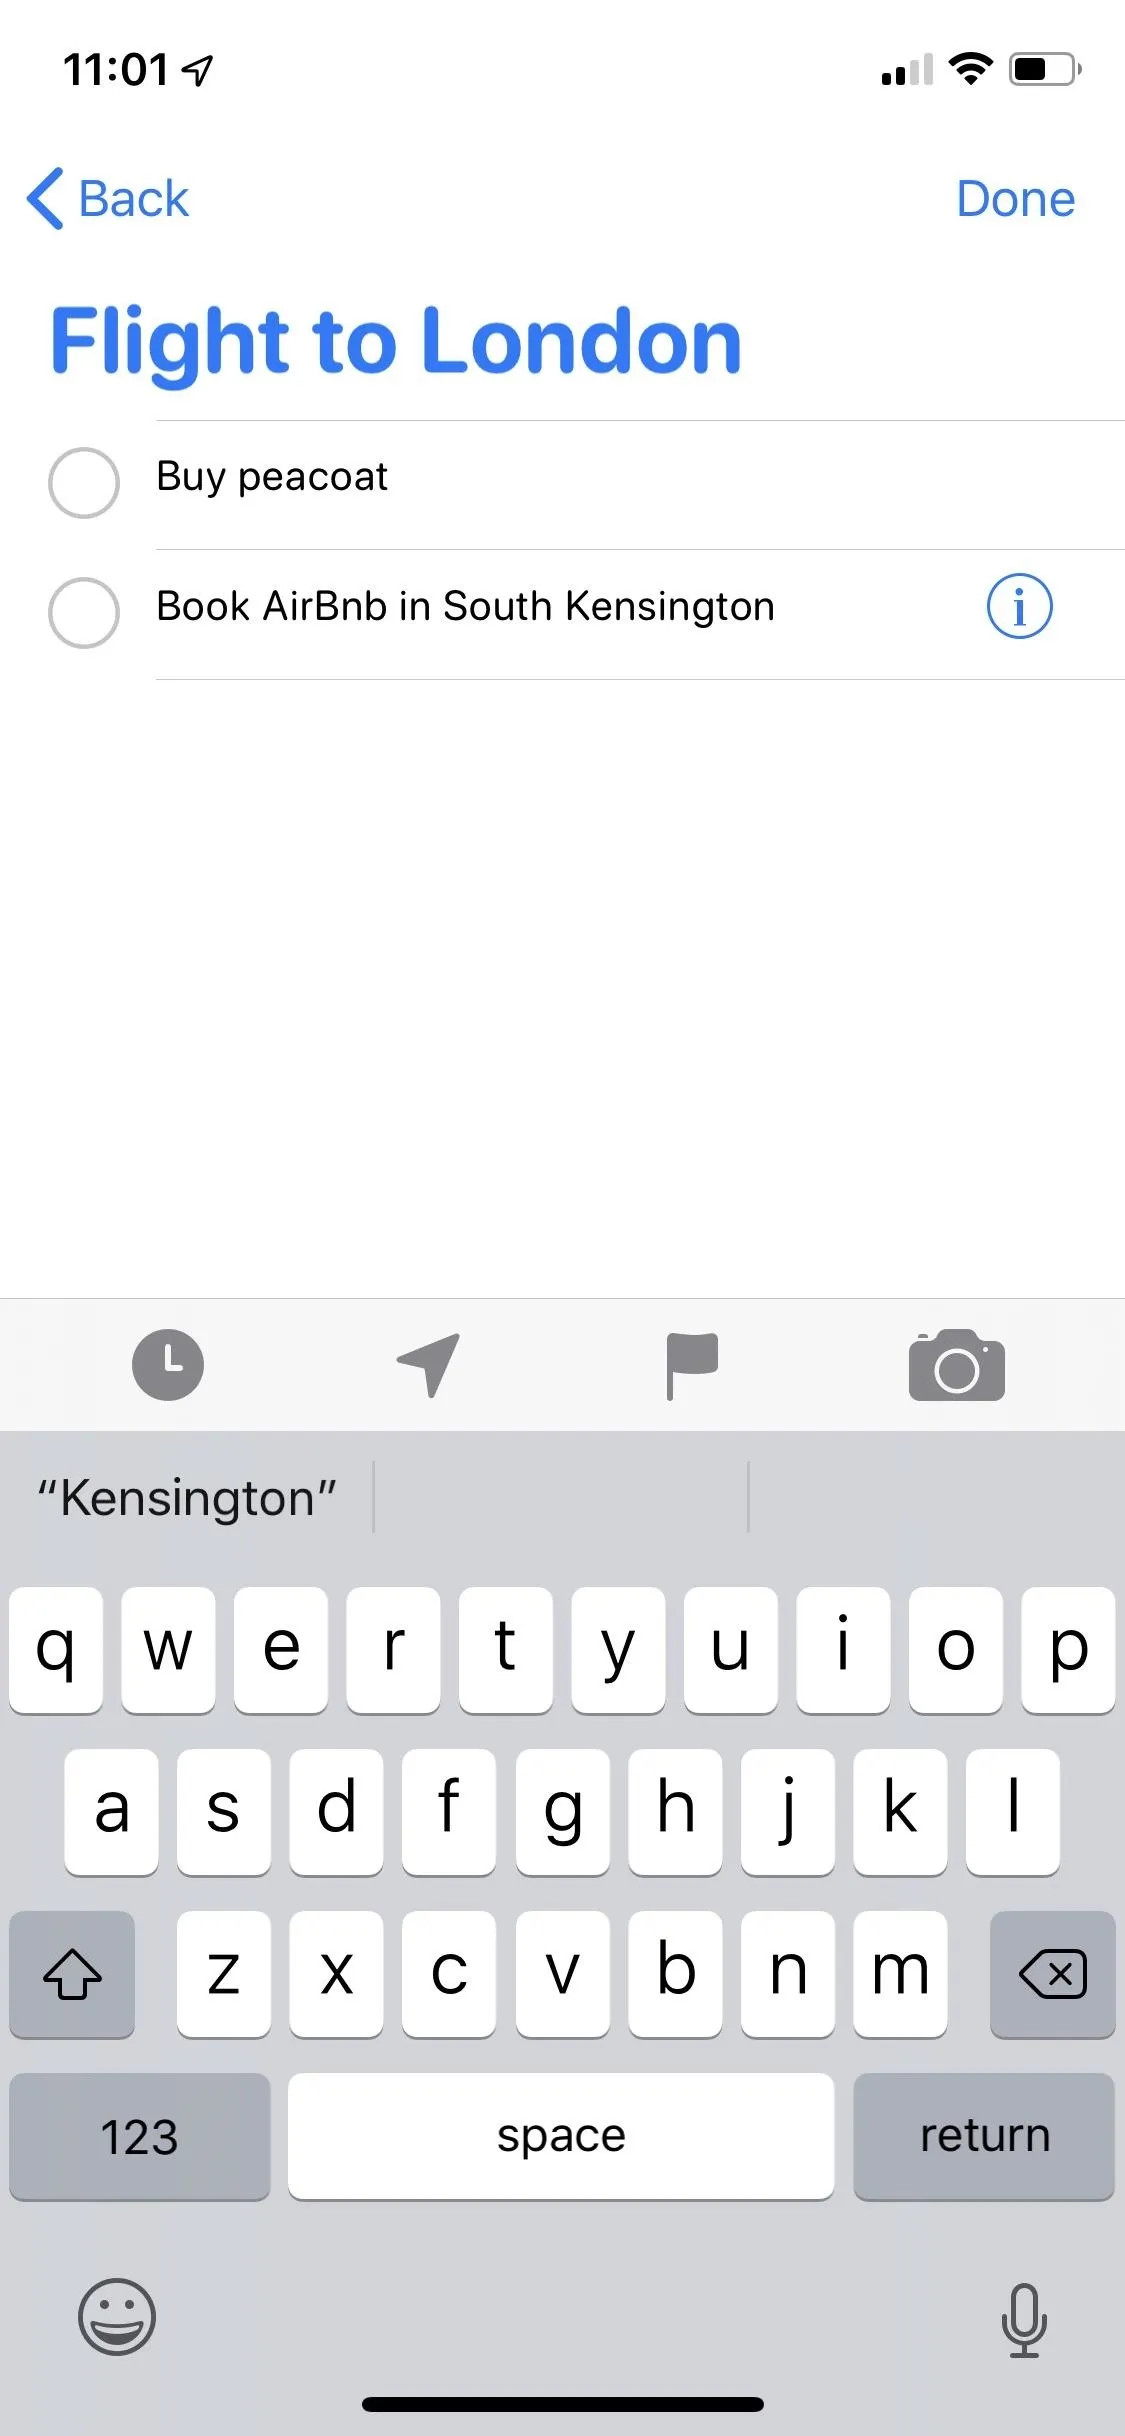
The new "quick toolbar," as Apple calls it, sits above the keyboard inside of Reminders when creating items in a list. With it, you can perform specific tasks more quickly, such as set location-based and time-based notifications, actions that were only possible before with a 3D Touch or in the item's Details panel. You can also flag reminders for follow-ups, as well as add attachments like photos and scanned documents to a reminder, both of which are new to the Reminders app.
- Don't Miss: 200+ Exciting New iOS 13 Features for iPhone
Compatibility
Note that some of the features below (flagging and importing media) only work if all devices signed in with your Apple ID use the new Reminders app. The new Reminders app is available in iOS 13 and iPadOS 13 for iPhone and iPad and macOS 10.15 Catalina for Macs. Also, flagging and importing media only work in iCloud lists, not reminders in lists connected to Gmail, Yahoo, and other email clients. It may also work in "On My iPhone" lists, but iOS 13 seems to have removed that option for now.
If you don't upgrade all of your devices, any using older OS versions will only be able to sync with other devices not upgraded yet. And when you finally do update each device, any reminders you created on those devices after updating your first device to the new Reminders app will be lost when syncing to iCloud since iCloud uses the updated Reminders app as the primary. Also, if you don't open the updated Reminders app on each device first before creating reminders on those devices (like via Siri), those won't stick either. Learn more at Apple.
Bring Up the Quick Toolbar
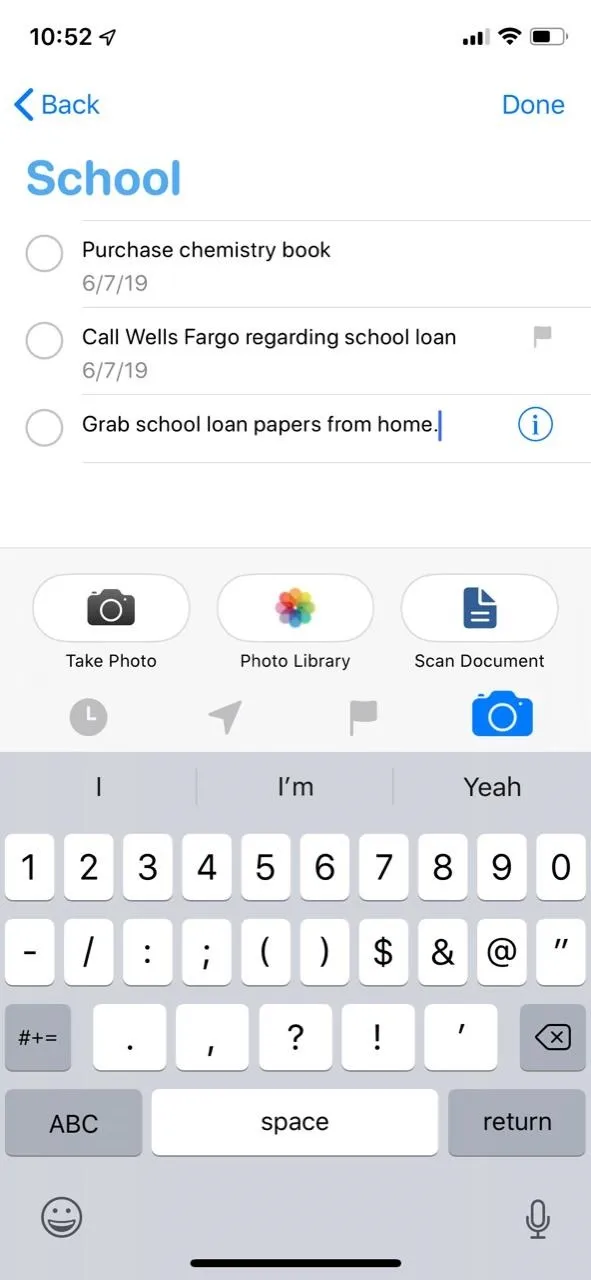
To access the quick toolbar in Reminders, open an existing reminder or create a new one, either in one of the four smart lists (Today, Scheduled, All, Flagged) or in any of your created lists below. As long as the reminder itself is highlighted (tap on the reminder to edit it), the quick toolbar should appear. The four icons in the toolbar, from left to right, include:
- Time/Date: You can choose when to be notified of the reminder, such as sometime today, tomorrow, over the weekend, or any custom date and time.
- Location: You can choose where to be notified of the reminder, such as when leaving or arriving home, getting in the car, getting out of the car, or reaching or leaving another destination.
- Flag: A totally new feature, flagging lets you place a reminder in the "Flagged" smart list to add importance to it. Not to be confused with priority.
- Camera: Also a totally new feature, you can add a photo or document to a reminder, so you can take a new photo, pick one from your library, and even scan a document as a PDF.

Set a Time for Your Reminder
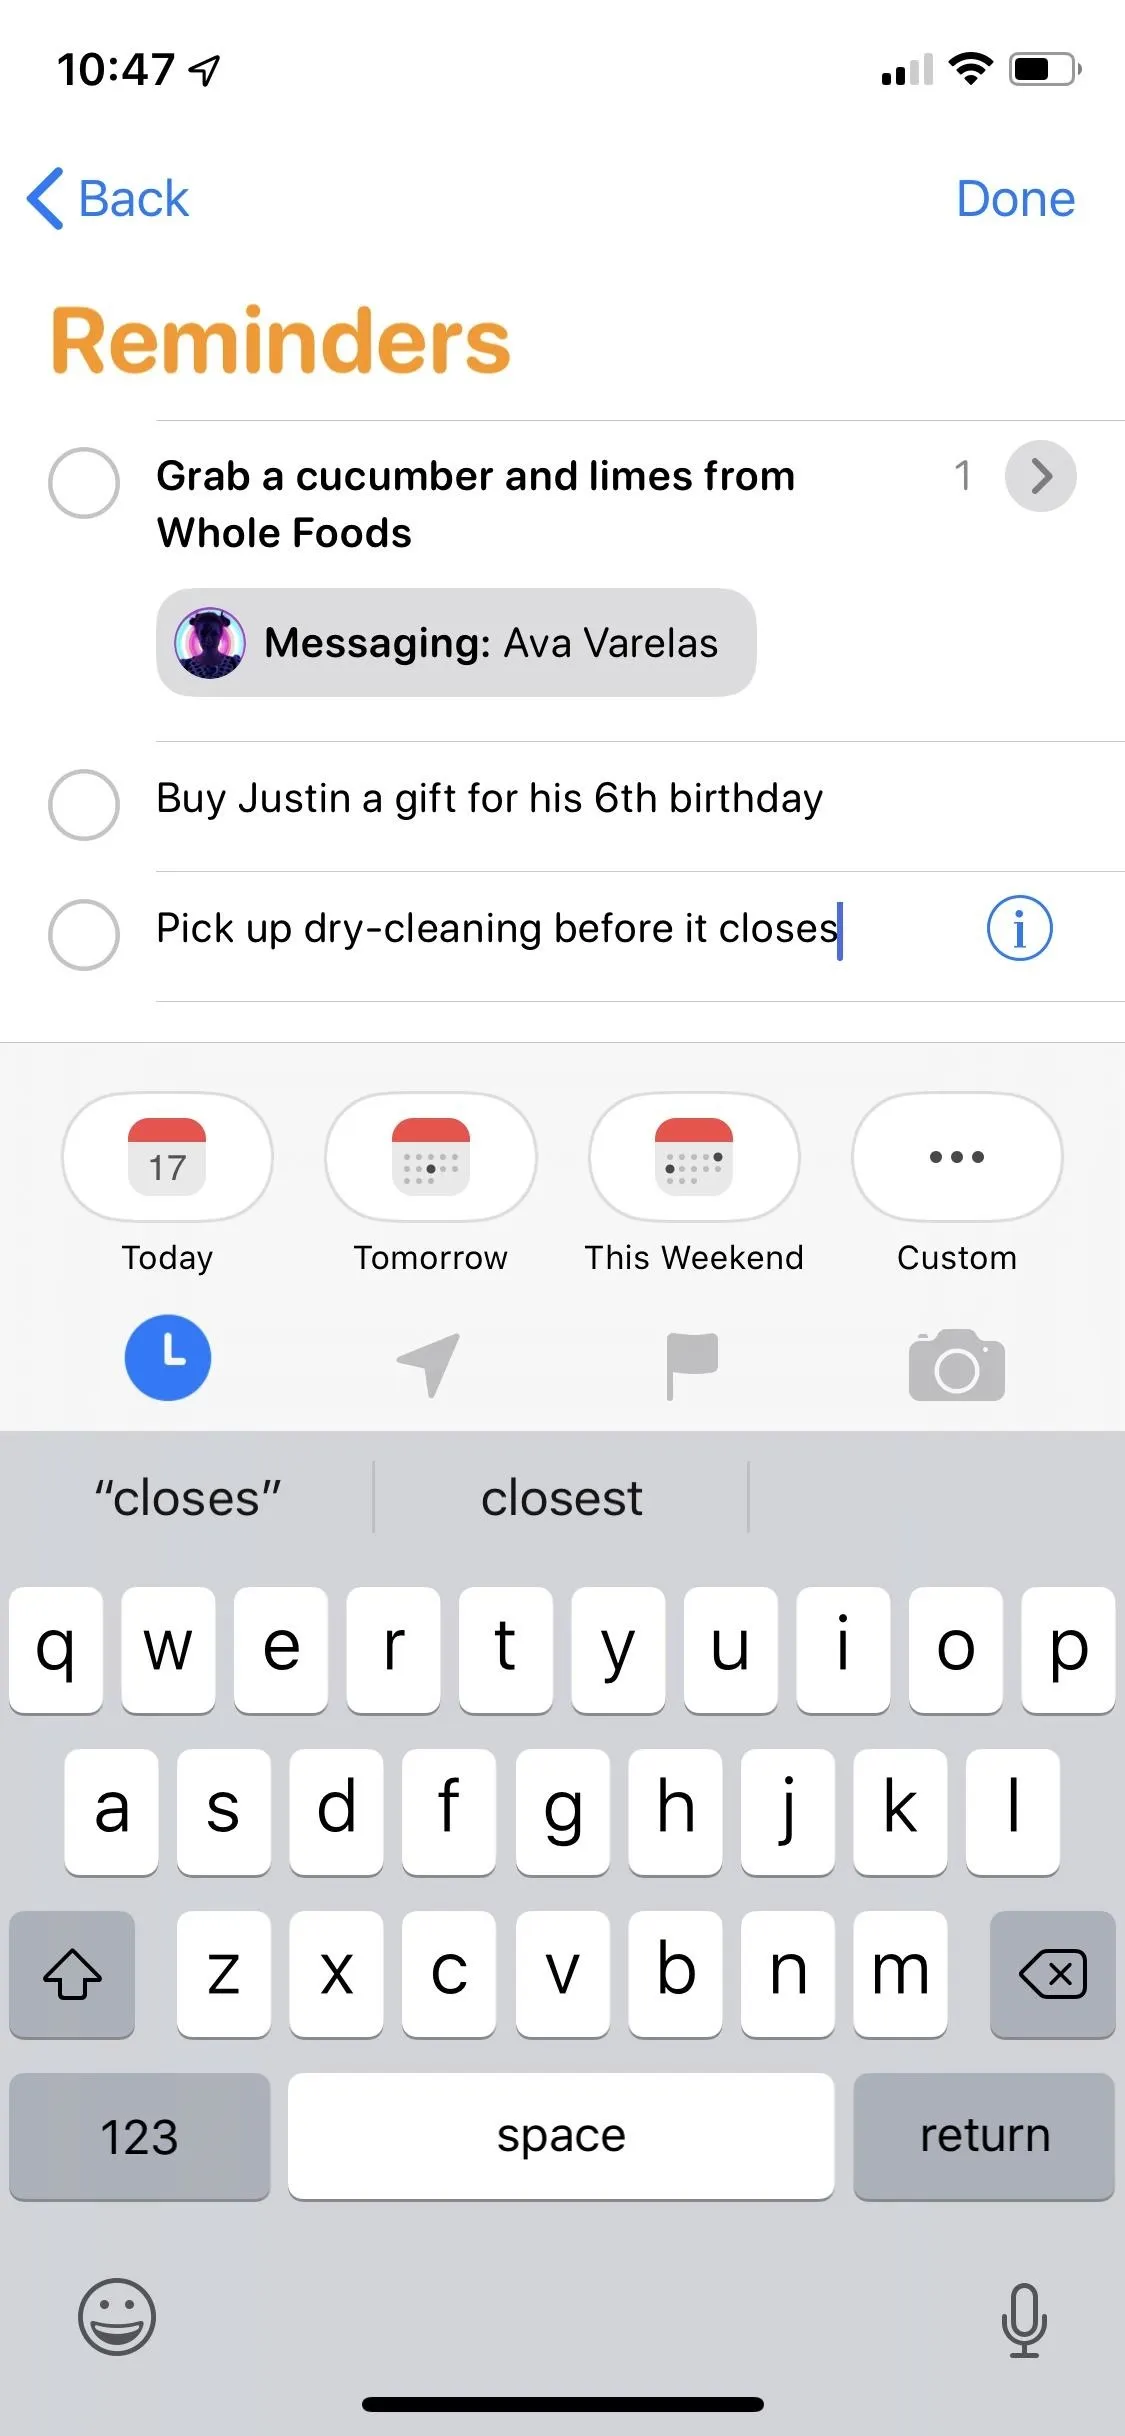
If you want to set a specific time to be notified of your reminder, tap on the clock icon in the quick toolbar. Four options will appear above the toolbar: Today, Tomorrow, This Weekend, and Custom.
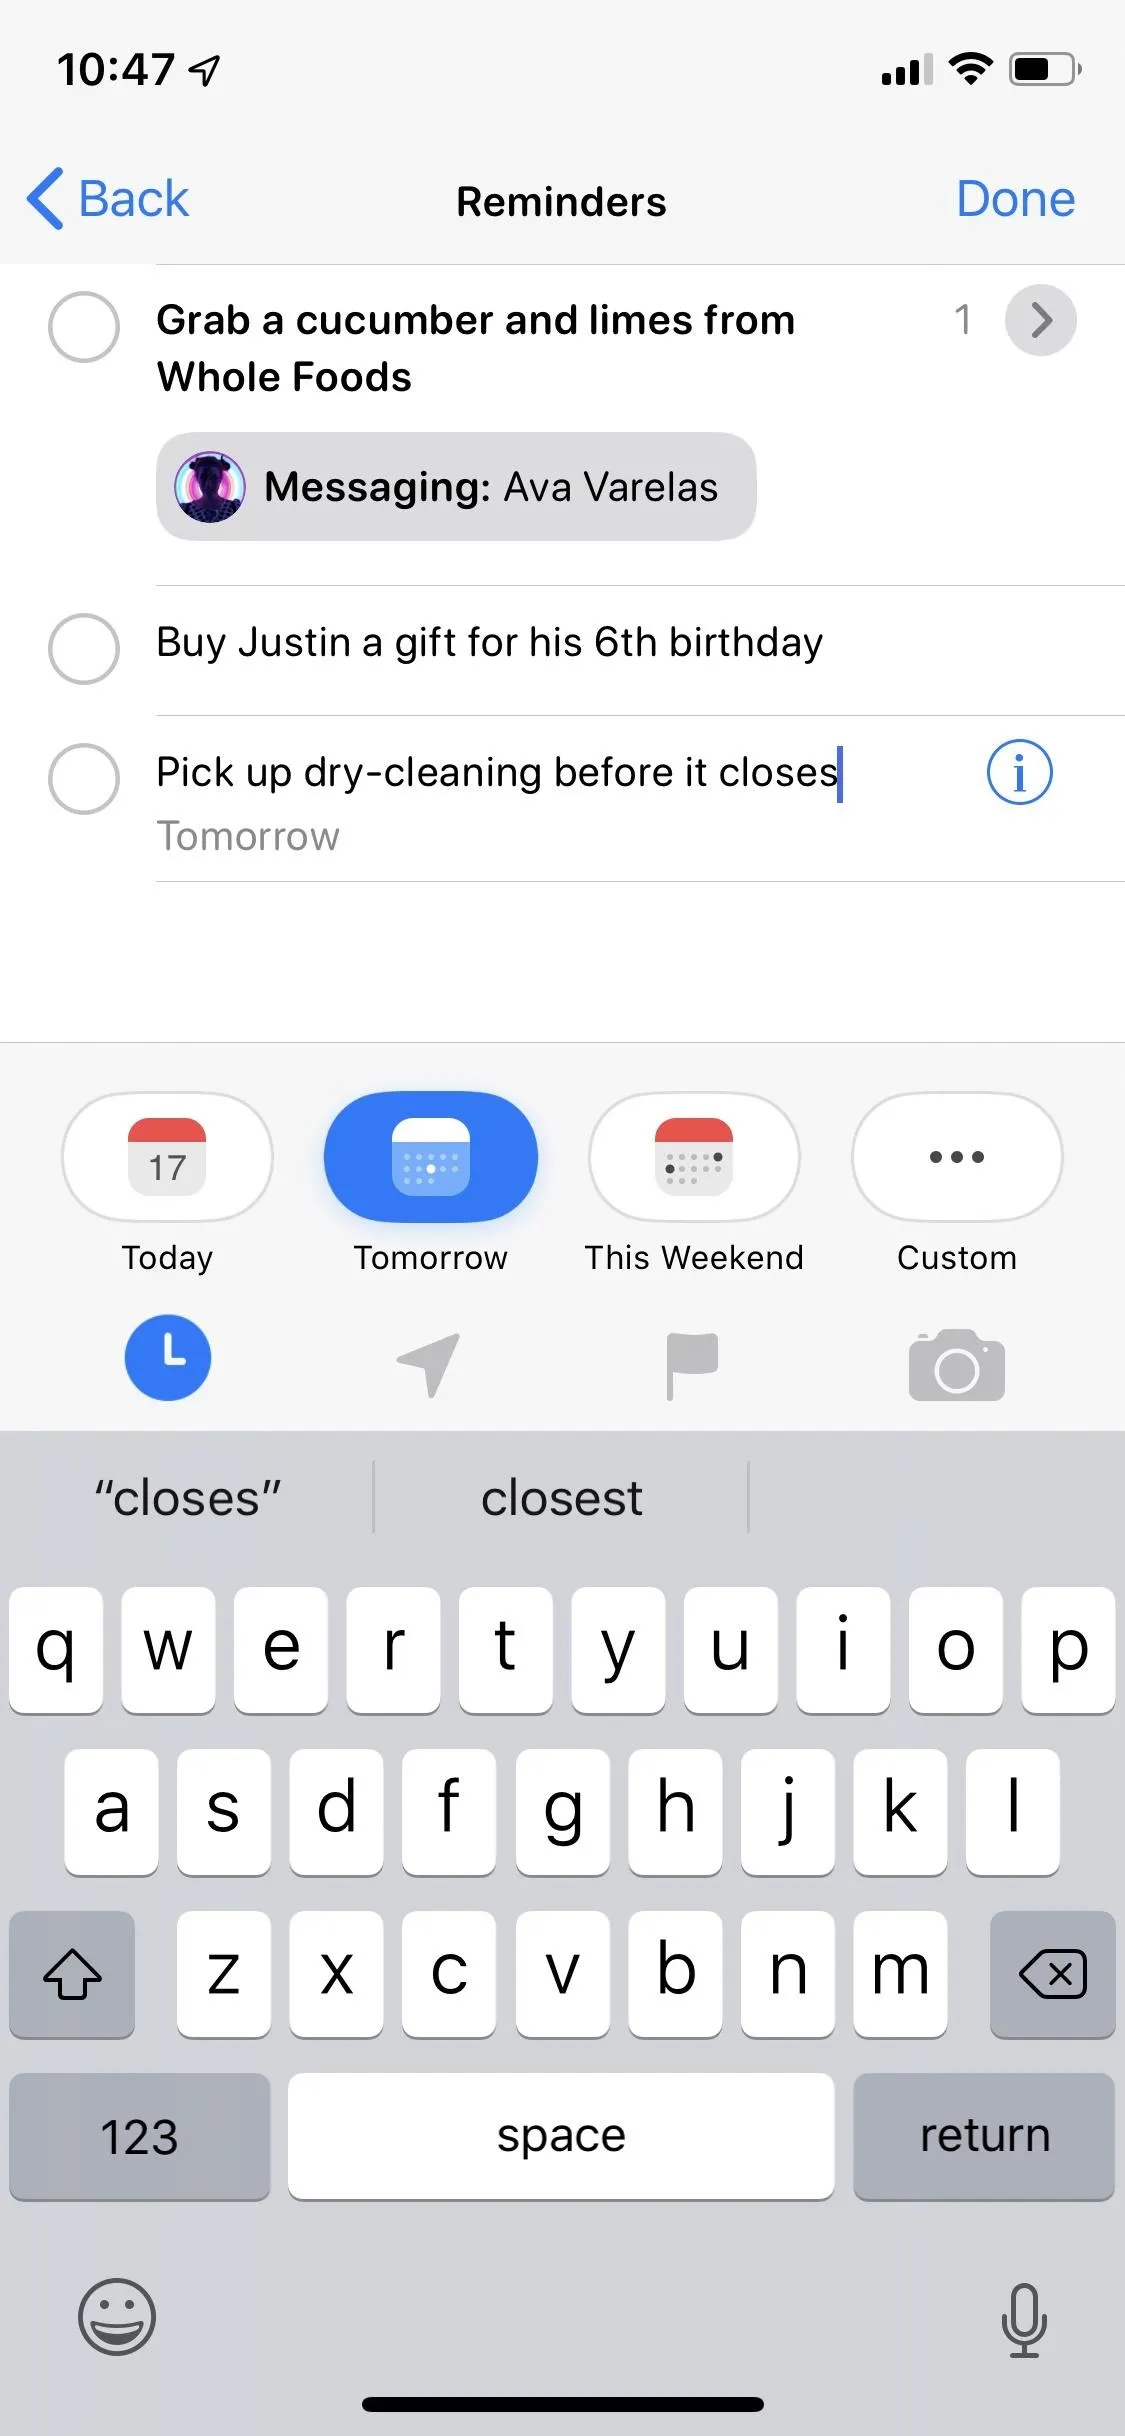
If you select any of the first three options, it will randomly notify you of the reminder on that day ("This Weekend" basically means Saturday). A day or date tag will appear underneath the reminder, so you know.
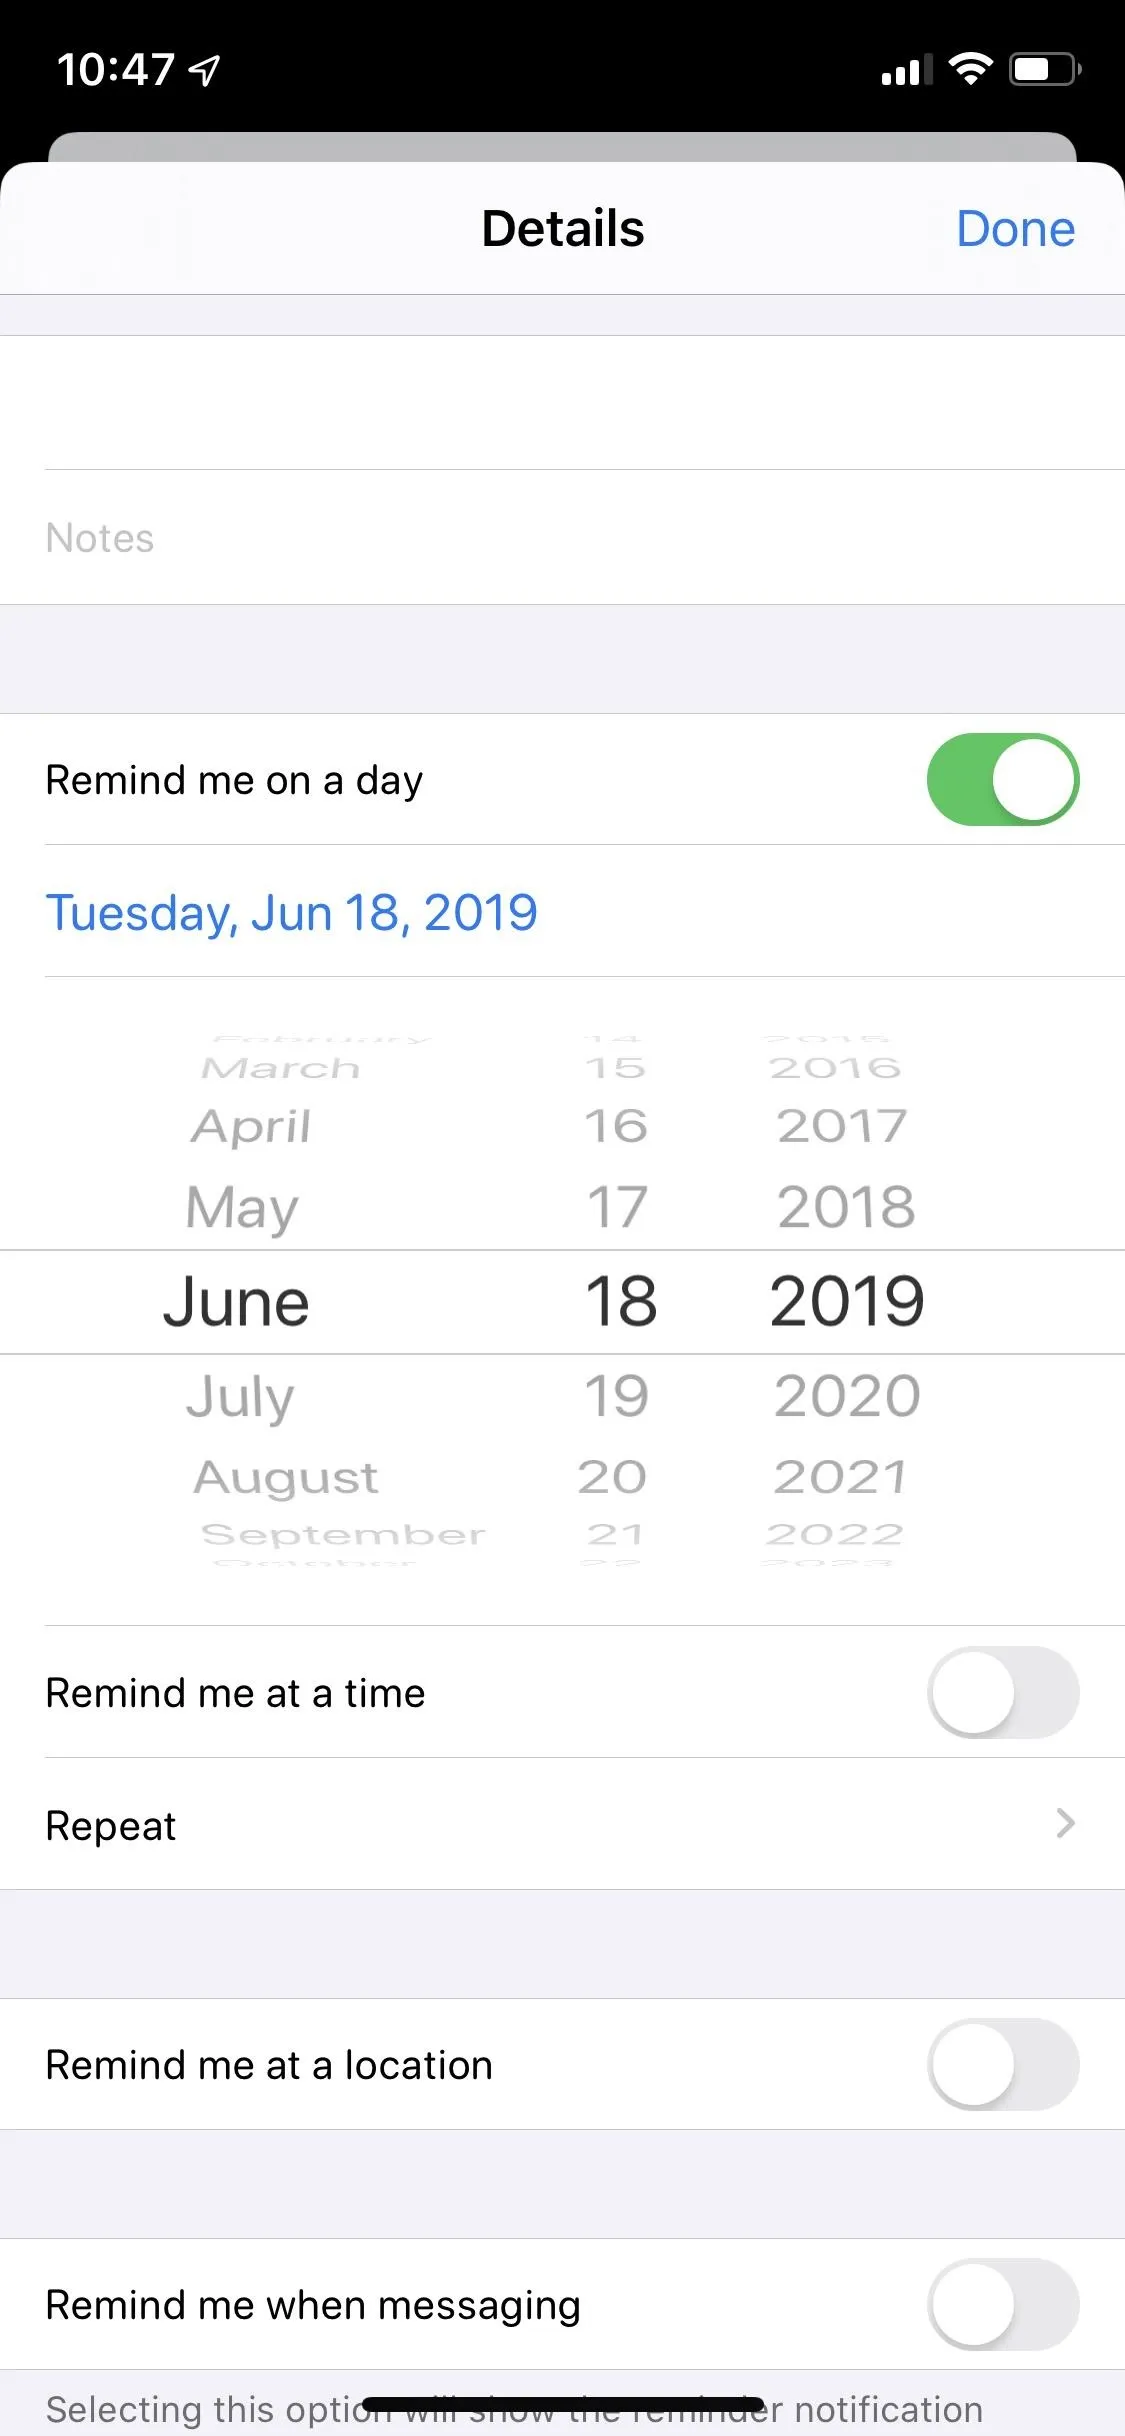
If you tap on "Custom," you'll be taken to the Details page where you can select a specific date. If you want to add a particular time to that, enable "Remind me at a time" and the hour and minutes will show up on the date dial for you to customize. Hit "Done" when you finish.
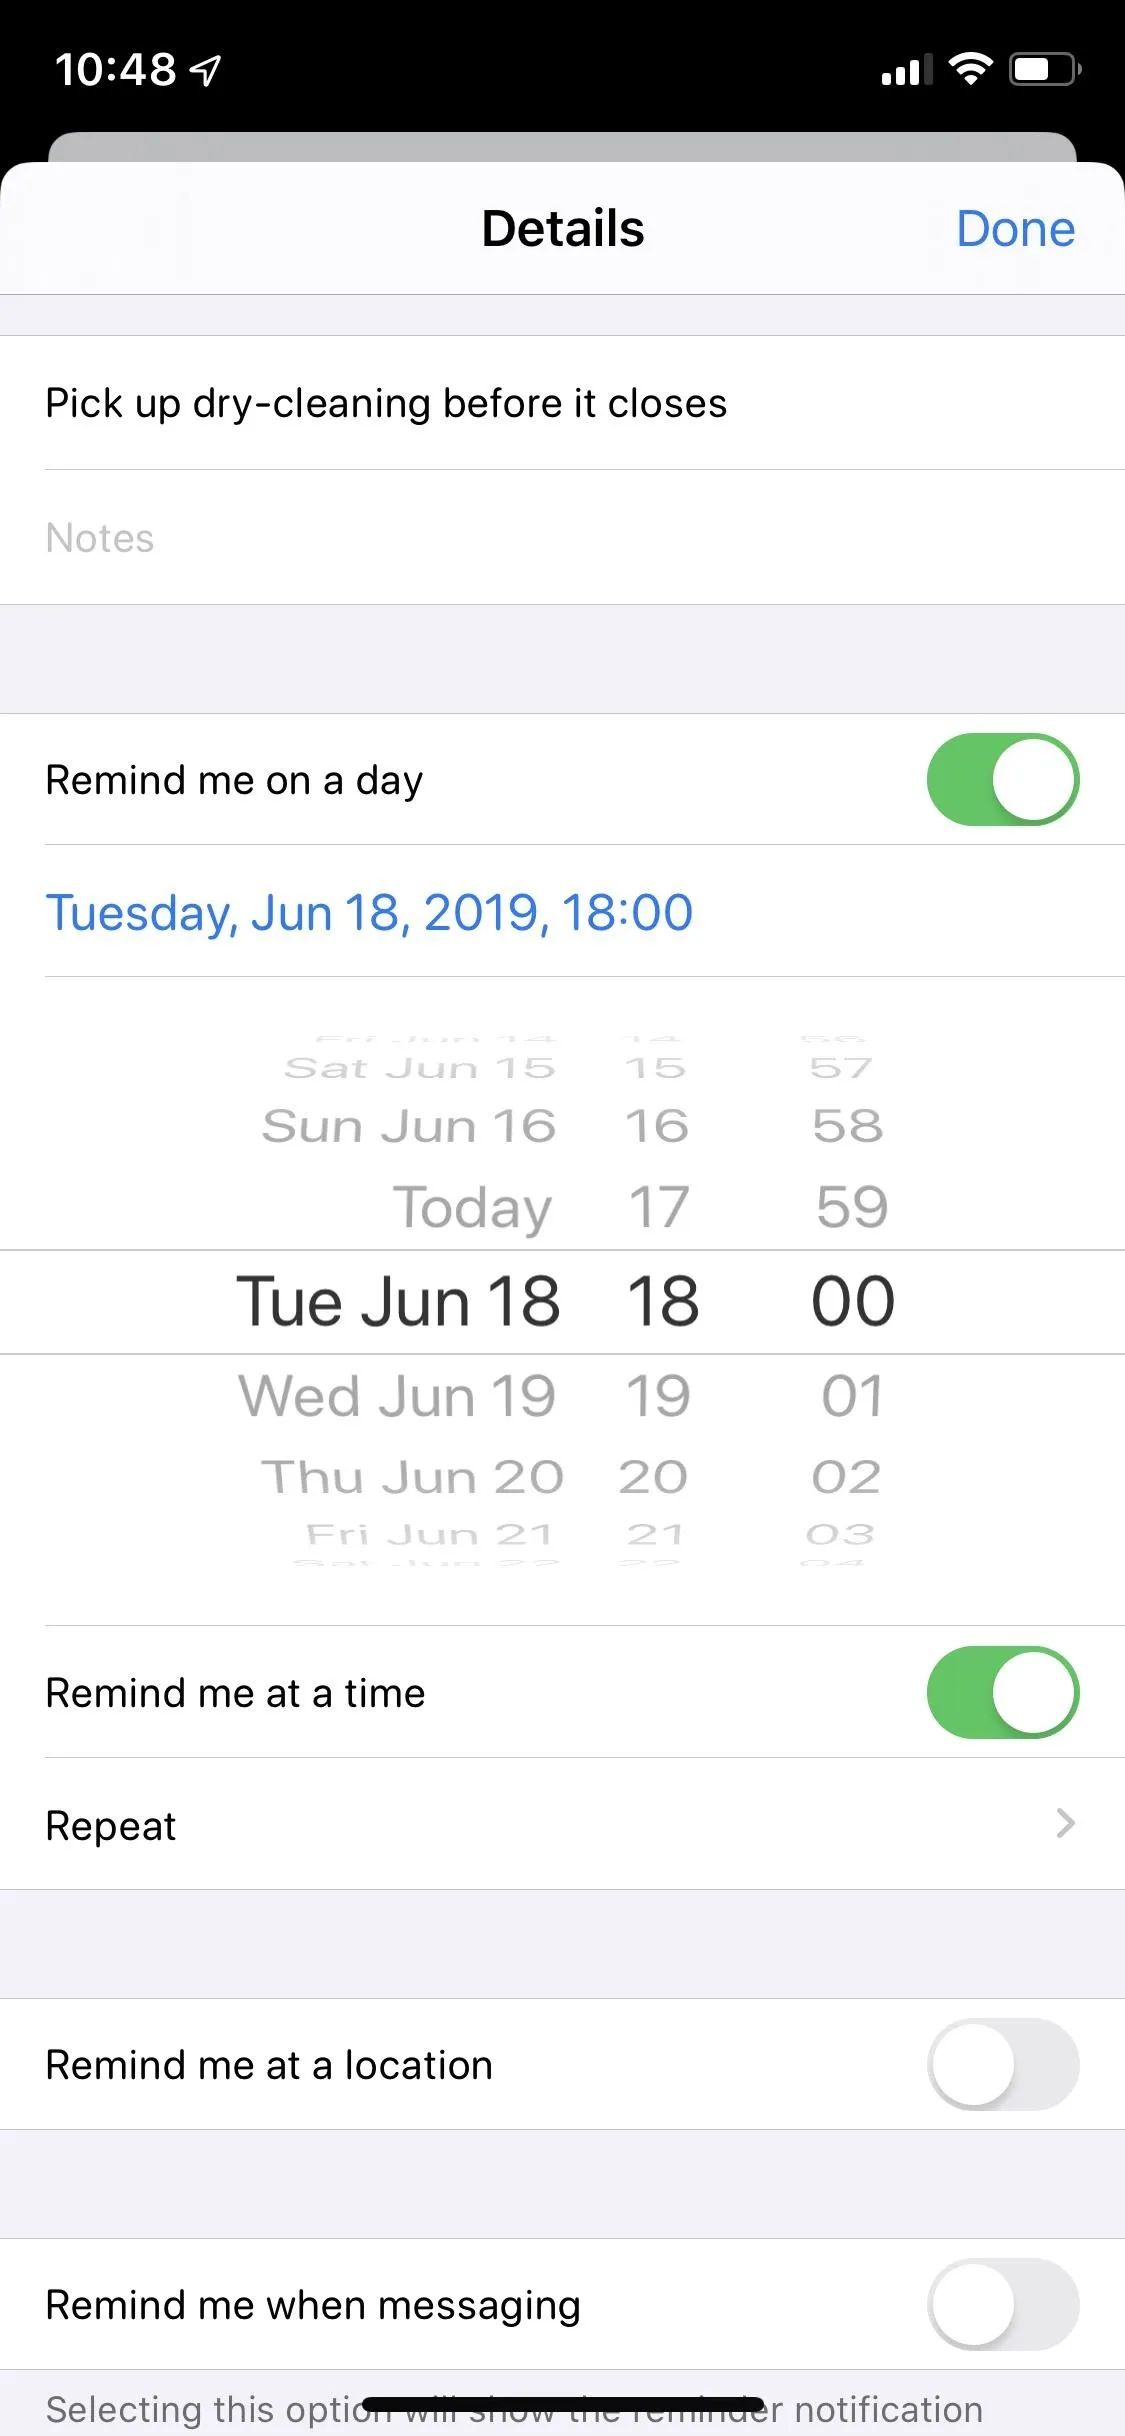
To turn off the time notification, tap on the clock icon you originally selected (Today, Tomorrow, or This Weekend) in the quick toolbar to unselect it. If you chose Custom, hit that again, then toggle off "Remind me on a day" in the Details page.
Set a Location for Your Reminder
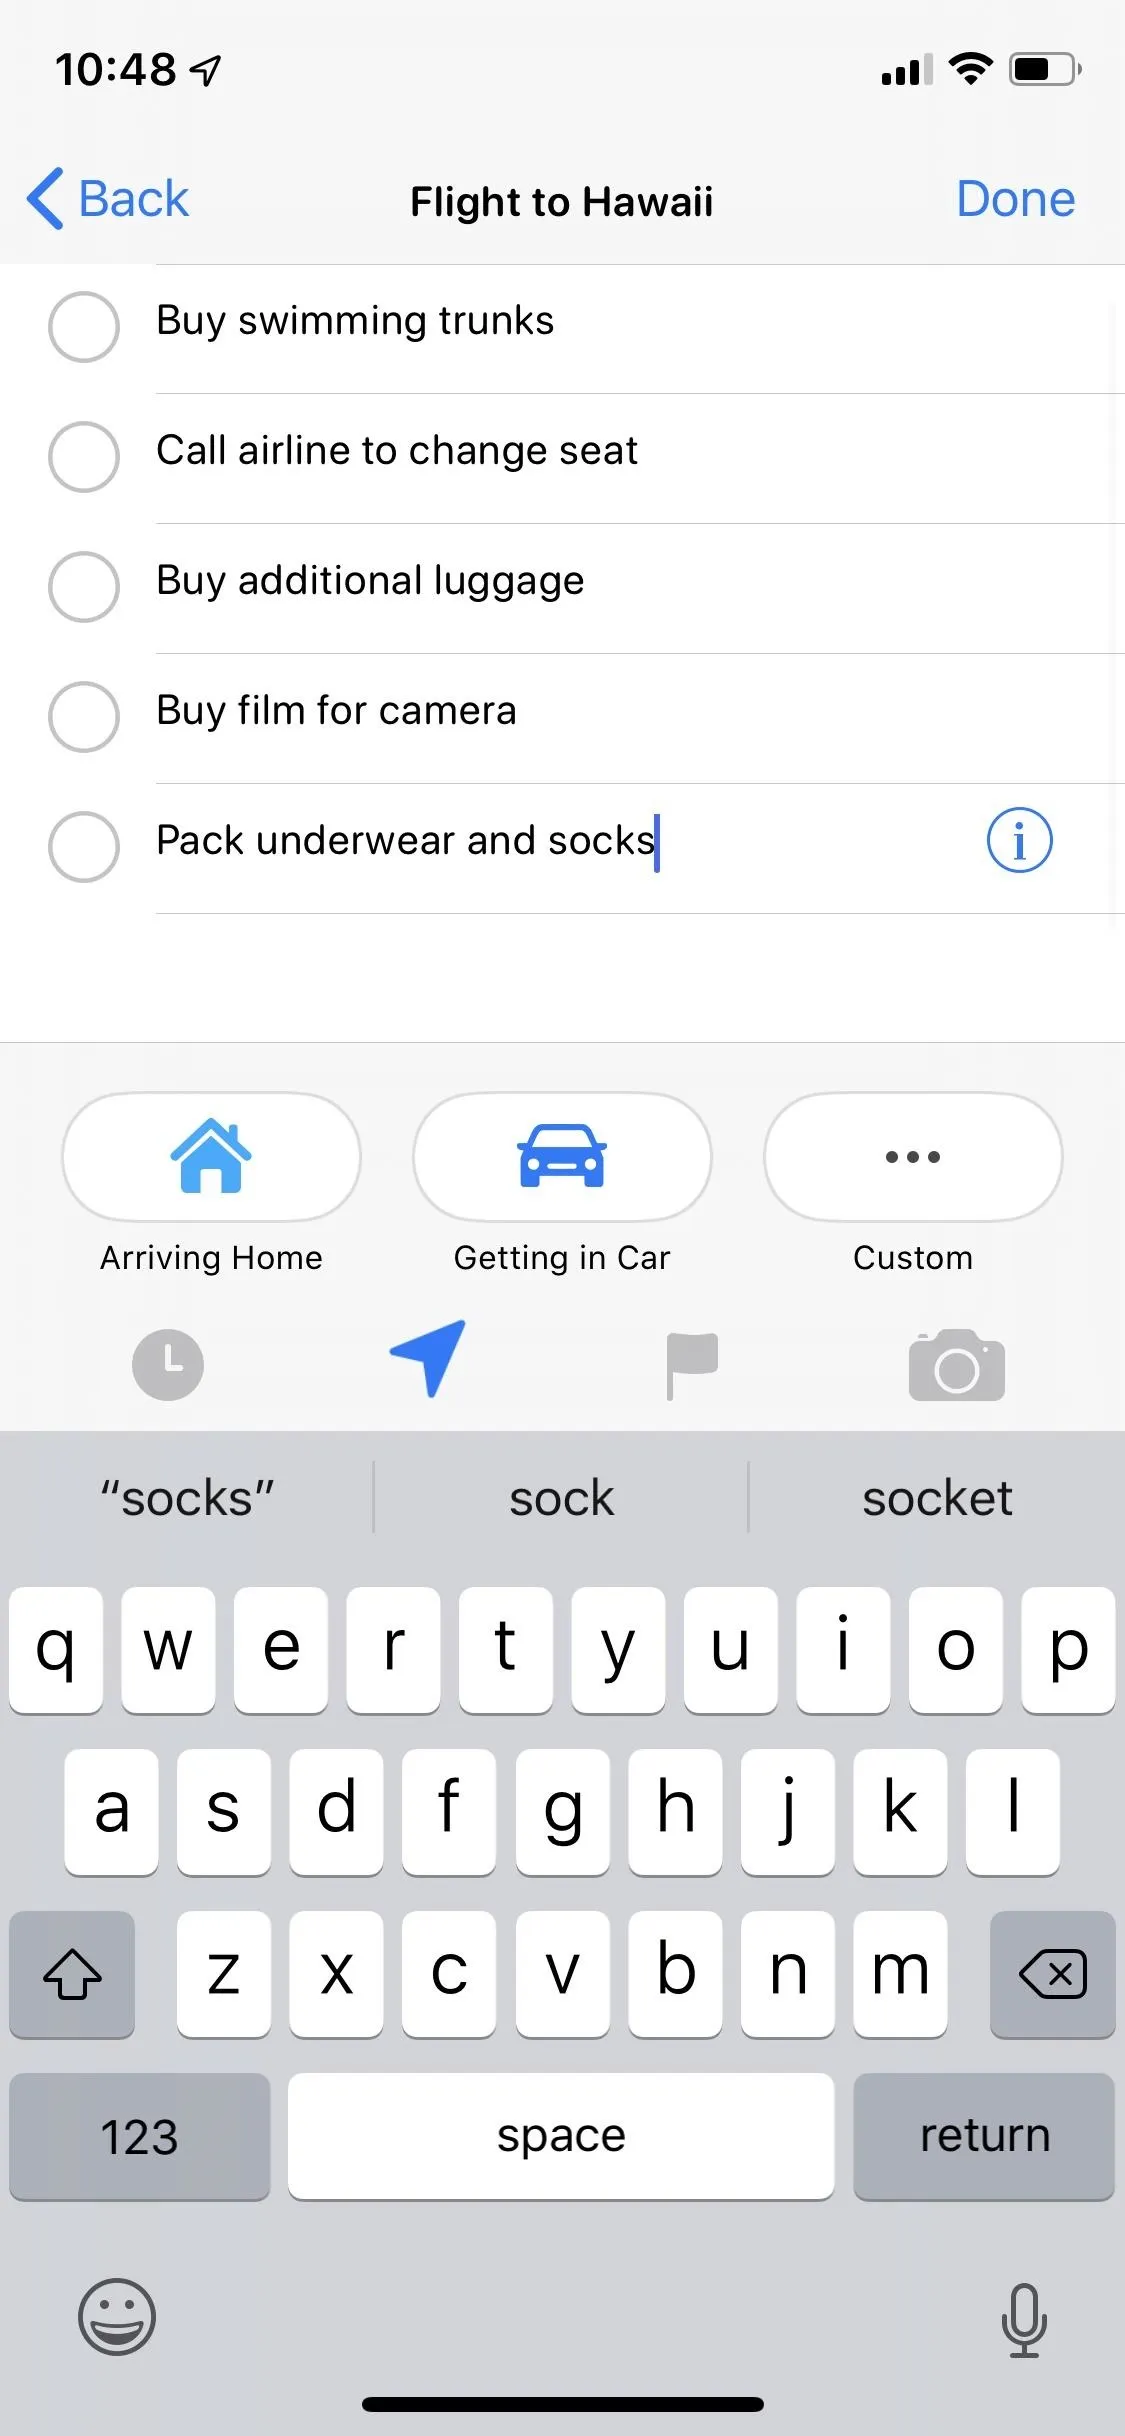
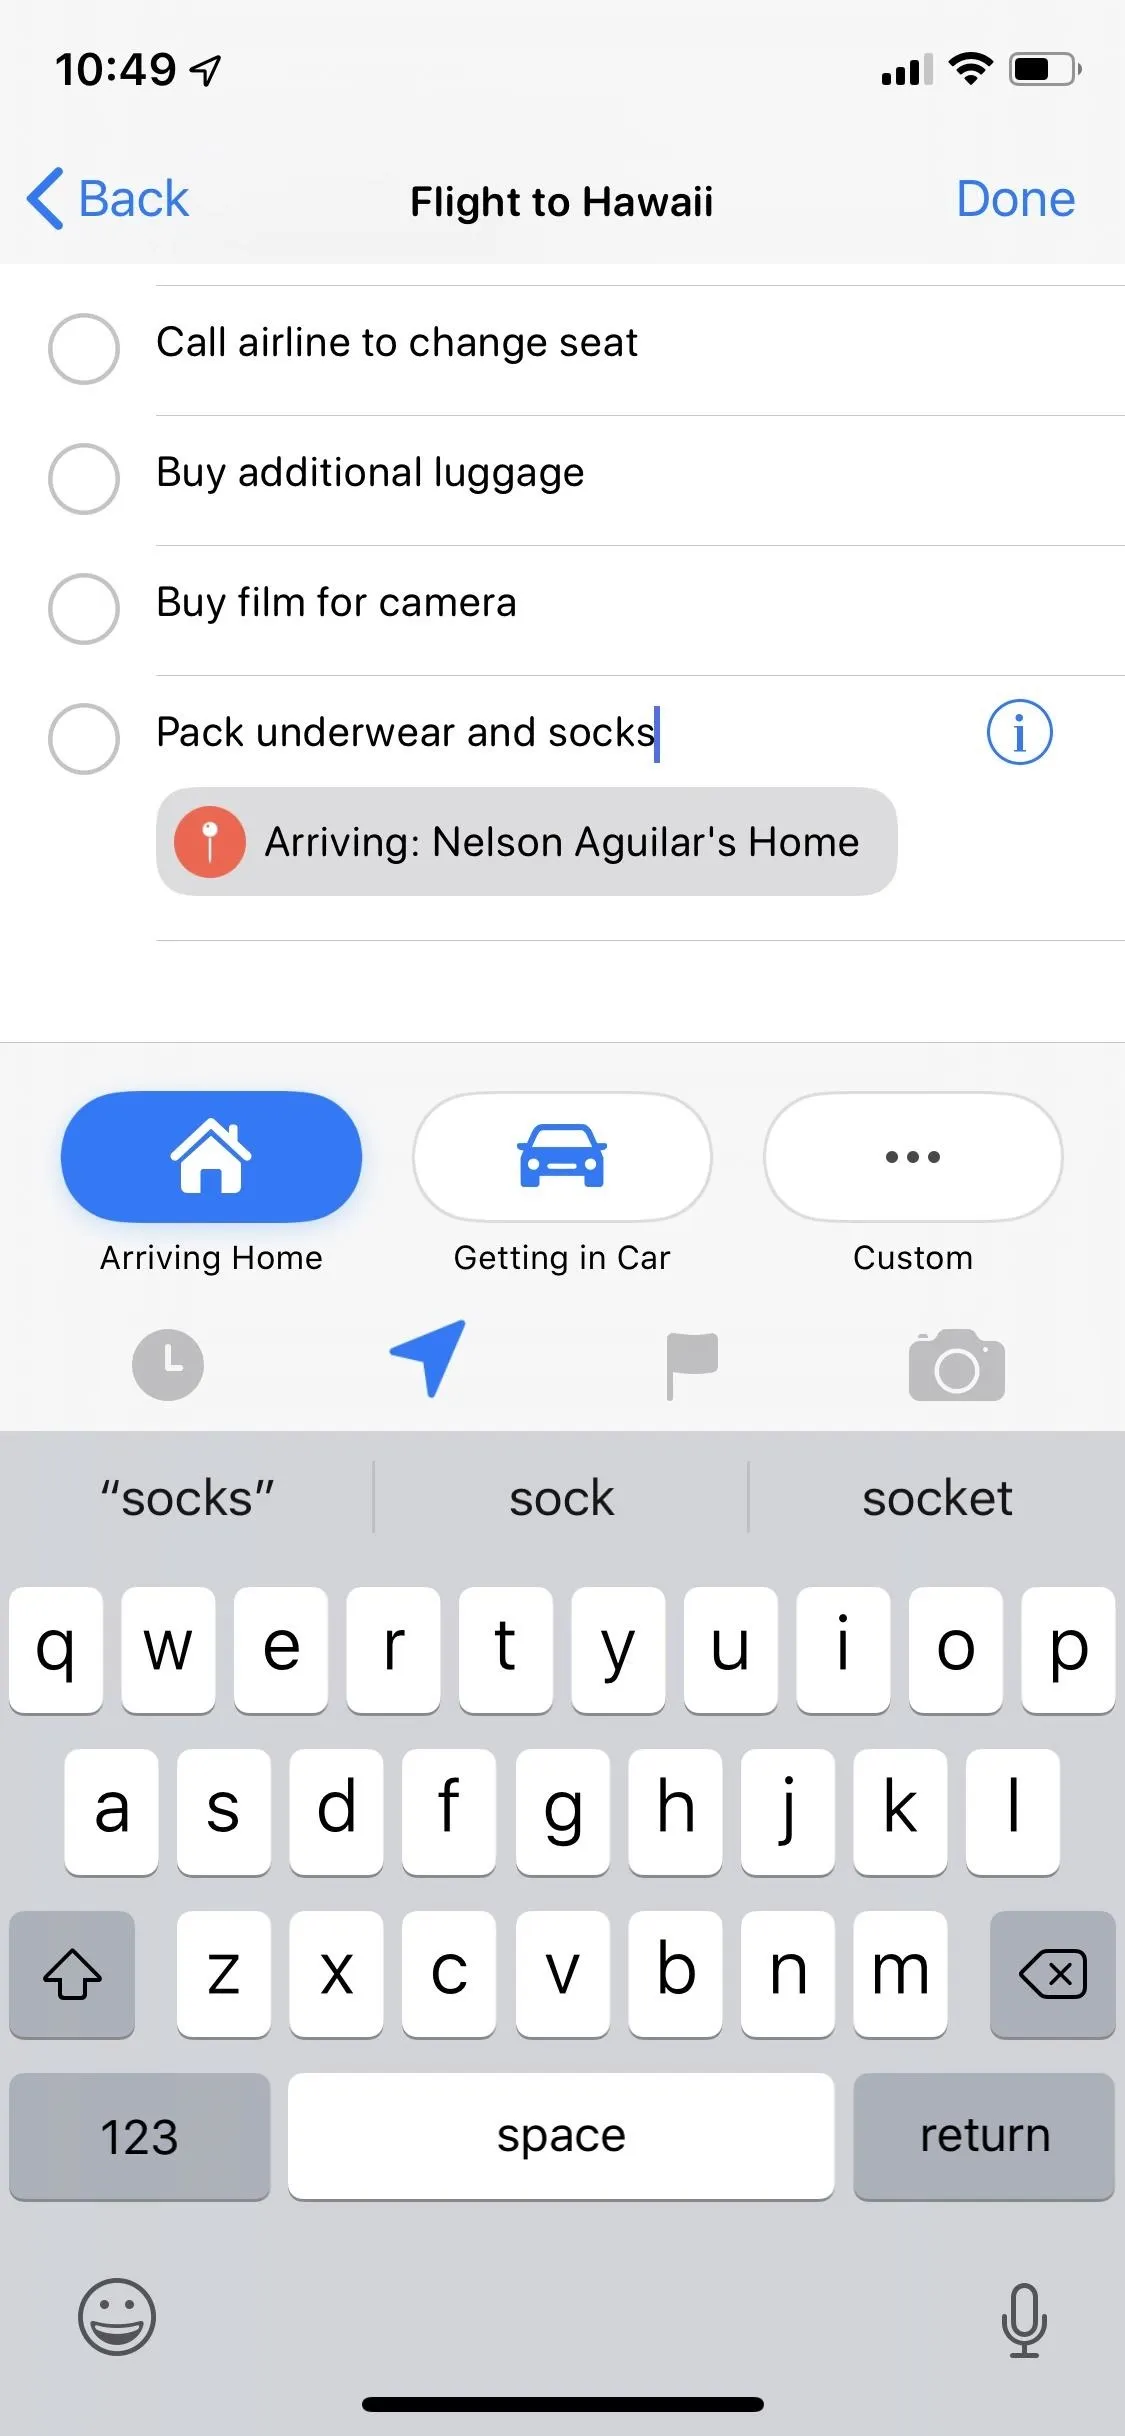
Aside from a specific date and time, you can also use your location to receive a notification for a particular reminder. Tap the arrow icon in the quick toolbar to bring up your options.
You have the choice to be reminded when "Arriving Home" (location pulled from Apple Maps, and only if you have a home address set for yourself in Contacts) or "Arriving Work" (same but for your work address) or "Getting in Car" (when you connect to it via Bluetooth with your iPhone), and you also have the option to enter a "Custom" location.
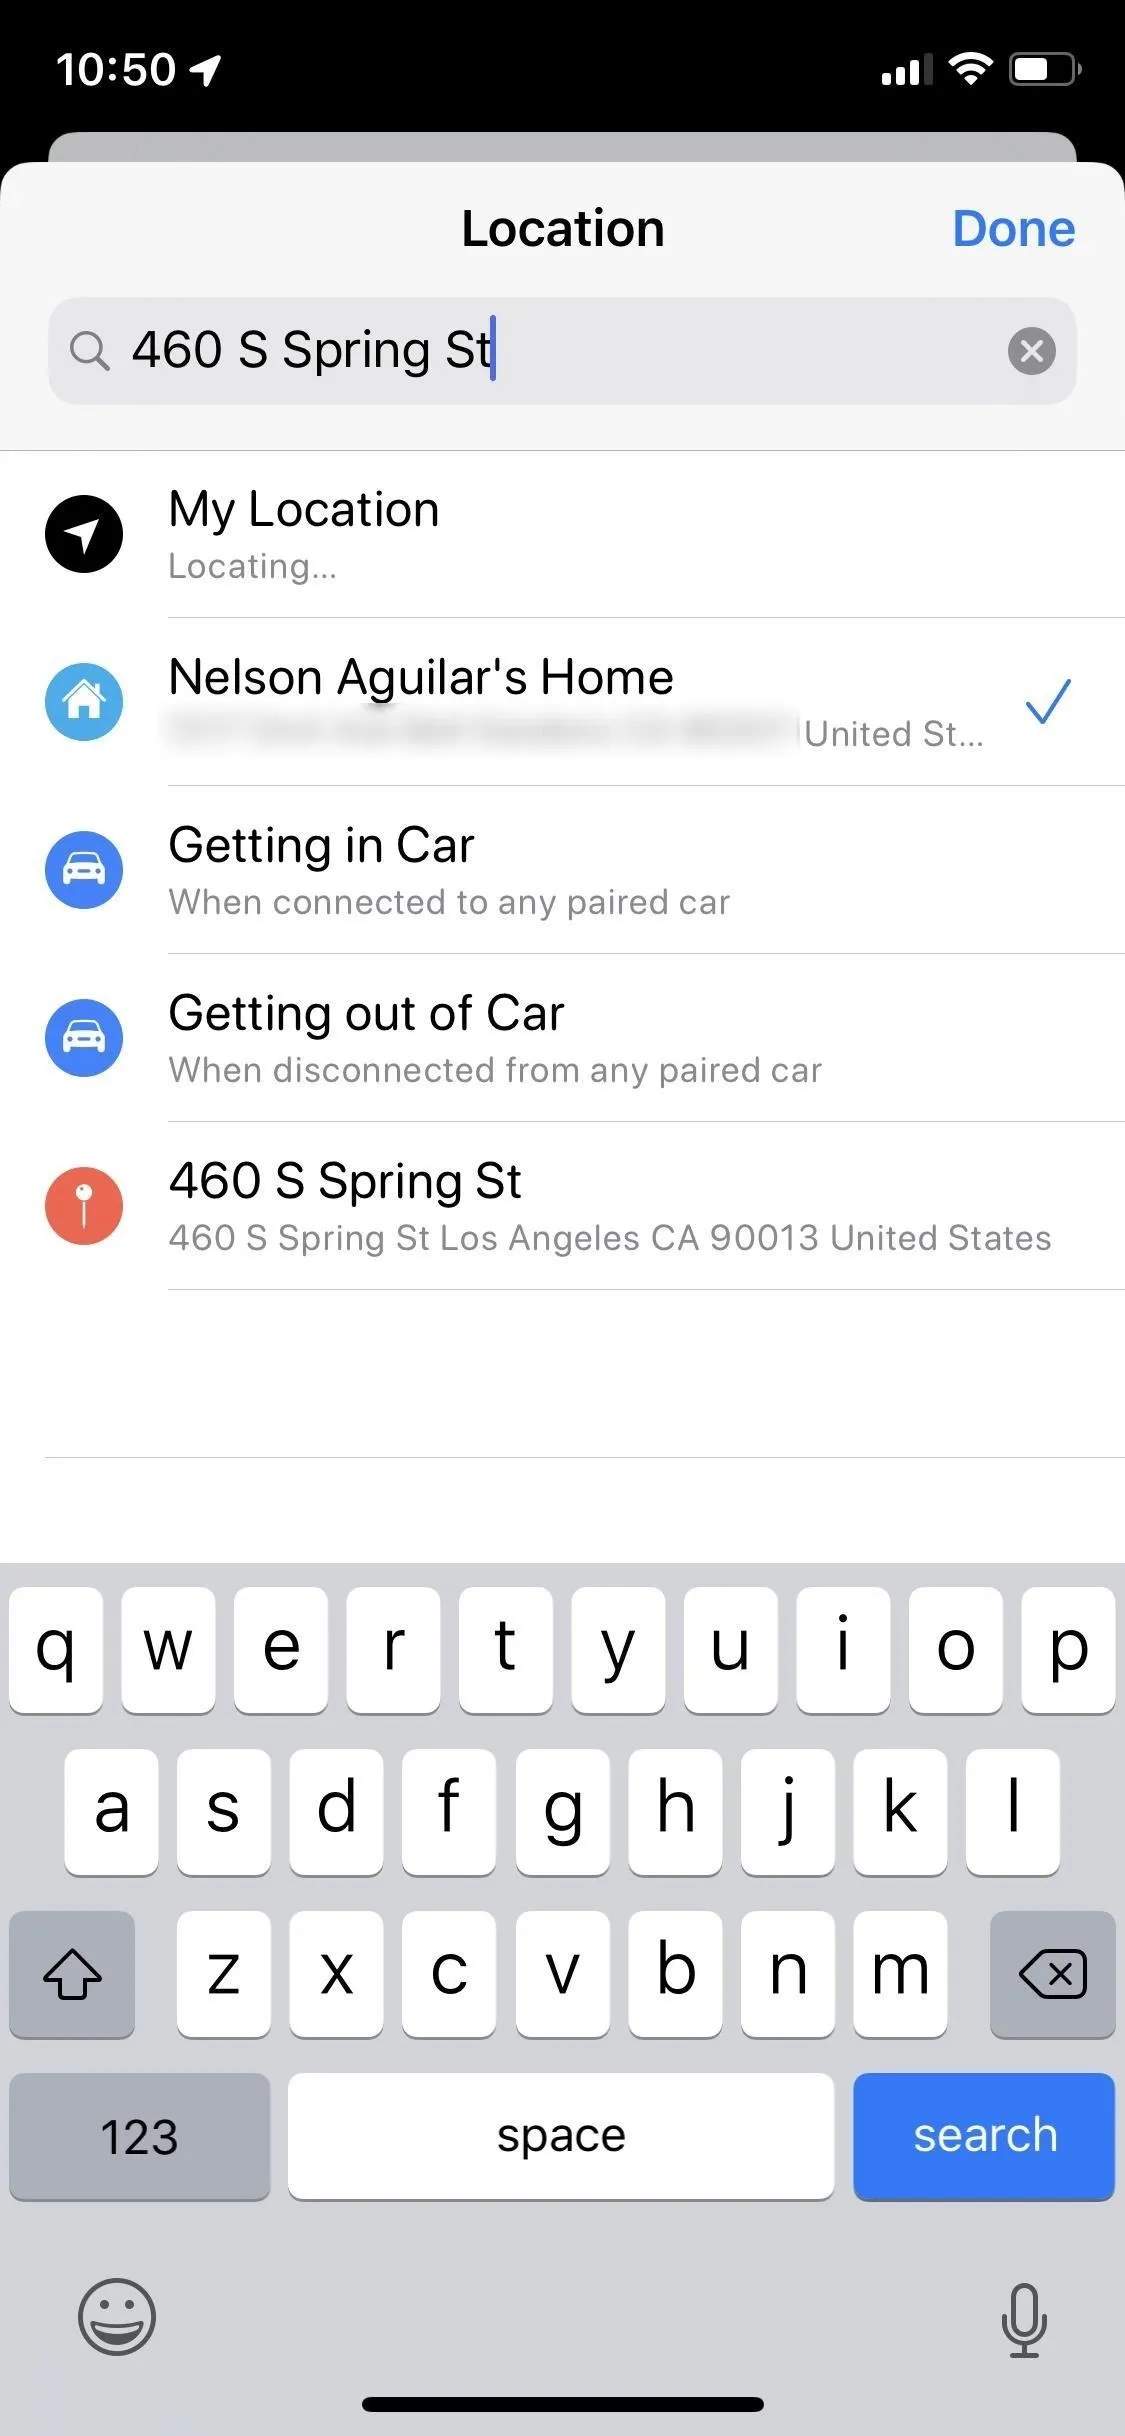
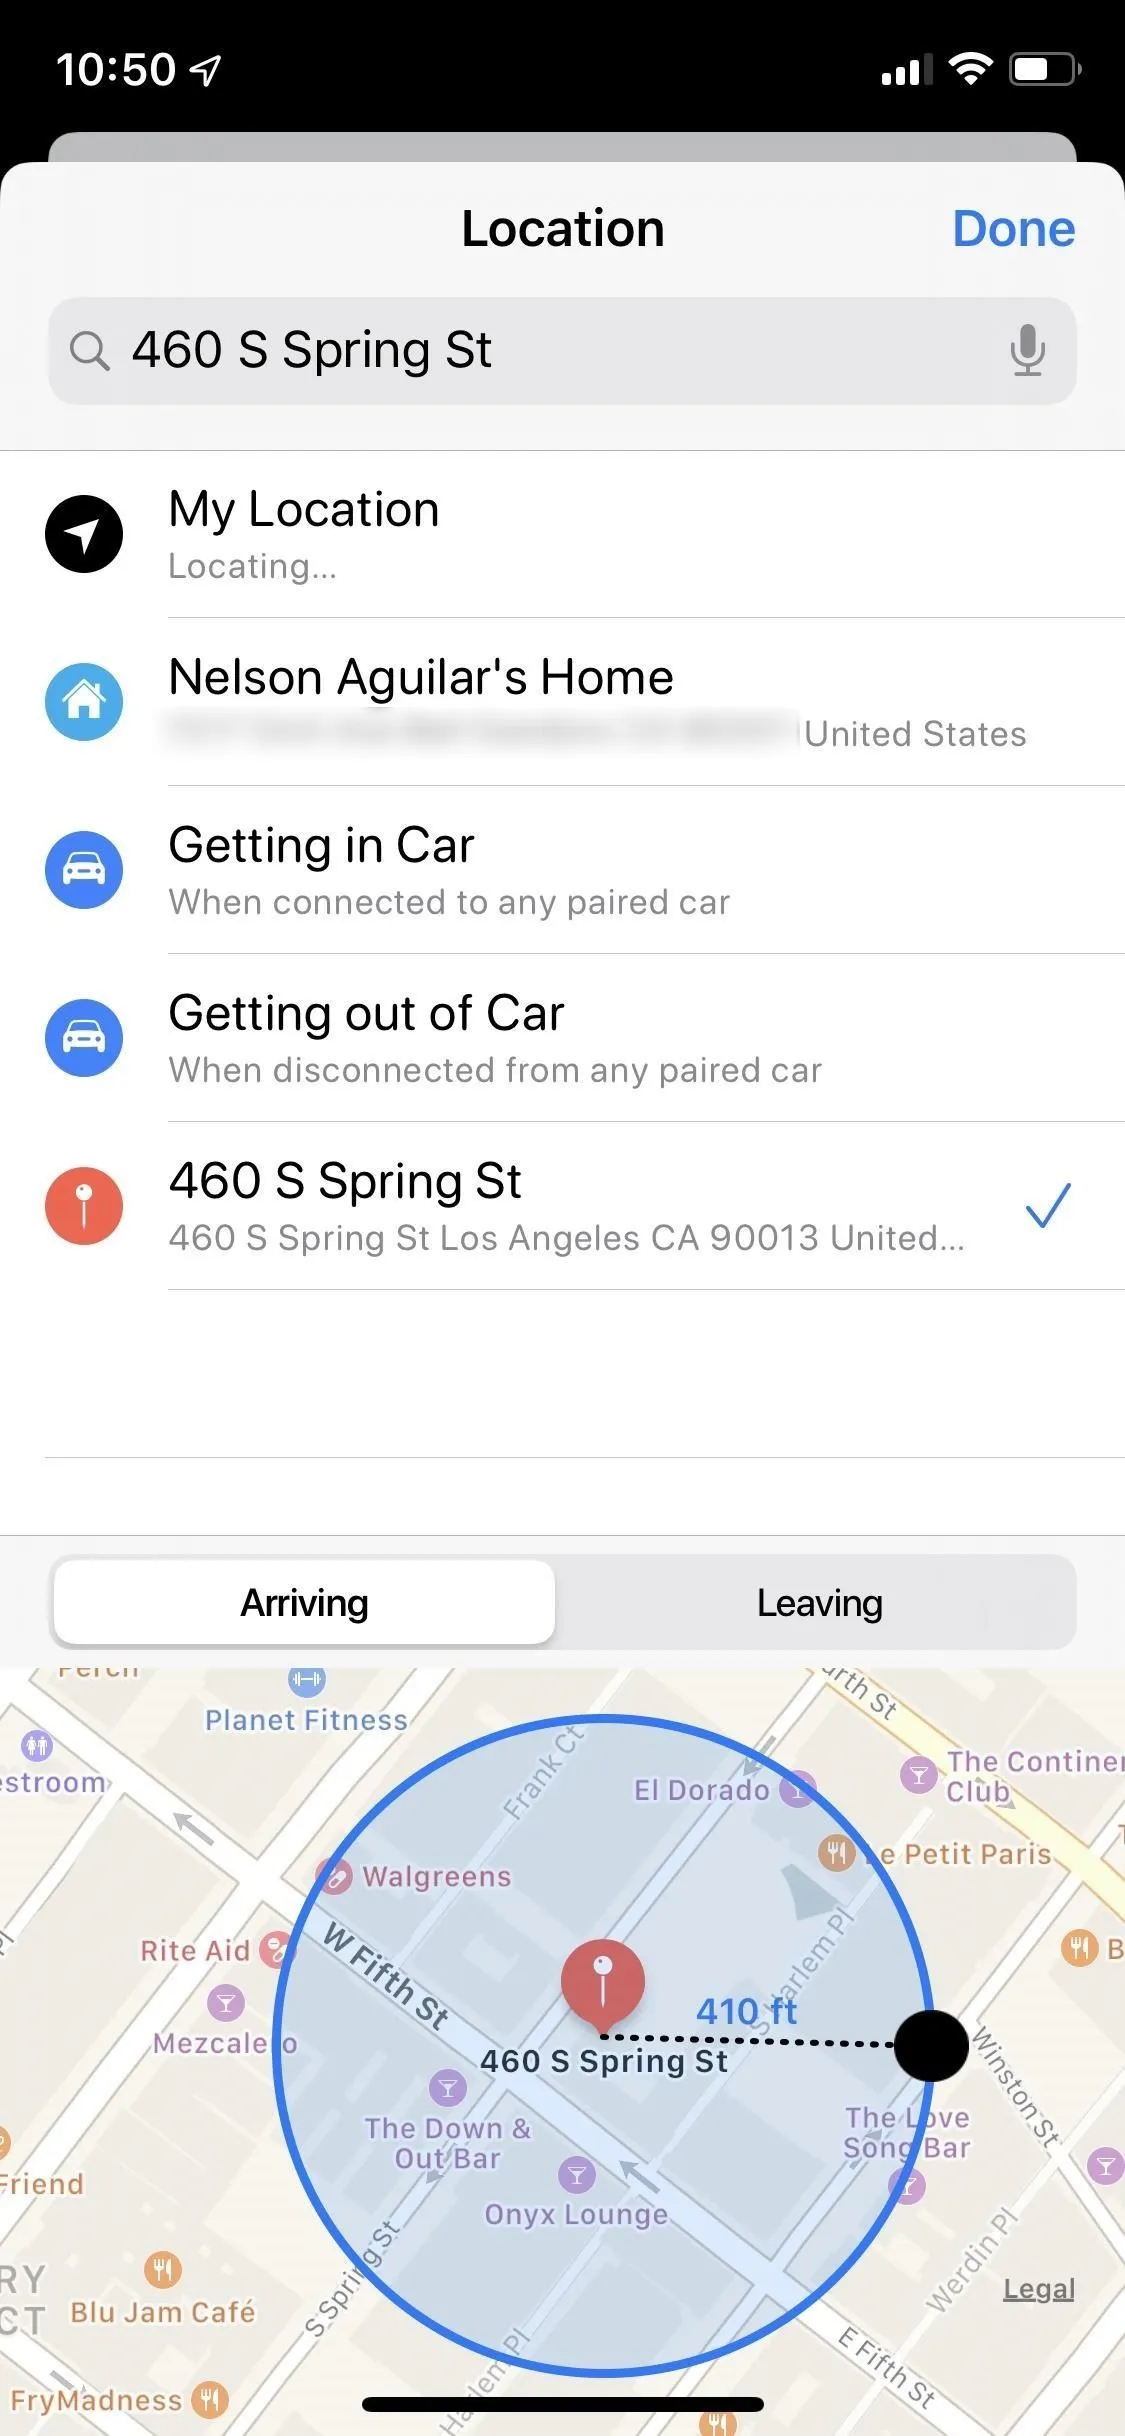
If you tap on "Custom," you'll have more options to choose from, including your current location, getting out of your car, and any location you type into the search bar at the top. Type in a location and a map will appear at the bottom that shows the trigger area — physically enter that area and you'll be notified of your reminder. You can resize the trigger area by swiping left or right on the black circle with the dotted line. Hit "Done" when you finish.
If you selected one of the presets, tap on either button in Location's toolbar menu again to remove the address from the reminder. If you chose "Custom," select either "Arriving Home," "Arriving Work," or "Getting in Car," then do it again. Alternatively, open "Custom" again, then disable "Remind me at a location."
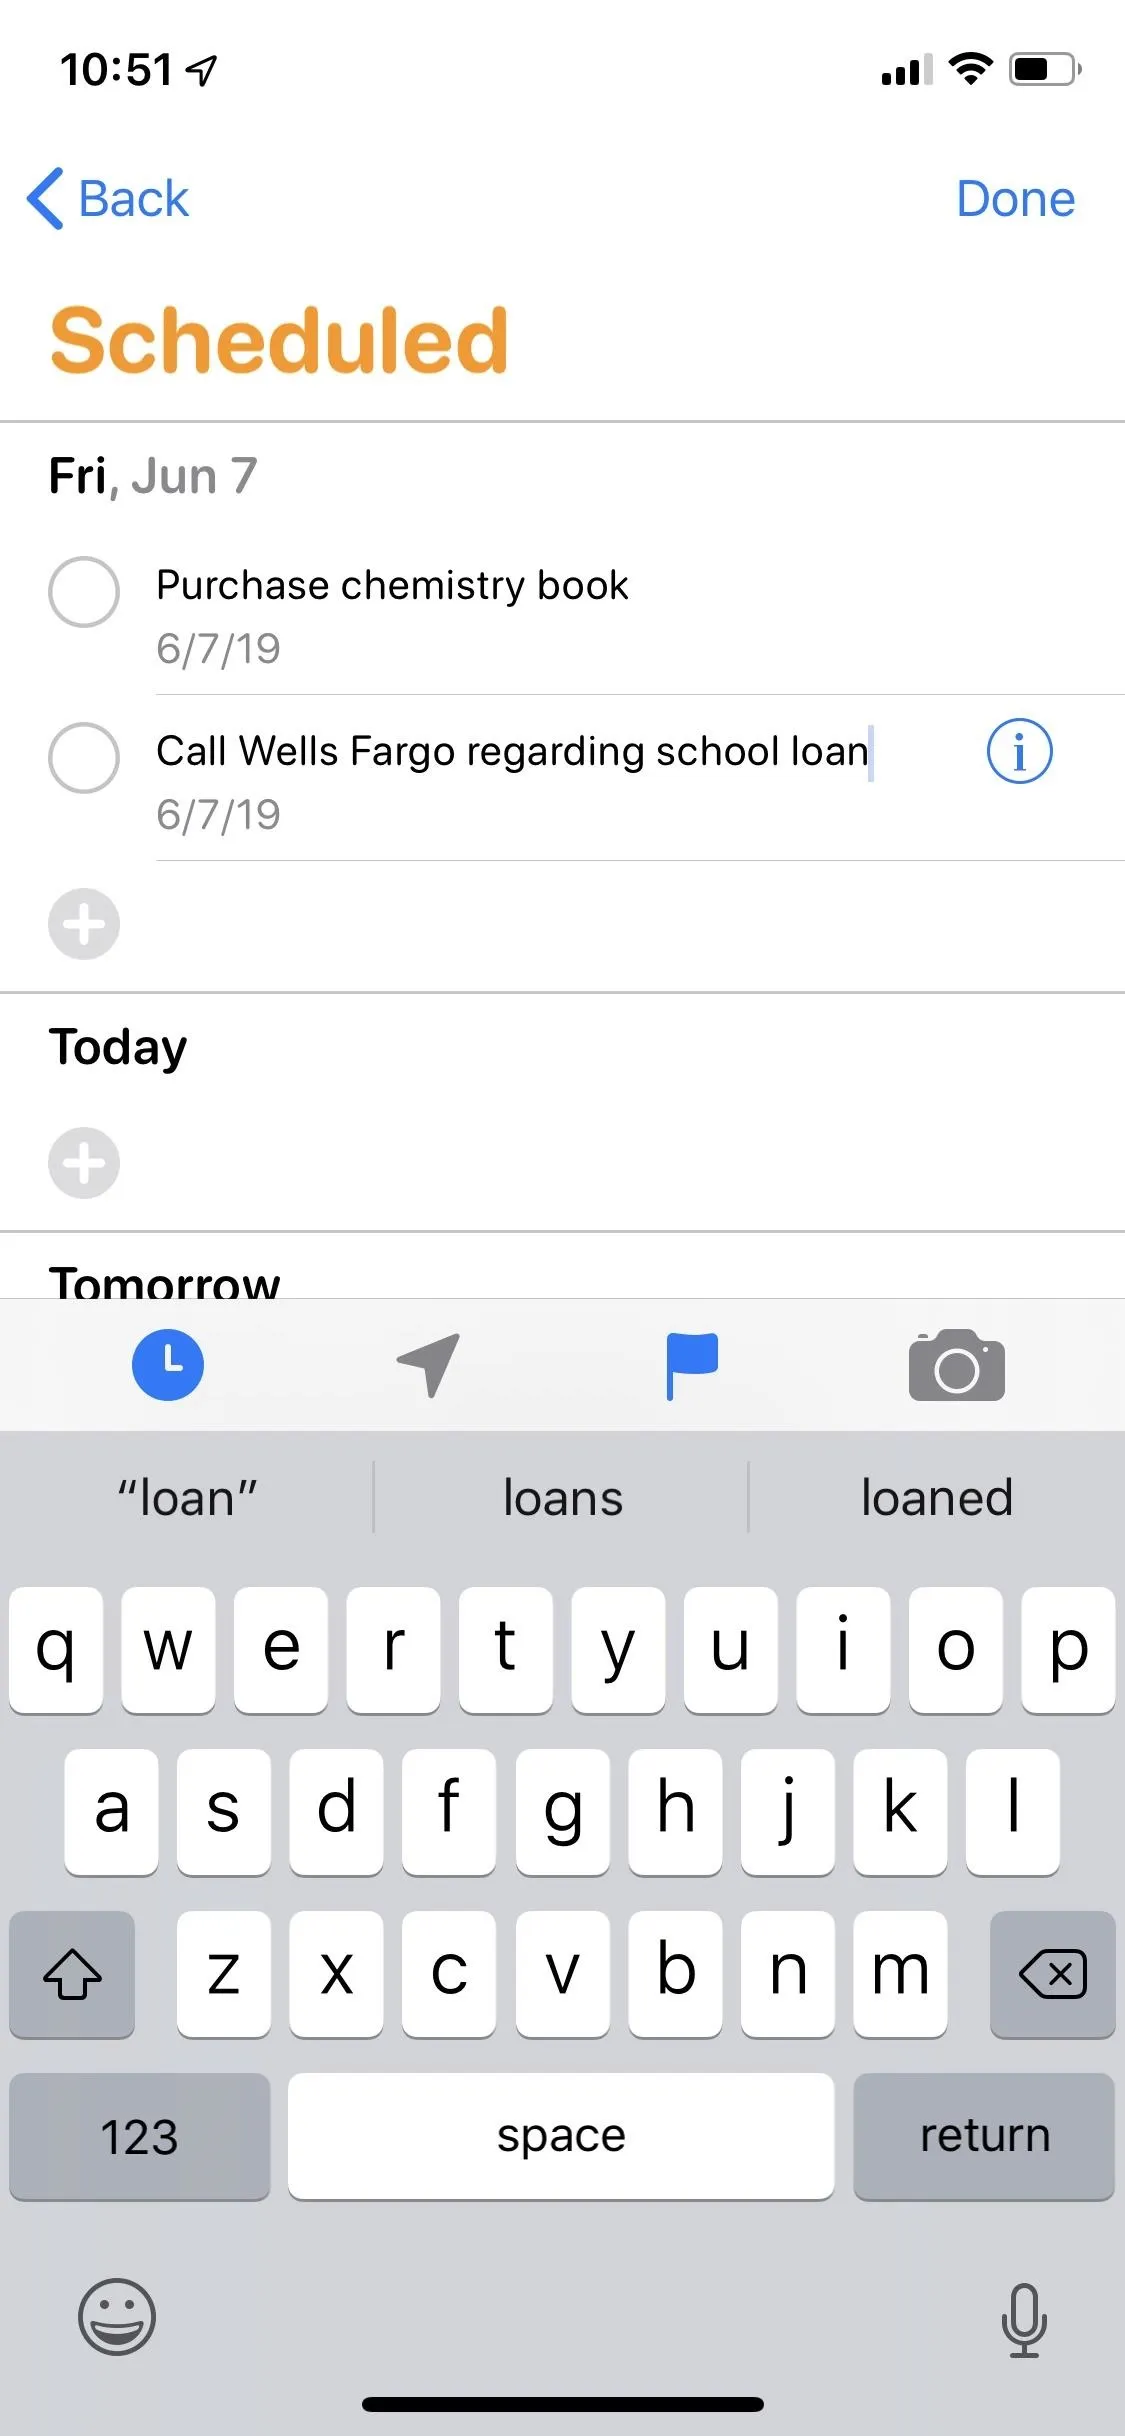
Flag Your Reminder
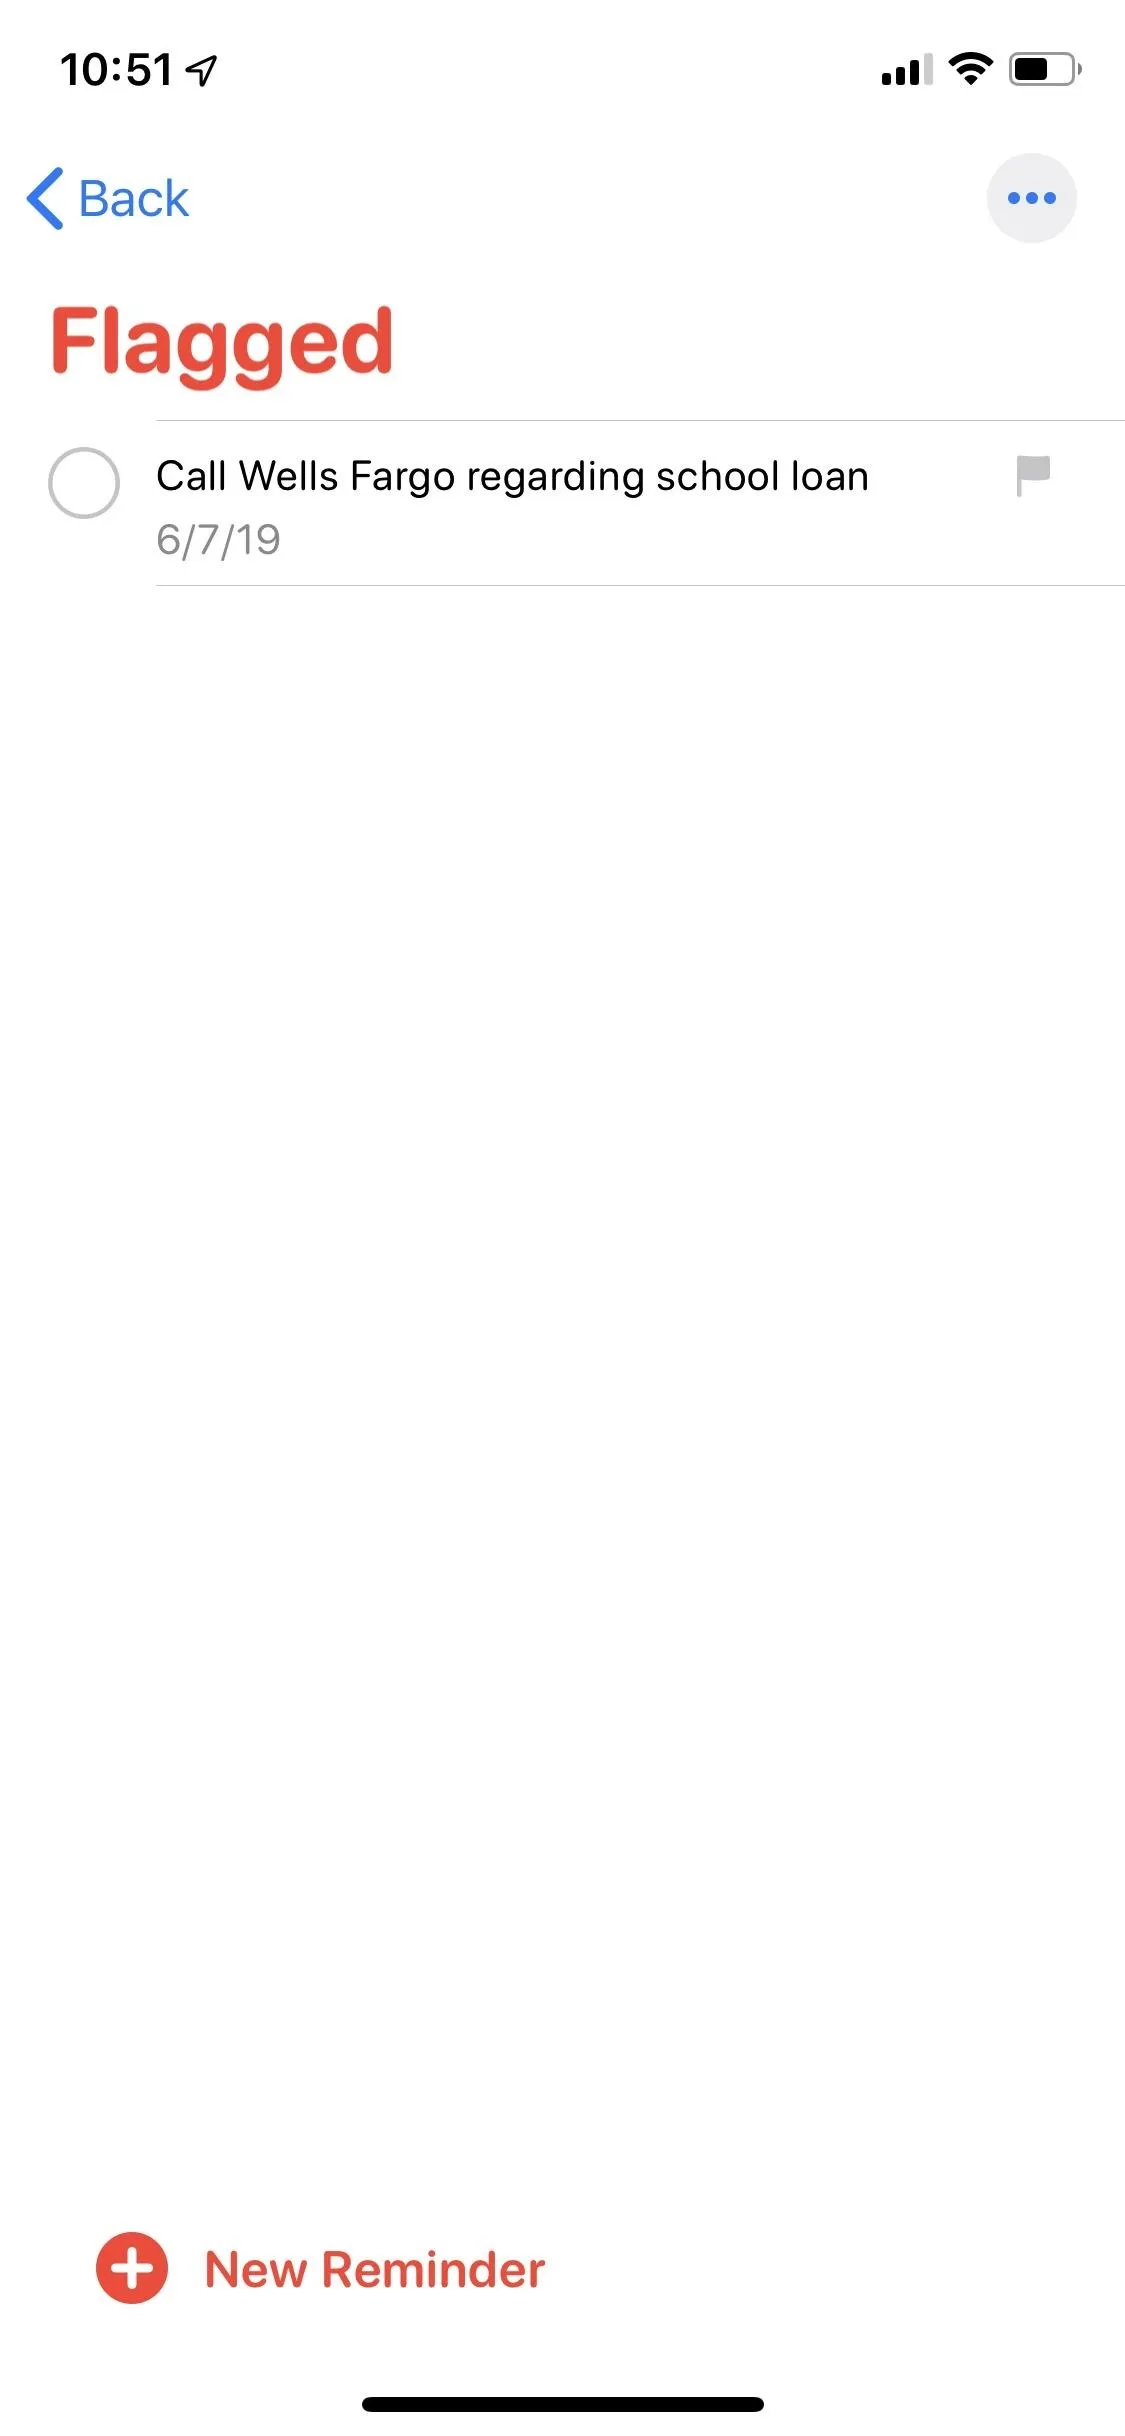
Is there a reminder that you think you might forget about, despite notifications, that you really need to get done? Use the flag icon in the quick toolbar, which places the reminder in the new Flagged smart list when enabled without removing it from any other lists it's already in. Tap on the flag to enable it, and tap on it again to disable it. You can also hit the "i" button on the reminder, then toggle off "Flagged" to remove it.
Flagging your reminder is different than making it a priority. If you create priority reminders (which places exclamation points next to the reminders), it reorganizes them all in order of priority, but in apps synced with the list, such as Outlook and Apple Calendar. Flagging the reminder just places it in the smart list within the app.
Add Photos, Screenshots, or Documents to Your Reminder
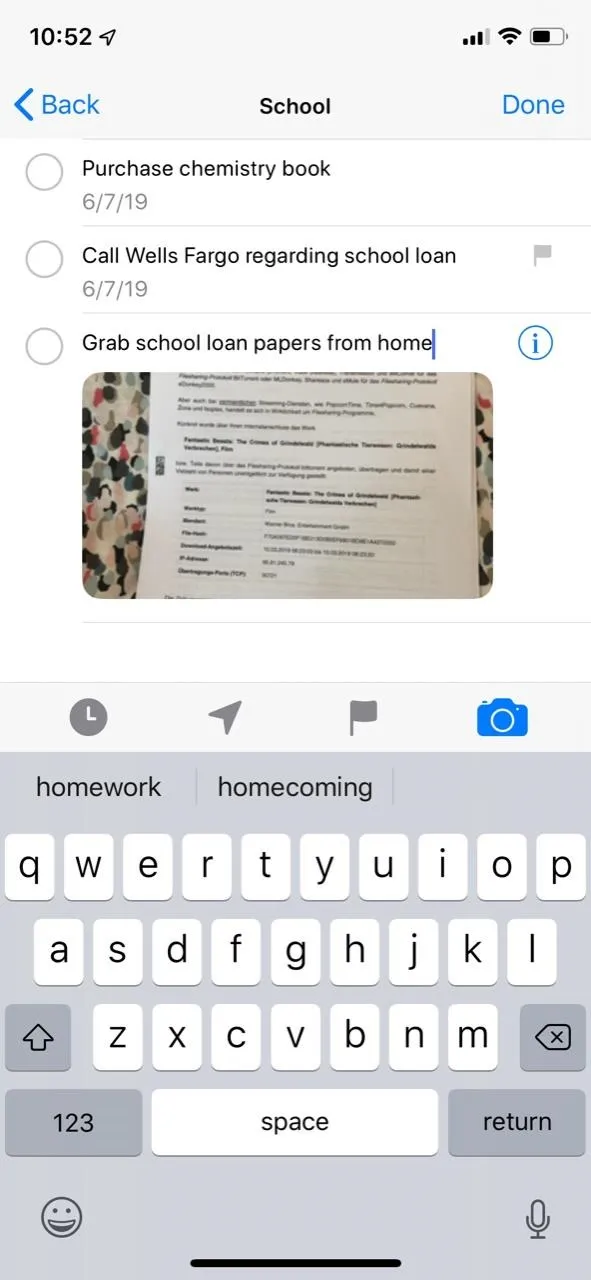
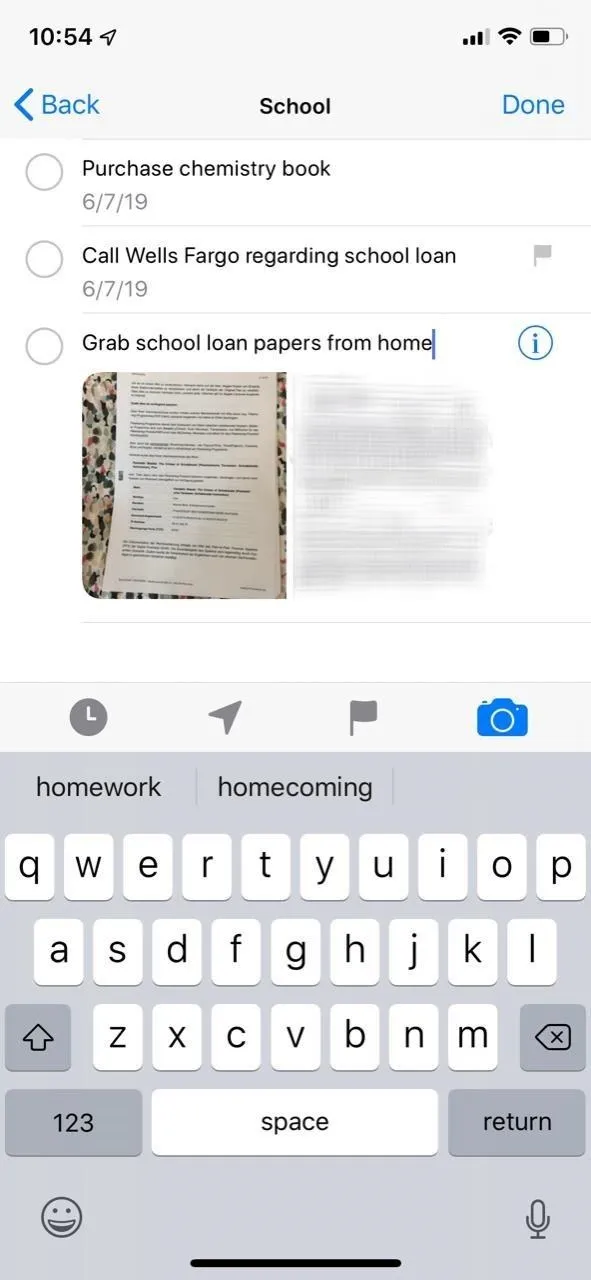
Finally, we have the camera icon, which allows you to add a photo or screenshot from your iPhone. You can even scan a document with your camera and create a PDF. Tap on "Take Photo" to take a picture with your camera or "Photo Library" to select a photo or screenshot from the Photos app. The image will appear underneath the reminder.
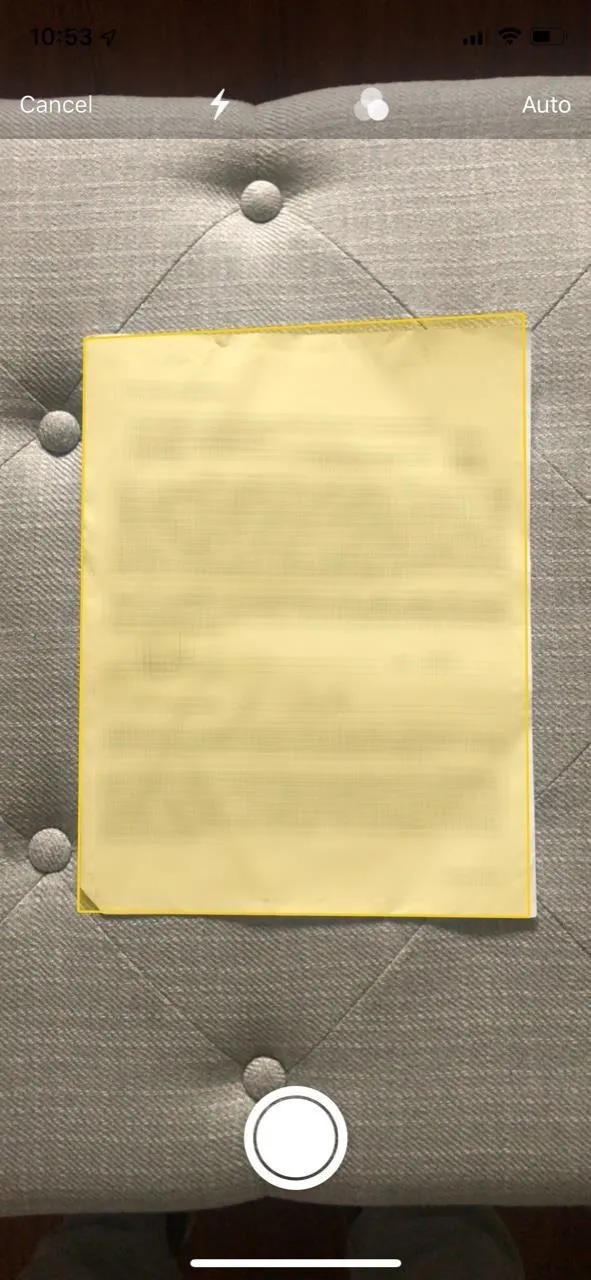
The third option, "Scan Document," is one of the best new features in Reminders because it allows you to scan documents in real life and turn them into PDFs. Tap on "Scan Document" to open the camera and position it above the paper. Once it recognizes the document, it will automatically add it to your reminder (pictured in the bottom left). If it doesn't recognize it, tap on the shutter button.
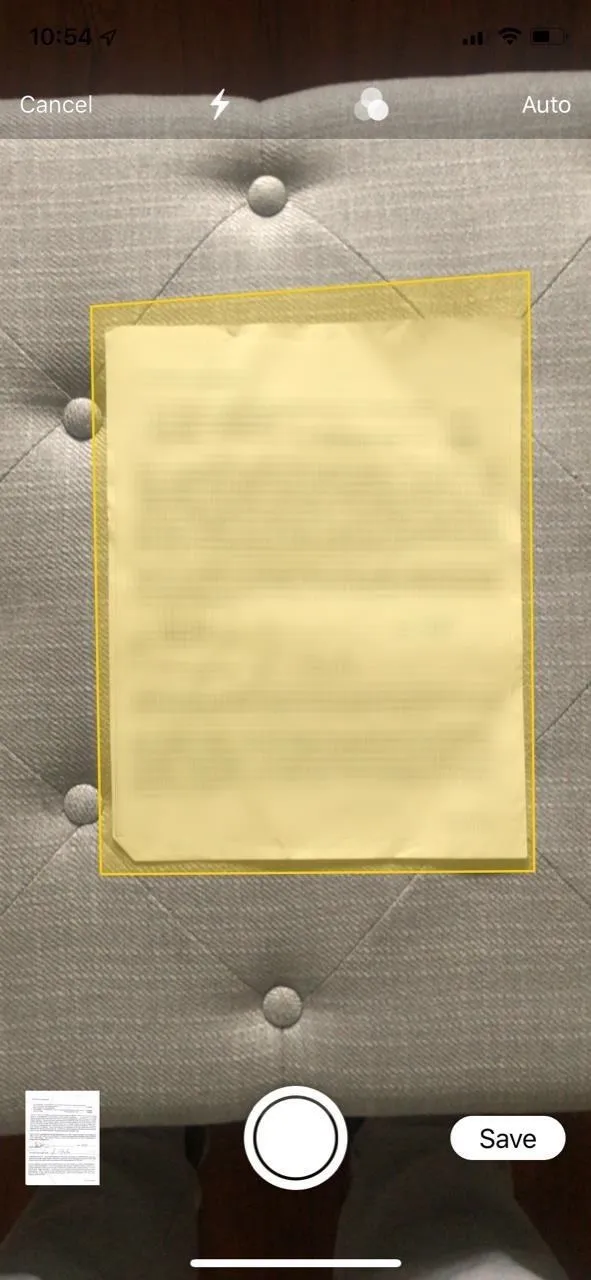
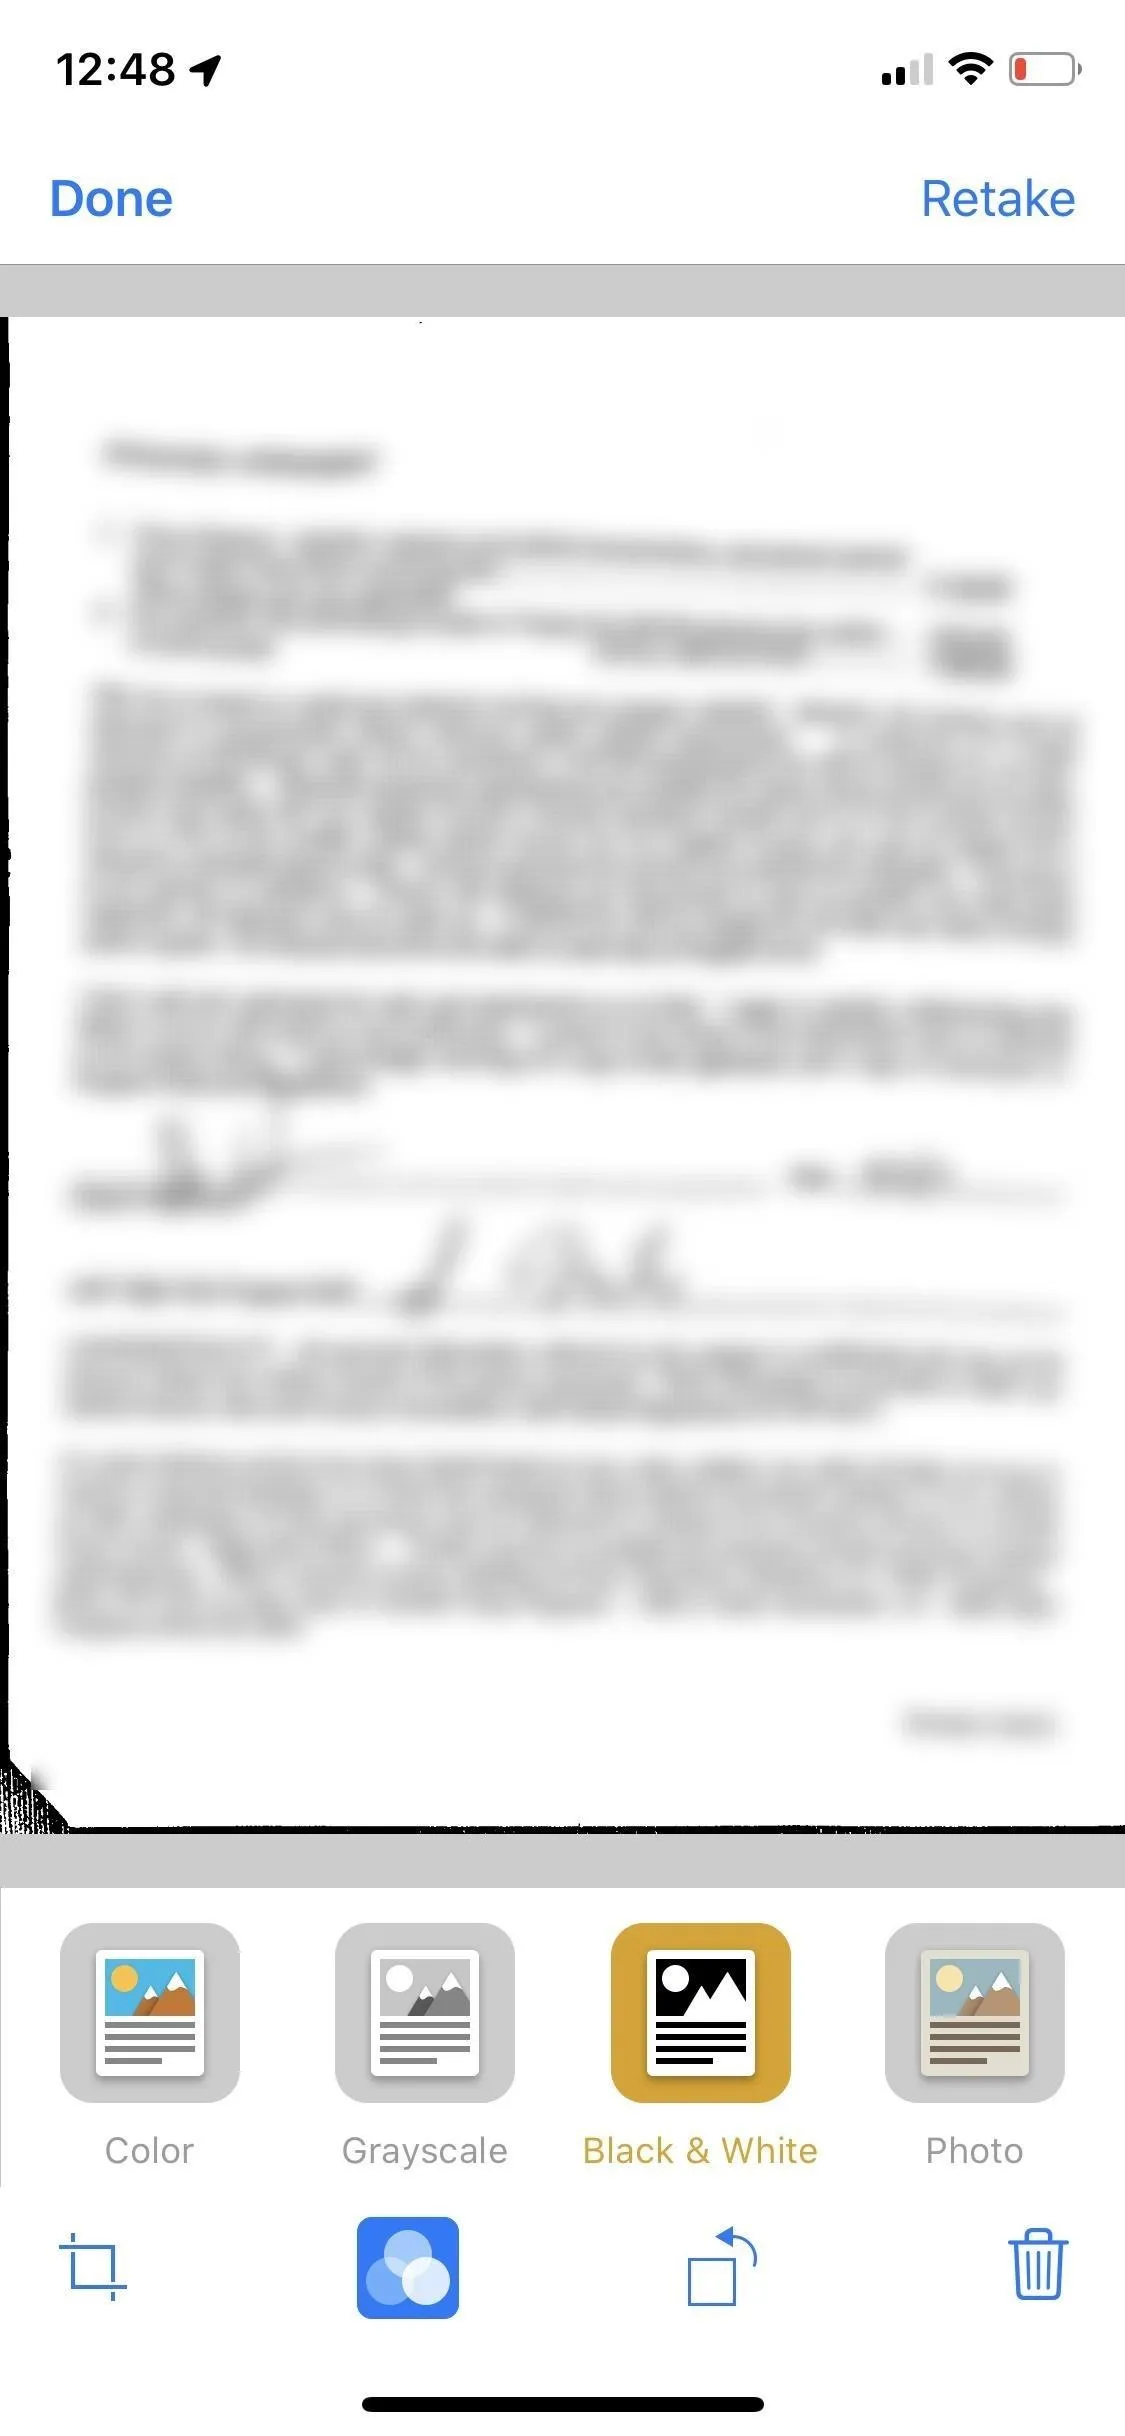
If you want to edit the document, tap on it in the bottom left corner to bring up options to retake, crop, rotate, delete, or add a filter to it. When you crop the document, you can move any of the four corners around to resize it. If you add a filter, you have four options to choose from: Color, Grayscale, Black and White, and Photo (regular).
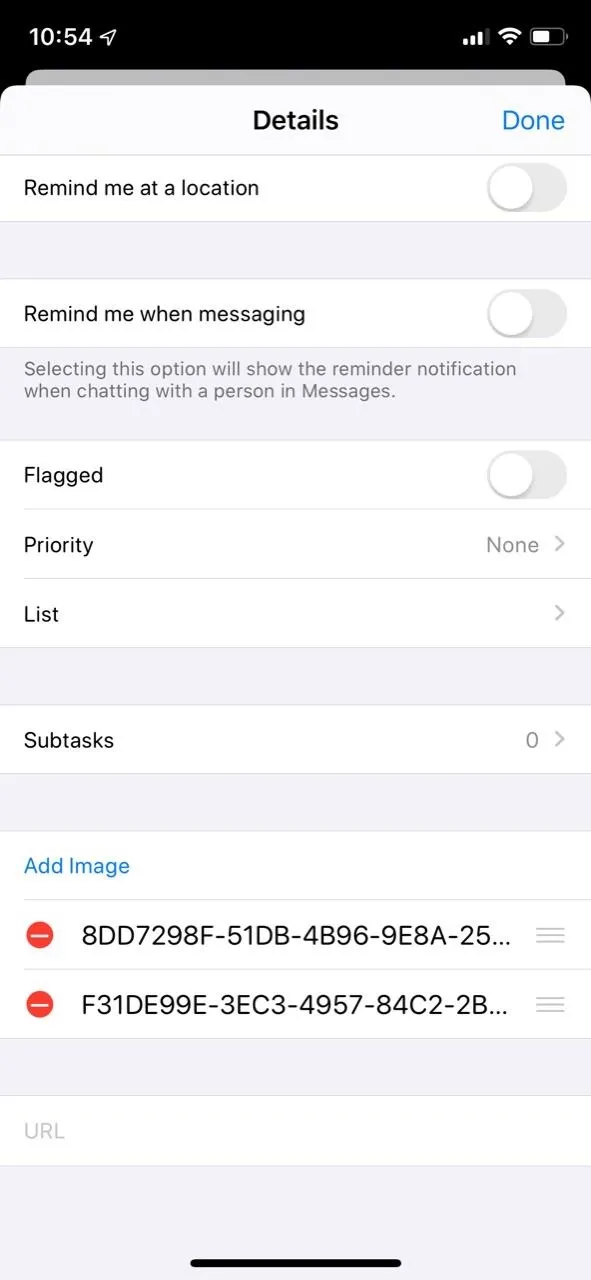
You can add more than one photo or document to a reminder. To delete them or change their order, tap on the reminder, hit the info (i) icon, and scroll down in the Details page. At the bottom, you can see you have the option to add another image, delete an image (by tapping on the red circle icon), or change the order (by pressing down on the three-dash icon on a photo and moving it up or down).
Cover photo and screenshots by Nelson Aguilar/Gadget Hacks


Comments
Be the first, drop a comment!