


Scanning important paperwork on smartphones is a tedious process, often relying on either external scanners or third-party apps that had to be either purchased or were loaded with annoying ads just to get the job done. Thankfully, iOS 11 now lets you easily scan documents using your iPhone, and finally does away with the need for third-party apps or machines.
While the Notes app in iOS 11 didn't receive a full makeover like the Control Center did, Apple has given it a slew of great features like document scanning that make this native app a lot more useful for iOS users. So if you want to learn more about using the Notes app to scan important paper files, keep on reading to find out how.
Open the Document Scanner
Open the Notes app on your iPhone to get the ball rolling, and either select an existing note or create a new note by tapping on the pen and paper icon. Once inside the note page, tap on the + button to bring up the toolbar, then select "Scan Documents."


Scan Documents
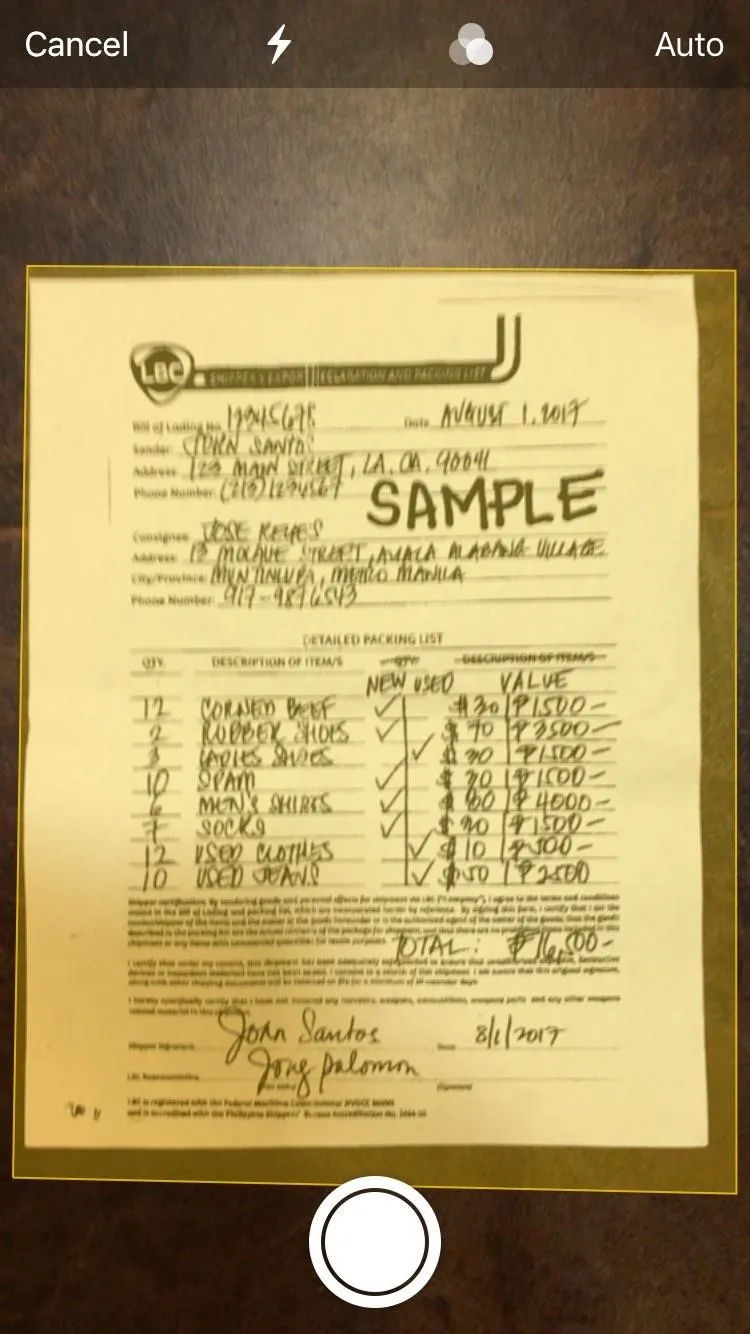
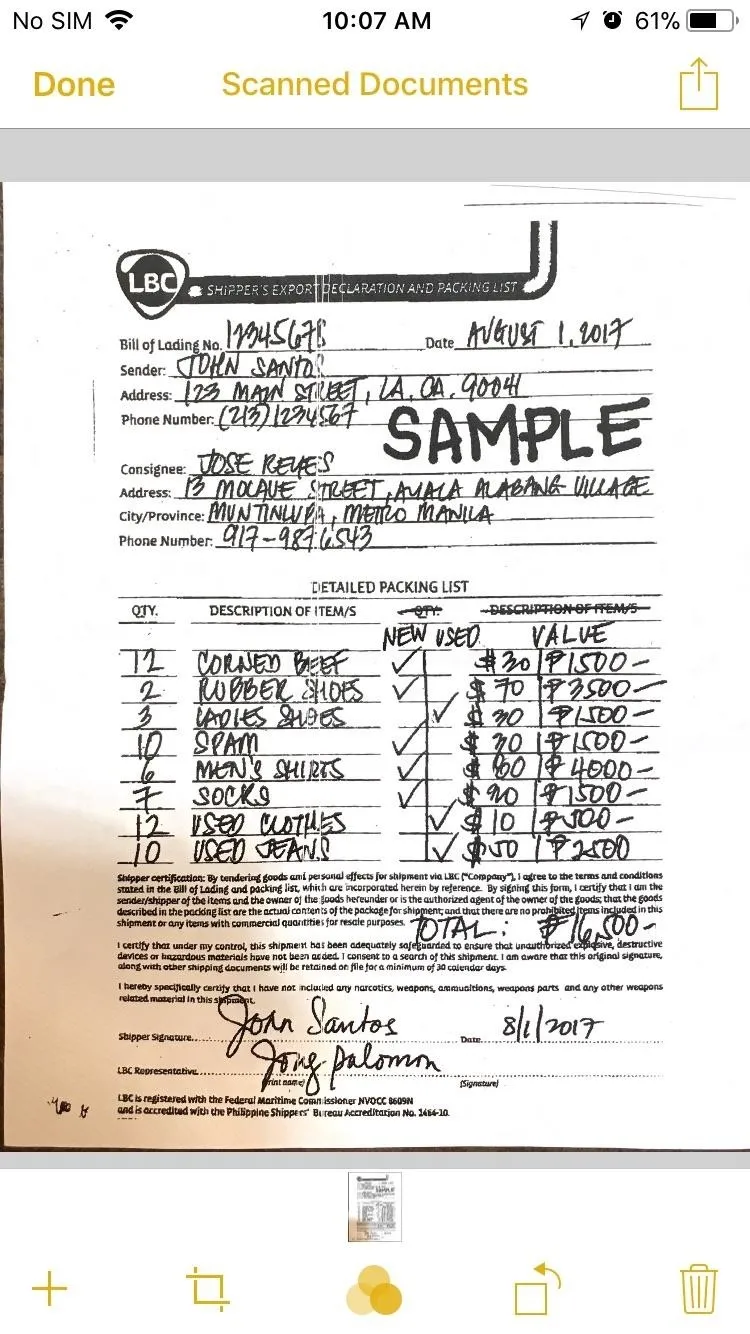
You can now scan your document. Notes will show a yellow box overlayed on the document to help you get the best angle so that's it's as straight as possible before snapping the photo.
There's a toolbar provided for various photo options. The lightning icon gives you options for flash, the triangular three-dot button lets you choose between colored, black and white, and grayscale images, and tapping on the "Auto" button lets you toggle between automatic and manual image capture. Note that choosing black and white will automatically remove any shadows cast during the scanning process.
Once you've captured your target document, tap on "Save" to exit camera mode.


Editing Documents
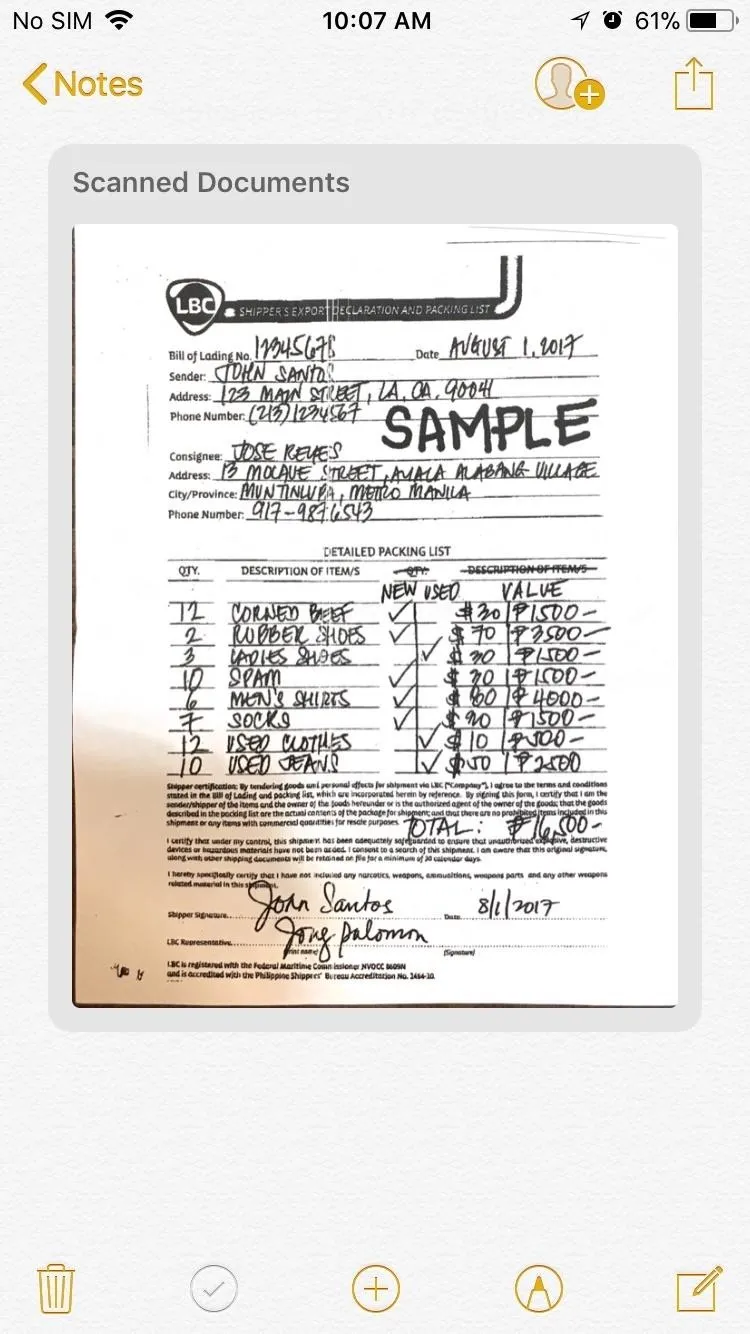
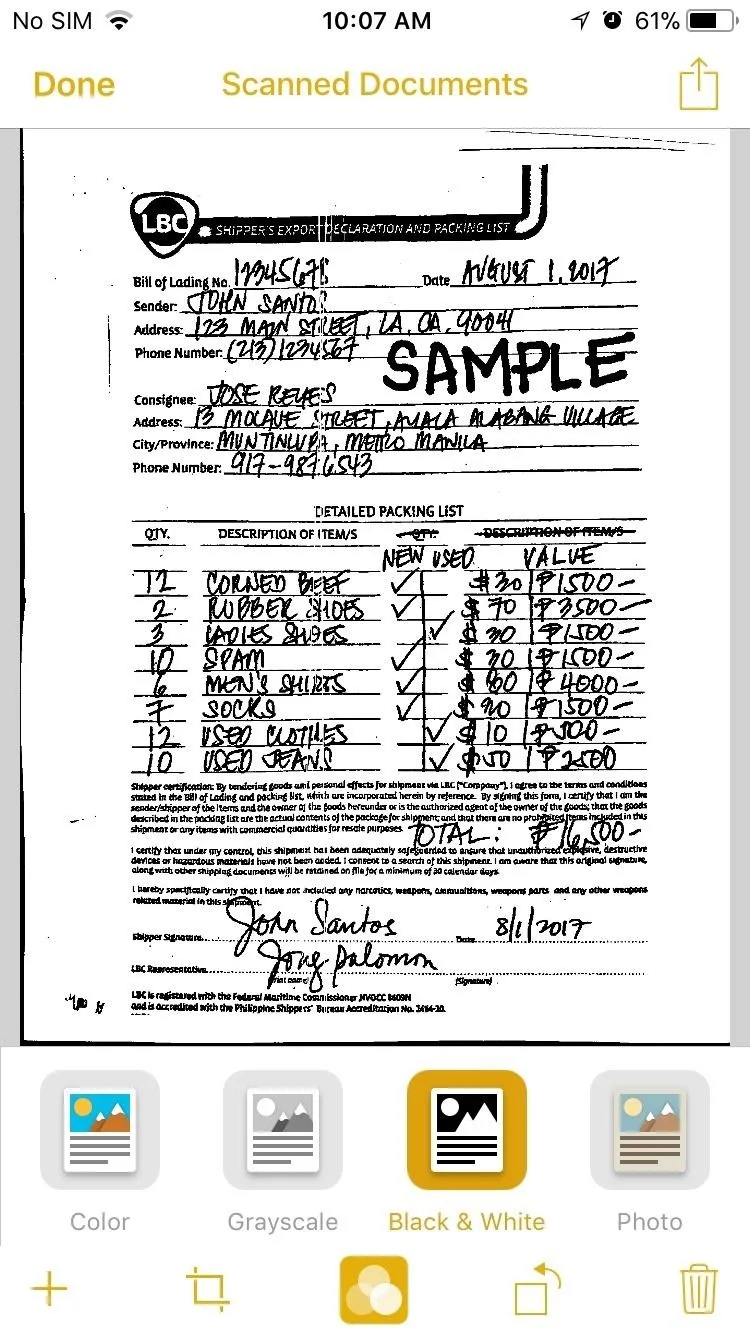
Inside the note page, tap on the image inside the Scanned Documents box to further edit it. If you scanned the document as a colored image, you can still erase any shadows by tapping on the three-dot button on the center of the toolbar and choosing "Black & White." You also have options for cropping, rotating, or deleting scanned documents by tapping on the crop, rotate, and trash buttons, respectively.
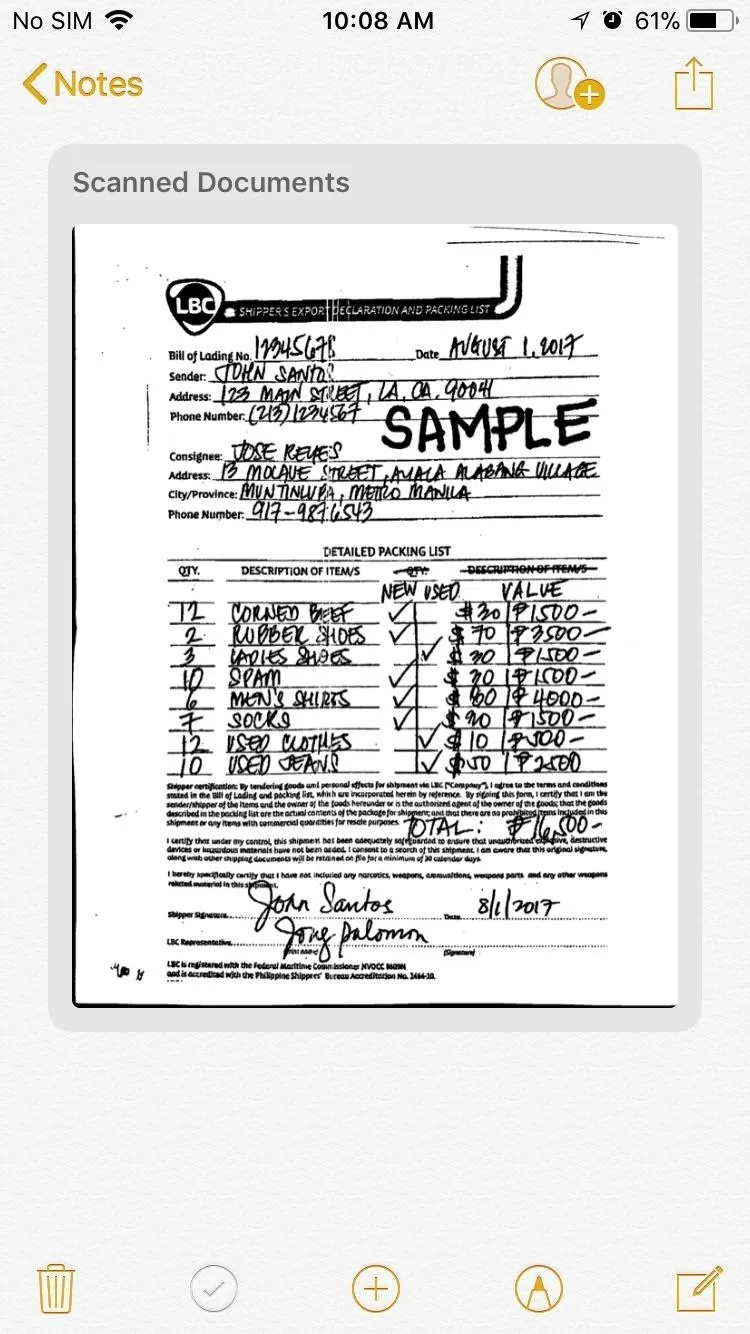
Once you're finished sprucing up your documents, you can exit by tapping on "Done."
Share or Print Documents
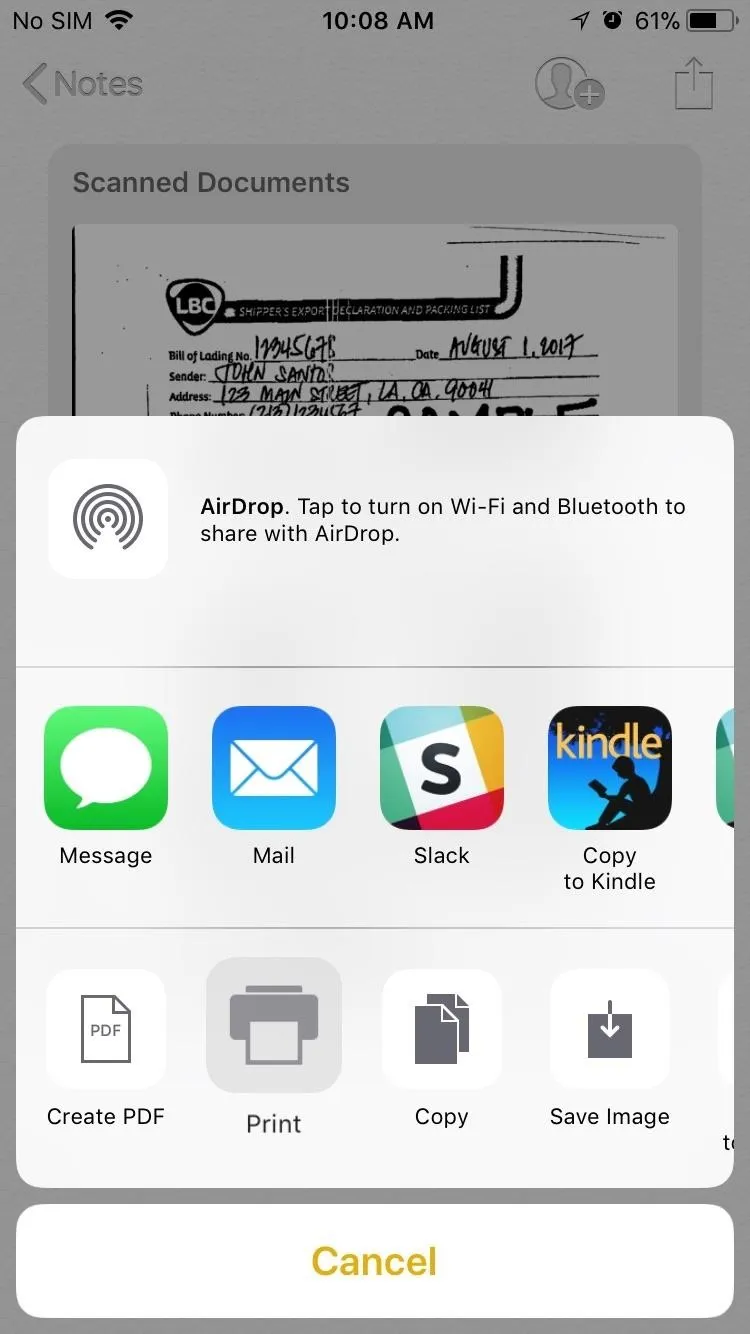
Once you're scanned documents are ready, you have the options for sharing them via messaging or email by either tapping on the contacts icon or share button. You can also save, create a PDF document, or print your scan by tapping on the export button and selecting any of them from the prompt that pops up.
What enhancements do you want to see Apple implement to make scanning documents even more efficient? Post in the comment section down below and share your thoughts. We'd love to hear your thoughts!
- Follow Gadget Hacks on Facebook, Twitter, Google+, YouTube, and Instagram
- Follow WonderHowTo on Facebook, Twitter, Pinterest, and Google+
Cover photo and screenshots by Amboy Manalo/Gadget Hacks


Comments
Be the first, drop a comment!