


Since its introduction in iOS 11, the Screen Recording tool has been a great way to show less tech-savvy users how to use their iPhones better. It's never been easier to show your grandmother how to disable Live Photos or lower screen brightness. However, banner notifications can appear during a recording, forcing you to start over. They can even interrupt a screen share during a Zoom or Skype meeting.
Banner notifications and incoming calls can make some screen recording downright time-consuming to make. If it's gameplay video, it's not very easy to go back and replicate in-game achievements, perfectly timed shots, and other complicated actions. Throw in incoming calls, which cut off screen recordings immediately, saving unfinished clips to Photos, and you have quite the frustrating experience.
But all of these interruptions can be prevented.
There are two main ways to prevent banner alerts and incoming calls from ruining your screen captures. First, you can use the built-in Do Not Disturb feature alongside the screen recorder. Second, if you're jailbroken, you can opt to use a jailbreak tweak, which makes the process even easier. If you're not jailbroken, option 1 is all you need.
Set Do Not Disturb Correctly for Screen Recordings
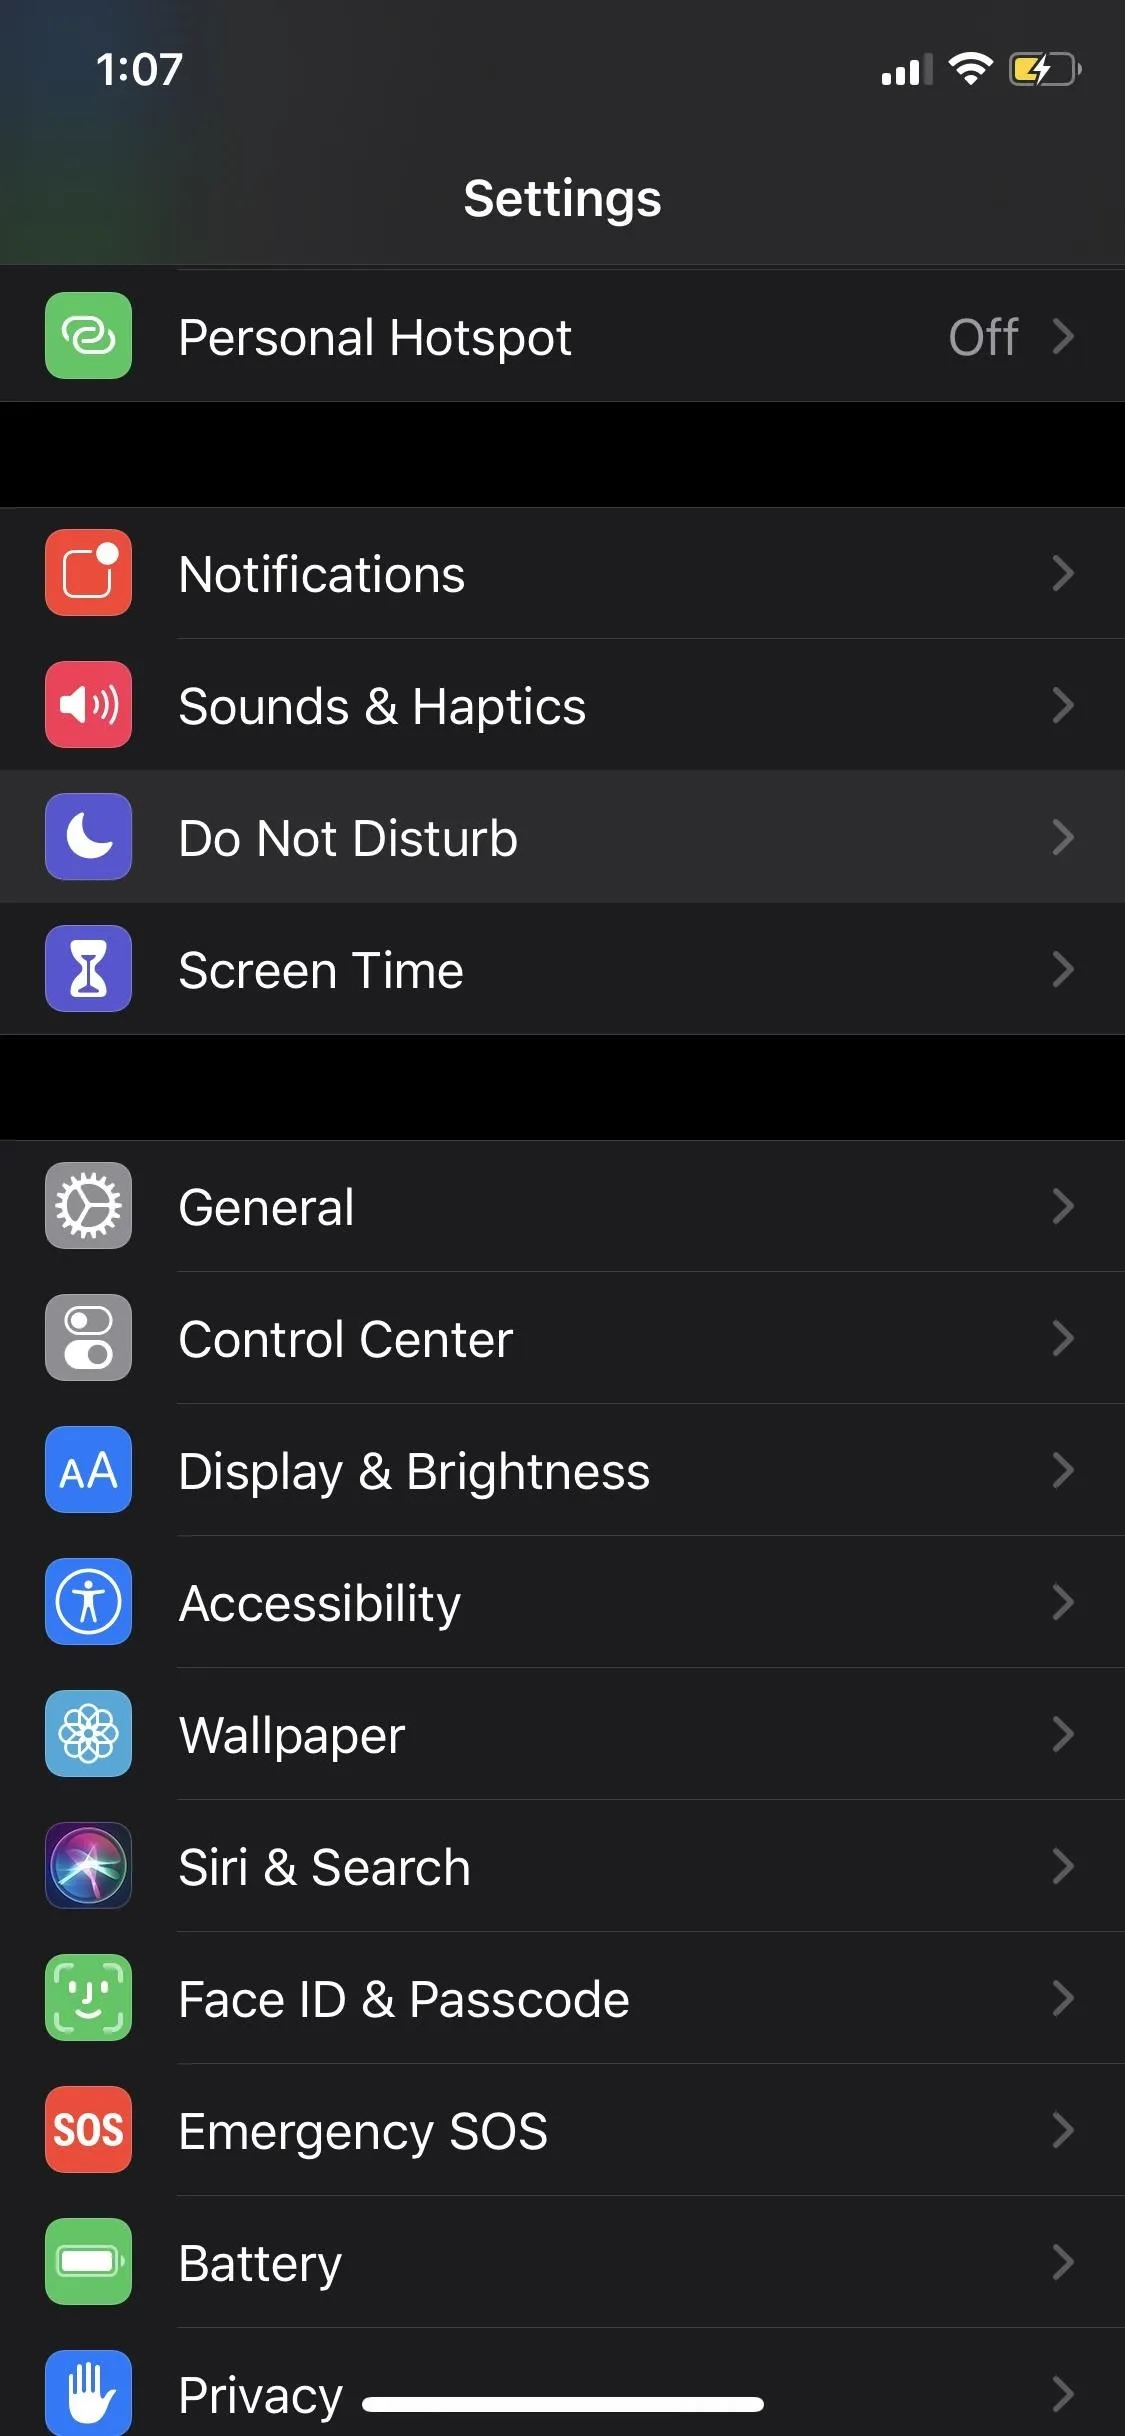
The key to getting the Do Not Disturb option working right is enabling it not only for the lock screen but for the home screen and within apps too. You'll want to block incoming calls, as well. Open the Settings app, tap on "Do Not Disturb," then adjust the following three preferences before turning DND on.
- Hit "Always" within the Silence section. This will block most incoming calls and notifications when your iPhone is locked or unlocked. By default, it's set to "While iPhone is Locked."
- In the Phone section, tap on "Allow Calls From," which is set to "Favorites" by default. If you have no favorites set for the Phone app, you may not have to worry about this preference unless it's on "Everyone" or set for specific groups of contacts. Either way, make sure it says "No One" to block all calls.
- The last preference to adjust is the "Repeated Calls" switch. By default, it's toggled on, so you'll want to turn it off. With it on, whenever someone in your contacts rings you two times in a row, within three minutes, the second time will be successful and will ruin your screen recording. Just note that toggling this setting off may prevent emergency calls from breaking through.
With those three things appropriately set, you can now tap on the switch for "Do Not Disturb" at the top to toggle it on. Alternatively, if you have the Do Not Disturb control set up in the Control Center, you can tap on that to start and stop DND more easily. Or you can use Siri to turn it on and off. However you toggle it on and off, you're free to record your screen undisturbed.
Automate the Process with a Jailbreak Tweak
If you have a jailbroken iPhone, there is a free tweak you can install that enables Do Not Disturb automatically while screen recording. If you like set-it-and-forget-it options, this one's perfect since it turns DND on while recording and turns it back off when you're done. No outside repo is required, so it's easy to set up.
- Full Guide: Jailbreak Using Checkra1n | Jailbreak Using Unc0ver or Chimera
Set Your Do Not Disturb Preferences Correctly
Since the tweak we're installing, Gilshahar7's DNDMyRecording, is a set-it-and-forget-it tool, it's on as soon as you install it. Whenever you start a screen recording, it will auto-enabled Do Not Disturb for you. Then, whenever you stop the capture, it will turn Do Not Disturb mode off again. But to make sure it'll block all banner notifications and incoming calls from messing with your screen recordings, you need to set up DND properly, which you can do using Option 1 above.
Install DNDMyRecording
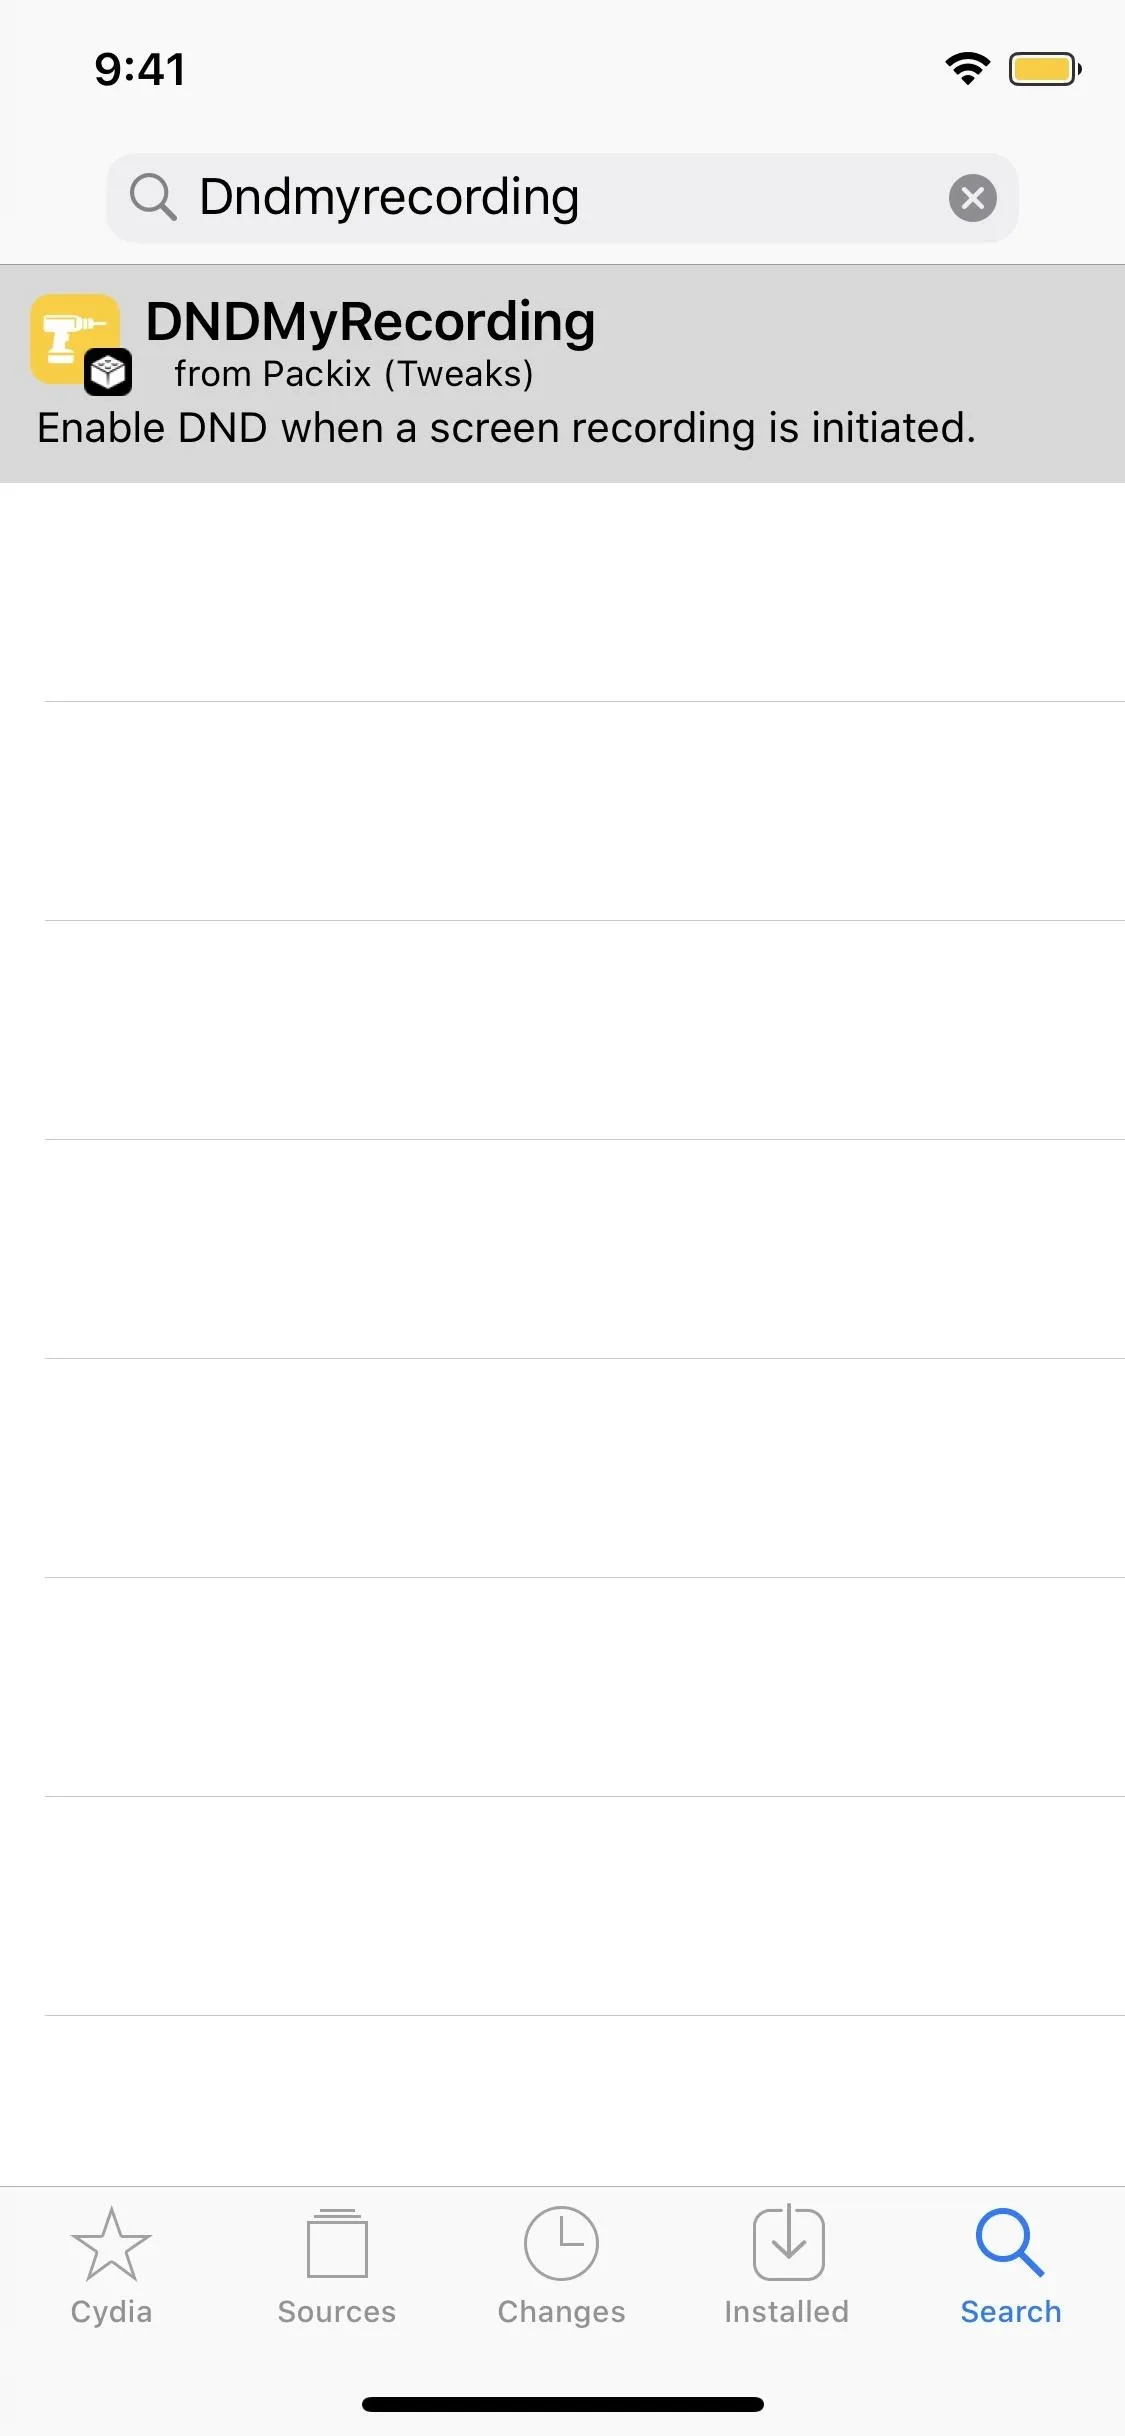
In either Cydia or Sileo, search for "dndmyrecording," then select the DNDMyRecording tweak from the results. Next, if using Cydia, hit "Install," then "Confirm." For Sileo, you tap "Get," then open your "Queue" and hit "Confirm." Now, in either app, after the install finishes, select "Restart Springboard."
- Packix Link: DNDMyRecording (free)
Use DNDMyRecording for Clean Screen Recordings
DNDMyRecording works right off the bat once your iPhone resprings, so you don't have to do anything from this point on. It turns on Do Not Disturb when you're screen recording, then back off when you finish the video capture. However, if you're expecting an essential call or another alert, you can always disable Do Not Disturb manually from Settings, the Control Center, or Siri.
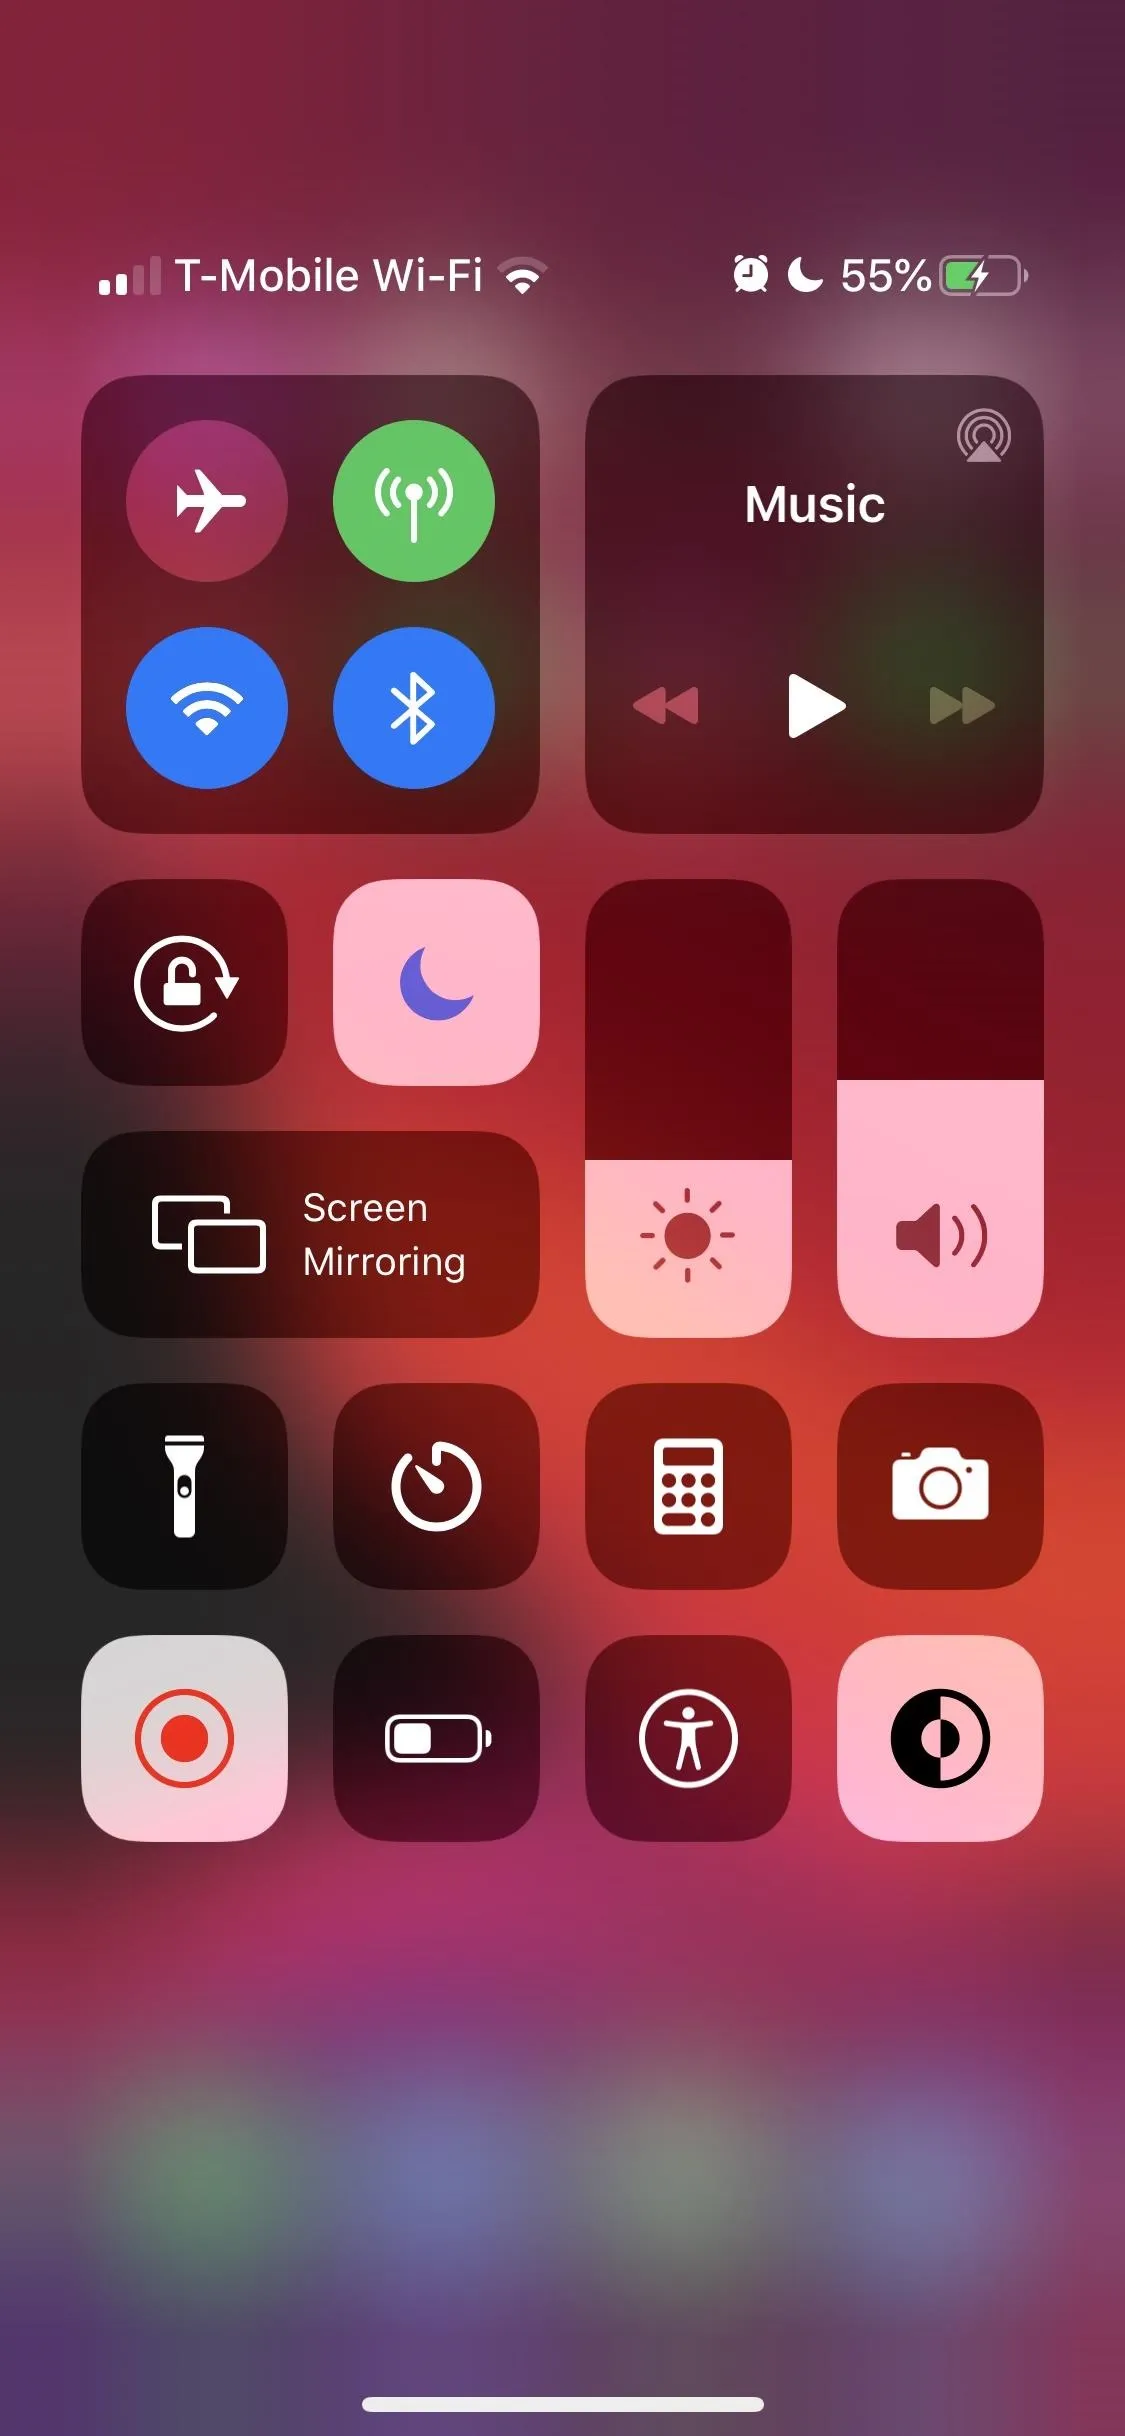
While we're on the topic of screen recording, did you know you can get rid of the red bubble or bar while recording on your iPhone? In fact, there are multiple ways to pull it off, and it can be done even if your device isn't jailbroken.
Cover image, screenshots, and GIFs by Amboy Manalo/Gadget Hacks


Comments
Be the first, drop a comment!