


The new iPhone XS and XS Max have more issues than just their hefty price tags. Customers have only had the phones for a handful of days, but some are already complaining of cellular and Wi-Fi connectivity issues on both models. If your experience is the same on your XS or XS Max, there are steps you can take to get your iPhone reliably back online.
The good news? This might not be a hardware issue. Anecdotally, we noticed this issue occurring on the 2017 iPhone X during the beta trial for iOS 12, indicating this problem could be contained to Apple's latest software update. In addition, a thread on Reddit shows that while many users see fewer signal bars than usual on their XS or XS Max, speed and performance is just as good — if not better — than on older iPhones.
If this cellular and Wi-Fi issue goes deeper than software, as some are asserting, Apple could have a scandal on their hands. At the moment, however, we think you can solve this on your own. Try the tips below to see if you can return stability to your iPhone XS or XS Max's connectivity.
Trigger Carrier Updates (Cellular)
Carrier updates are the best updates since they don't require you to power down, they're near-instantaneous, and you can do whatever you want while updating. But carrier updates are still updates, containing the latest fixes and changes to your network and cellular settings. If there's a problem — say, connectivity problems on the XS and XS Max — carriers can issue an update to address it.
To check if there's a carrier update available on your iPhone, open the Settings app, then head to General > About. If an update is present, you'll be greeted by a popup asking your permission to update. Just agree to the update, and you'll be all set.
Make Sure iOS Is Up to Date (Cellular & Wi-Fi)
Just as with carrier updates, it's important to keep your iPhone running the latest version of iOS. It's easy to be skeptical of updates, especially if your daily driver is on the older side. But if you have the brand new XS or XS Max, installing each and every available update is a no-brainer.
The XS and XS Max currently support iOS 12, however, iOS 12.1 is now in beta testing, meaning it's only a matter of time before Apple releases it to the public. Make sure to check the Software Updates page frequently or enable Automatic Updates to have updates install overnight.
Even if your iPhone is on the older side, keeping it frequently updated is a must. If you're worried about new software slowing down your aging iPhone, don't be — iOS 12 will restore youth to any iPhone, even those as old as the 5S.
Toggle Airplane Mode (Cellular & Wi-Fi)
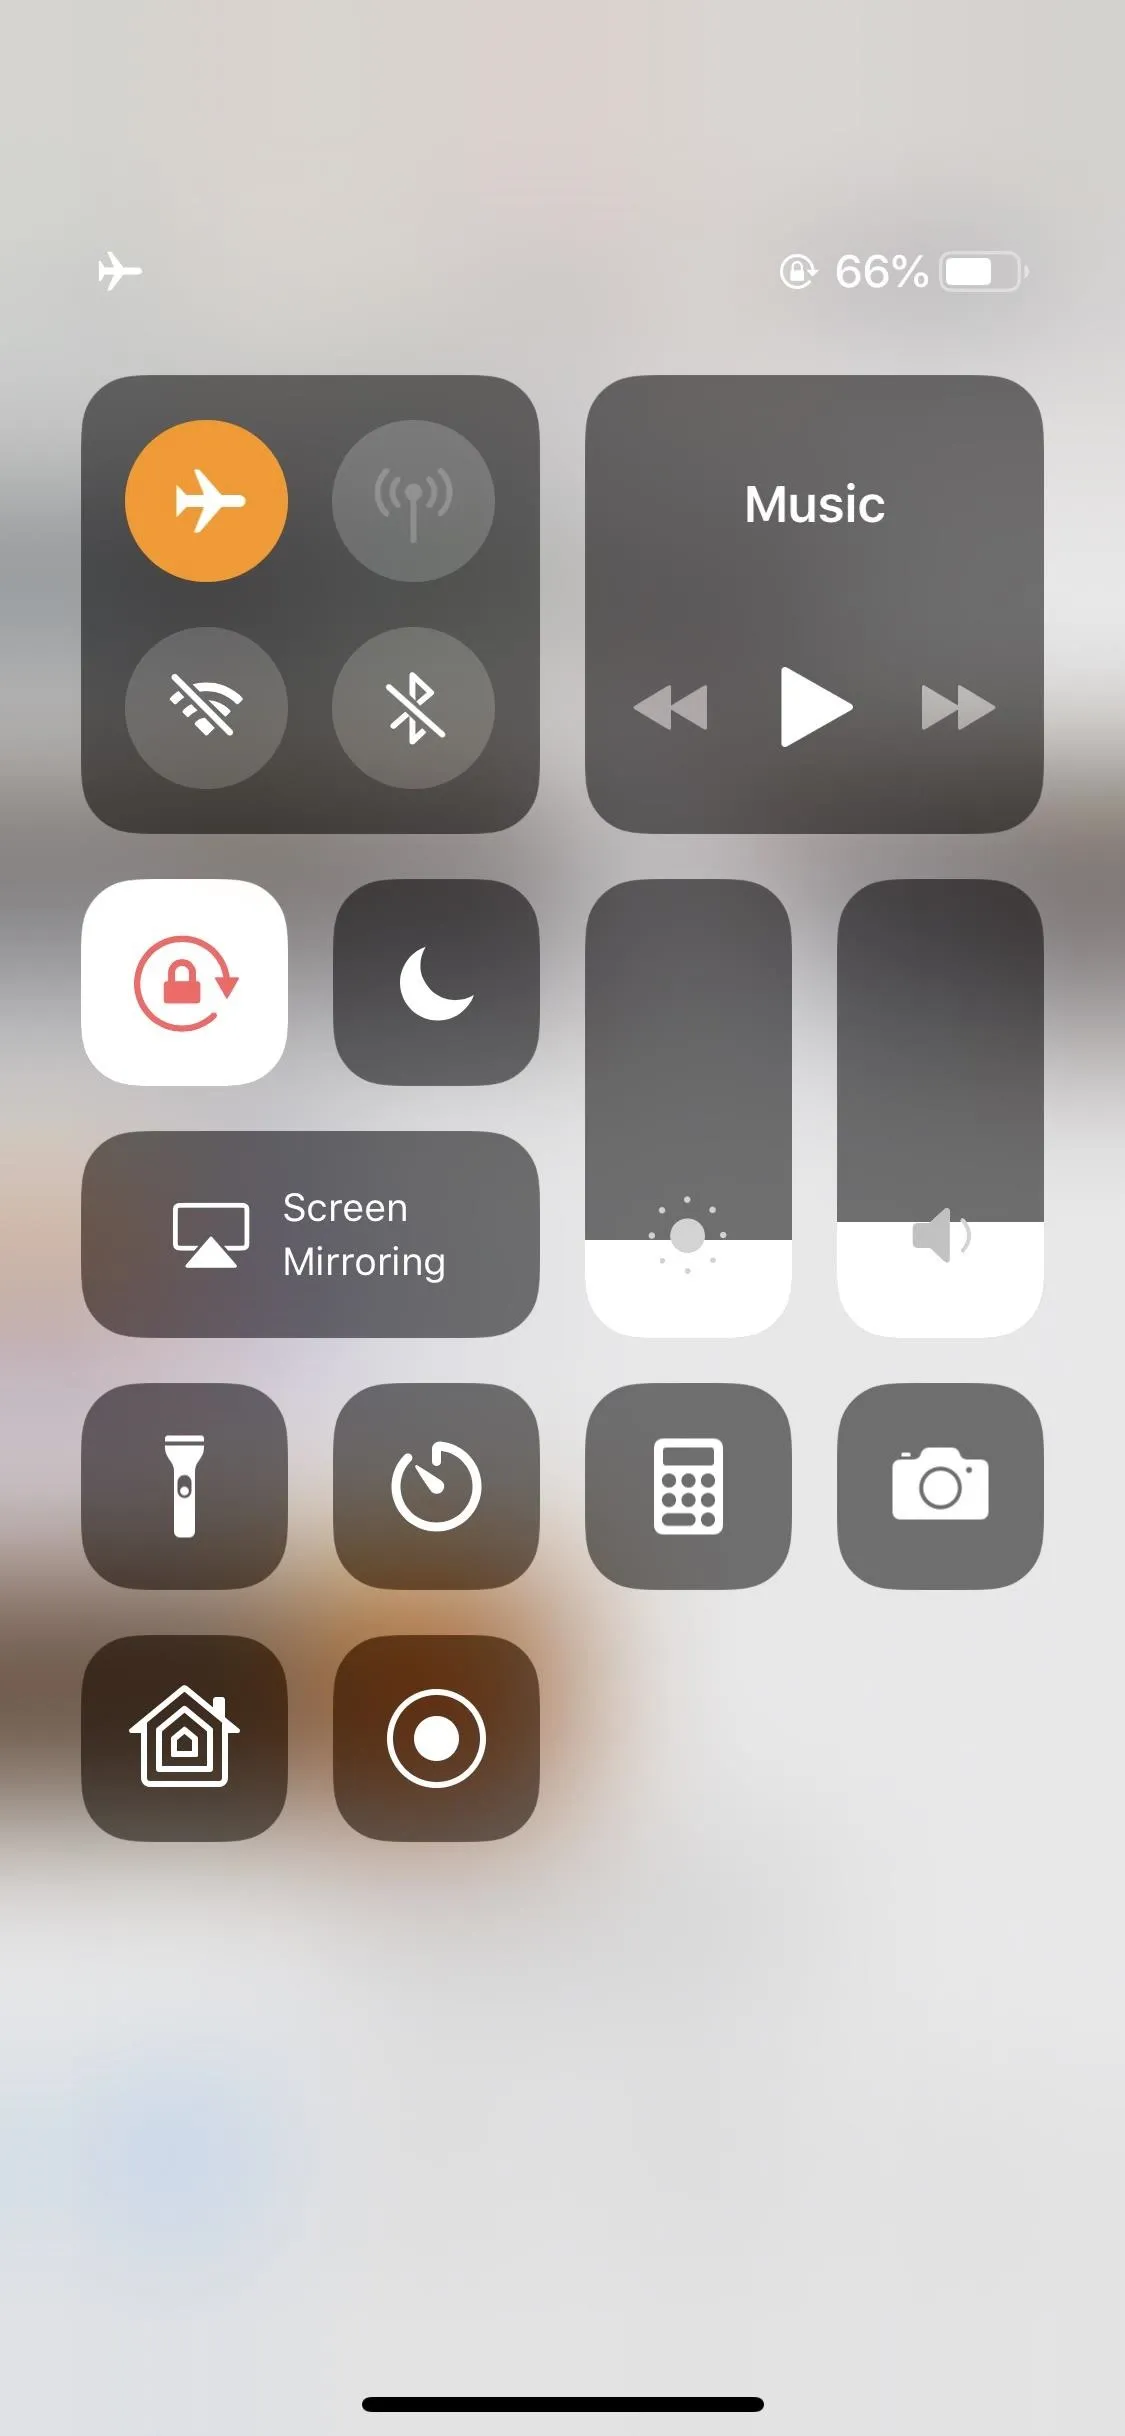
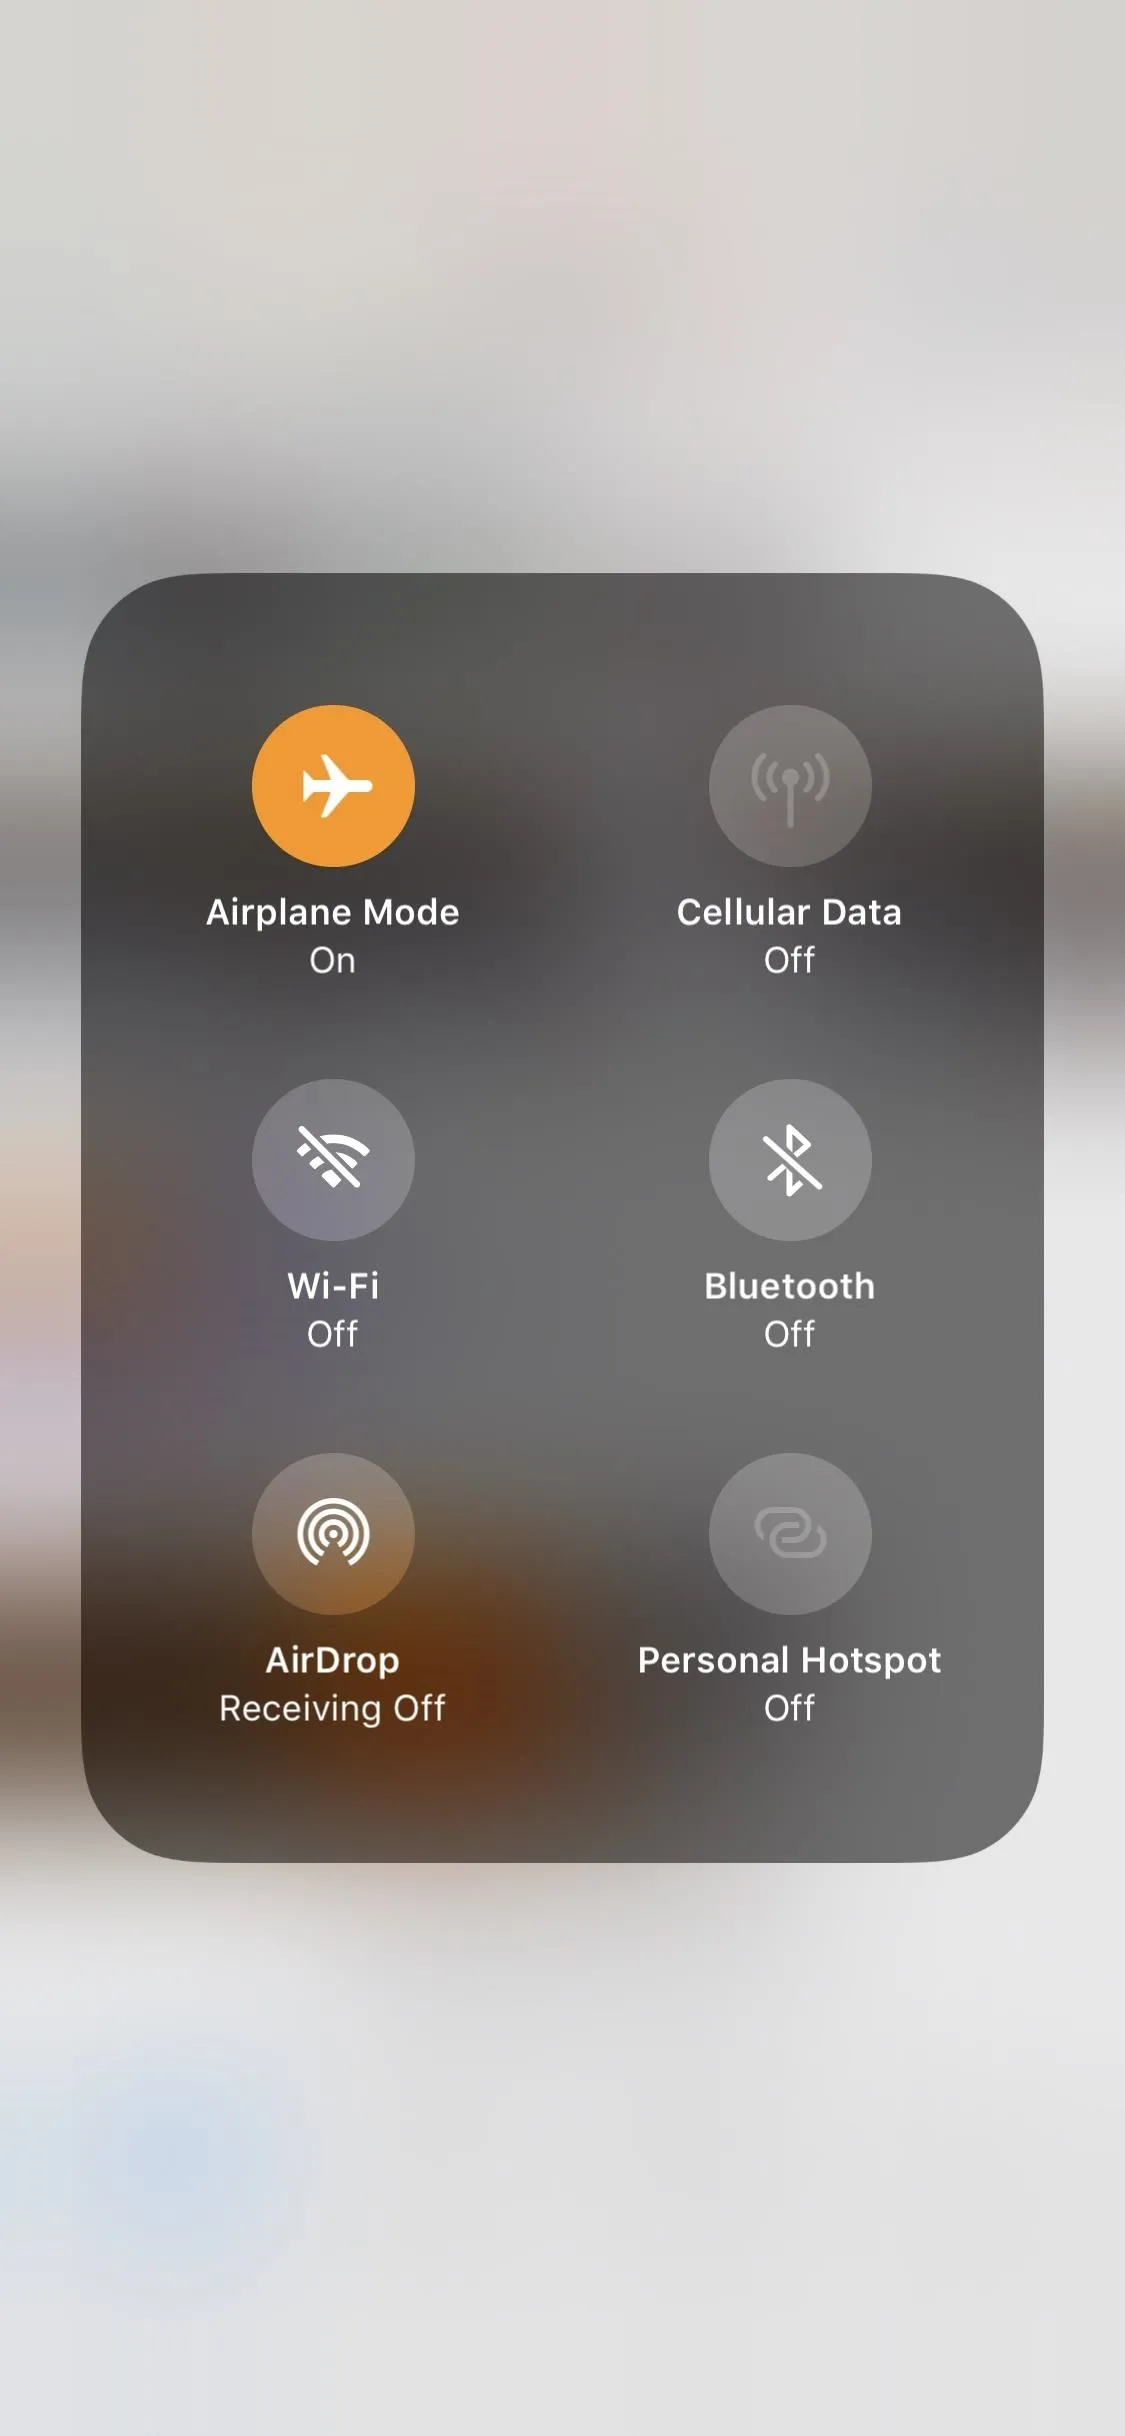
Another good tip if your connection is still acting up is to "soft-reset" your cellular service. While you can disable cellular data from the Control Center, that won't completely disconnect your iPhone from your network.
Instead, try turning on Airplane Mode briefly — this will totally disengage your iPhone from the network until Airplane Mode is disabled. For best results, make sure engaging Airplane Mode takes out your Wi-Fi as well. If it doesn't, jump over to Settings, then "Wi-Fi," and disable it so iOS remembers to do so next time.
Forget Your Current Wi-Fi Network (Wi-Fi)
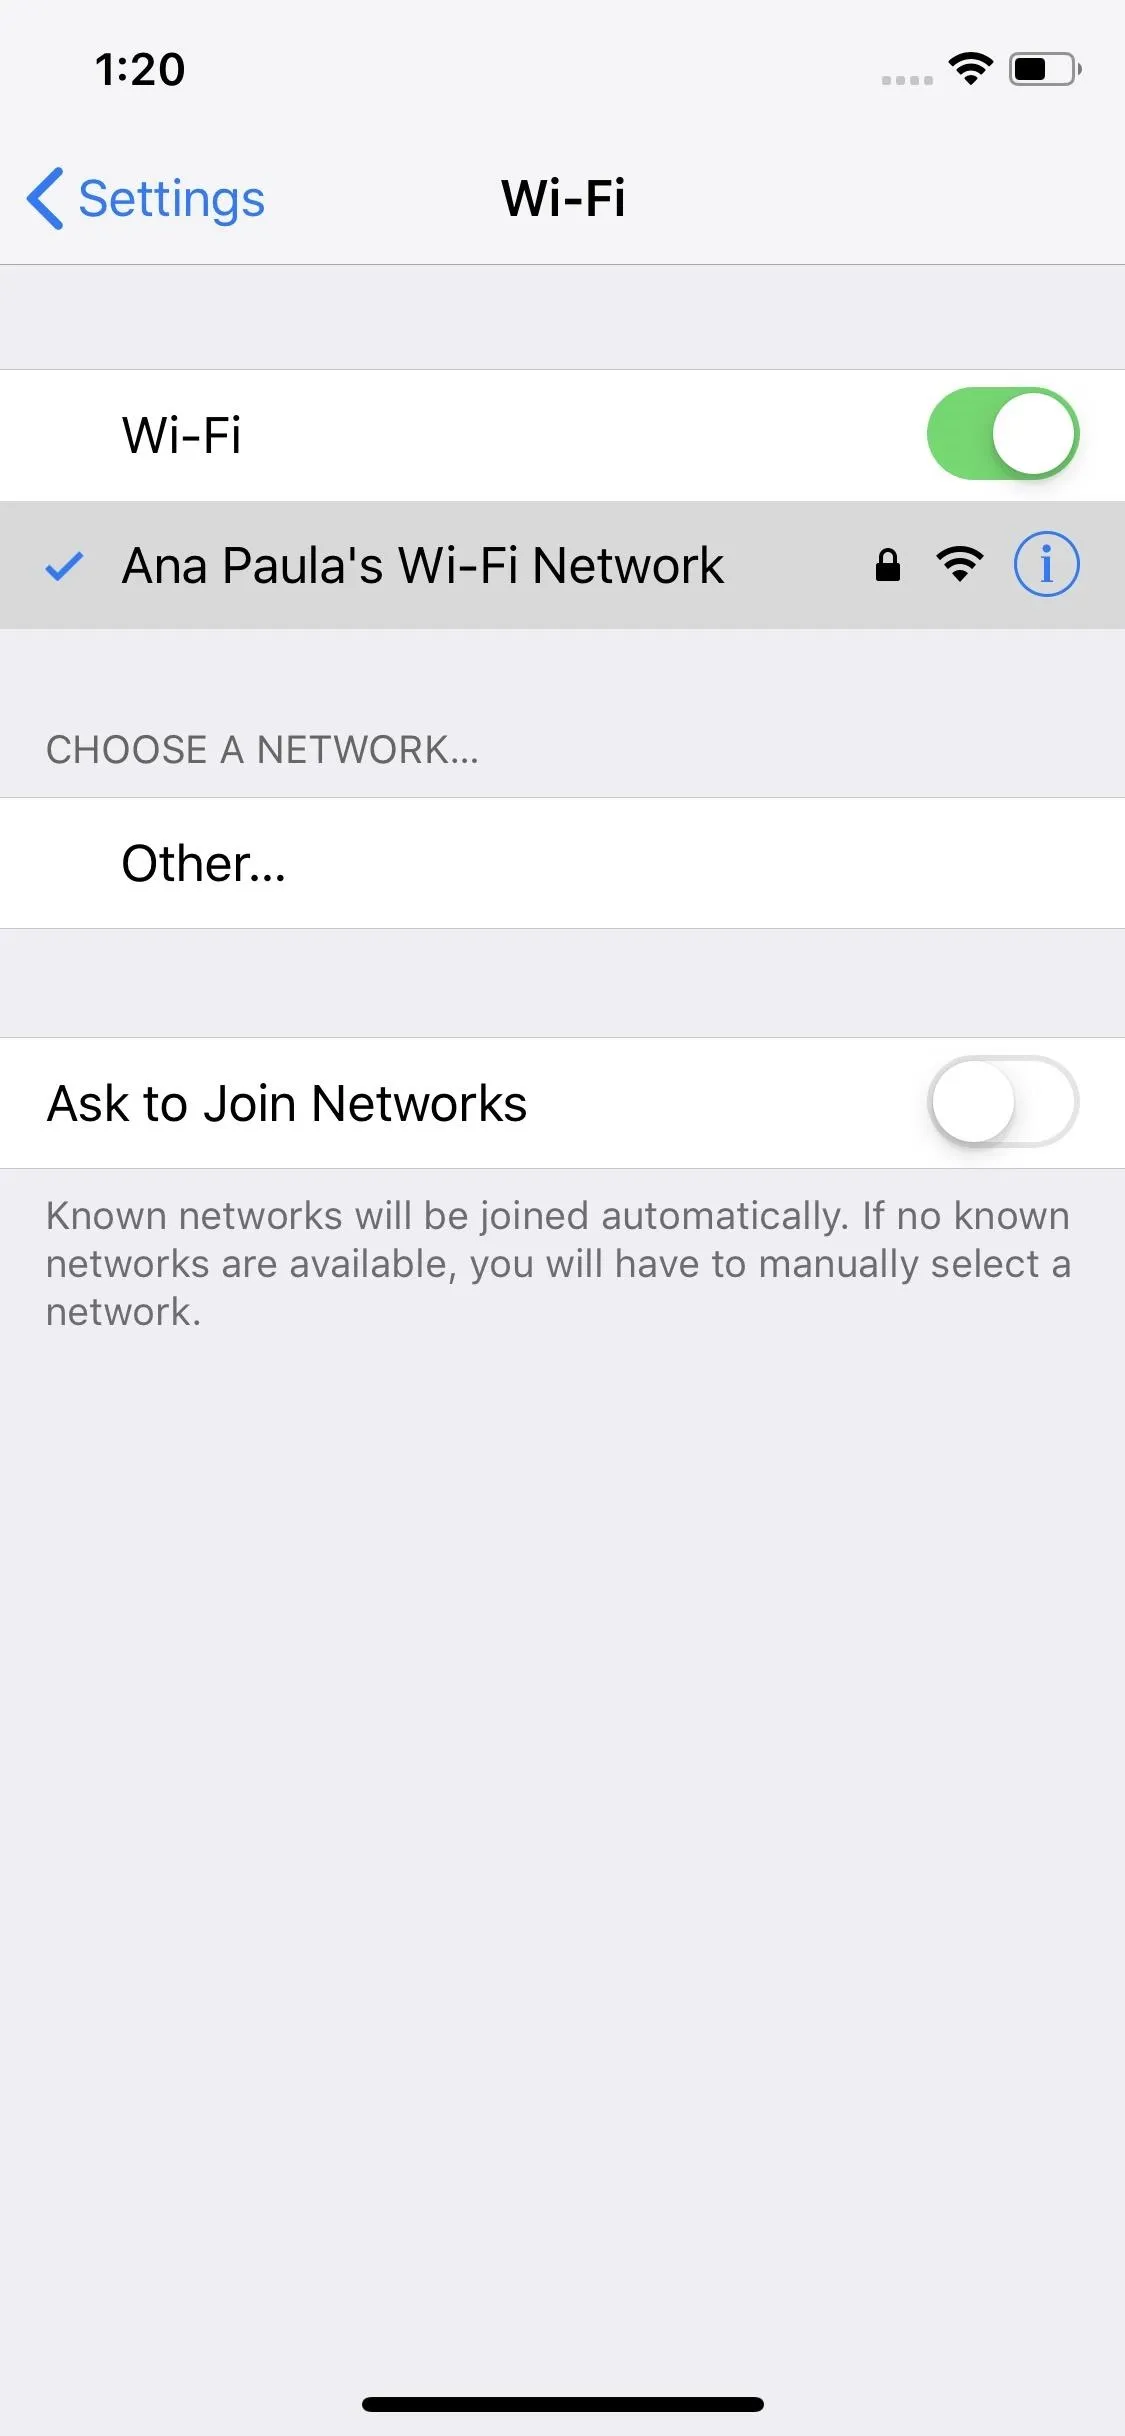
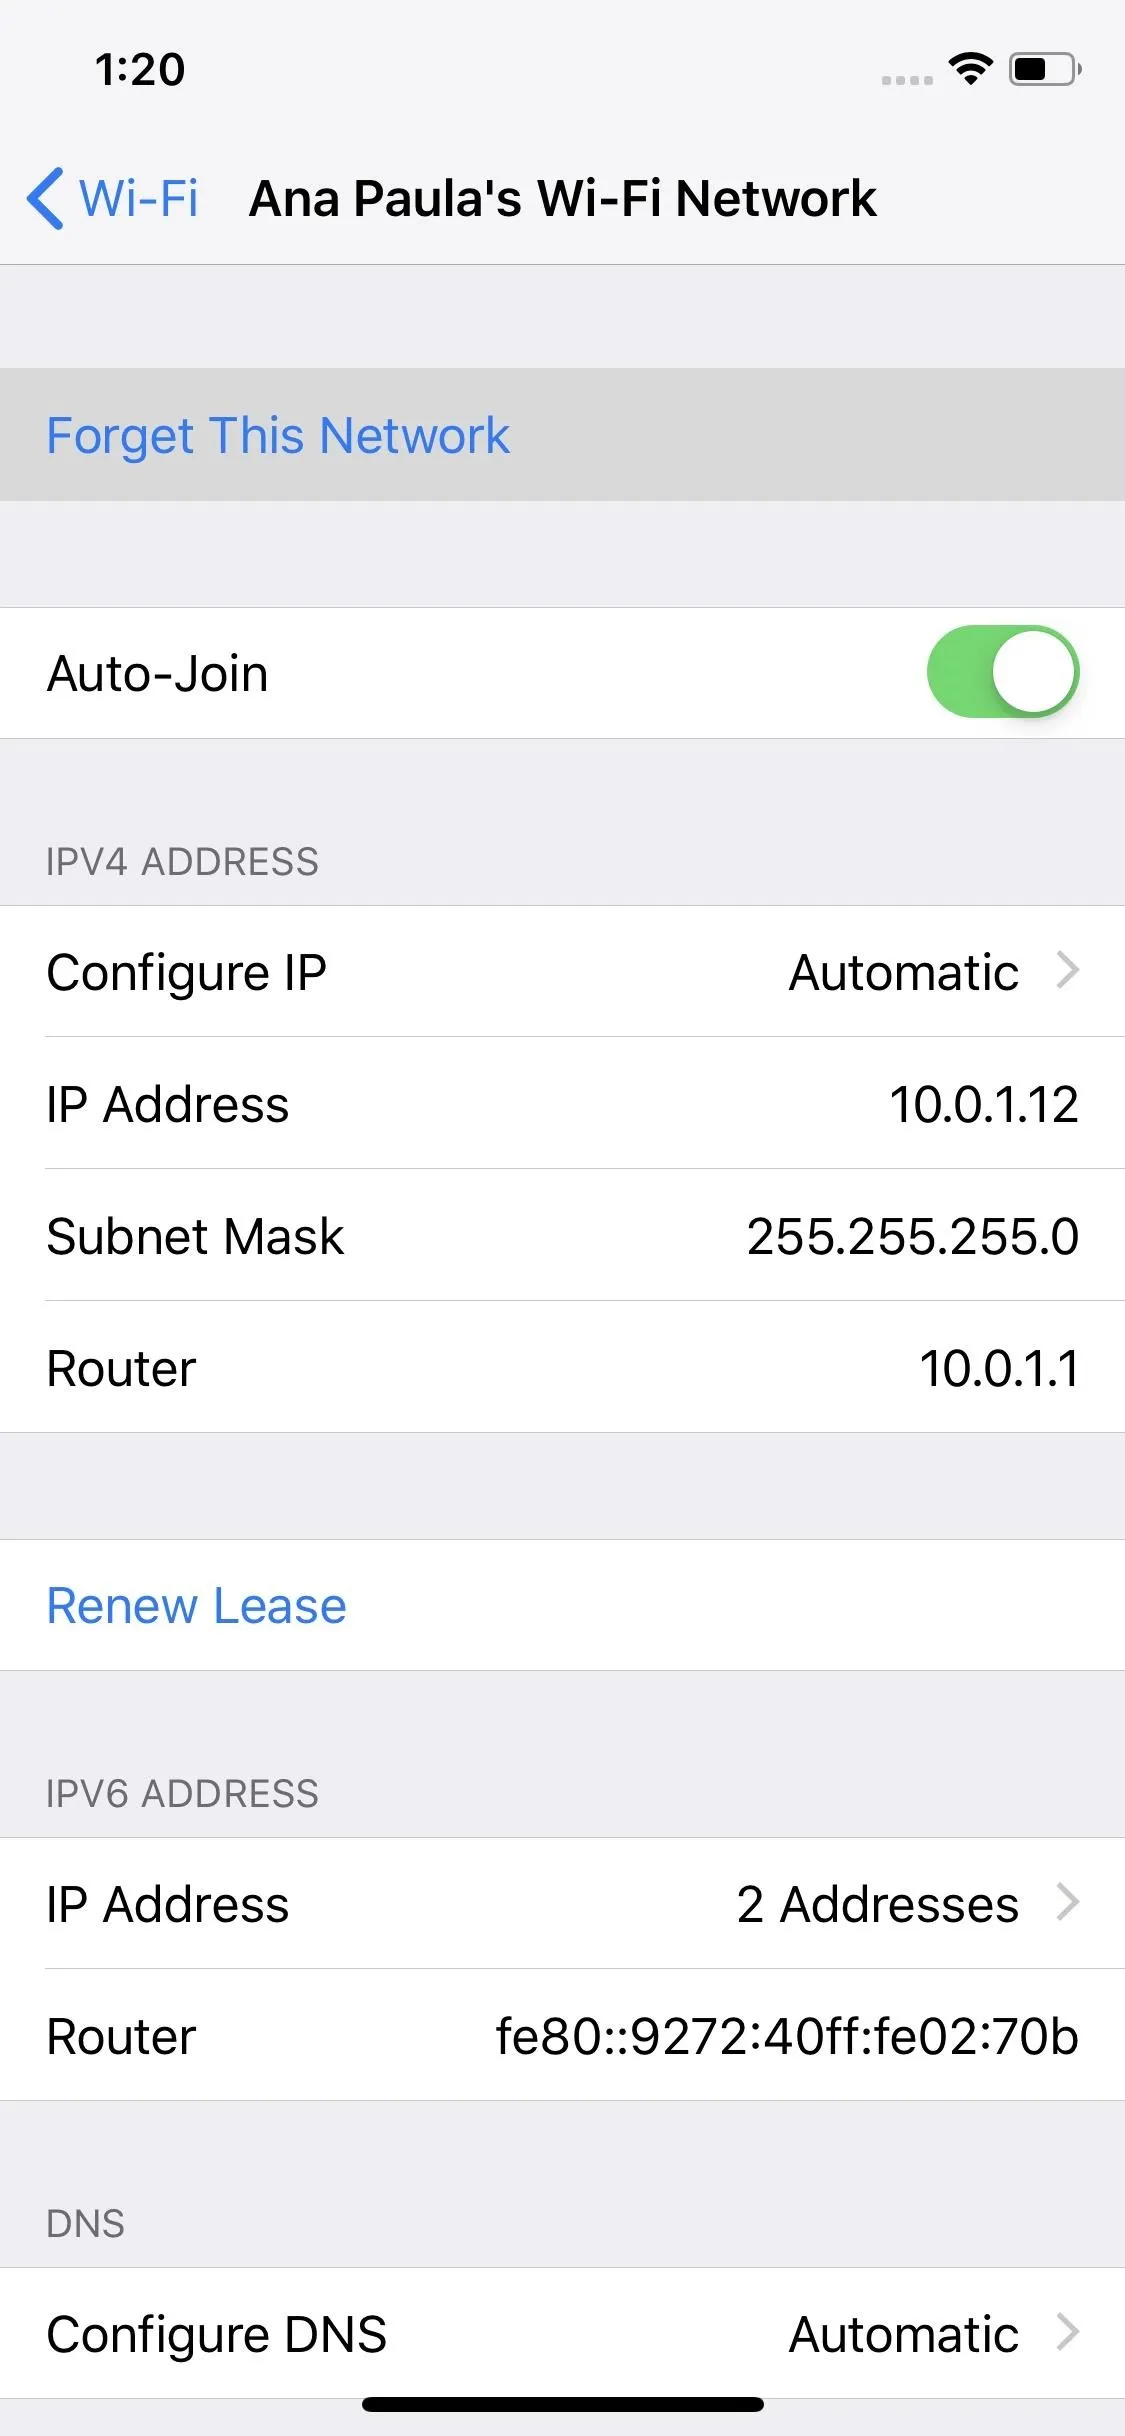
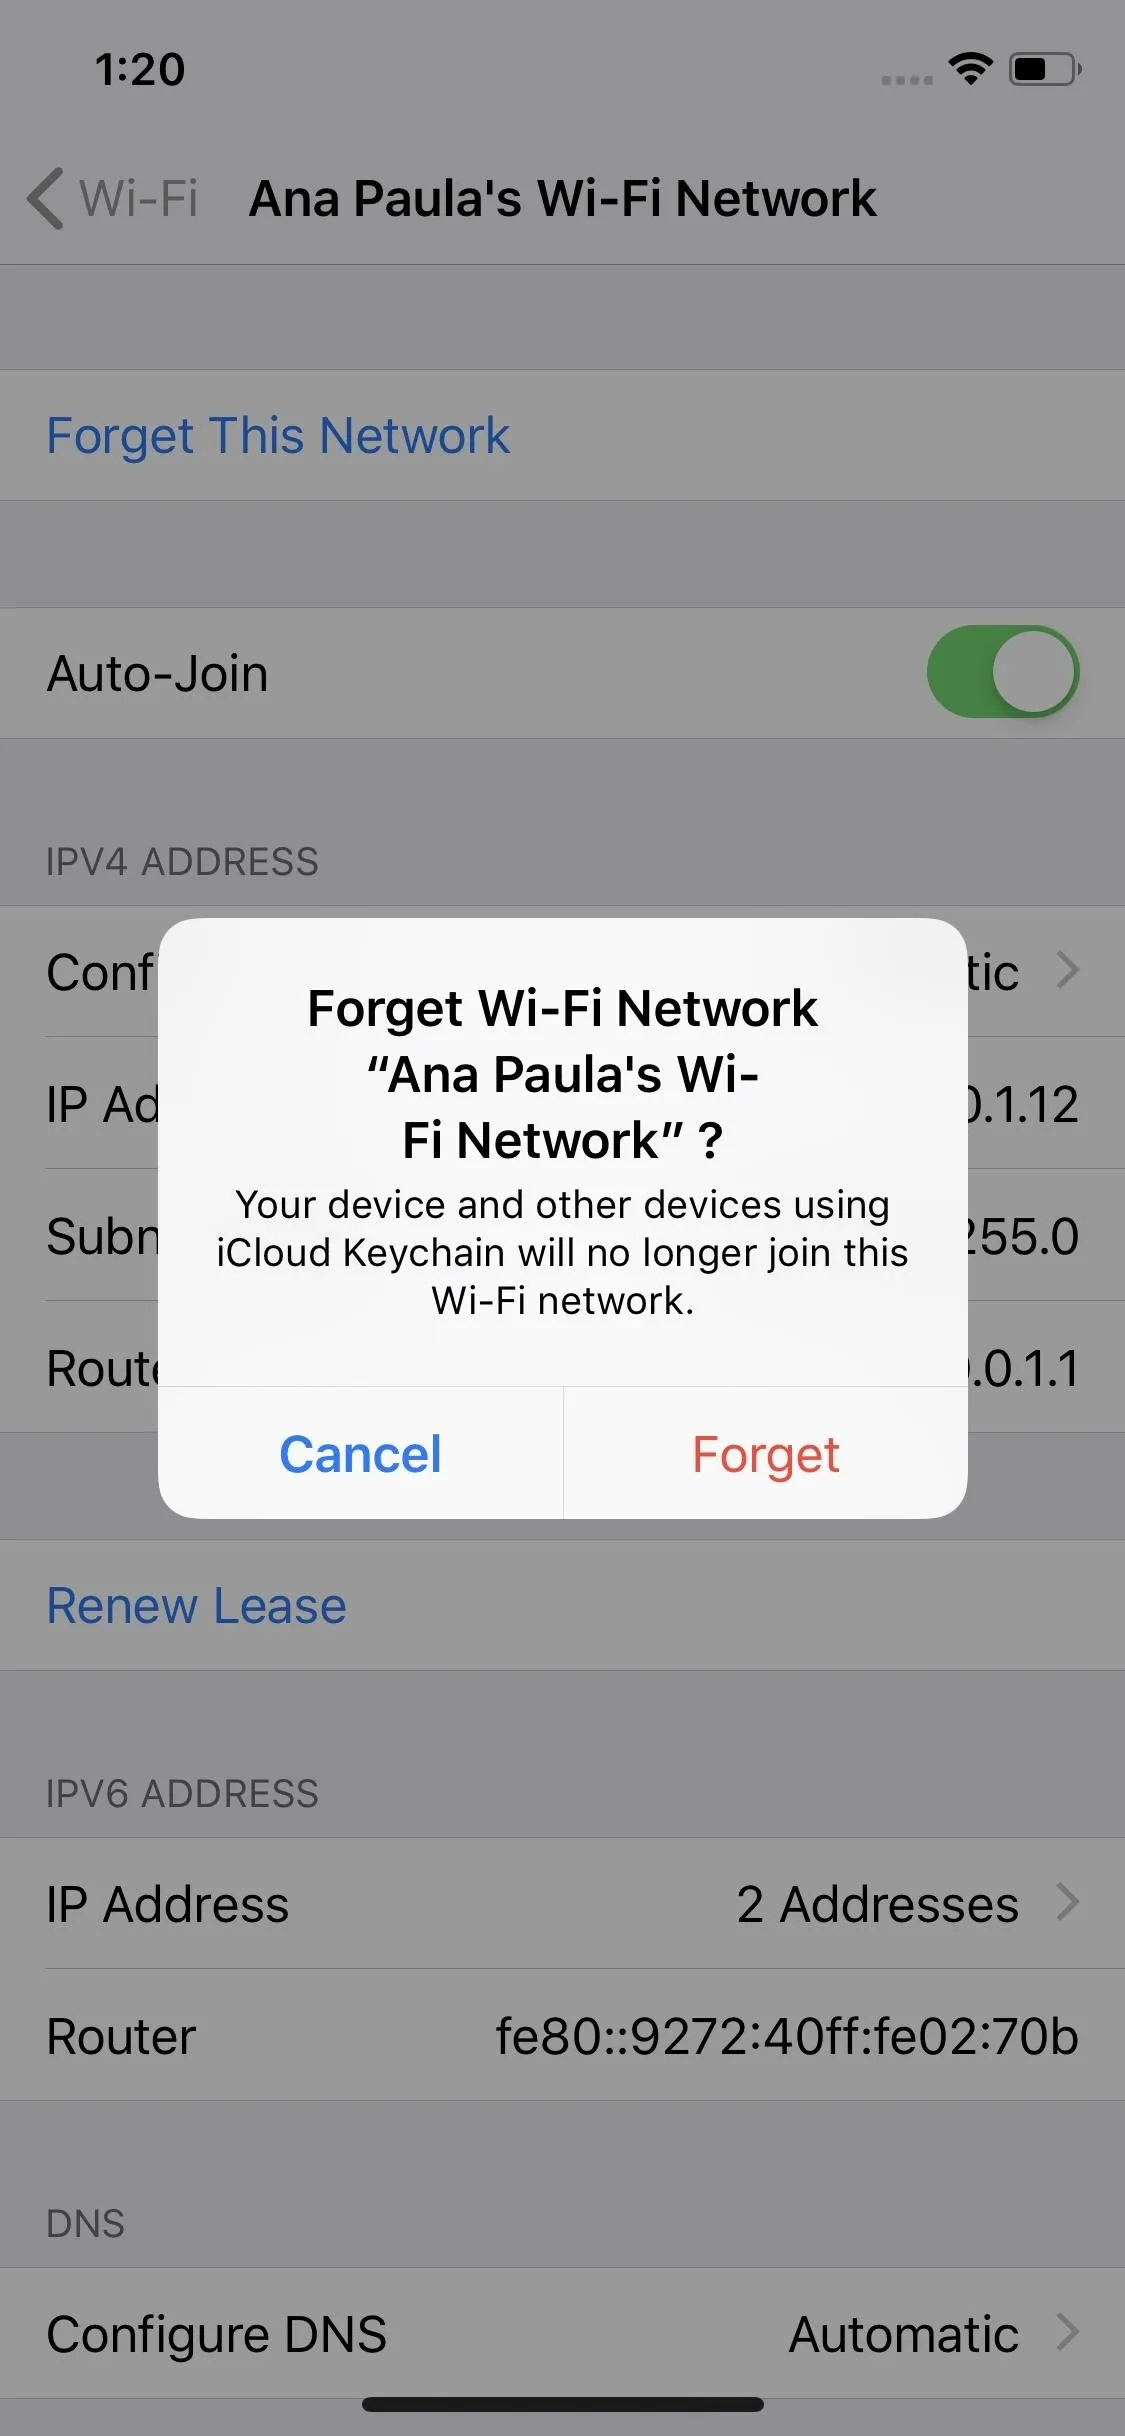
If you think the culprit might be your own Wi-Fi connection, try forgetting it! Your iPhone will erase the saved network from both your device and your iCloud Keychain, leaving you to reconnect with, hopefully, a better connection.
Just open "Wi-Fi" in your Settings, then select your current Wi-Fi network. Select "Forget This Network," then tap "Forget." Now, just jump back to "Wi-Fi," select your network from the list, and sign back in.
Toggle Wi-Fi Assist On & Off (Wi-Fi)
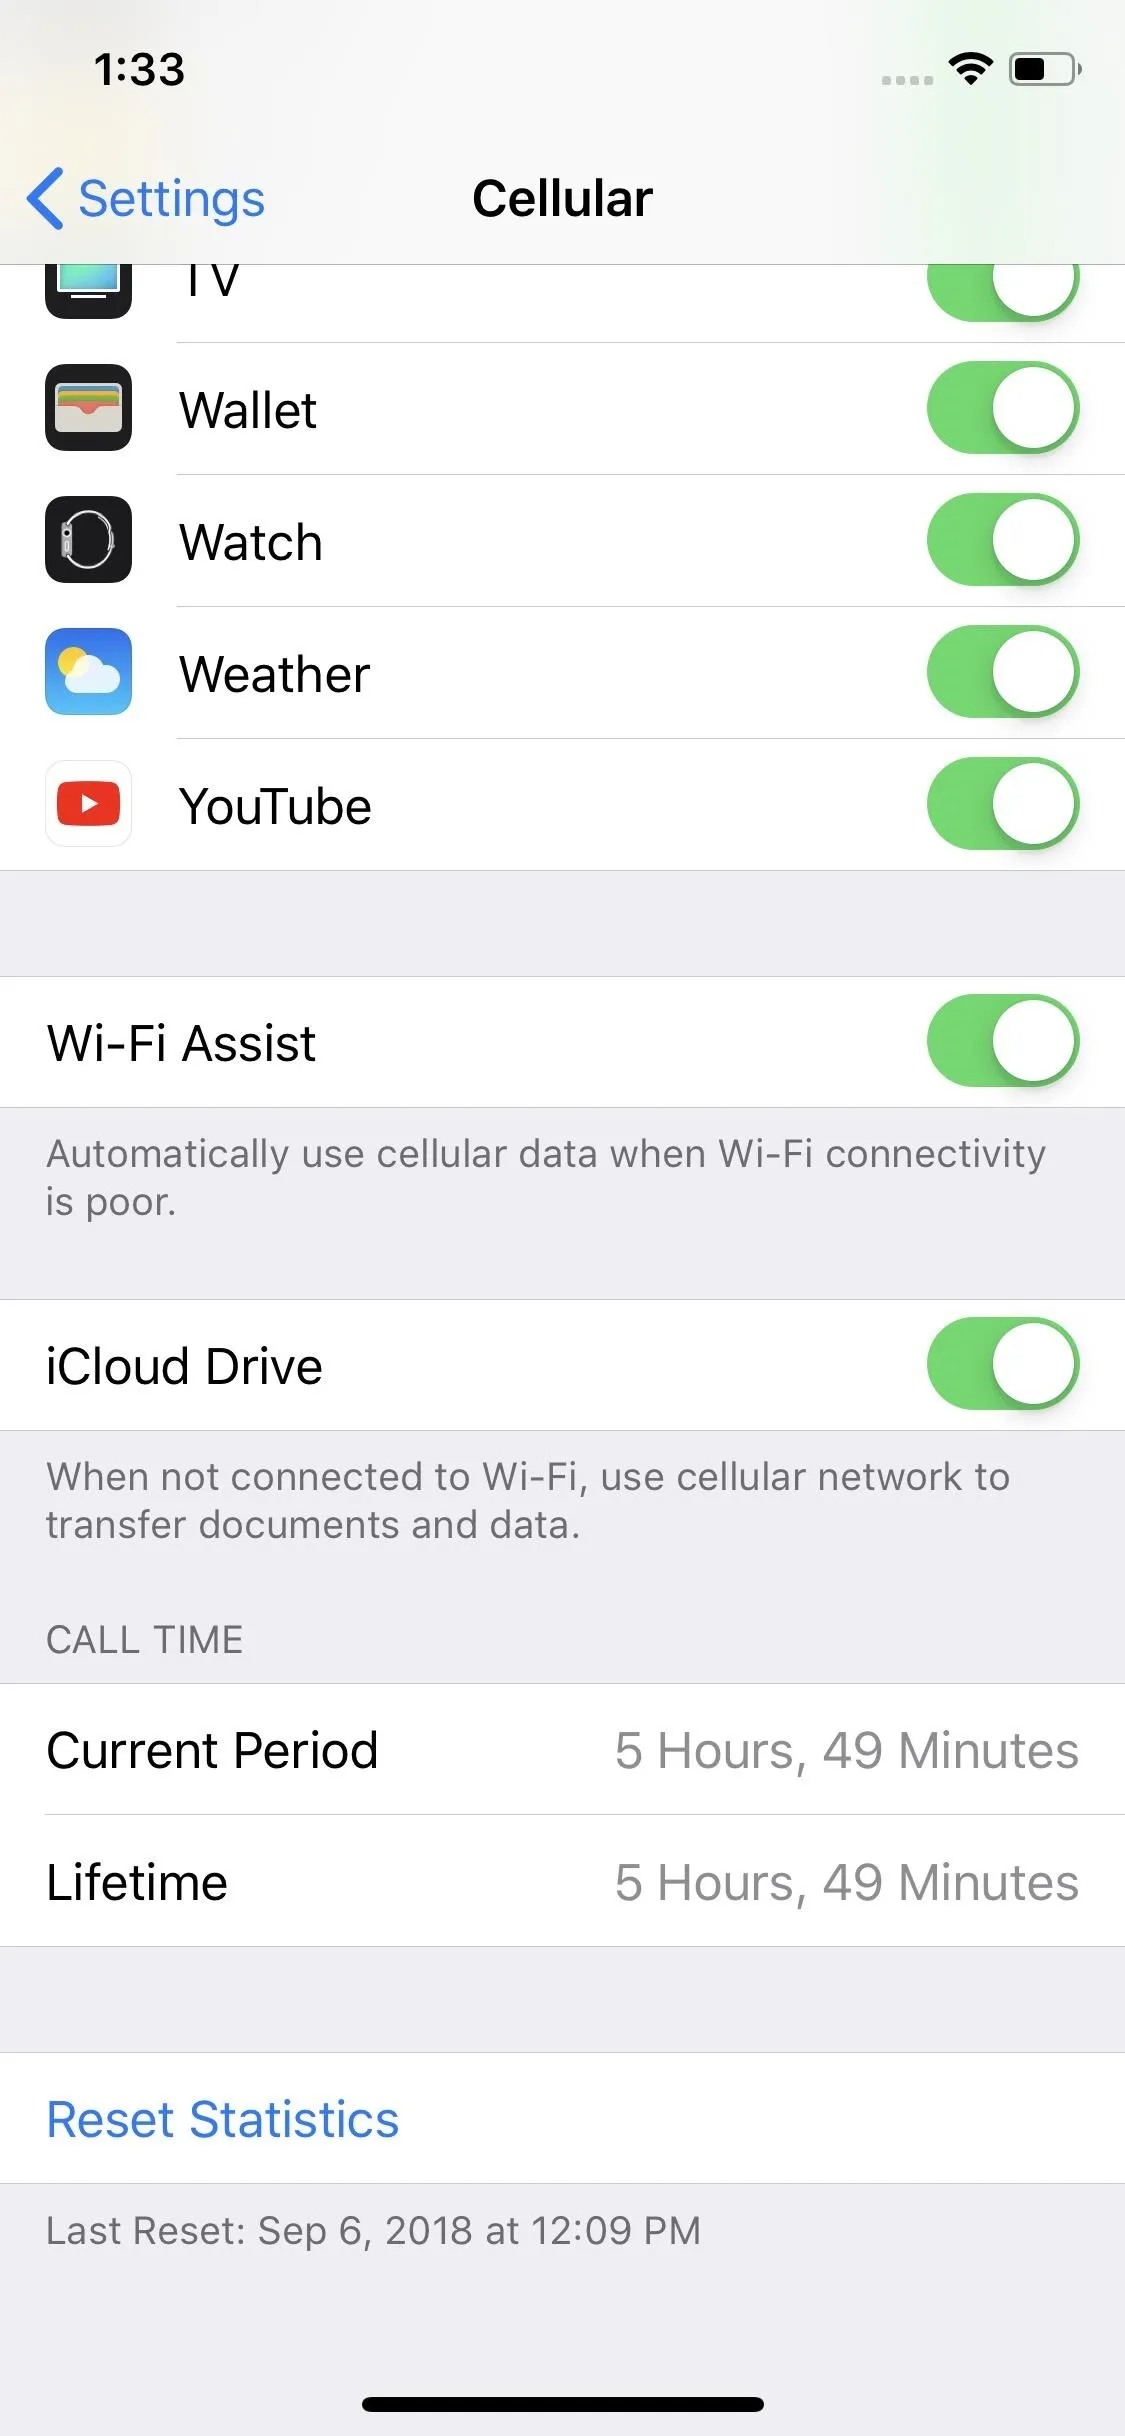
Wi-Fi Assist switches your iPhone to cellular if iOS senses your Wi-Fi connection is weak. This tool can be useful, however, it can also cause issues if your cellular connection isn't very good. Try togging the feature off and on to see if things improve. If not, try disabling it entirely. You'll find it in towards to bottom of "Cellular" in Settings.
Refresh Your iPhone Tower (Cellular & Wi-Fi)
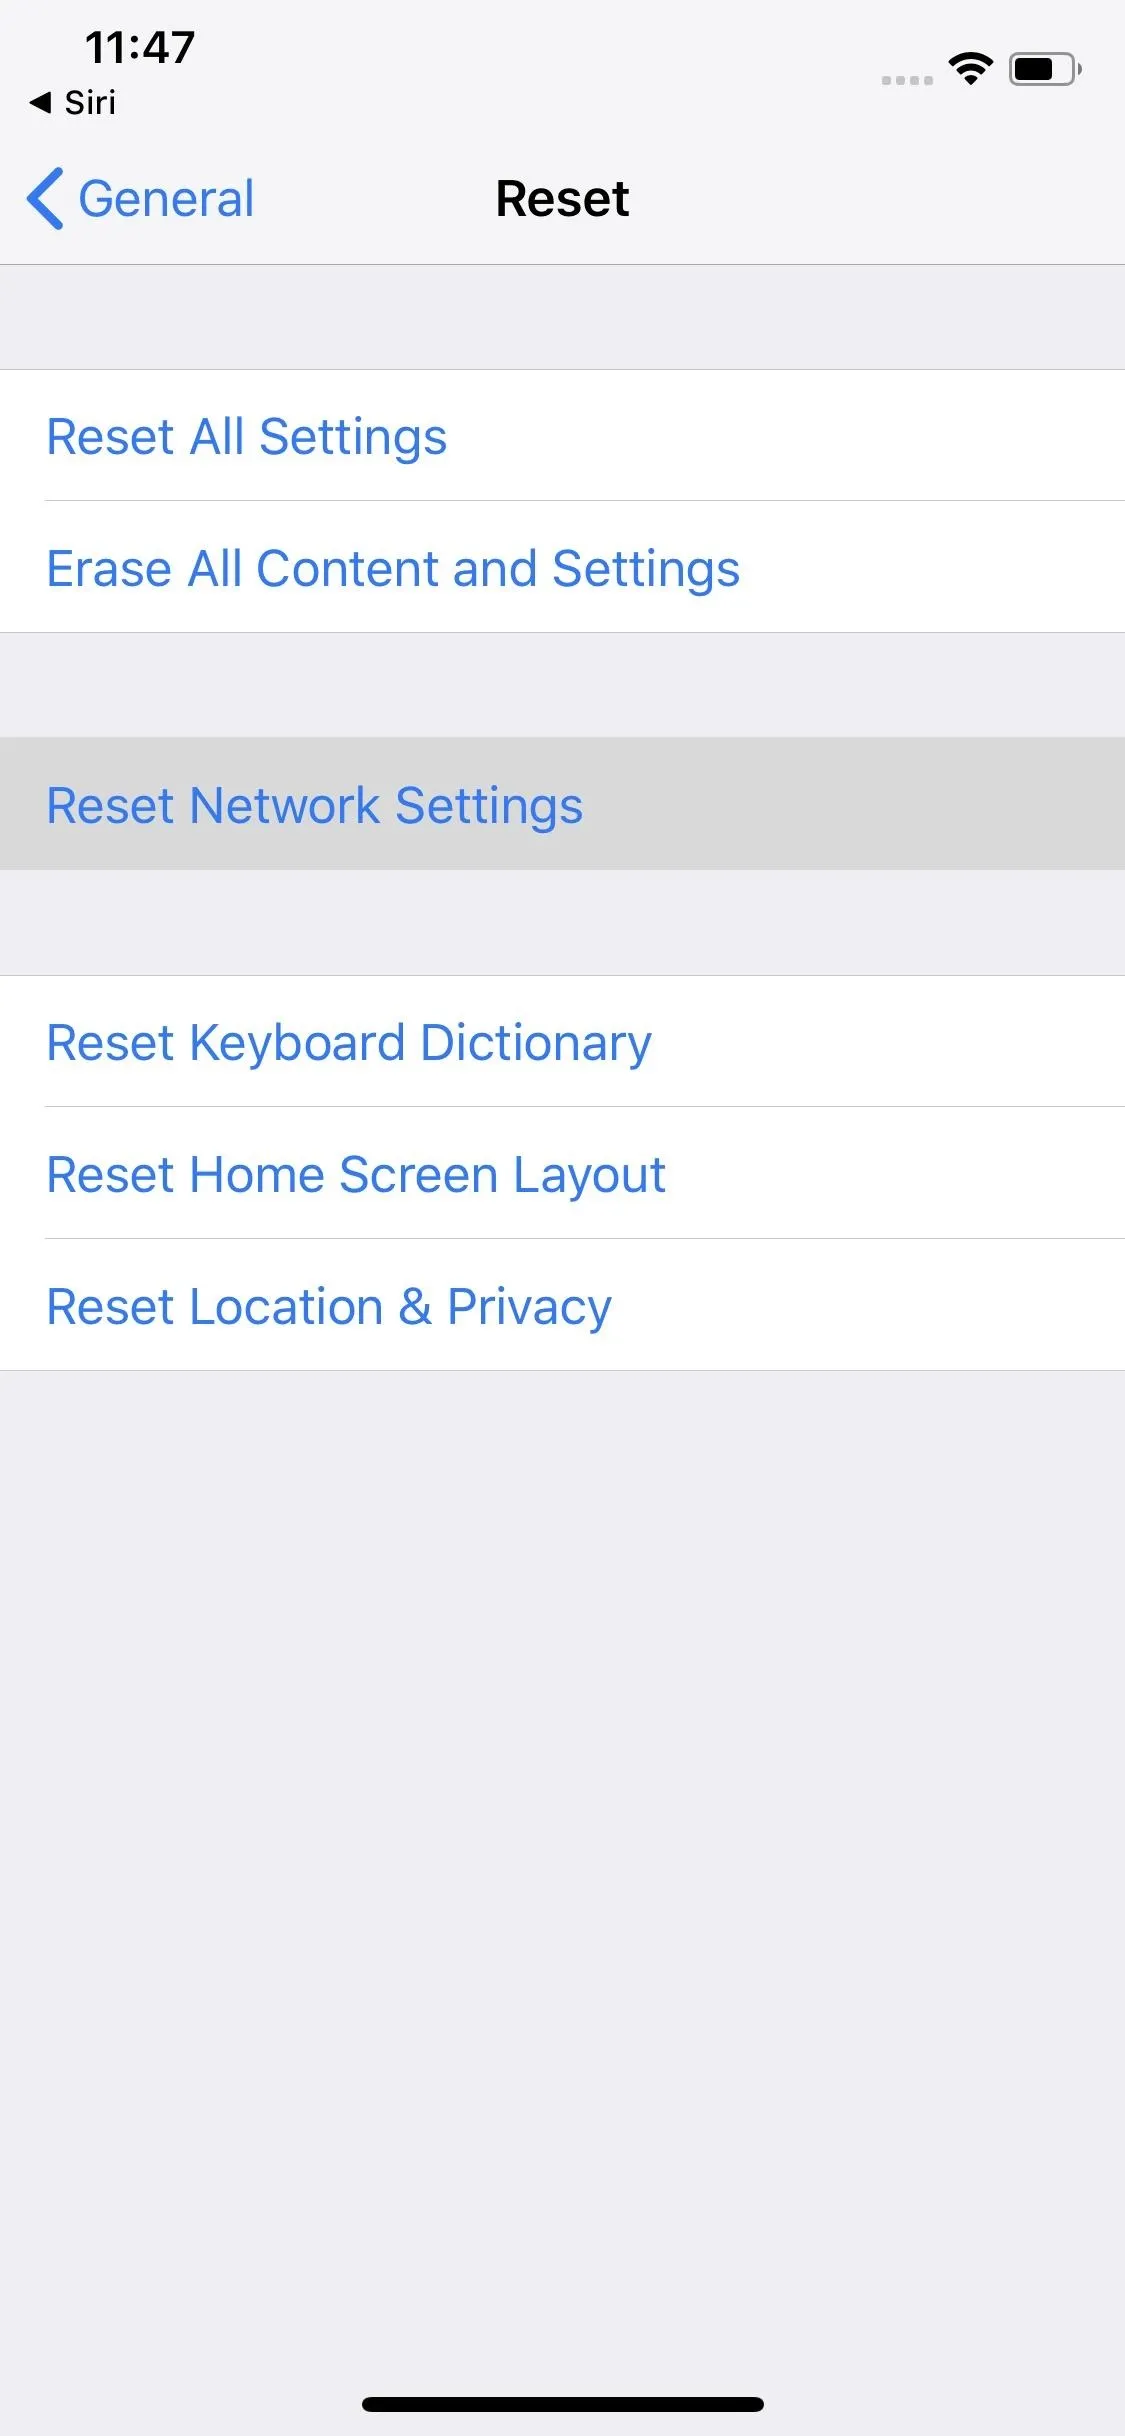
Network connectivity, like any technology, needs a reset every now and then. You might not consider it, but your iPhone's communications to your local towers can get jammed up and need unclogging. Luckily, you don't need access to the actual tower to reset the connection — you just need to go to your Settings.
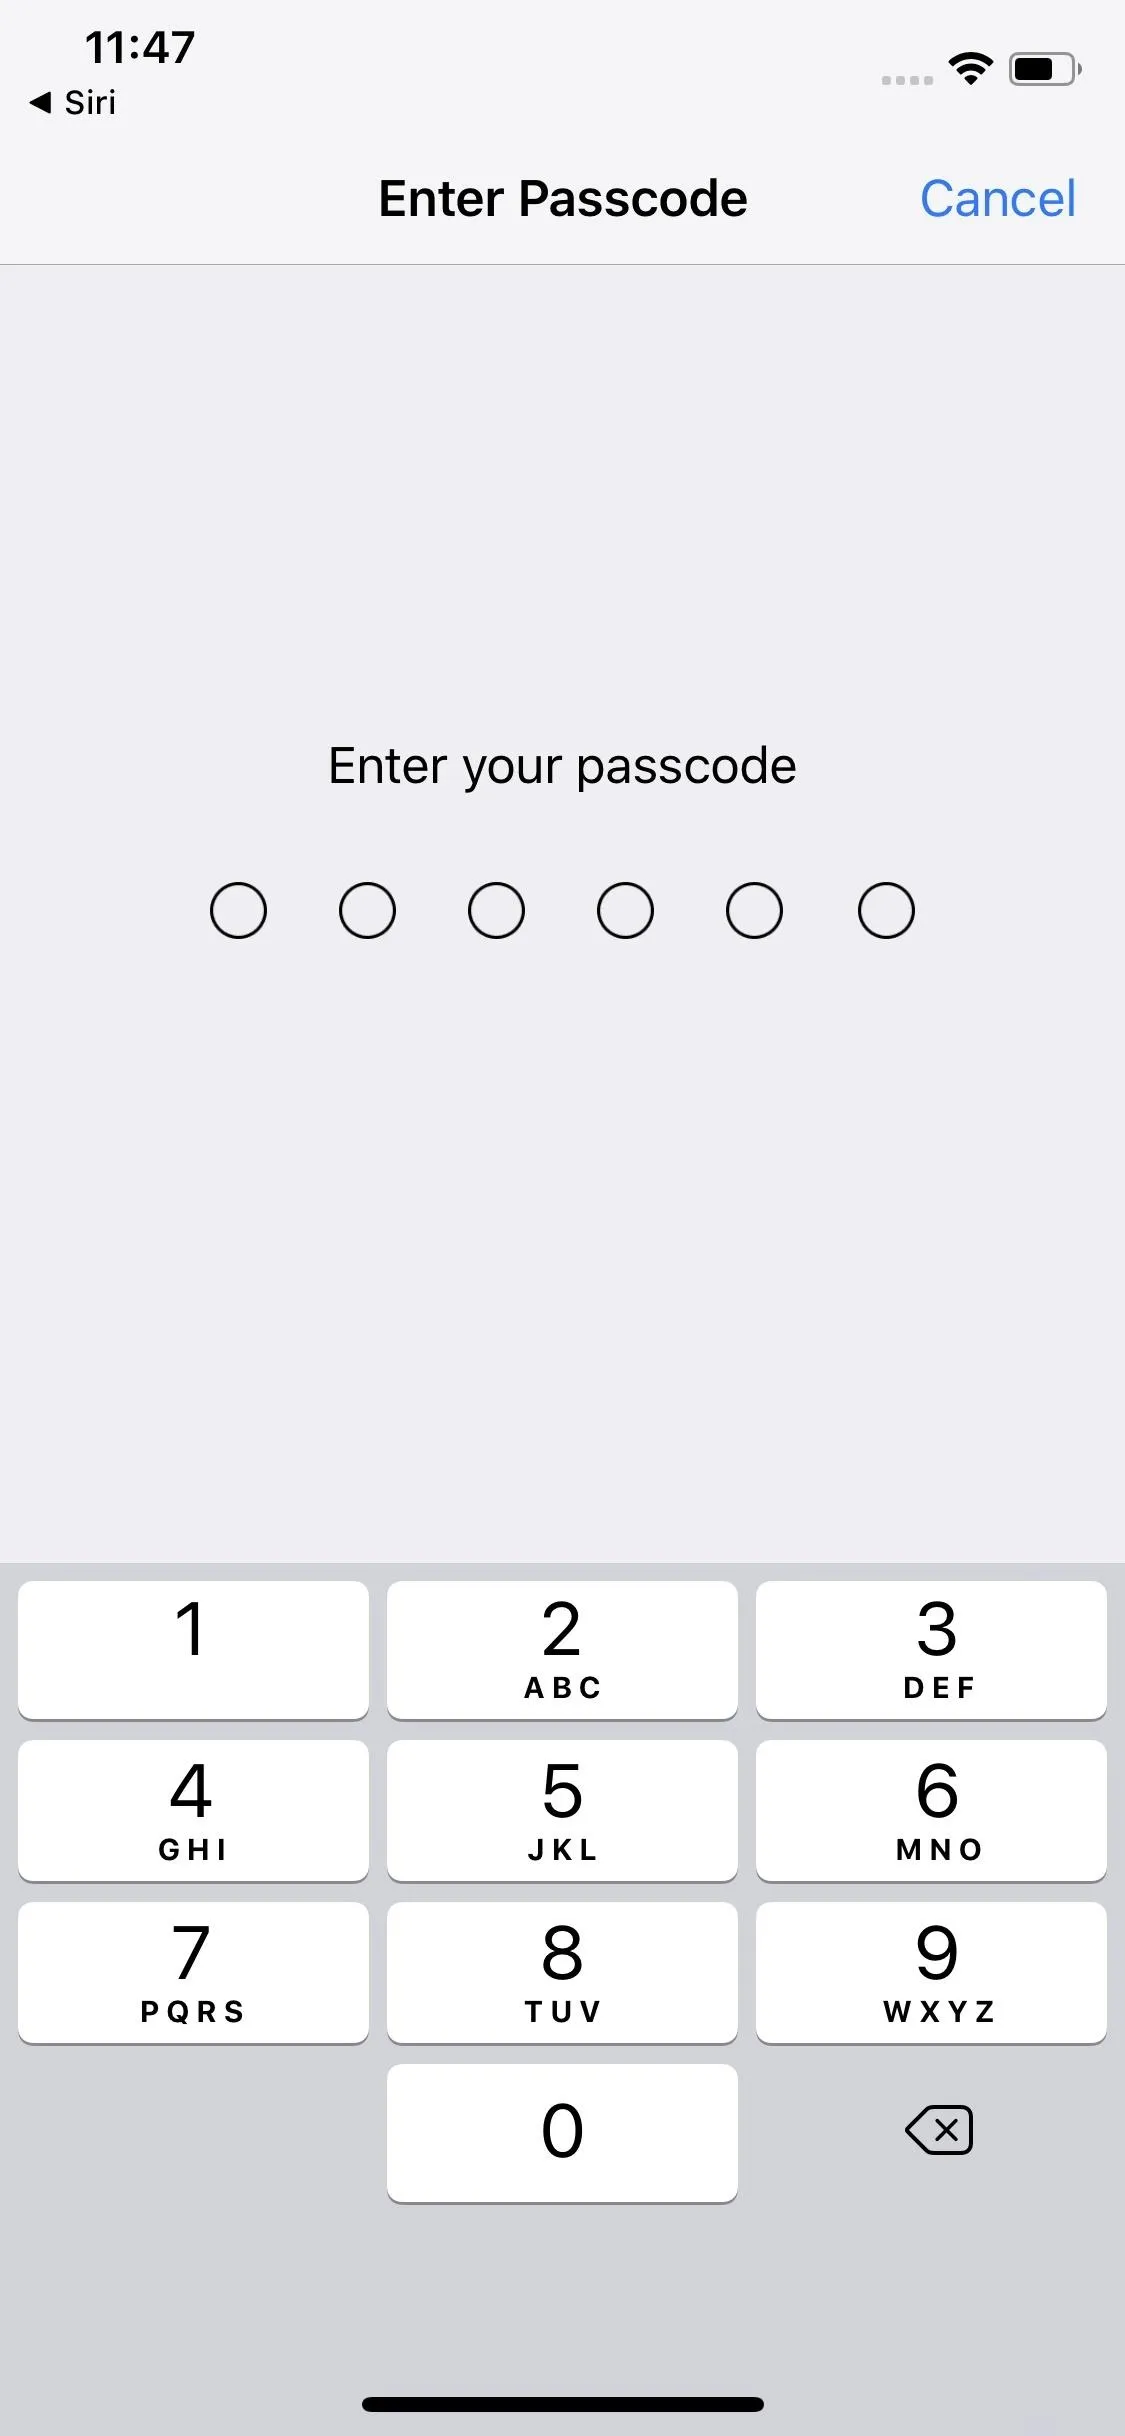
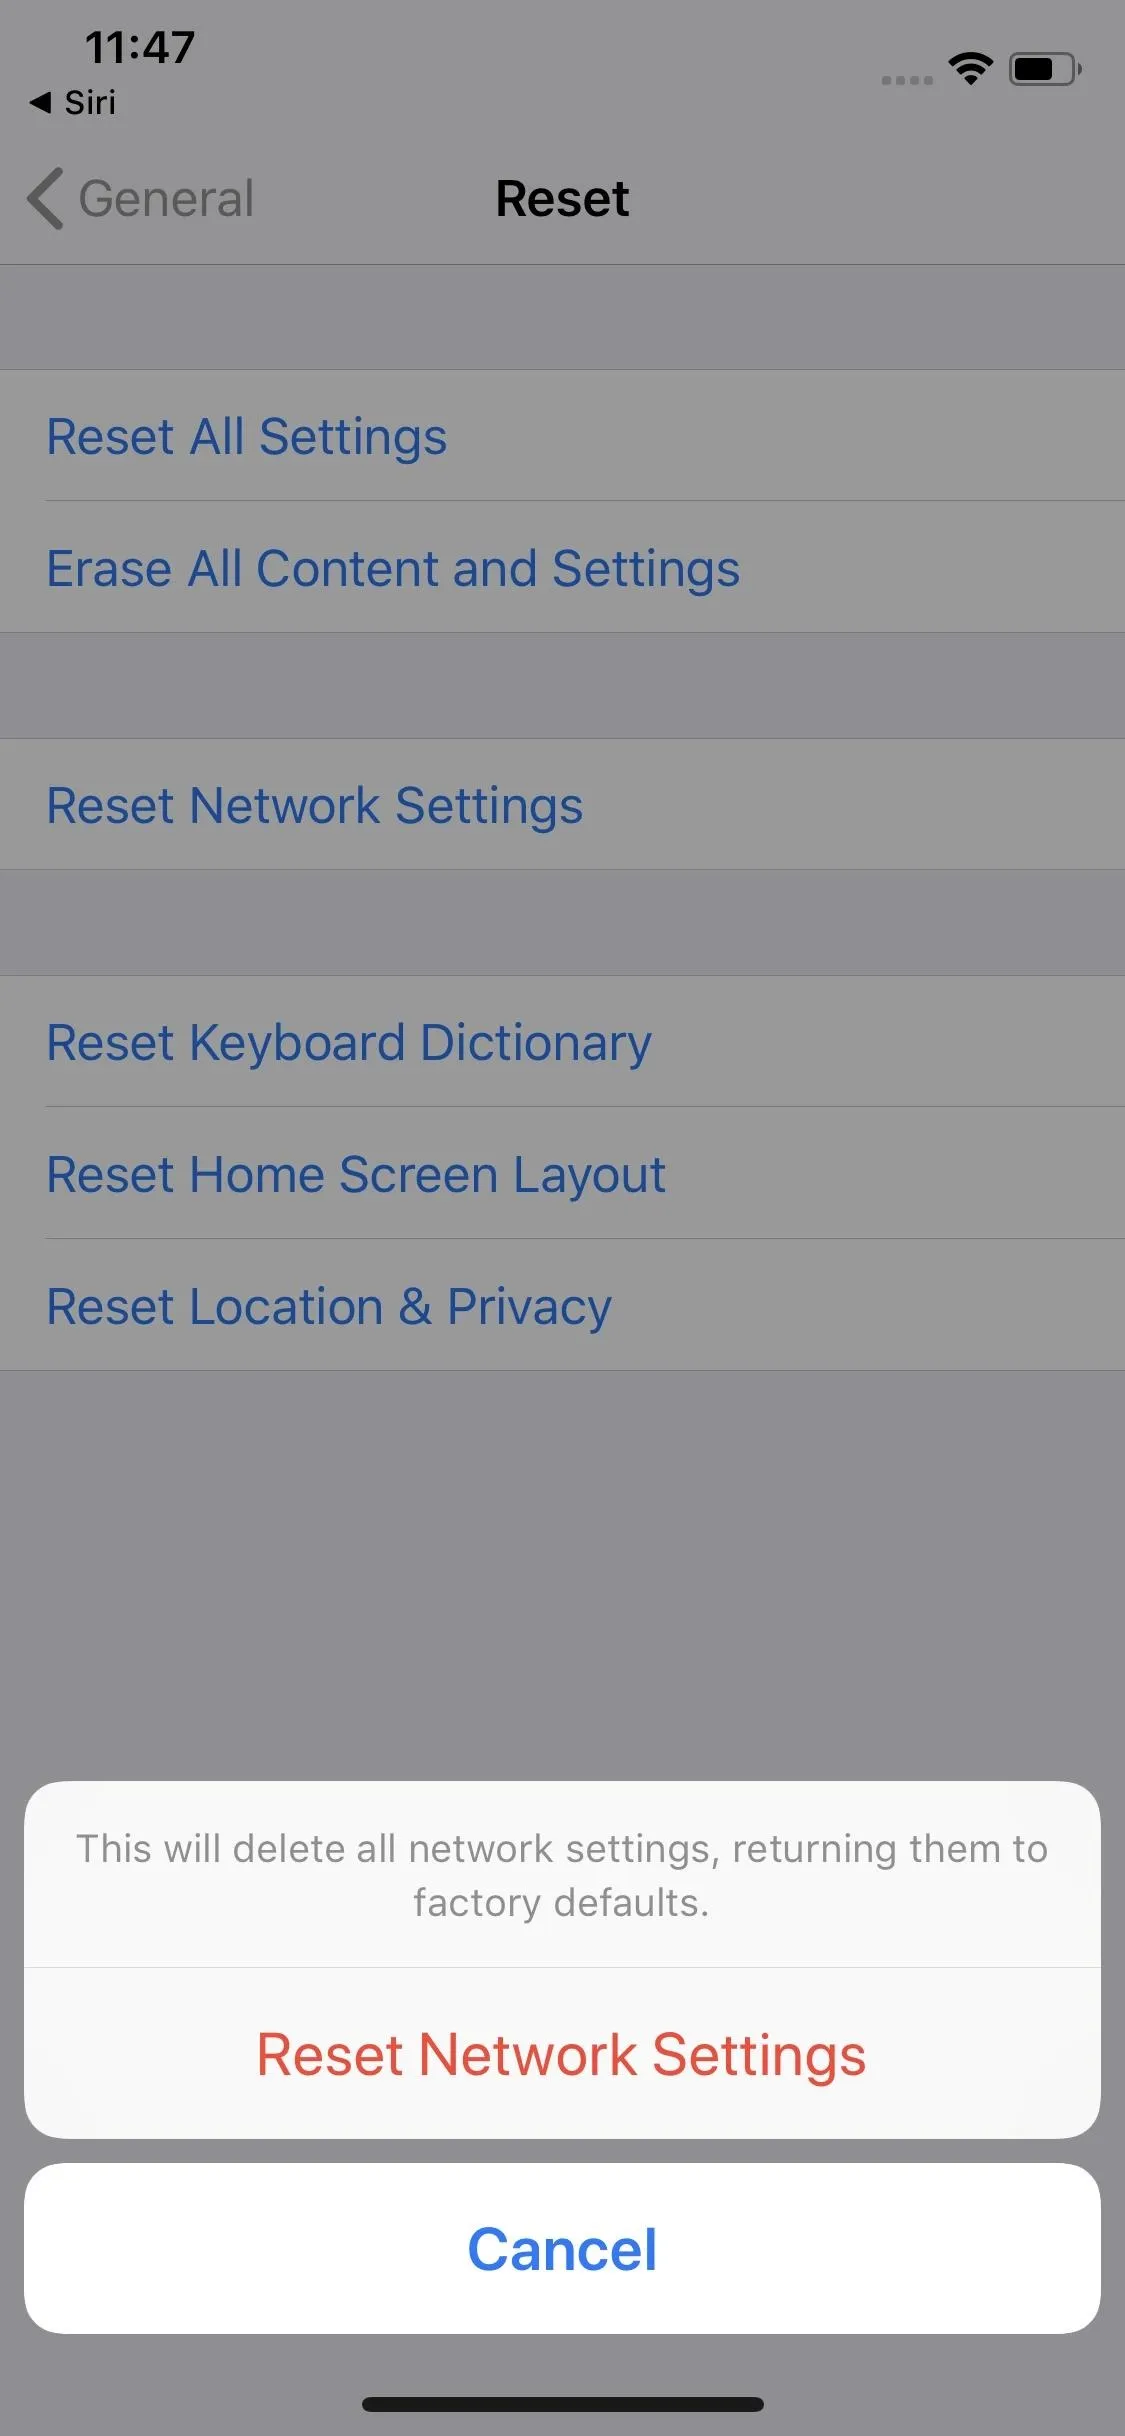
You'll find the fix in "Reset" in Settings. Tap "Reset Network Settings" once there, provide your passcode, then just tap "Reset Network Settings." Your iPhone will then power down while resetting, but will usually take less than one minute to power back on.
Take note — resetting your network connections also purges your saved Wi-Fi connections from your device. You will need to reconnect to all of these networks after the reset. And if you were having Wi-Fi issues before because of competing networks vying for your love, this will solve that too, since you don't have to reconnect to one of them.
Force Your iPhone to Choose a Better Tower (Cellular)
If your tower refresh doesn't seem to help, maybe your iPhone isn't connected to the best tower available. Believe it or not, there is a way to force your iPhone to connect to a better tower in your area. While you can achieve this natively in iOS, without the third-party app OpenSignal, you won't be able to accurately compare your connection before and after switching towers.
Force-Restart Your iPhone (Cellular & Wi-Fi)
For any persistent problem that you can't seem to solve with settings, fore-restarting your iPhone is always a good tactic. Sometimes, your iPhone just needs to shut down and reboot to get back on track.
Since there are so many models of iPhones, all with different physical buttons, force-restarting varies from iPhone to iPhone. The iPhone XS and XS Max have their own method, carried over from the iPhone X.
Change DNS Server (Wi-Fi)
The DNS server — or Domain Name System — is what parses website names into IP addresses for your iPhone to connect to. You're probably using the default DNS server, which might be slowing you down.
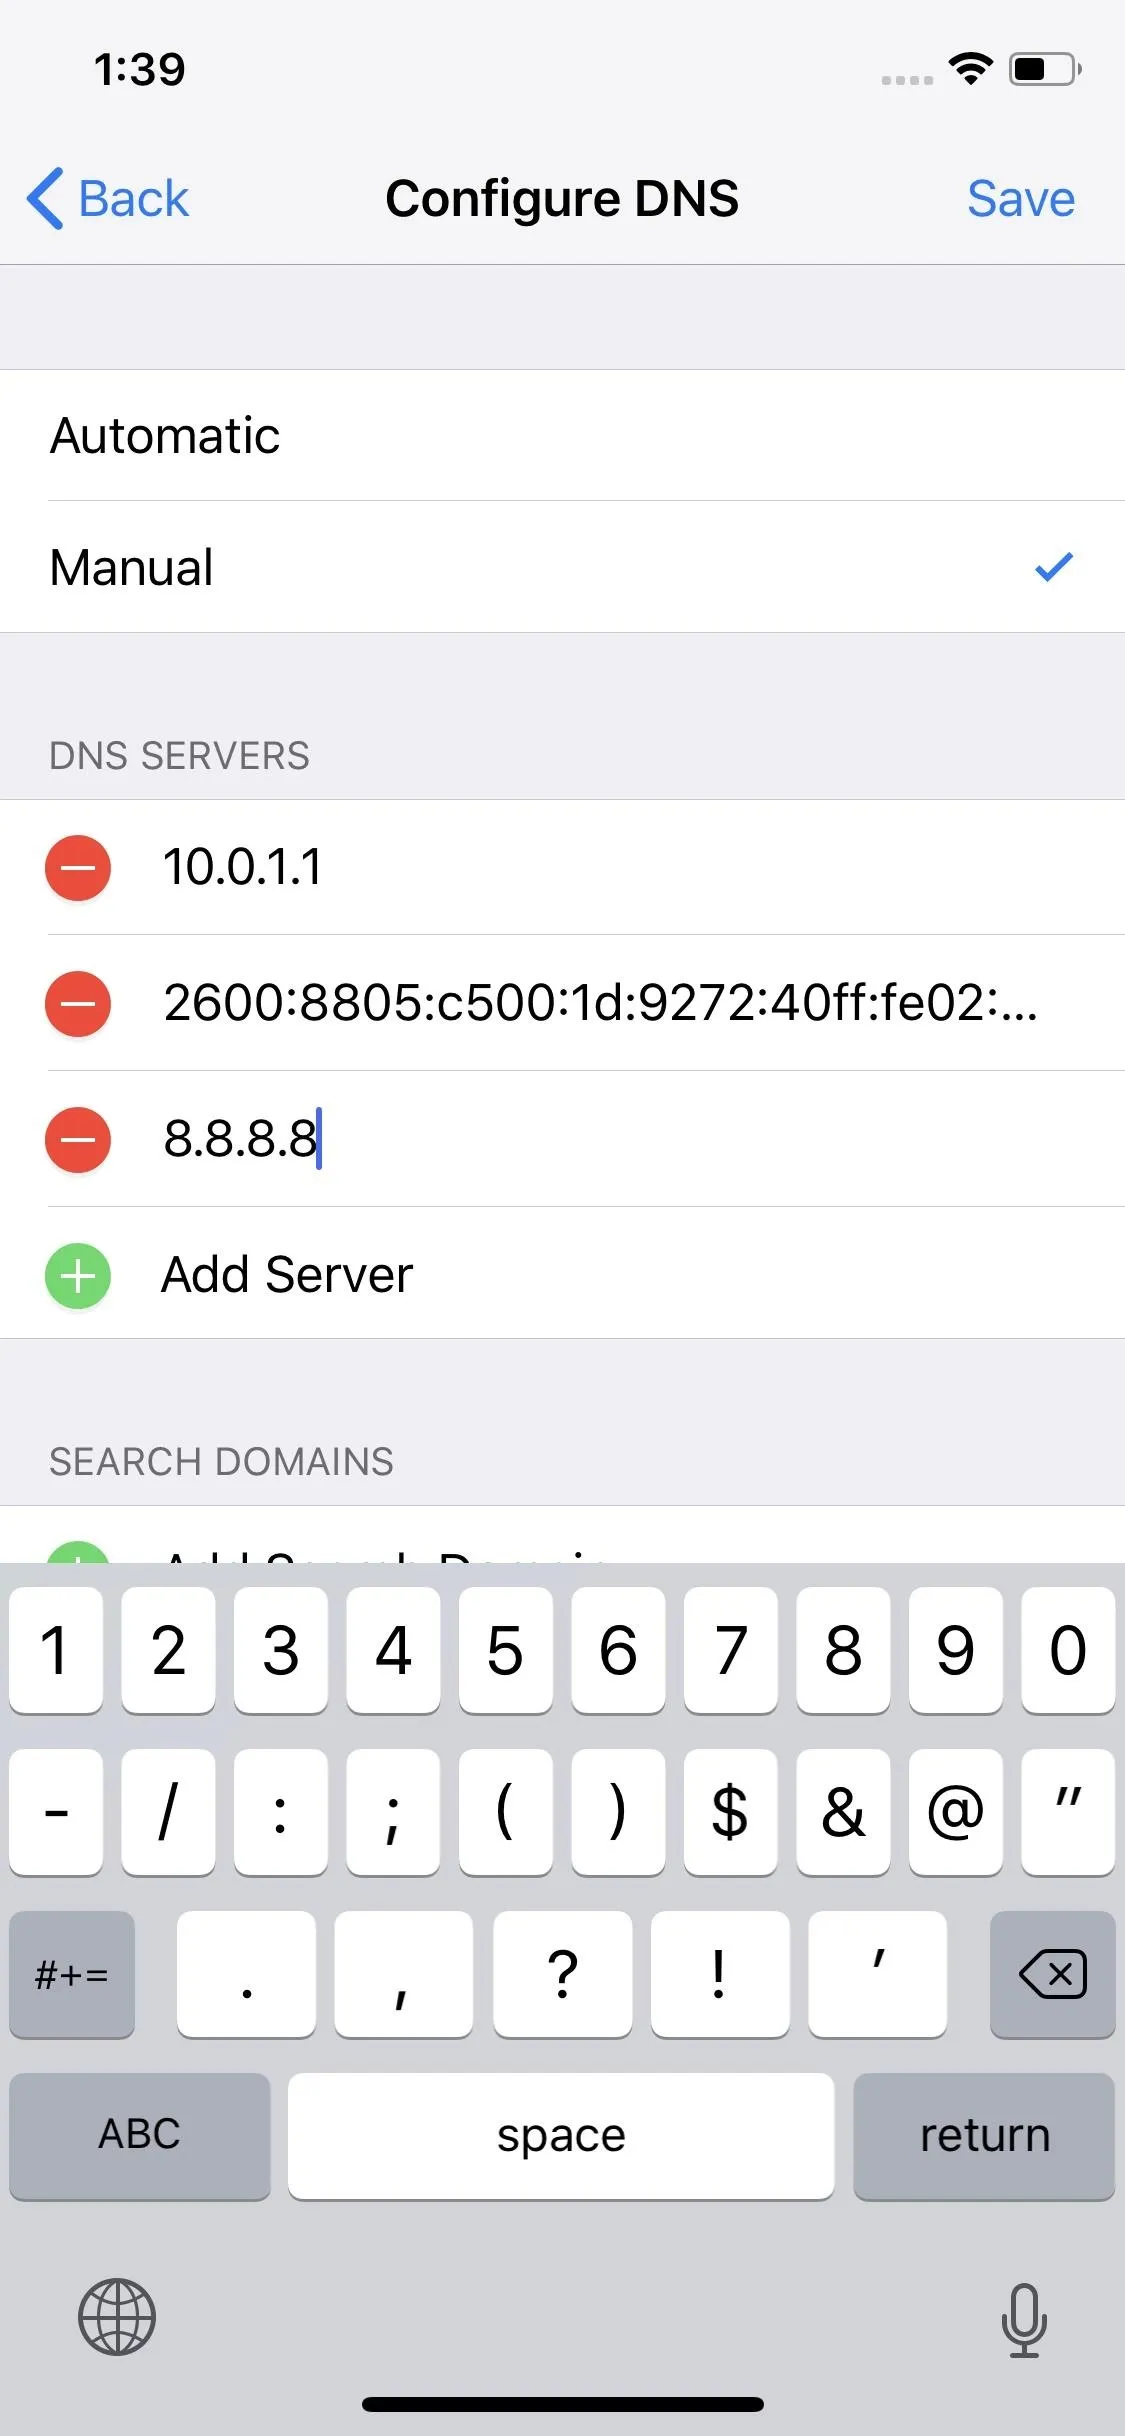
Instead, try a custom DNS server to speed things up. To find the option, open "Wi-Fi" in Settings, then tap your current network. Scroll down and select "Configure DNS," tap "Manual," then "Add Server." Now, you can add the DNS server of your choice. You can use Google's by typing either 8.8.8.8 or 8.8.4.4, or OpenDNS's by typing 208.67.222.222 or 208.67.222.220. When done, hit "Save." You can also revert back to your old server; Sometimes just jumping to a different one and then back again will clear things up.


Eject the SIM (Cellular)
If you really want to give your cellular connectivity a refresh, eject the SIM. Without the SIM card, your iPhone won't be able to connect to the cellular network at all, that is, until you place the card back in. Doing so will cause your iPhone to reconnect the network — sort of a hard-reset for the SIM.
While you can use just about any thin object to pop out your SIM tray (so long as it fits), we'd recommend only using a proper SIM-ejector tool. If you just bought an iPhone, you may have one in the box, but usually only if it was unlocked.
- Follow Gadget Hacks on Pinterest, Twitter, YouTube, and Flipboard
- Sign up for Gadget Hacks' daily newsletter or weekly Android and iOS updates
- Follow WonderHowTo on Facebook, Twitter, Pinterest, and Flipboard
Cover image and screenshots by Jake Peterson/Gadget Hacks


Comments
Be the first, drop a comment!