


Deleting emails can be a tedious process on the iPhone, especially since the "Trash All" options have been removed ever since iOS 10 first came out. Though likely well-intentioned, this change places an undue burden on all of us iPhone owners who now have to erase emails individually.
Erasing them individually can equate to a significant amount of wasted time — just check out the video below if you don't believe me, which applies to iOS 10, iOS 11, and iOS 12. Thankfully, there's a little-known bug that you can still use to delete all unwanted emails in one go. It just doesn't work in iOS 13, which has a new way to bulk-delete emails.
This simple trick will work in any one of your email folders, whether they're flagged or unread. So if you're interested in deleting junk email en masse, I'll show you how to take advantage of this nifty bug. It's lasted for three major iOS updates, but iOS 13 killed it. So if you're running iOS 13, make sure to check out our guide on bulk-deleting the new way.
- Don't Miss: The 5 Best Free Email Clients for iOS
Filter Your Mail
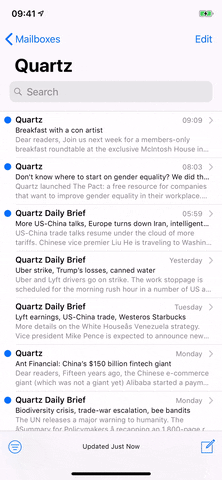
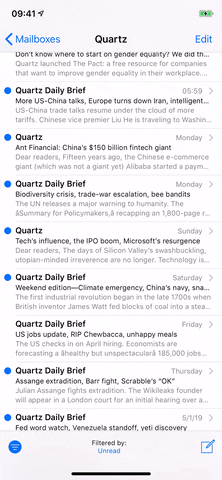
For starters, go to any folder you wish to purge of unread emails from the Mailboxes view. It could be a default folder for each account like "Inbox" or "Archive" or a folder you made yourself.
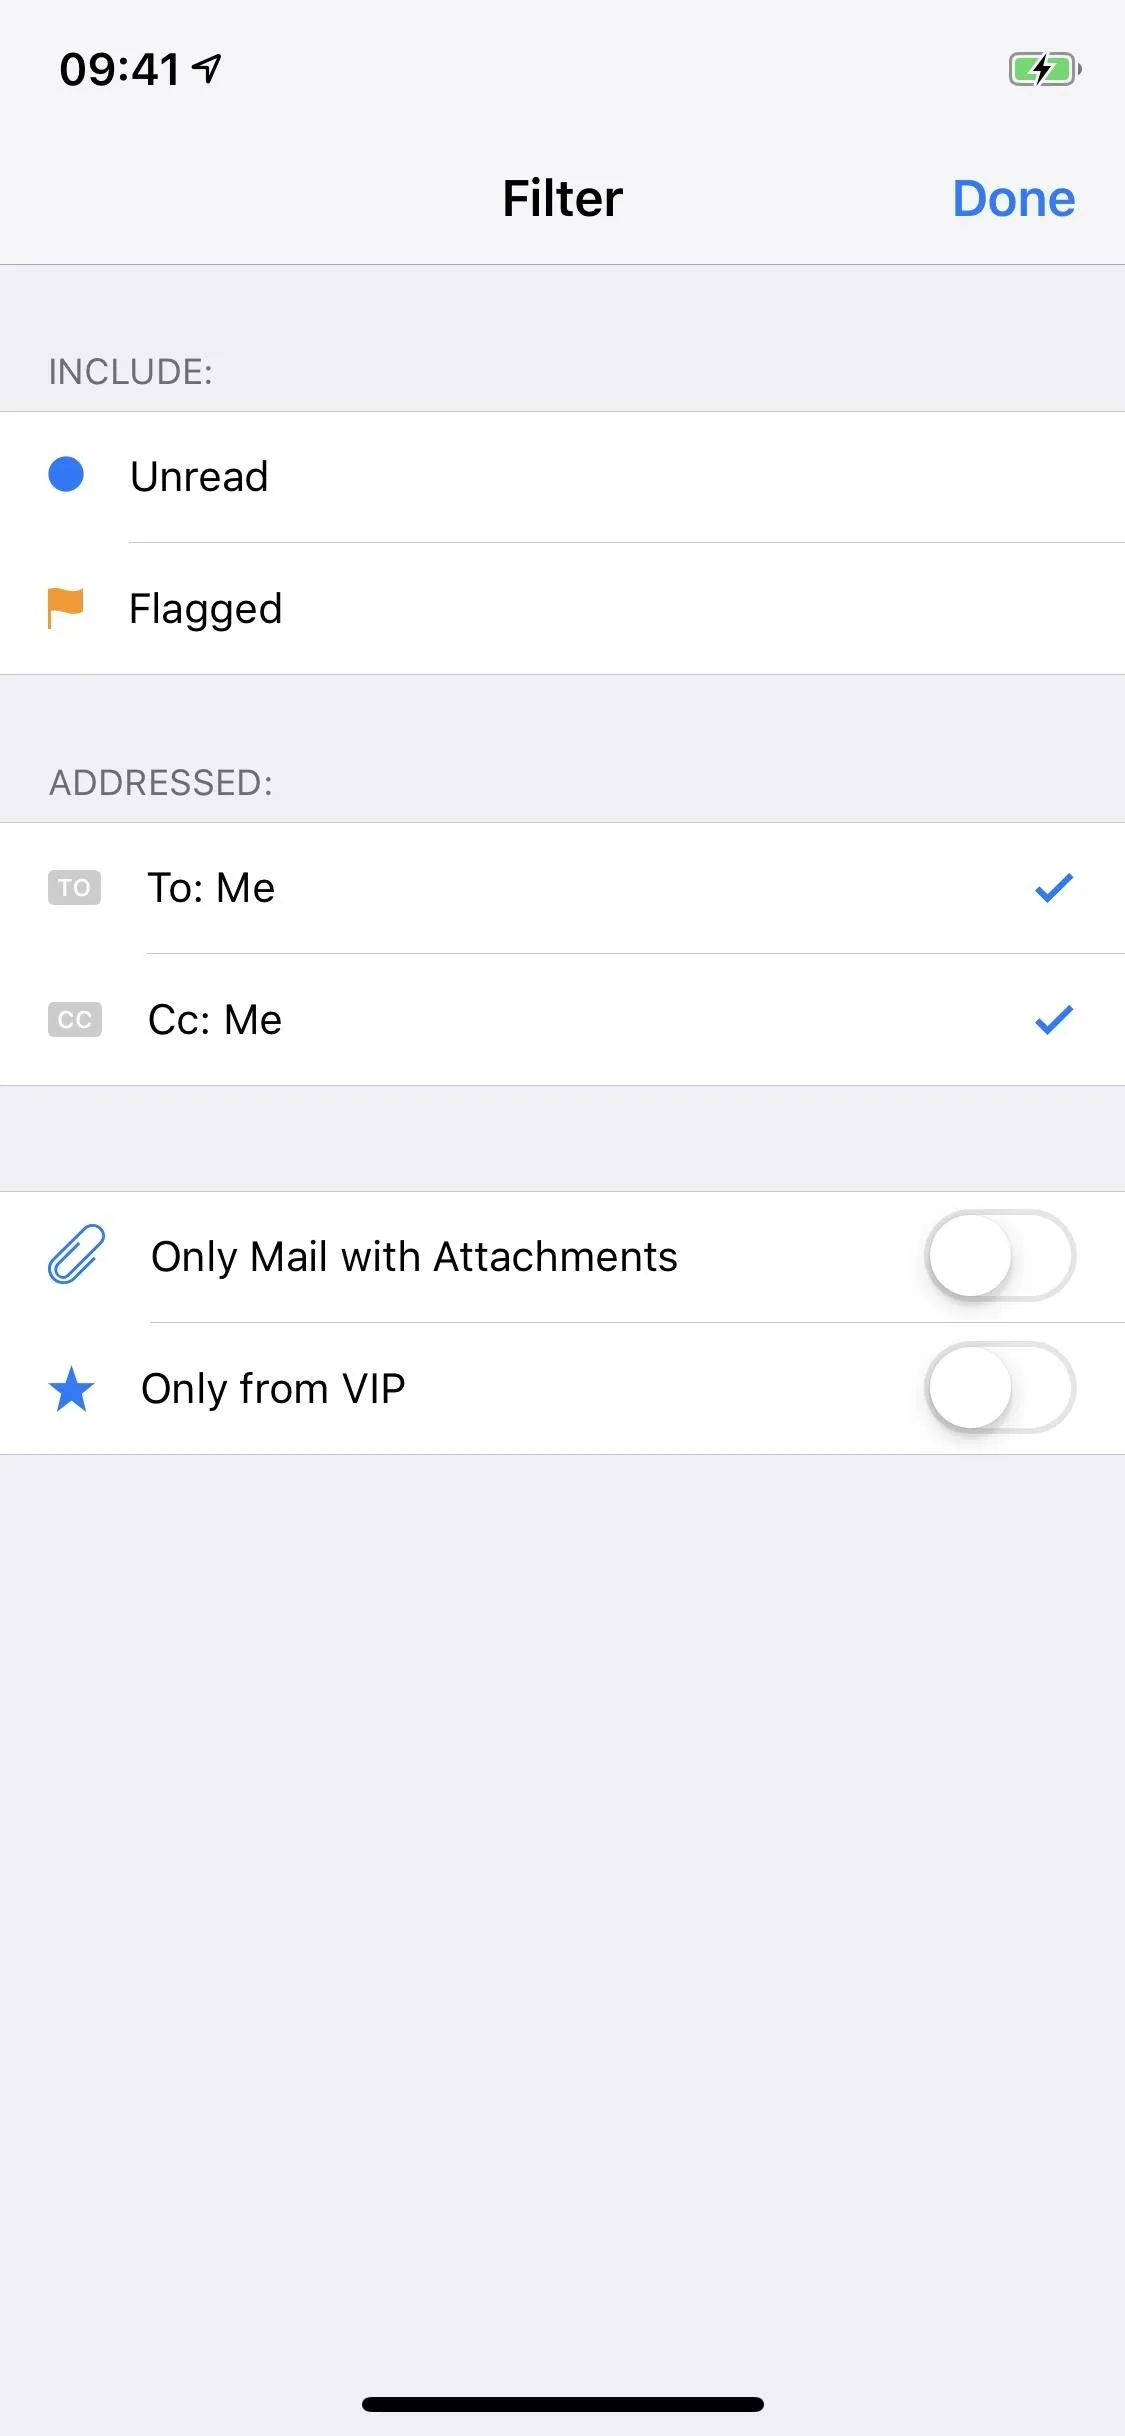
Once inside, if you want to get rid of everything in that folder, there's no need to filter it at all. Skip to Step 2 if that's your case. Otherwise, if you want to be more selective, tap on the three-line filter icon in the lower left, where you can weed out your inbox by selecting either "Unread" or "Flagged" from the Include section.
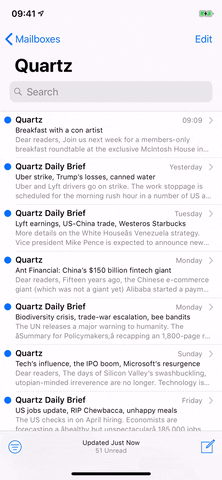
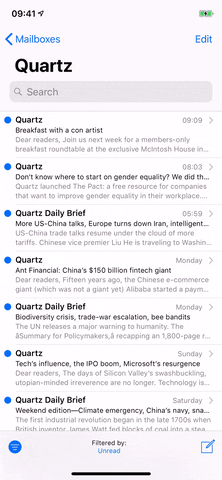
If you want to grab everything, you could also select "To: Me" and "Cc: Me" under Addresses. Any filter or combination of filters on the page will work. In my example, we'll just be deleting all unread emails from the folder.
Save Any Wanted to Emails
The next thing you'll want to do is check to see if there are any emails you want to keep, so scroll through the filtered view to make sure you won't be deleting something important. If you find anything you don't want to delete, there are multiple things you can do.
Move to Another Folder
Select the email, tap the folder button at the bottom, then move it to a different mailbox. However, that will unintentionally mark the next email as read since it will automatically show it, so you'd have to mark it as unread before continuing. That's why it's better to use the alternative way, which also lets you save multiple emails at once: Tap "Edit" in the top right of the folder view, select all the emails you want to keep, then tap "Move" and select the appropriate folder.

Mark as Read
Swipe left on the email to reveal the extra options (•••) button, tap it, then mark it as read. If you have multiple emails you want to mark read, tap "Edit" in the top right of the folder view instead, select all the emails you want to save, then tap "Mark" and "Mark as Read." Then, since they don't disappear from the filtered list like they do when moving to another folder, you'll need to tap the filter button in the bottom left to exit the filter, then tap it again to go back into the filtered view.
Perform a Bulk Delete
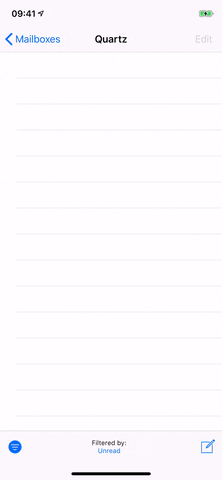
Once you're sure that only unwanted emails are left, it's time to proceed, so go ahead and tap on "Edit" in the upper right. Once in edit mode, select just one email by tapping the circle to the left of it.
Now comes the magical part. Tap-and-hold the "Move" button at the bottom, but don't let go just yet. Next, tap to deselect the email you highlighted, then you can release your finger from the "Move" button. This will cause all emails in the filtered view to be selected at once, so tap "Trash" on the next screen to delete them all. You can tap the filter button again the folder view to see what's left.
If you're worried that you might have deleted an important email, you can still go to your trash bin and give it one final look before the emails are permanently deleted. Once you're confident that nothing significant is in there, tap on "Edit," then "Delete All" to purge your email app of any trashed mail. You could also wait until they auto-delete, if enabled, which could be after one day, one week, or one month.
Cover photo by Dallas Thomas/Gadget Hacks; Screenshots and GIFs by Justin Meyers/Gadget Hacks


Comments
Be the first, drop a comment!