


The built-in Files app on your iPhone has only gotten better since it was introduced in iOS 11, with small improvements after each new iOS version. You can manage files on your internal storage as well as in iCloud Drive, but one of the best features is being able to manage media and documents from all of your cloud storage accounts in one place.
Almost all file-hosting services can be connected to the Files app. At first, it was just Box, Google Drive, and Dropbox, but in iOS 13, that's just the tip of the iceberg. If your cloud storage account has an app in the App Store, there's a high chance you can manage your files right from the Files browser. However, how you can manage those accounts may vary depending on how much support they've added.
Install Your Cloud Storage Apps
Apple doesn't have an easy sign-in option for third-party cloud storage accounts like it does when adding email accounts to Mail, so you need to install a cloud storage app that supports the File Provider extension. The extension hooks into Files and other apps that can browse for files with the document picker.
If you already have all of your cloud storage apps installed on your iPhone, great. You can check out the links below to see if there are any you might want to sign up for or didn't think had an iOS app, or you can skip to Step 2 below.
The Big Cloud Storage Apps:
Other Apps That Also Work:
- Adobe Creative Cloud
- Baidu Cloud
- Boxcryptor
- Citrix Files
- Documents by Readdle
- ibi
- ownCloud
- PDF Expert
- SugarSync
- Tresorit
Apps That Don't Work Yet:
In iOS 11 and iOS 12, what you could do with these apps would be limited based on the type of app it was, but in iOS 13, things were updated so that the Files app is truly a one-stop hub for file management. However, some apps only use iCloud to store items, such as PDF Expert, but will still show up in the Files app.
Add Access to the Files App
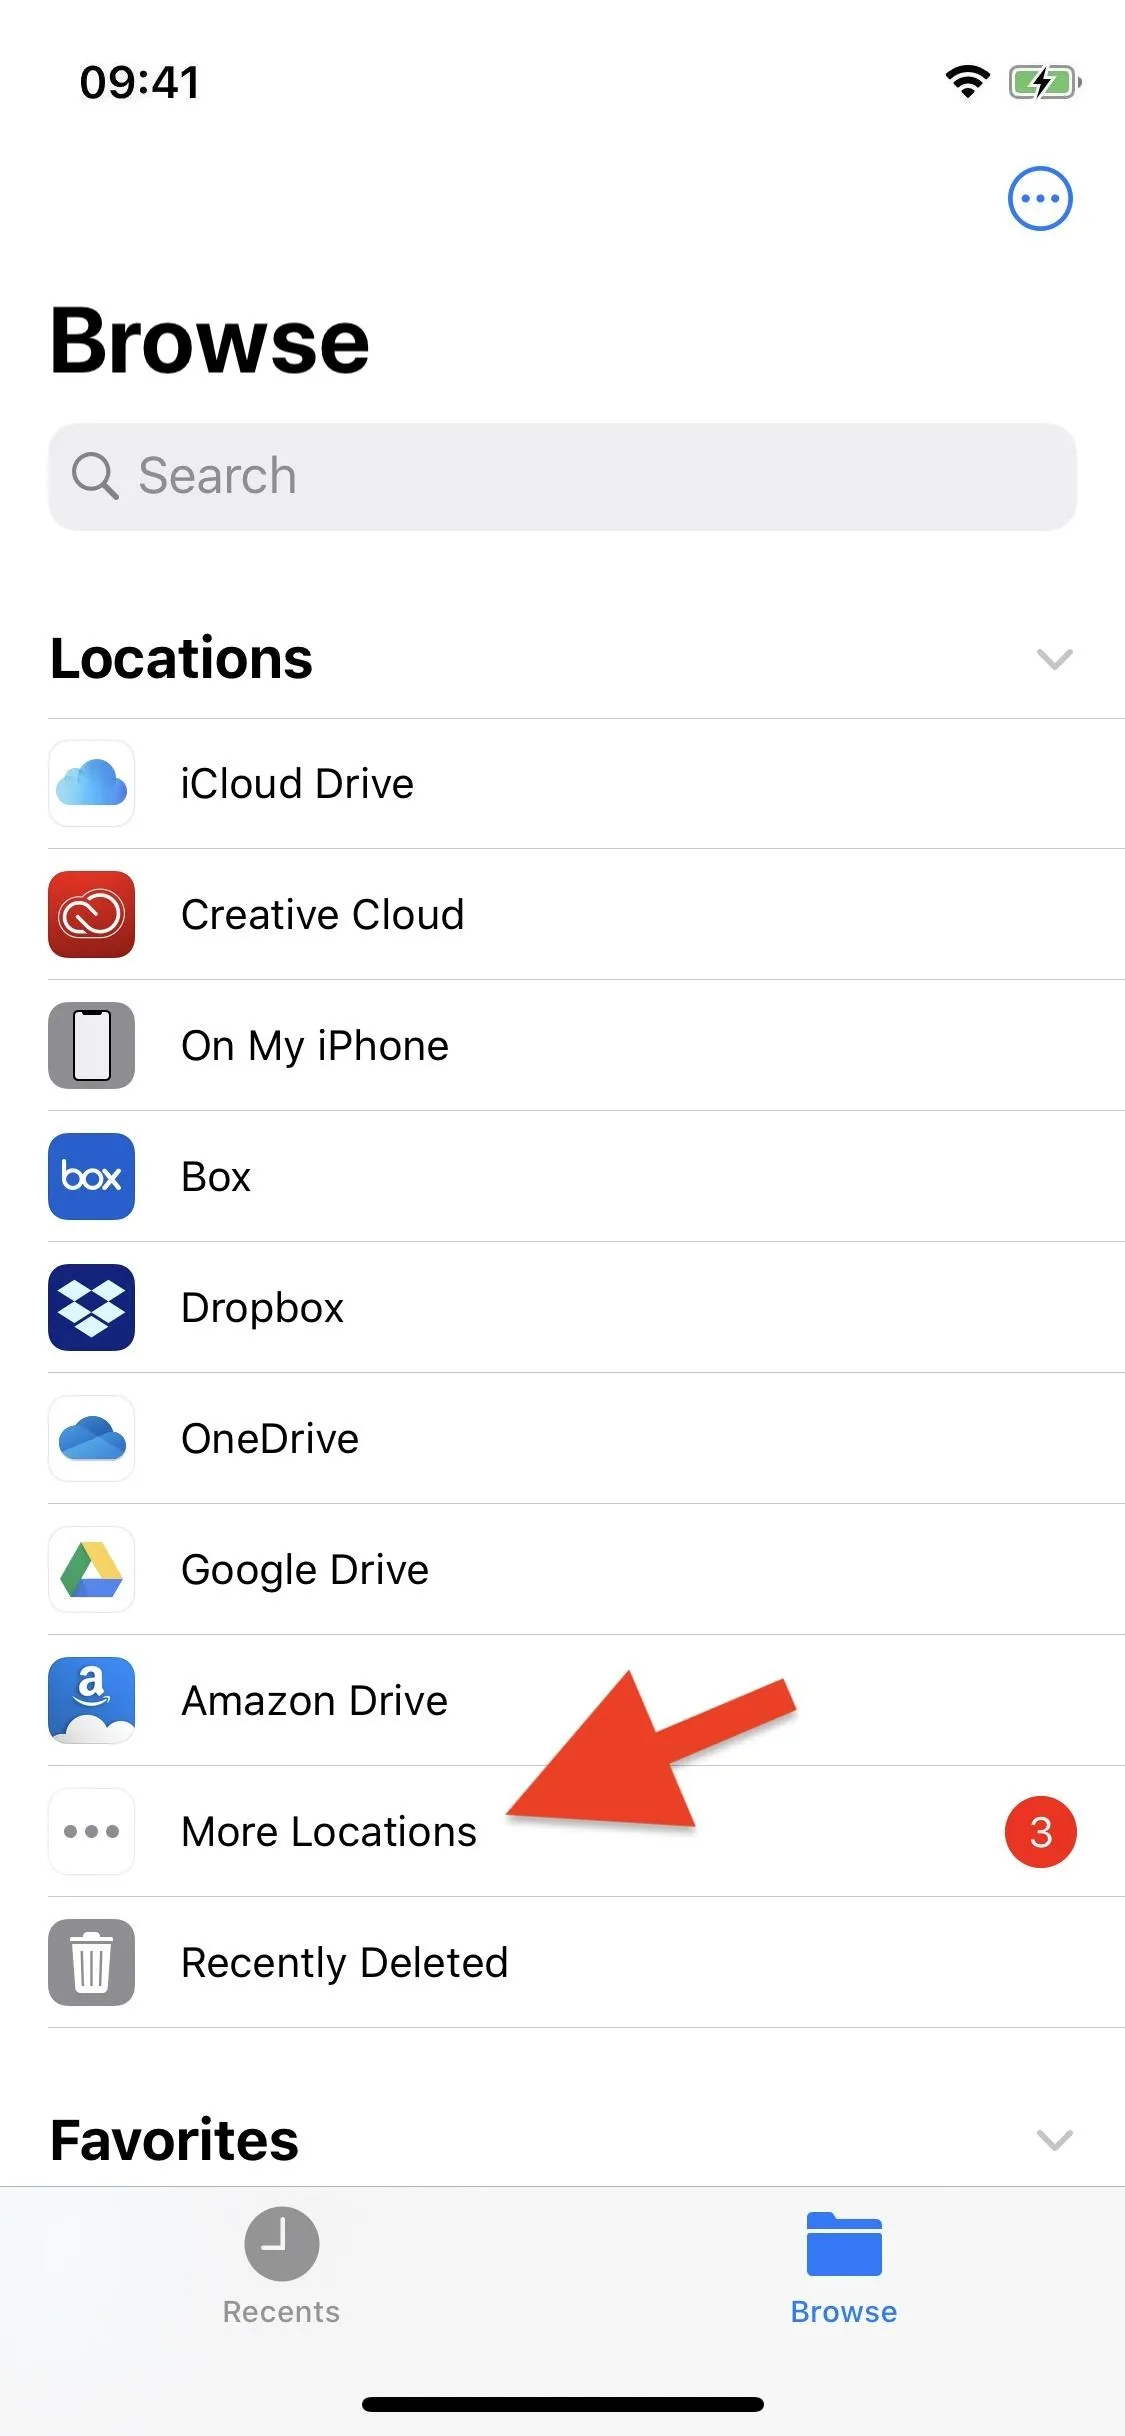
Open the Files app, tap the "Browse" tab, and you'll see the Locations section up top. If not, you were probably in the "Recents" tab, so tap "Browse" a second time. On iPhone models with large screens, when viewed in landscape orientation, a window will open on the left where you'll find Locations.
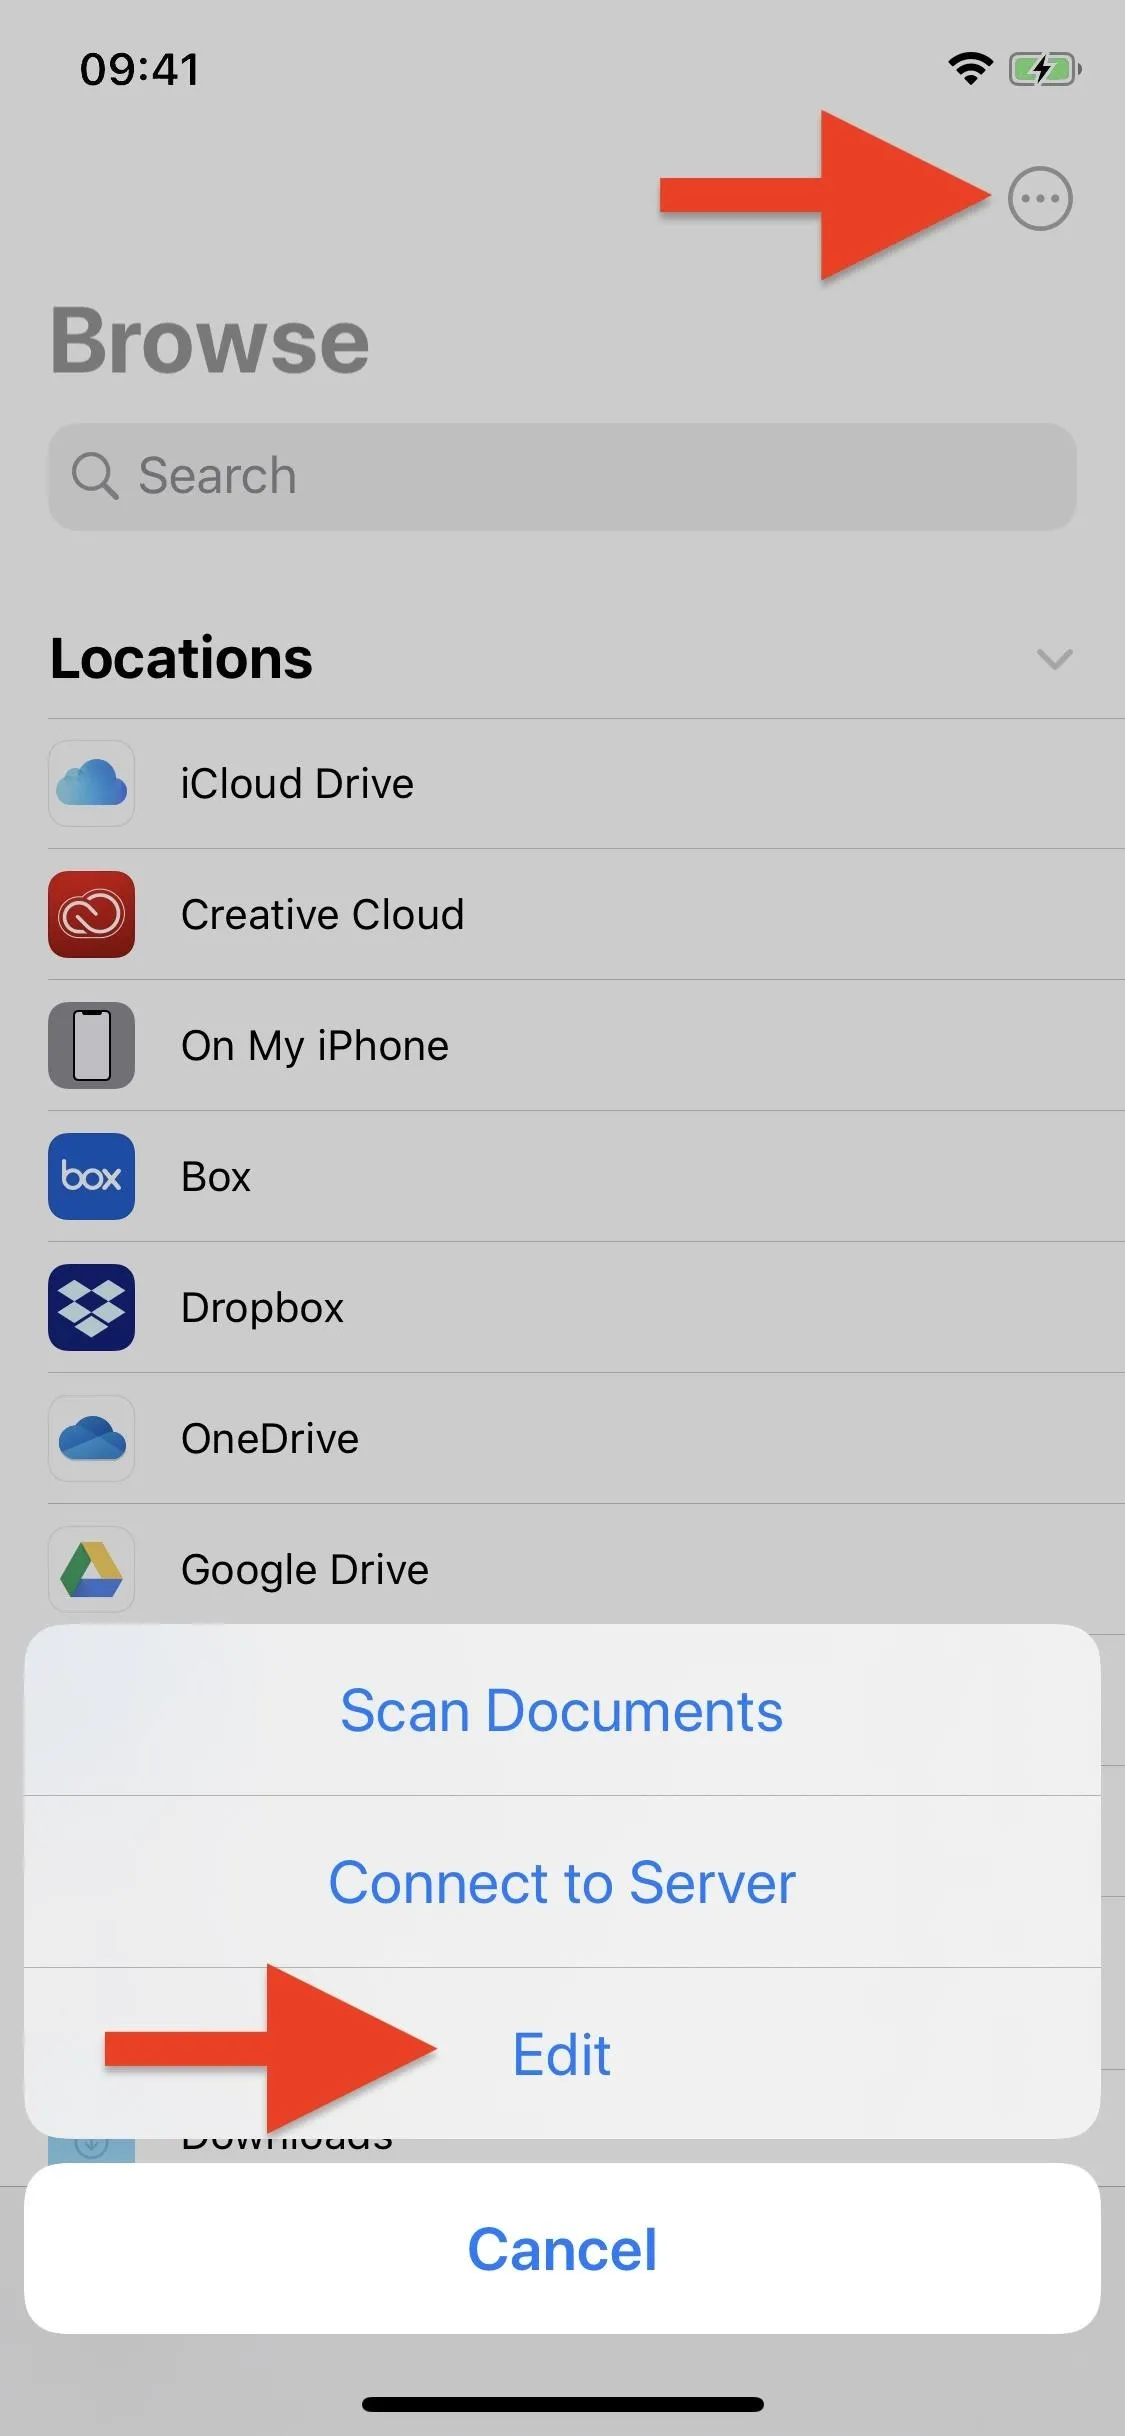
After installing third-party storage apps, you may see a "More Locations" option above the "Recently Deleted" folder. Tap that to begin connecting your accounts. If you don't see that option, tap the ellipsis icon (•••) and then "Edit on the action sheet. (On iOS 12 and older, just tap "Edit" in the top right.)
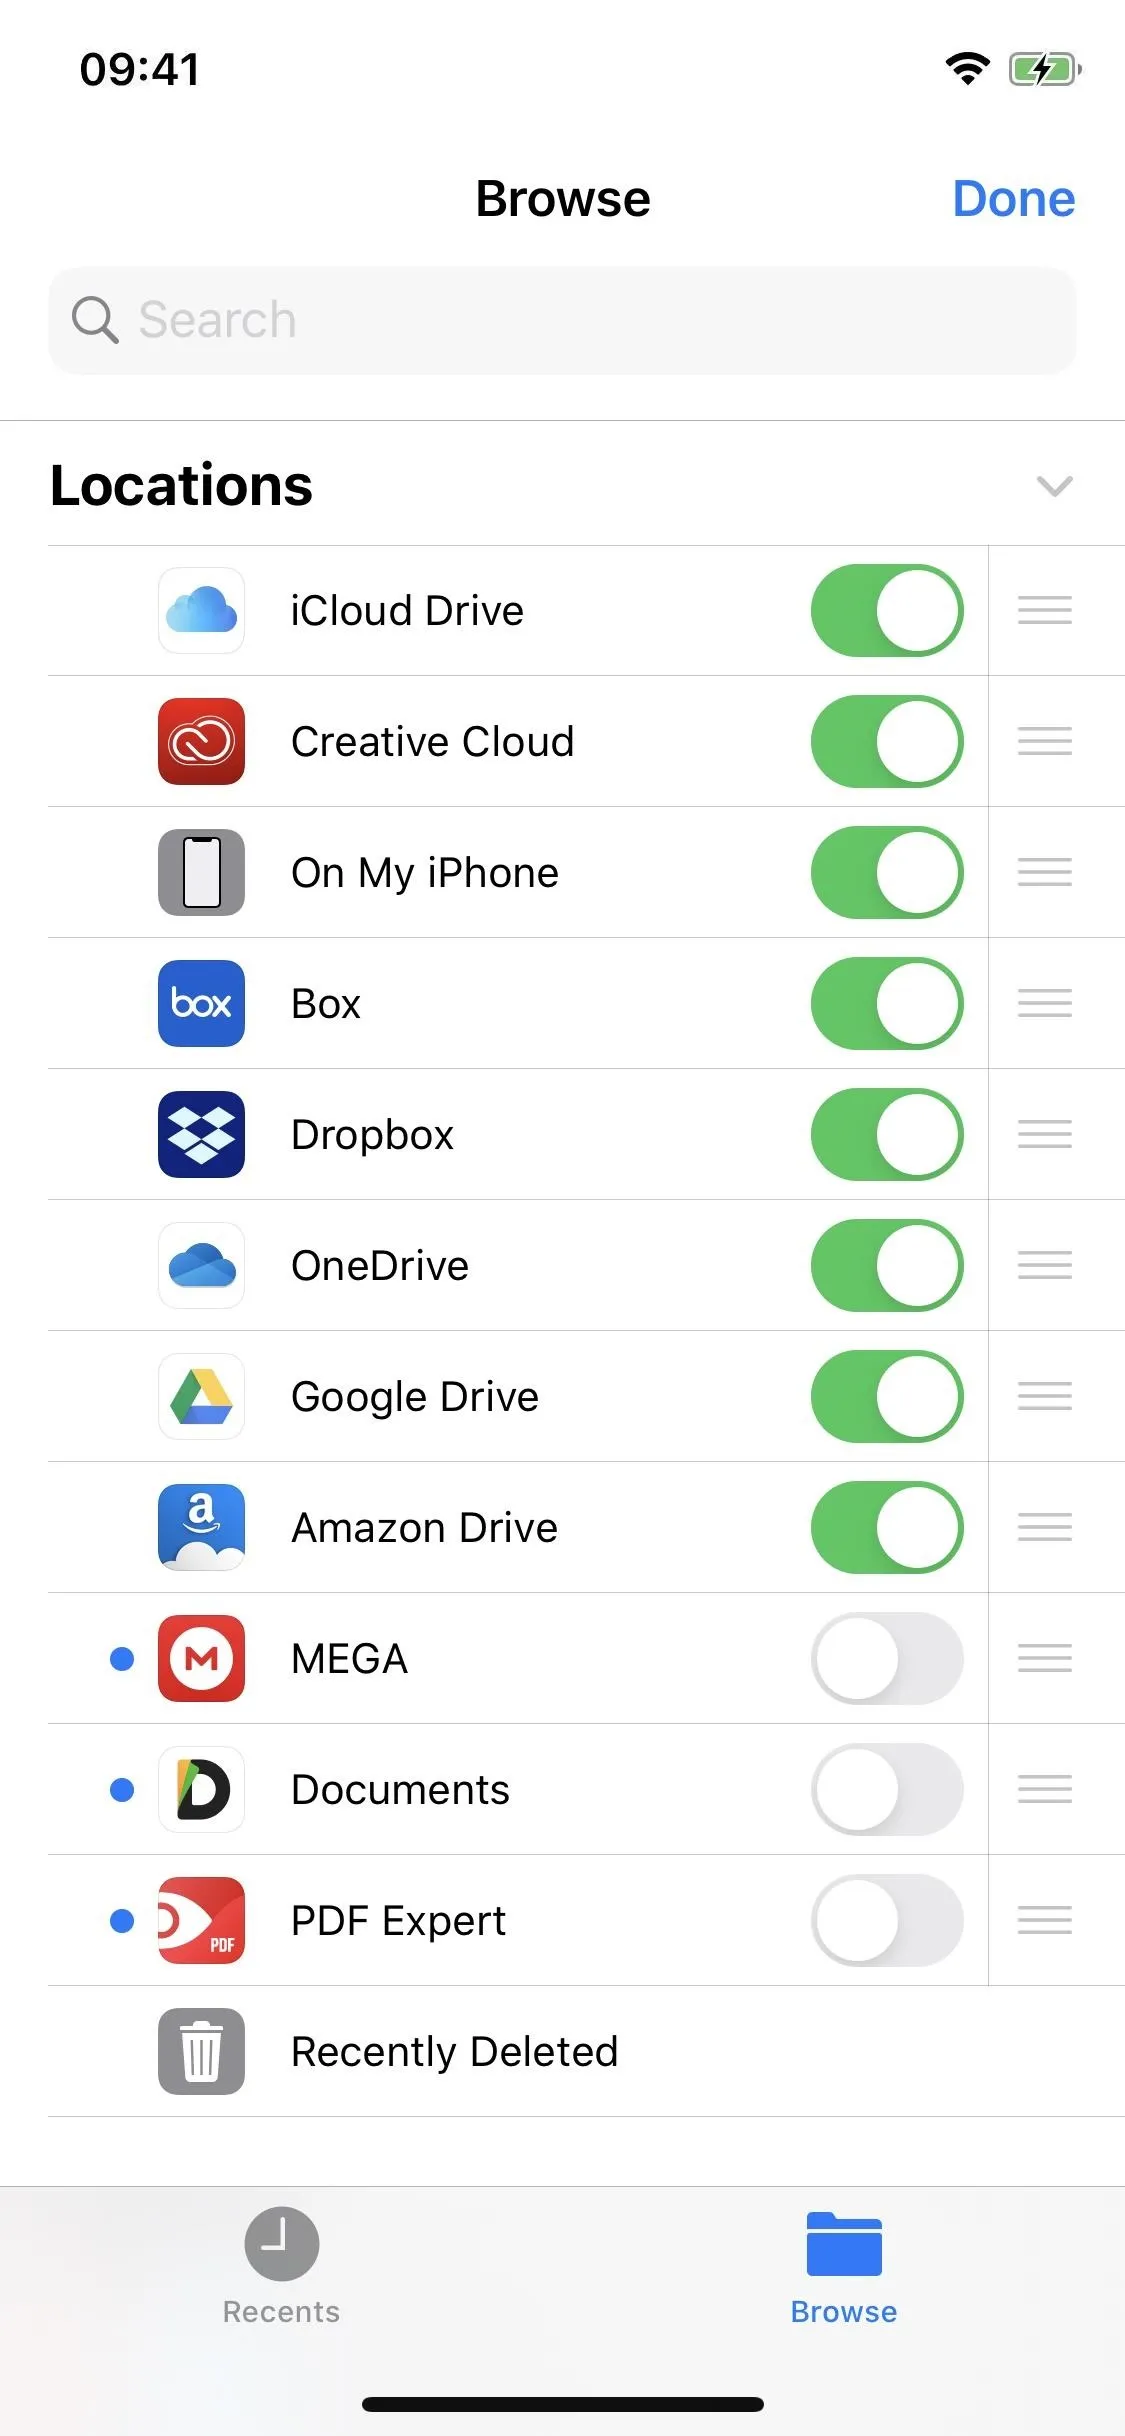
Now, you'll see all of the supported third-party apps that work with Files that aren't already connected. To connect one, toggle its switch on. It's that easy. To reorder the list, drag-and-drop a service to the spot you'd like using its three-lined icon on the right. When ready and in your preferred order, hit "Done" to finish up.

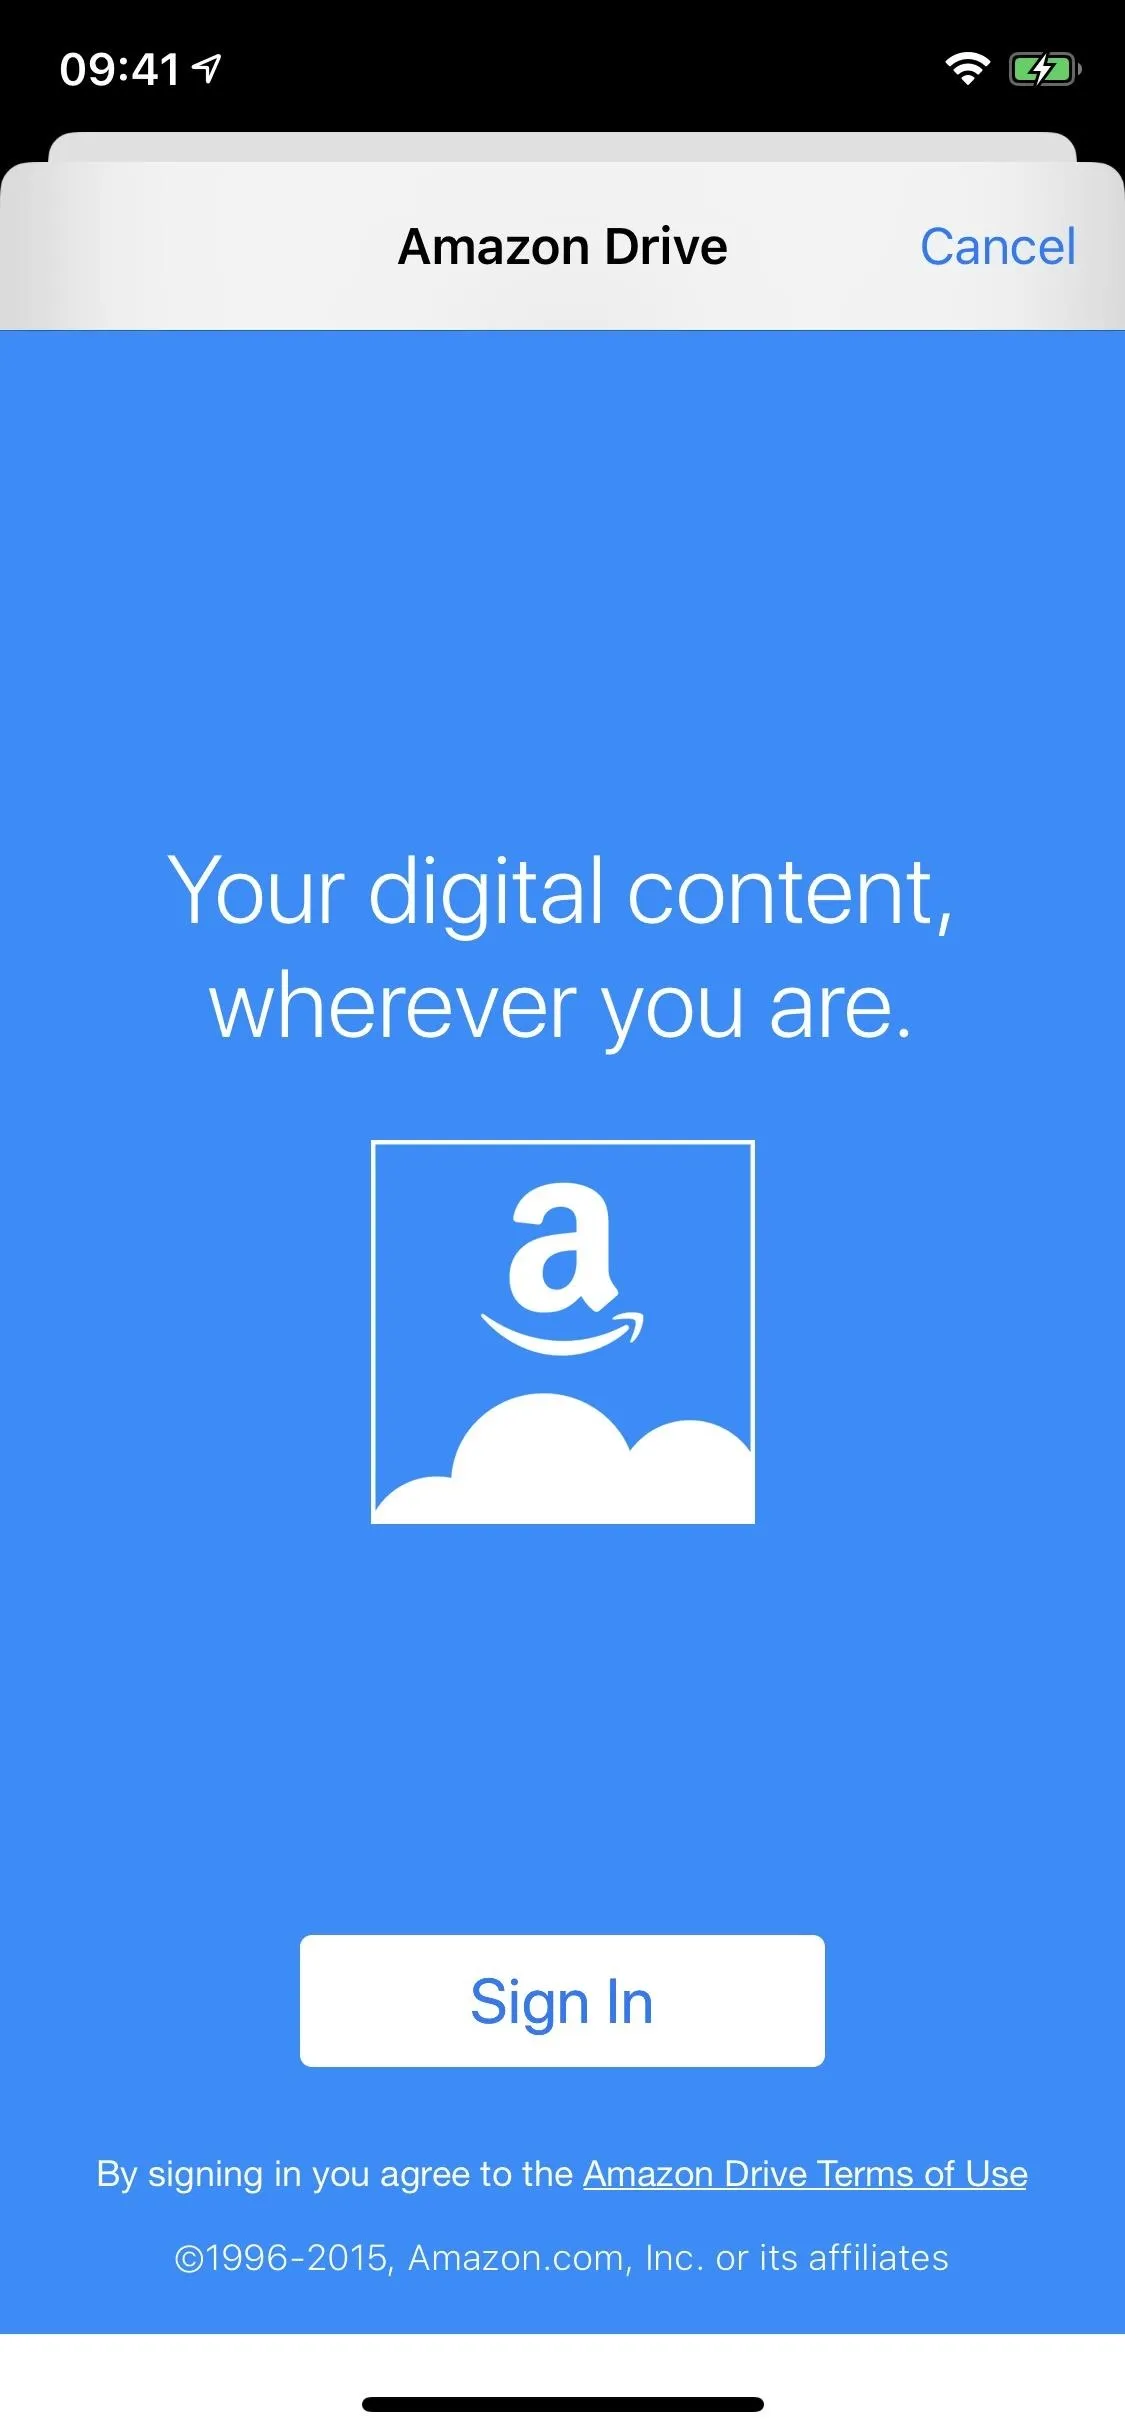
Log in to Your Cloud Storage Provider
If you're already logged in to your cloud storage service via its app, whenever you tap on its name in the Locations section in Files, you'll see all of the supported documents and folders within. Otherwise, when you tap, you'll be prompted to log in right then and there or to open the app and log in.

If you had the app installed for a while or recovered from an iOS backup, and you have been logged out of the service, it will show an "Authentication Required" error. Just tap on "Authenticate," sign in, and you should be good.
Manage All Your Accounts from Files
With your account connected and logged in, select it from the Locations section. All of the supported files and folders will show up. As far as using it, most of the things you can do in the iCloud Drive and On My iPhone folders, you can do in these third-party services.
If it says "Read-Only" at the bottom of any service or folder, that means you'll be limited with what you can do. For instance, my OneDrive account says "Read-Only" when I first open it, but once I open my "Files" folder, all of the options come back.
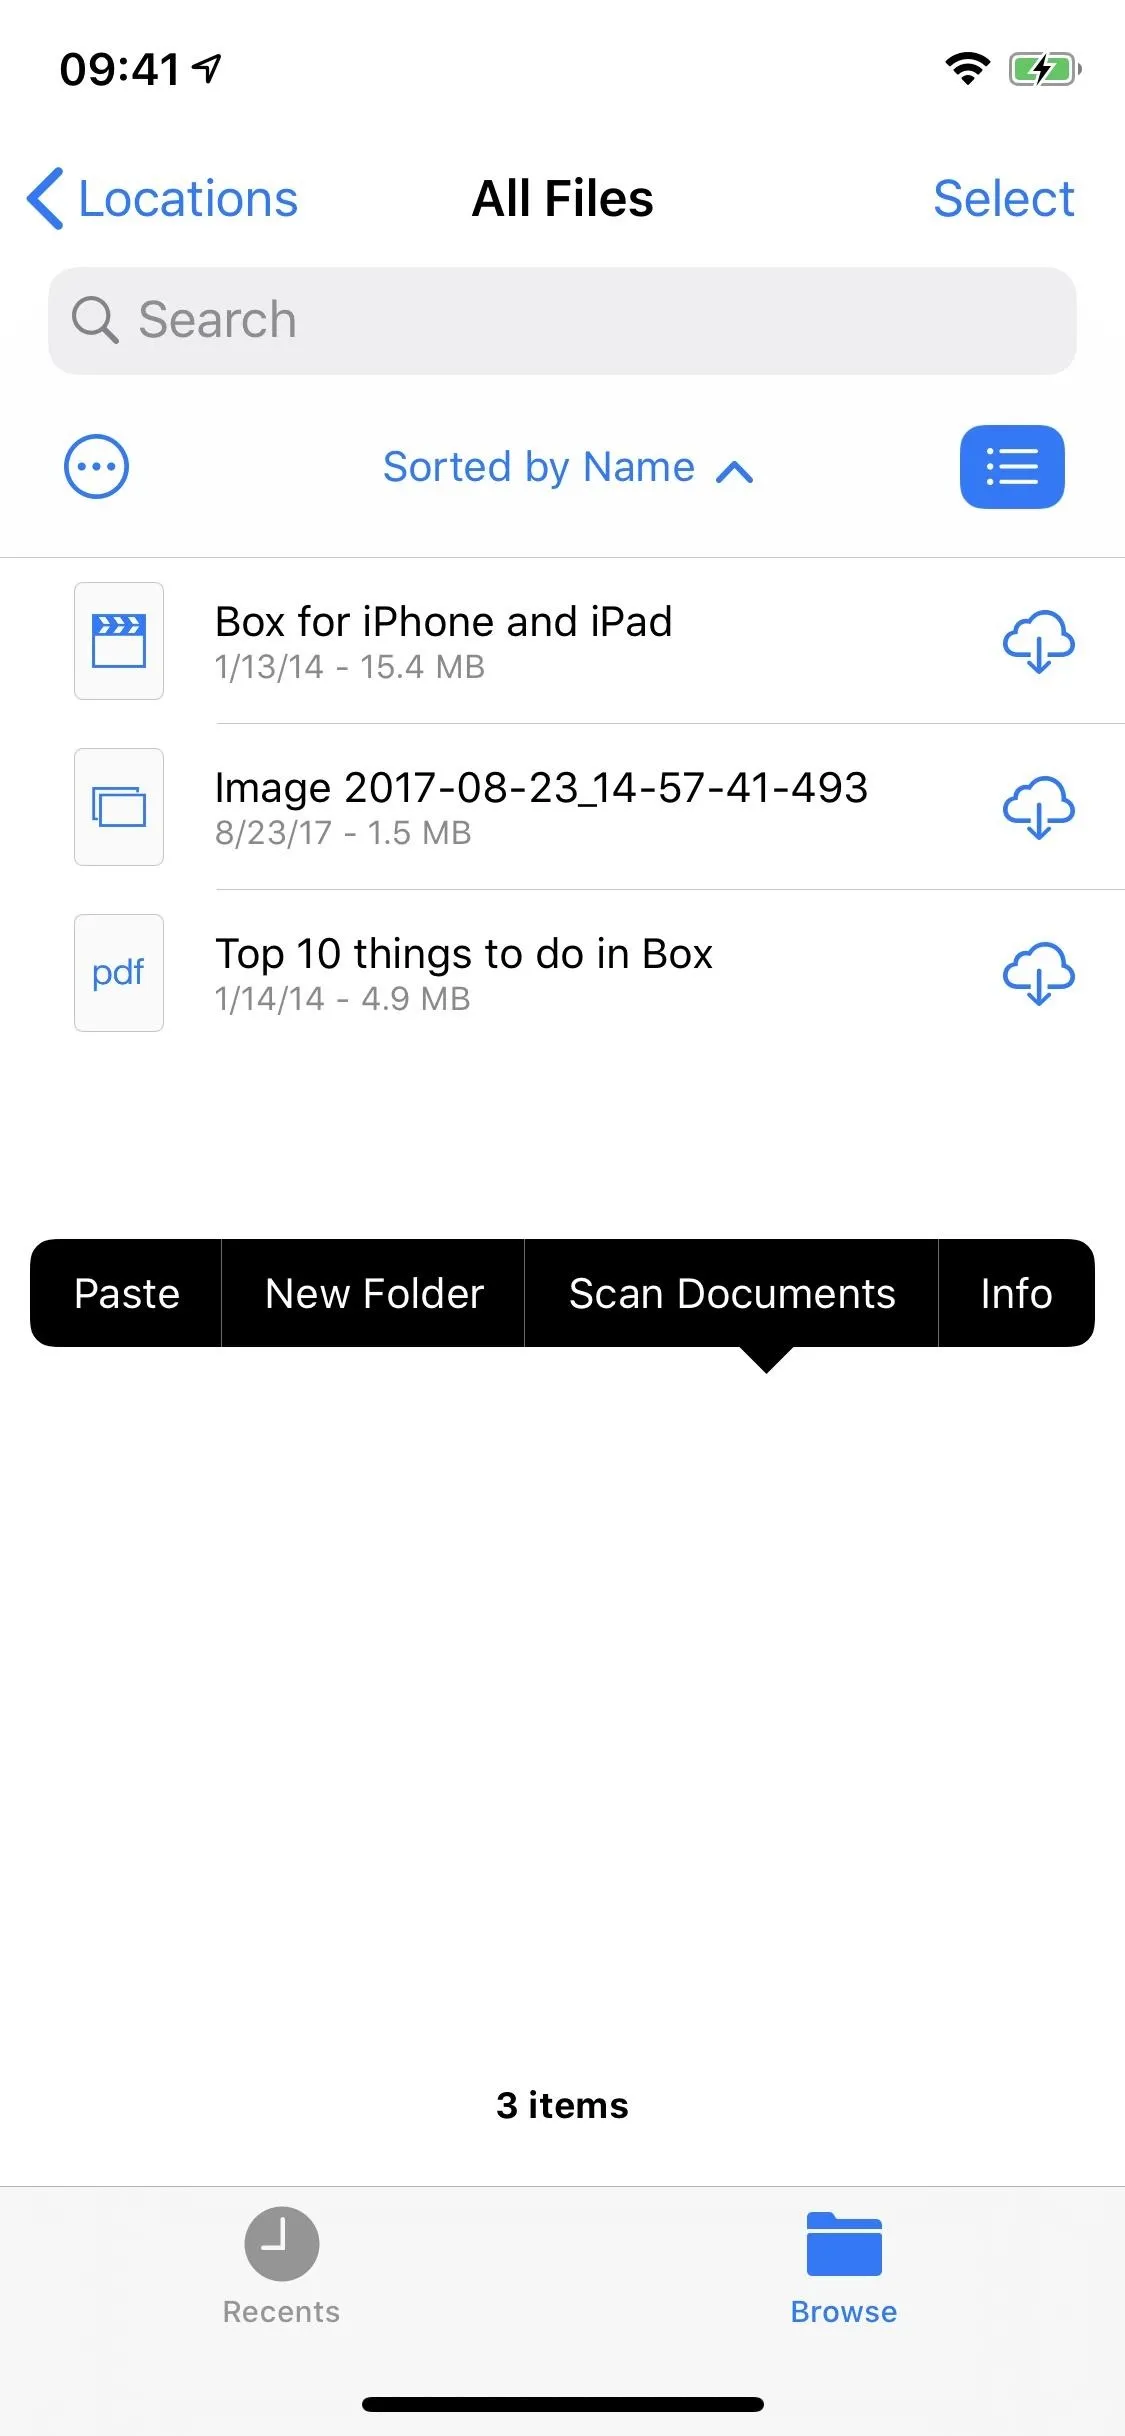
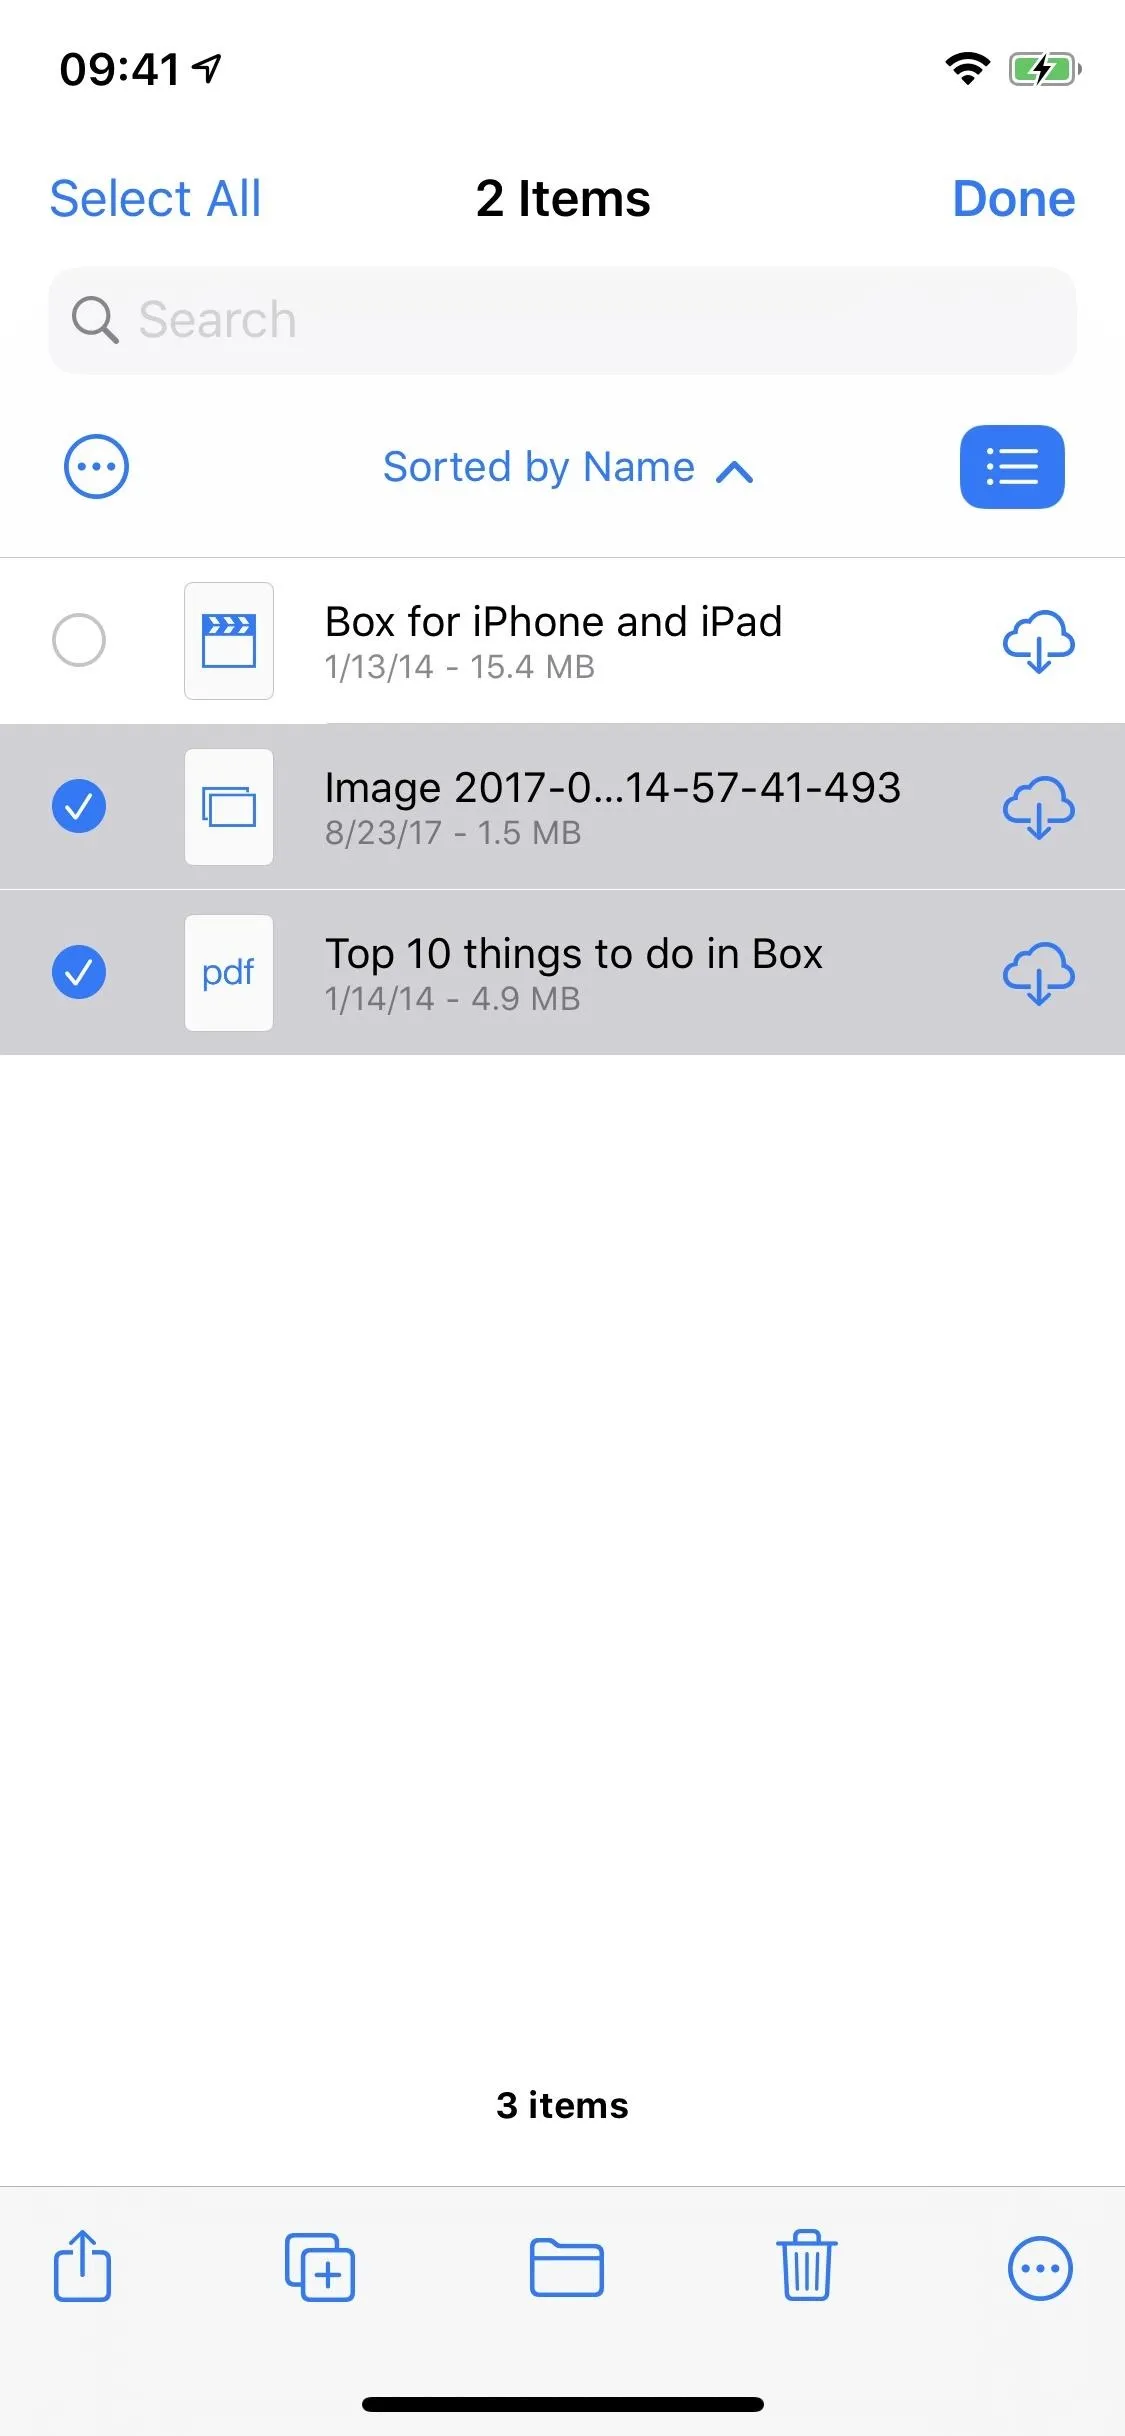
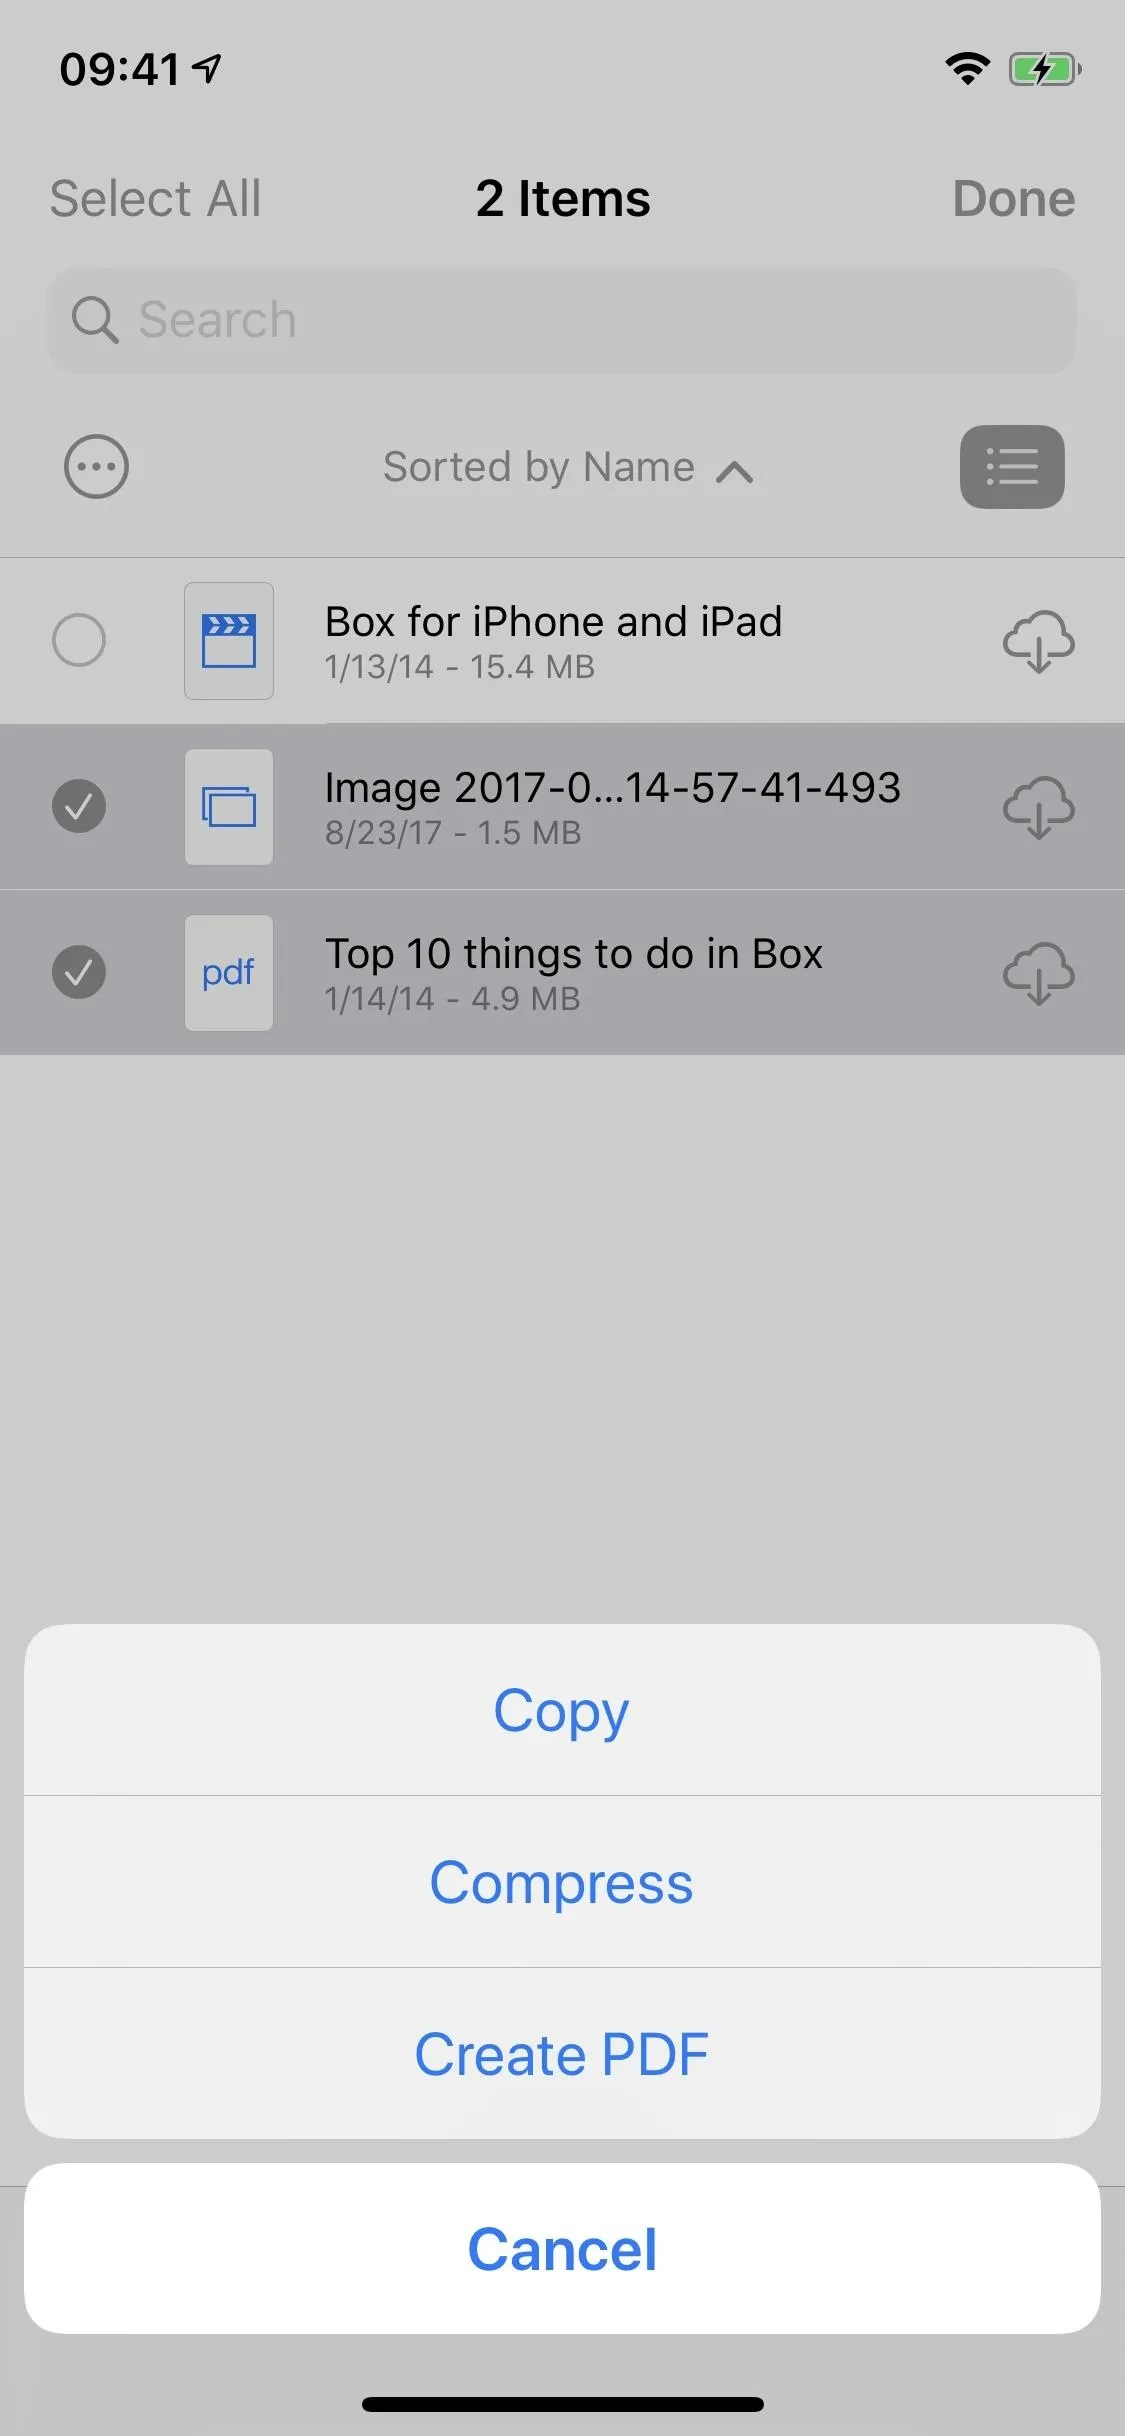
You can do everything you can do in iCloud, pretty much, such as create a new folder, scan documents, view information, copy and paste documents, delete them, turn a file into a PDF, view by list or thumbnails, use different sort options, compress files and folders, and unzip files. You can even drag and drop documents, images, folders, and other items within one service, from one to another, or from one service to an external drive and vice versa.
- Don't Miss: How to Use Your iPhone's File Manager
When using the document picker view controller in any other app, most, if not all, of your third-party services should show up in the browser, since it's basically just the Files app in a modal window.
Cover image by Jon Knight/Gadget Hacks; Screenshot by Justin Meyers/Gadget Hacks


Comments
Be the first, drop a comment!