The screenshot tool on your iPhone can come in handy in various ways, but it may be even more helpful than you realize. So if you thought you knew everything there was to know about your iPhone's screenshot tool, it's time to put your knowledge to the test.
Many of these hidden screenshot features have been on iOS for a while, though some things mentioned within some of the tips require iOS 16, such as when renaming screenshot file names from the share sheet. All of these tips also apply to iPadOS for iPad.
1. Highlight Things Better
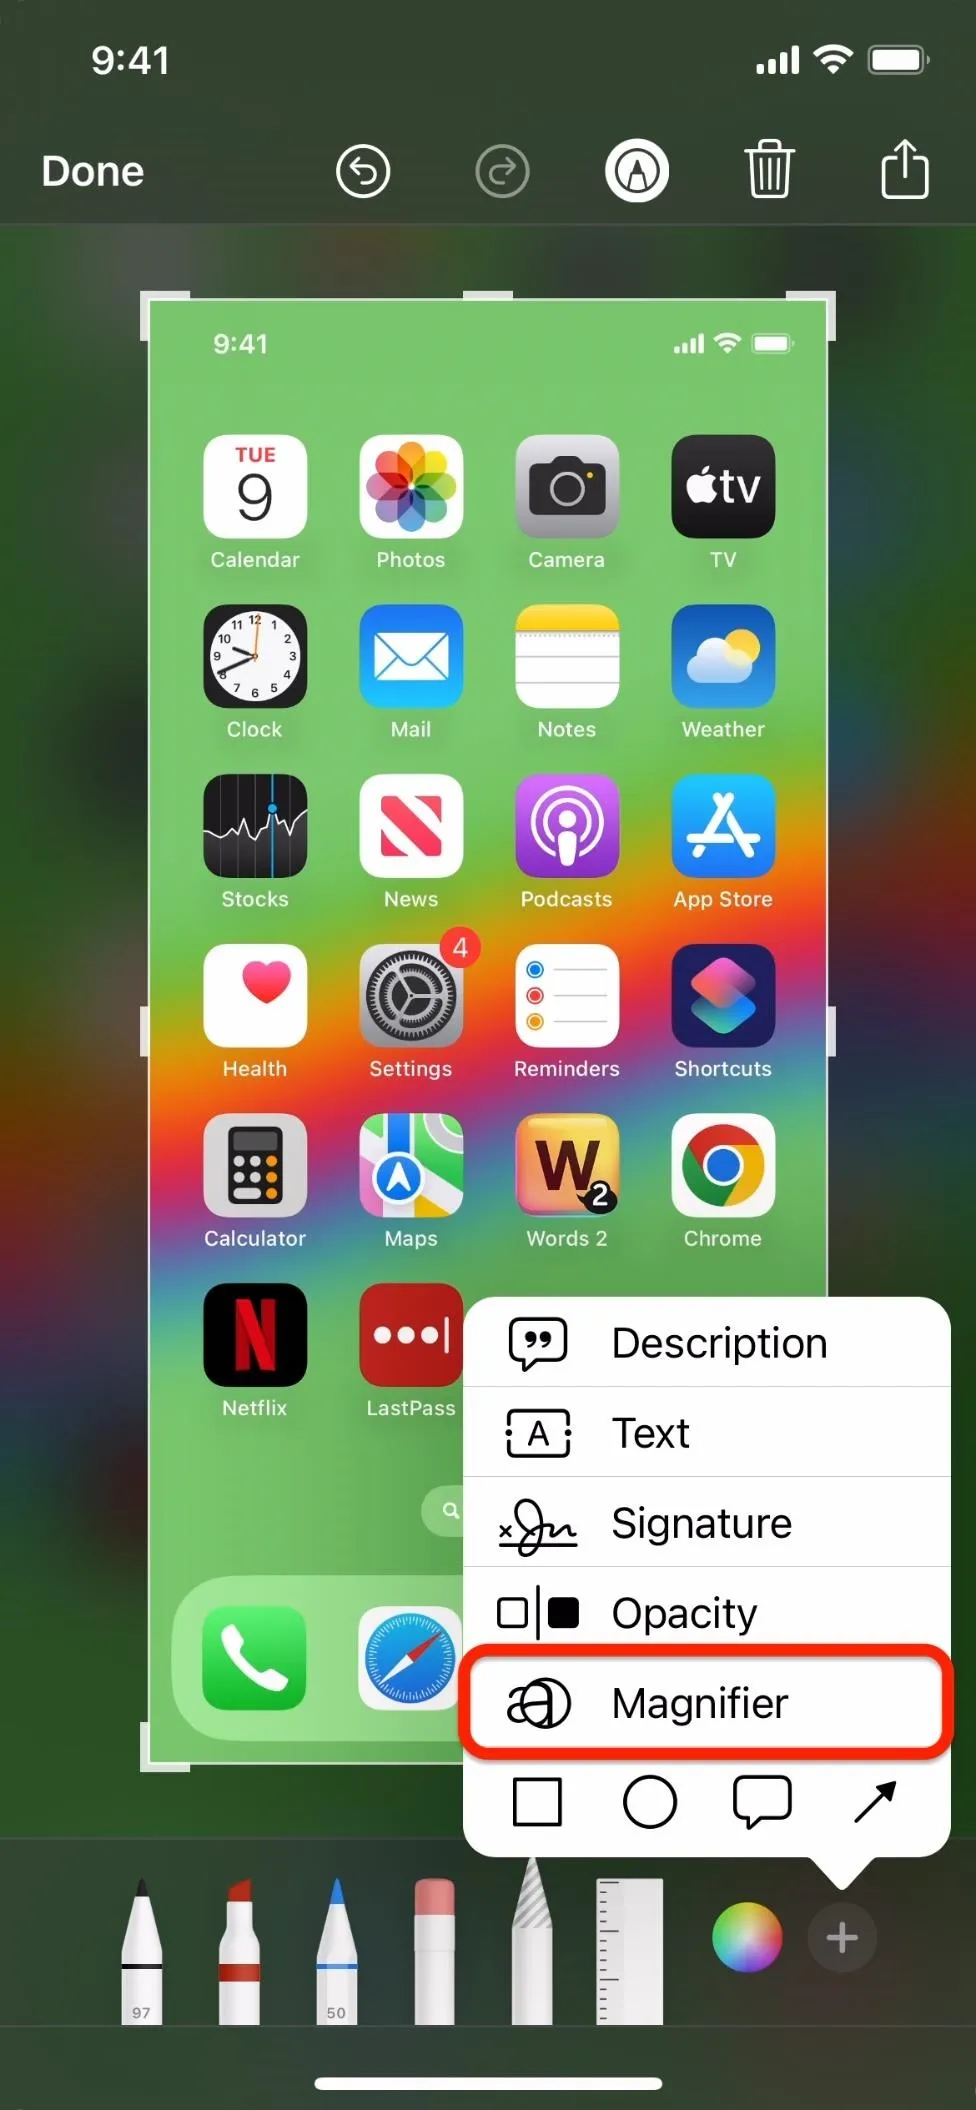
When you need to draw attention to something specific in your screenshot, you can circle it with a pen, highlights it, or enclose it in a shape. However, if you're showing off something tiny, the magnifying tool is the way to go. Even better, you can combine it with the opacity tool to ensure the subject really pops.
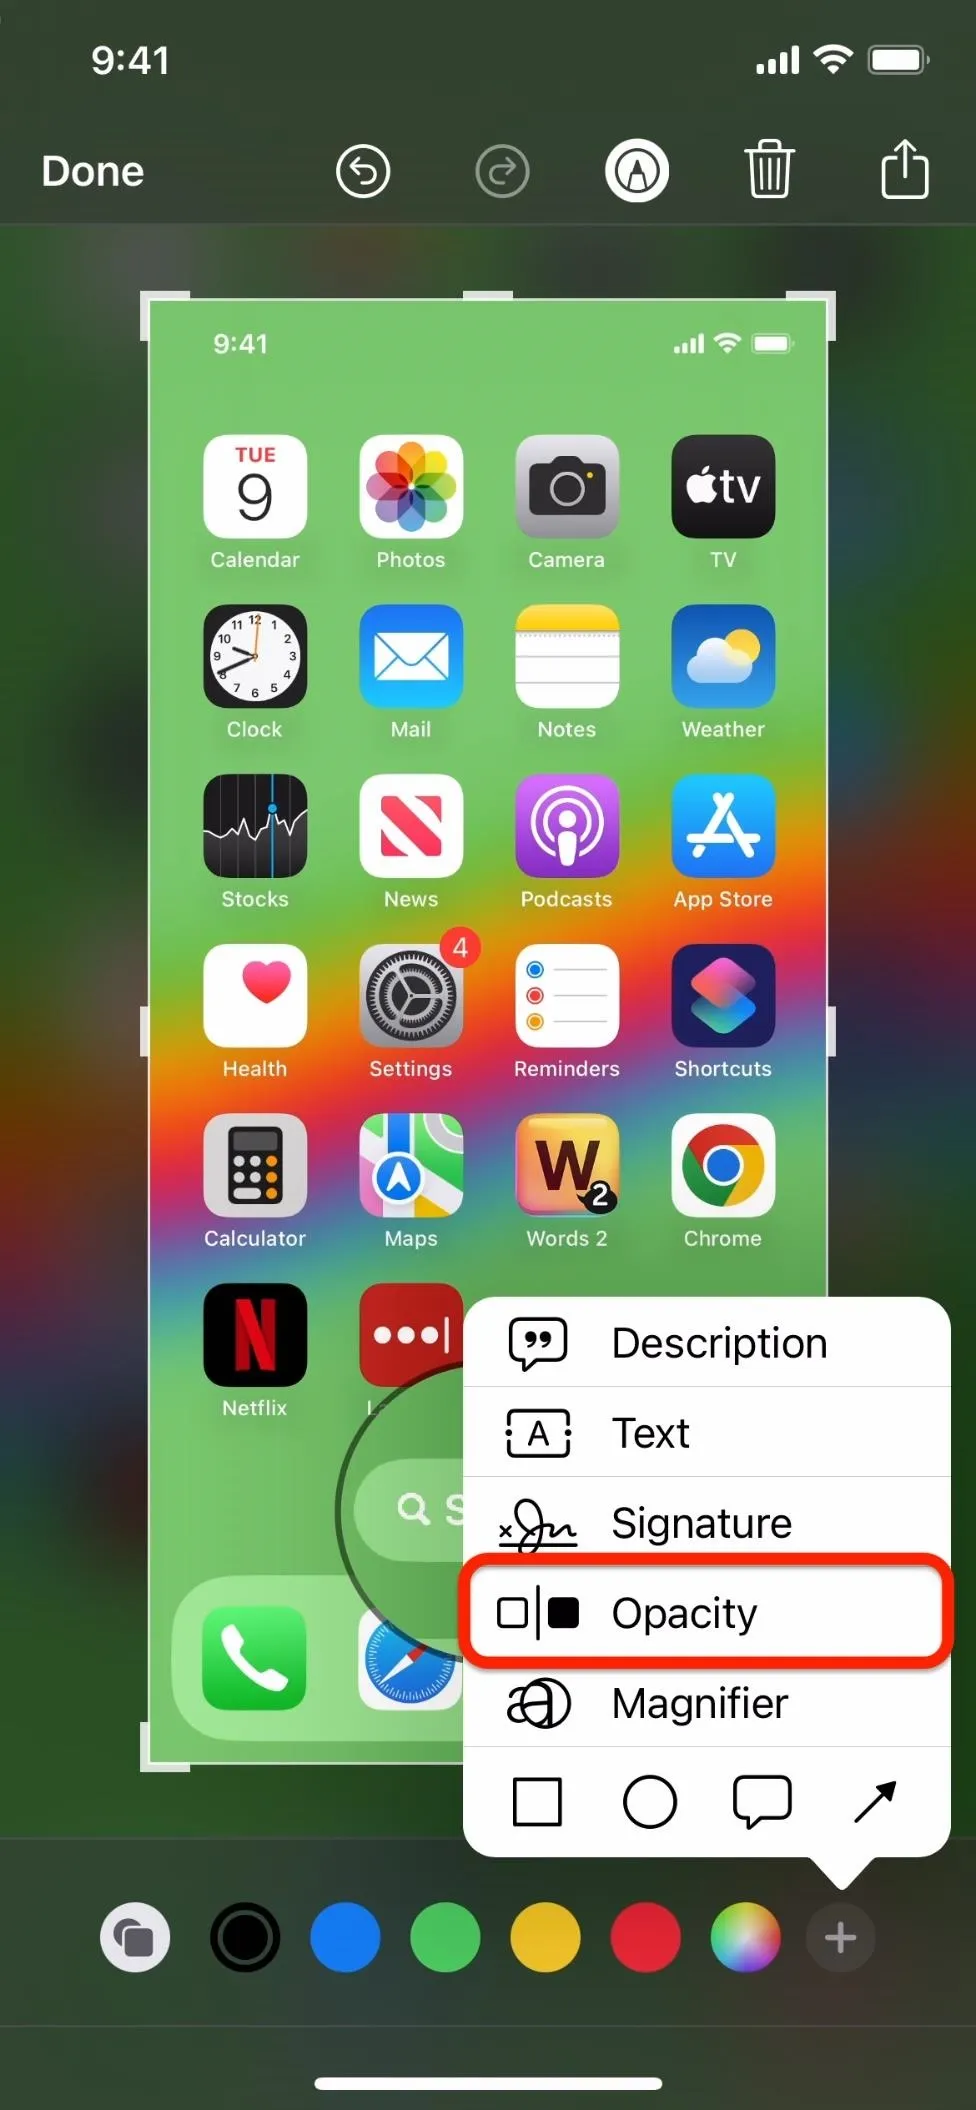
In the screenshot editor, tap the plus (+) icon in the markup toolbar, choose Magnifier, and center the magnifying circle on the item to enlarge. You can then pick a color and tap the shapes icon to change the size of the perimeter. Use the blue dot to shrink or expand the bubble and the green one to reduce or magnify the subject.
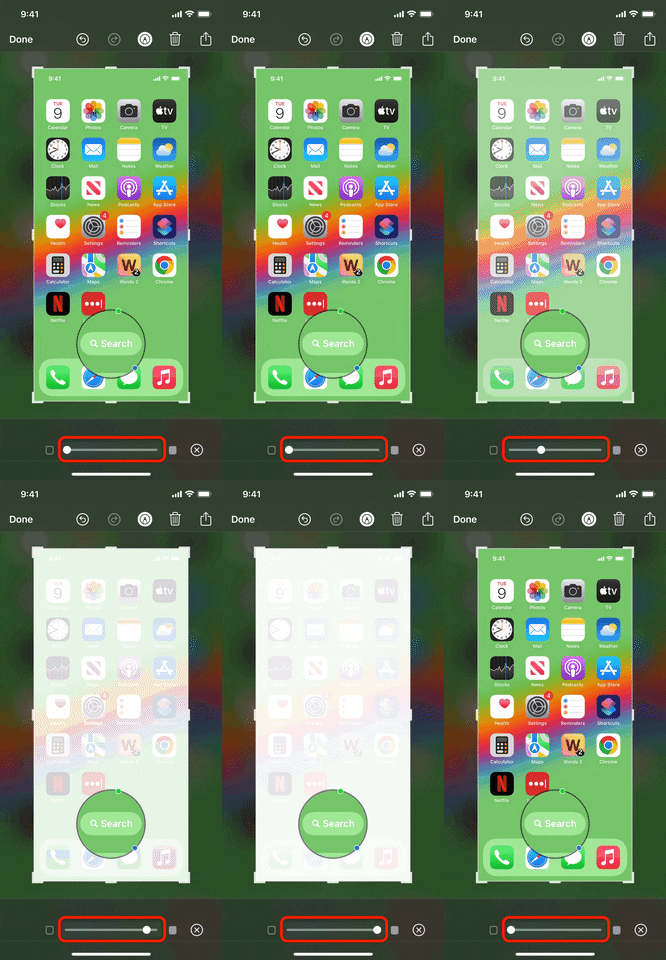
When satisfied, tap the plus (+) icon again, choose Opacity, then drag the dot on the slider to the right to make the background surrounding the magnified bubble transparent. The screenshot editor uses a white base, so the white will bleed through the transparent layer. You'll still be able to see the surrounding image at maximum transparency for reference.


2. Share Screenshots Quickly
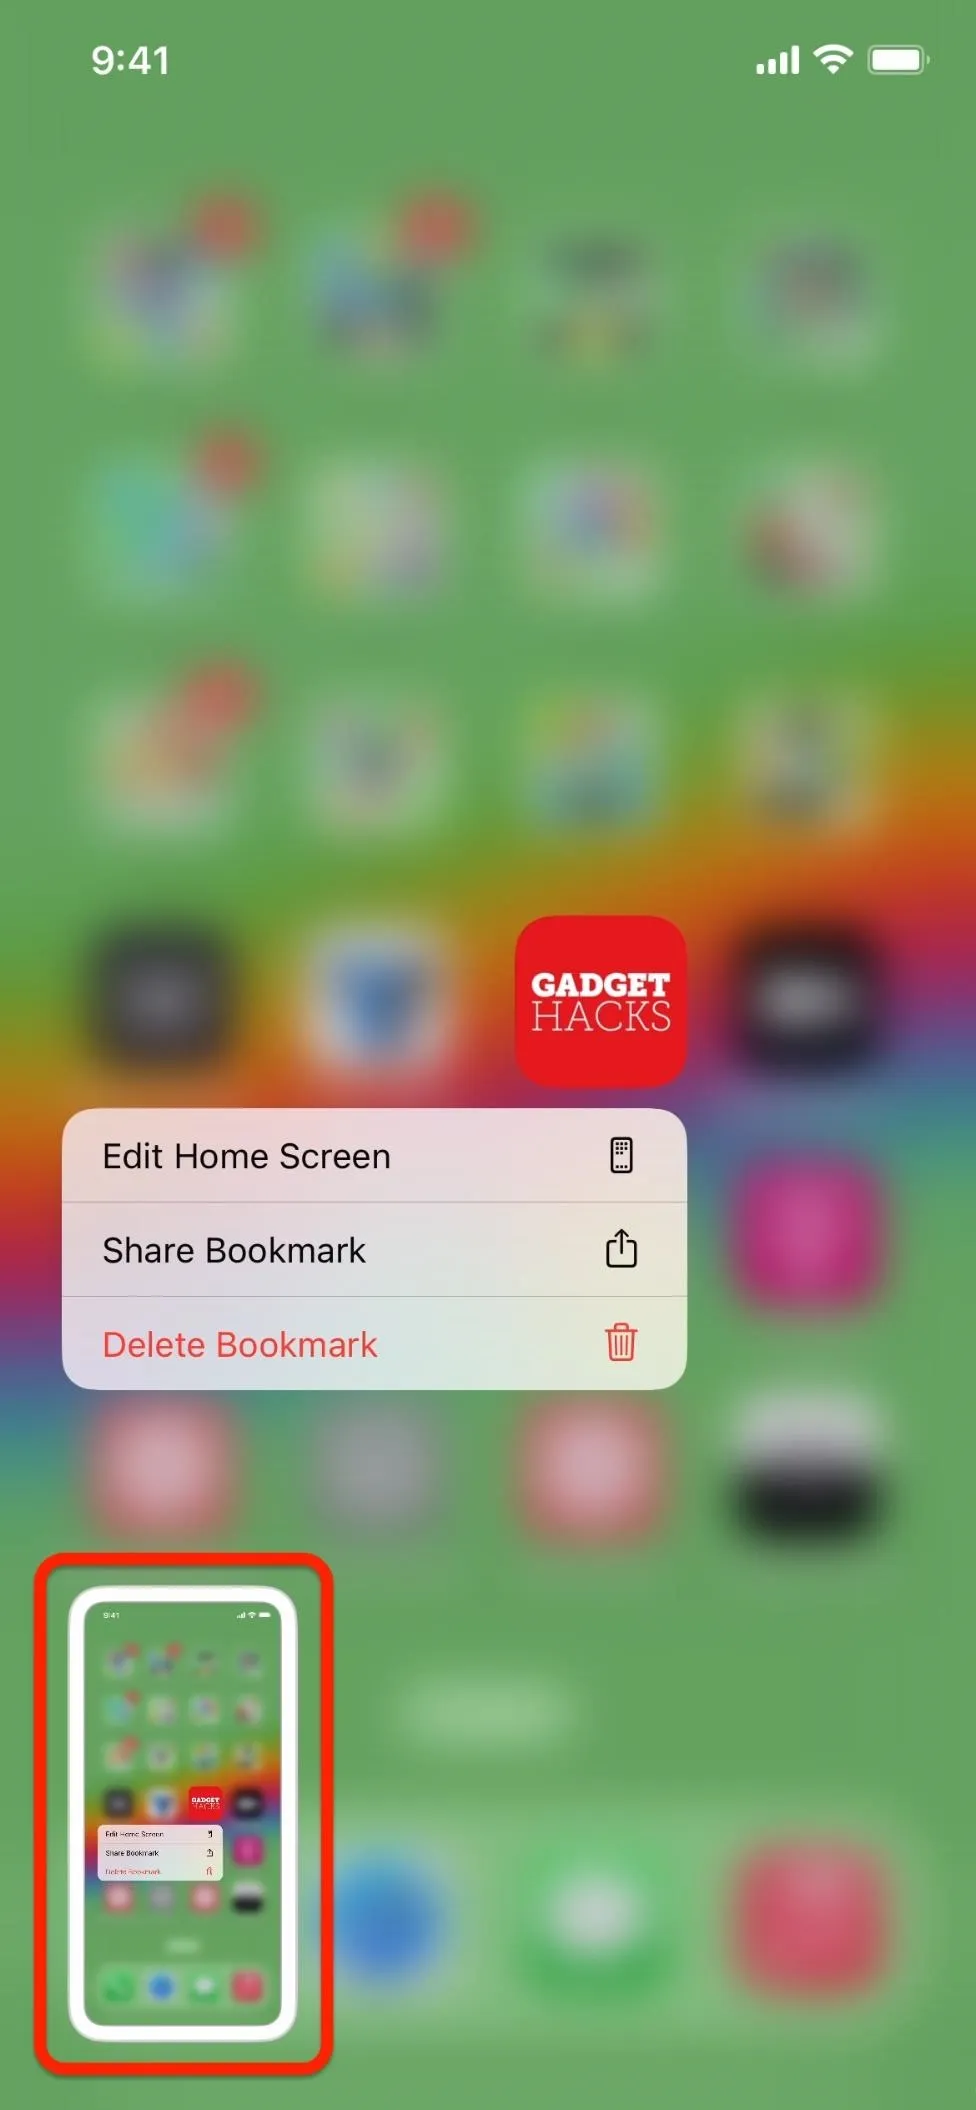
When you primarily take screenshots to share them with contacts or apps, tapping the thumbnail preview that appears after a screenshot is only a good idea if you plan to crop or markup the image first. Otherwise, it's much more efficient to long-press the preview until its border disappears, which will bring up the share sheet immediately. You can then quickly rename the file before AirDropping, messaging, or sharing the image in another way.
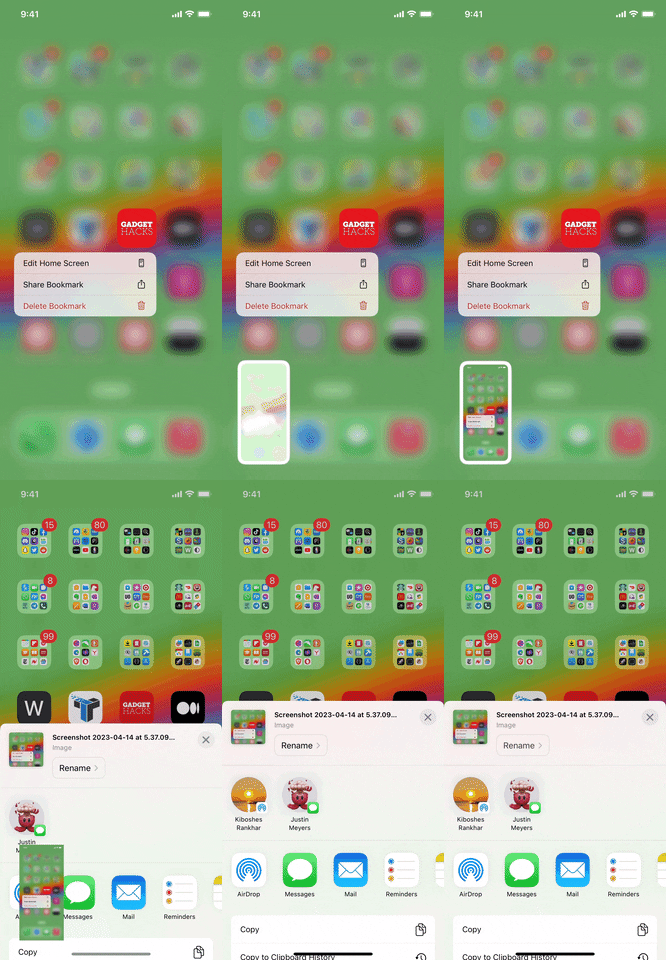


3. Or Share Screenshots Even Faster
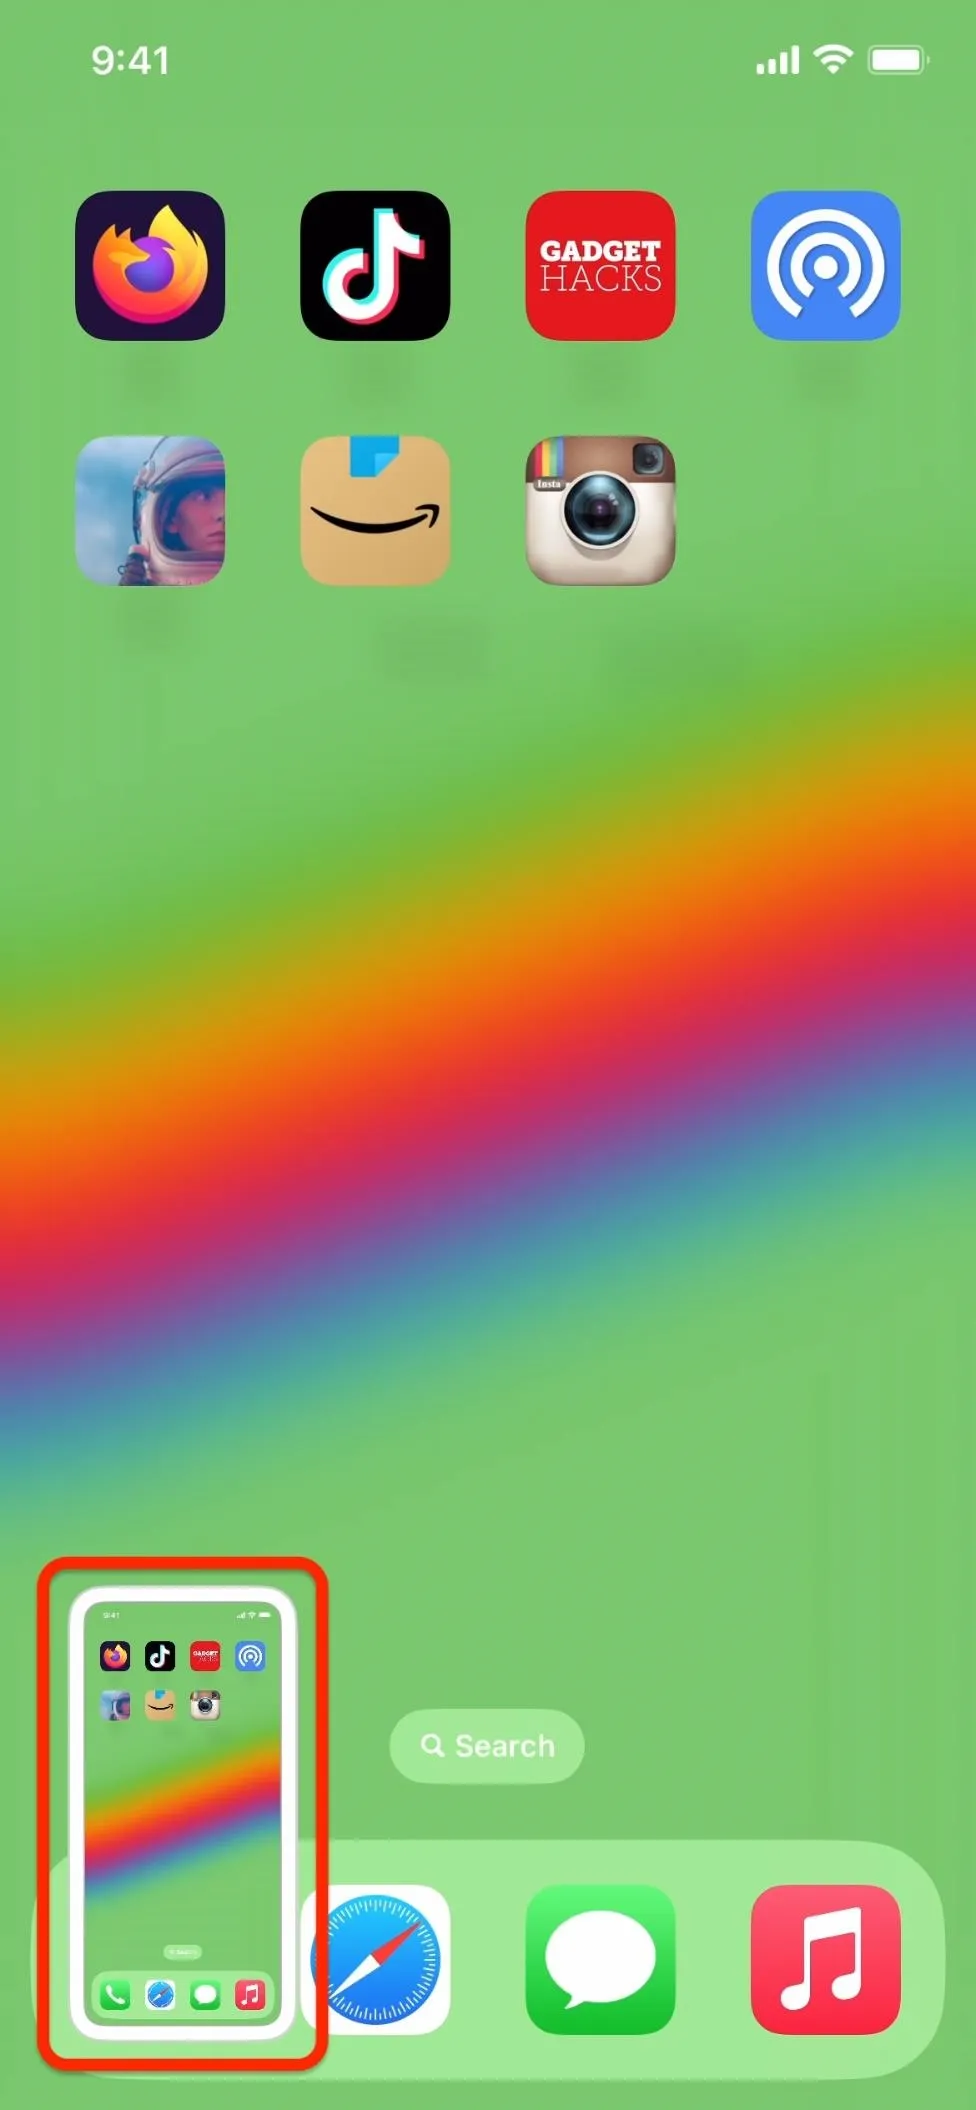
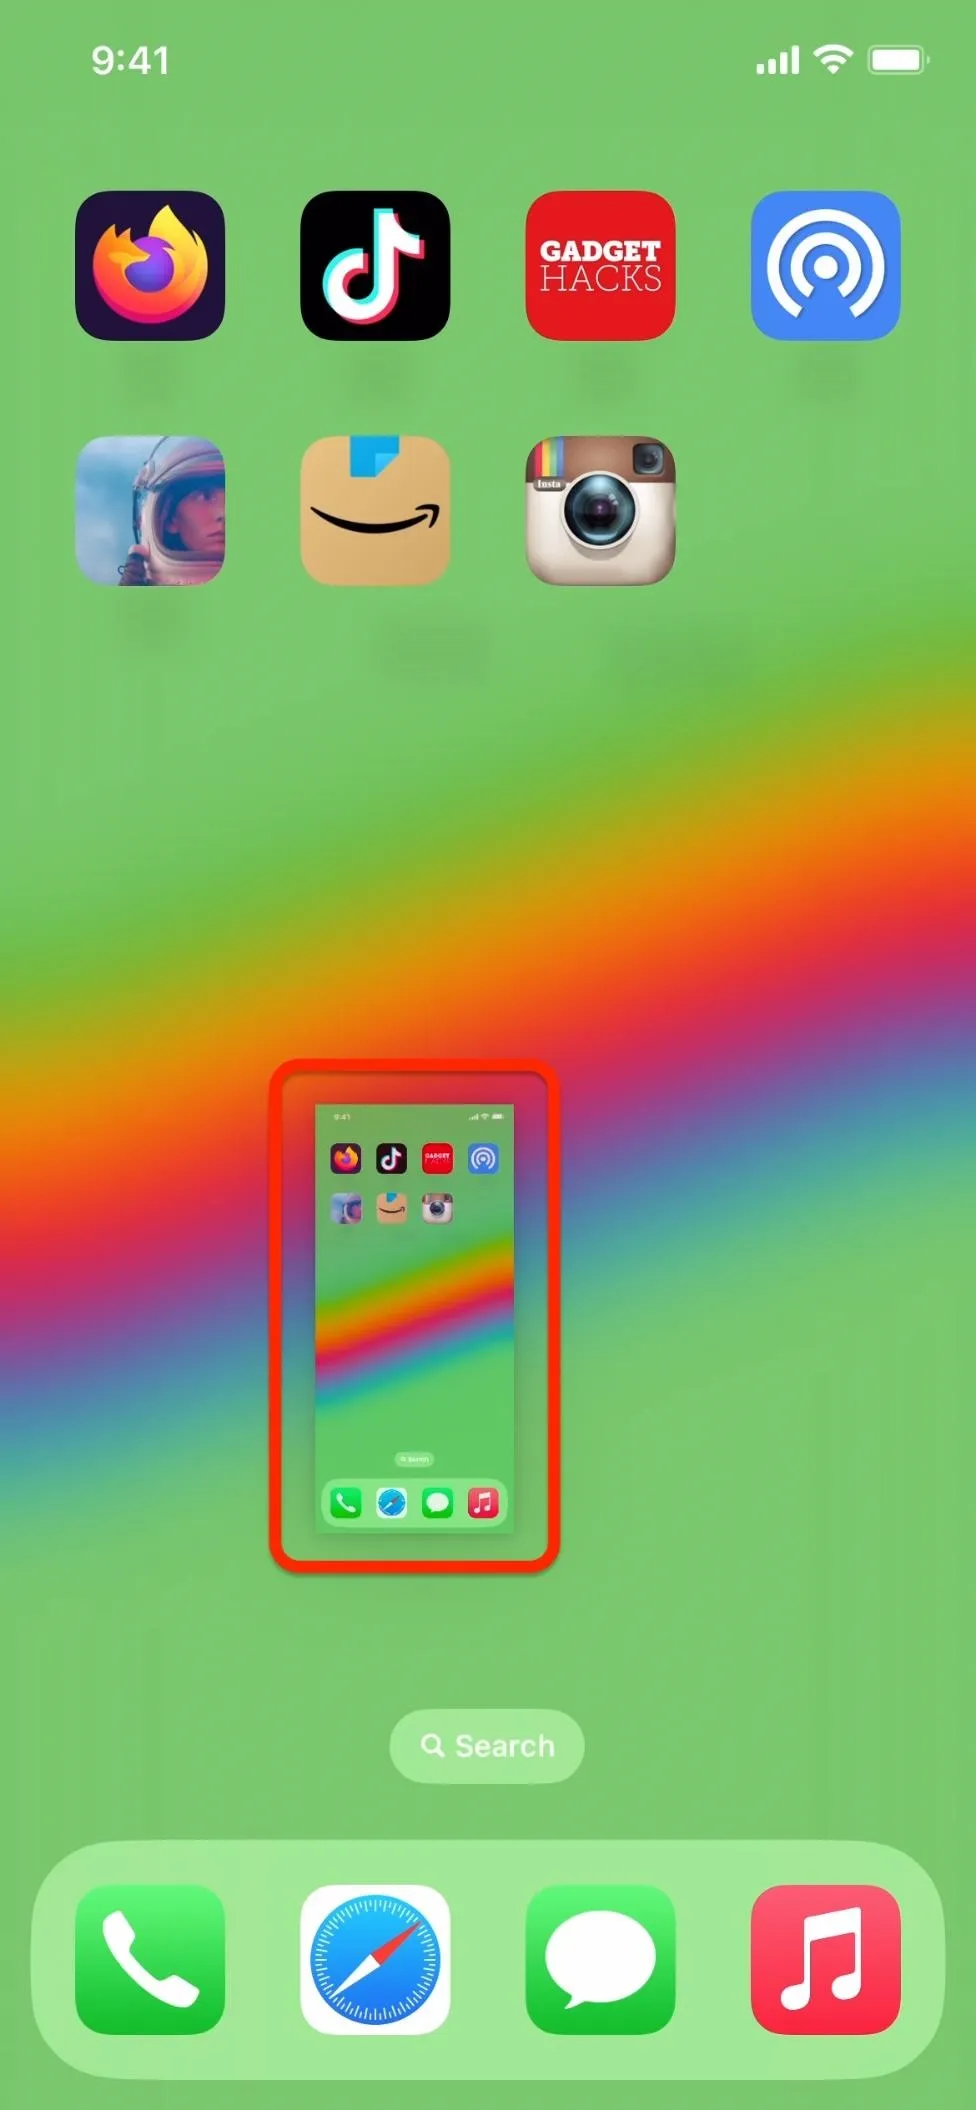
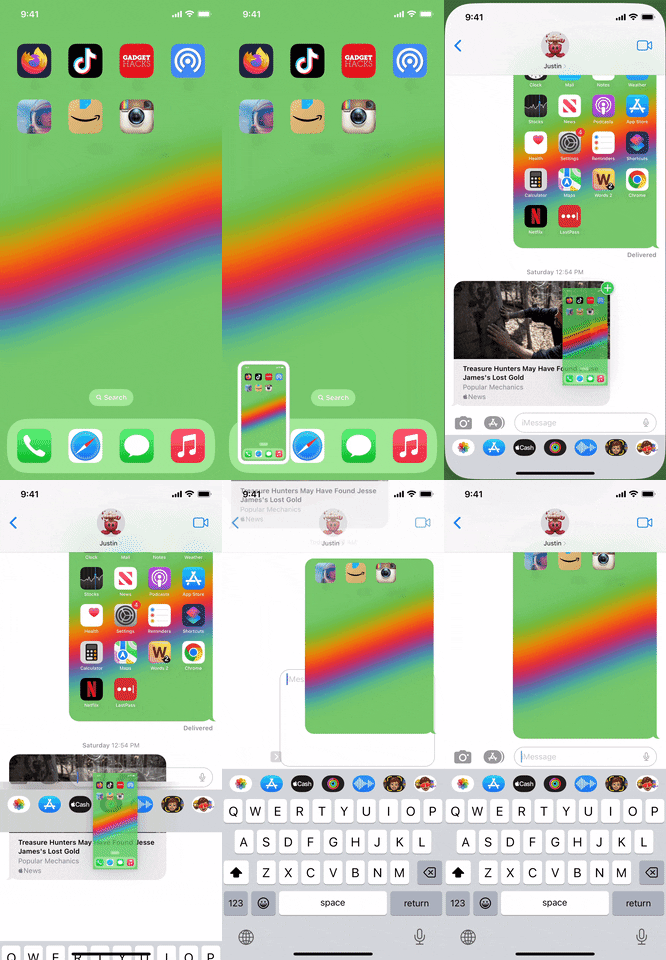
If you don't care about naming your screenshots before sharing, there's an even faster way to share them: drag and drop them into the app you need.
Long-press the screenshot's thumbnail preview like you would to bring up the share sheet. When the border disappears around the preview, quickly drag it away to enter to prevent the share sheet from opening. Next, use another finger to open the target app, navigate to where you want to add the image, then drop it once you see the plus (+) sign appear indicating that you can add the image.


4. Get Rid of the Thumbnail Preview
You'll see thumbnail previews for screenshots almost every time you take a screenshot, whether it's using your hardware buttons, Siri, Back Tap, Voice Control, or AssistiveTouch. However, one way to prevent it from appearing if you never edit or share screenshots right away is to create a custom shortcut.
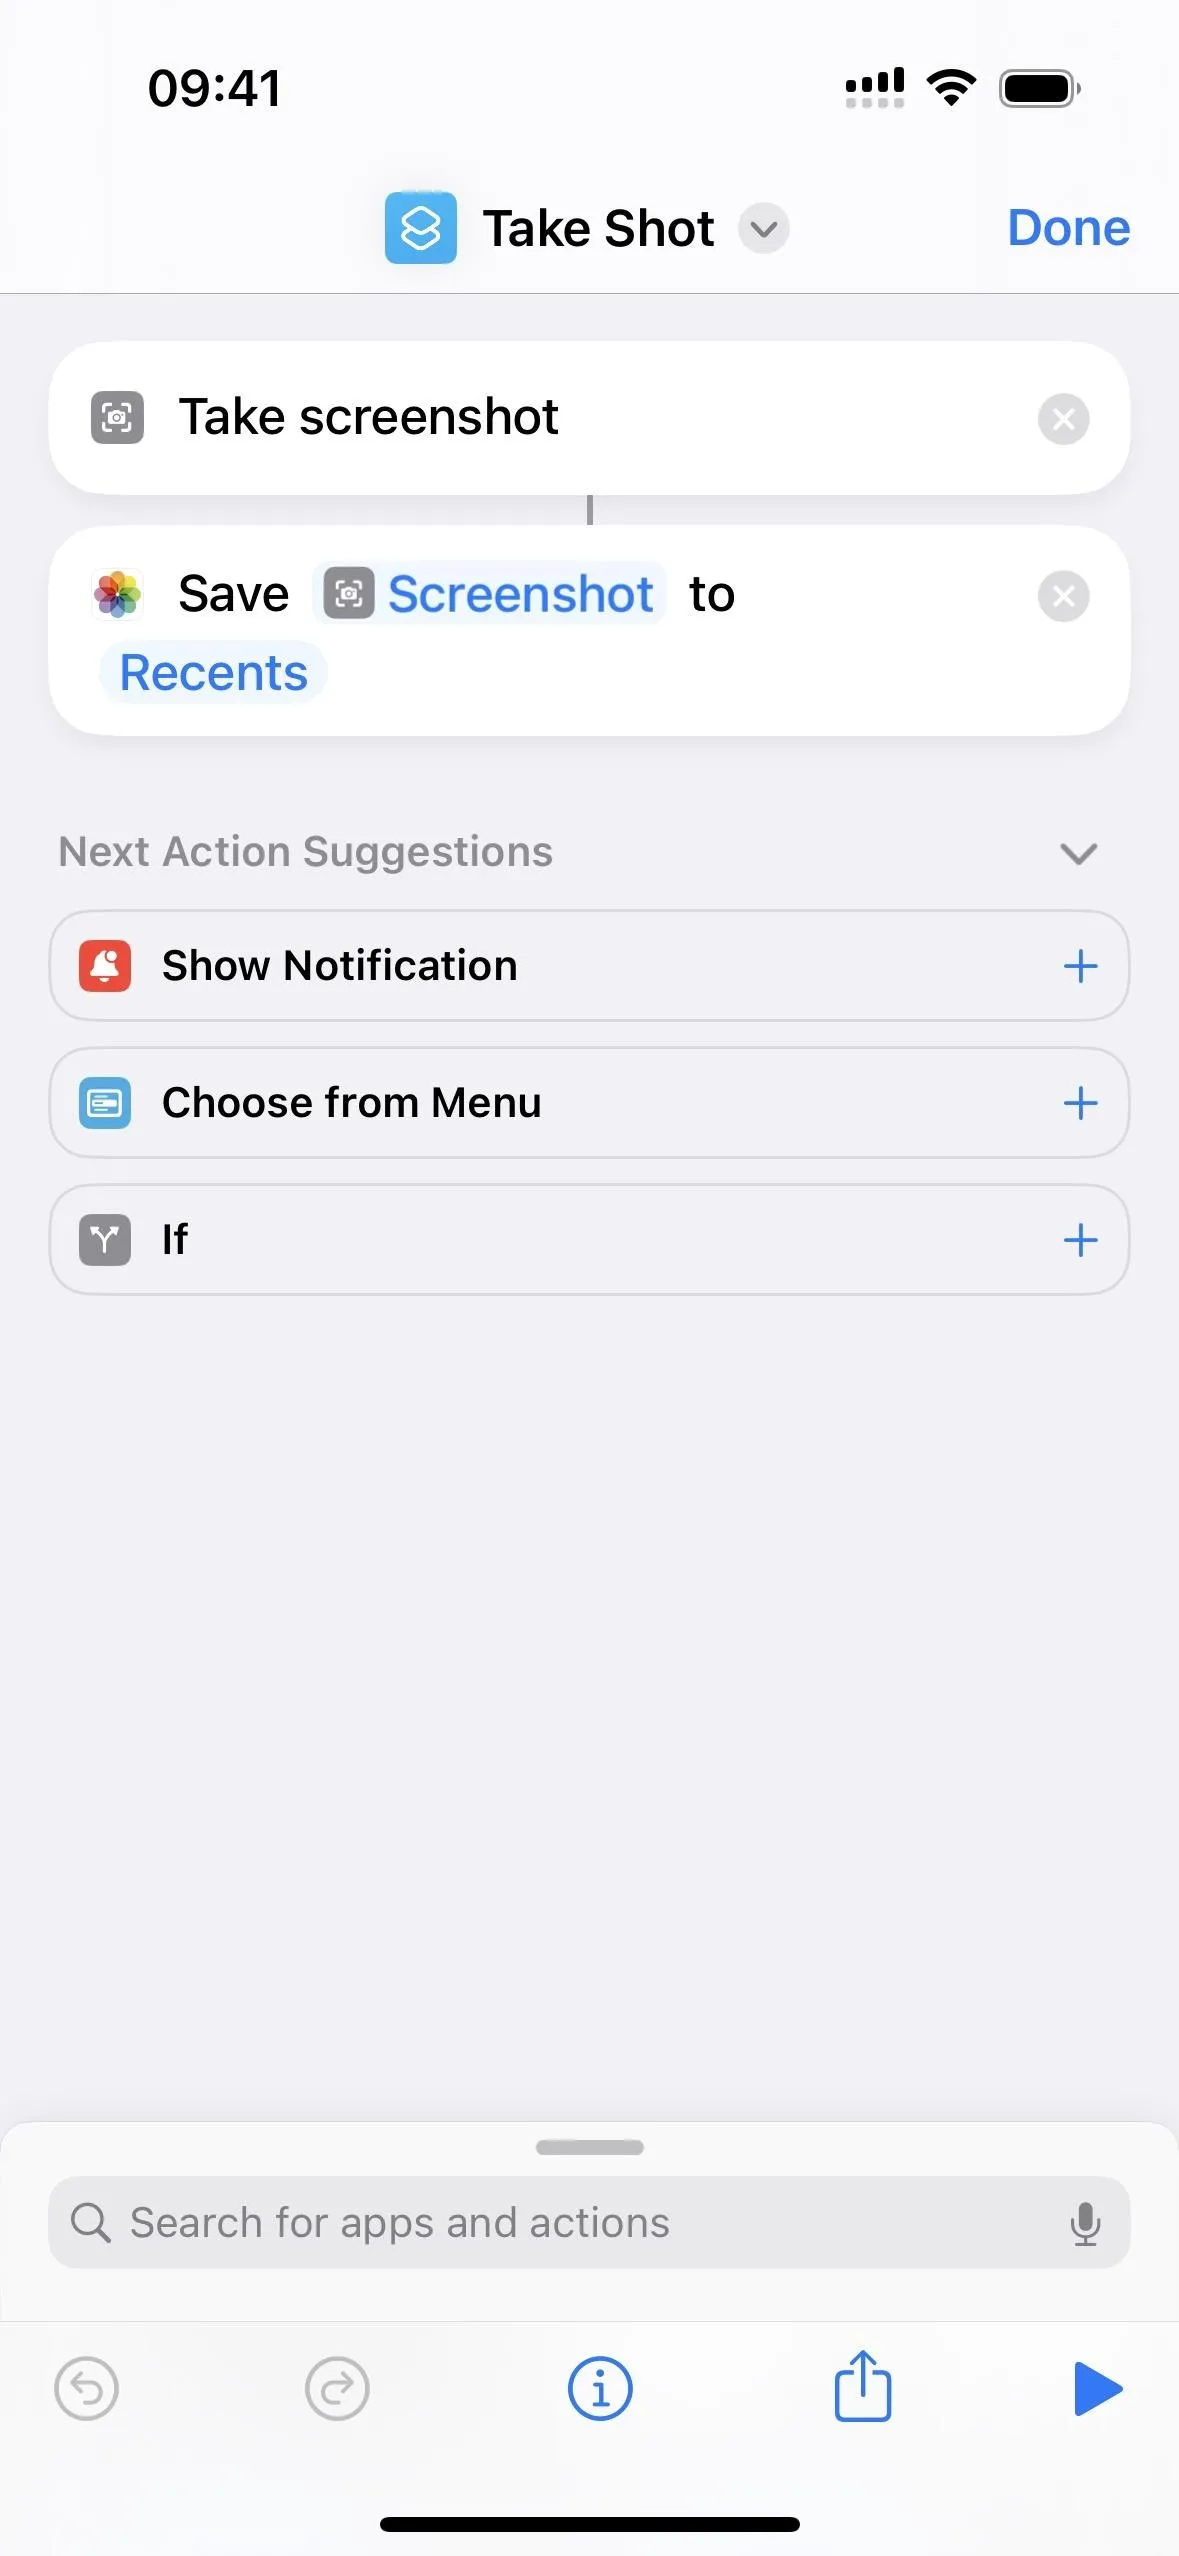
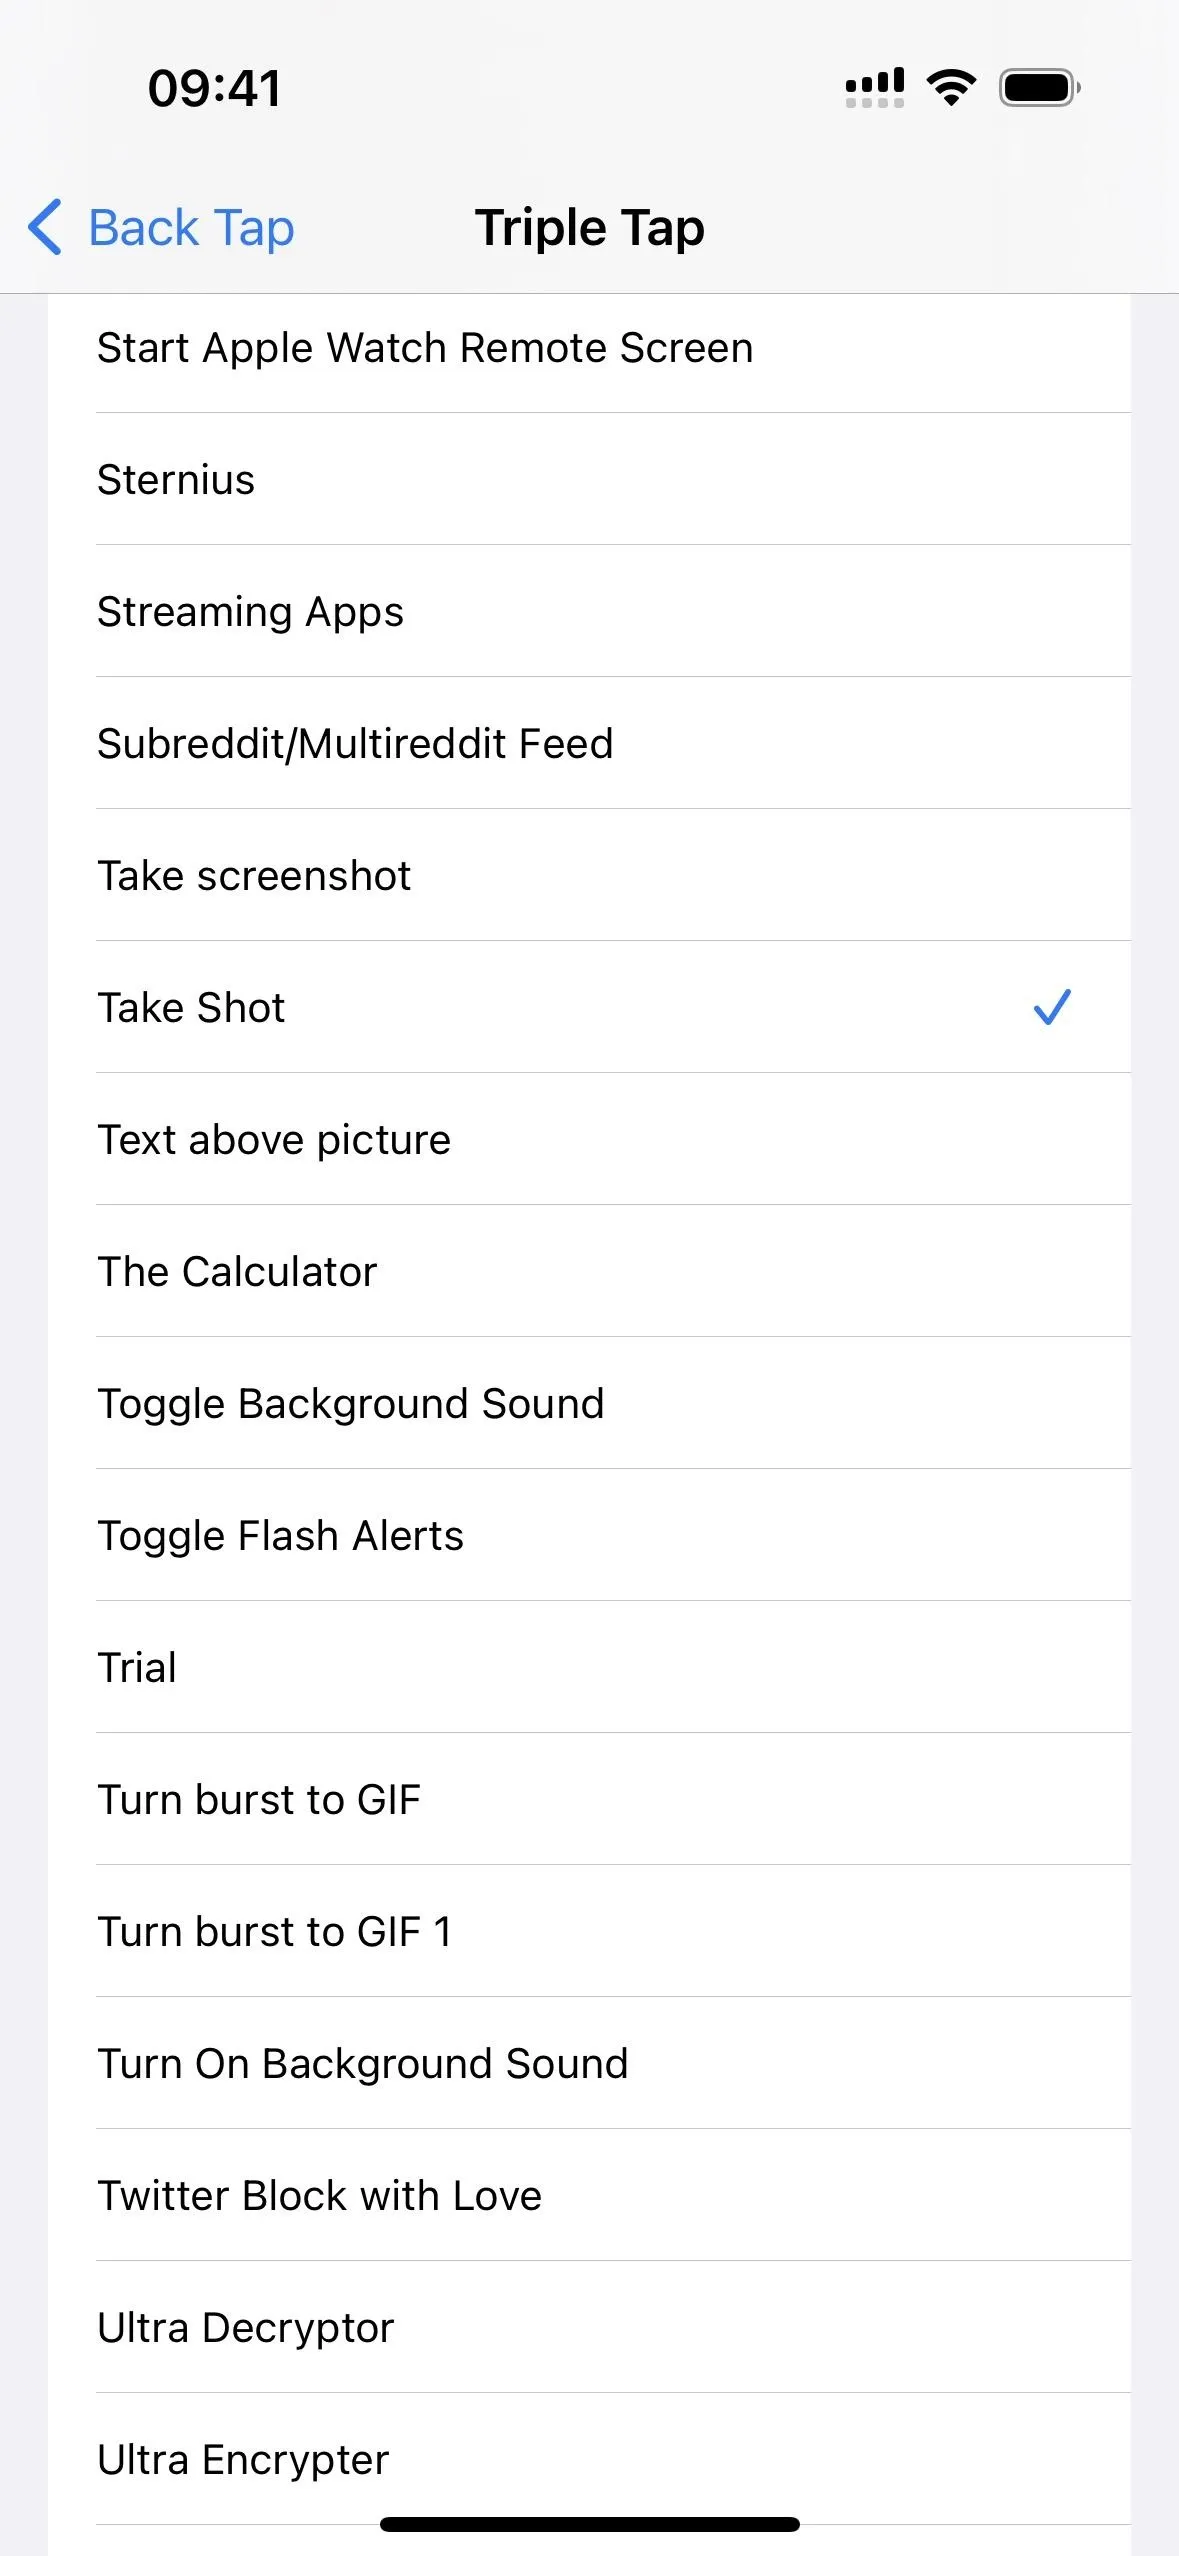
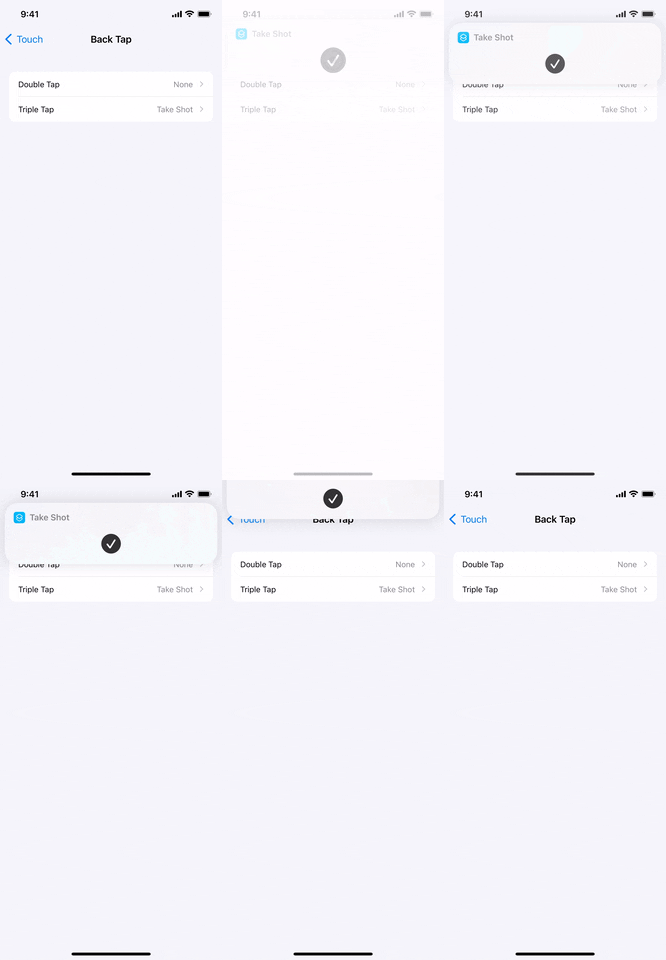
All you need to do is create a shortcut with the "Take Screenshot" and "Save to Photo Album" actions, then assign it to Back Tap. Whenever you take a screenshot by tapping the back of your iPhone two or three times, you'll see the flash of light without the resulting thumbnail in the corner. You will see a Shortcuts banner notification, but that's easy enough to disable.


5. Name Screenshots as You Take Them
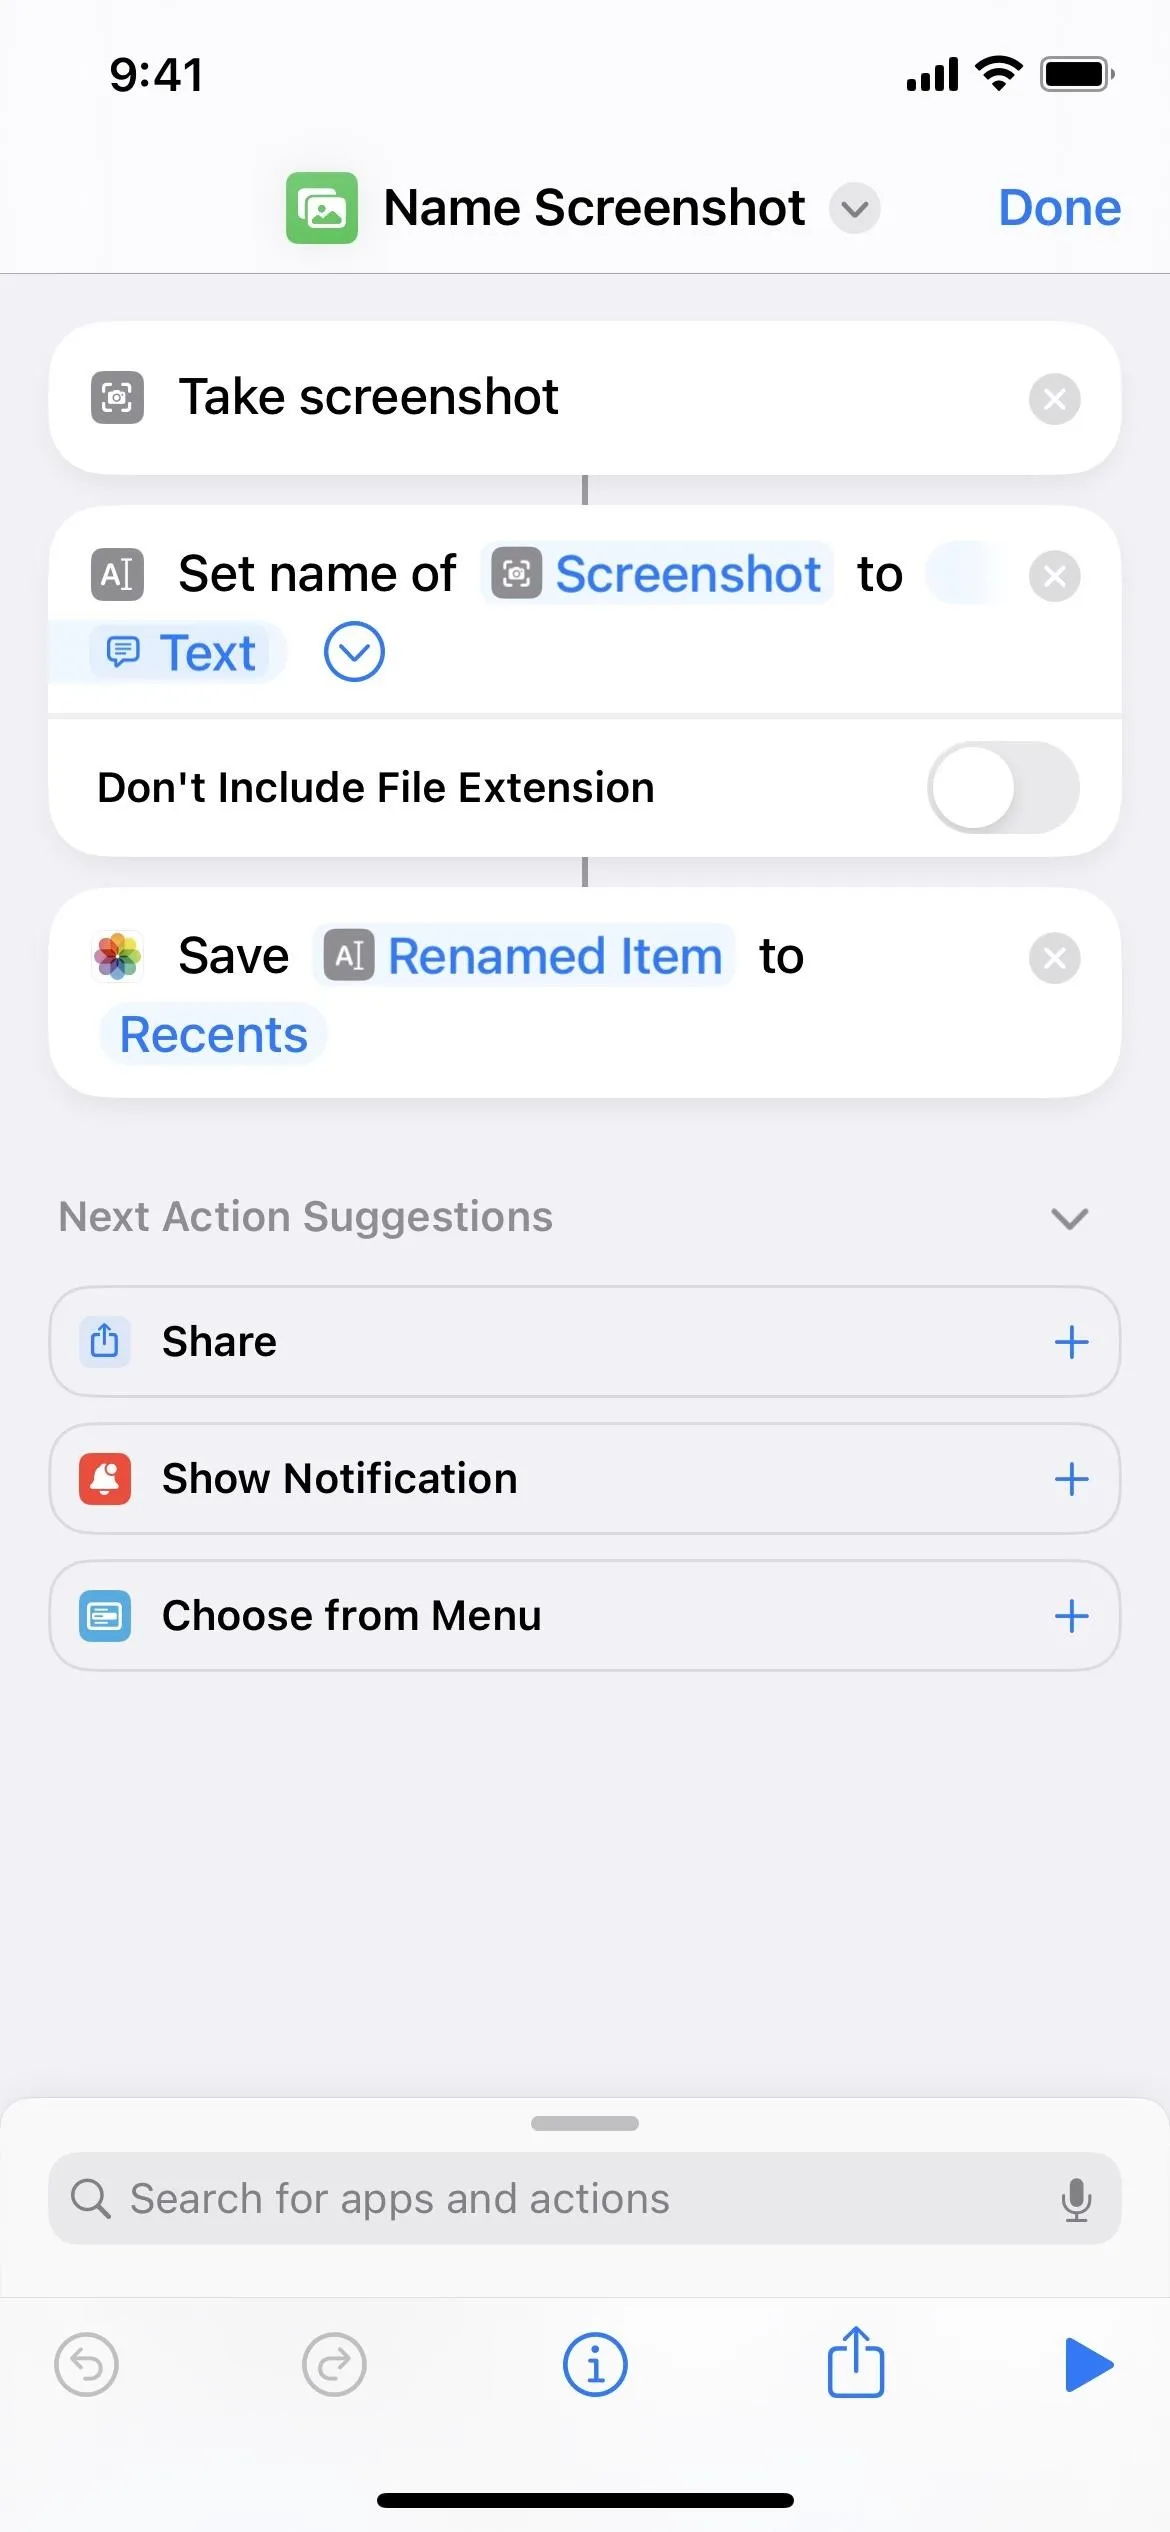
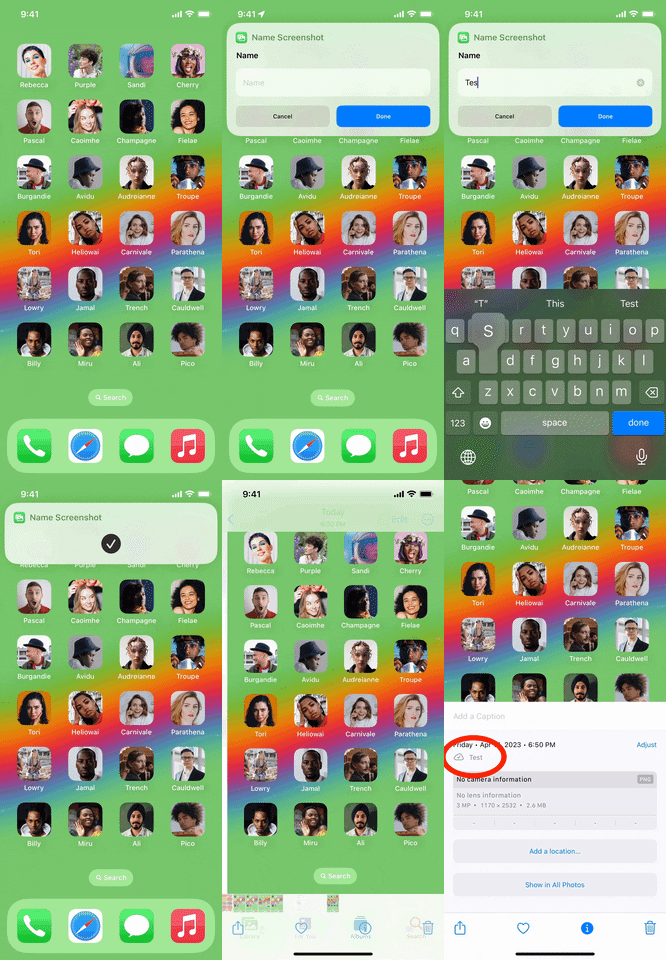
If you're tired of seeing screenshots with the file name IMG_1234.PNG whenever you AirDrop them to your Mac, add them to another app like Notes or Files, or otherwise, you can rename them before they hit your Photos app. The only downside to this is that the search tool in the Photos app does not look at filename properties, so you'd have to stick to using captions if that's your end game.
Sharing and renaming the screenshot from the share sheet won't help if you want the file to have a custom name in the Photos app. Instead, you'll have to use a shortcut.
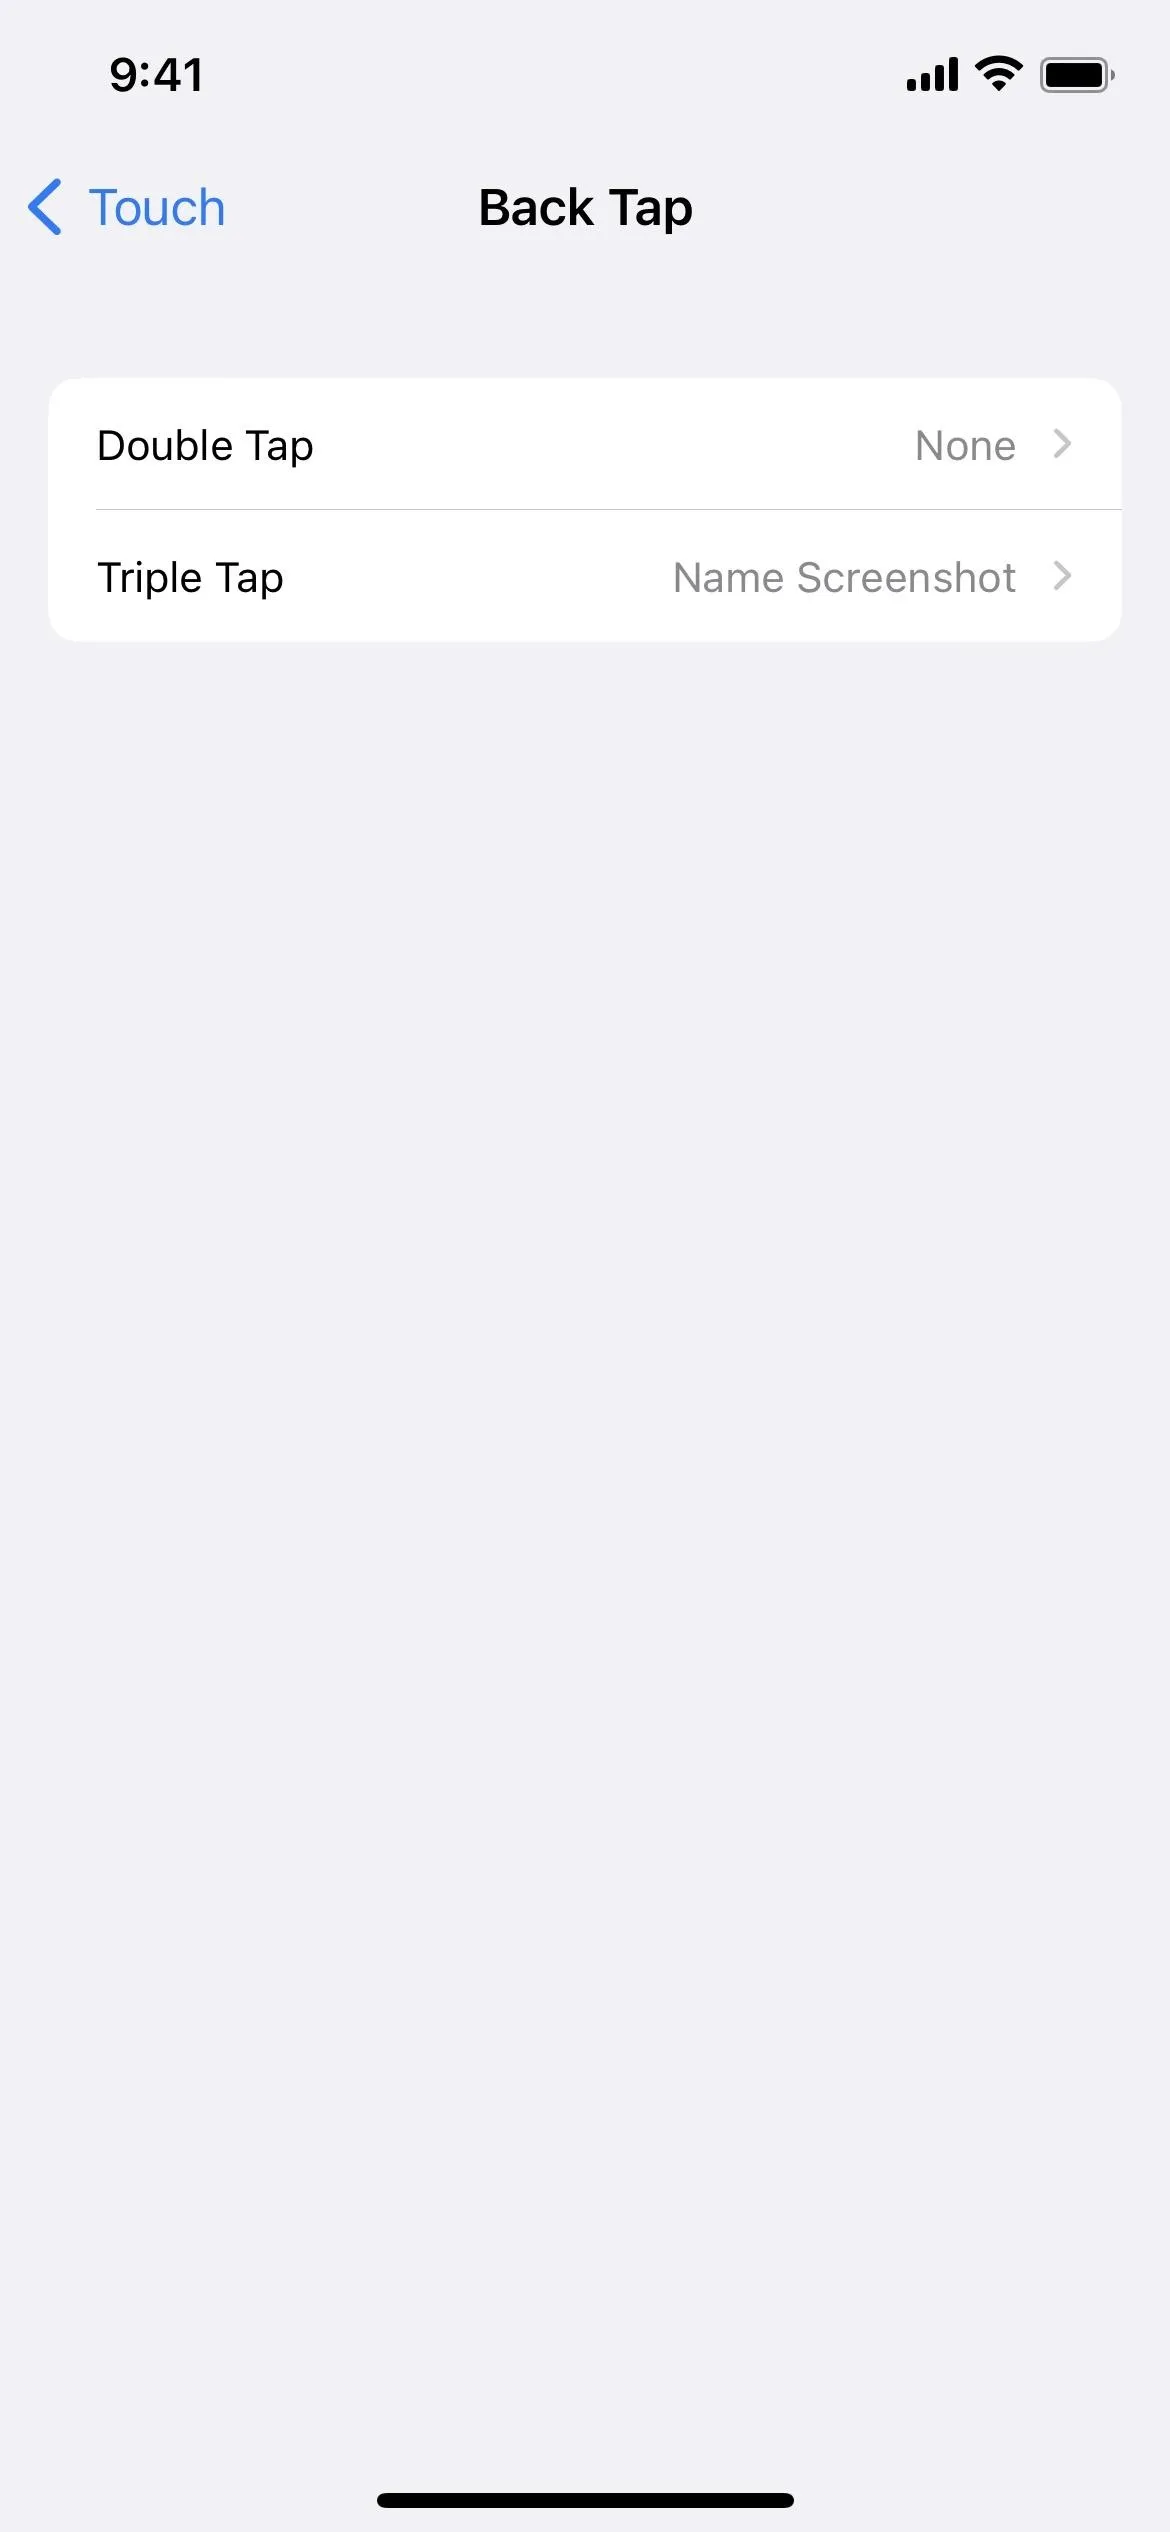
Install the Name Screenshot shortcut in your Shortcuts app, then assign it to a Back Tap gesture. Whenever you tap the back of your iPhone two or three times, Name Screenshot will trigger, taking the screenshot and asking for a new file name. Whatever name you input will be its file name in the Photos app.


6. Draw Perfect Shapes
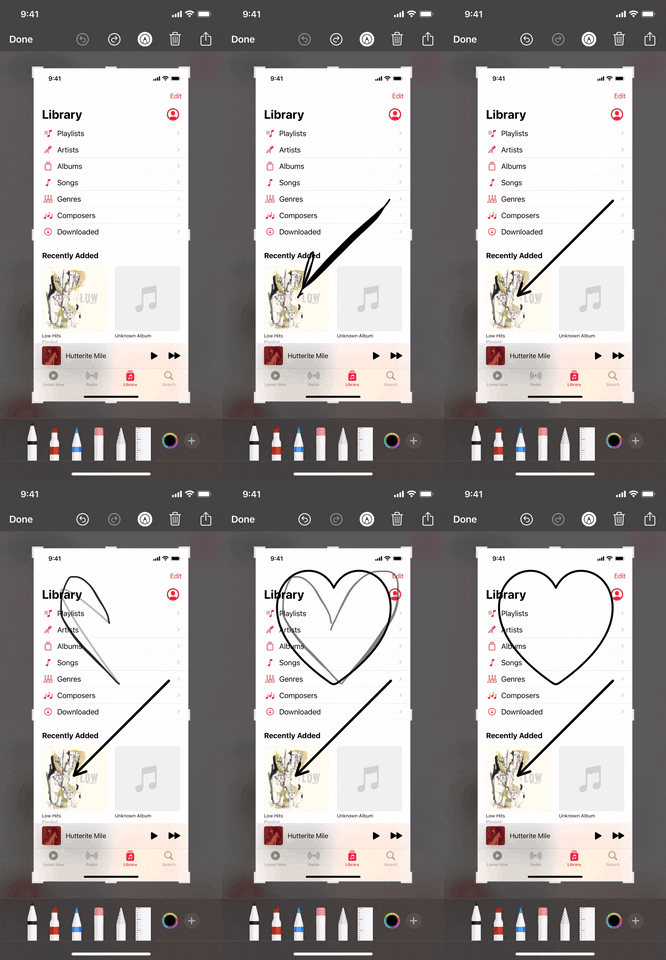
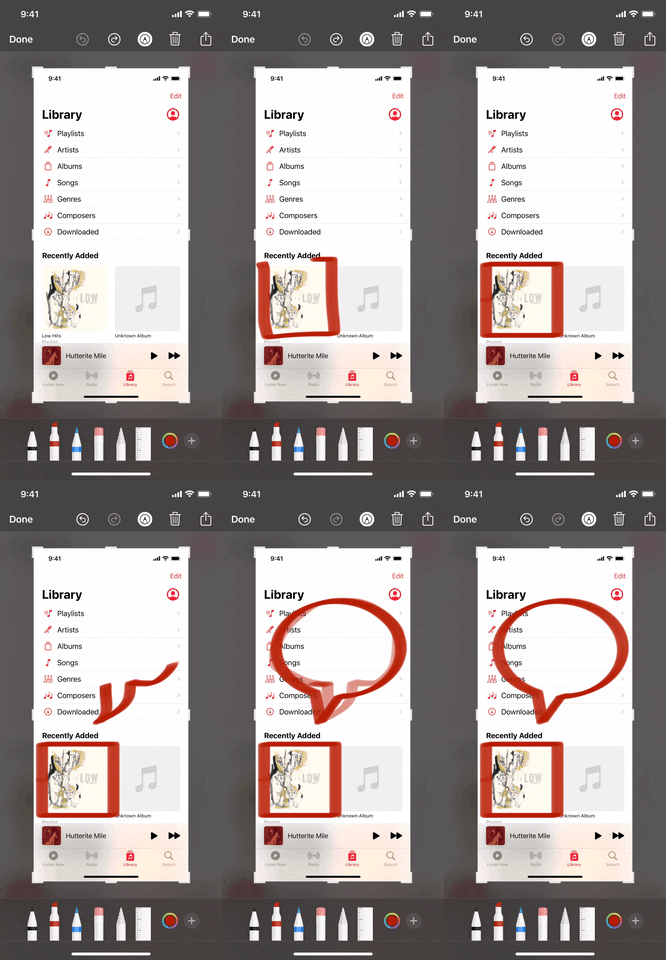
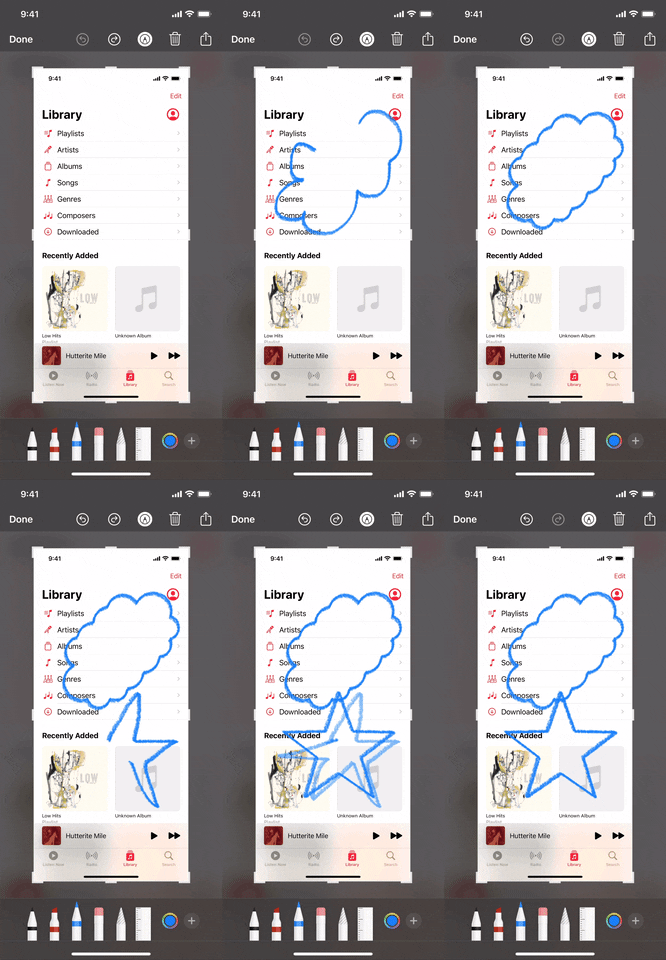
You can add perfectly shaped squares, circles, arrows, and comment boxes from the plus (+) icon in the toolbar, but you can also draw them and other shapes flawlessly using a regular pen, marker, or pencil. Just draw them as you usually would, but hold when your finger on the screen when finished sketching the shape, and iOS should snap it into a perfect version.


7. Capture Unscreenshotable Elements
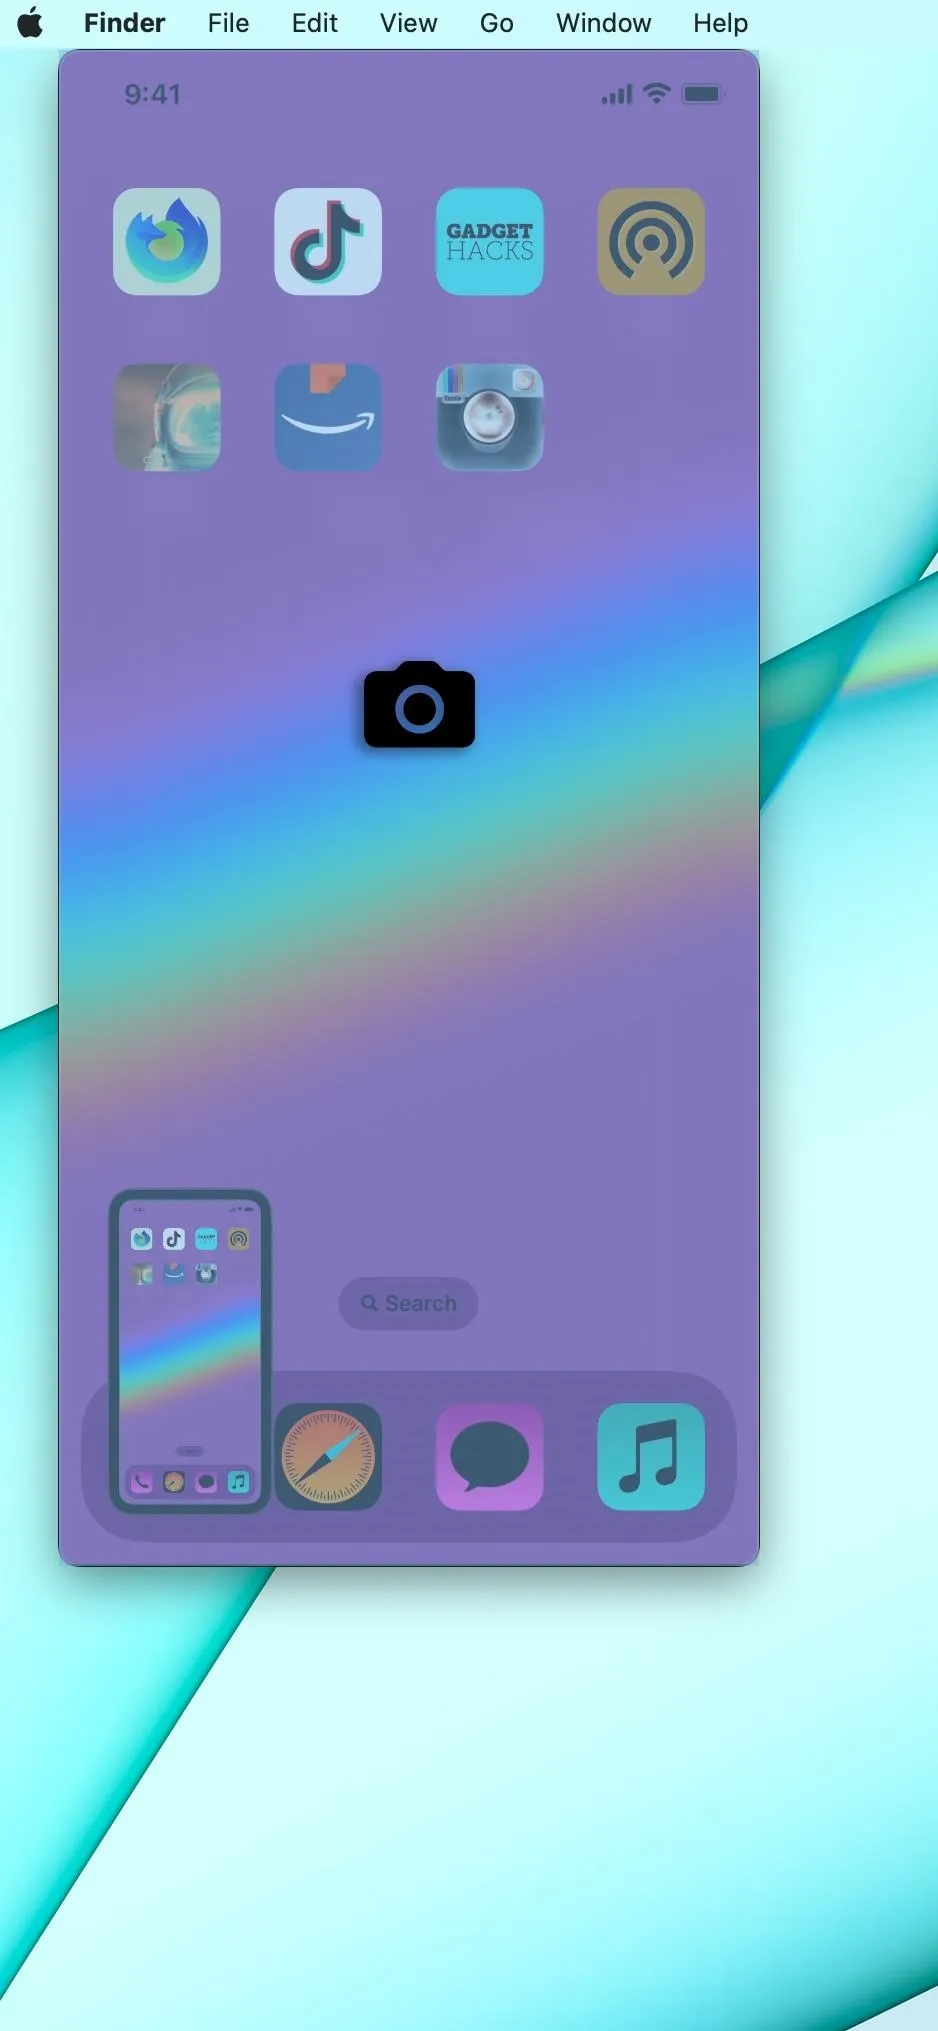
Some visible on-screen elements, such as screenshot thumbnail previews, Classic Invert, Smart Invert, and some Zoom filters, cannot be captured in regular screenshots on your iPhone. So if you need to catch unscreenshotable interface and accessibility elements, you'll have to use QuickTime Player on your Mac.
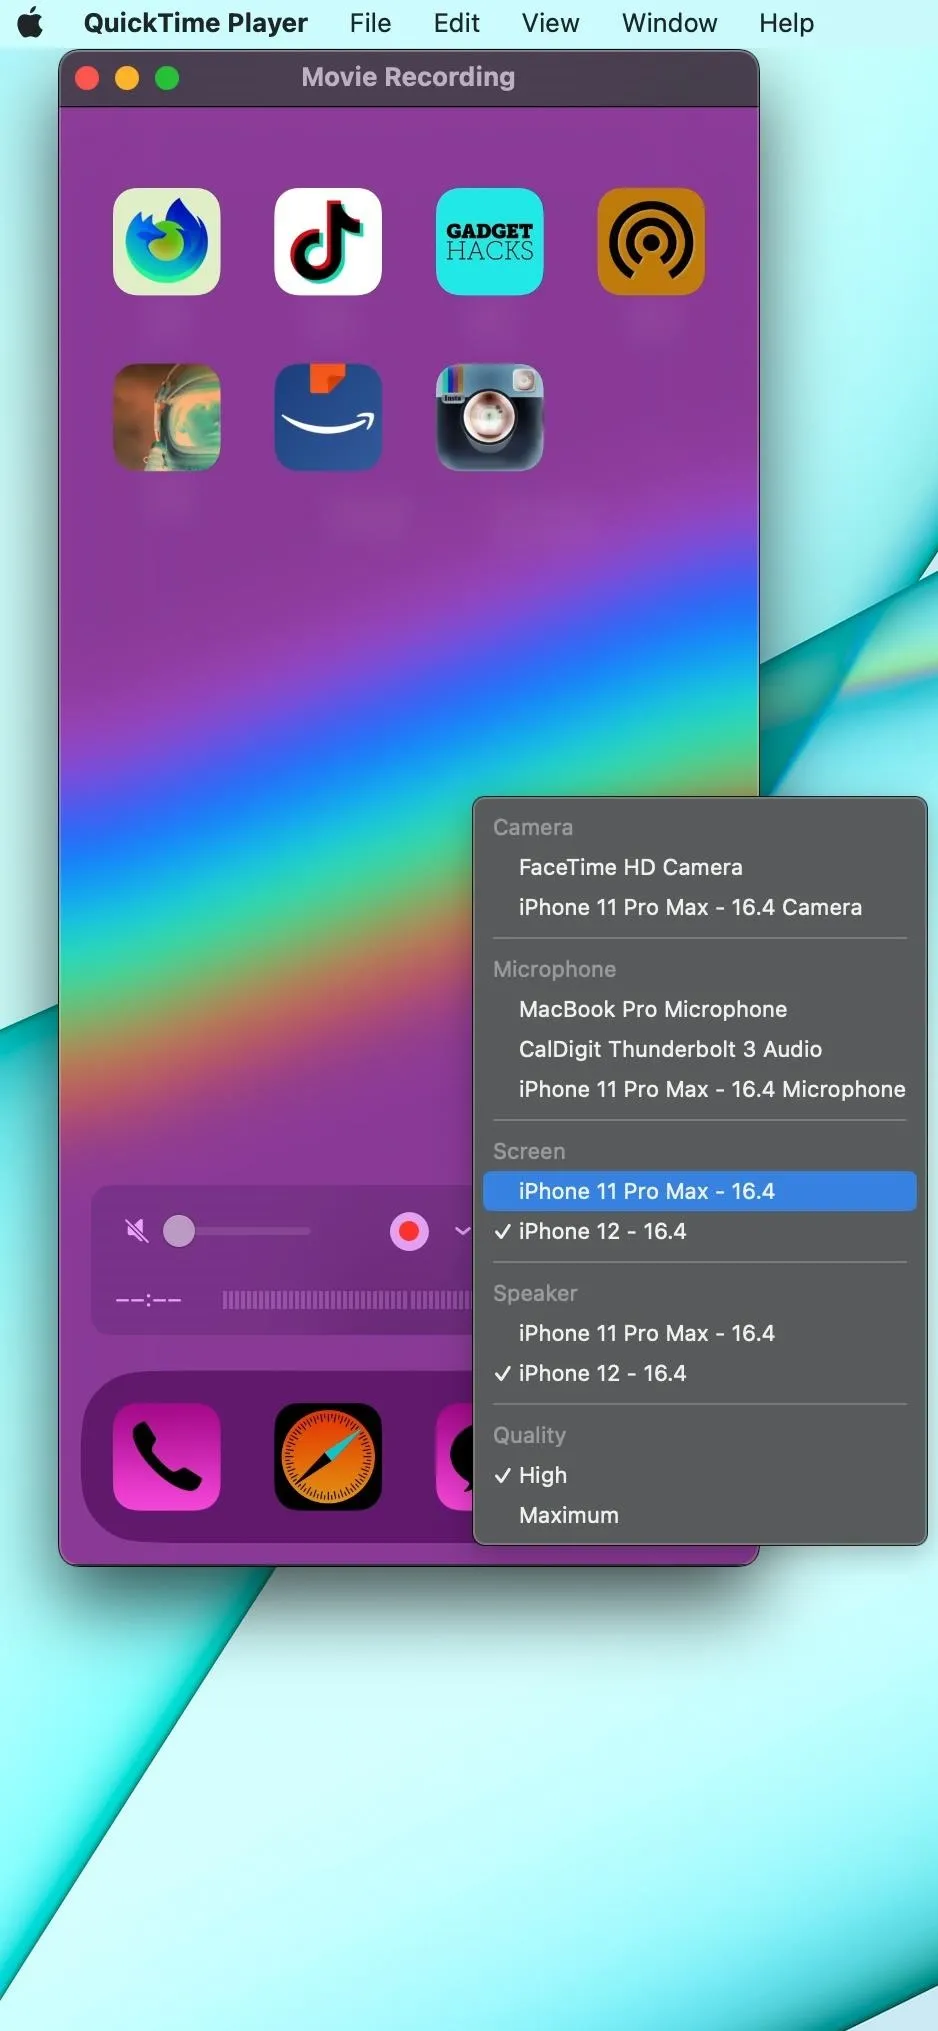
Connect your iPhone to your Mac using a Lightning to USB or Lightning to USB-C cable, depending on the available ports. Open QuickTime Player on macOS, click "File" in the menu bar, then "New Movie Recording." When your Mac's camera feed appears, click the drop-down icon by the record button and choose your iPhone's name under "Screen."
After, you can adjust QuickTime's window size to change the iPhone screenshot's resolution. Then, press Shift-Command-4 followed by the Space bar. Click the QuickTime window to take a window capture with a drop-shadow, or press and hold the Option key before clicking to remove the drop-shadow.
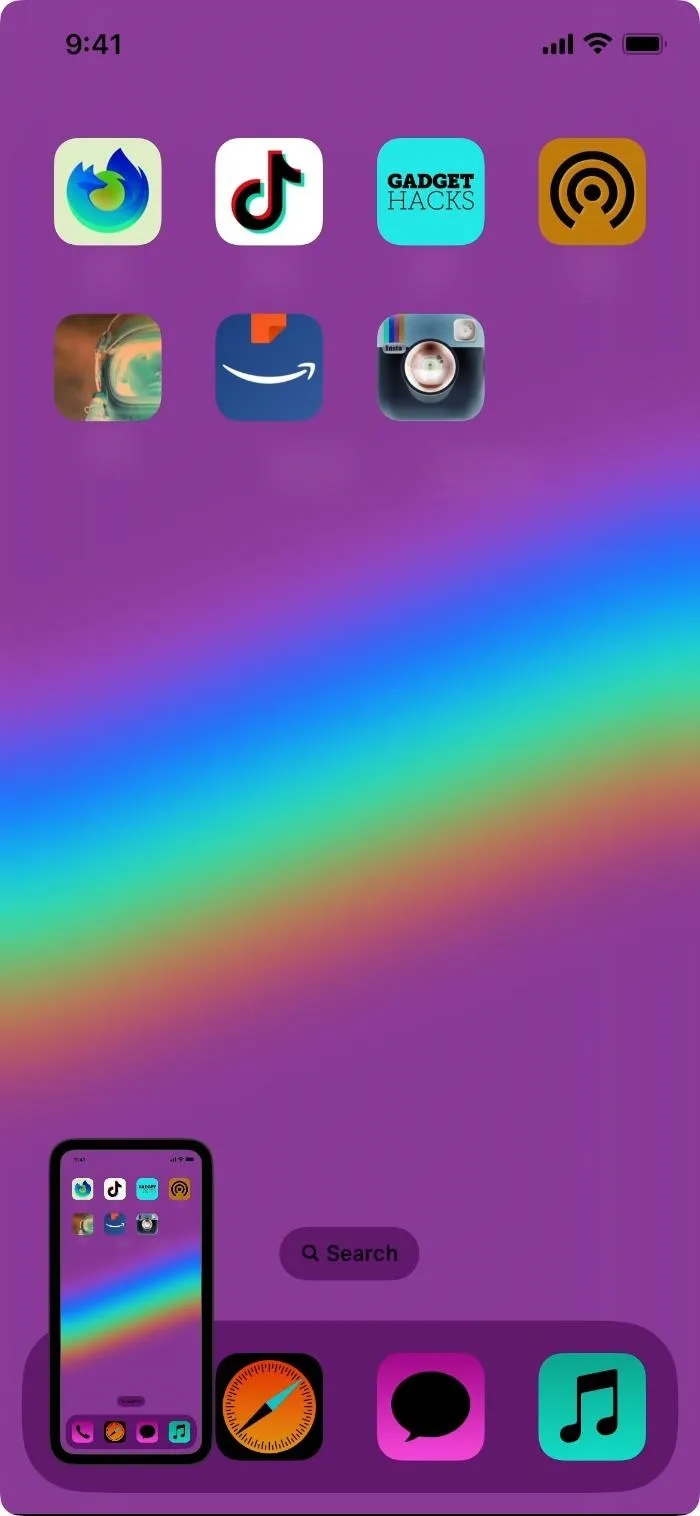


Screenshots save to your Desktop by default, but you can click "Options" on the screenshot menu after hitting Command-Shift-5, then choose another location.
Cover photo, screenshots, and GIFs by Justin Meyers/Gadget Hacks


Comments
Be the first, drop a comment!