


Apple's screenshot feature is a near-perfect tool for saving images of your iPhone's screen to keep for yourself or share with others. But iOS is missing one thing that would make it almost flawless: a way to rename your screenshots from their original IMG_1234.PNG file name.
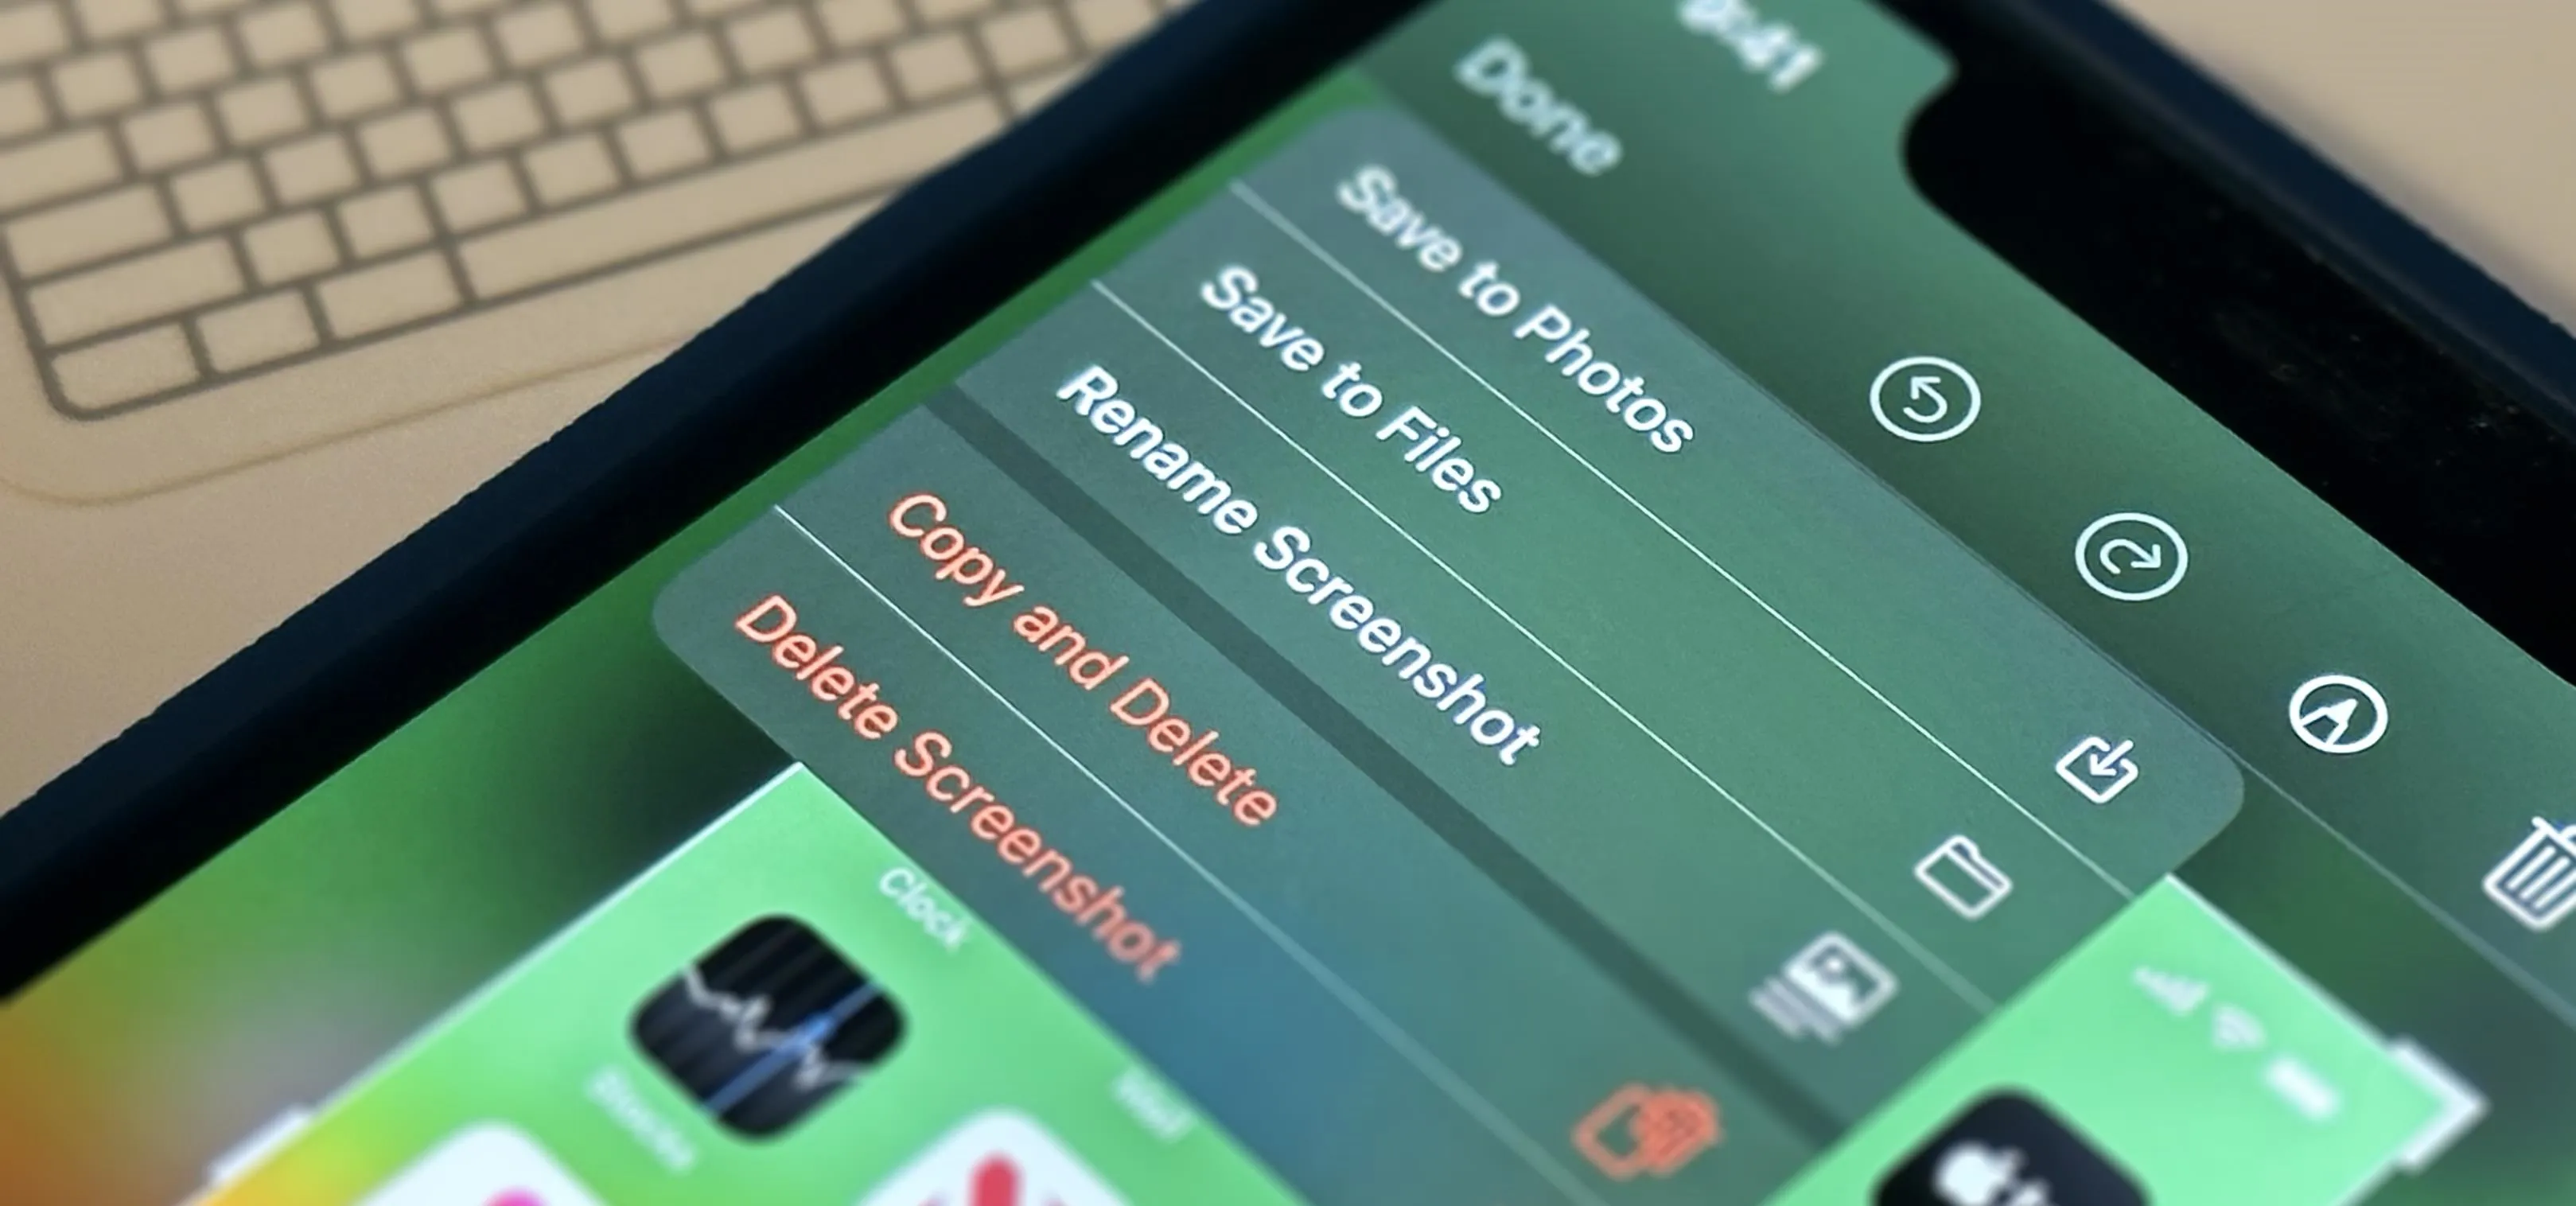
On iOS 16.0 and later, a "Rename" option exists in the share sheet when sharing a screenshot from the screenshot editor or long-press shortcut. However, it only renames the resulting shared file, not the original. So if you want a different filename saved in Photos besides IMG_1234.PNG, you can share it with yourself in a message, save it to Photos, and delete the original screenshot.
That's not very efficient, though.
You can save the image directly to Files, an app that does let you rename it, but you would still have to delete the original screenshot to keep things tidy. But that doesn't help if you want your renamed screenshots in Photos.
Unfortunately, there's no built-in way to rename a screenshot you save to Photos. You can't even give the file a new name from within Photos itself. But that doesn't mean it's a lost cause. If you truly want to rename your screenshots when you take them, you'll need to use Shortcuts.
How You Could Use Shortcuts to Rename Screenshots
One way to do it is to create a new shortcut with the "Set Name" action, change its "Input" to "Shortcut Input," and set its "Name" as "Ask Each Time." Then, add the "Save to Photo Album" action, ensure "Show in Share Sheet" is on in the shortcut's details, and save the shortcut. Whenever you take a screenshot next, open the share sheet, pick your shortcut's name, enter the name you want for the filename, hit "Done," and then delete the original screenshot from the screenshot editor.
However, that's not very efficient either.
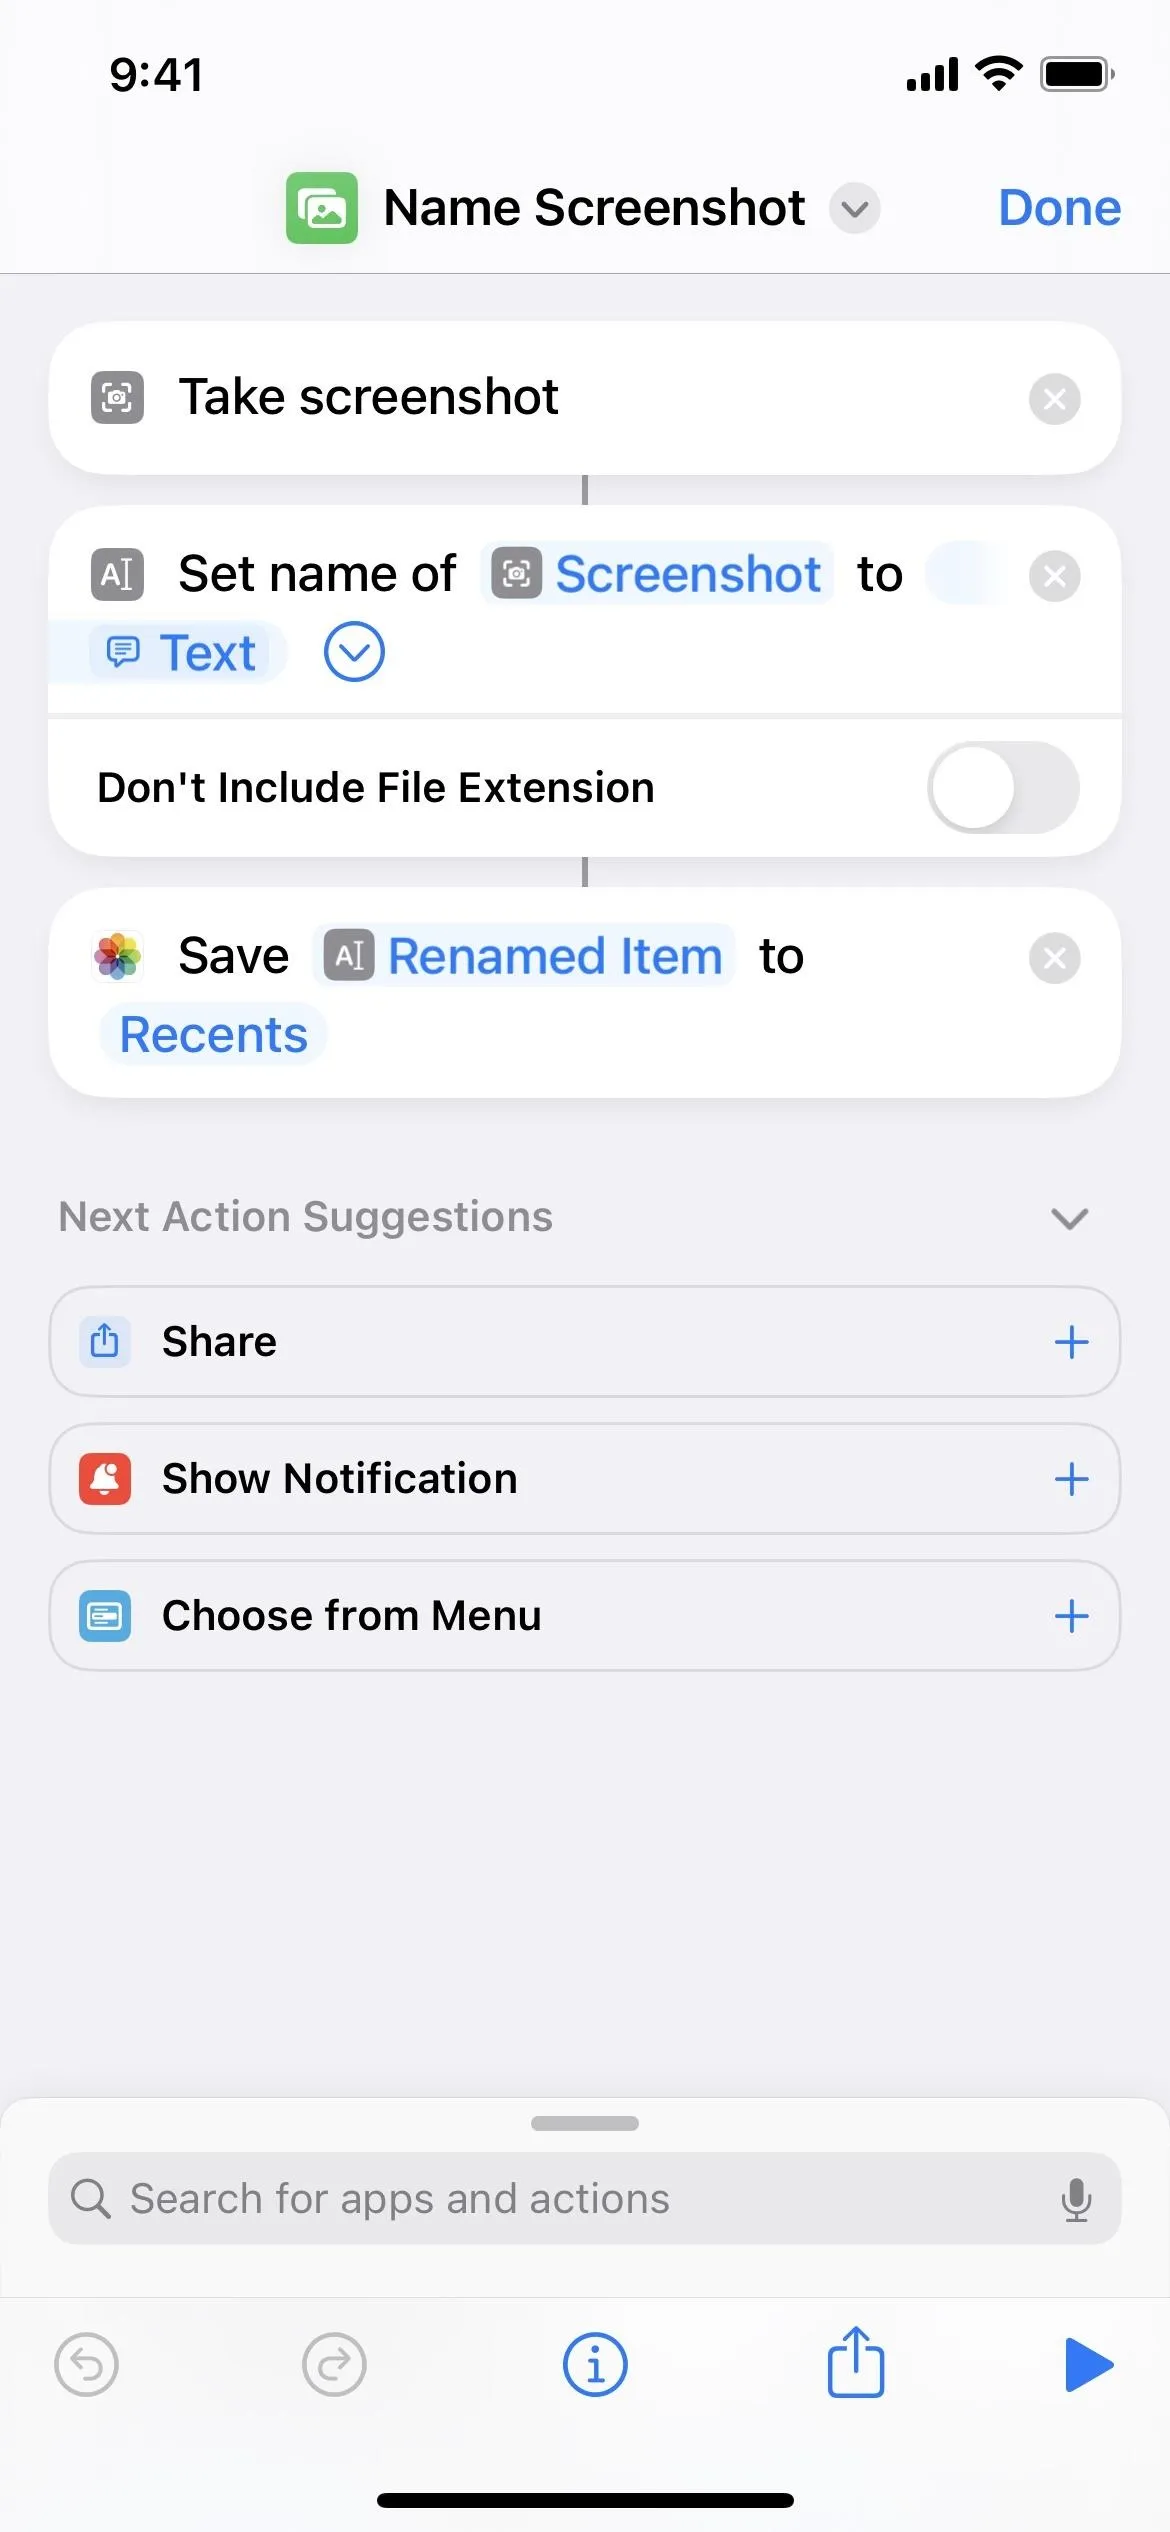
A better way is to create a new shortcut with the "Take screenshot" action and use the shortcut to take your screenshots. That way, you avoid the middleman (the share sheet) and having to delete the original screenshot. You can set it up using the following steps. Alternatively, you could install our premade shortcut, though you'll still need to follow steps 7–9 below.
- Create a new shortcut.
- Add the "Take Screenshot" action.
- Add the "Set Name" action, and change "Name" to "Ask Each Time."
- Add the "Save to Photo Album" action.
- Ensure "Show in Share Sheet" is on in the shortcut's "Details" view.
- Save the shortcut.
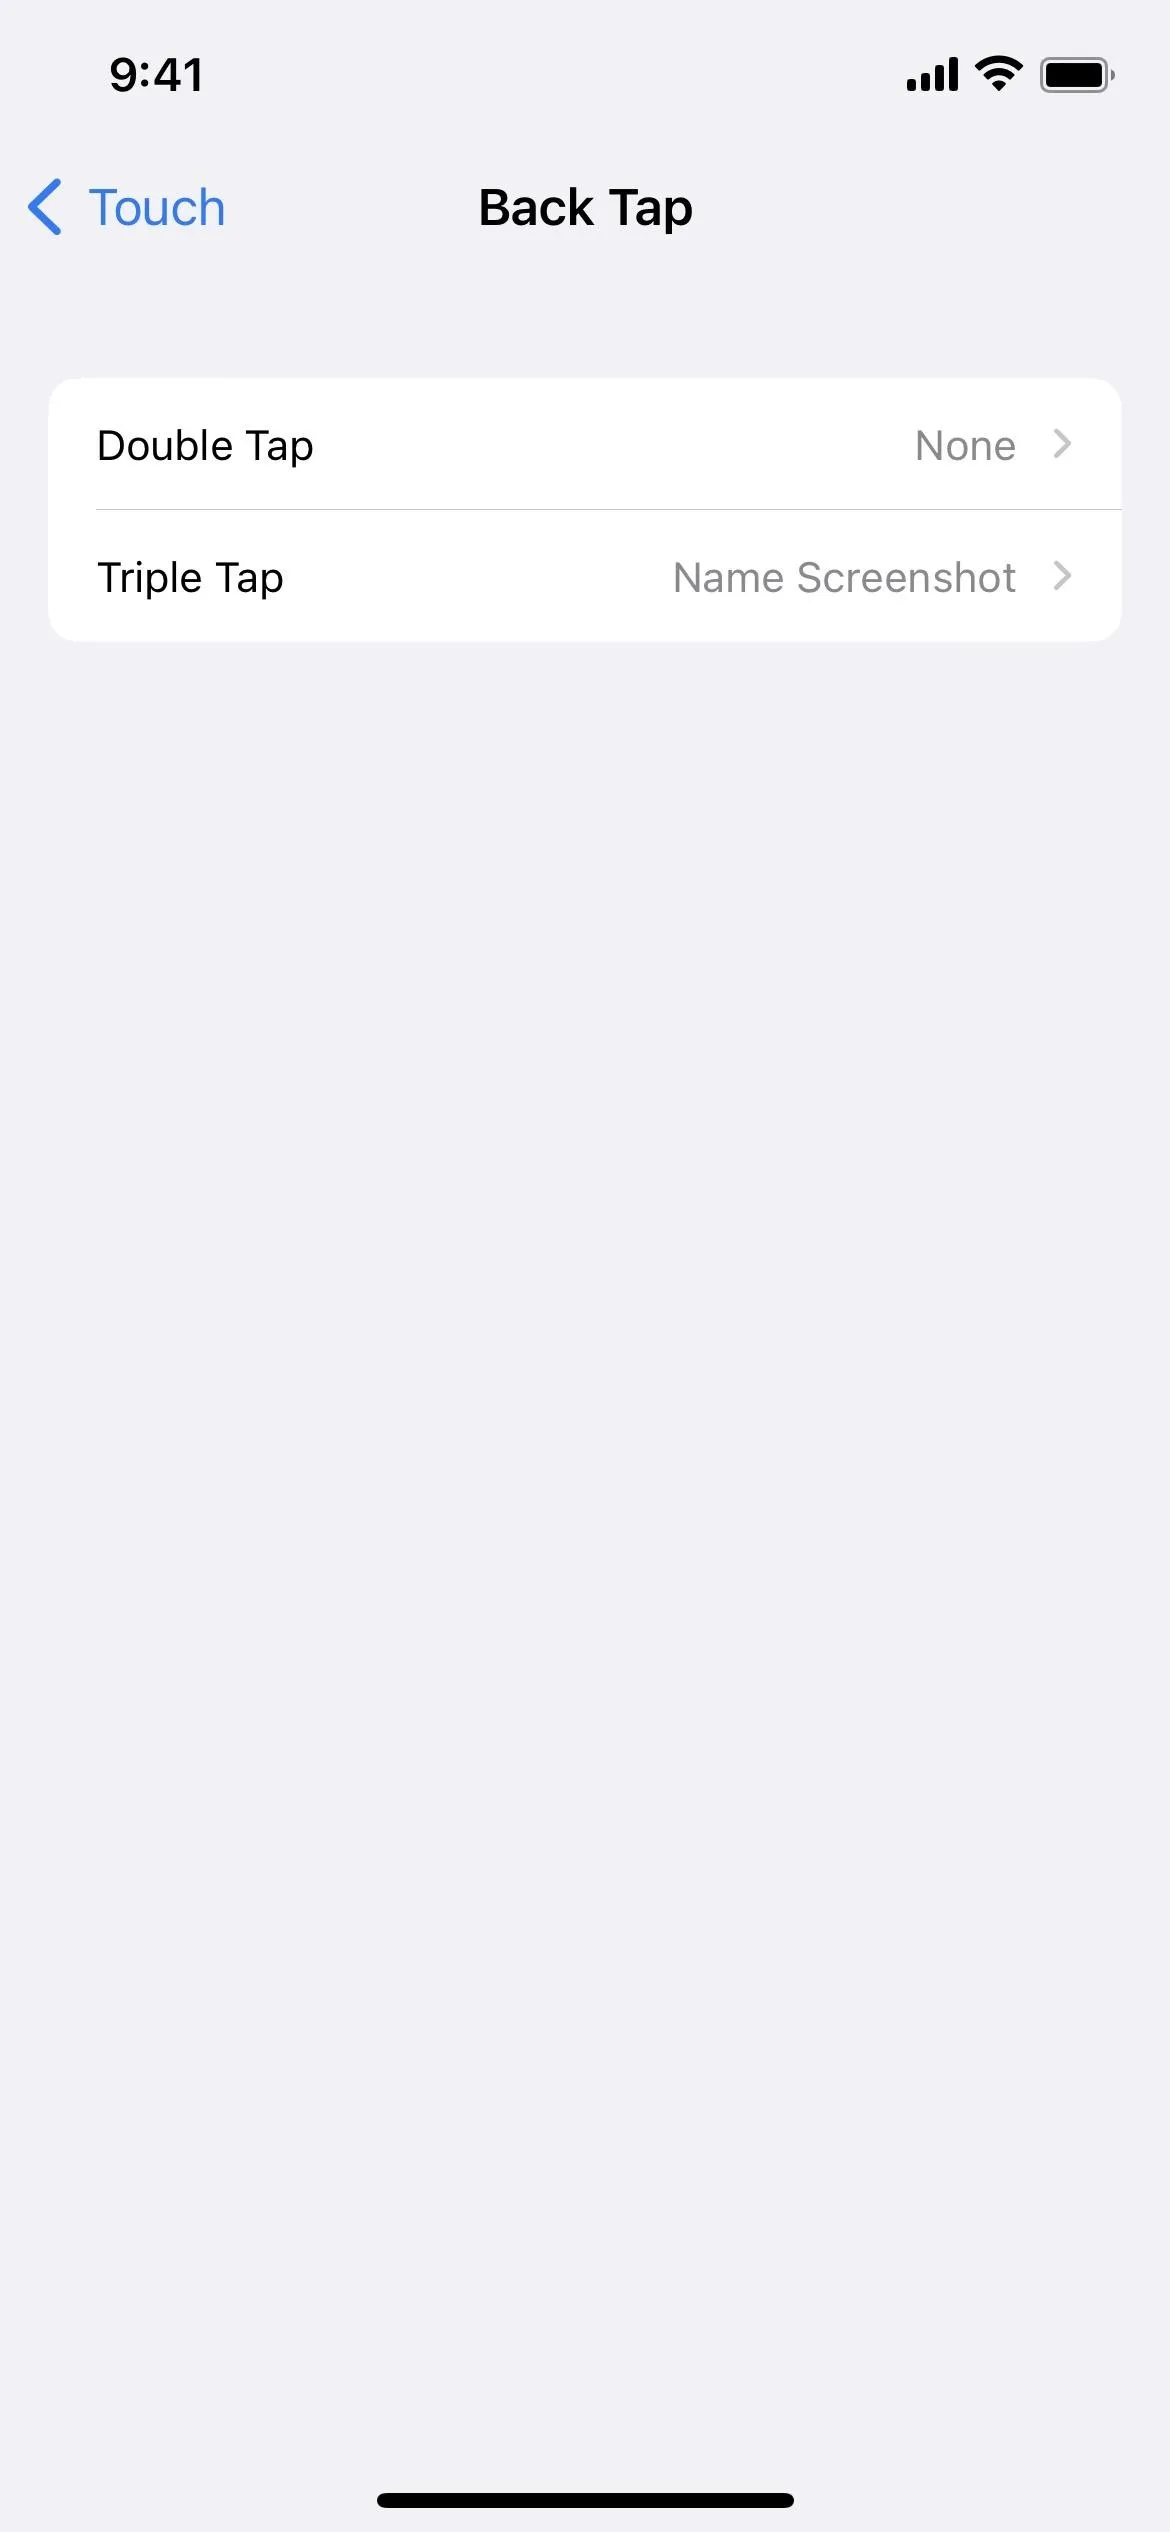
- Navigate to Settings –> Accessibility –> Touch –> Back Tap.
- Choose "Double Tap" or "Triple Tap."
- Assign your new shortcut to it.
Now, whenever you tap the back of your iPhone two or three times quickly, your iPhone will trigger the shortcut. A screenshot will be taken, and a prompt will immediately appear where you can name the file. Give it a name, hit "Done," and that's it. You won't even see the usual screenshot thumbnail!
If you don't want to rename a screenshot immediately, you can use the usual screenshot methods. But you'll always have the renaming method ready when you need it.
One issue with this trick is that it won't save your rename screenshots to the Screenshots folder in Photos. In step 4 above, you can't change the "Recents" folder to "Screenshots," However, you can create a custom album in Photos and choose that. Something like "Renamed Screenshots." Then change "Recents" in step 4 to that. The image will also appear in Recents, so you're not messing that up.
The only other issue is that the Photos app's search tool doesn't look at file names, so you'll want to use captions if you want searchable metadata.
Cover photo, screenshots, and GIF by Justin Meyers/Gadget Hacks


Comments
Be the first, drop a comment!