


Over the years, we've seen security breach after security breach, as well as high-profile data scandals where collected personal information was misused by companies. Apple makes customer privacy a priority, so there have been few issues to worry about when it comes to its services on your iPhone. However, there are still plenty of privacy settings to explore and change, especially within Safari.
It should go without saying that privacy and the internet do not mix. As you browse the web, every move you make is logged by your ISP, the site you're visiting, even sites you've visited in the past. But taking the proper precautions can help reduce the data you emit when using Safari.
Apple has a ton of privacy-related features for Safari, many of which are enabled by default, but there are still plenty of settings you should check to make sure you're surfing the web as securely as possible.
1: Secure Your iPhone's Passcode
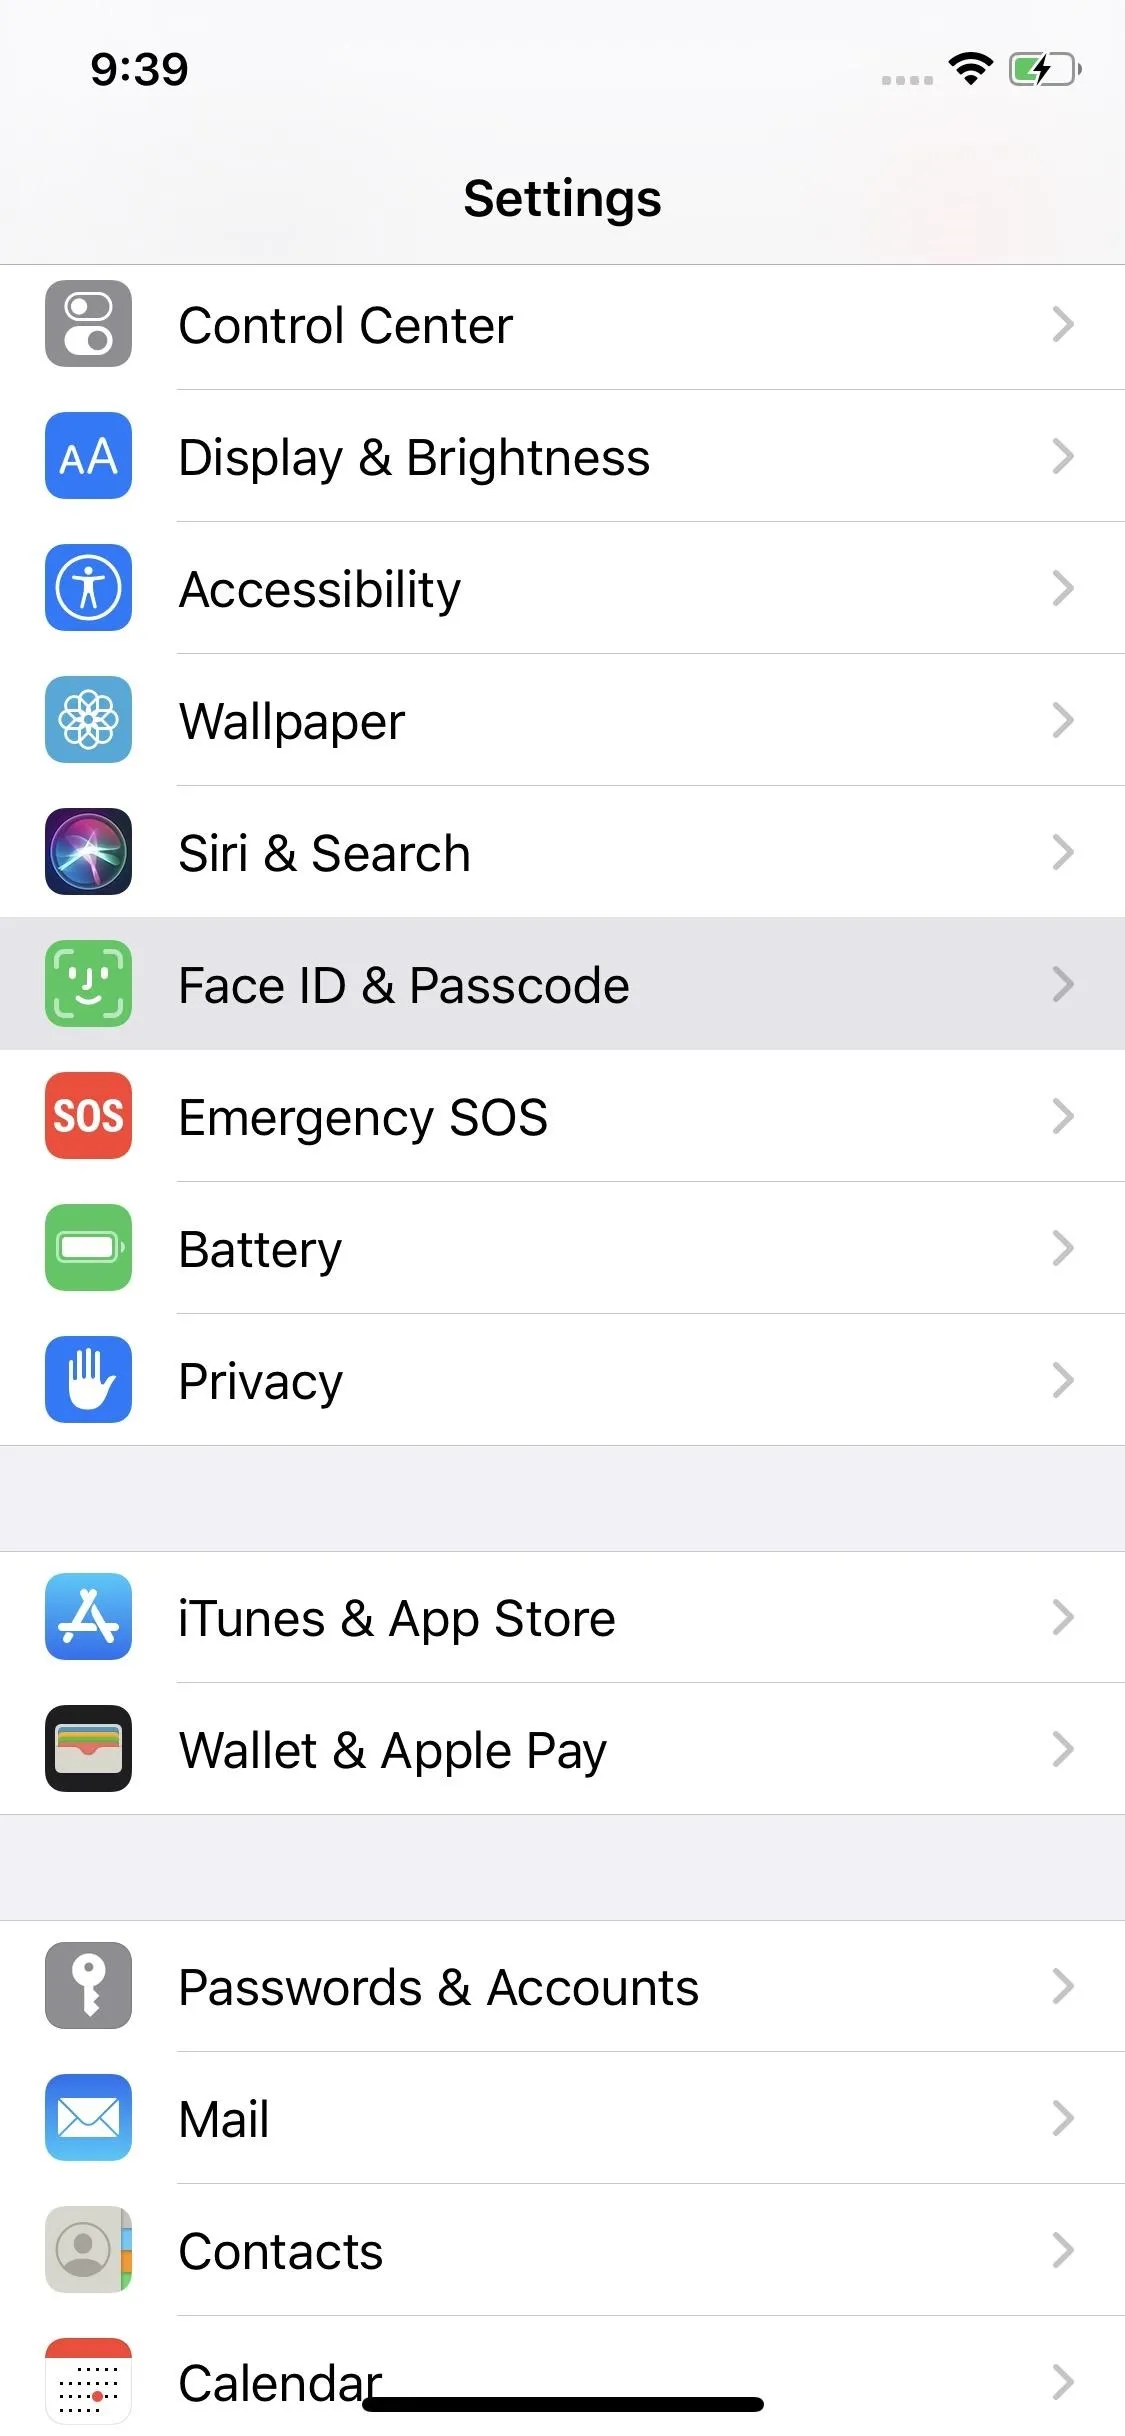
While Safari might not require a passcode to access it, your iPhone sure does. If someone with nefarious motives wants in on your Safari data, it won't matter what steps you take below if they can guess your passcode.
Using Touch ID or Face ID, you can hide sensitive data accessible in Safari, such as iCloud Keychain passwords and AutoFill credit cards. But if your intruder knows your passcode, it only takes a minute for them to reset your biometric keys to match their own. Plus, they can dismiss the biometrics request to enter your passcode anyway. So much for that deterrent.
So you'll want to make sure your passcode is secure enough to keep out the most likely of intruders, but not so complicated you lose your mind trying to get into your iPhone. Check out our guide below on creating the ideal passcode for your device so that all of your Safari data remains private.

2: Disconnect Safari from Siri & Search
Siri's integration with Safari may seem more useful outside of Safari since it looks at your browsing history and searches to include helpful predictions and suggestions in Search, Look Up, News, Photos, Memories, on your lock screen, and even in Keyboard.
While Siri uses "local, on-device processing" to do all of that, it will send generalized topics to Apple in some instances to give you better search results. Apple claims to use "privacy-friendly techniques to disassociate these topics of interest from you," but if you're ultra-paranoid, it still might not sit right.
In the past, you could kill all Siri & Search functions in Safari with the flick of a few switches. As of iOS 13, six settings control those options. To turn them all off, go to Settings –> Safari –> Siri & Search.
- Show Siri Suggestions in App show suggestions in Safari based on your activity in and outside of the app — and even from other devices using your Apple ID. Siri intelligence may include content from Messages, Mail, your clipboard, and so on.
- Learn from this App monitors your Safari activity to show you more relevant suggestions across other apps, such as in the Keyboard, where words and phrases may appear for what you were just reading in Safari.
- Show in Search shows information related to Safari in Search and Look Up, such as webpages you have open or have visited before. However, you will still see Website suggestions using your default search engine in Safari, as well as Siri Suggested Websites, but they won't be tied to your activity. Toggling it off also disables "Suggest Shortcuts."
- Show App only appears when "Show in Search" is disabled. It shows Safari in Search and Siri App Suggestions. For instance, you can find quick access to Safari under Applications in search if you forgot where it is on your home screen. (In iOS 12 and under, it appears when "Siri & Suggestions" is off.)
- Suggest Shortcuts suggests shortcuts in Search and Look Up based on your Safari activity. It's similar to the master "Show in Search" option, but it only disables shortcut actions such as opening a link you copied from another app. Toggling it off will also disable "Show Siri Suggestions." (In iOS 12 and under, it was a part of the main "Siri & Suggestions" toggle.)
- Show Siri Suggestions controls suggestions on the lock screen. In iOS 12 and under, it's called "Allow on Lock Screen."

3: Turn Off Safari Suggestions
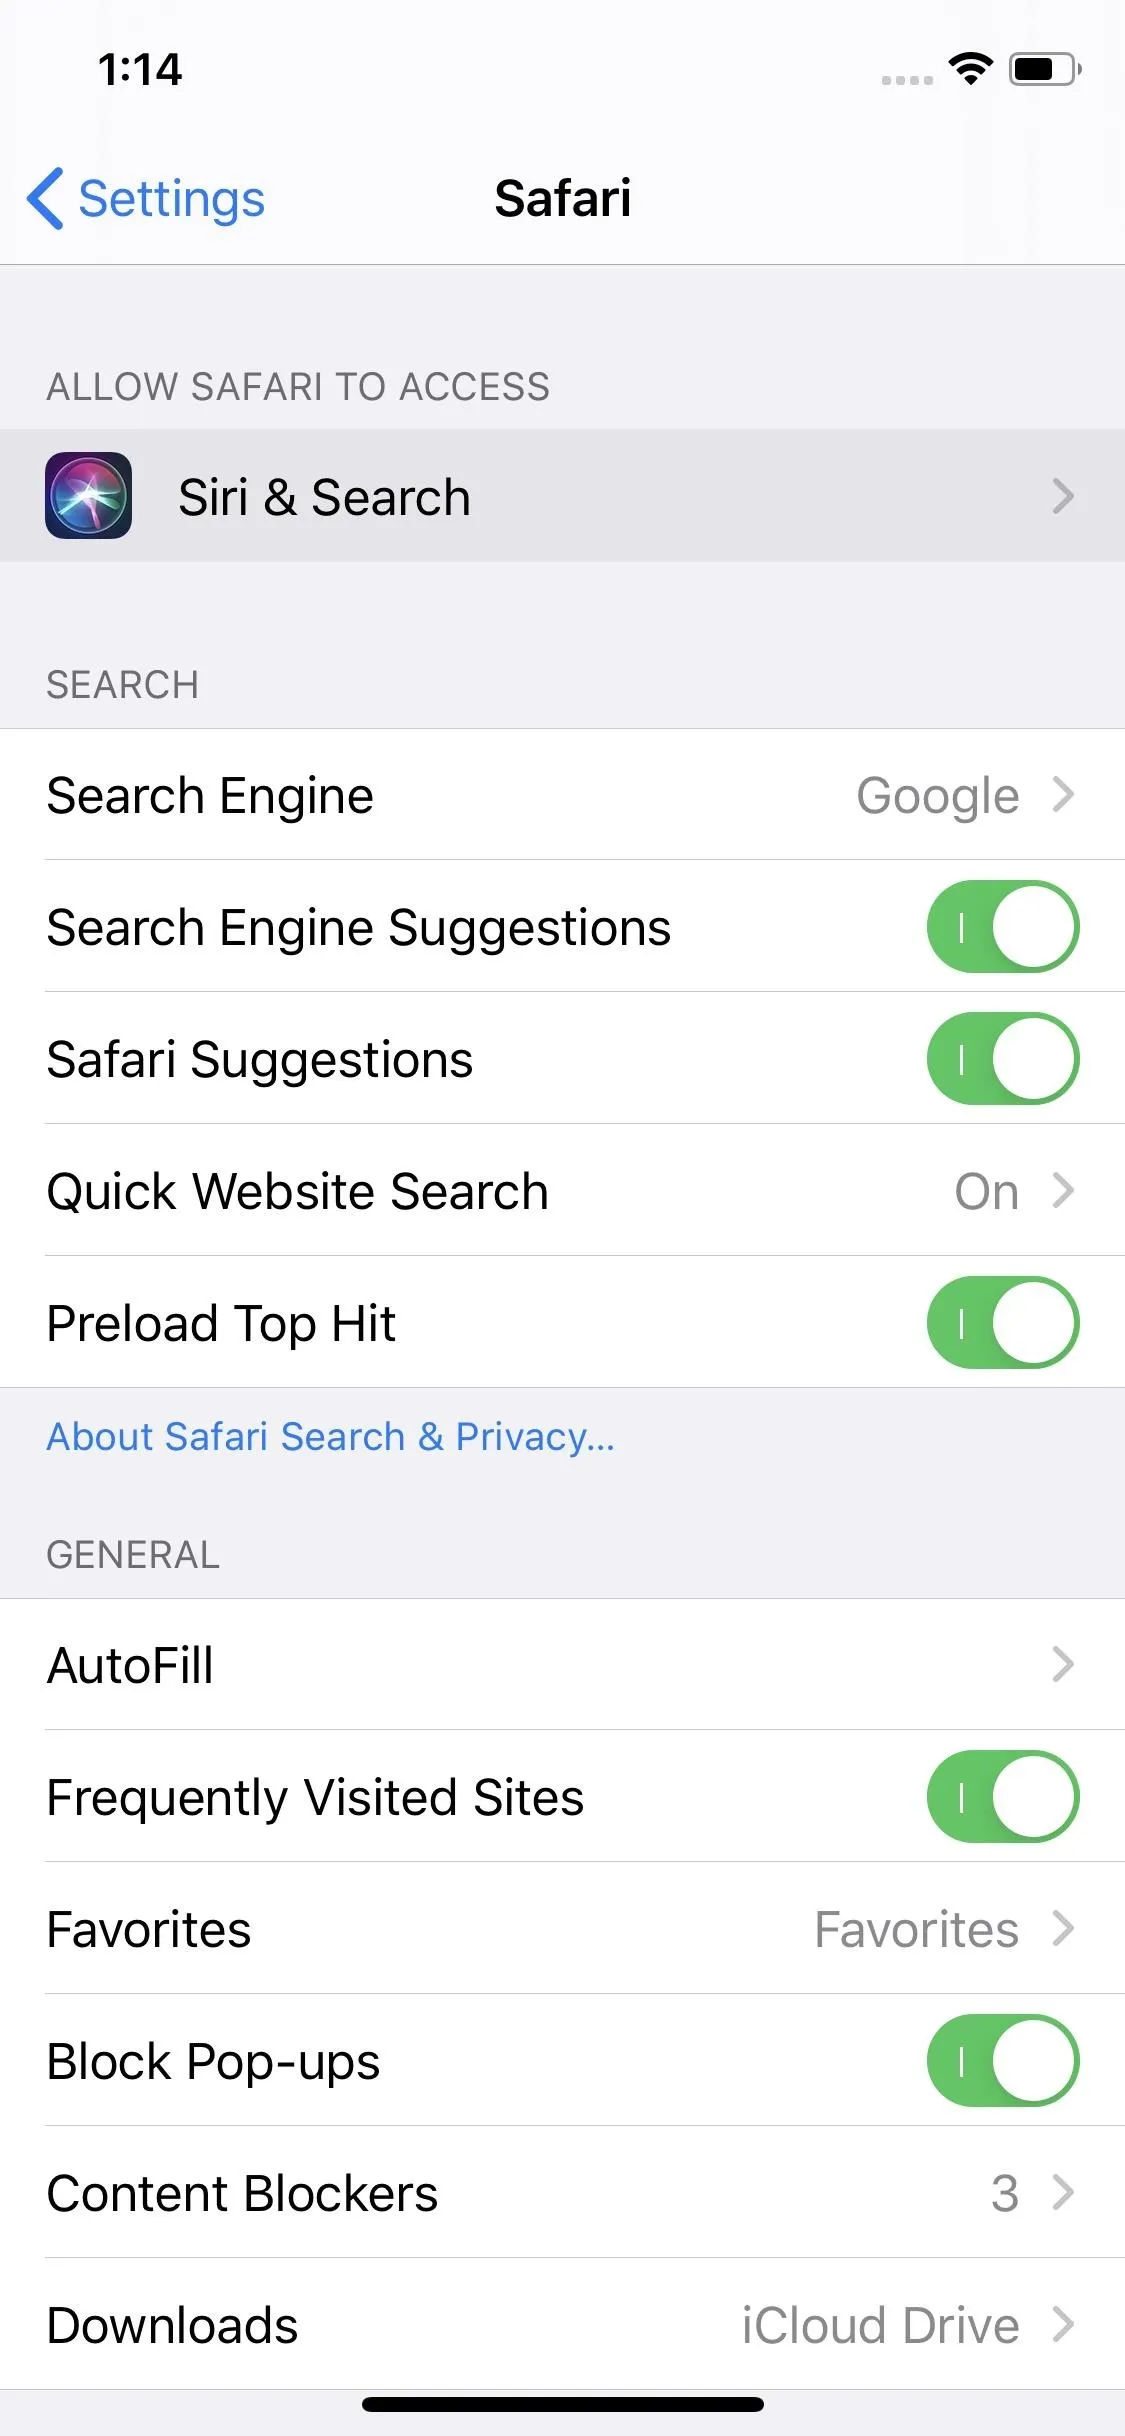
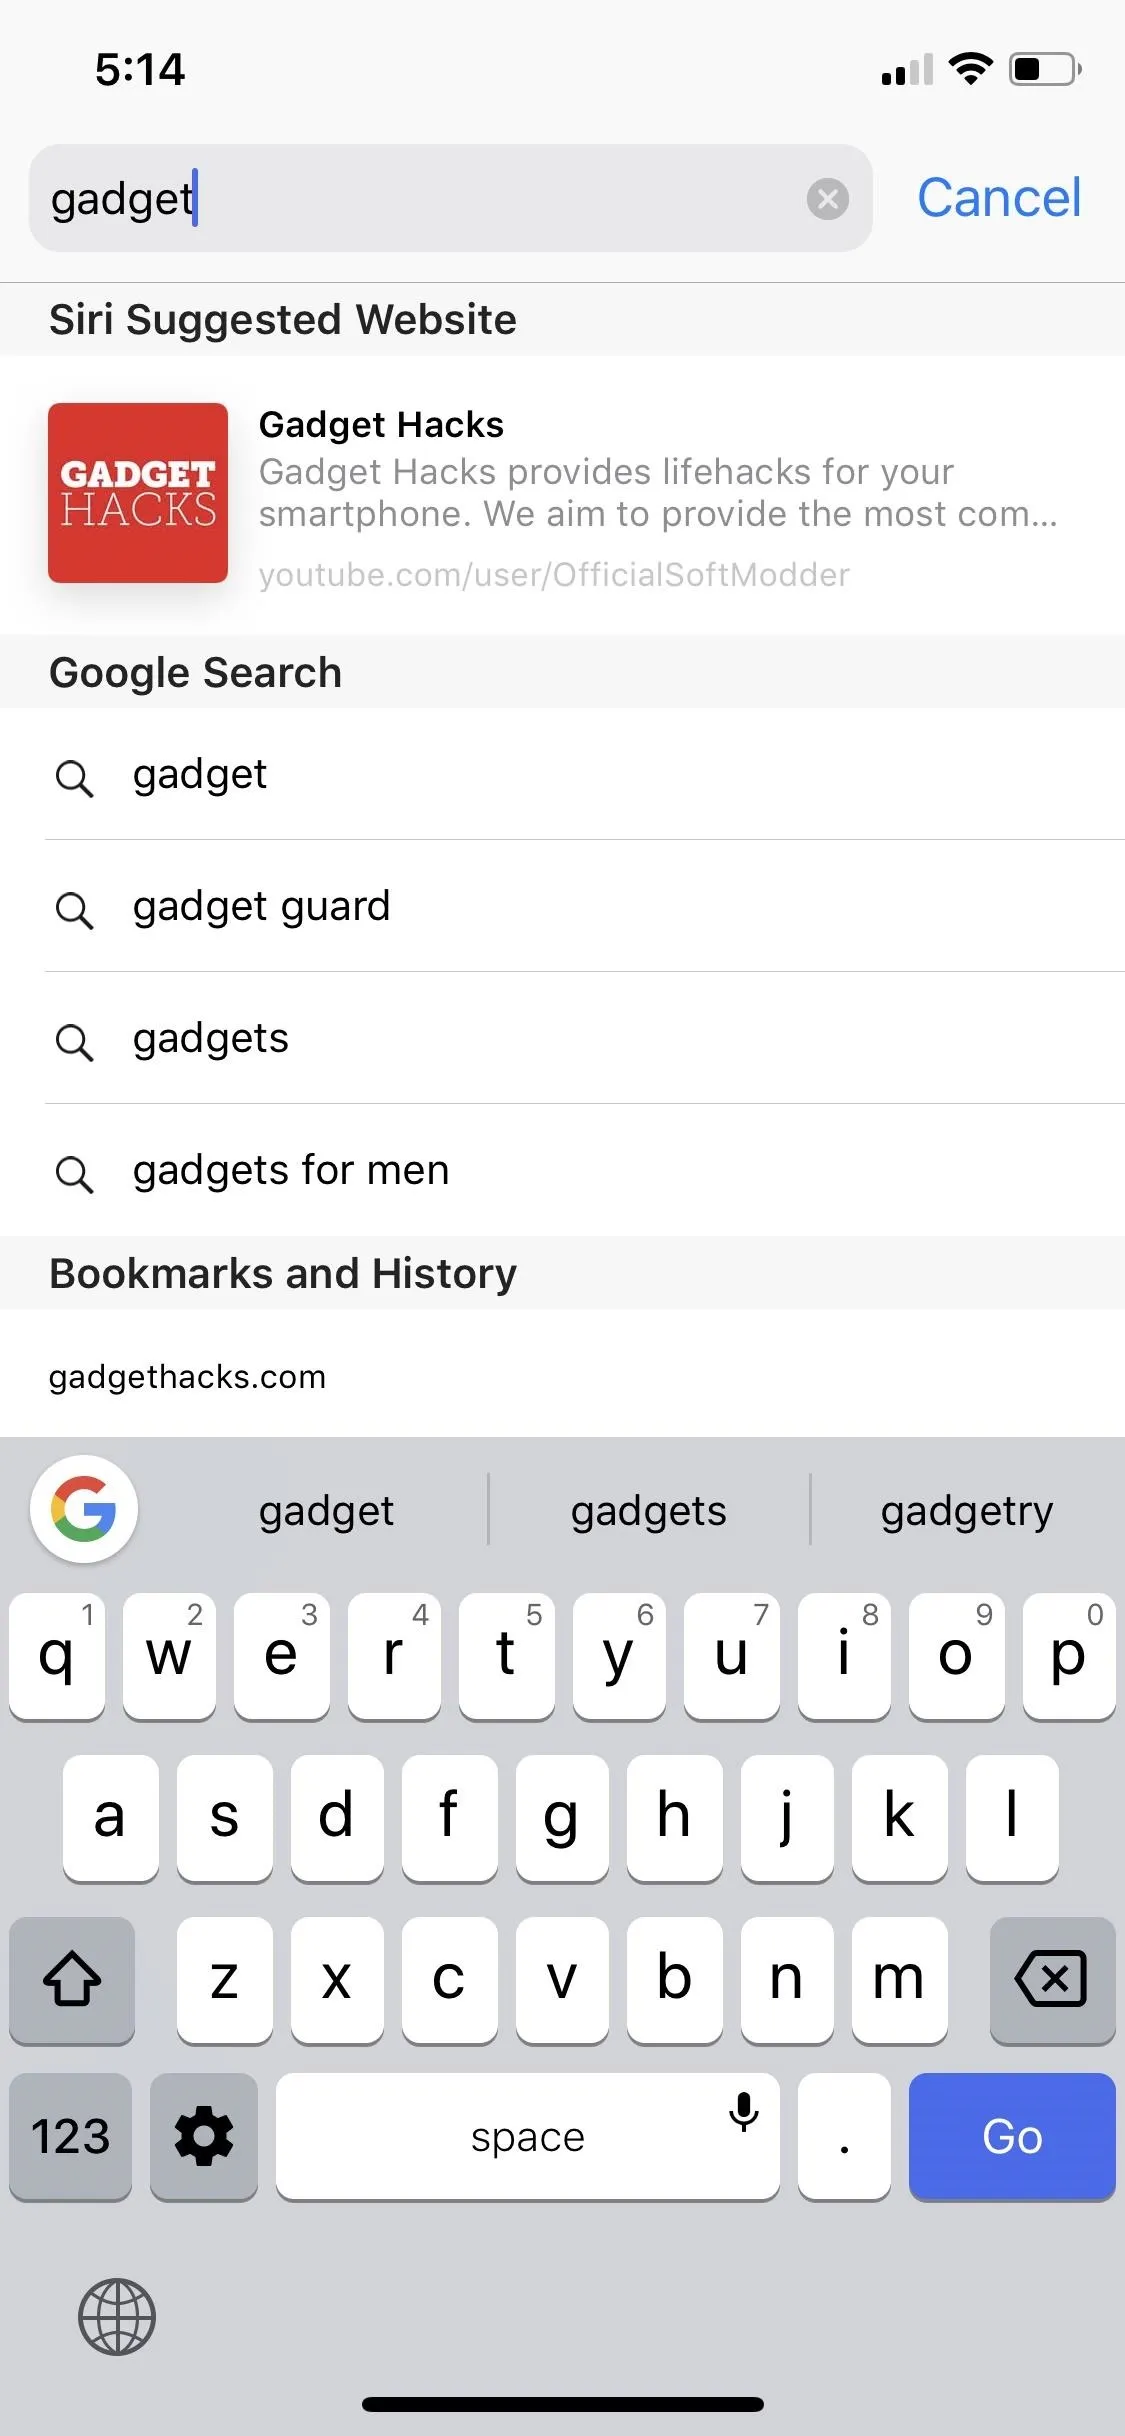
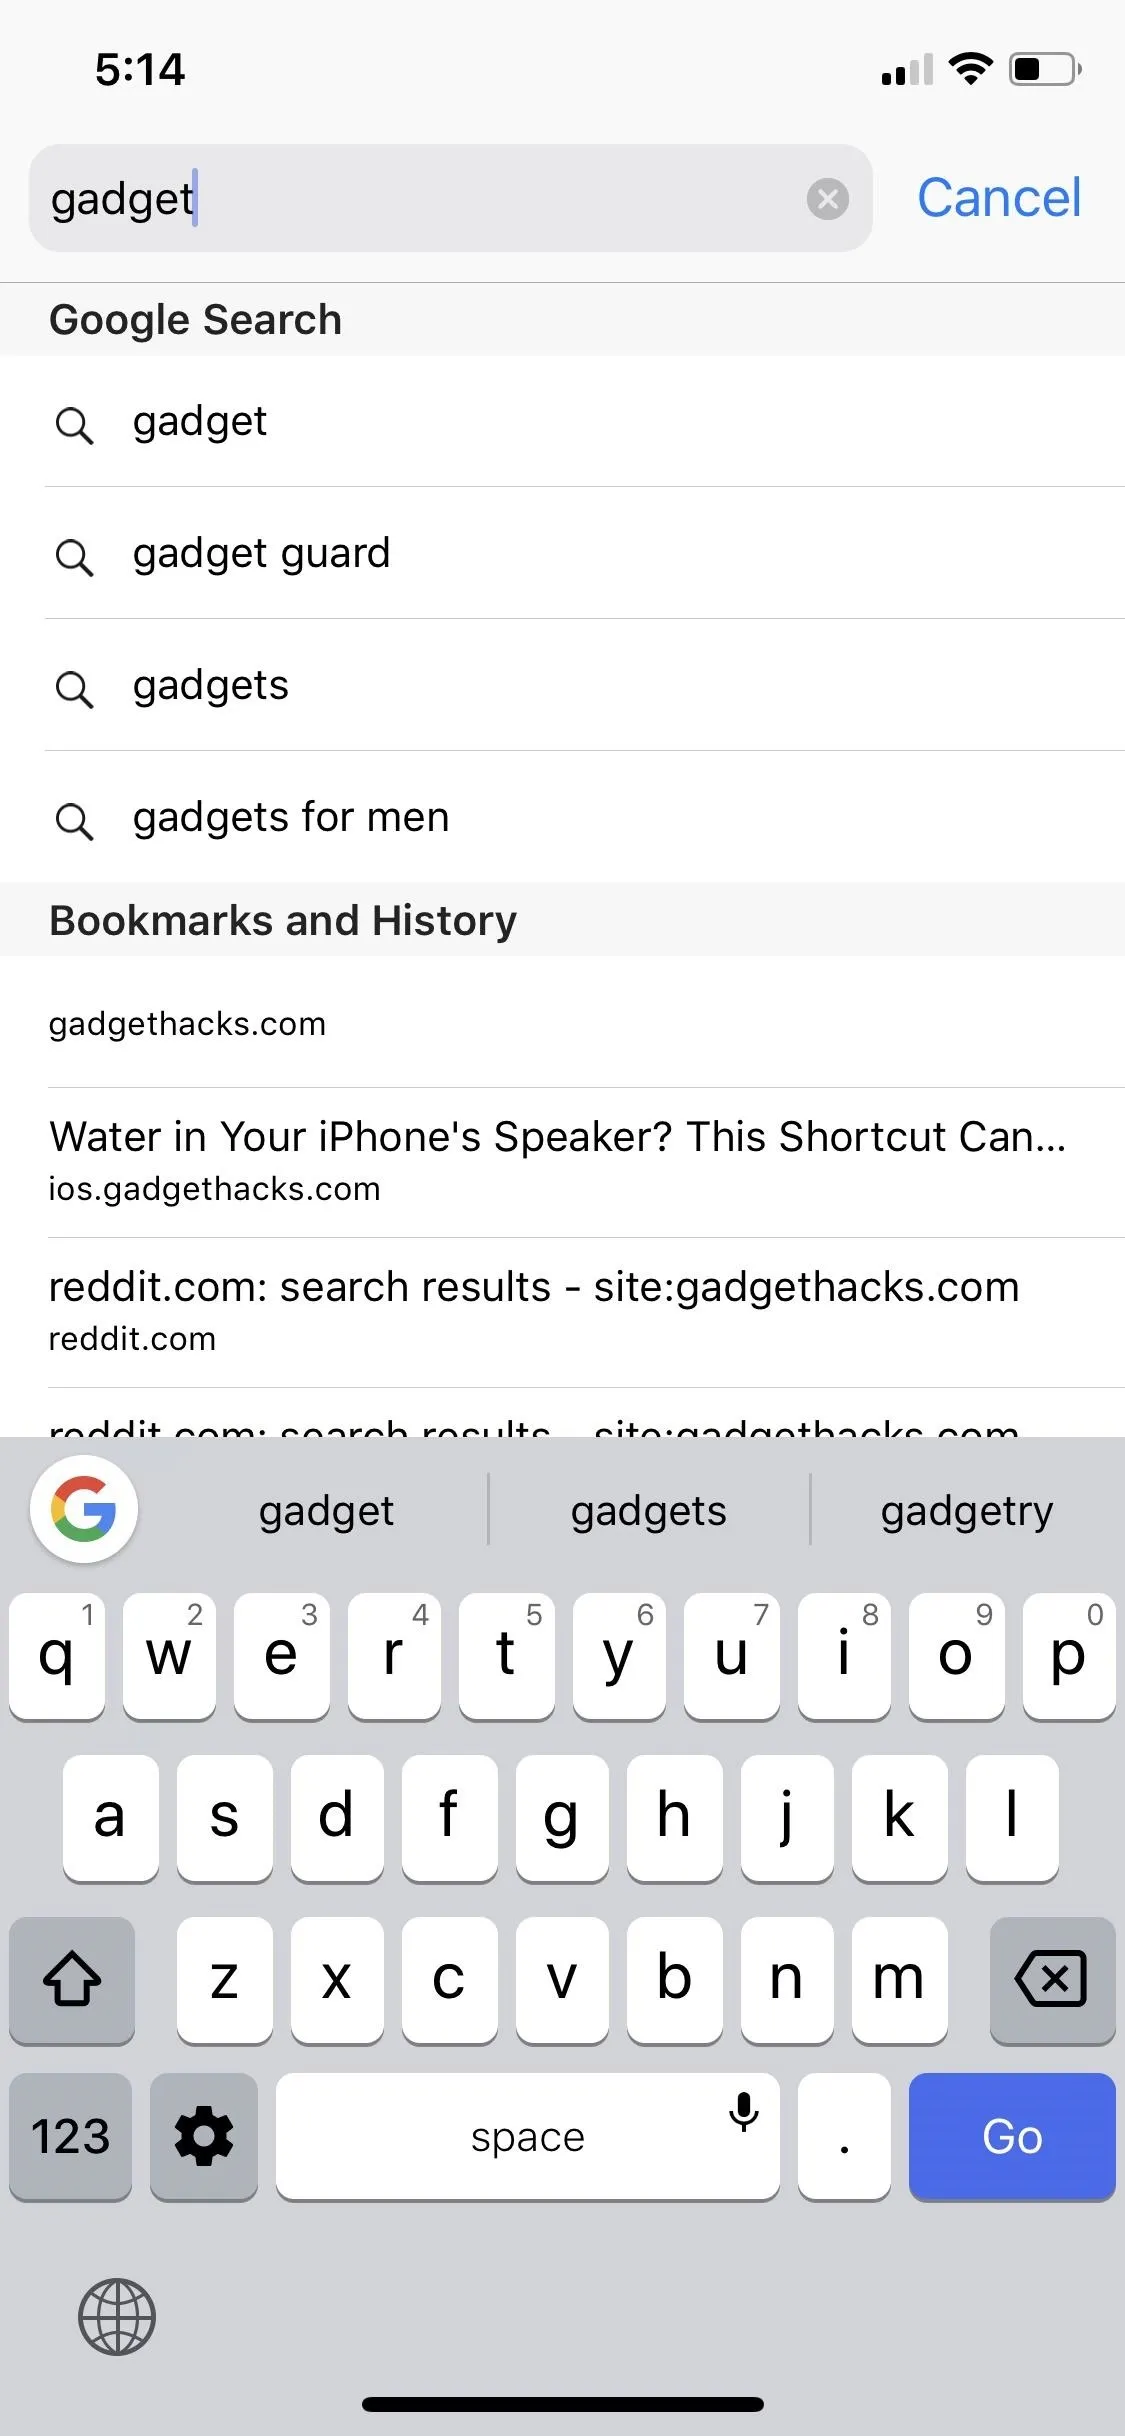
Even if you disable the Siri & Search settings seen above, you might still see suggestions when typing a query into the Smart Search field in Safari. That's because of "Safari Suggestions."
These suggestions could be related articles in the News app, locations in Maps, details in Stocks, movie showtimes, weather conditions, and more. It can even show you flight information when you type in a specific flight number. Siri Suggestions also appear if you didn't already disable that from above.
While useful, some of the information is tailored to you and what Safari thinks interests you most. Think of it like search engine suggestions (there's also a Safari toggle for that). With it disabled, you may no longer see suggestions when typing, but that doesn't mean your iPhone is reading any less data. Still, it may provide a little peace of mind to see these suggestions gone.
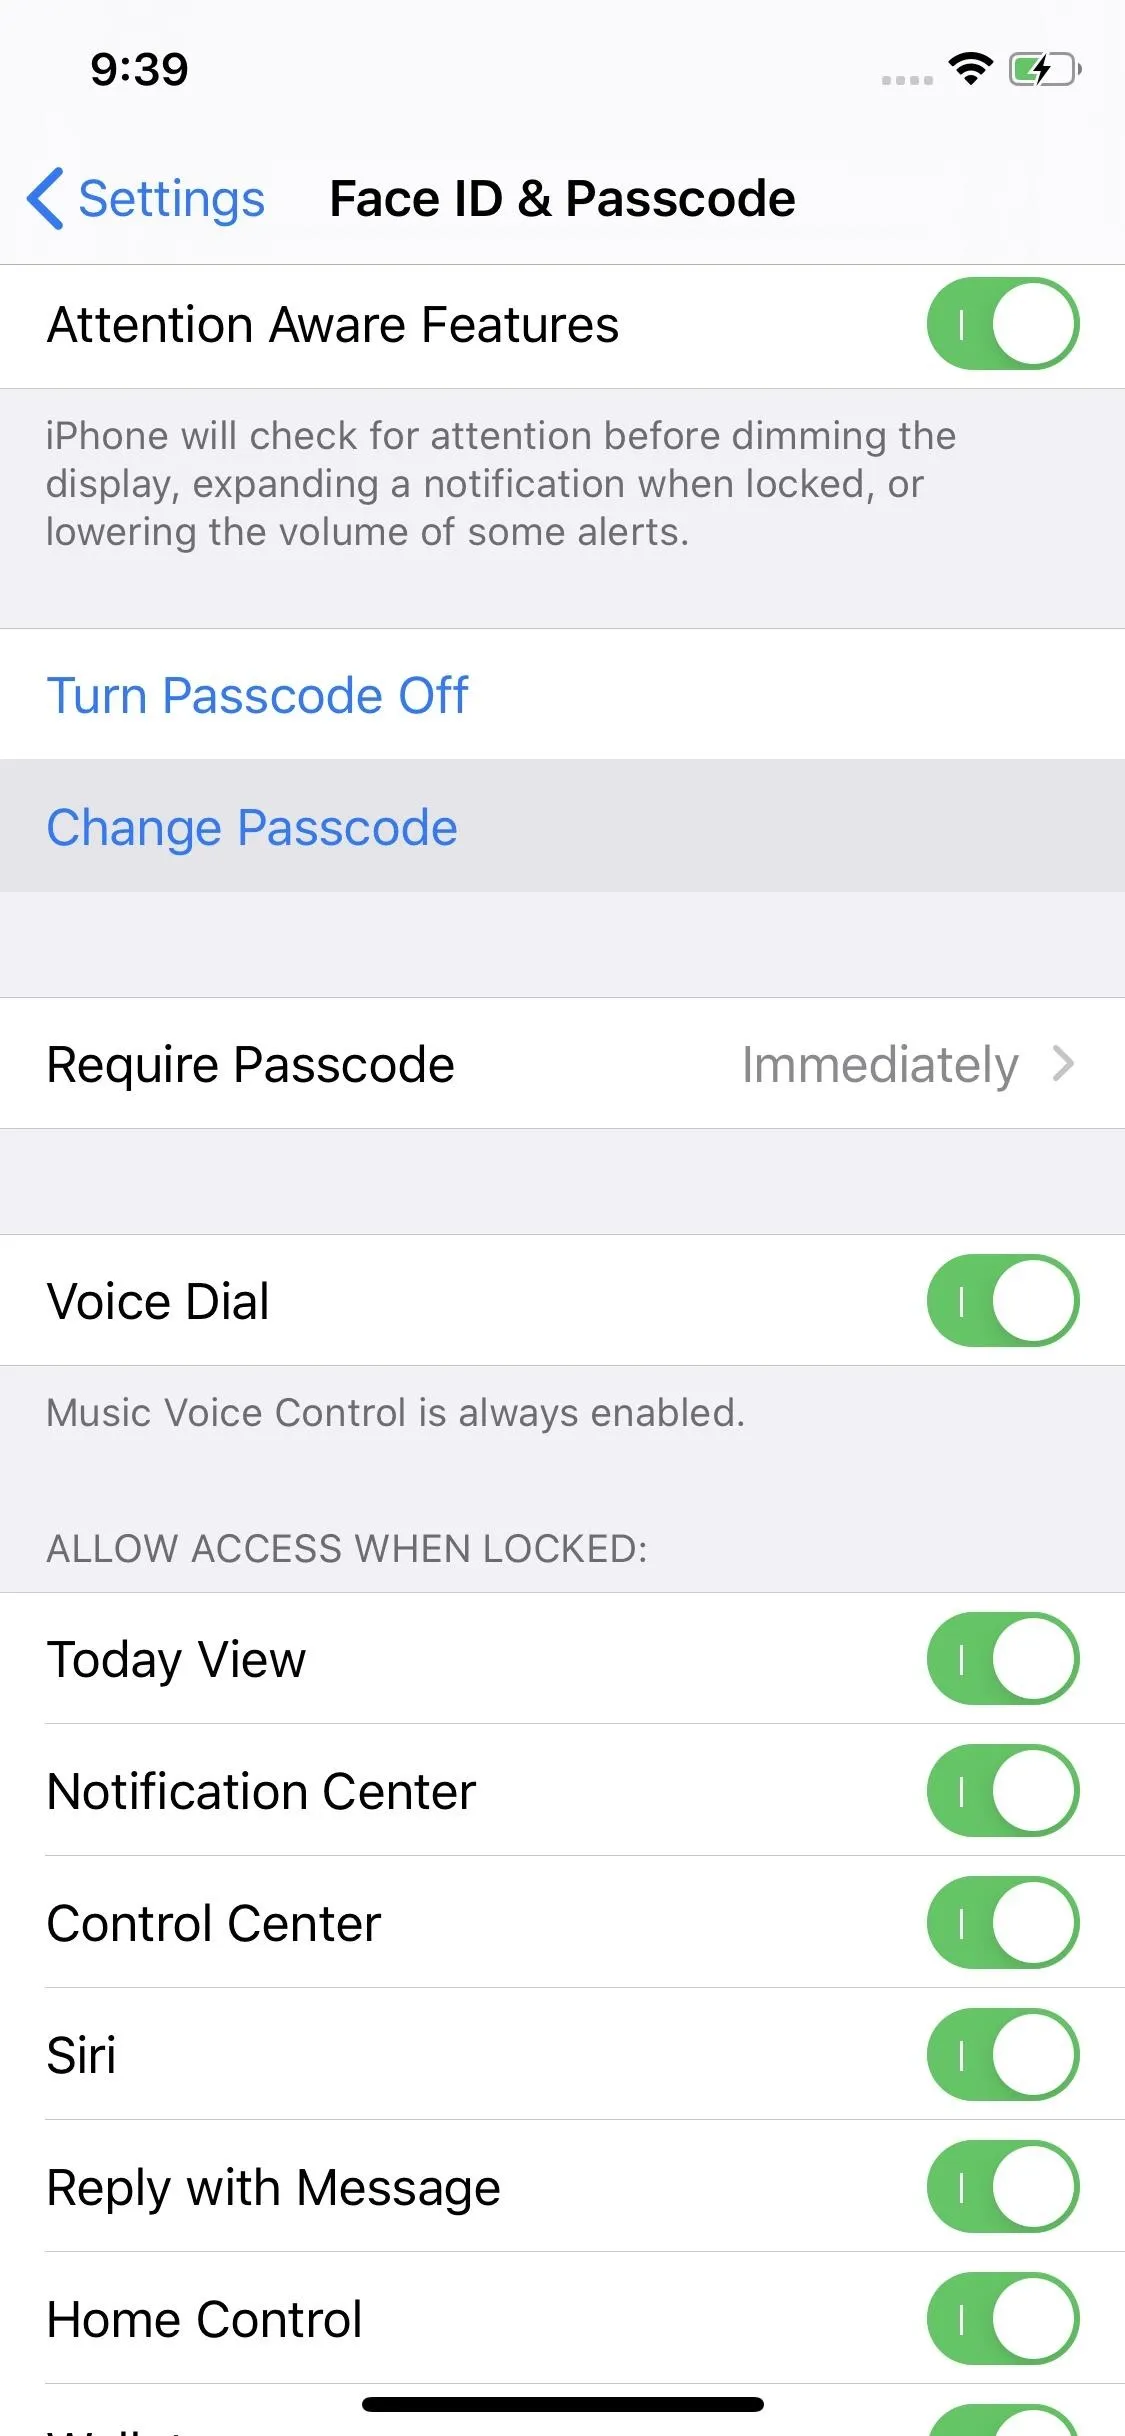
Head over to Settings –> Safari, then tap the slider next to "Safari Suggestions." You'll also see the "Search Engine Suggestions" option there, which can also be toggled off if you really want to limit predictions.
With Safari Suggestions enabled (left) and without (right).
With Safari Suggestions enabled (left) and without (right).
4: Set DuckDuckGo as Your Search Engine
Google may have conquered the search engine market, but that doesn't mean you need to use it. Google is famous for how it collects data on its users, which, if you're reading this, might go against your privacy-minded interests.
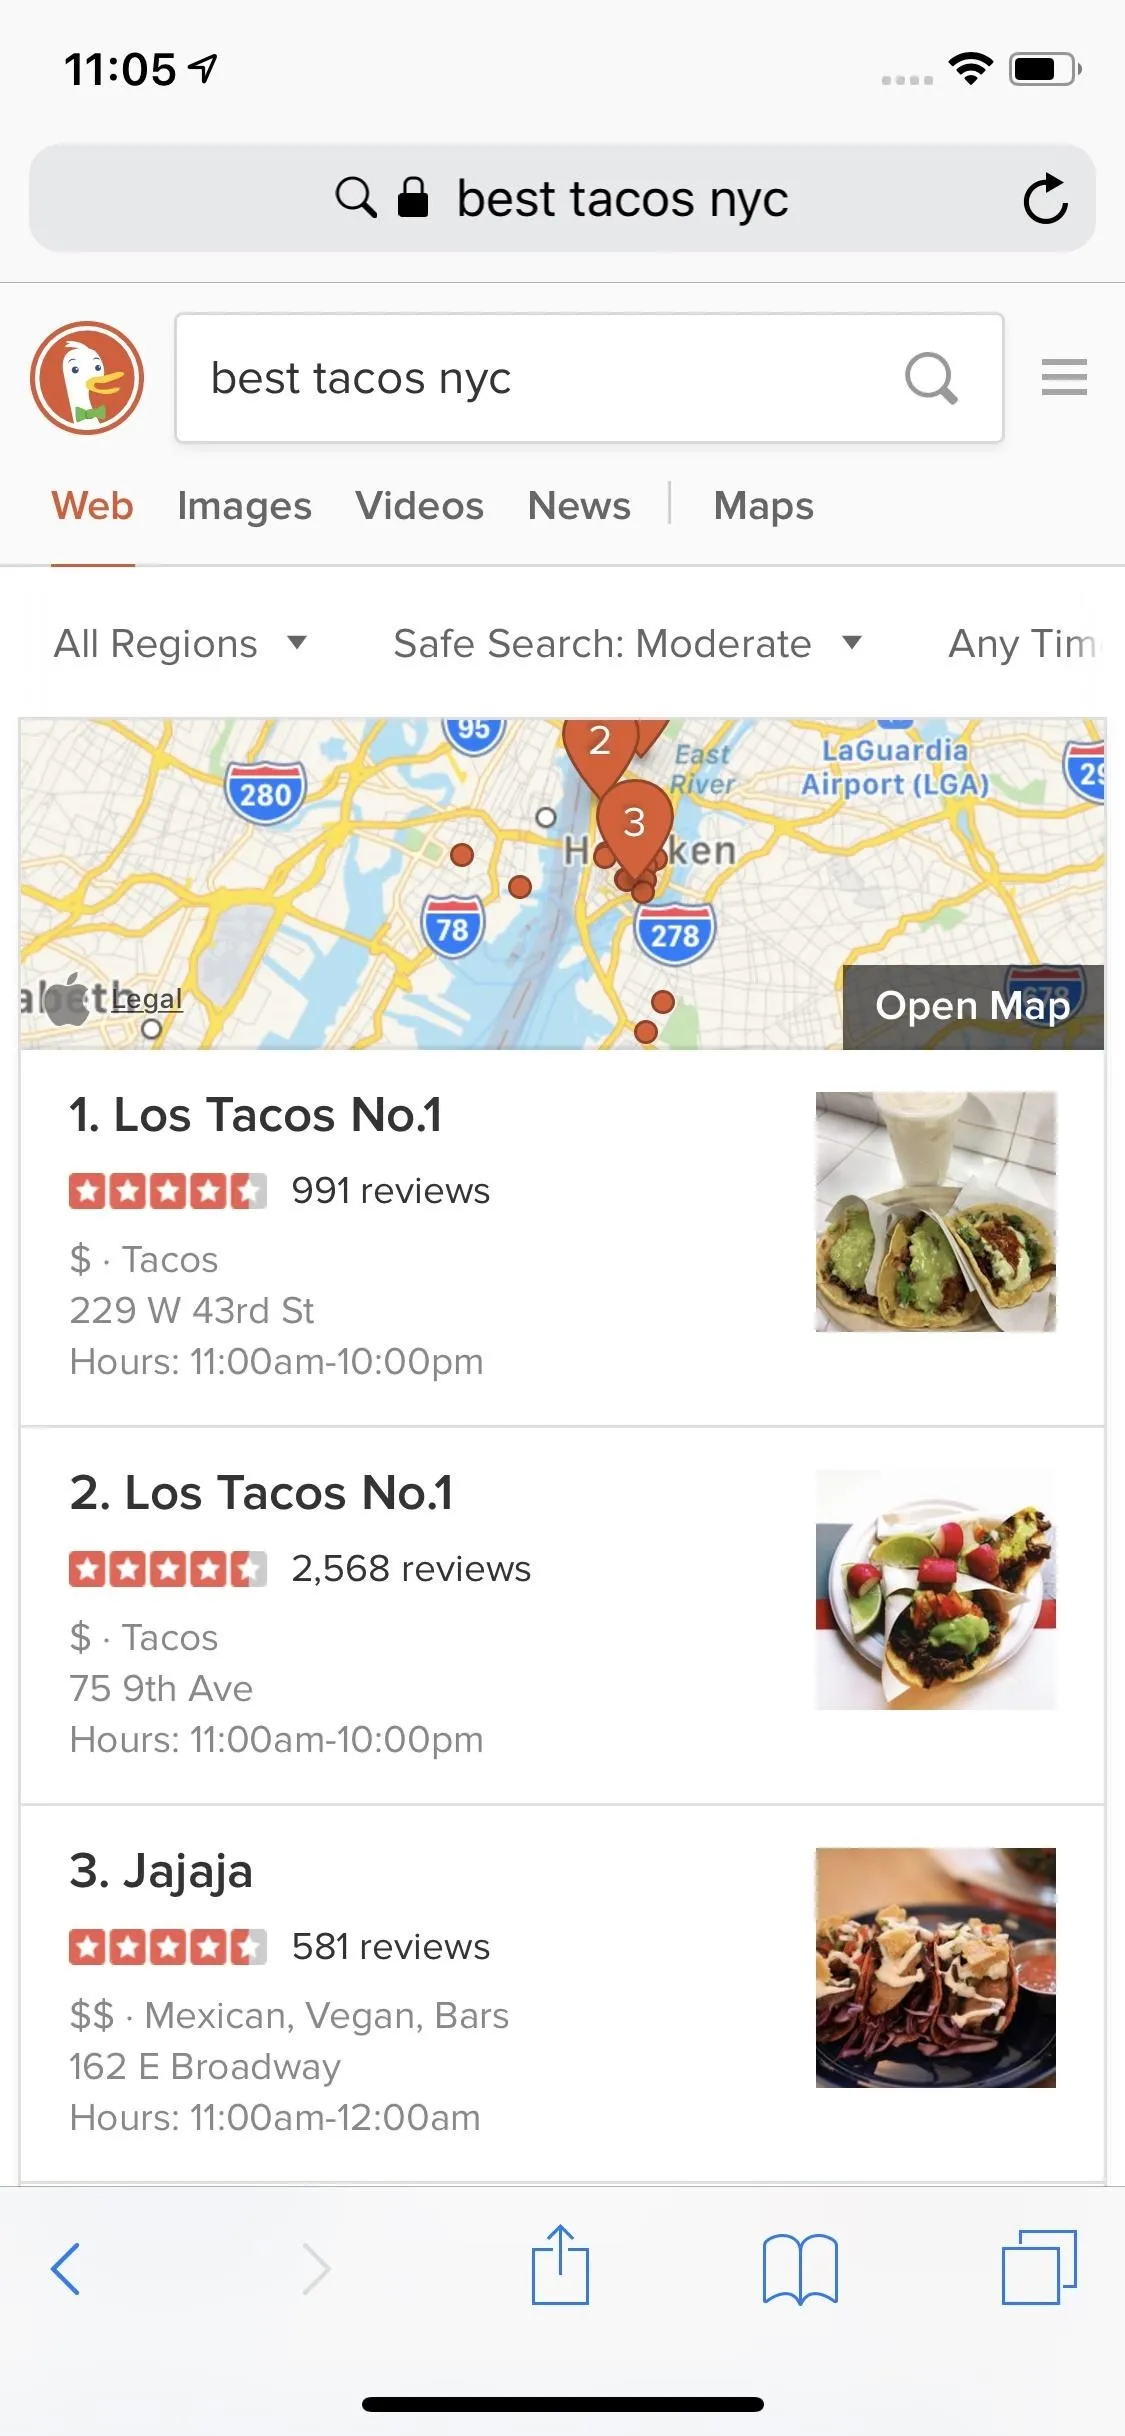
If using Google as your default search engine makes you uneasy, try DuckDuckGo instead. DuckDuckGo was created in response to Google's seemingly endless control over your data. The company does not store your information, doesn't show you ads based on your search history, and doesn't track you between public and private browsing modes. Sure beats Google, Yahoo, and Bing.
To switch, head over to Settings –> Safari –> Search Engine –> DuckDuckGo.

Google's search engine (left) vs. DuckDuckGo's (right).
Google's search engine (left) vs. DuckDuckGo's (right).
5. Set Location Permissions for Each Website
Whenever a website needs to use your location data, by default, it will ask each time it needs it. We can thank iOS 13 for integrating fine-tuned controls for locations on a per-website basis. While the default is more than good enough since you know about every time you grant access, you may want to avoid the permission prompts altogether if you never want sites to use your coordinates.
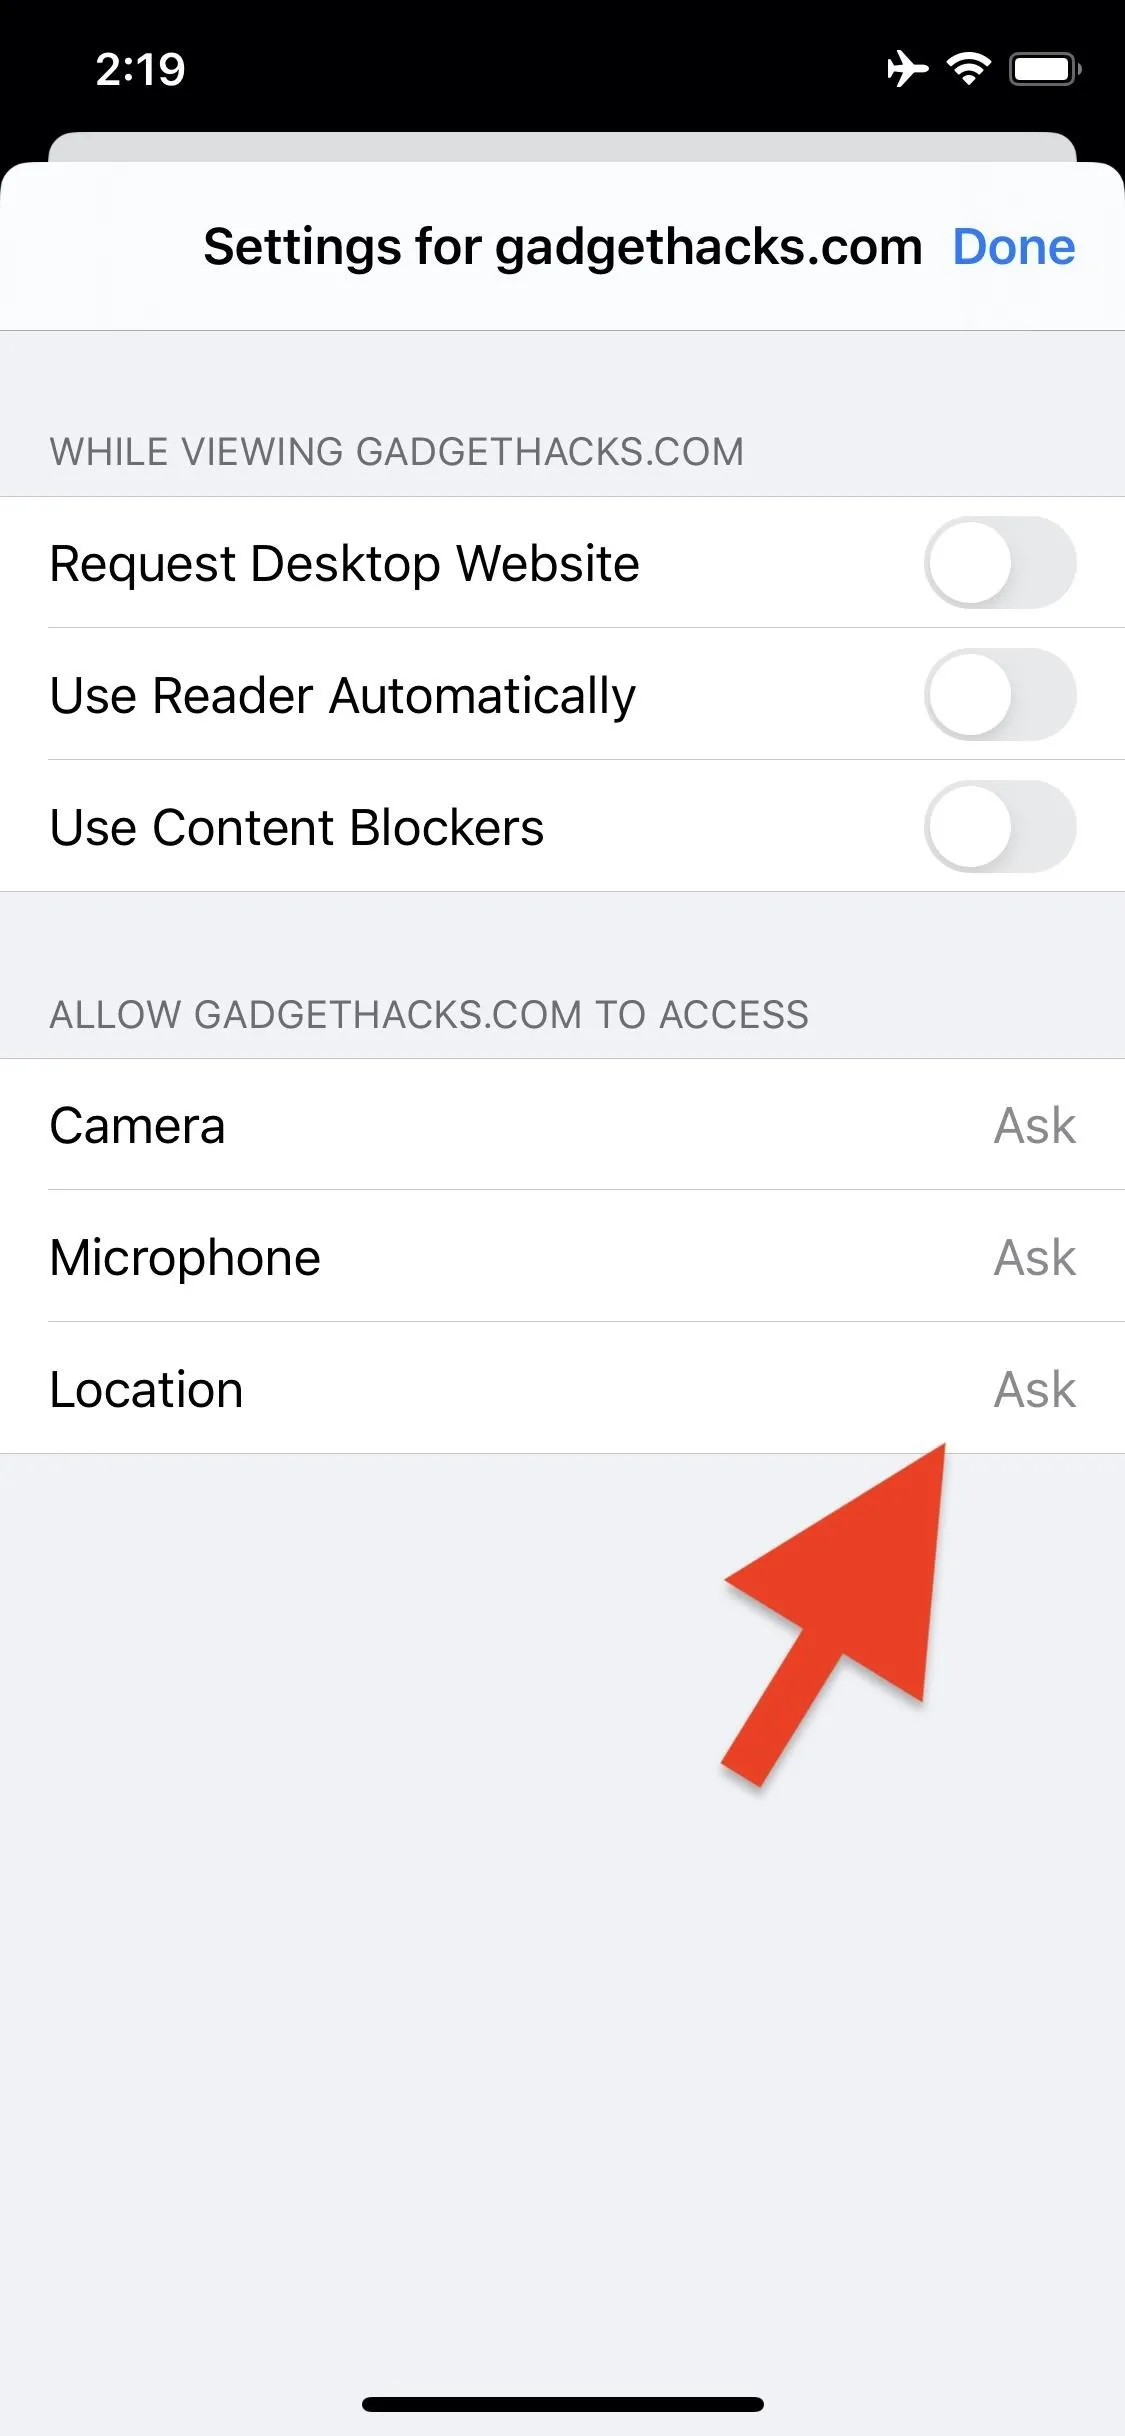
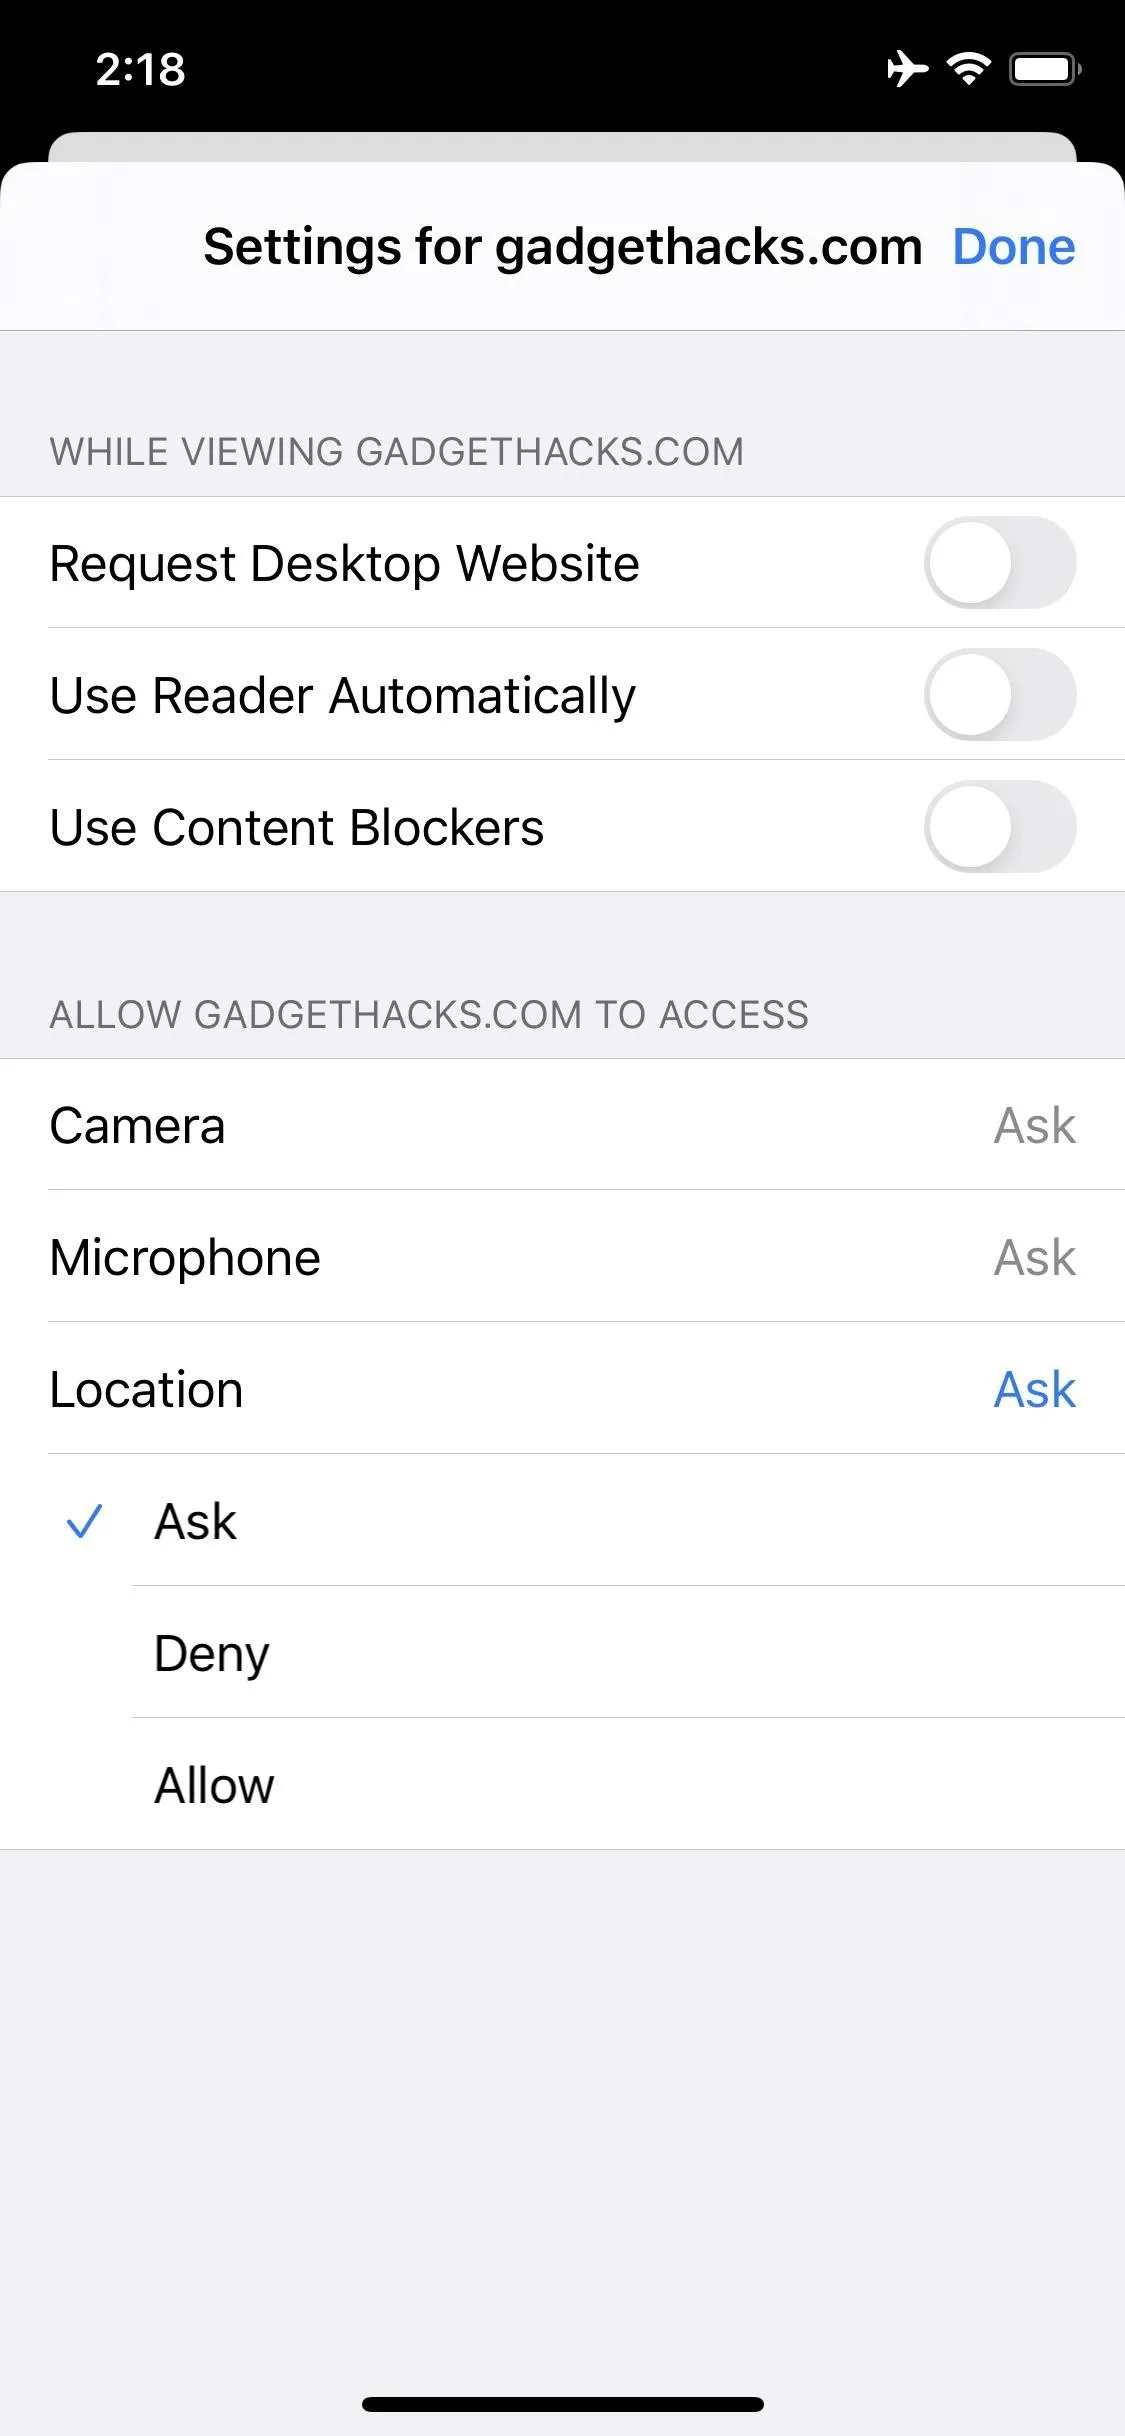
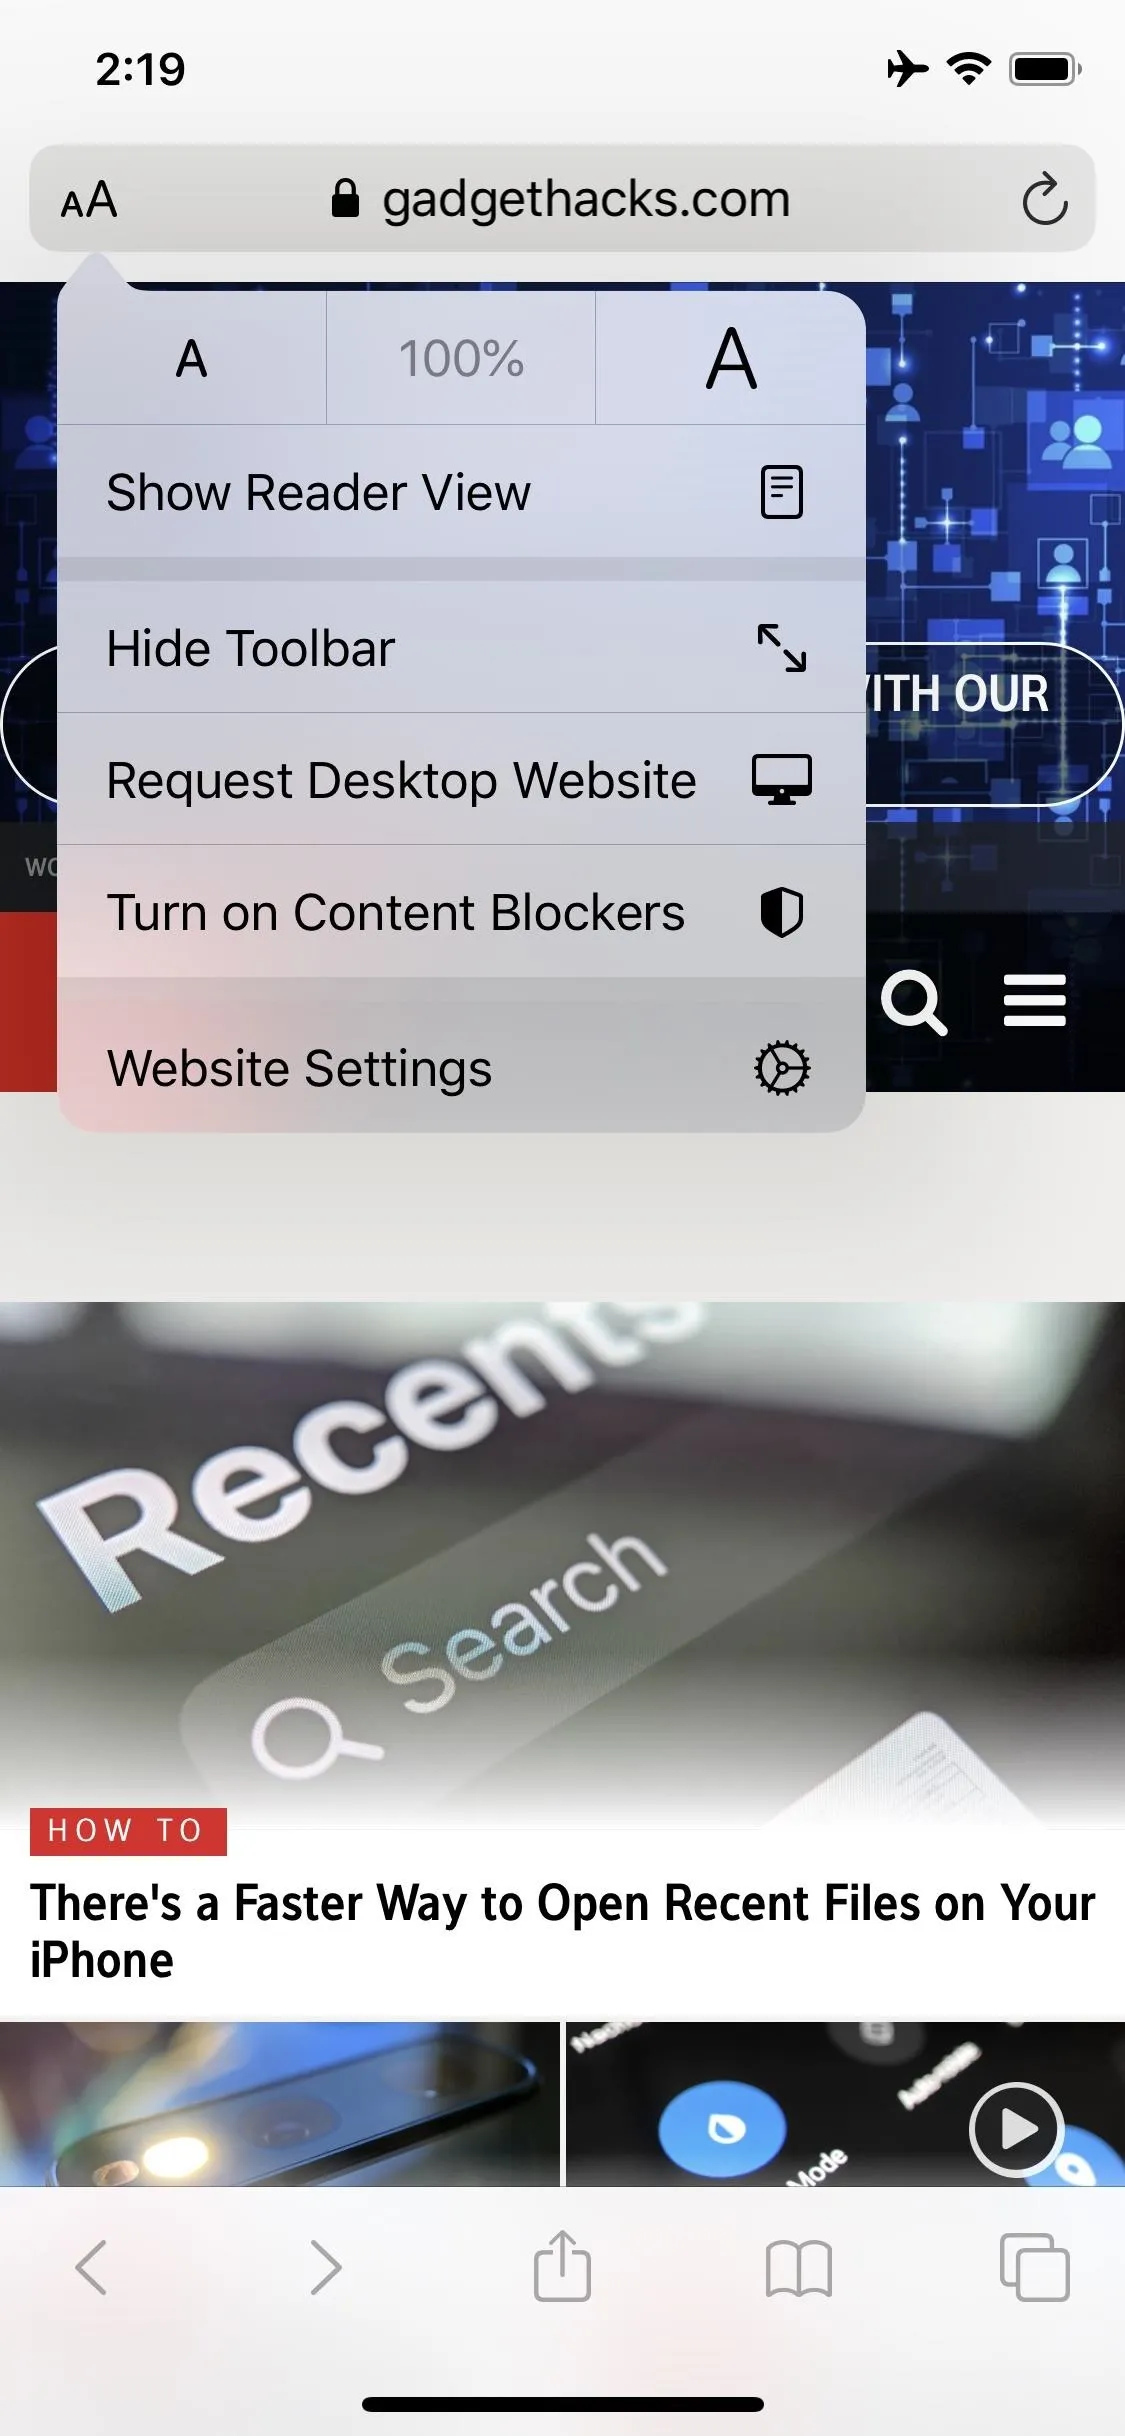
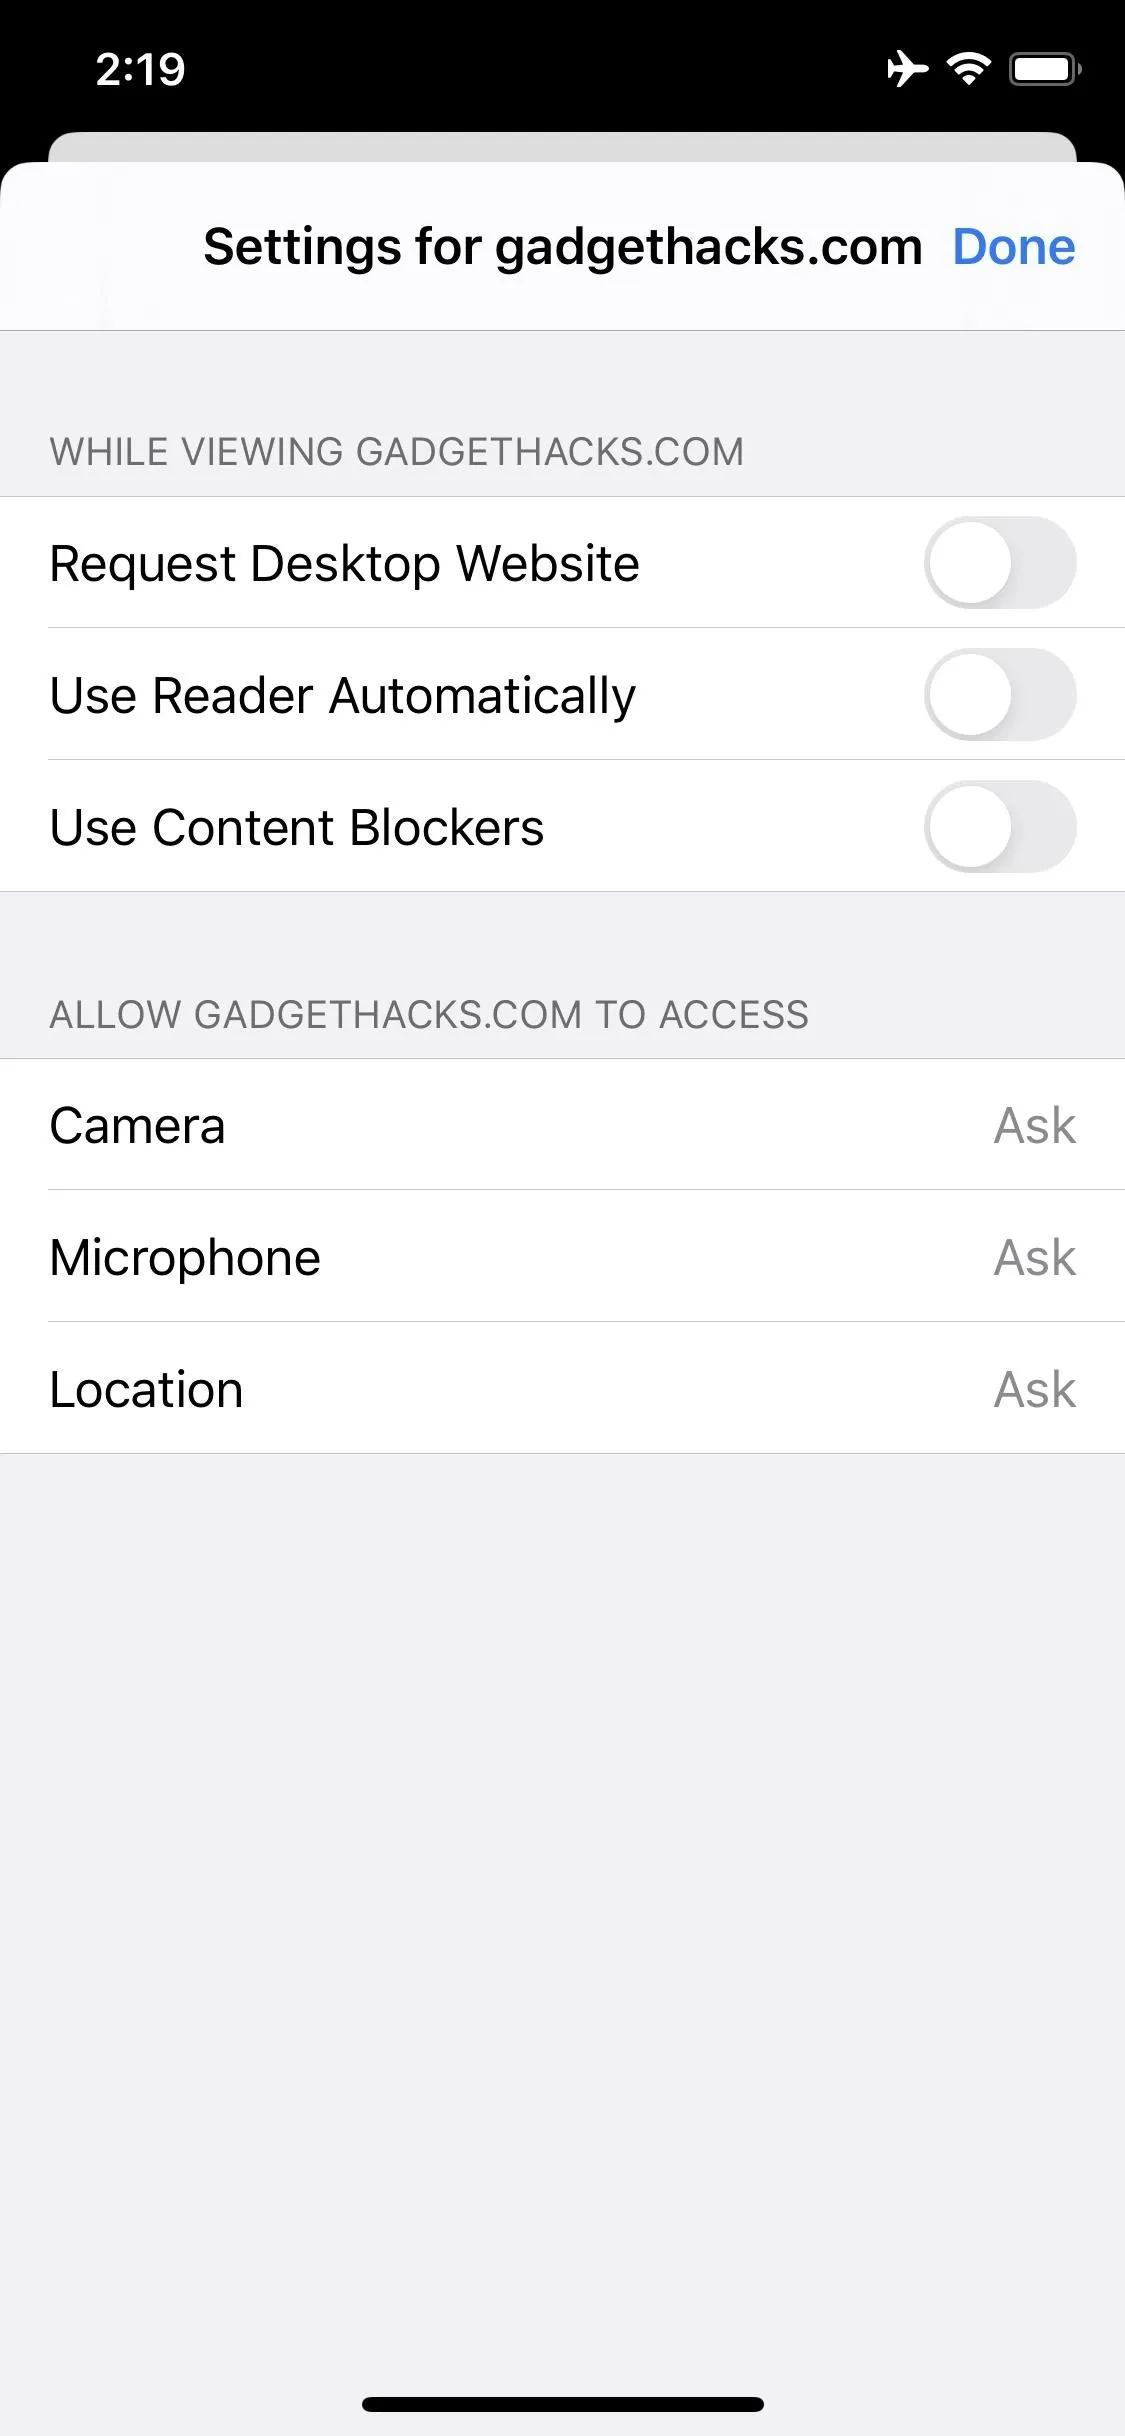
You can manage and enable specific location permissions for each website you visit right in Safari. Tap the View icon (AA), then tap "Website Settings." Next, tap "Location" and choose from one of three permission options:
- Ask forces the site to ask for permission to access your location. If you leave the page or exit Safari and come back, it'll require consent again.
- Deny instantly denies the site permission to use your location. You will no longer receive prompts from the website asking for location data because access is already revoked.
- Allow gives the site permission to use your location always. You will no longer receive prompts from the website asking for location data because it already has access.

Every time you choose a site-specific setting, that choice is saved to the "Location" page in Safari's settings. If you ever want to manage or change your preferences, it's very easy to do. The settings also allow you to manage location permissions for all other websites, using the same "Ask," "Deny," and "Allow" options. And you can even wipe the slate clean and start over.
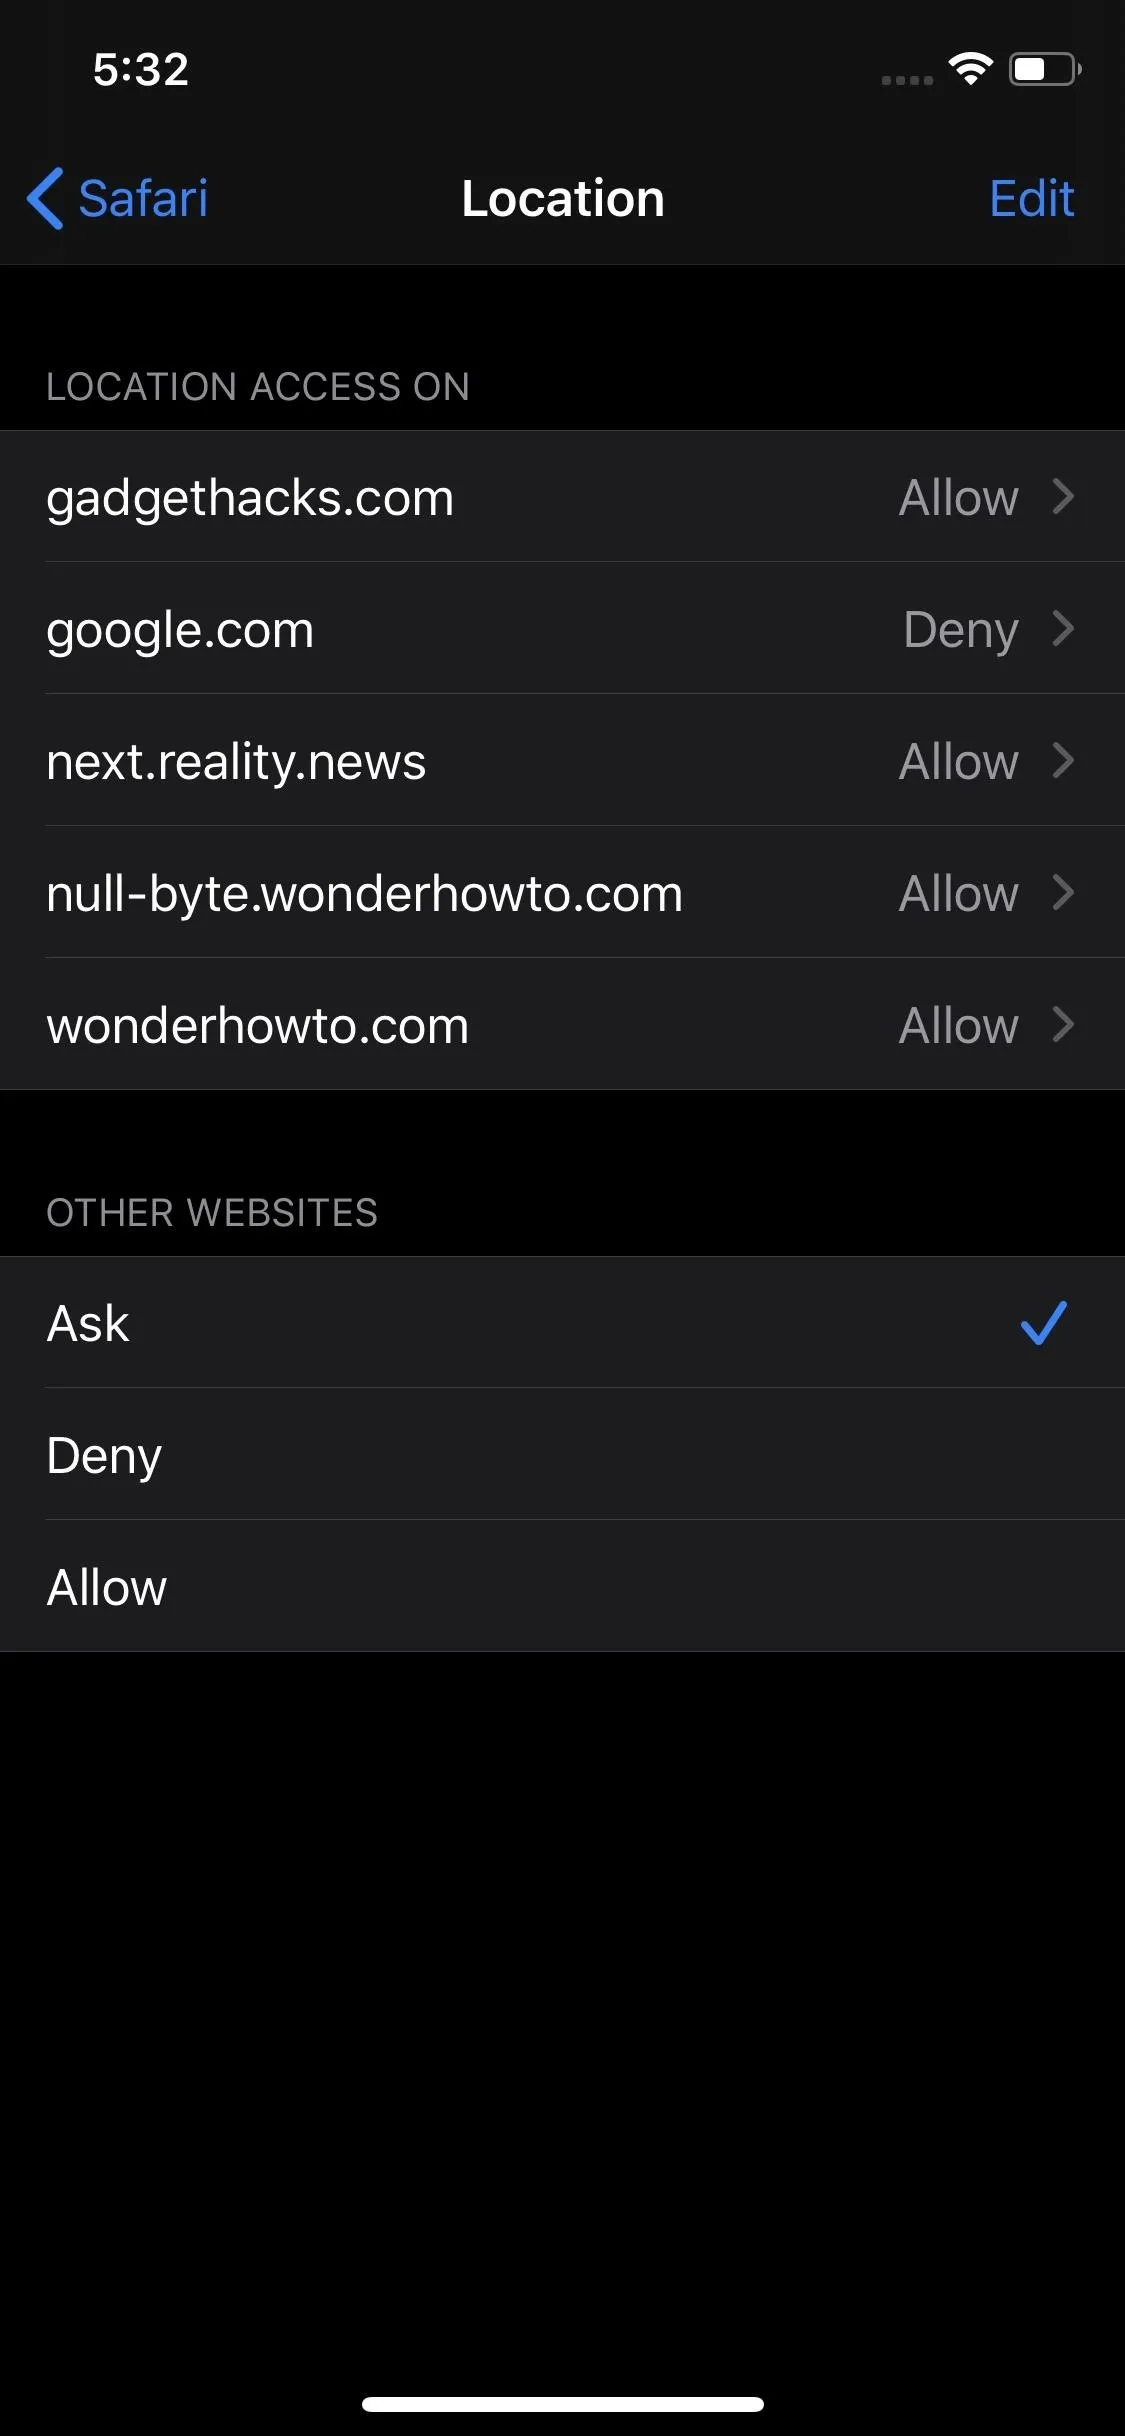

You should know that denying location data does not always work. For example, if Google is your default search engine, it'll have access to your location even if you deny permission to google.com. As your primary search engine, it uses your last-known location for location-based searches, bypassing any site-specific setting set. It's the same case for other search engines you can choose. The only way to get it to forget your last location is to wipe your history and website data.
6: Restrict Safari from Accessing Your Location
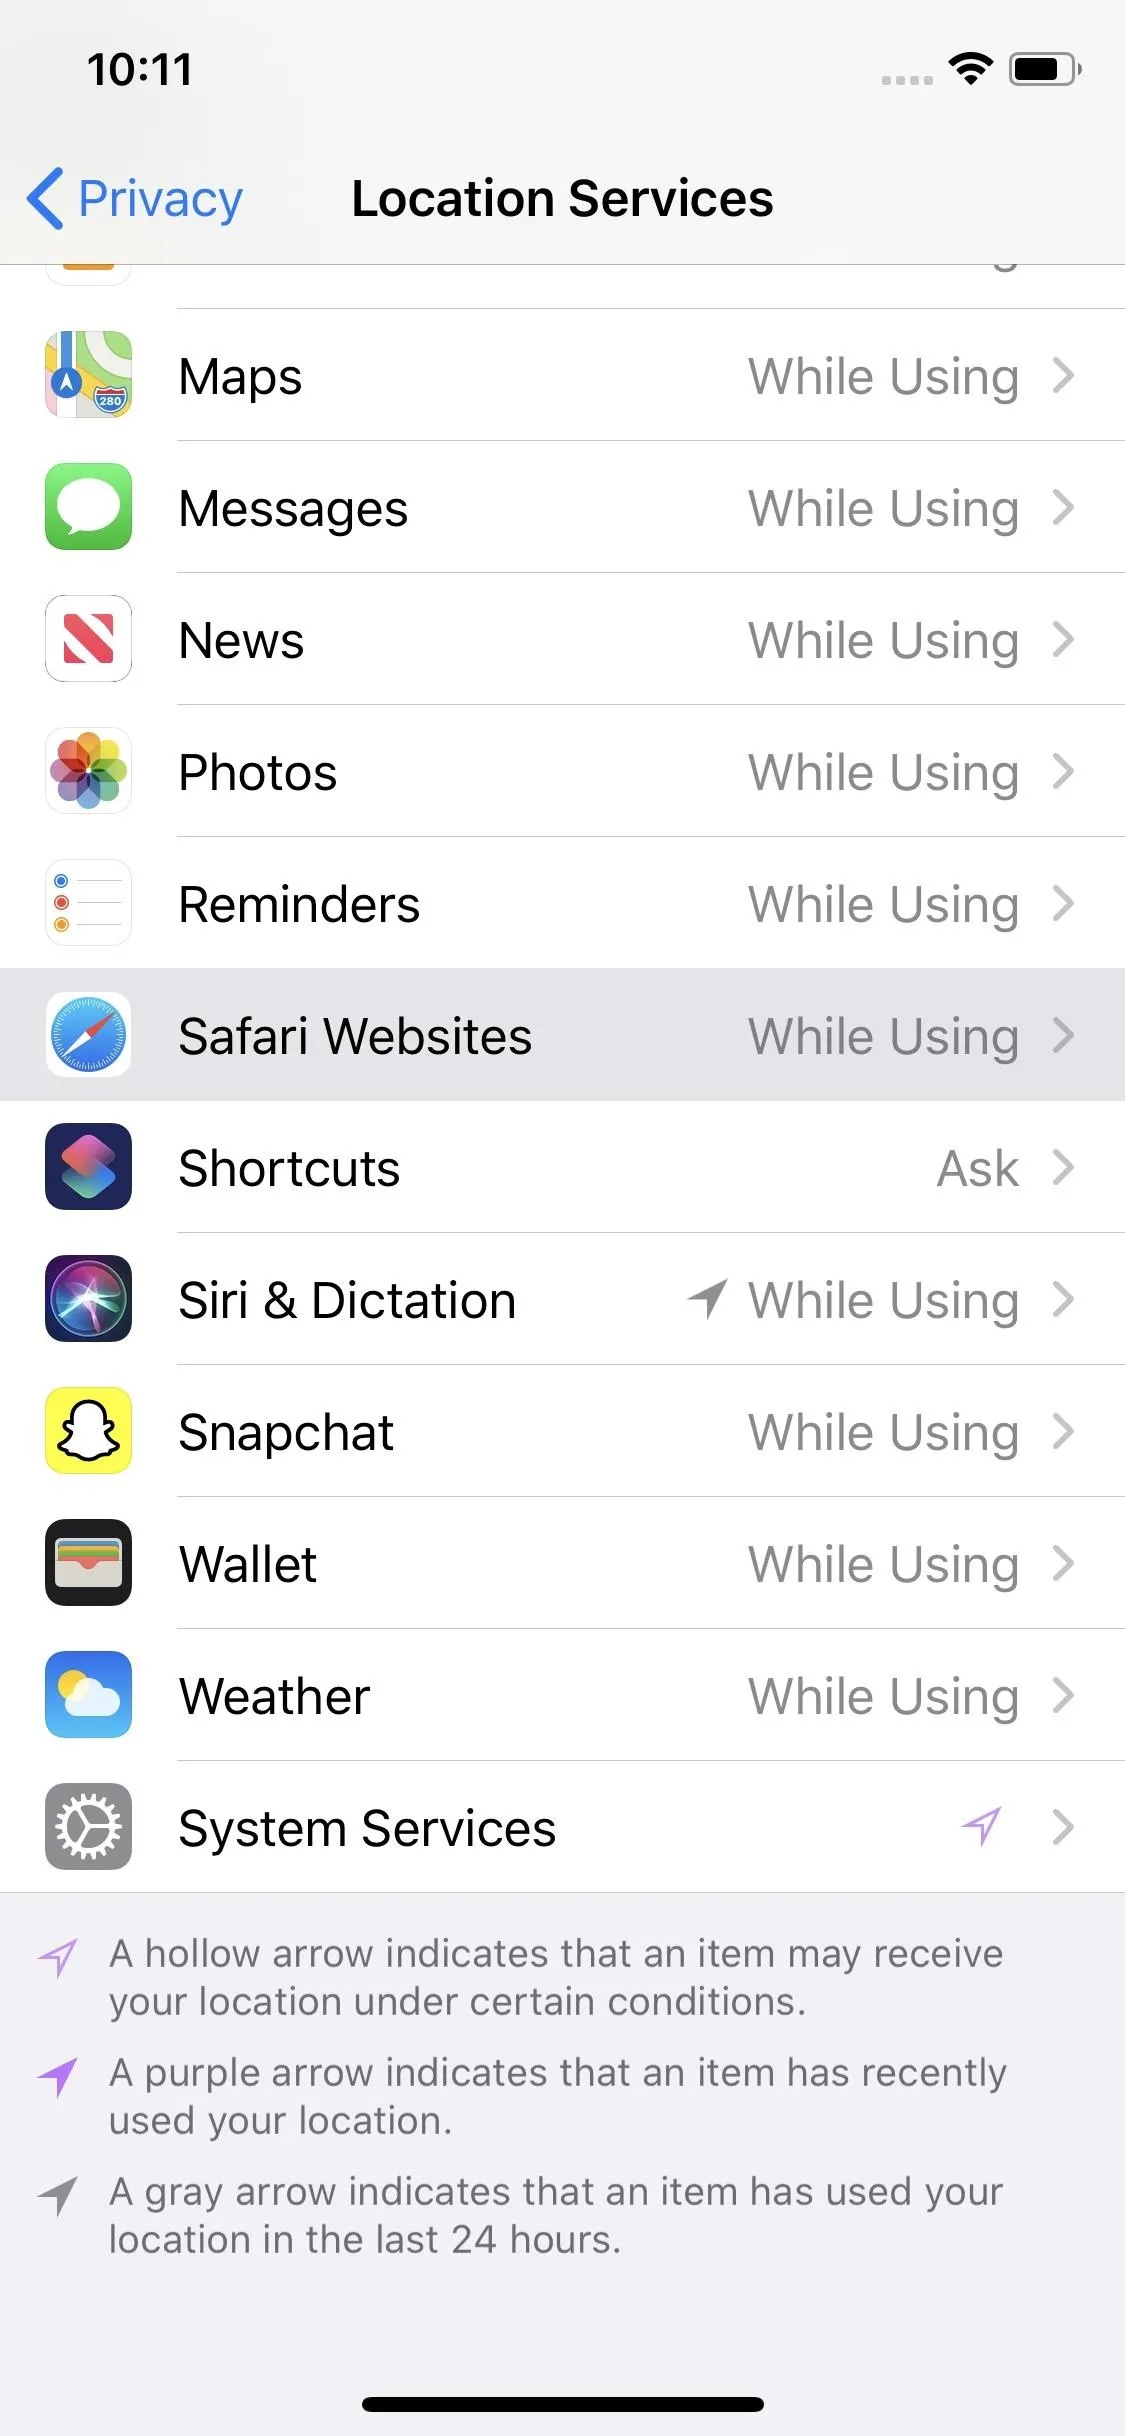
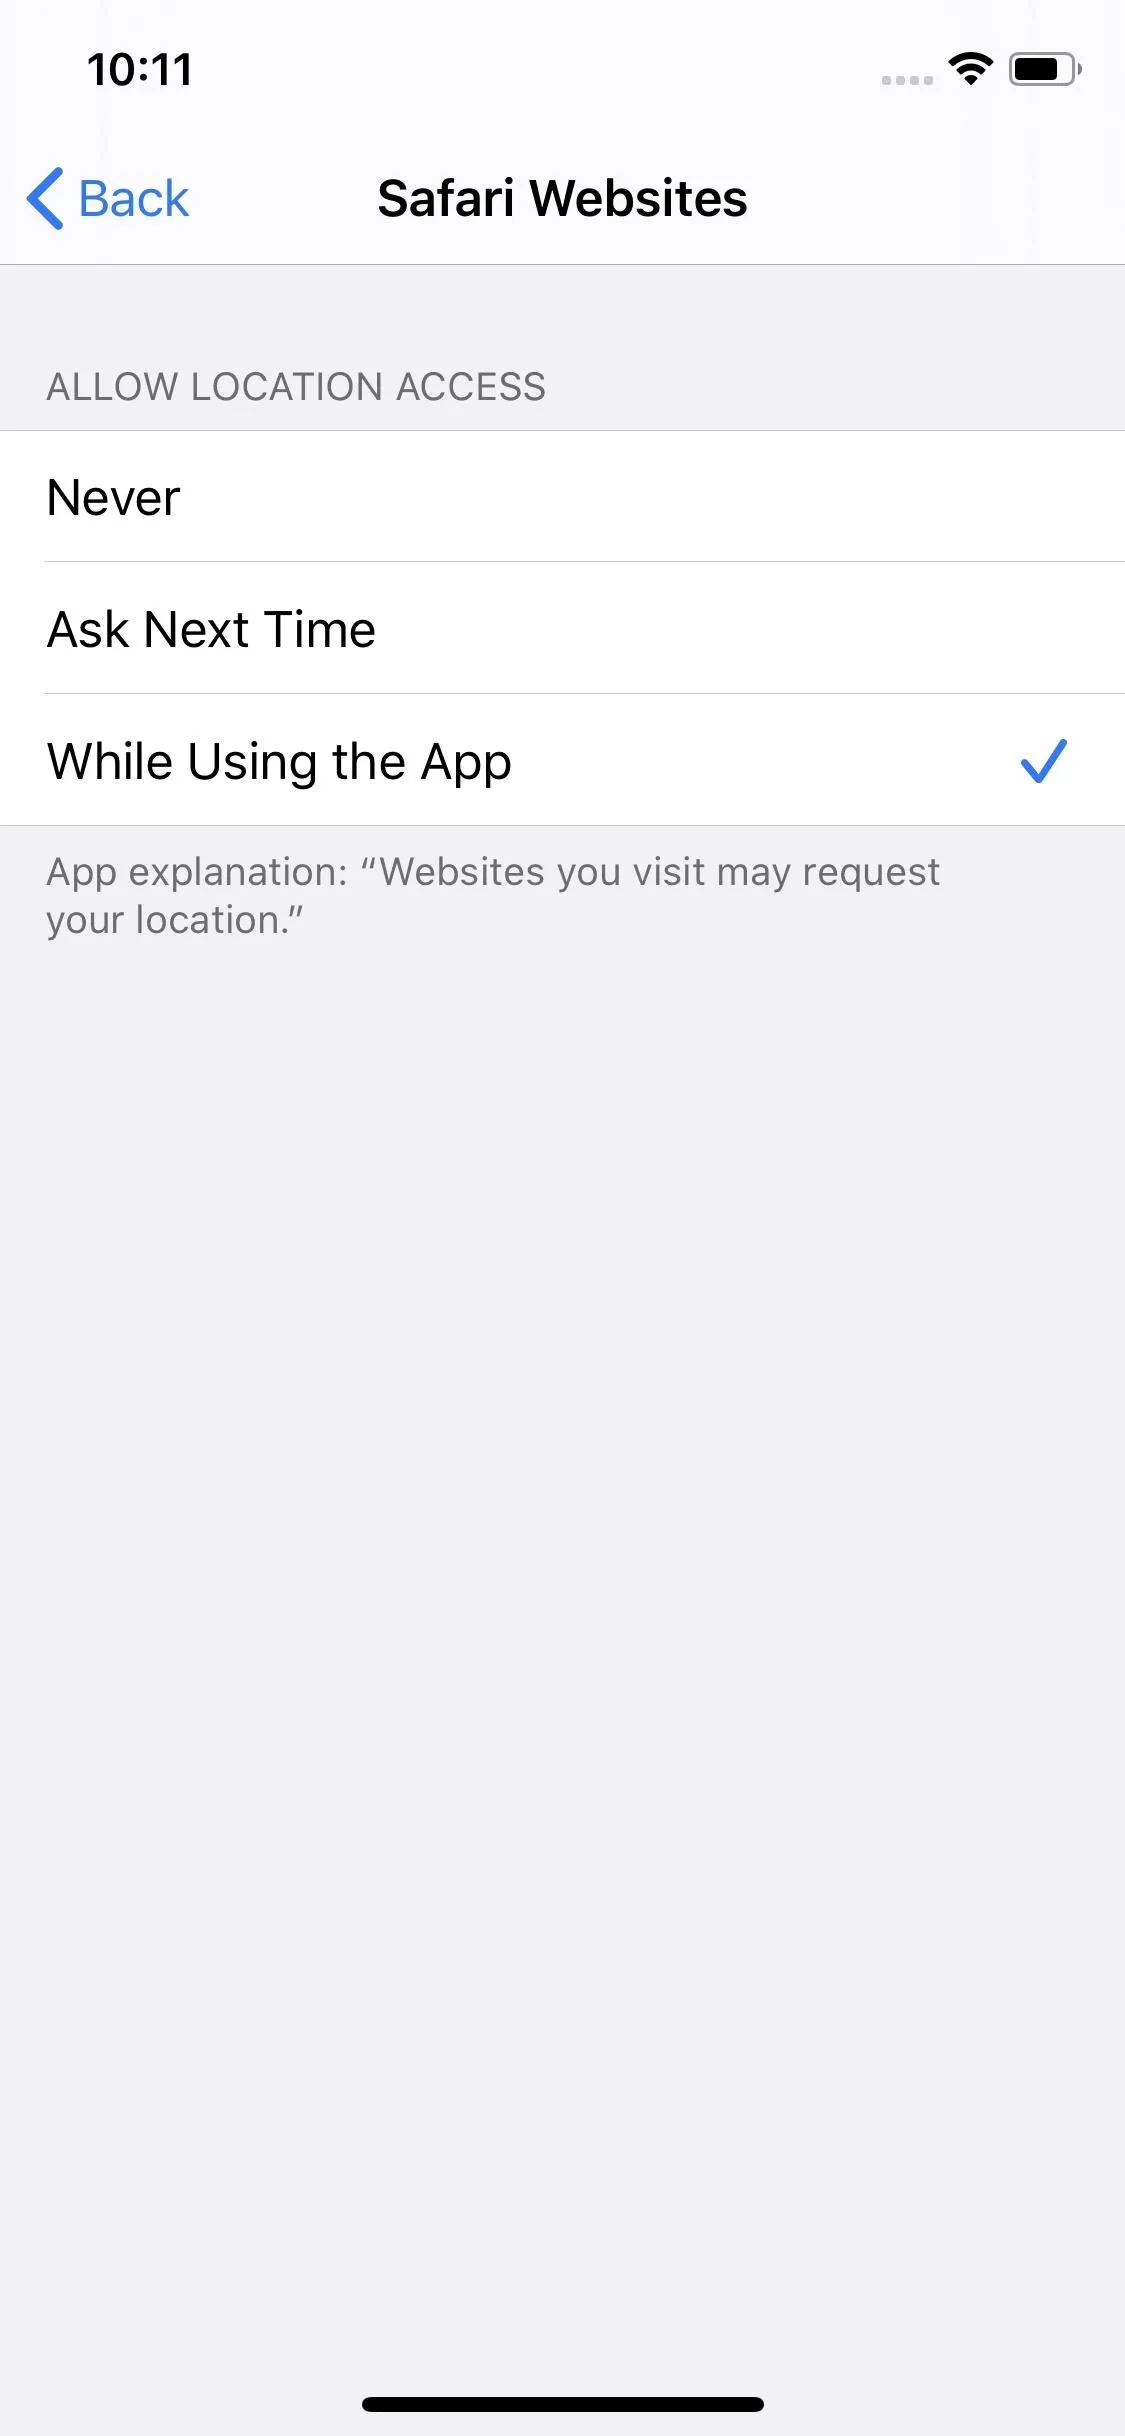
Site-specific settings are great if you want to block some sites from accessing your location, but not all. If you're really serious about disabling location permissions for all websites, Apple has you covered. Your iPhone includes three Safari-wide settings, aimed to make broad location permission decisions with just a tap. Just go to Settings –> Privacy –> Location Services –> Safari.
- Never ensures that no website gains access to your location or even asks for it. "Never" also applies to Safari itself, so location-based suggestions may not work either. This option is for anyone who wants a kill-switch for location tracking in Safari.
- While Using the App lets websites access your location only while you use Safari or while Safari is in the background. That means sites can't access your location while you use another app. Your individual site settings will still apply, so if you have "Allow" for a website, it'll have access, while "Ask" will prompt you for permission. It's a good compromise — you won't miss out on location-based features like you would with "Never," but you don't need to worry about sites tracking your location when you're not using Safari.
- Ask Next Time will ask you to allow Safari access to your location when any website needs the data. Once that happens, you can "Allow Once," which applies across the board for your current Safari session. If you close Safari and come back, you'll be asked again. You can also choose "Don't Allow," which changes your overall setting to "Never" going forward, or "Allow While Using App," which turns your global setting to "While Using the App."
Whatever you choose, if you change your mind later, switching options is simple.
Again, just like with location settings per website, your default search engine will still use your last recorded location going forward until you wipe your history and site data.
7: Disable AutoFill for Personal Info & Credit Cards
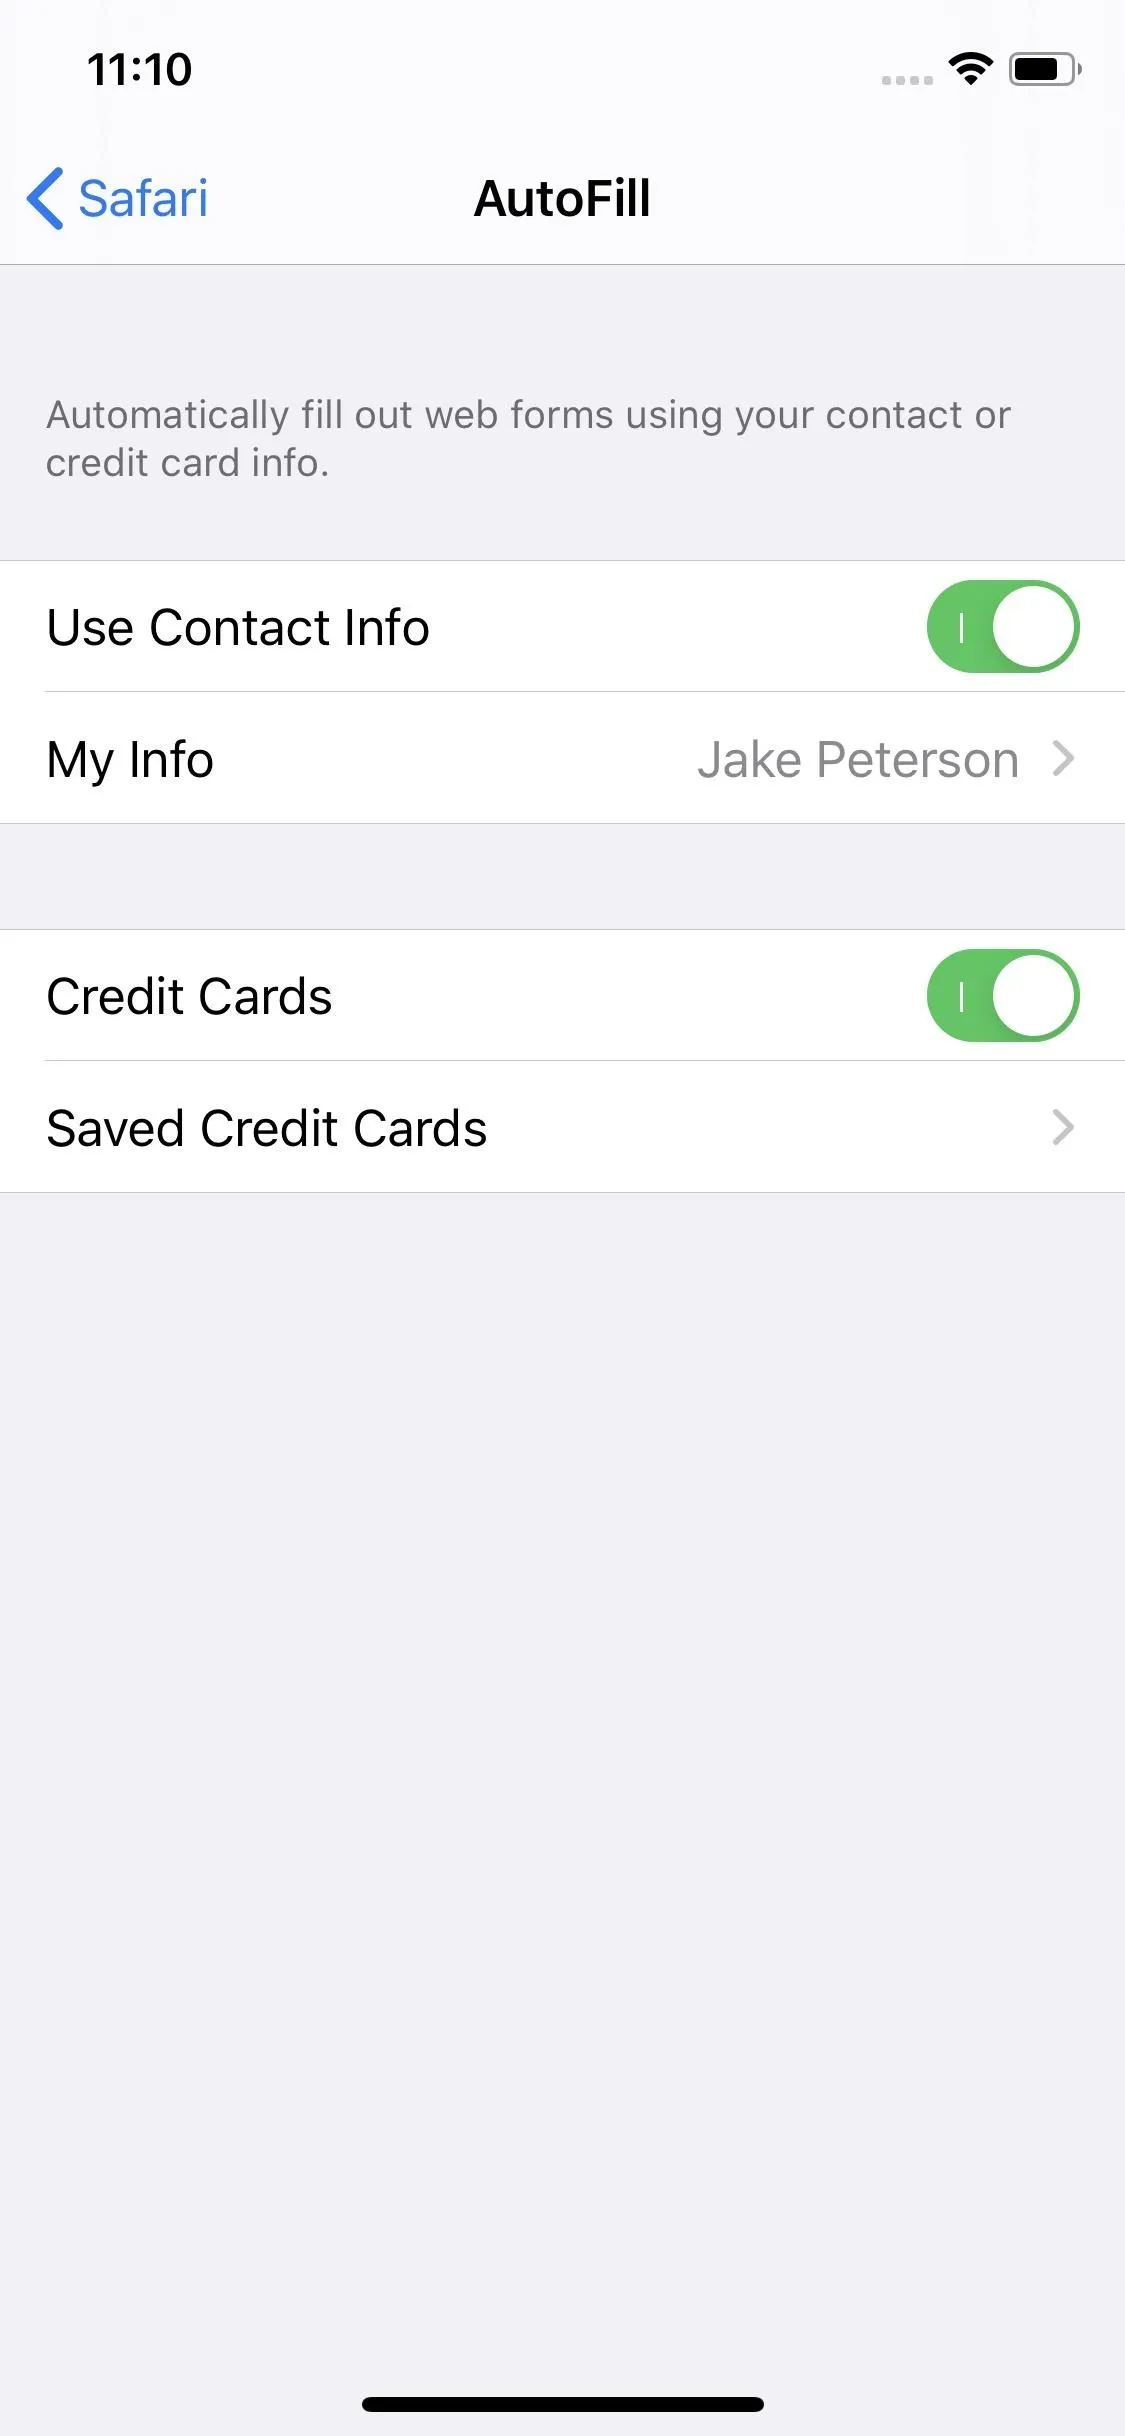
AutoFill provides an instant way for you to enter your personal information into web forms. So instead of typing all relevant details by hand, Safari can pull data from your contact card, including your name, address, date of birth, email address, and phone number. AutoFill also works with credit cards for easy entry.
Of course, AutoFill can pose a security risk. If someone gains access to your iPhone without your consent, they can view your personal information as well as the last four digits of your credit card numbers. If you have Face ID, Touch ID, and passcode disabled or compromised, they can even sign up for services.
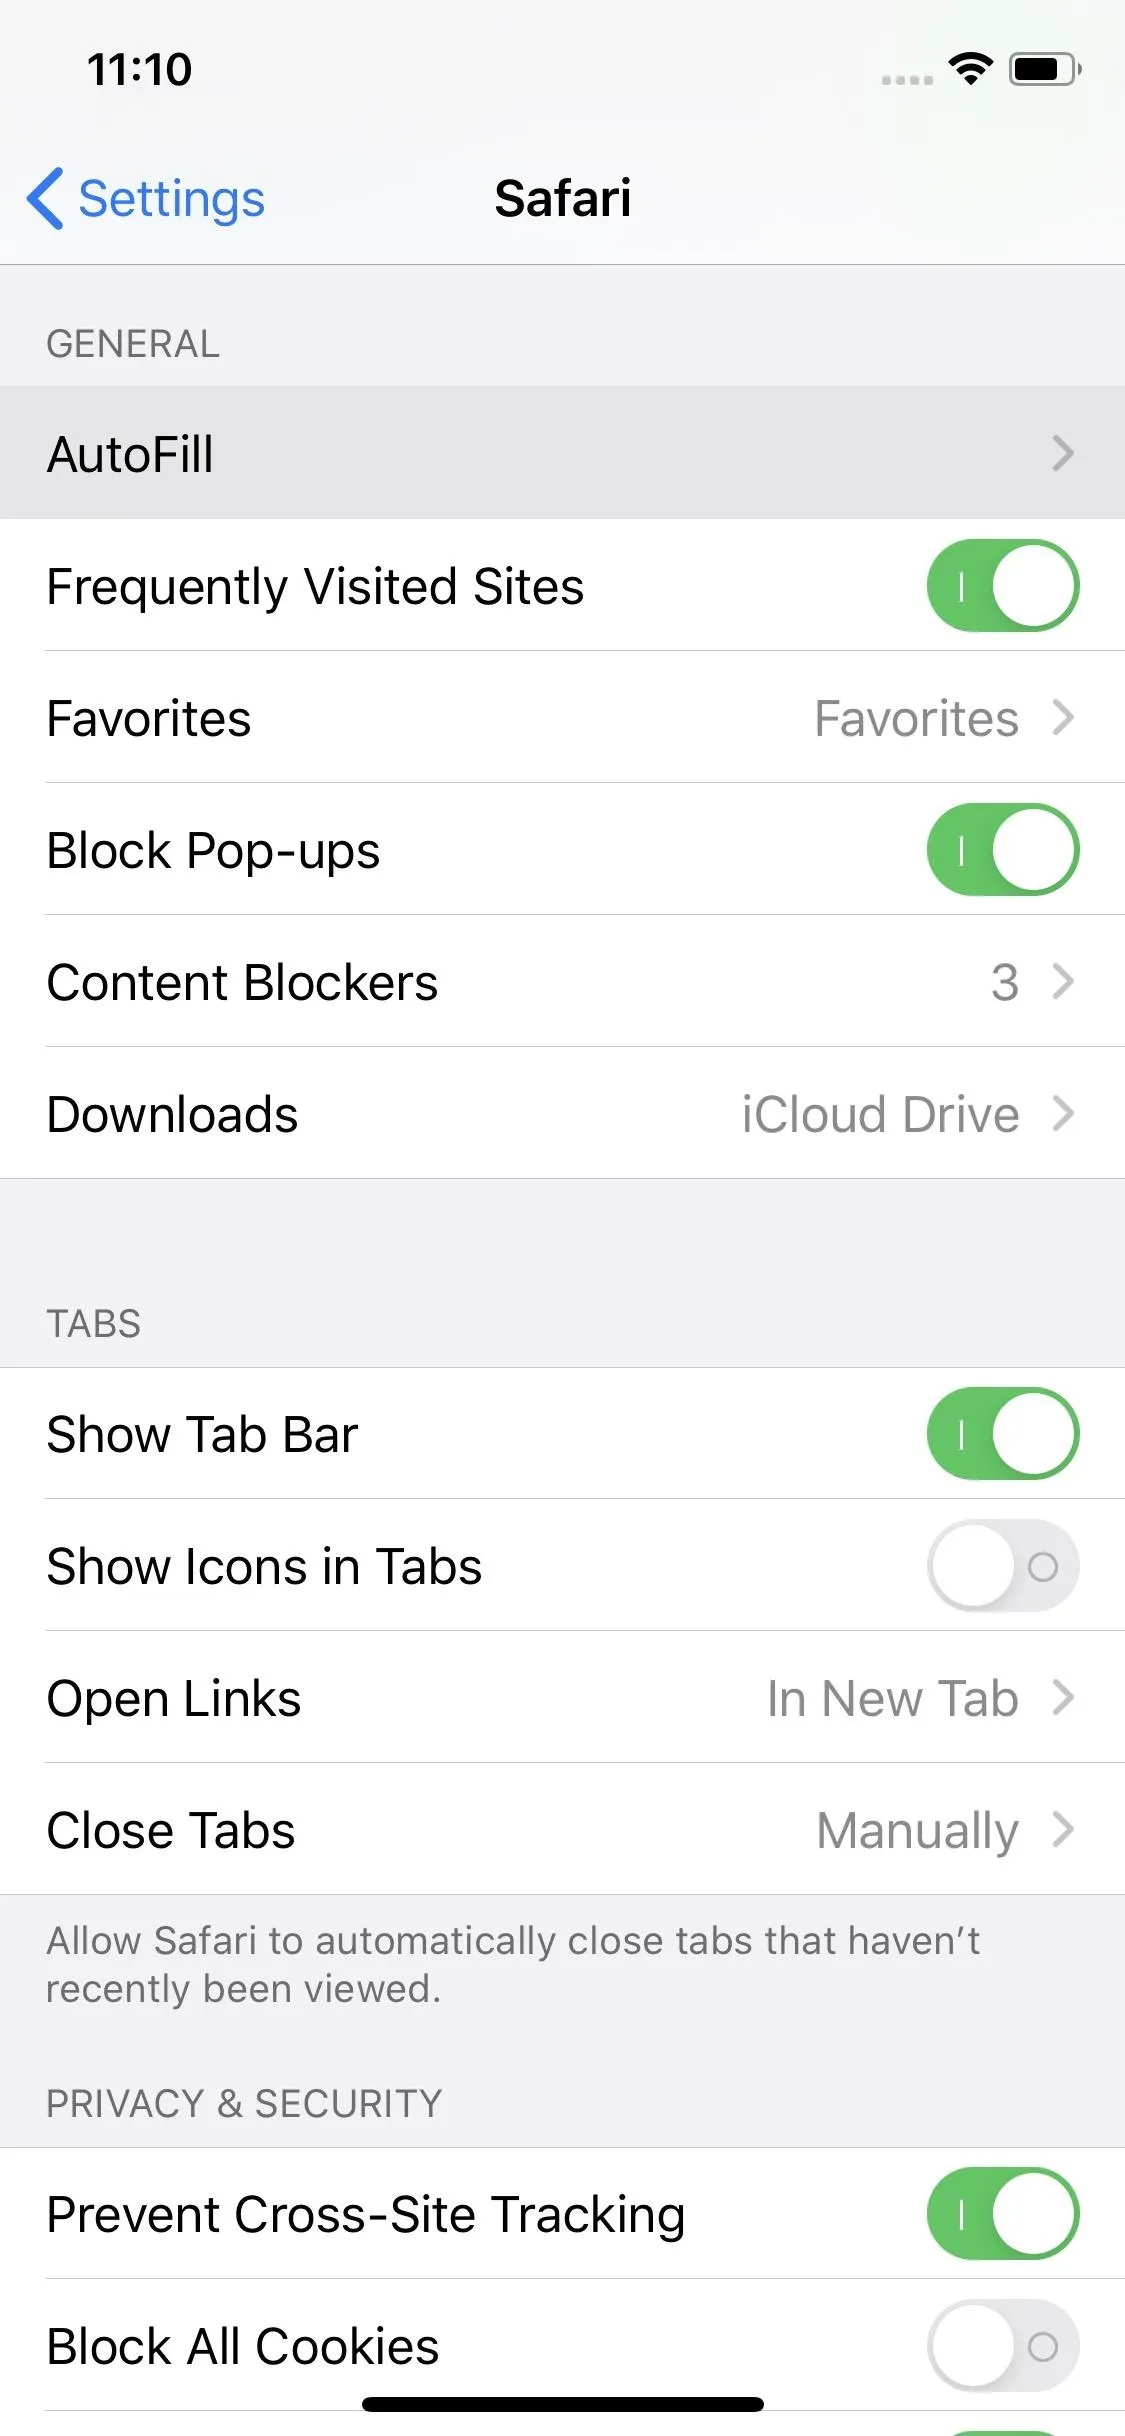
Auto-filling credit cards can be convenient, so if you don't want to get rid of it, at least make sure to set a passcode and enable Face ID or Touch ID. But if you'd rather not take the risk of anyone seeing anything, jump over to Settings –> Safari –> AutoFill, then disable "Use Contact Info" and/or "Credit Cards."
Speaking of cards, Safari lets you remove any saved cards you have if you'd rather keep AutoFill but limit the cards that appear. Tap "Saved Credit Cards." If you use a passcode, Face ID, or Touch ID, authenticate with it. To delete cards, hit "Edit," select the cards, then tap "Delete." You can also just swipe left on each card.

8: Disable or Switch Managers for Password AutoFill
In iOS 11 and under, the AutoFill setting for passwords was available in the same settings menu above. But once Apple implemented device-wide AutoFill for websites and apps in iOS 12, password auto-filling options changed their location. If you don't like having Safari being able to auto-fill usernames and passwords, or if you just don't like using Apple's iCloud Keychain to do so, you can tweak the settings.
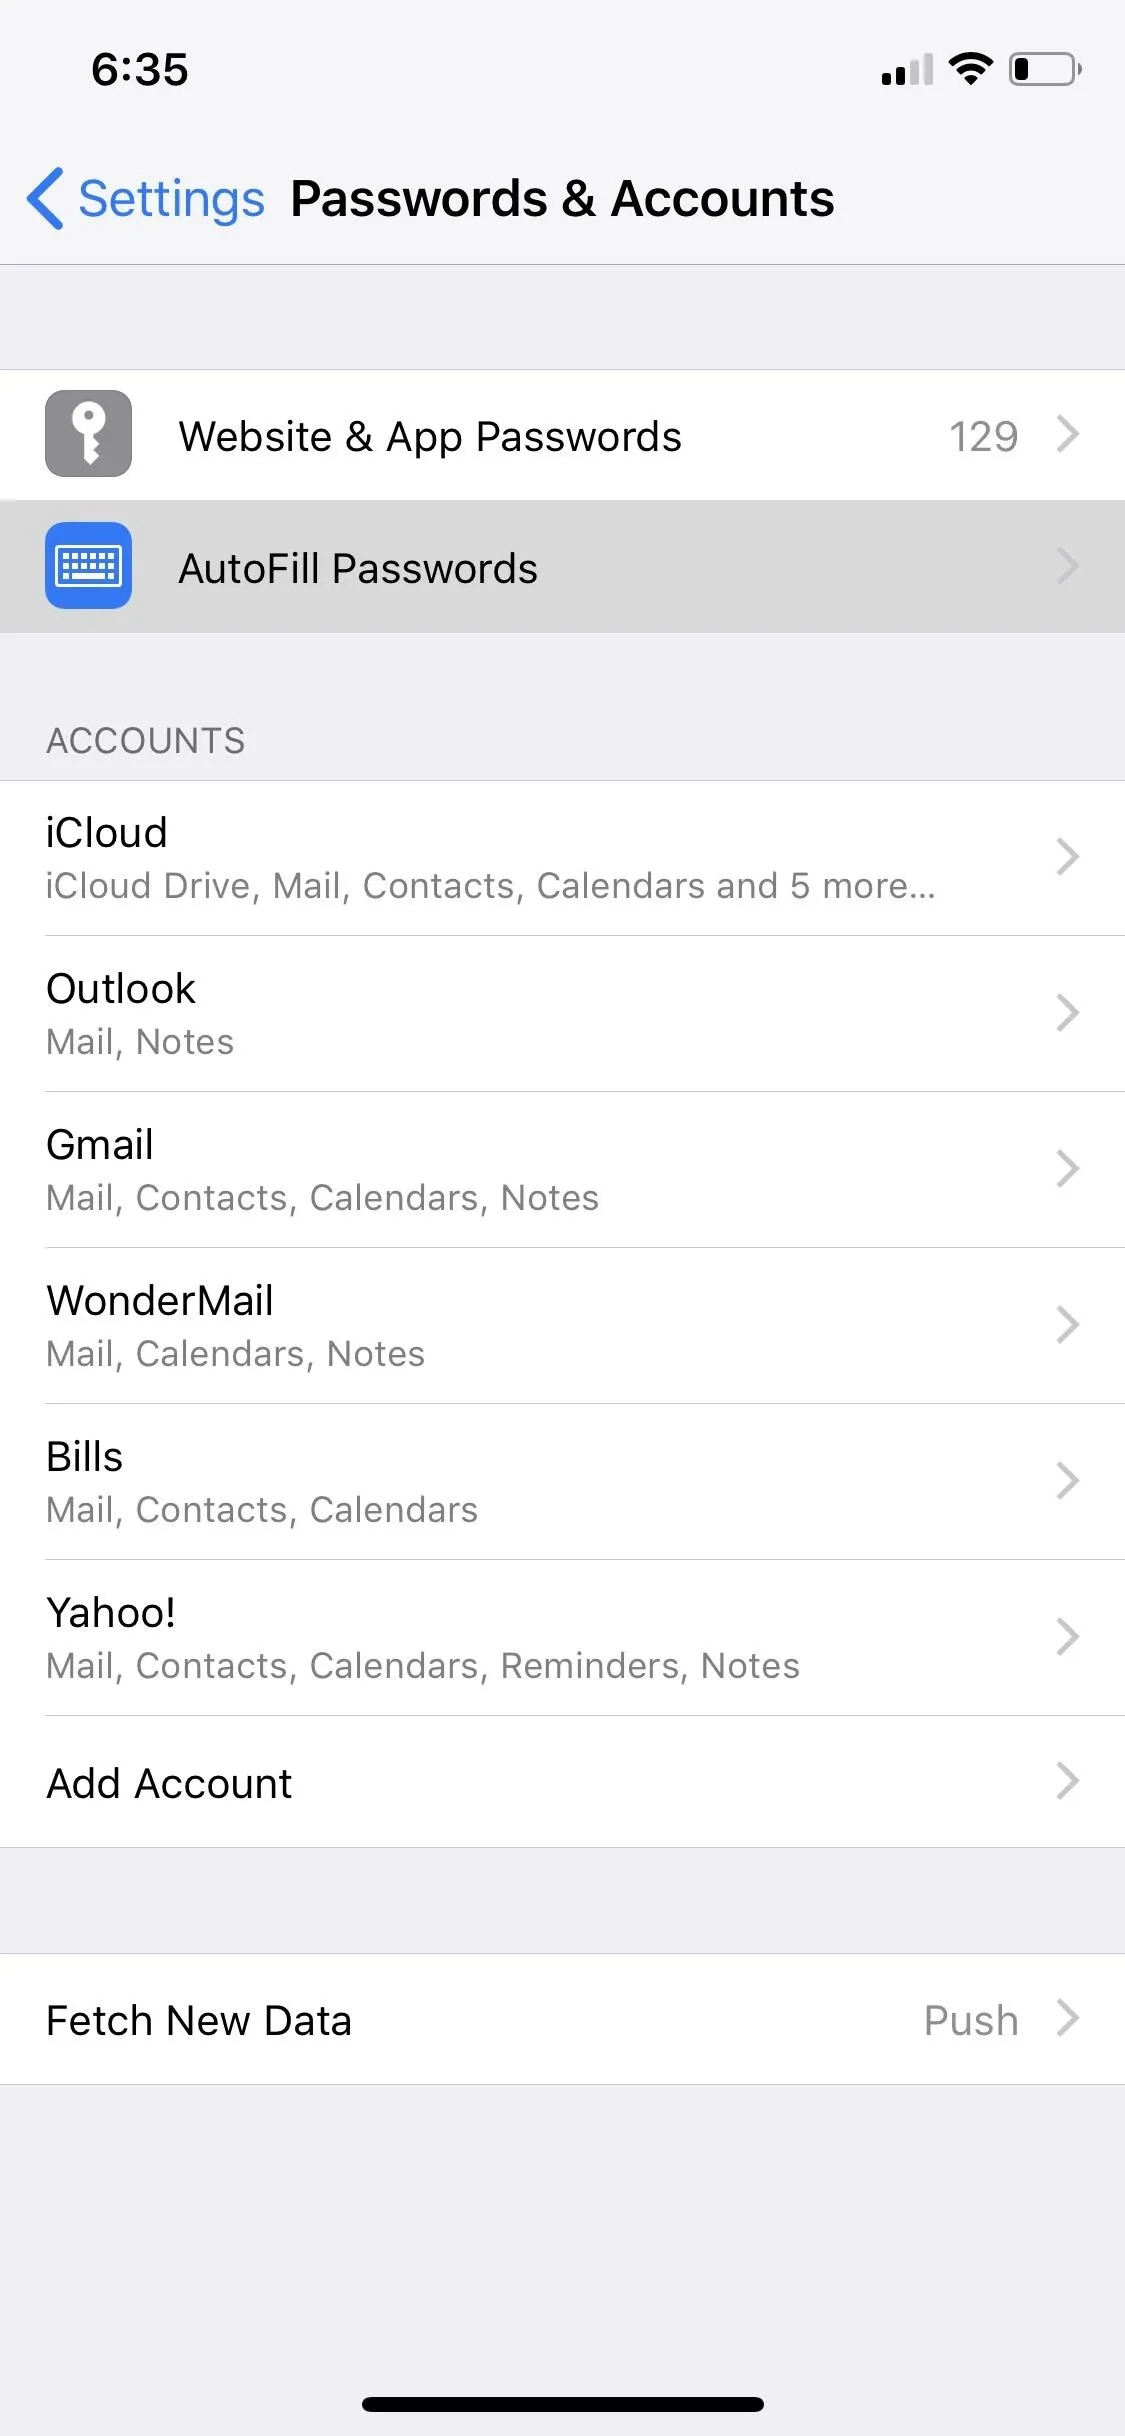
Go to Settings –> Passwords & Accounts –> AutoFill Passwords. From there, you can either toggle off "AutoFill Passwords" as a whole or uncheck iCloud Keychain and use another, possibly more secure password manager such as Keeper, LastPass, Dashlane, or 1Password.
- Don't Miss: Why You Still Shouldn't Use iCloud Keychain

9: Disable or Hide Favorite Bookmarks
When you tap on the Smart Search field up top or open a new tab, your bookmarked favorites show up, if you have any. It's pretty handy but not entirely private depending on how you use them.
If someone is using your iPhone or peeking at your screen behind your back, they could see all the sites you have listed in there, including items such as what bank you use, who you have loans with, what social networks you're on, and more. While I'm not against using these favorites, it's better to obscure them at least or have them only show up when you want.
While there is no official way to disable these bookmarks from showing up without deleting them all, you can change the folder in "Favorites" that does show up. Go to Settings –> Safari –> Favorites, then change it to a folder that has nothing in it. Doing so will effectively make your favorite webpages never show up when tapping the Smart Search bar or opening a new tab.

Tapping on the address/search bar with (let) and without favorites (right).

Tapping on the address/search bar with (let) and without favorites (right).
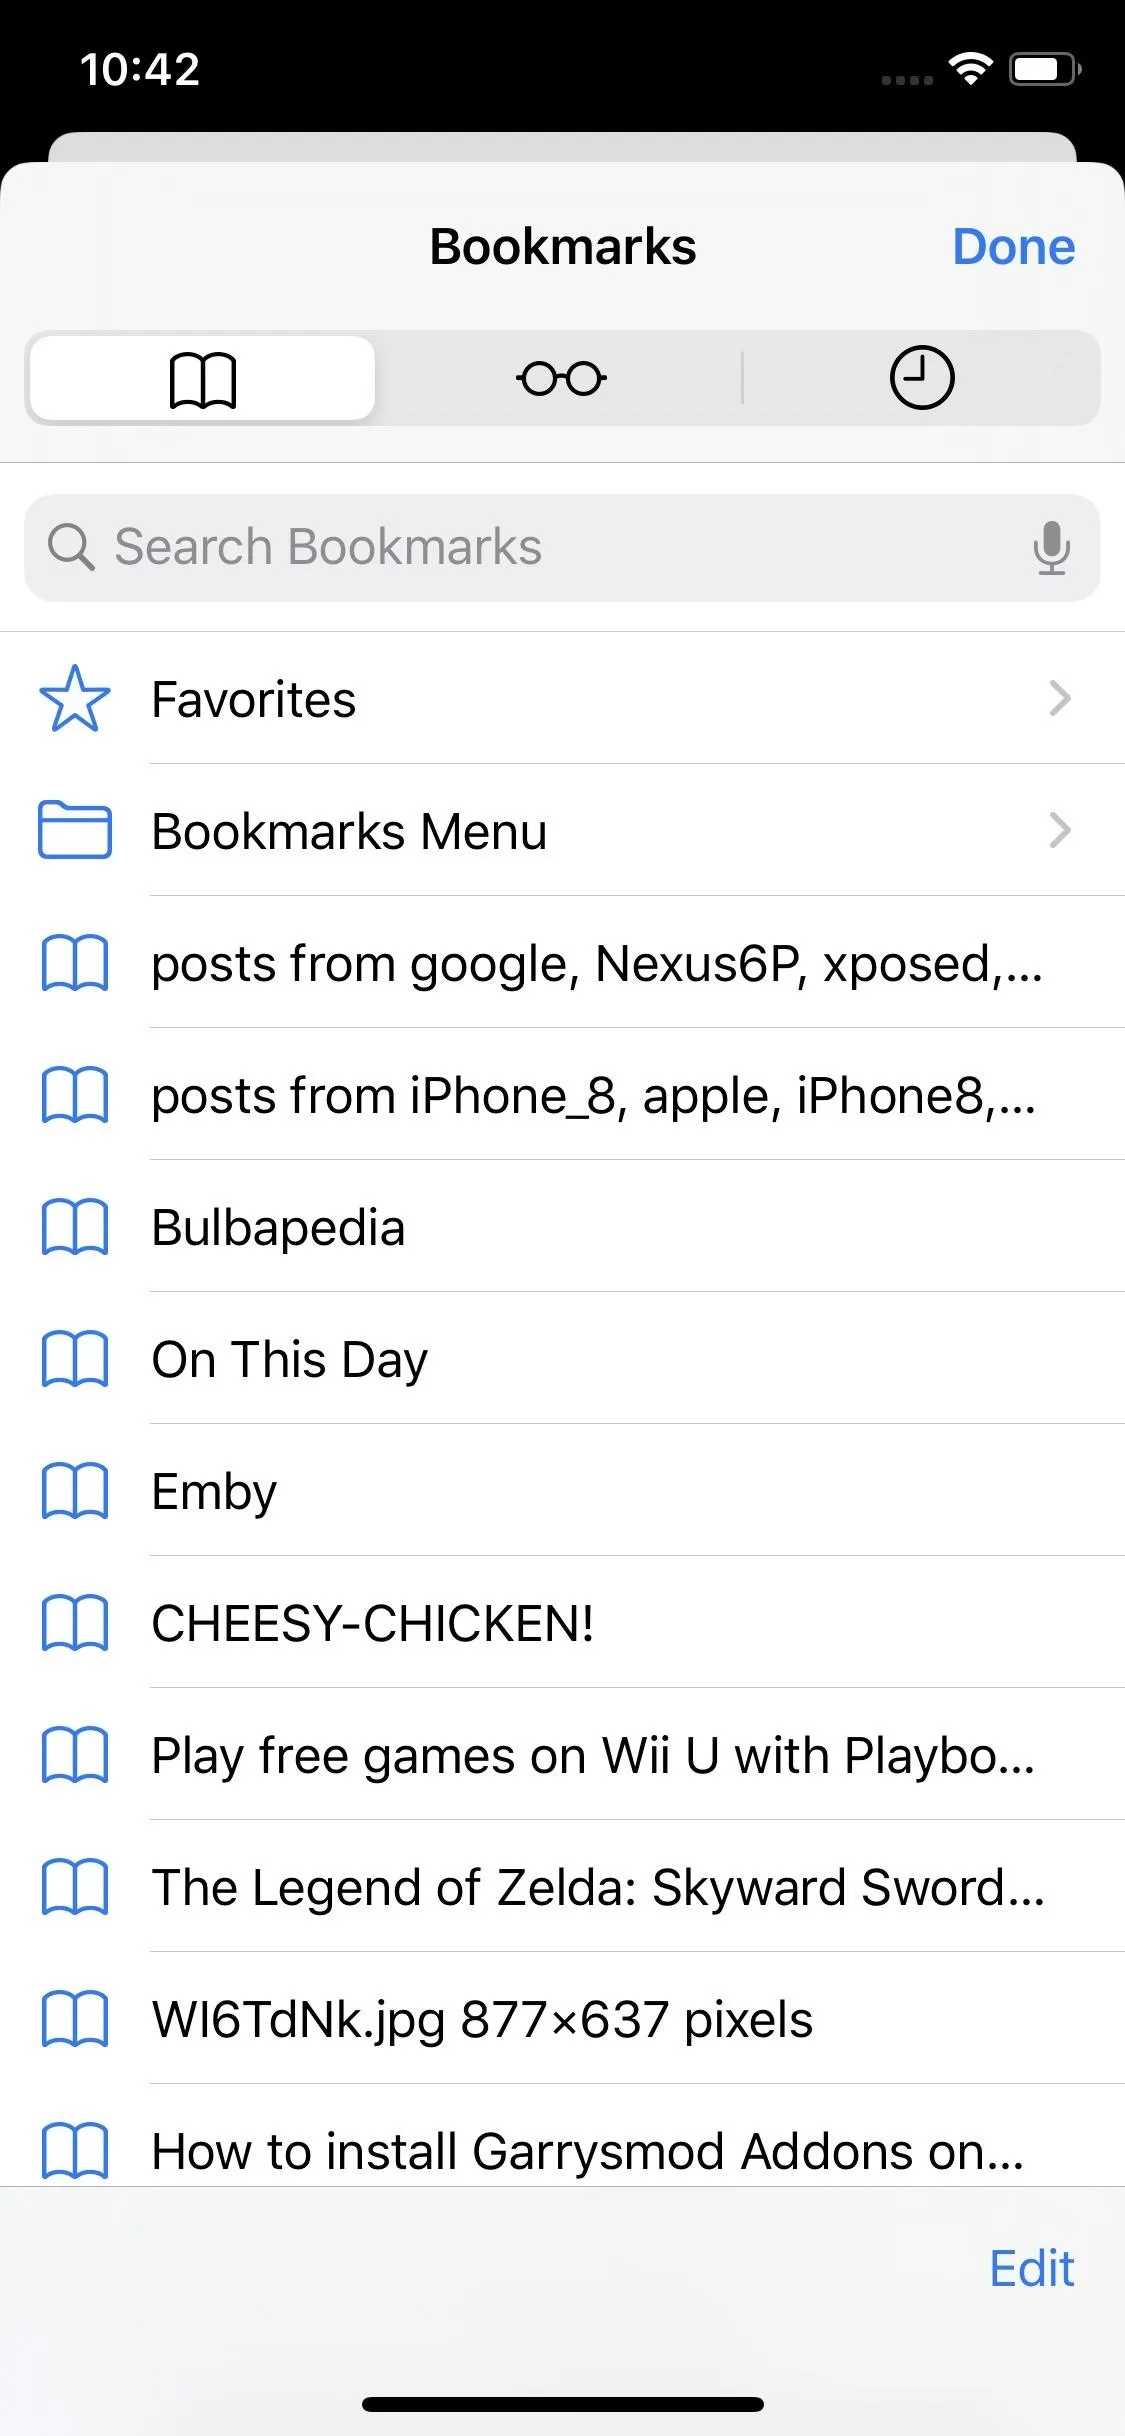
But won't you lose the convenience of using those bookmarks? Not really. You can still tap on the "Bookmarks" icon in the bottom menu bar of Safari, which jumps you right to your list of "Favorites." Doing it this way makes sure that they don't show up unless you want them to, reducing exposure to others. From here, you can also tap "Edit" to remove or create new folders.

10: Disable the List of Frequently Visited Sites
Just like with Favorites above, when you tap the Smart Search bar or open a new tap, a list of frequently visited websites may appear below your favorites (if you have any). These are not your favorite links, just ones you seem to frequent over and over again. However, just like with above, other people may be able to glance at these, effectively knowing what you're viewing in Safari.
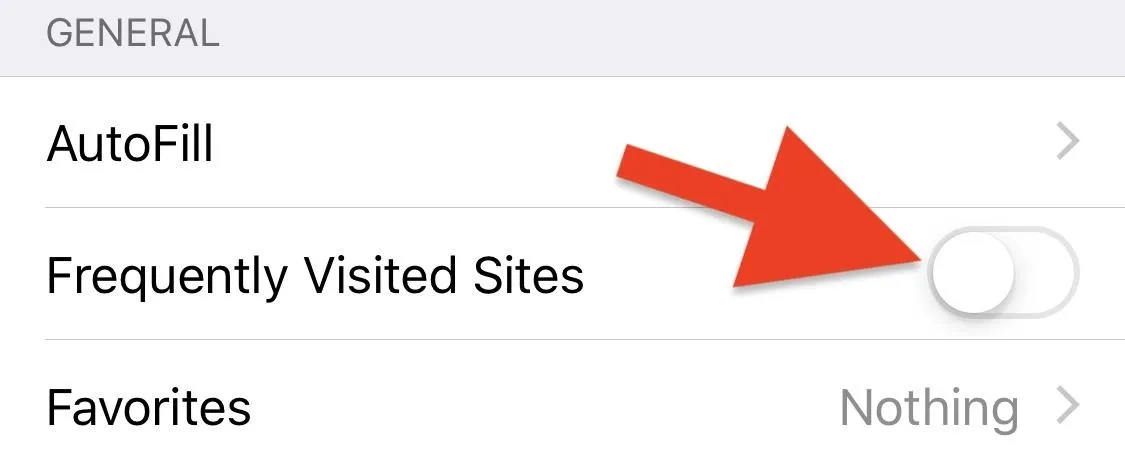
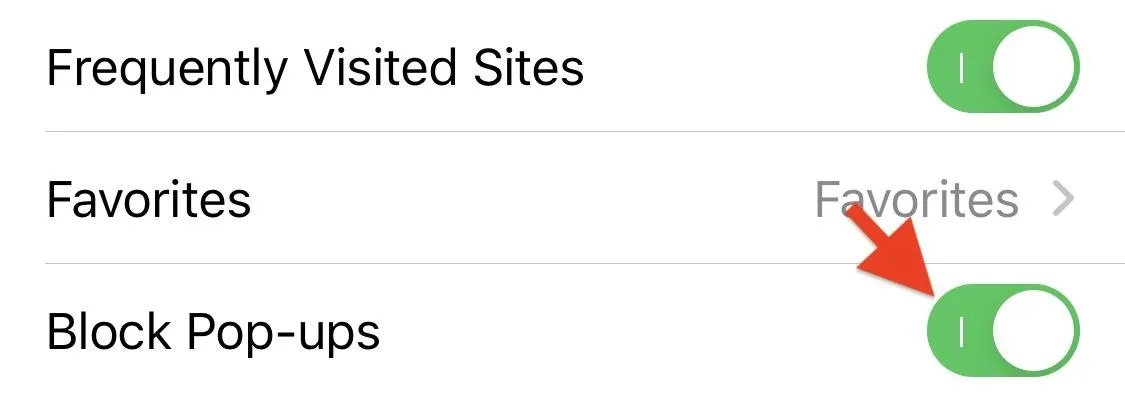
Go to Settings –> Safari, then disable "Frequently Visited Sites." You'll notice when you return to Safari that nothing appears under Favorites, so you can rest easy opening Safari around others.
11: Block Pop-Ups to Prevent Phishing Attempts
Pop-ups can appear in a new tab or your current tab and include but aren't limited to advertisements, offers, notices, and other alerts. While it may seem more irksome and less of a security concern, these pop-ups can include phishing tactics to trick you into sharing personal information, installing a malicious app, or tapping on a dangerous link.
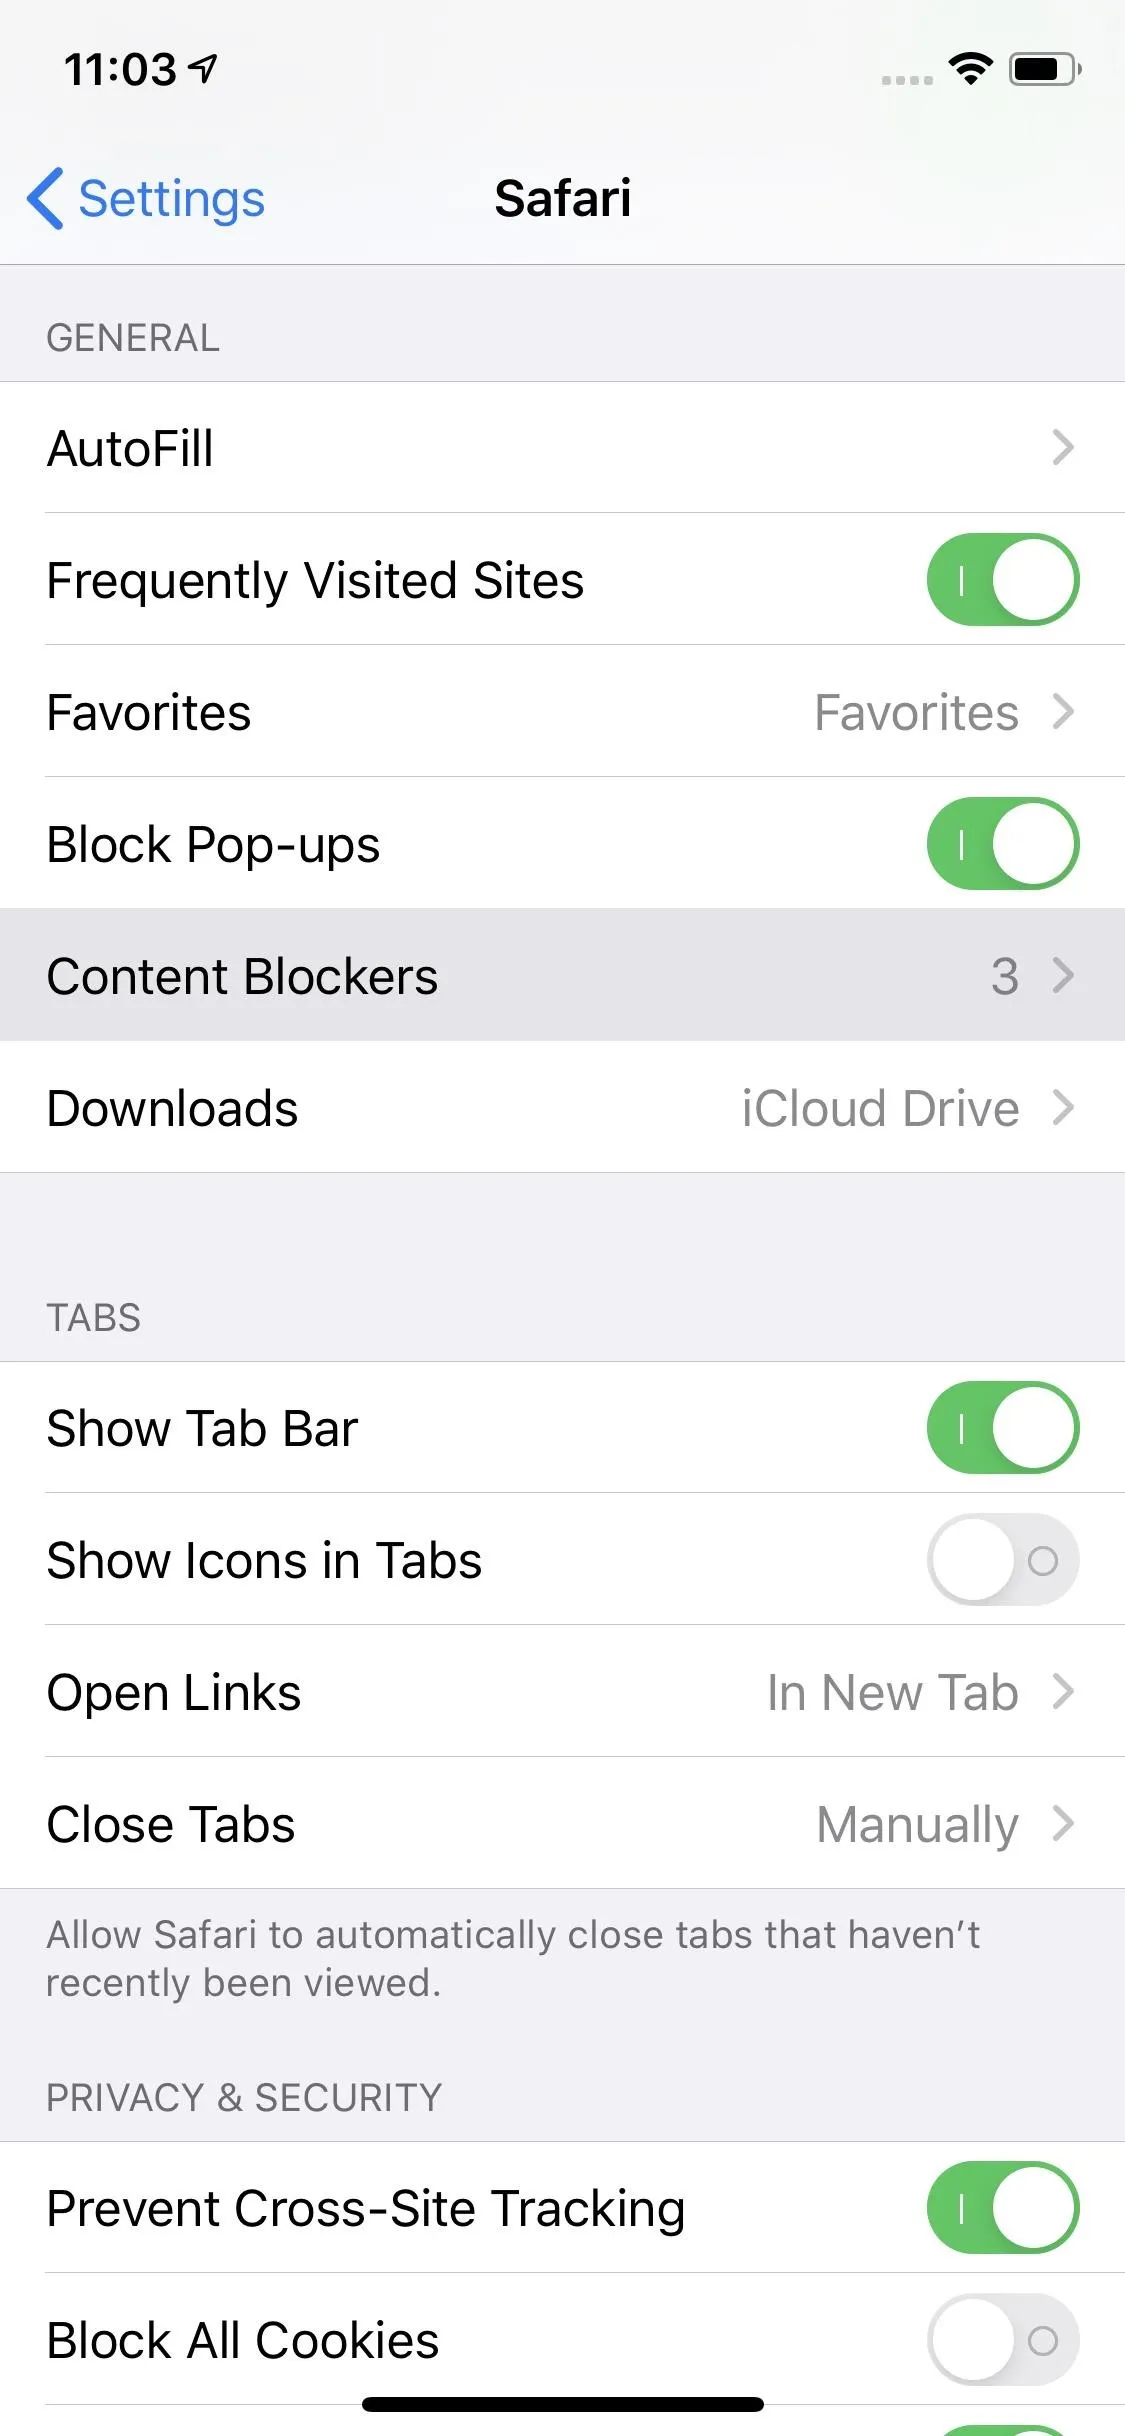
Some sites require users to have pop-ups enabled for certain features to work, so there may be times when you actually need them. But you can always enable pop-ups when you do. To disable pop-ups, head over to Settings –> Safari, then make sure "Block Pop-ups" is enabled.
12: Use Content Blockers to Deter Advertisers
While blocking pop-ups is an excellent first step to keeping phishing attempts and unwanted advertisers away, you should install a "Content Blocker."
Content Blockers are apps that act as Safari extensions to tell Safari how to handle your request. It could include hiding elements on a webpage such as unwanted images and auto-playing videos, blocking loads that aren't necessary such as pop-ups and scripts, and stripping cookies that sites and advertisers would generally be able to see.
One of the main benefits of using a Content Blocker is that page load times are faster since Safari is requesting less content, and there are fewer elements to load. Overall, it can improve Safari's performance and memory usage. However, from a privacy perspective, Content Blockers can reduce the amount of information given to websites and advertisers, as well as limit possible malicious content from appearing.
When you do download a Content Blocker from the App Store, there's not a lot you need to do to get it up and running. A simple tap in Safari's settings can mean the difference between a clean web and a distracting, pop-up filled, auto-playing mess.

13. Change Content Blocker Settings for Each Website
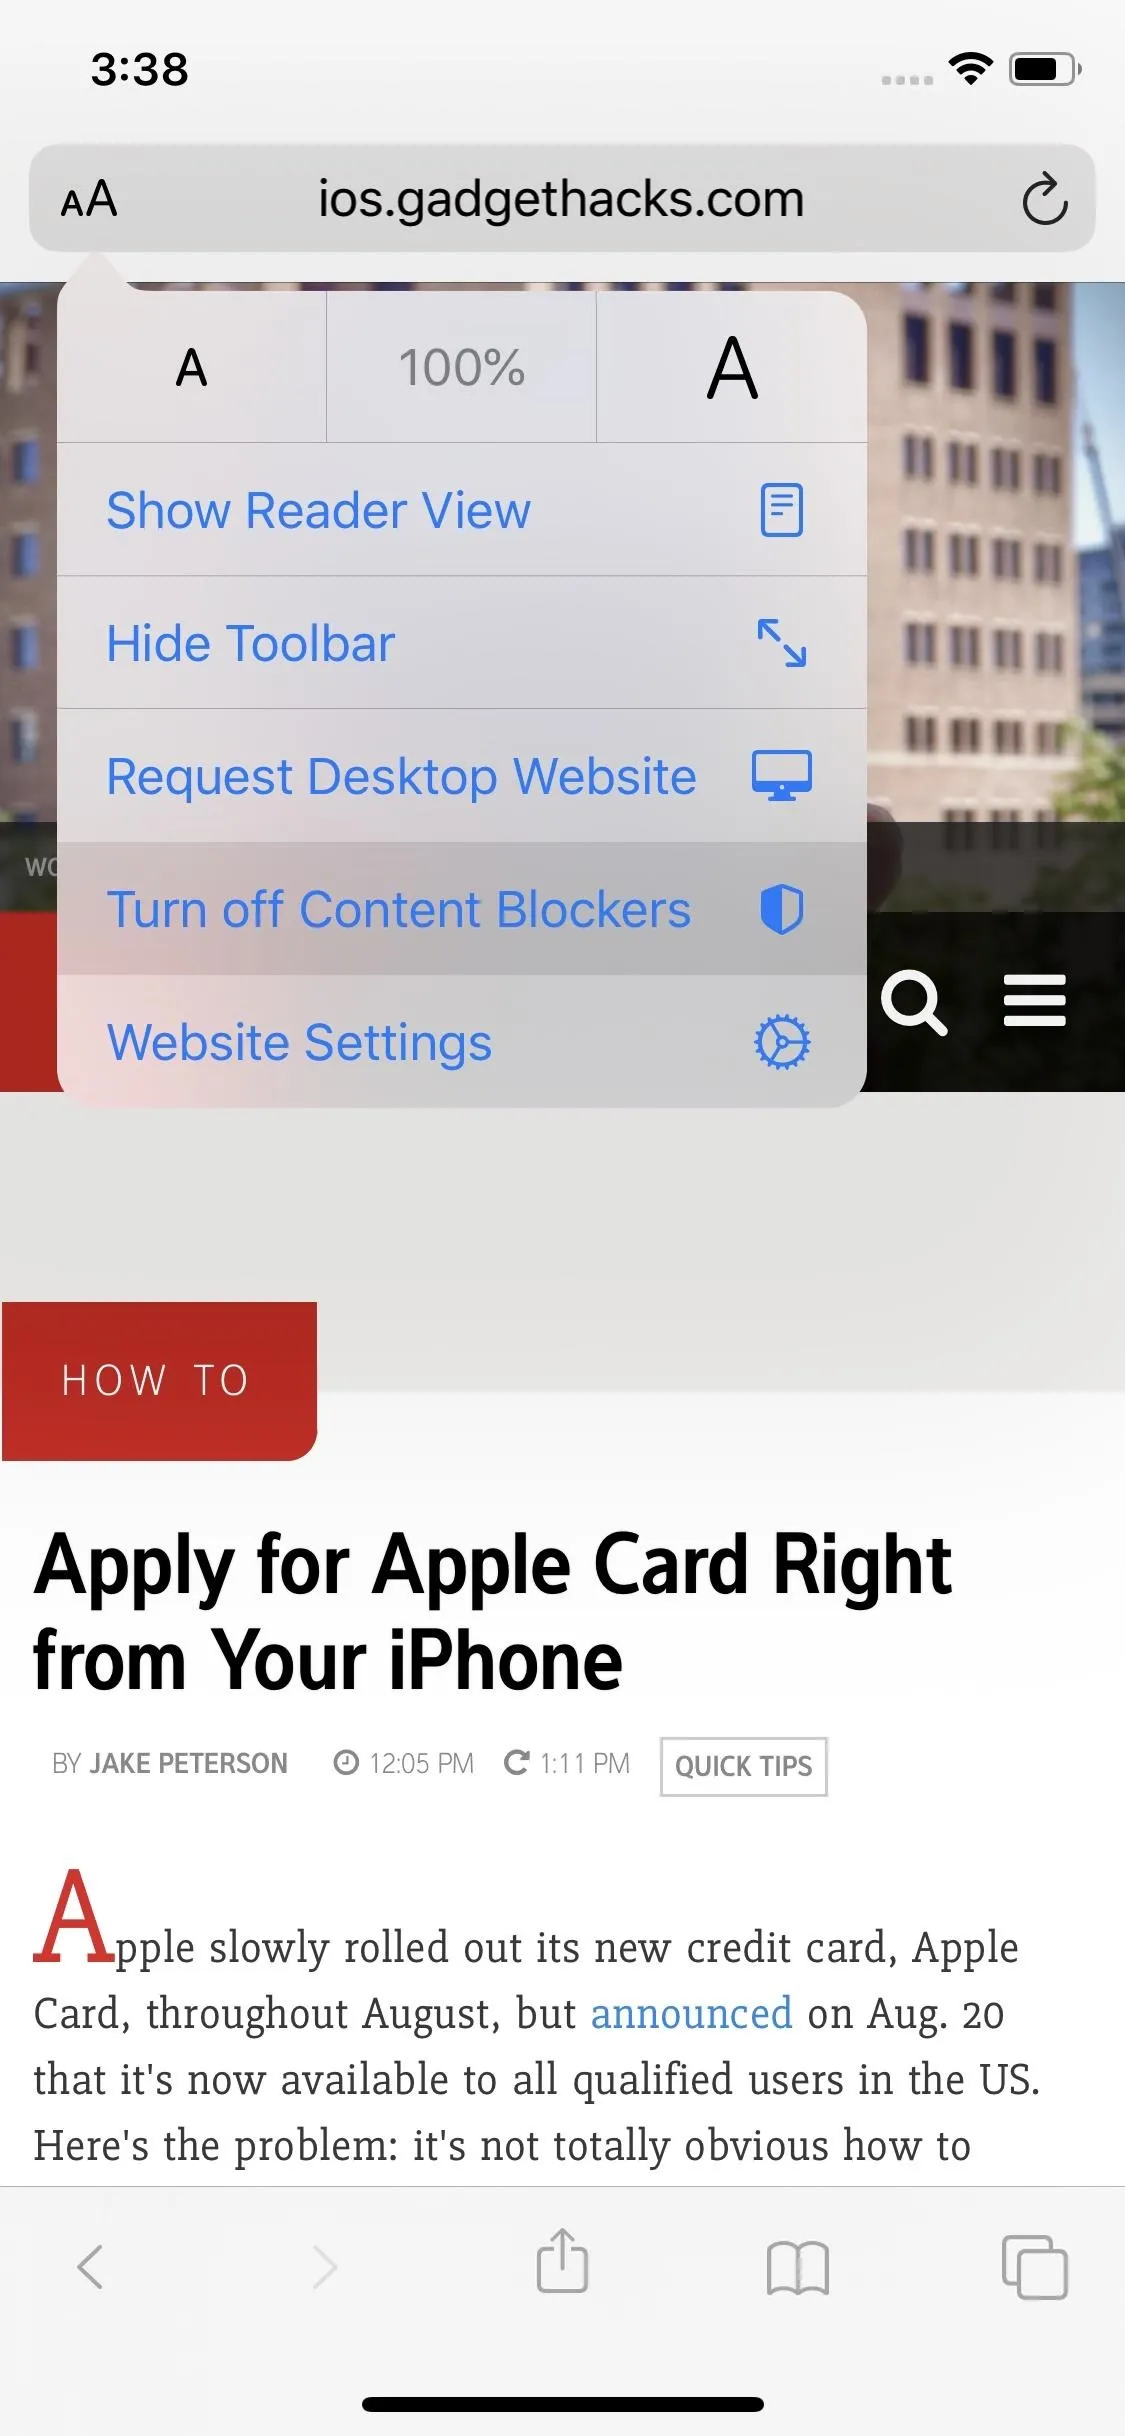
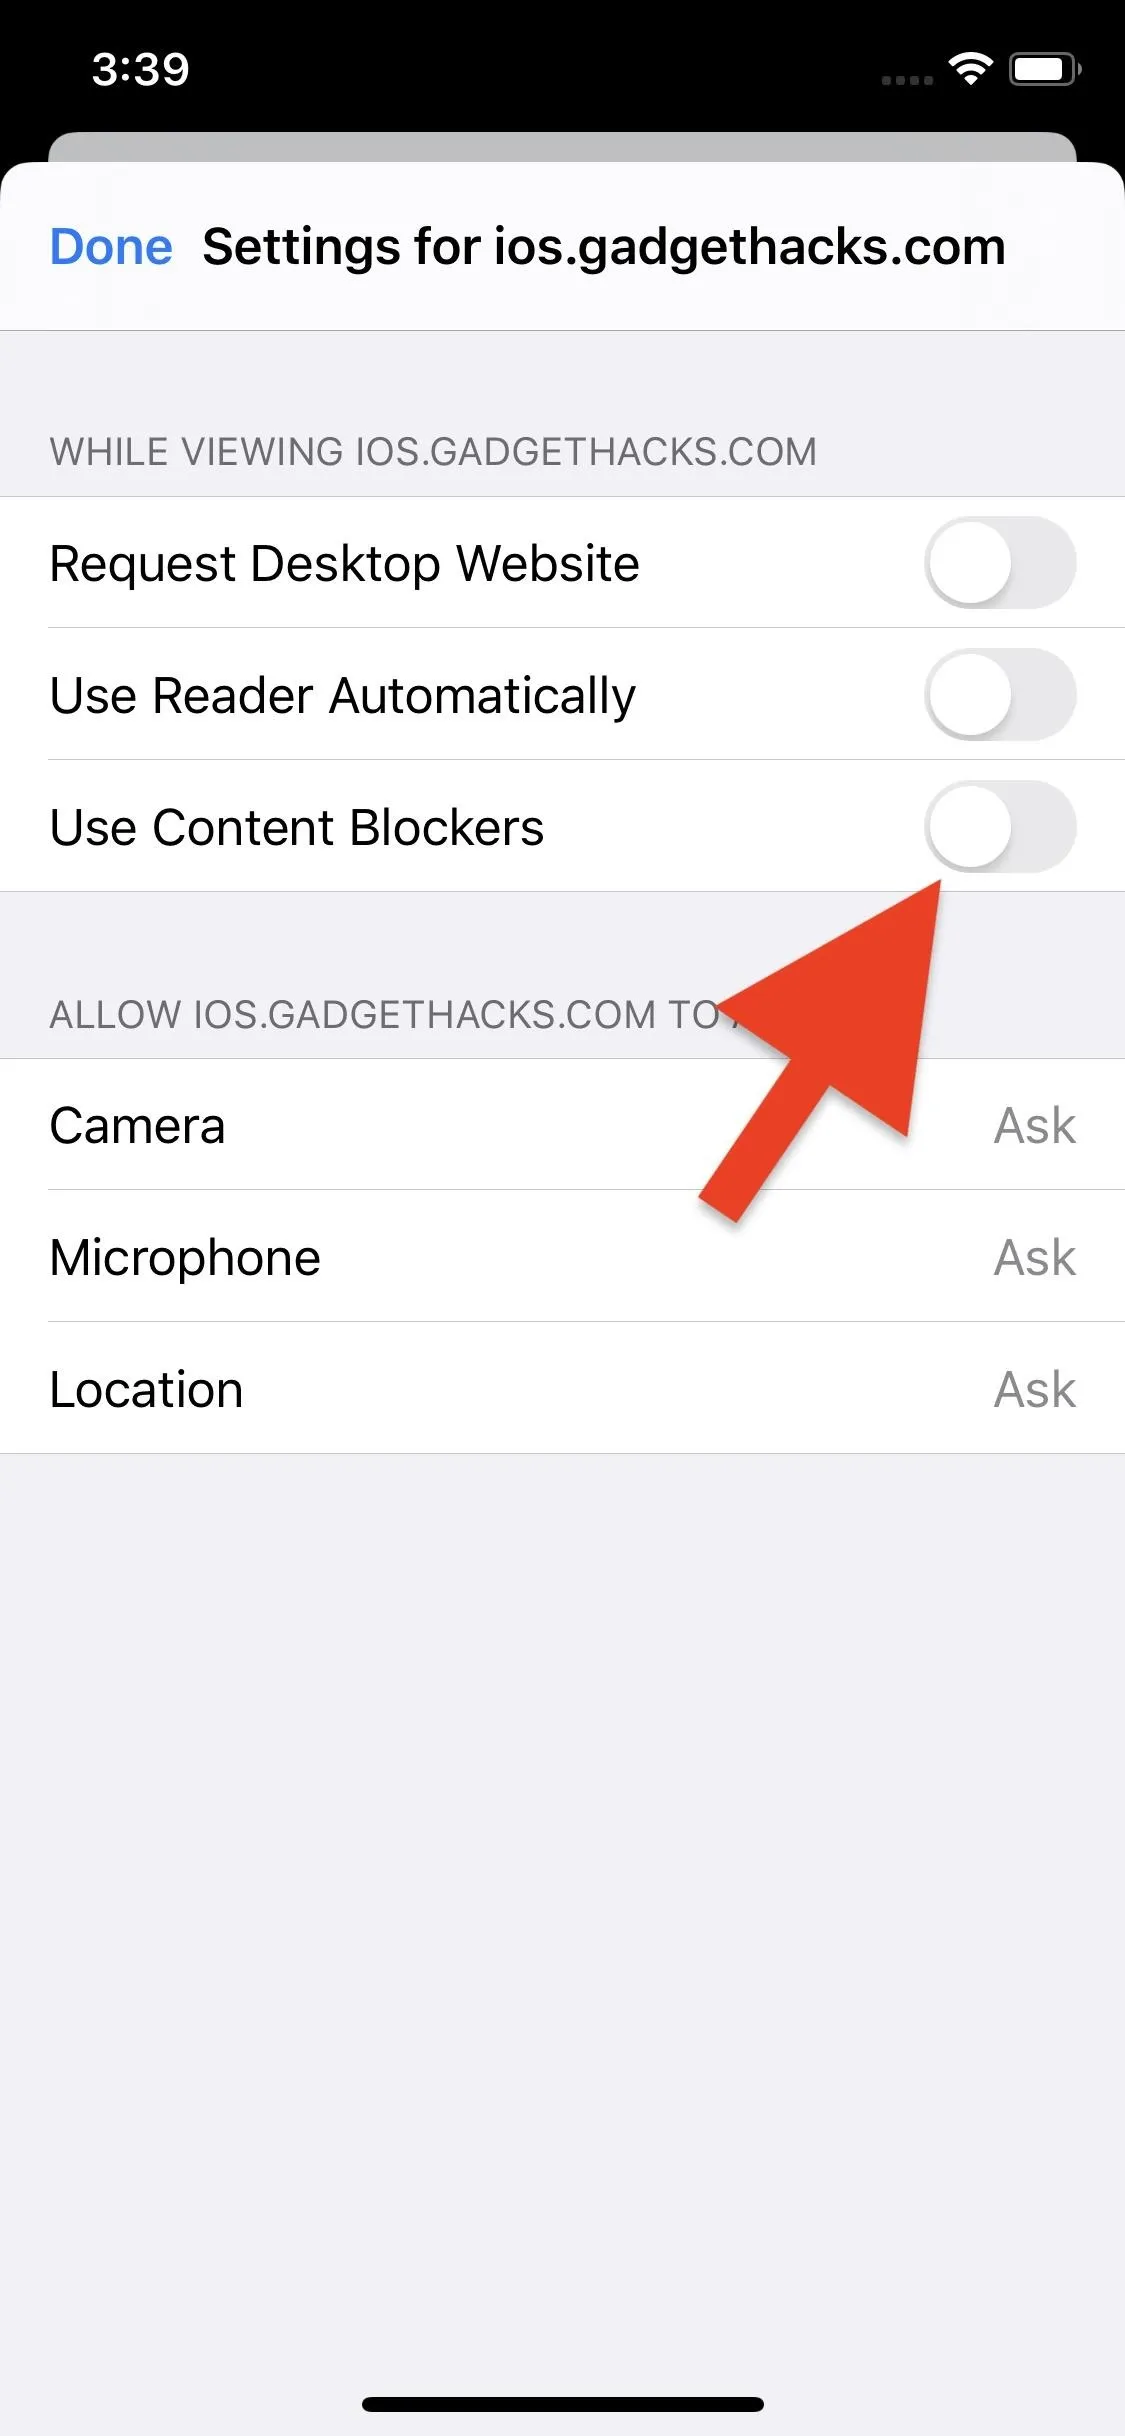
There are sites you want to use content blockers for and others you don't. If you're not sure whether or not you have content blockers enabled for the site you're currently visiting, you can quickly check and manage those settings via iOS 13's new website View menu. You can choose to enable or disable content blockers just once, or to whitelist entire sites with a tap.
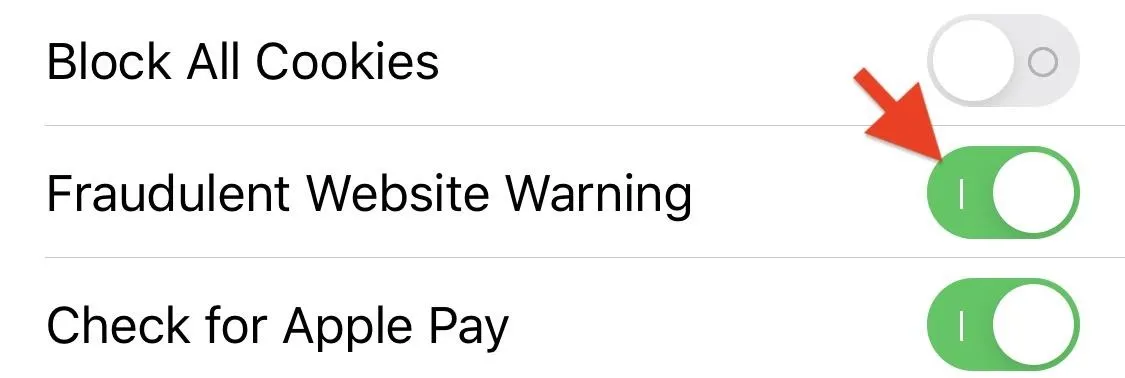
14: Enable Security Alerts to Warn You of Fraudulent Sites
You can't trust anyone on the internet, and neither can Safari. With the "Fraudulent Website Warning" option in Safari's settings turned on (in the Privacy & Security section), you'll get pop-up alerts any time Safari thinks you're visiting a site with malicious intent, usually due to suspected phishing. These sites typically try to steal your usernames, passwords, and other personally identifiable information.
Safari determines whether or not a site is fraudulent or not using a variety of factors, including referencing Google Safe Browsing and Tencent Safe Browsing. Without this feature enabled, the websites you're entering personal data into might not be what you think they are.
Bonus: Safari introduced a new feature in iOS 12.2 that still applies, which shames websites that aren't using HTTPS to encrypt data sent and received. When visiting an HTTP website, it will say "Not Secure" in the Smart Search bar. There is no toggle for this one — it's one of Safari's mandatory security features going forward.
15: Prevent Sites from Collecting Motion Data
Apple introduced a new setting in iOS 12.2 to help protect your iPhone's motion and orientation data from malicious websites. The setting, appropriately called "Motion & Orientation Access," lets you decide whether or not to allow sites to use your iPhone's gyroscope and accelerometer. With it disabled, you can prevent bad actors from recording data.
The flipside to the added security is that motion-based sites will no longer work. Instead, moving images will become static, and any AR-based content will be rendered useless. The setting is straightforward to toggle on or off, however, so if you need to use a site with motion, you can fix any issues quickly.
If you're using iOS 13 onward, Apple baked the feature into Safari, so there's no longer a need for the option itself. Now, all websites need to ask for motion and orientation access each time they need to do so, and allowing it once for a webpage doesn't mean you can't deny it next time.


16: Block Safari from Using Your Camera & Microphone
You'll find that some websites you visit in Safari will require access to your iPhone's camera or microphone (or both) to function correctly. If you want to use these sites, there's no other way around it — you'll have to permit those sites to use your iPhone's camera and microphone. In iOS 12.4.1 and under, you'd use the "Camera & Microphone Access" toggle in Safari's settings as a kill-all/allow-all switch.
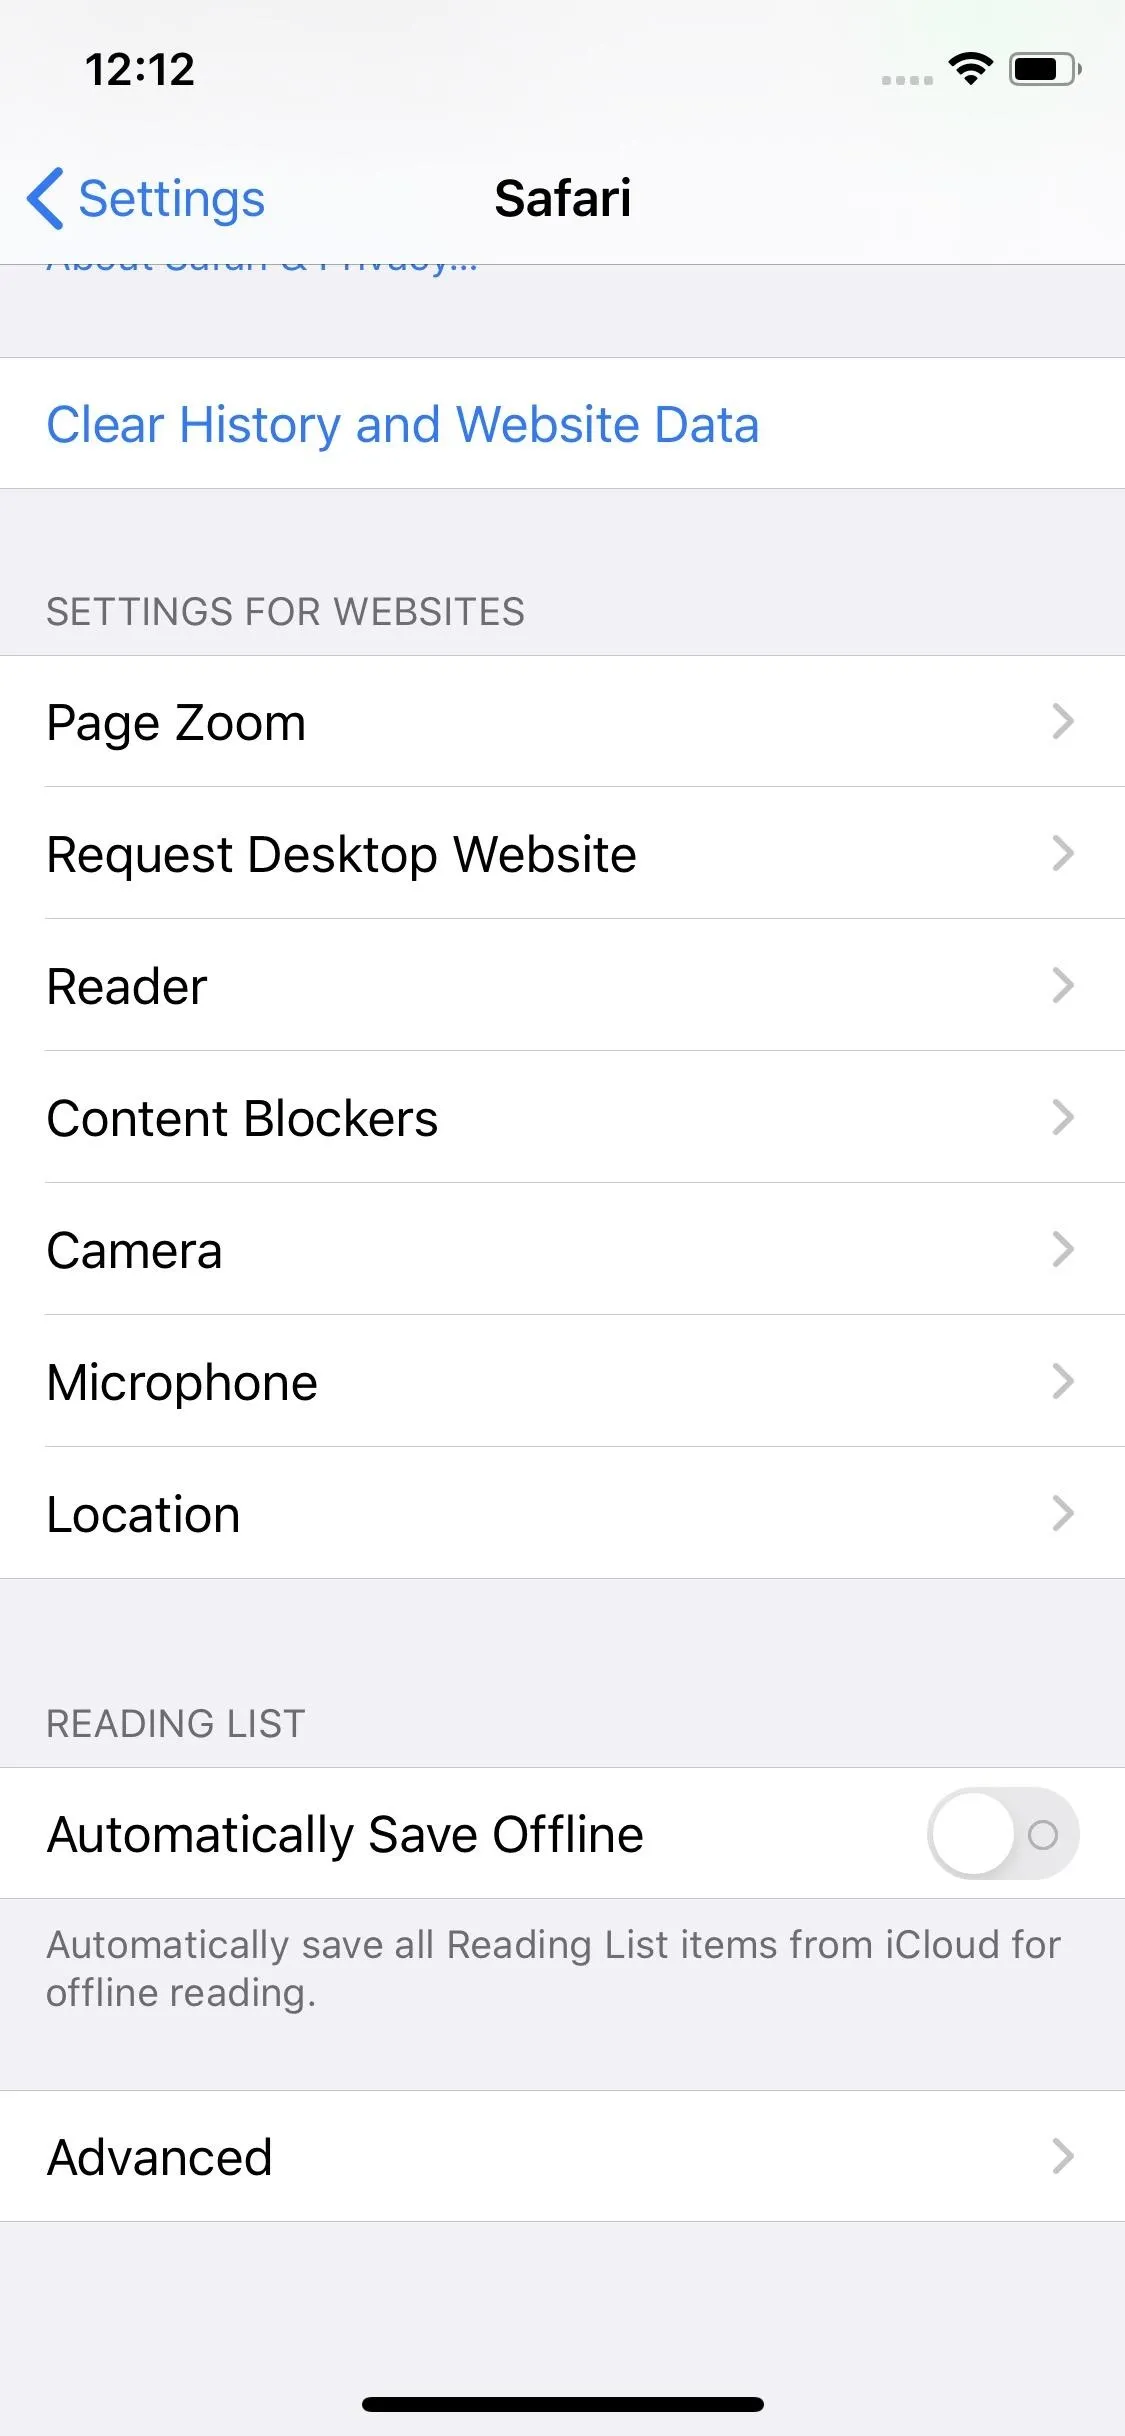
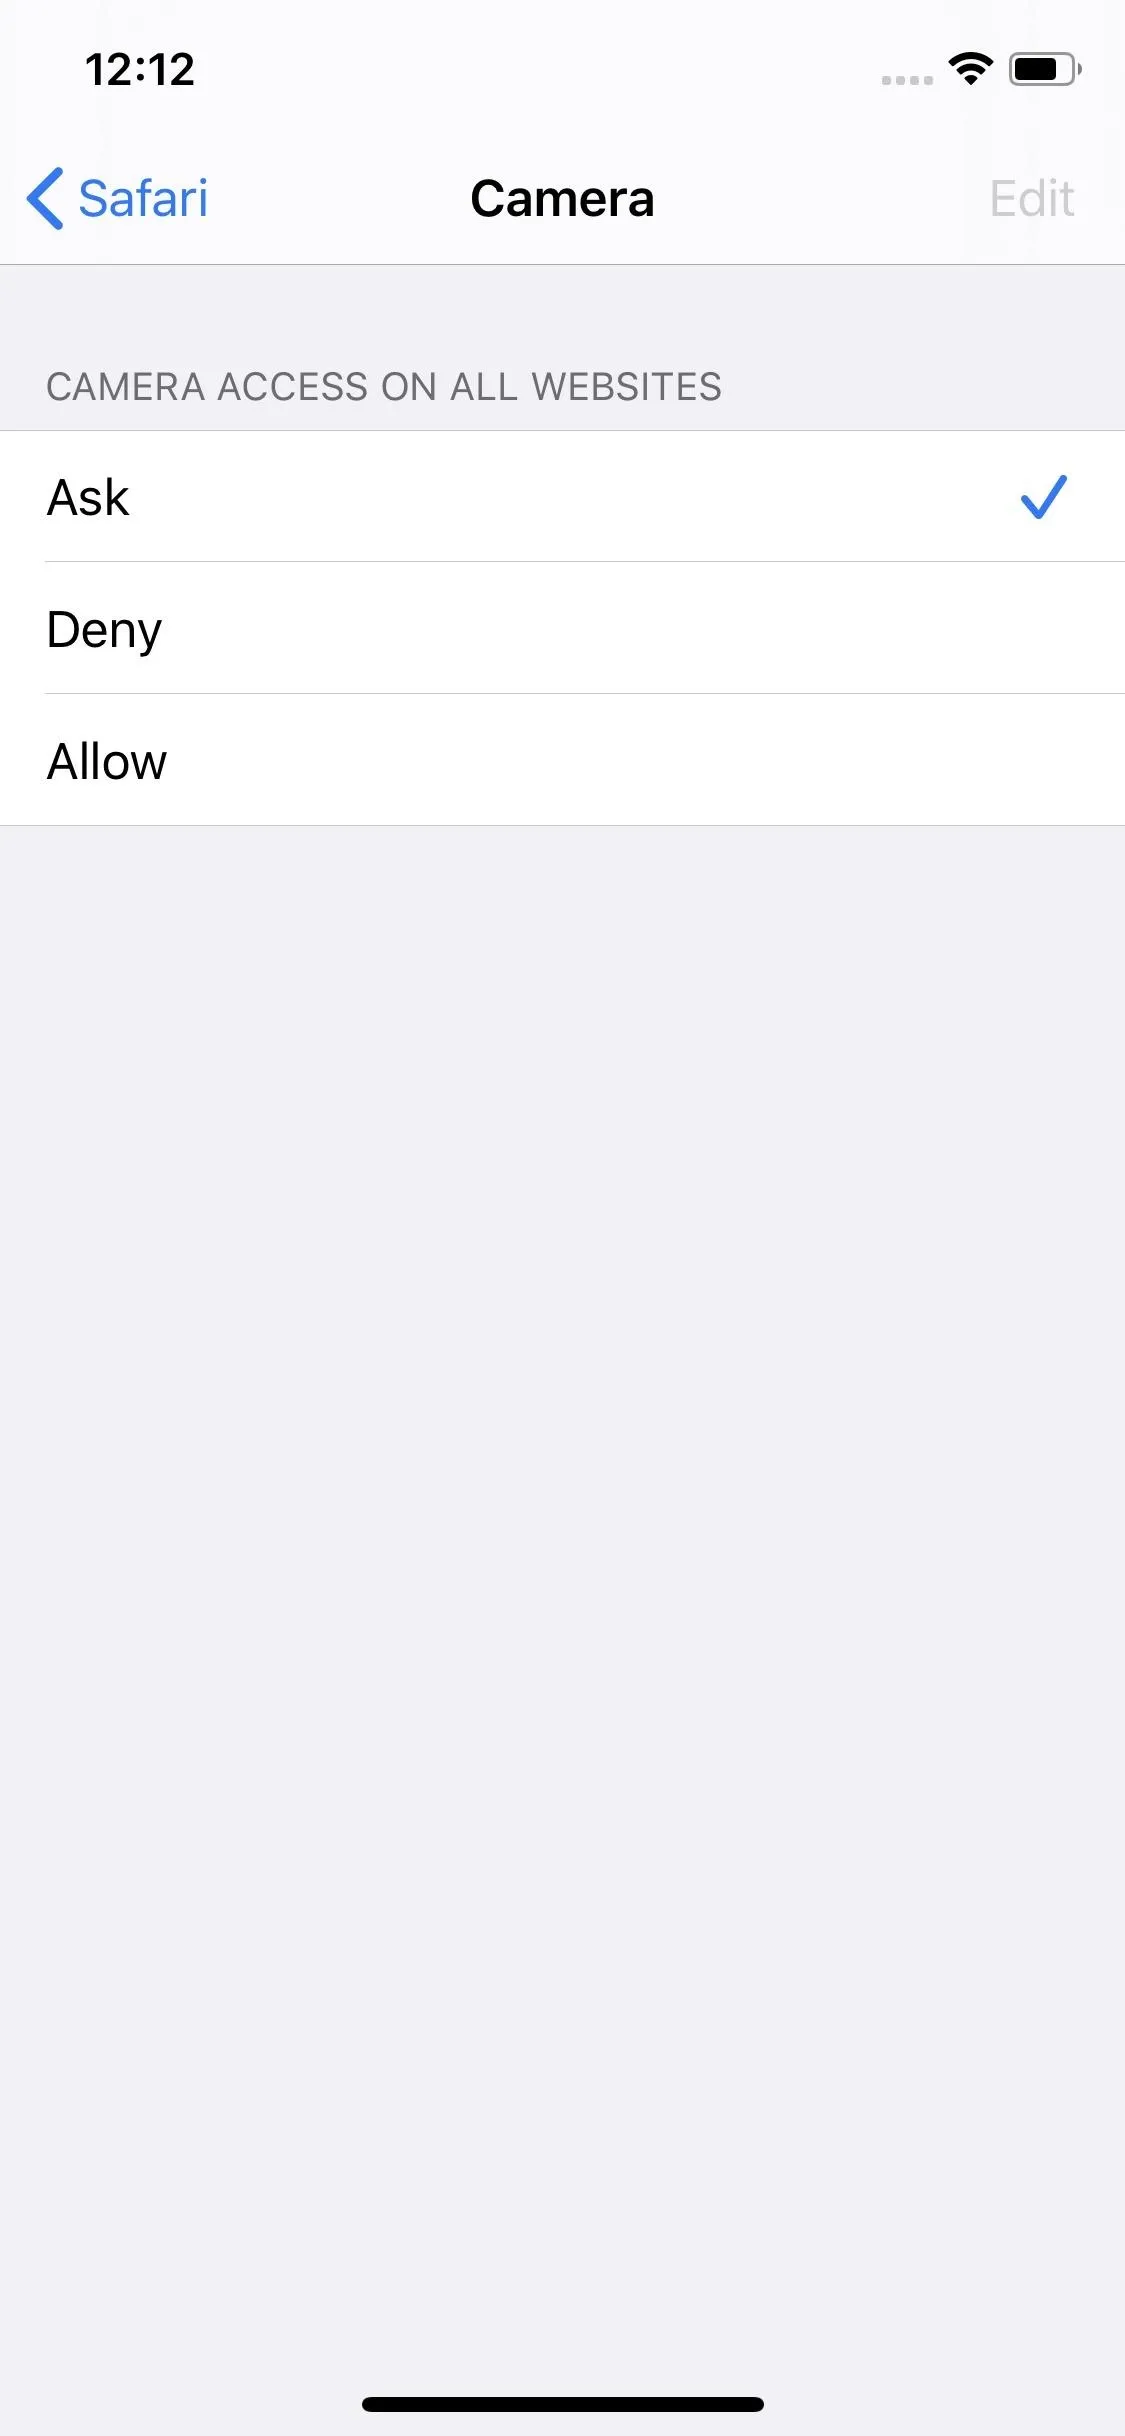
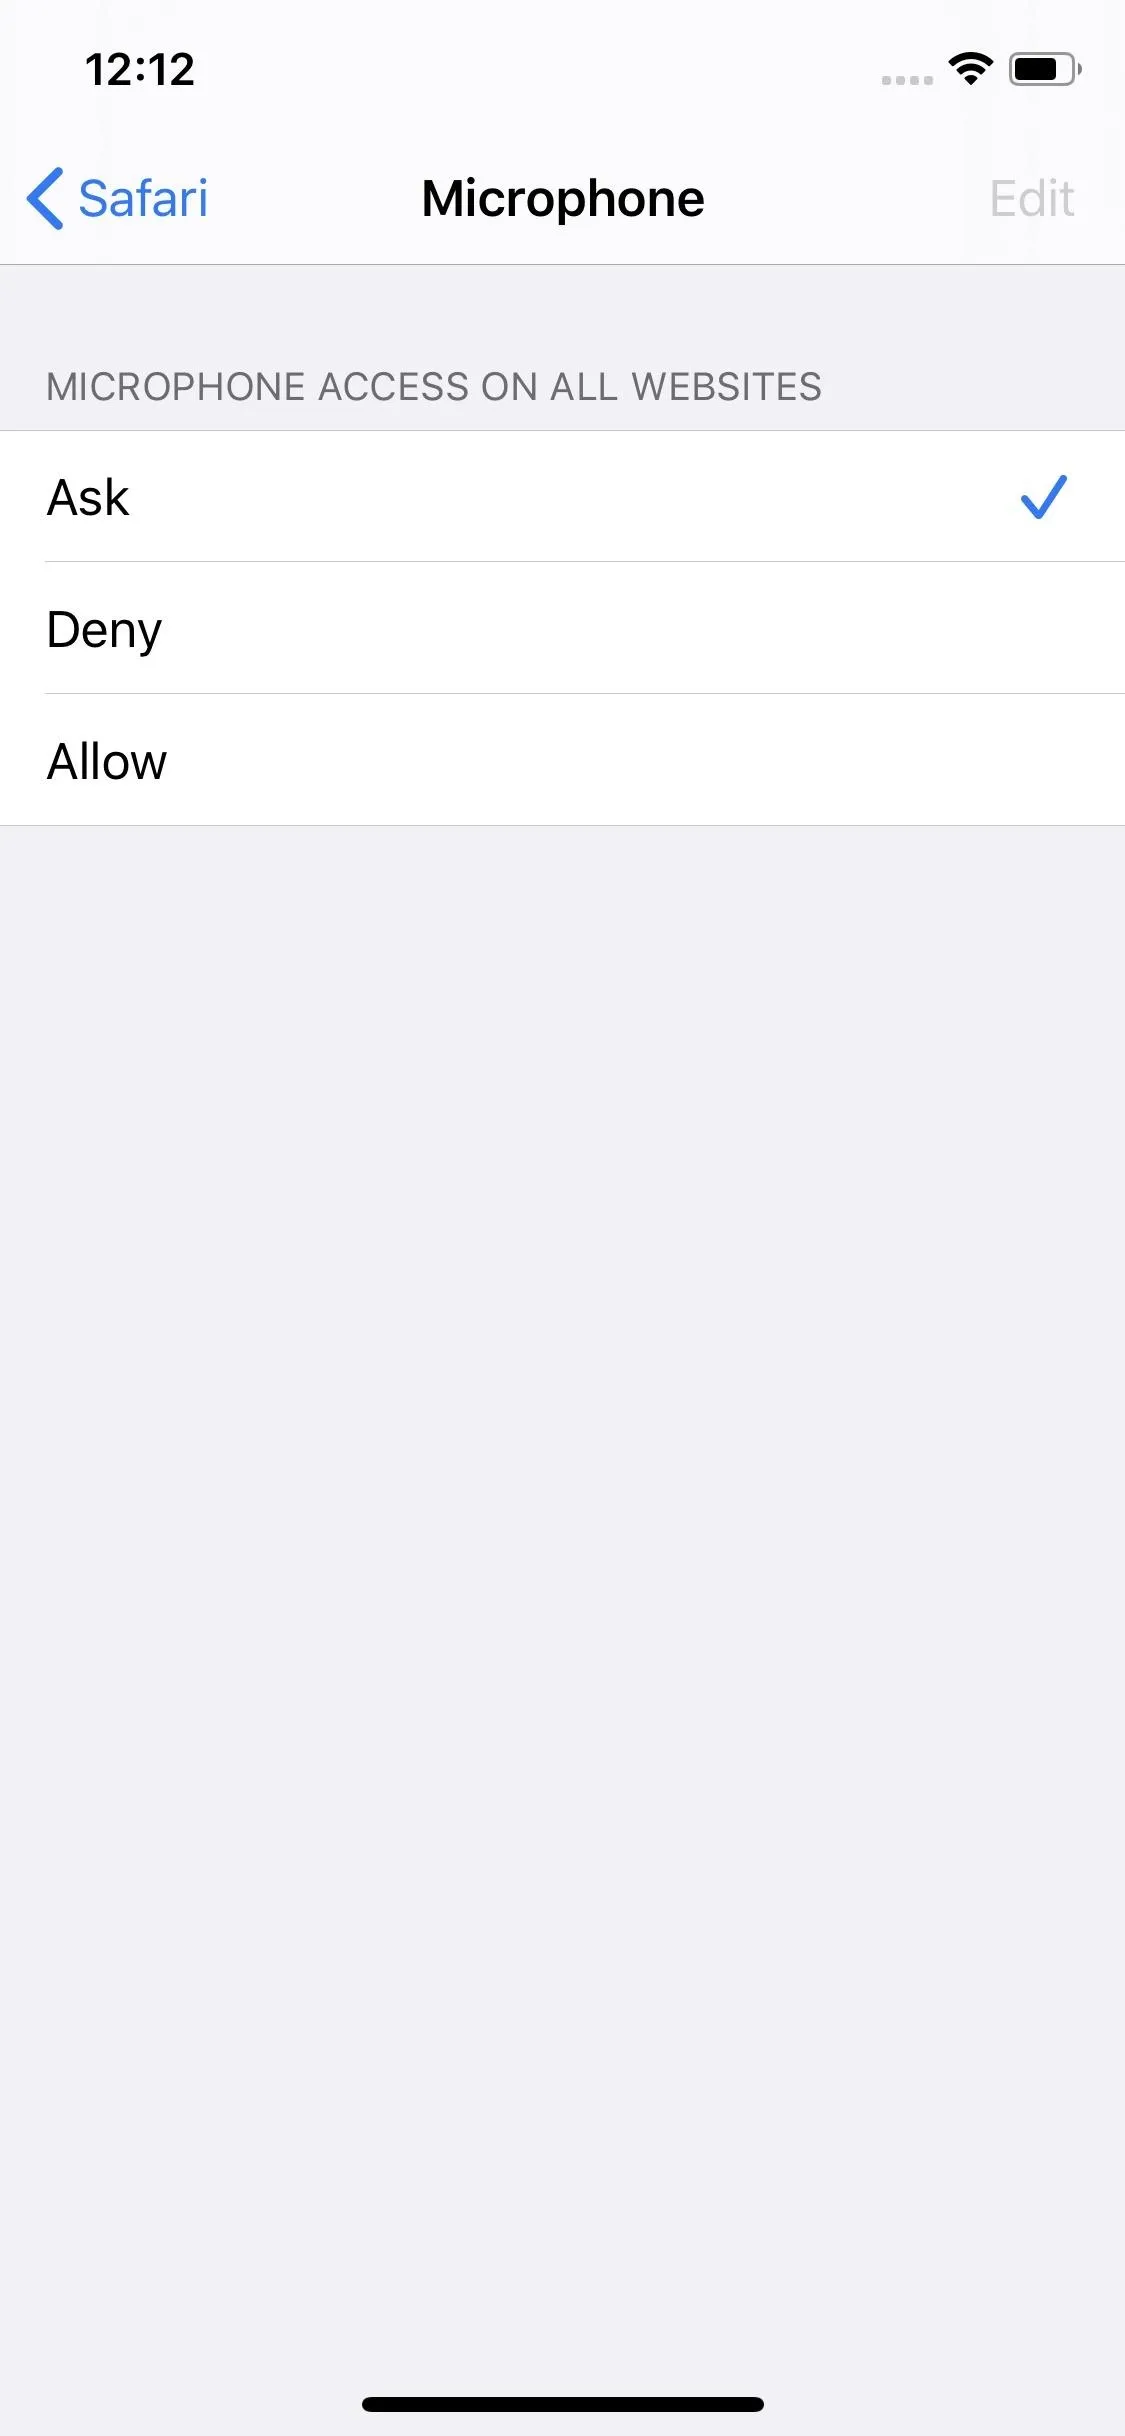
With the introduction of iOS 13, however, you now have more control over how you grant permissions. Instead of one toggle for both, each has its own setting. Even better, both give you three options to choose from: "Ask" requires each site to ask permission every time it needs access; "Deny" automatically denies cam and mic access to all websites that want it; and "Allow" automatically allows permissions to all sites. These options are under Settings for Websites.
17. Change Camera & Mic Permissions for Each Website
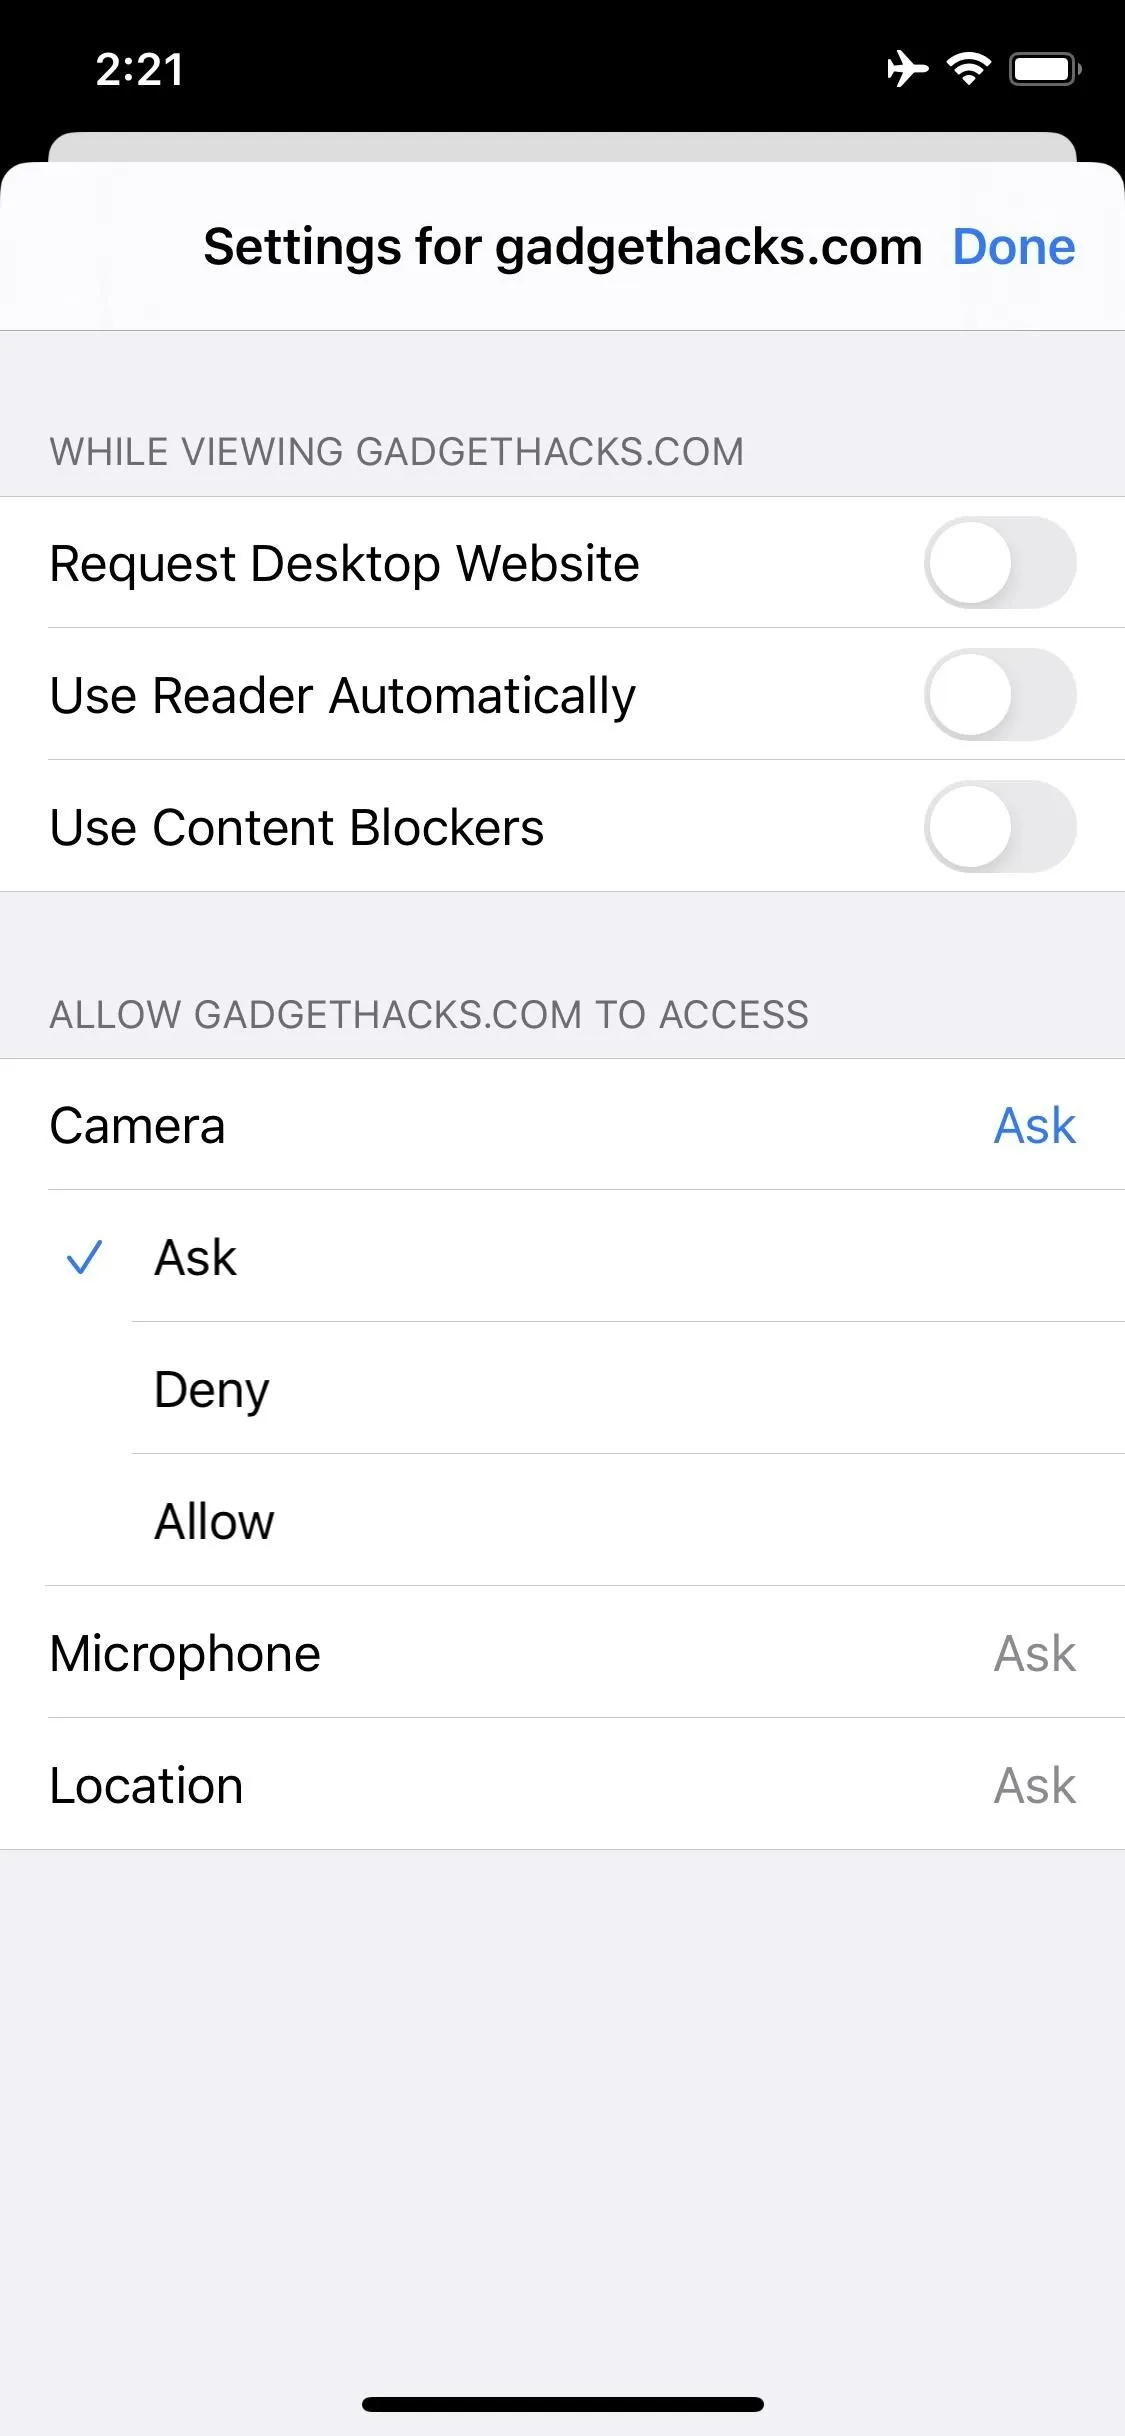
Aside from a Safari-wide switch, you can enable or disable access to Camera or Microphone at any time on a site-by-site basis. When on a site, tap the View icon (AA) on the left side of the Smart Search bar, then "Website Settings." Here, tap "Camera" or "Microphone," then choose from the three settings we've discussed before. Safari will remember your choice for the domain going forward.
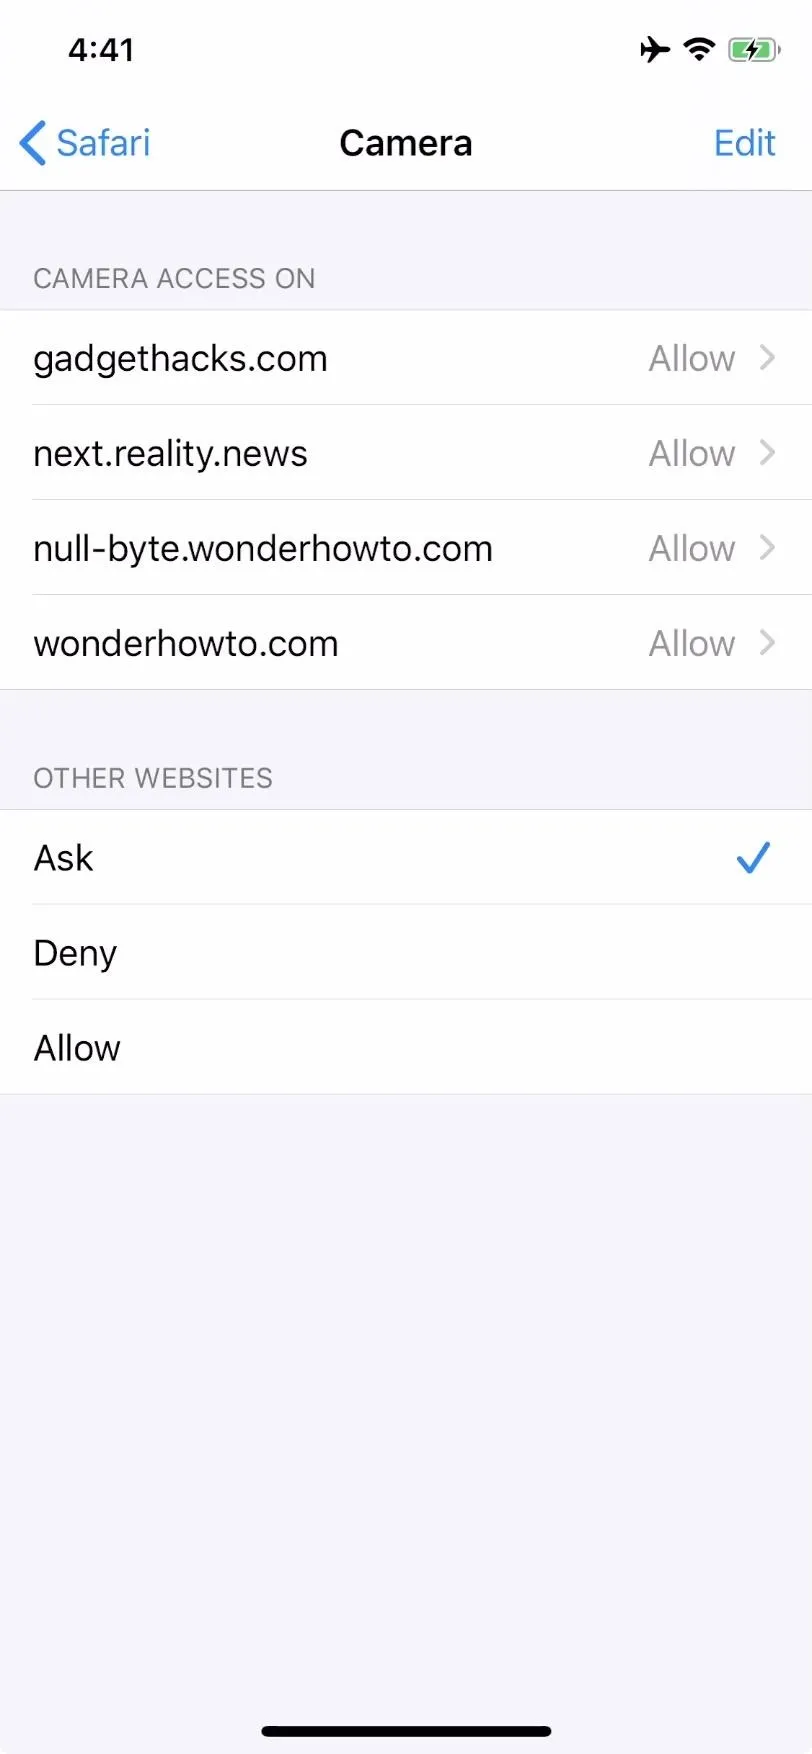
You'll find any sites that you've individually enabled or disabled these permissions for listed back in "Camera" and "Microphone" in Safari's settings page. You can check and manage the settings by tapping on the site, or you can clear all settings and revert to system-wide defaults by tapping "Edit," selecting your sites, then "Clear All Settings."
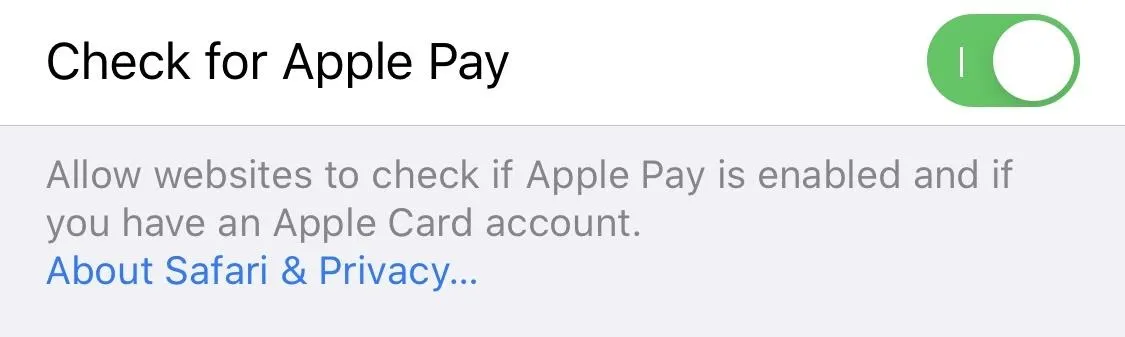
18: Block Sites from Seeing if You Use Apple Pay
When enabled, "Check for Apple Pay" in Safari's settings allows websites to see if you've enabled Apple Pay on your iPhone. In turn, these sites can better highlight Apple Pay options for you if you have Apple Pay set up.
While it can be a convenient way to access Apple Pay when making a purchase, the setting isn't necessary for using the payment option in Safari. In most cases, you can still pay for items with Apple Pay, even with "Check for Apple Pay" disabled, so there's little benefit in handing over extraneous control to any site that wants it.
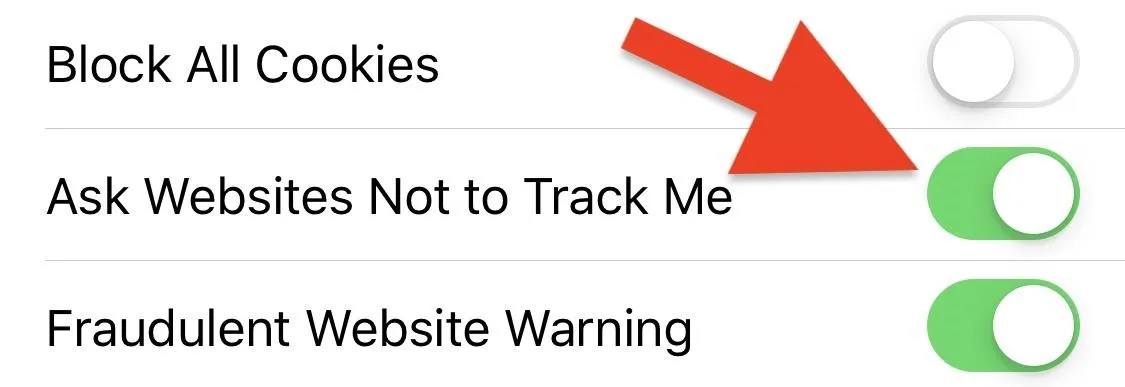
19: Ask Websites Not to Track You (iOS 12.1.4 & Earlier)
The feature works just like it sounds. At least, when it works. When enabled, "Ask Websites Not to Track Me" tasks Safari with asking each site you visit not to track you. If the website in question complies, you won't be tracked.
Of course, the fatal flaw here is that it's up to each site to honor your request. Websites can ignore Safari and track you all the same. In fact, the standard itself is no longer up for consideration by the World Wide Web Consortium. That's why Apple has retired the feature in iOS 12.2. On the bright side, there are plenty of other excellent security features packed into Safari.
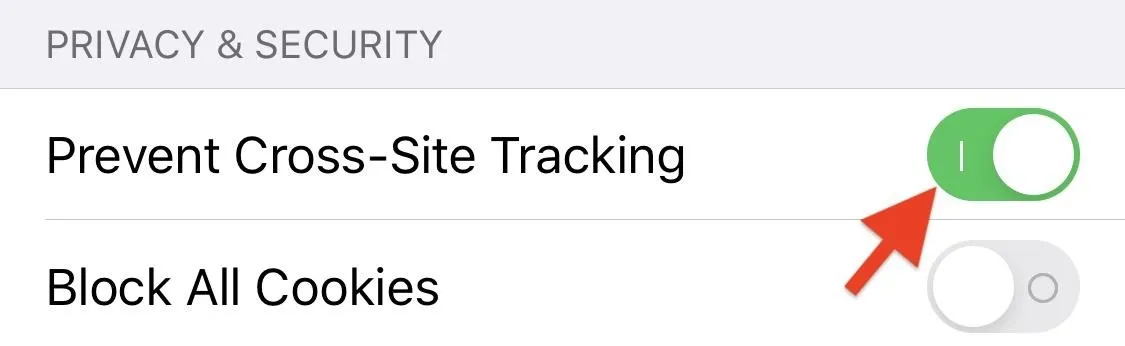
20: Prevent Cross-Site Tracking So Ads Don't Follow You
Cross-site tracking is when one website you visit can target your activity even after you've left the original site entirely. It's how you end up with ads for shoes after looking at one pair on Amazon; you leave that webpage with a cookie, which allows advertisers to watch and target you on other sites for weeks at a time.
While Safari won't stop this activity from happening altogether, enabling "Prevent Cross-Site Tracking" tells Safari to periodically delete the tracking data, unless you revisit the site where the tracker originates. It's not a perfect system, but it'll help cut down on third parties following your every move.
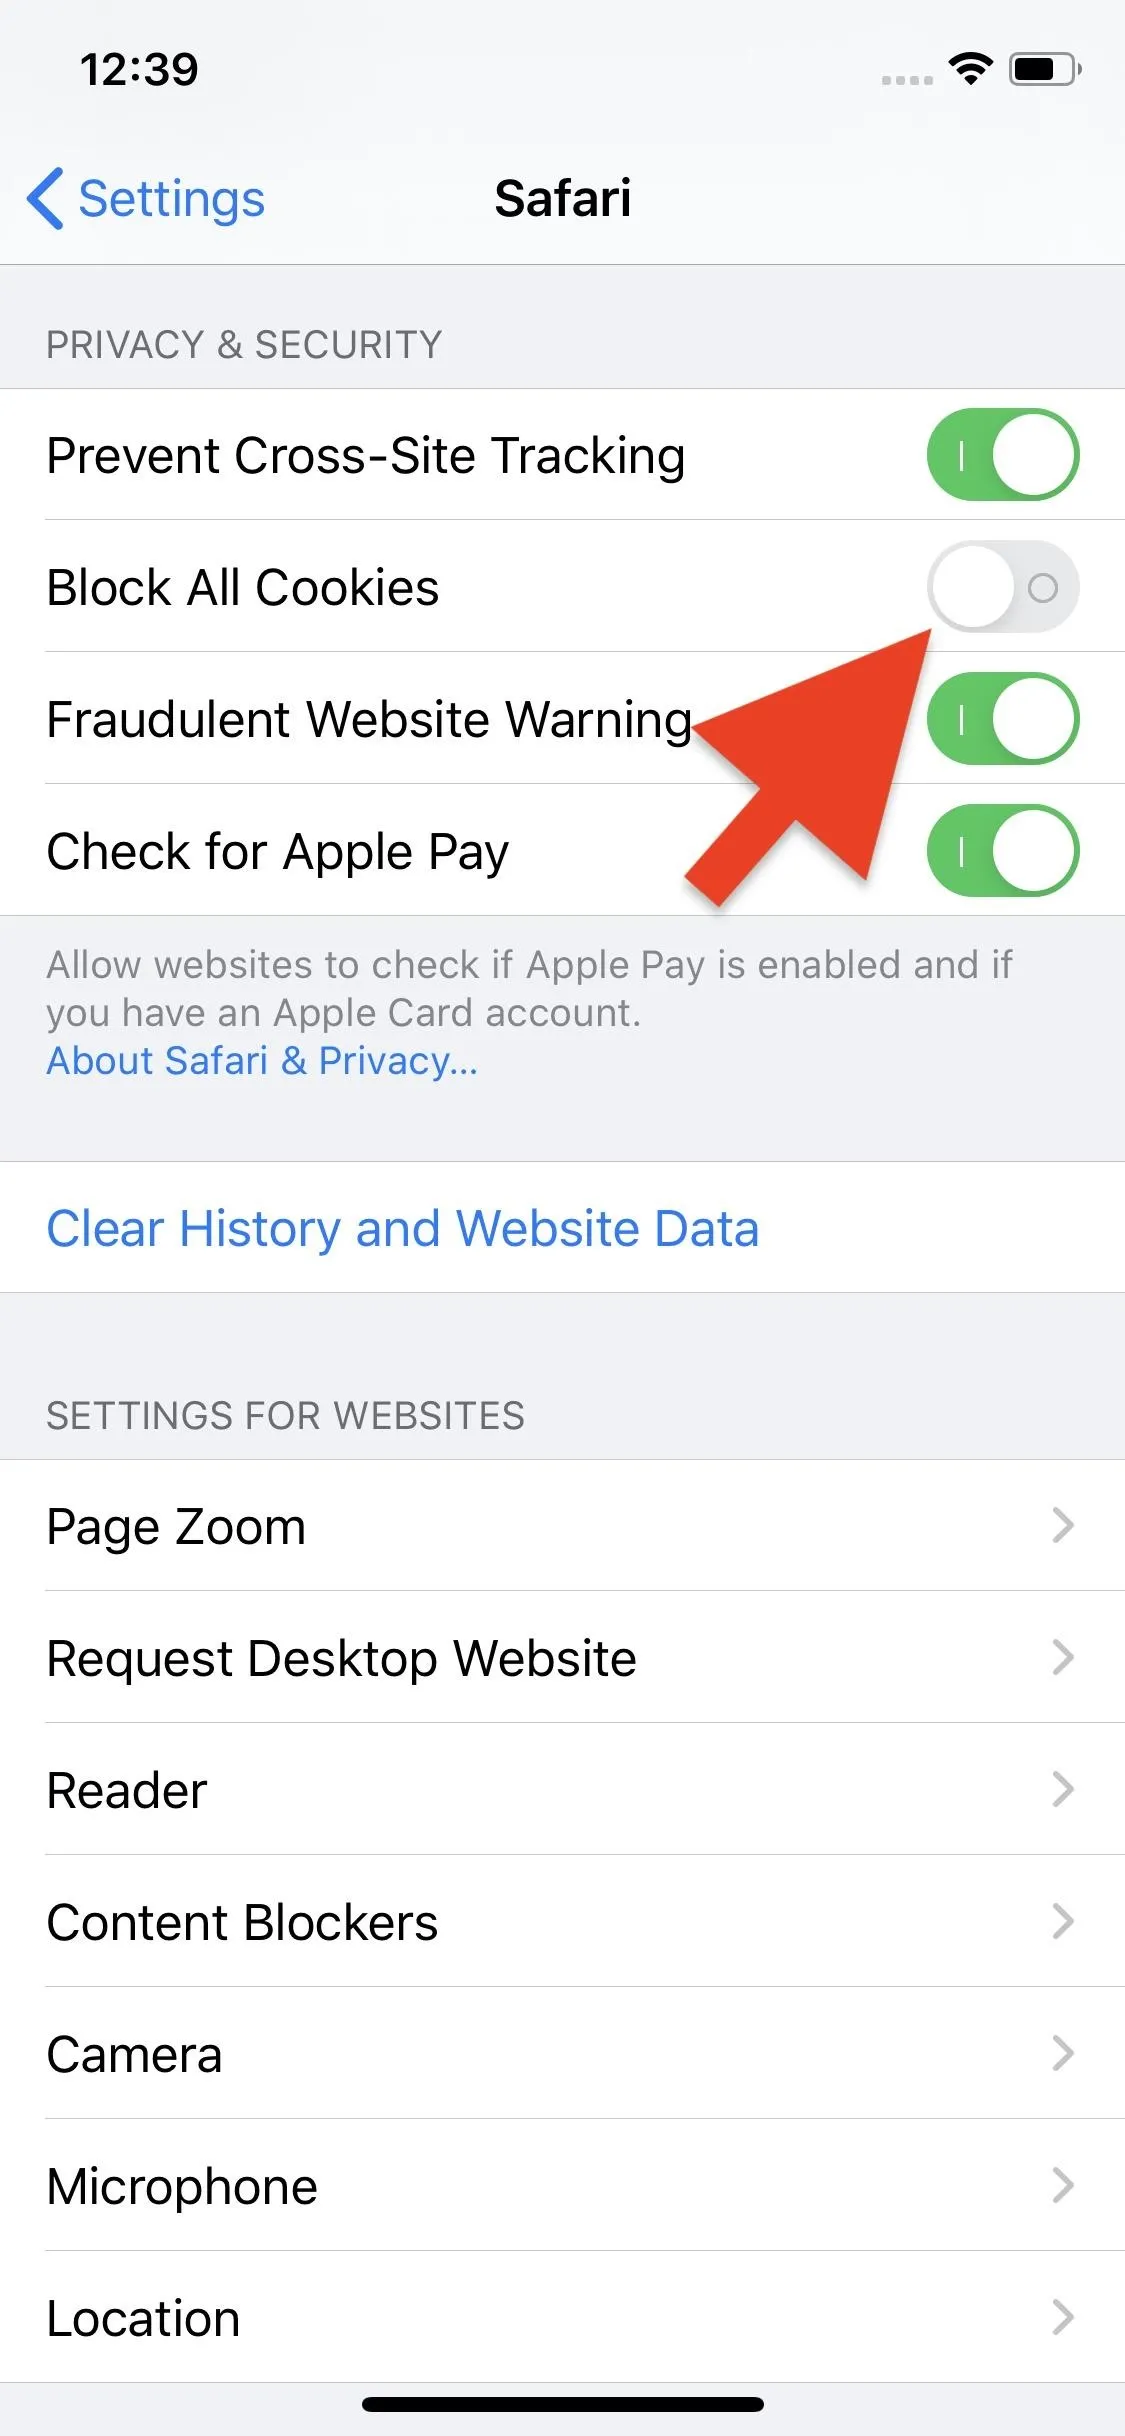
21: Block All Cookies So Not Data Is Stored by Sites
Cookies aren't tasty on the internet. Instead, they're nuggets of data stored by websites on your iPhone, so they can remember particular preferences and activities the next time you come back. And just like discussed with cross-site tracking, these cookies can be used by advertisers to follow along with your browsing activity.
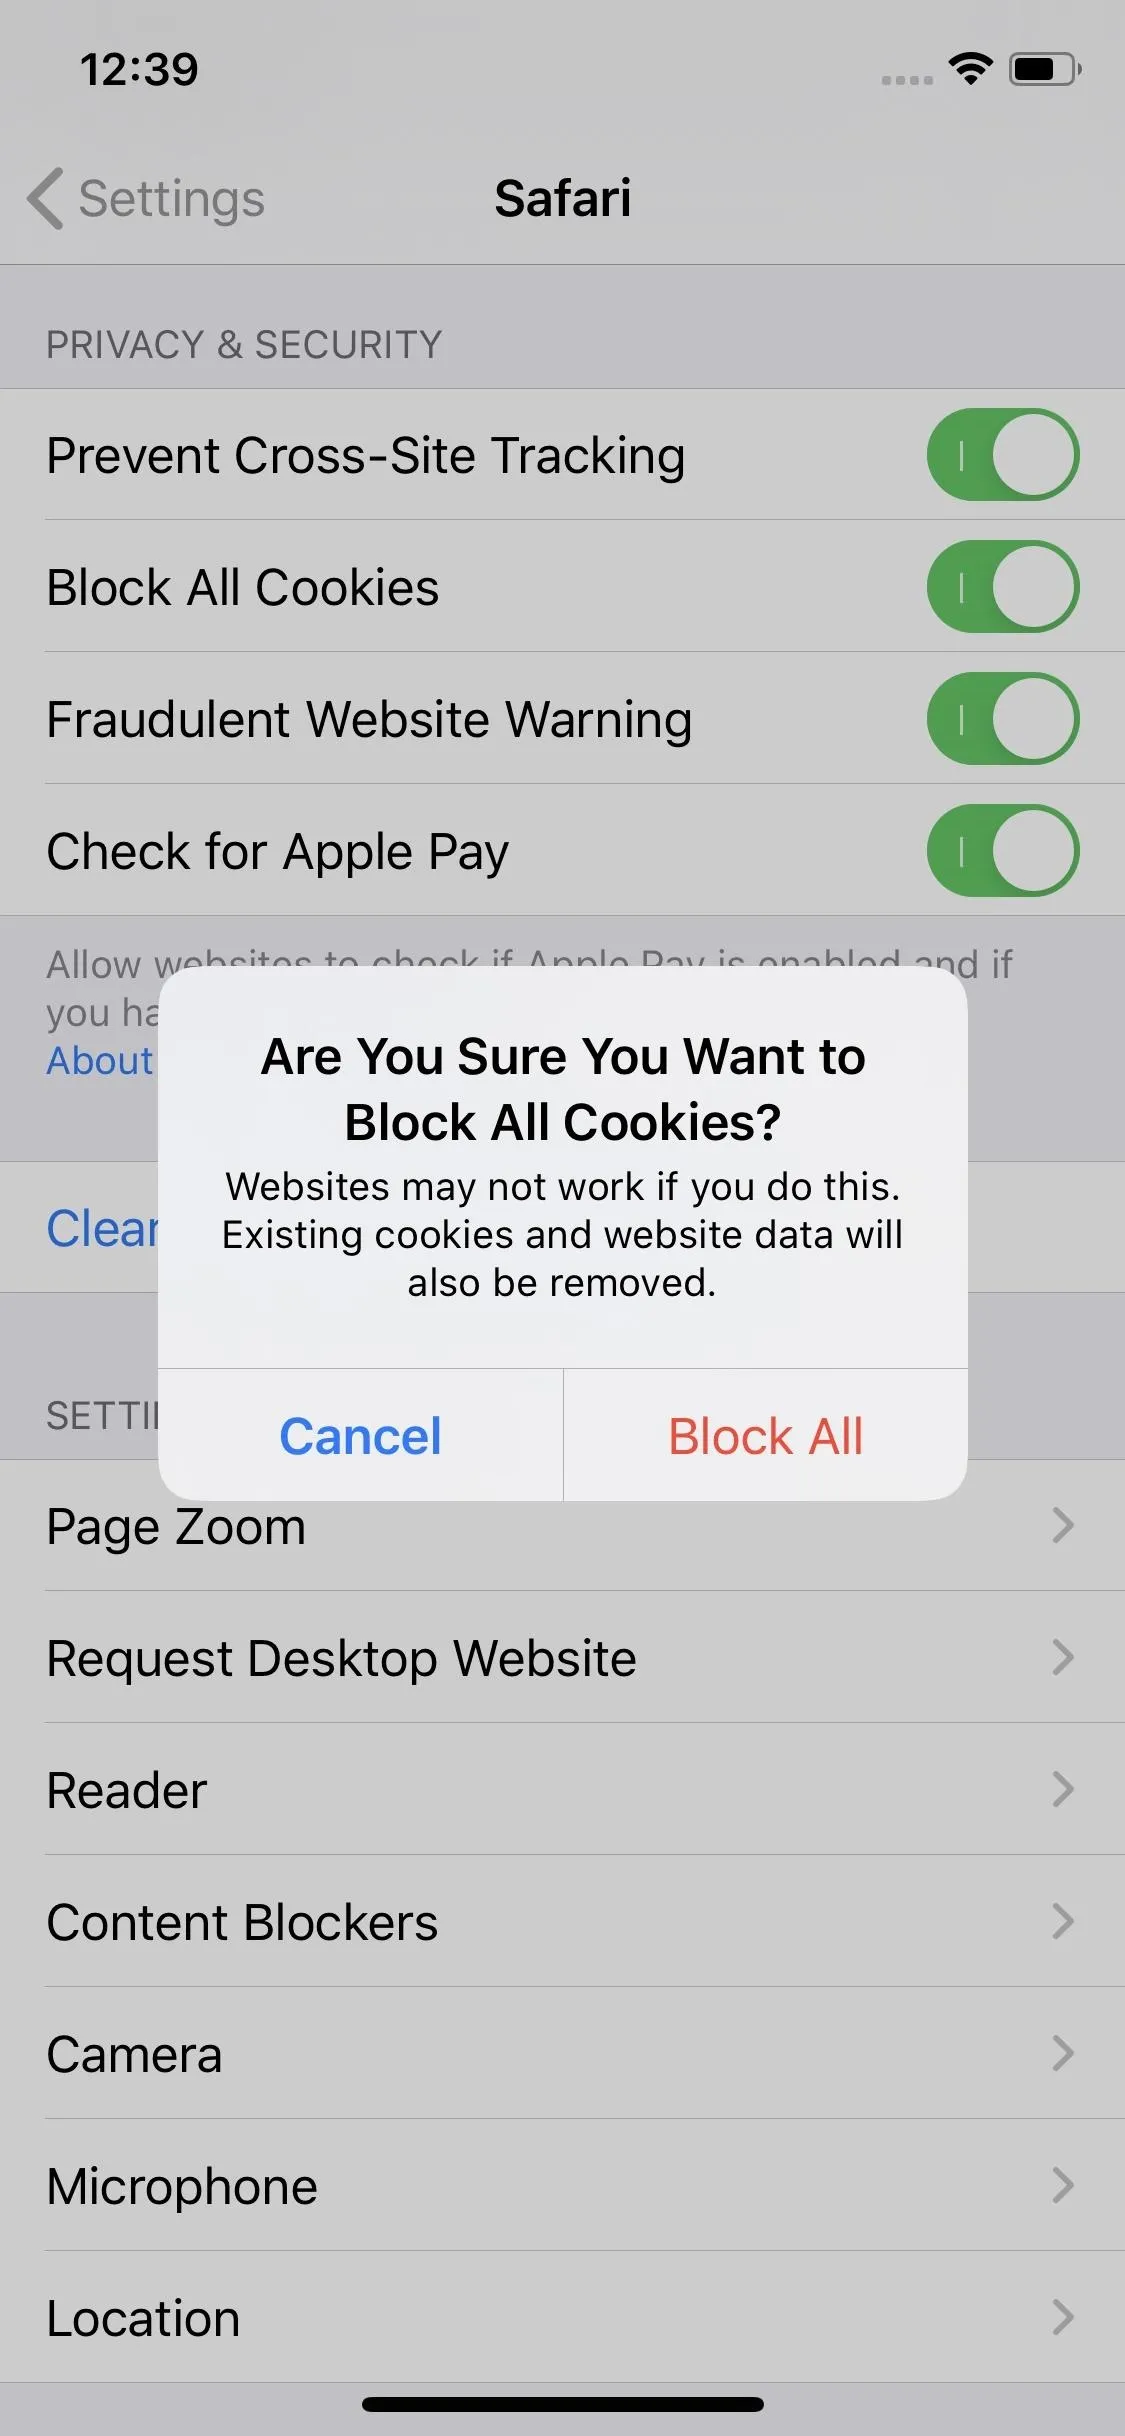
You can choose "Block All Cookies" in the Safari settings to prevent any cookies from working when you're browsing the web. Doing so will also delete all cookies that have been stored already. And since cookies are directly related to cross-site tracking, it will automatically enable that feature since you can't block cookies without also preventing cross-site tracking.
However, many sites and functions won't work unless you have cookies enabled. For instance, you'll be logged out of any sites you visit as soon as you close the tab. You might not even be able to sign in to specific websites. Websites can even block you from accessing content without cookies enabled. So you may need to turn it back on. In that case, we suggest preventing cross-site tracking and clearing your cookies every once in a while.
22: Delete Cookies You Don't Need Anymore
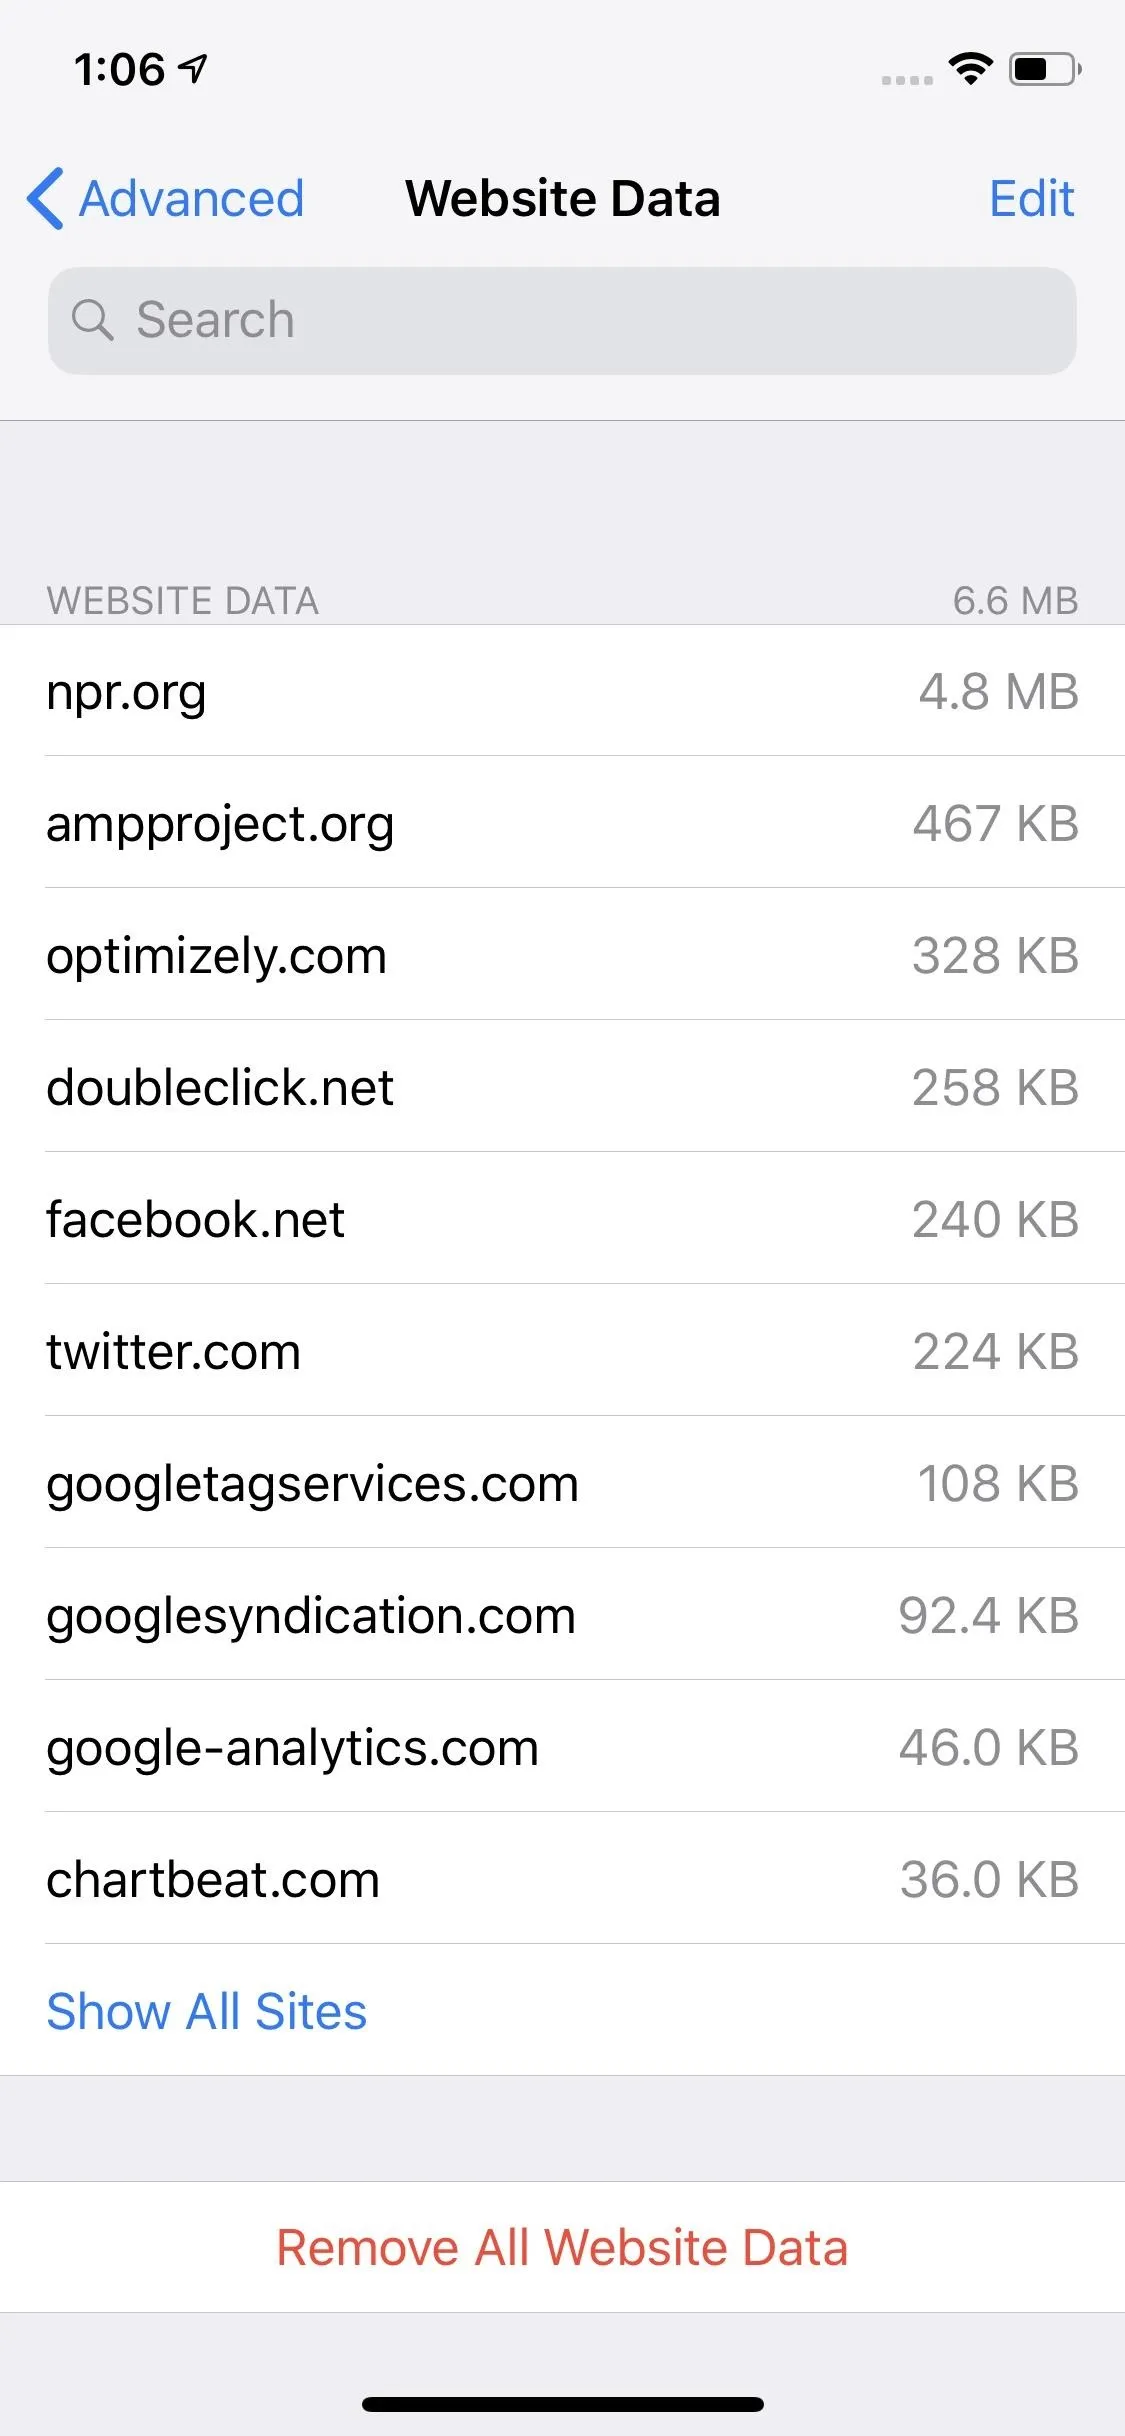
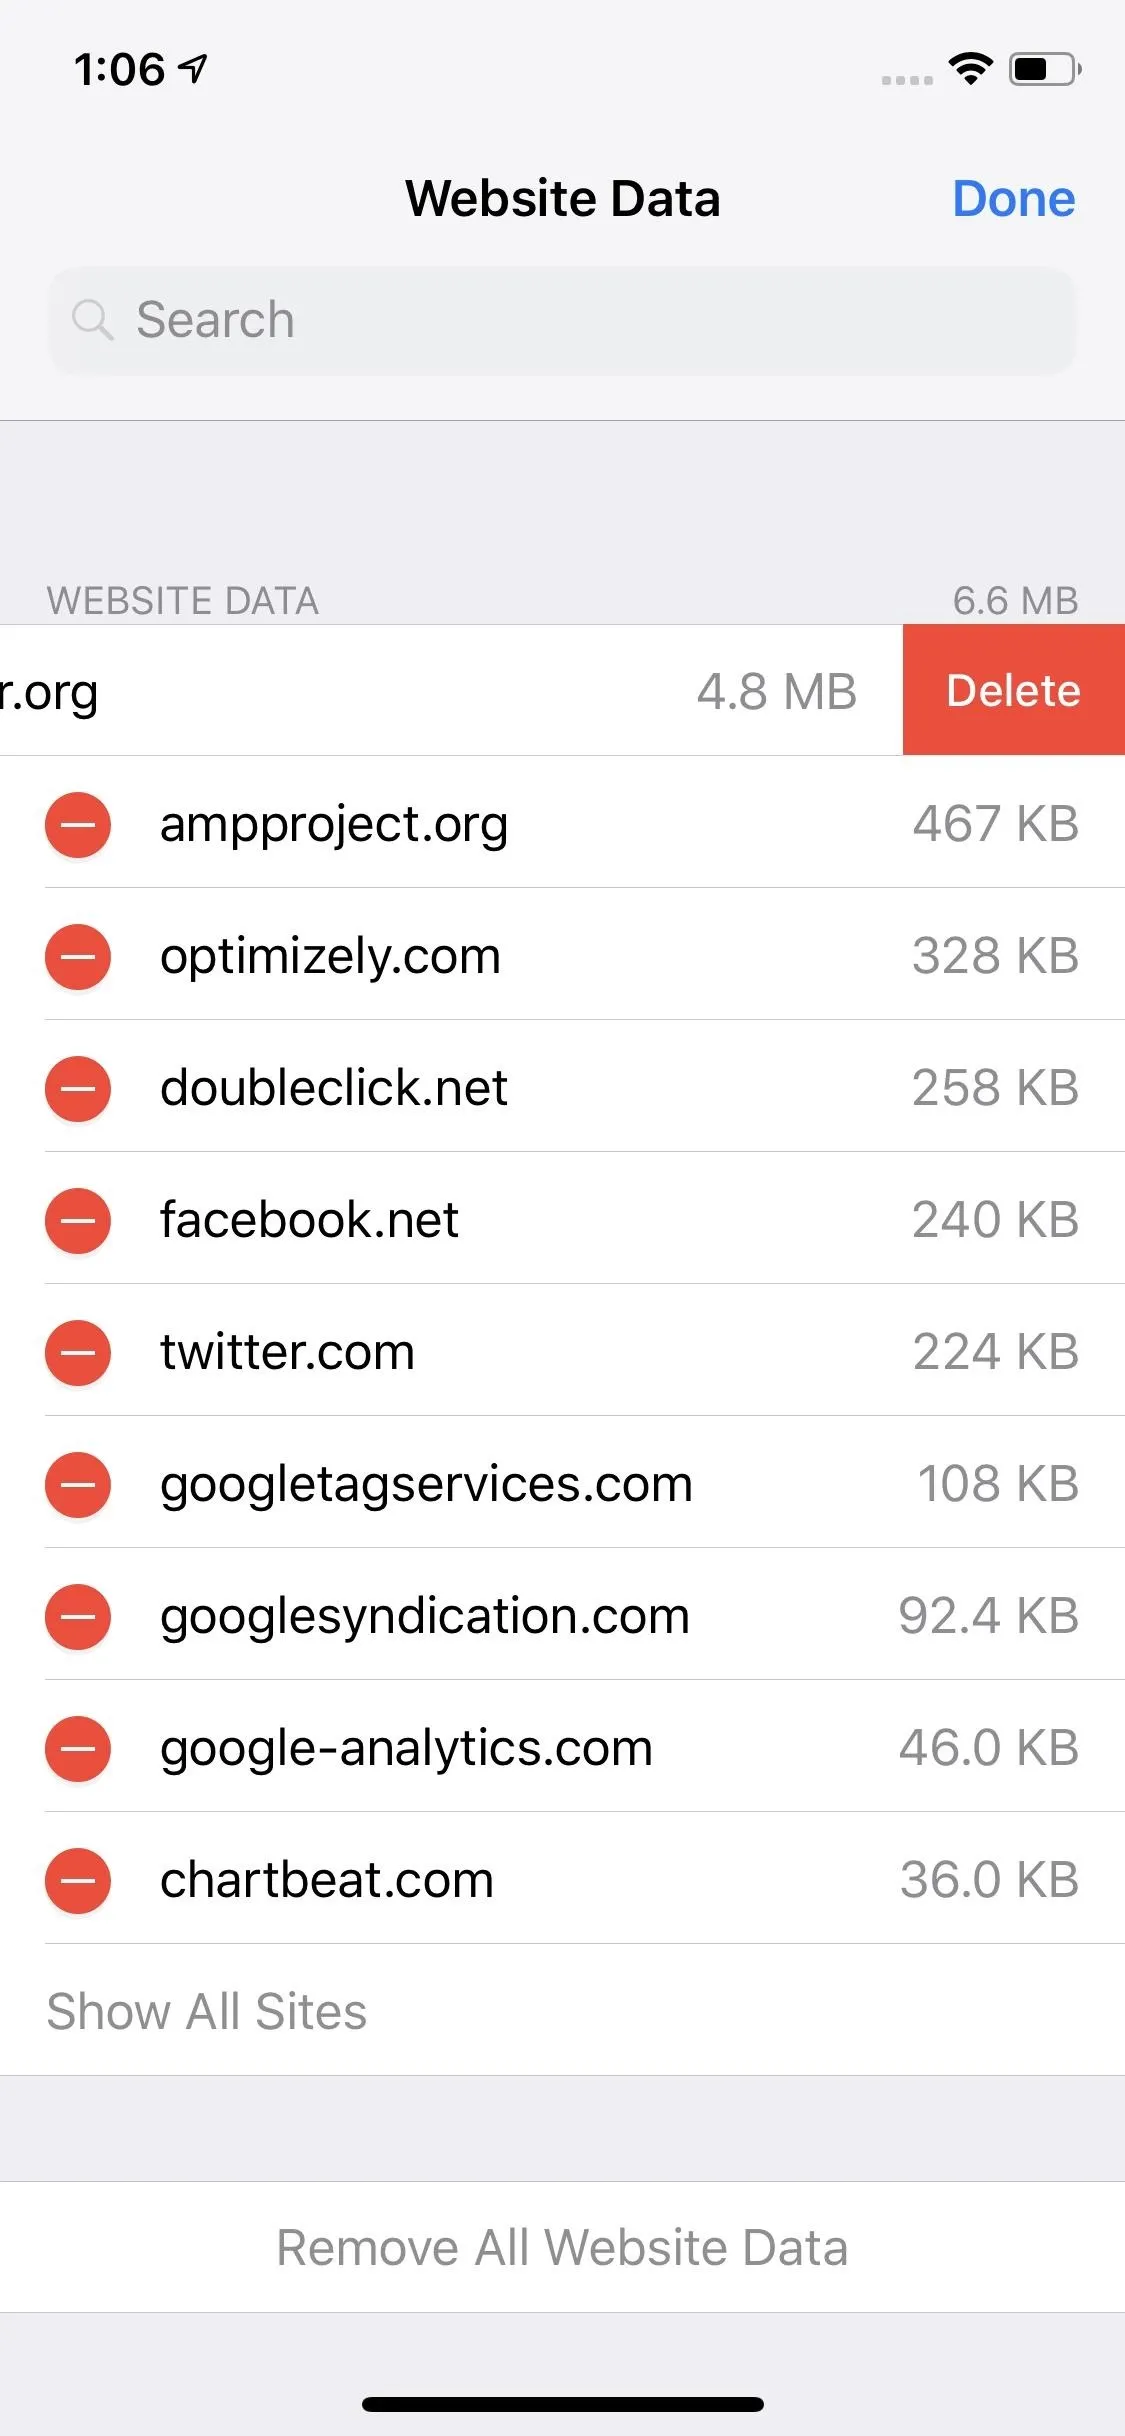
If you don't want to block all cookies since it could make using Safari pretty inconvenient at times, it's at least worth deleting cookies every now and then. You can delete them for sites individually or on a mass scale.
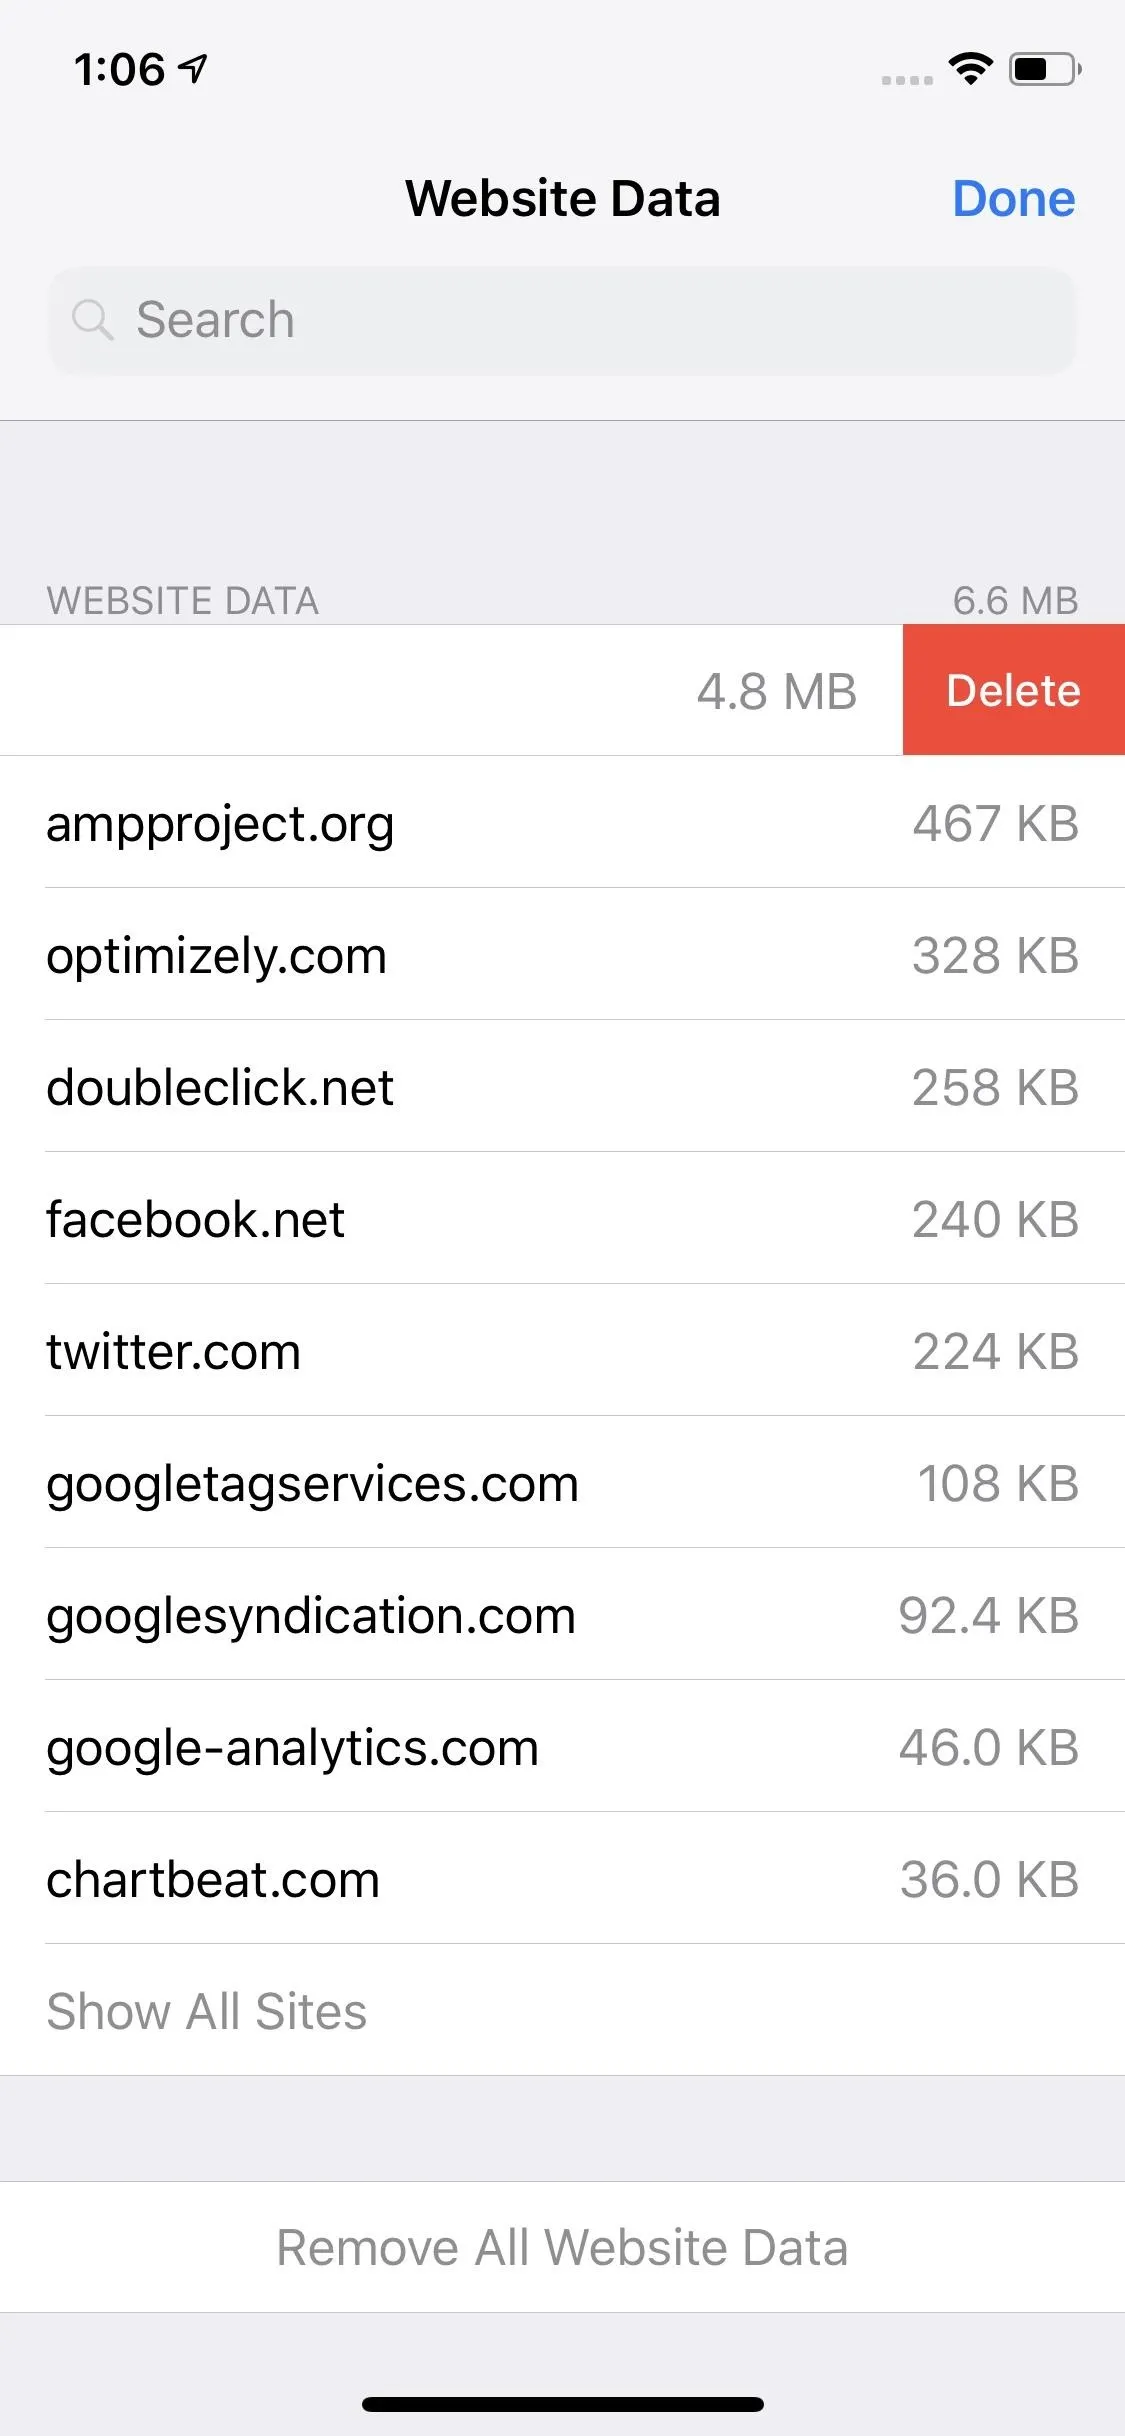
Tap "Advanced" in Safari's settings, then "Website Data." Here, you can see all the cookies stored on your iPhone, as well as how much space each takes up. You can delete entries by swiping left on each or by tapping "Edit," hitting the red button next to an entry, then tapping "Delete." To delete all cookies, select "Remove All Website Data."
23: Clear Your Browsing History So There's No Record
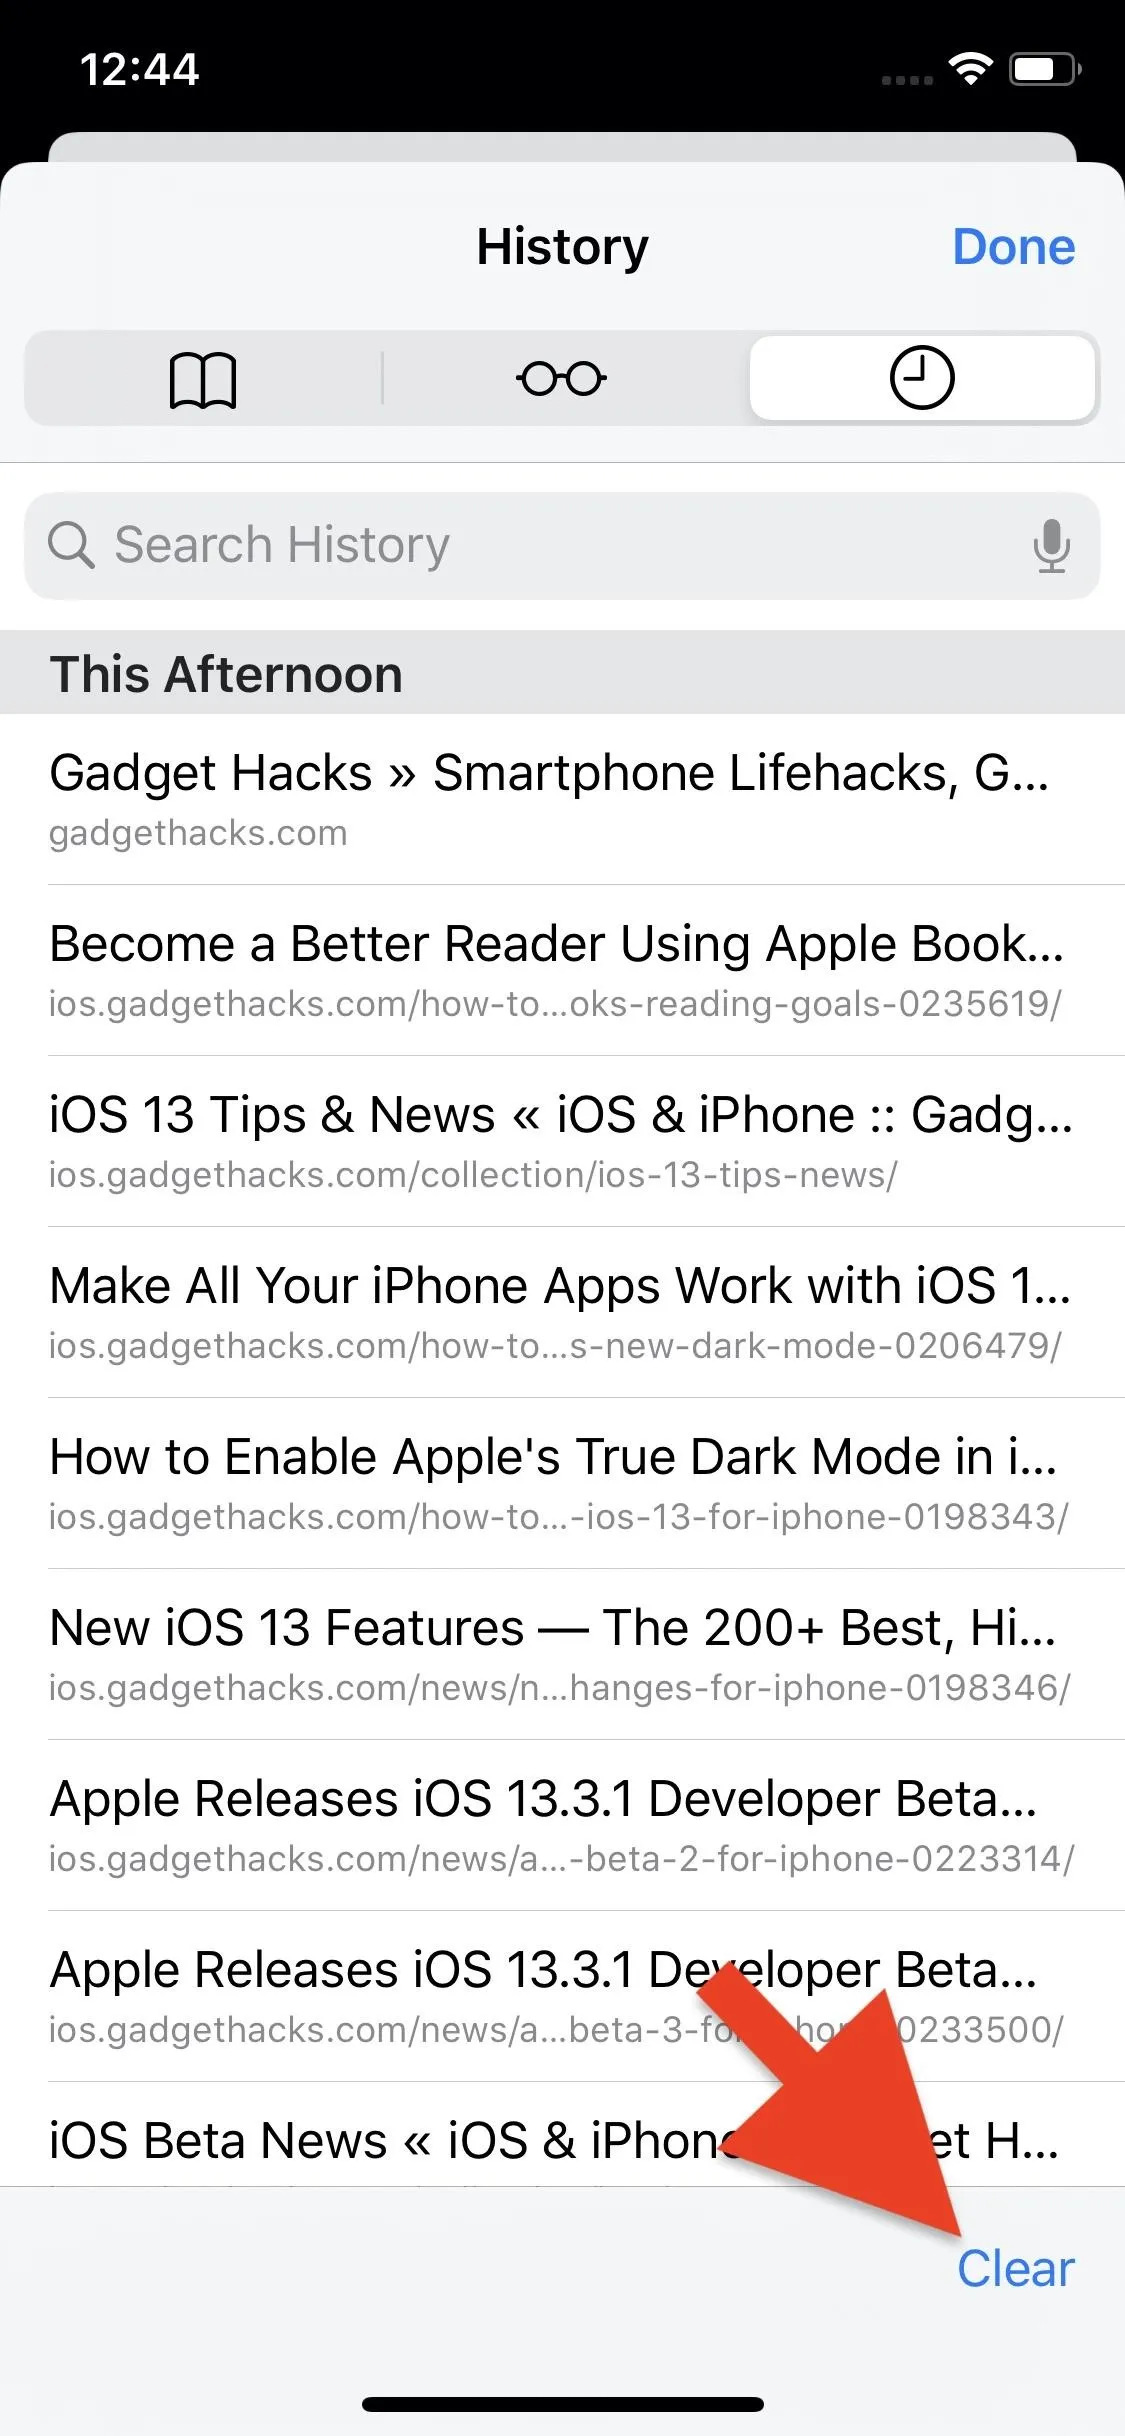
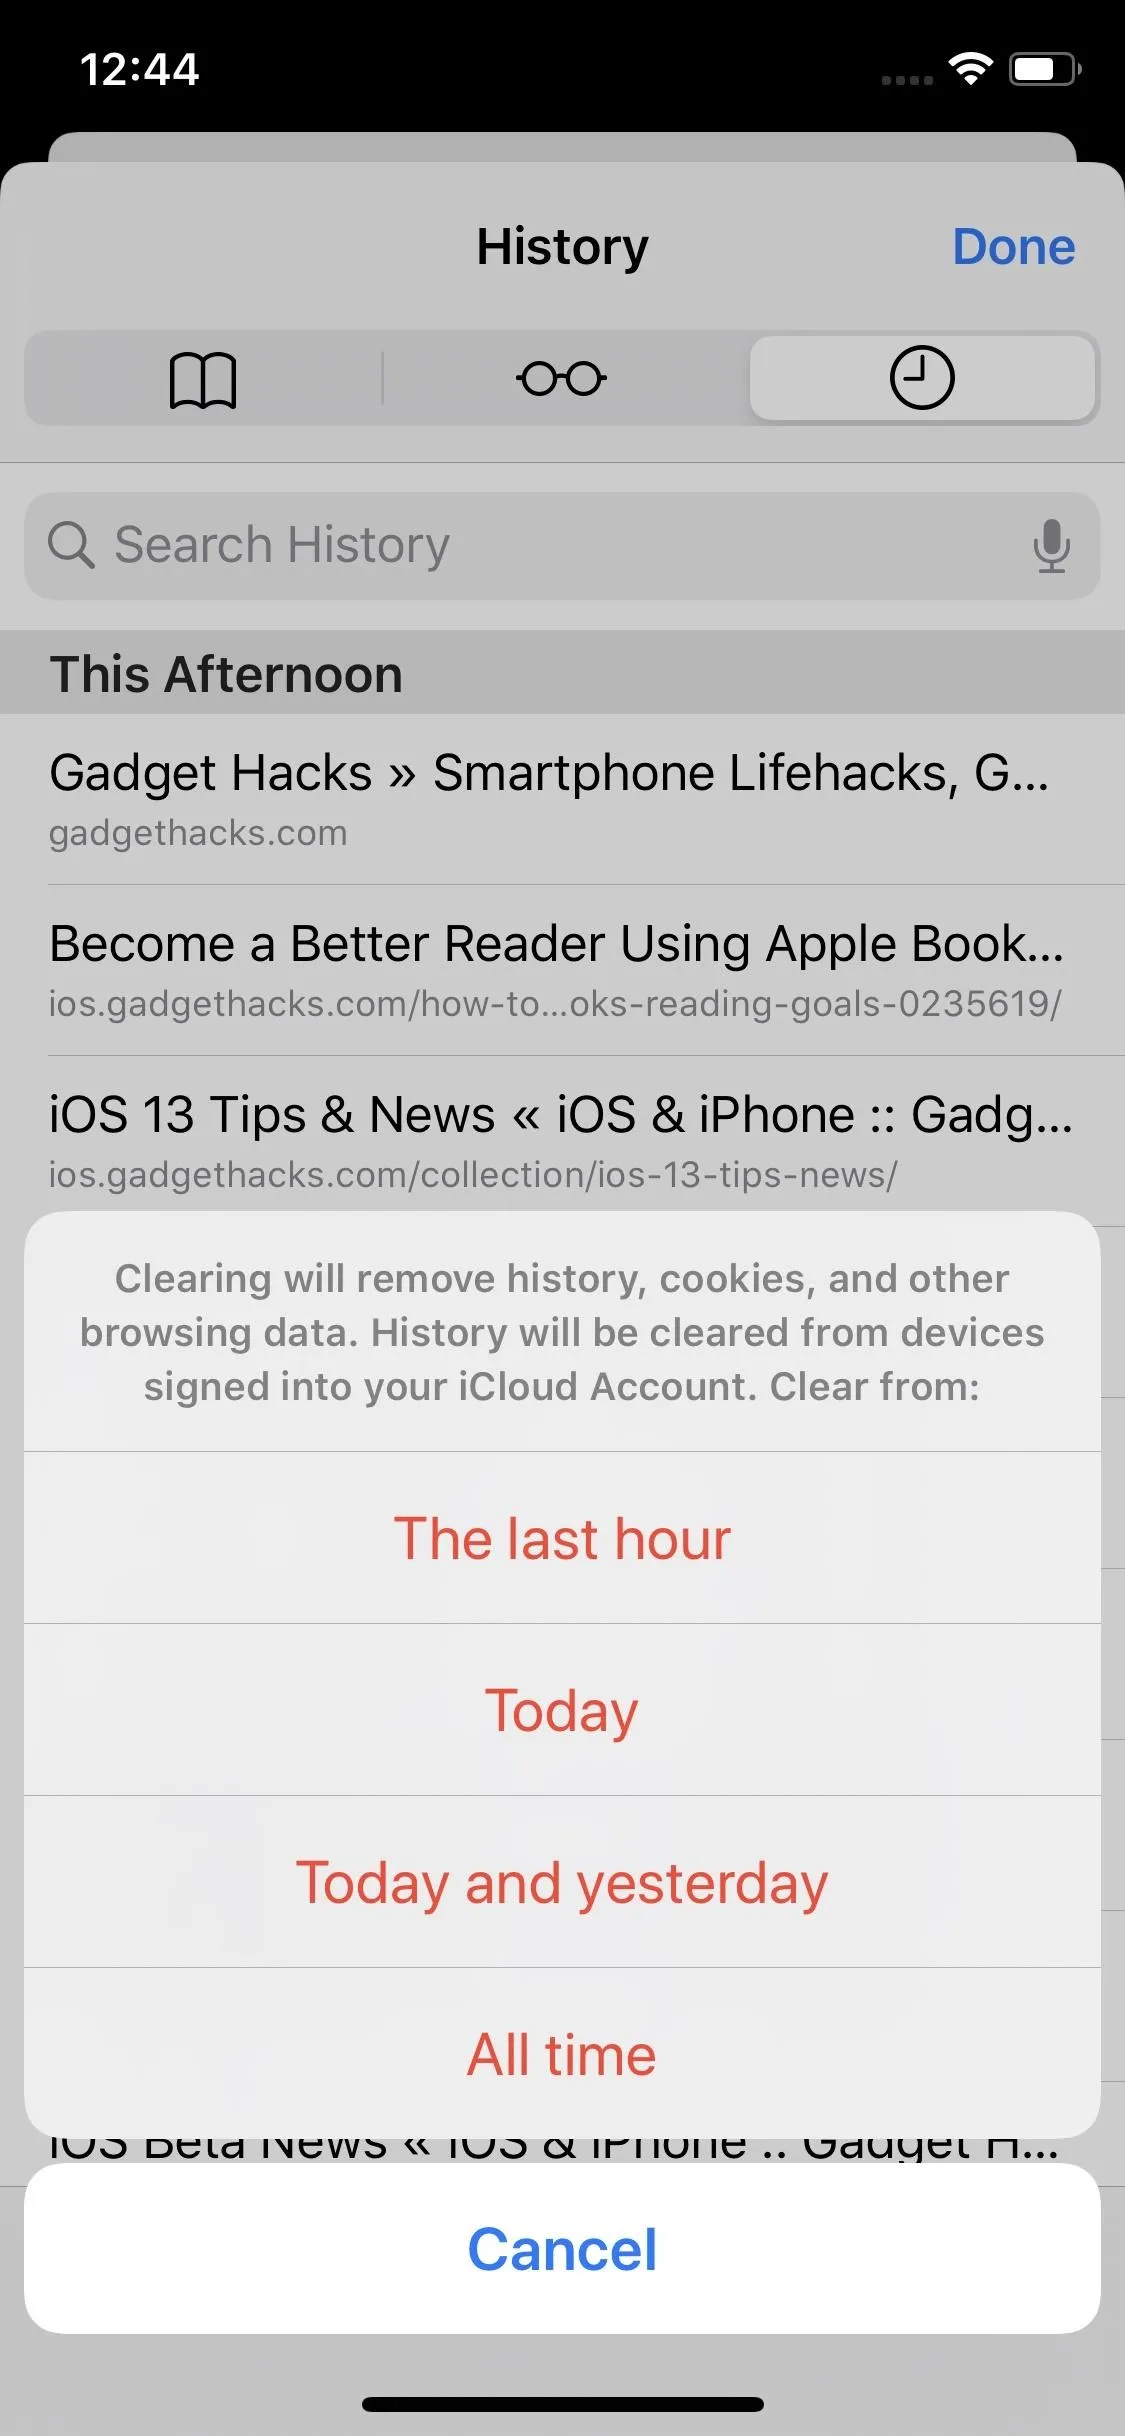
When you don't want sites to track your browsing activity or don't want friends and family members to see what you've been up to, simply clear your history. On any Safari tab, tap the "Bookmarks" icon in the bottom menu, then the clock icon to access your history. From here, you can left-swipe on any entry to delete it. To get rid of all of it, tap "Clear" at the bottom, then choose your desired timeframe for deletion.

24: Delete Cookies, Cache & Browsing History in One Shot
If you don't want to save either your browsing history or the cookies stored on your iPhone, as well as the cache, there's a delete-all switch available. From the Safari settings, tap "Clear History and Website Data" to clear all browsing data. While it won't remove your saved passwords or bookmarks, you won't have to worry about most remnants of your web activity being accessible to anyone else.


This article was produced during Gadget Hacks' special coverage on smartphone privacy and security. Check out the whole Privacy and Security series.
Cover image, screenshots, and GIF by Jake Peterson/Gadget Hacks (unless otherwise noted)


Comments
Be the first, drop a comment!