


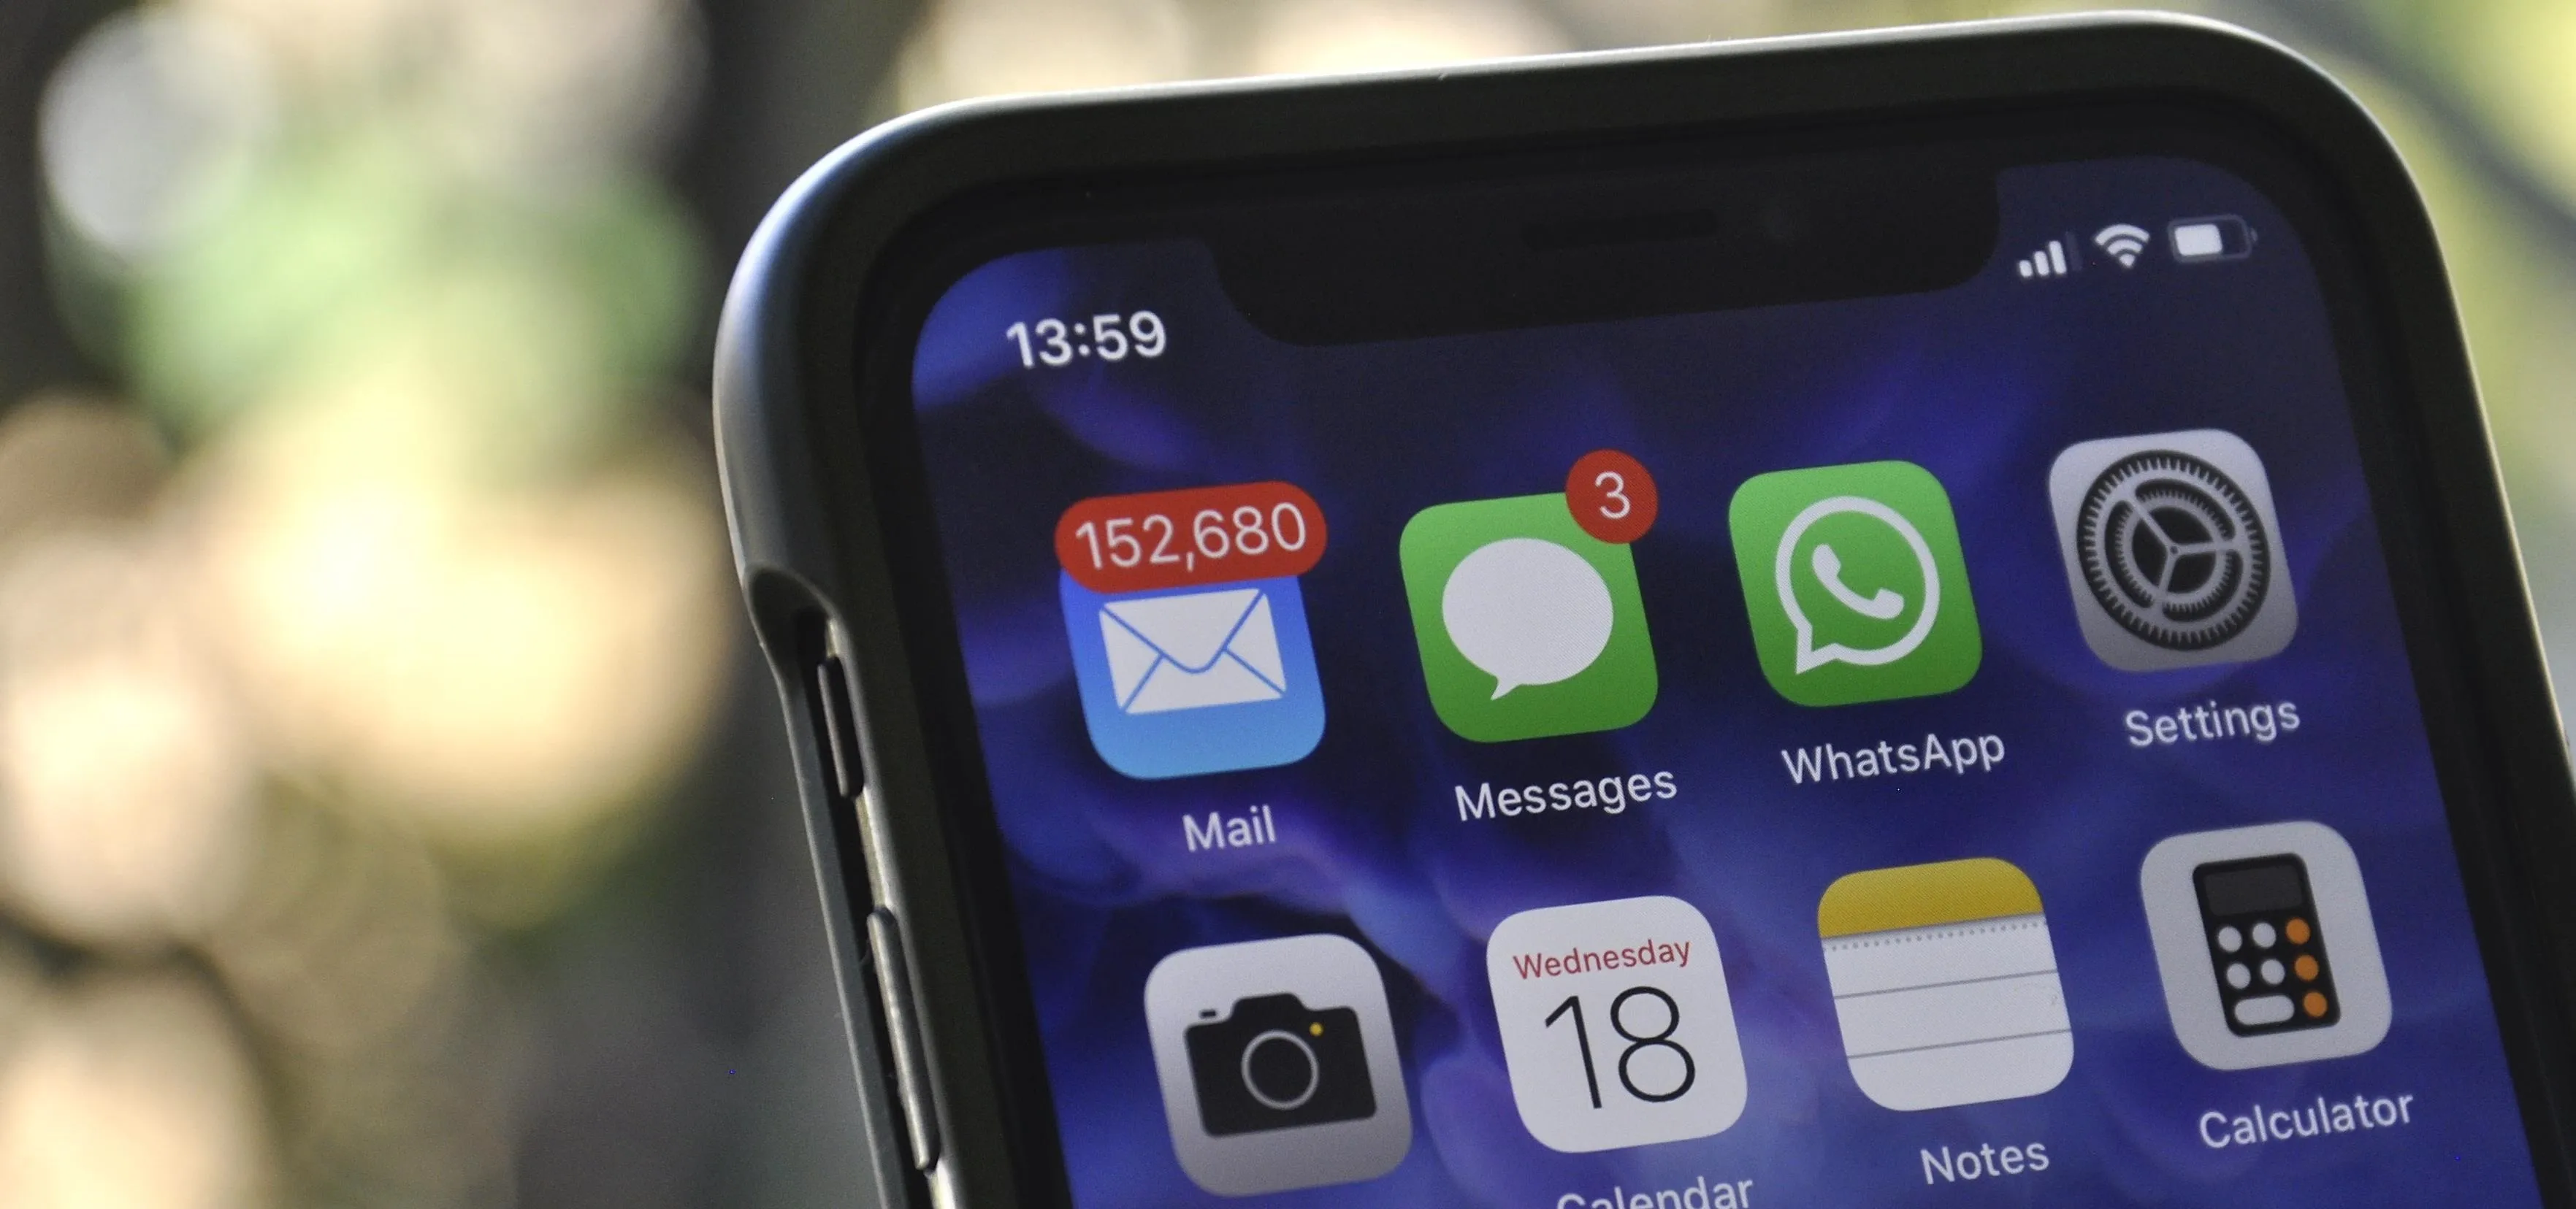
To be honest, the Mail app for iPhone had always been somewhat forgettable. It lacked many of the features that made third-party clients like Spark and Edison better, but with iOS 13, the gap between Mail and its competitors is much smaller. Apple updated the layout and added many new features to its native emailing app, and that may be just enough to get you to switch back.
Mail had needed a facelift for quite a while, and it's great that it finally received a good update. On iOS 13, you'll find tools that make it easier to manage emails, draft them, and get rid of the ones you don't want faster. Even the smallest new changes, all detailed below, help make the Mail app a much more well-rounded email client.
There Are More Quick Actions
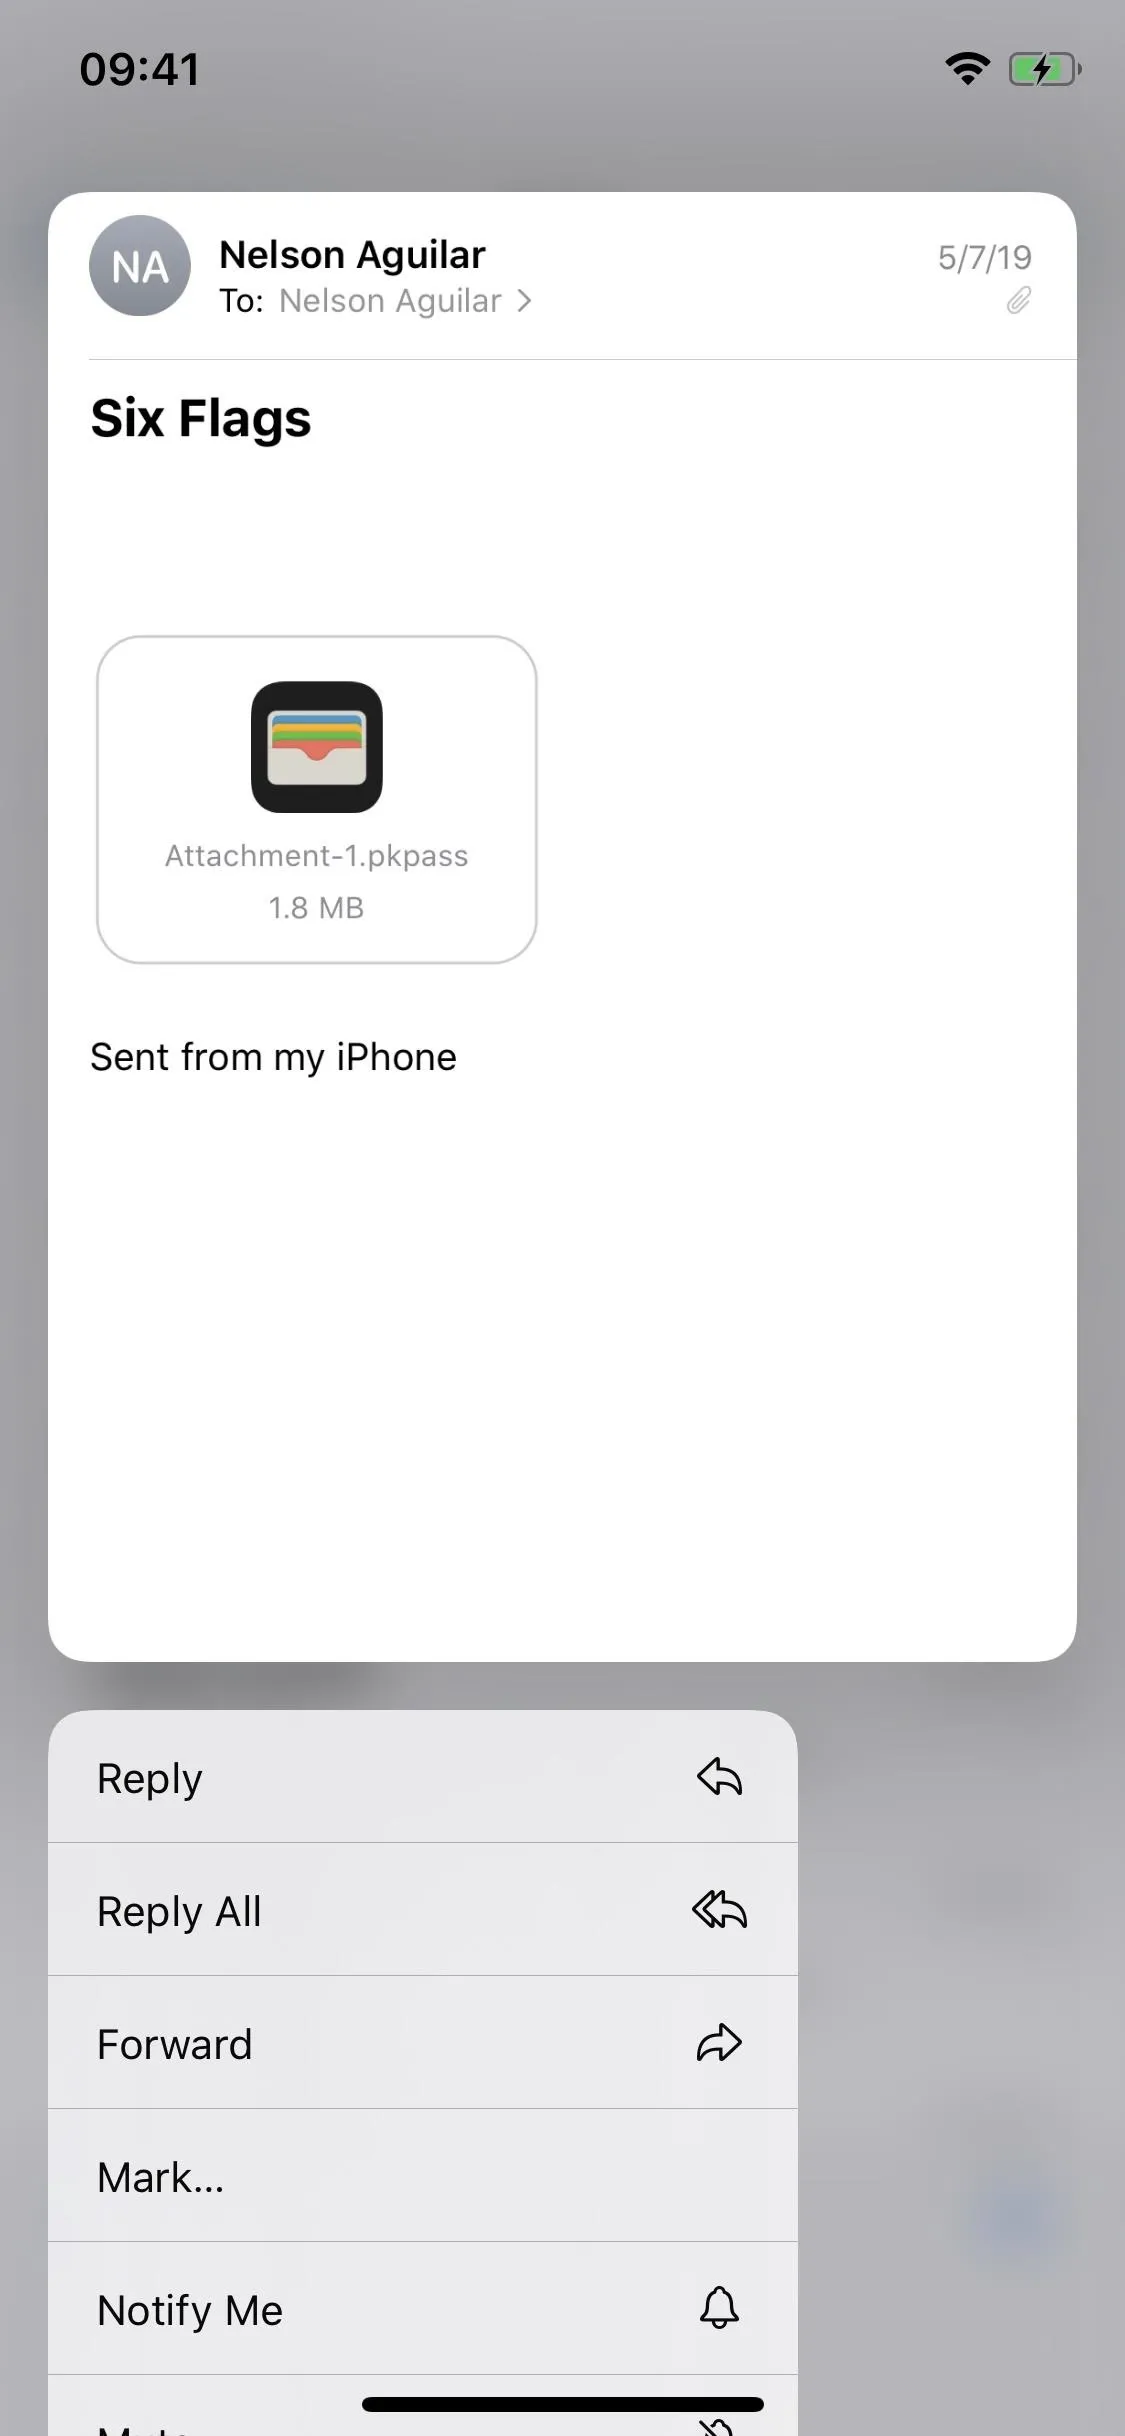
In iOS 13, you get a few more options when you long-press on an email from a list view. Swipe up to view all of the options available. There's Reply, Forward, Mark, Notify Me, and Move Message, just like before, but now you also get Reply All, Mute, and Trash Message or Archive. While Trash/Archive was available before, it was hidden to the left or right of the preview when using 3D Touch.
You also get these additional quick actions whenever you swipe on an email in a list and hit the ellipsis (•••) icon.
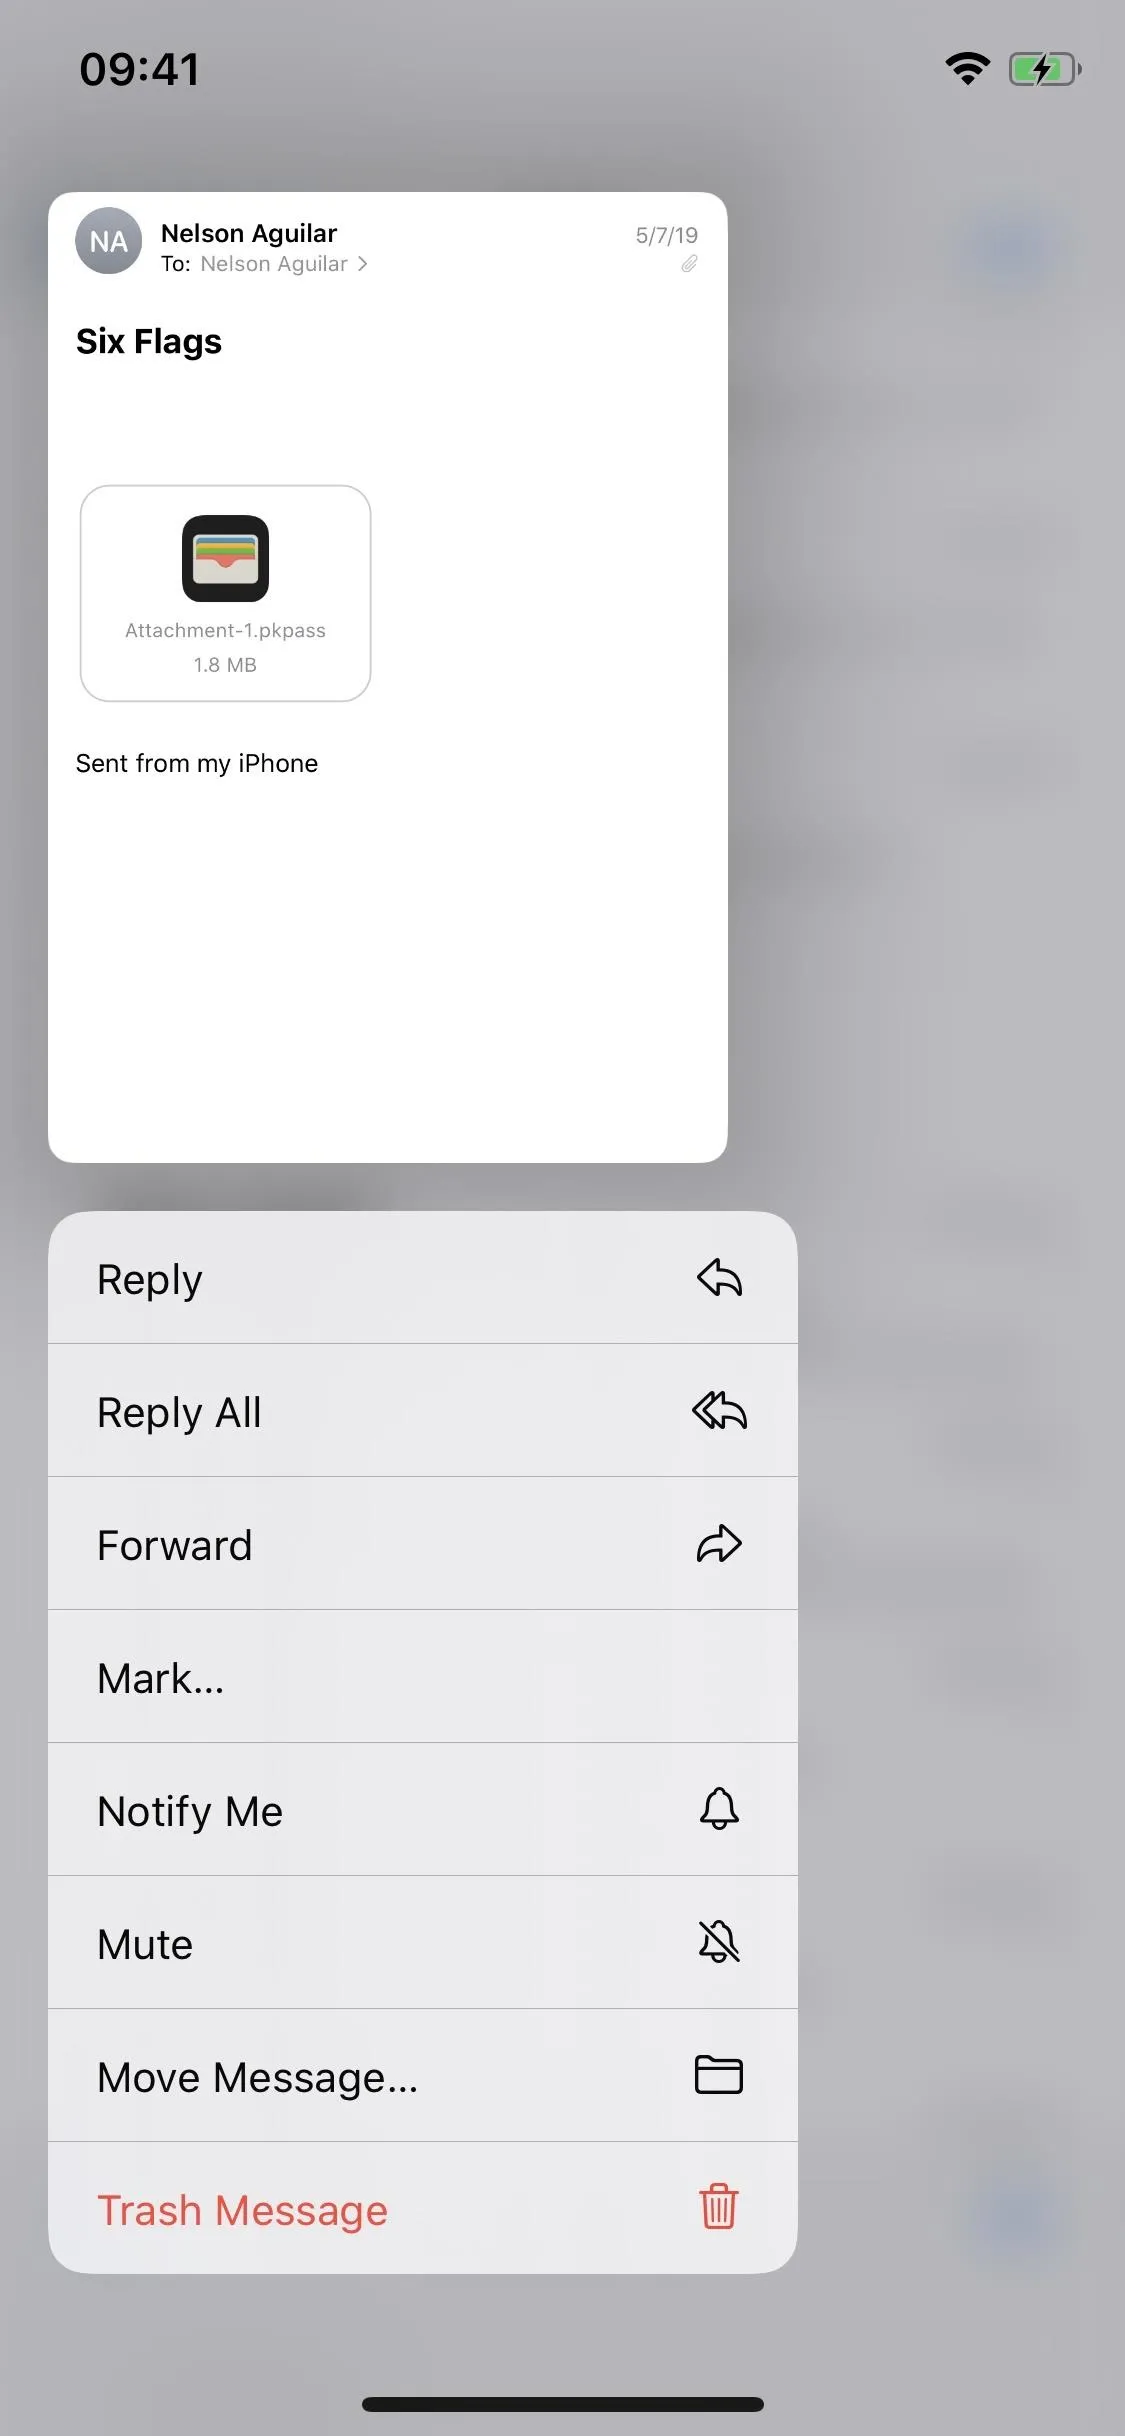
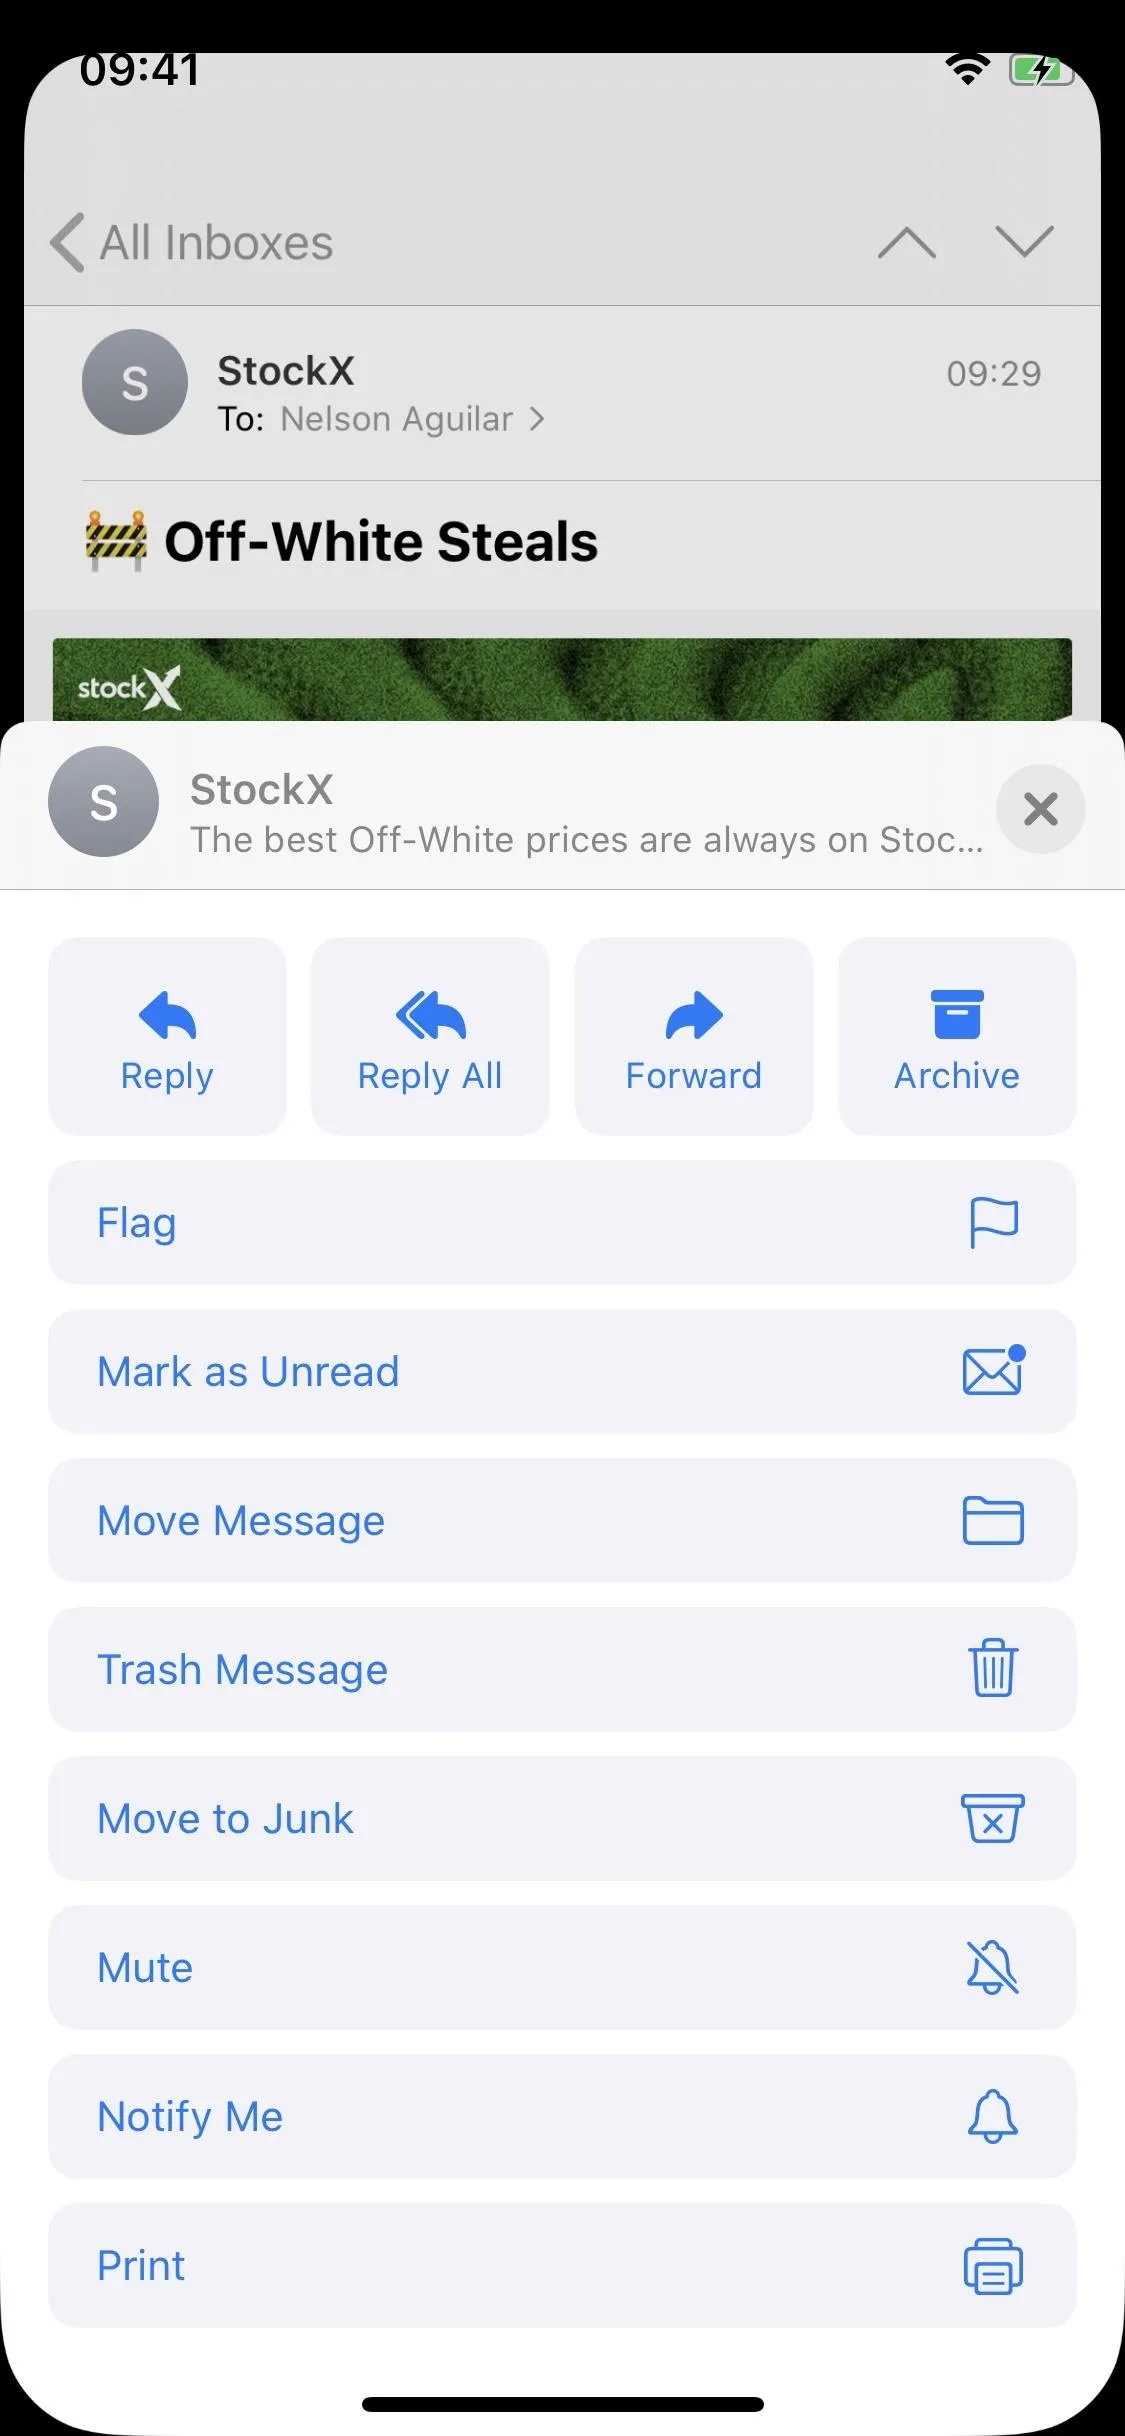
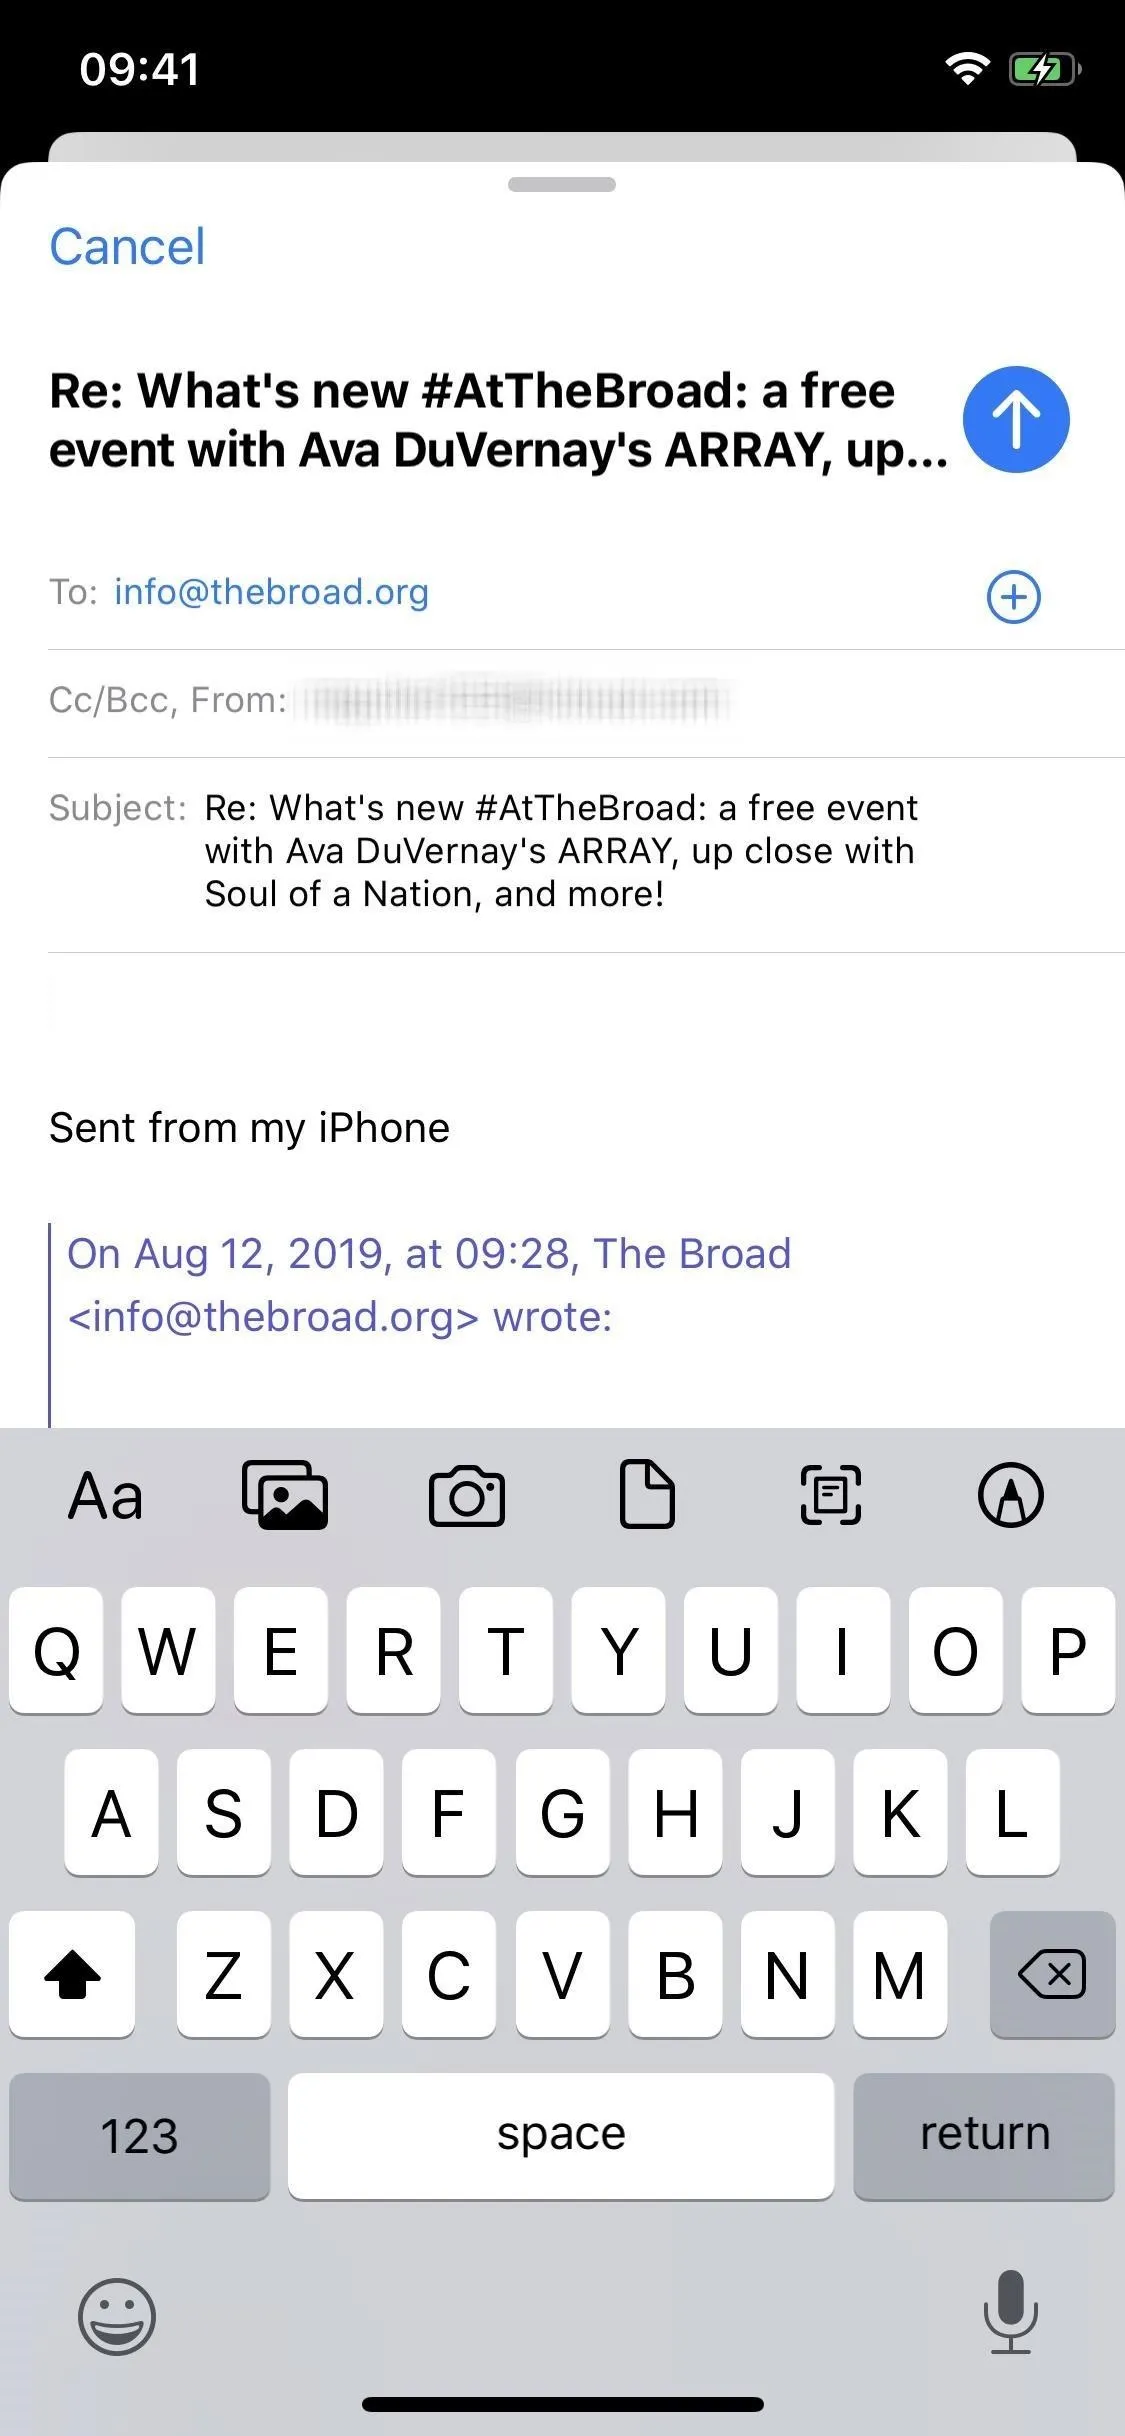
The Reply Menu Has Been Revamped
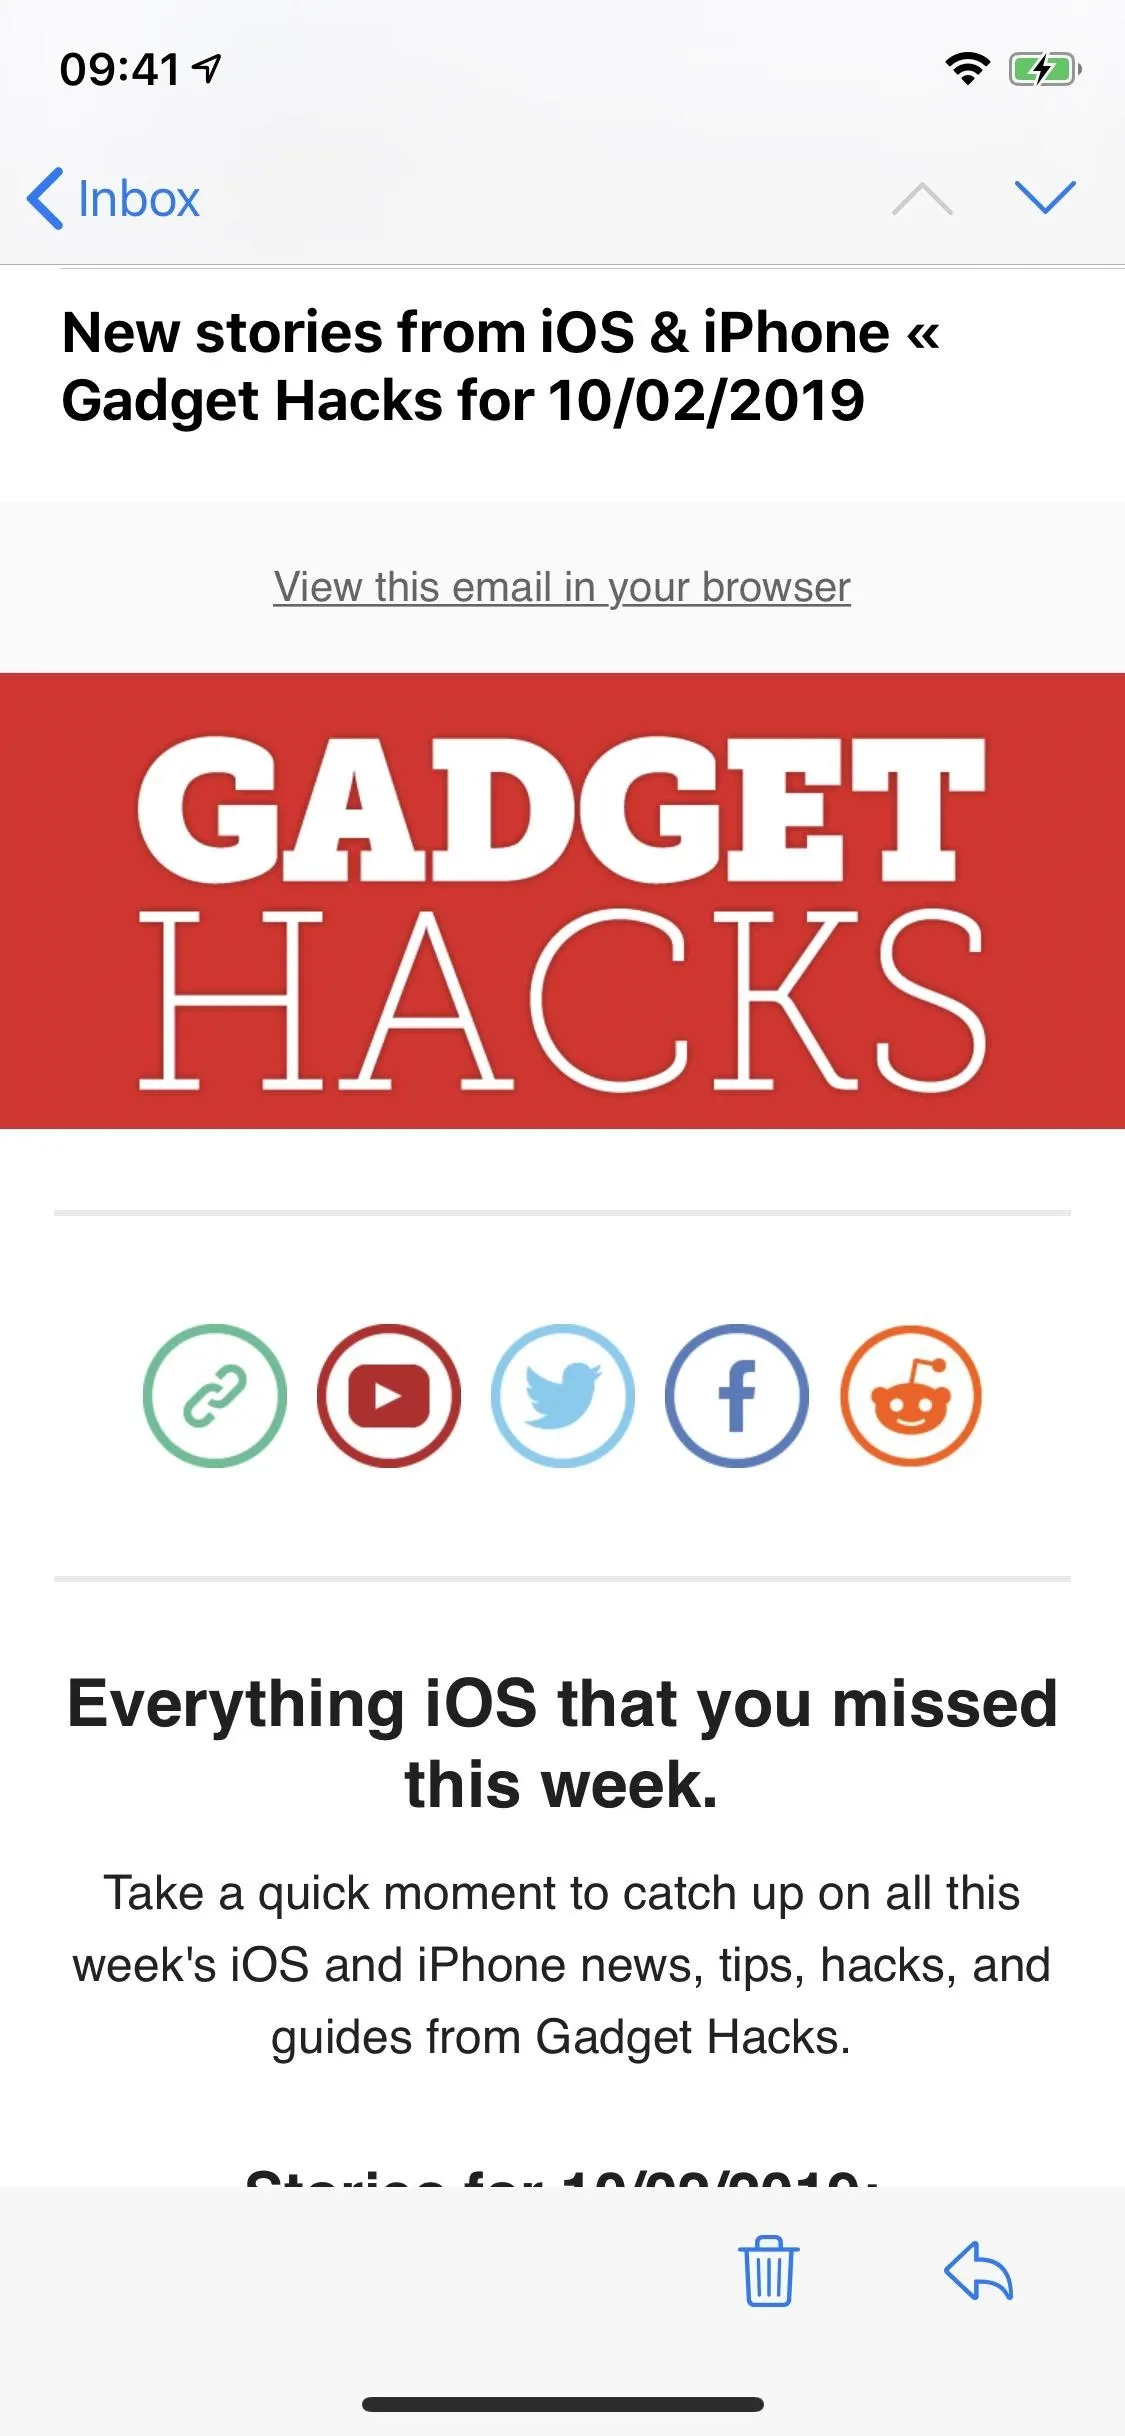
Go into any email, and you'll notice that the toolbar at the bottom only contains two icons: Reply and Delete/Archive. If you're missing the other symbols for Flag, Move Message, and Compose, don't worry — they've just moved. Well, at least, most of them.
To access the options, and others, tap on the Reply button to bring up the new extended Reply menu. When the list appears, swipe up on it to view all of the options. There's Reply, Reply All, Forward, Trash/Archive, Flag, Mark as Unread, Move Message, Move to Junk, Mute, Notify Me, Print, and more.
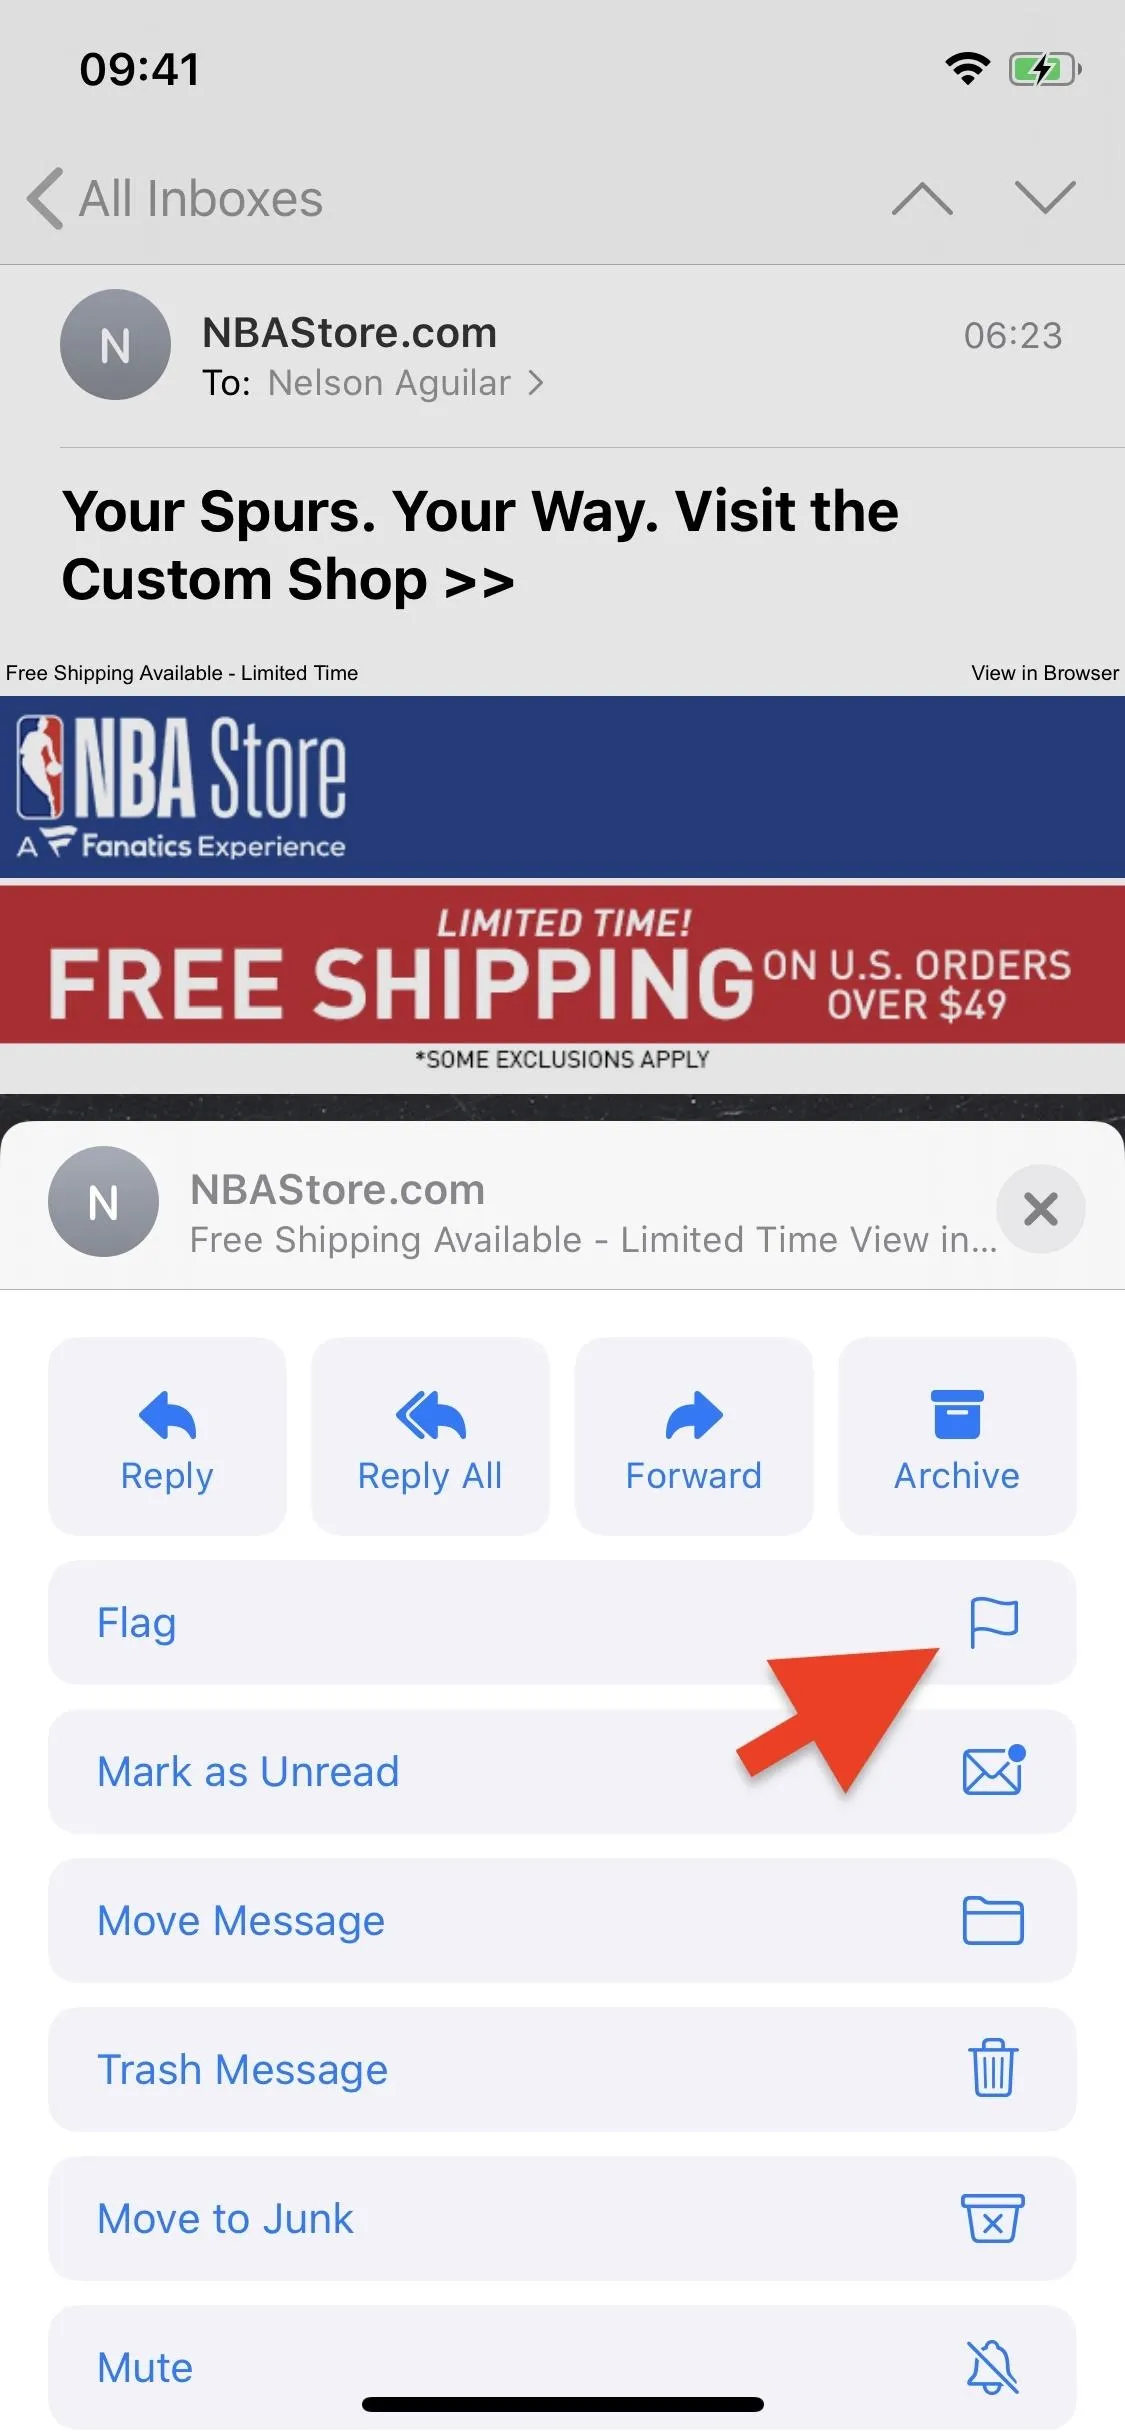
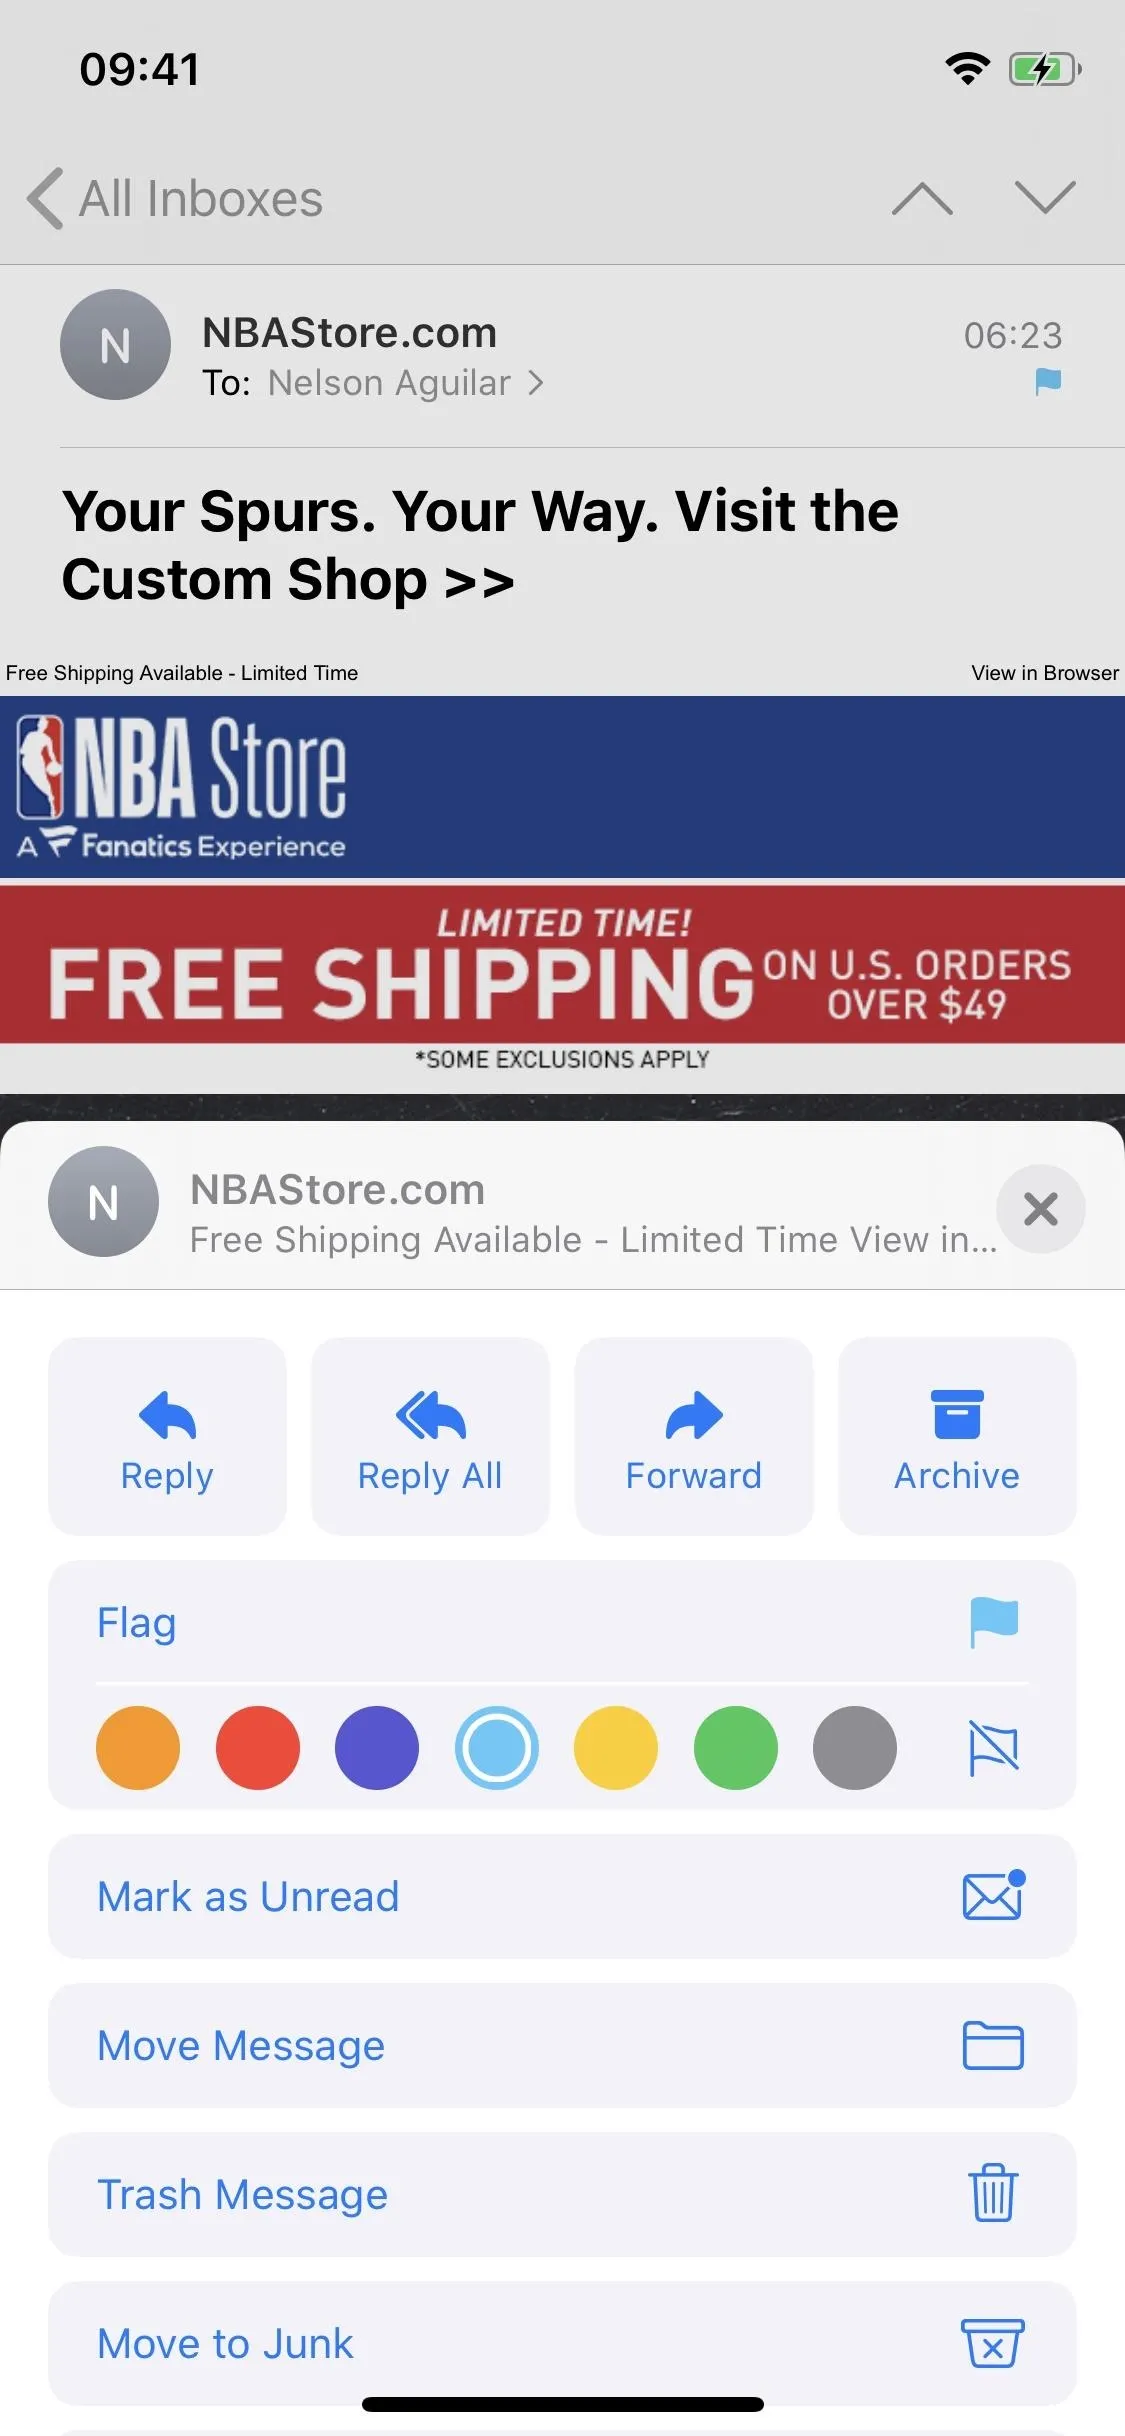
You Can Choose Different Flag Colors
In the Reply menu, you also now have an assortment of marker flags to choose from when you flag an email. Although the flags are different, the emails can still only be found in one place from your inbox: the "Flagged" label. You would think that a subfolder would exist for different colors, but not yet.
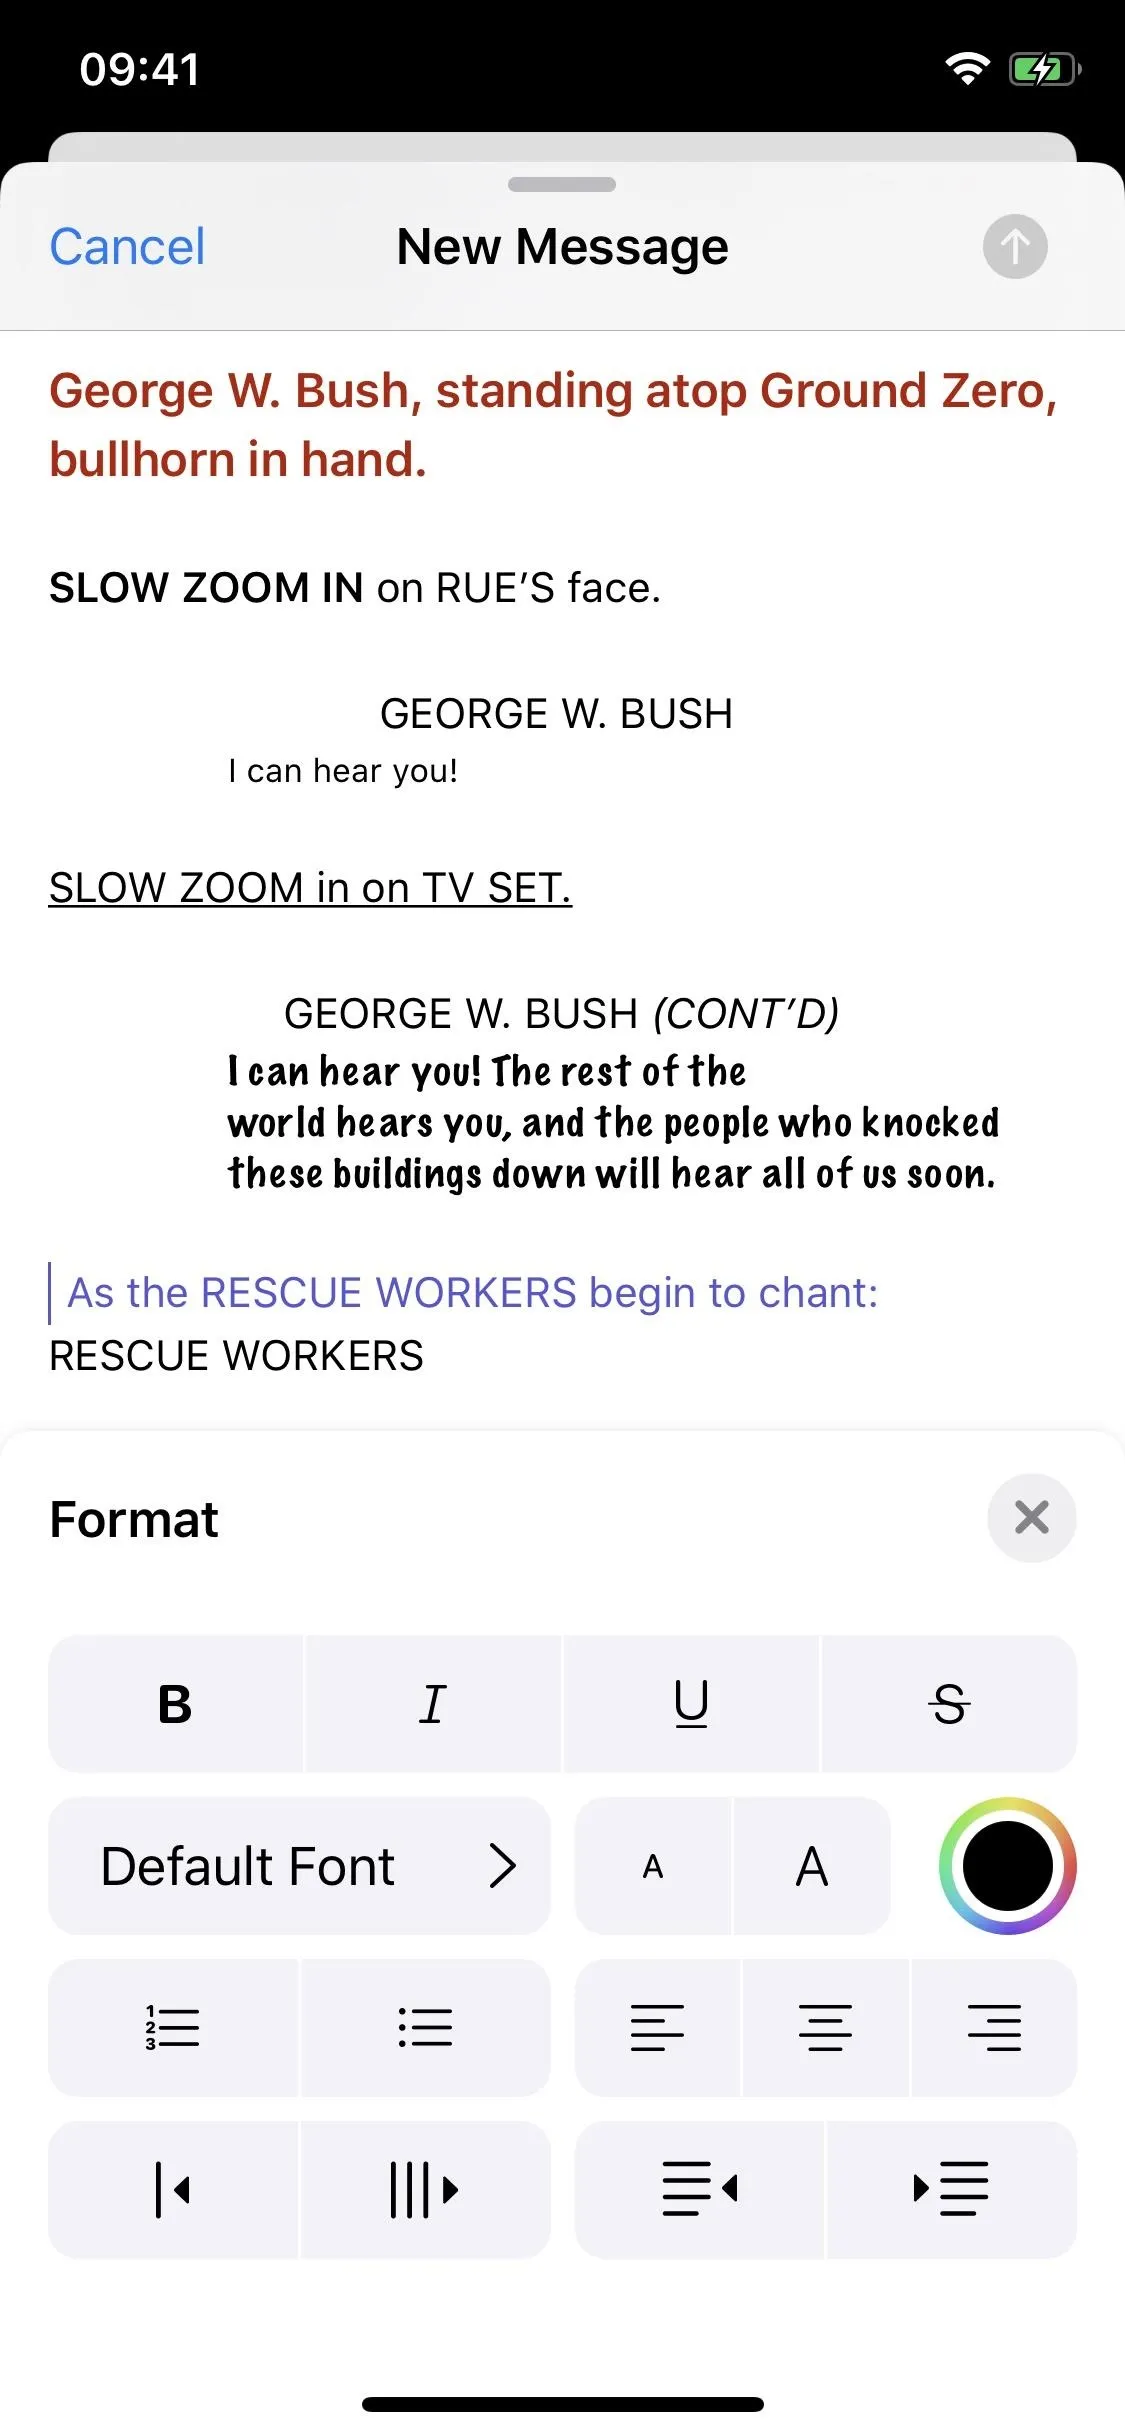
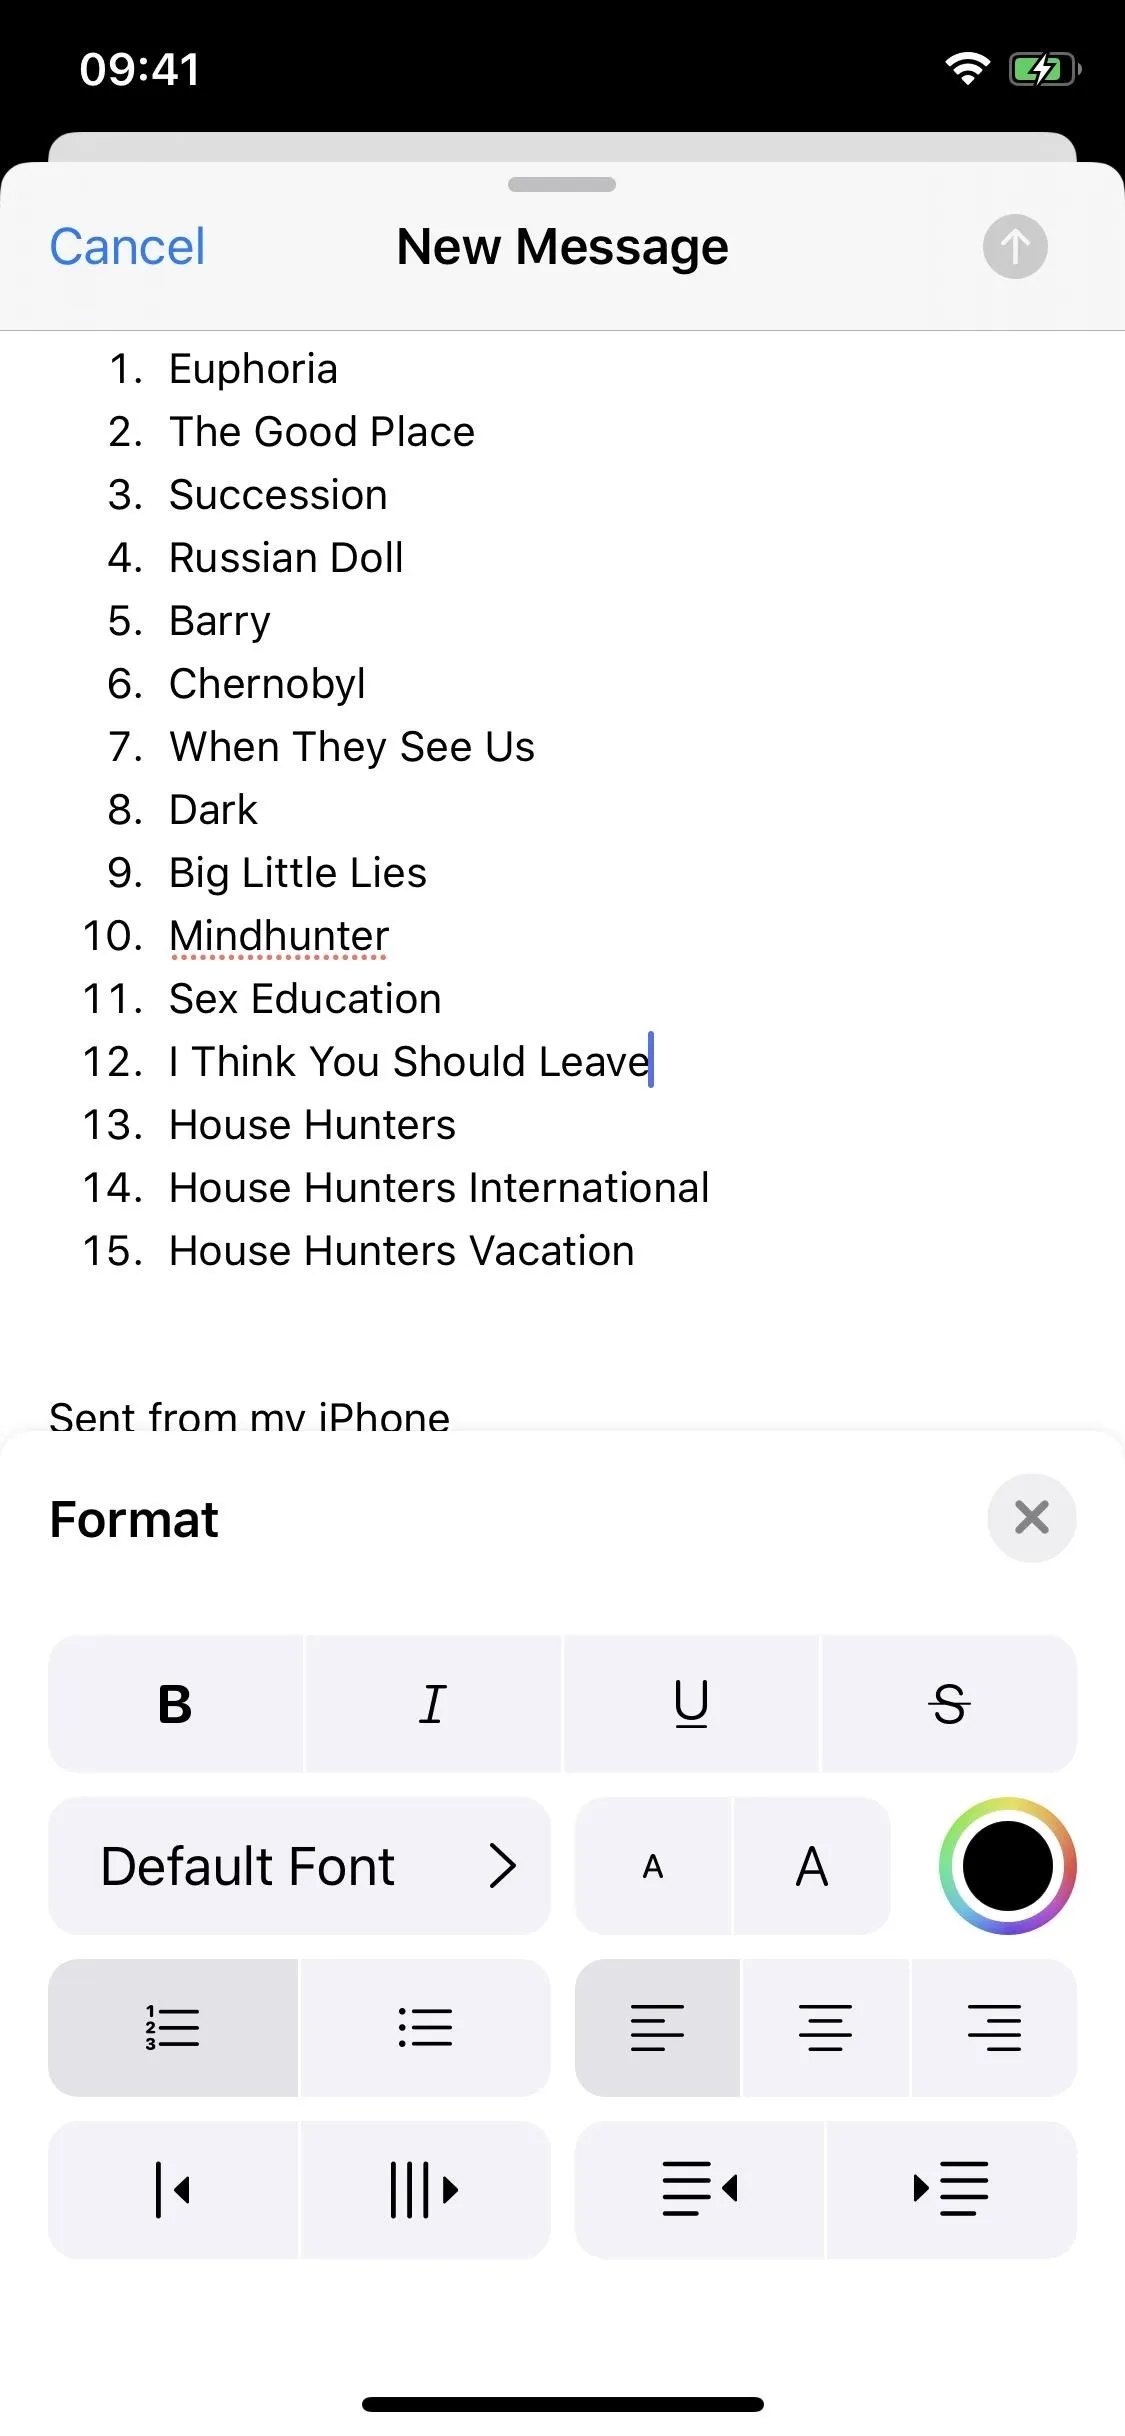
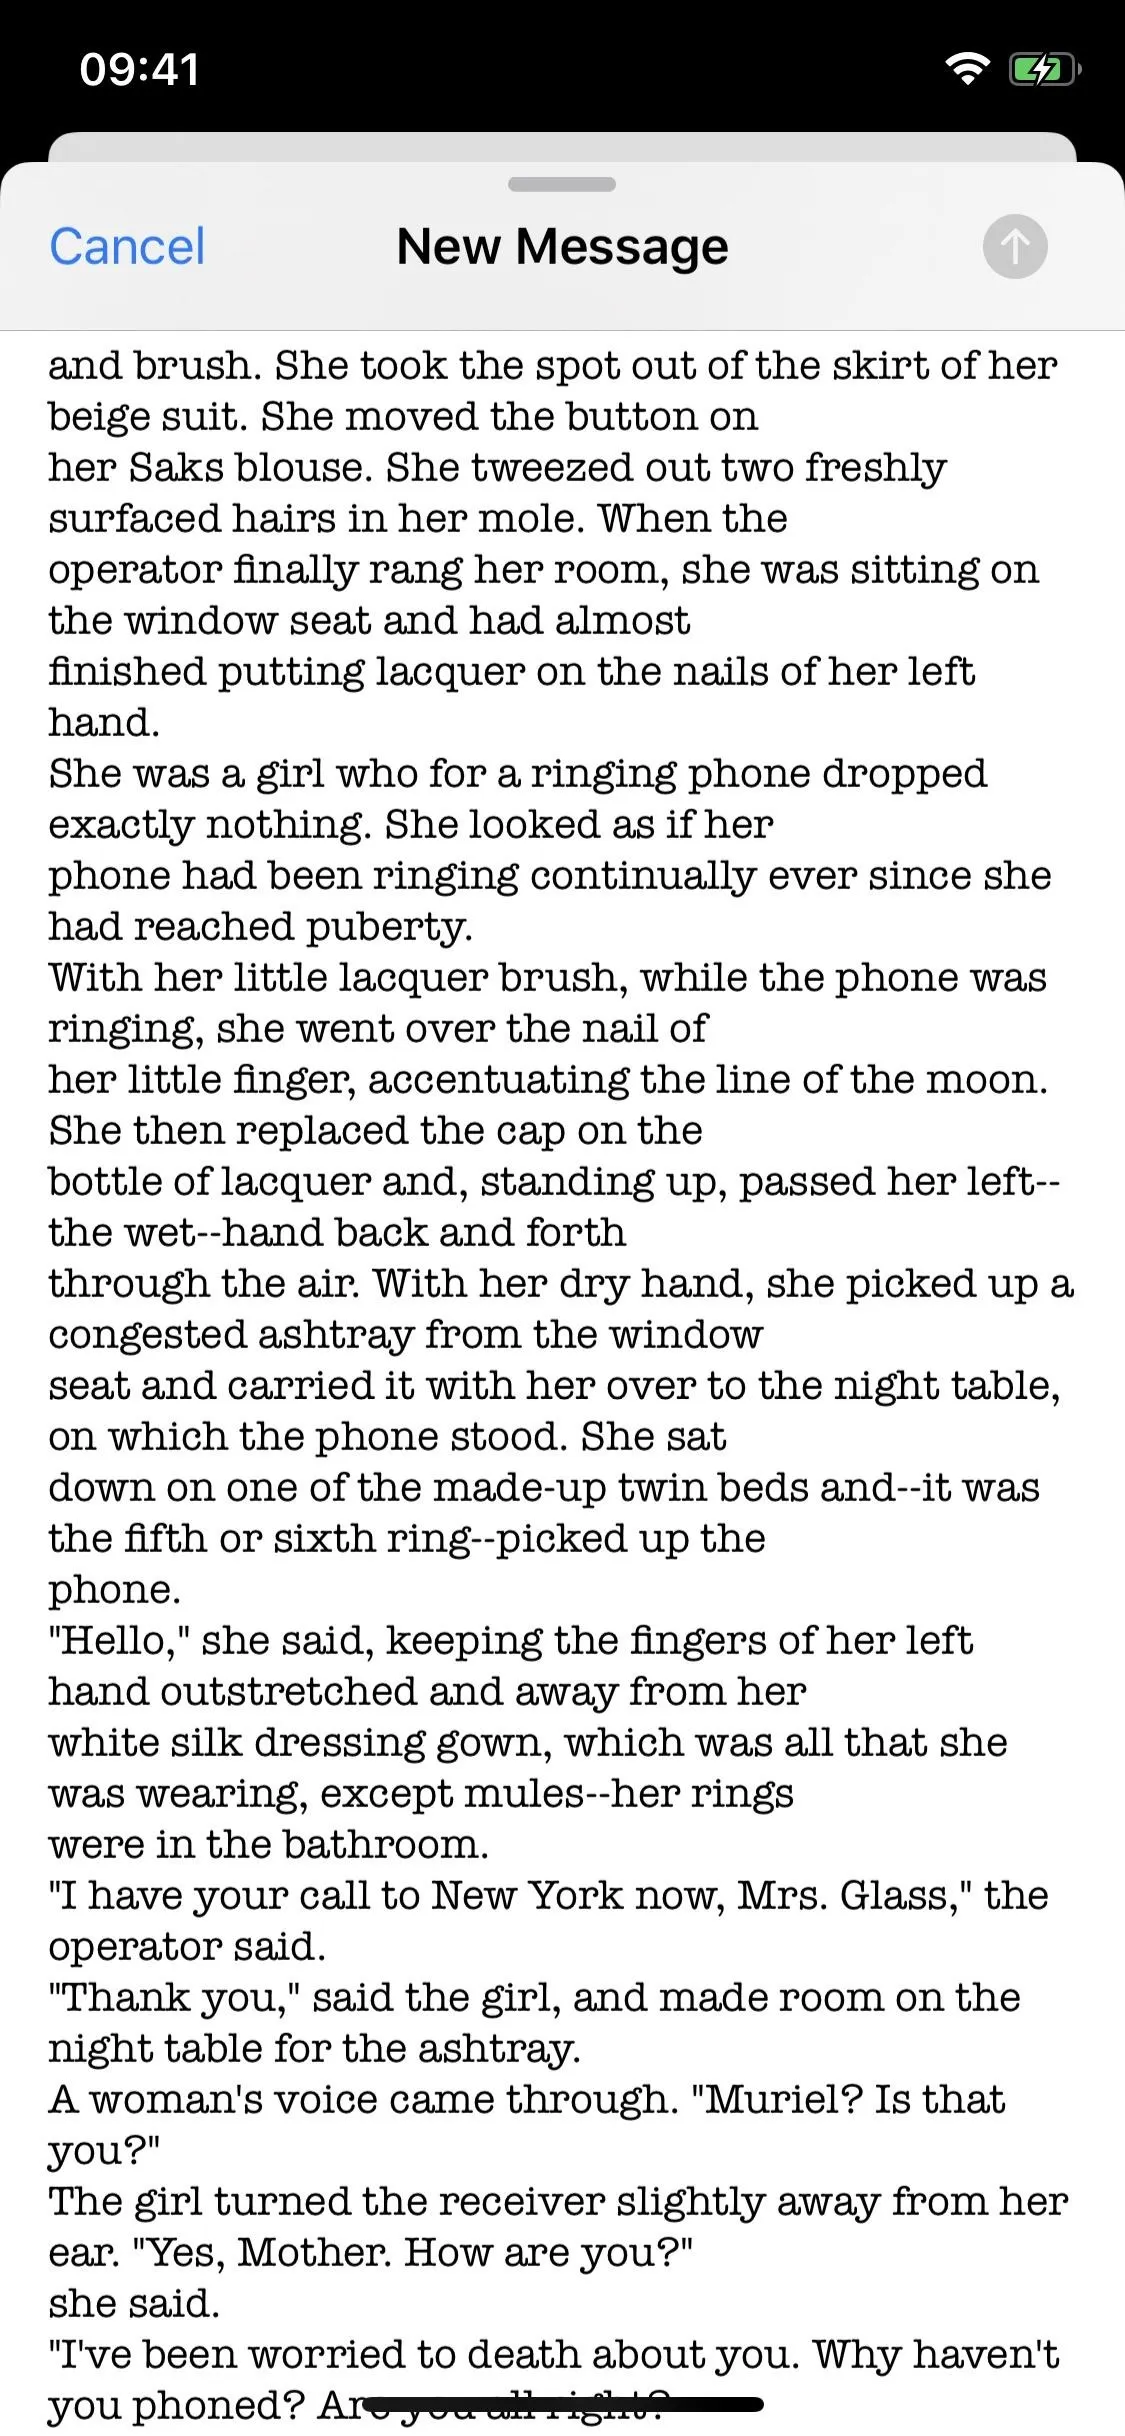
There's a New Formatting & Attachments Toolbar
Although the new keyboard toolbar is available in several applications (including Notes), it's incredibly useful in Mail. You can access the toolbar anytime you're in the body of an email. Just tap on the chevron (or angle bracket, if you prefer) on the right of the predictive text bar above the keyboard.
Starting from left to right, you can: (1) add rich text formatting, (2) attach photos and videos, (3) attach a photo or video from Camera, (4) attach a file from the Files app, (5) scan a document, and (6) add a drawing. You can check out all of these features, in more detail, in our full guide.
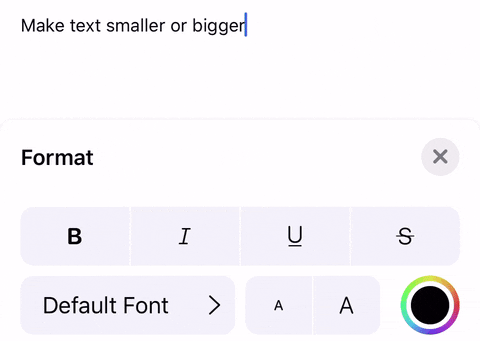
You Can Add Rich Text Formatting
In the new toolbar, there's an option for rich text formatting which includes options to format and stylize your text. Some of these options were there before via the contextual menu which was a pain to use overall.
From the formatting bar, tap on the "Aa" icon on the far left. When it comes to styling your words, you can bold, italicize, underline, and strikethrough text, change the default font, increase or decrease font size, and switch the font color. You can also add numbered and bullet lists, justify text, indent, and add or adjust quote levels with different colors.
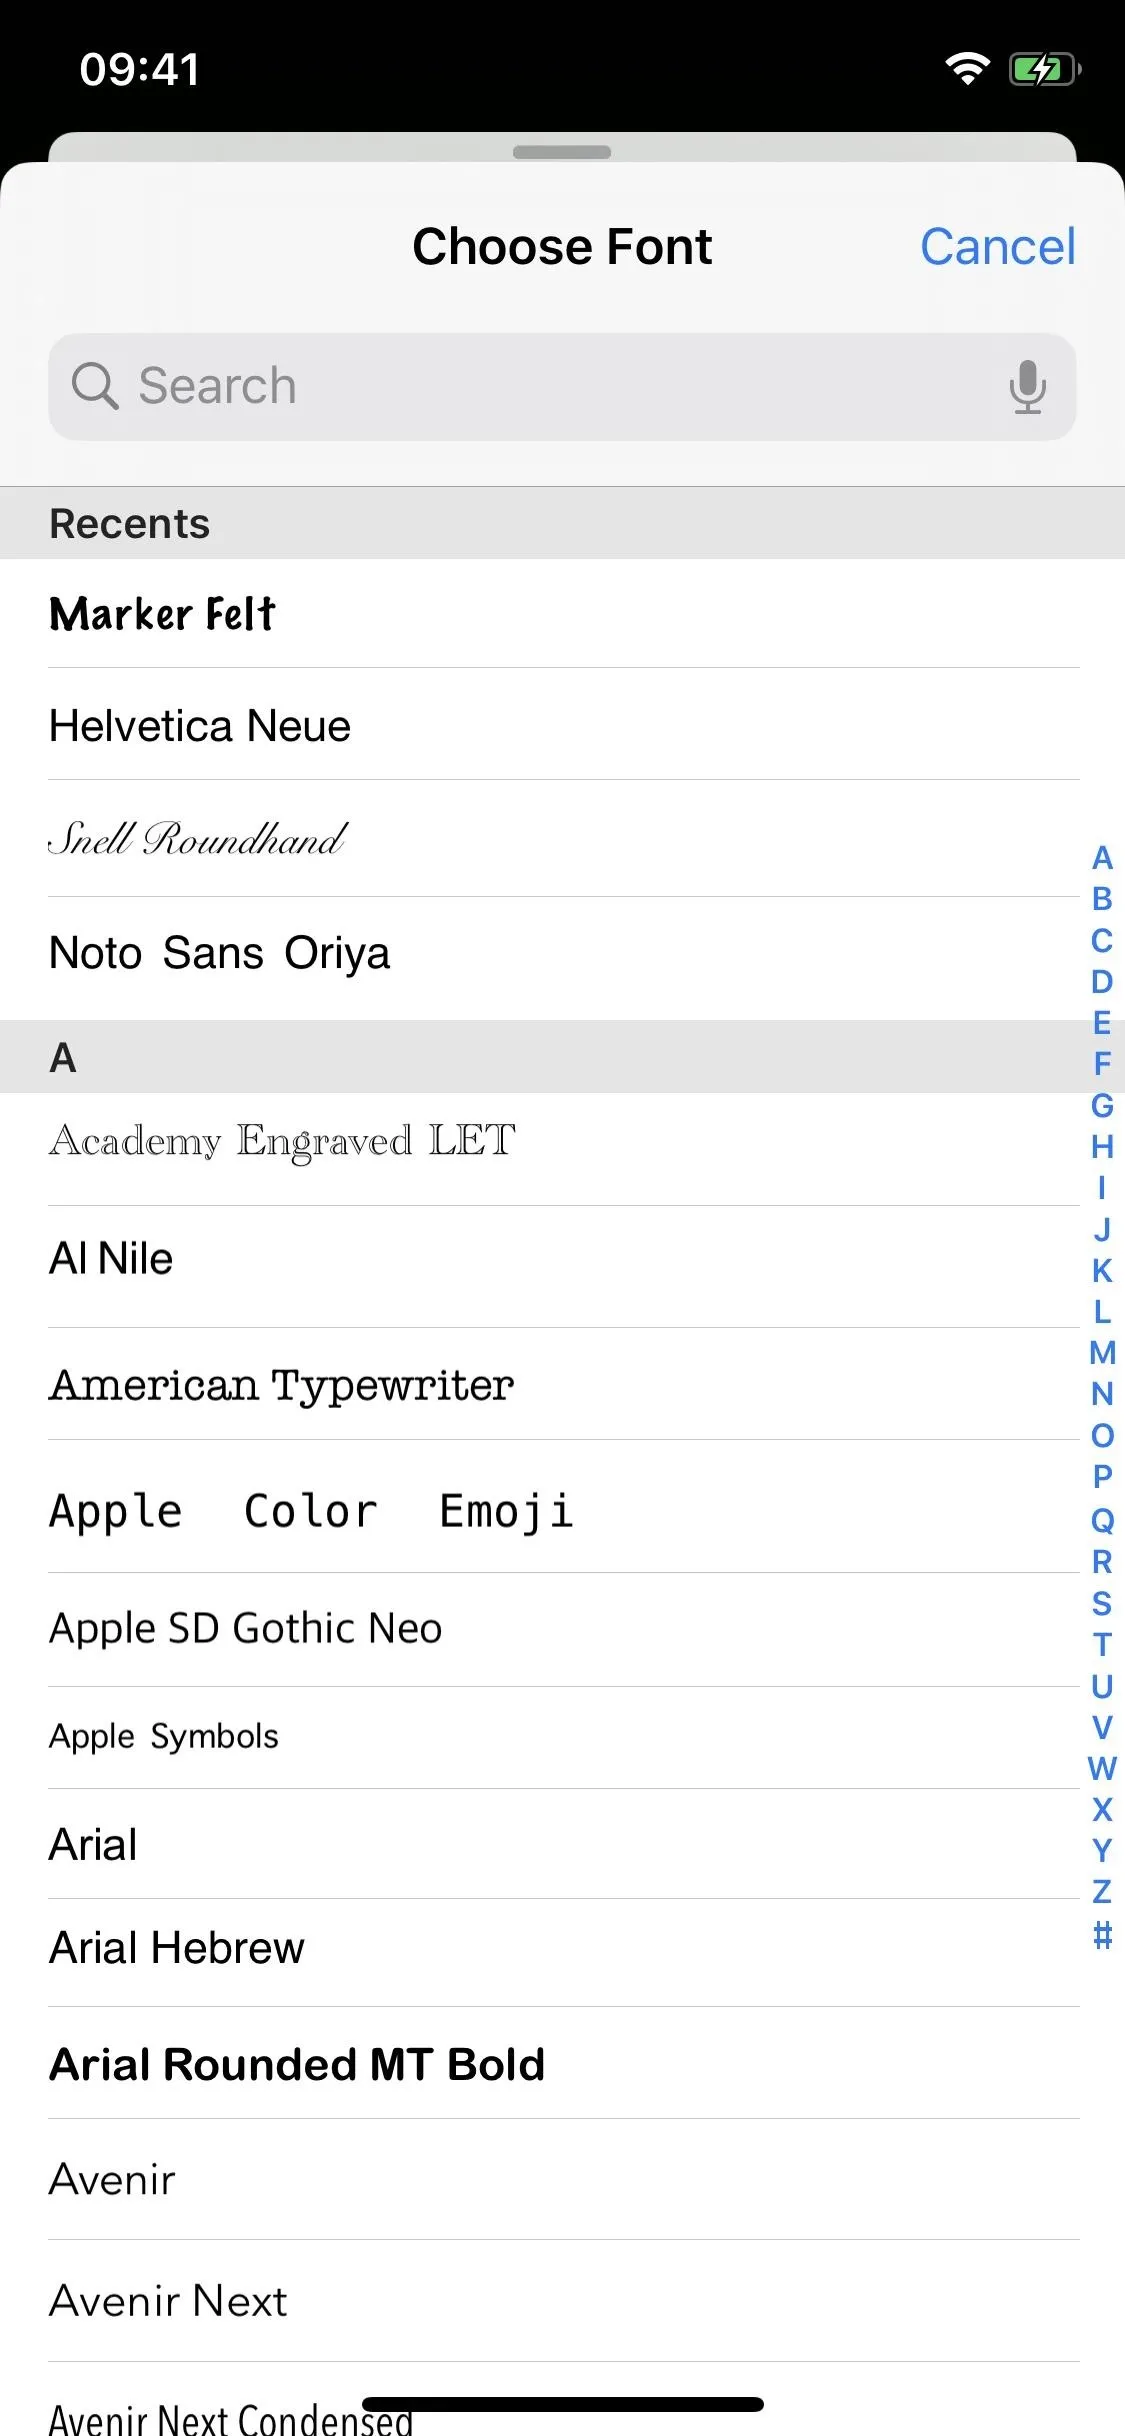
And Change the Default Font
Inside of the rich text formatting setting, you can finally change the default Apple font (San Francisco) to something when composing a message. In "Default Font," you have over 80 options to choose from including Helvetica Neue, American Typewriter (shown below), Arial, Courier, Futura, Helvetica, and Times New Roman. You'll also see custom fonts you've added to iOS show up here.
And Change the Font Size
Hit the small "A" in the formatting toolbar to decrease the size of the font and the big "A" to increase it. You can make the font so small you can hardly see it, and you can make the font so big that only one letter fits on a line.
The Photo Selector Is Better
Before, when you wanted to add a photo or video, the photo selection screen would fill the entire display, showing only albums. Now, it only takes up a small portion of the bottom of the screen so you can still see your draft above, and it defaults to your most recent content. You can swipe it up to view more images at once or tap "All Photos" to see your albums.
You Can Mute Annoying Email Threads
No one wants to deal with annoying emails, but it's a part of life, especially when your career or schoolwork revolves around online correspondence. However, if you're part of an email thread that you no longer want to participate in actively, you can now mute the conversation in iOS 13. You'll still be able to read the emails, but you'll no longer be notified anytime there's a new message in the thread, which is great for those group email threads that can quickly spin out of control.
You can mute or silence emails in several ways, but the easiest way is to long-press down on an email in your inbox, which will bring up a preview window of the email, as well as a quick actions menu underneath it. Slowly swipe up, and the full list will appear: tap on "Mute" to silence the email thread. Check out our complete guide for more ways to mute email threads.


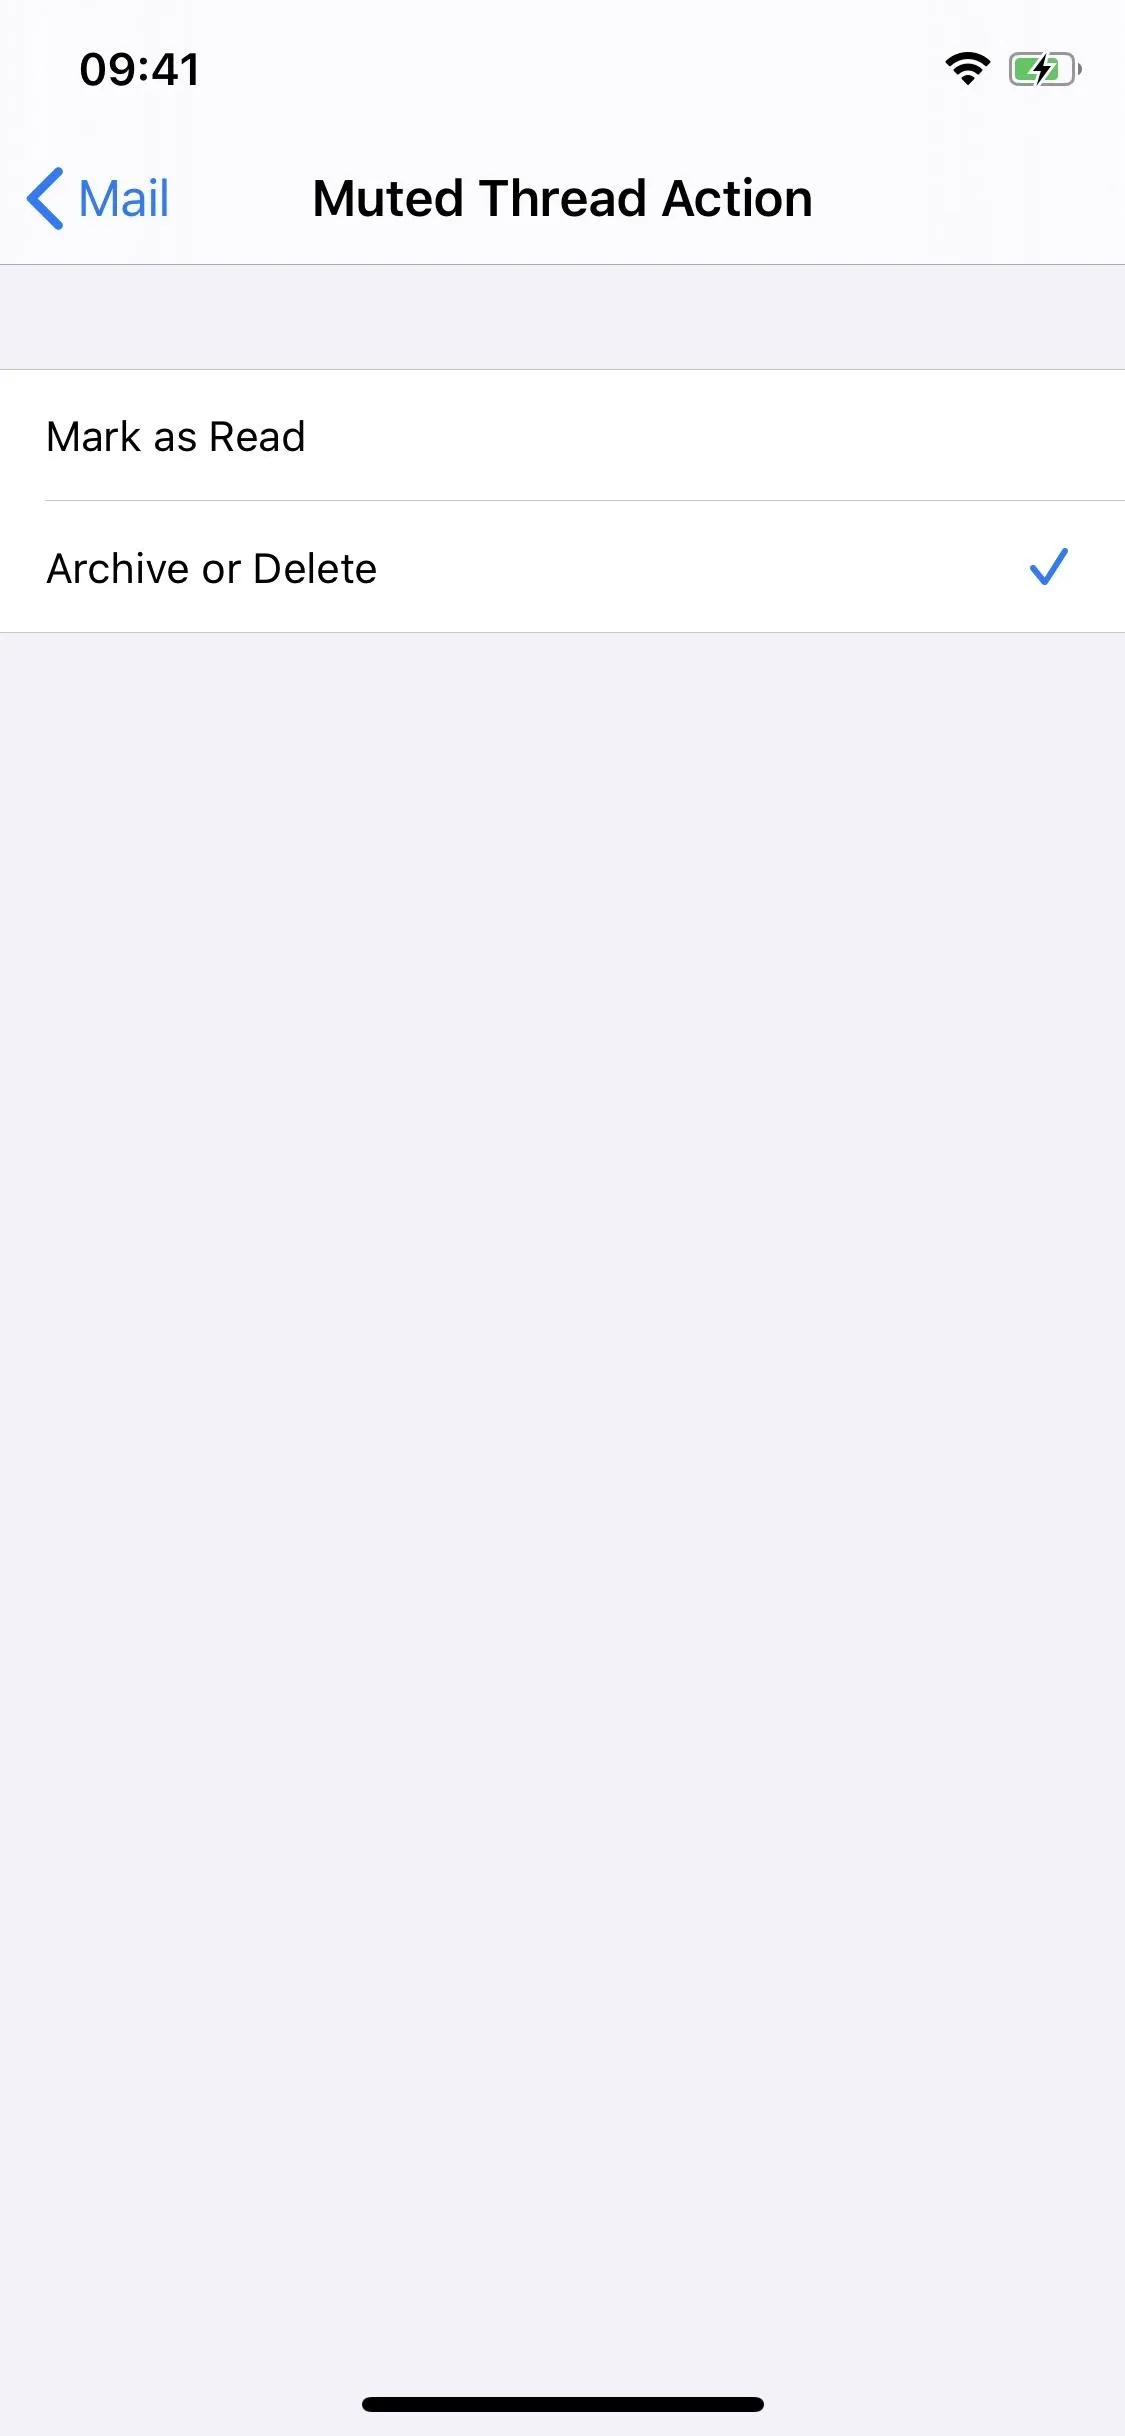
And Choose What Happens with Muted Emails
By default, any email thread that is muted on iOS 13 is marked as read, but you can change that so that they're archived or deleted instead. To choose what happens to muted email convos, open the Settings app, and go into "Mail." Next, scroll down and tap on the "Muted Thread" option under the Threading subheader. You then have two options to select from: "Mark as Read" and "Archive or Delete."

You Can Block Contacts to Send Emails to Trash
Aside from muting email conversations, iOS 13 also brings the ability to block a sender in Mail (finally!), which can either send their email to the trash or mark it as blocked but still in your inbox.
Open an email from the sender you want to block, tap the contact field at the top, and then on the contact you wish to block. In the expanded options menu, tap on "Block this Contact," and tap it again when prompted. All emails from this contact will now be blocked. At the top of every email from the blocked sender, you'll see an alert that says, "This message is from a sender in your blocked list."
You can also block senders via the Settings app. For more details, check out our full guide on blocking contacts, spam, and unknown senders in Mail.

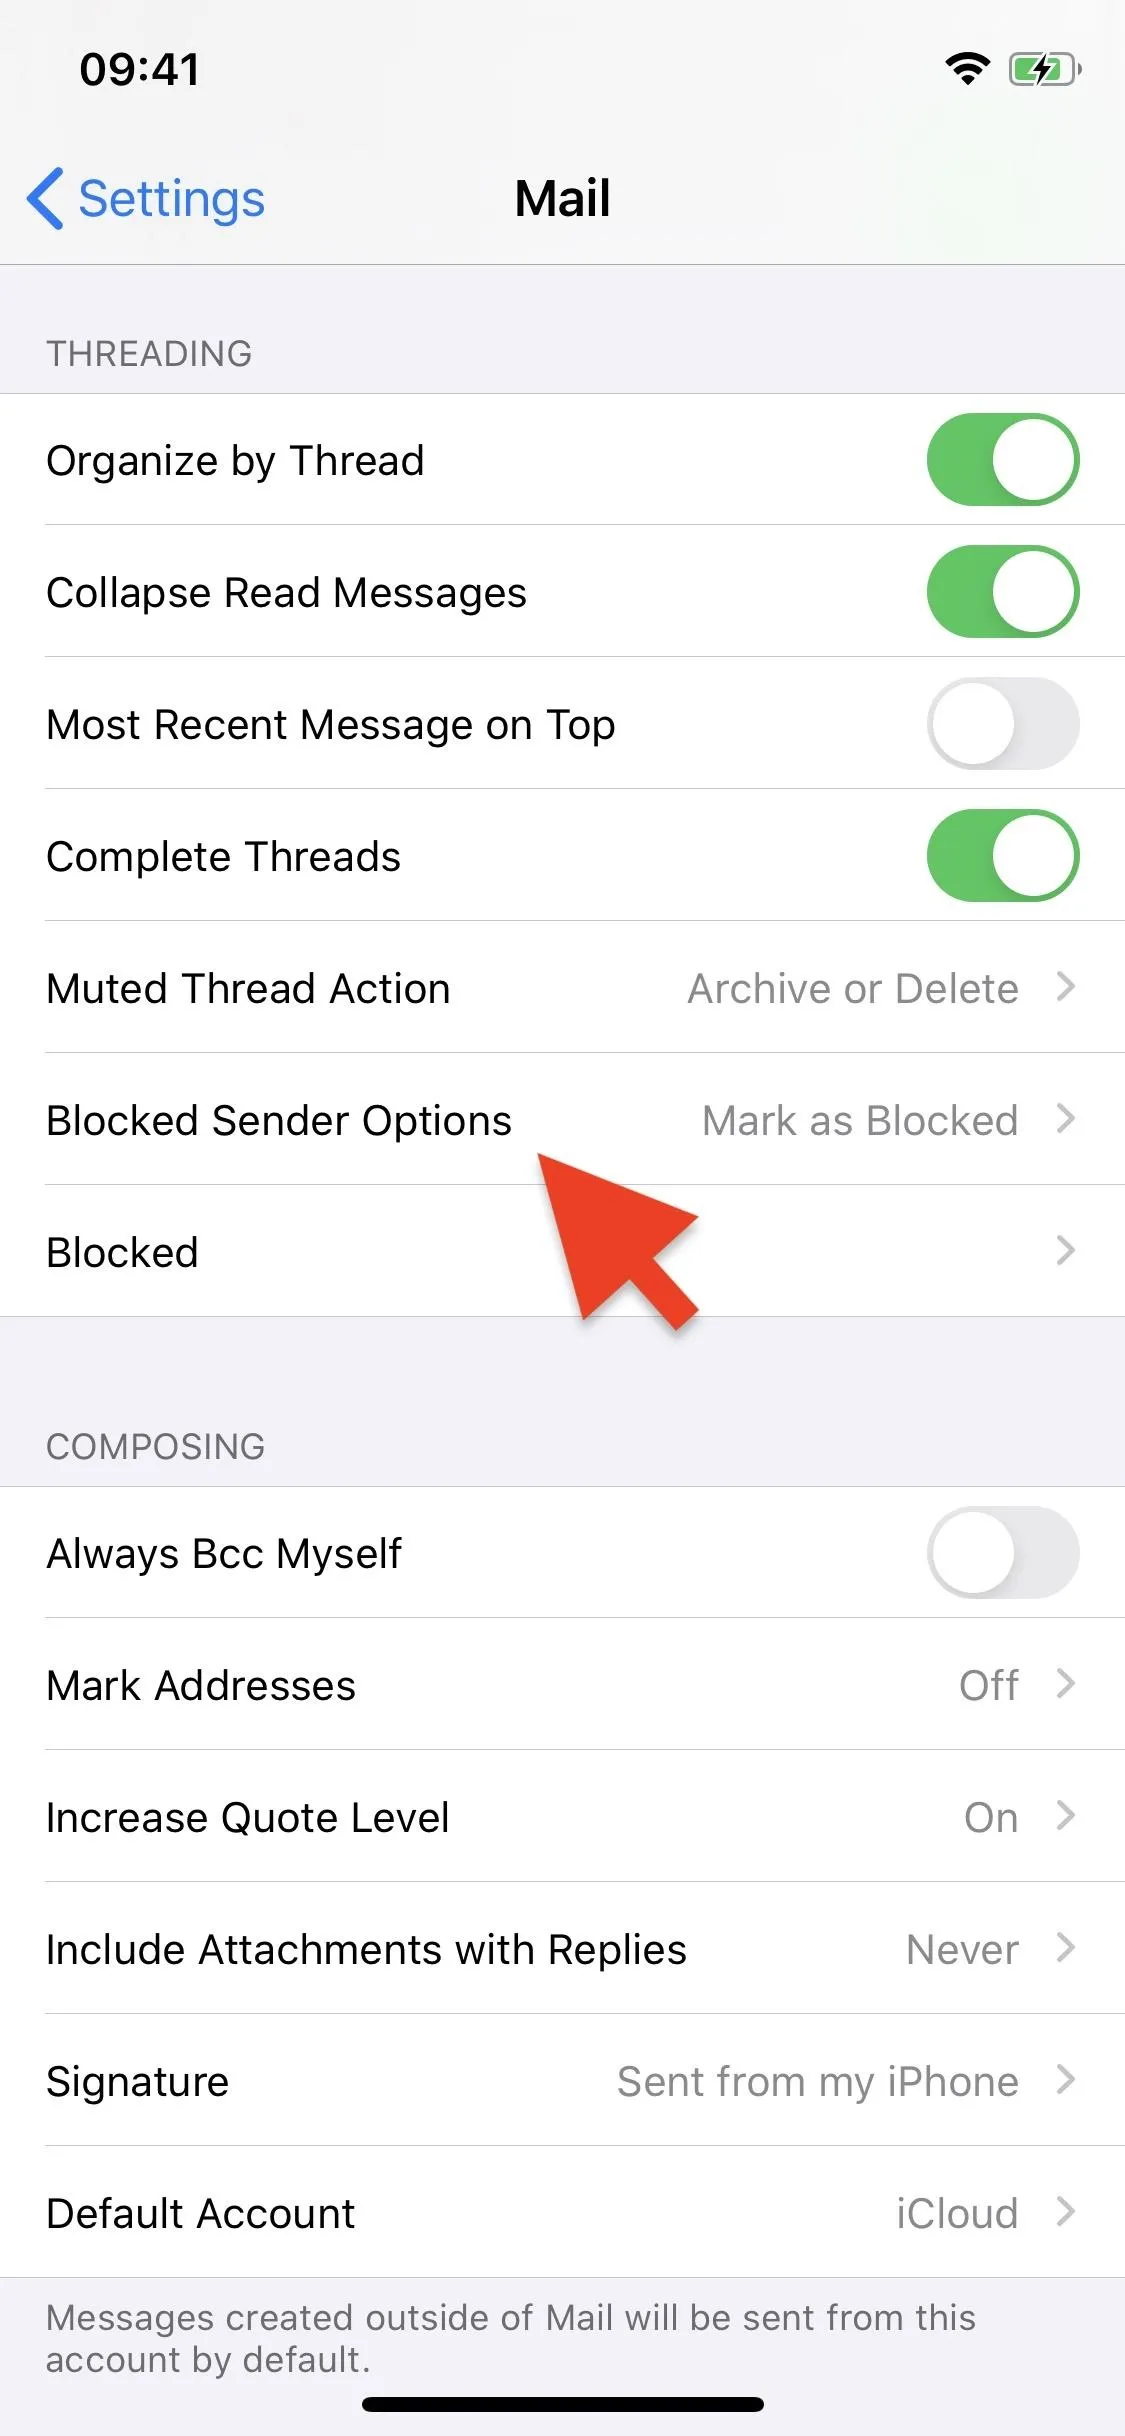
And Choose What Happens with Blocked Emails
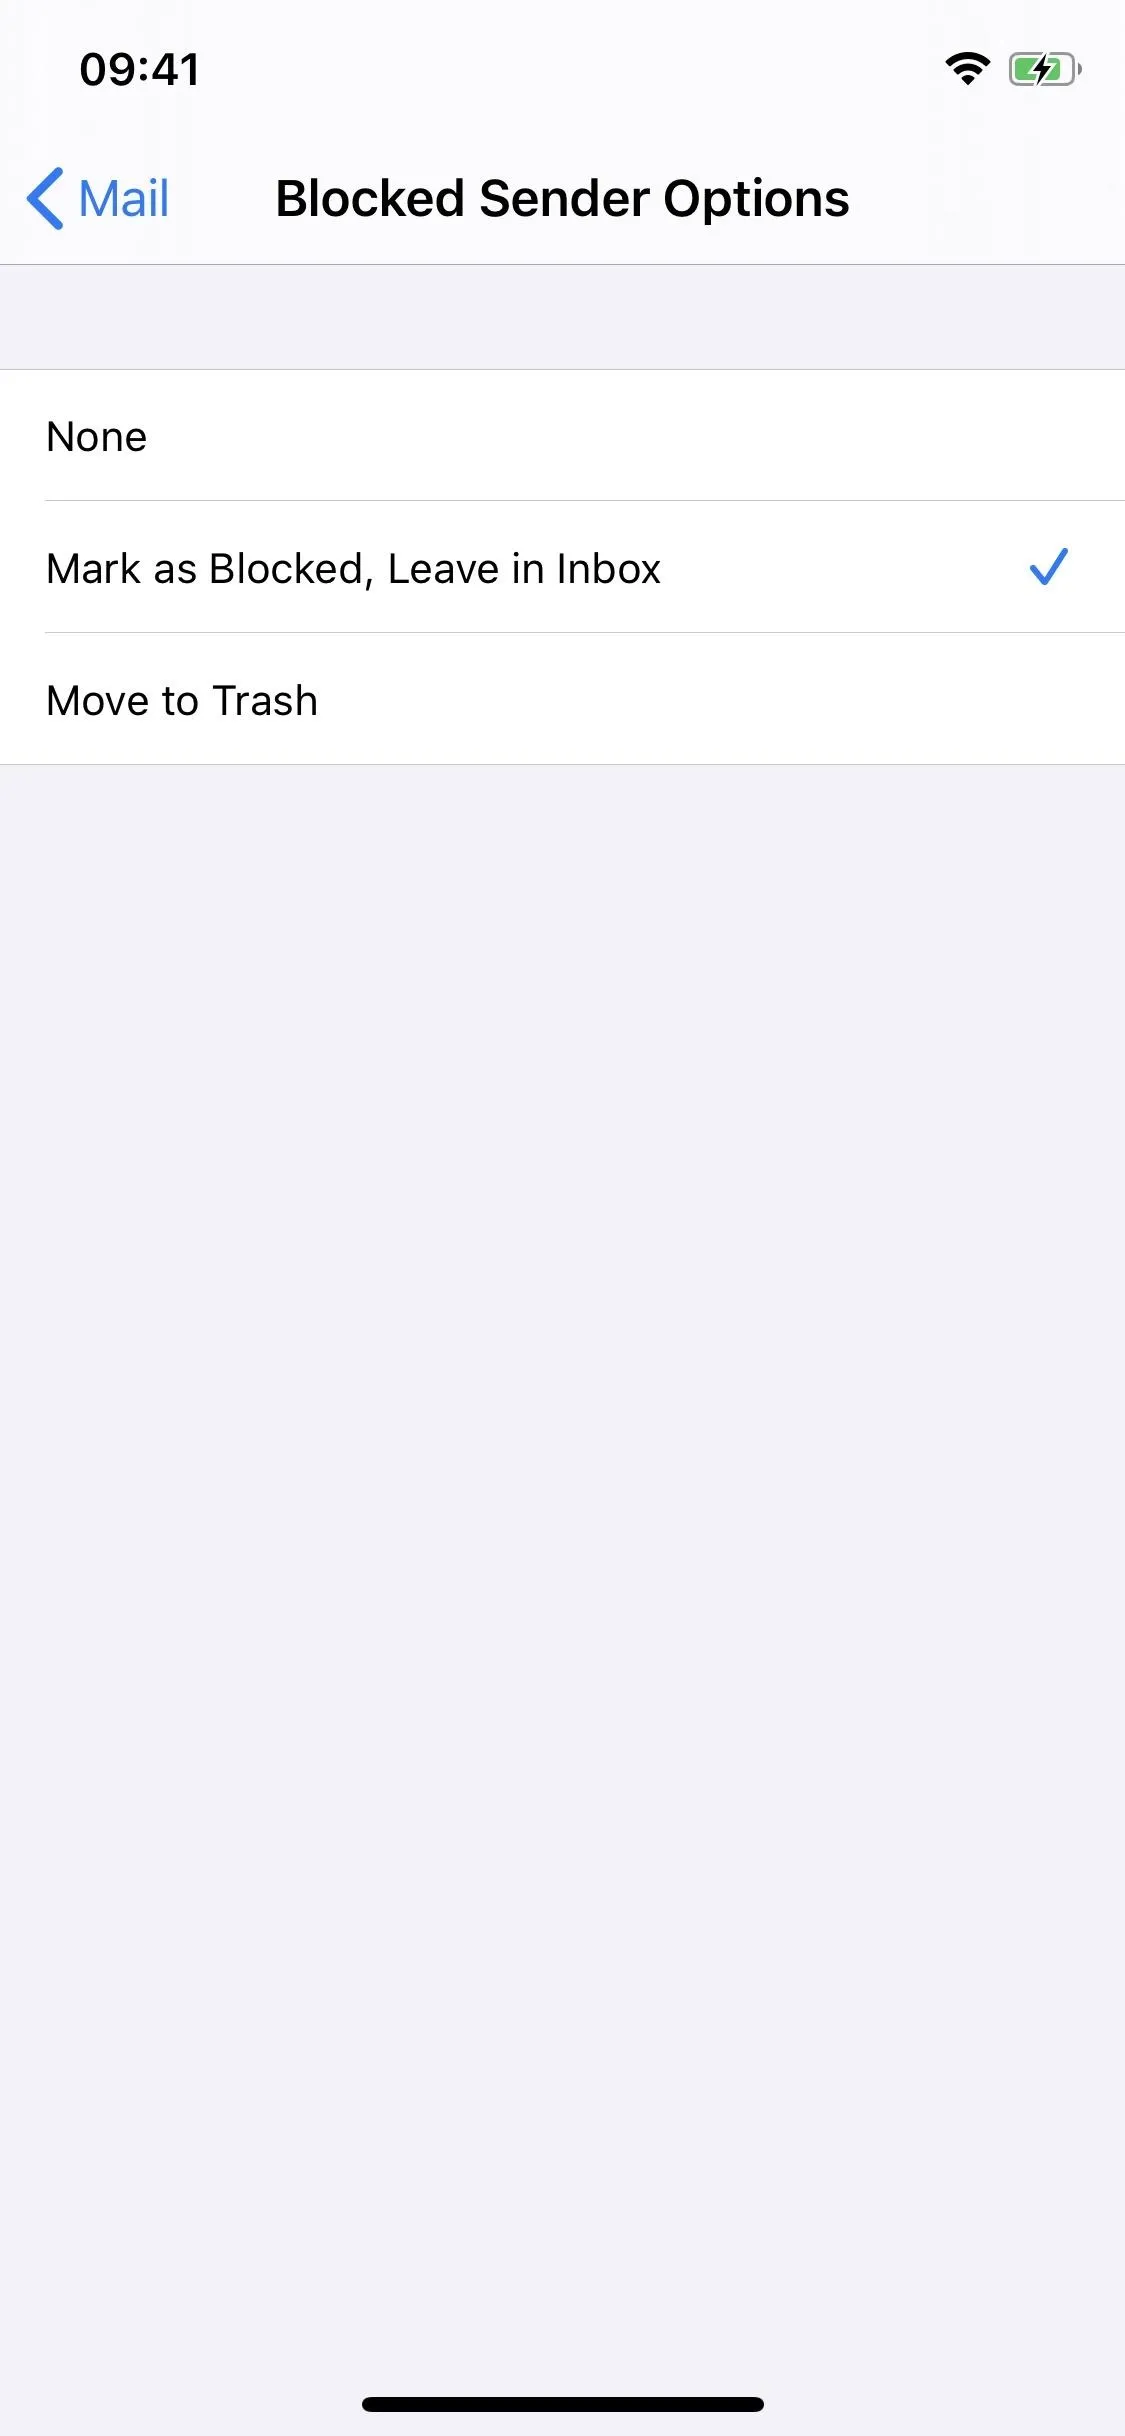
As with muted emails, you can choose what happens with blocked emails. Open the Settings app and go into "Mail." Next, scroll all the way down and tap on "Blocked Sender Options" under Threading. Finally, select one of three options:
- None: Disables email blocking.
- Mark as Blocked, Leave in Inbox: Leaves emails from the blocked sender in your inbox, but shows that it is blocked and doesn't send you notifications.
- Move to Trash: Automatically sends emails from a blocked sender to the trash.
The Email Address Autocomplete Is Tidier
In iOS 12 and older, when you begin typing out an email, you'll get suggestions underneath. The list is pretty bulky and if you have a contact with multiple email addresses, they all show separately. Now, the highlights are up top with Siri suggestions at the bottom, and each contact only shows up once, with the most-used address as the primary. You can tap the chevron to view all of their other email addresses.
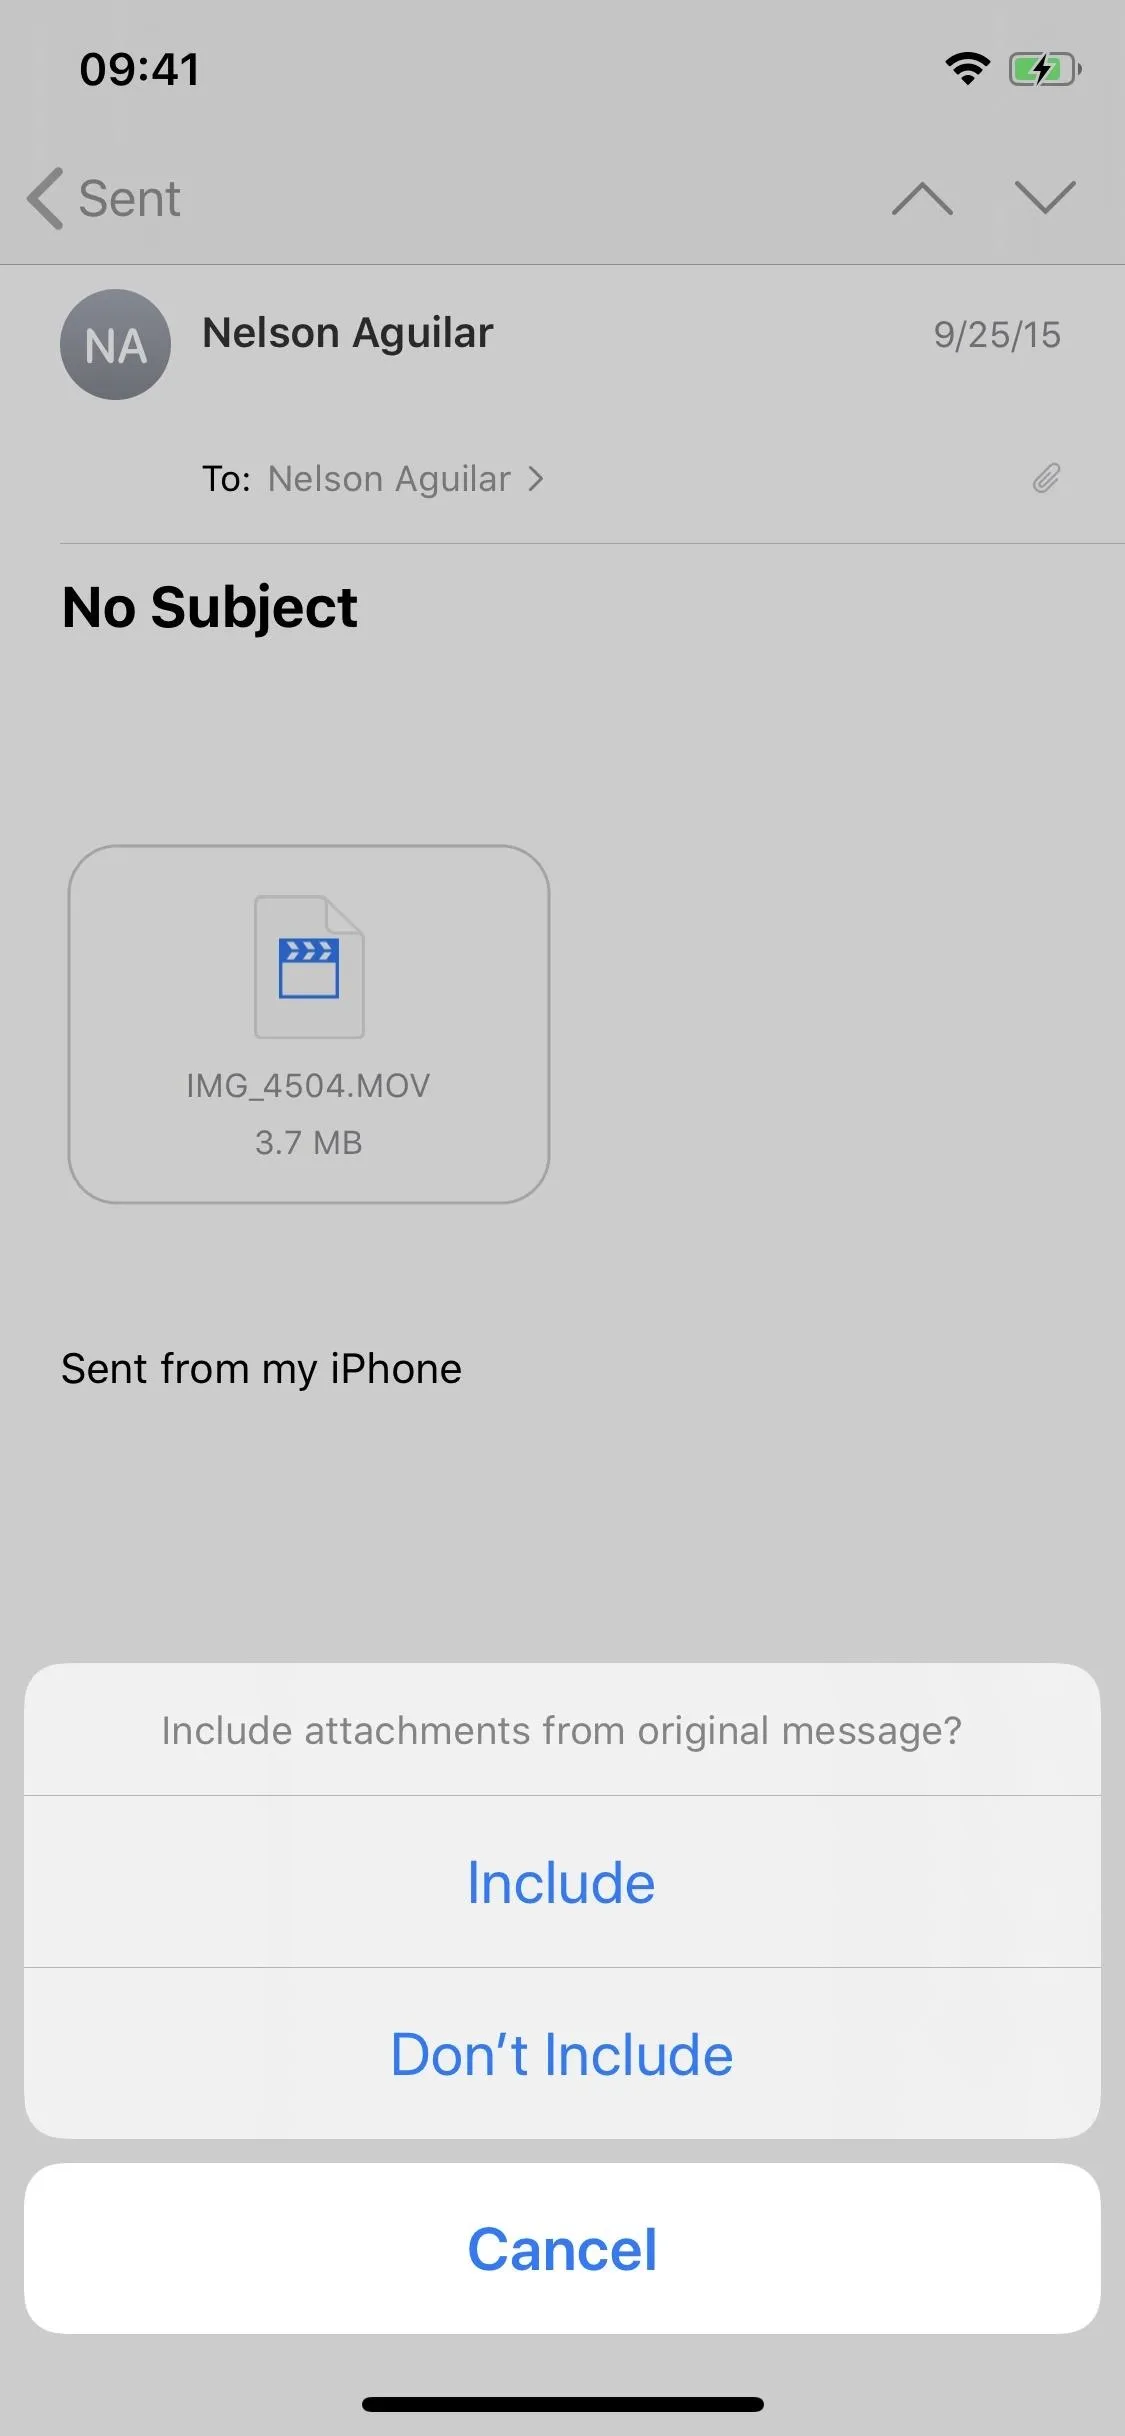
You Can Include or Remove Attachments
If you're replying or forwarding an email, a new option will appear at the bottom of the screen if there's an attachment in one of the previous emails. Instead of just opening a reply draft or asking you who you want to forward the email to, you'll be asked if you wish to include or remove any attachments in the reply or forwarded message.

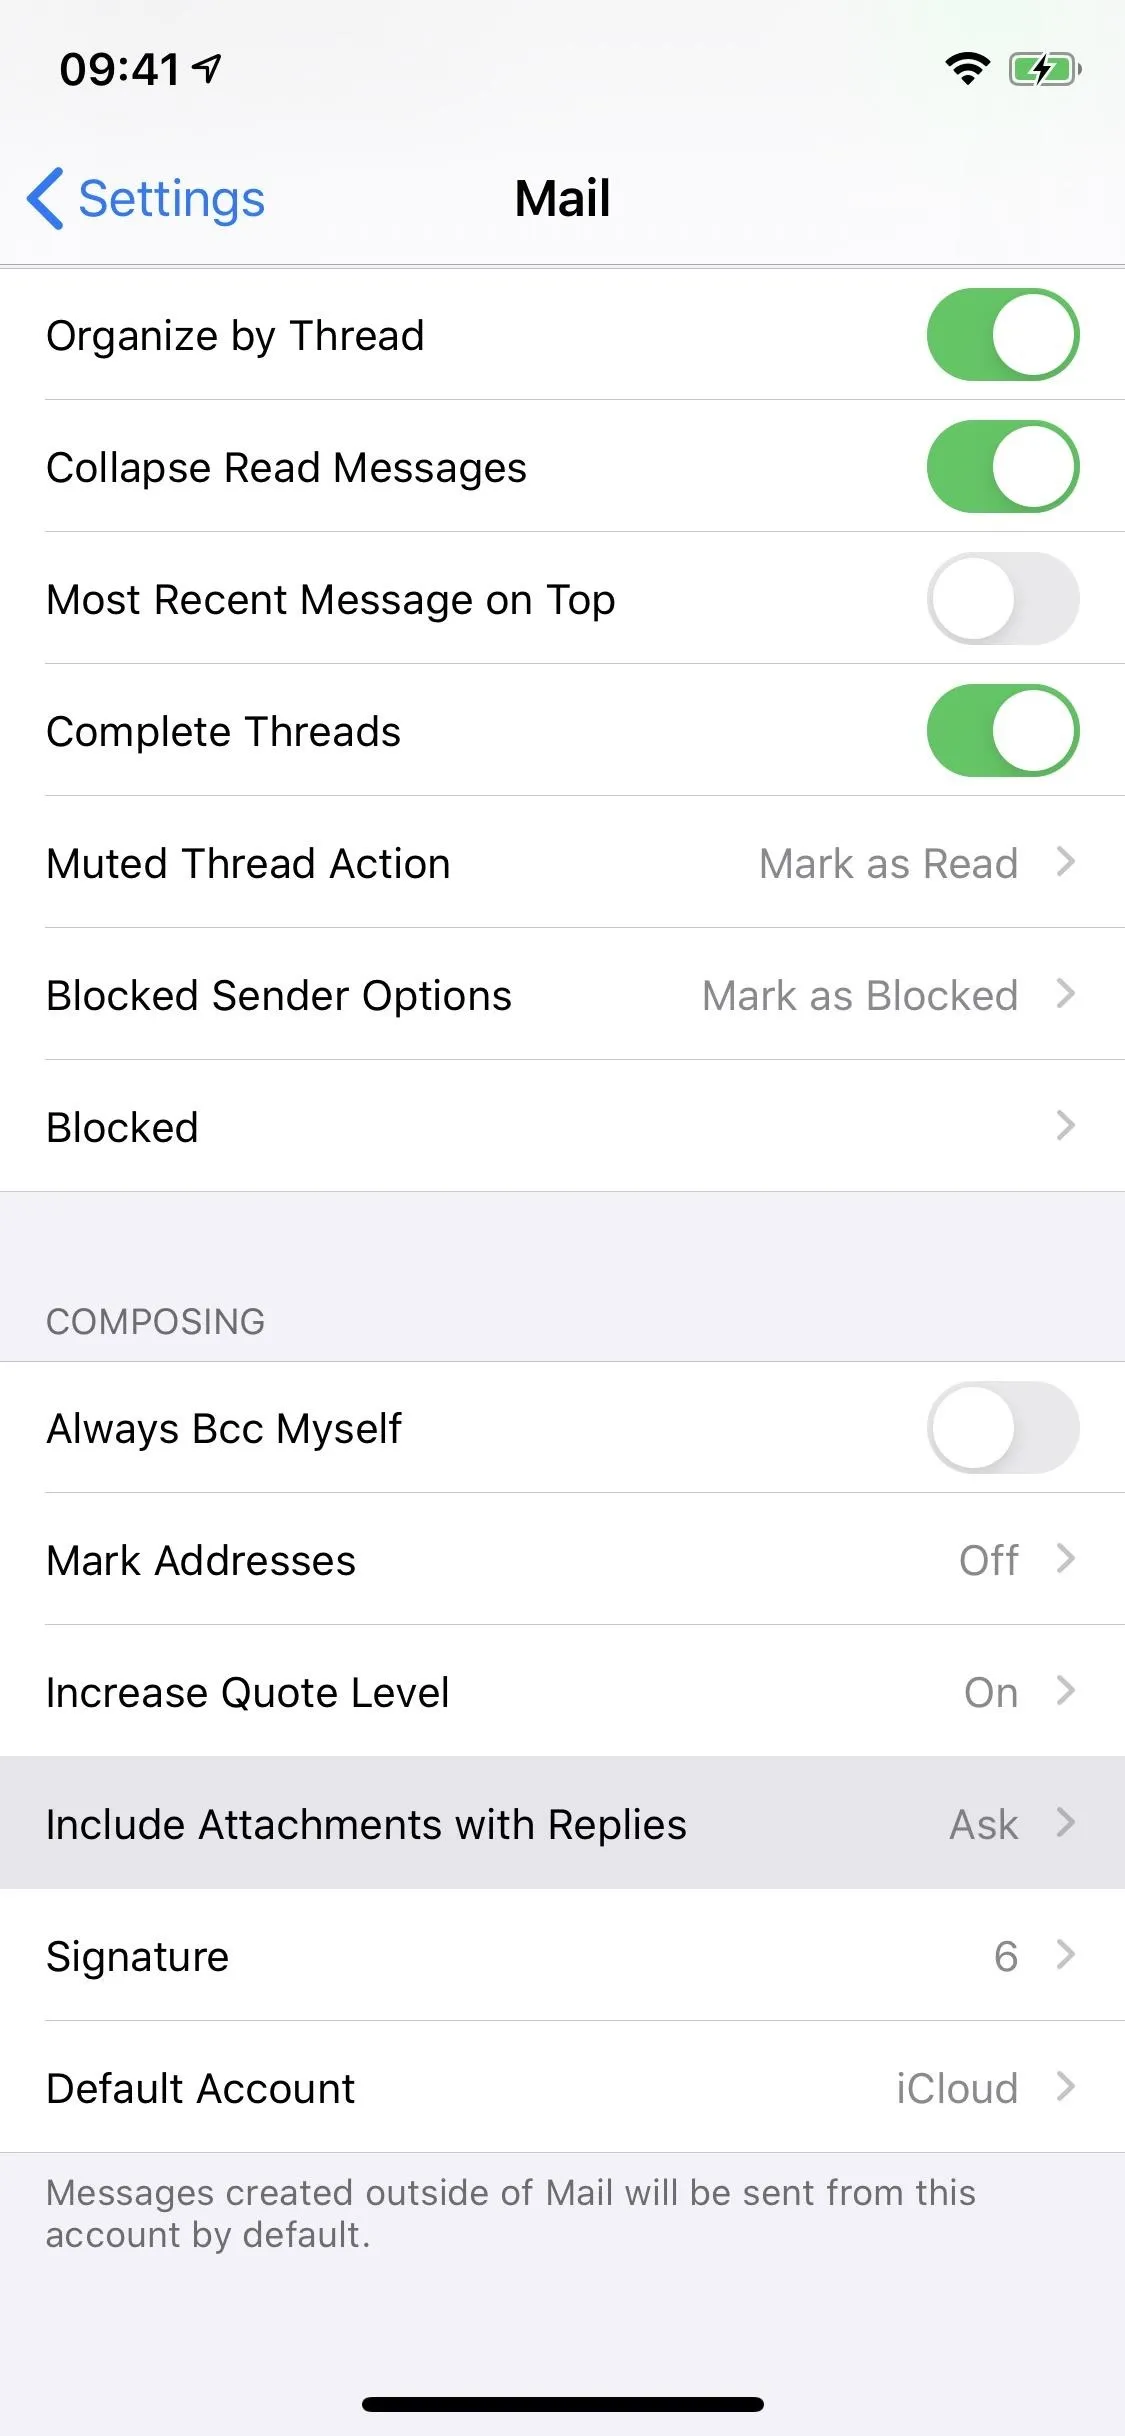
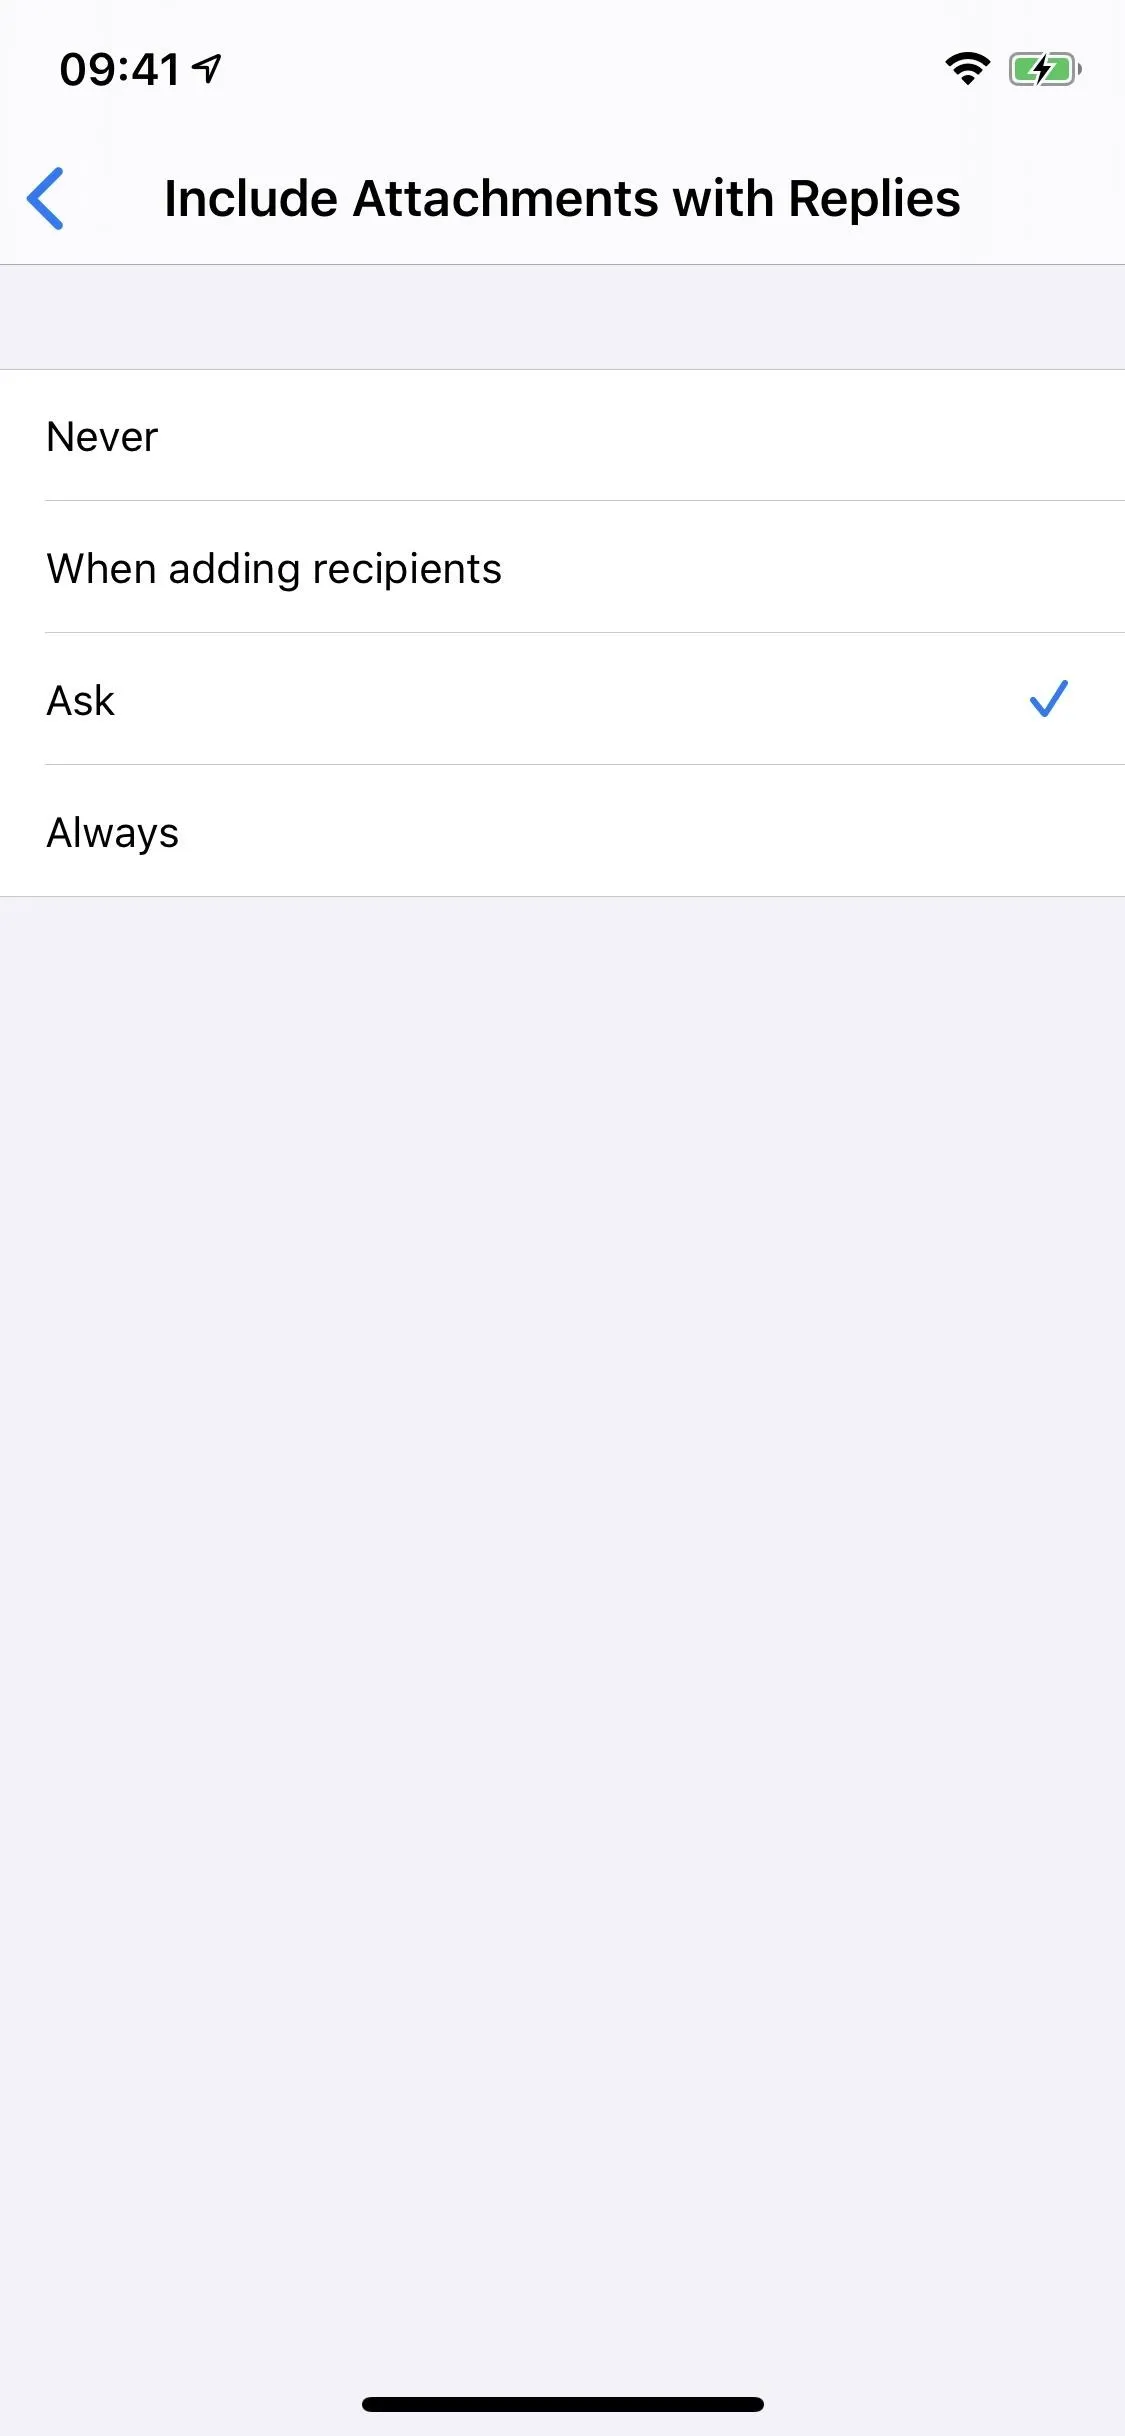
And Set Your Default Attachments Preference
By default, Mail will always ask you if you want to include attachments in replies, but there's a new option in Settings –> Mail called "Include Attachments with Replies." Tap that, and you can change it from "Ask" to "Always," if you always want them attached, "Never," if you never want to send attached files automatically, or "When adding recipients," which makes sure new contacts in the discussion can see the full content of the thread.
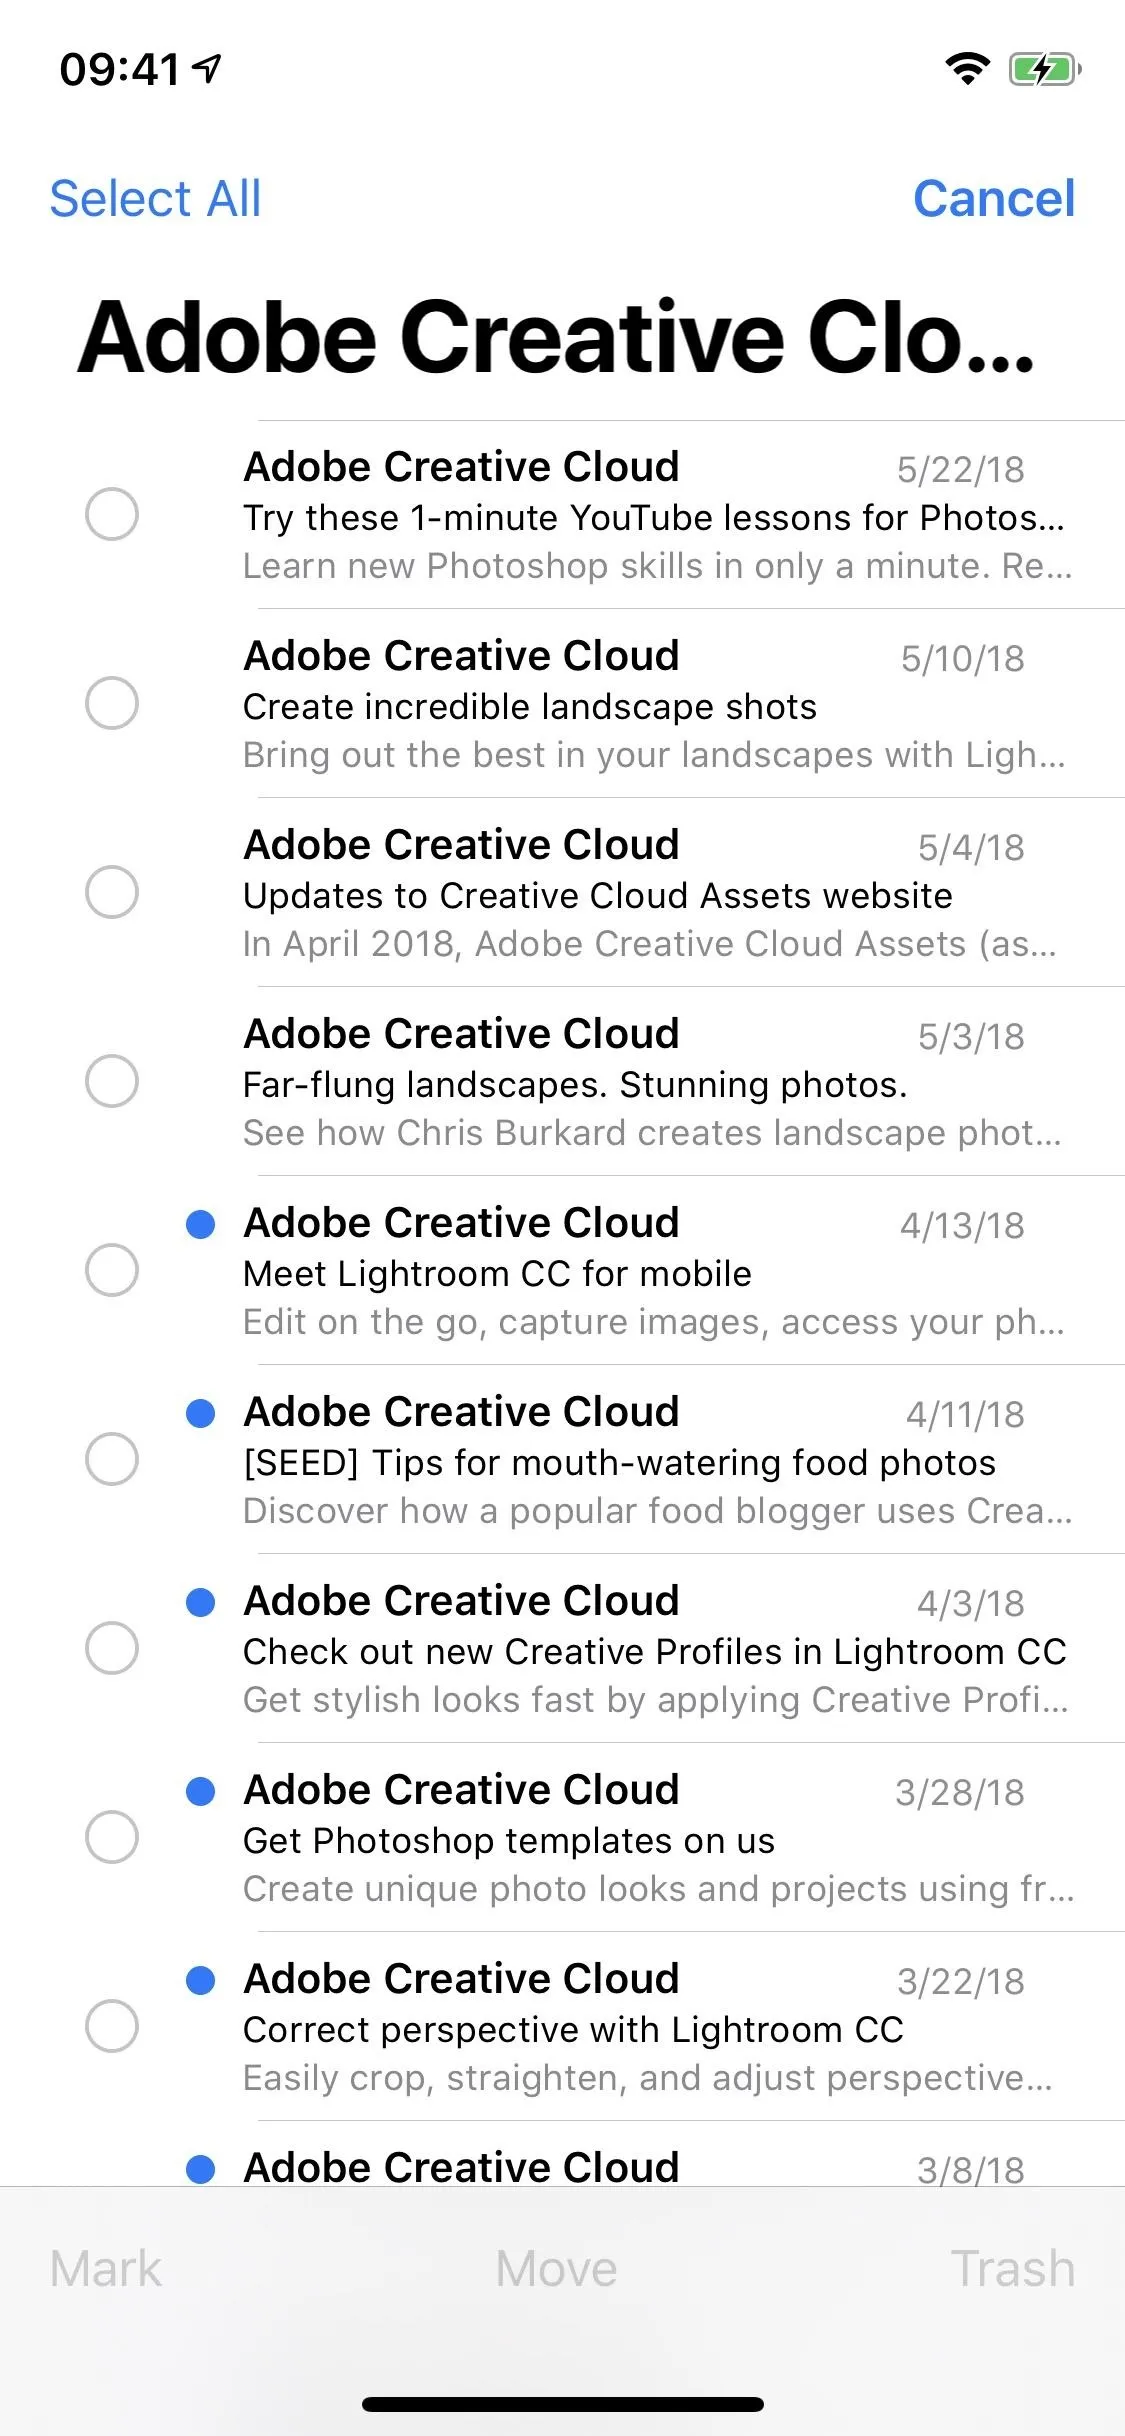
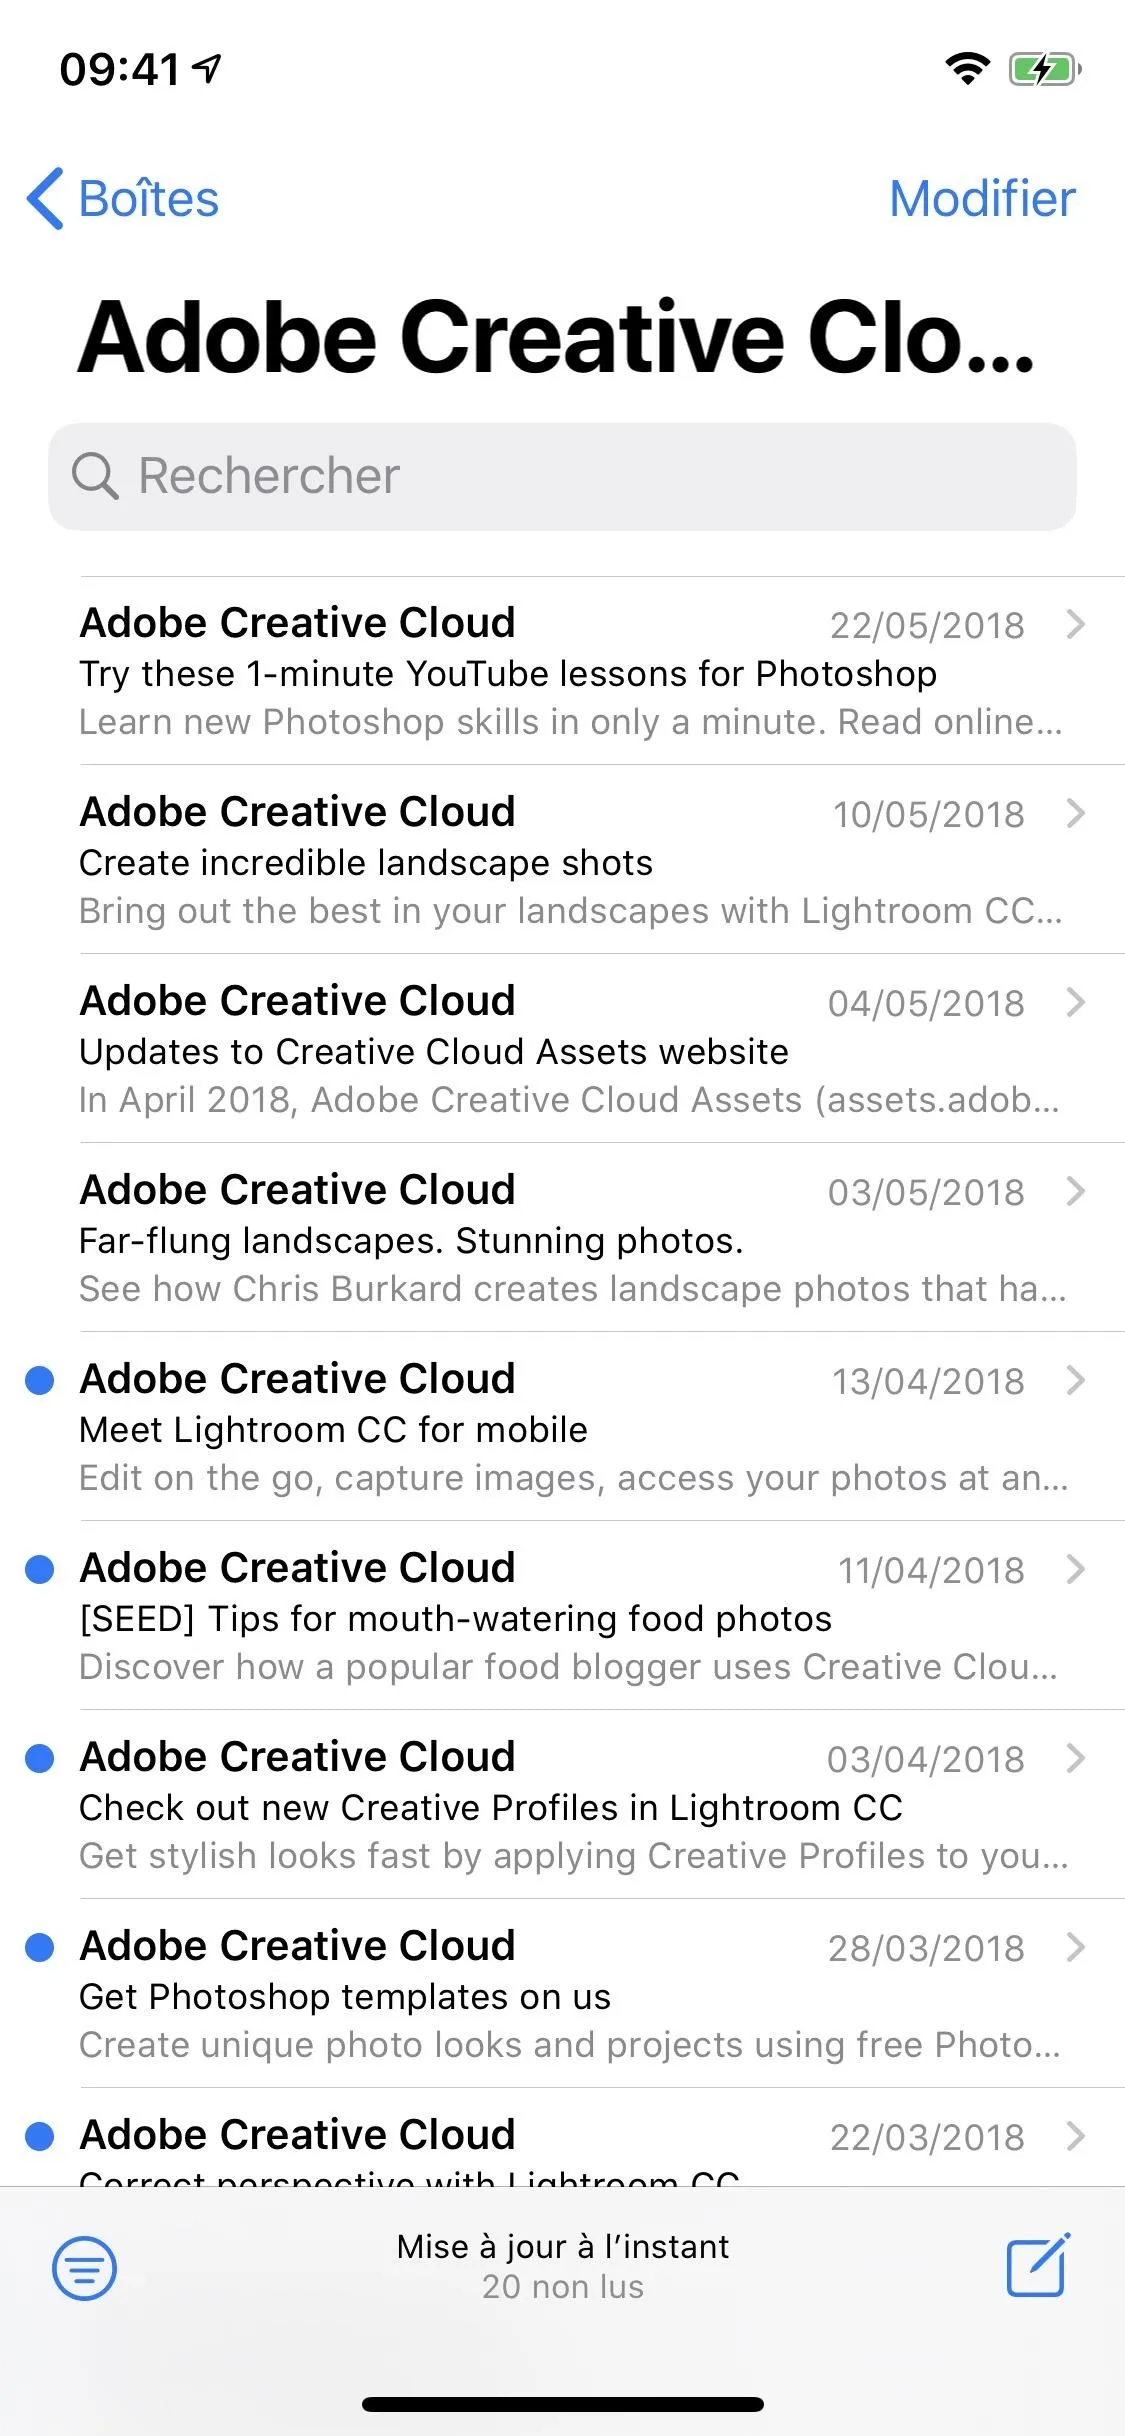
You Can Select All in Mailboxes & Folders
Whenever you're in a mailbox, such as an Inbox, or in a folder you've made, tap "Edit" in the top right. Before, all you'd see there is a "Mark All" button, and tapping that would only let you flag all the emails or mark them all as read or unread. Things have changed in iOS 13. Now, instead of "Mark All," we have "Select All," and hitting that gives options to mark, move, or trash them all. Way more useful, right?
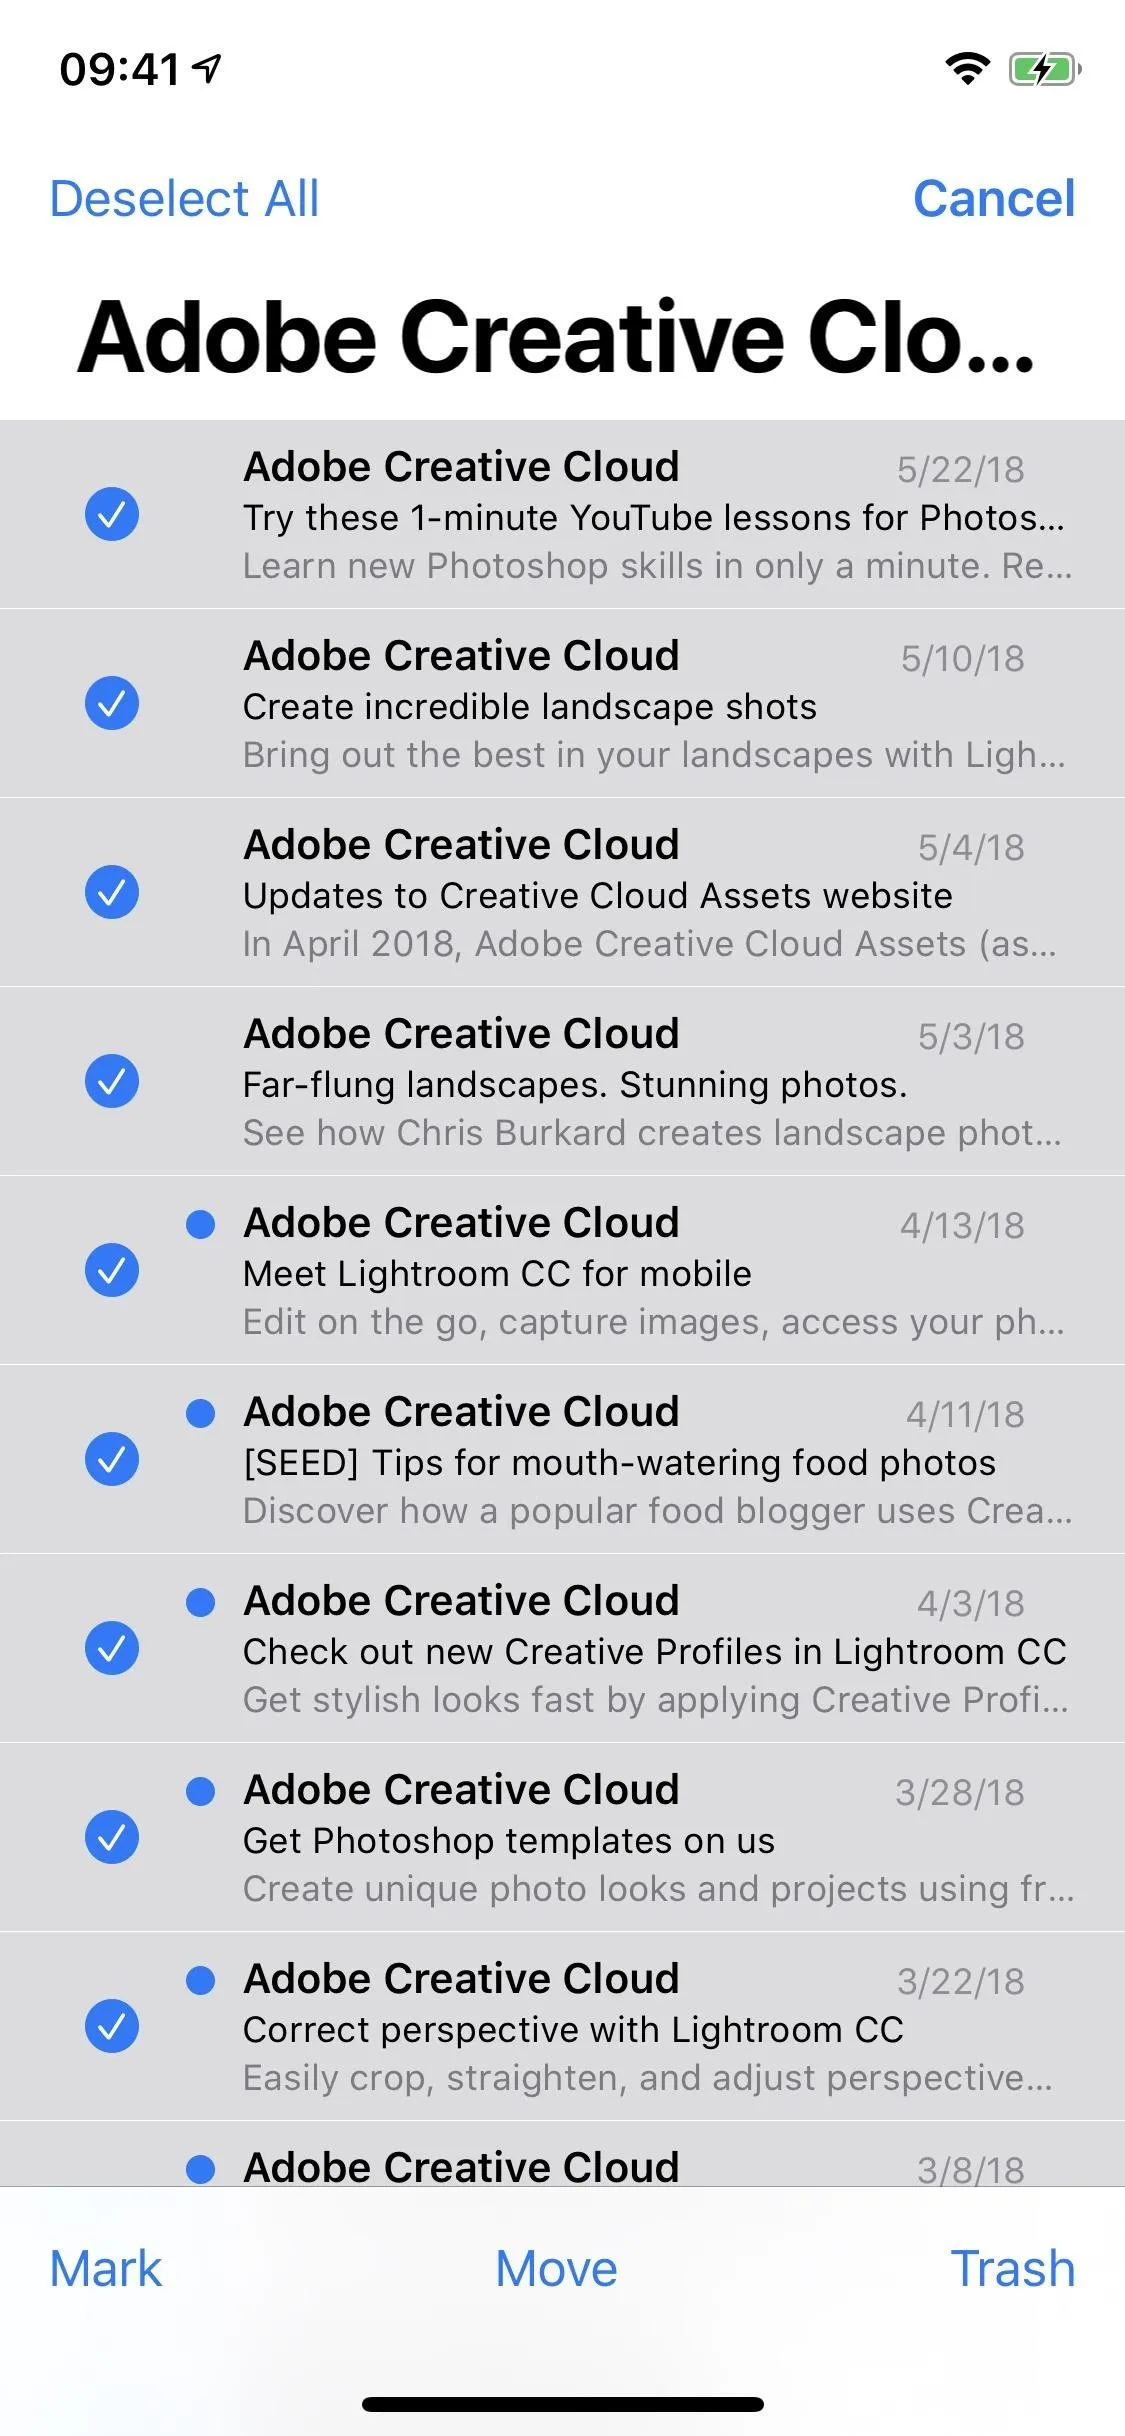
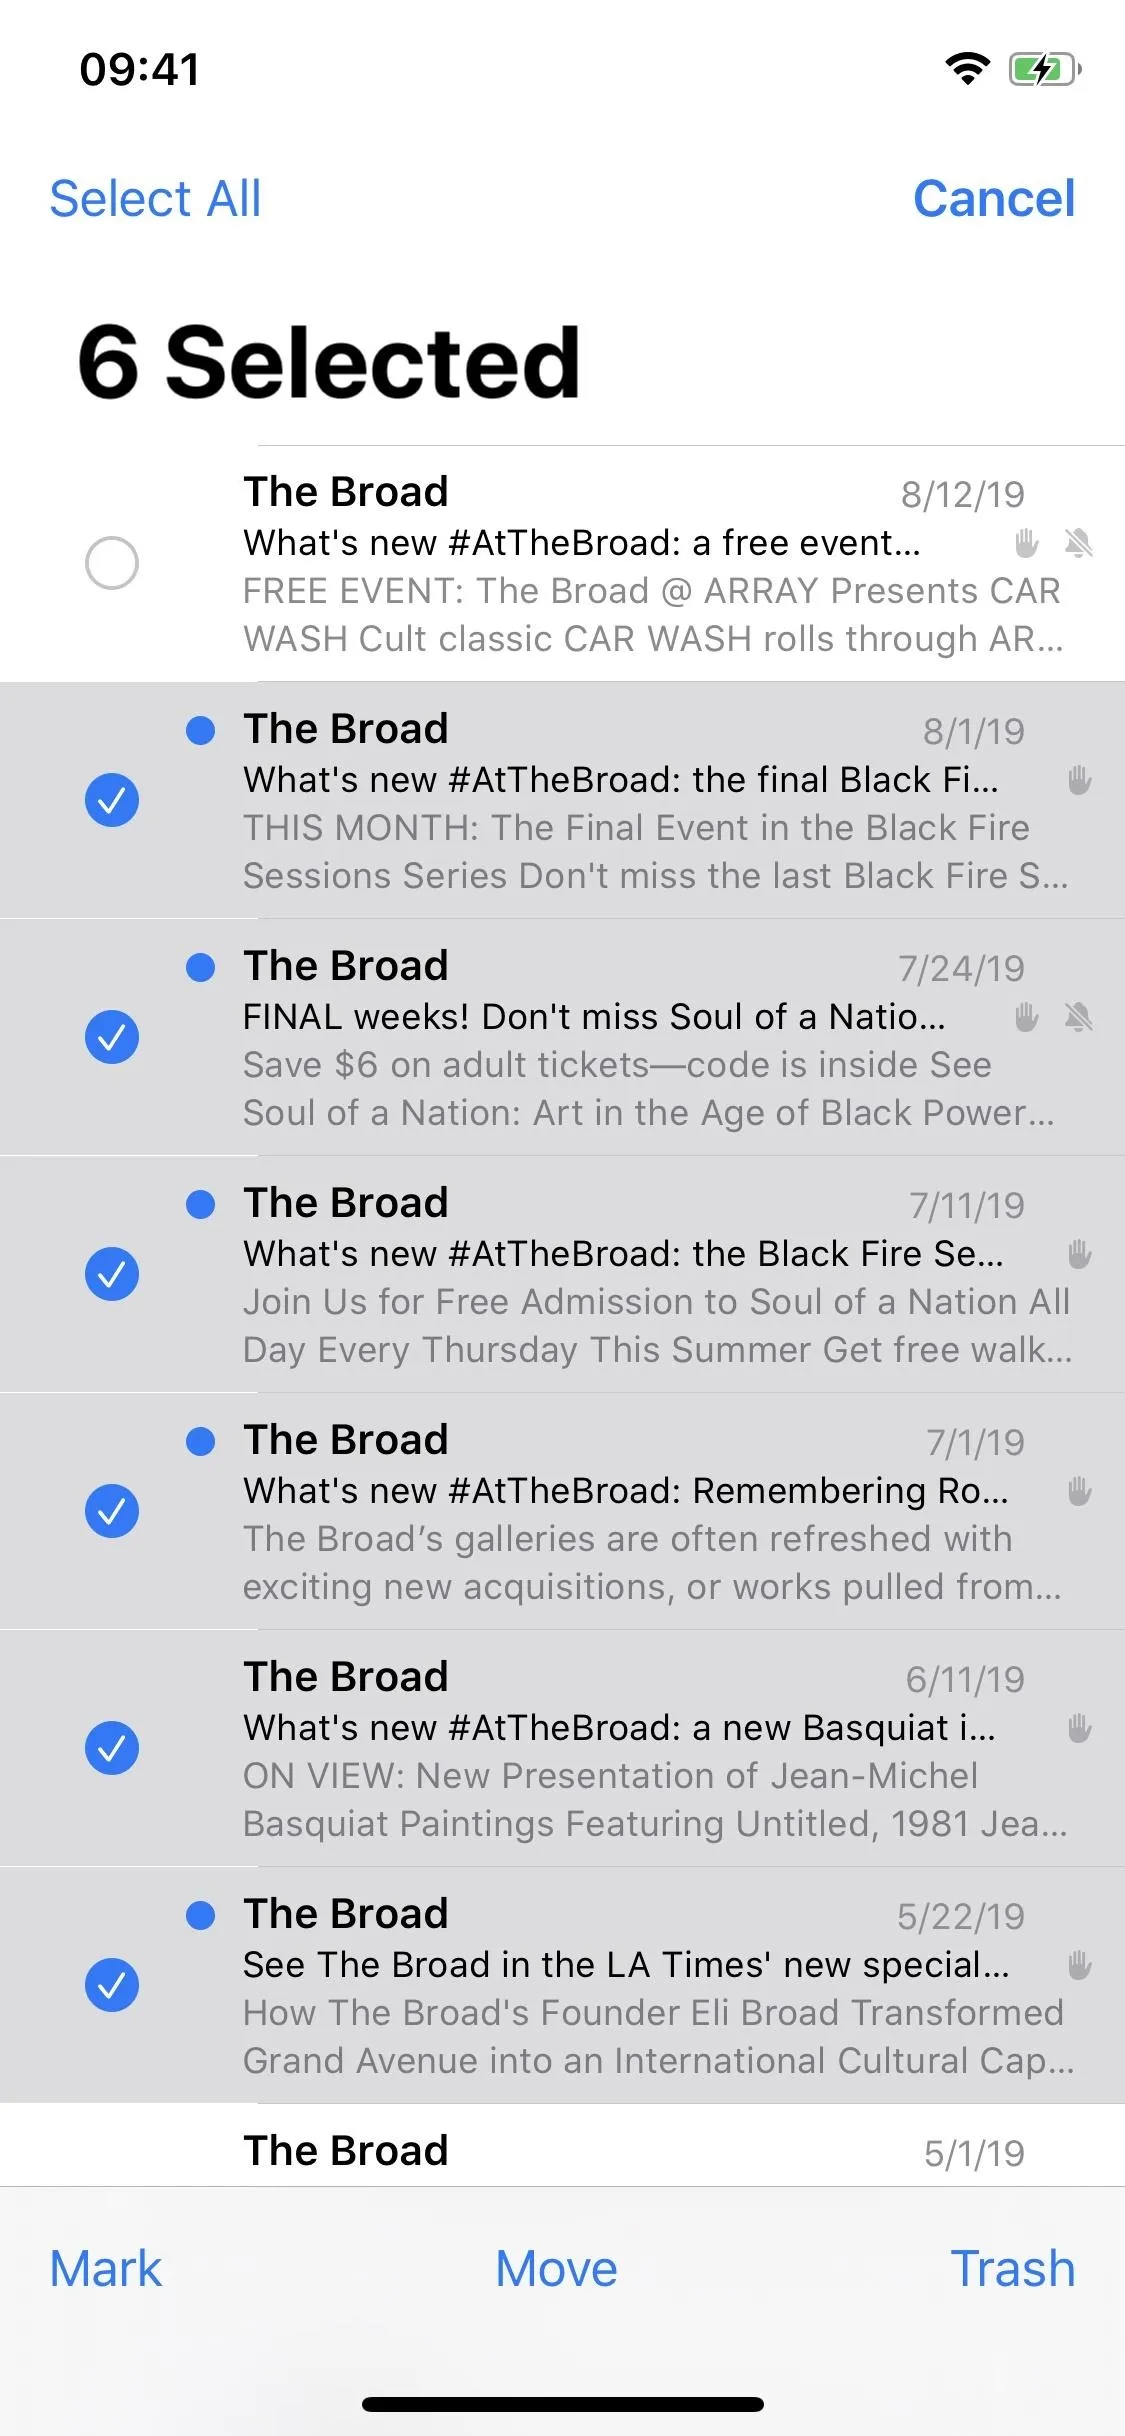
You Can Select Multiple Emails at Once
Before, to select a couple or more of emails to move, mark, or delete, you'd tap "Edit" and hit each bubble one by one until all emails are selected. Now, you can slide your finger down those bubbles to select them faster. Even better, use two fingers to select multiple emails without even opening up the "Edit" menu. This is a lifesaver when the "Select All" button above doesn't apply.
And Bulk-Delete Emails Faster
While you can move, mark, or delete messages after selecting them using the faster finger gestures seen above, it's worth pointing out deleting as a standout feature. Before, it would take a seriously long time to remove all of the newsletters, sale events, and other emails you don't need to look at. Now, it's six to eight times faster.
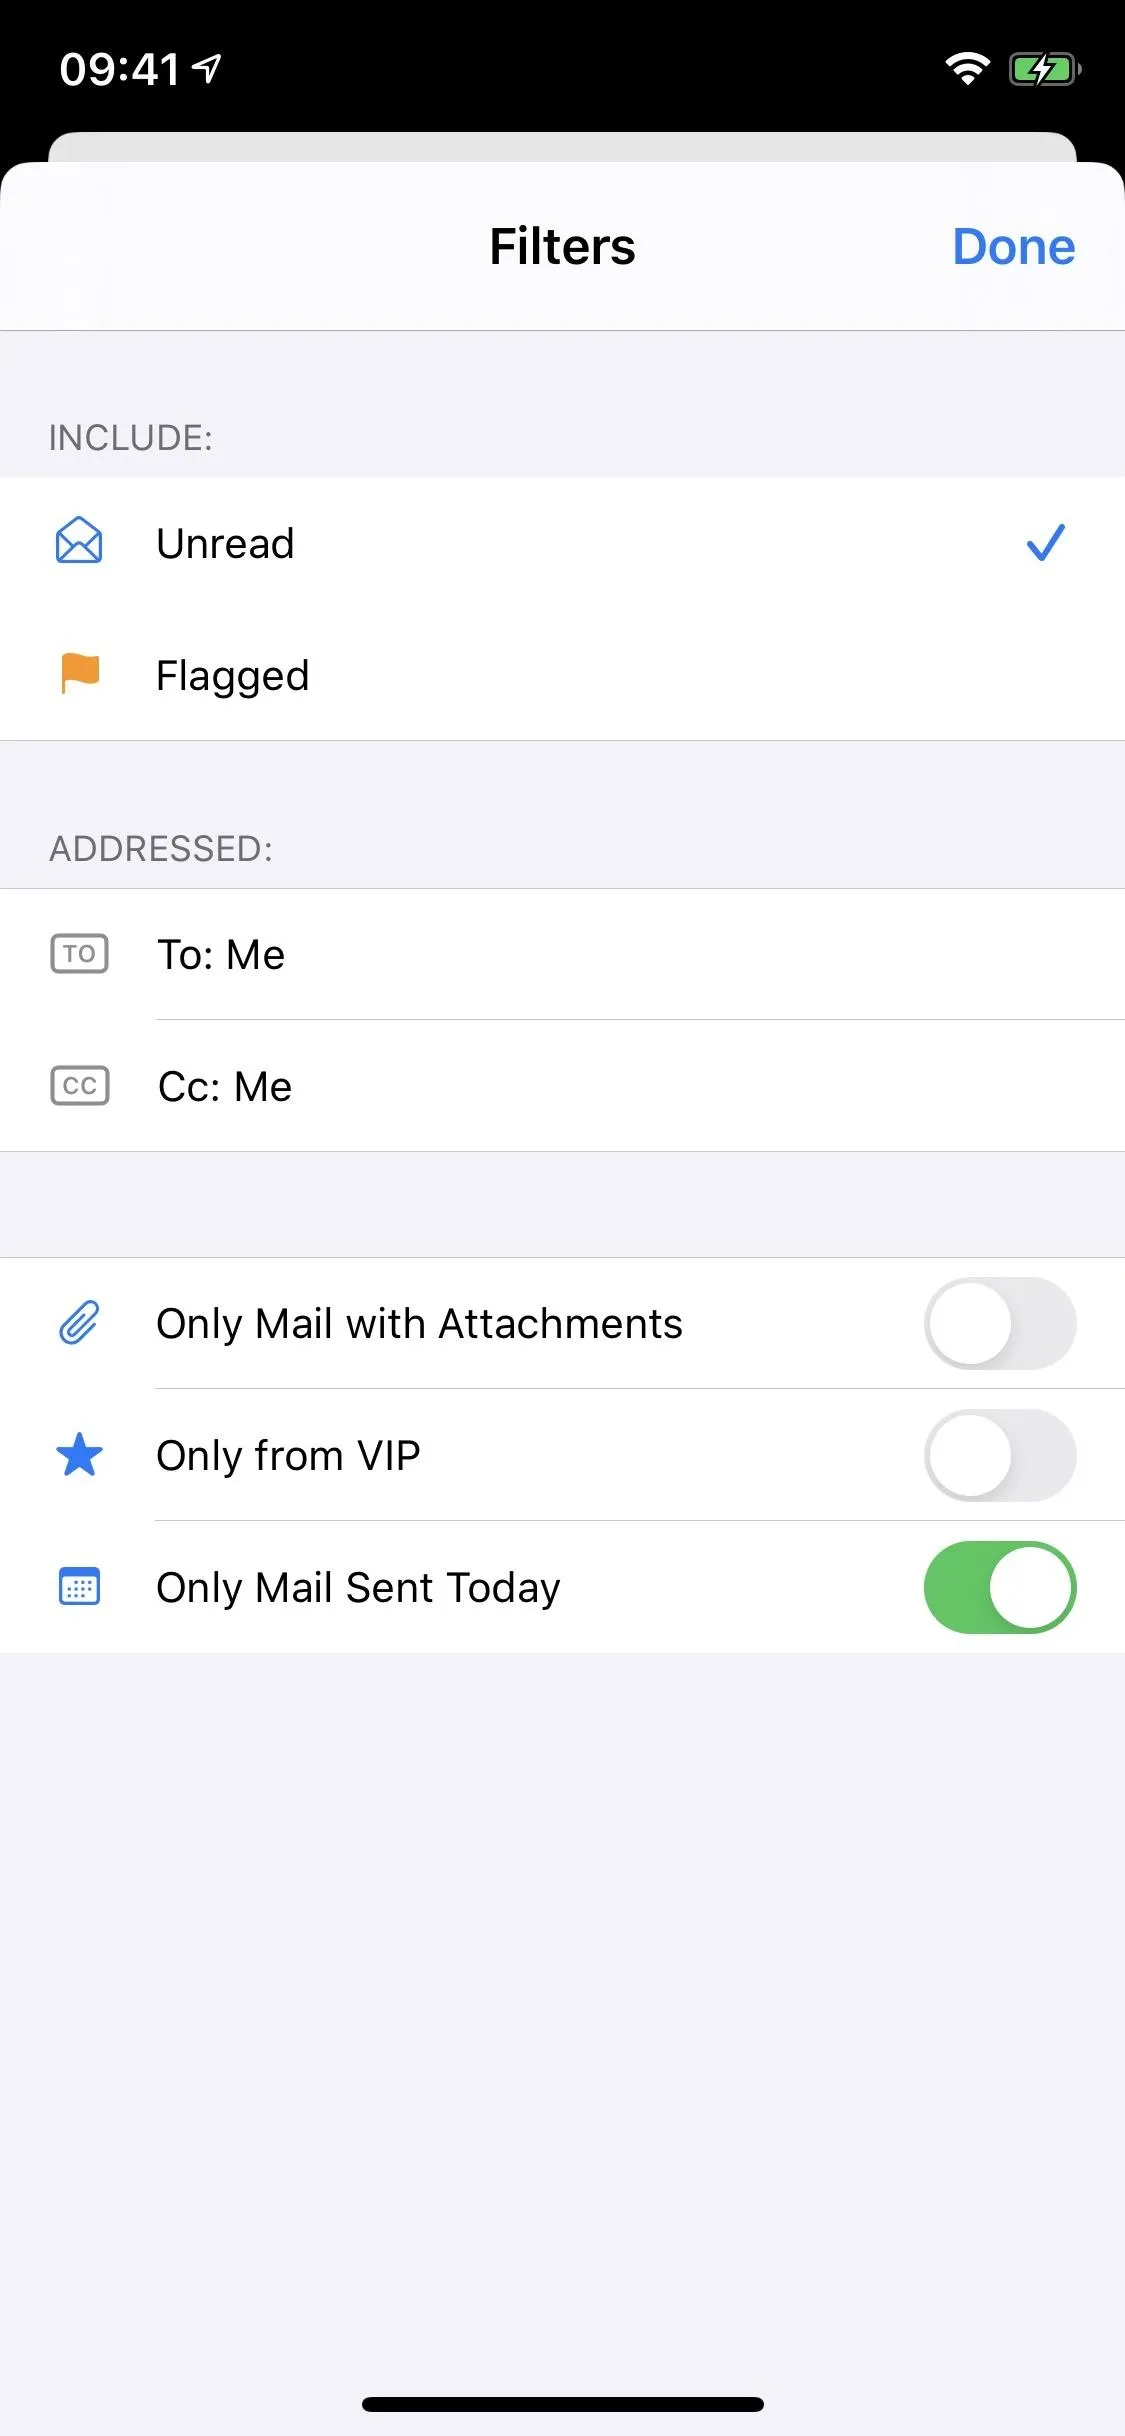
You Can Sort Emails by Today Only
If you only want to see emails you've received from today only, in a mailbox or folder, tap the filter button. Then, tap the "Filtered by" link, and toggle on "Only Mail Sent Today."
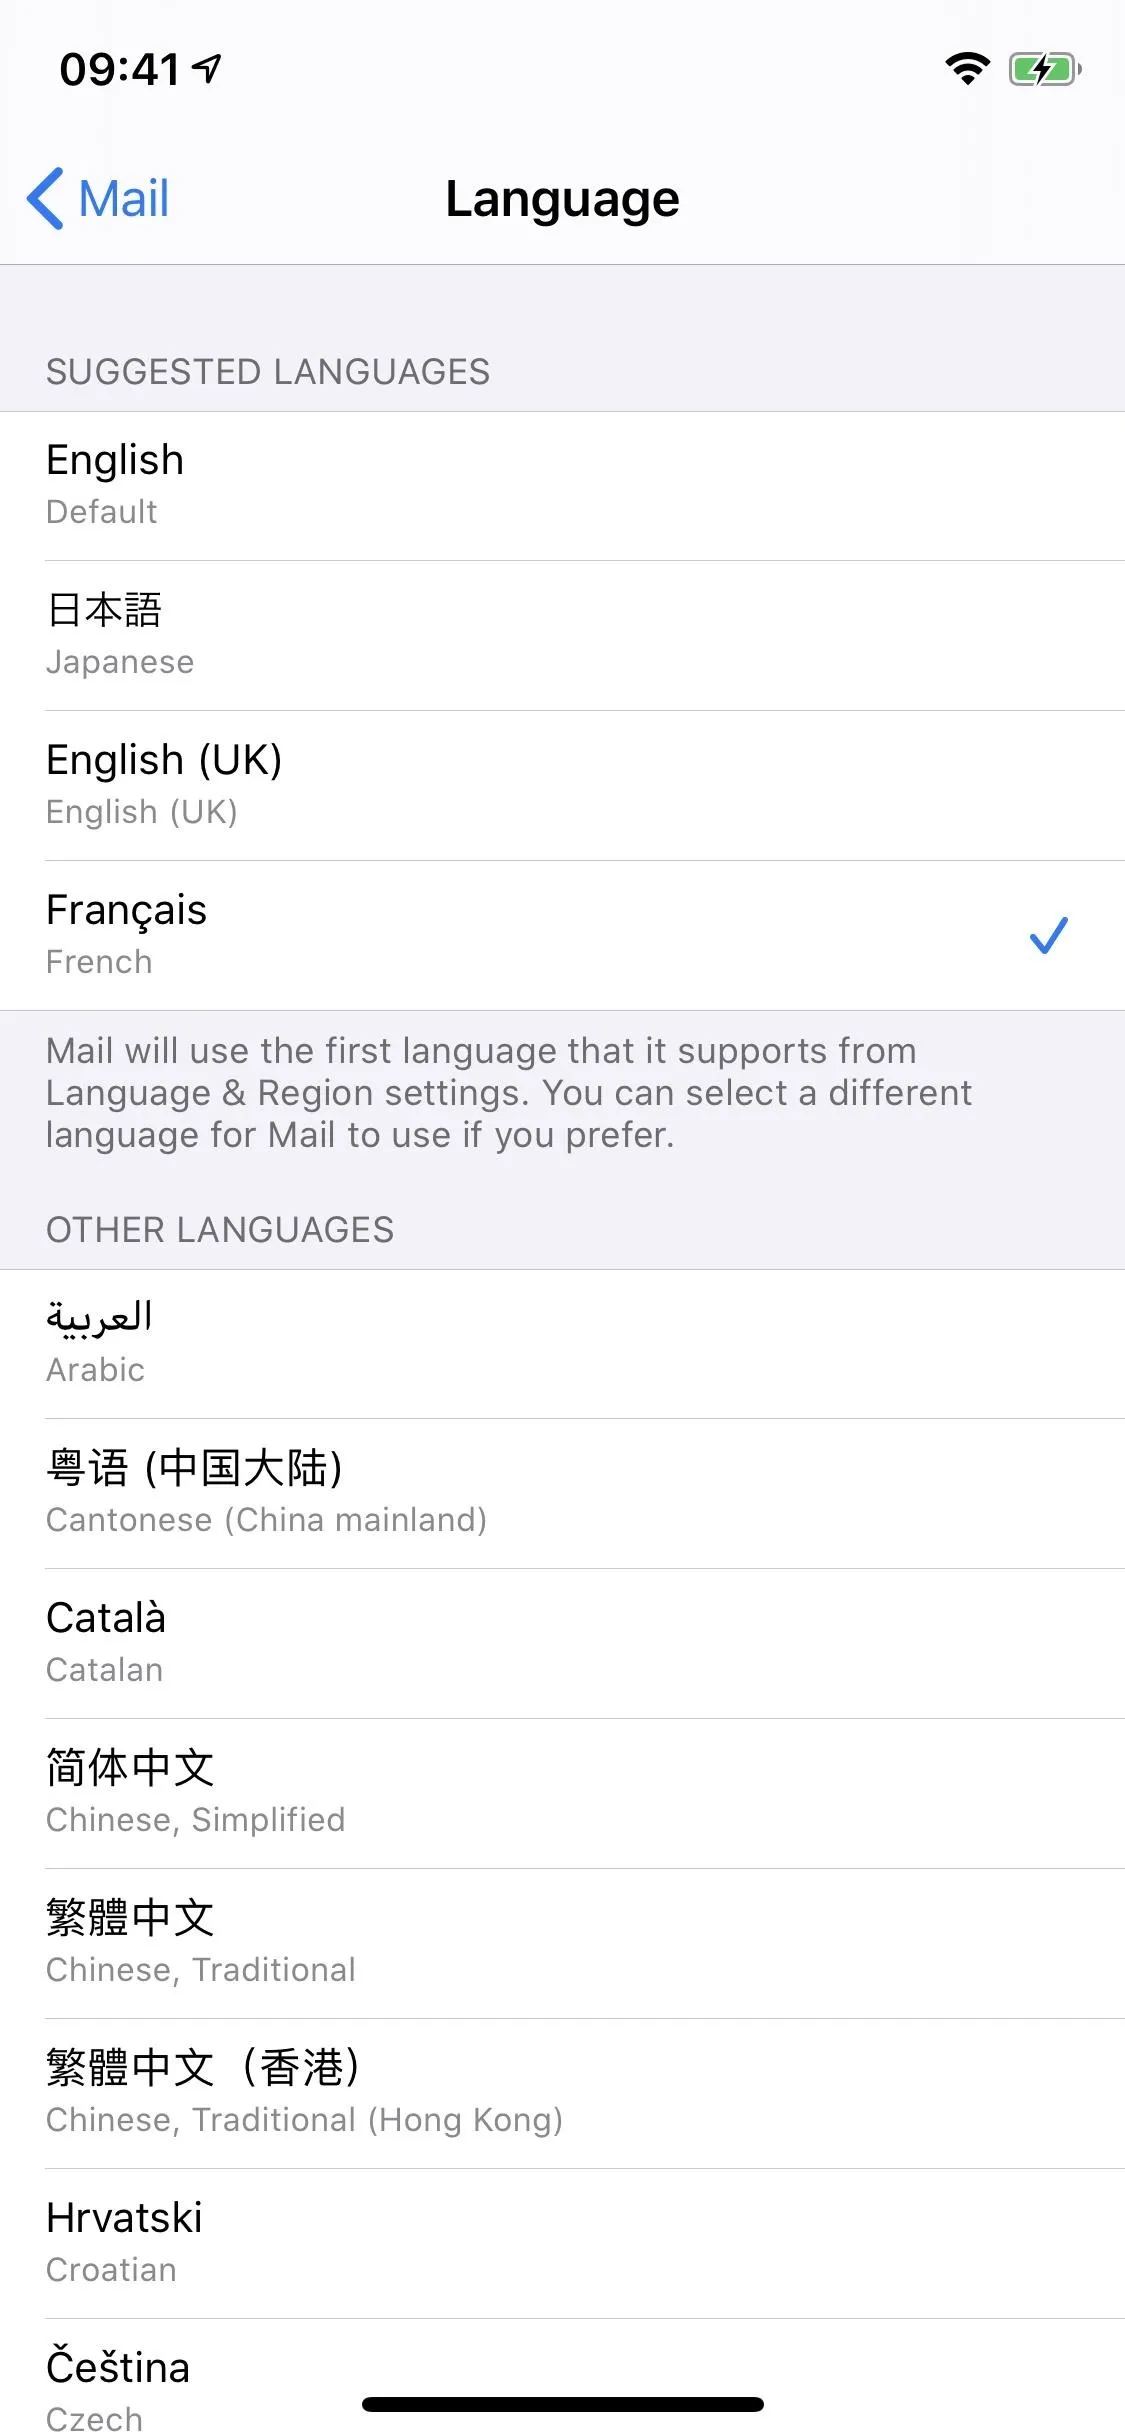
You Can Choose a Preferred Language Just for Mail
If you like using the majority of your iPhone in English but want the Mail app to be in a different language, such as French, you can totally do that now. In the Settings app, select "Mail," then "Language," and choose Mail's default language.
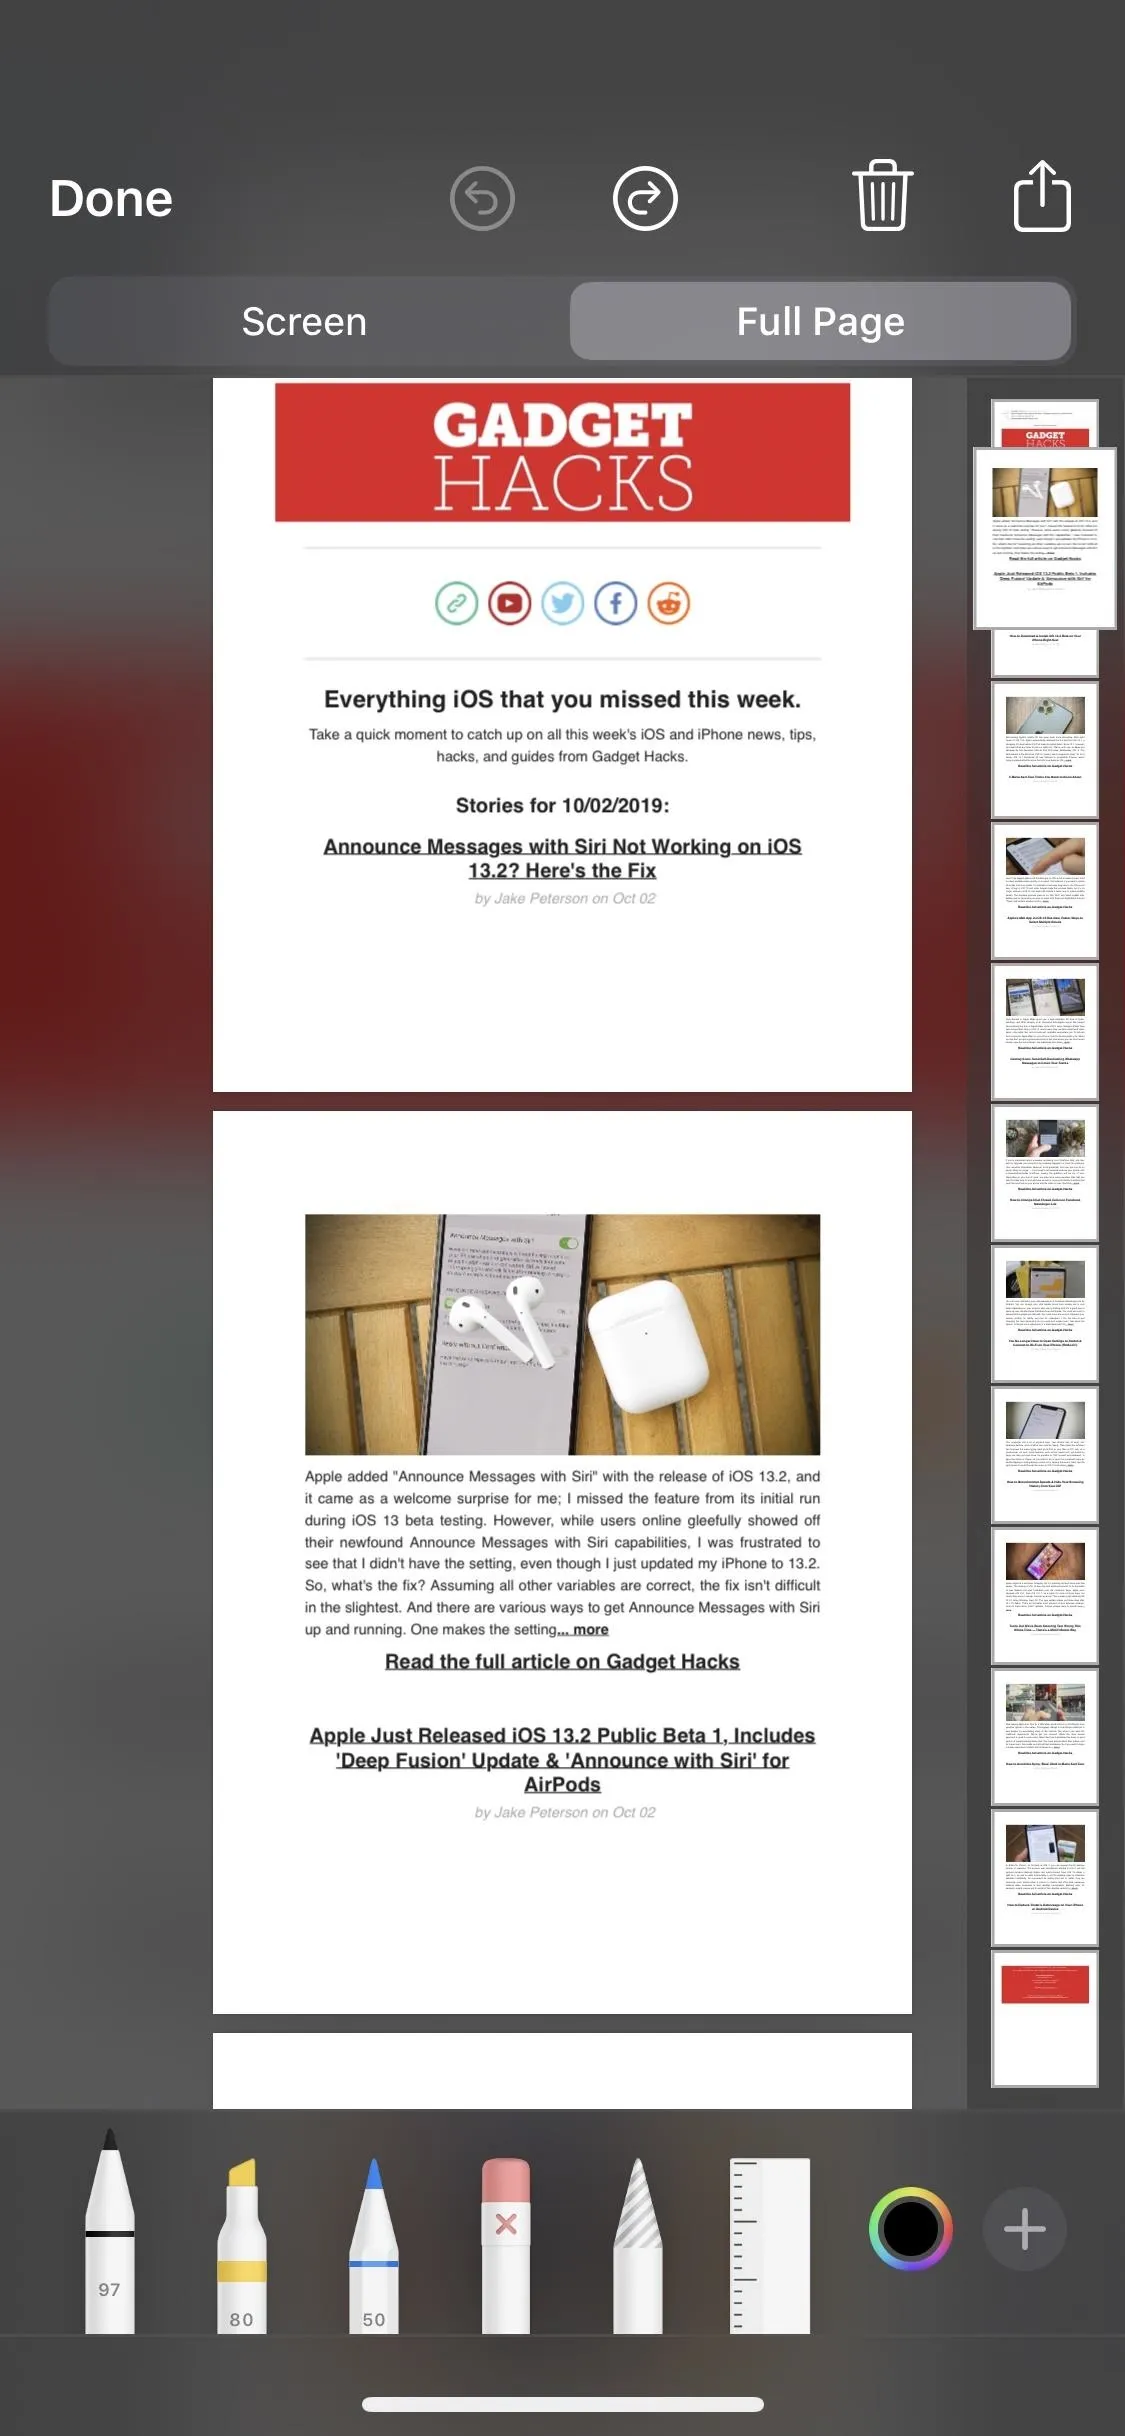
You Can Screenshot Full Emails
Just like with webpages in Safari, you can take a screenshot of an email, select "Full Page," and get a PDF version of the email that you can mark up right away, save for later, or send off to somebody.
And There's Dark Mode!
The entire iOS system benefits from Apple's new Dark Mode, and third-party apps can tap into it too. But since Mail has such a white background typically, Dark Mode is perfect for when you want to take the brightness down a notch.
Cover photo, screenshots, and GIFs by Nelson Aguilar/Gadget Hacks


Comments
Be the first, drop a comment!