


Apple's Mail app has always been a stylish yet simple way to check and send emails. Third-party apps up the ante with powerful tools and features to help keep junk and spam mail out of your eyesight. But with iOS 13, you don't need them since Apple gave the Mail app some much-needed superpowers. One of those being the ability to block senders from emailing you.
When you block someone with the Mail app in iOS 13, you aren't blocking them in the traditional sense. Unlike blocking a contact in Messages or on Facebook, blocking a sender in Mail will send that person's emails directly to your trash folder or simply mark the emails as a blocked in your inbox. For people you want to block, the trash option is best, especially if you have your trash folder set to wipe itself clean after a short period.
- Don't Miss: 200+ Exciting New iOS 13 Features for iPhone
At this time, Apple groups all blocked contacts and spammers into one folder. So, if you have blocked phone numbers in the past for FaceTime, Messages, or Phone, you'll see those alongside any contacts or unknown senders you block for Mail.
Choose Your Block Settings
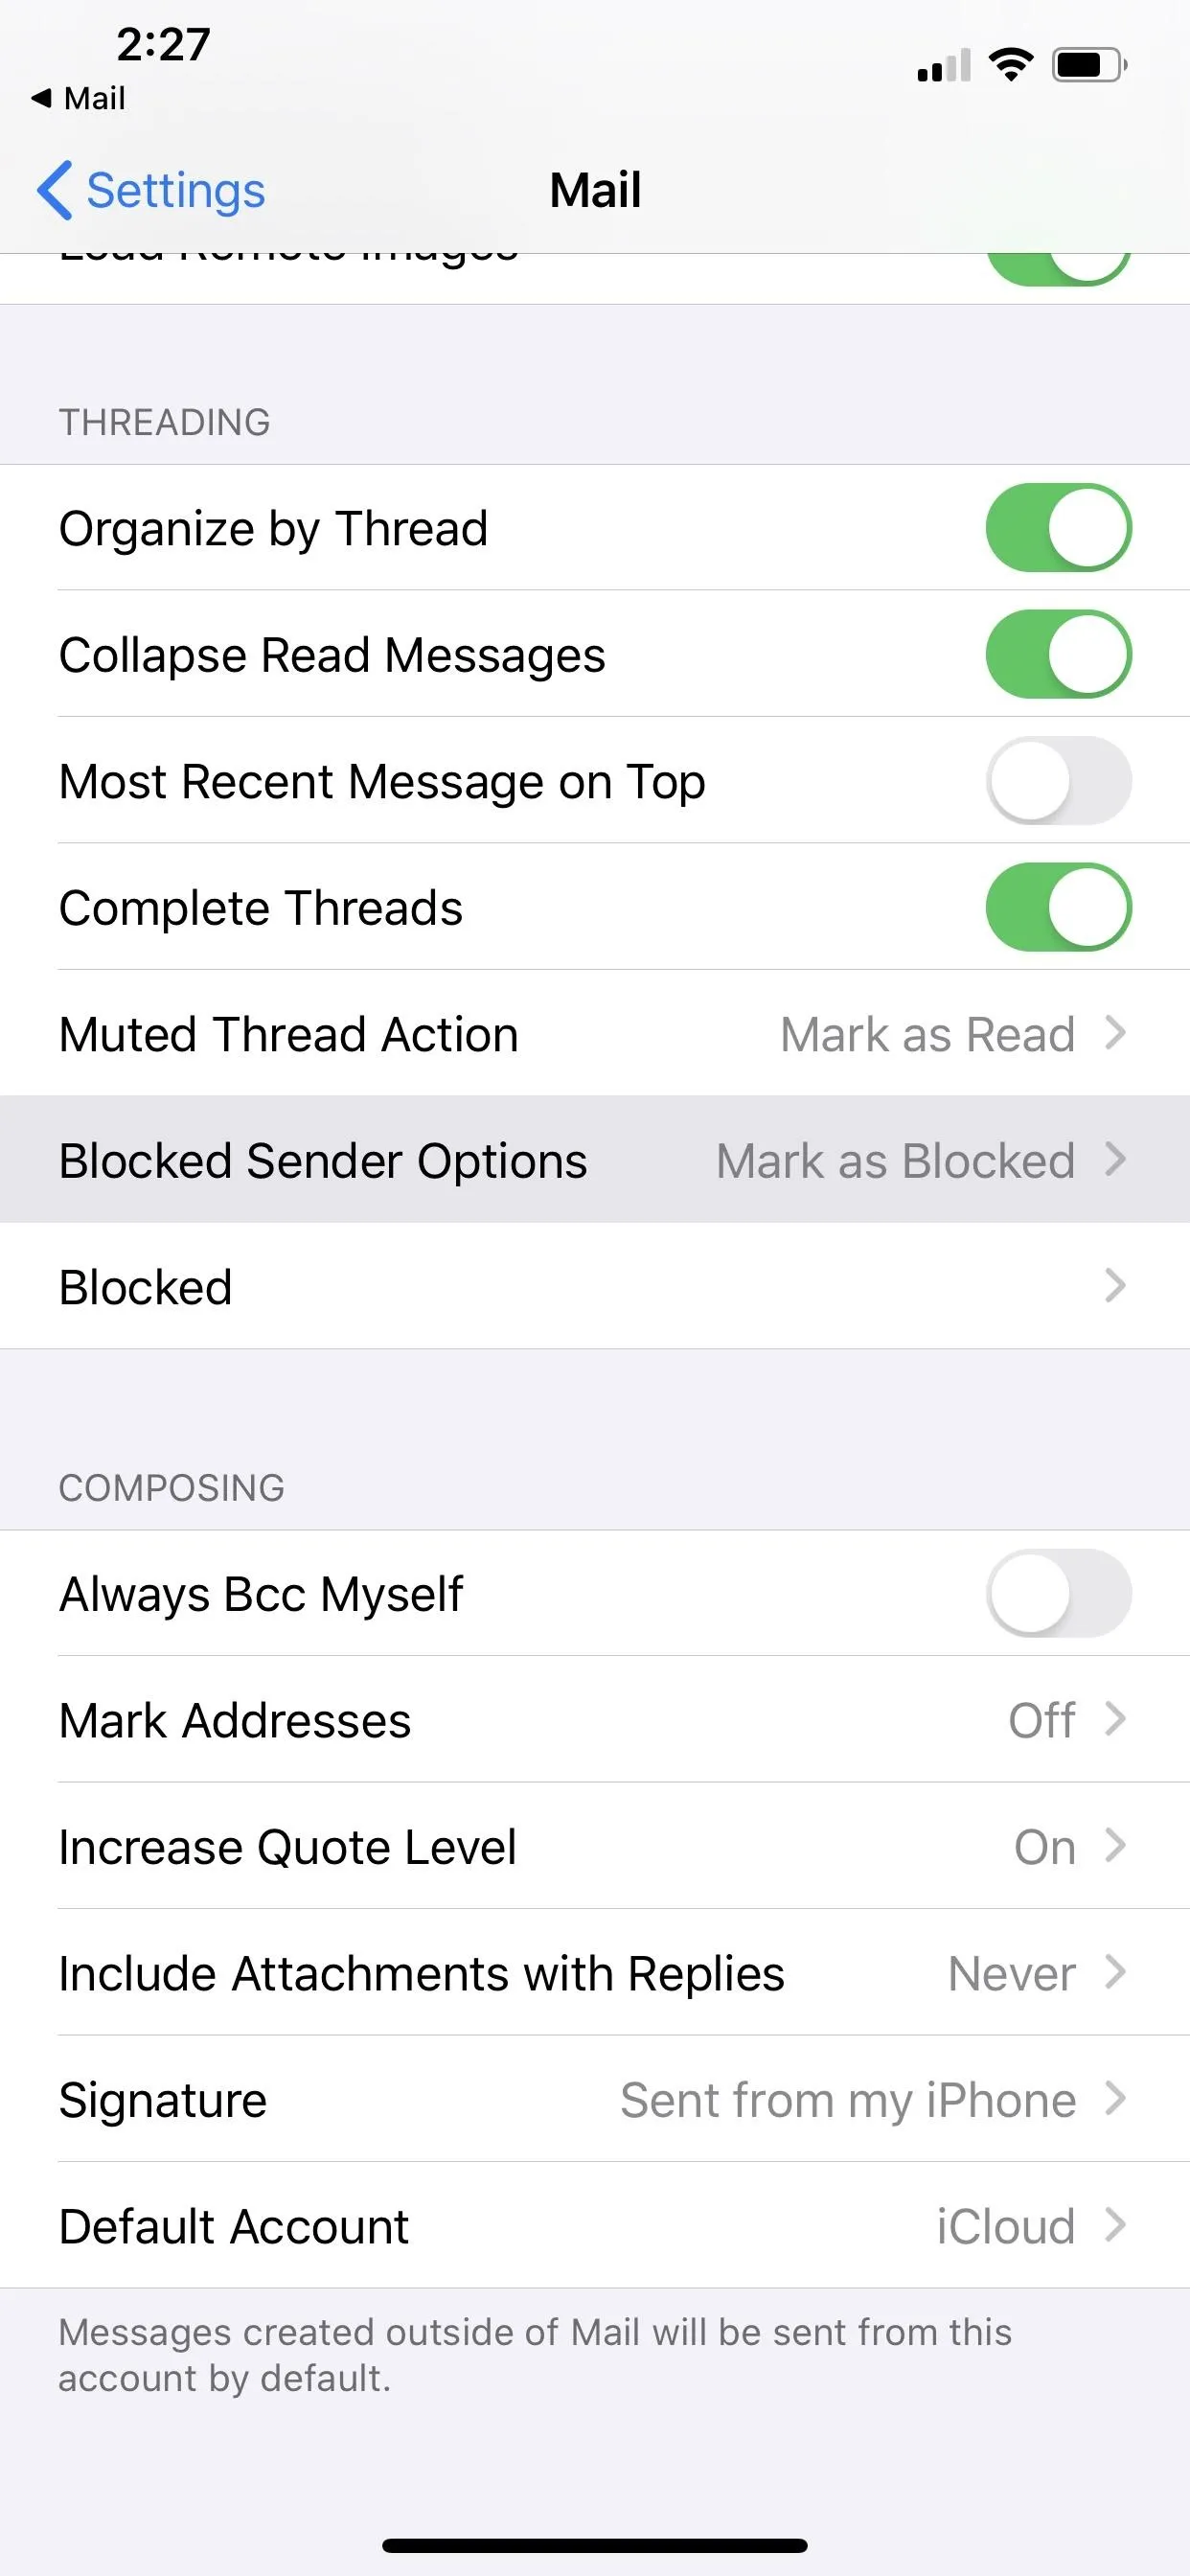
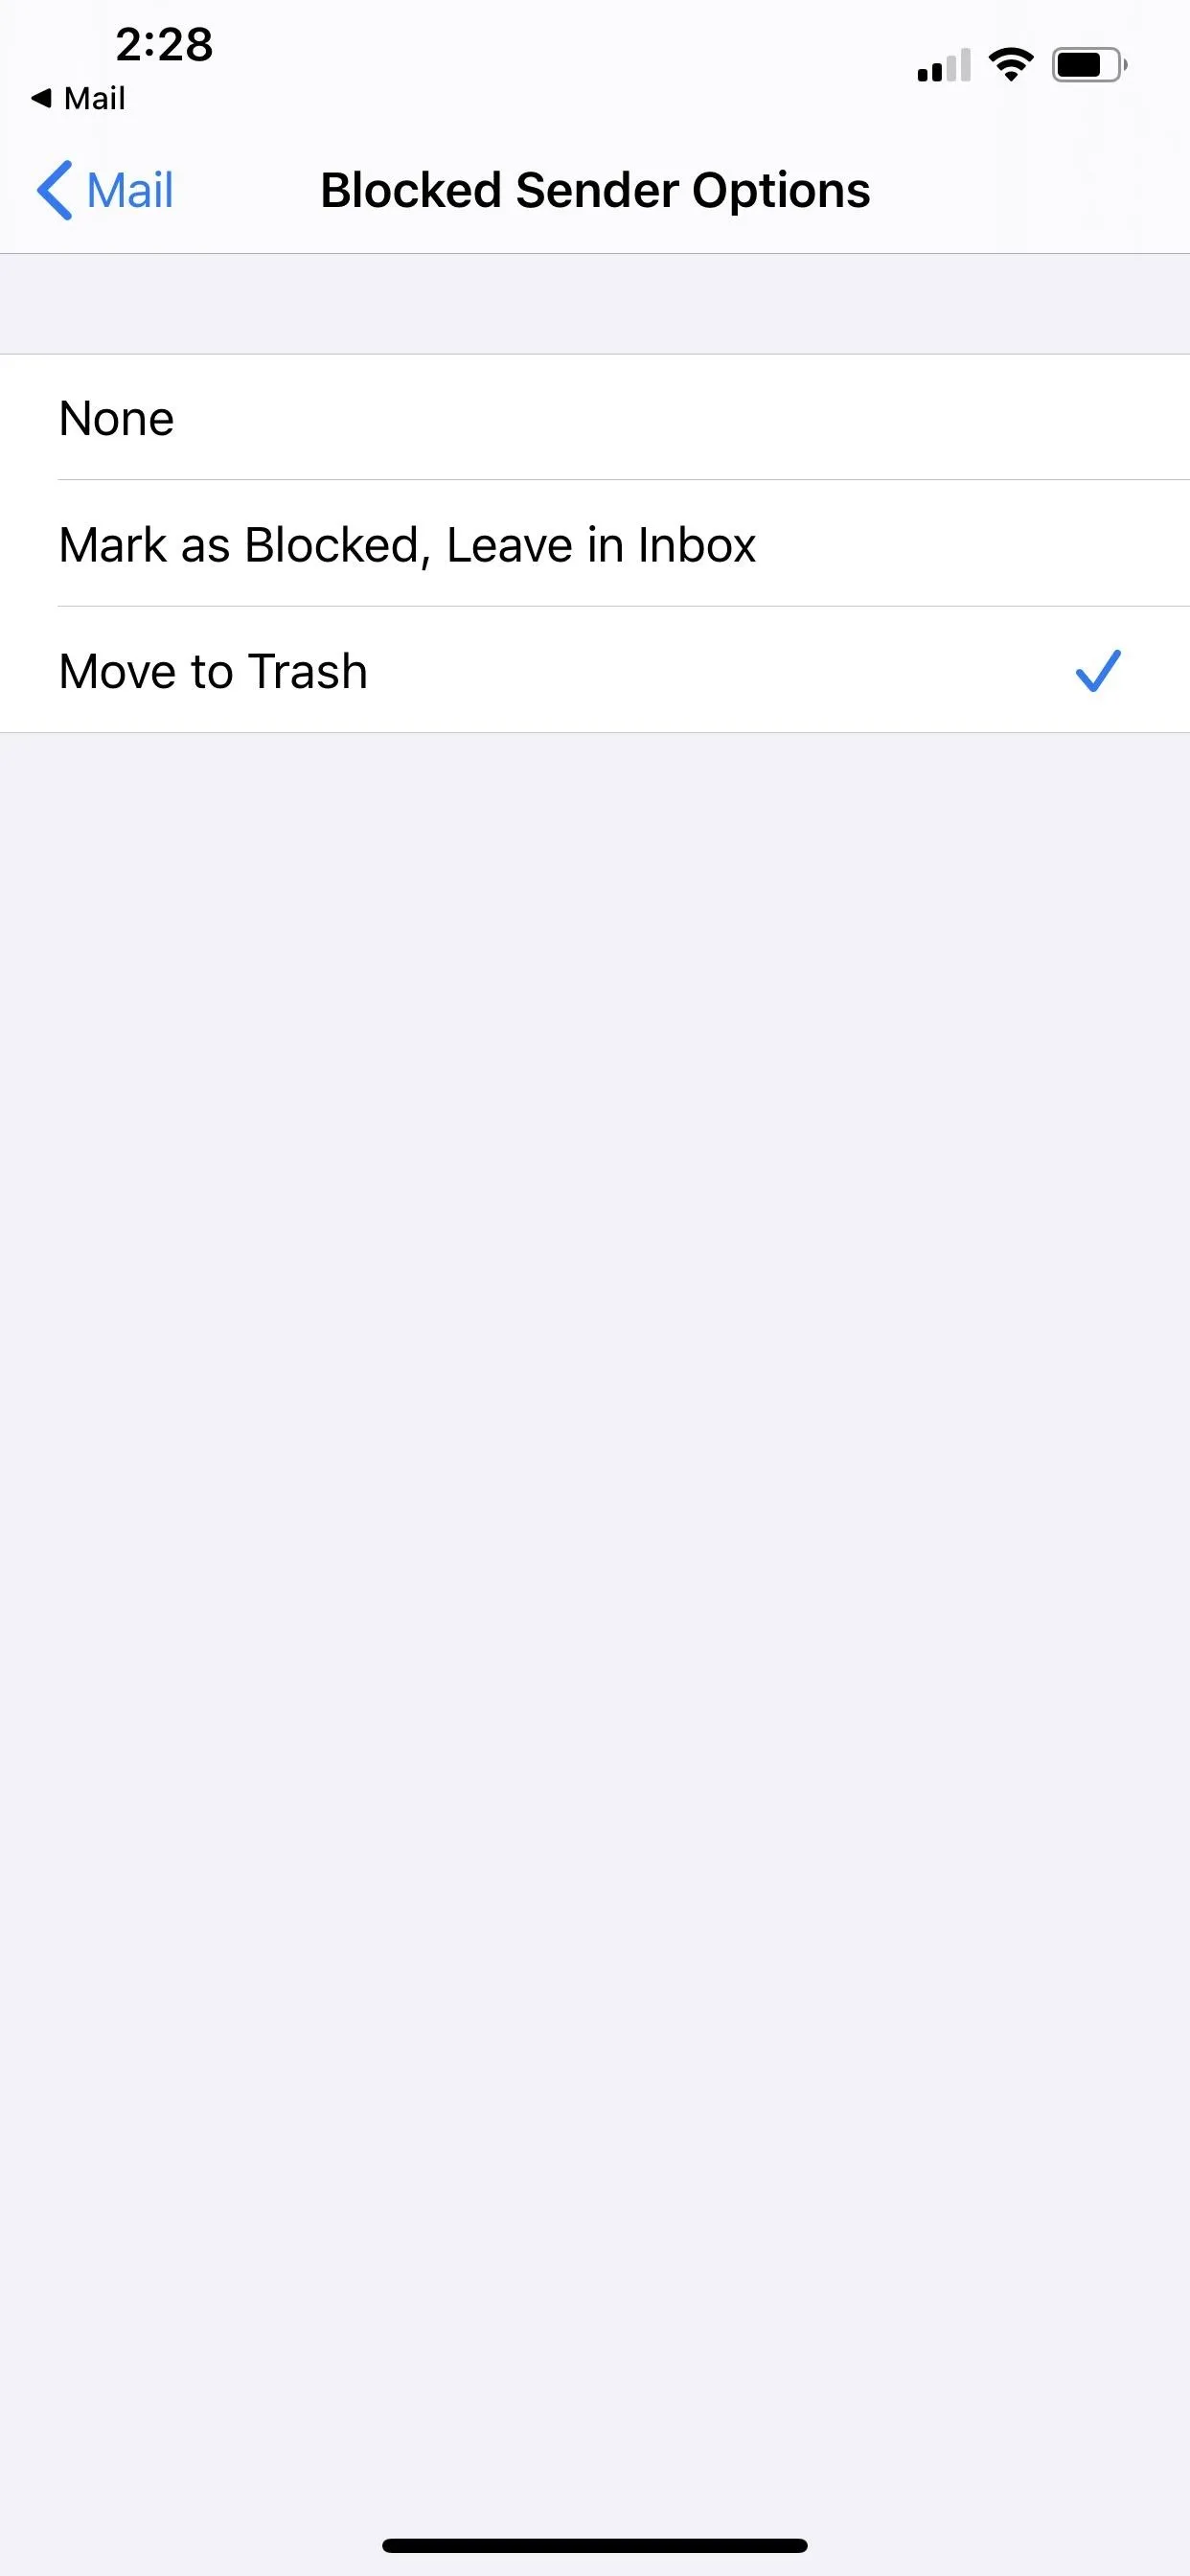
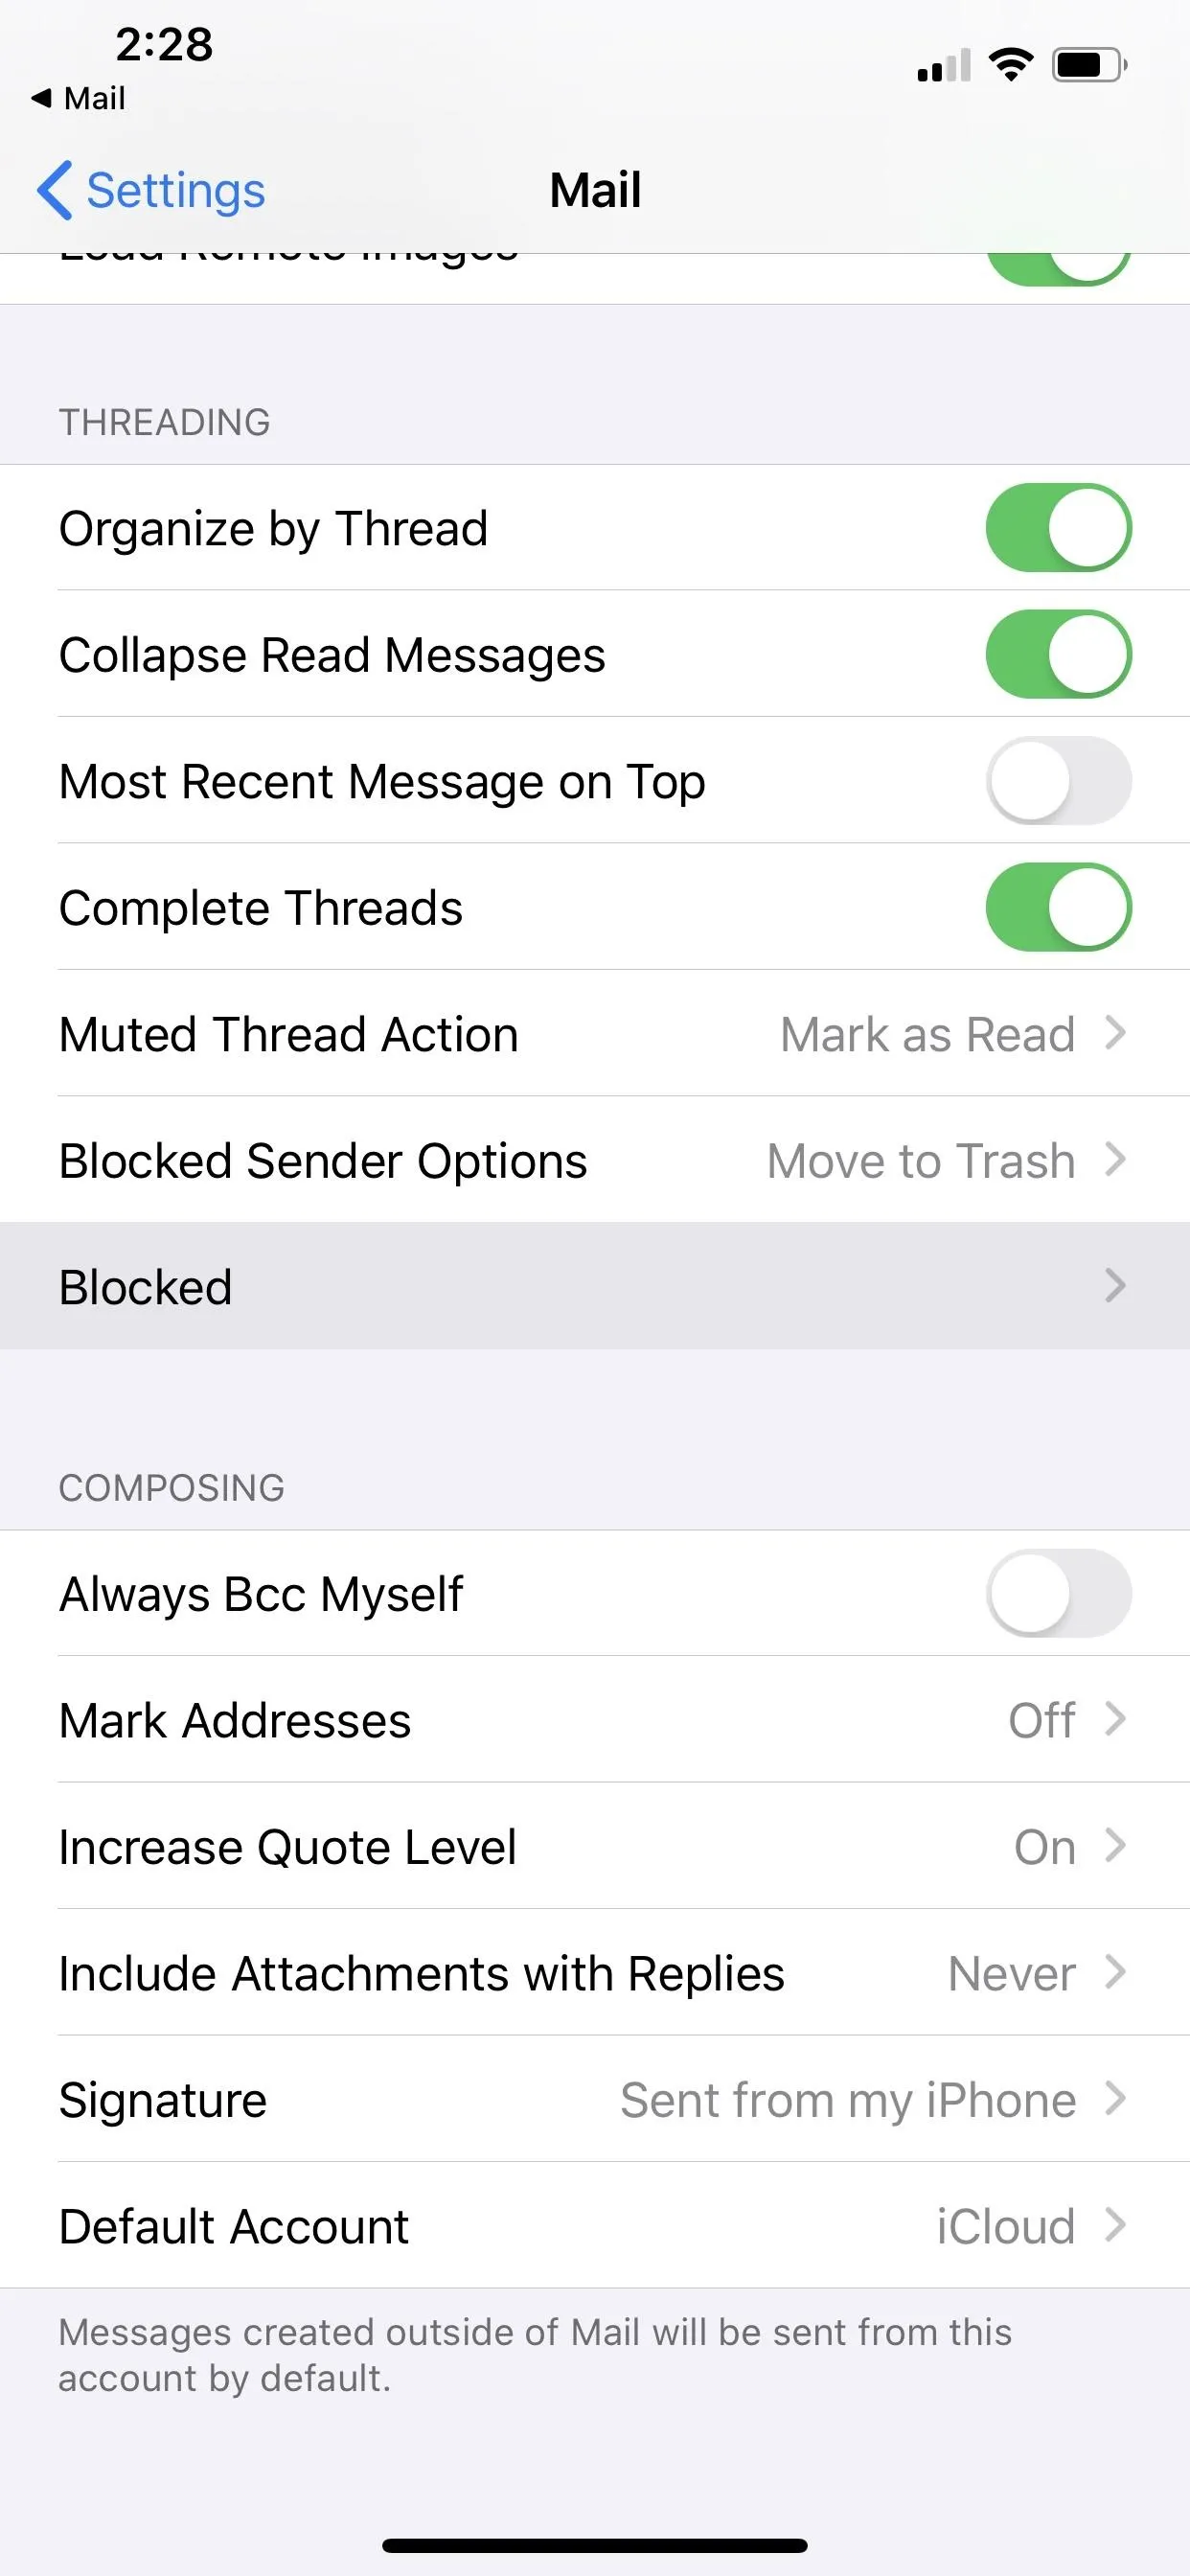
Before getting to blocking senders, you'll want to choose the way Mail handles blocked contacts. In the Settings app, tap "Mail," then find the Threading section. Tap "Blocked Sender Options" there, and you have three options:
- None, which turns off all email blocking.
- Mark as Blocked, Leave in Inbox, which does exactly what it sounds like, though, you will not get notifications for these emails like you would others.
- Move to Trash, which moves to your trash. You can manually empty the trash or have it set to do so automatically in your account settings.
These settings apply to all accounts you have in Mail, not just iCloud. So it will apply to email accounts from Gmail, Outlook, Yahoo, and others.
Block a Sender from Within an Email
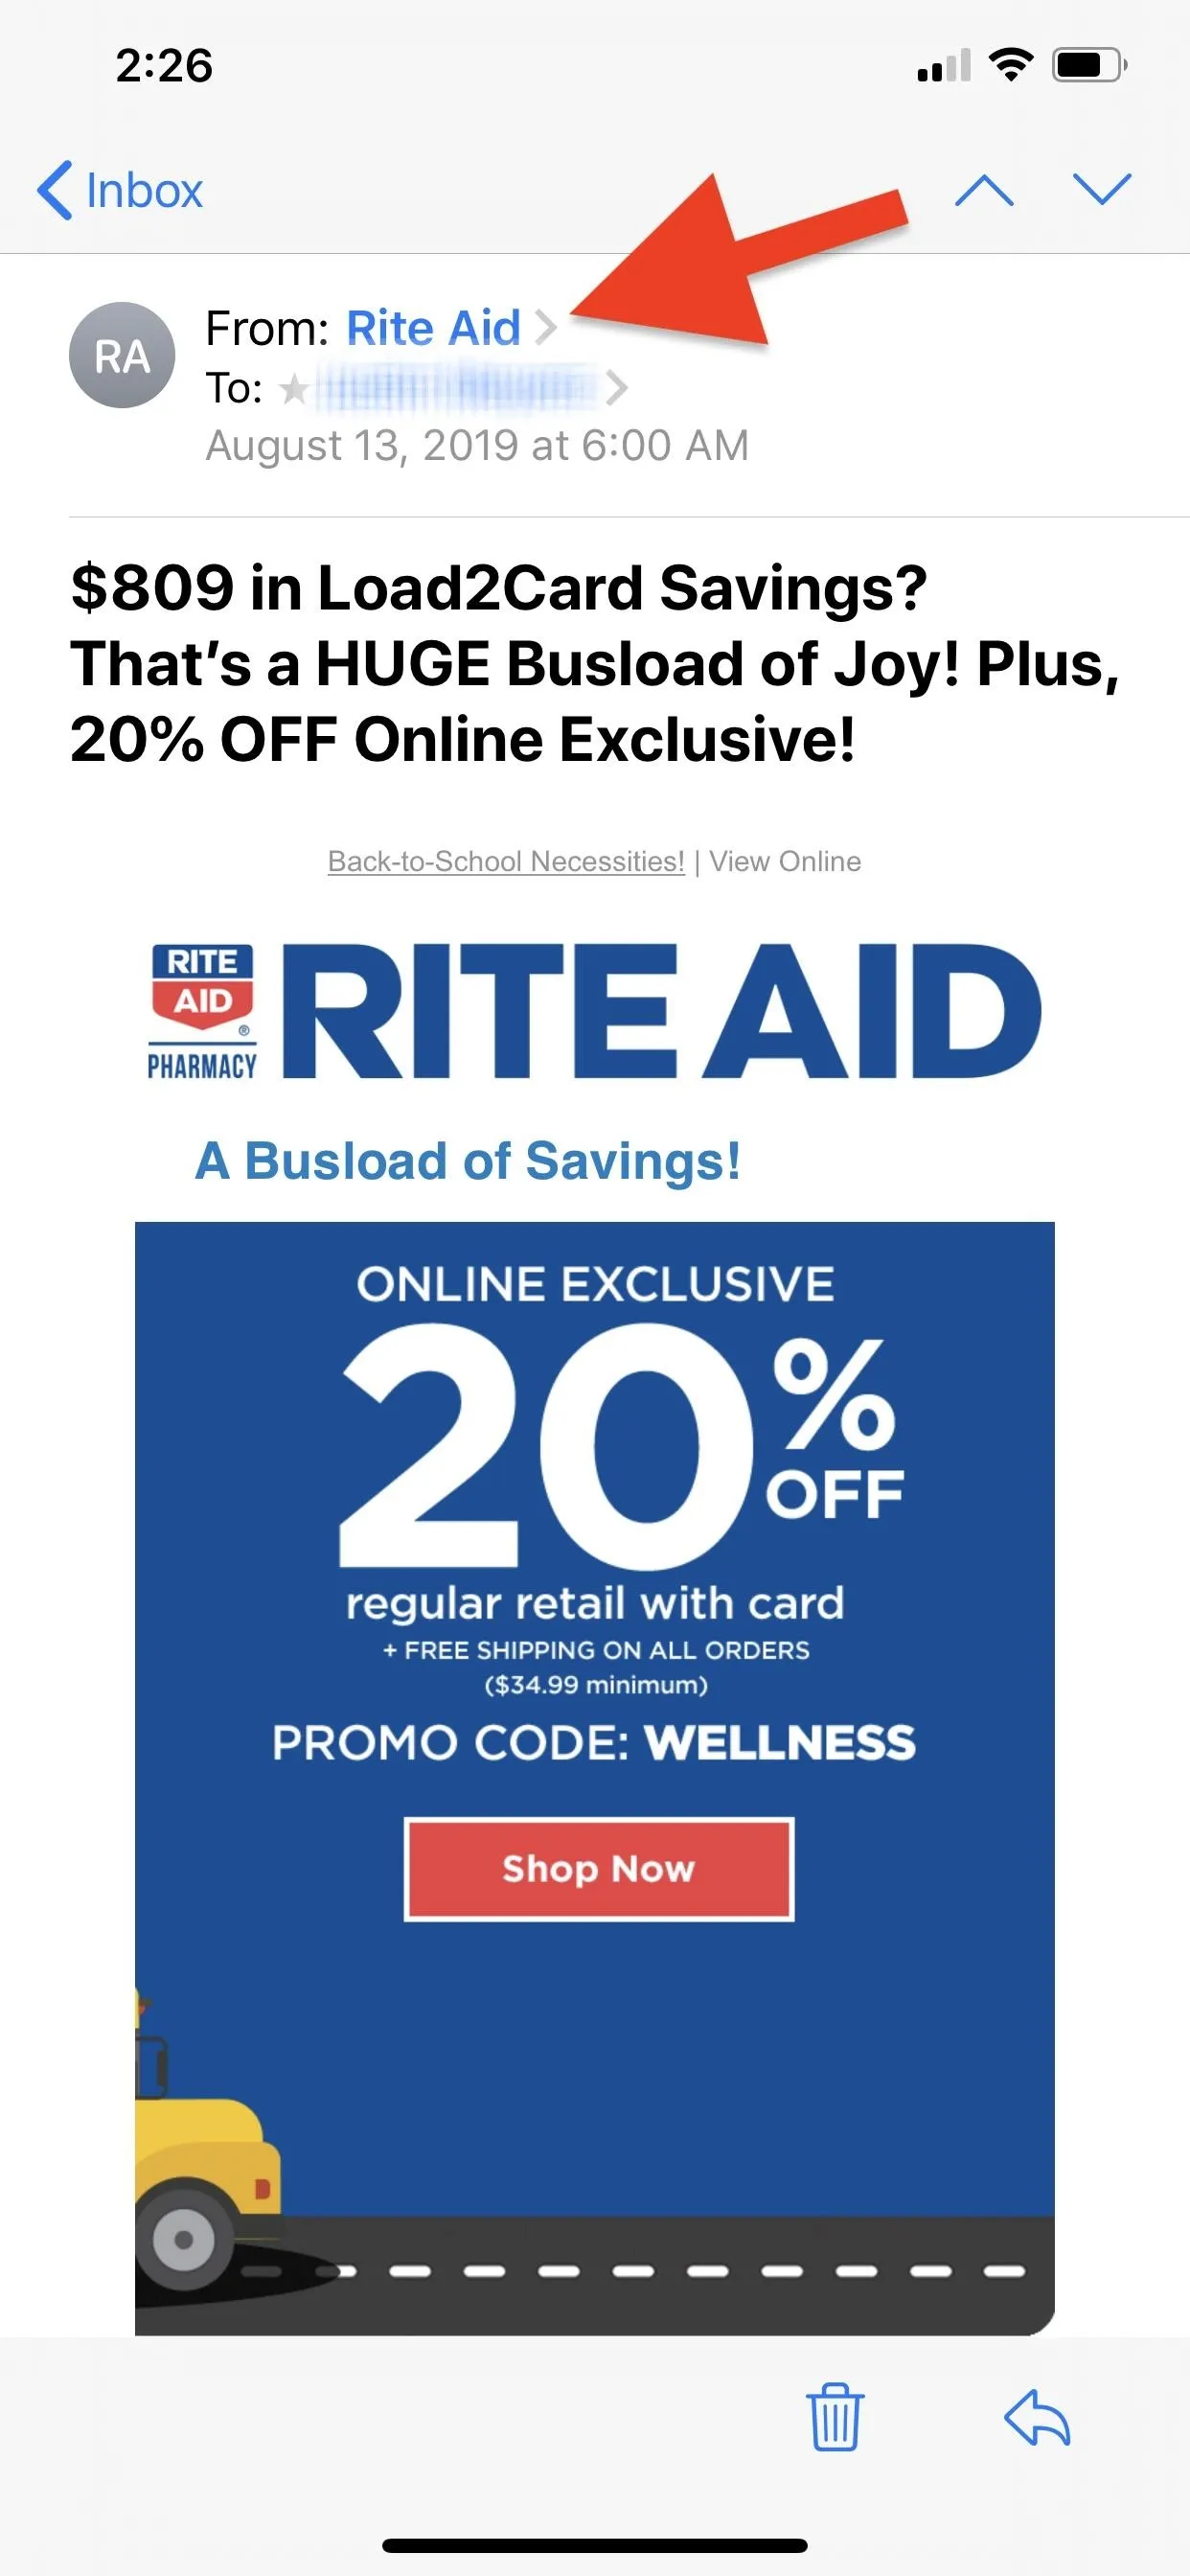
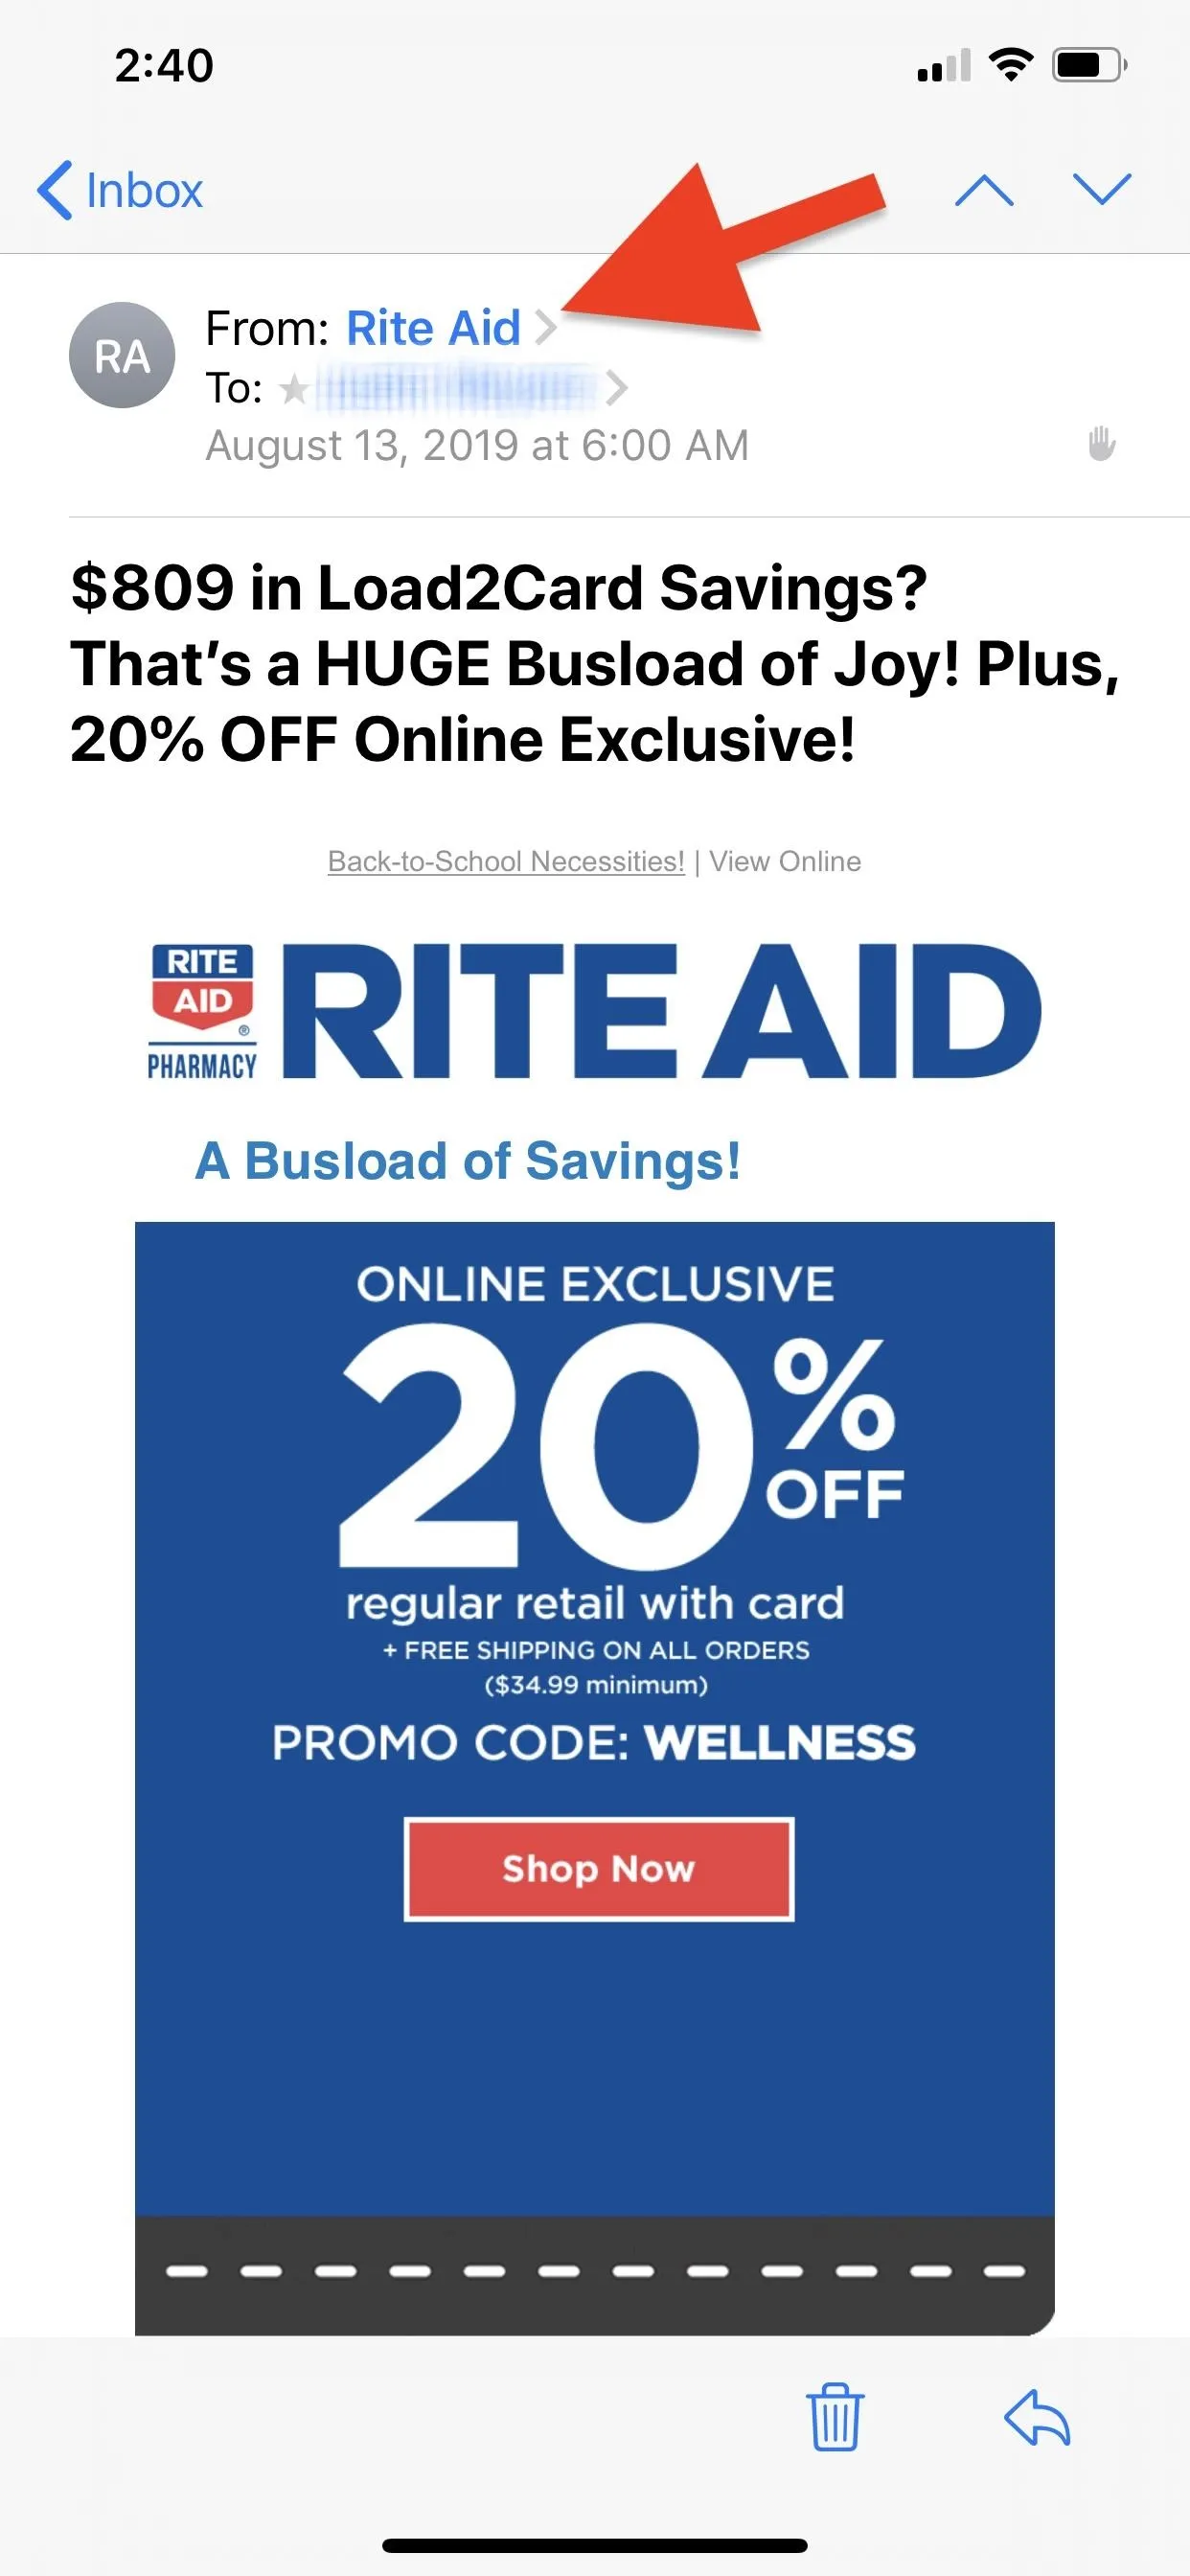
So, you received a message from someone you'd rather not hear from again — whether you know them or not. Luckily, iOS makes it easy to block that person right from the email itself. First, tap the contact field at the top of the email to reveal all parties on the send list. Then, tap the contact address you'd like to block.

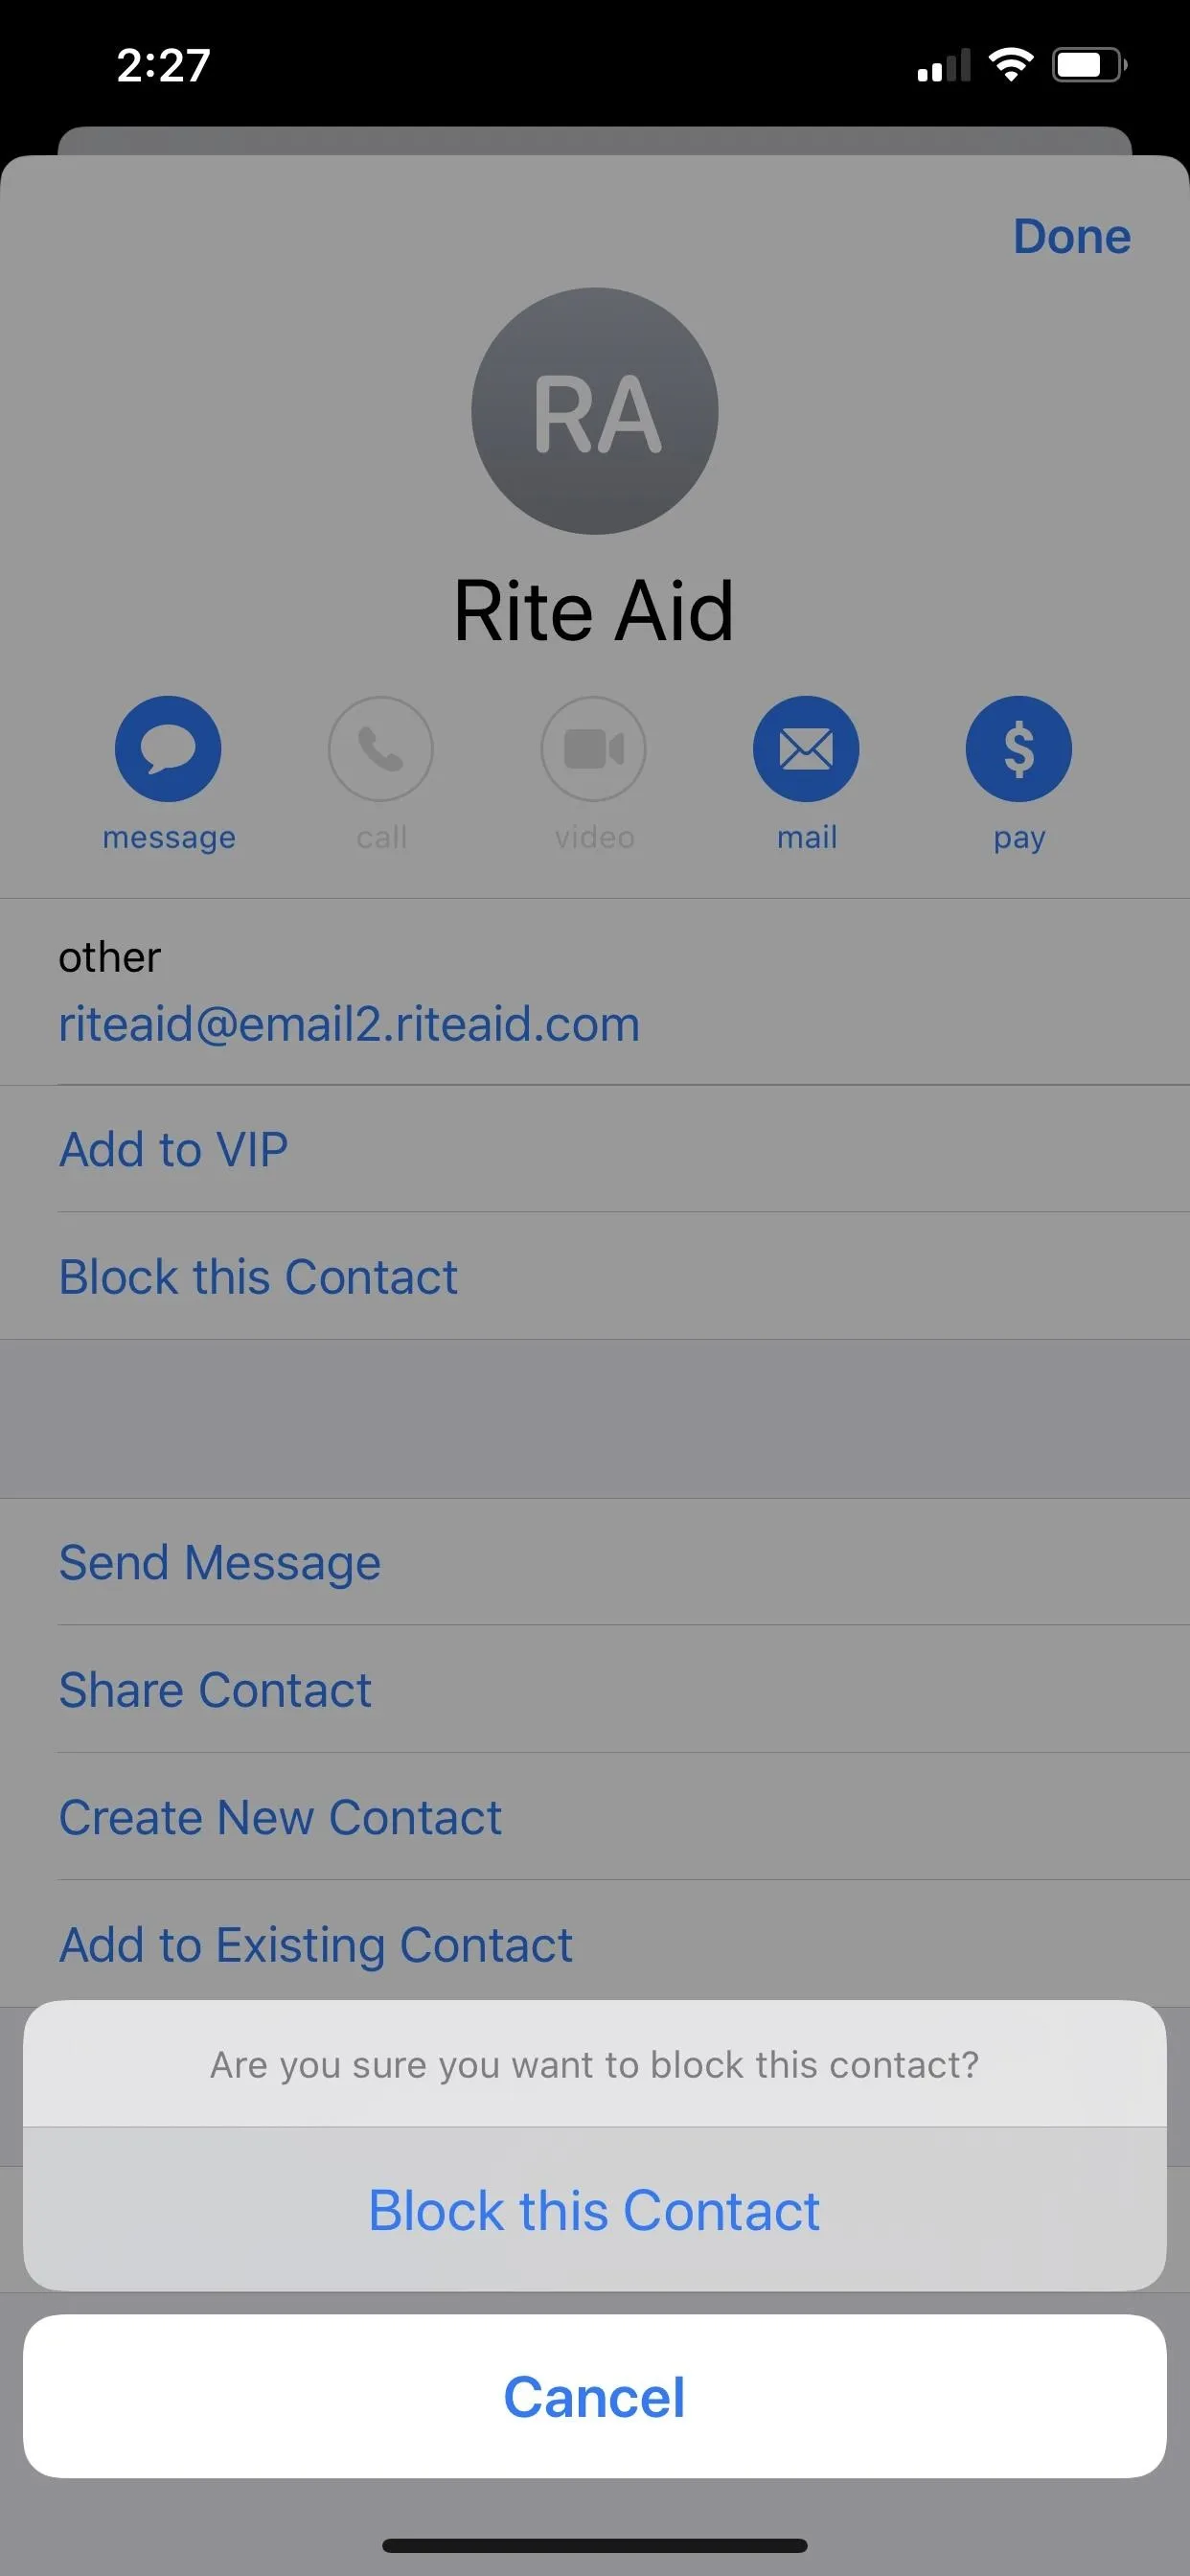
Once you do, Mail will open an expanded options menu for this address. Locate and tap "Block this Contact," then tap it again on the following prompt in the action sheet. Success! Mail will block the contact, meaning all future incoming emails will redirect to your trash or will be delivered to your inbox silently.
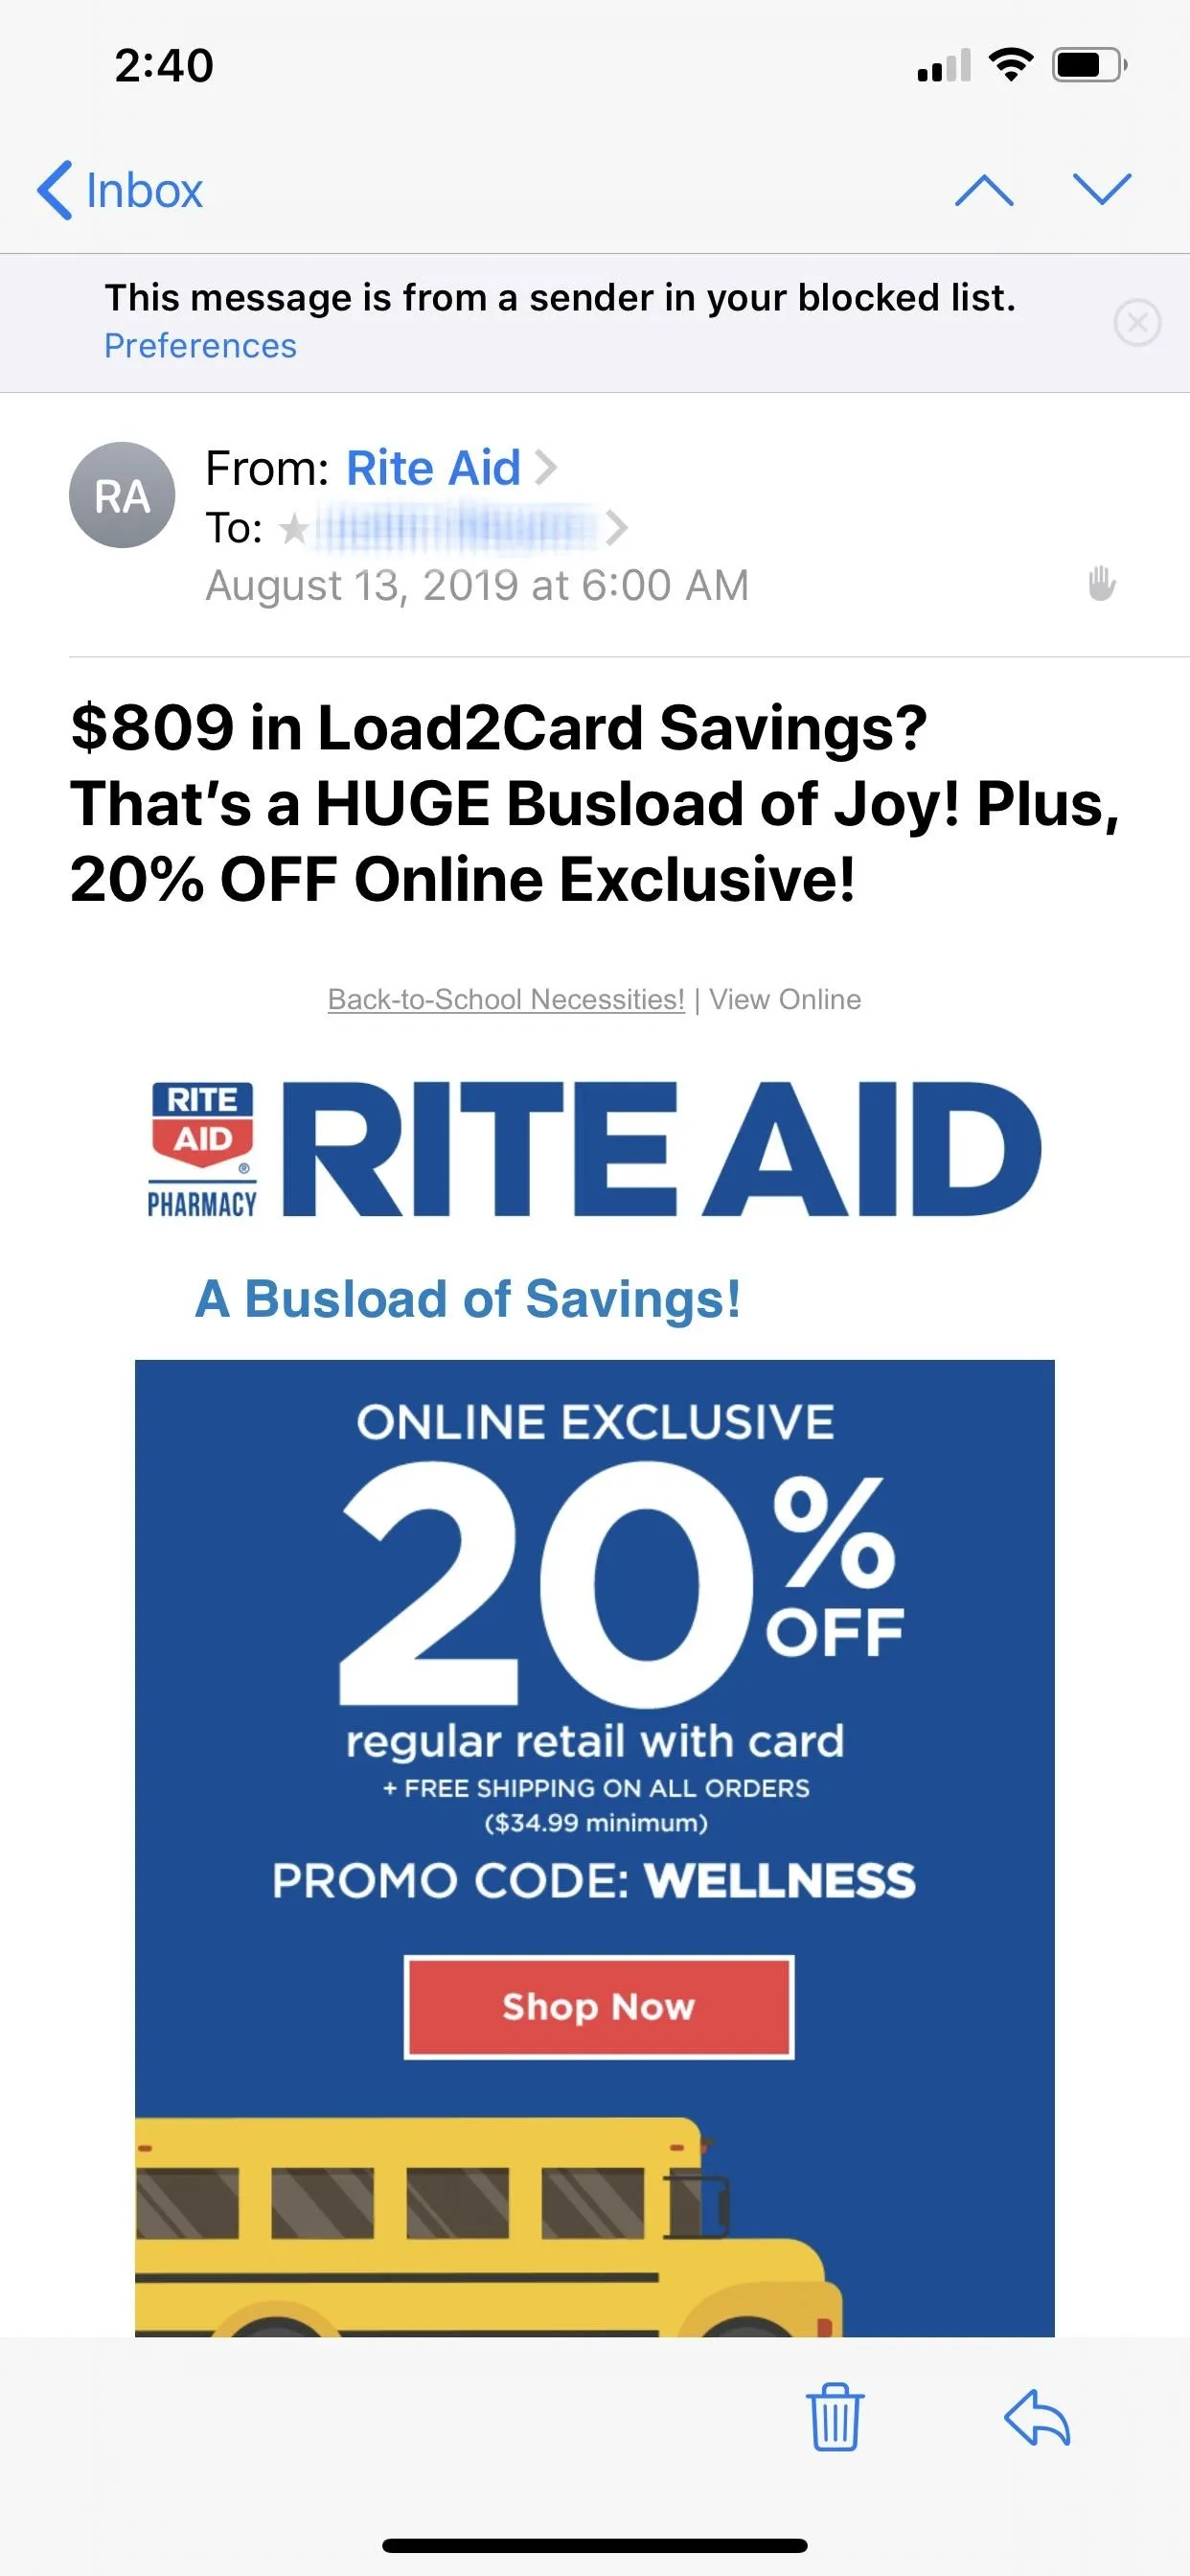
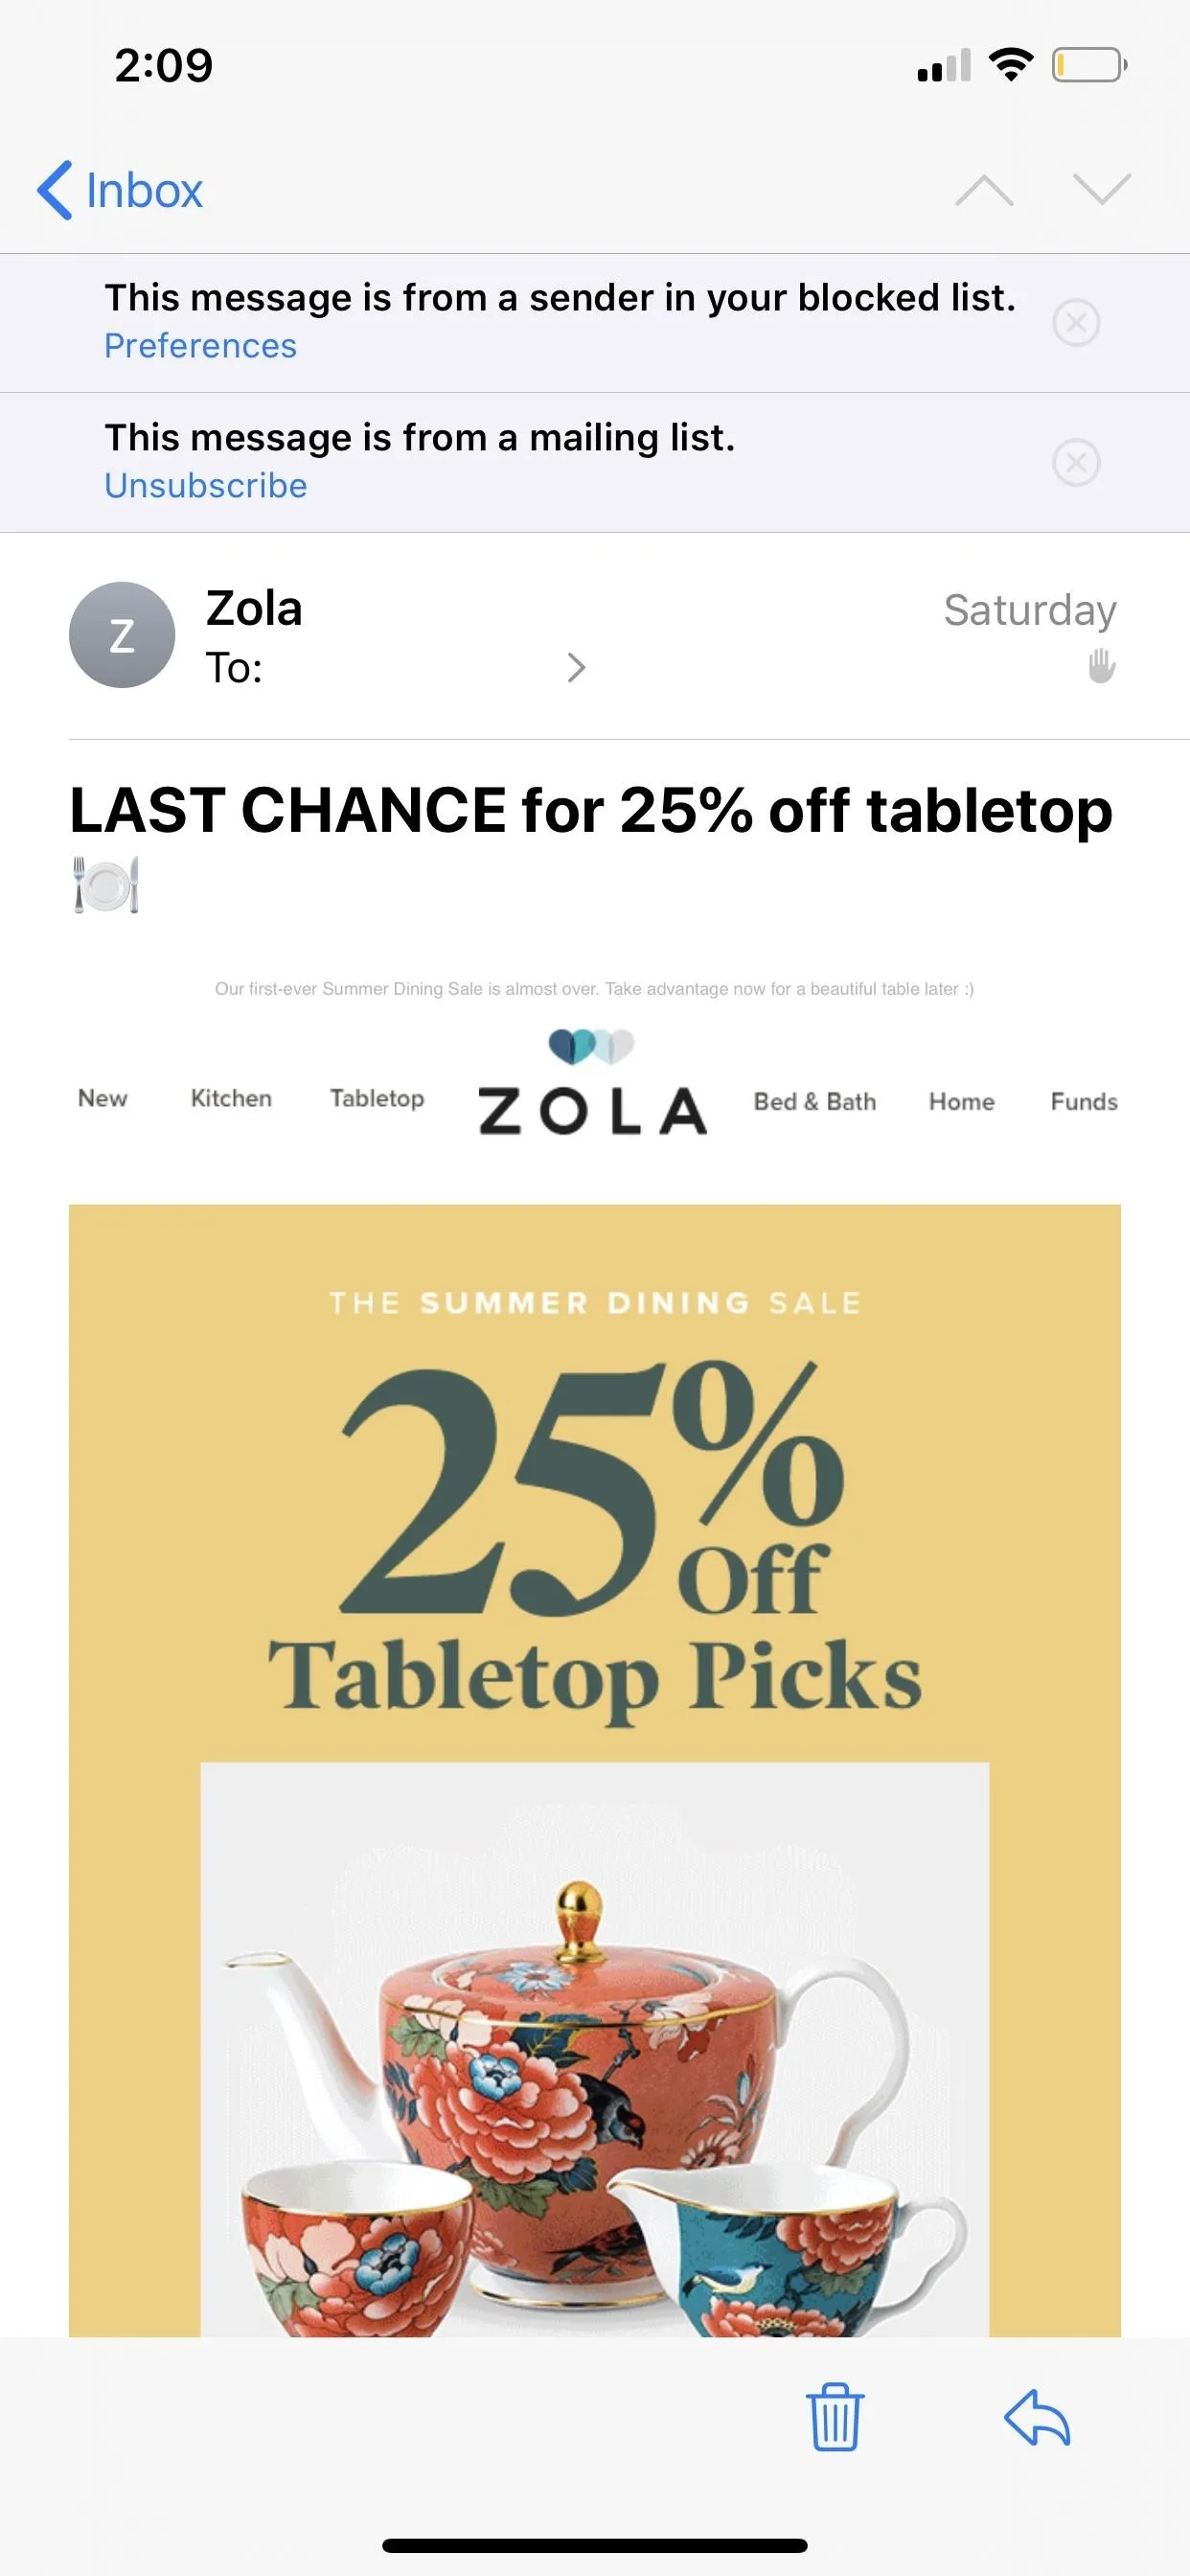
Emails past and present from the blocked sender will have a blocked hand icon next to the date in the email header. Also, you'll get a dismissable alert at the top of the email saying, "This message is from a sender in your blocked list." You can tap "Preferences" on the alert to visit Mail's settings where you can choose how you want Mail to manage emails from your blocked contacts.
The blocked hand icon will also appear next to emails in list views.

Unblock a Sender from Within an Email
If you regret your decision right away, you can go back into the contact's details card as described above, then tap "Unblock this Contact" to reverse the action. They will be unblocked right away, though it may take a second for the little blocked hand symbols and blocked alerts to disappear.

Block a Contact from Within Settings
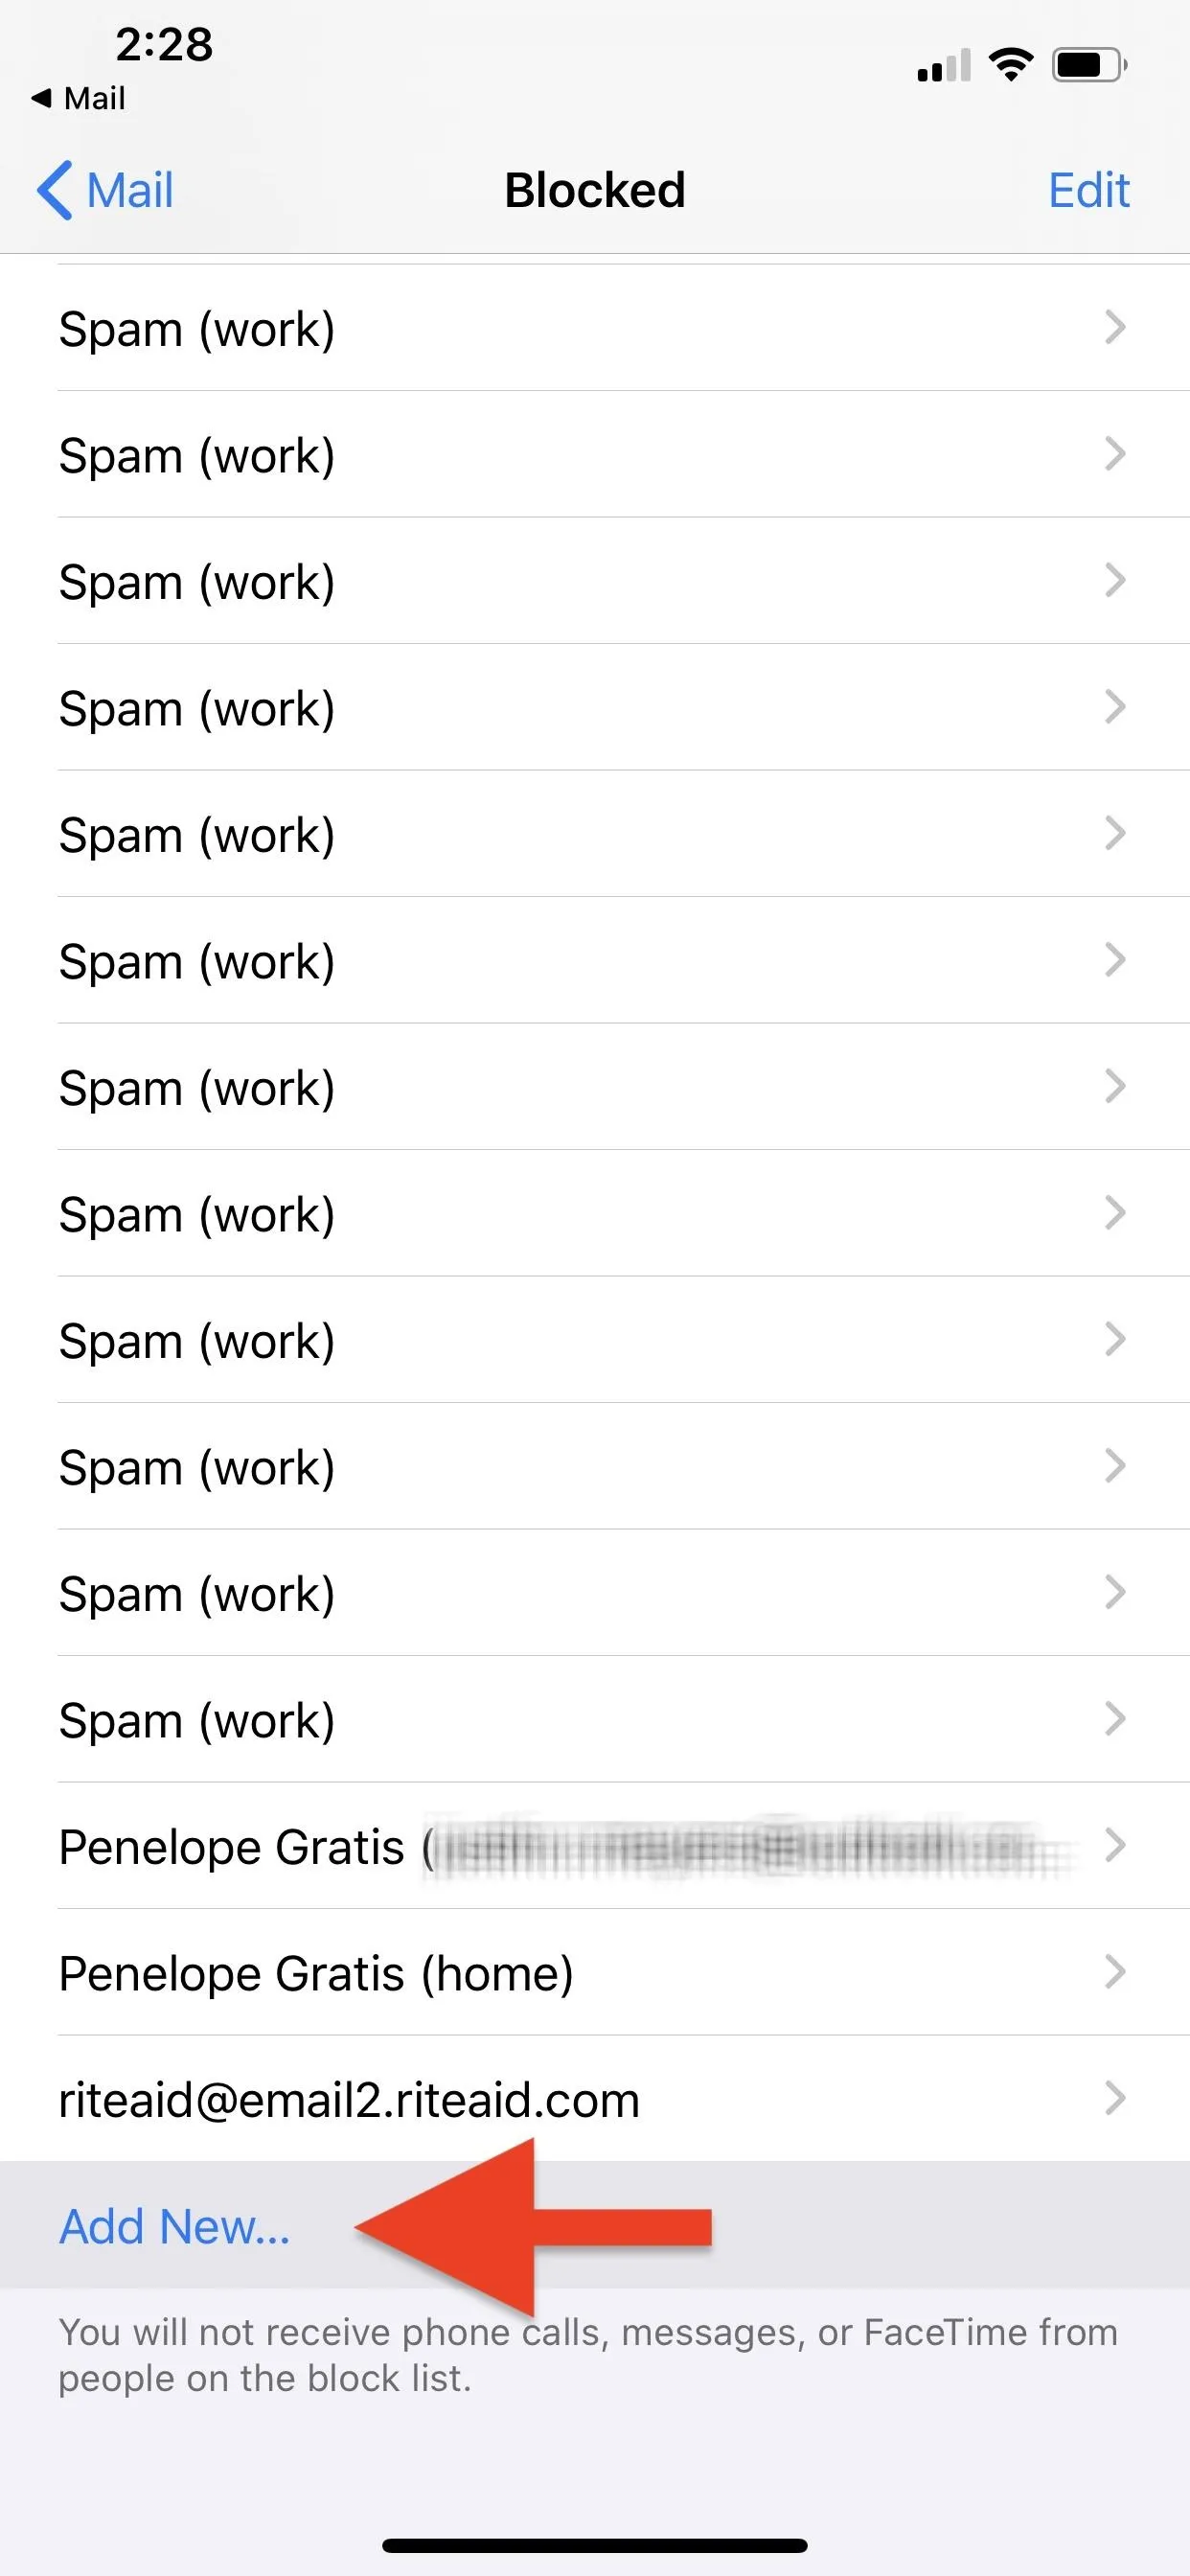
If you know you want to block a contact, but don't have an email from them on hand, you can also stop their incoming messages via Settings. First, open "Mail" inside the Settings app. Next, scroll down, and tap "Blocked."
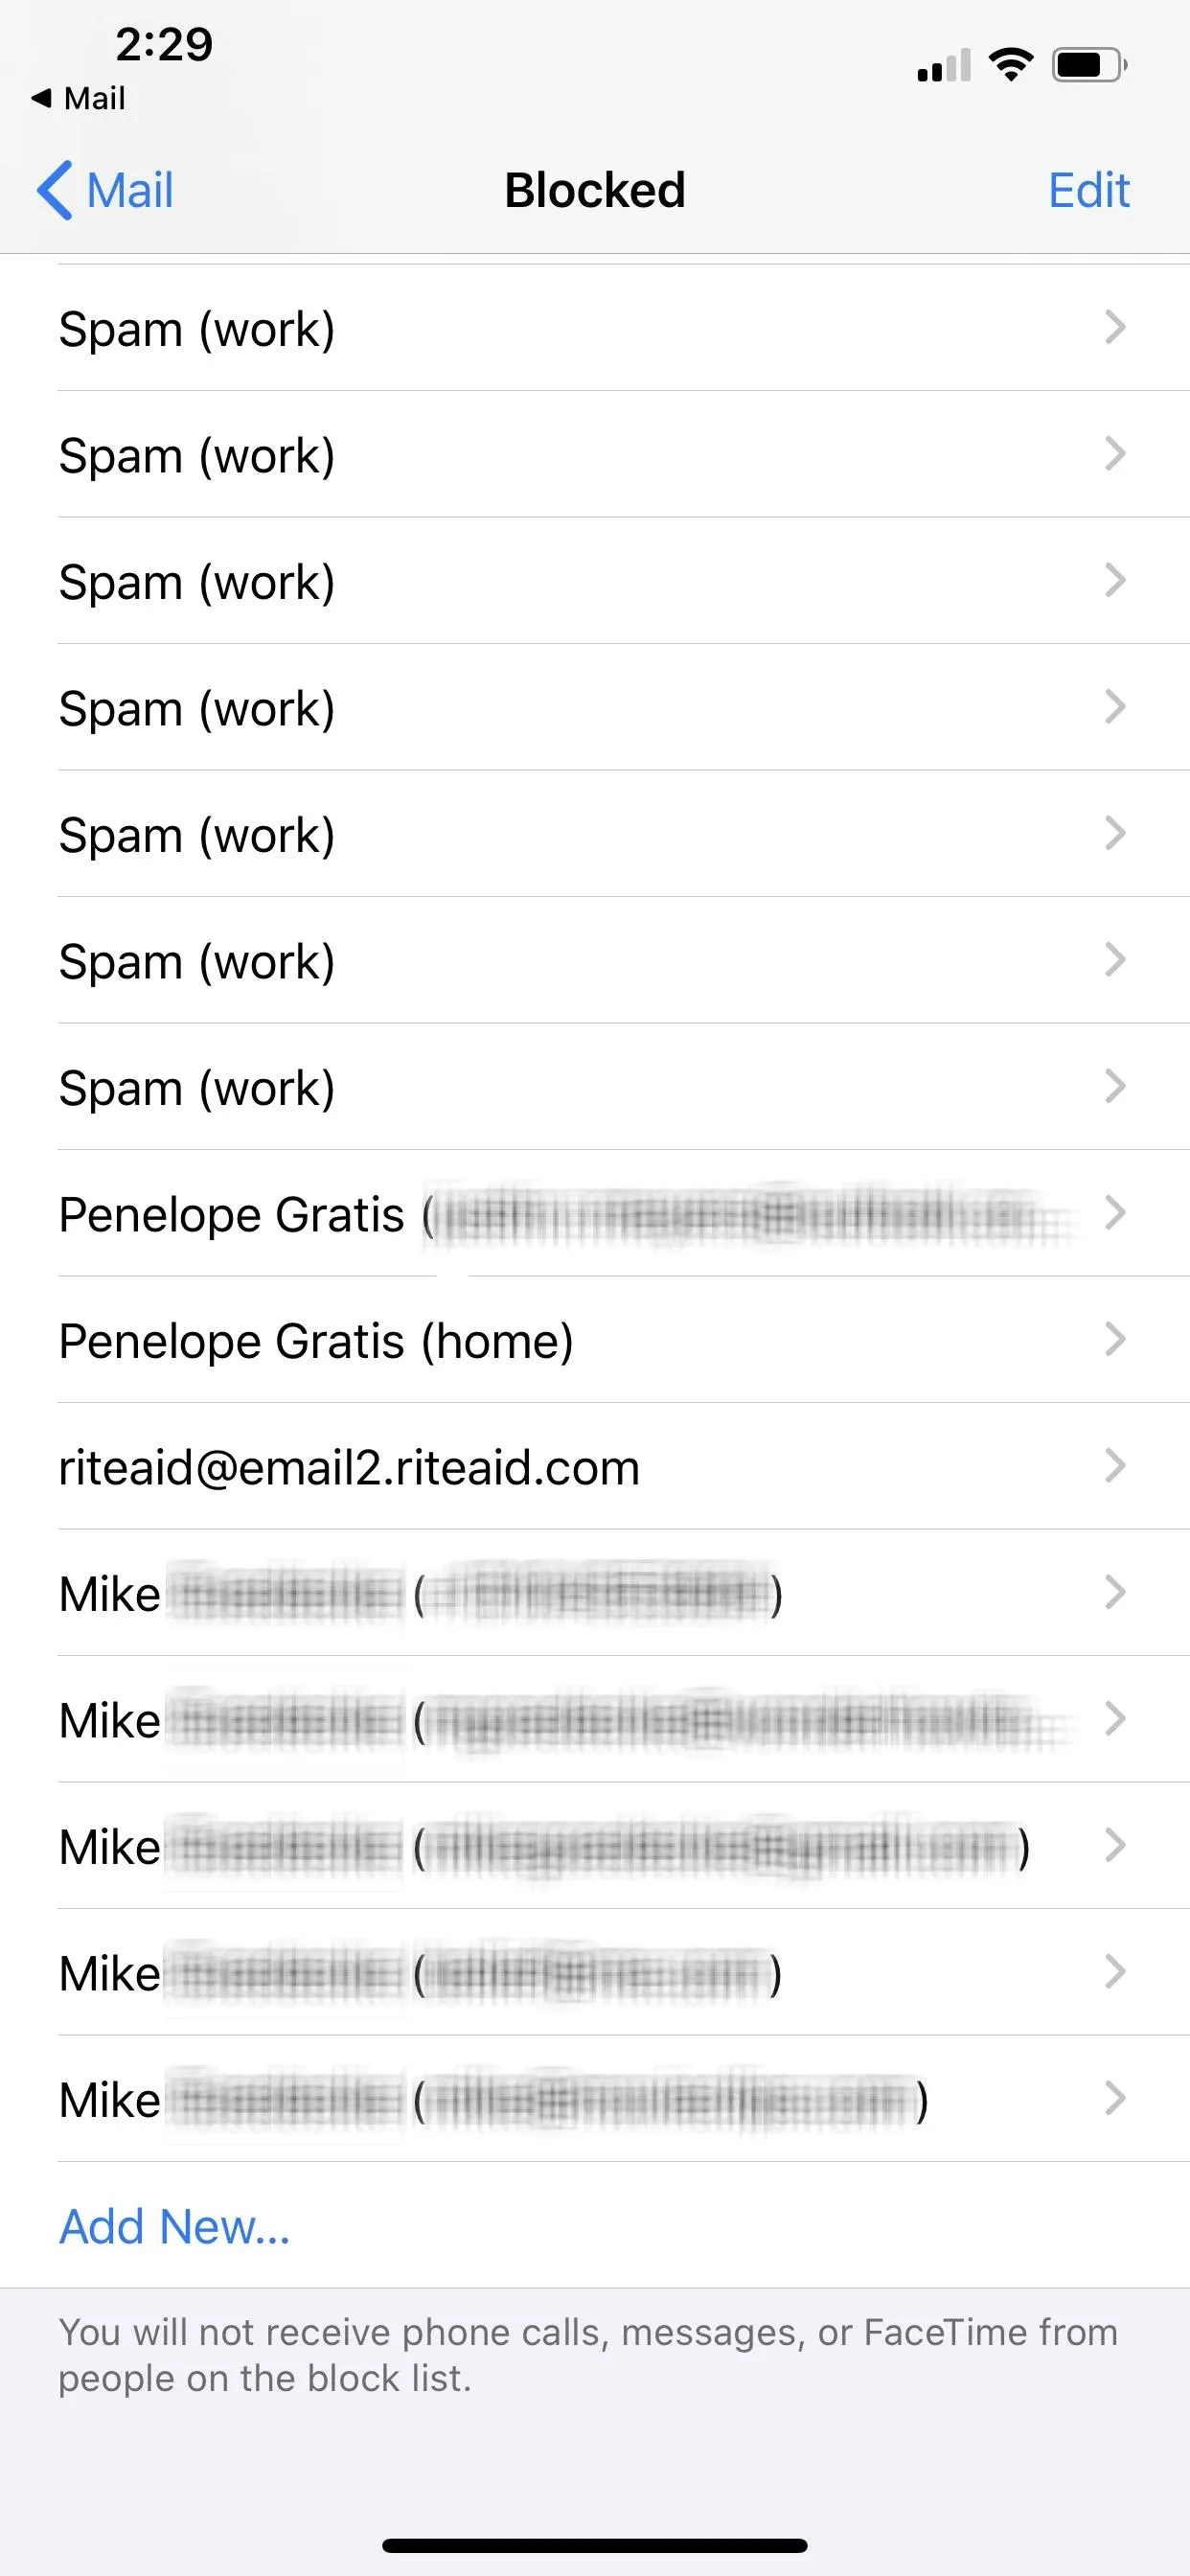
If you've ever blocked a phone number or email address (for calls and messages) before from FaceTime, Messages, Phone, or Settings, you'll notice them all here. At this time, Apple rounds up all blocked contacts into one list, regardless of which app's settings you're accessing that list from. It seems a bit cluttered at first, but maybe Apple has something in the works for a future layout.
Tap "Add New" at the very bottom to continue.
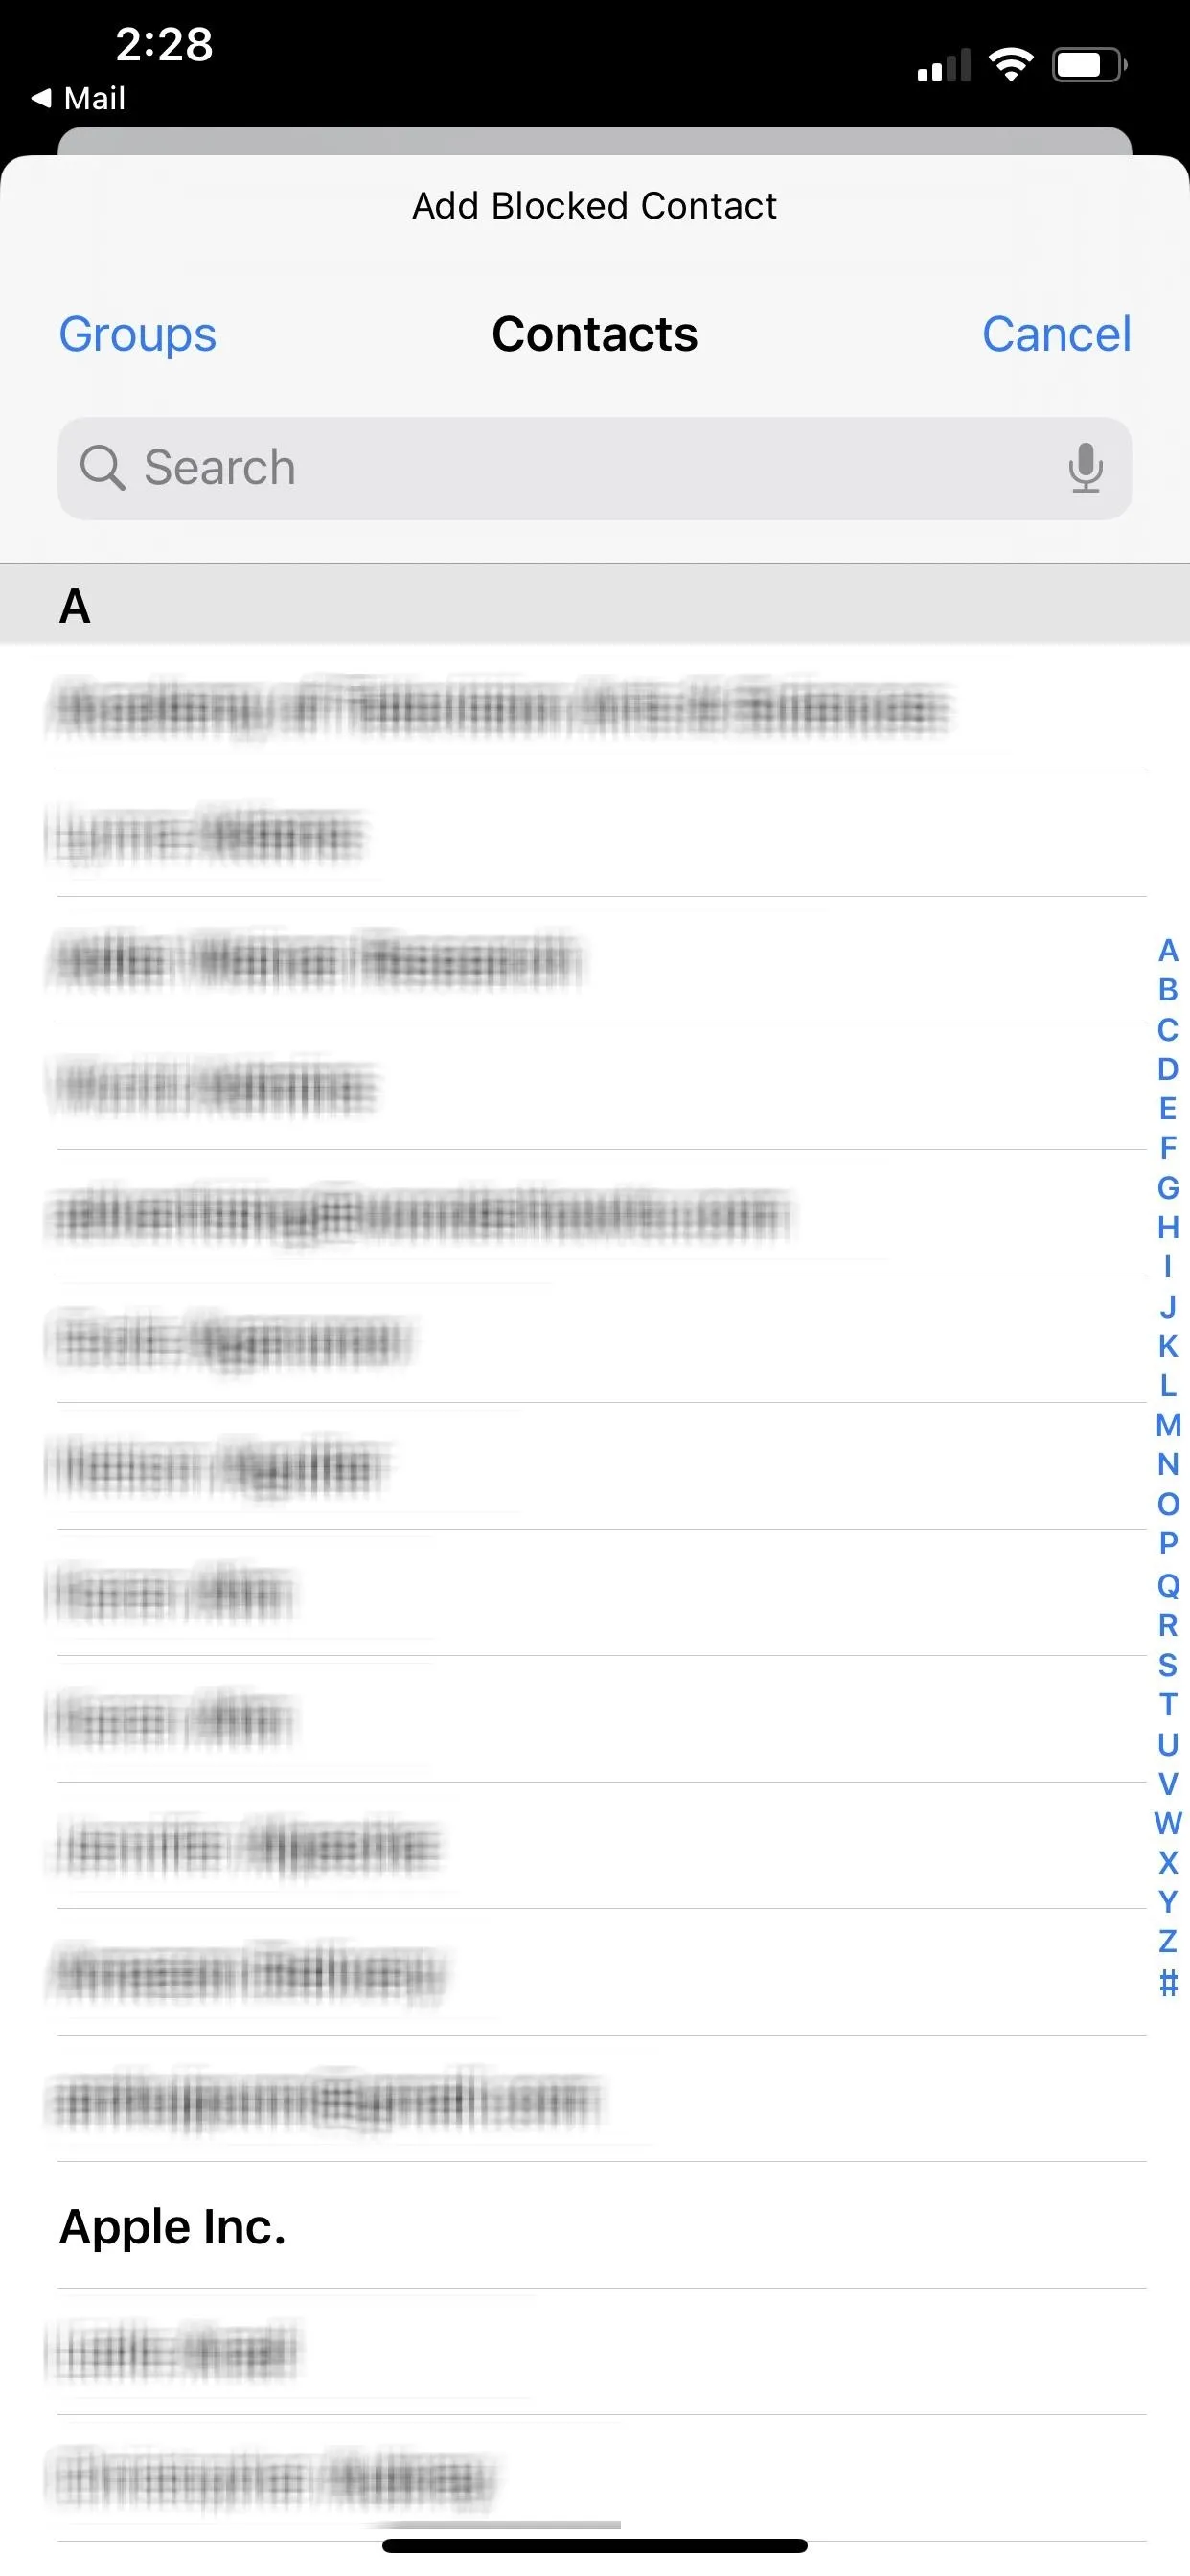
Next, choose one of your contacts to block when prompted. Once you do, all numbers and email addresses add themselves to the blocked list. If you want to add somebody that isn't in your contacts, you'll need to use Option 1 above to do so straight from Mail. The Settings option only lets you choose from contacts already saved in your Contacts app.
Unblock a Contact or Sender from Within Settings
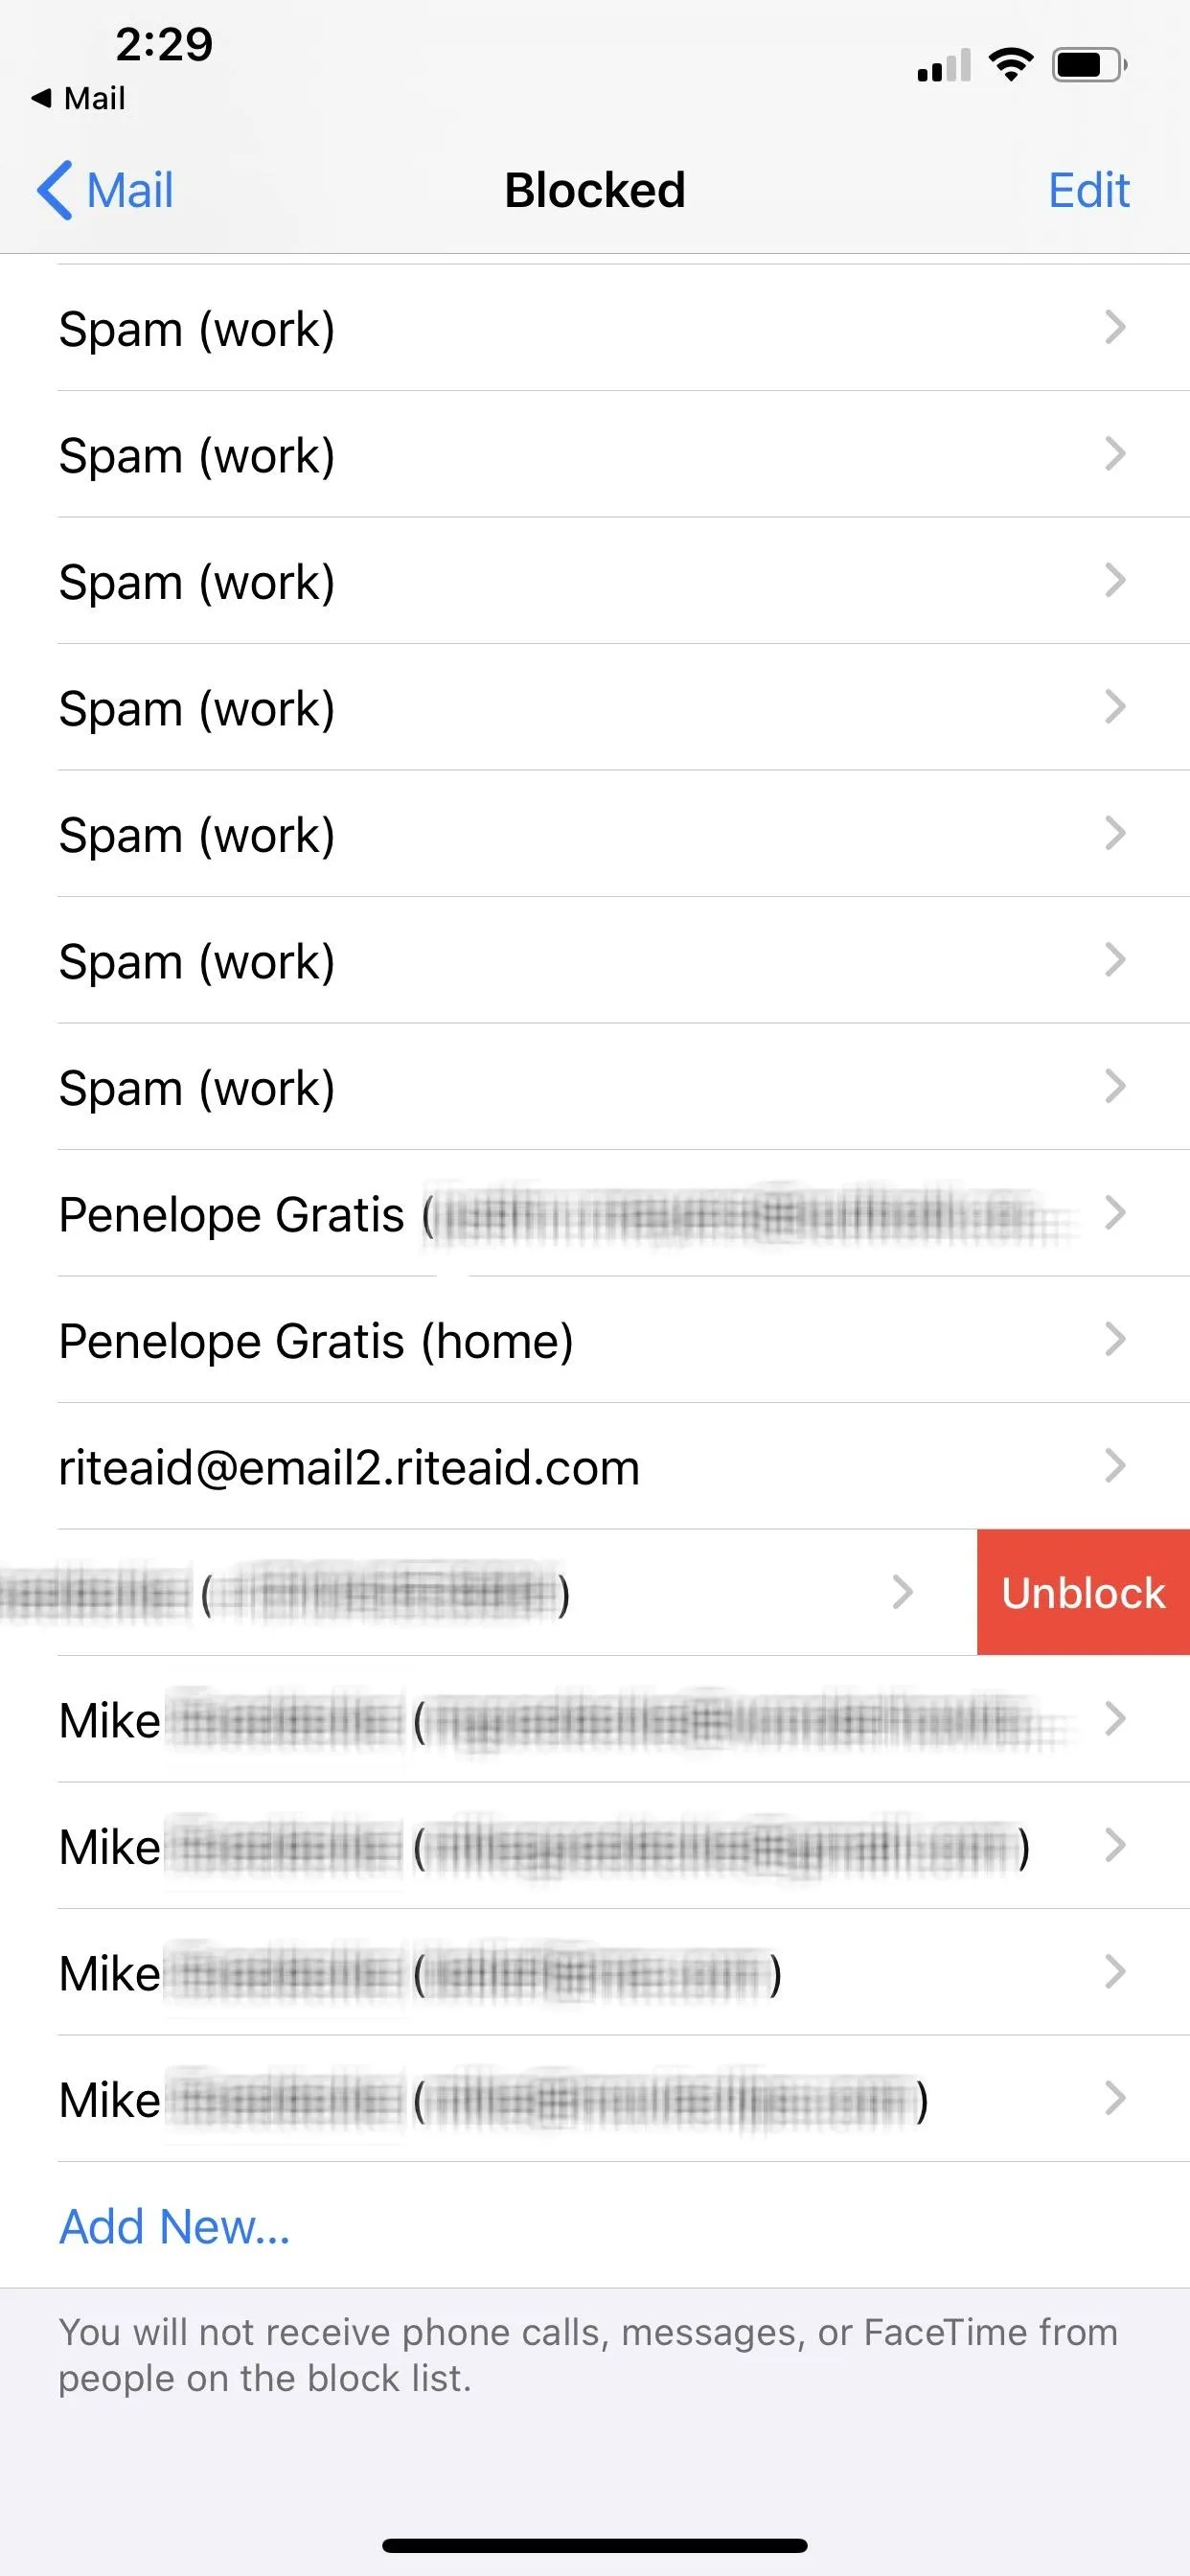
Since blocking somebody via the Settings method adds all contact information to the blocked list, you may want to unblock a specific email address or phone number. It can be done quickly from the "Blocked" list. Also, since senders you blocked from within emails also show up here, you can unblock them from here as well.
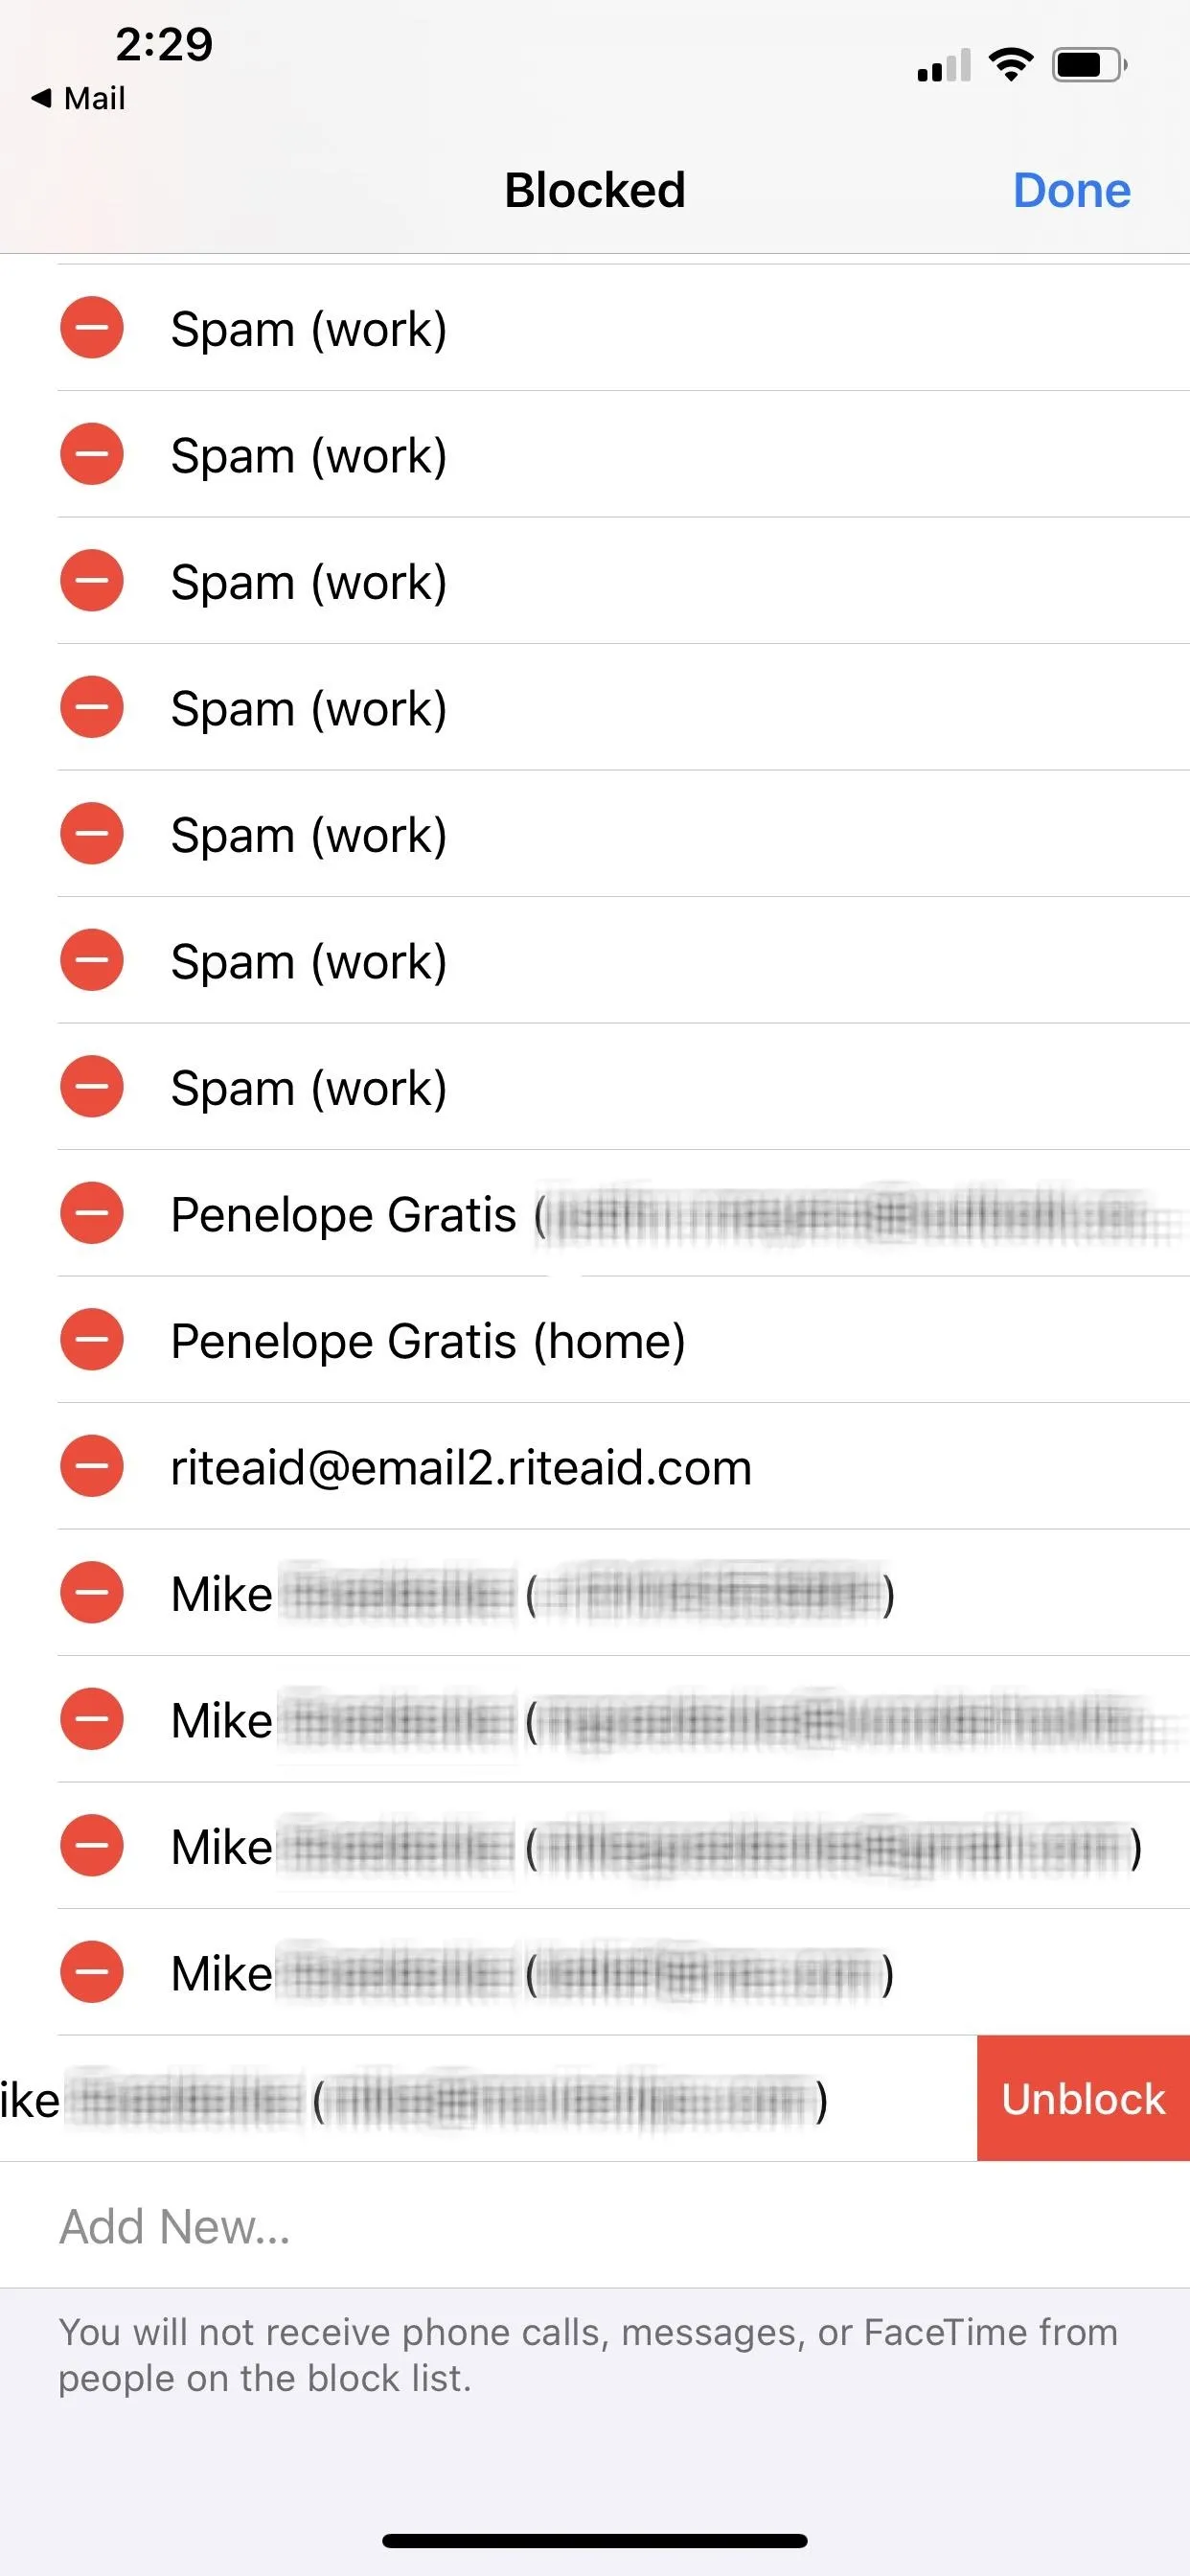
Short-swipe left on a contact phone number or email address, then hit "Unblock." You can also just long-swipe it to unblock it automatically. Alternatively, you can tap "Edit" in the top right, hit the red minus button next to the phone number or email address you want to unblock, then hit "Unblock."
Things to Keep in Mind
Now, remember — blocking email addresses doesn't stop you from receiving messages from them. It'll feel that way until you check your trash folder, where any correspondences from blocked addresses will go.
Also, note that blocking someone's email address only applies going forward. If you already have emails from a blocked person or company in your inbox, opened or unopened, they won't automatically go to the junk folder after blocking them. They will, however, show a little gray hand gesturing stop to indicate they are from a blocked sender.
When opening any email from a blocked sender, whether an old one in your inbox or one that was sent directly to the trash folder, it'll have an alert up top stating that "This message is from a sender in your blocked list." You can tap "Preferences" if you want to unblock them, which will shoot you to the Mail section in Settings, where you'll need to hit "Blocked" to get to the list.

To set your trash folder to delete itself automatically, you can do so from "Passwords & Accounts" in Settings. For an iCloud email, go to iCloud –> iCloud –> Mail –> Advanced –> Remove. You can select between never or after one day, week, or month. For third-party email accounts, tap the account name, such as "Yahoo." Then, Account –> Advanced –> Remove where you have the same options. Not all third-party services let you do this from the iOS settings.
Cover image and screenshots by Jake Peterson/Gadget Hacks


Comments
Be the first, drop a comment!