


Who needs a pen when you've got an iPhone? If you have a form, agreement, or contract that you need to quickly sign, you do it directly from iOS without the use of a third-party app. Using Markup, which is available in several native Apple apps, you can sign and send important documents in just a few seconds.
Below, we'll show you what Markup looks like in each of these apps — including Books, Files, Mail, Messages, Notes, Photos, and Safari — and how to draw your signature, then save it for use anytime you need to sign other documents on the go.
Note: There are a few differences between Markup on iOS 12 and iOS 13, so we'll be making a note of that whenever they come up, but we'll primarily focus on iOS 13. If neither is mentioned, that means the features are exactly the same, or similar enough, on both operating systems.
Access the Image or Document Editor
First, you'll need to open the document in the app where it was created or saved so that you can then open it with the Markup tool. Markup is the same feature no matter where you access it from on iOS, but getting to it and the way it looks may differ from app to app. So first, we'll go through how to access Markup in seven different native apps.
Books
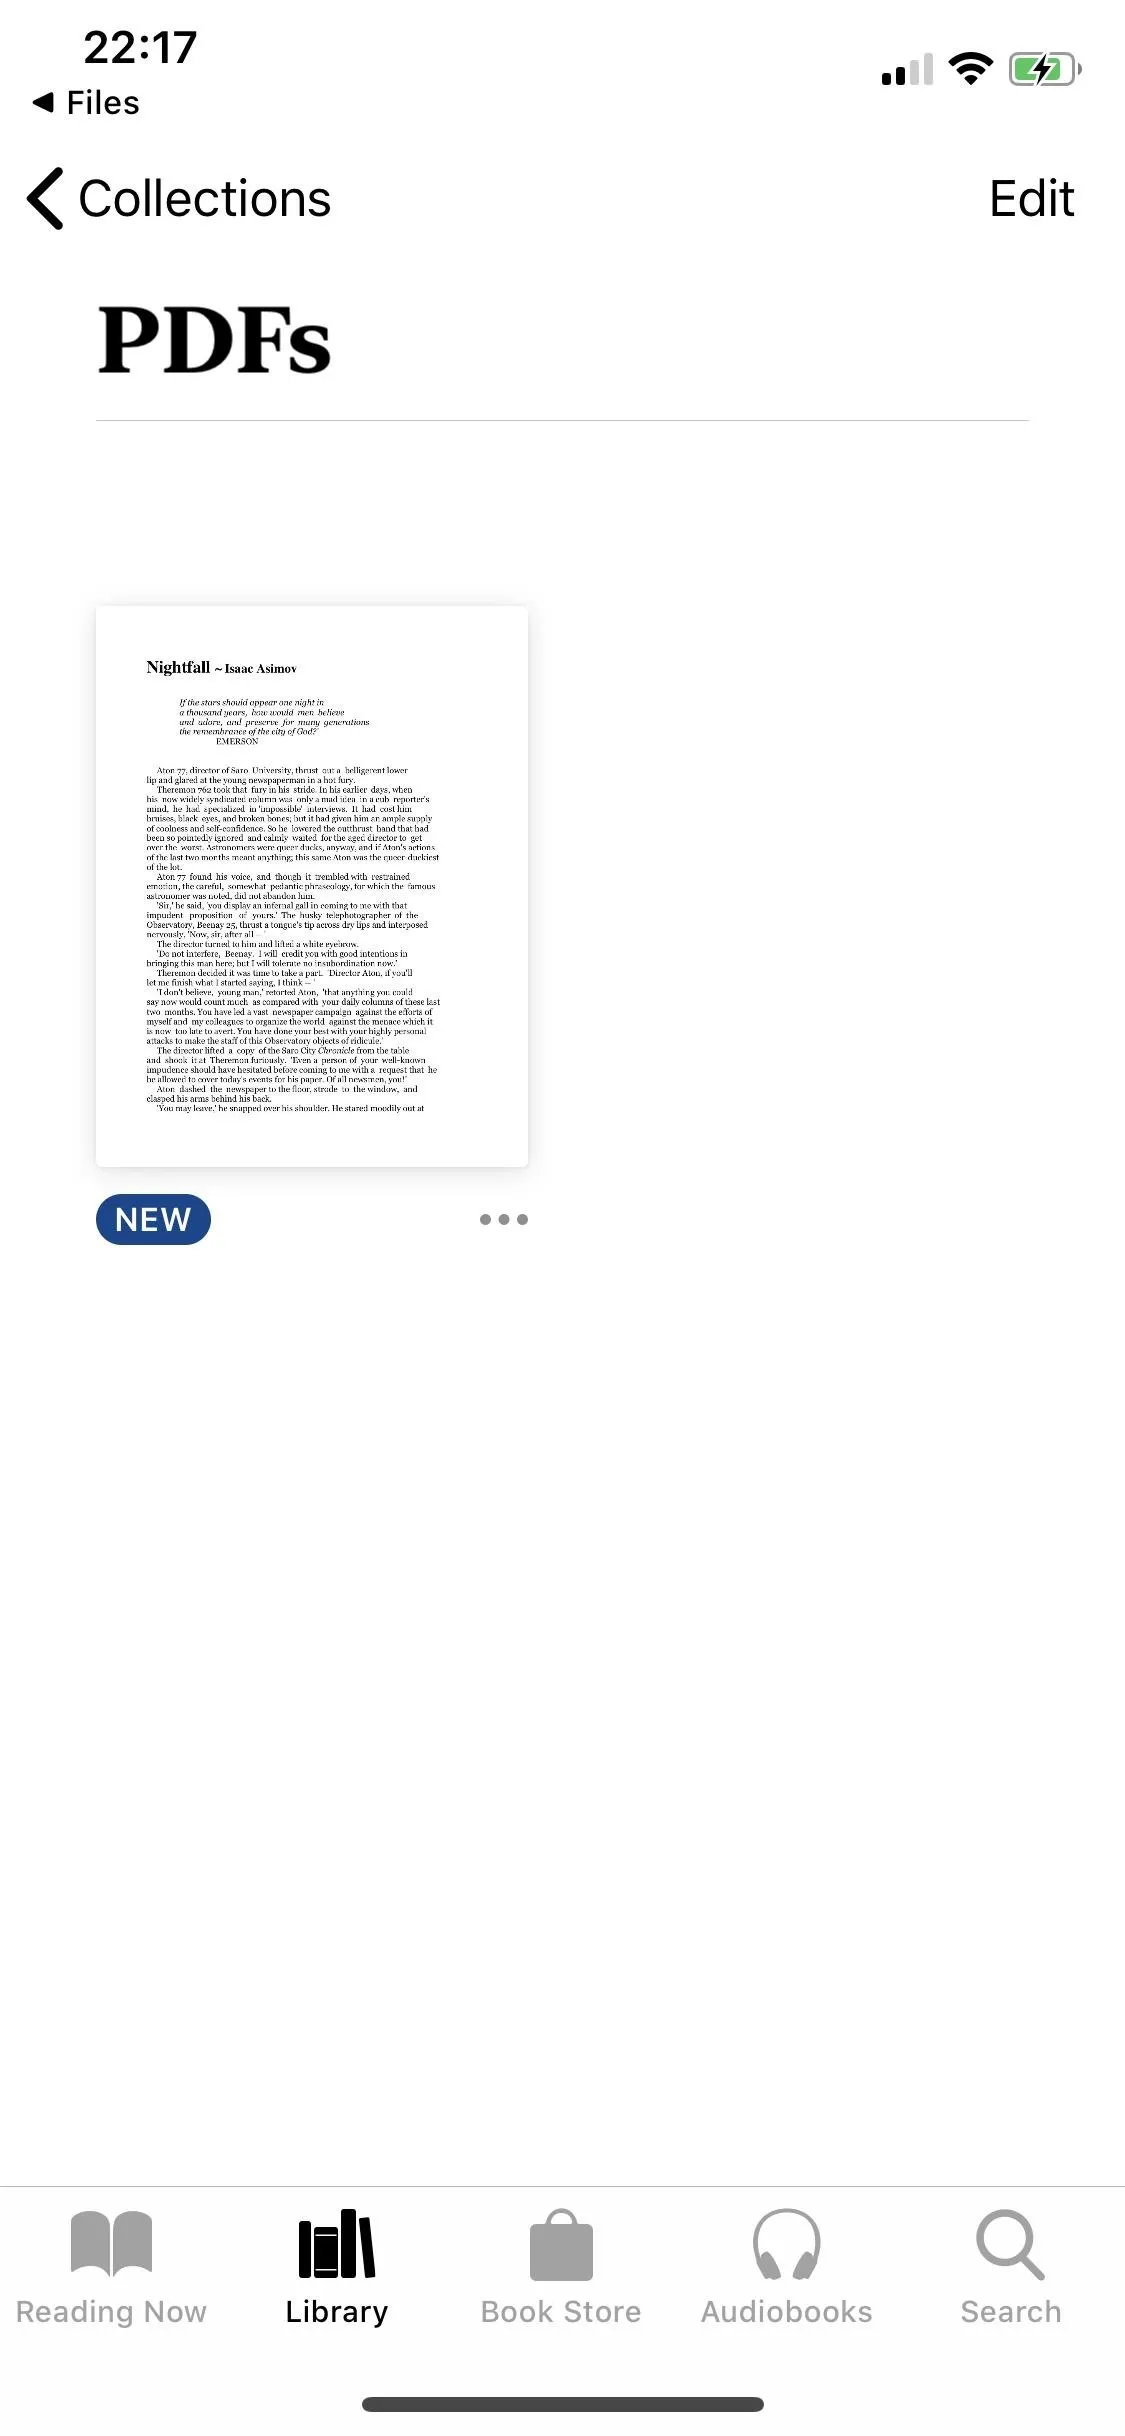
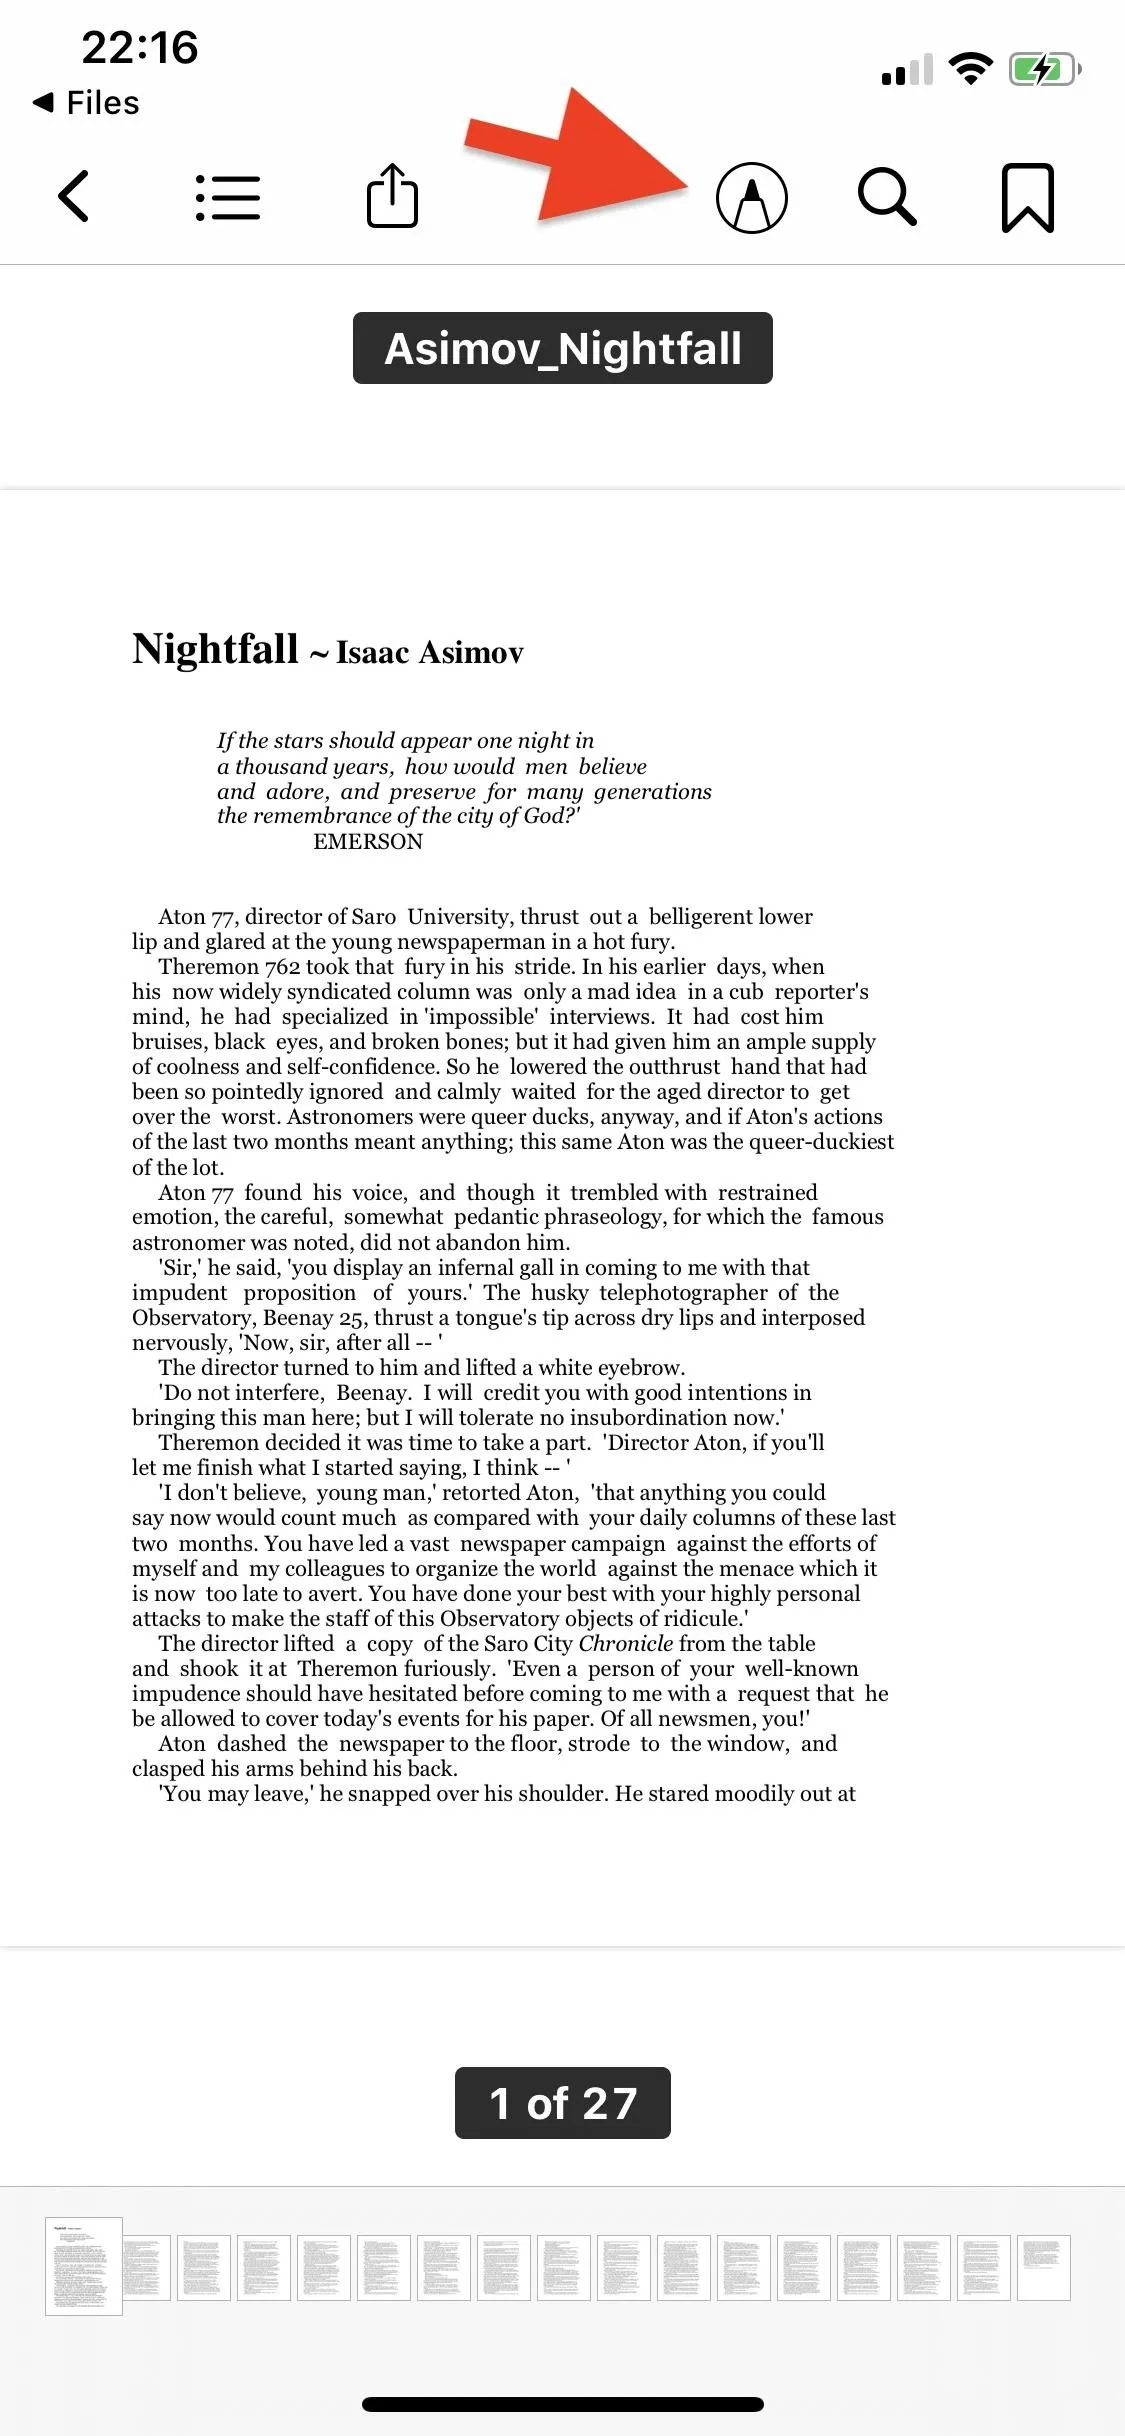
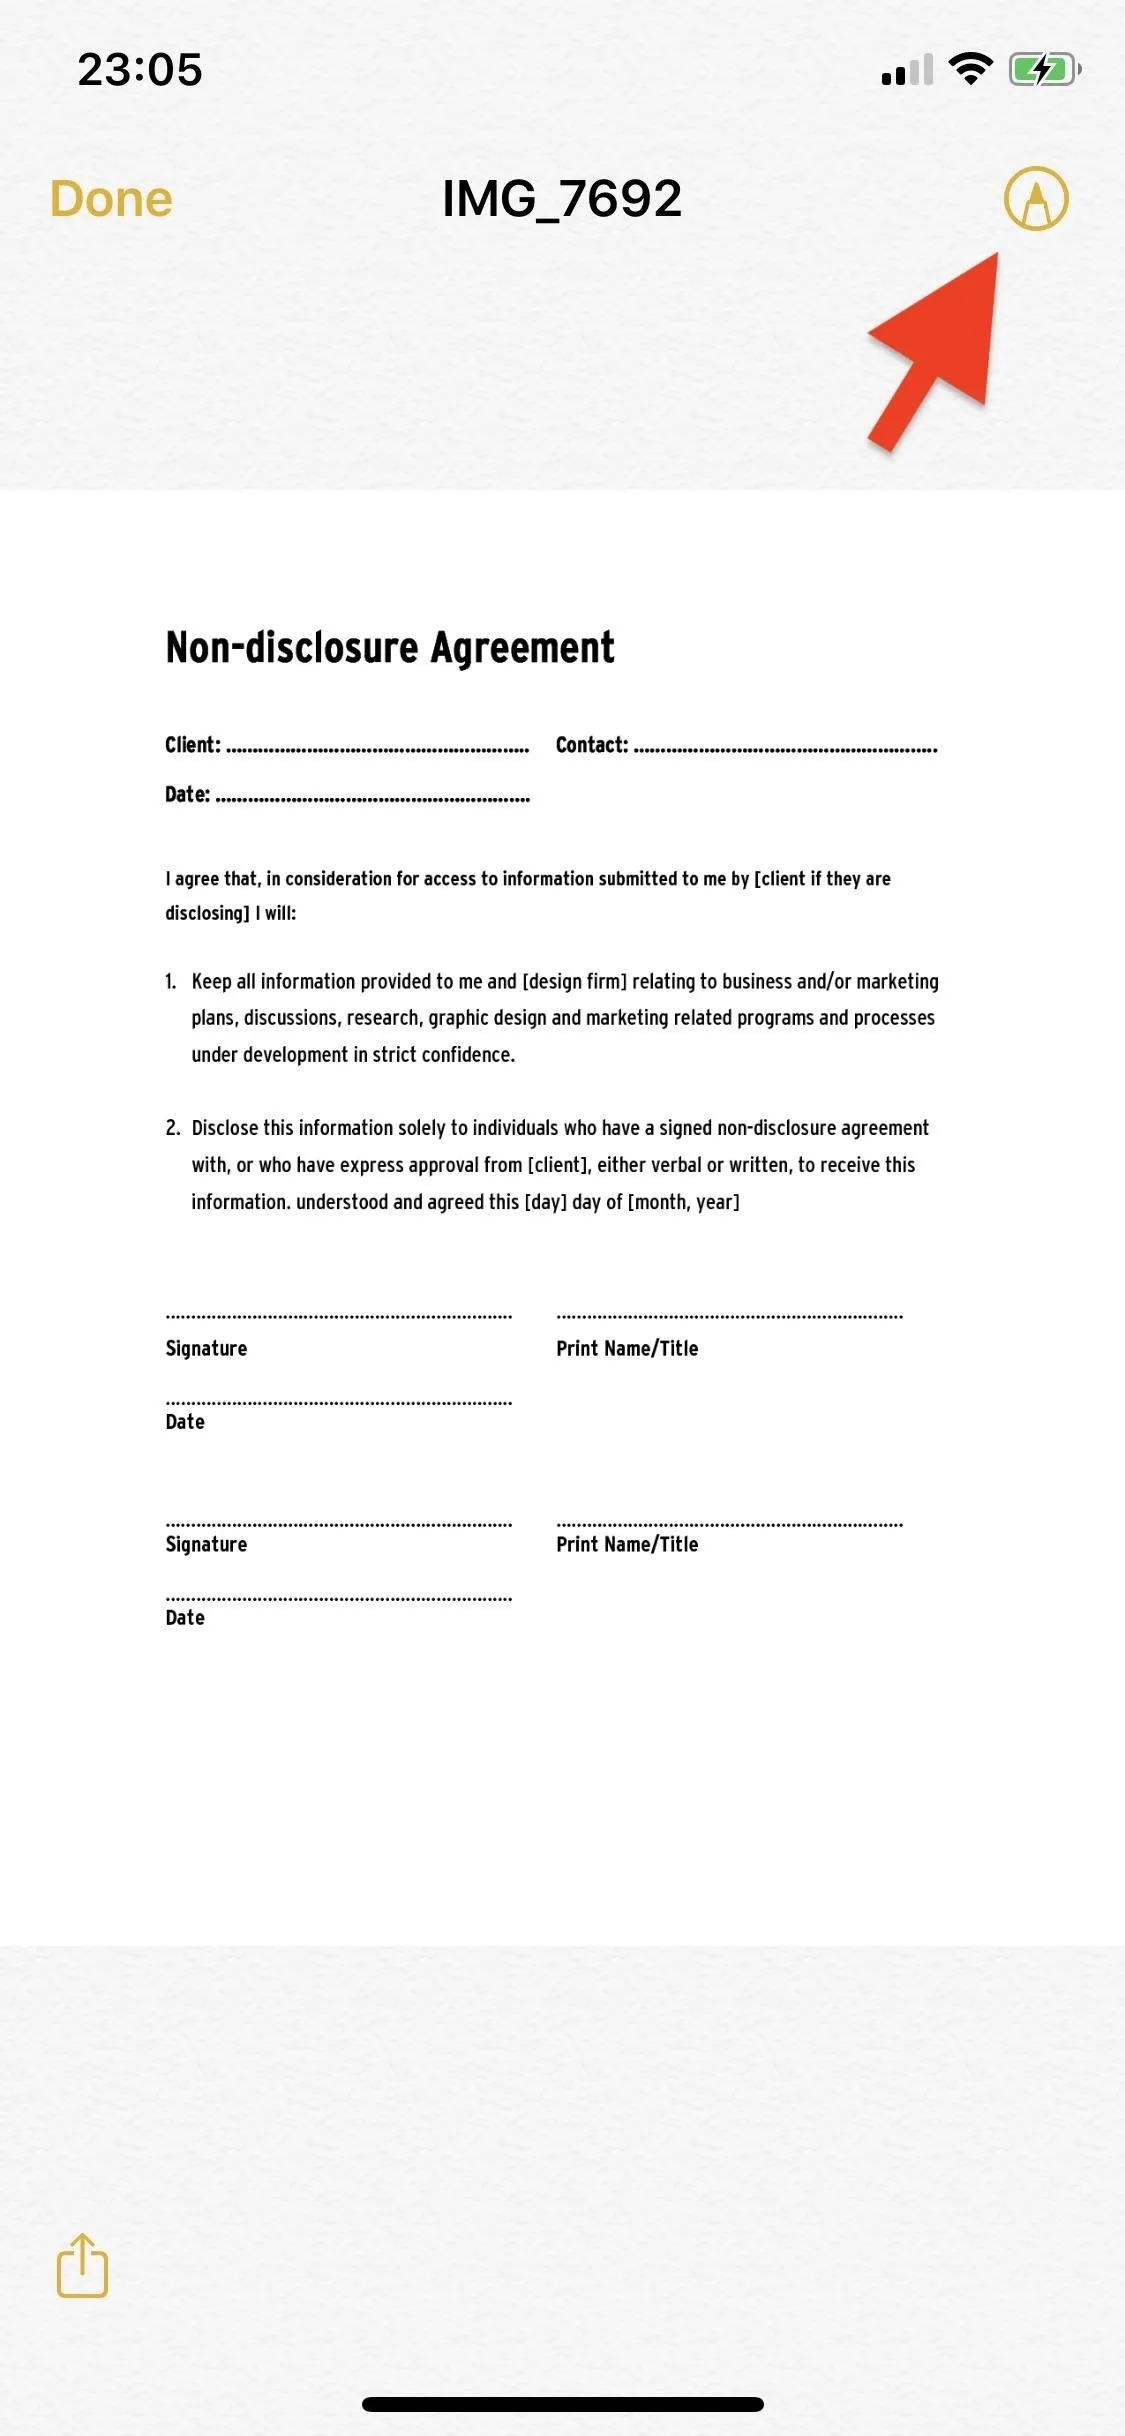
To access Markup in Books, go to "Library," tap on "Collections" at the top, then choose "PDFs" from the options that appear. You can only use Markup on PDFs, not books or audiobooks. Go into the PDF and you'll find the Markup icon in the top-right, directly next to the search icon.
Files
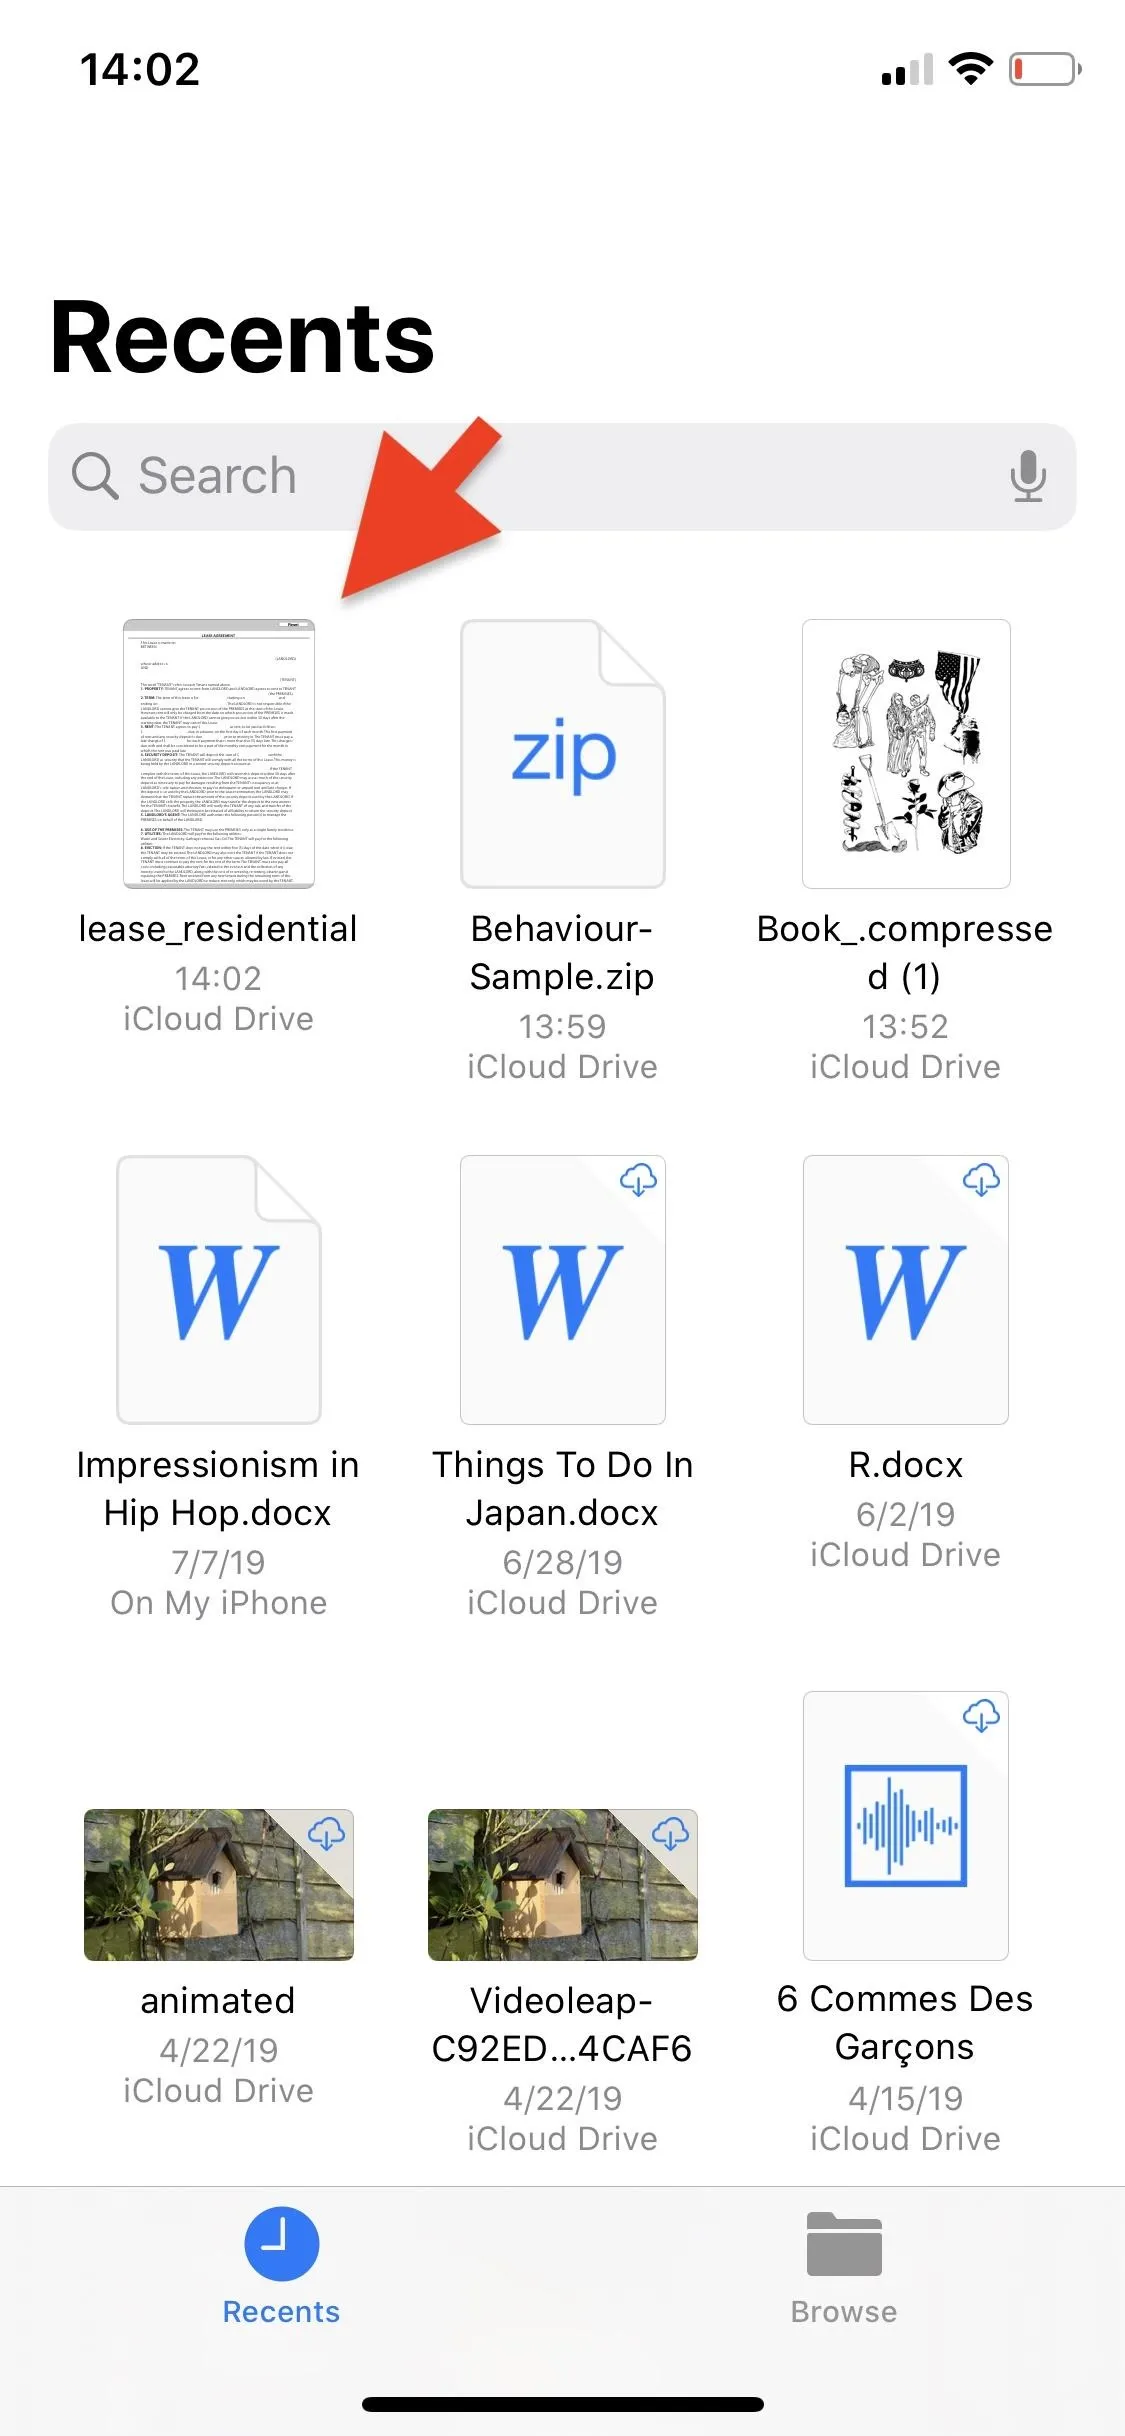
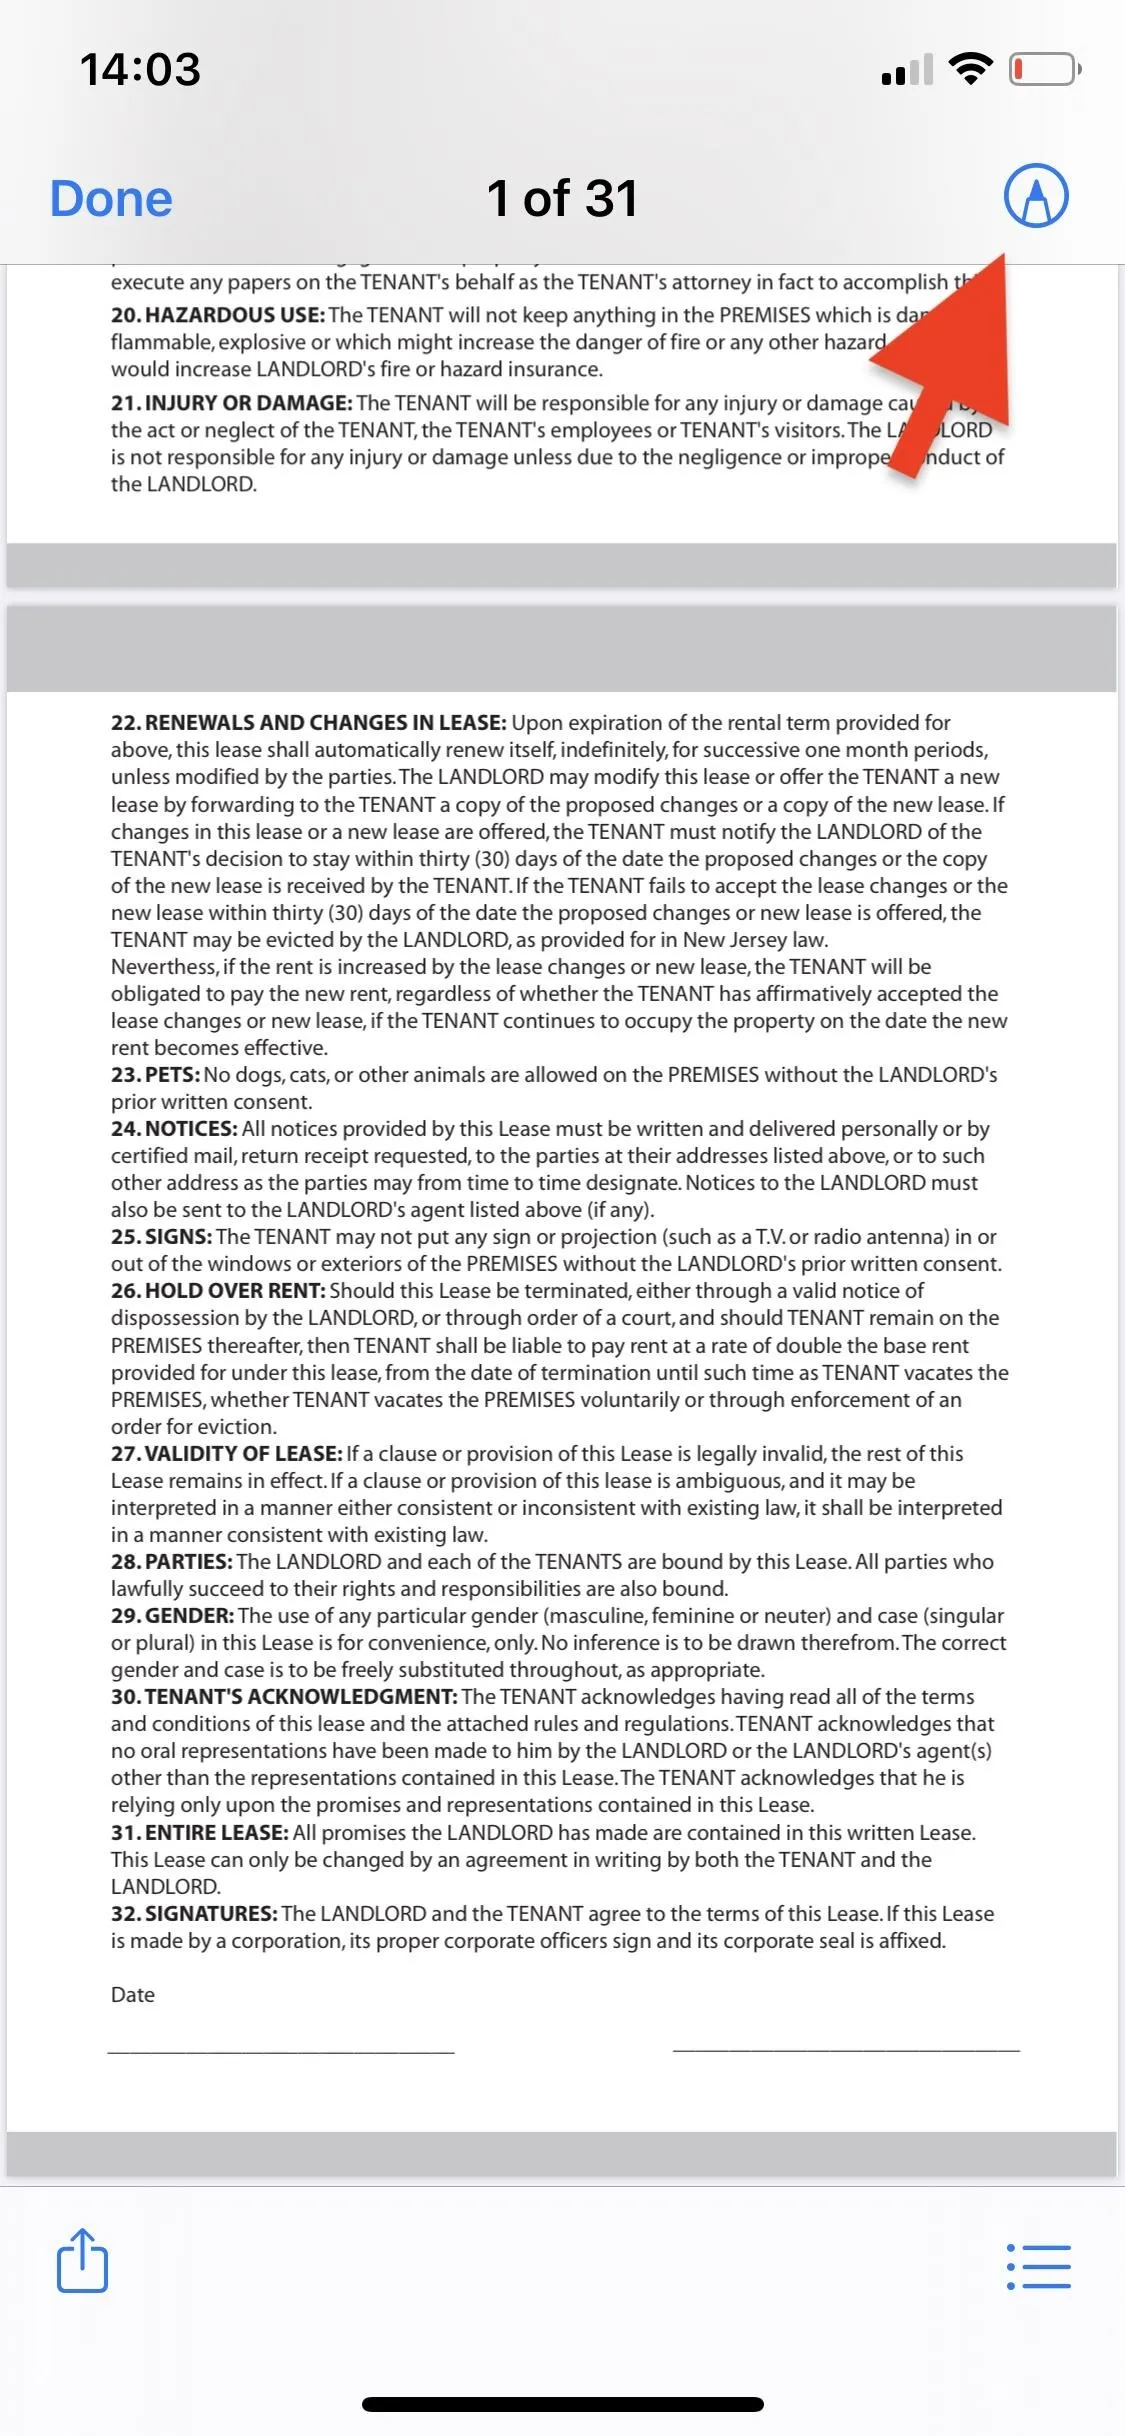
You can also sign PDFs from the Files application. Open Files and find and tap on the PDF you want to add your signature to. The Markup icon is on the top-right. If you're on iOS 13, you can use your phone's camera to quickly create PDFs within Files, which you can then use Markup on.
If you want to quickly sign and send a document via email, you can do so from the Mail application. Open Mail and either start a new email or reply to an existing one. Now, depending on which operating system you have, you can insert a document into your email in different ways.
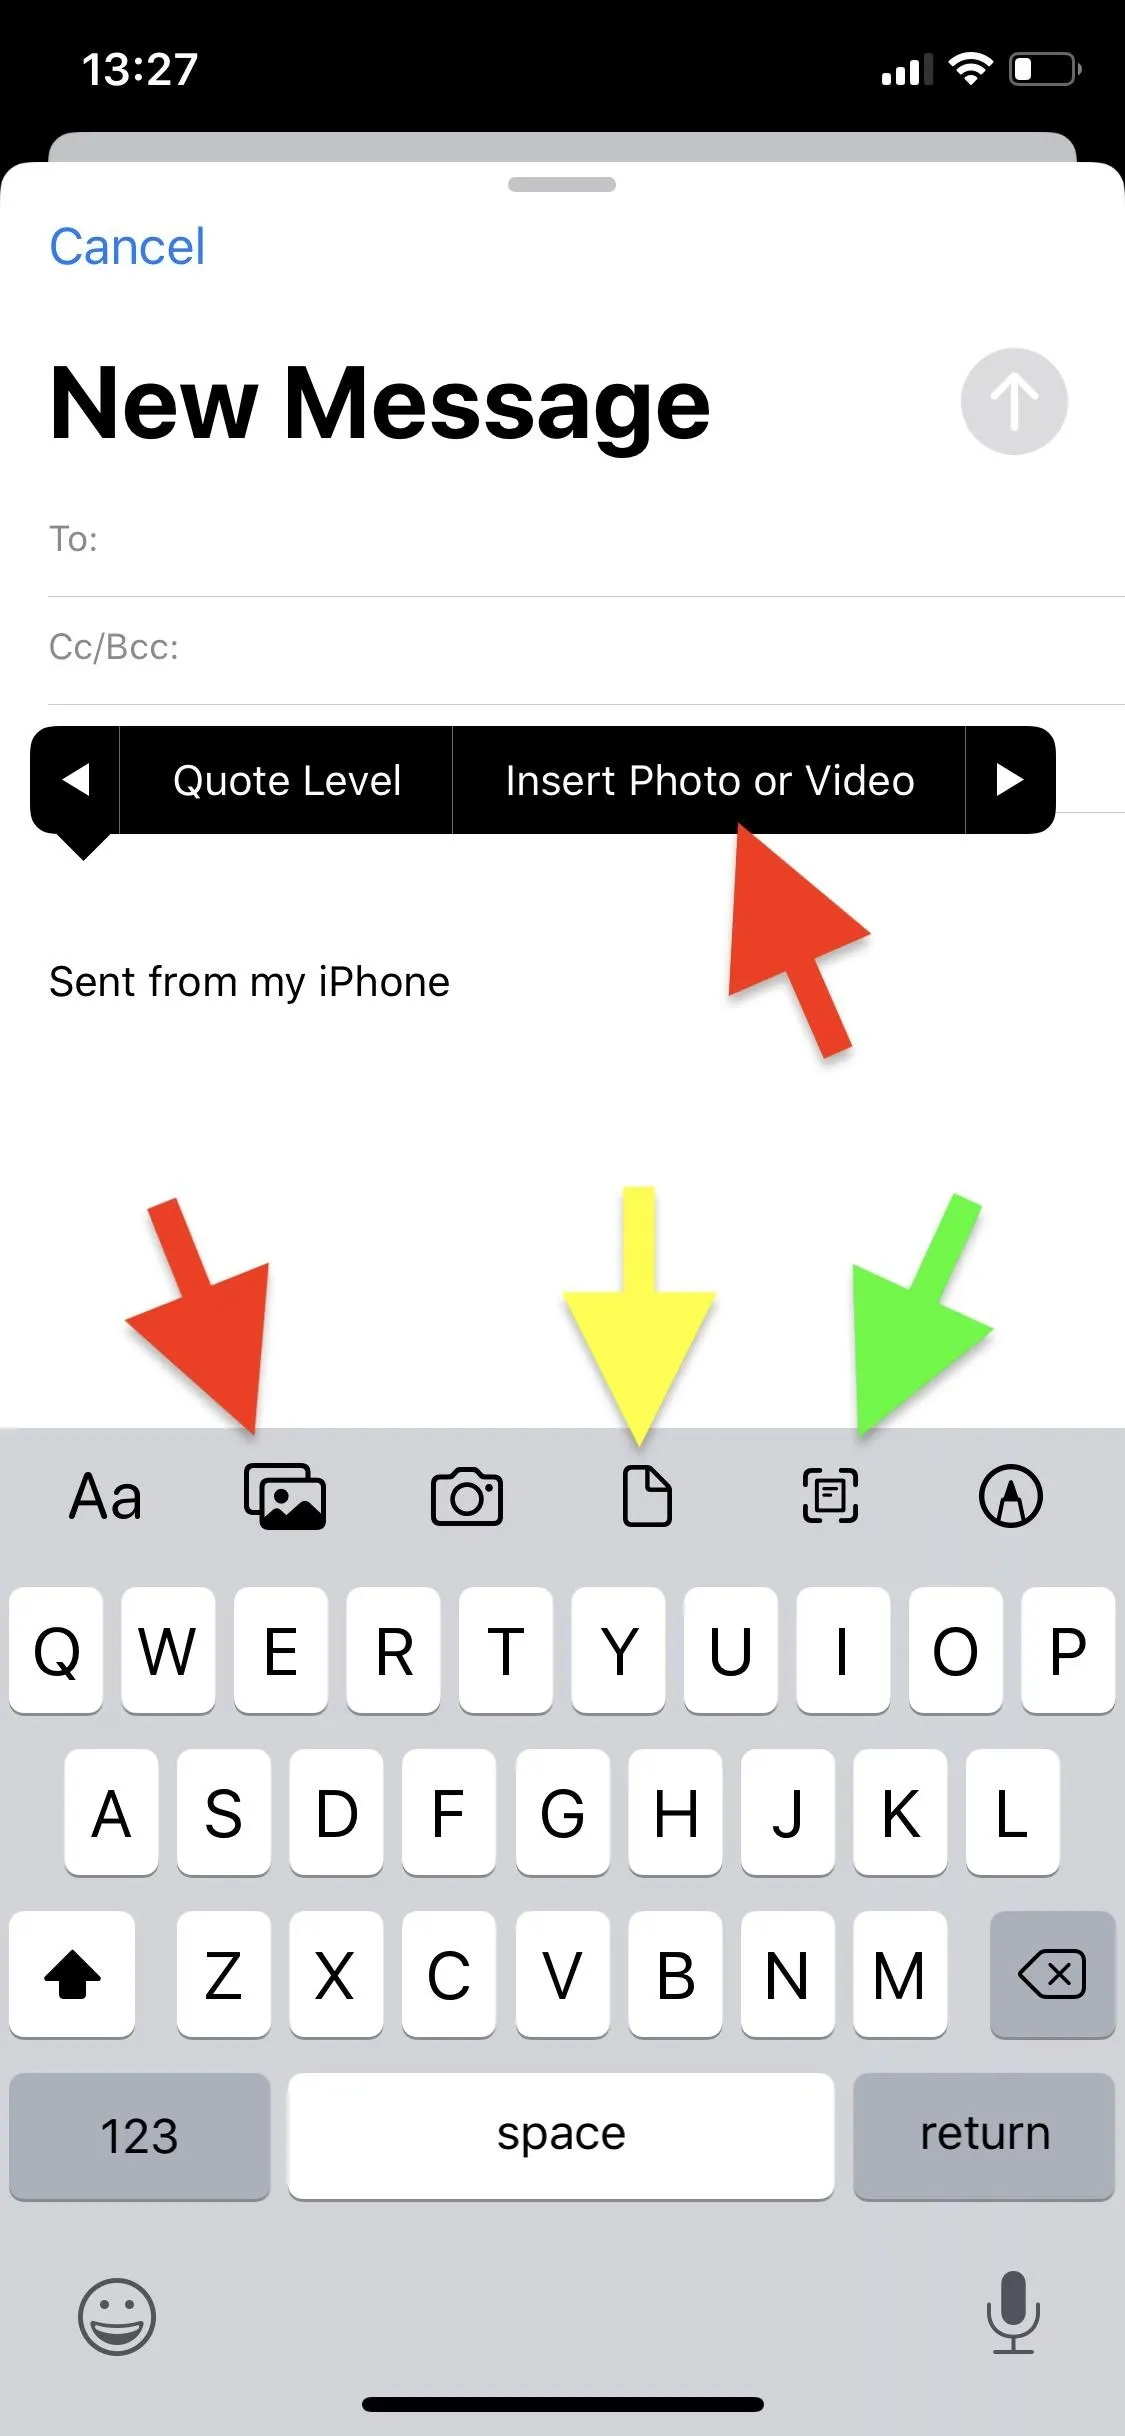
On iOS 12, the only way to add a document into an email is to tap inside the body of the email and then select "Insert Photo or Video or Add Attachment" from the options that appear (top red arrow, left screenshot). You may need to scroll through the options.
If you're on iOS 13, you can add a document using the method above (top red arrow, left screenshot), or you can also take advantage of the new toolbar feature and tap on the photos icon to add a document (bottom red arrow, left screenshot). You can also use the toolbar to insert a document stored in the Files application (yellow arrow) or scan a real world document and turn it into a PDF using your camera (green arrow).
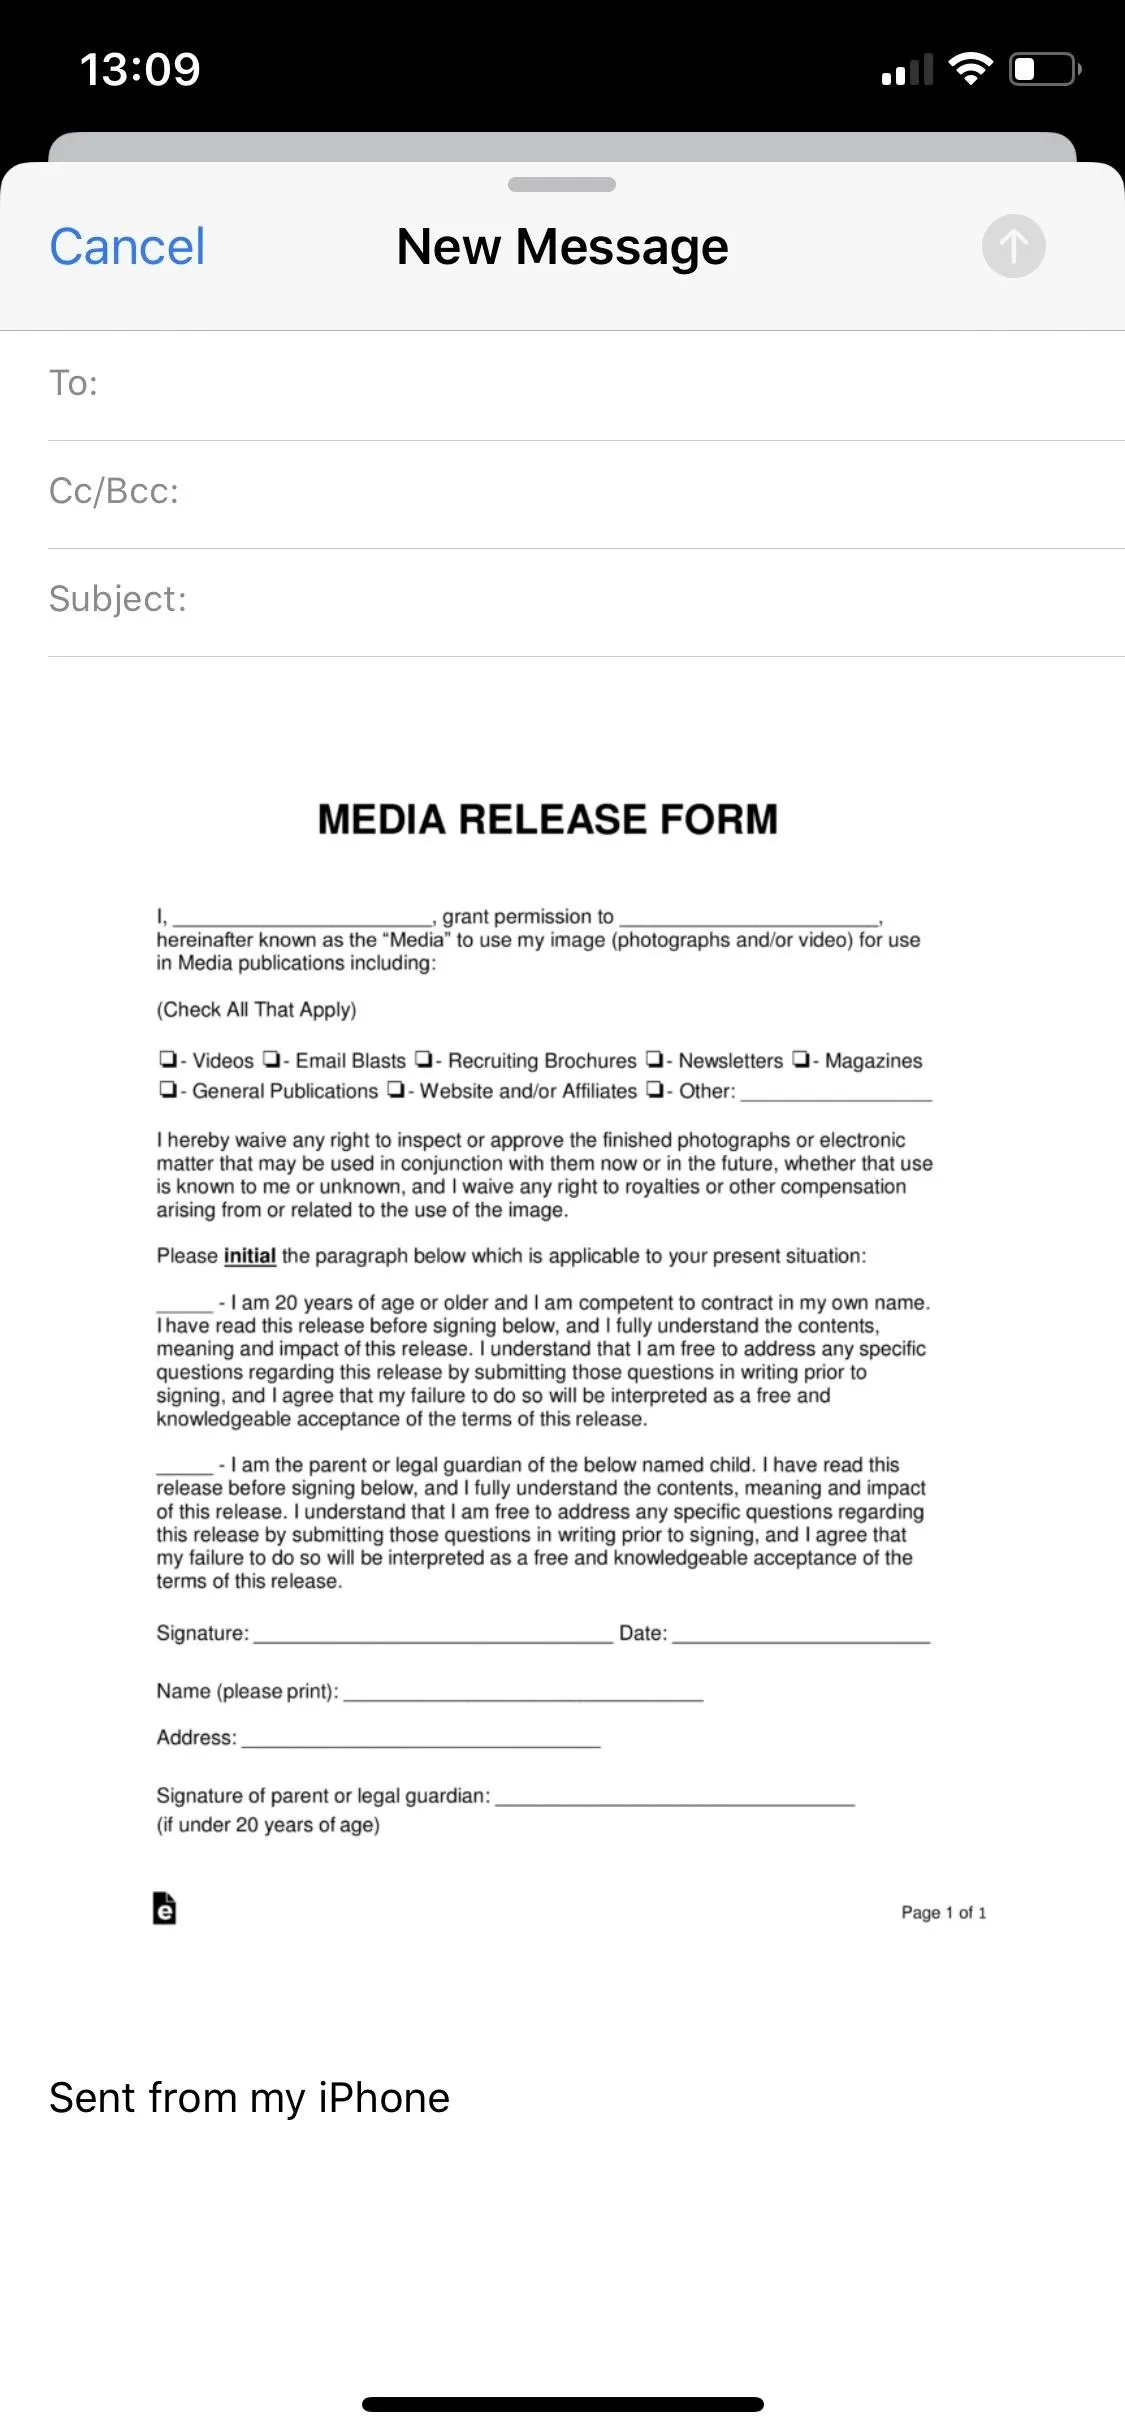
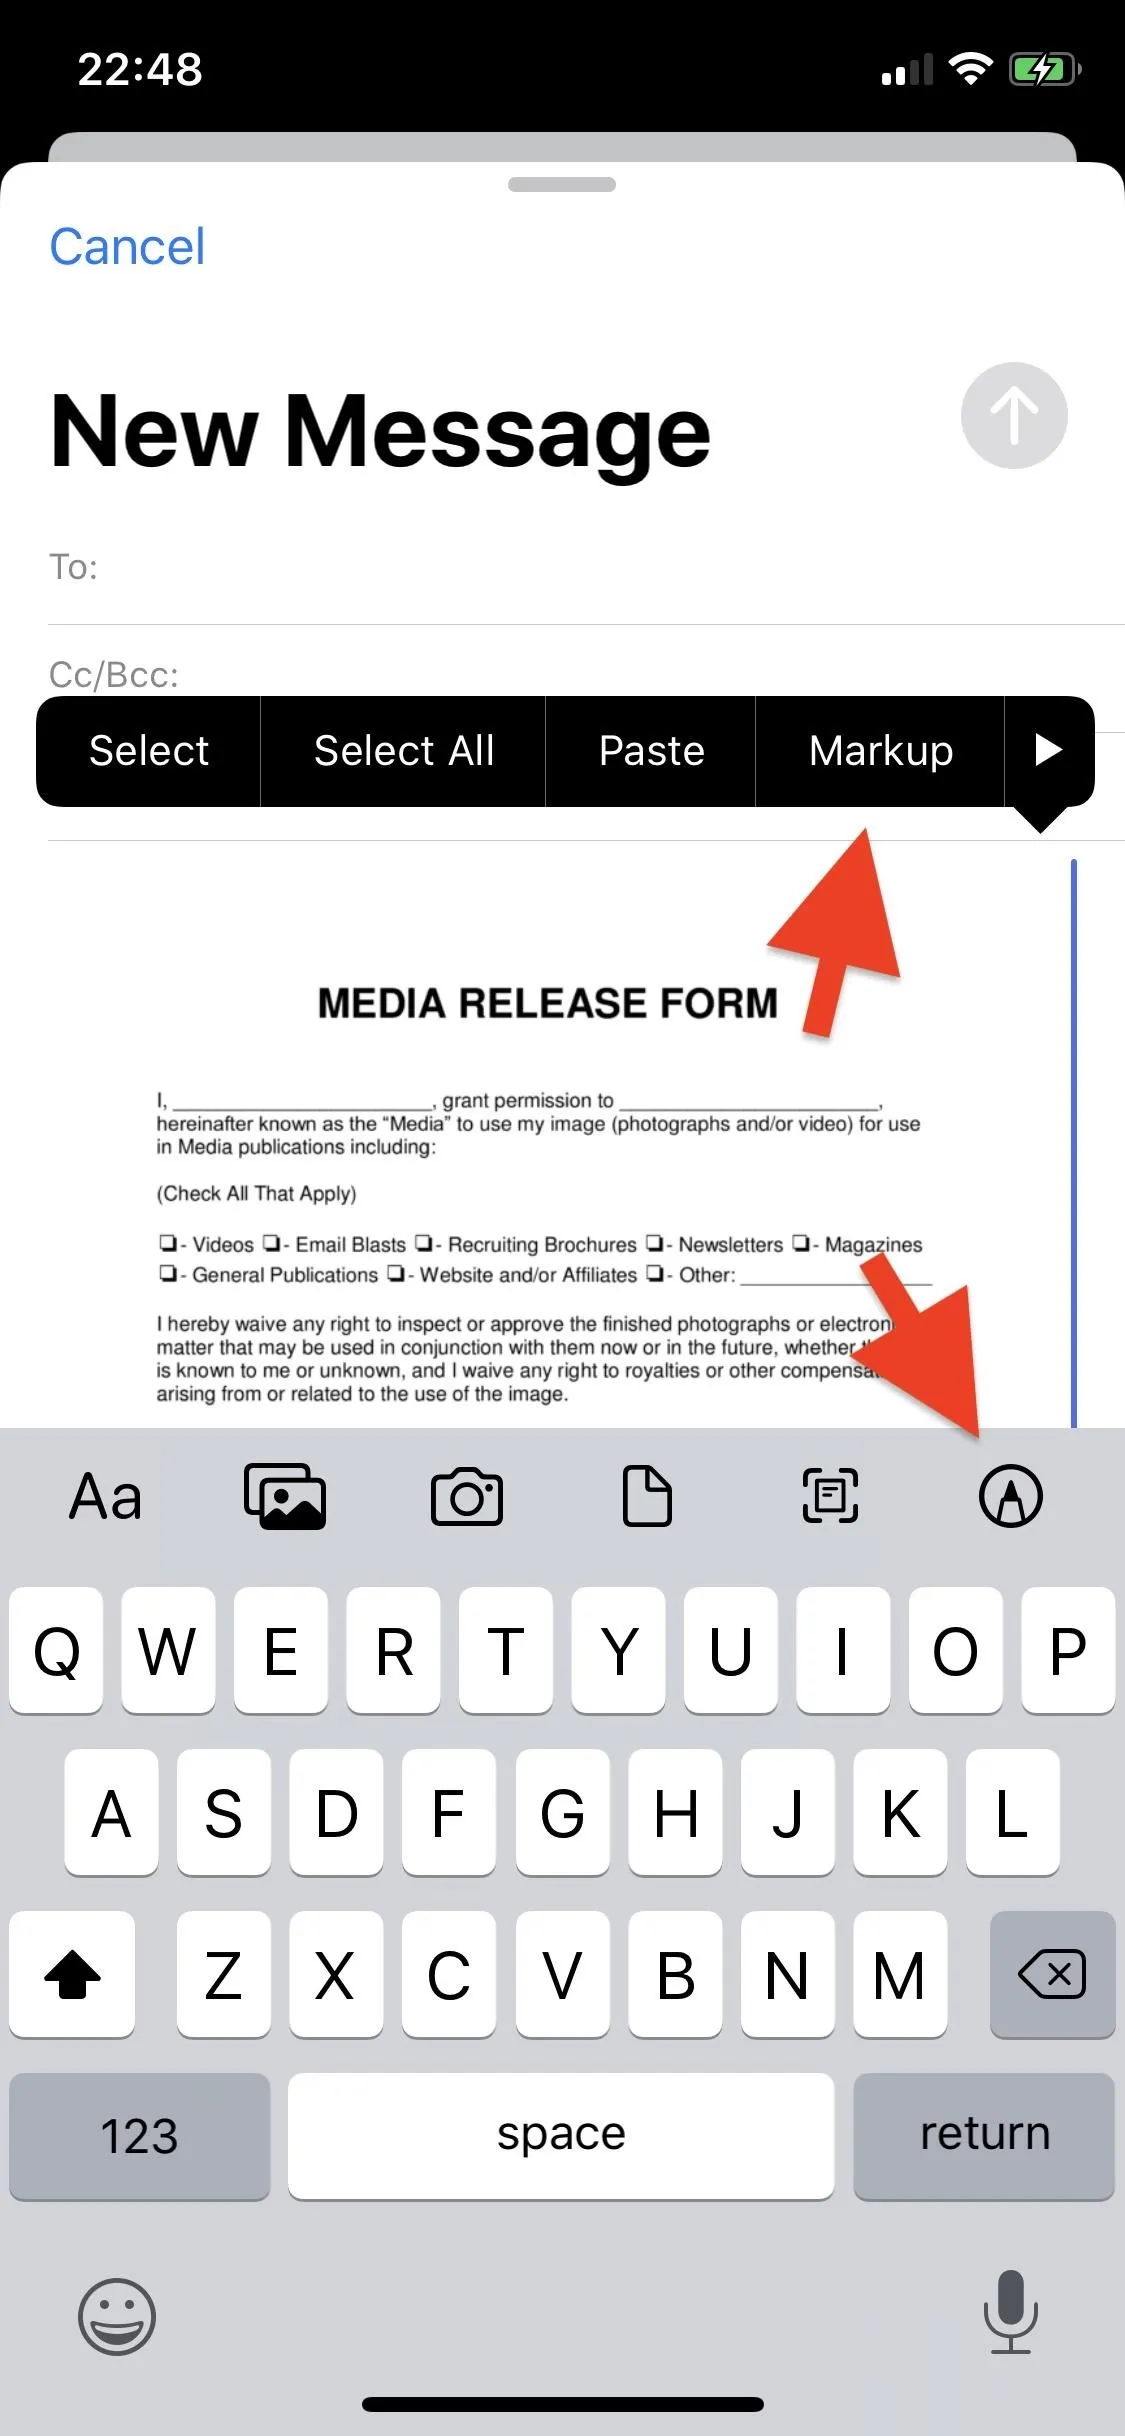
Once you select a document, it will be inserted into the body of your email. Next, tap on the document in the body of the email to bring up your options; select "Markup." If you're on iOS 13, you also have the option to select Markup from the keyboard toolbar.
Messages
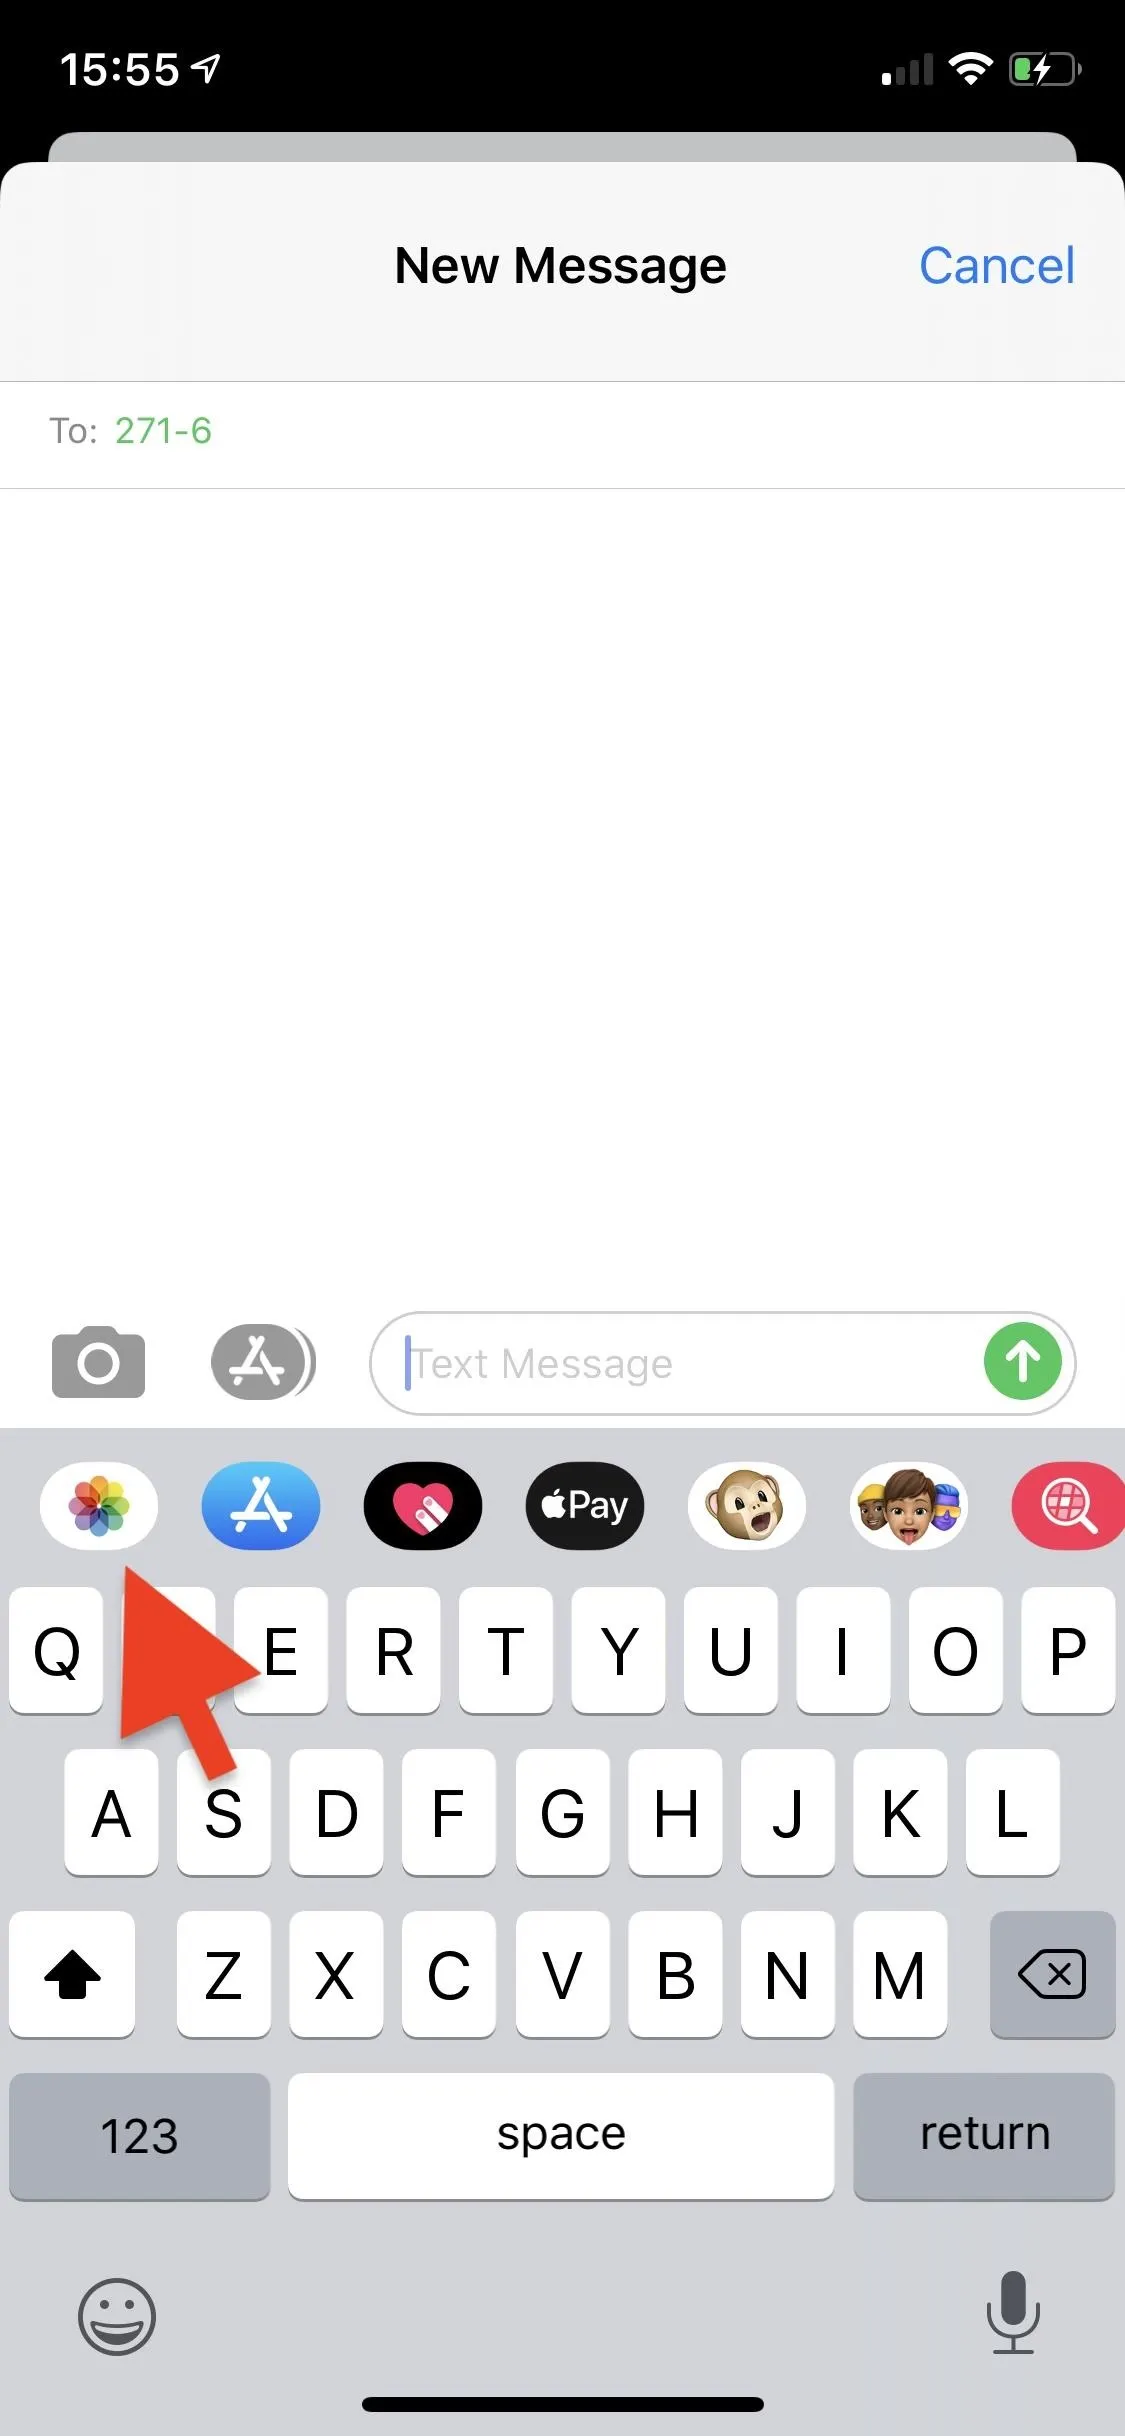
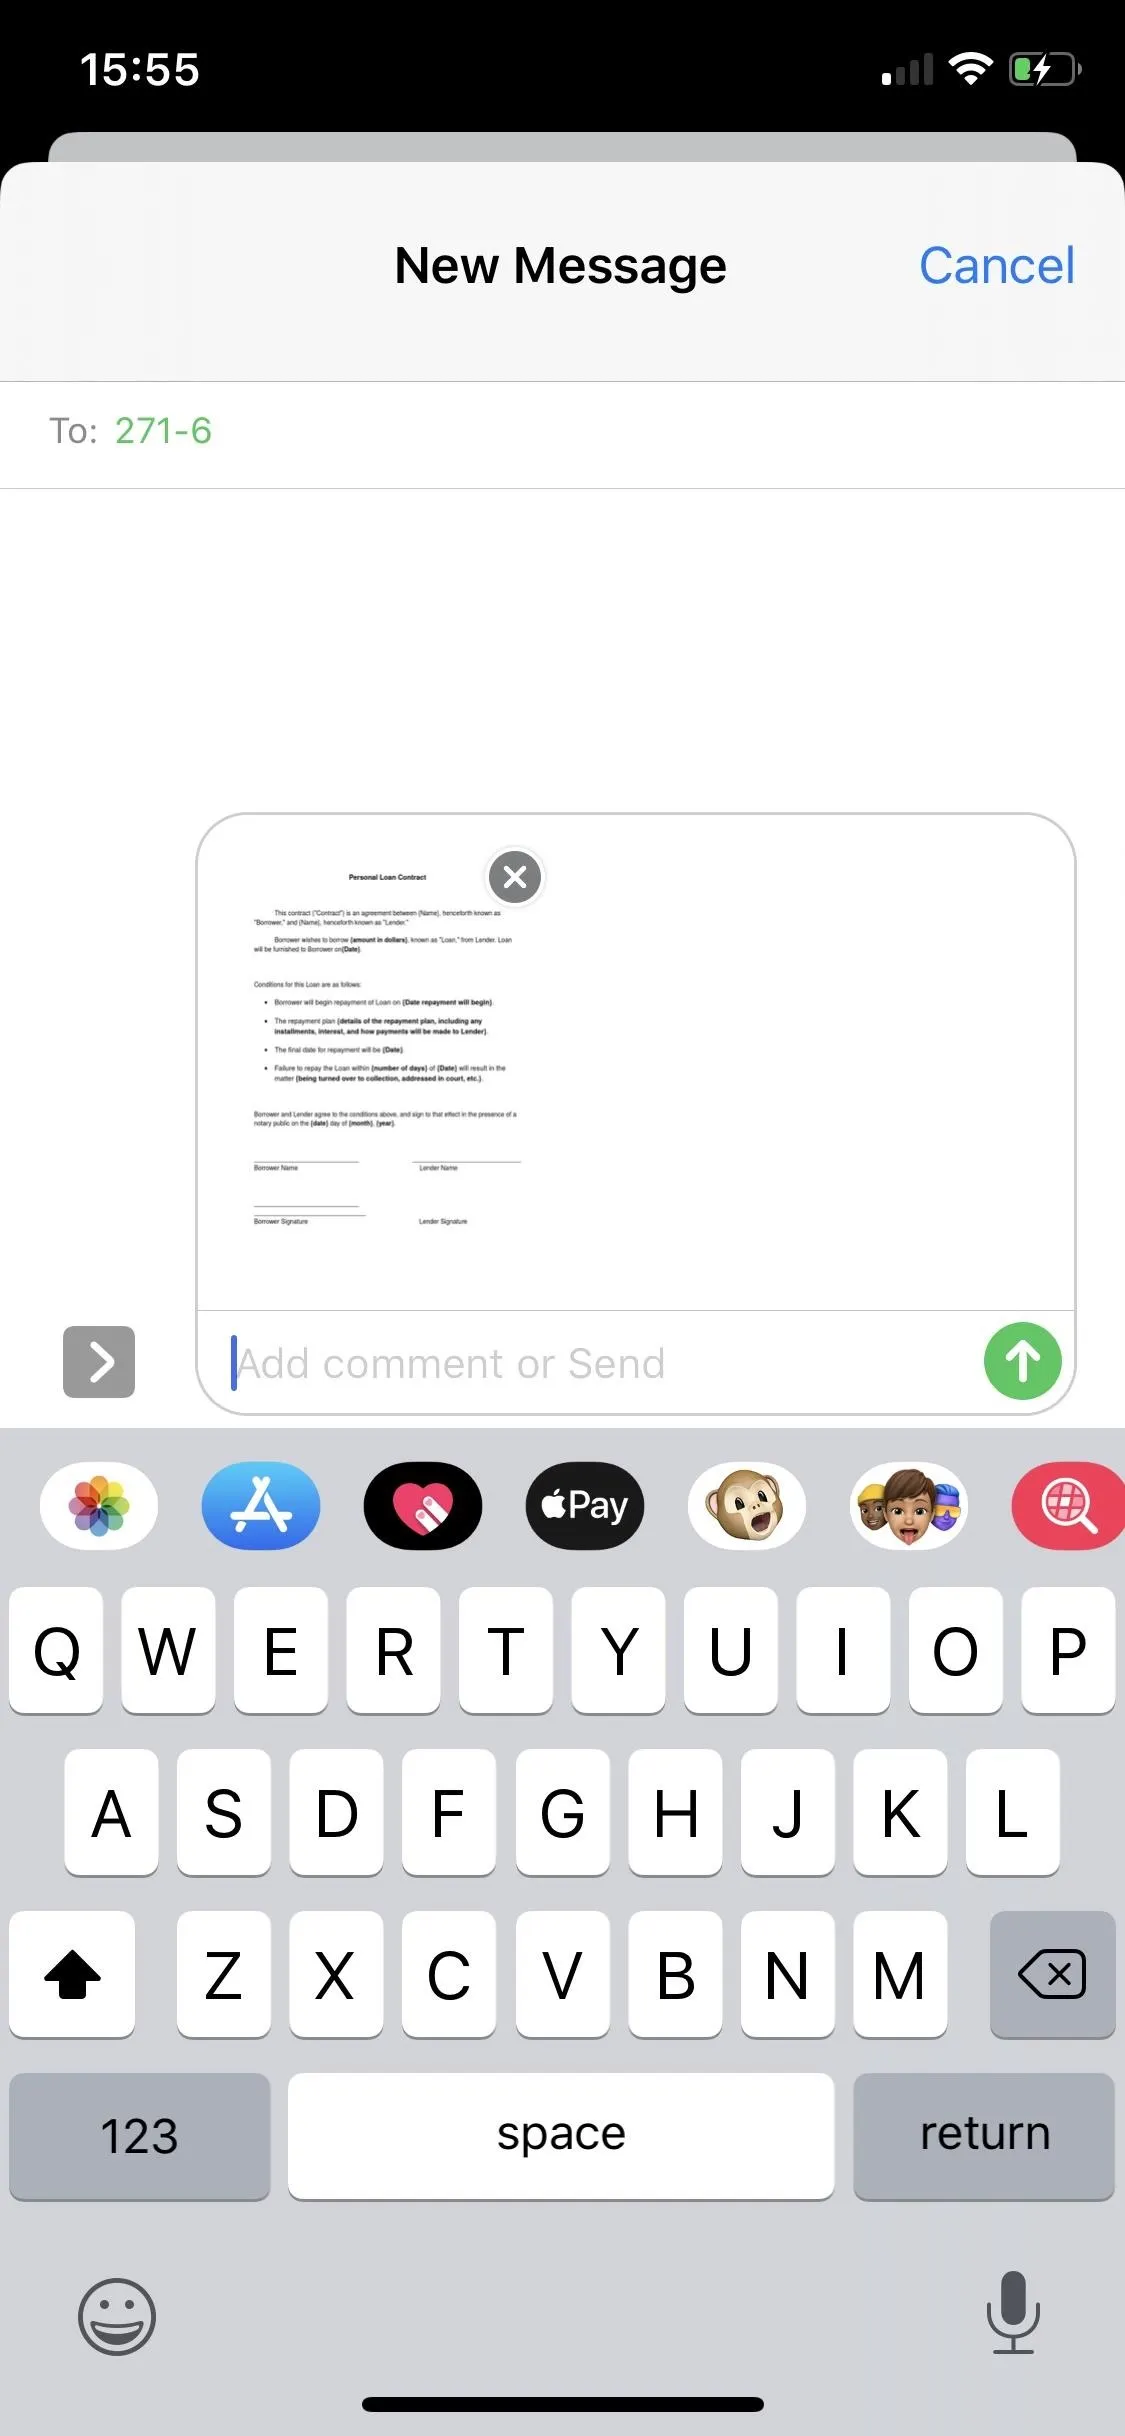
If you intend on sending a signed document via text message or iMessage, you can use Markup in Messages. Open Messages and either create a new message or go into an existing one. Now, tap on the message field, tap on the Photos icon, and select a document from the Photos app. Tap on the photo to bring up more options; "Markup" is in the bottom-left corner.
Notes
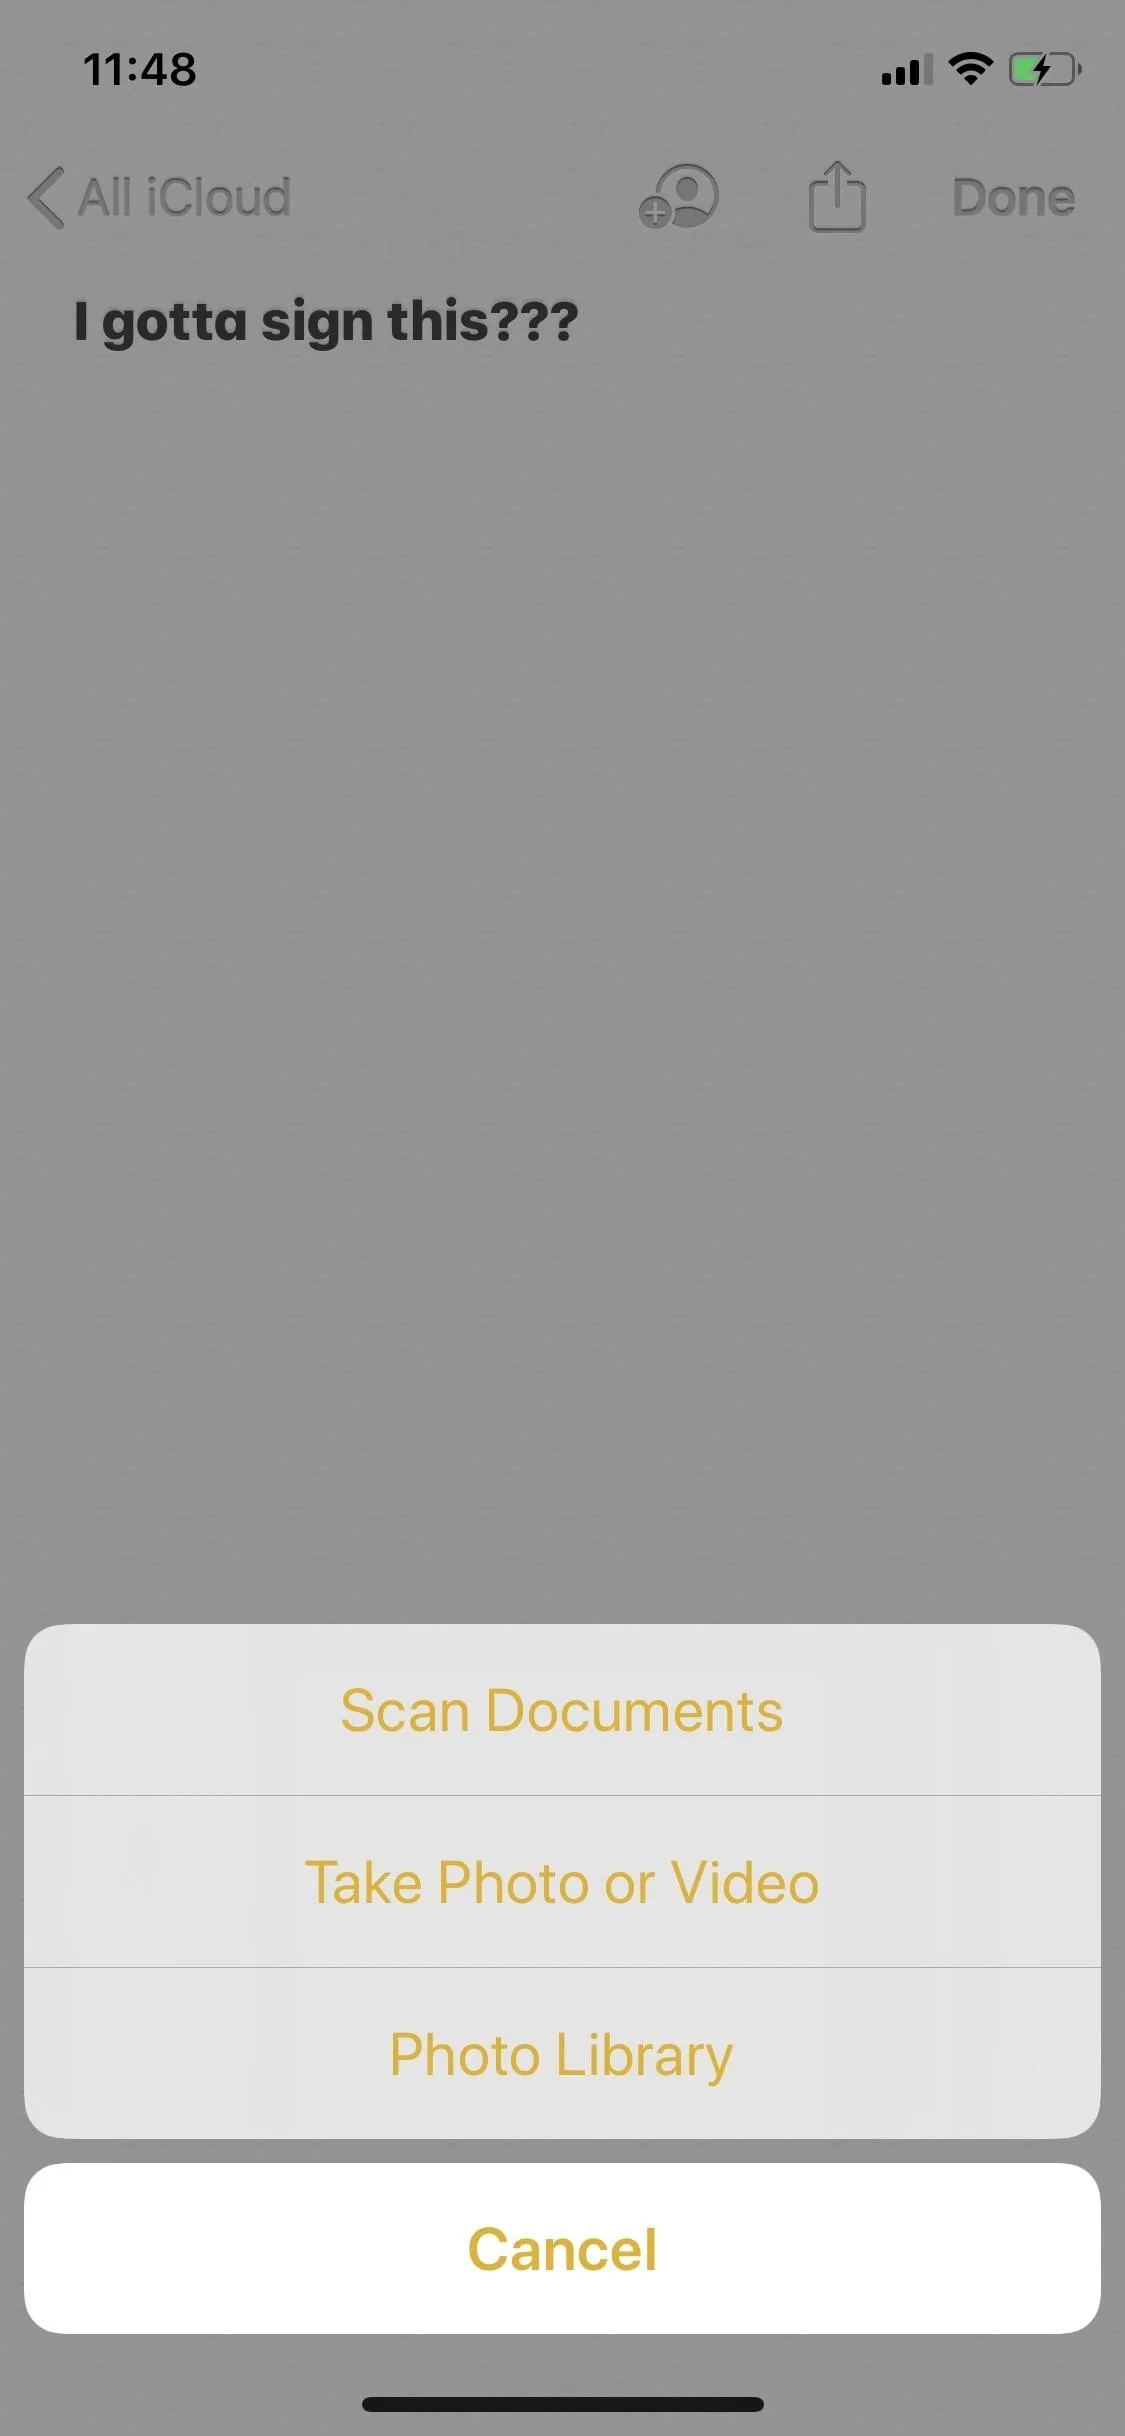
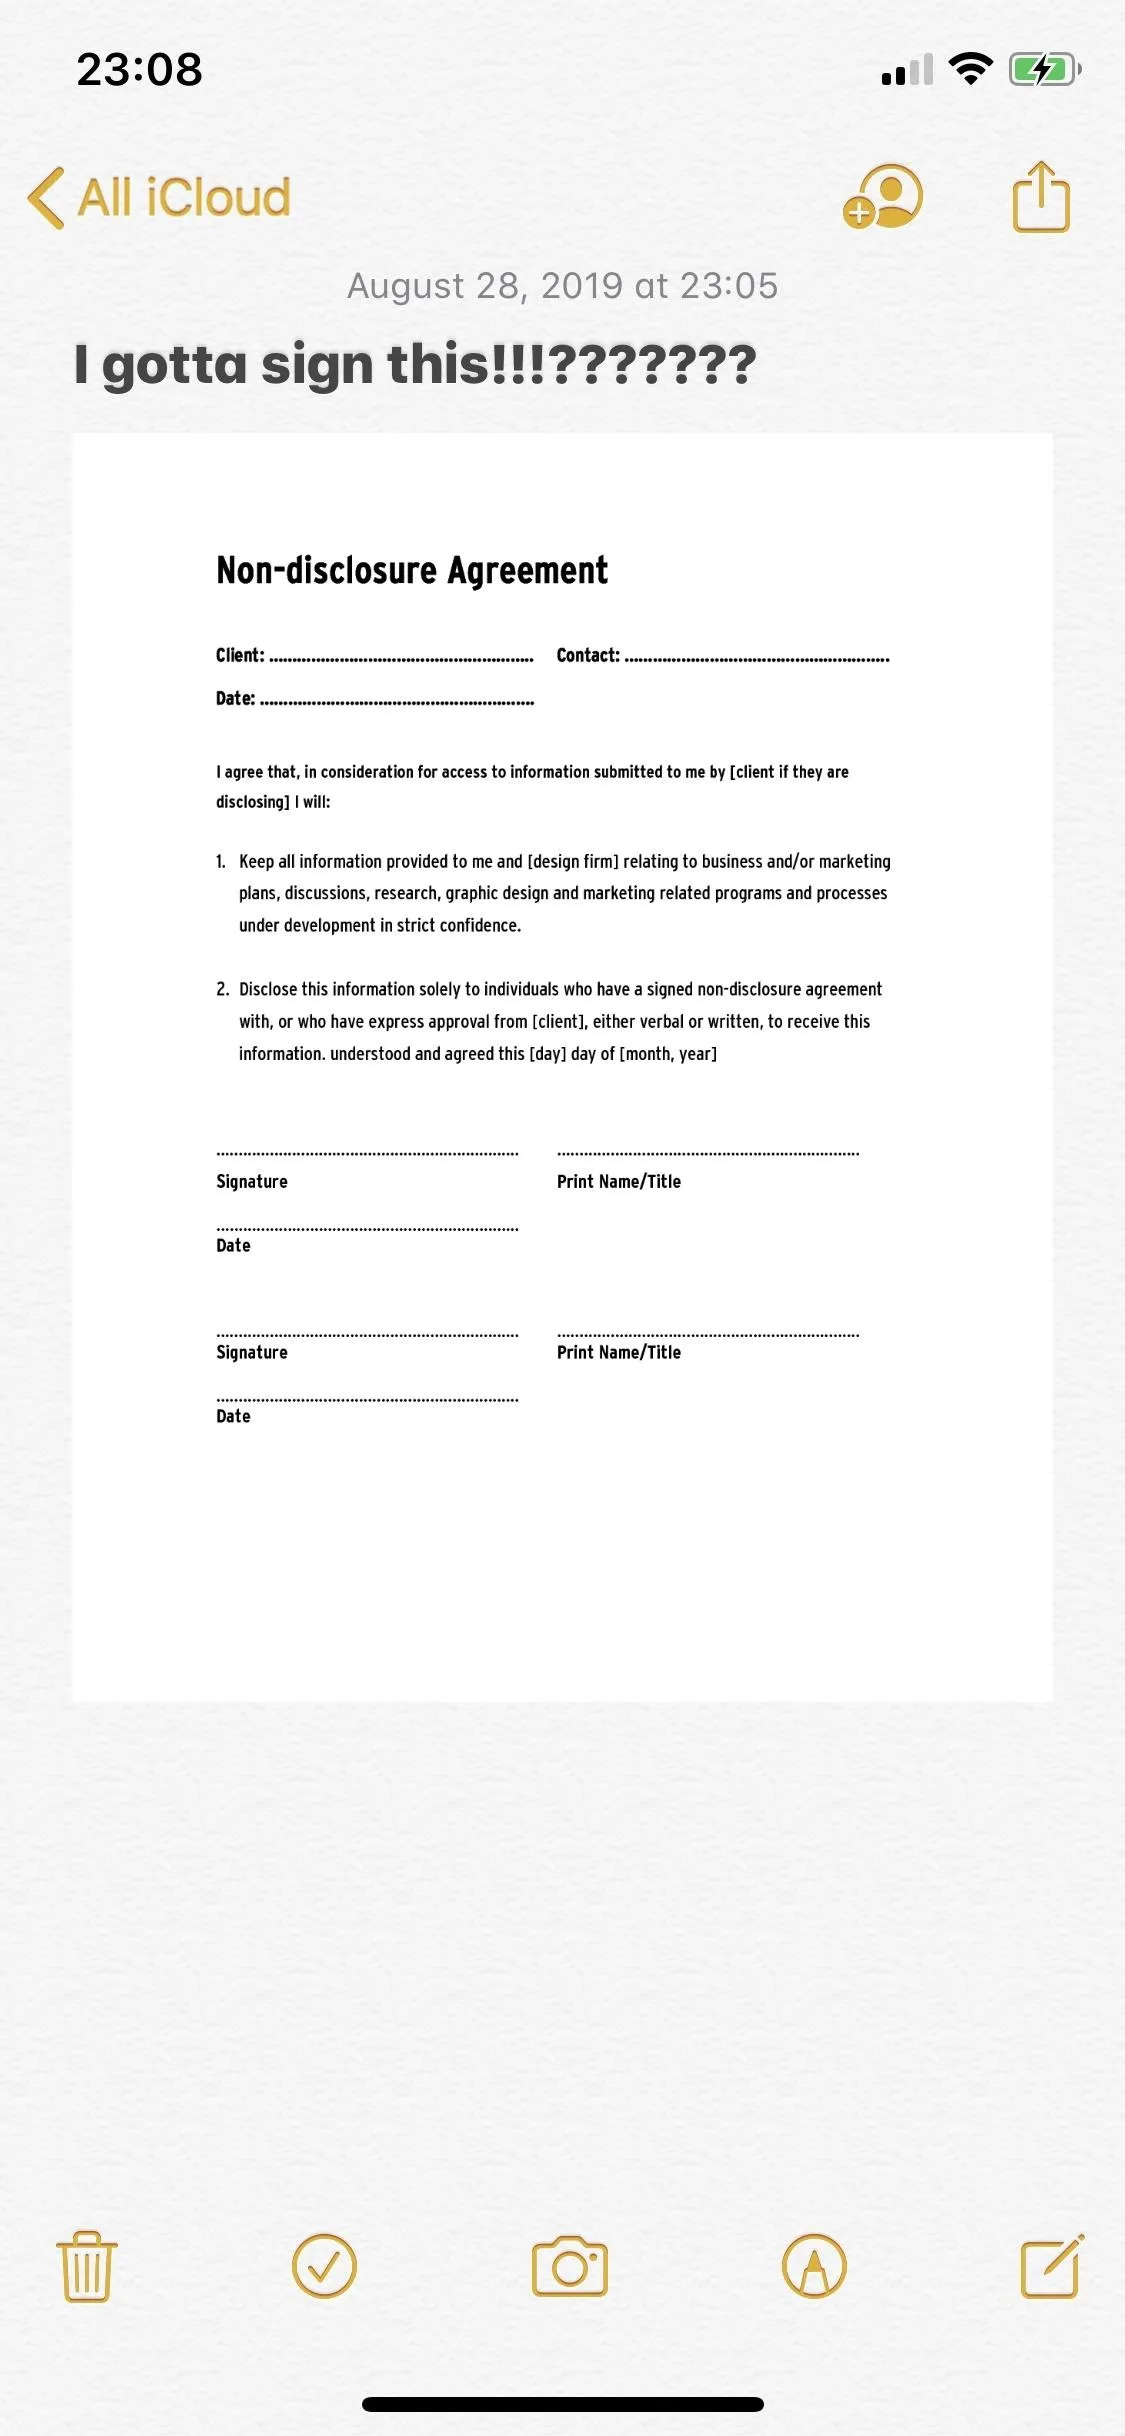
In Notes, you can either use Markup to draw in the note itself or over a document you have inserted into it. If you want to insert a document, you can do so by either tapping on the plus sign at the bottom (iOS 12) or on the camera icon at the bottom (iOS 13).
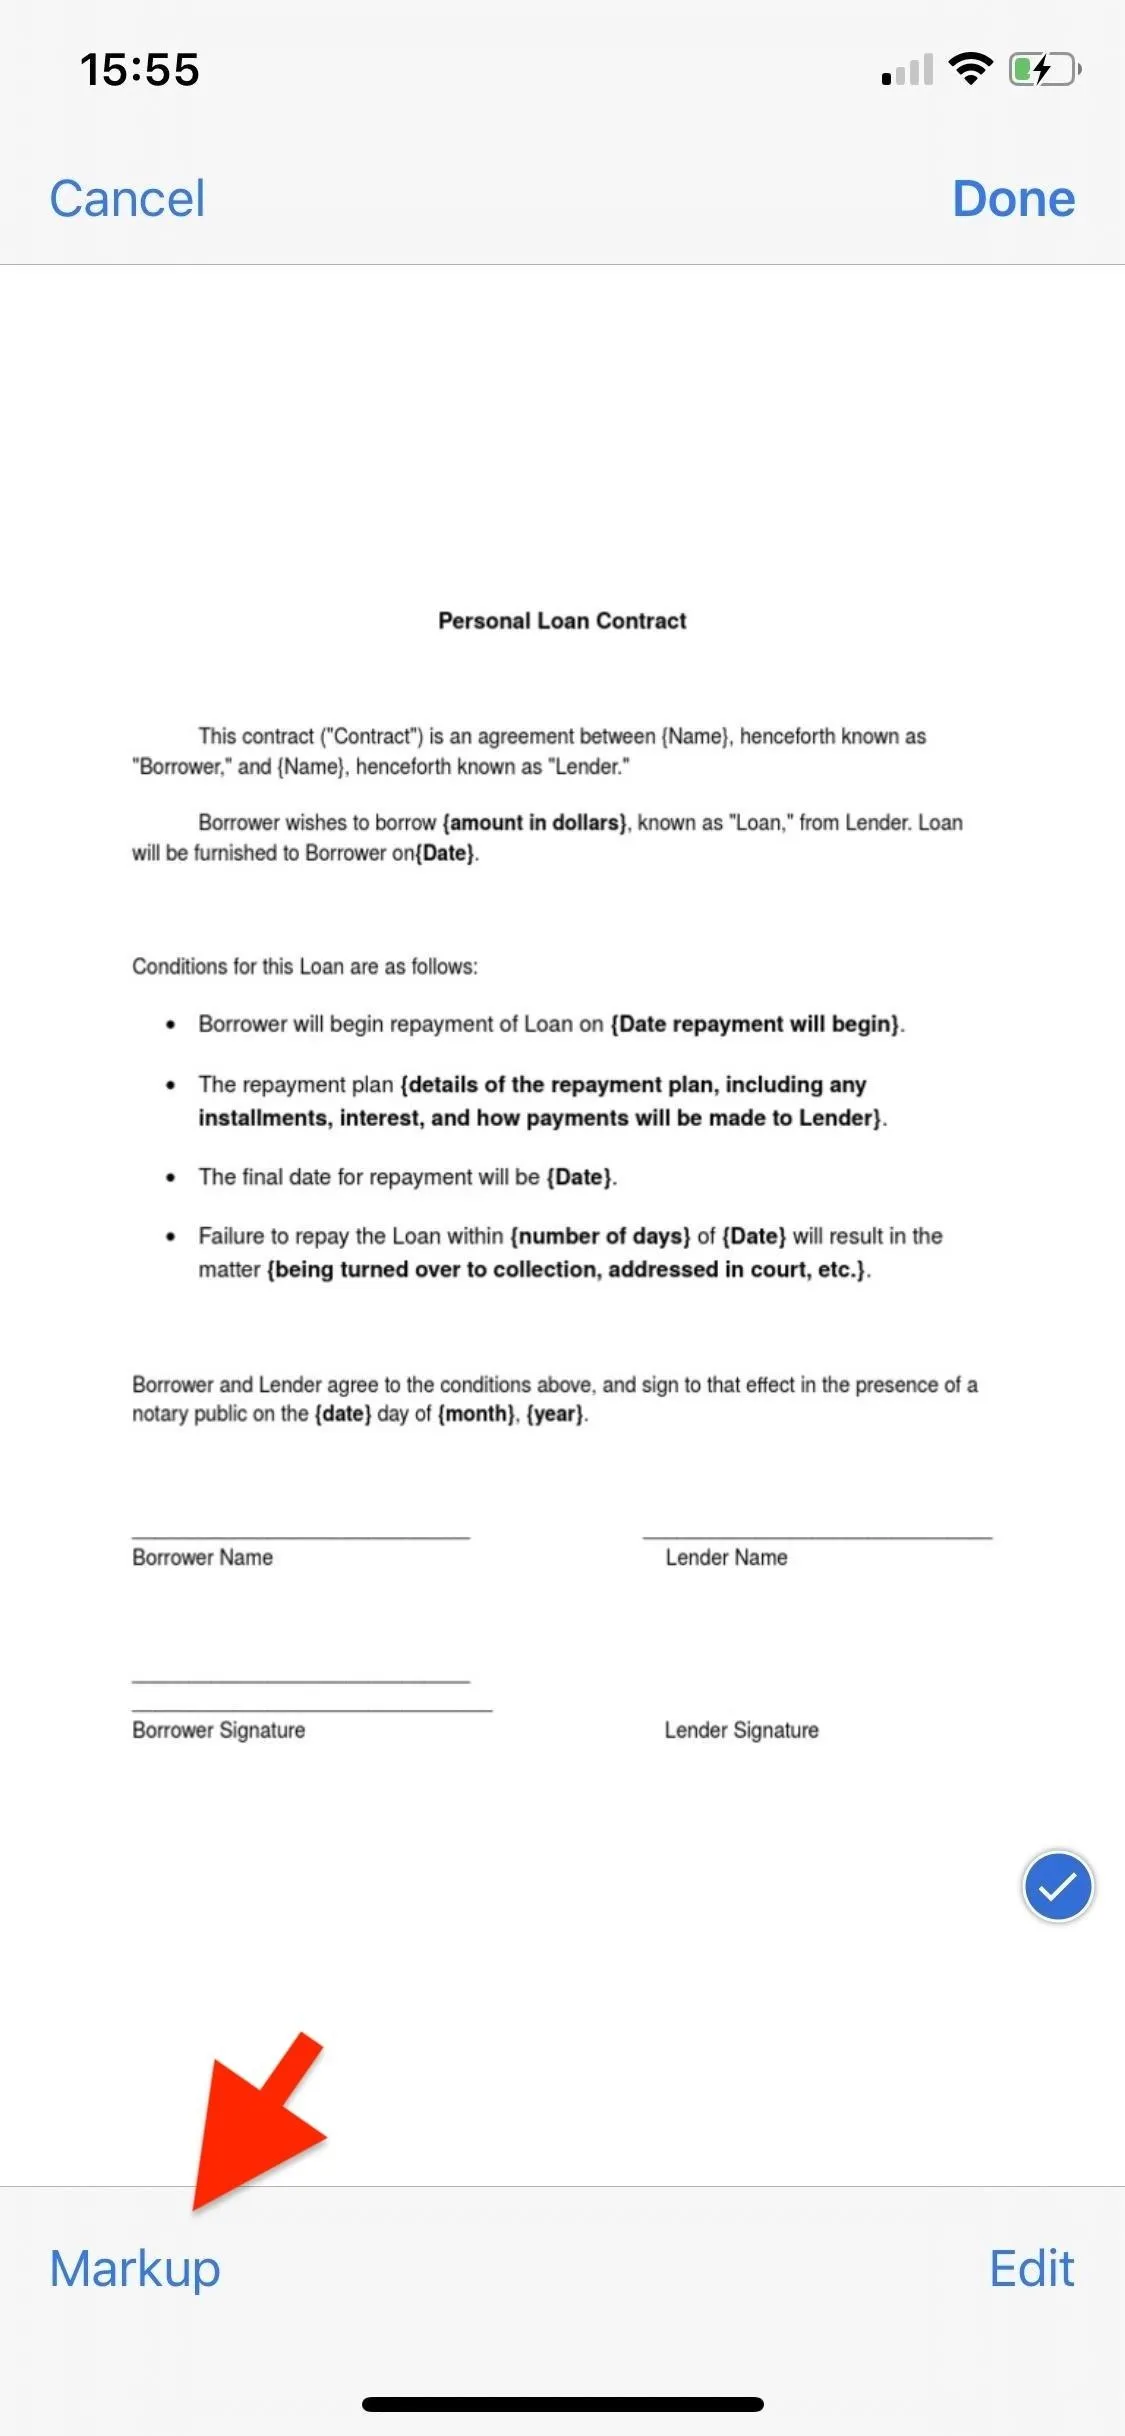
You can scan a document with your camera, take a photo, or insert a document from your photo library. Once the document is inserted into the note, tap on it and tap on the "Markup" icon in the top-right. If you want to use Markup on the note itself, simply tap on the Markup icon in the bottom-right.
Photos
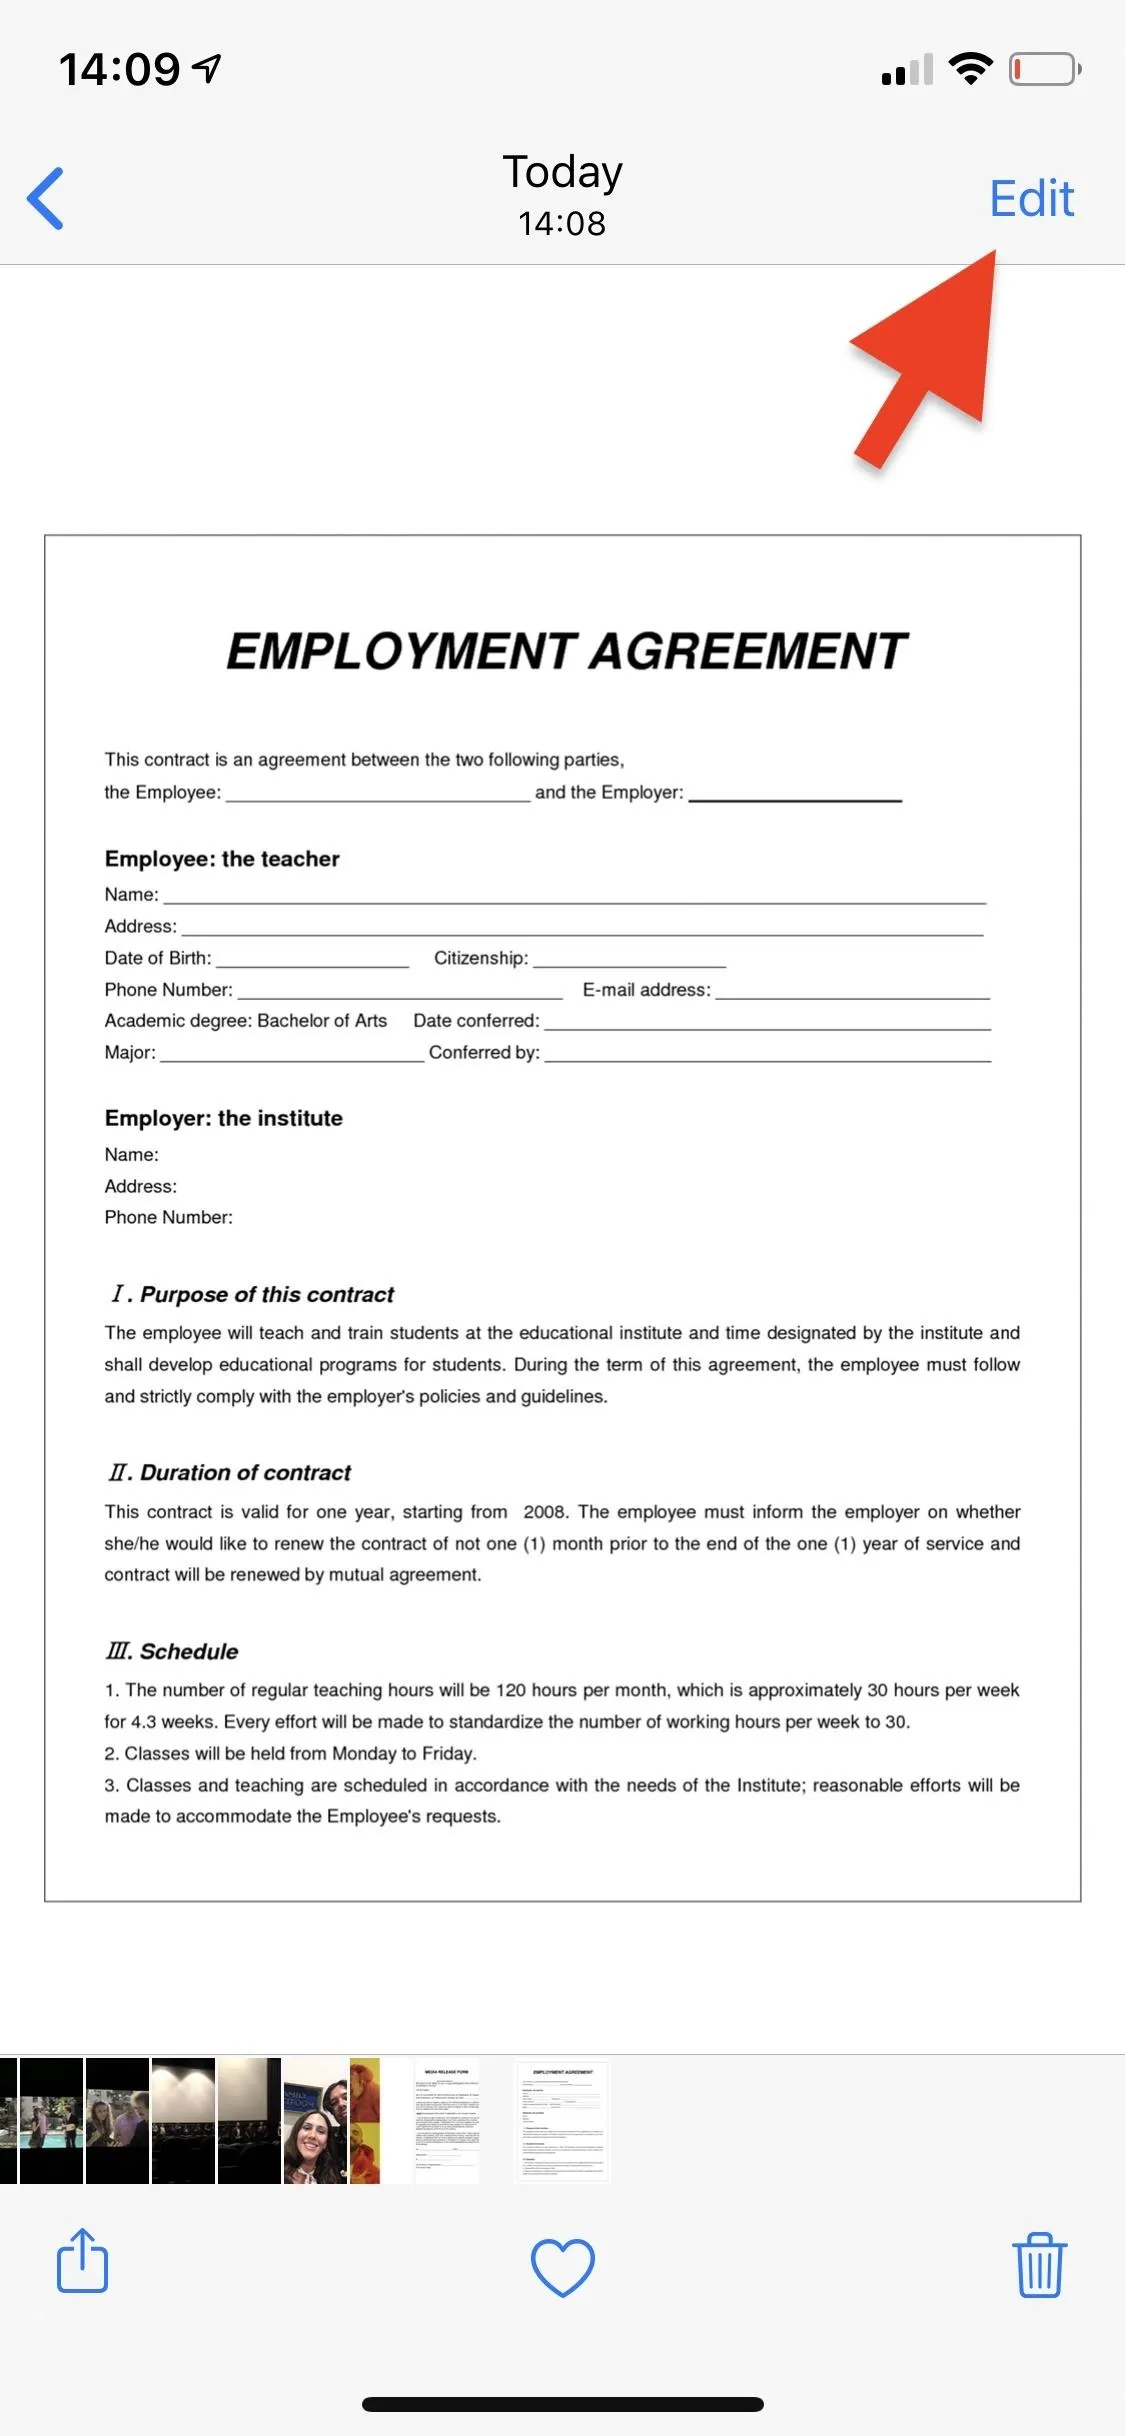
If you don't want to send a signed document right away, you can enter your signature from inside the Photos application. On iOS 12, tap on the photo, tap "Edit" in the top-right, and then hit the three-dot menu icon in the top-middle. A few options will appear, including Markup.
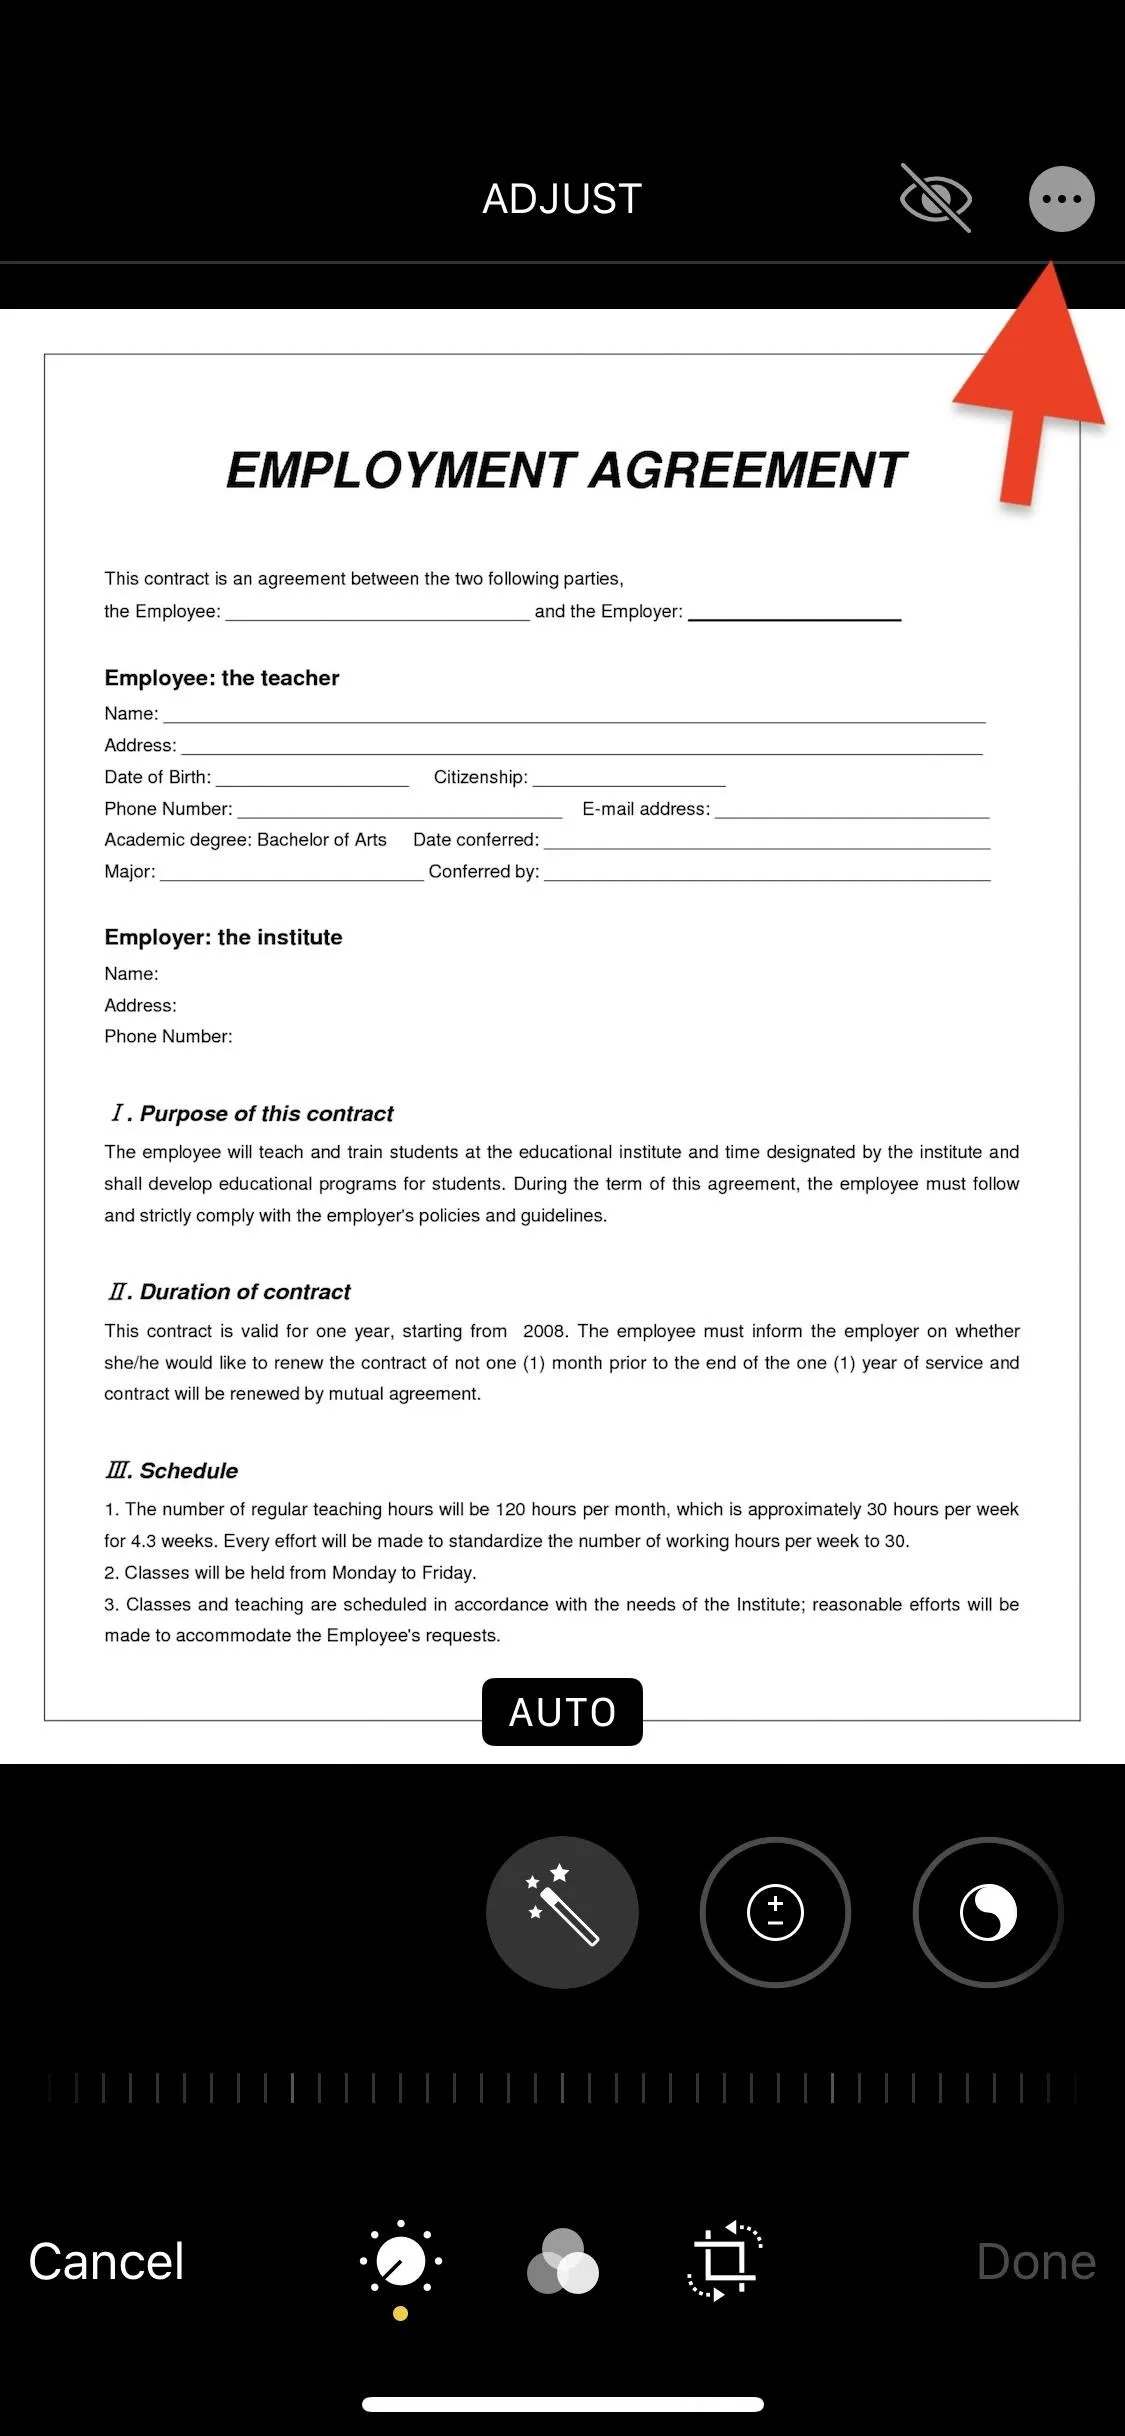
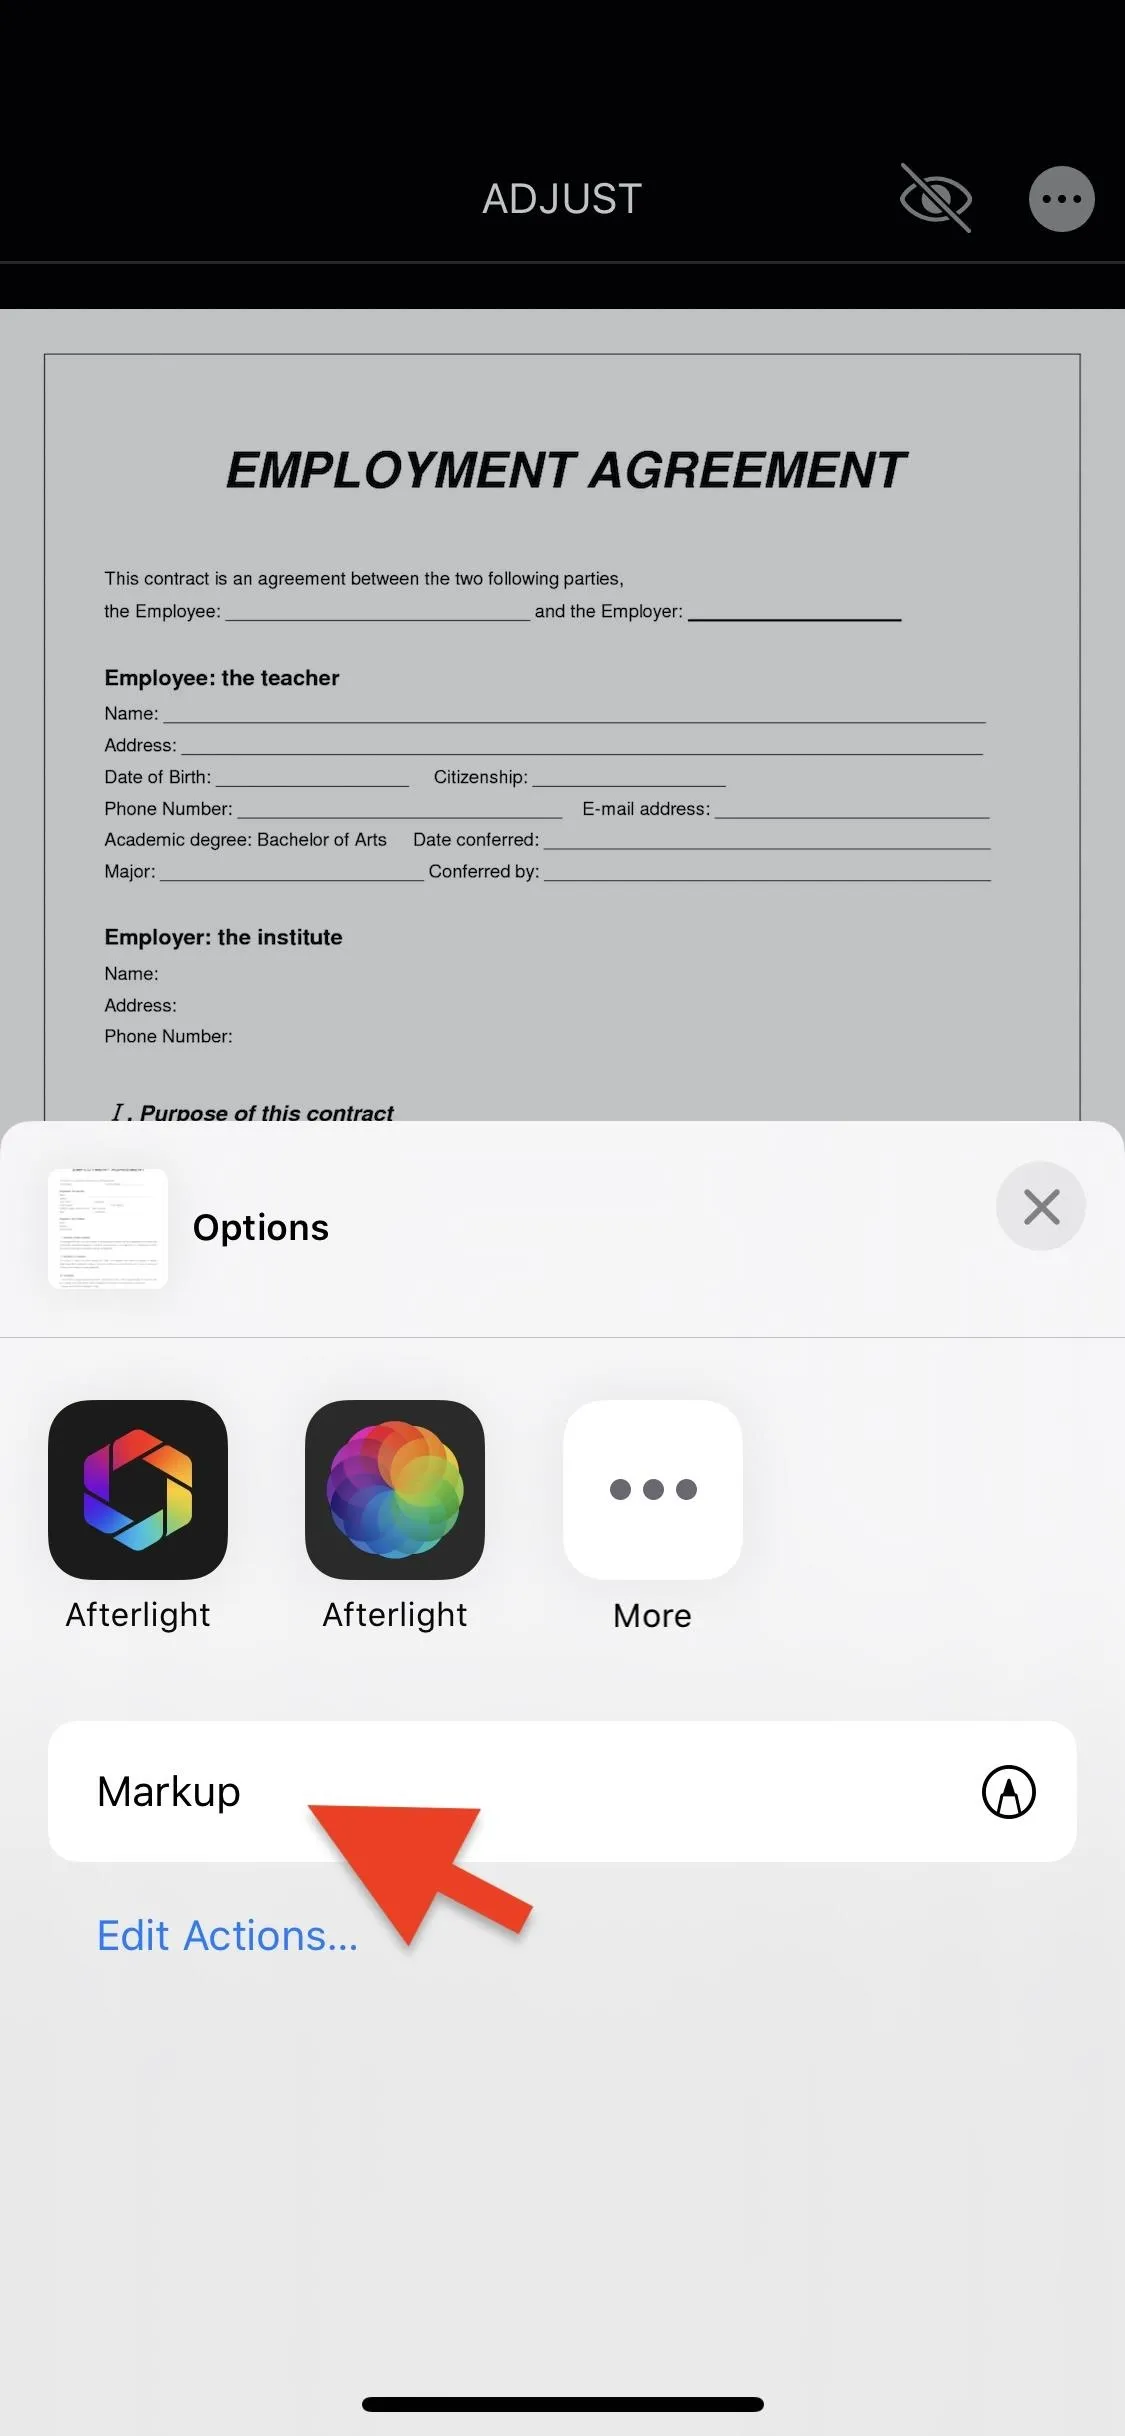
If you're on iOS 13, the process is similar. Open the photo you want to add your signature to and then tap on "Edit" in the top-right corner. Next, tap on the three-dot circle icon in the top-right and then on the "Markup" option that appears in the Share Sheet.
Safari
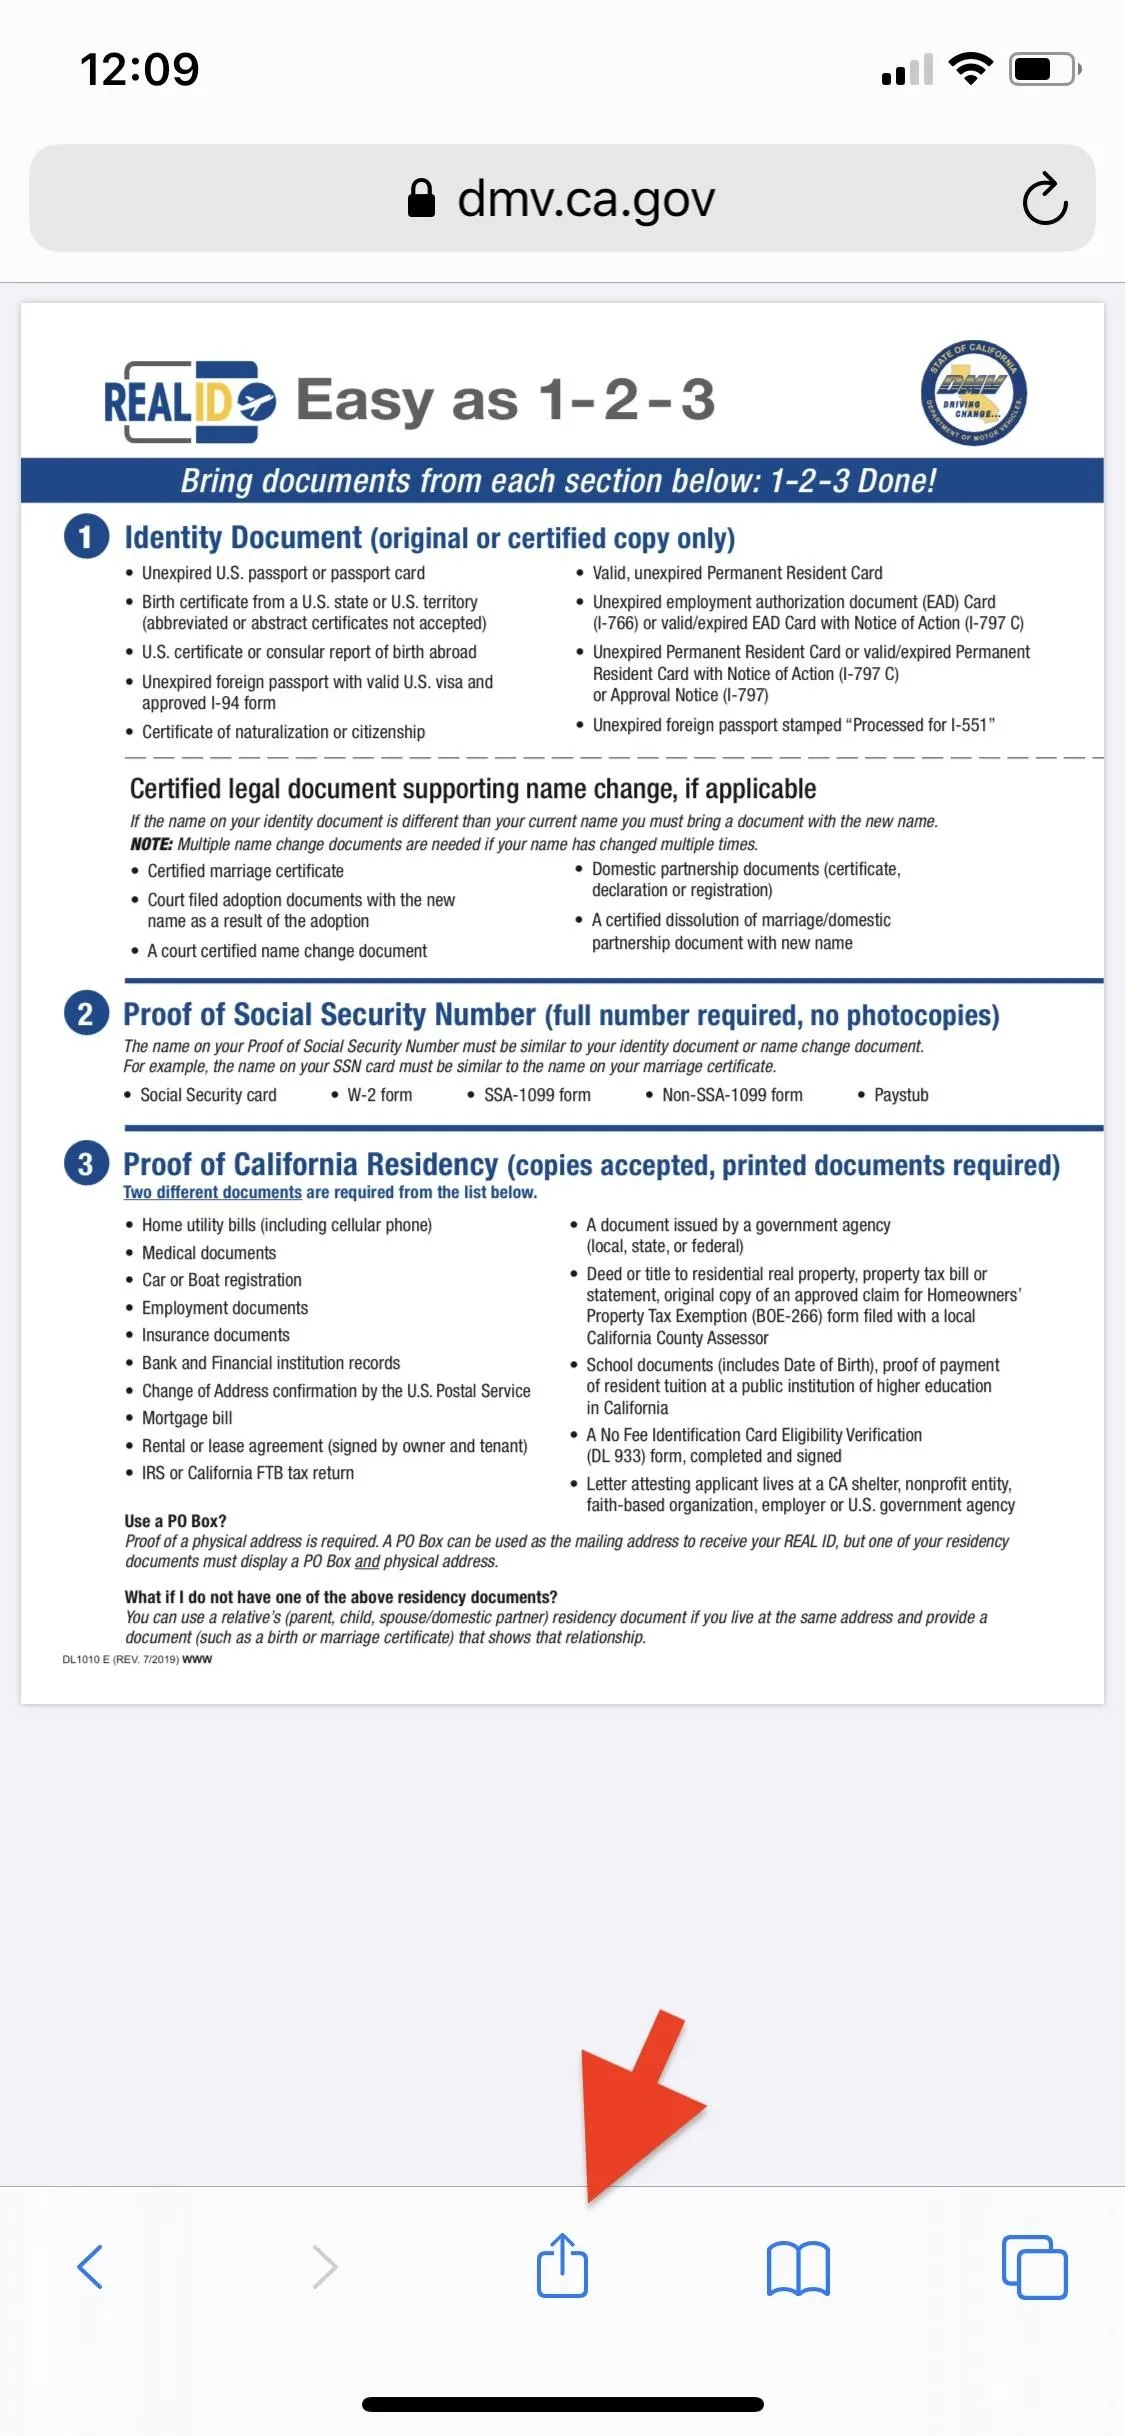
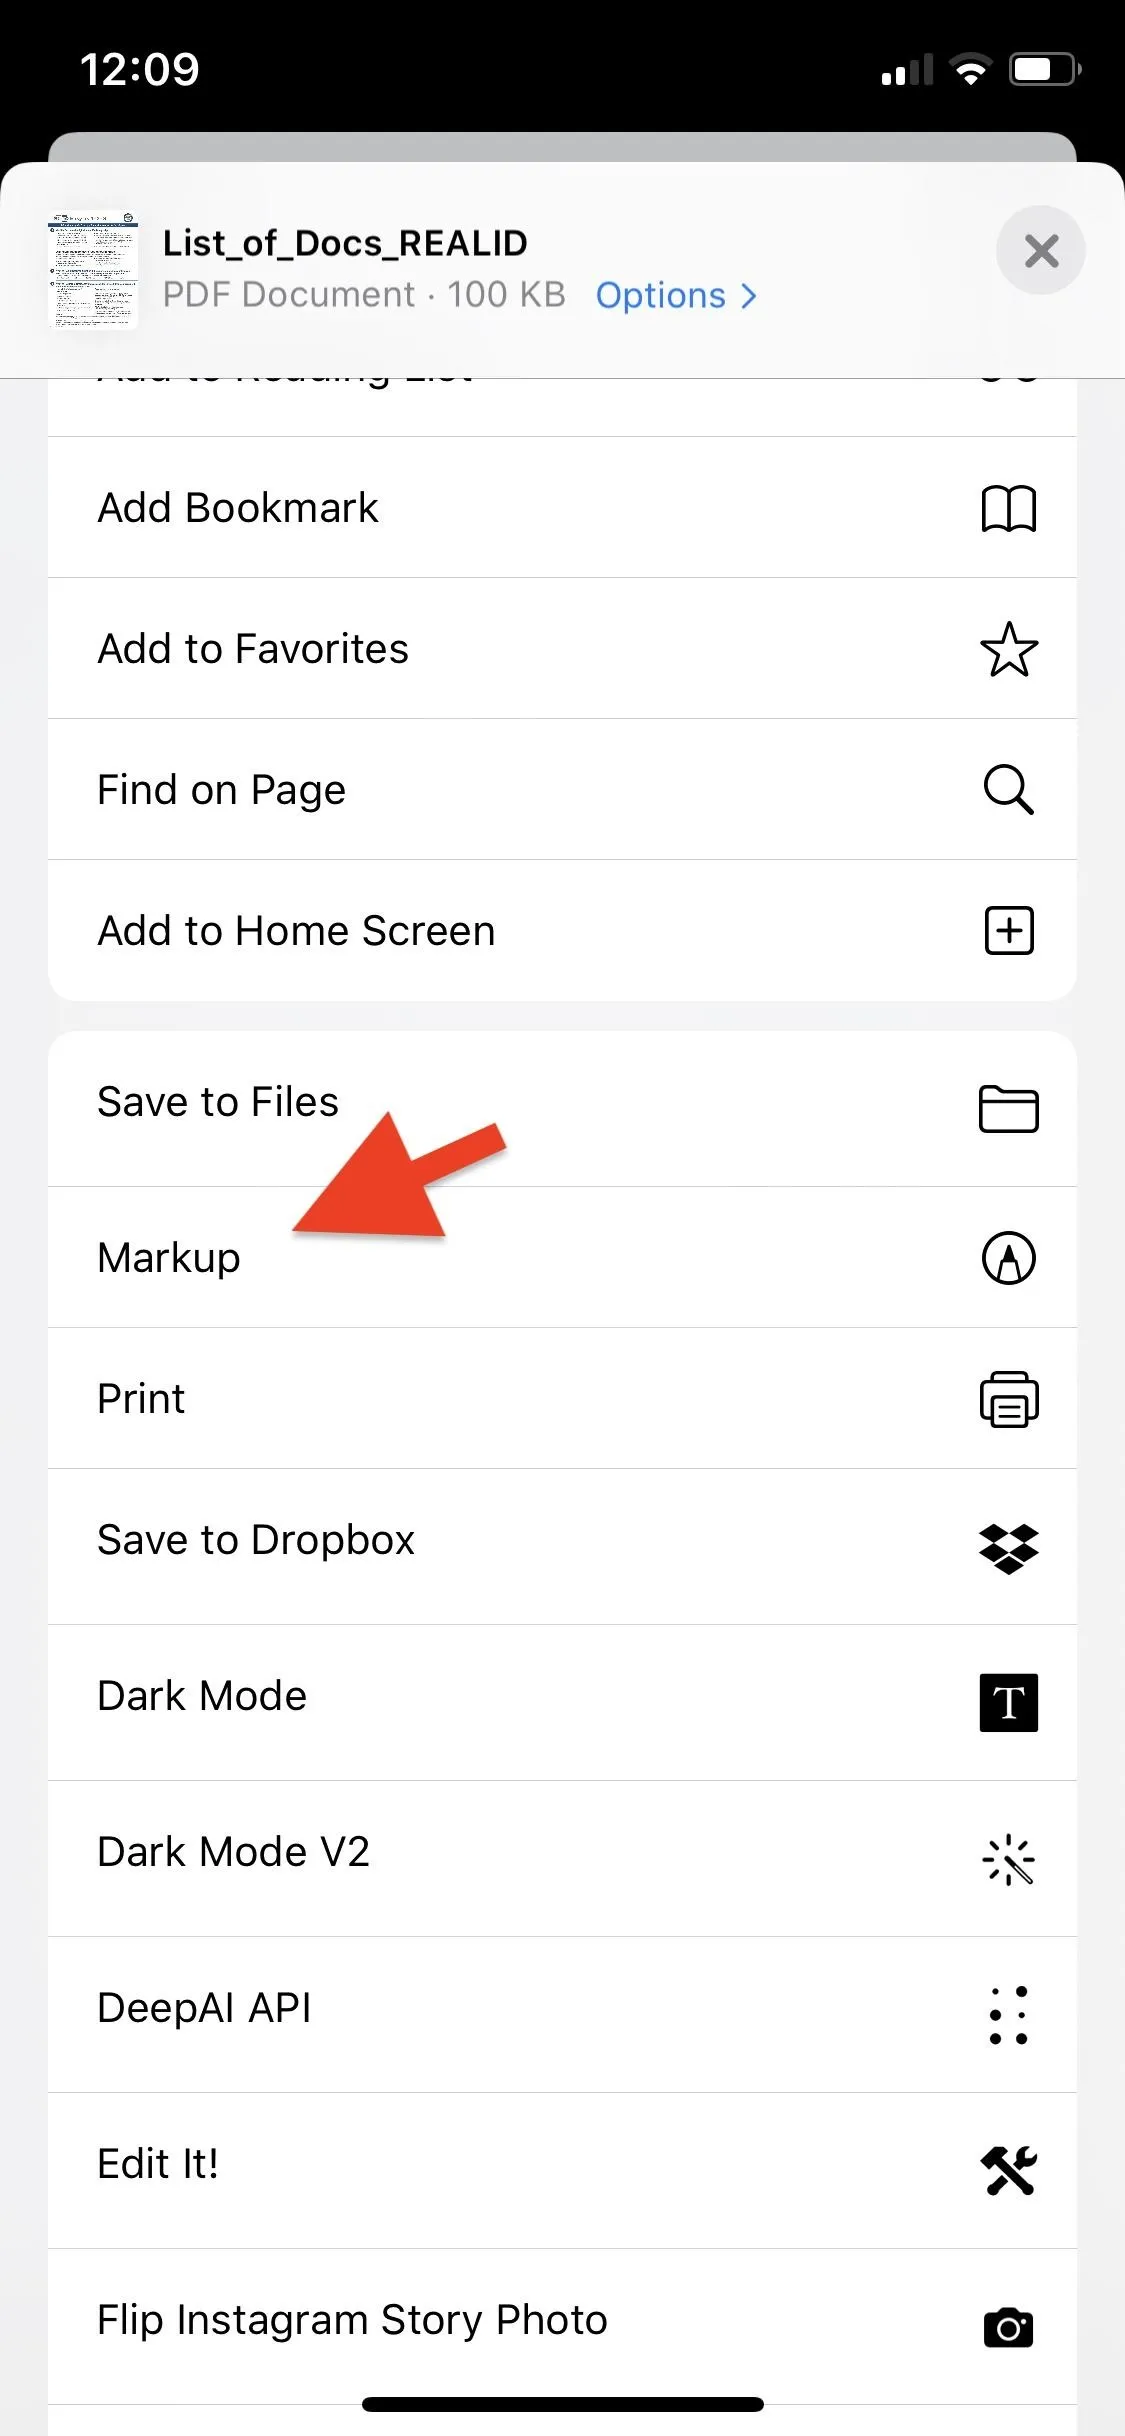
Anytime you view a PDF from a website in Safari, you can use Markup to add your signature. Simply open Safari, head to a PDF, tap on the share icon on the bottom, and then select "Markup" from the options that appear.
Open Signature Tool
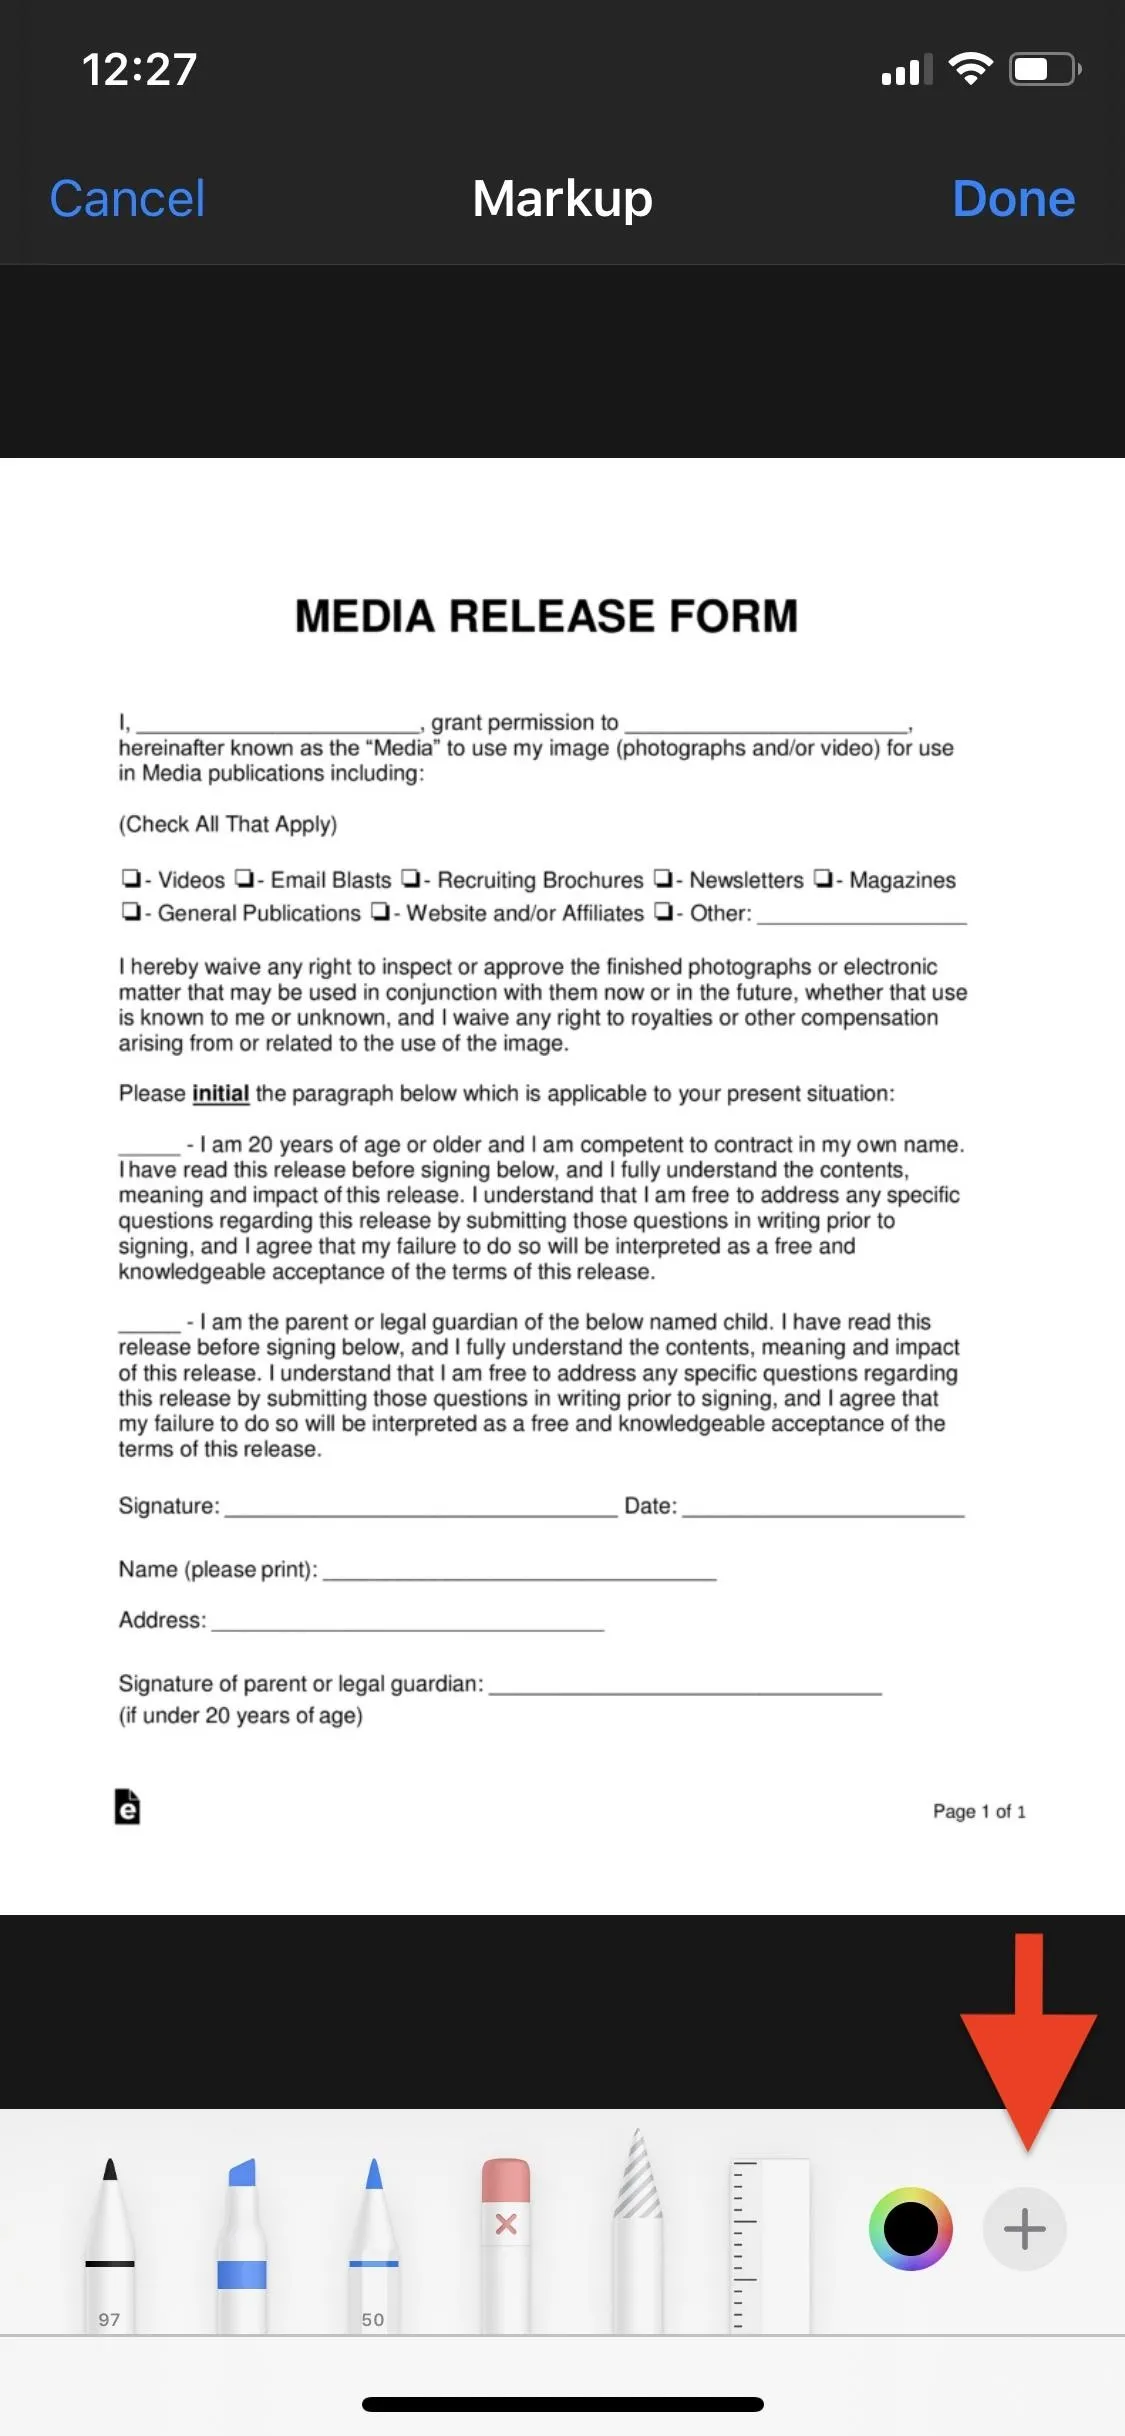
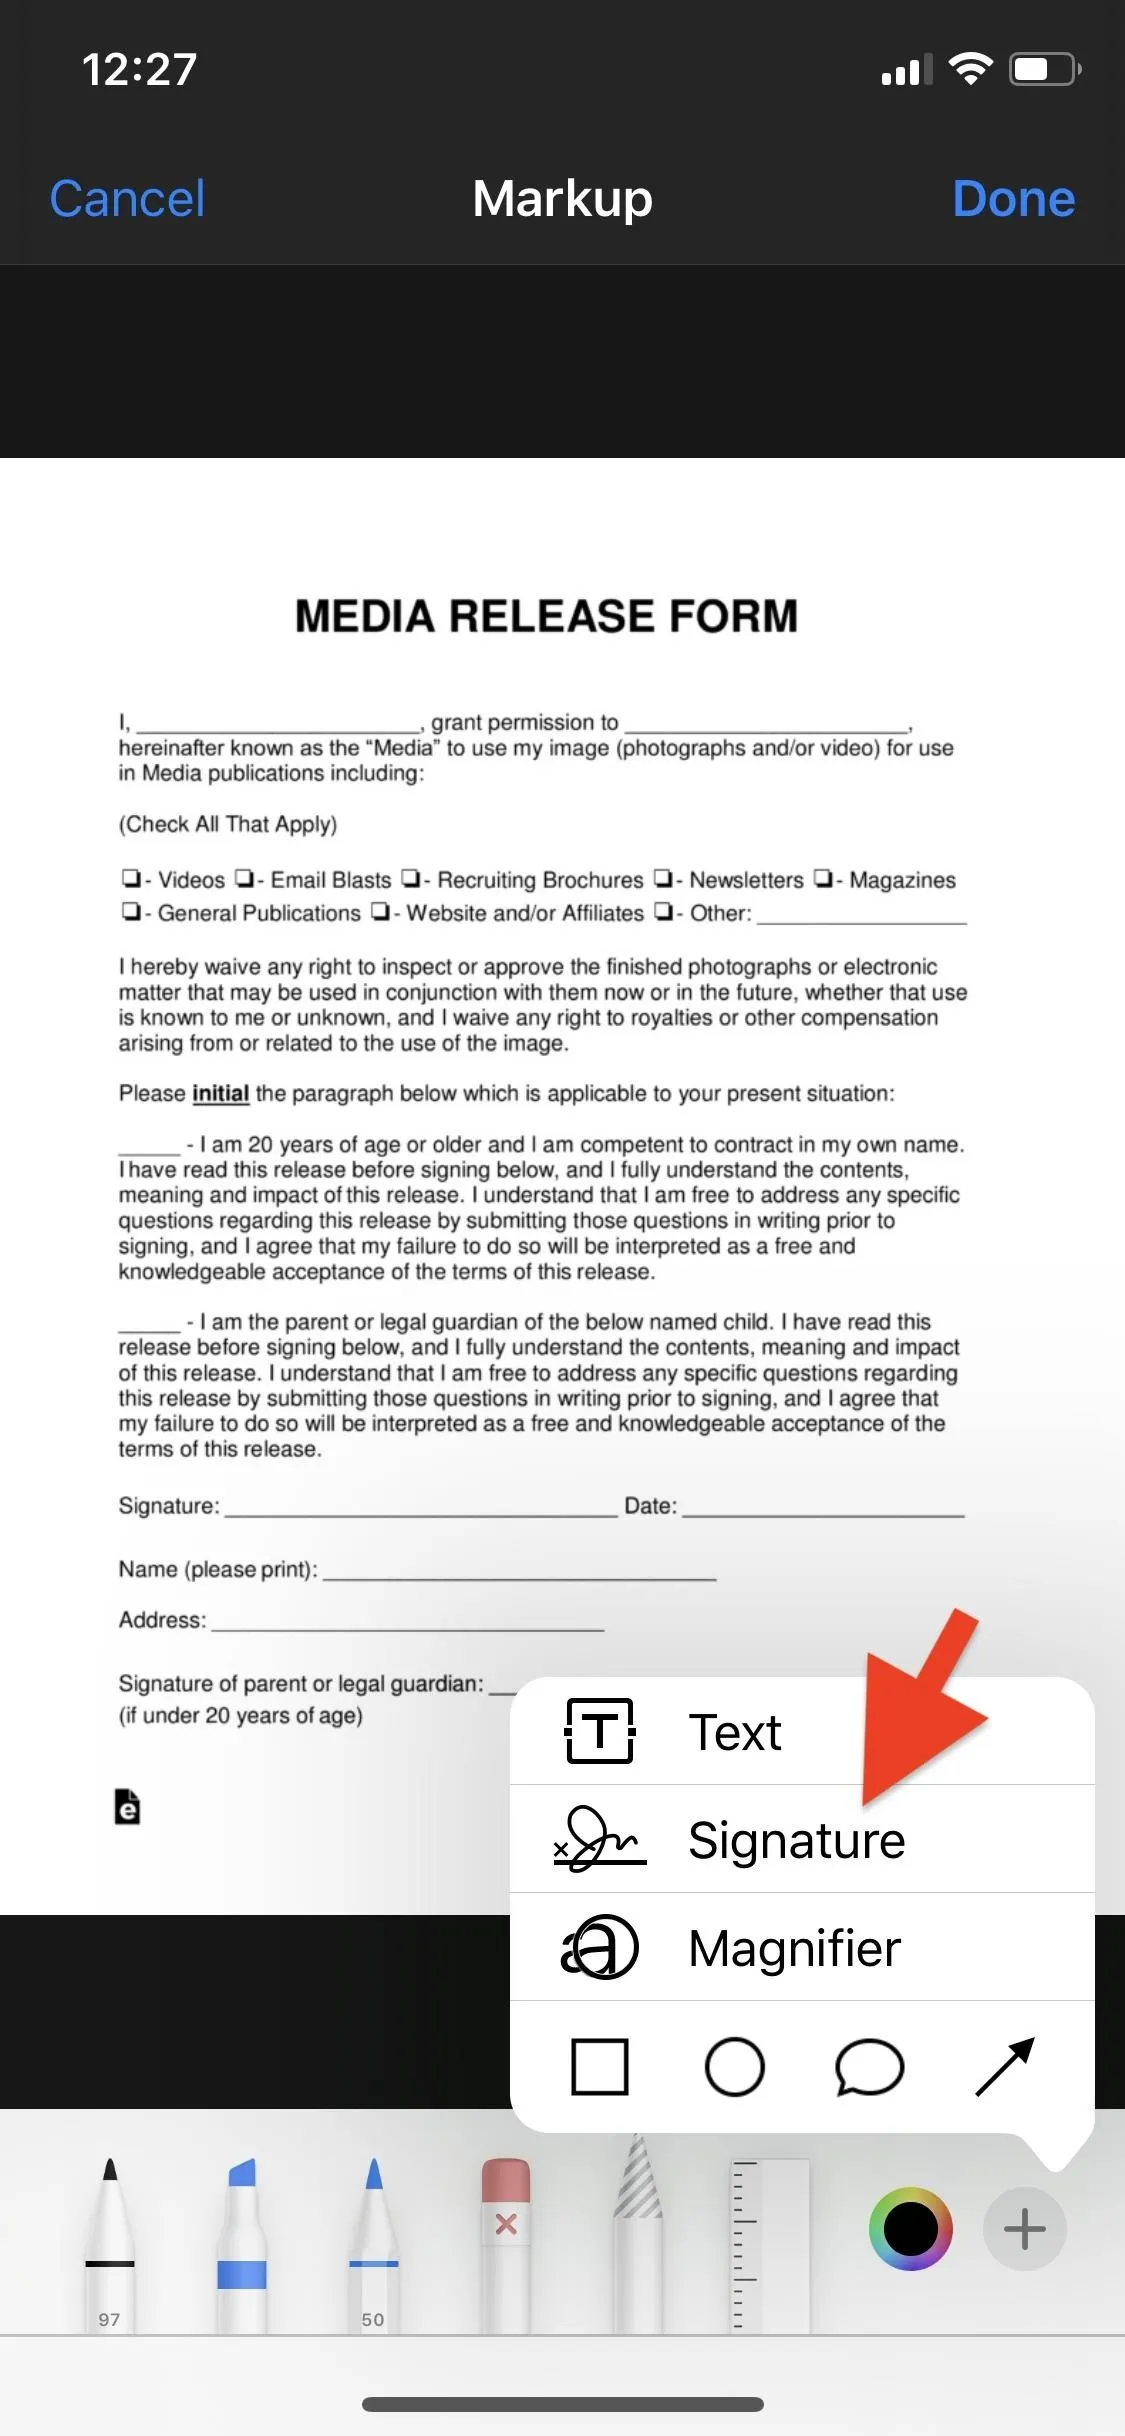
Now that you have Markup open, it's time to add your signature. Below, we'll be using screenshots from Markup inside of Photos, but you can easily follow along from whichever application you're using. Inside of Markup, tap on the plus sign icon at the bottom-right and then on "Signature."
Create a New Signature (If You Don't Have One Saved)
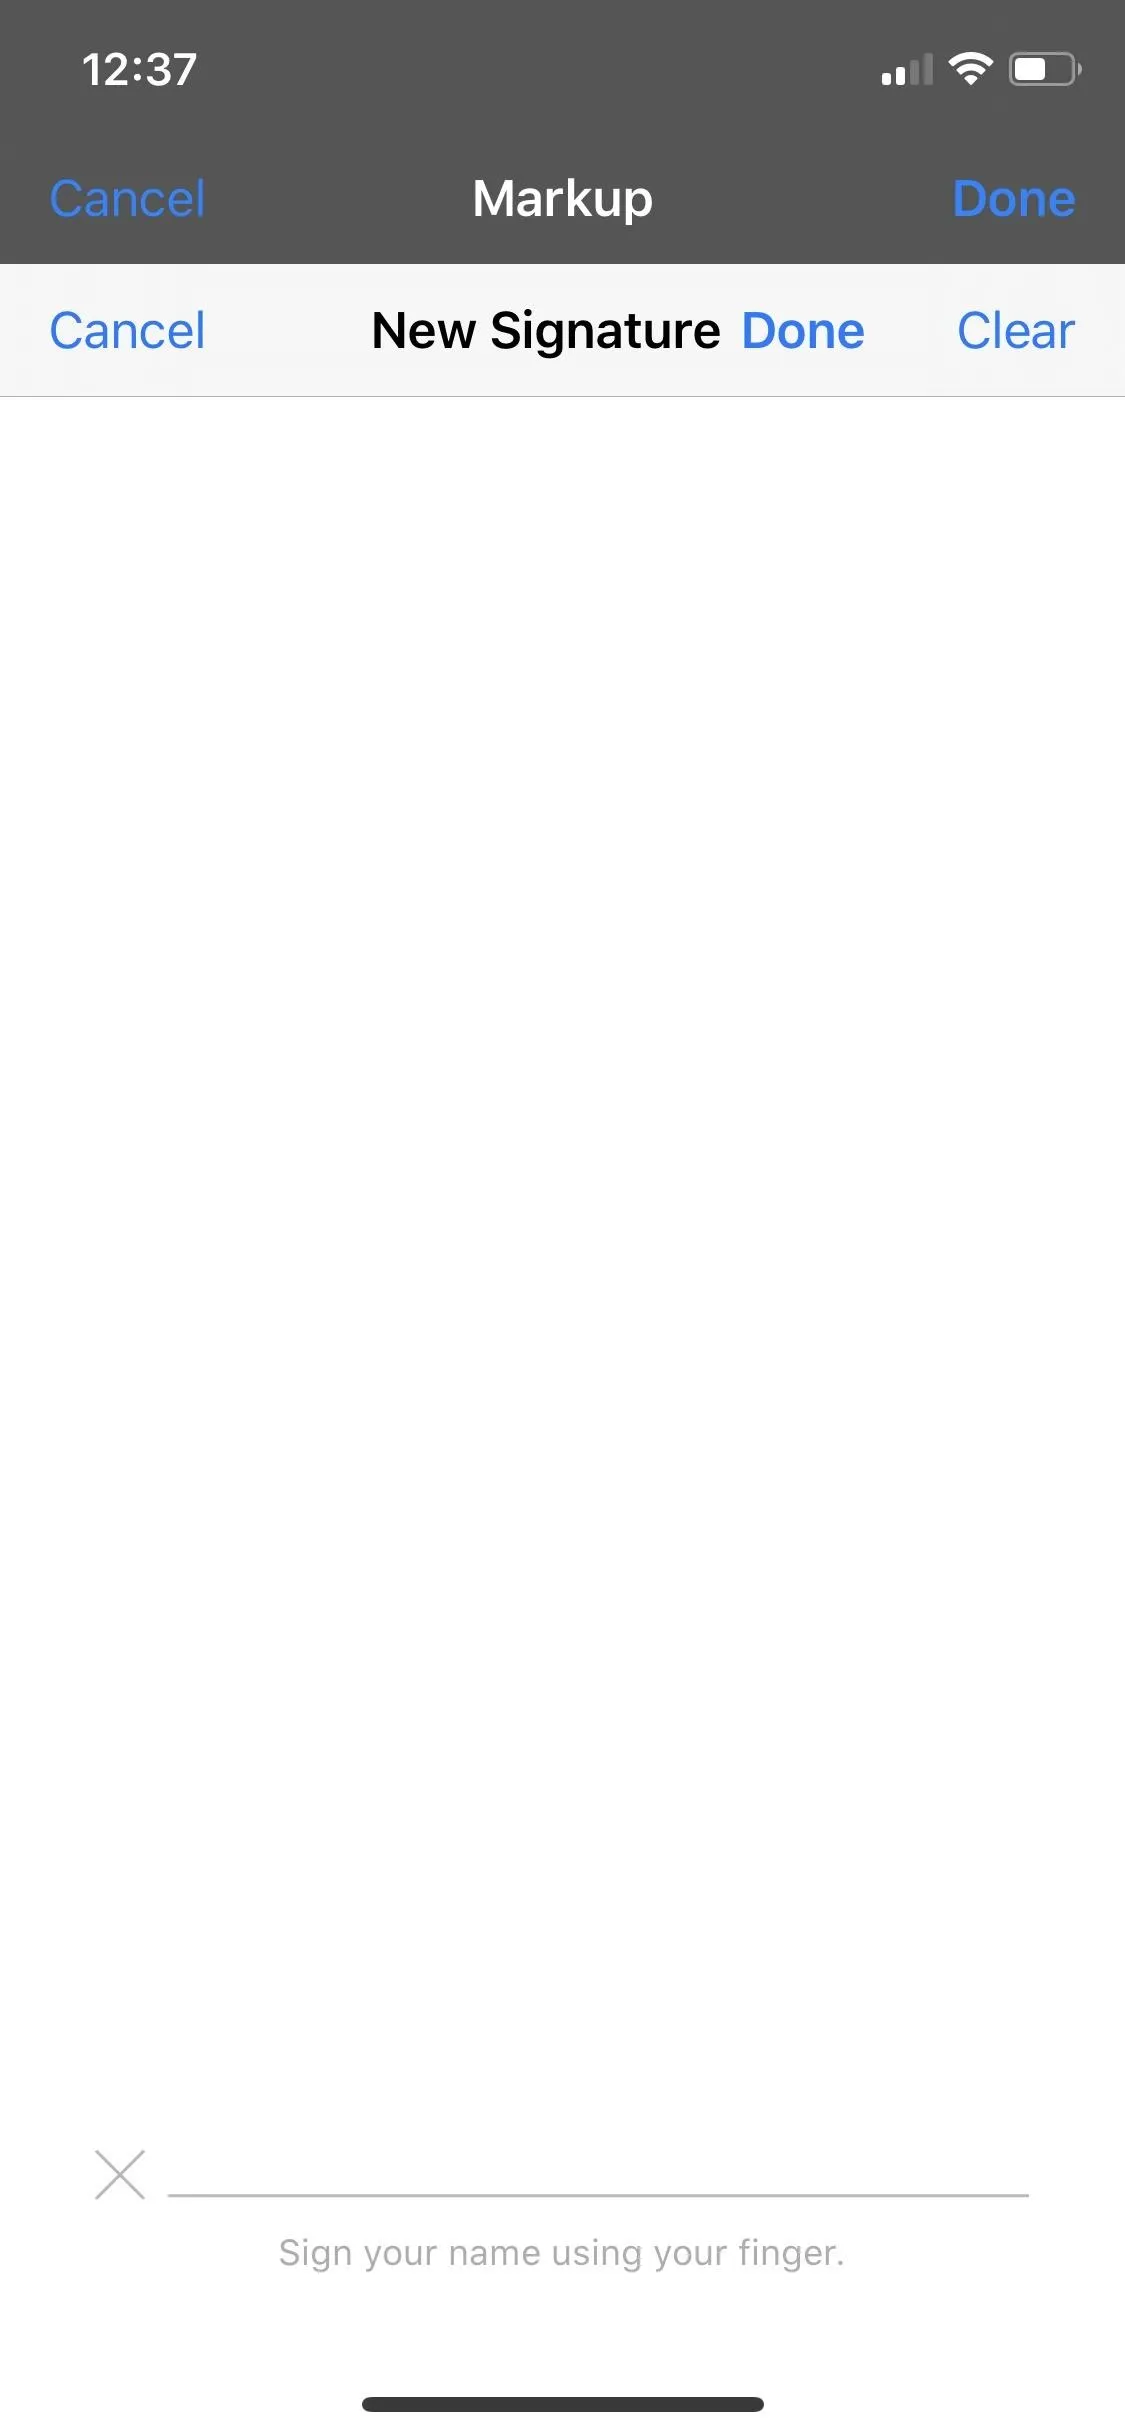
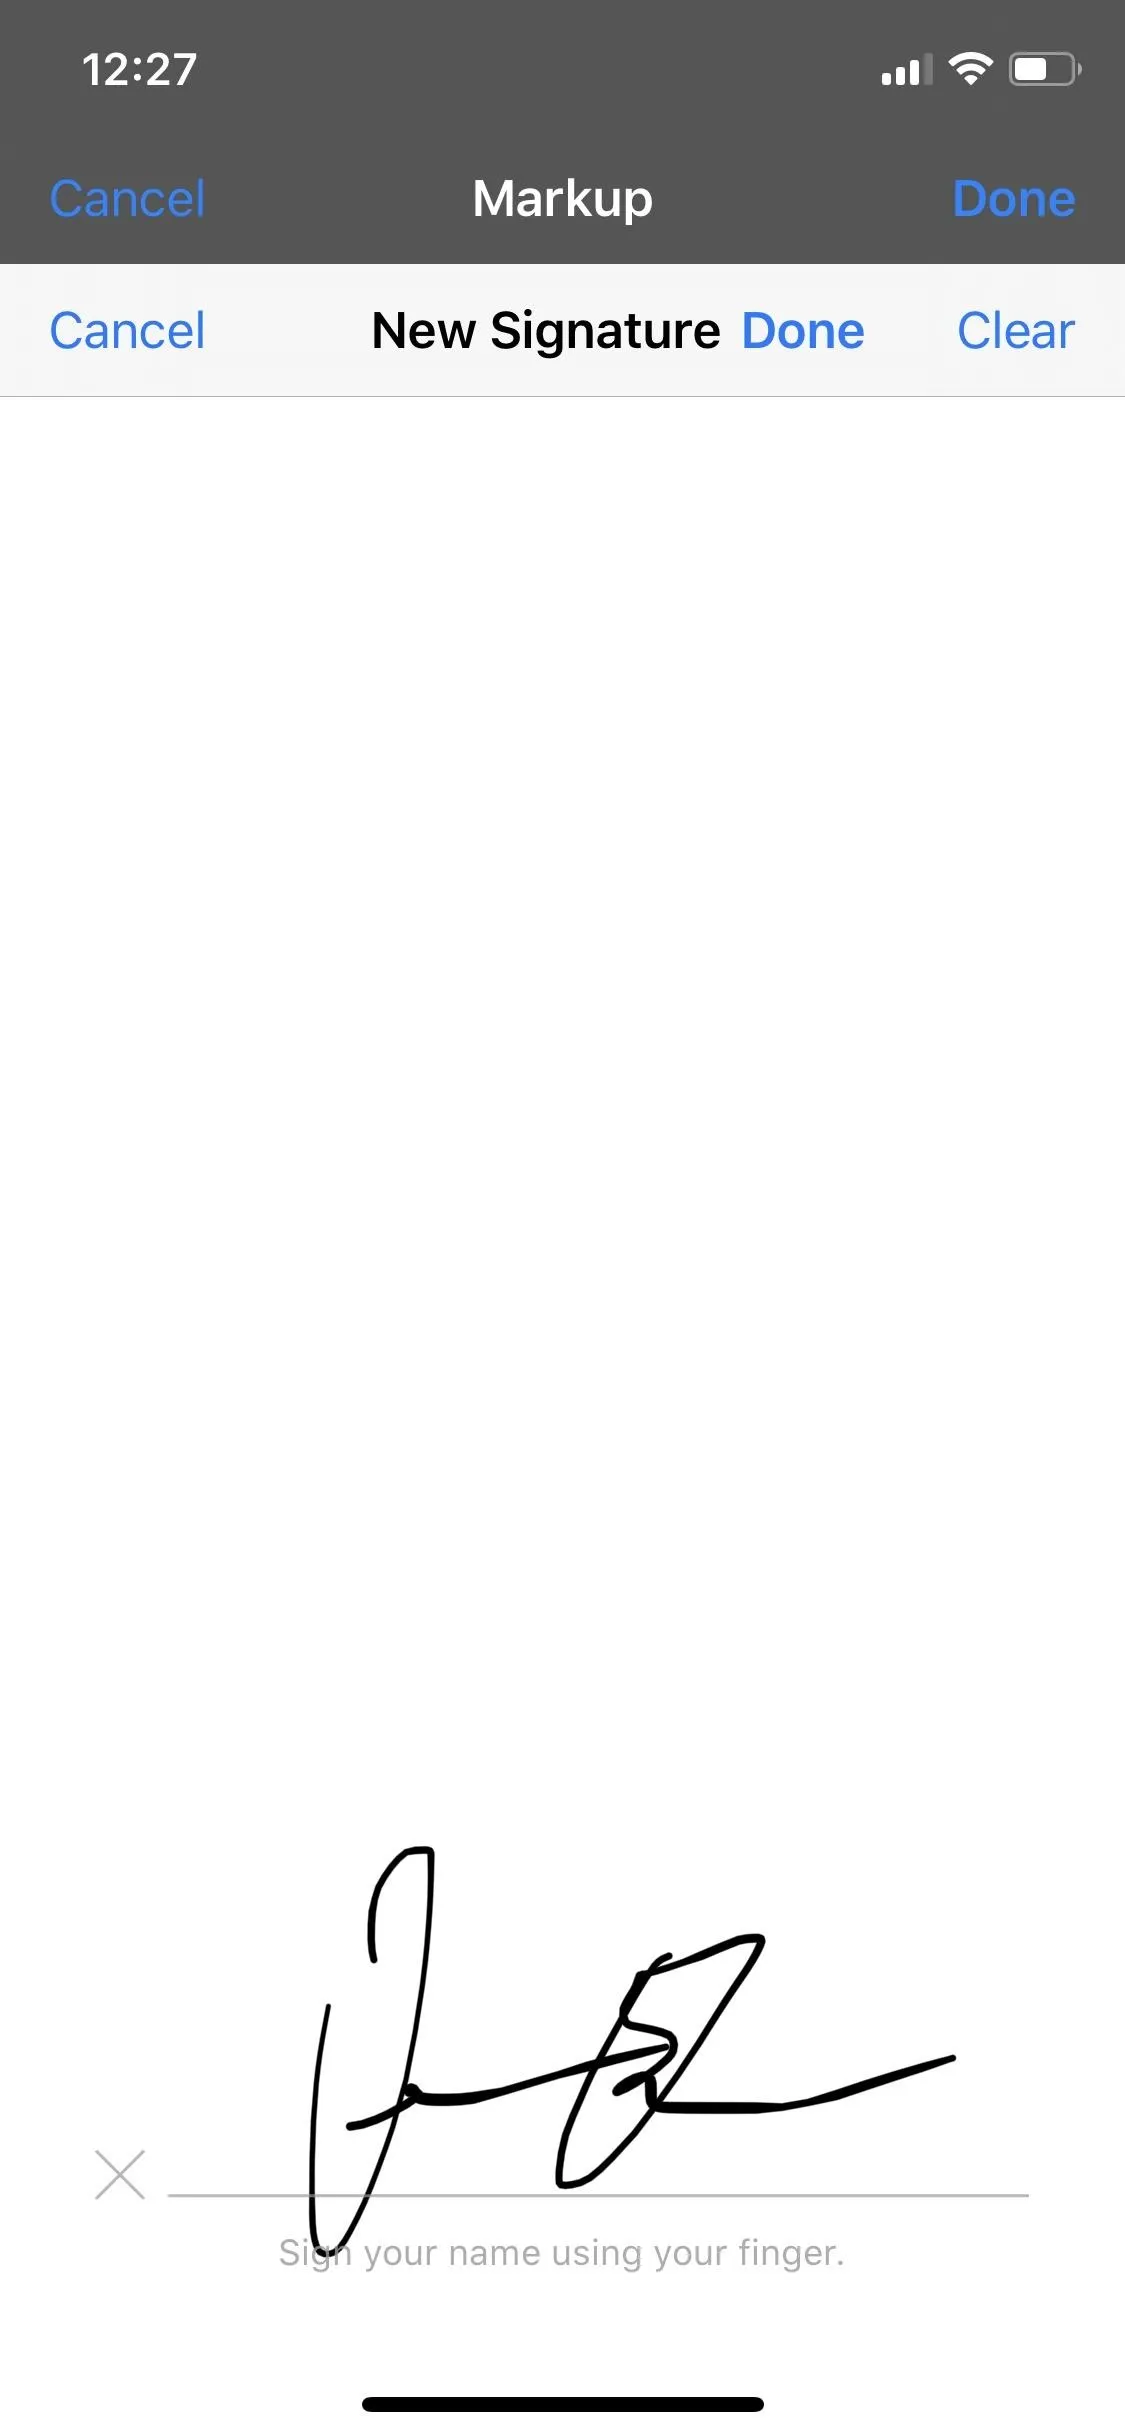
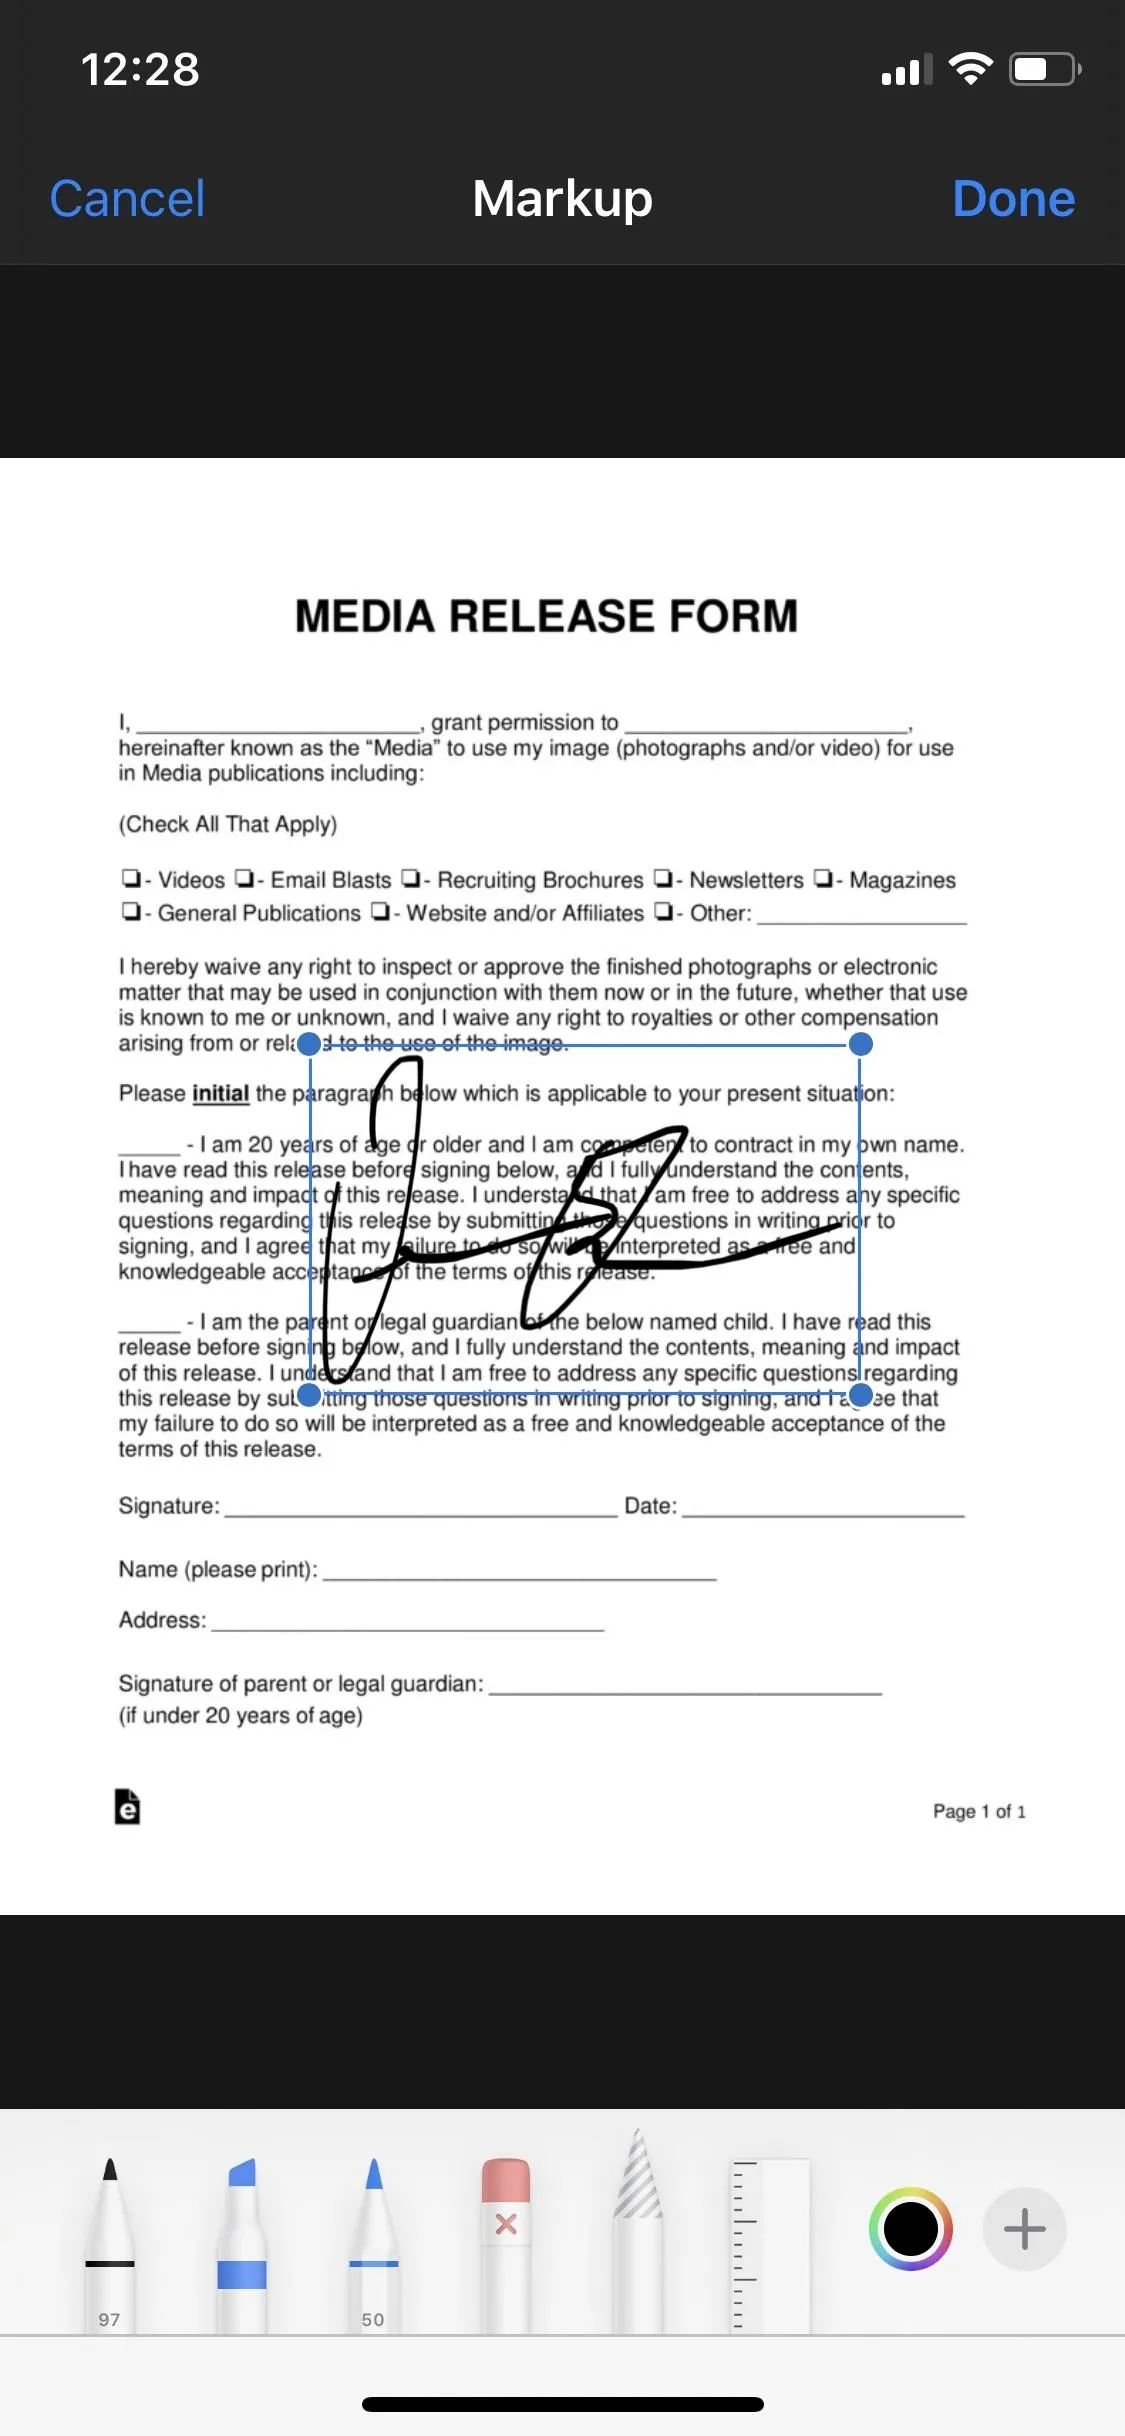
If you've never used the signature feature in Markup and don't have any signatures saved, you'll be asked to draw one with your finger, so do that now. If you've already used the feature, skip to Step 4. If you're not happy with the signature, tap on "Clear" at the top-right to try again. If you're satisfied with your signature, hit "Done" and it will be added to your document.
Choose Existing Signature (If You Have One Saved)
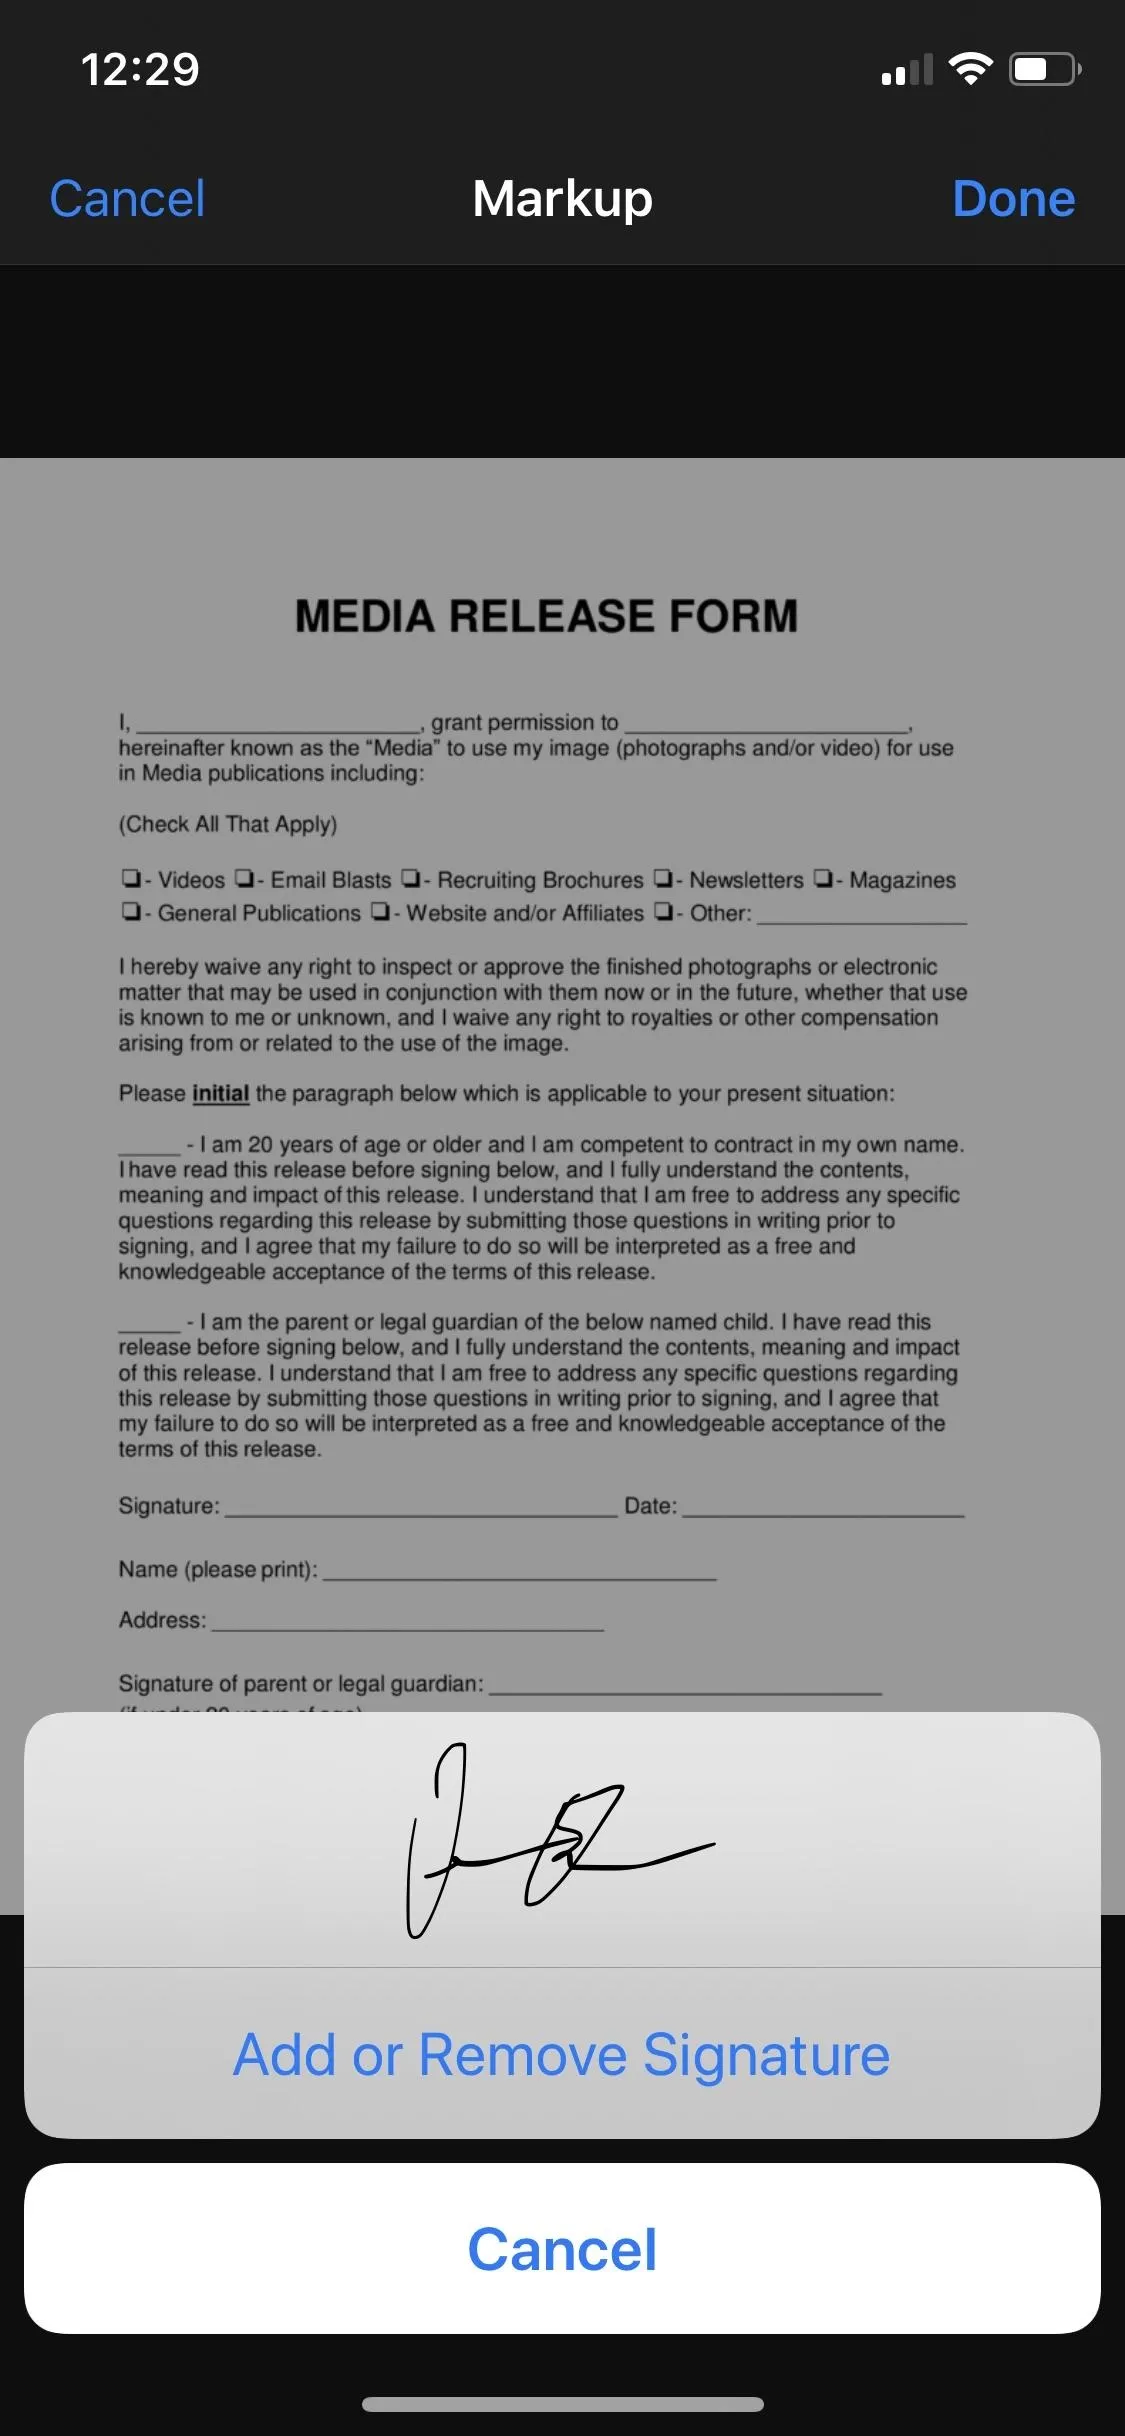
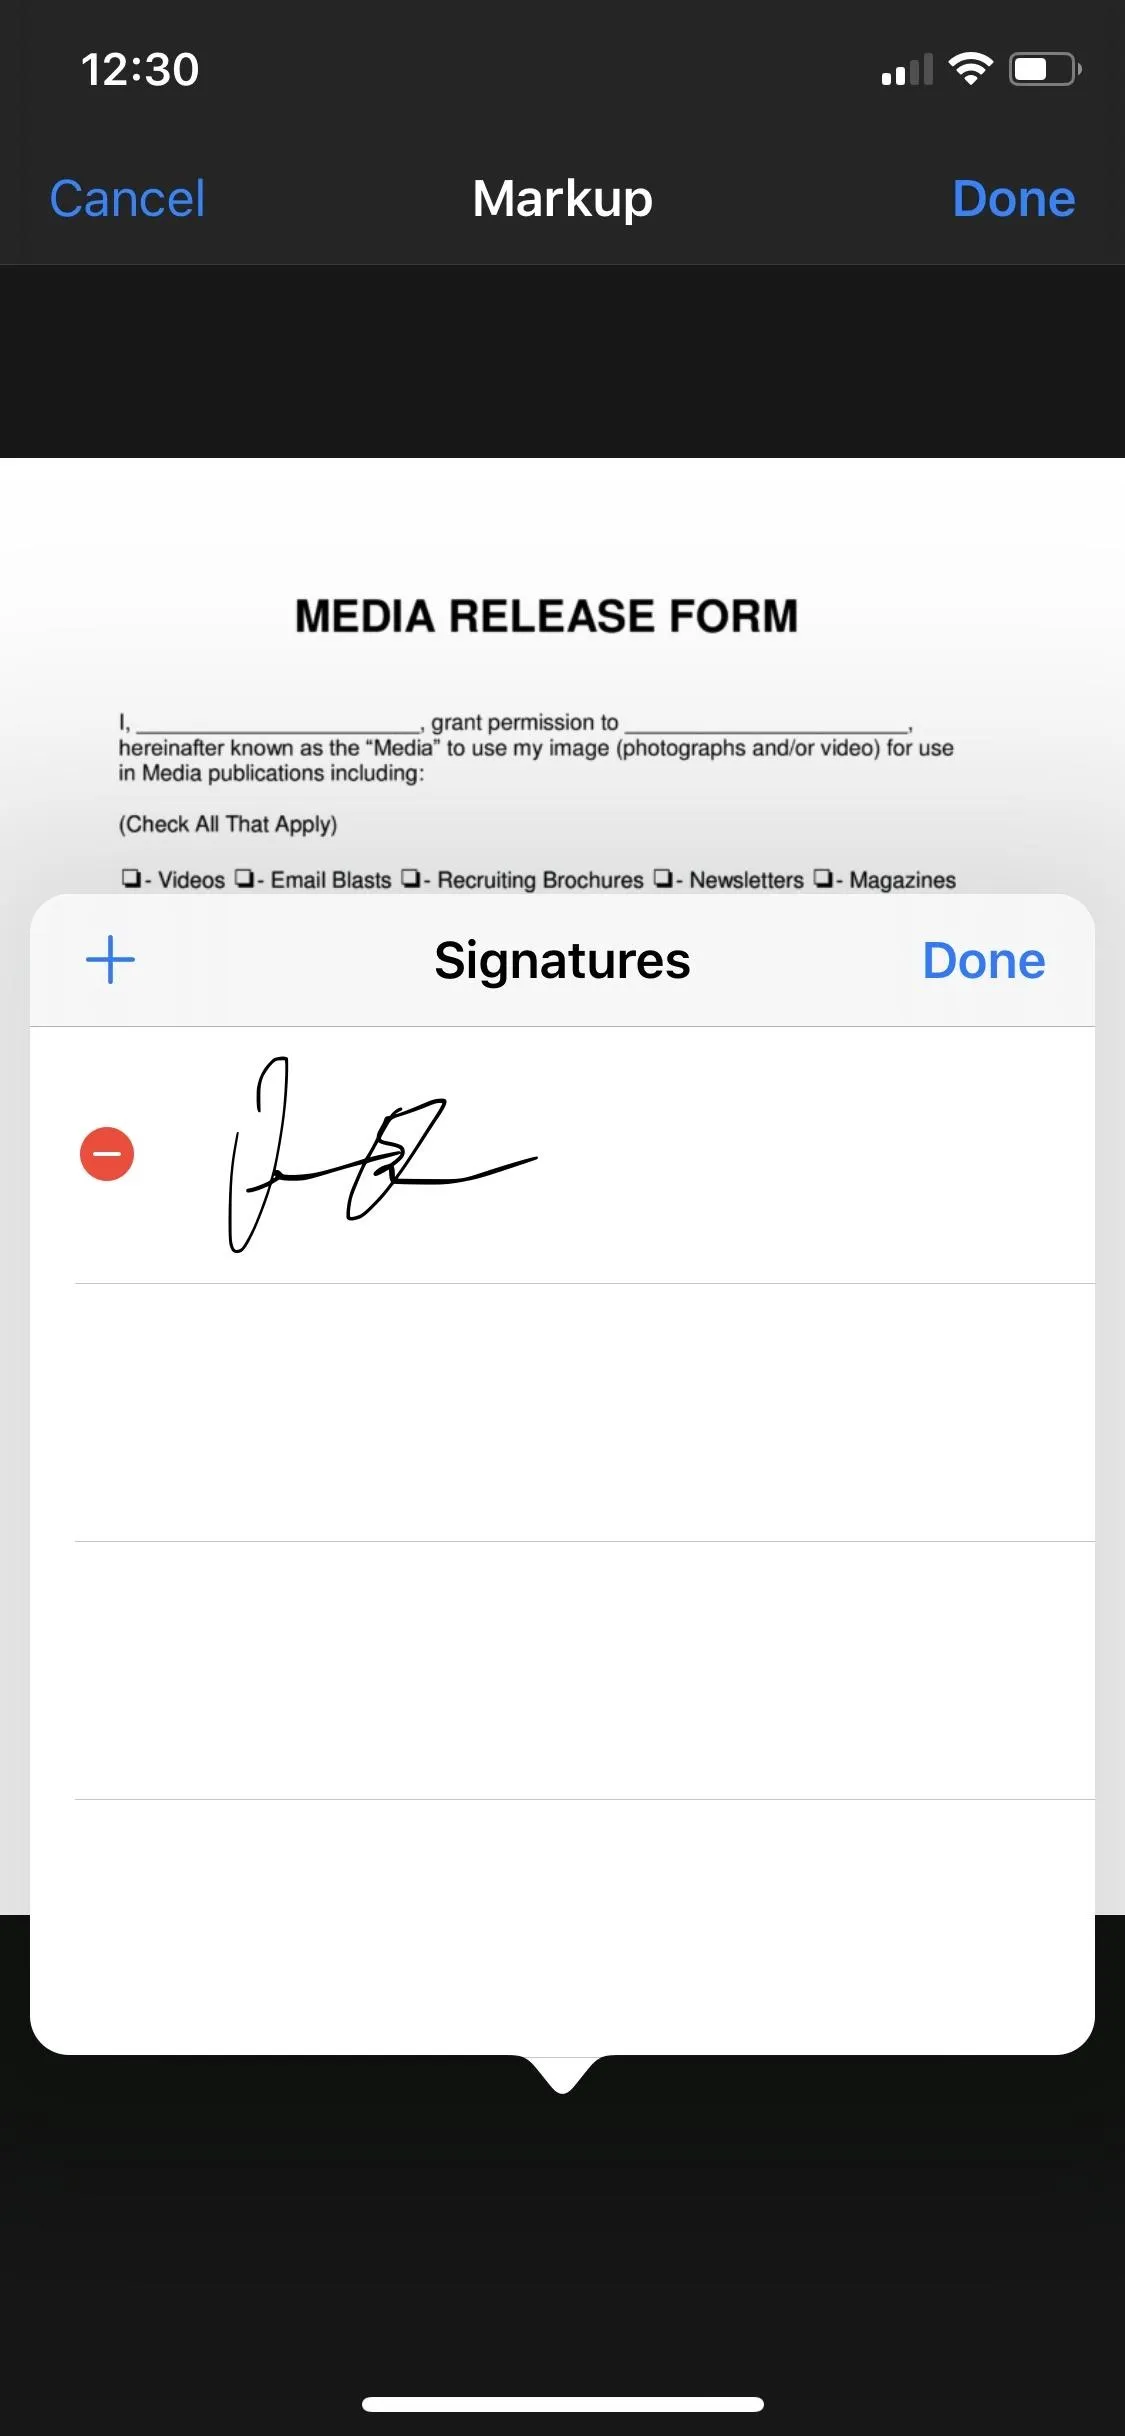
If you've already used the signature feature, you'll be asked whether you want to use an existing signature or add another. You'll see a preview of all the signatures you've ever used. If you want to add a new one, simply tap "Add or Remove Signature" and then hit the plus sign. You can also tap on the red minus sign to delete any signatures you don't want saved. If you're happy with your existing signature, just tap on it to add it to your document.
Move It to the Right Place
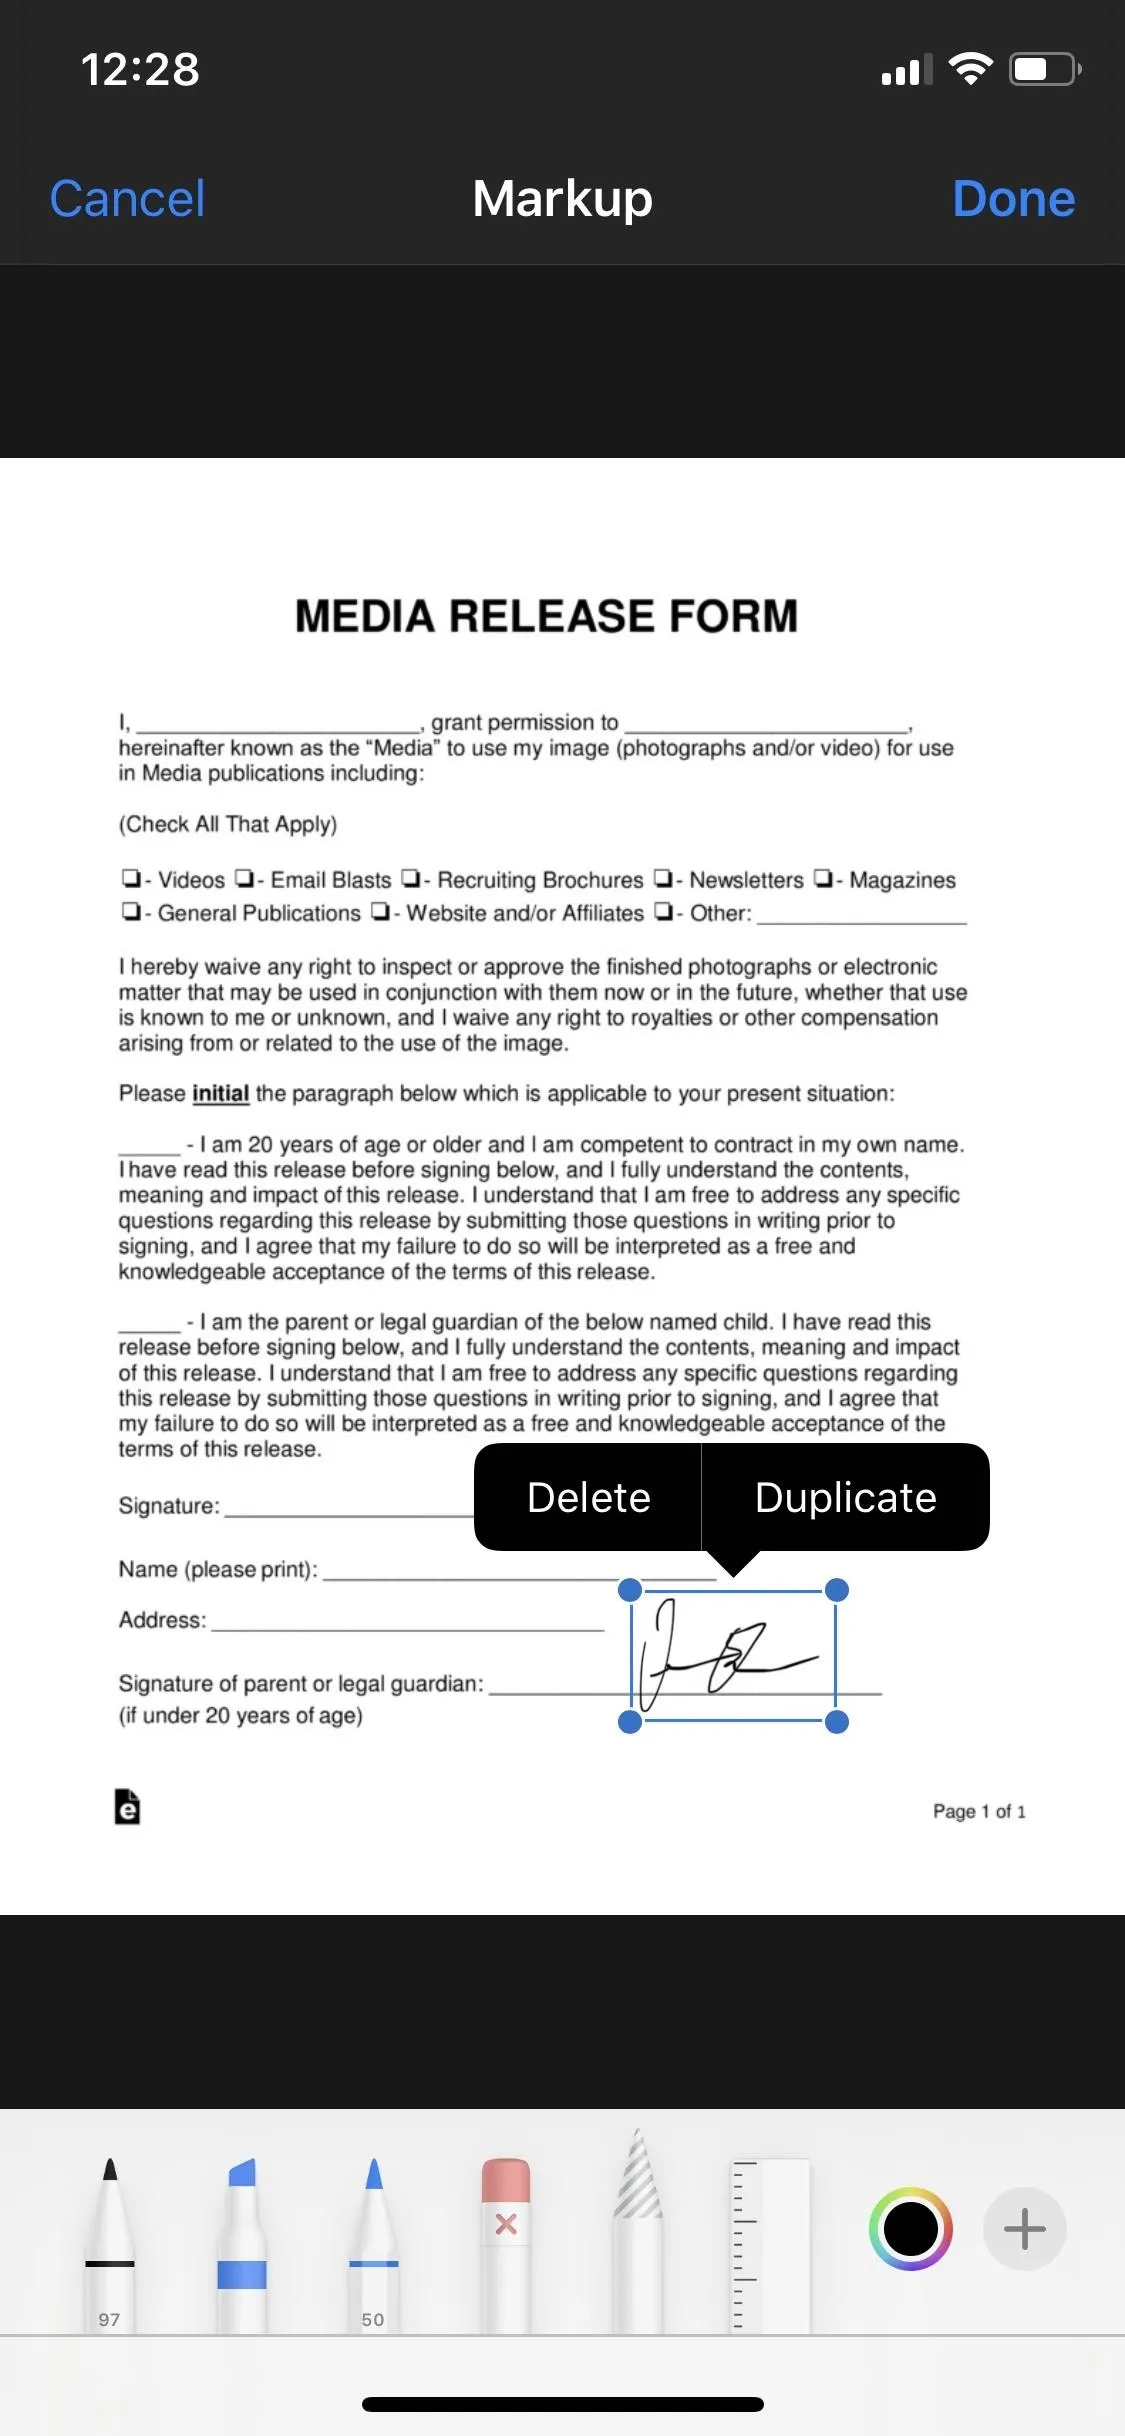
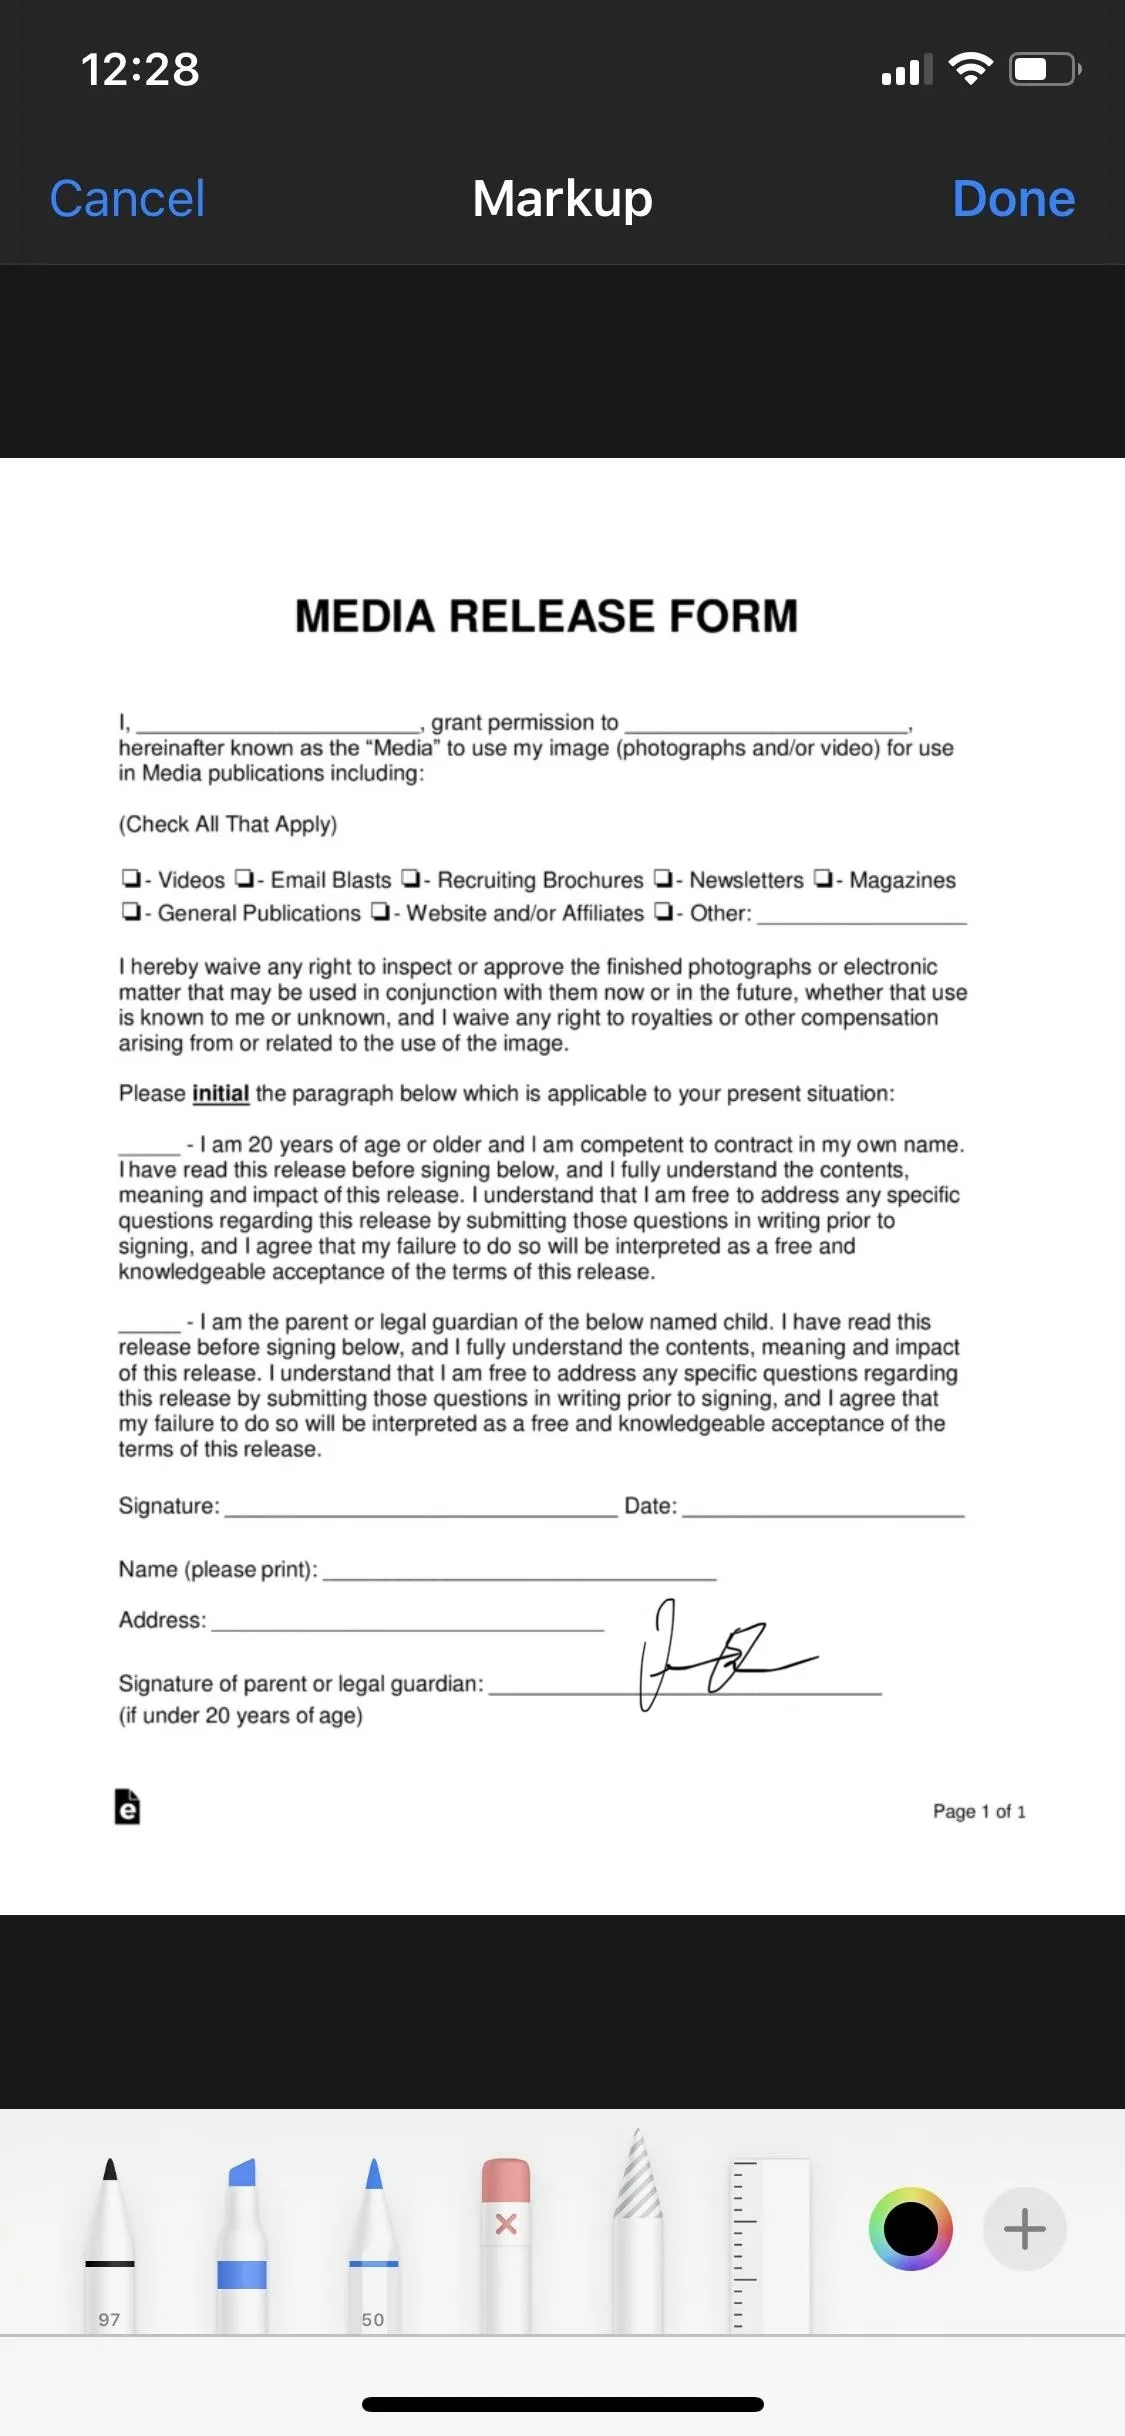
Resize the signature by pulling on the blue circles surround the text. You can also use your finger to move it around on the document. If you tap on the signature, you can delete it or duplicate it. Tap anywhere on the document, aside from on the signature, to view the signature without the blue box around it.
Save the Signed Document
When you're finished adding your signature, hit "Done." Now, depending on which application you're using Markup in, tapping on "Done" can get you different results. The screenshots are from the Photos app, but here's a breakdown of what happens in each app:
- Books: The document with the signature is saved within Books only.
- Files: The document with the signature is saved within Files only.
- Mail: The document with the signature is not saved on your device, but only within the email. If you want to save it on your device, you must go to the sent email and save it from there.
- Messages: The document with the signature is not saved on your device, but only within the text message or iMessage. If you want to save it on your device, you must go to the sent message and save it from there.
- Notes: The document with the signature is saved within Notes only.
- Photos: The document with the signature is saved within Photos only.
- Safari: The document with the signature can be saved to Files only.
This article was produced during Gadget Hacks' special coverage on using your smartphone to boost productivity. Check out the whole Productivity series.
Cover image and screenshots by Nelson Aguilar/Gadget Hacks


Comments
Be the first, drop a comment!