


The Reminders app has always lacked the oomf that would make a person switch from a powerful third-party task manager. But Reminders has received quite the makeover in iOS 13, including a revamped UI and several new features, such as timed reminder alerts, which make the app a worthy to-do list option for the iPhone.
On iOS 13, you can create reminders with attachments, subtasks, and even alerts based on day and/or time. If you want to create a due date for your most important reminders and be notified of them, you can easily do so from the new quick toolbar.
- Don't Miss: 200+ Exciting New iOS 13 Features for iPhone
Access Time Button from Quick Toolbar
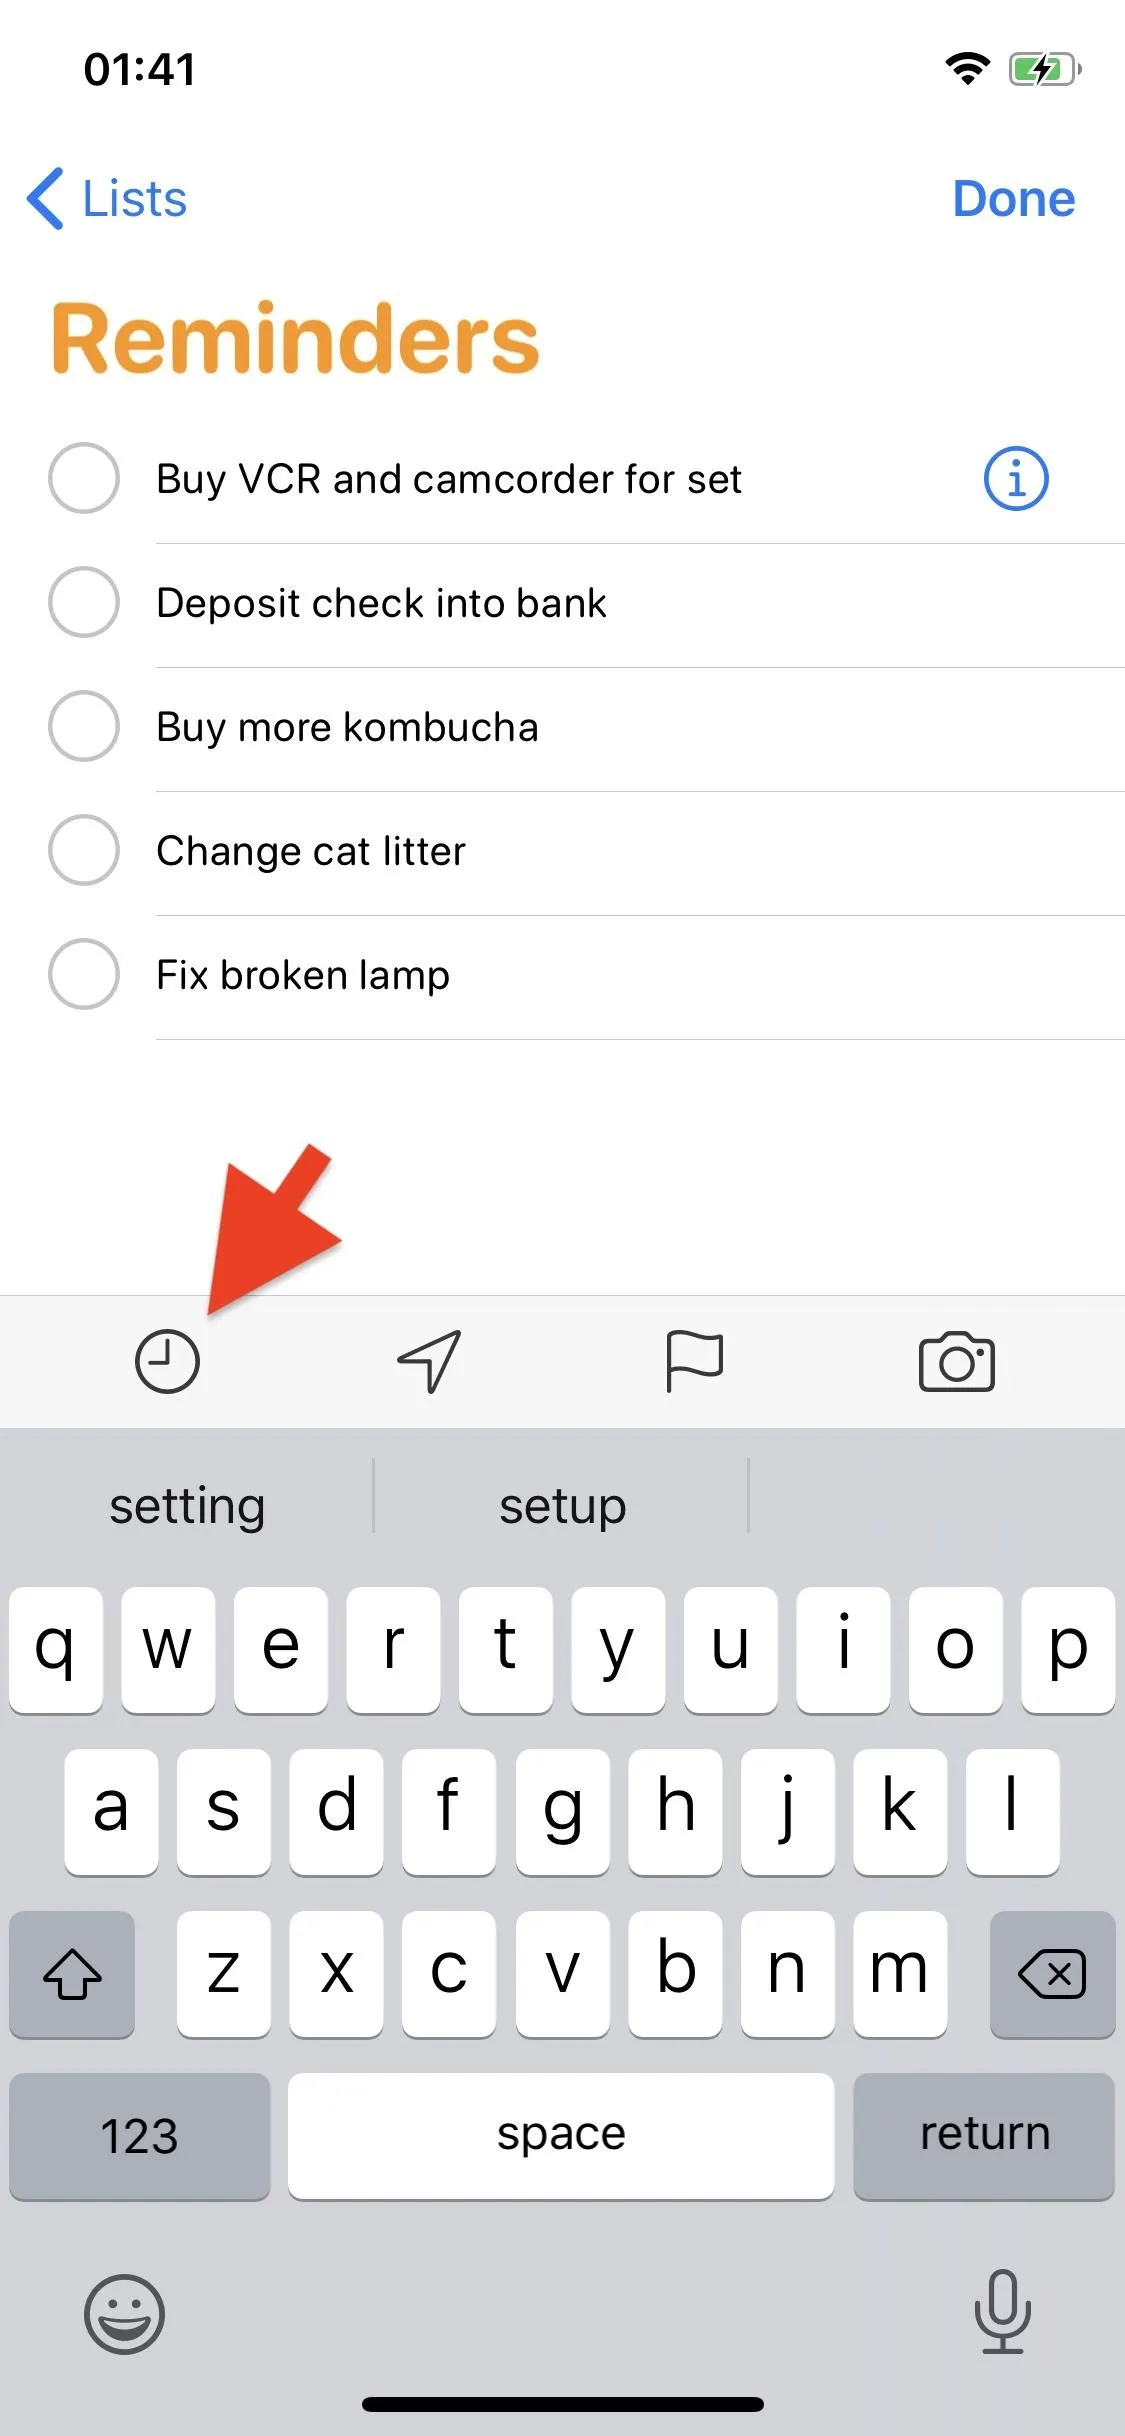
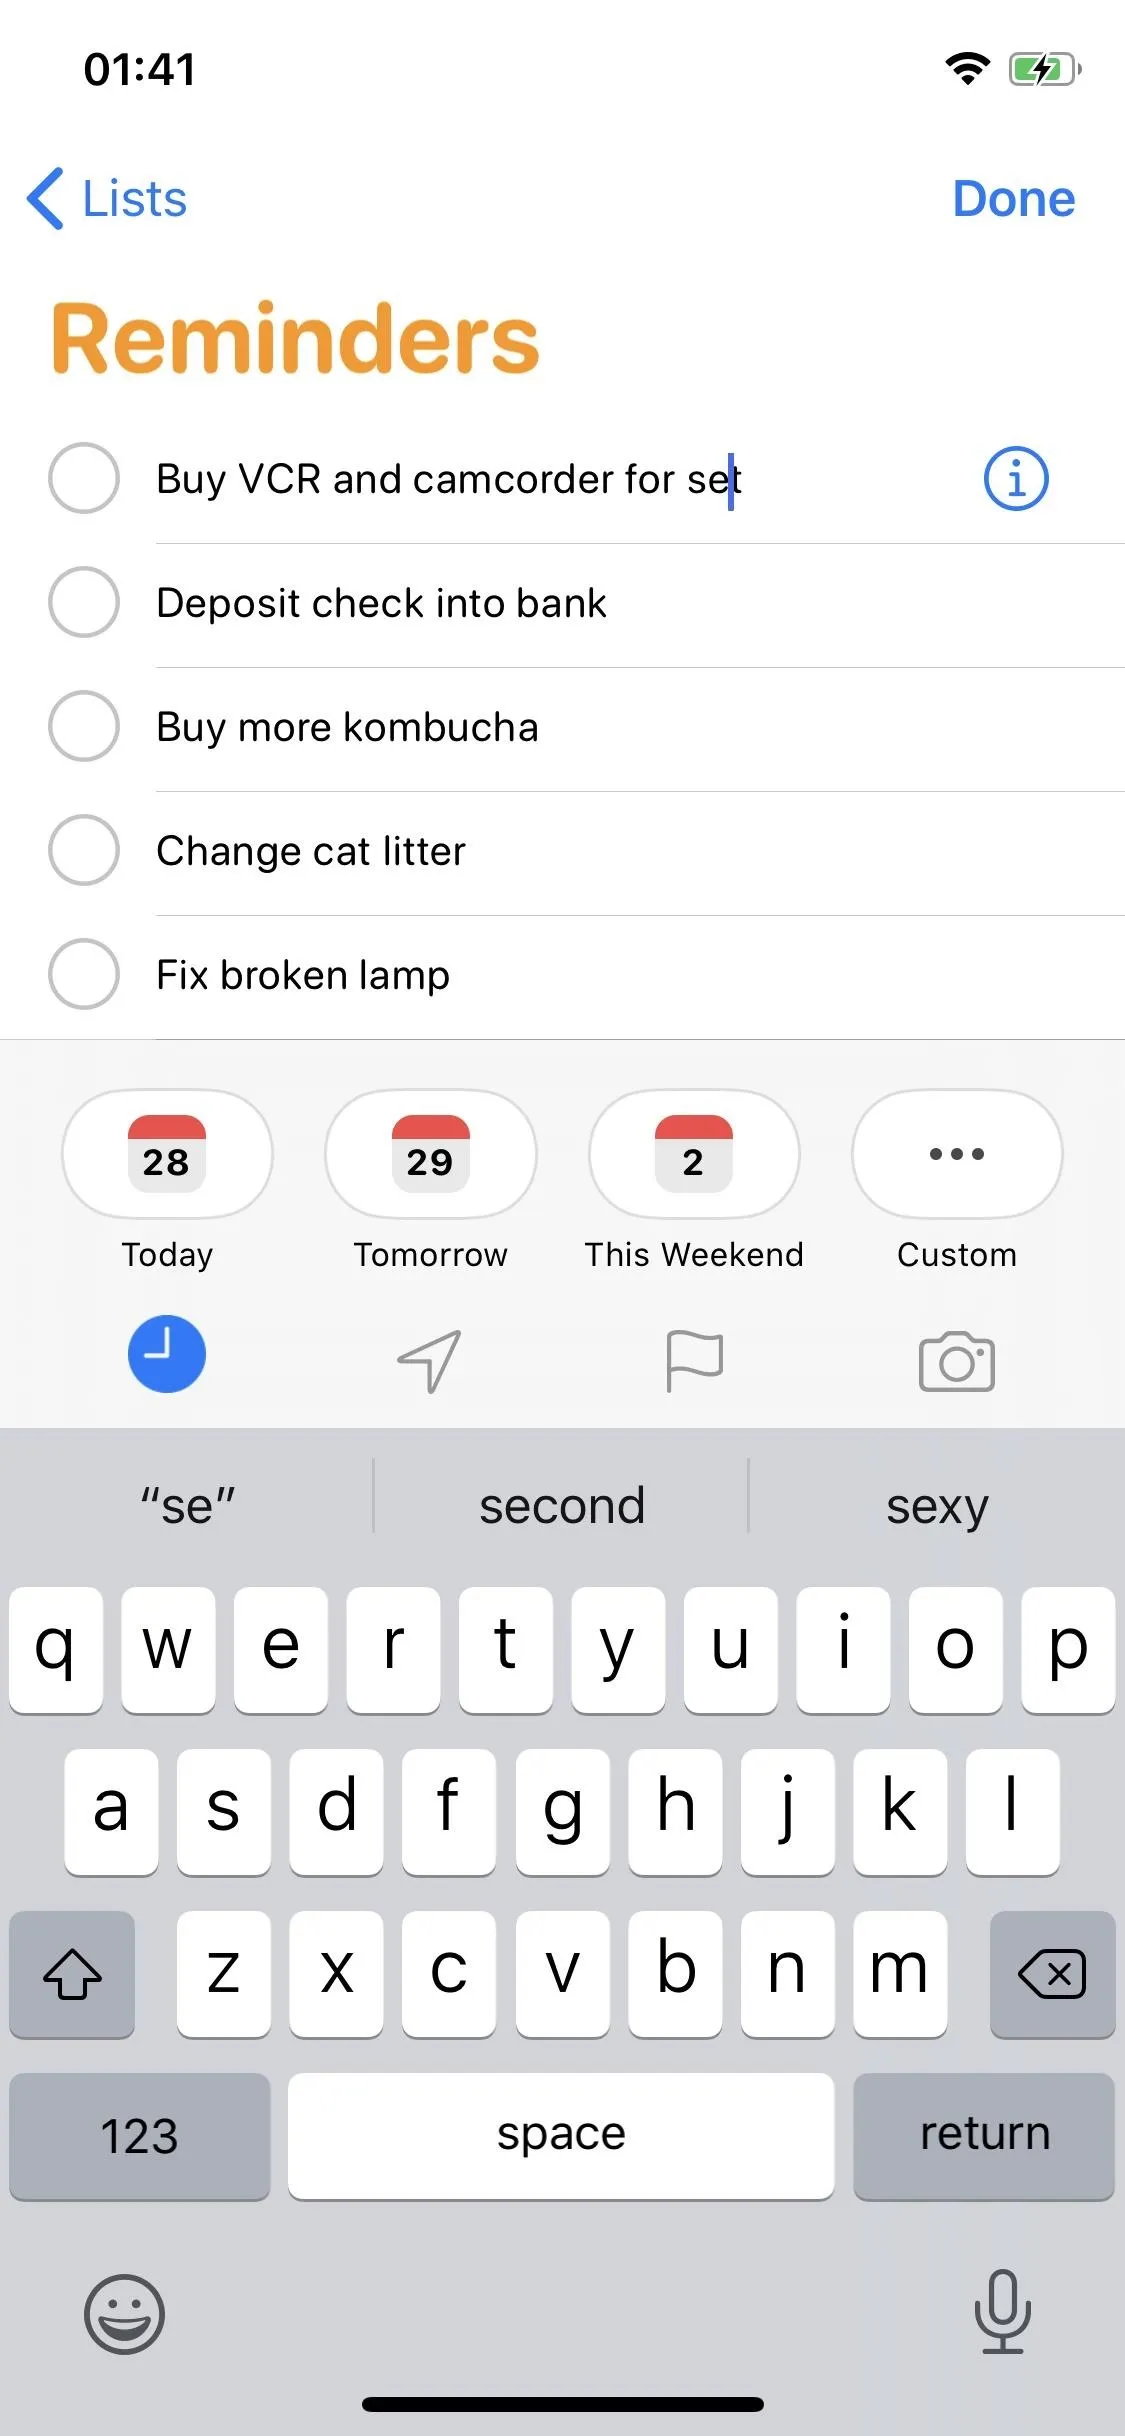
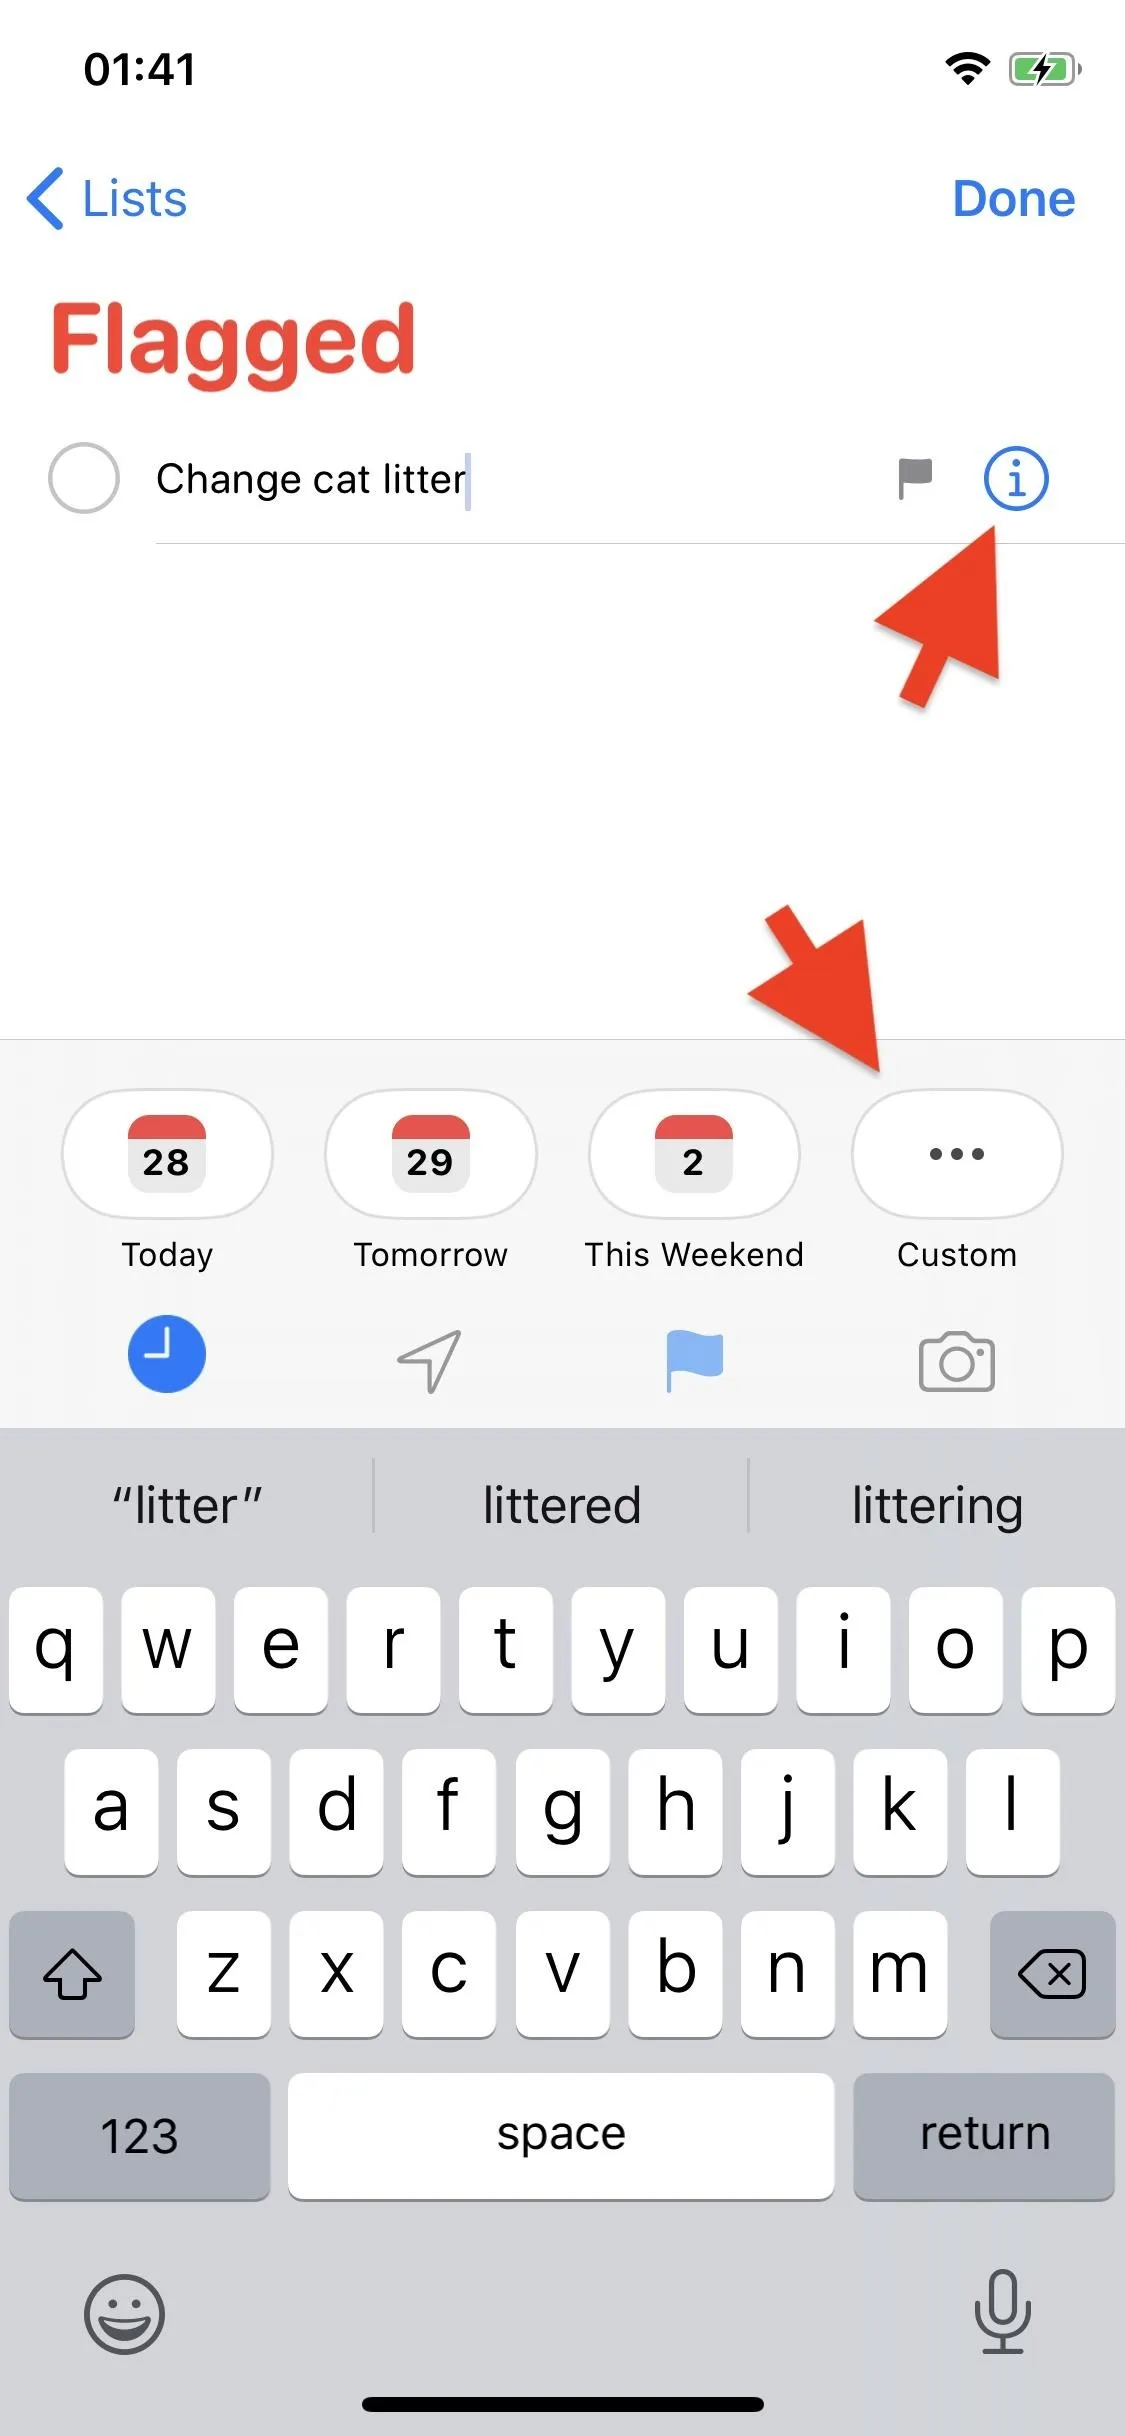
Open the Reminders app and either create a reminder or go to an existing one. To set an alert, tap on a reminder and then tap on the time button (clock icon) on the far left in the quick toolbar. A few options will appear: Today, Tomorrow, This Weekend, and Custom.
Set a Due Date (With No Time)
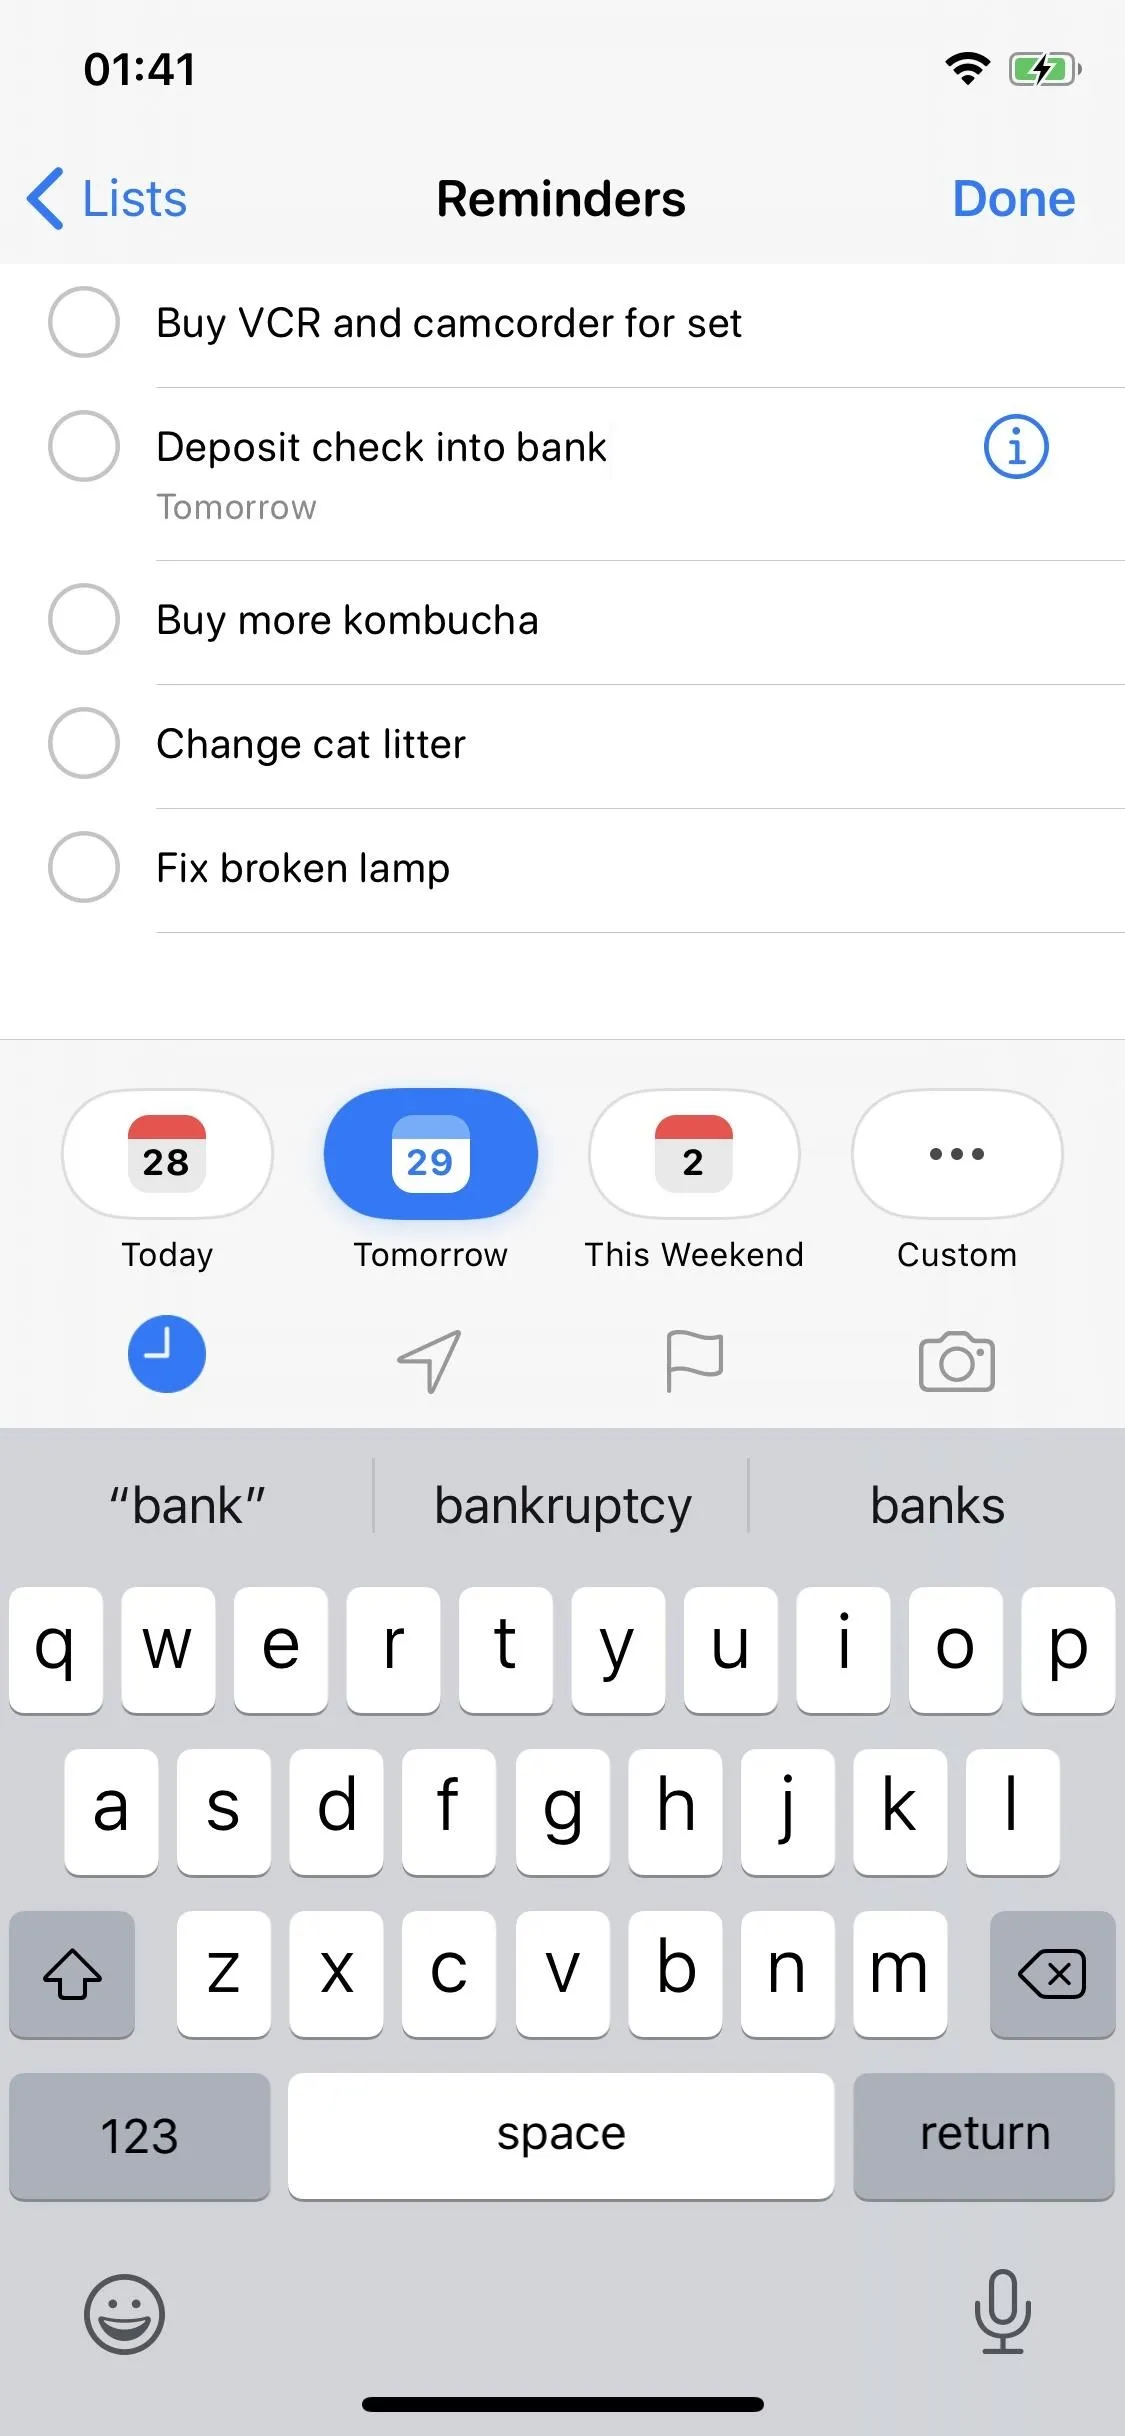
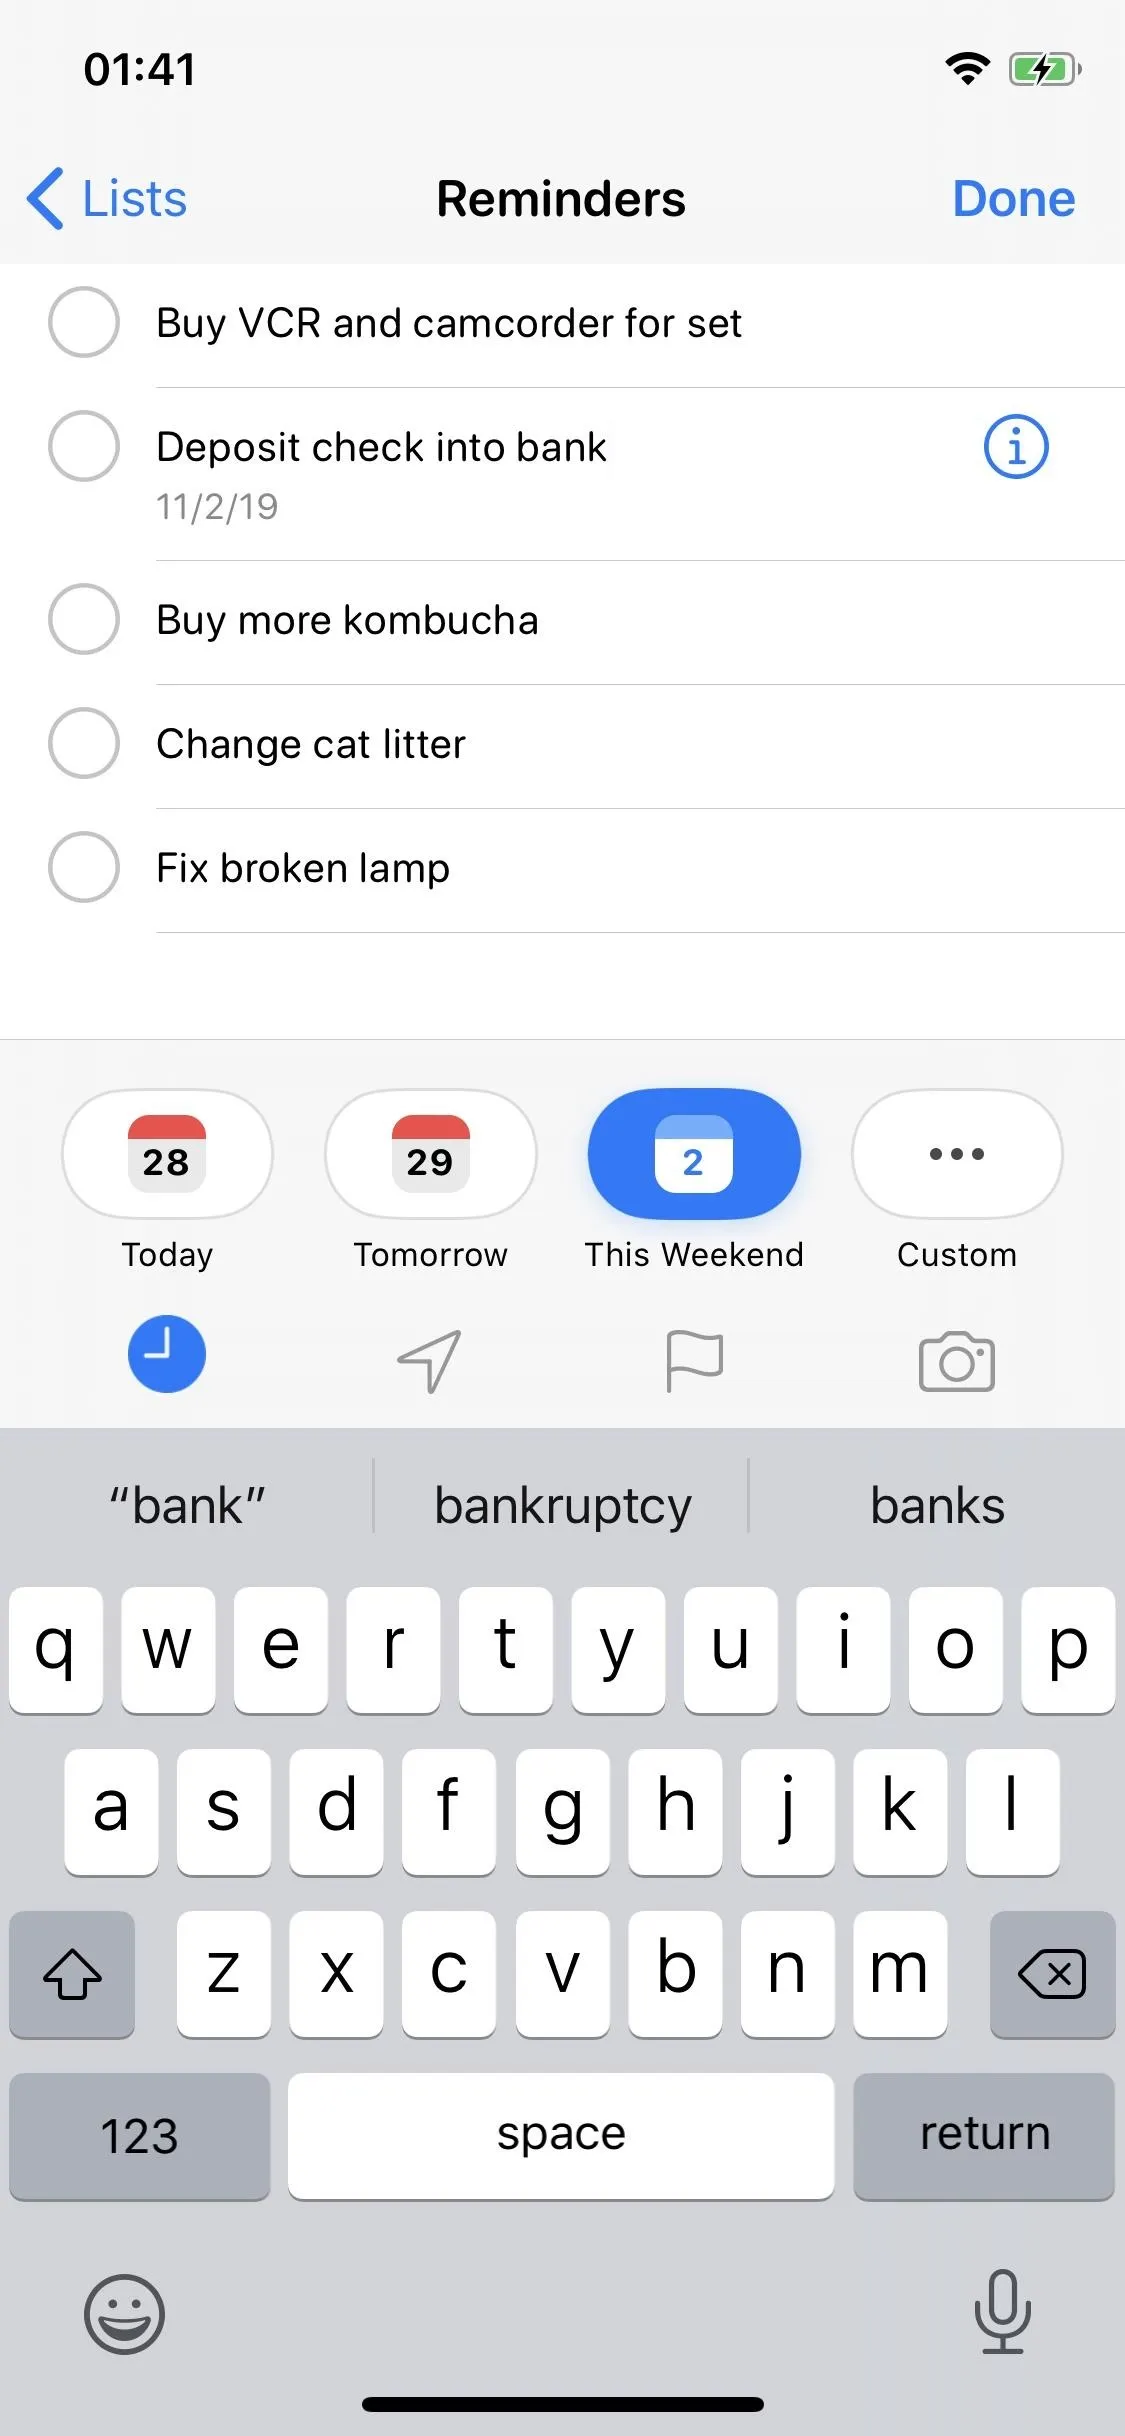
If you select any of the first three options (Today, Tomorrow, or This Weekend), you will be notified by default at 9 AM. For example, if you set the due date for This Weekend, you'll get alerted about the reminder at 9 AM on the next Saturday. A gray tag will appear underneath the reminder, so you know which day the alert will go off.
Change Default Due Date Time (Optional)
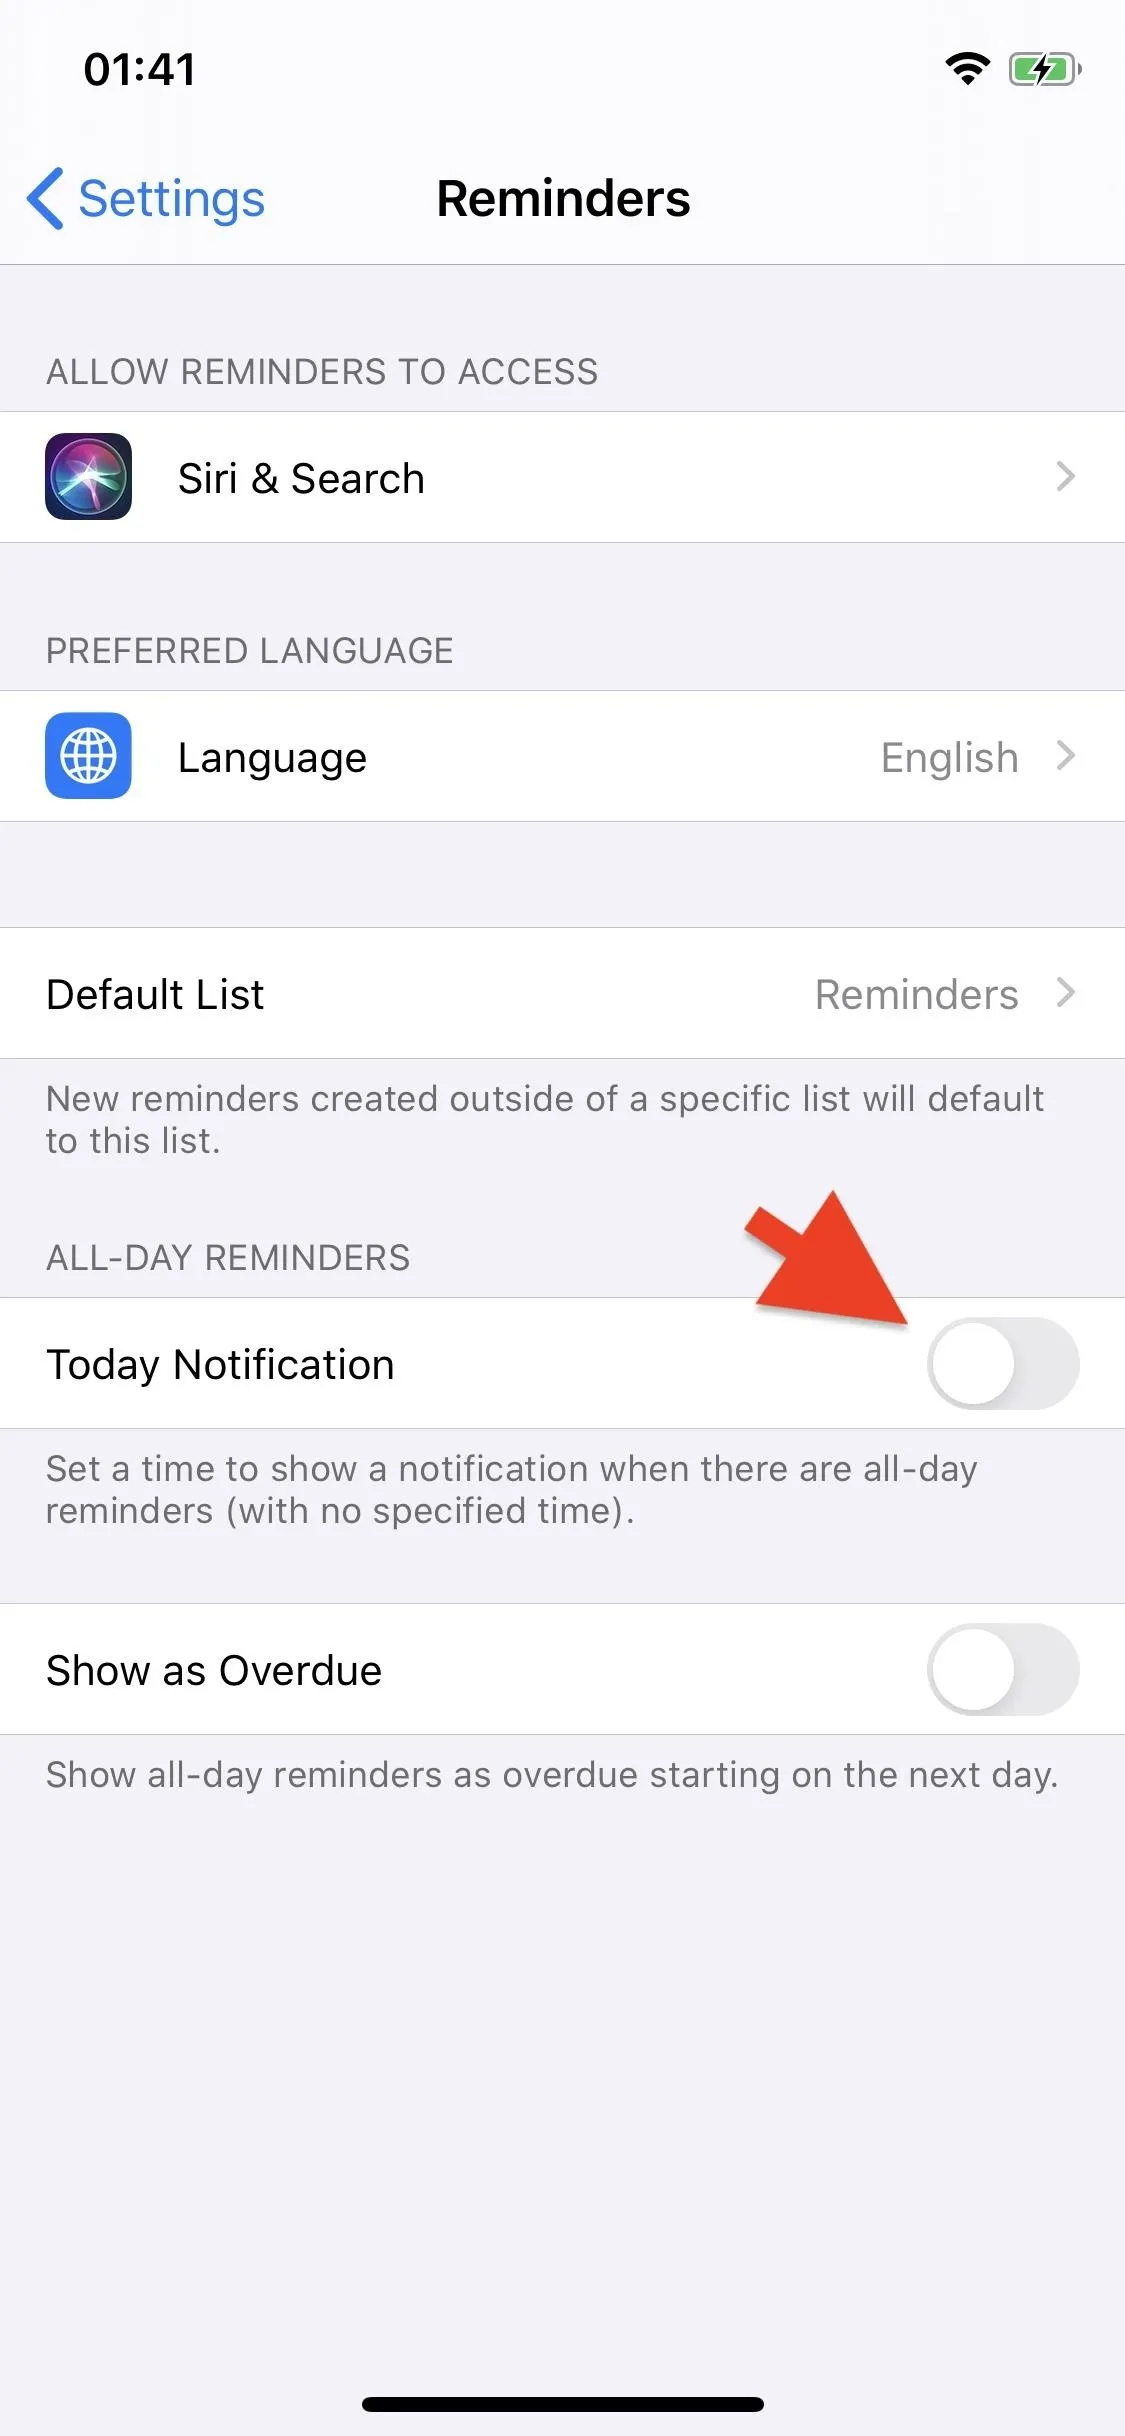
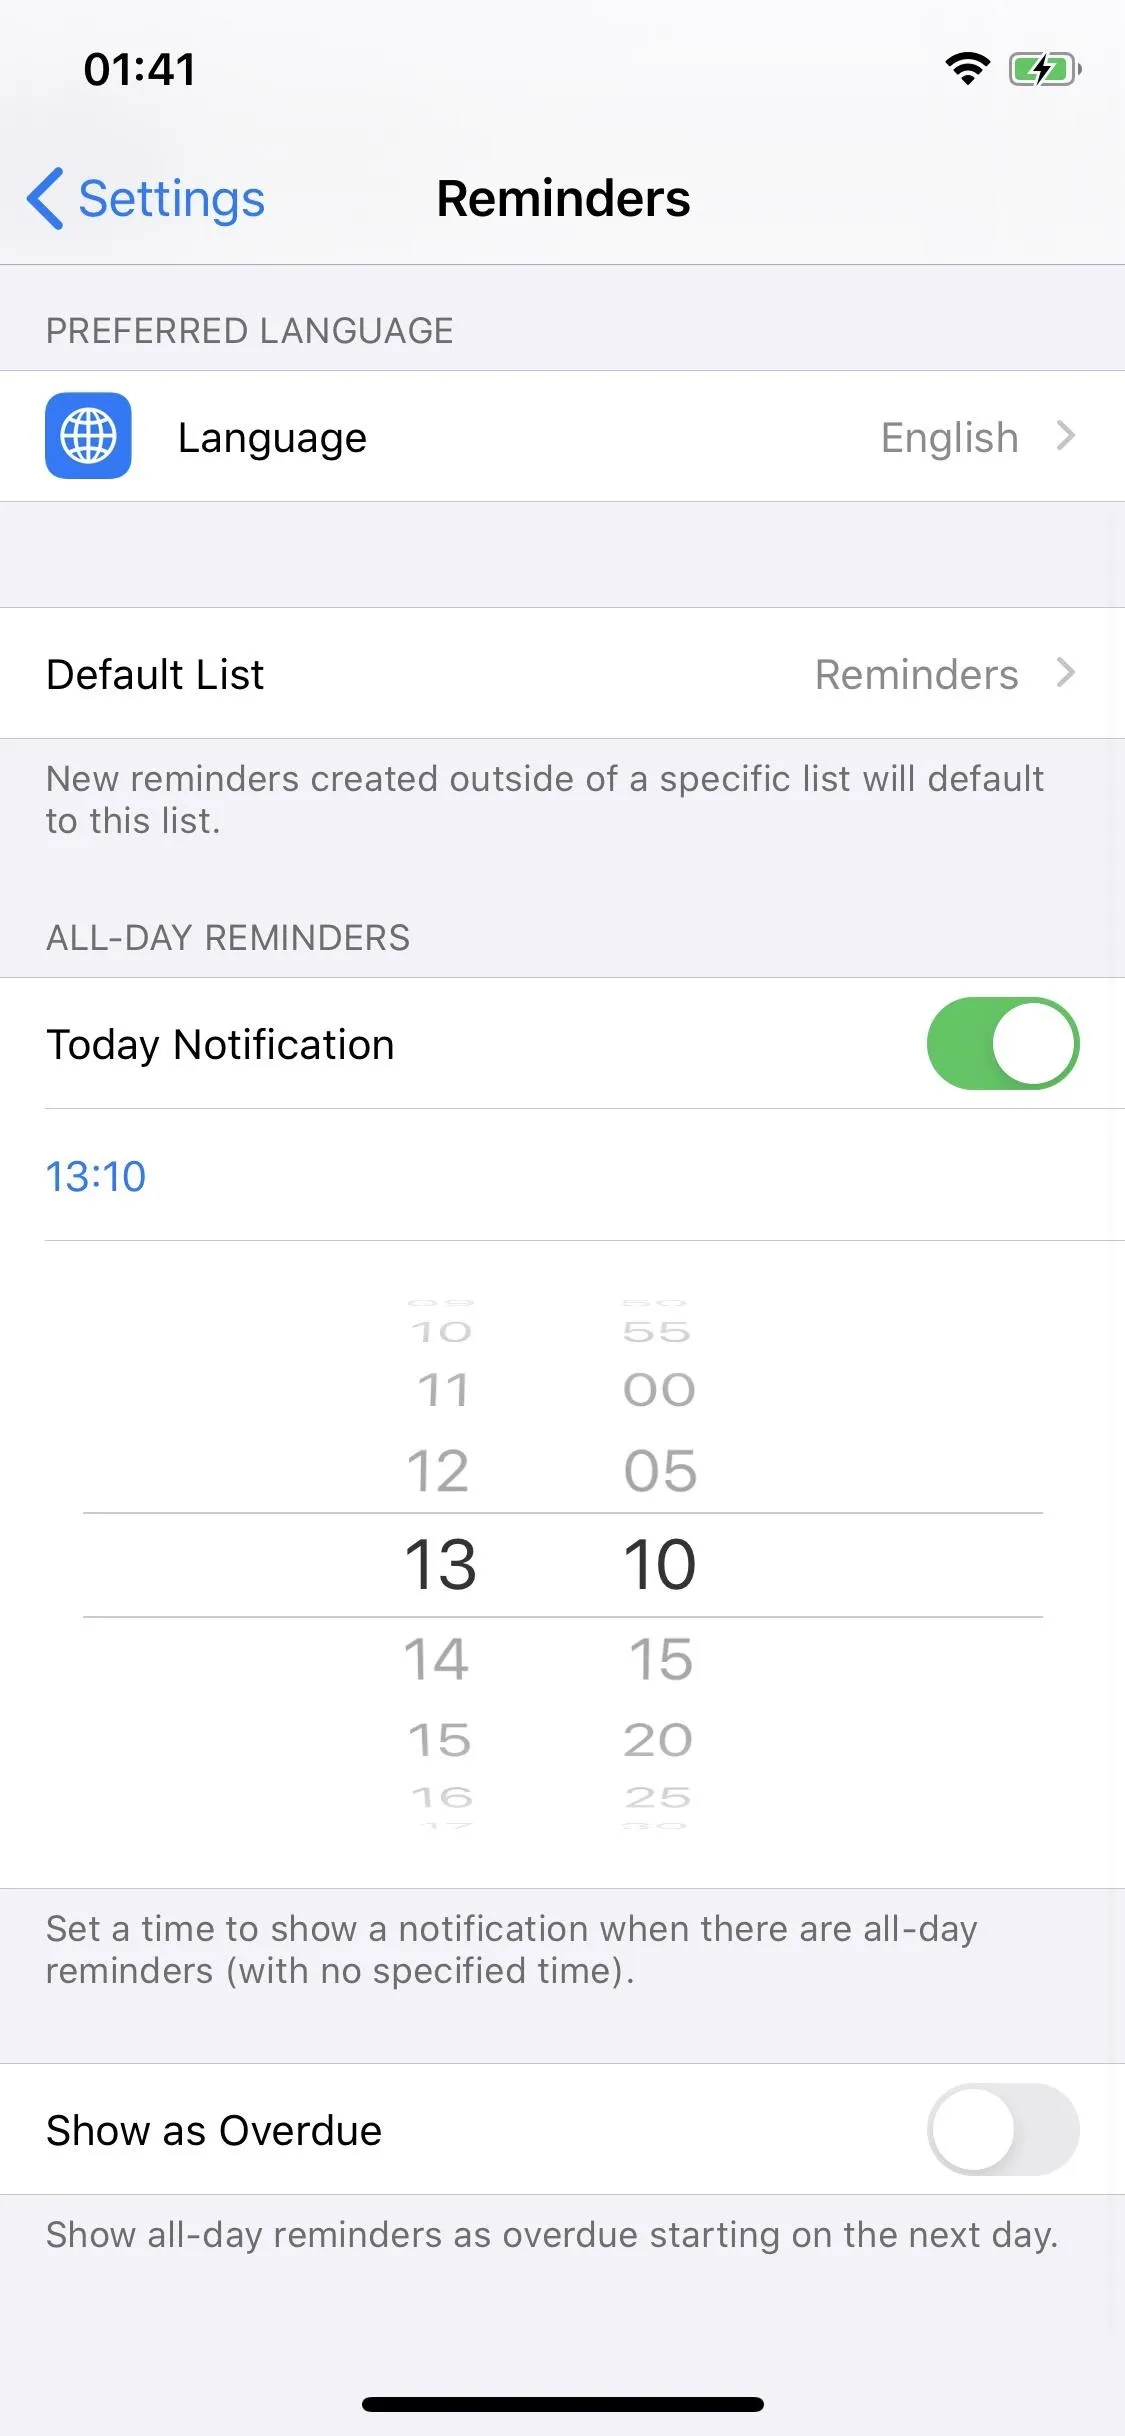
If you don't want to be notified at 9 AM — which is default for Today, Tomorrow, and This Weekend — you can change that option in the Settings app. In Settings, go to Reminders and enable the toggle next to "Today Notification." An option to change the default 9 AM time will appear; choose a different time.
Set a Custom Due Date (With Time)
Aside from Today, Tomorrow, and This Weekend, you have the option to choose a custom date and time for a reminder alert. You can access this custom option in one of two ways: by tapping on "Custom" in the quick toolbar or by tapping on the "i" icon next to the reminder. However, the first option will automatically take you to the second option, so either way works.
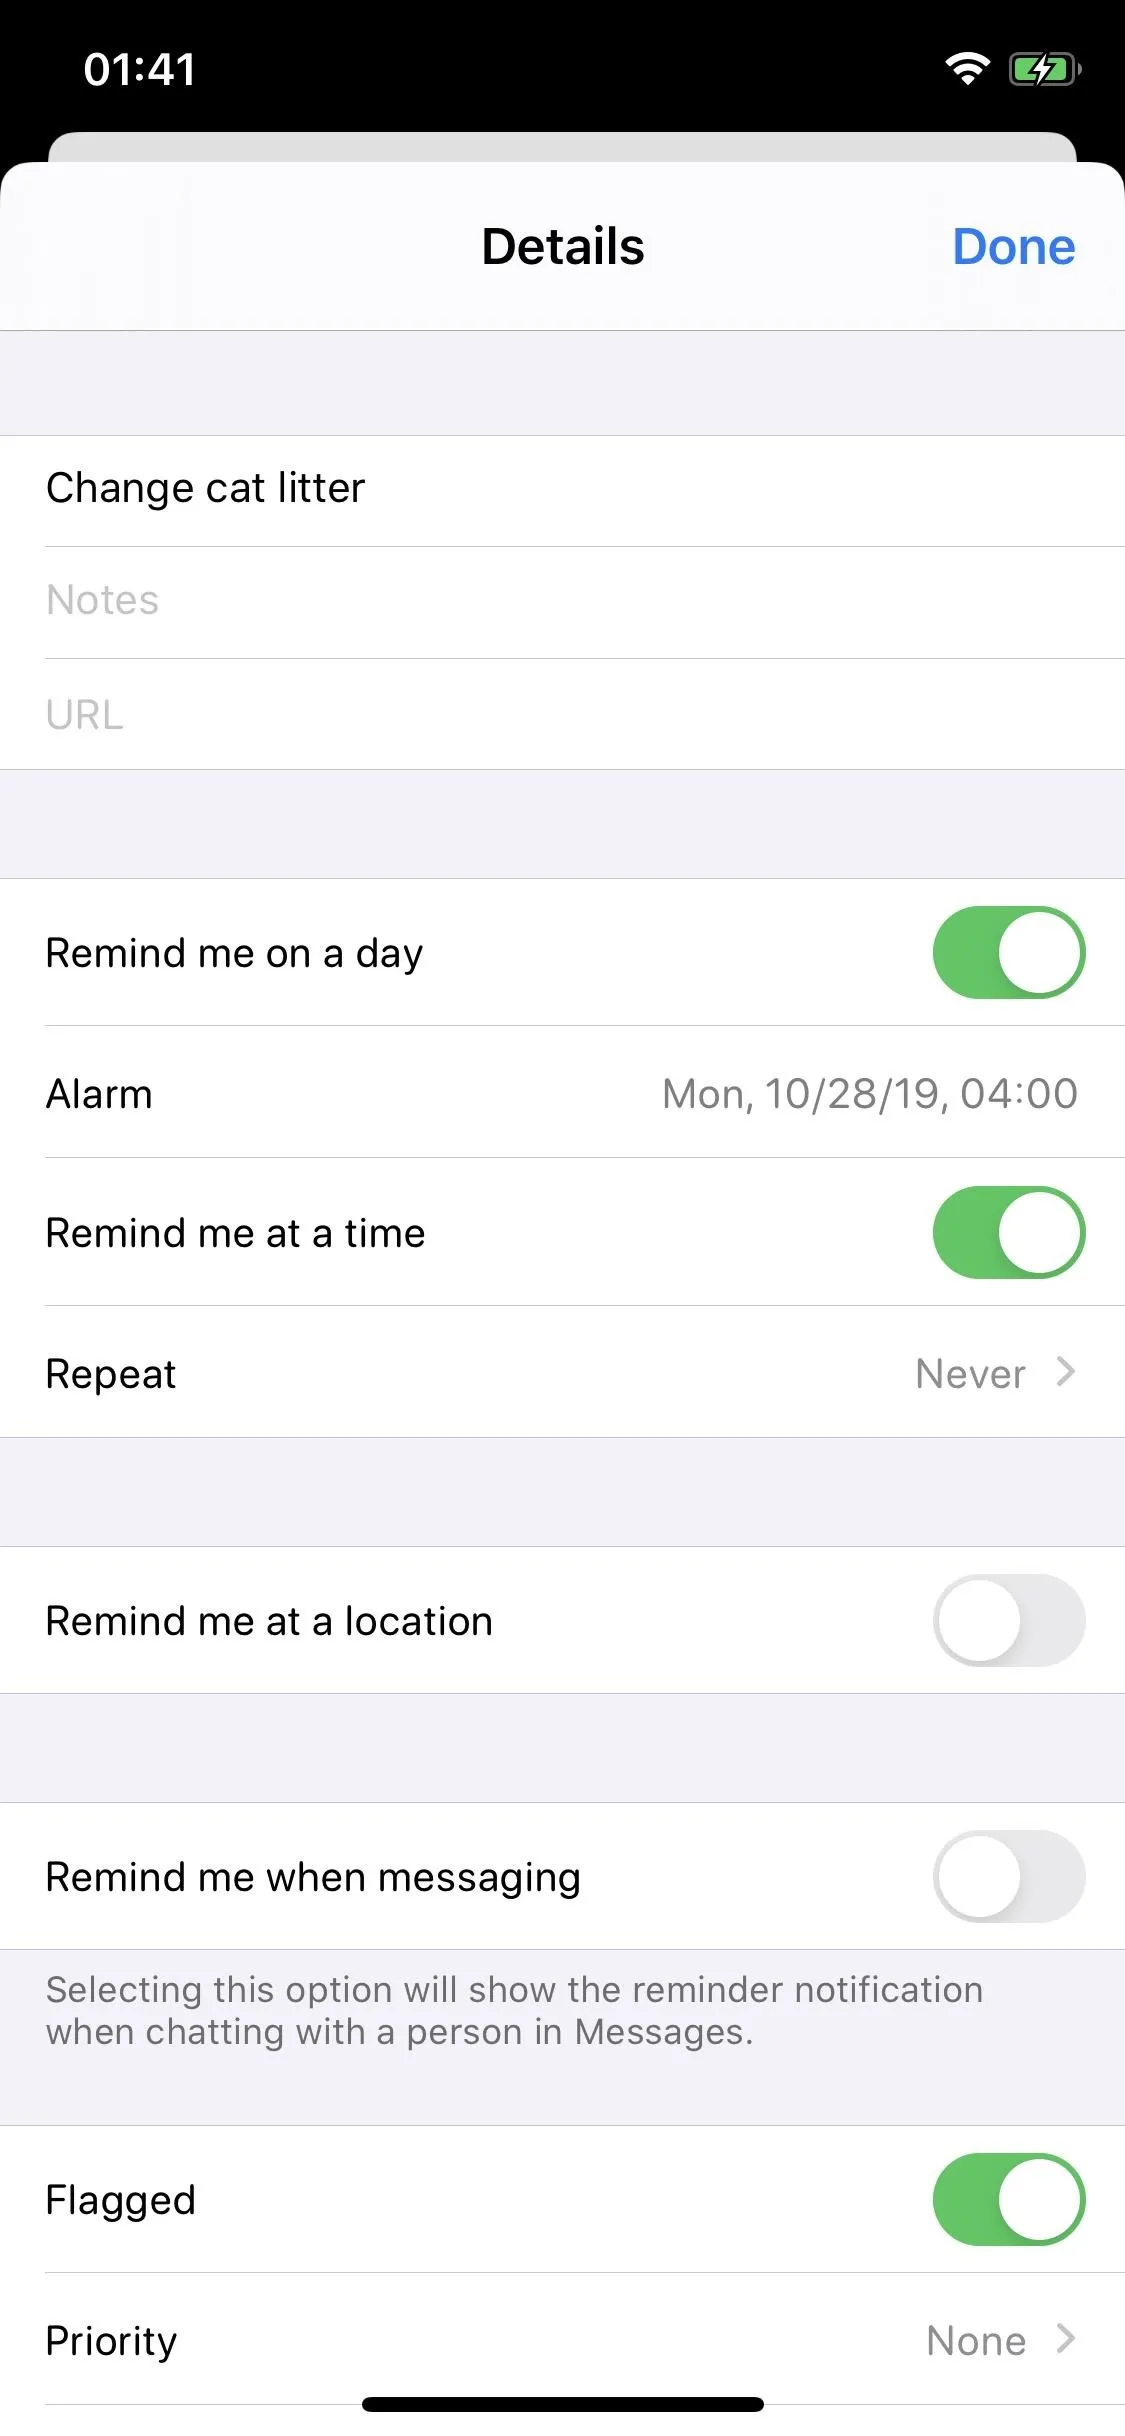
Tap on "Alarm" to change the date and time. If you disable the "Remind me at a time" option, you can disable the time and simply be notified on a specific date (and whatever default time you have in your settings).
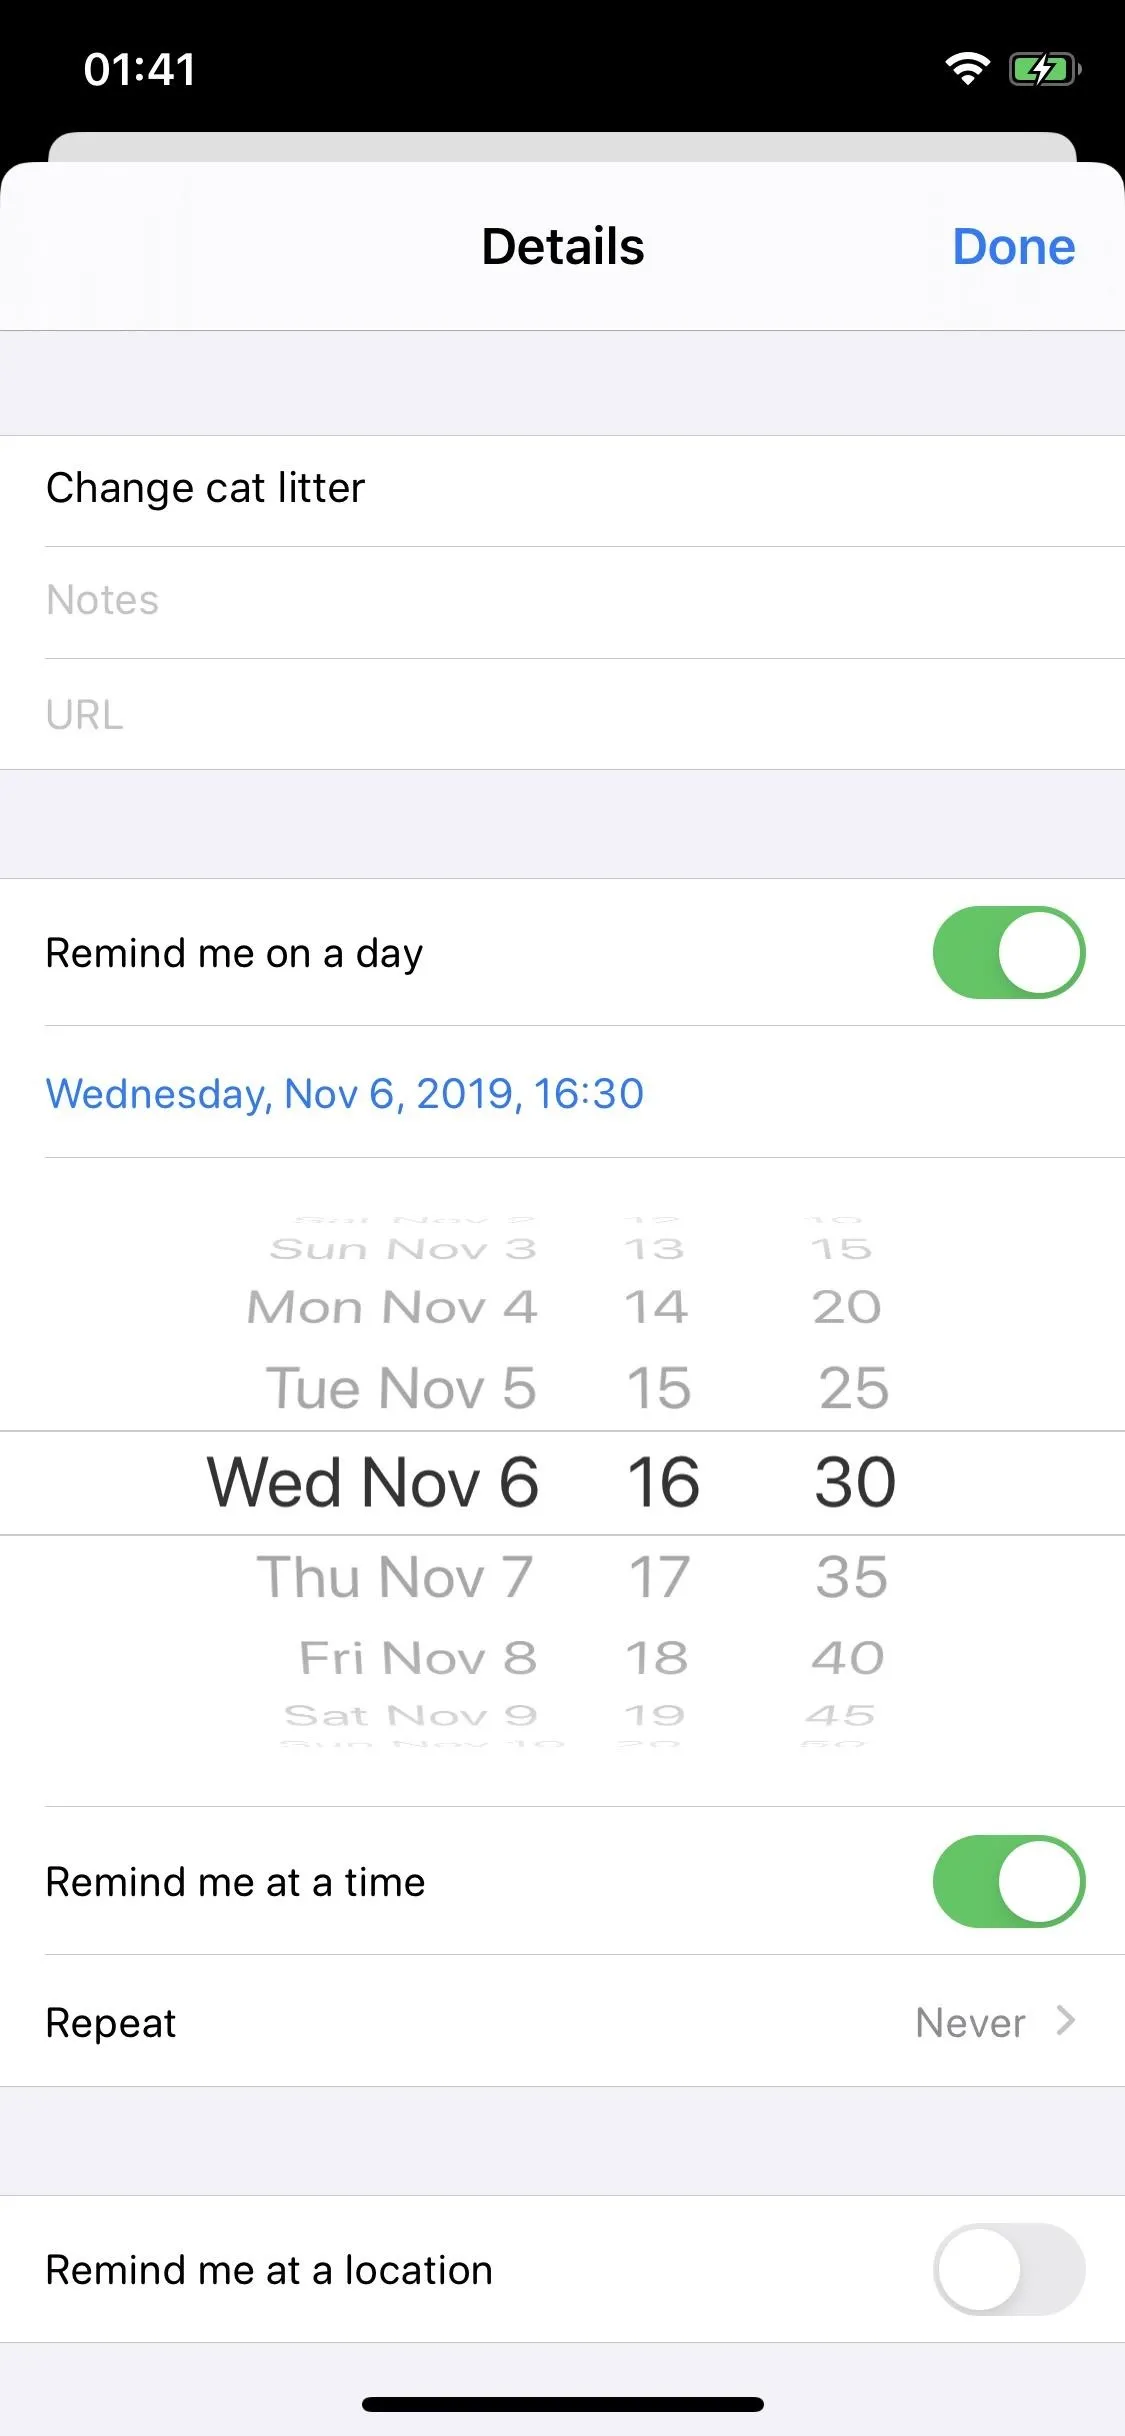

Repeat Due Date Alerts
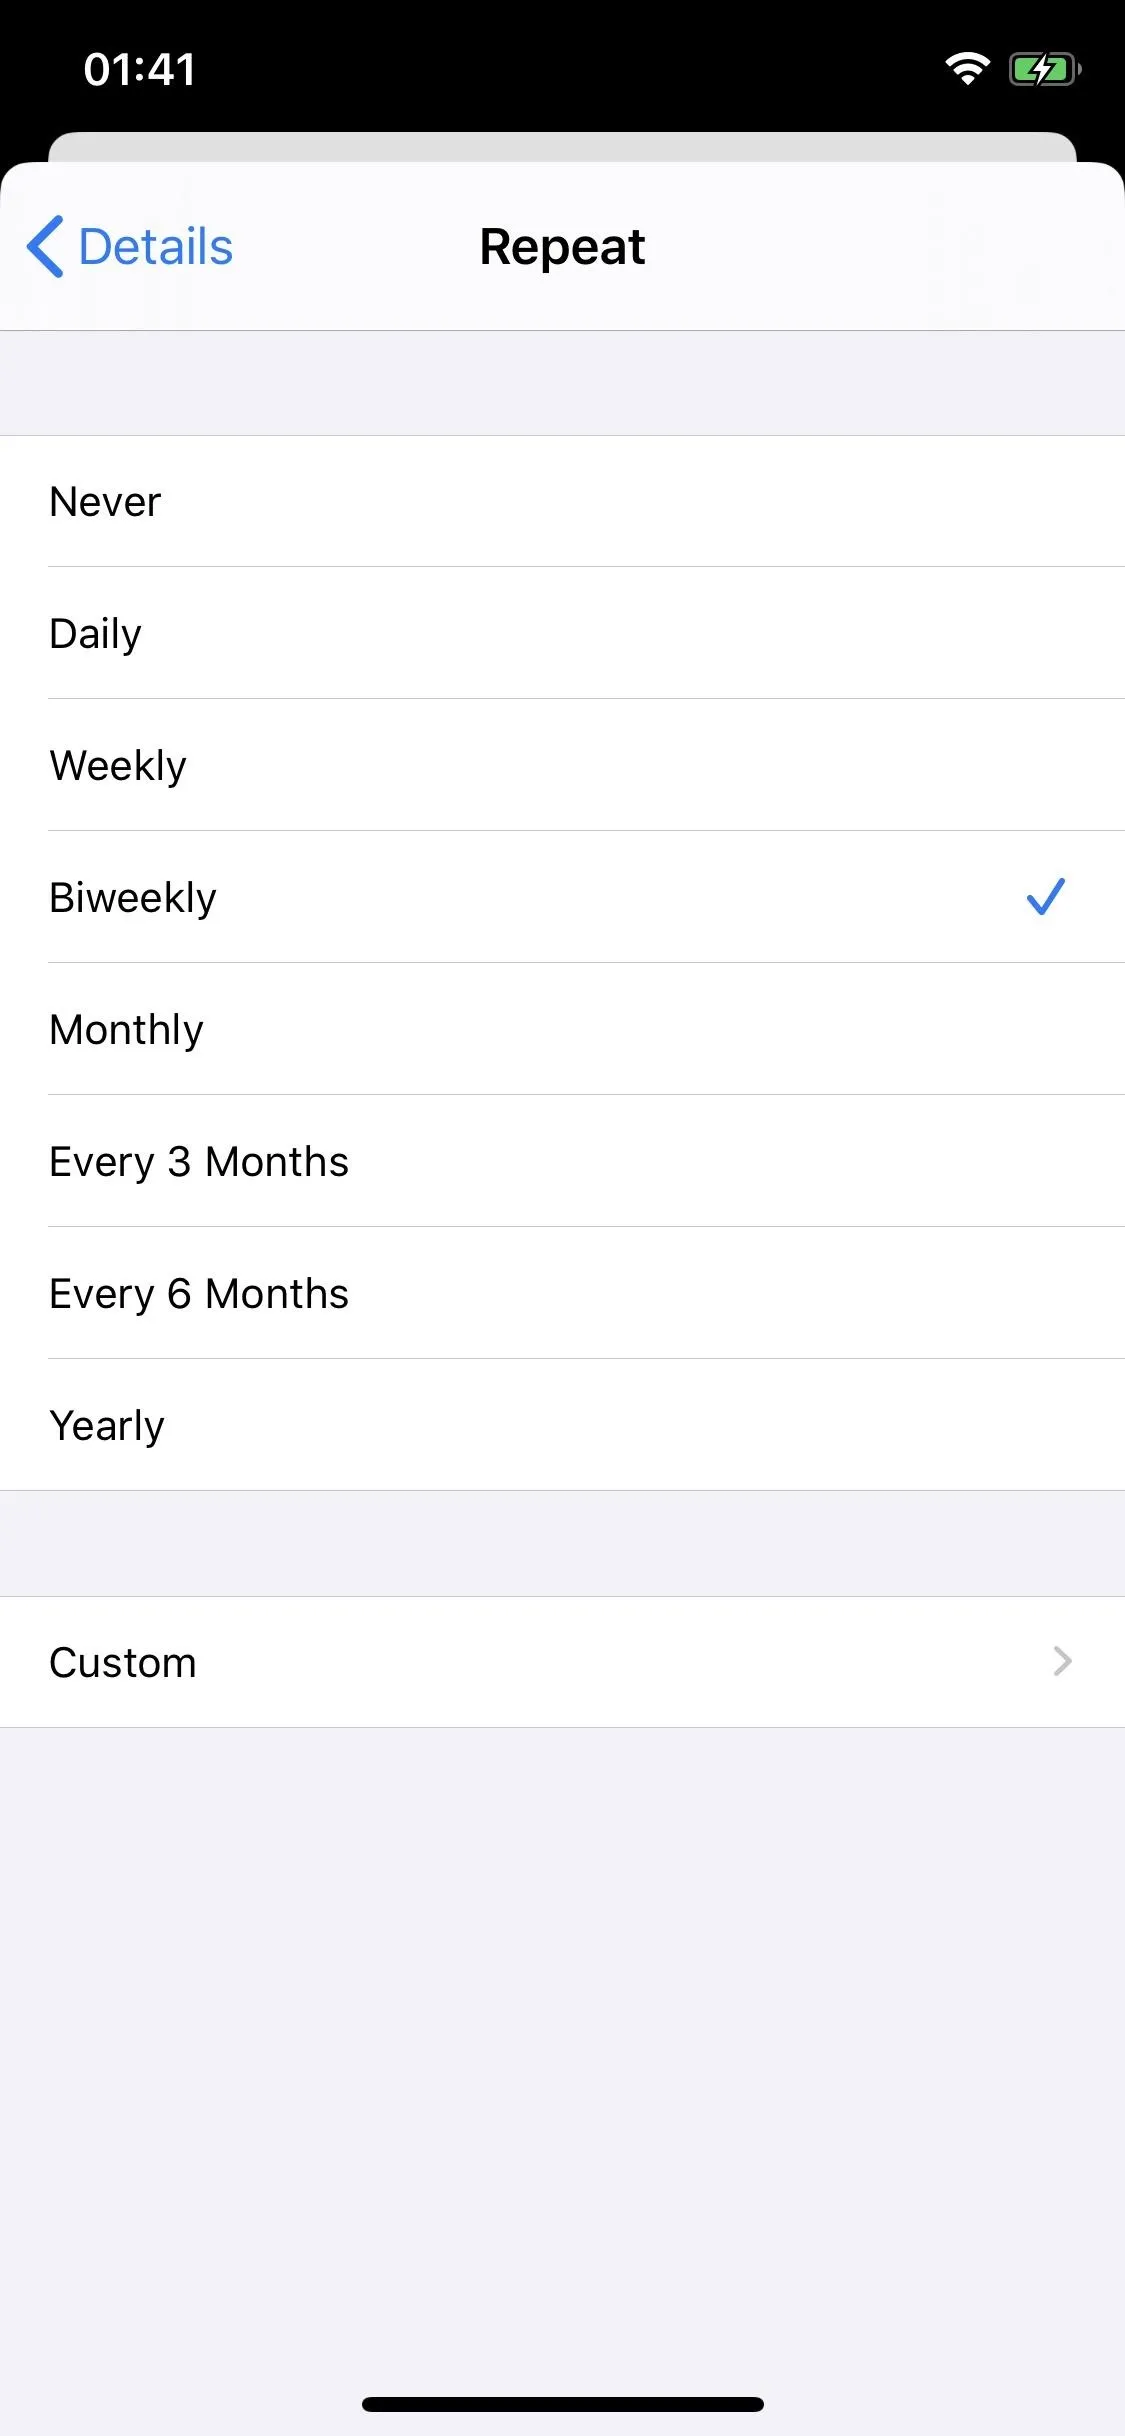
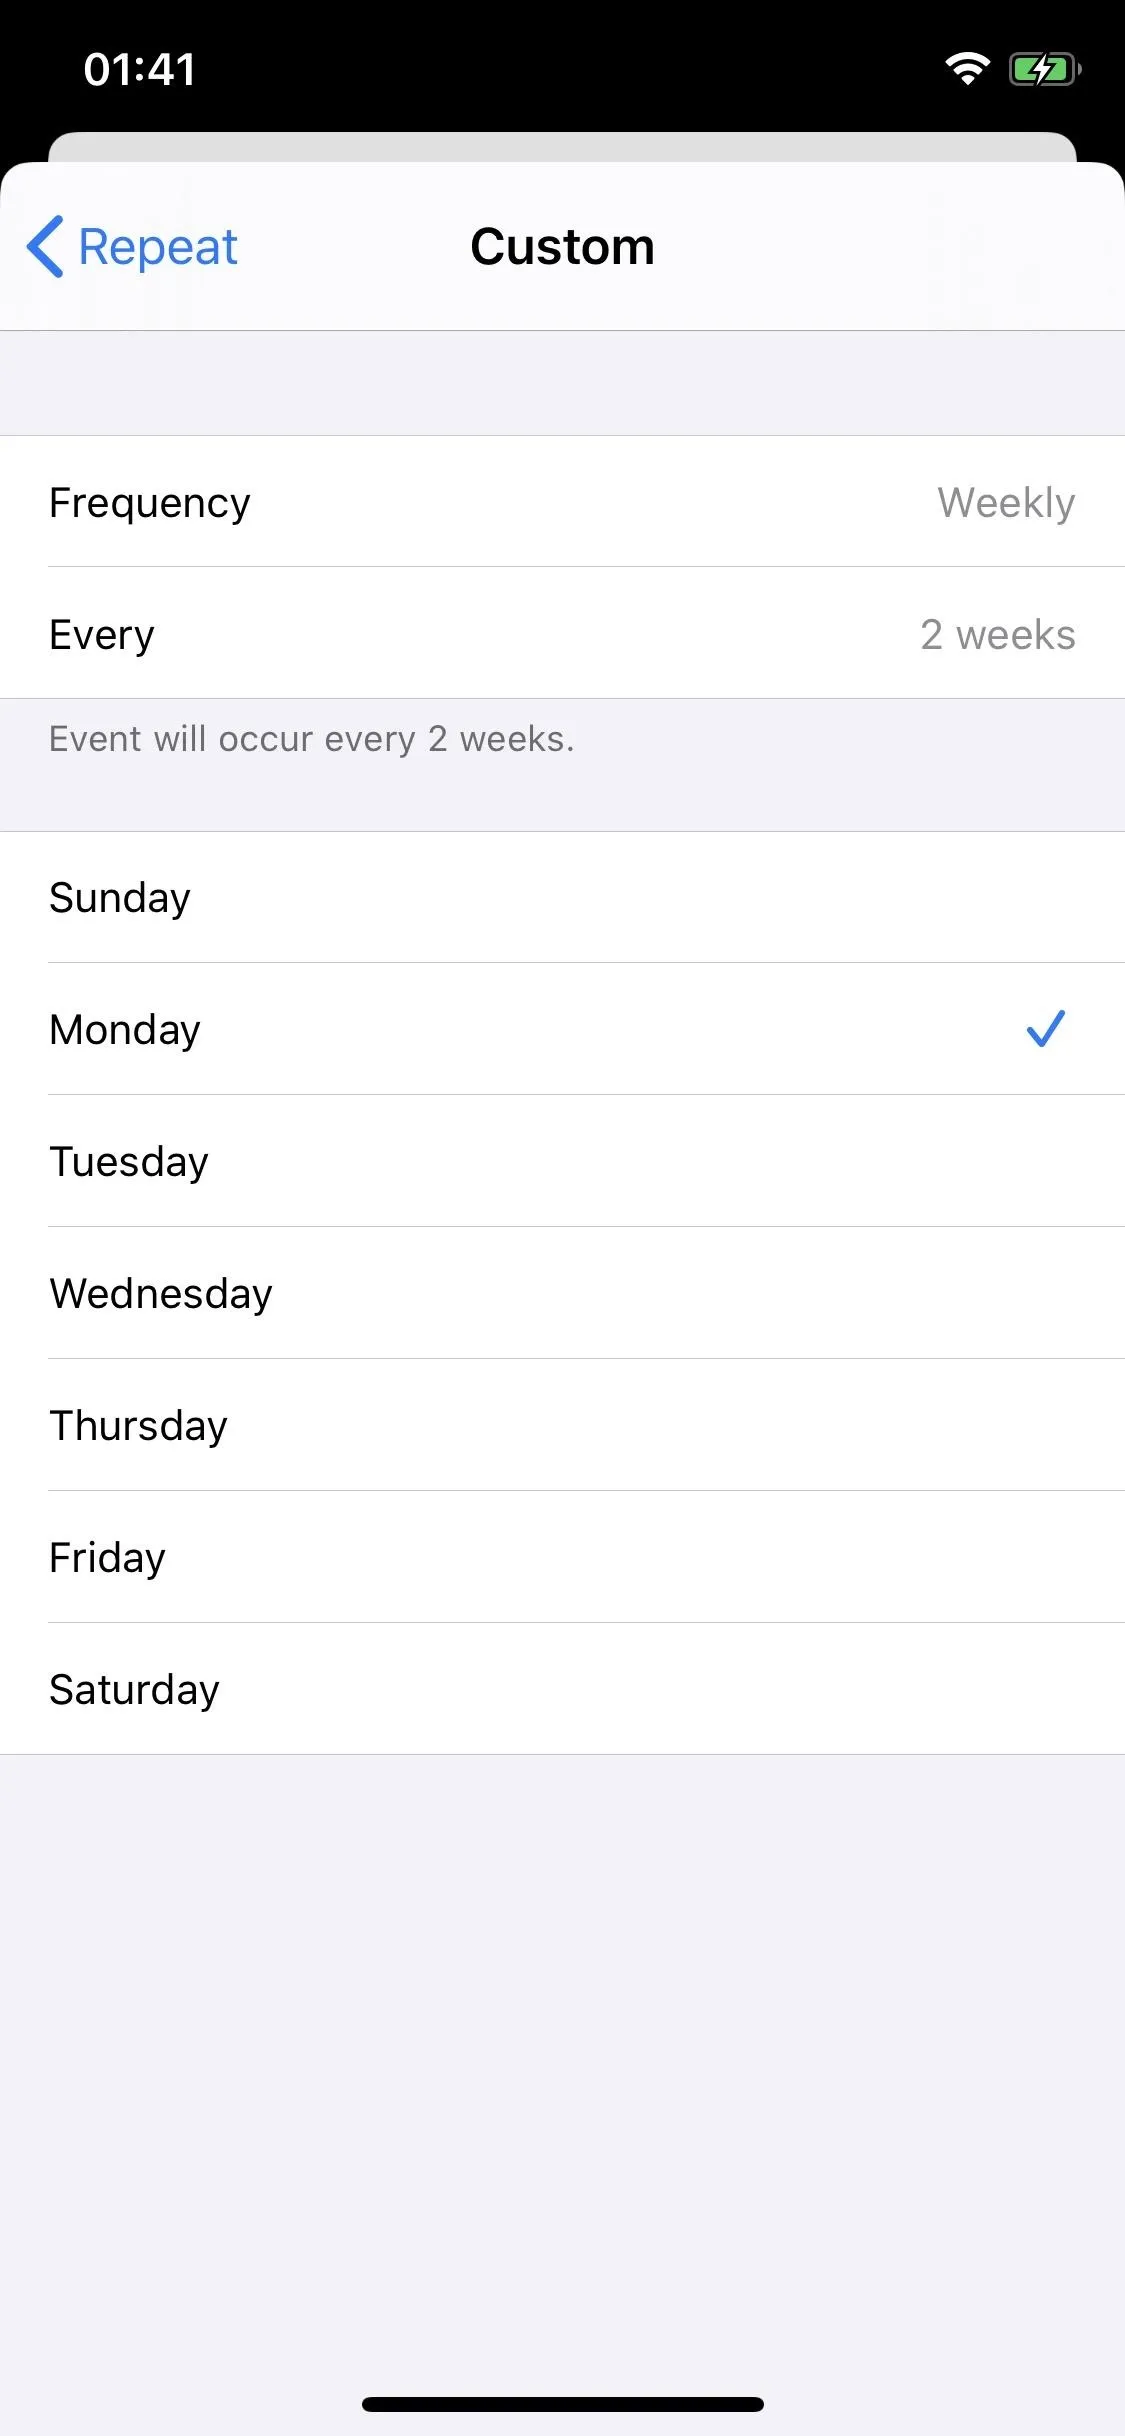
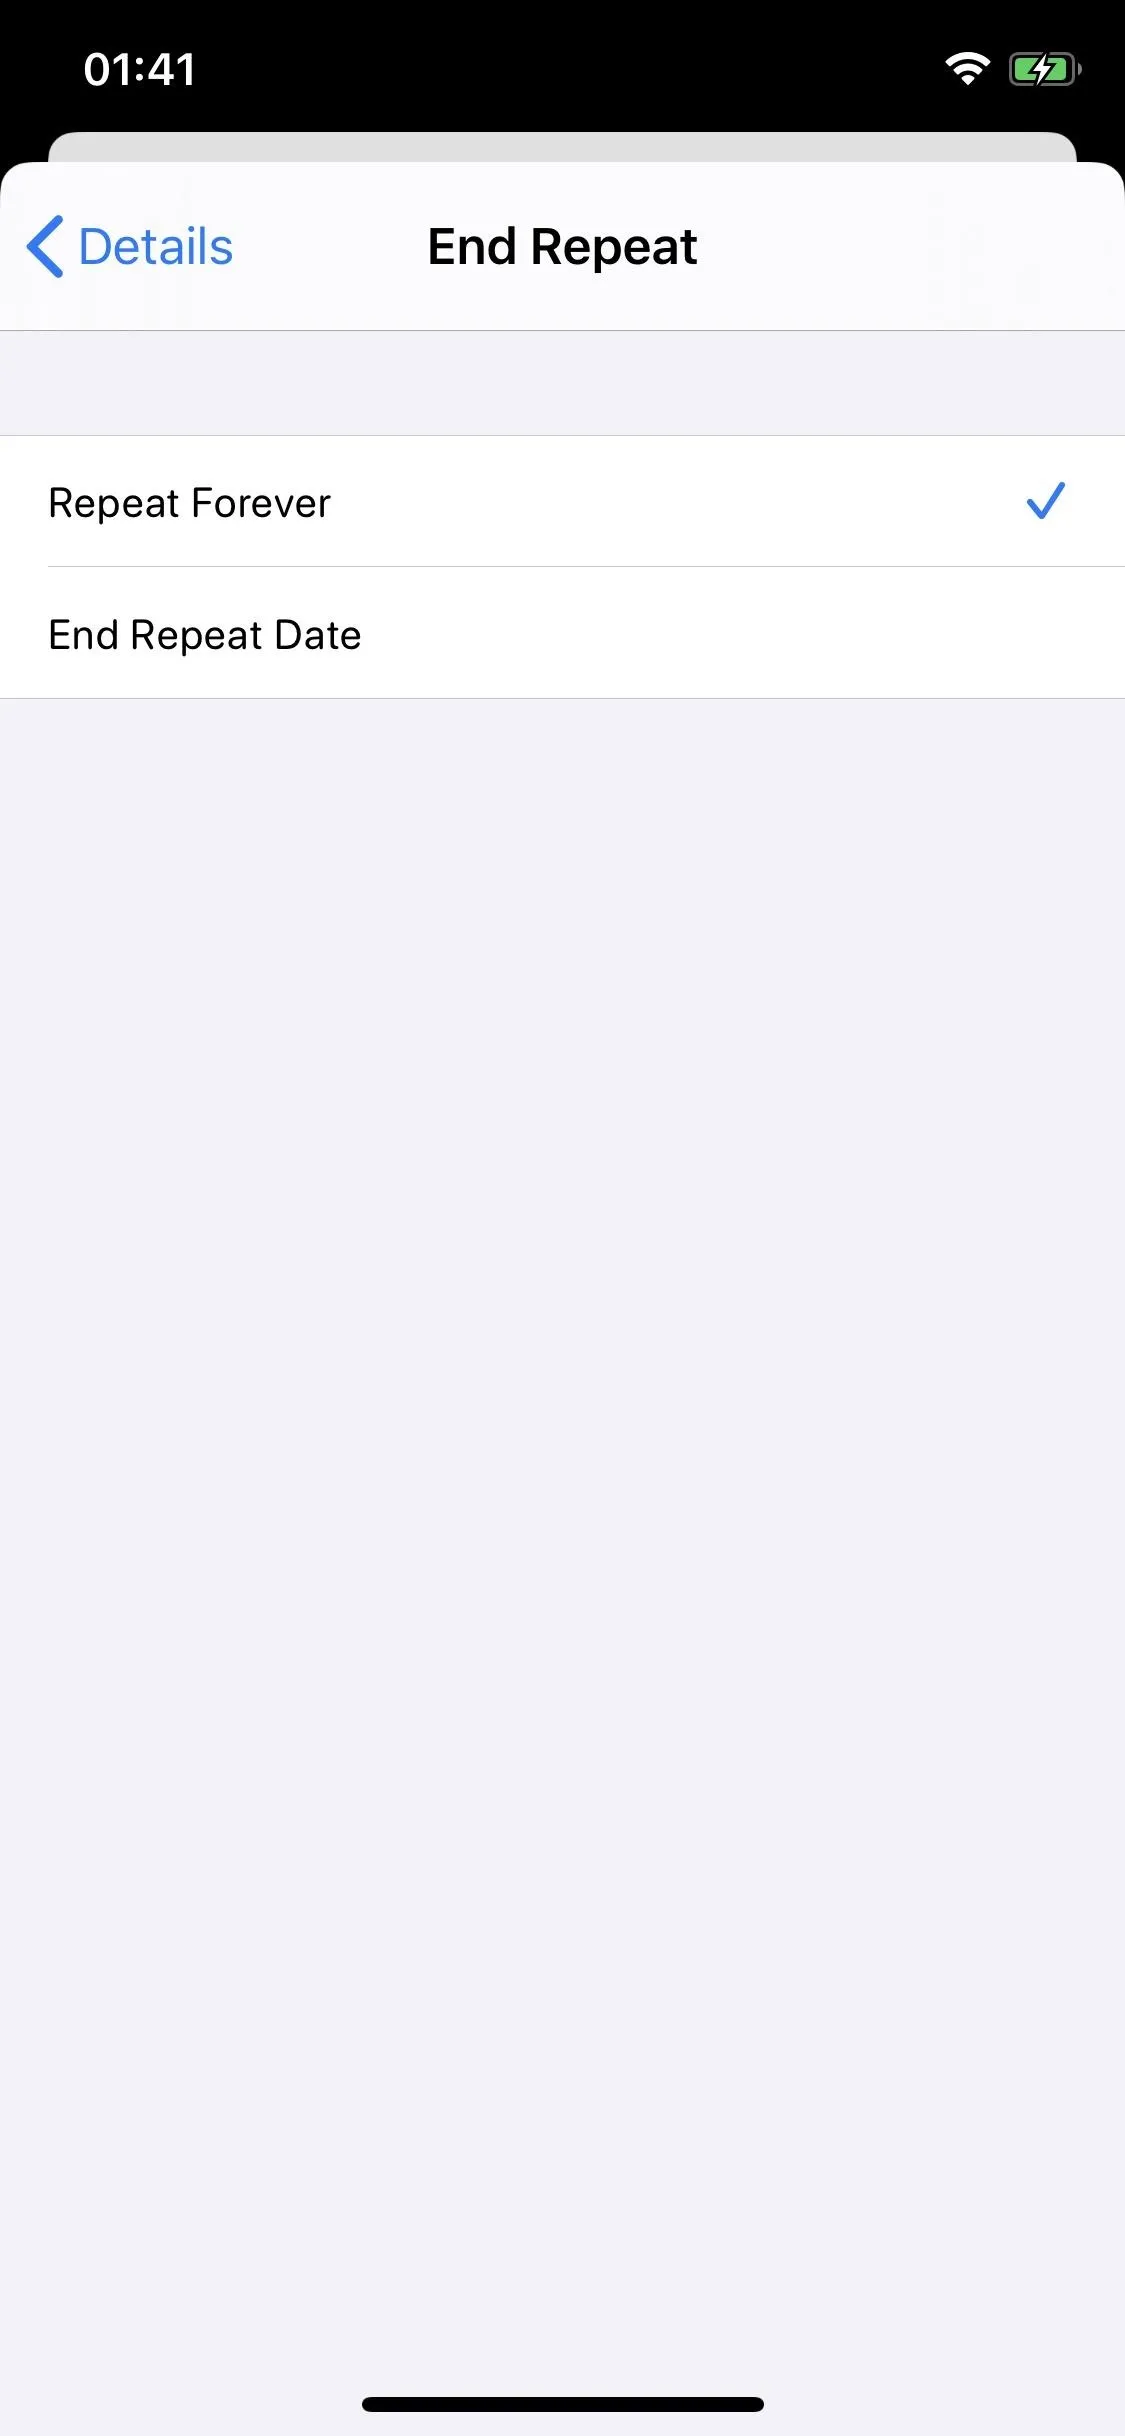
You can repeat the due date alerts for your reminders from the information page of your reminder. To do this, tap on "Repeat" and then choose from the options that appear, including daily, weekly, biweekly, and yearly, to name a few. You can also set a custom repeat option, and choose the frequency and days that you are alerted. Finally, you can choose whether to repeat the alert forever, or pick a specific date to end the repeat reminder.
View Reminder
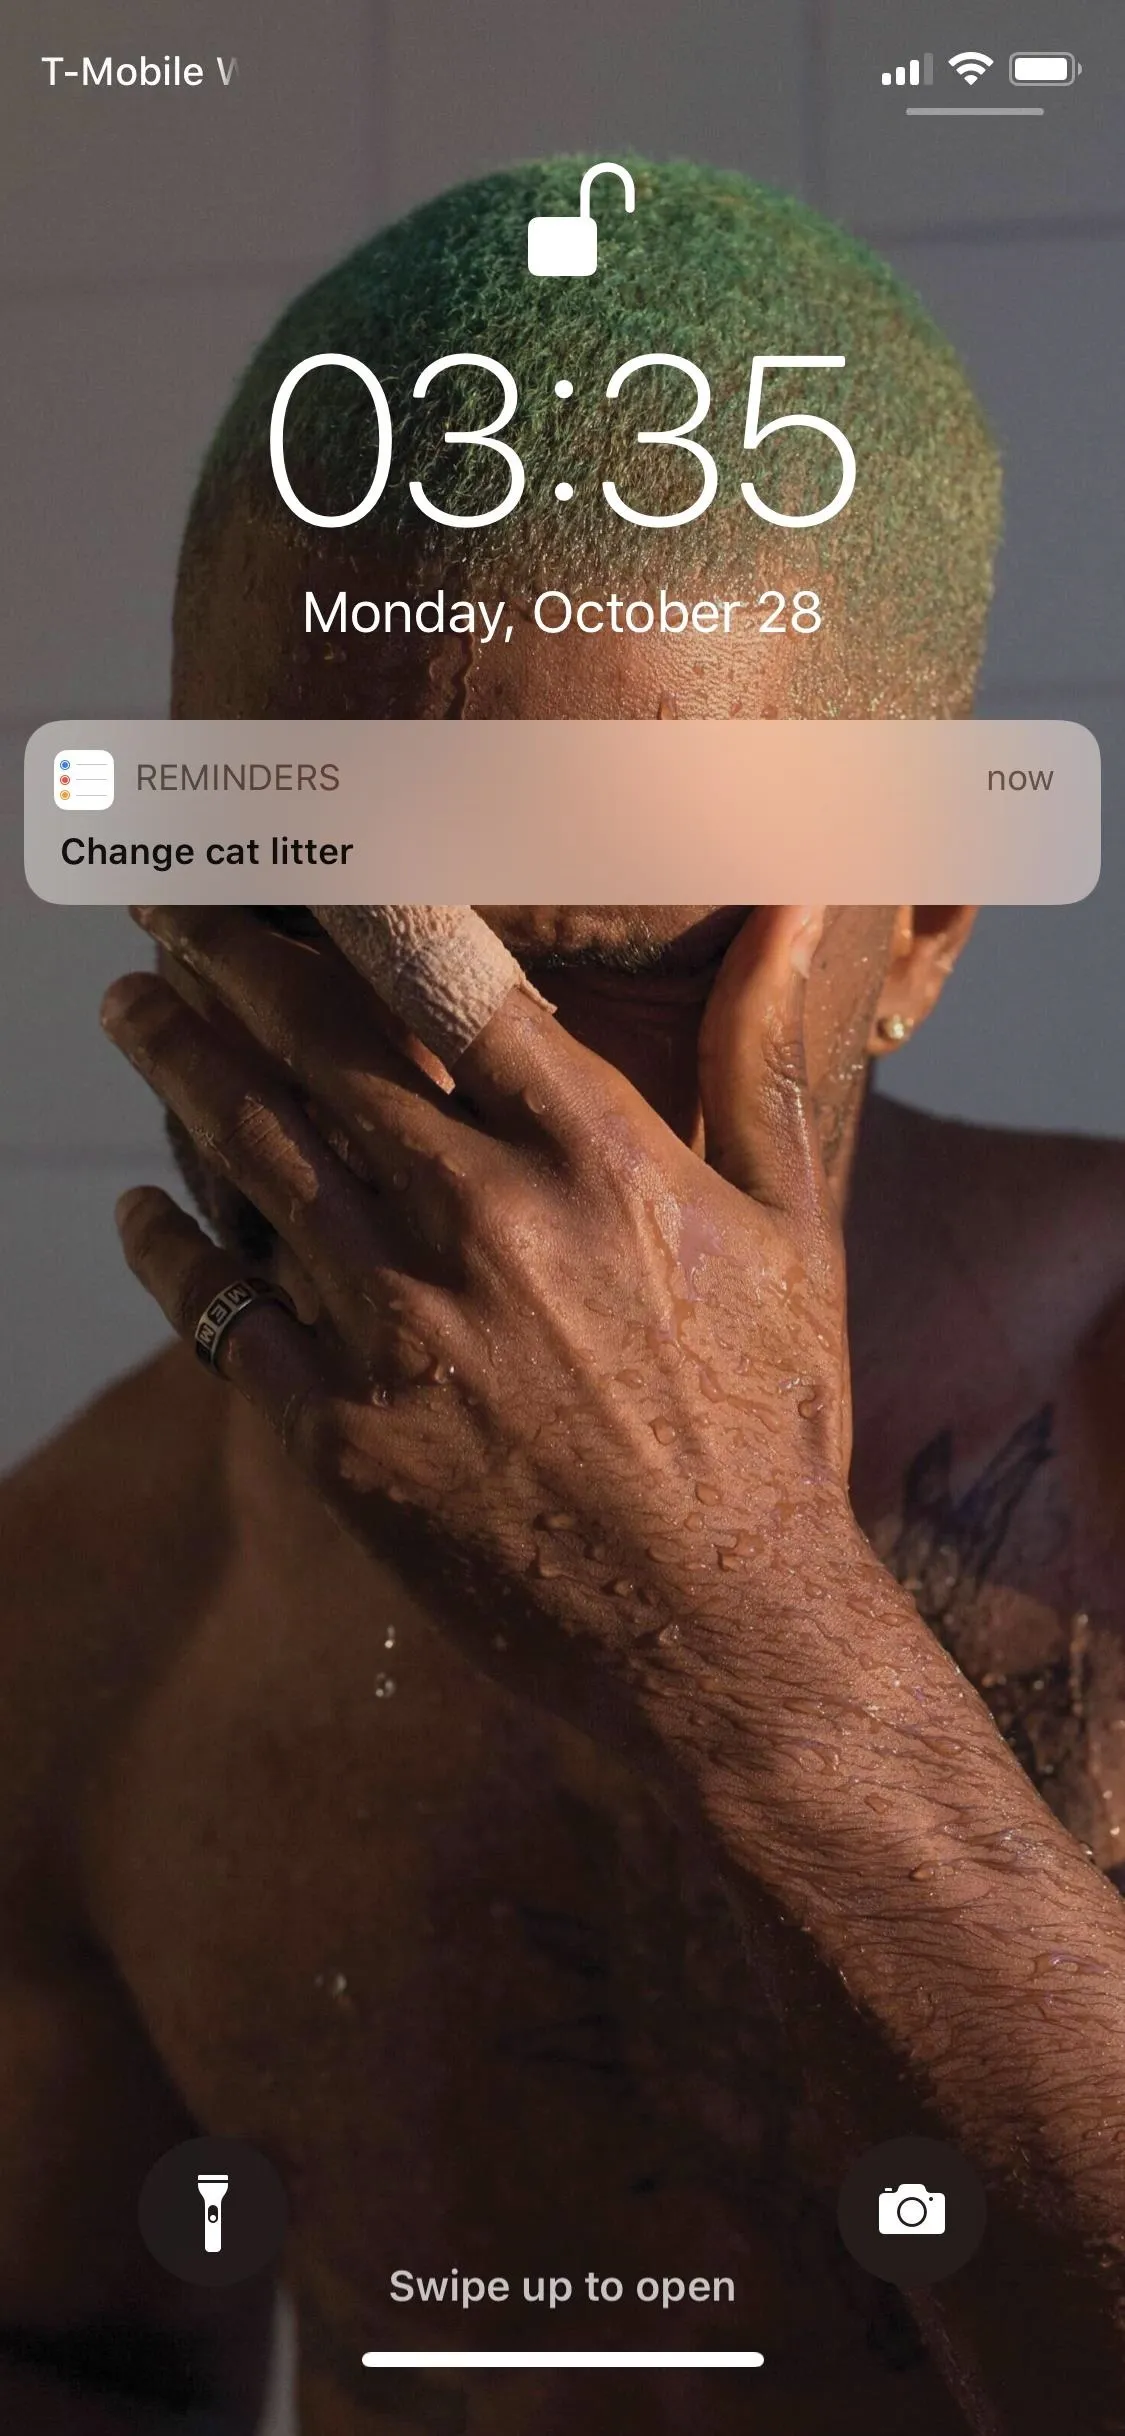
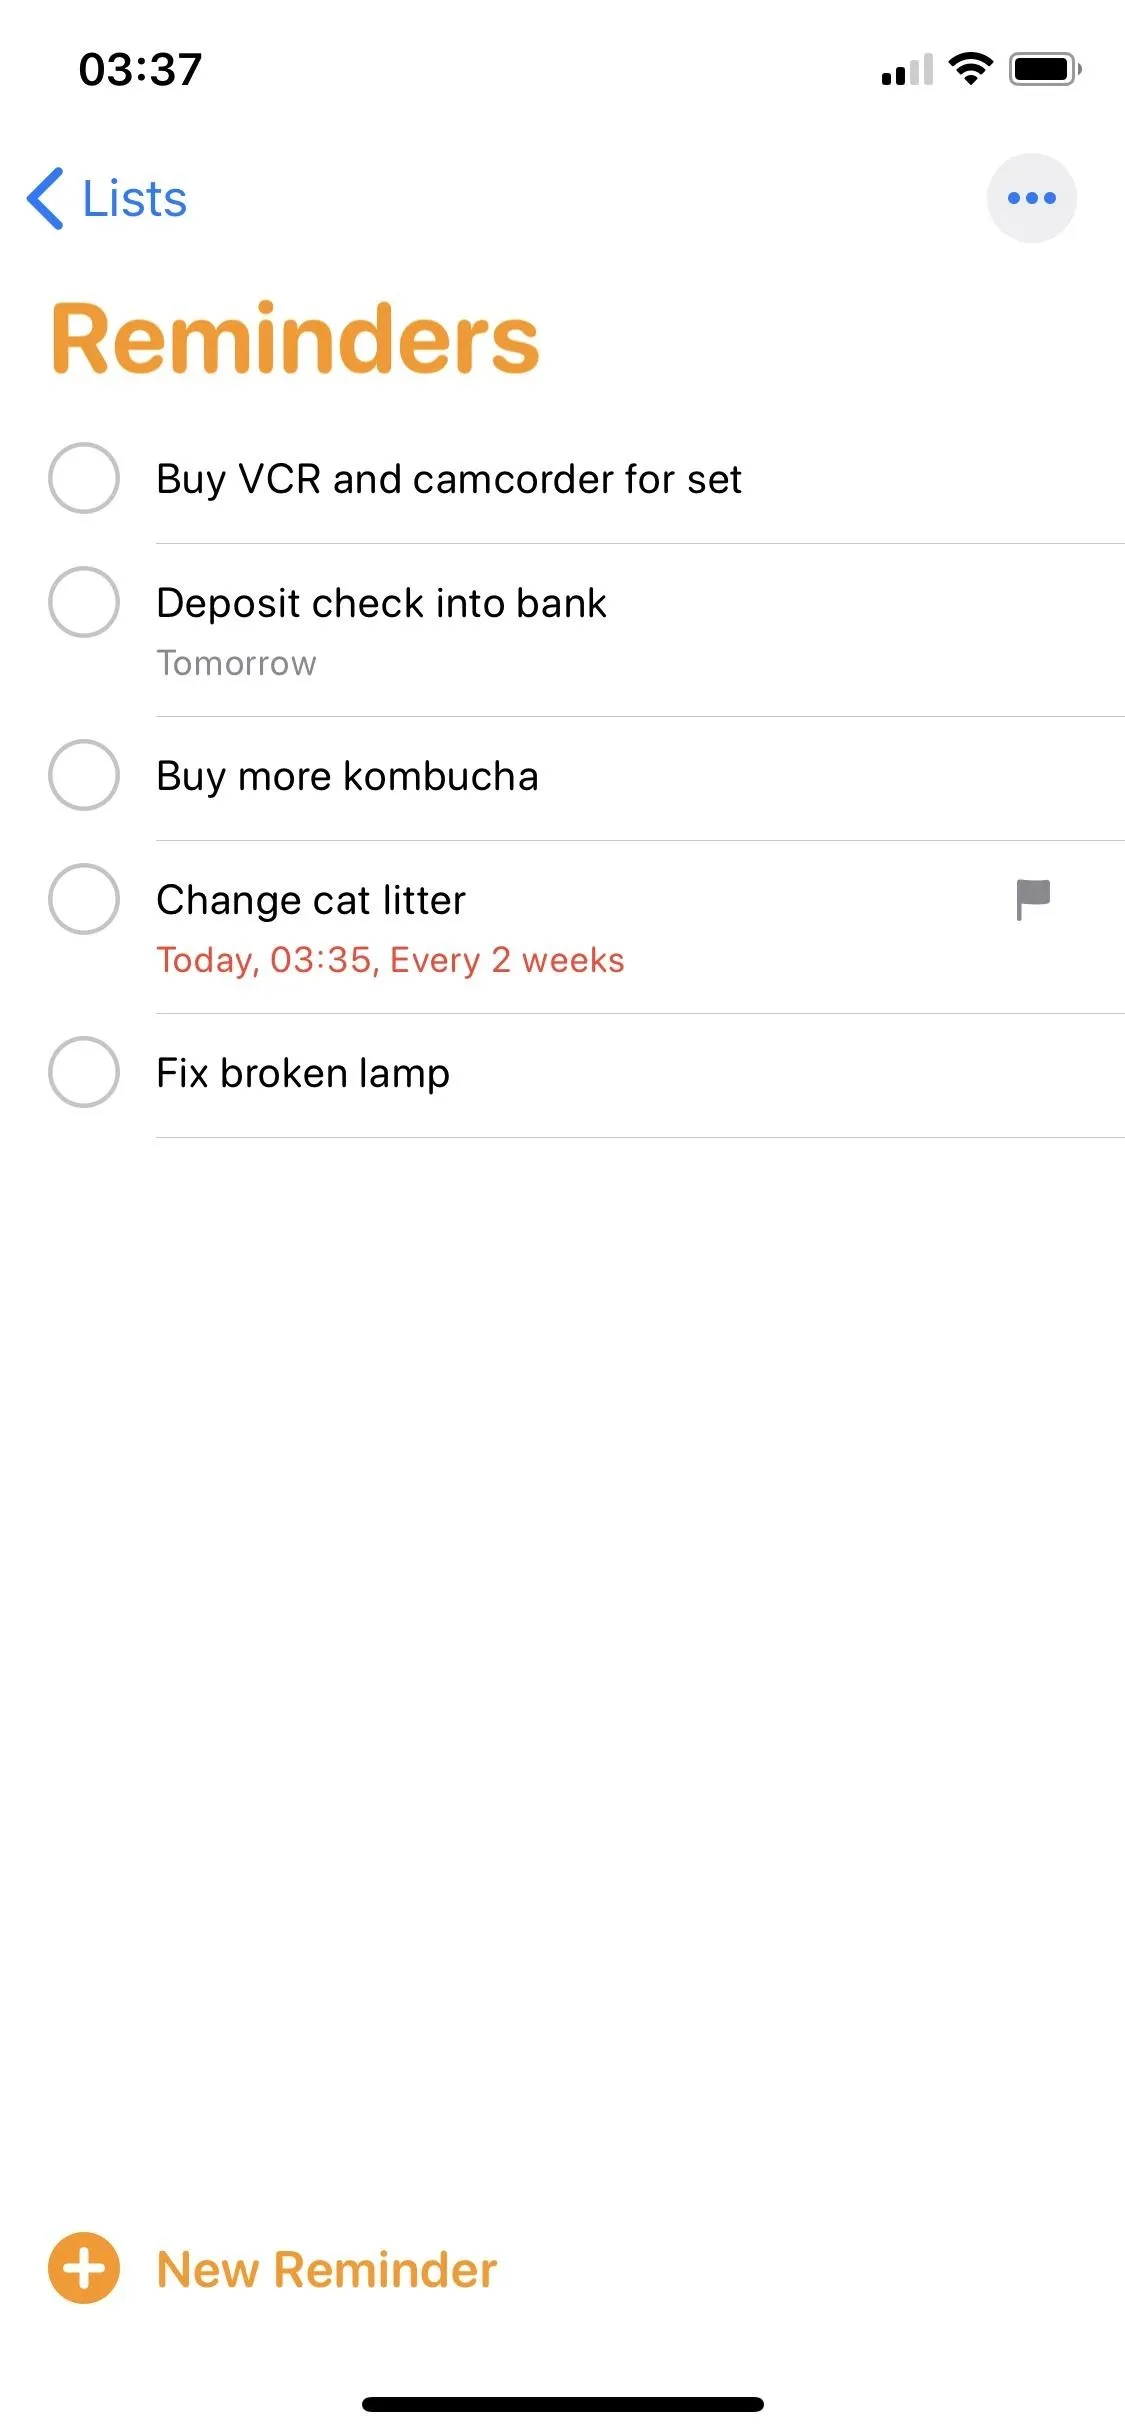
Below, you can see what the time-based alert looks like (left screenshot). If you tap on it, you'll be redirected to the Reminders application, where a red tag will appear under the reminder, showing you the date and time of the alert (and any repeat alerts, if enabled). The reminder alert will live on your home screen unless you manually clear the notification or the reminder.
Cover photo and screenshots by Nelson Aguilar/Gadget Hacks


Comments
Be the first, drop a comment!