


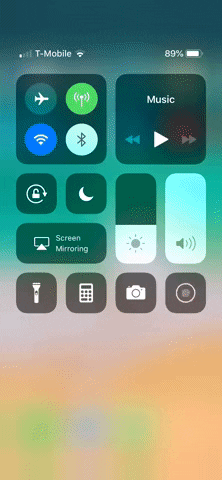
Native screen recording, one of the hottest features that Apple included in iOS 11 and later, is easily started from the optional Control Center toggle on your iPhone. From there, you can stop recording from the same place or from the red status bar or bubble. It's a very convenient addition to iOS, but there's one obvious downside — that red indicator, which can appear in your recordings.
When a screen recording is going on (audio can even be enabled!), iPhone X and other Face ID models will have a red bubble around the time in the status bar, while all other iPhone models will make the whole status bar at the top red. Either way, it can be pretty annoying in screen recordings, especially if you're making them for professional reasons.
The annoying red bar or bubble that appears during an ongoing screen recording can actually be hidden by certain apps such as full-screen games, a few photo editors, and others where the developer chose to hide the status bar completely by default.
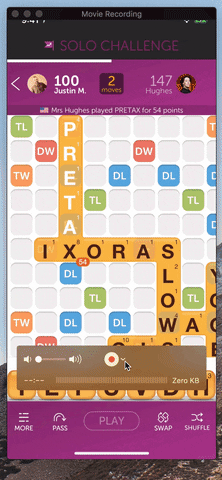
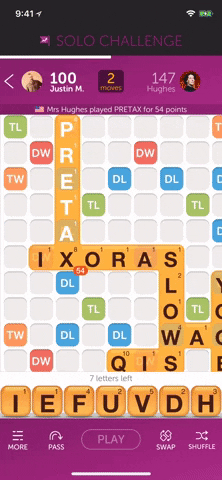
The red bar on top of most iPhones (left) and the red bubble on the iPhone X (right).

Justin Meyers/Gadget Hacks
The red bar on top of most iPhones (left) and the red bubble on the iPhone X (right).
Justin Meyers/Gadget Hacks
If you're screen recording in one of the apps that hide the status bar, Apple's native screen recording feature in the Control Center is a godsend. But if you're recording your iPhone's screen in an app that doesn't, there are other options you can use so the unattractive red bar or bubble never shows up.
Use QuickTime on Your Mac
The best part about the native screen recording feature in iOS 11 and iOS 12 is that you don't need to be connected to any cables, but for high-quality recordings without the red bar or bubble, it's necessary unless you're recording an app that hides the status bar.
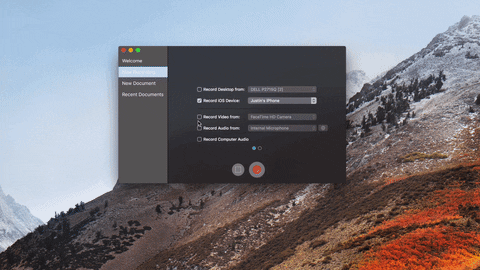
If you have a Mac, you can easily record your iPhone's screen using the built-in QuickTime Player, as long as you're running macOS 10.10 or higher and QuickTime Player is version 10.4 or newer. You also need a Lightning cable, so this won't work on older iPhones with the 30-pin connectors.
It's a pretty simple process, and we've covered it in detail before, so I won't go over it here. But know that you can record both video and audio this way, and for the latter, it could either be the audio on the iPhone itself or the mic from your Mac in case you want to make a voiceover.
The recording process (left) and the end result (right).
Justin Meyers/Gadget Hacks
The recording process (left) and the end result (right).
Justin Meyers/Gadget Hacks
The only downside to this, which isn't really a bad thing, is that the time in the iPhone screen recording will always be 9:41 and not the actual time.
Third-Party Mac Apps
Since there's a built-in way for your Mac to communicate with your iPhone, such as with the QuickTime option above, other developers can take advantage of that system for their own apps. One of my favorites is Screenflow by Telestream. It's a bit pricey, but the editing options you're given are reason enough to justify the cost.
- Mac App Store Link: Screenflow 8: Video Editor & Screen Recorder ($89.99)
Justin Meyers/Gadget Hacks
Other third-party apps available, most of which I have not personally tested, include Screen Record Pro by Xiaolei Zhang ($9.99) for Mac only, Animatrice by Telethon K.K (free) for Mac only, which just steals QuickTime's recording straight up and not very well, LonelyScreen ($14.95/year) for Mac and Windows, and Reflector ($14.99) for Mac and Windows, to name just a few.
Again, the only downside to these apps (besides price) is that the time in the iPhone screen recording will always be 9:41 and not the actual time, just like with QuickTime. But that only applies to the apps that require you to connect via Lightning cable, not the ones that will mirror the screen wirelessly to your Mac.
Use a Jailbreak Tweak
If you have a jailbroken iPhone, you can install a tweak from either Cydia or Sileo to automatically to get rid of the screen record indicator once and for all. Kiran Patil's SilentRecorder tweak is free to install and will work on modded iPhones running either iOS 11 or 12. Just search for it and install.
SilentRecorder is enabled by default once installed, though you can disable it anytime within the Settings app if you ever want the screen record indicator back on. Just keep in mind that you'll need to force-close the Settings app each time you enable or disable the tweak to implement the changes.
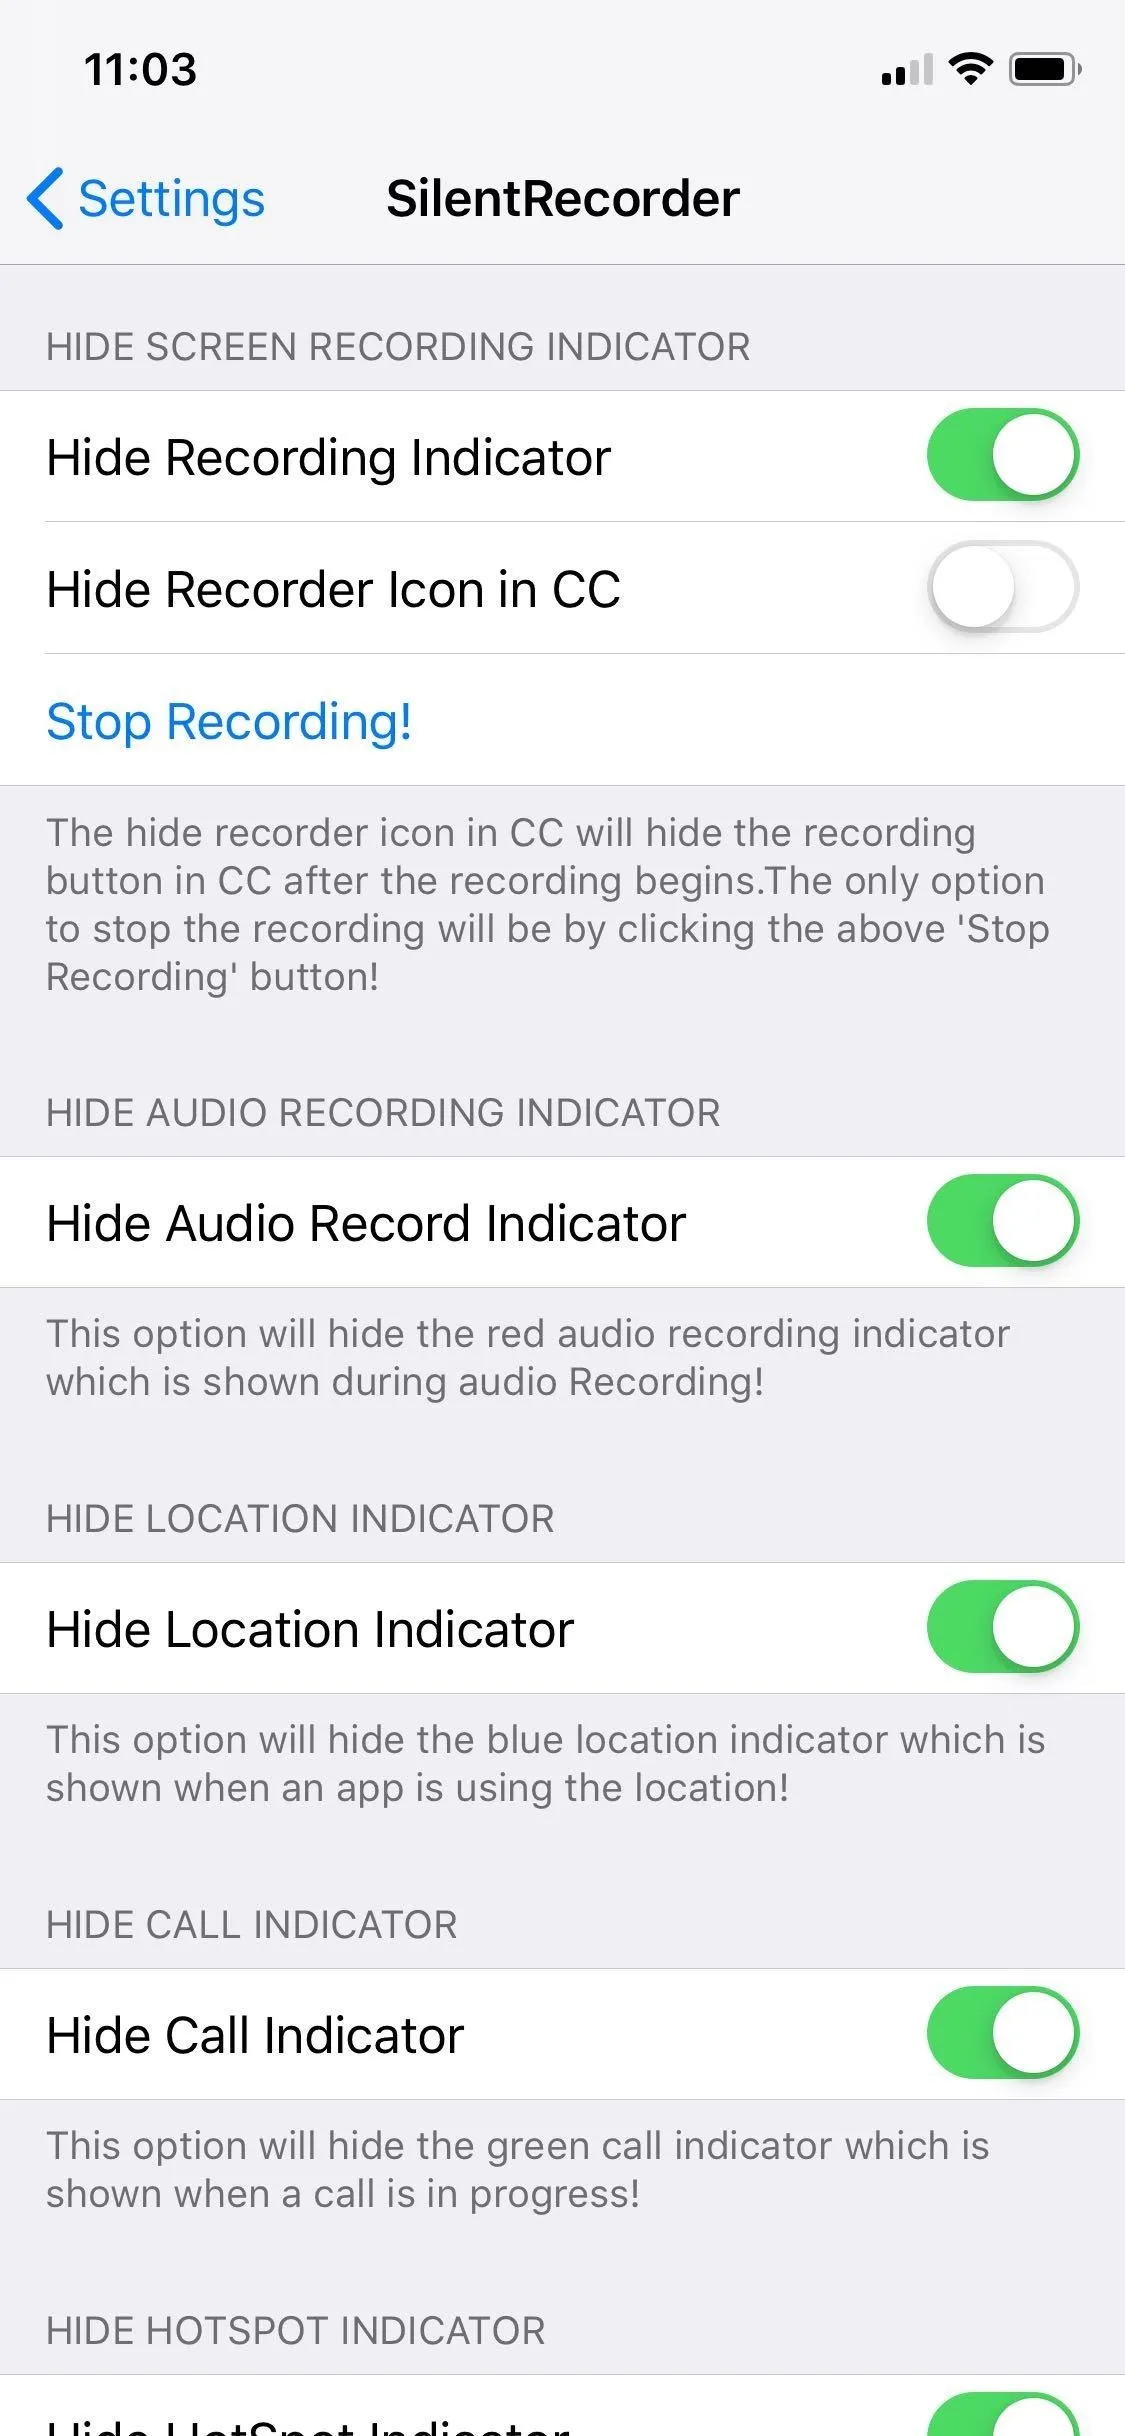
The SilentRecorder tweak can be found within the Settings app
Amboy Manalo/Gadget Hacks
The SilentRecorder tweak can be found within the Settings app
Amboy Manalo/Gadget Hacks
In addition to hiding the red screen record bar or bubble, SilentRecorder also provides options for hiding indicators for phone calls, audio recording, location, and hotspot. In all, SilentRecorder is a great tweak to have if you don't want to pollute your iPhone with unnecessary indicators.
Why Other Options Didn't Make This List
Before the time of Apple's native screen recorder, which first appeared in iOS 11, there were a handful of iOS apps that you would have to sideload in order to use, such as AirShou, EveryCord, Vidih, and VizoRec. These didn't make the cut because in each case, you'll either still have a red indicator up at the top of the screen when recording, in most cases, or it would make the status indicator turn blue instead. The apps aren't very reliable, and some don't even work anymore.
There are also some iOS apps that are actually in the iOS App Store now, which utilize Apple's native screen recorder to "stream" those videos to a service like Twitch. These include EveryCord by Anthony Agatiello (free) and Mobcrush (free), to name a couple, but they fall victim to the same annoying red bar or bubble that you're trying to avoid since they utilize the native screen recorder.
- Follow Gadget Hacks on Pinterest, Reddit, Twitter, YouTube, and Flipboard
- Sign up for Gadget Hacks' daily newsletter or weekly Android and iOS updates
- Follow WonderHowTo on Facebook, Twitter, Pinterest, and Flipboard
Cover photo by Justin Meyers/Gadget Hacks


Comments
Be the first, drop a comment!