


While the Twitch app for iOS came out way back in 2011, livestreaming iPhone games was a rarity until Apple recently updated its ReplayKit in iOS 11. However, Twitch hasn't jumped on the bandwagon yet, but that doesn't mean you can't livestream your iPhone games to Twitch right now.
Livestreaming to Twitch from iOS has appeared in a few cases over the years in games such as Asphalt 8, Heroes of Order and Chaos, and TouchFish using TwitchKit, but few developers used the SDK, and Twitch has since abandoned it. Those that did implement it either removed it later or it just doesn't work anymore.
Luckily, there are iOS apps like Mobcrush that can pick up the slack, so you can livestream all of the eSports titles you want to Twitch from your iPhone — without connecting to a computer. While there are other streaming solutions like Omlet Arcade and Mixer, we found Mobcrush to be the best app for streaming games directly to Twitch.
Mobcrush was even used at WWDC '16 to demonstrate Apple's new ReplayKit Live, a service introduced in iOS 10 that expanded ReplayKit's abilities. However, developers had to manually add the feature to their games. Apple's newest iteration in iOS 11, ReplayKit 2, gives would-be-streamers the ability to livestream any game they want, without requiring ReplayKit to be integrated into the game itself.
- Don't Miss: The 11 Best Free Word Games for iPhone & Android
Using Mobcrush and iOS 11's convenient Screen Recording feature, broadcasting from your iPhone to Twitch has never been easier. It's best to master this method of streaming too, as Twitch doesn't appear to have any plans to support ReplayKit 2.
Enable Screen Recording in Control Center
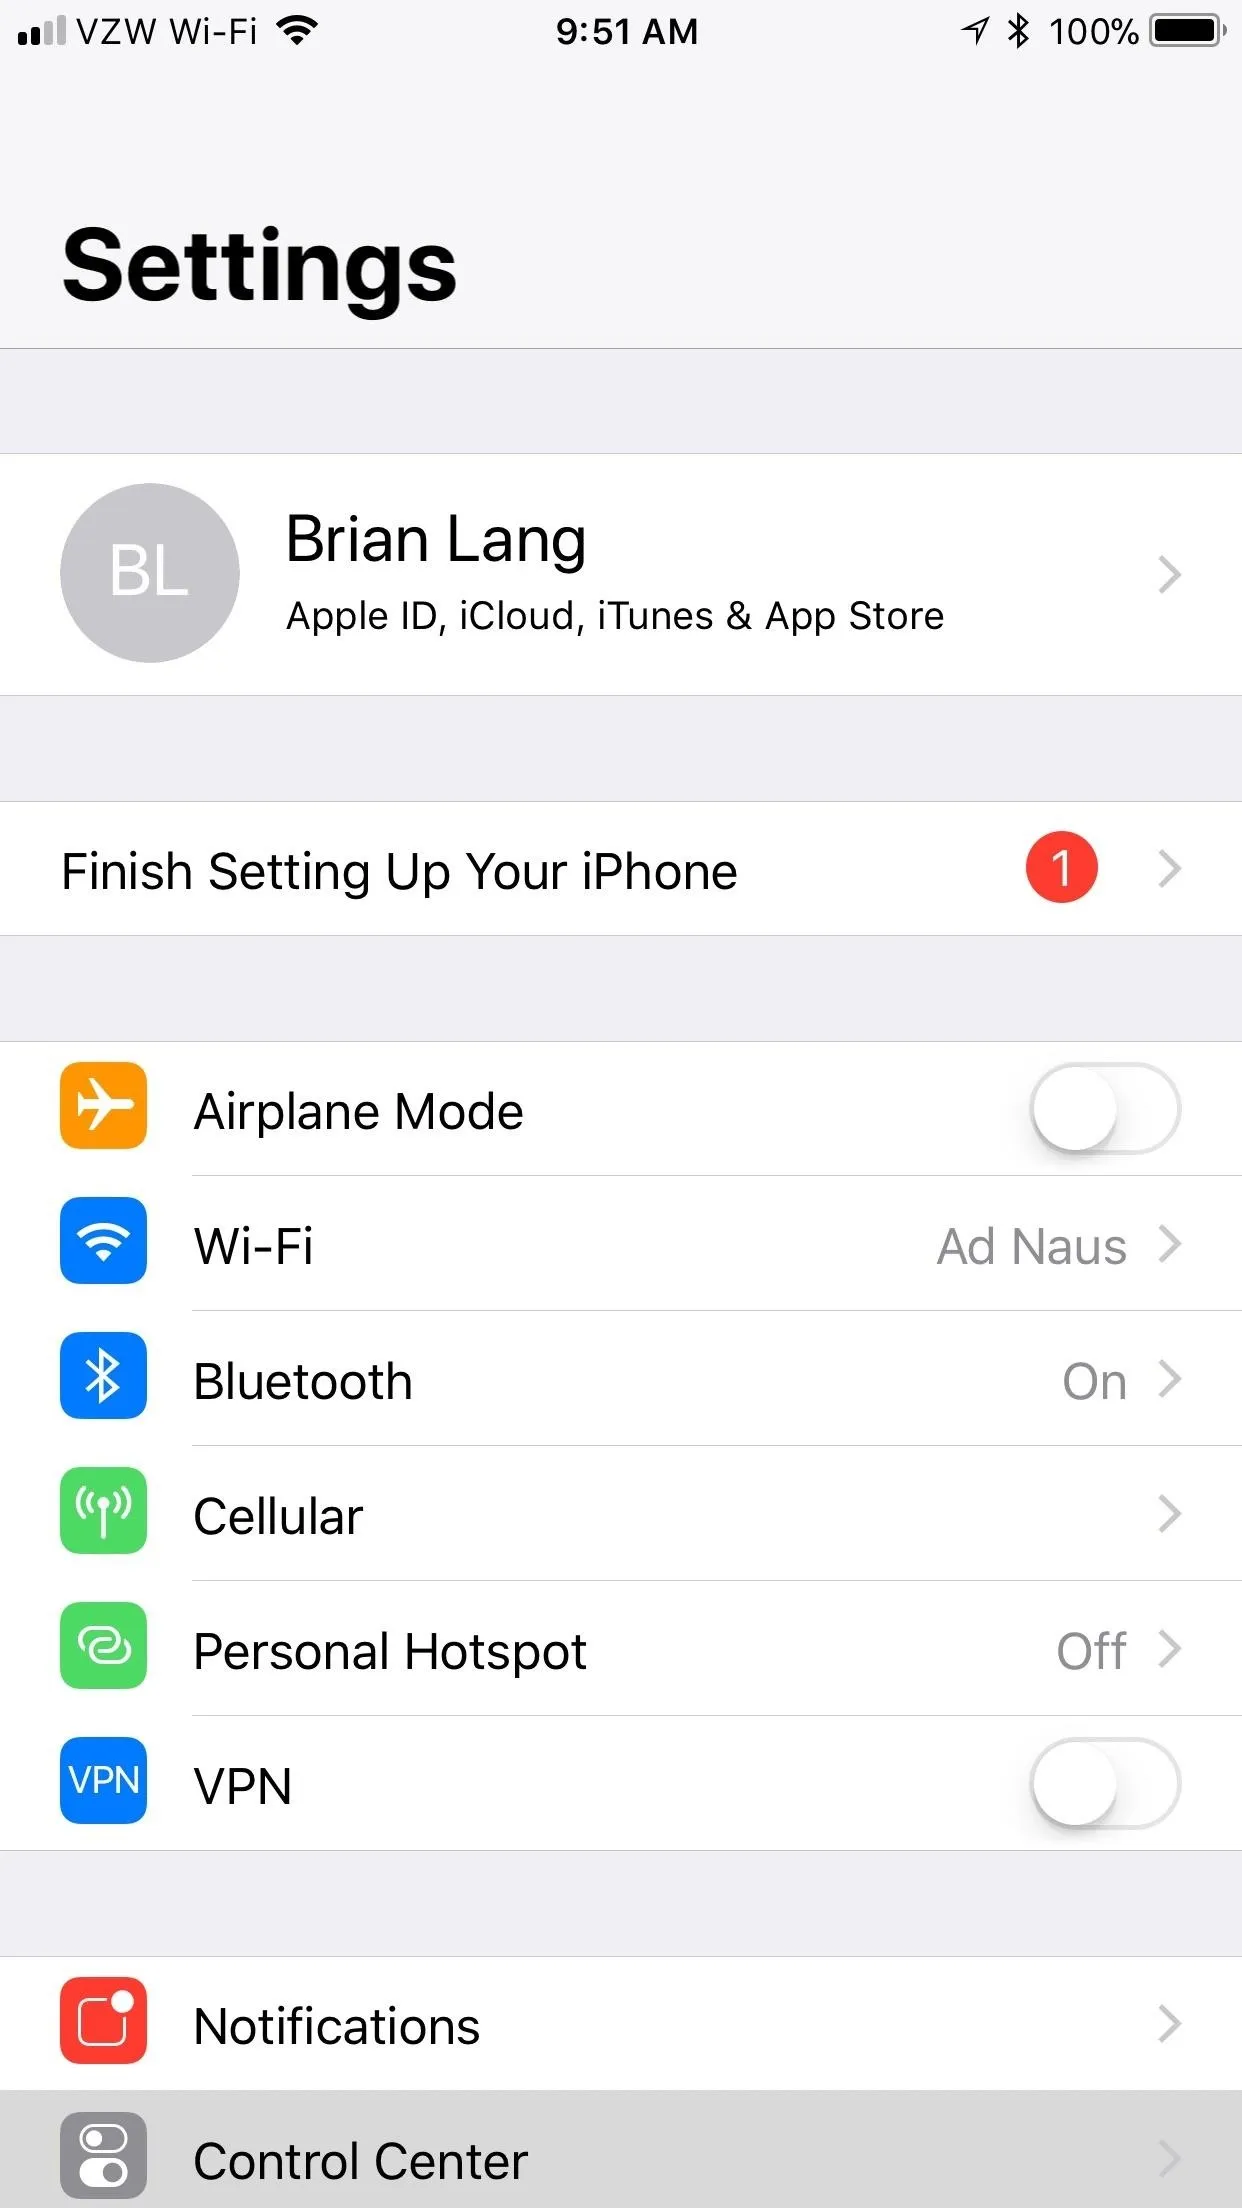
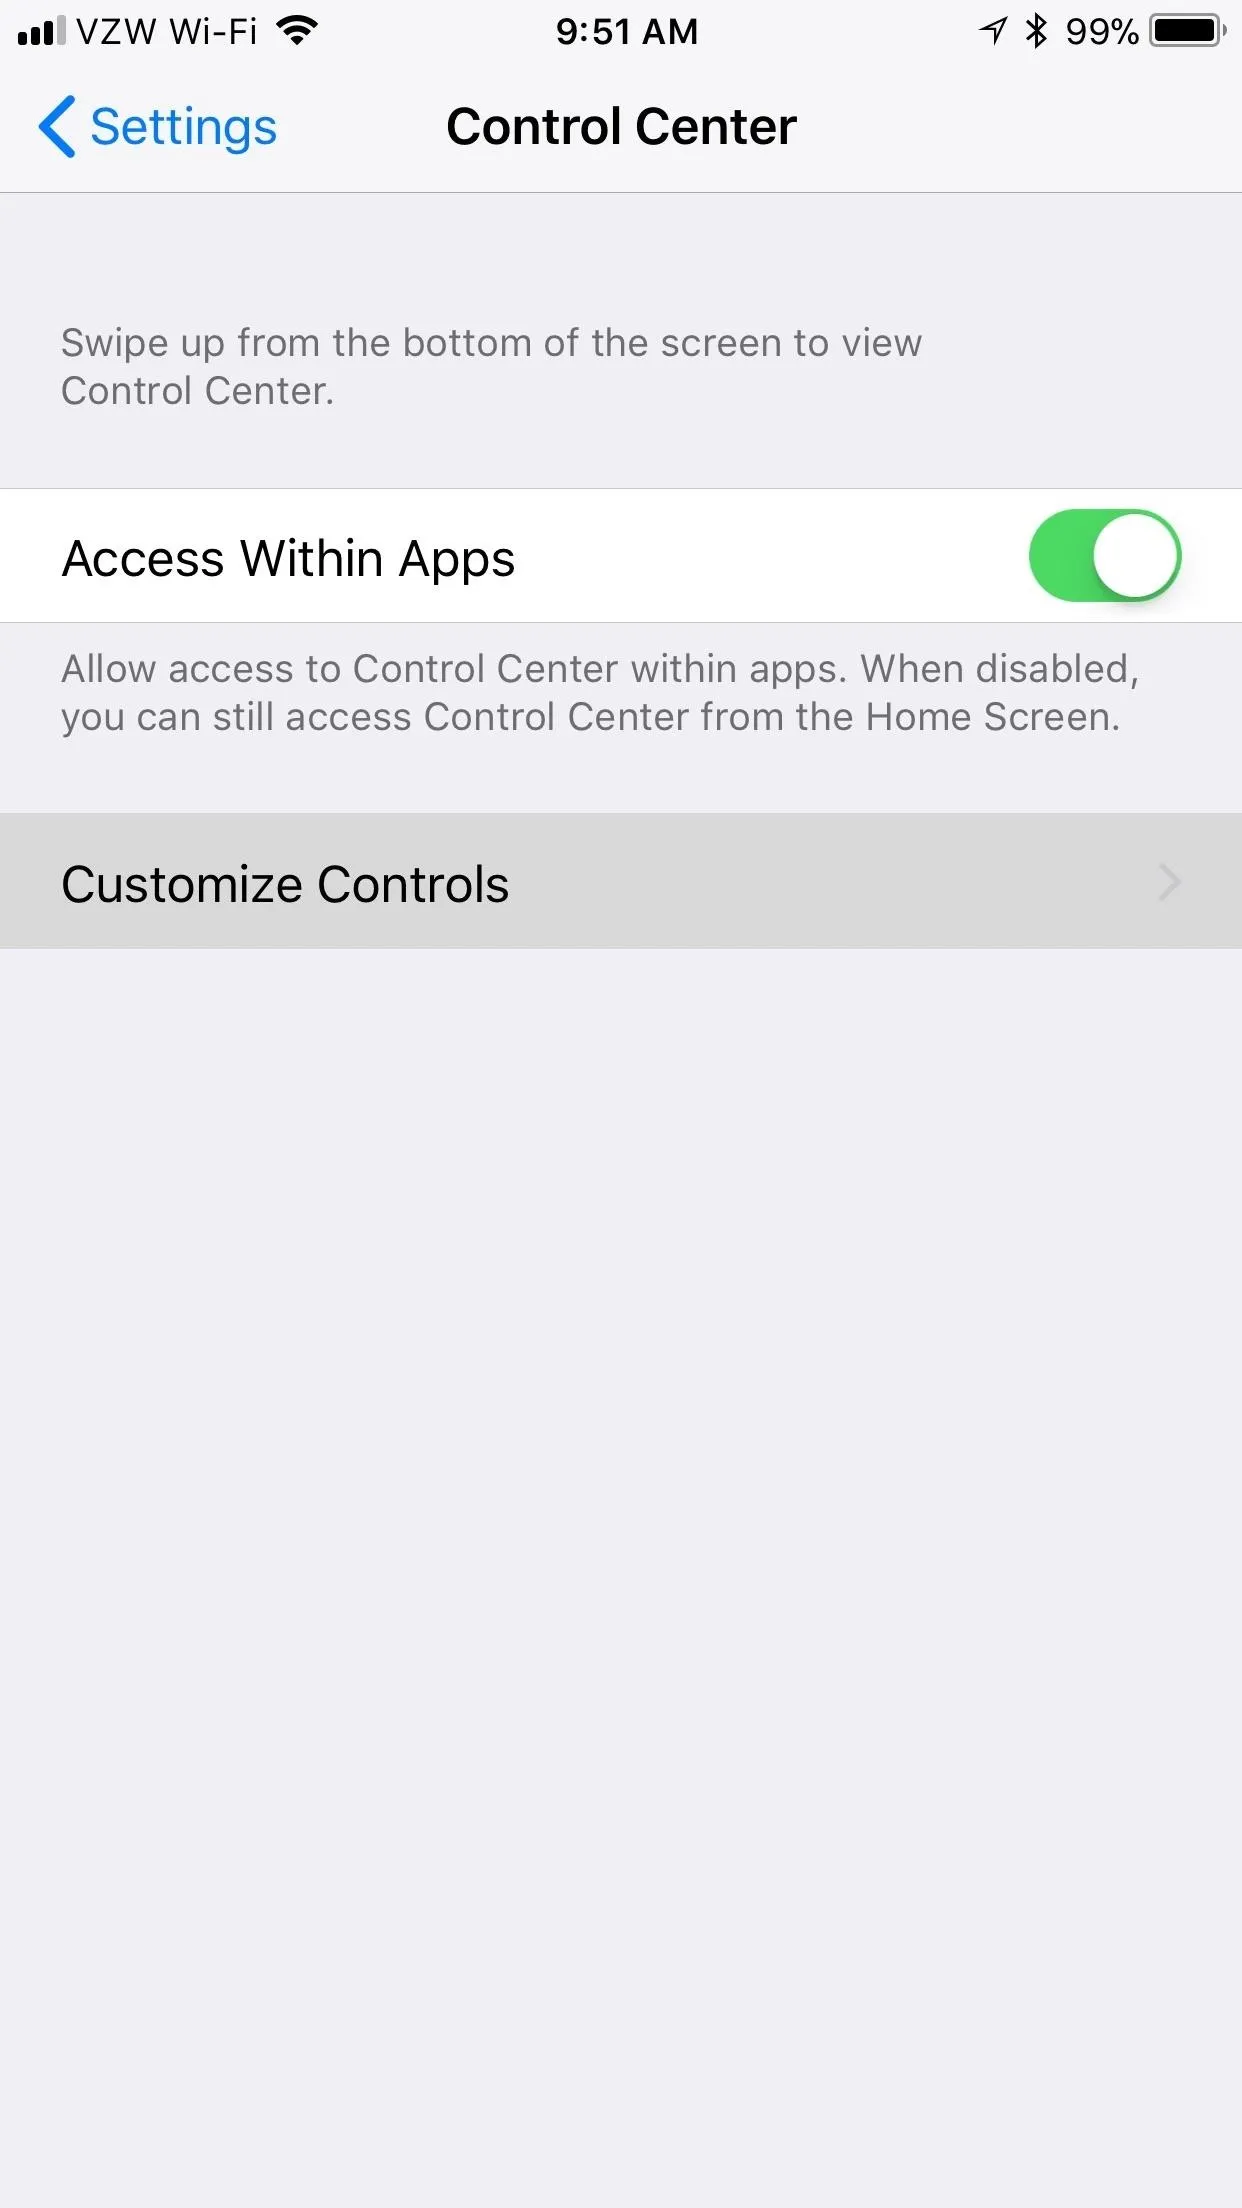
In order to broadcast to Twitch, you need to first add "Screen Recording" to your Control Center, so head to "Control Center" in your Settings app. If the "Access Within Apps" slider is switched off, turn it on.
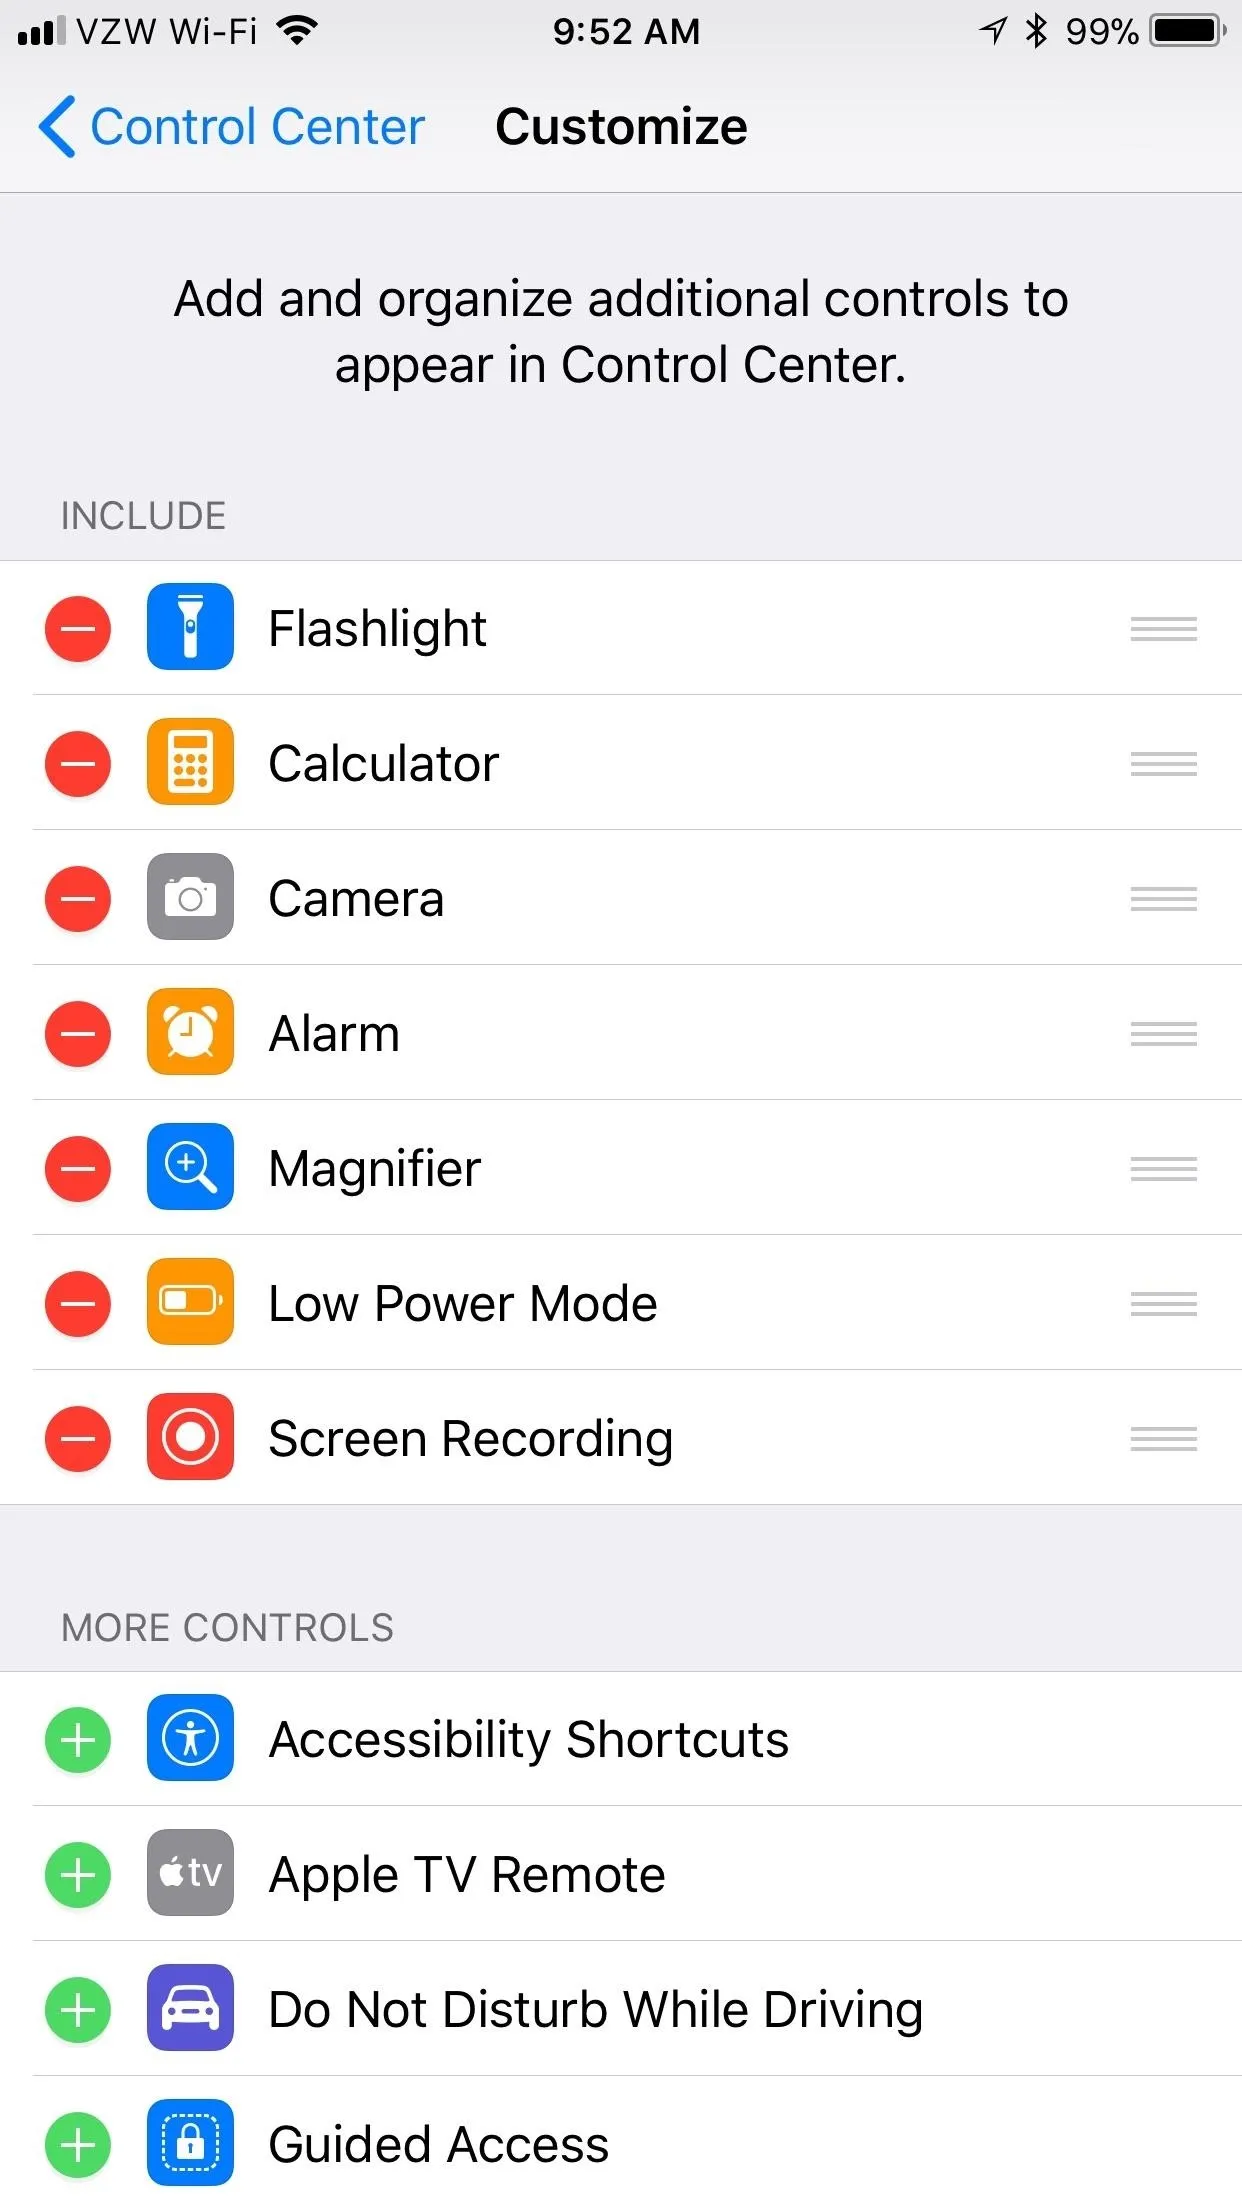
Next, tap "Customize Controls." If "Screen Recording" isn't currently included in your Control Center (under Include), do so by tapping the green plus sign next to it under the More Controls header. This should bump it up to the Include section.
Install Mobcrush from the App Store
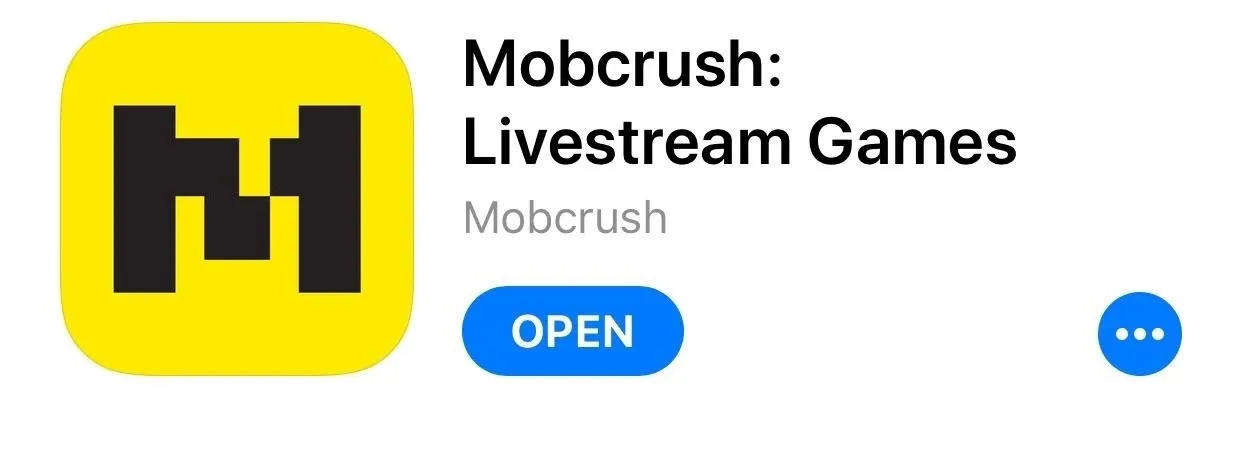
Now, head over to the iOS App Store, and search for the free "Mobcrush: Livestream Games" (or just use that link to jump directly to it). Tap on "Get" to download and install it (you may need to use Touch ID or Face ID to continue), then open it up.
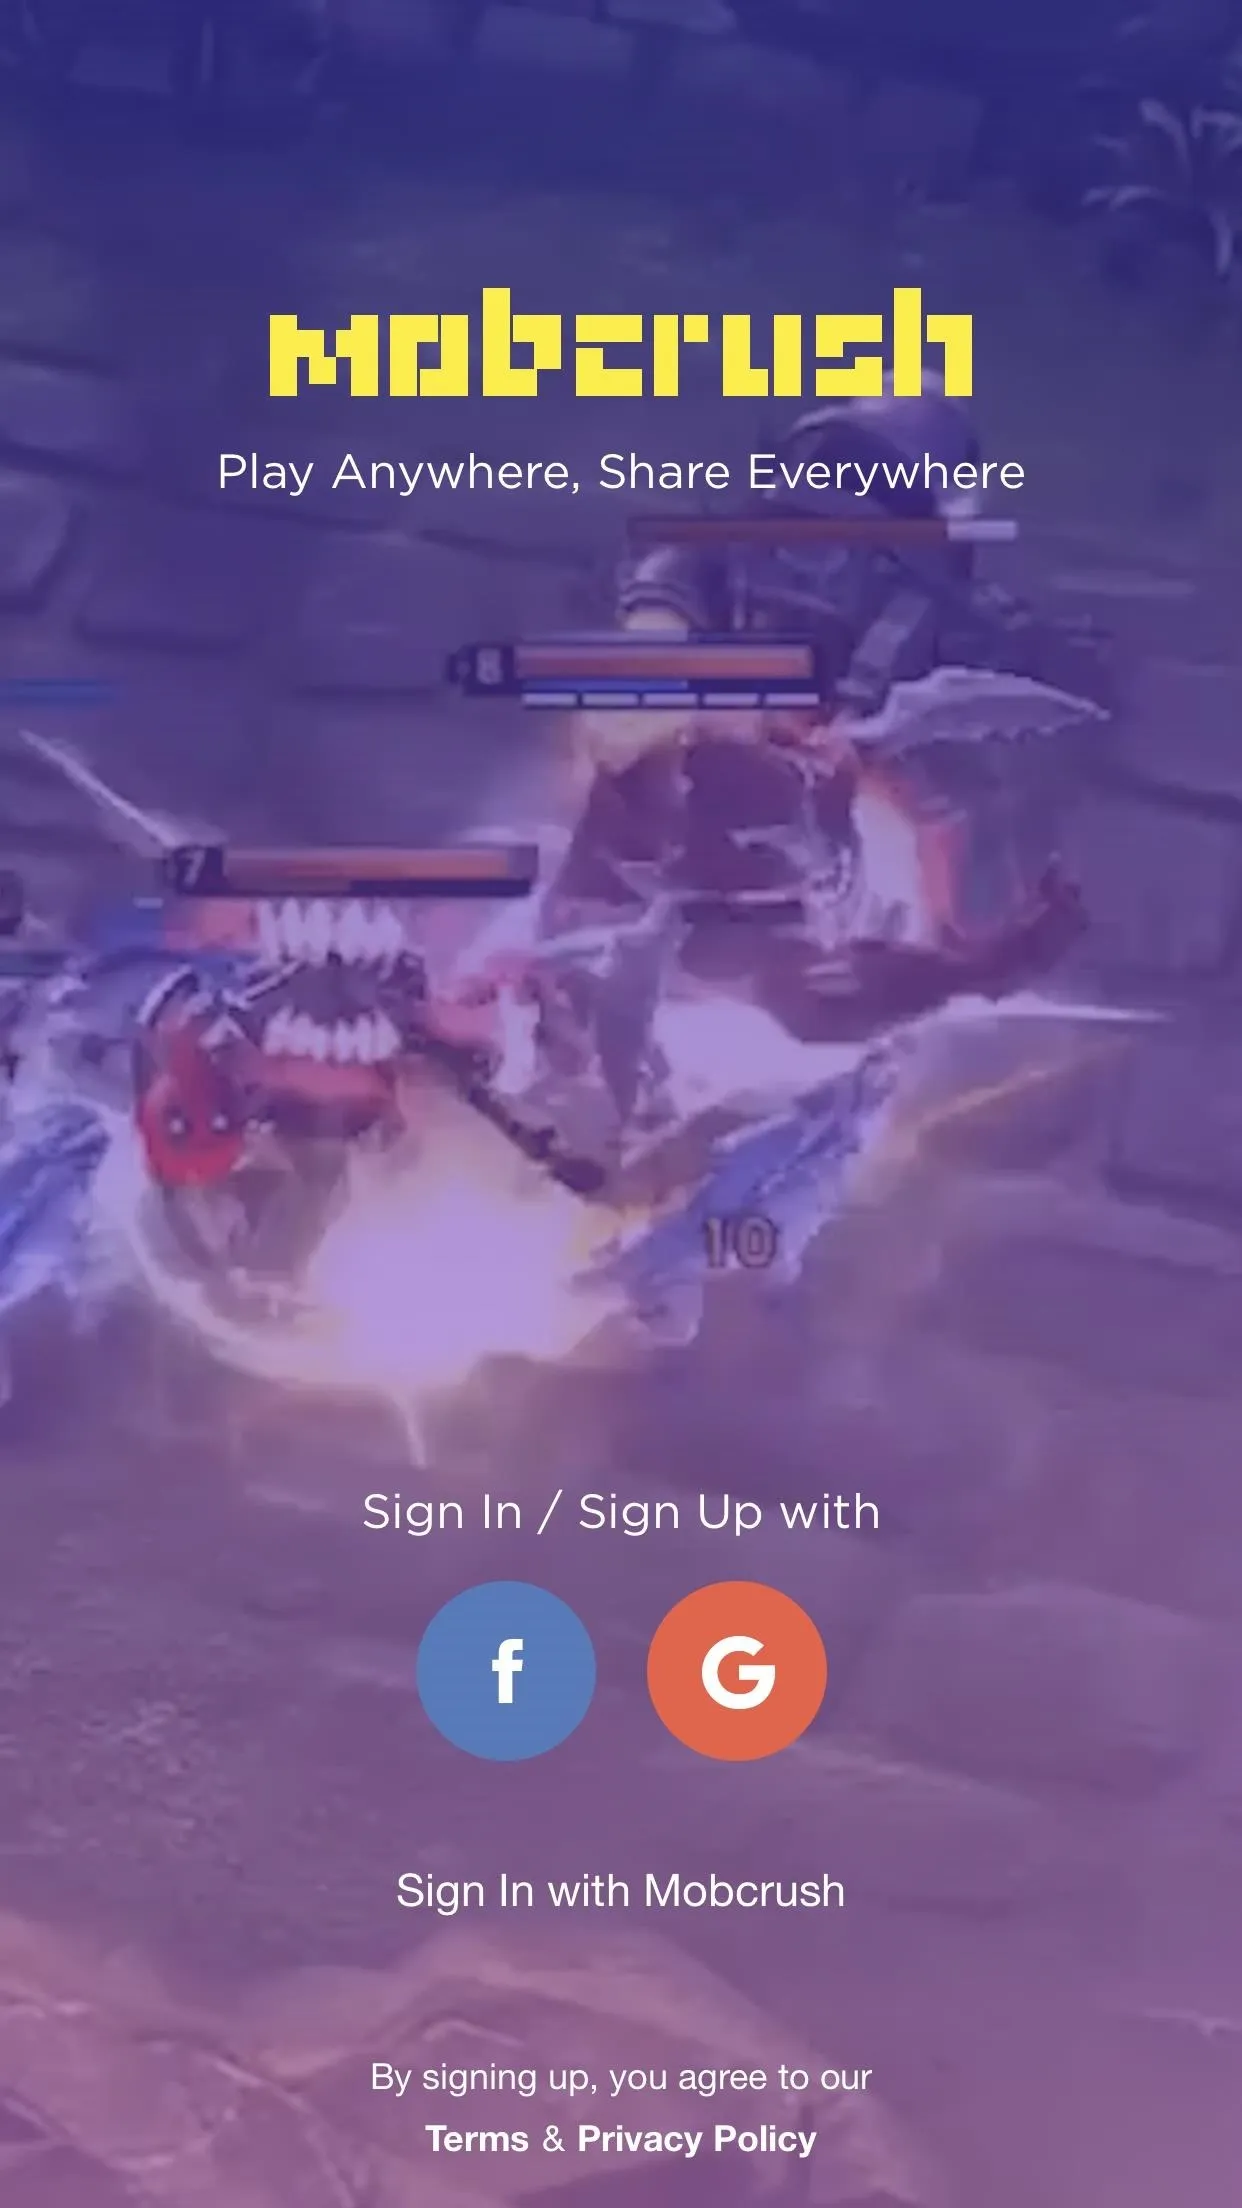
Sign in with Facebook, Google, or Mobcrush
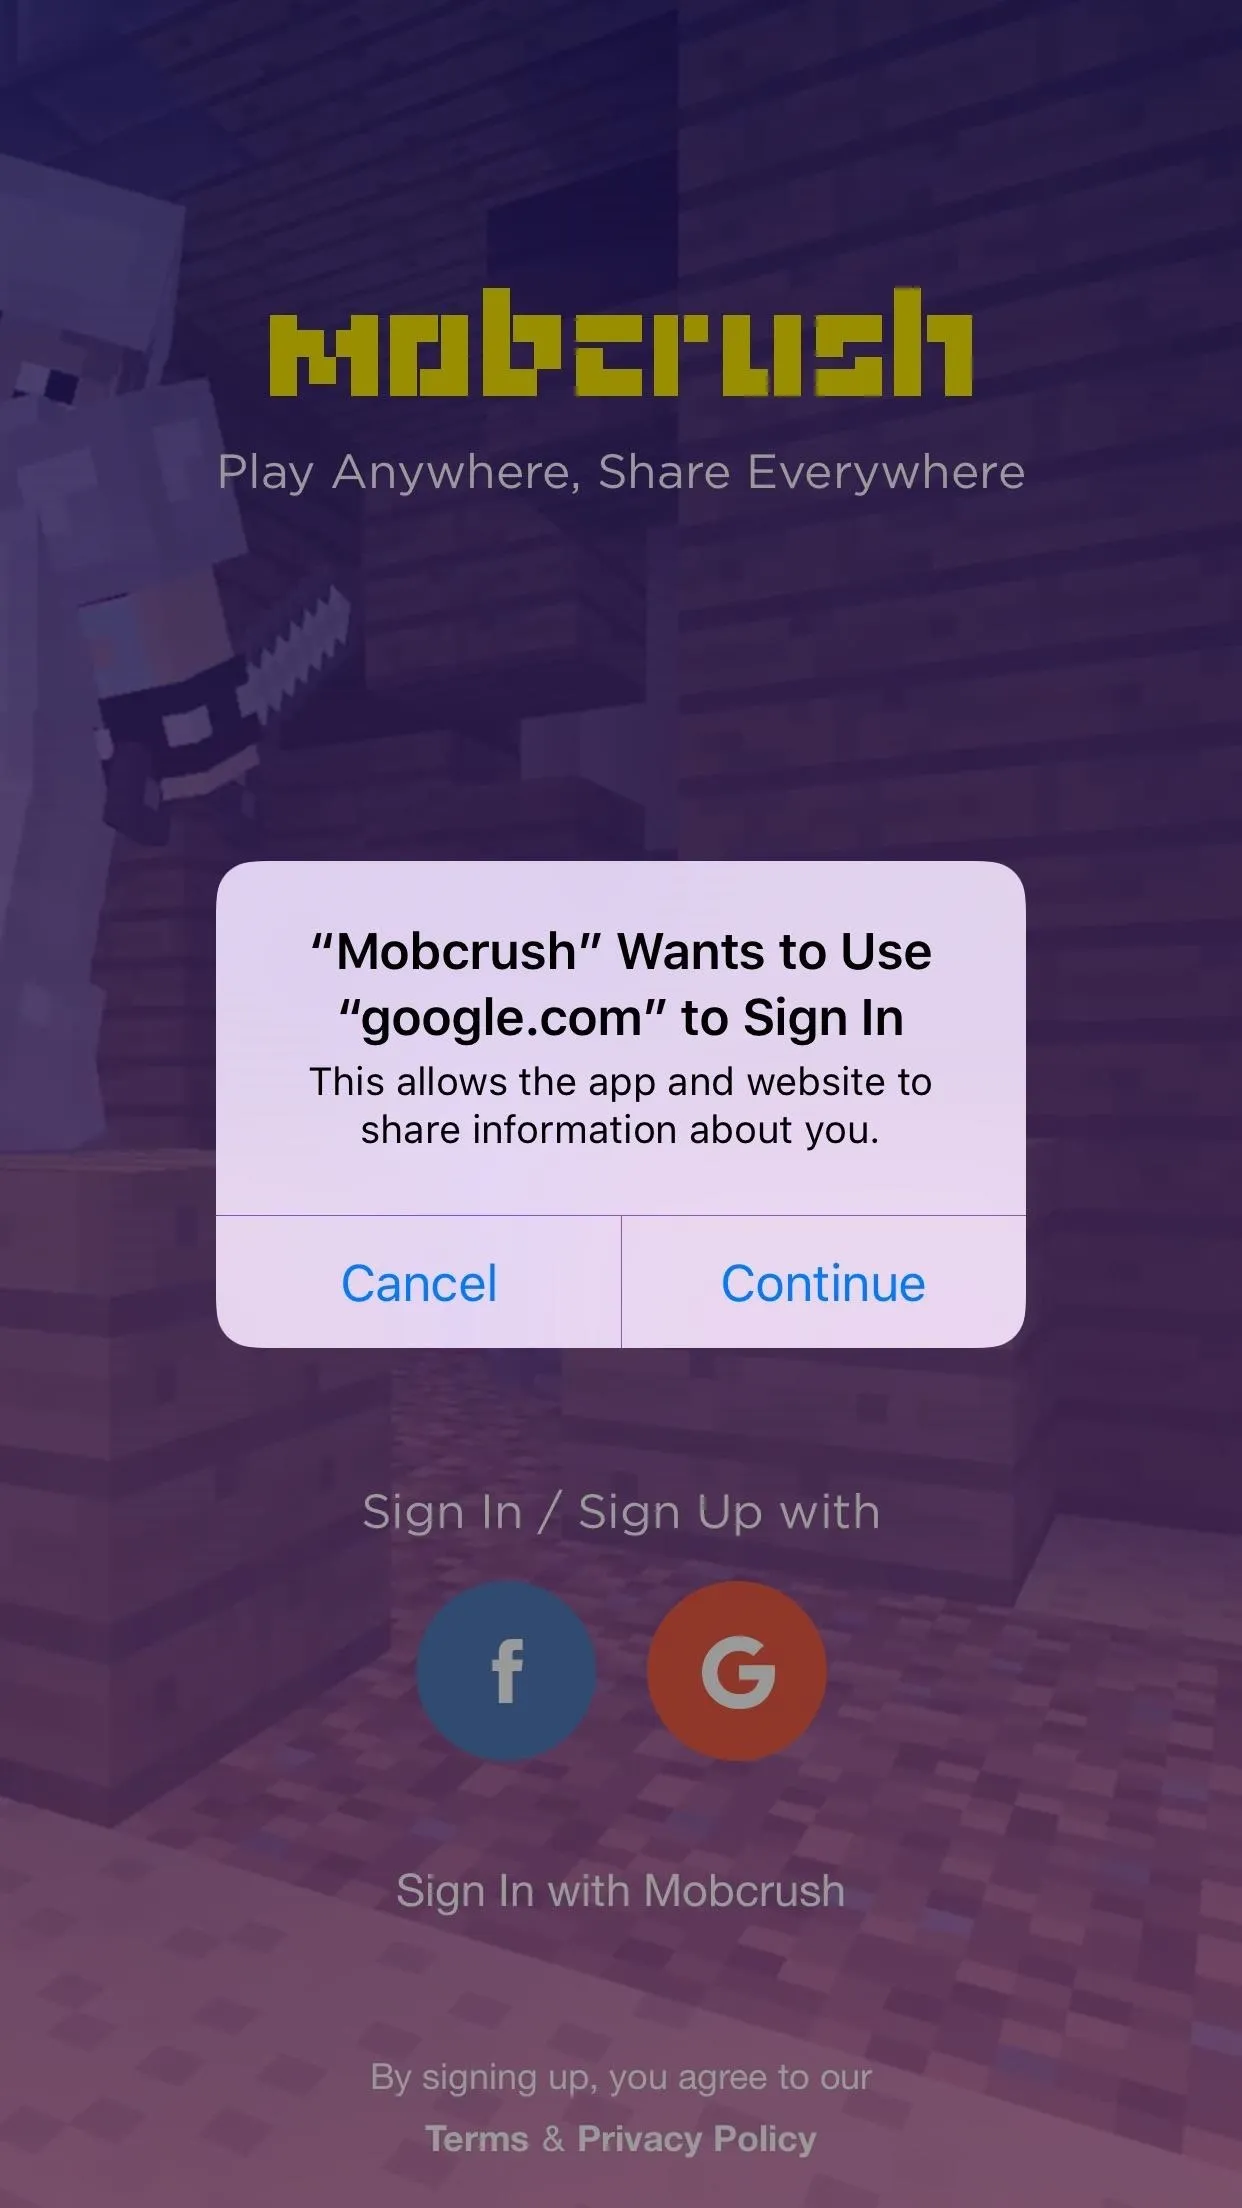
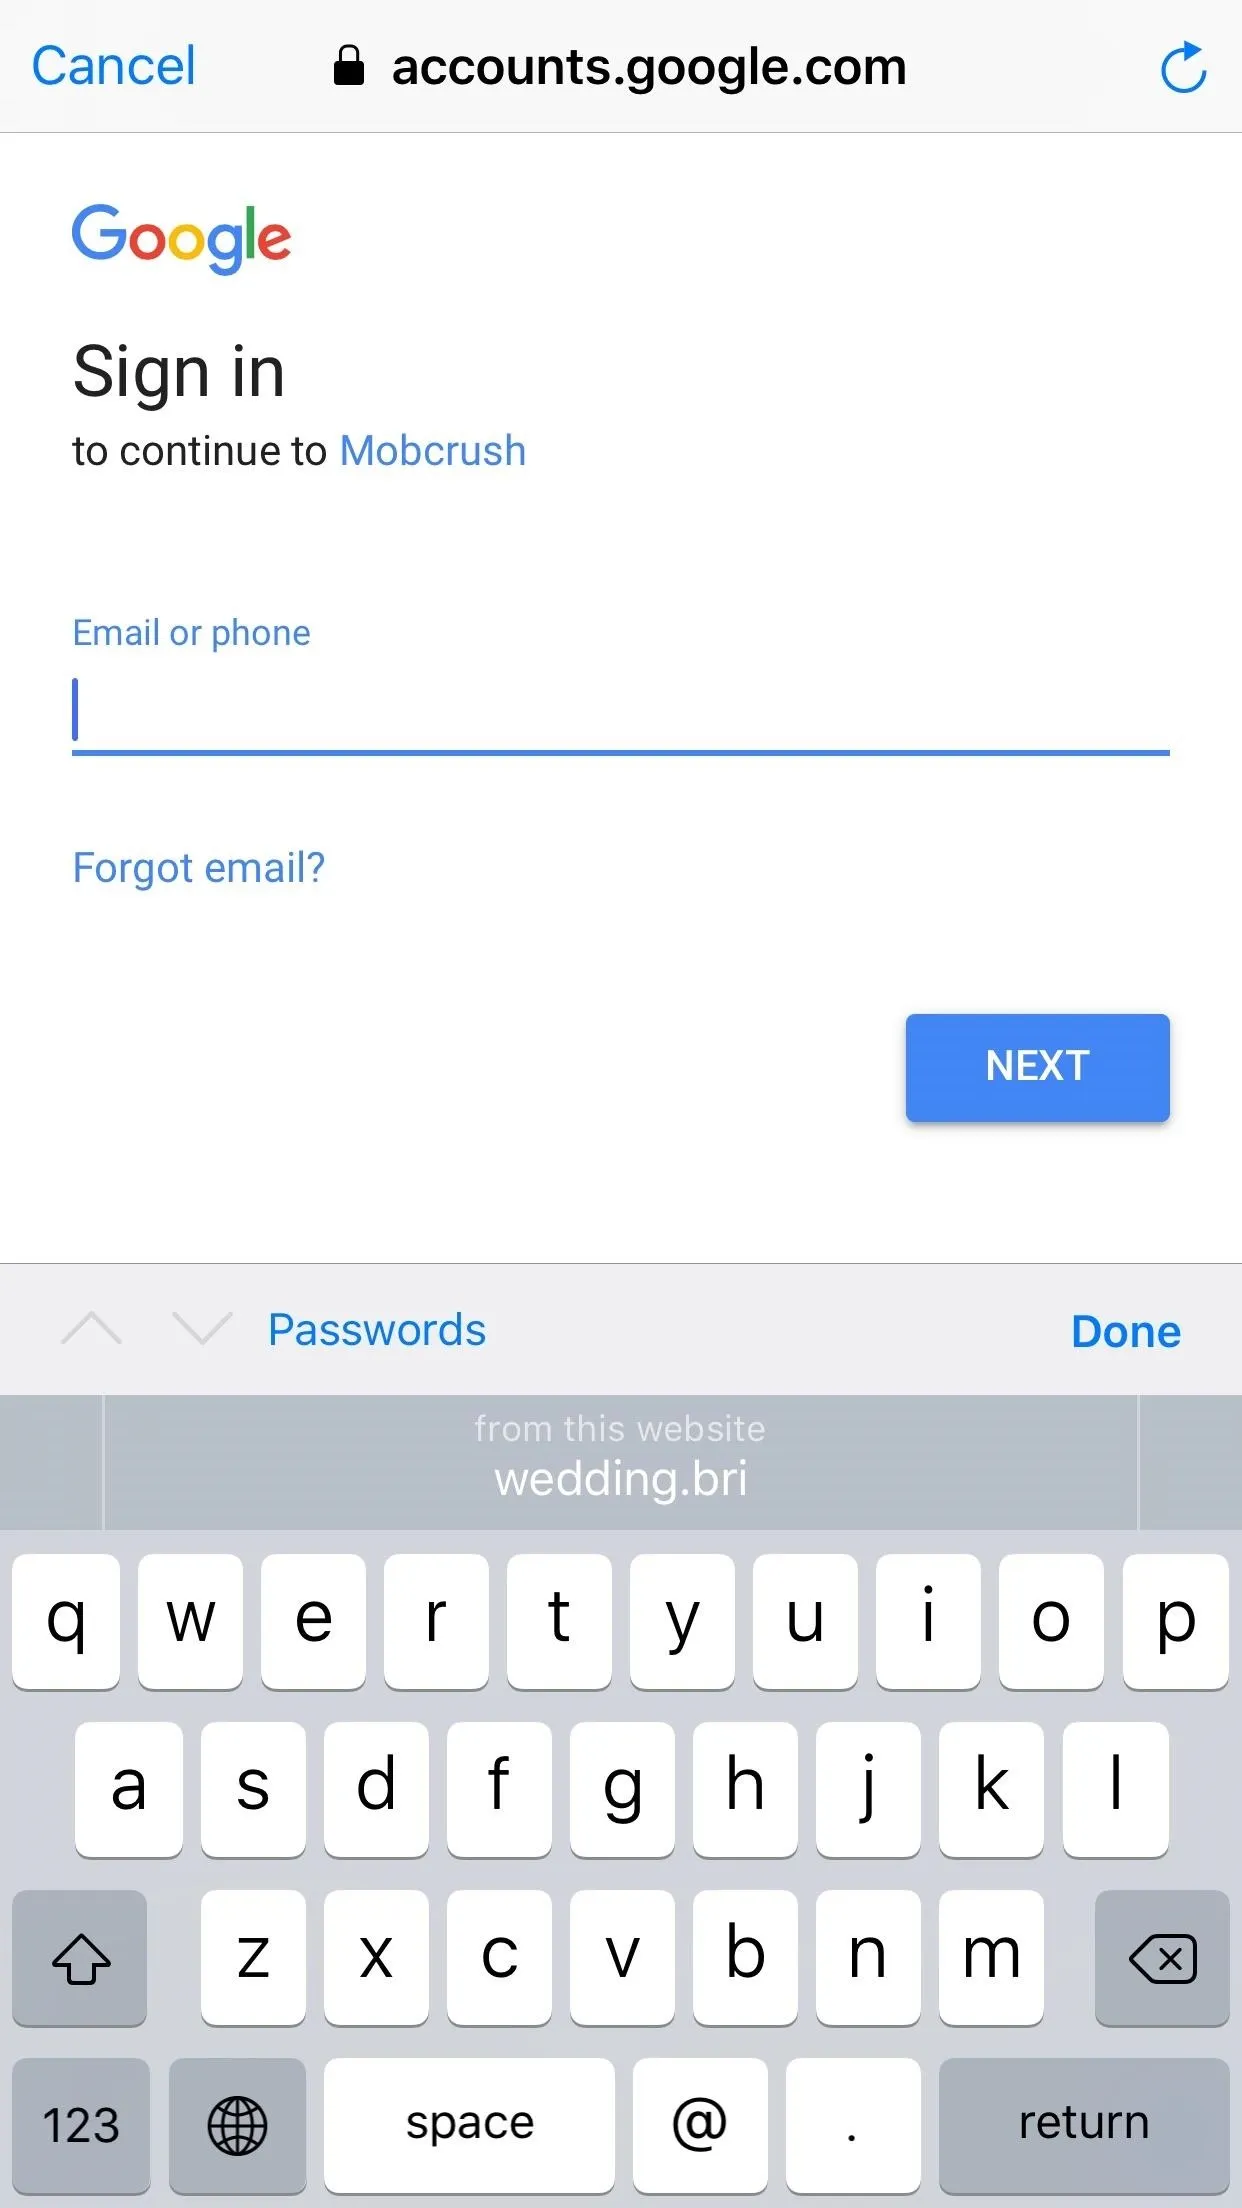
Upon opening the app, Mobcrush will prompt you to sign in with either Facebook, Google, or Mobcrush. If you want to make a Mobcrush account, you need to create one on their website since you can only log in via the app at this point. I recommend either creating a Mobcrush account or using your Google account.
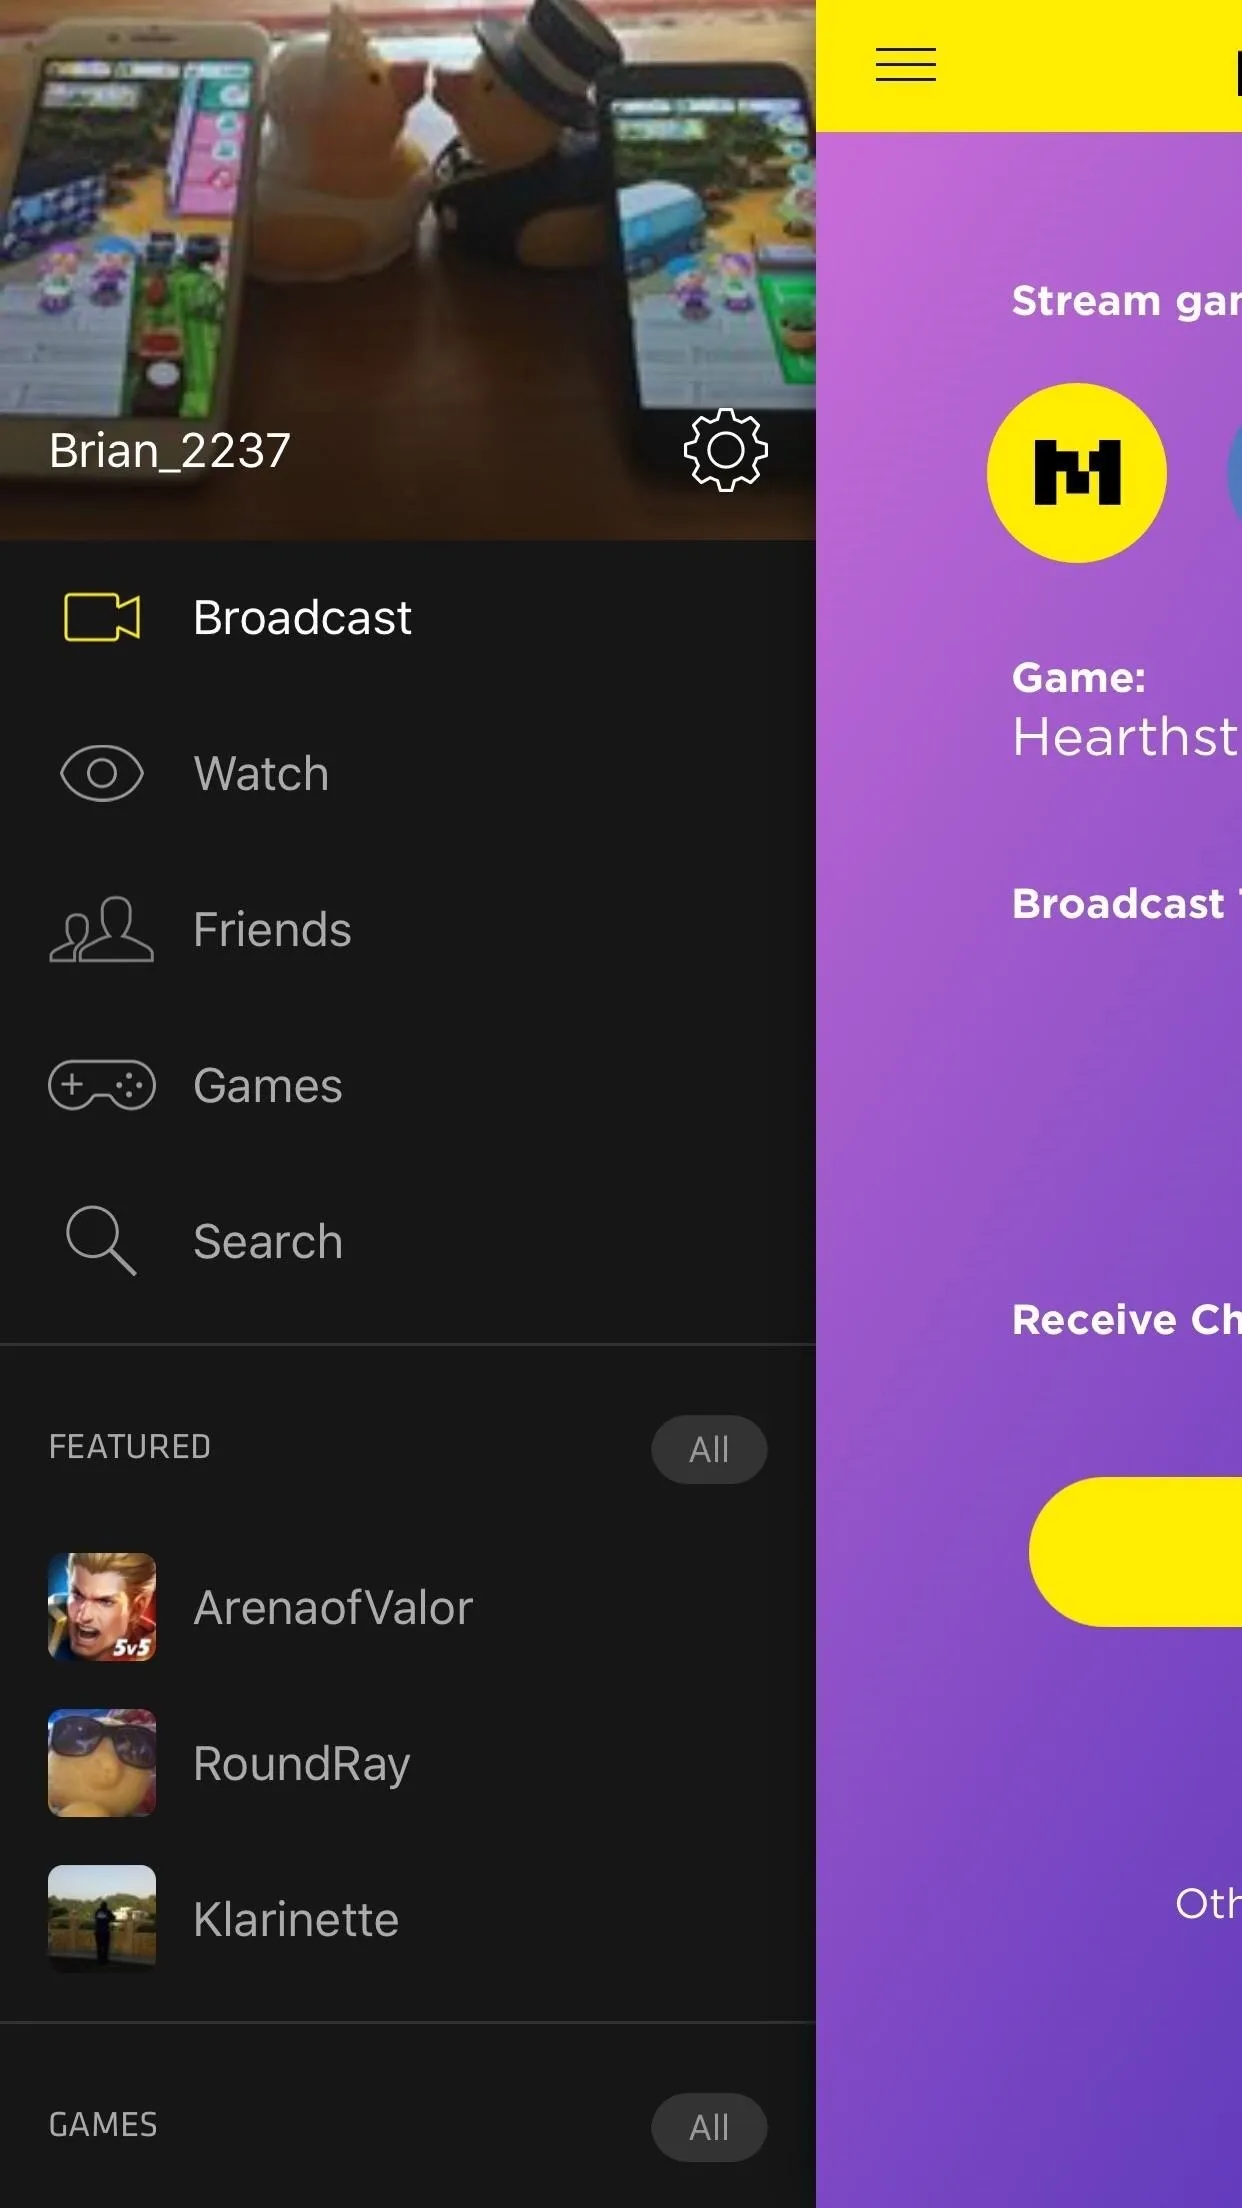
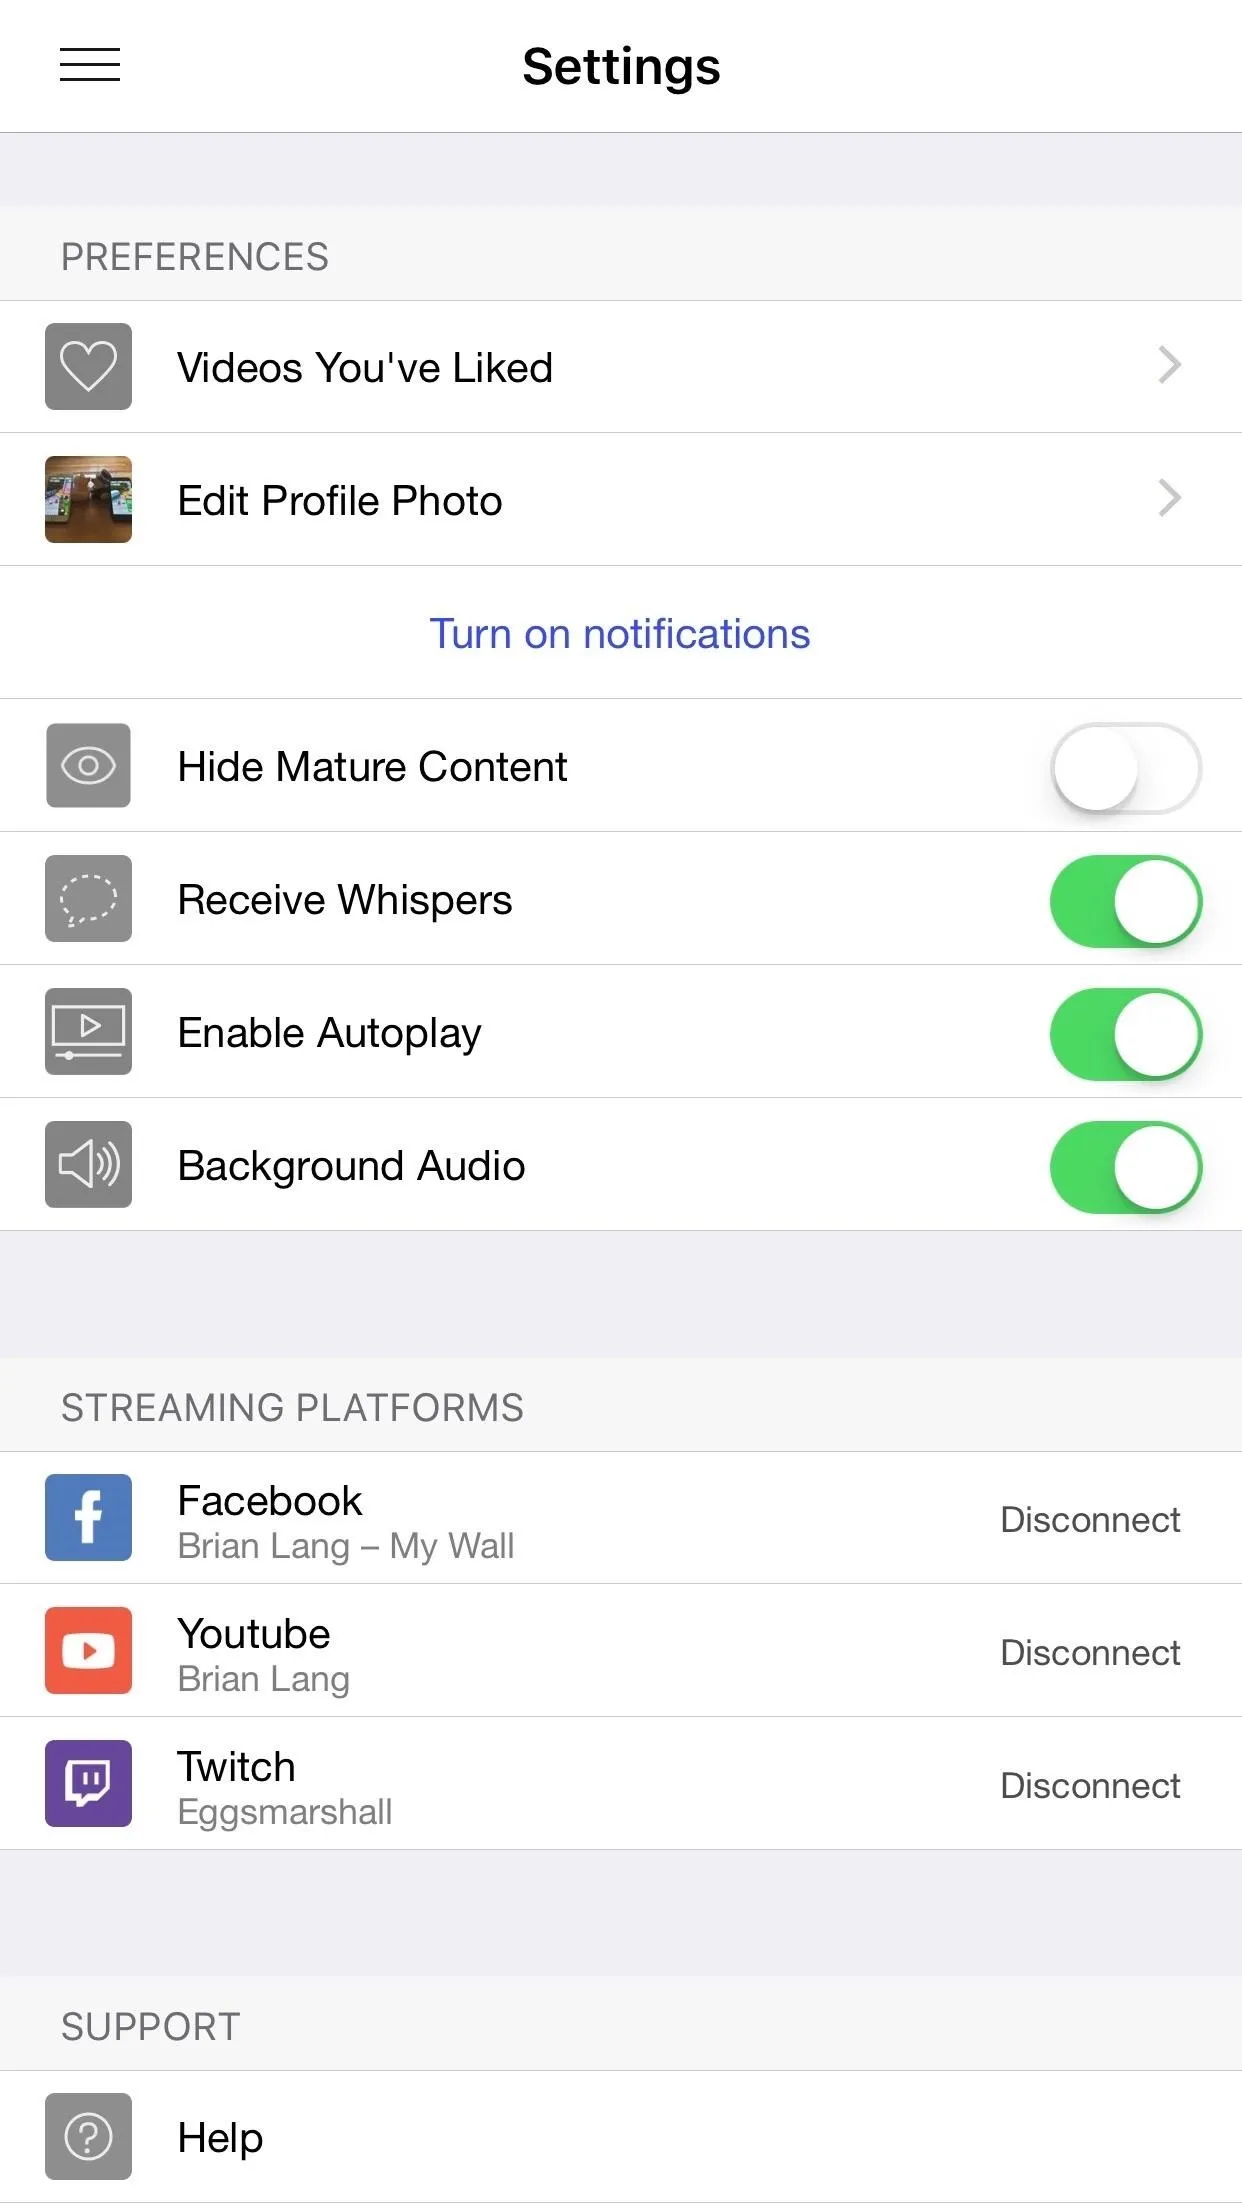
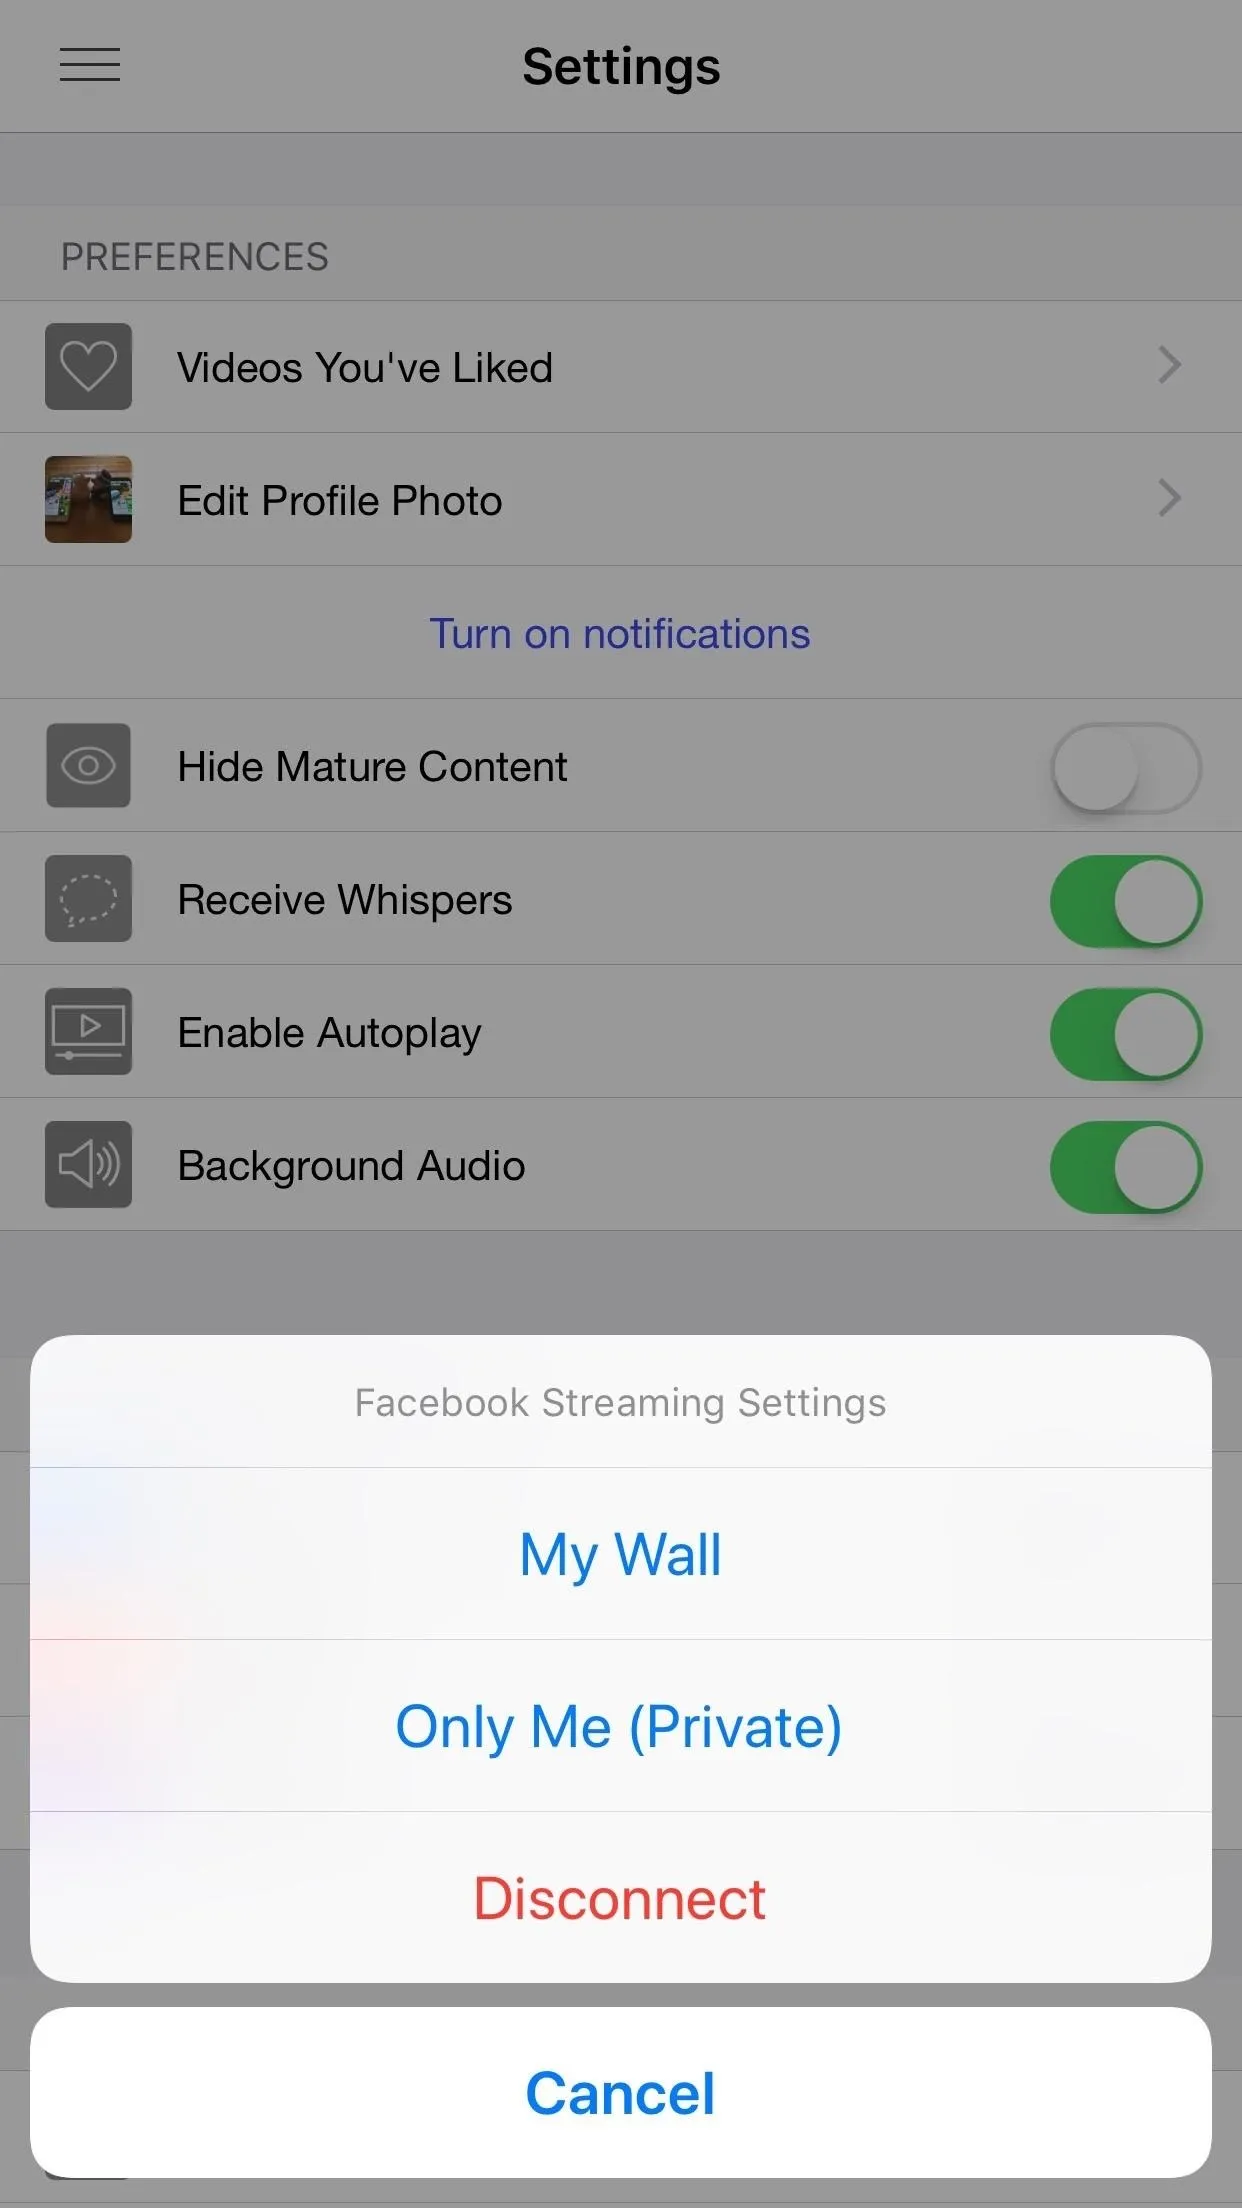
If you choose Facebook, Mobcrush will then automatically stream to Facebook Live when you broadcast. Of course, you can turn that off fairly easily if you want. In Mobcrush, tap the hamburger menu, then hit the gear icon. From here, tap "Facebook" under Streaming Platforms and hit "Only Me (Private)." This will make it so nobody except for you can watch your Facebook Live streams.
If you do want people to be able to watch your stream via Facebook Live, then make sure "My Wall" is selected. I've already made a couple mistakes by streaming to my unwitting Facebook friends, and most of them don't exactly care about Getting Over It with Bennett Foddy.
Get Your Broadcast Ready
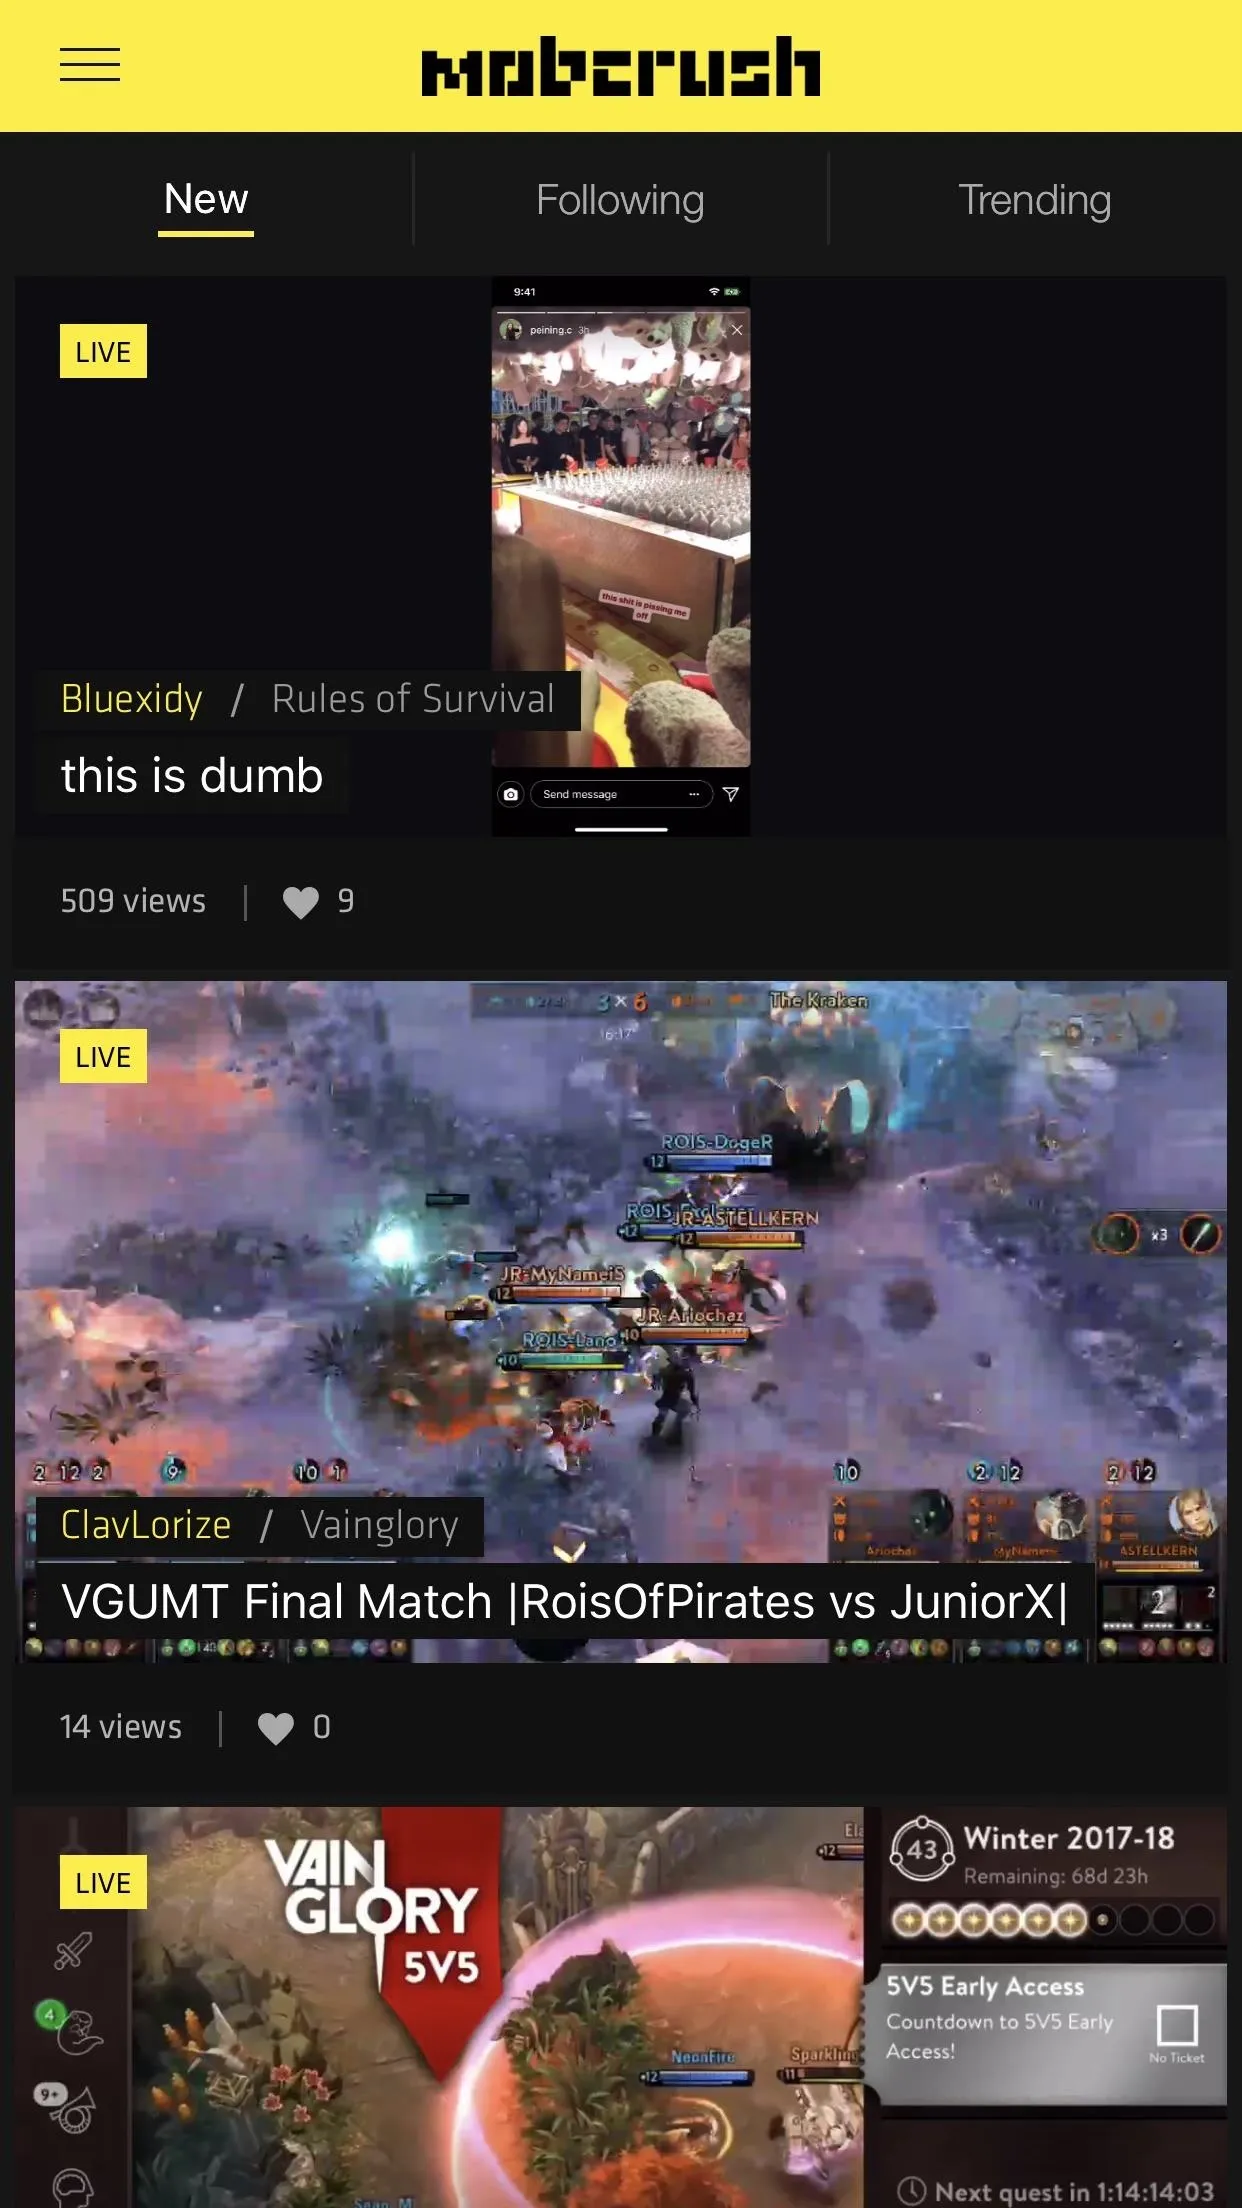
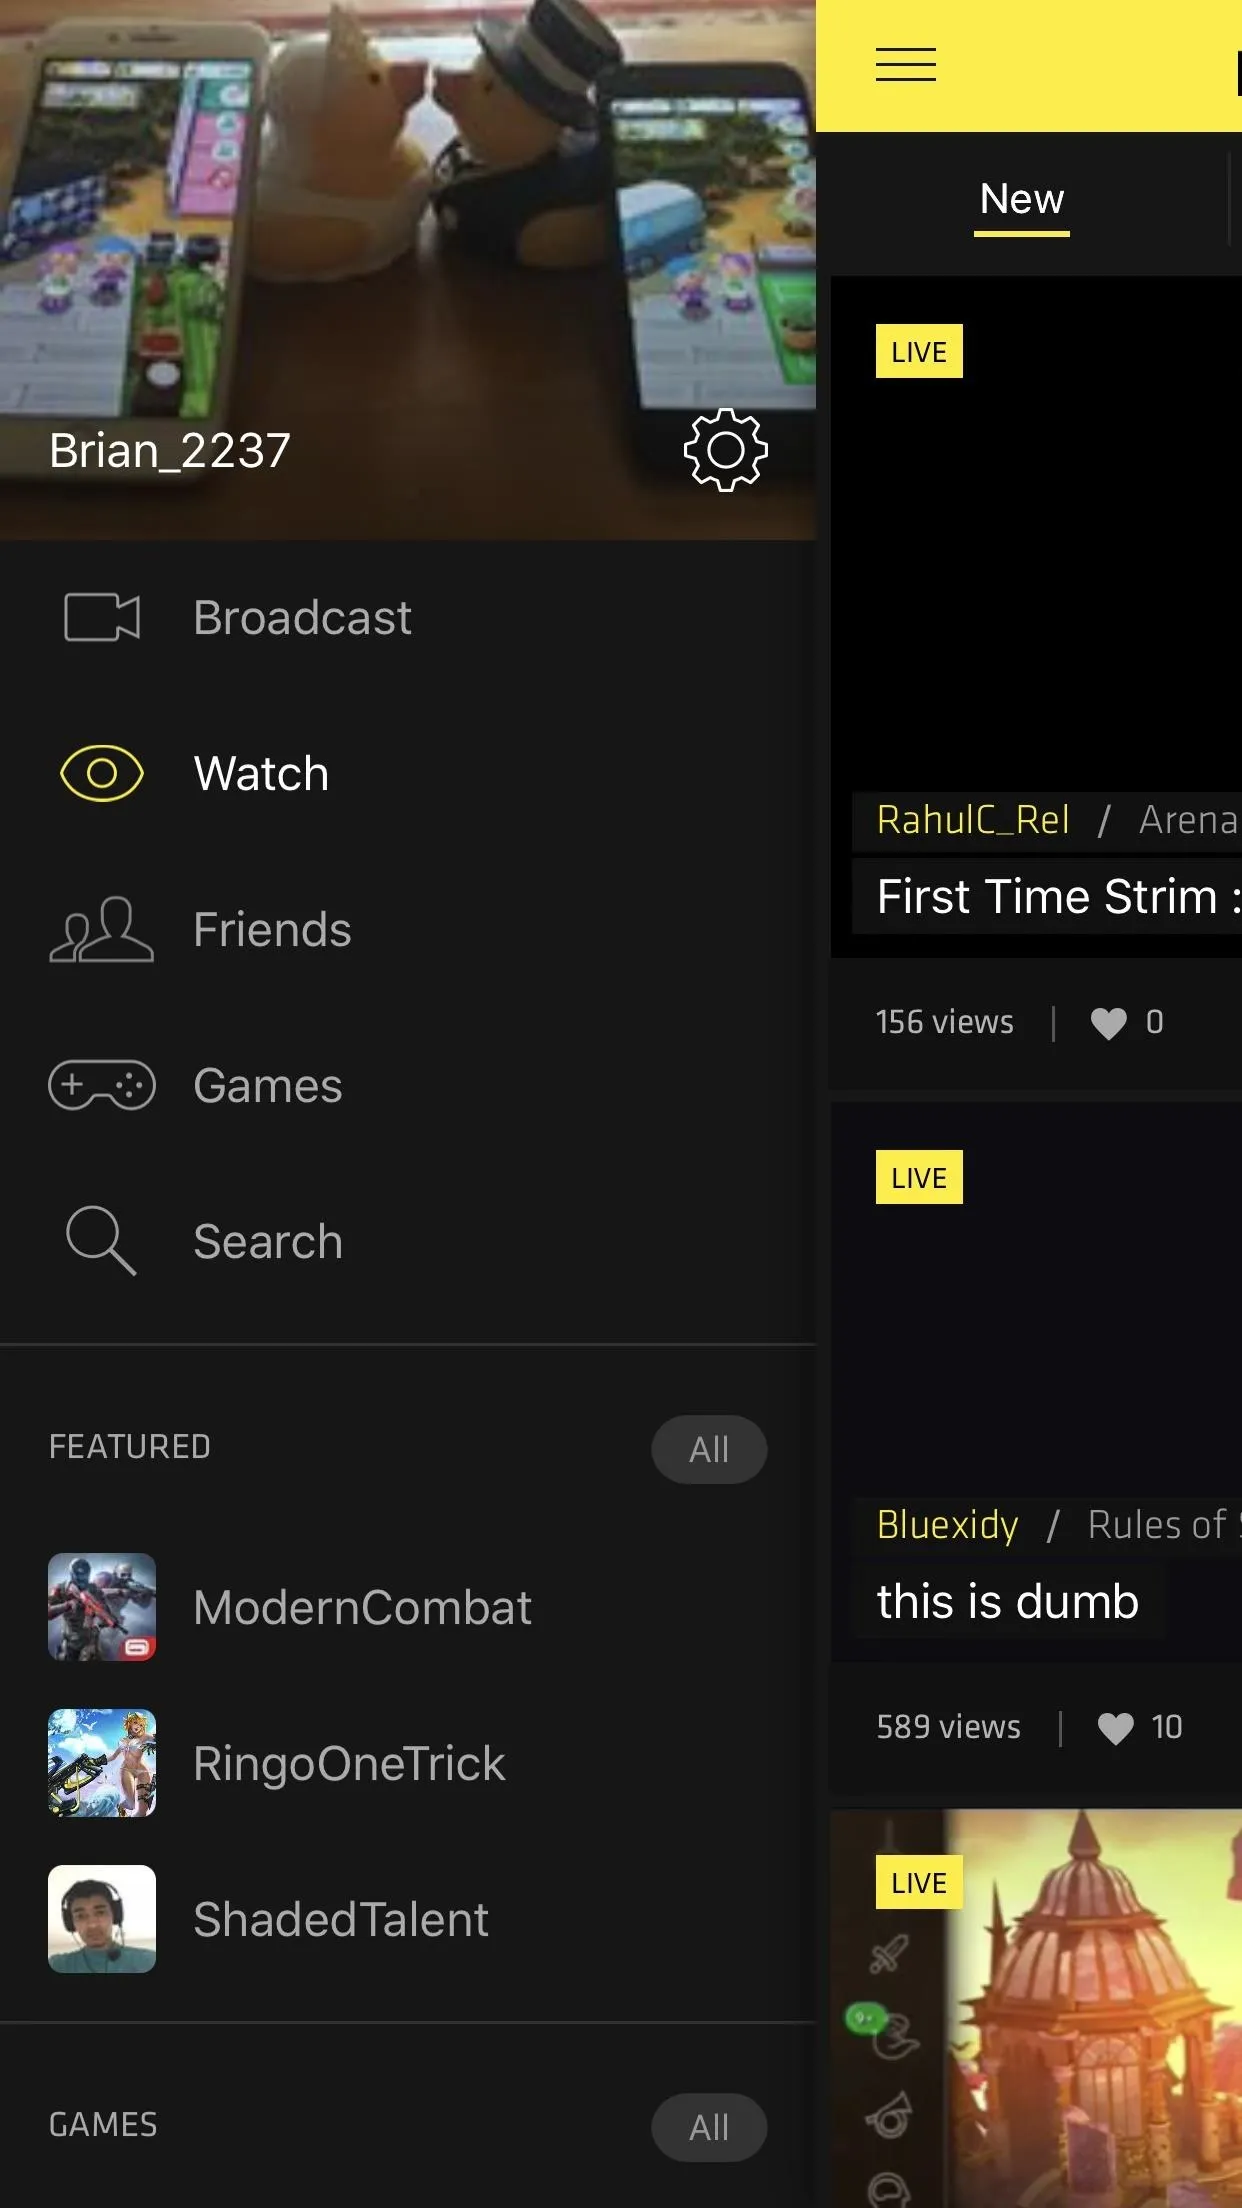
Mobcrush's main screen is cluttered with users who, like you, are streaming their favorite mobile games. To begin to broadcast your own stream, first tap on the hamburger menu in the top-left corner of the screen. Next, tap "Broadcast."
Select the Services to Stream To
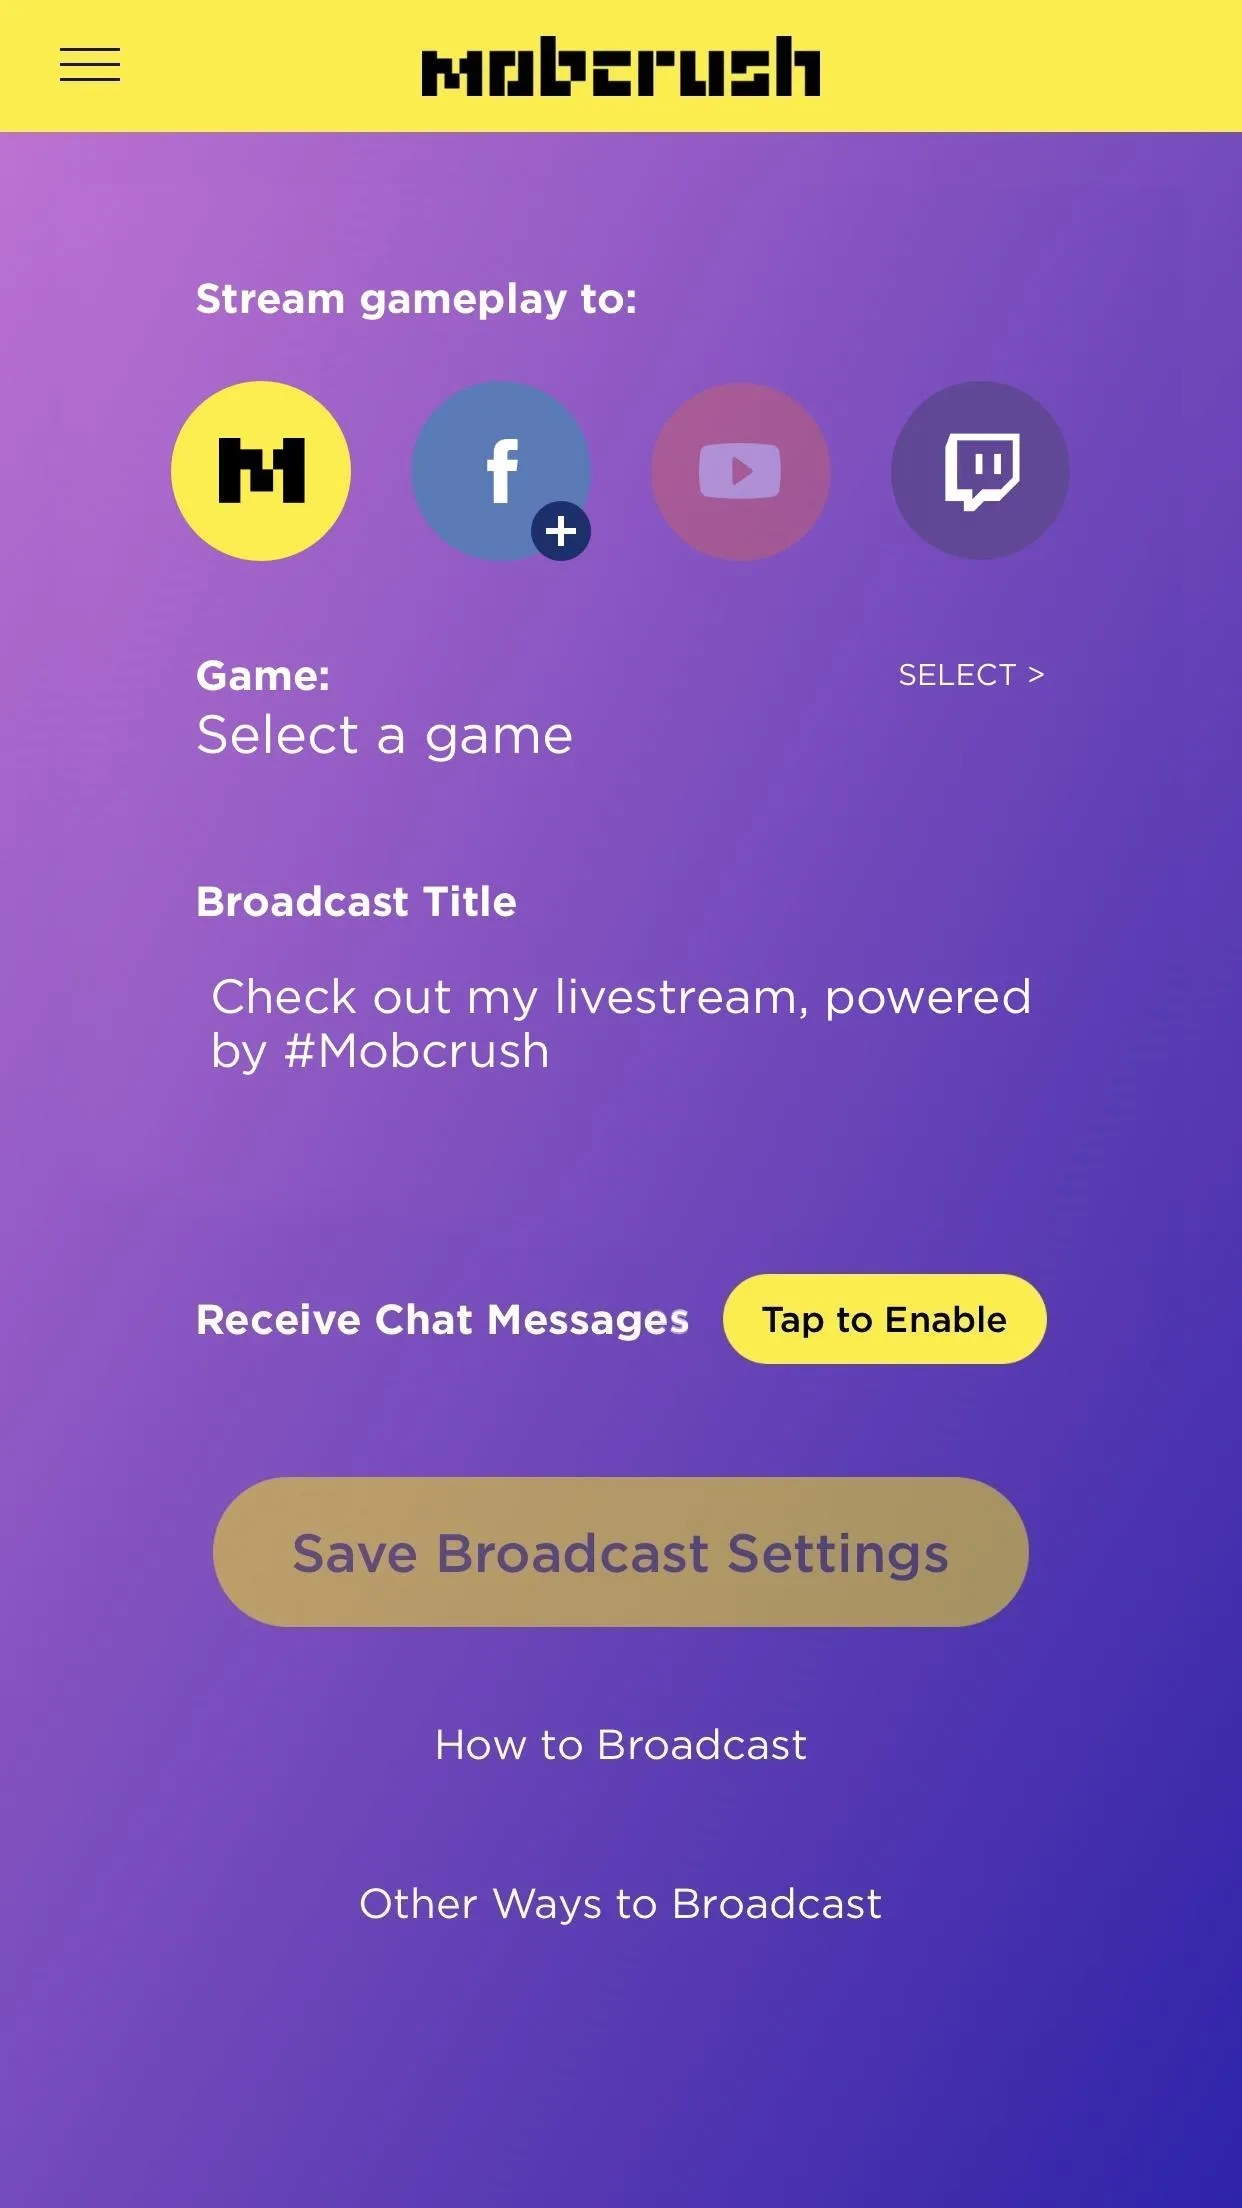
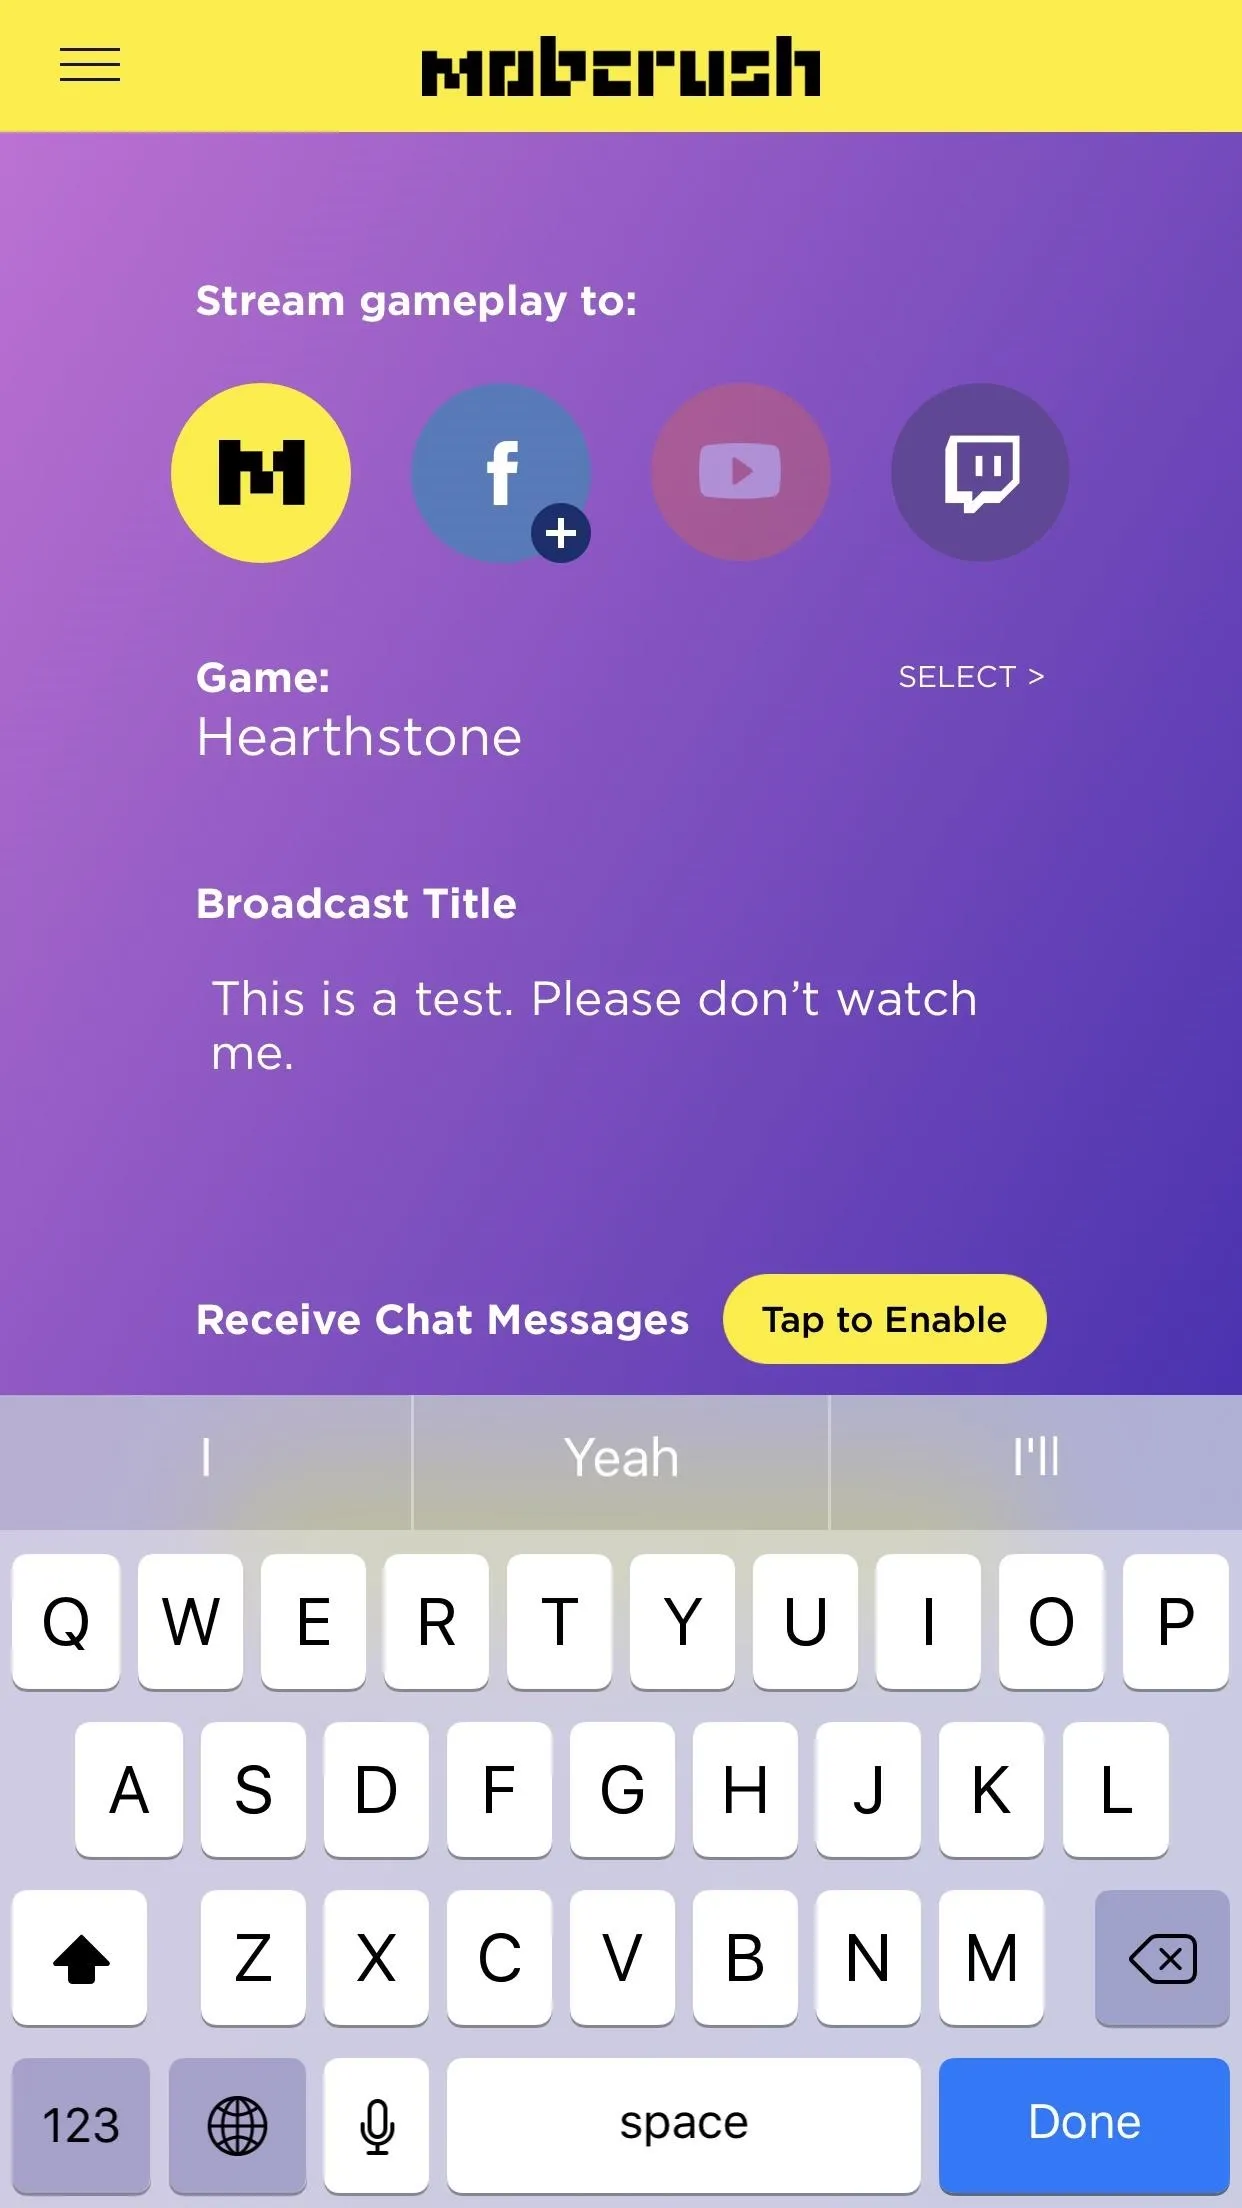
On the next page, note the header that reads Stream gameplay to. Here, you can stream to Mobcrush, Facebook, YouTube, and Twitch. If an icon has a plus sign in the bottom-right corner, it means you haven't linked an account.
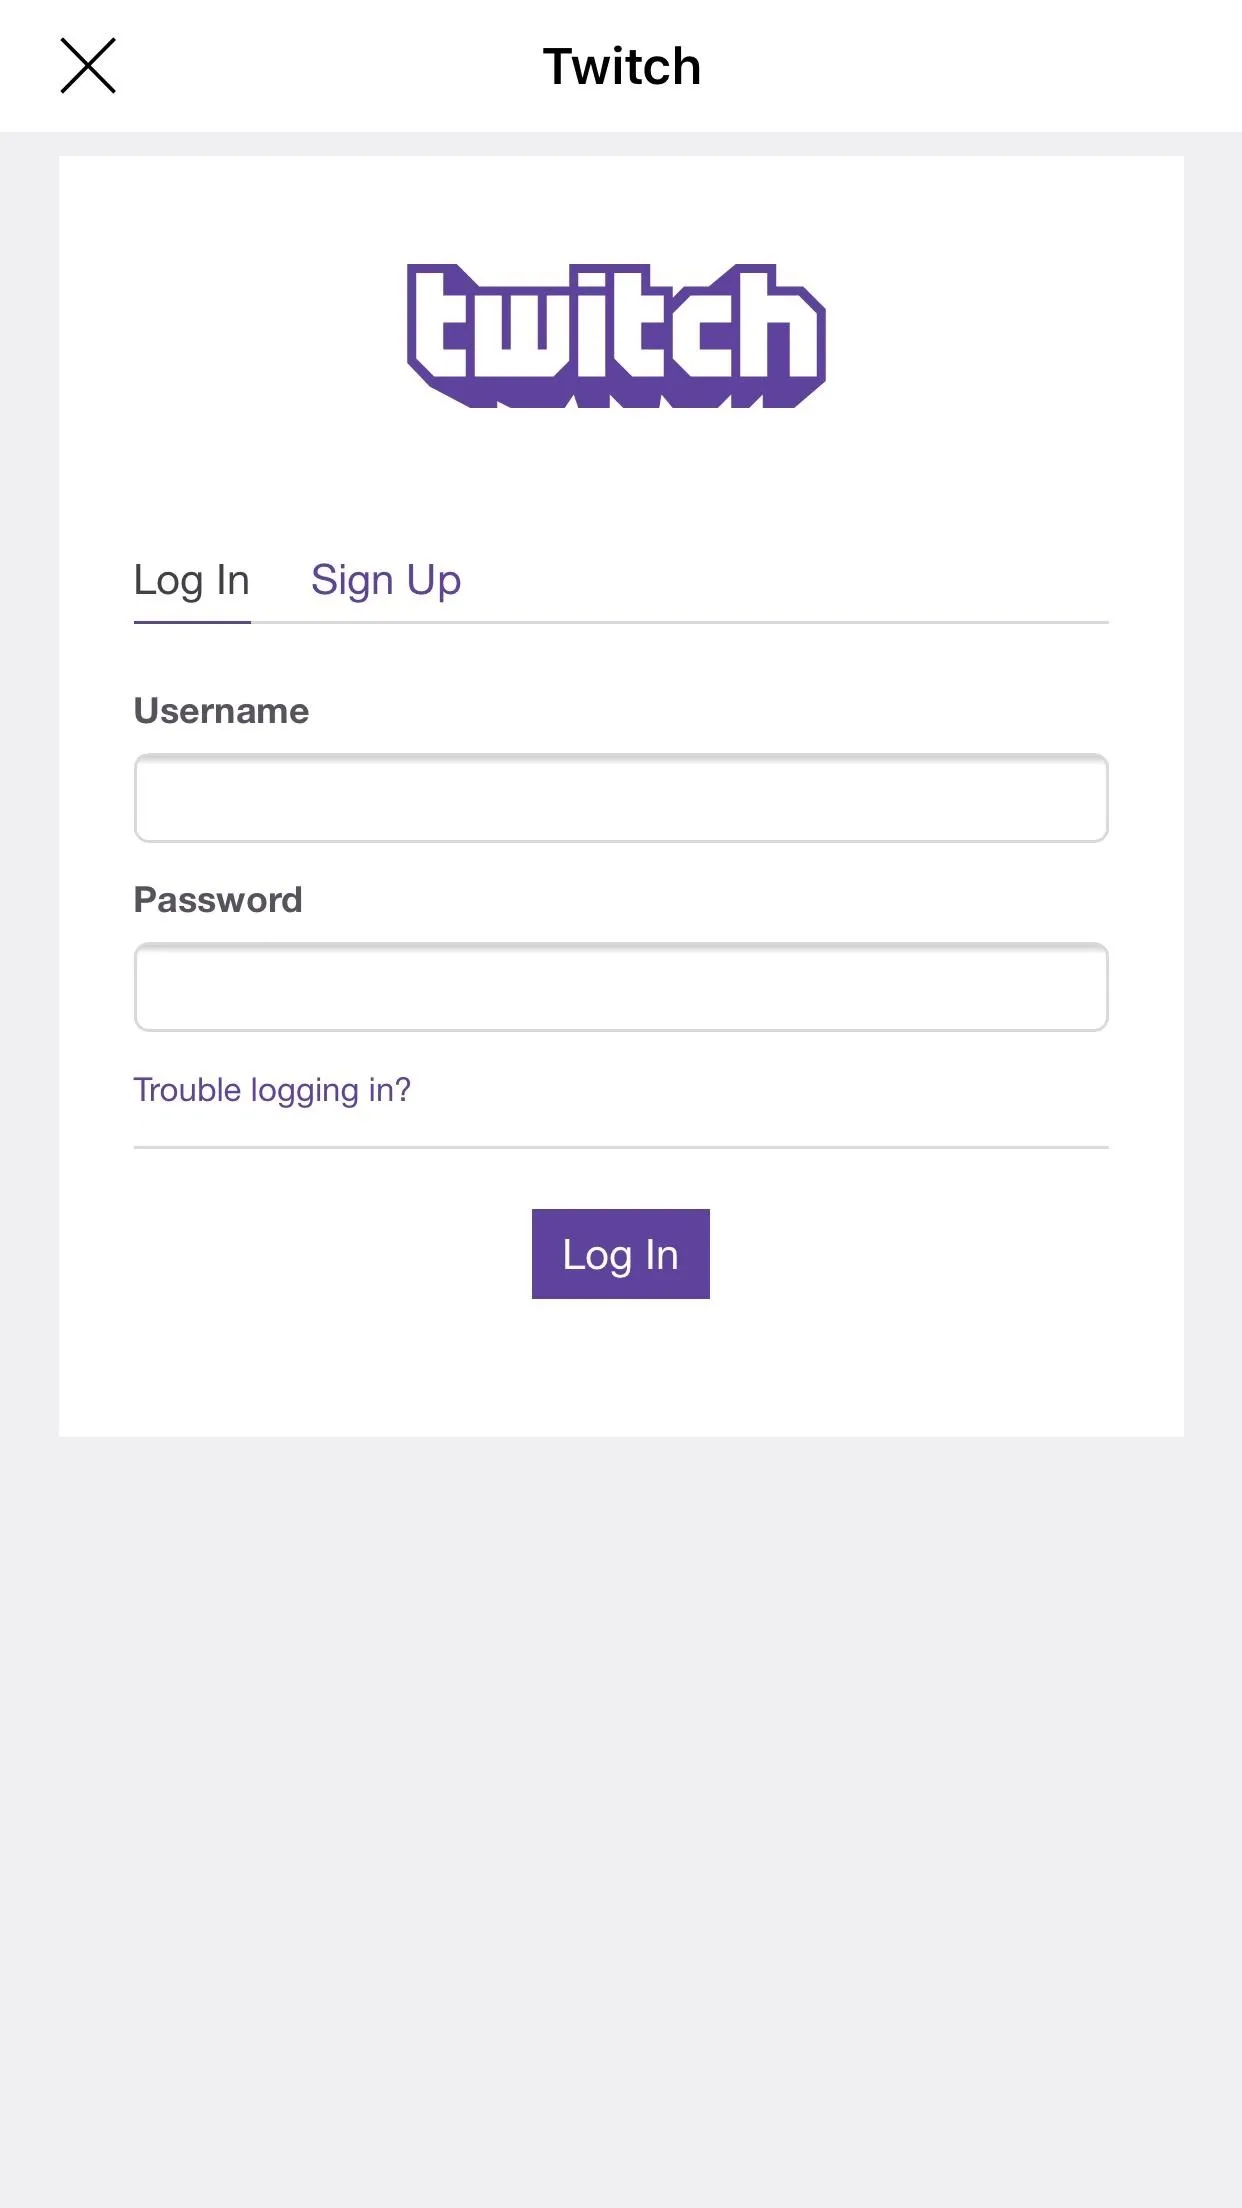
In our case, tap on the Twitch icon to highlight it. If you're not already logged in, you'll be brought to a separate login screen where you can sign into your Twitch account. Otherwise, Twitch should now be highlighted to broadcast to.
Assuming you only want to stream to Twitch, make sure Facebook and YouTube are either grayed out (disabled) or unlinked. You can tap on an icon to highlight it or disable it. You're forced to stream to Mobcrush regardless because, well, it is their platform. As of right now, there's no way to make your stream private on Mobcrush, but most people aren't on Mobcrush to watch other people anyway.
Select a Game & Title Your Broadcast
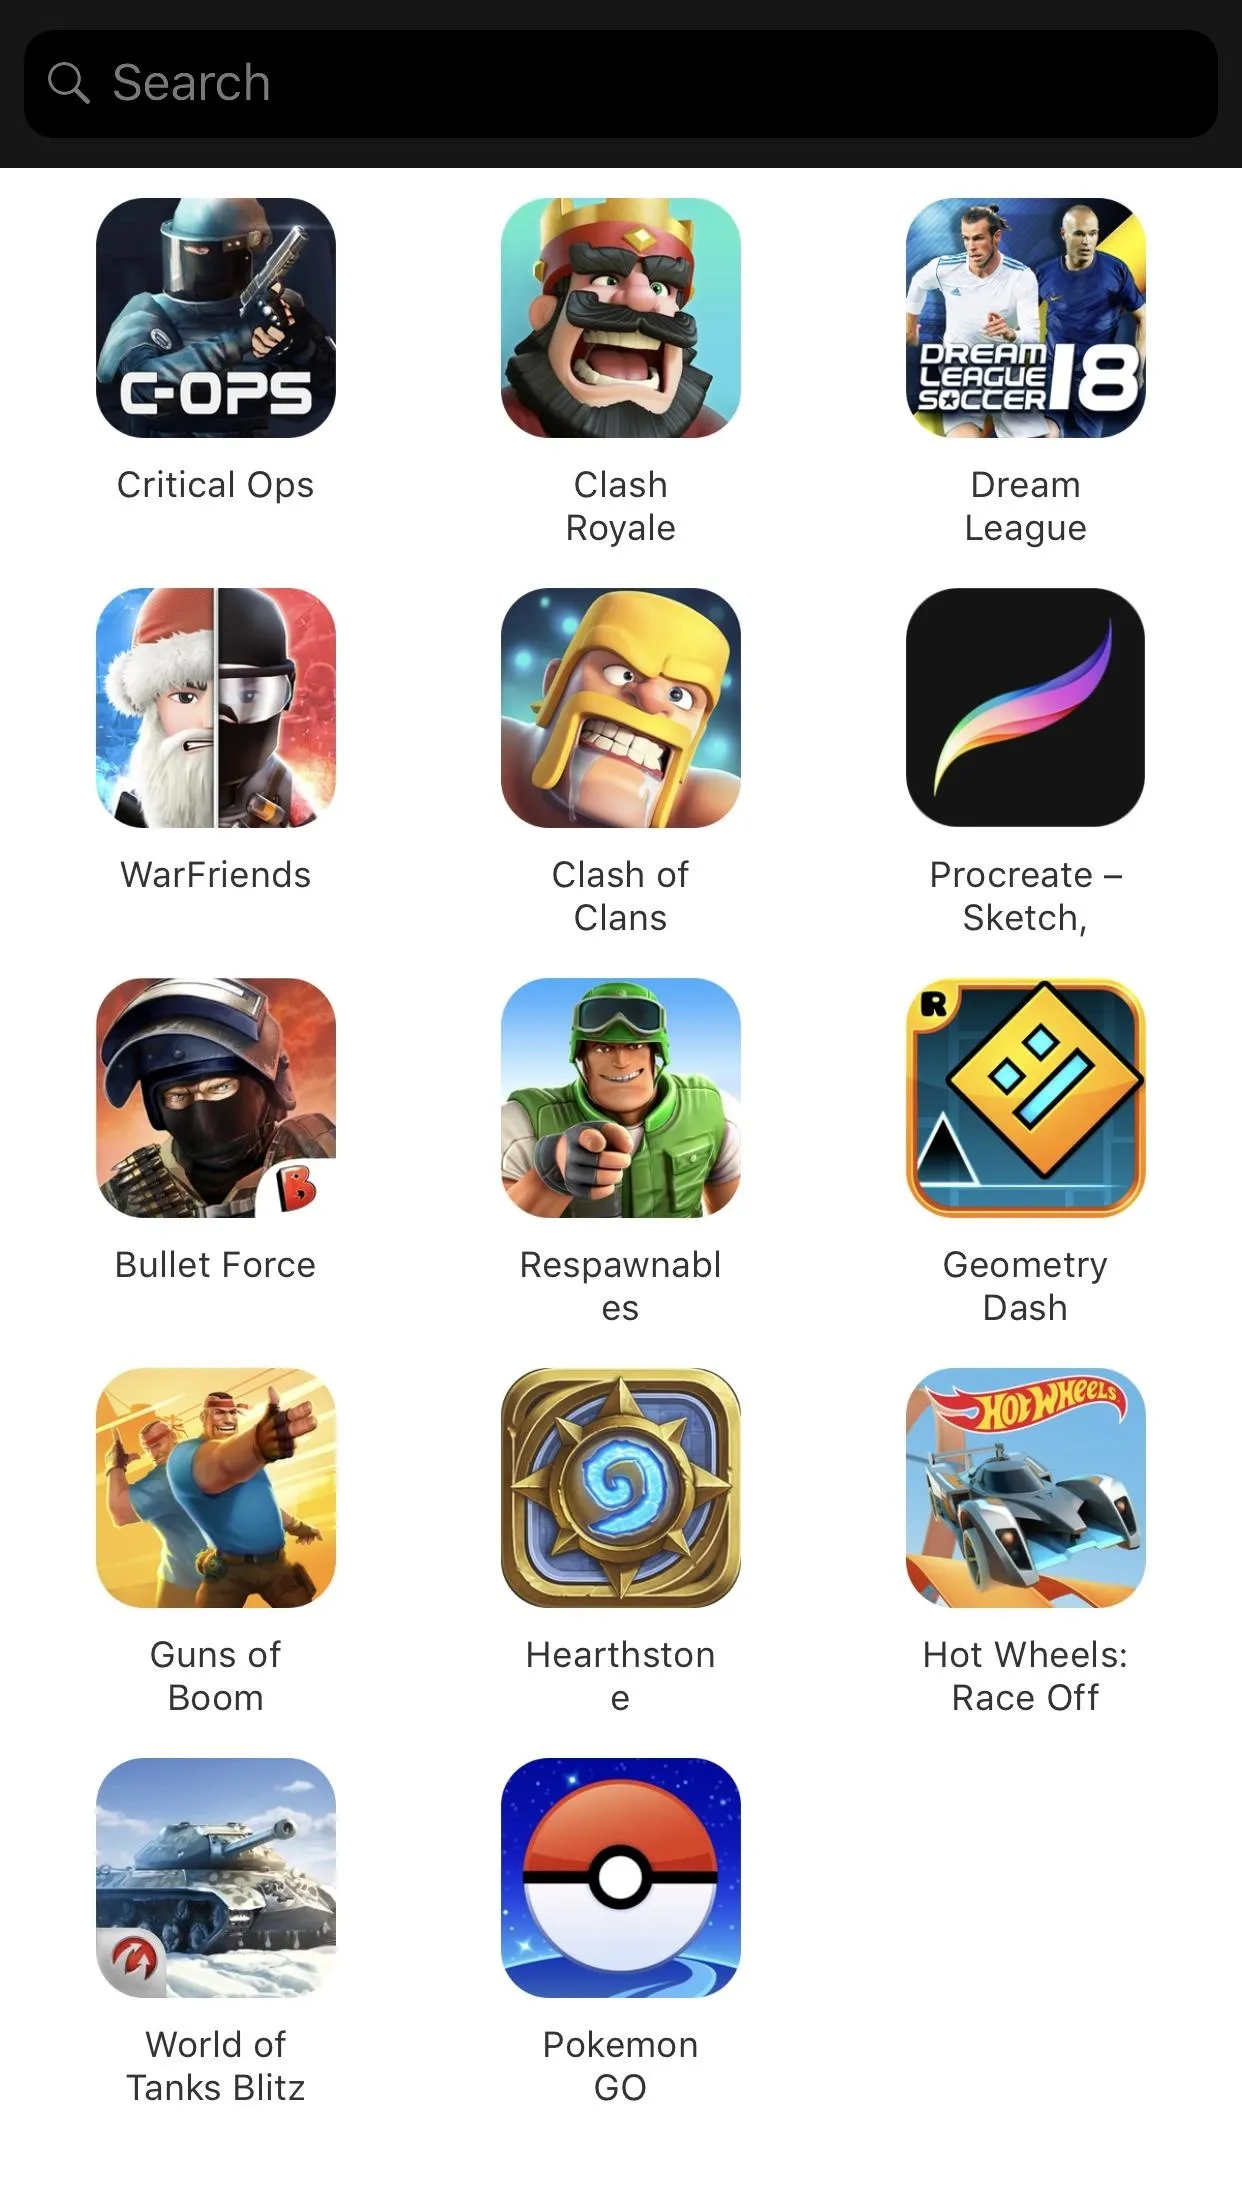
To make sure your viewers know what you're playing, be sure to hit "Select a game" under the Game header, then do just that. If your game is not listed, select "Other." Mobcrush won't launch the game for you, but it will let your audience on Mobcrush know what you're playing.
Note that this won't affect your status on Twitch — you'll still need to manually set that on your desktop. Unfortunately, the Twitch mobile app won't allow you to interact with your stream in any way. I know, it's kind of a drag, but there's a reason we need to use Mobcrush in the first place. Technically, you don't even need the Twitch app at all to stream through Mobcrush to Twitch.

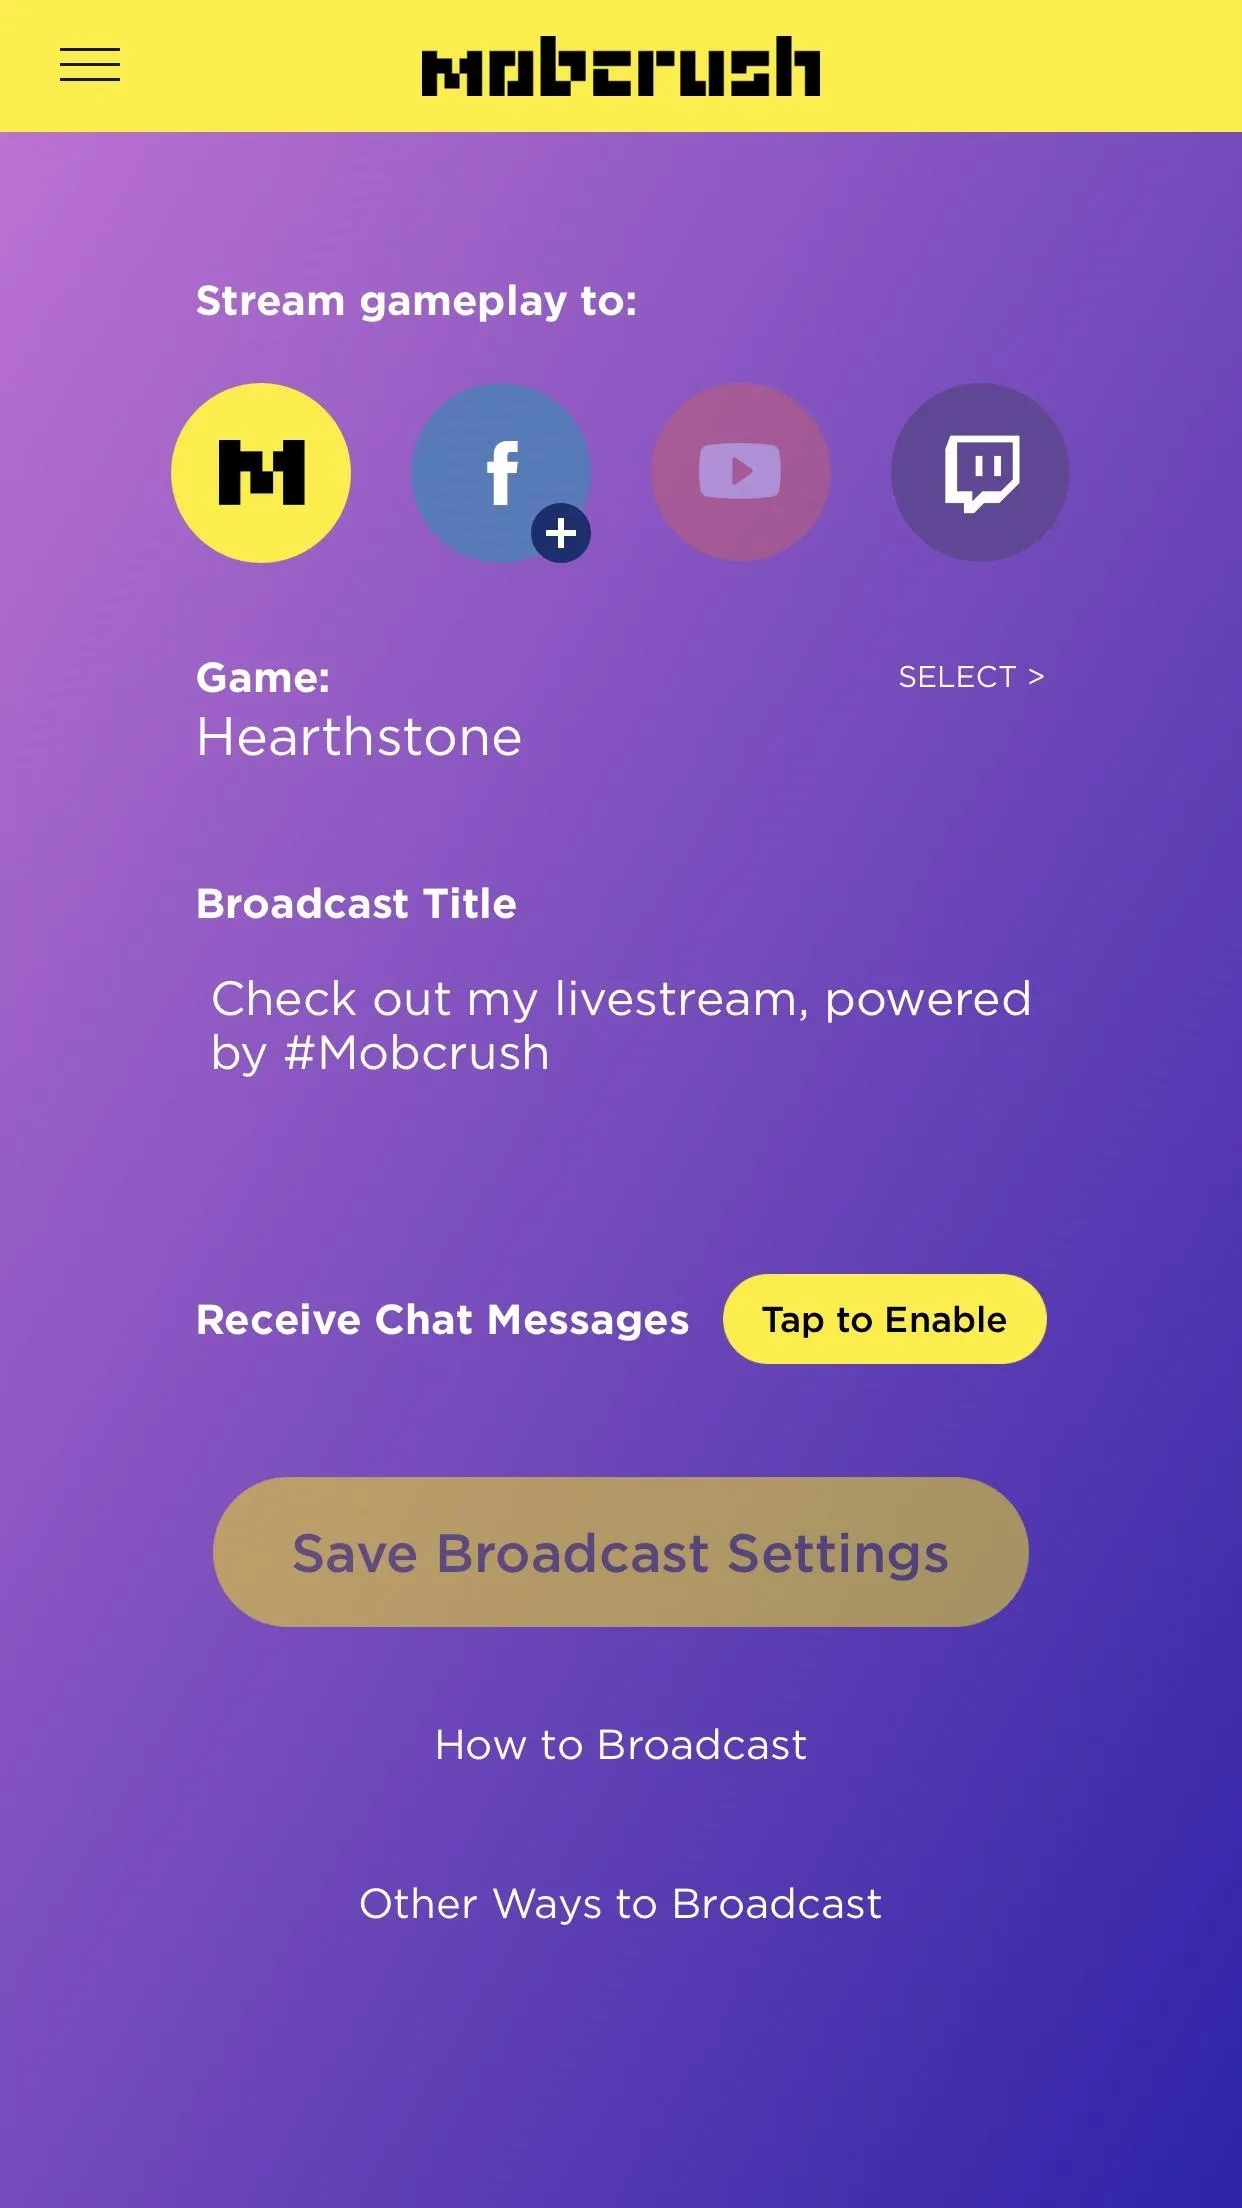
Directly underneath the Game section is the Broadcast Title, where you can set a message that appears to your Mobcrush viewers. Again, this will not apply to Twitch but is necessary to start the broadcast, so you can just keep the default title that Mobcrush provides if you want.

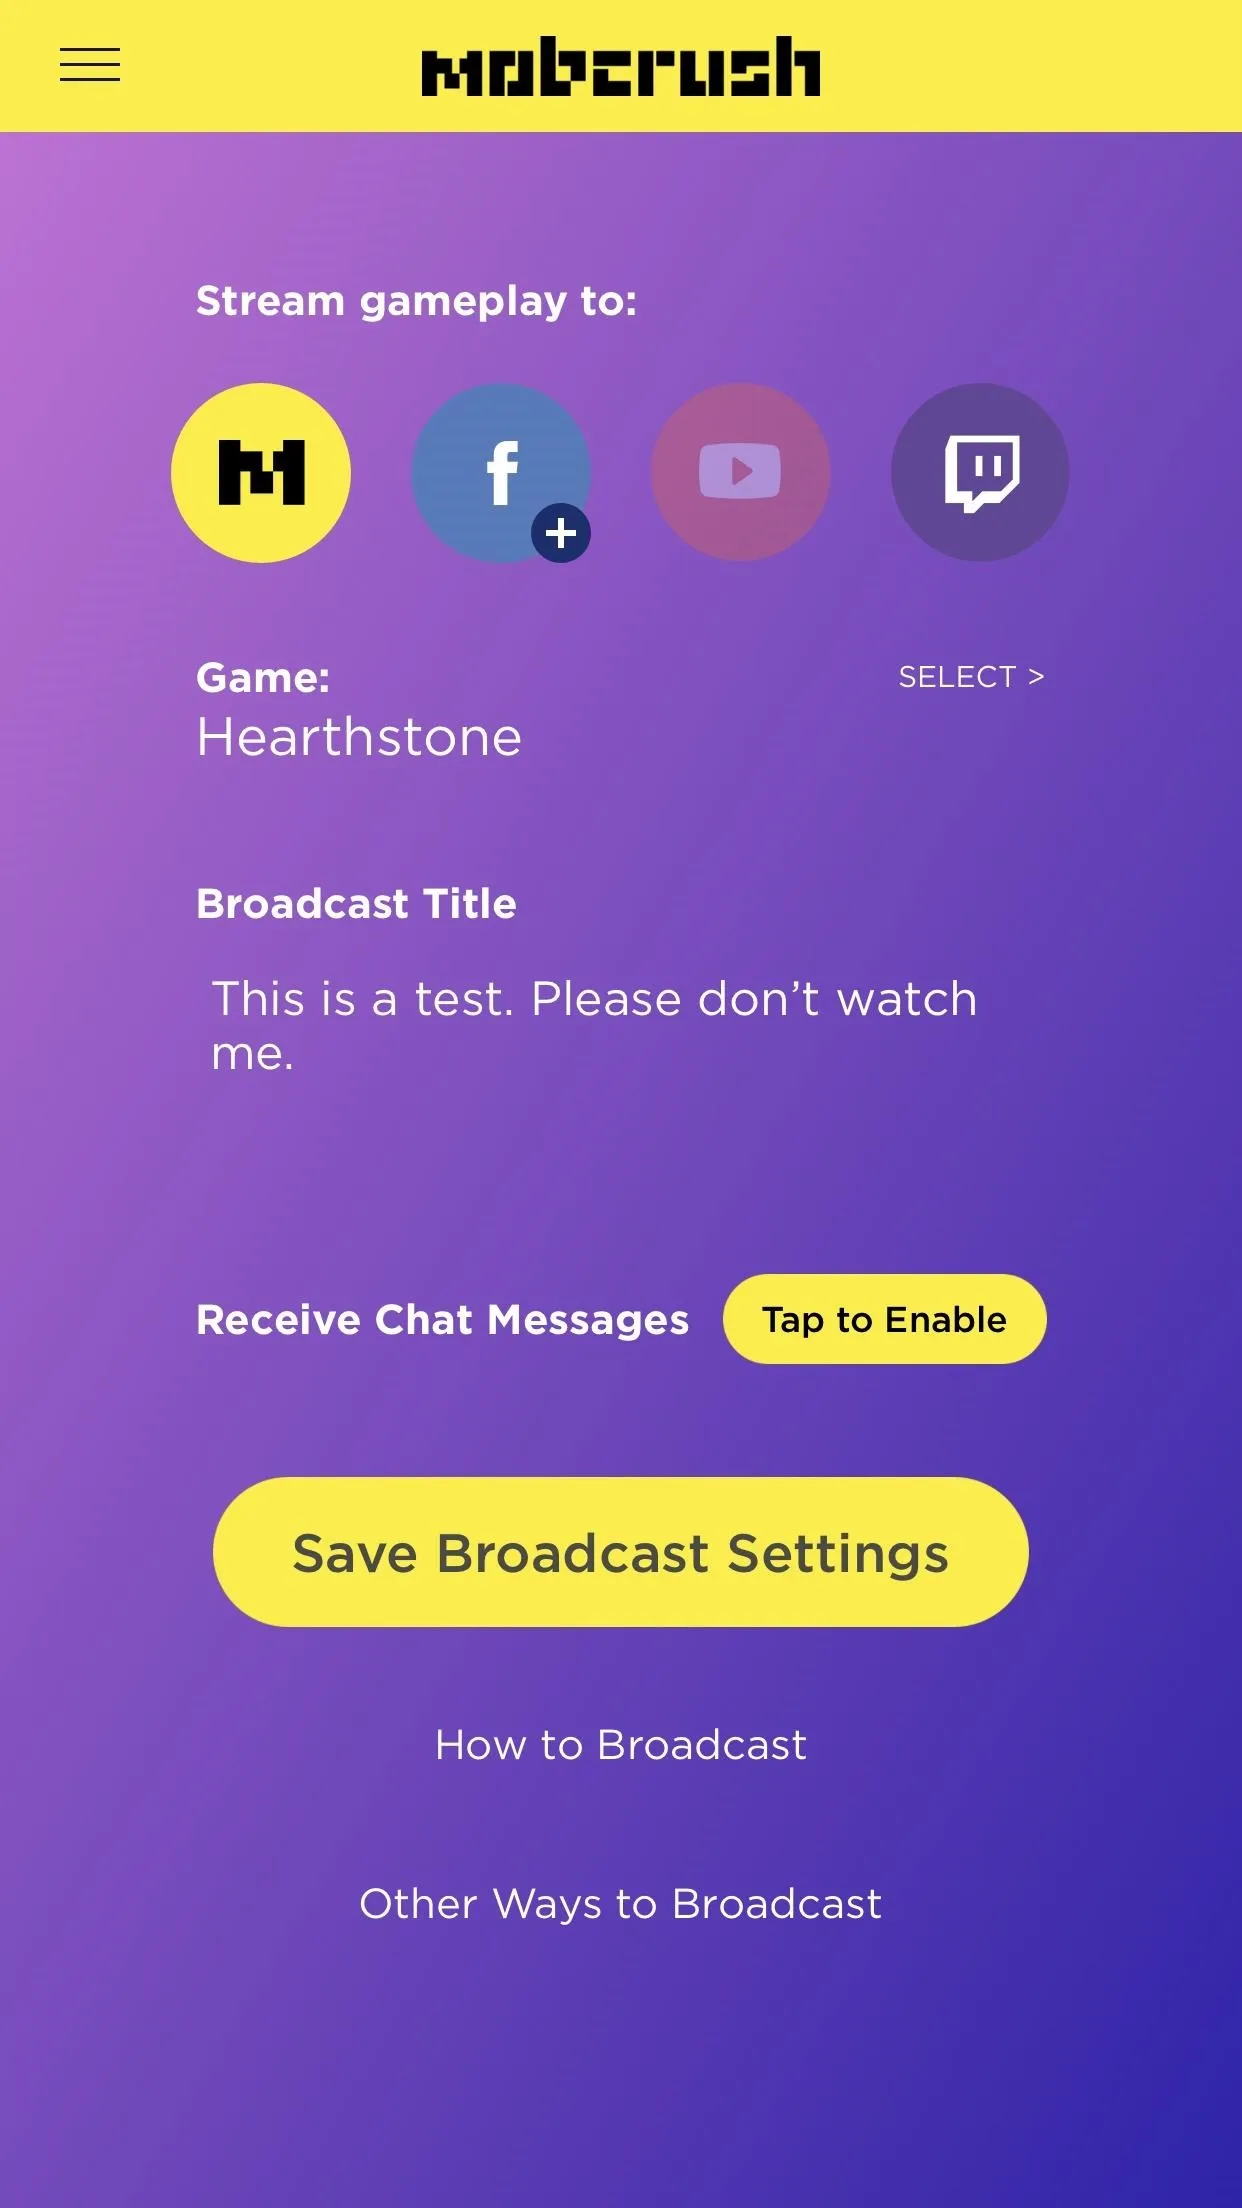
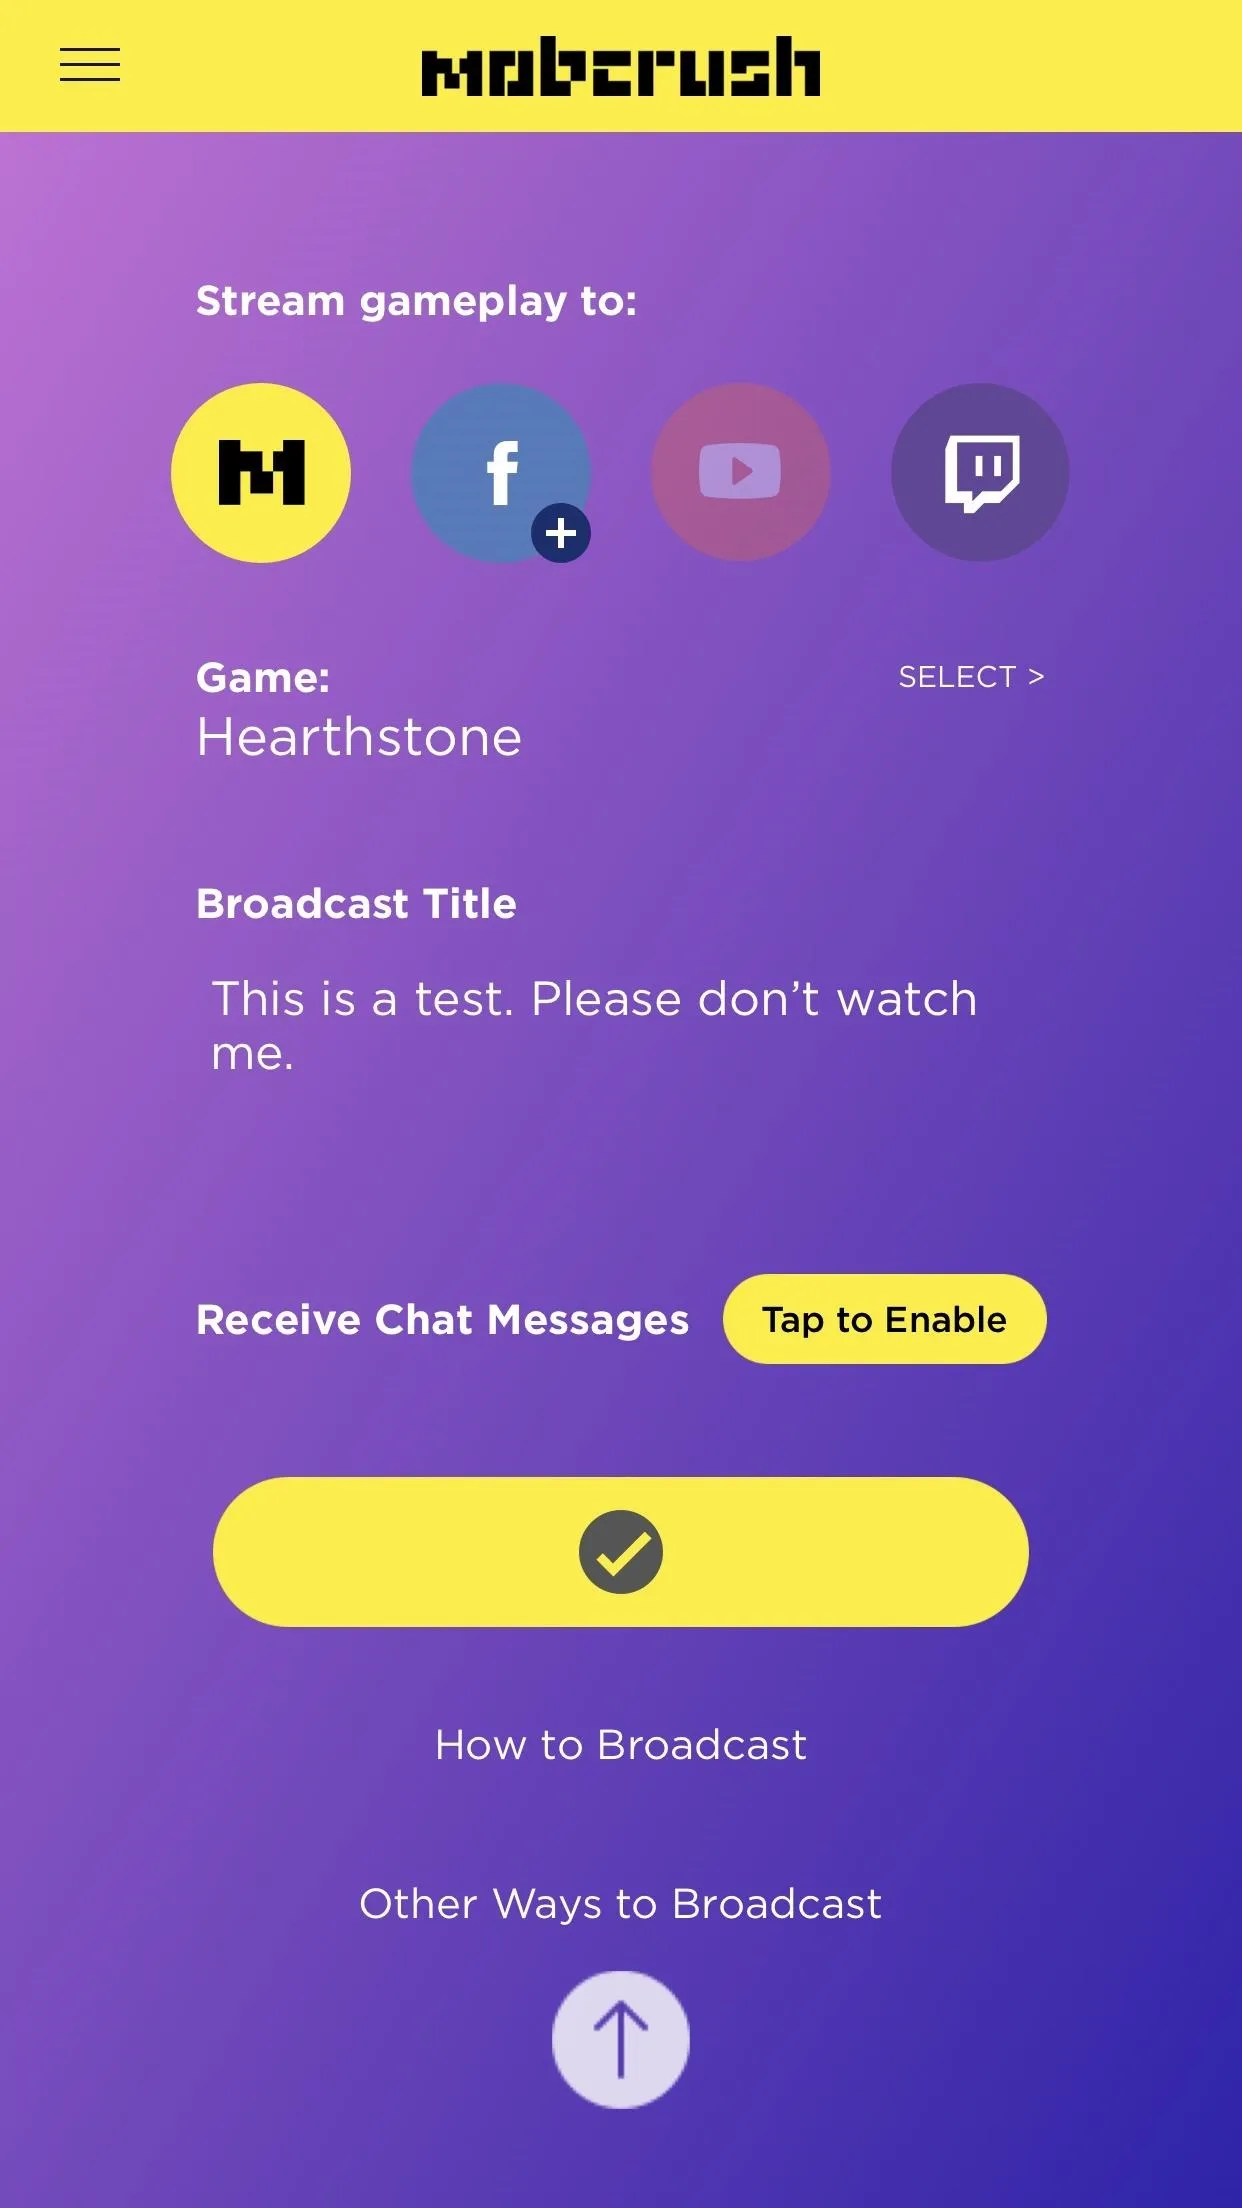
Save Your Broadcast Settings
Once you've tweaked your settings to your liking, tap "Save Broadcast Settings." An arrow will pop up from the bottom, which is meant to tell you to open up Control Center. If you're on an iPhone X, just know that you need to swipe down from the top right to open the Control Center.
Get Your Game Ready
Now it's time to open up your game that you want to livestream. First, make sure your iPhone is not set to silent if you plan on recording audio. The ringer switch on the side should not be red. With that out of the way, open up your game and get it into position where you want it.
Start Streaming
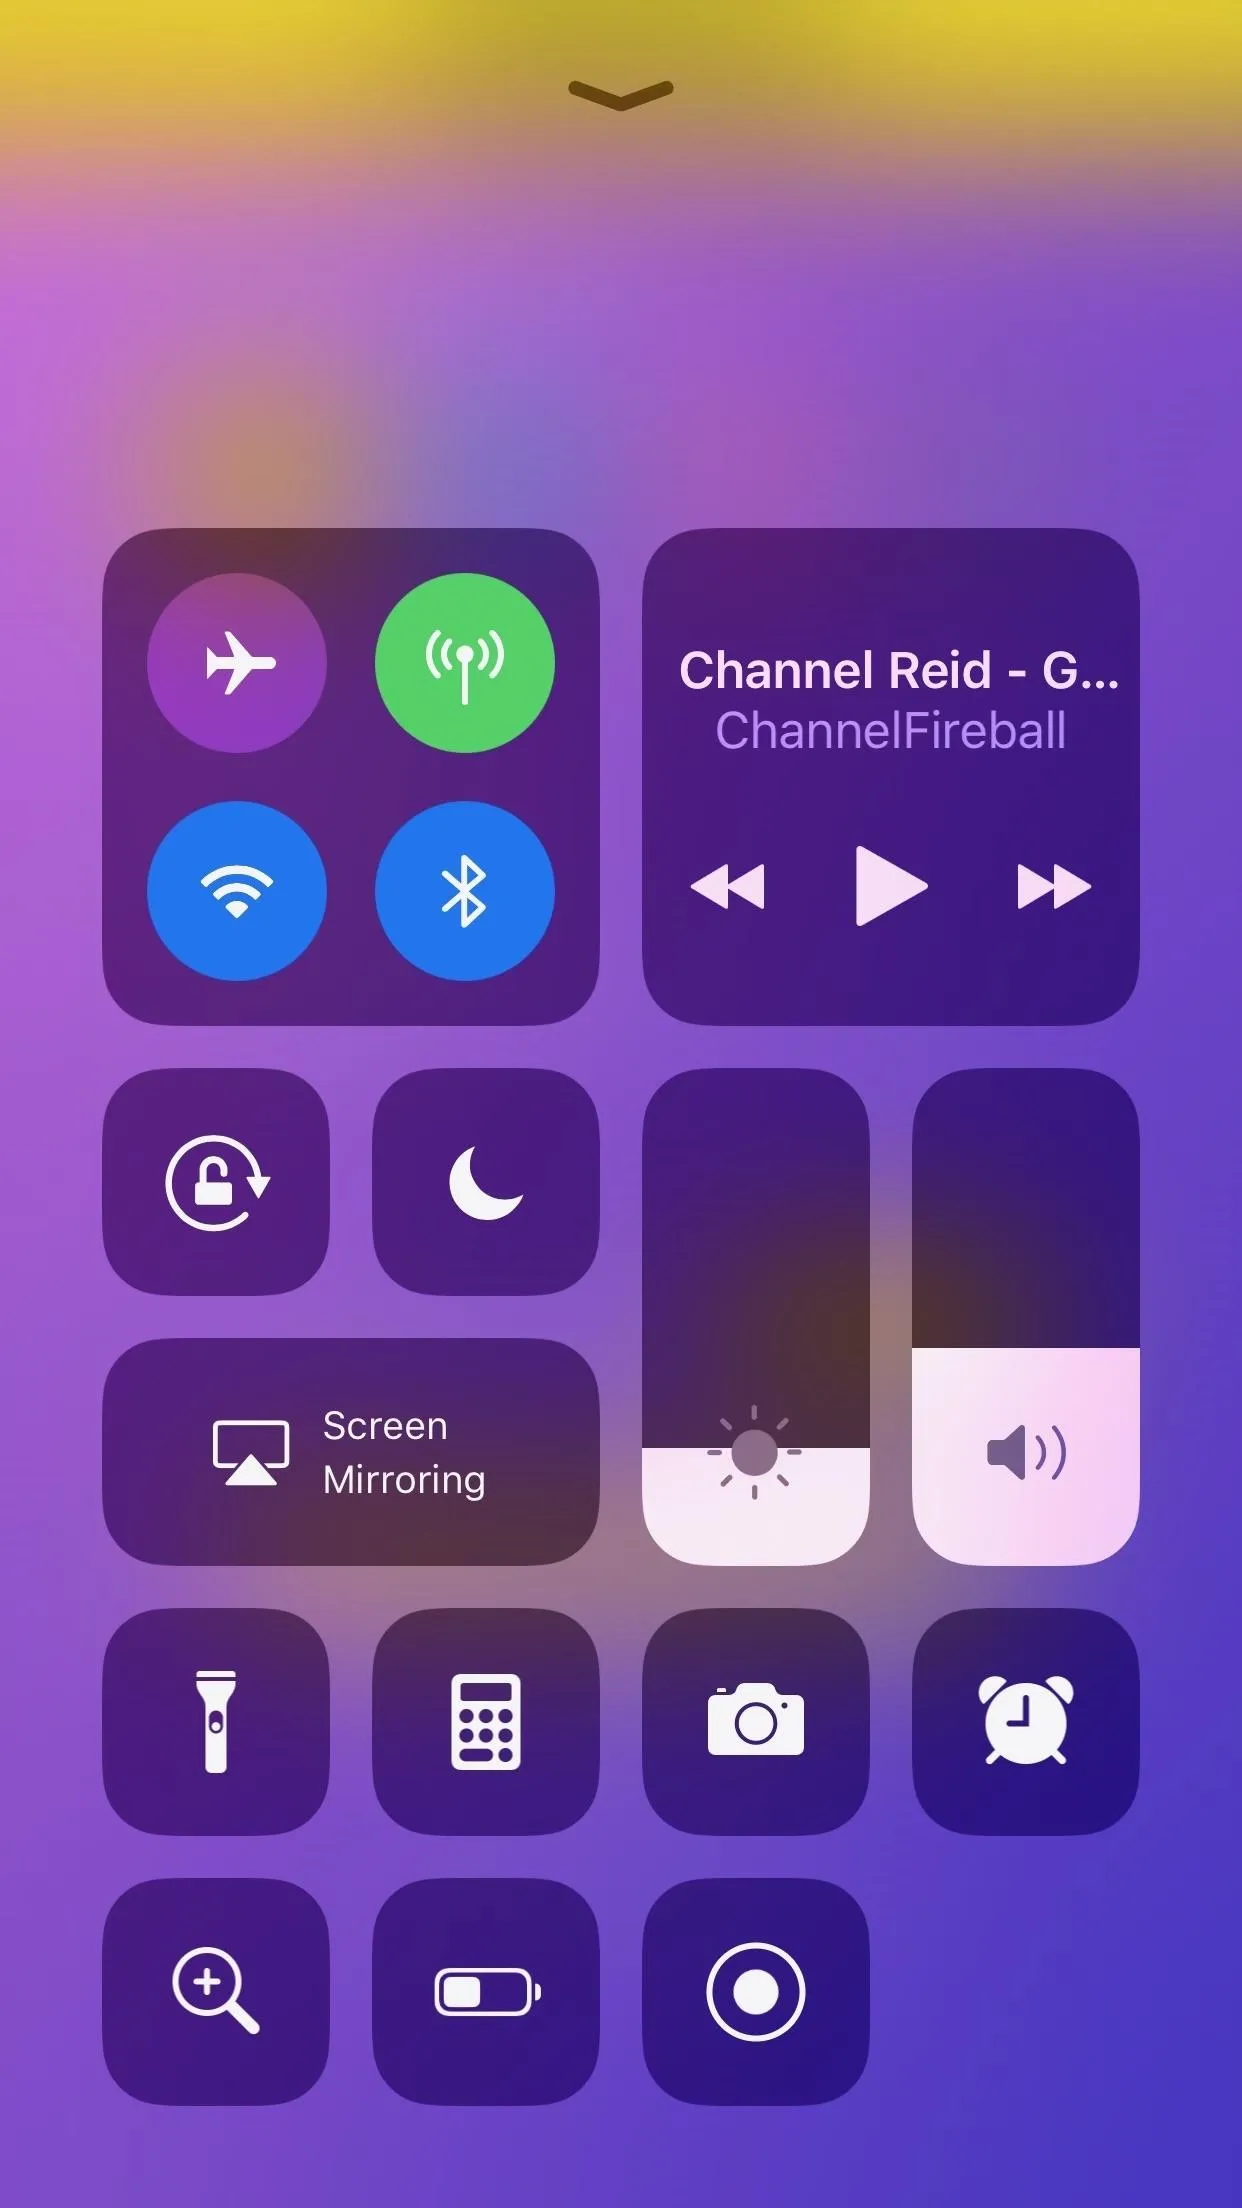
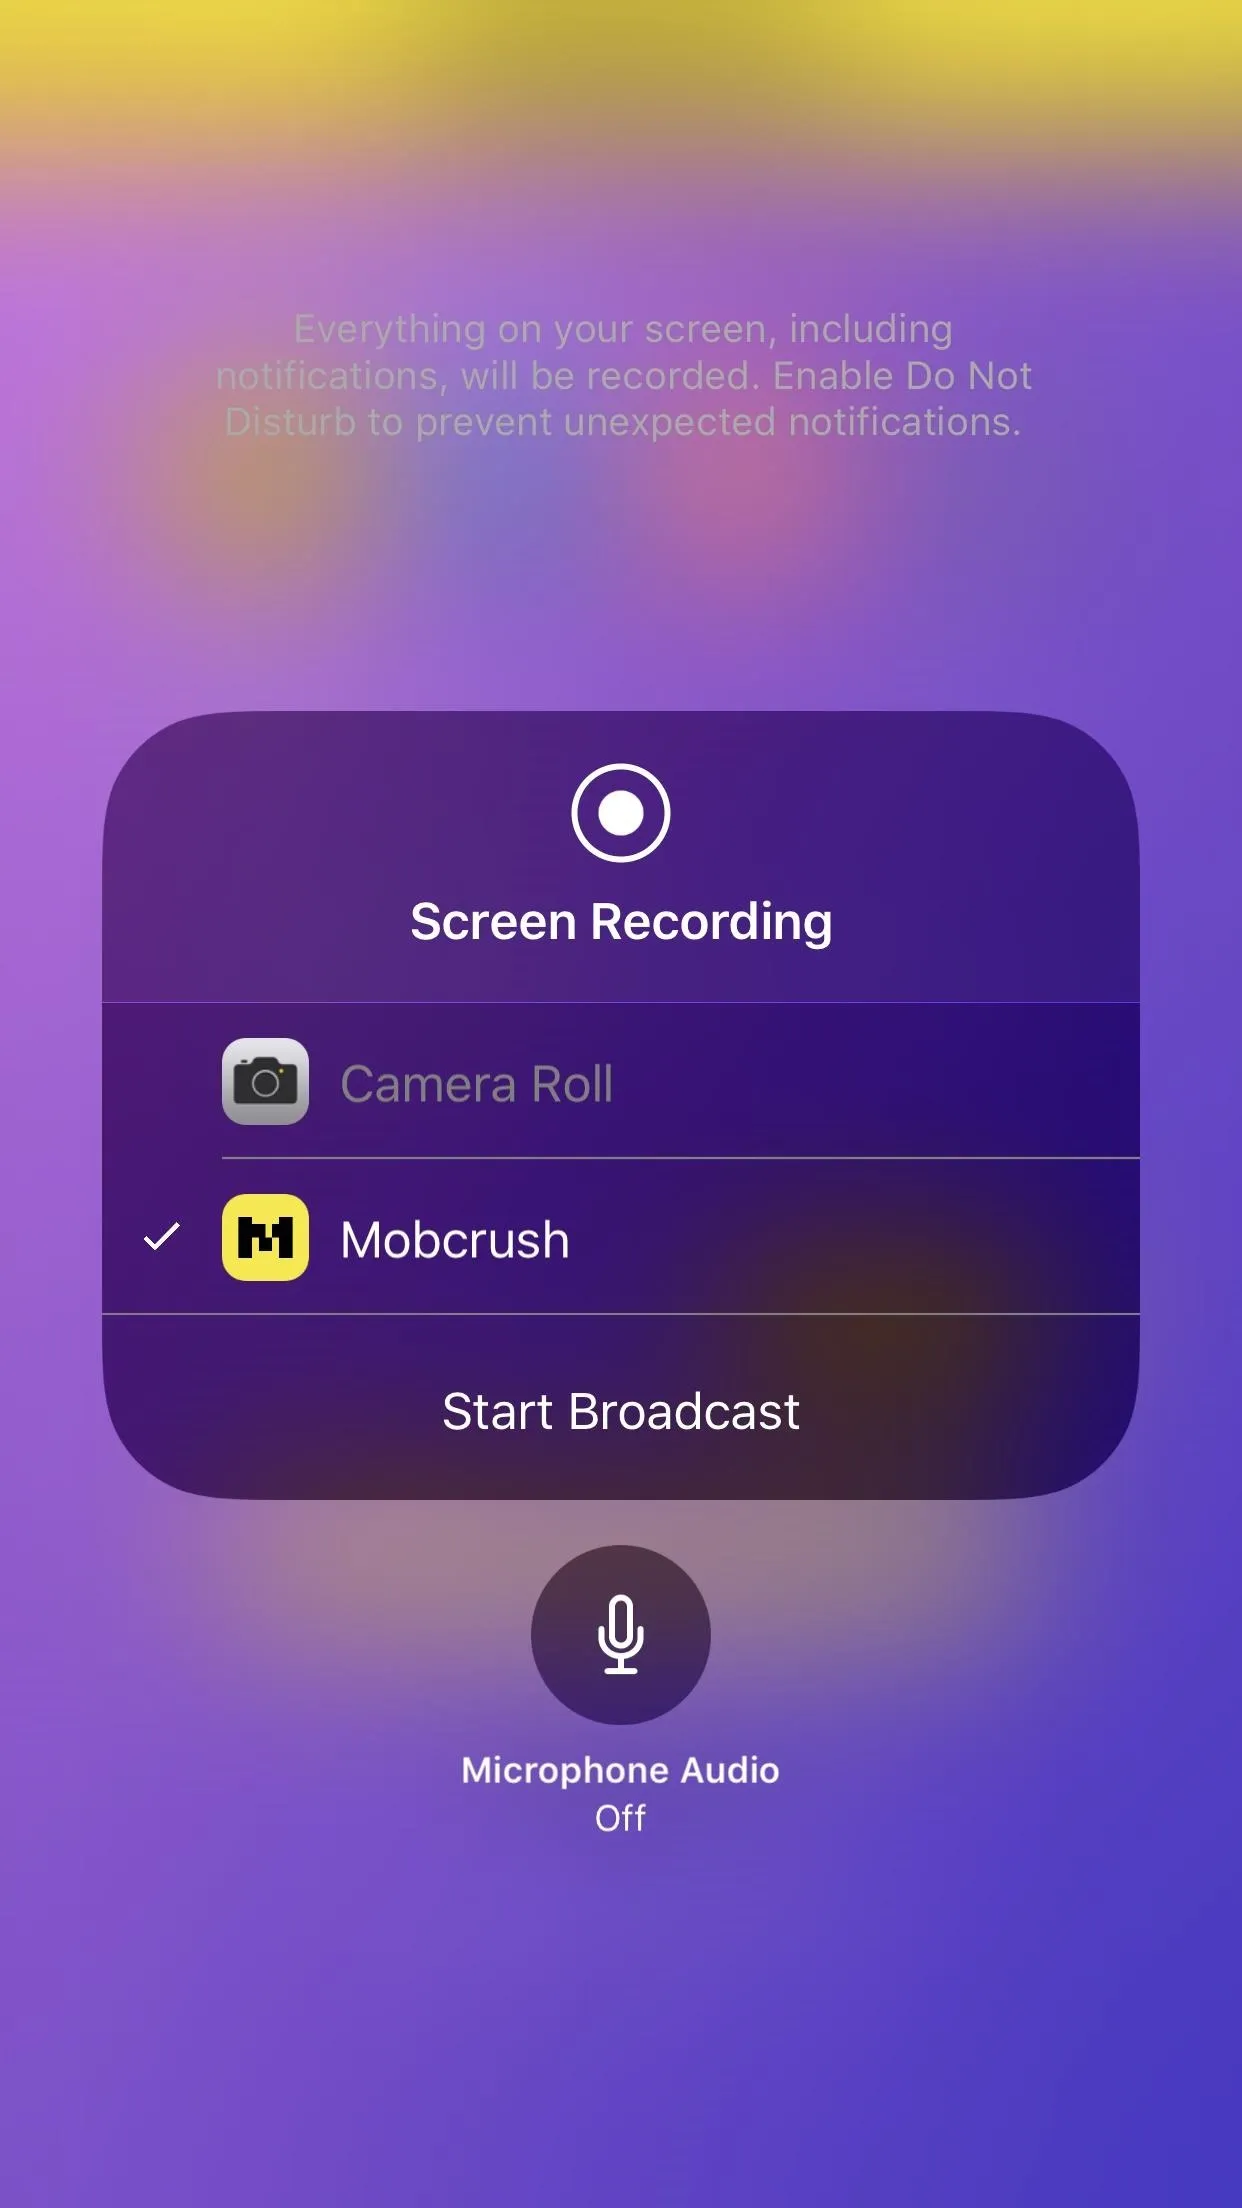
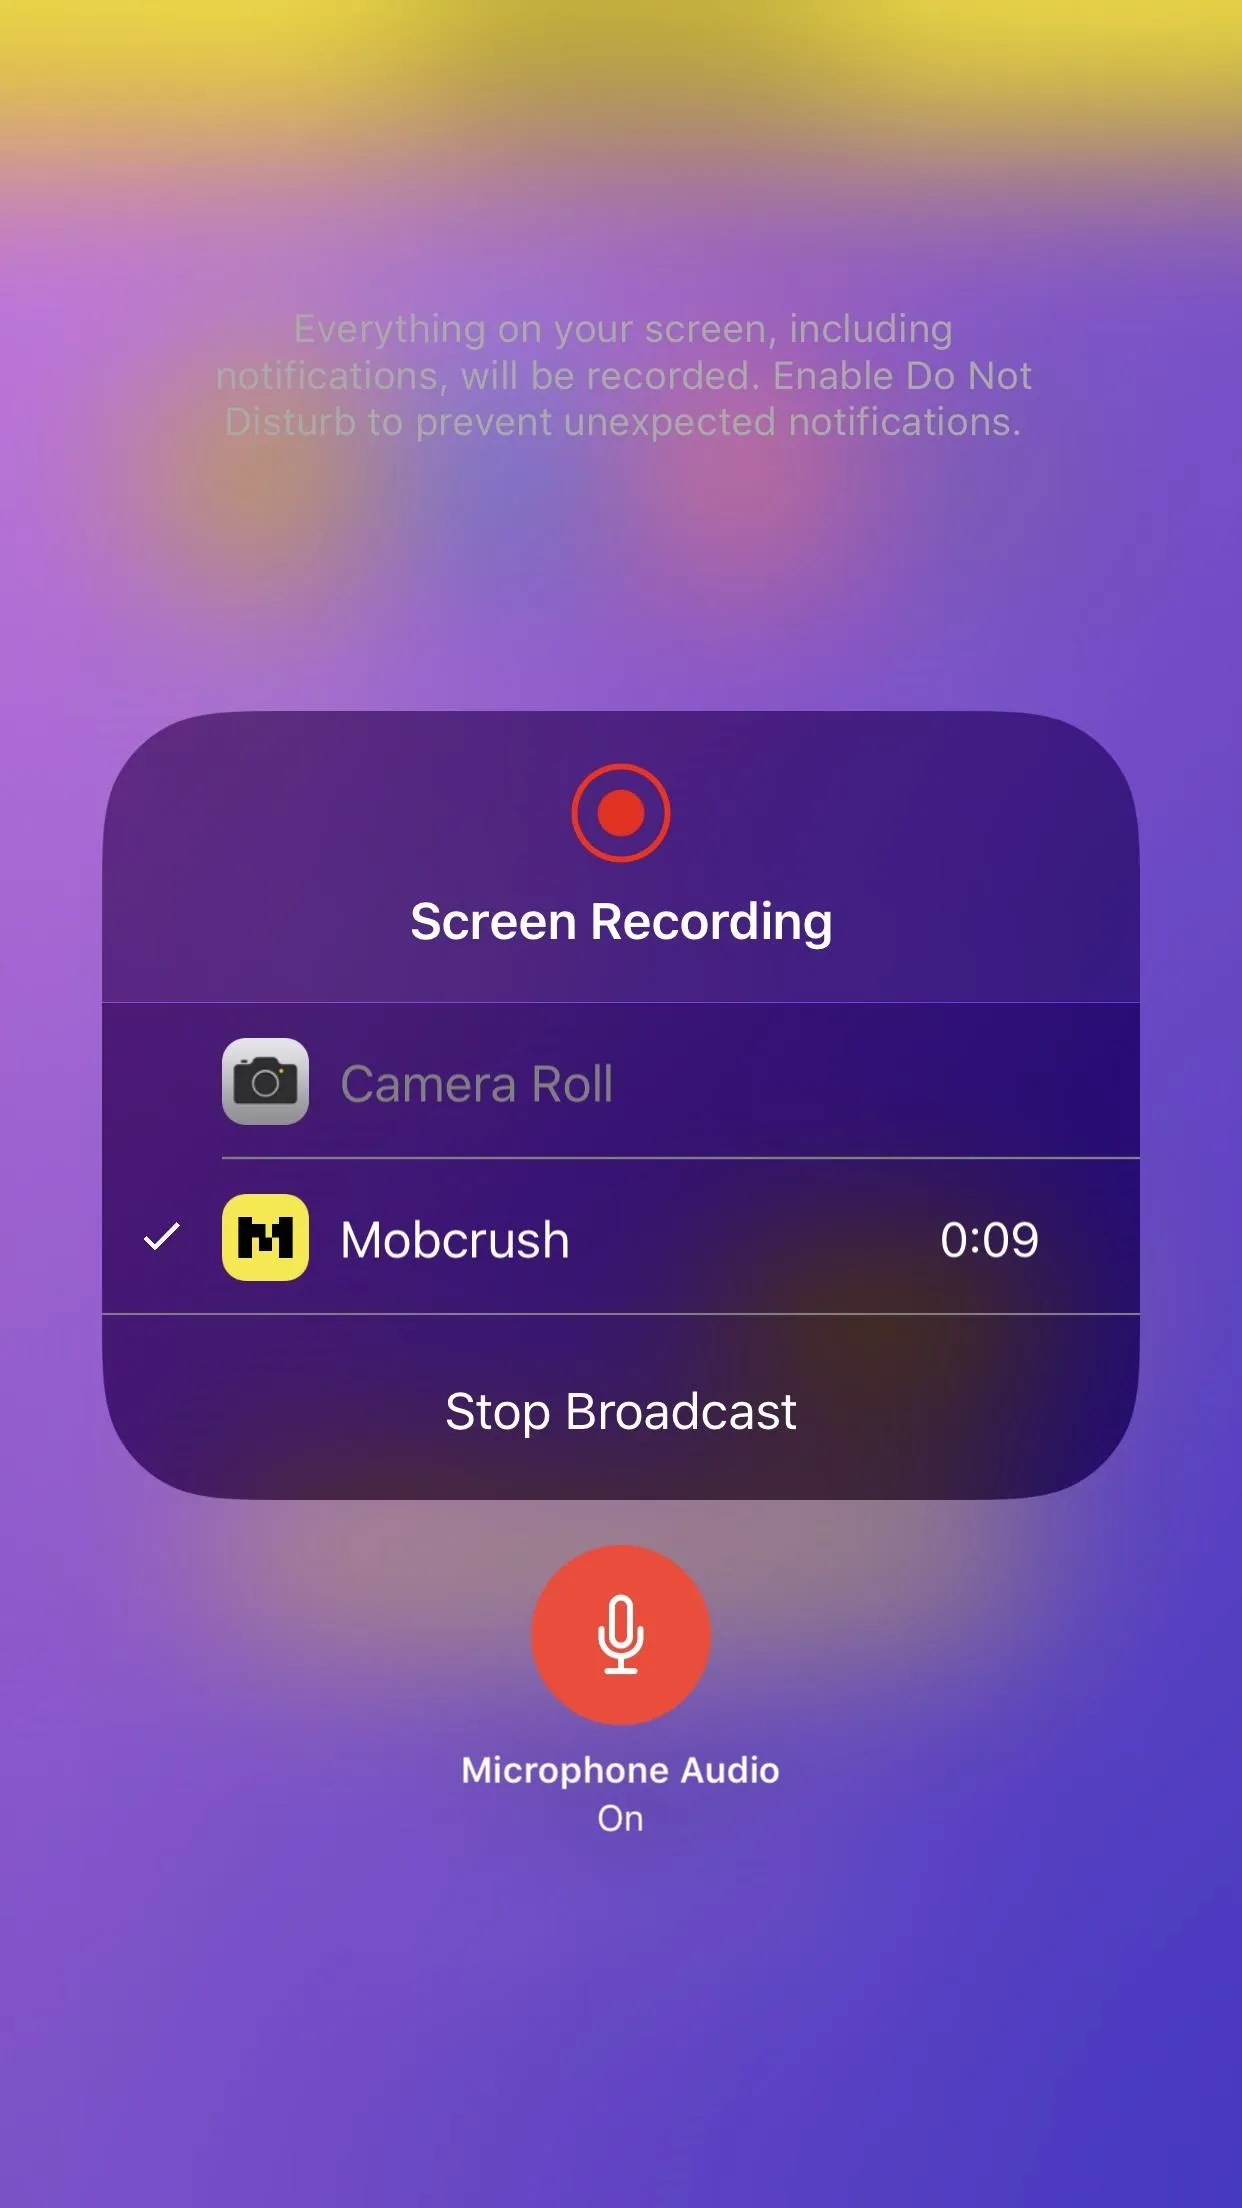
In your game, swipe up from the bottom of the screen to access the Control Center (or swipe down from the right side on the iPhone X). Next, 3D Touch or long-press the Screen Recording icon to bring up the options, select "Mobcrush" from the list, and make sure "Microphone Audio" is on if you want your audience to hear you.
When ready, tap "Start Broadcast" under Mobcrush, which will start a 3-second timer, which will give you more than enough time to get back in your game without showing any other parts of your iPhone in the live feed. And that's all there is to it — your gameplay should now be livestreaming on Twitch.
To end your broadcast, either tap on the red timestamp in the status bar (if visible) or simply navigate back to your Control Center and tap the Screen Recording icon again. You don't need to interact with Mobcrush any more to end the stream, so don't worry about needing to open it up again.
Clean Your Stream Up on Twitch
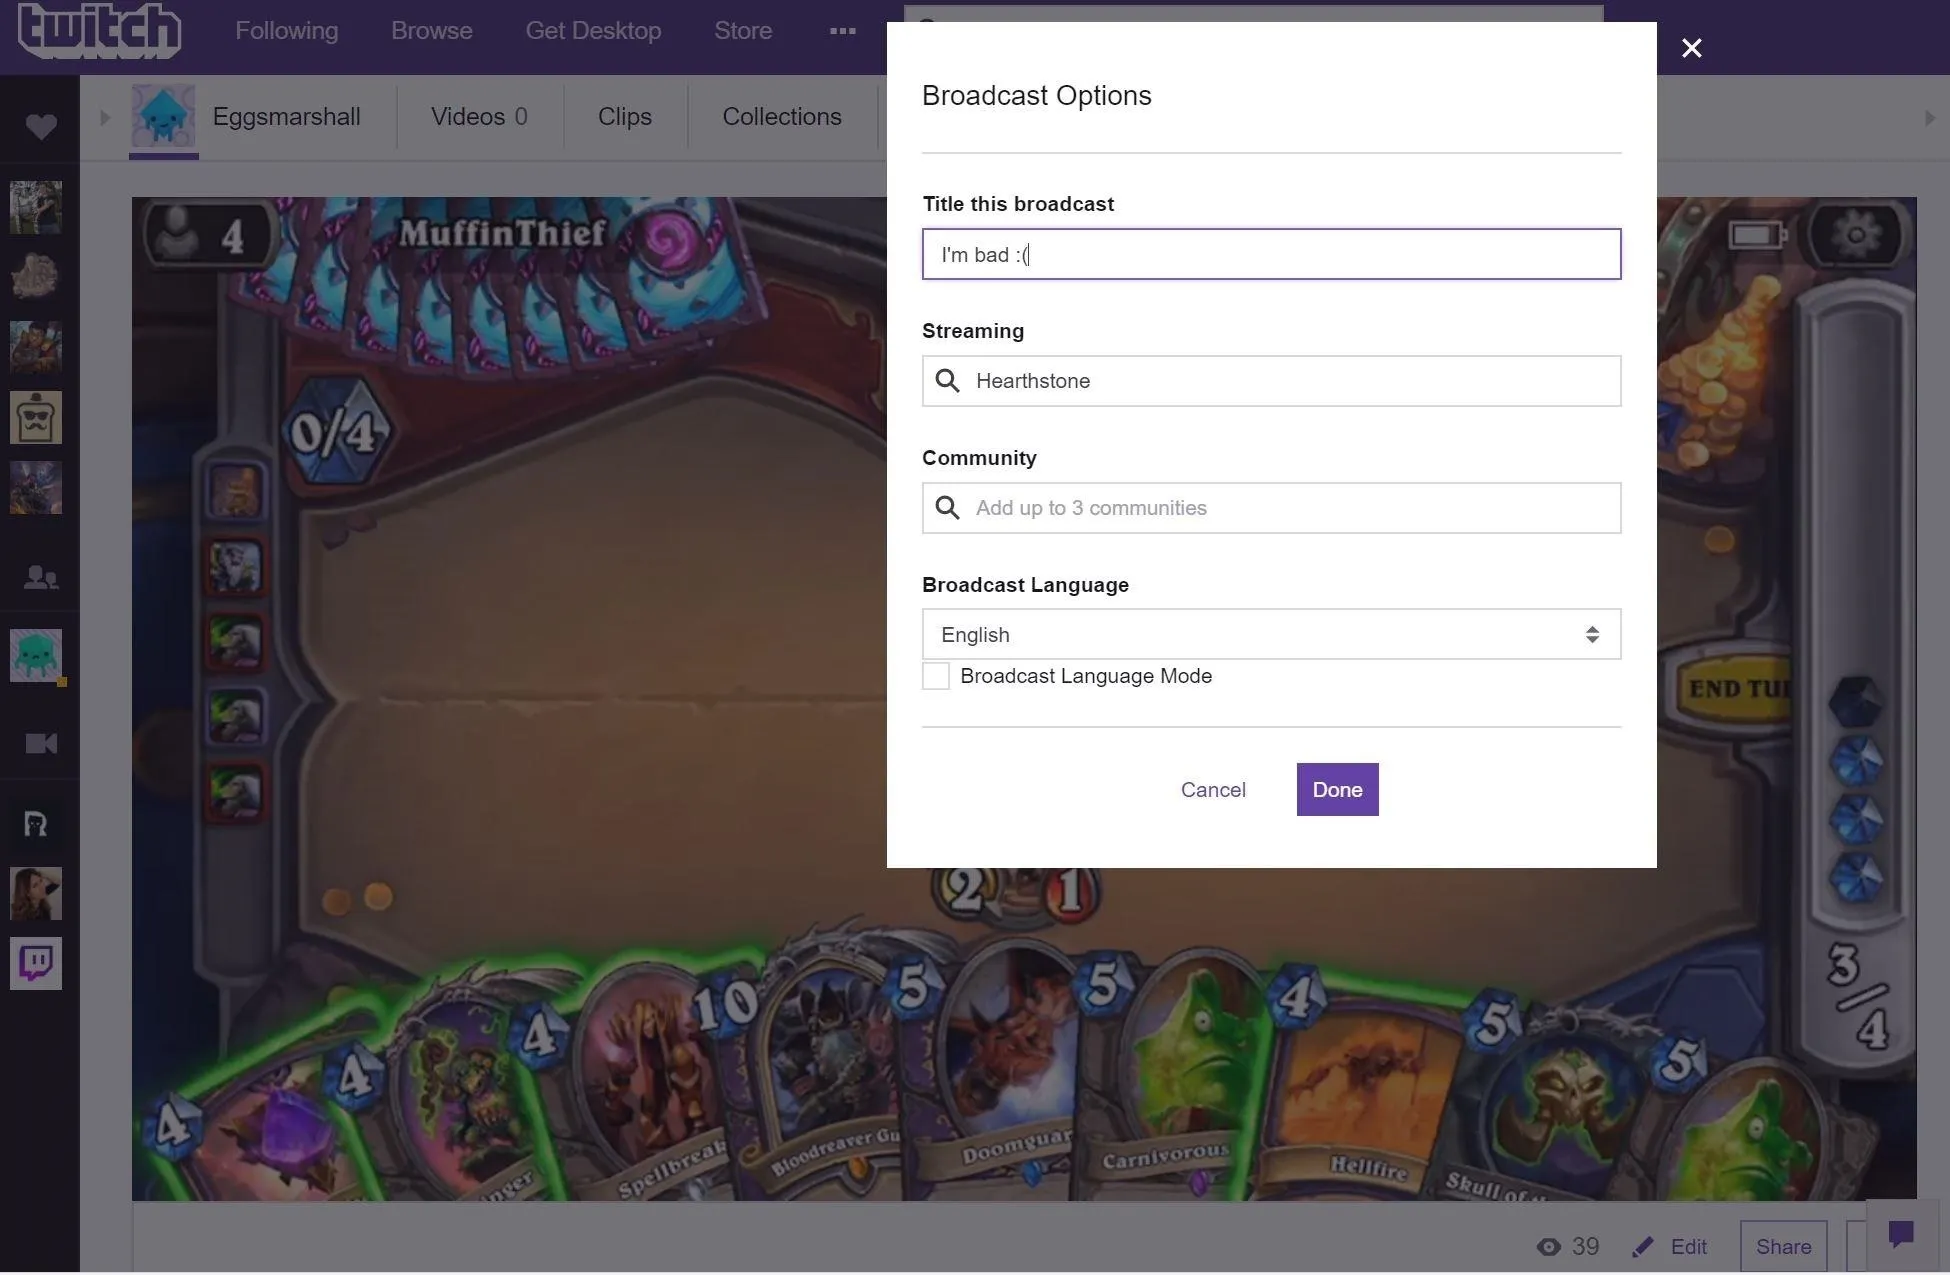
Immediately after you begin streaming, you'll want to head over to your Twitch channel on your computer to change your broadcast title and game. Hit the downward-facing arrow in the top-right corner of the screen, then select "Channel." From here, you should see what you're currently streaming.
Hit "Edit," located just under the video, and then you can add a title under Title this broadcast and add the game under Streaming. Twitch won't have any info for your viewers by default, so make sure to fill this out.
And that's it — you're streaming to thousands ... uh ... hundreds ... hm ... at least dozens of people. What are your favorite mobile games that you're going to livestream? Let us know in the comments below.
- Follow Gadget Hacks on Facebook, Twitter, YouTube, and Flipboard
- Follow WonderHowTo on Facebook, Twitter, Pinterest, and Flipboard
Cover photo by Justin Meyers/Gadget Hacks; Screenshots by Brian Lang/Gadget Hacks


Comments
Be the first, drop a comment!