


If you store important, sensitive information on your iPhone in Notes, you'll want to be more careful. When Notes syncs across your iPad and Mac via iCloud — devices that family members or coworkers may share — you run the risk of having your notes read, edited, and deleted by other people. Such a catastrophe is easily avoided.
There are a few options for protecting your sensitive notes when more than one device is logged into your account. You can keep notes only on your iPhone so that they never sync to your other devices, you can lock your notes with a password so only you can access them, or you can turn off syncing on your iPhone or your other devices.
- Don't Miss: How to Pin Important Notes to the Top of Folders
Keep Notes Only on Your iPhone
This option is the easiest solution if you need to keep a particular set of notes solely on your iPhone. Everything in this folder will not sync to your iPad or Mac since it's stored locally.
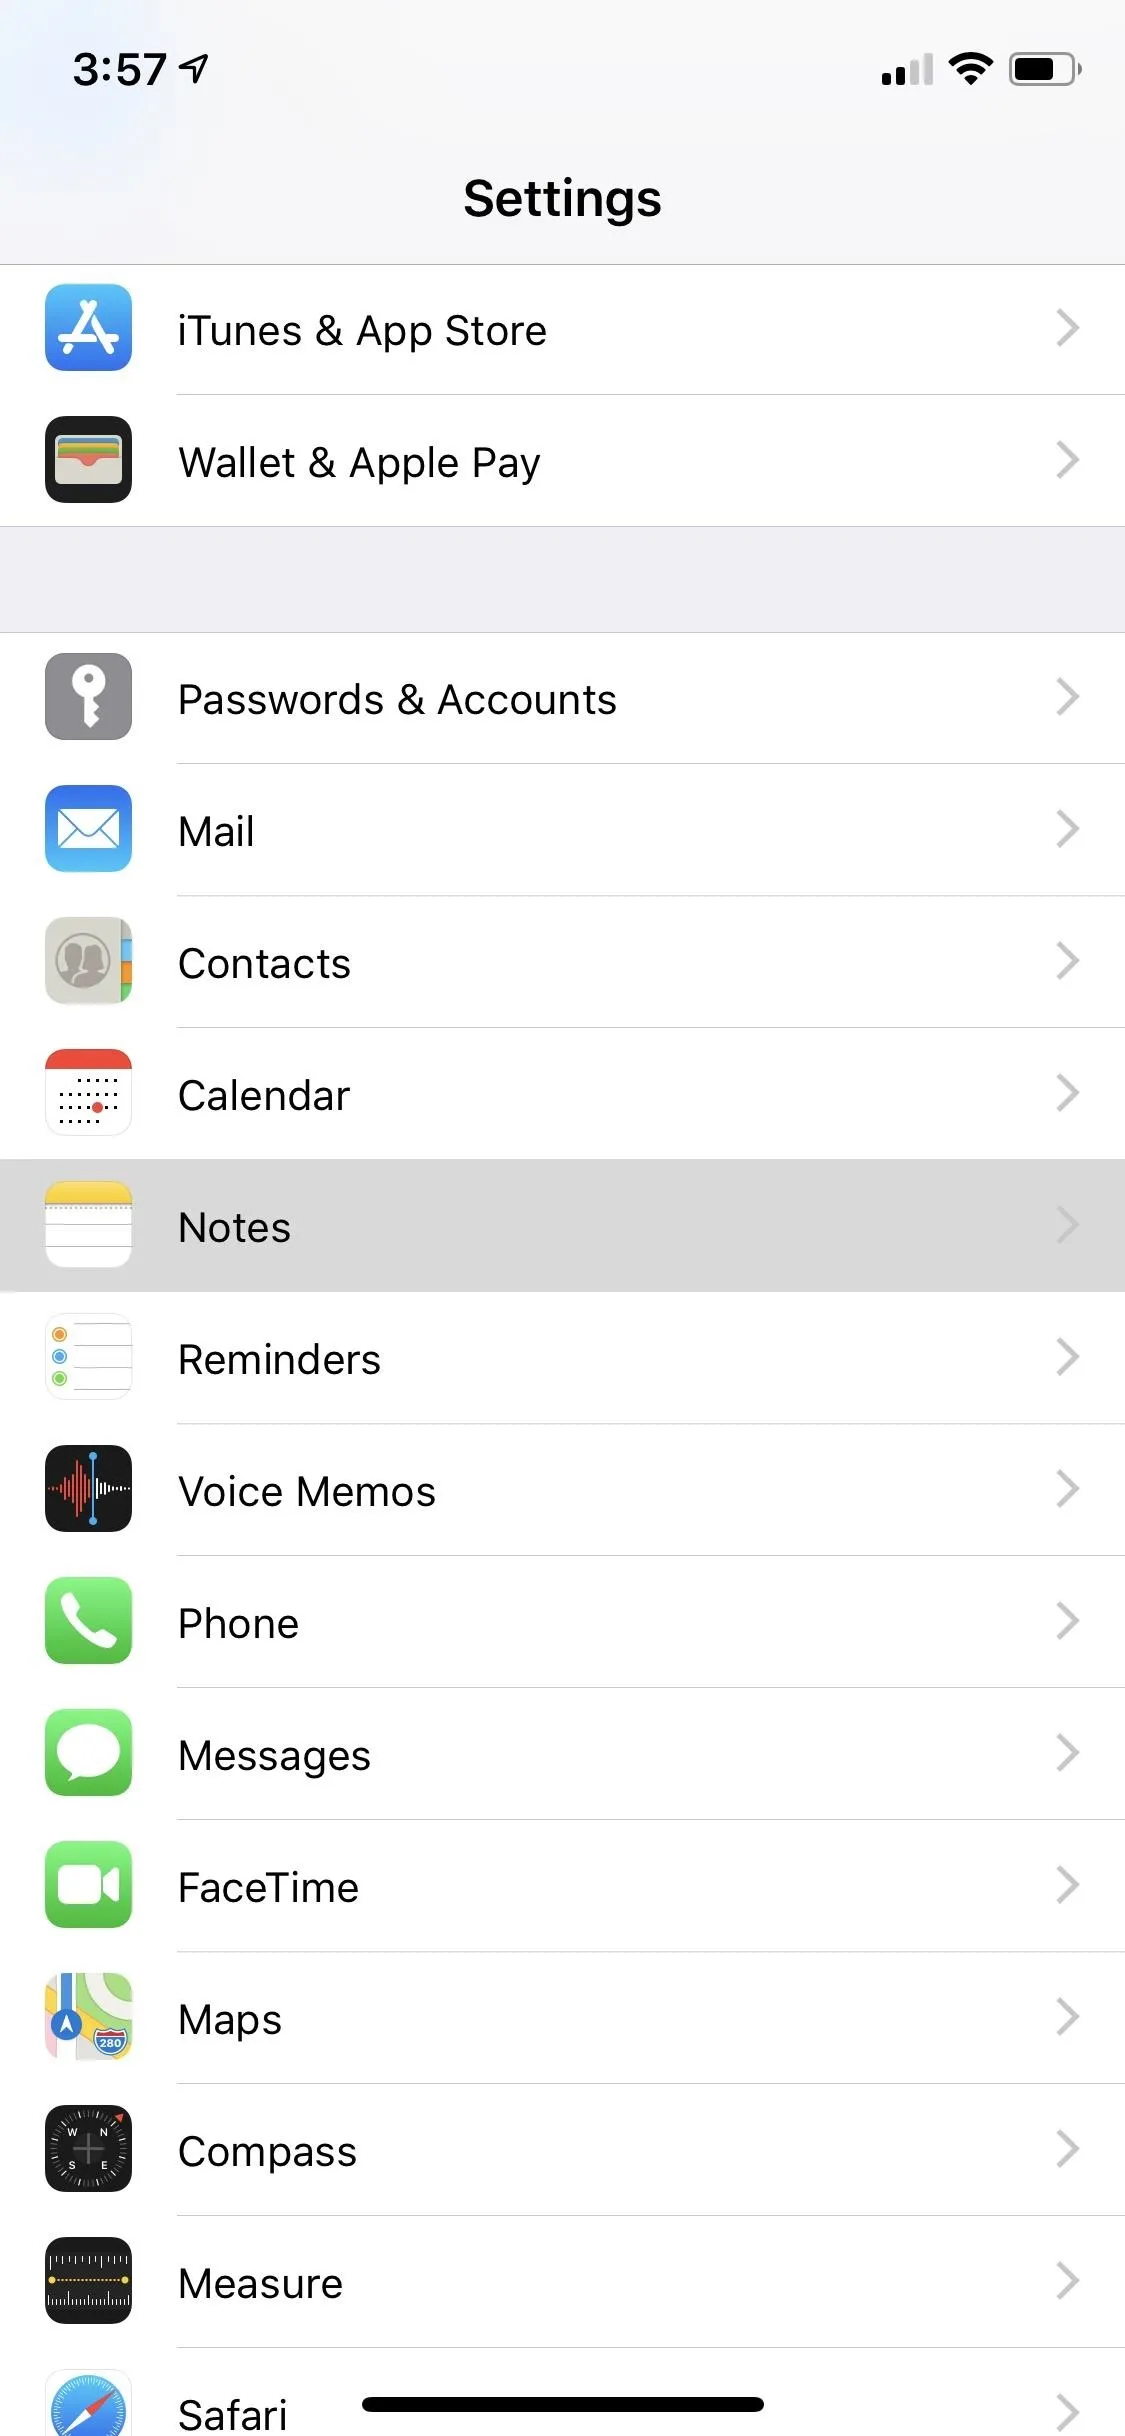
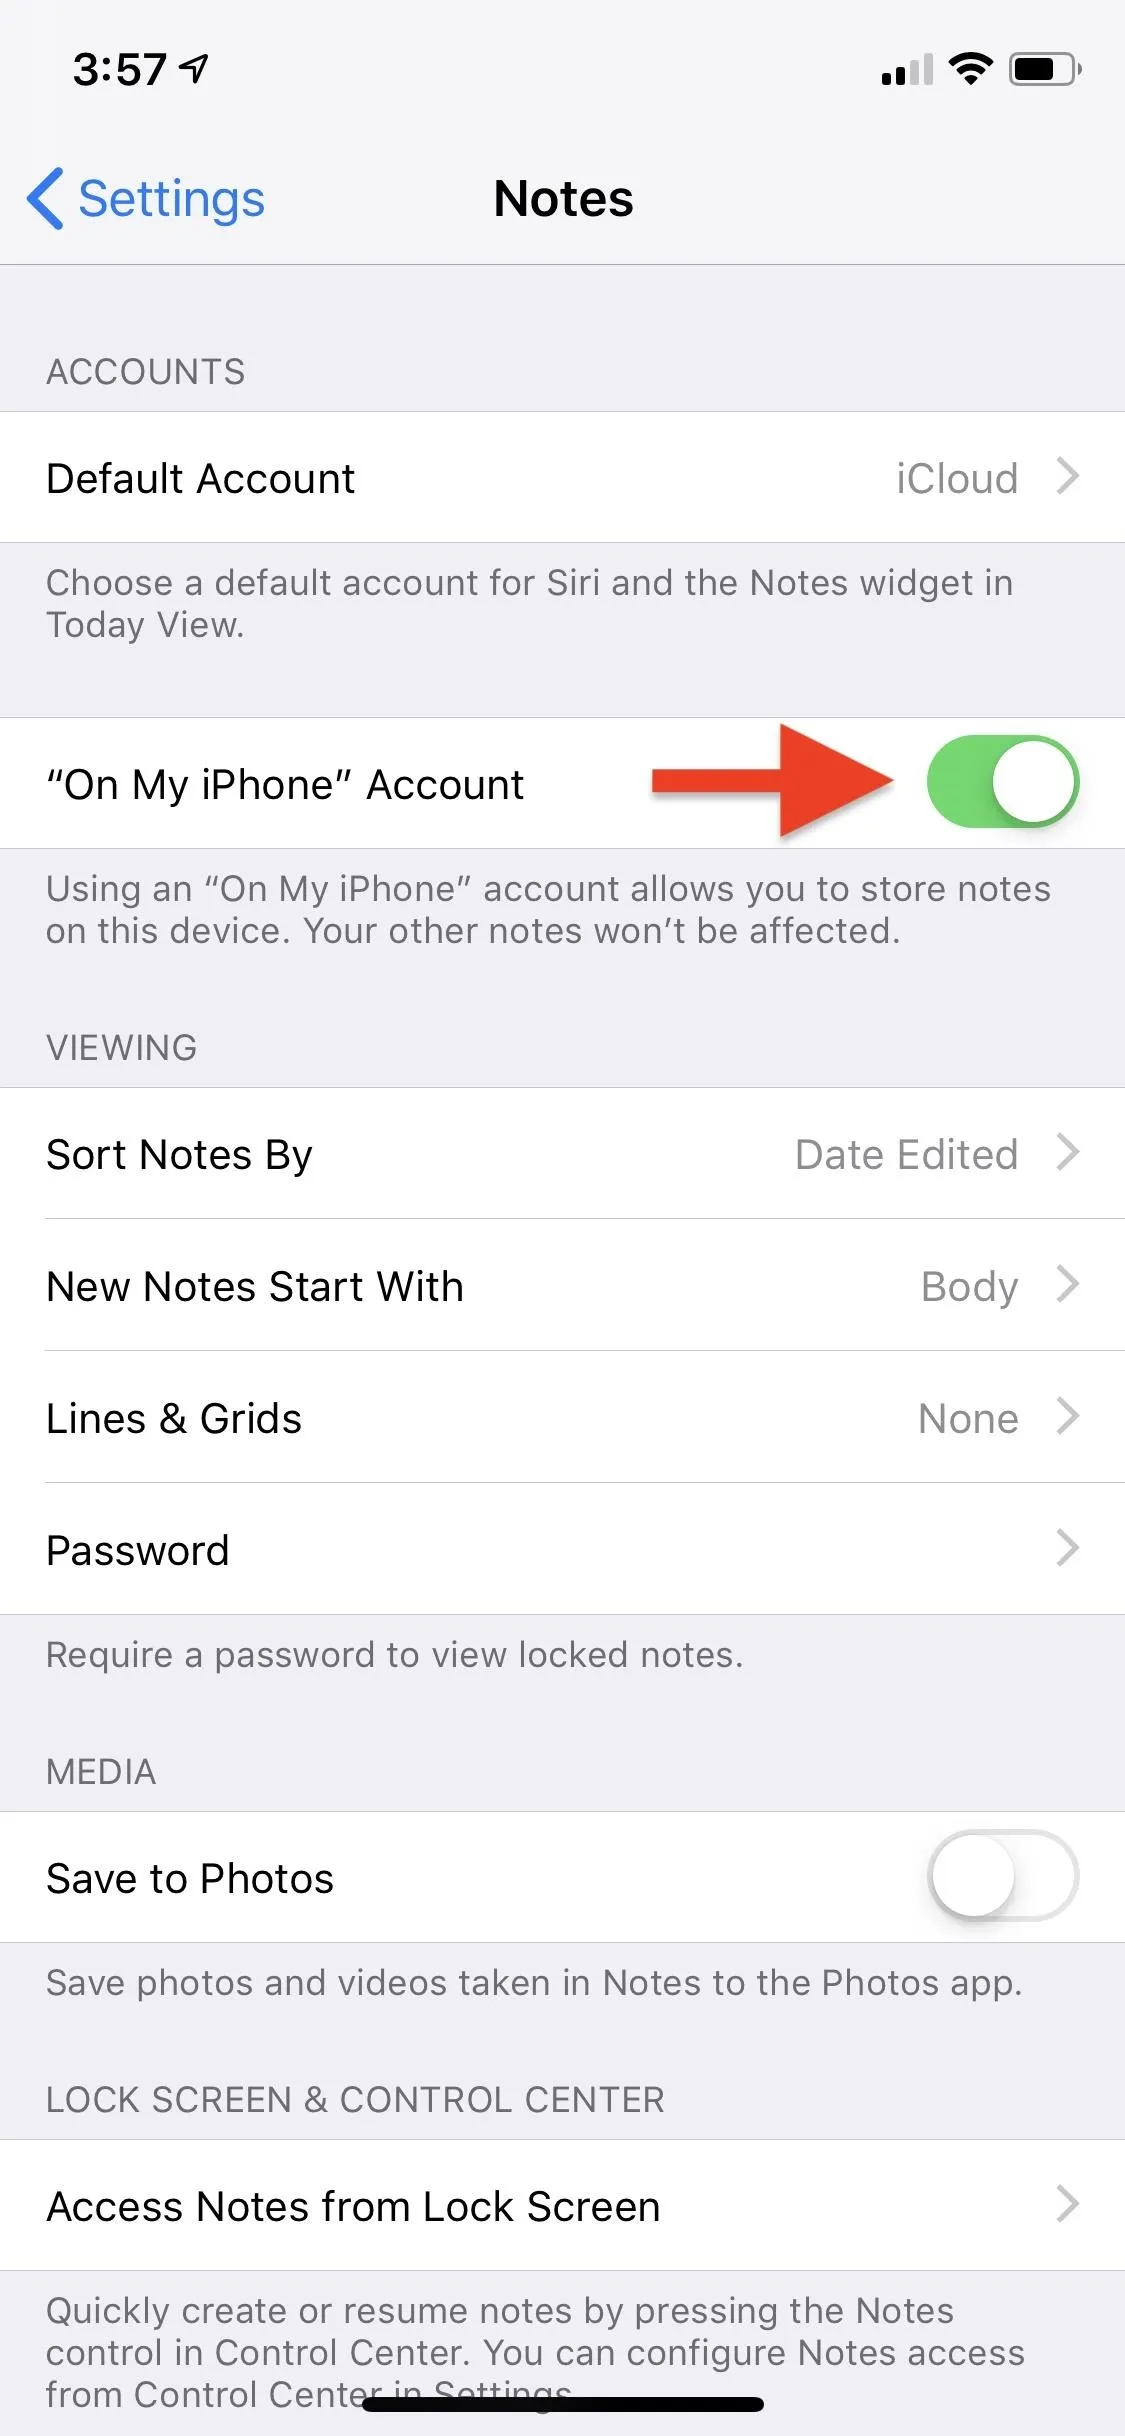
Open up the Settings app, scroll down and tap on "Notes," then toggle on the "'On My iPhone' Account" setting. When setting up your iPhone for the first time, if you did not log into or use iCloud, "On My iPhone" is already toggled on for Notes (as that would be the only folder available in the app).
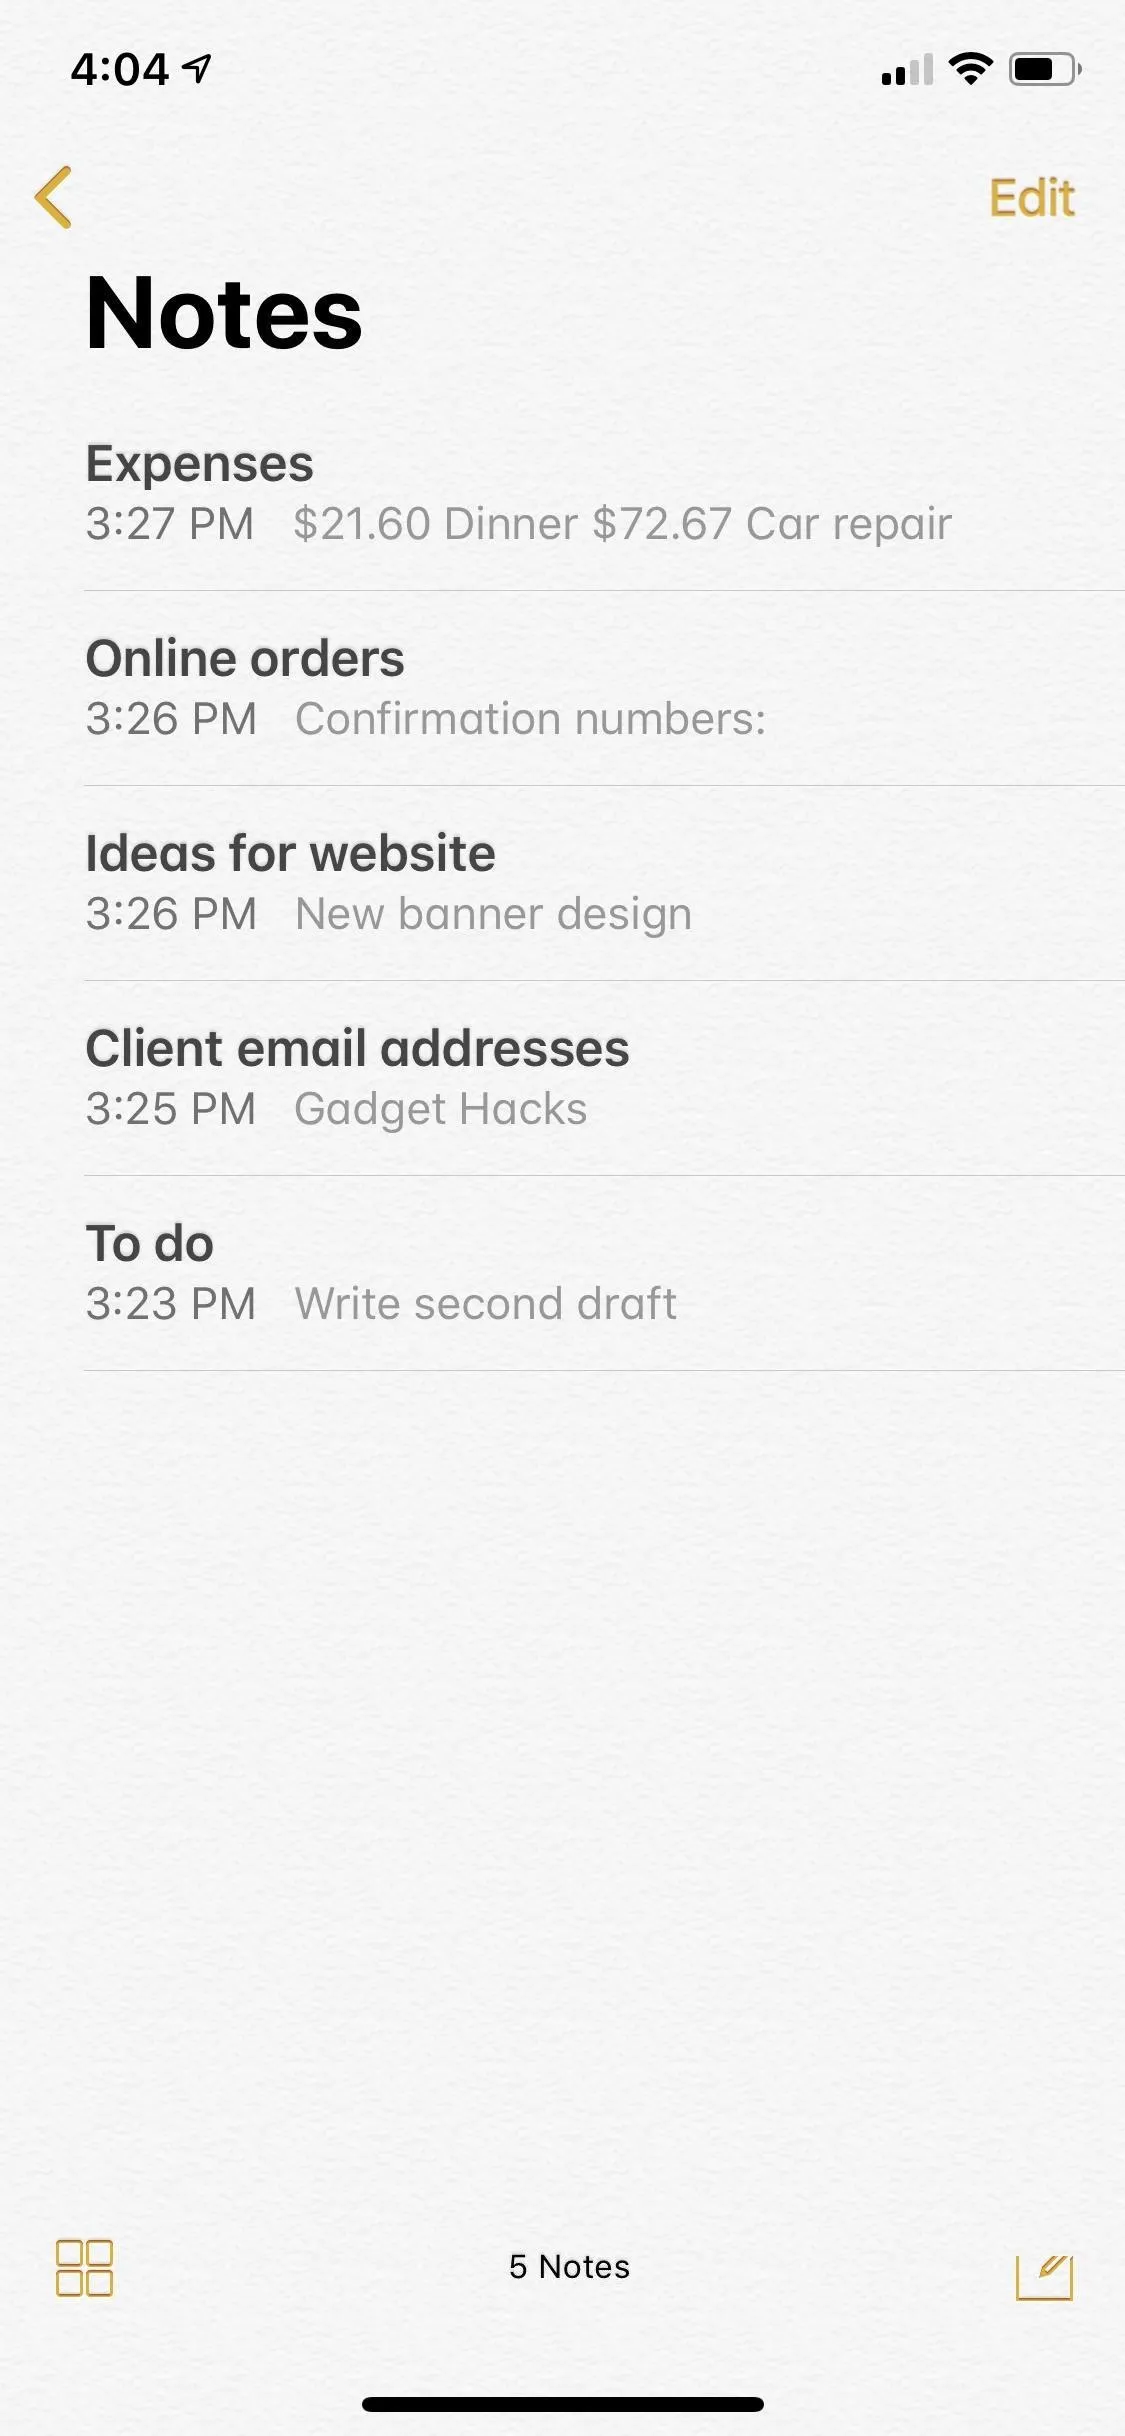
Now, when you open Notes to the Folders screen (you may need to tap the back button if you're in a folder already), you should see an On My iPhone section with a "Notes" folder.
By default, Apple prioritizes the iCloud section at the top when logged into iCloud, but On My iPhone should be the next section, before any third-party sections for Gmail, Yahoo, or the like. You may have to scroll down to find it depending on your display view, text size, and the number of folders and subfolders in your iCloud section.
You can tap "New Folder" at the bottom, select "On My iPhone" to create a new local folder, then tap that folder's name once created, or you can just tap the default "Notes" folder under On My iPhone to begin generating local, non-synced notes right away. If you have more than one folder in a section, a new folder will automatically be created to contain all your notes, "All on My iPhone" folder in this case.

If you have a note in your iCloud section that you want to be stored locally on your iPhone, you can swipe left on it from its folder screen, tap the folder icon, then select the folder under On My iPhone. Alternatively, you can use 3D Touch to peek into it, swipe up while peeking, then tap "Move" to select a new folder.
Lock Notes with a Password
Since iOS 9.3, Notes allows for password protection for individual notes, with biometric support. Using "Lock Note" is an excellent solution if you need to protect a few notes that can be synced to your other devices but otherwise want to have transparency with the rest. When a locked note appears on your iPad or Mac, it cannot be opened nor deleted without the assigned password or biometric.


Bear in mind, however, that biometrics such as Touch ID or Face ID defeat the purpose of "locking" notes if other users have their biometrics saved on those other devices — which means those folks have permission to unlock locked notes with their fingerprints or facial features instead of a password.
Multi-user biometrics may be a thing in a household as several family members could have multiple fingerprints or faces saved to expedite bypassing lock screens. You can toggle off biometrics and rely solely on passwords for accessing locked notes in these cases.
See our full guide on protecting notes on your iPhone for more information. There is also a trick to creating different passwords for different notes, meaning protected notes do not all have to rely on a single password if you want to make Notes even more secure. And if you consider locking notes in general, make sure to follow basic password-creating principles.
Don't Sync Your Notes with iCloud
All notes between your iPhone, iPad, and Mac can be kept separate by turning off Notes syncing in iCloud. You can turn off iCloud syncing for your iPhone only, turn off iCloud syncing for your iPad and Mac only, or turn off iCloud syncing for all devices. However, we only recommend the first option, since anyone with access to your other devices can turn iCloud syncing back on without any credentials.
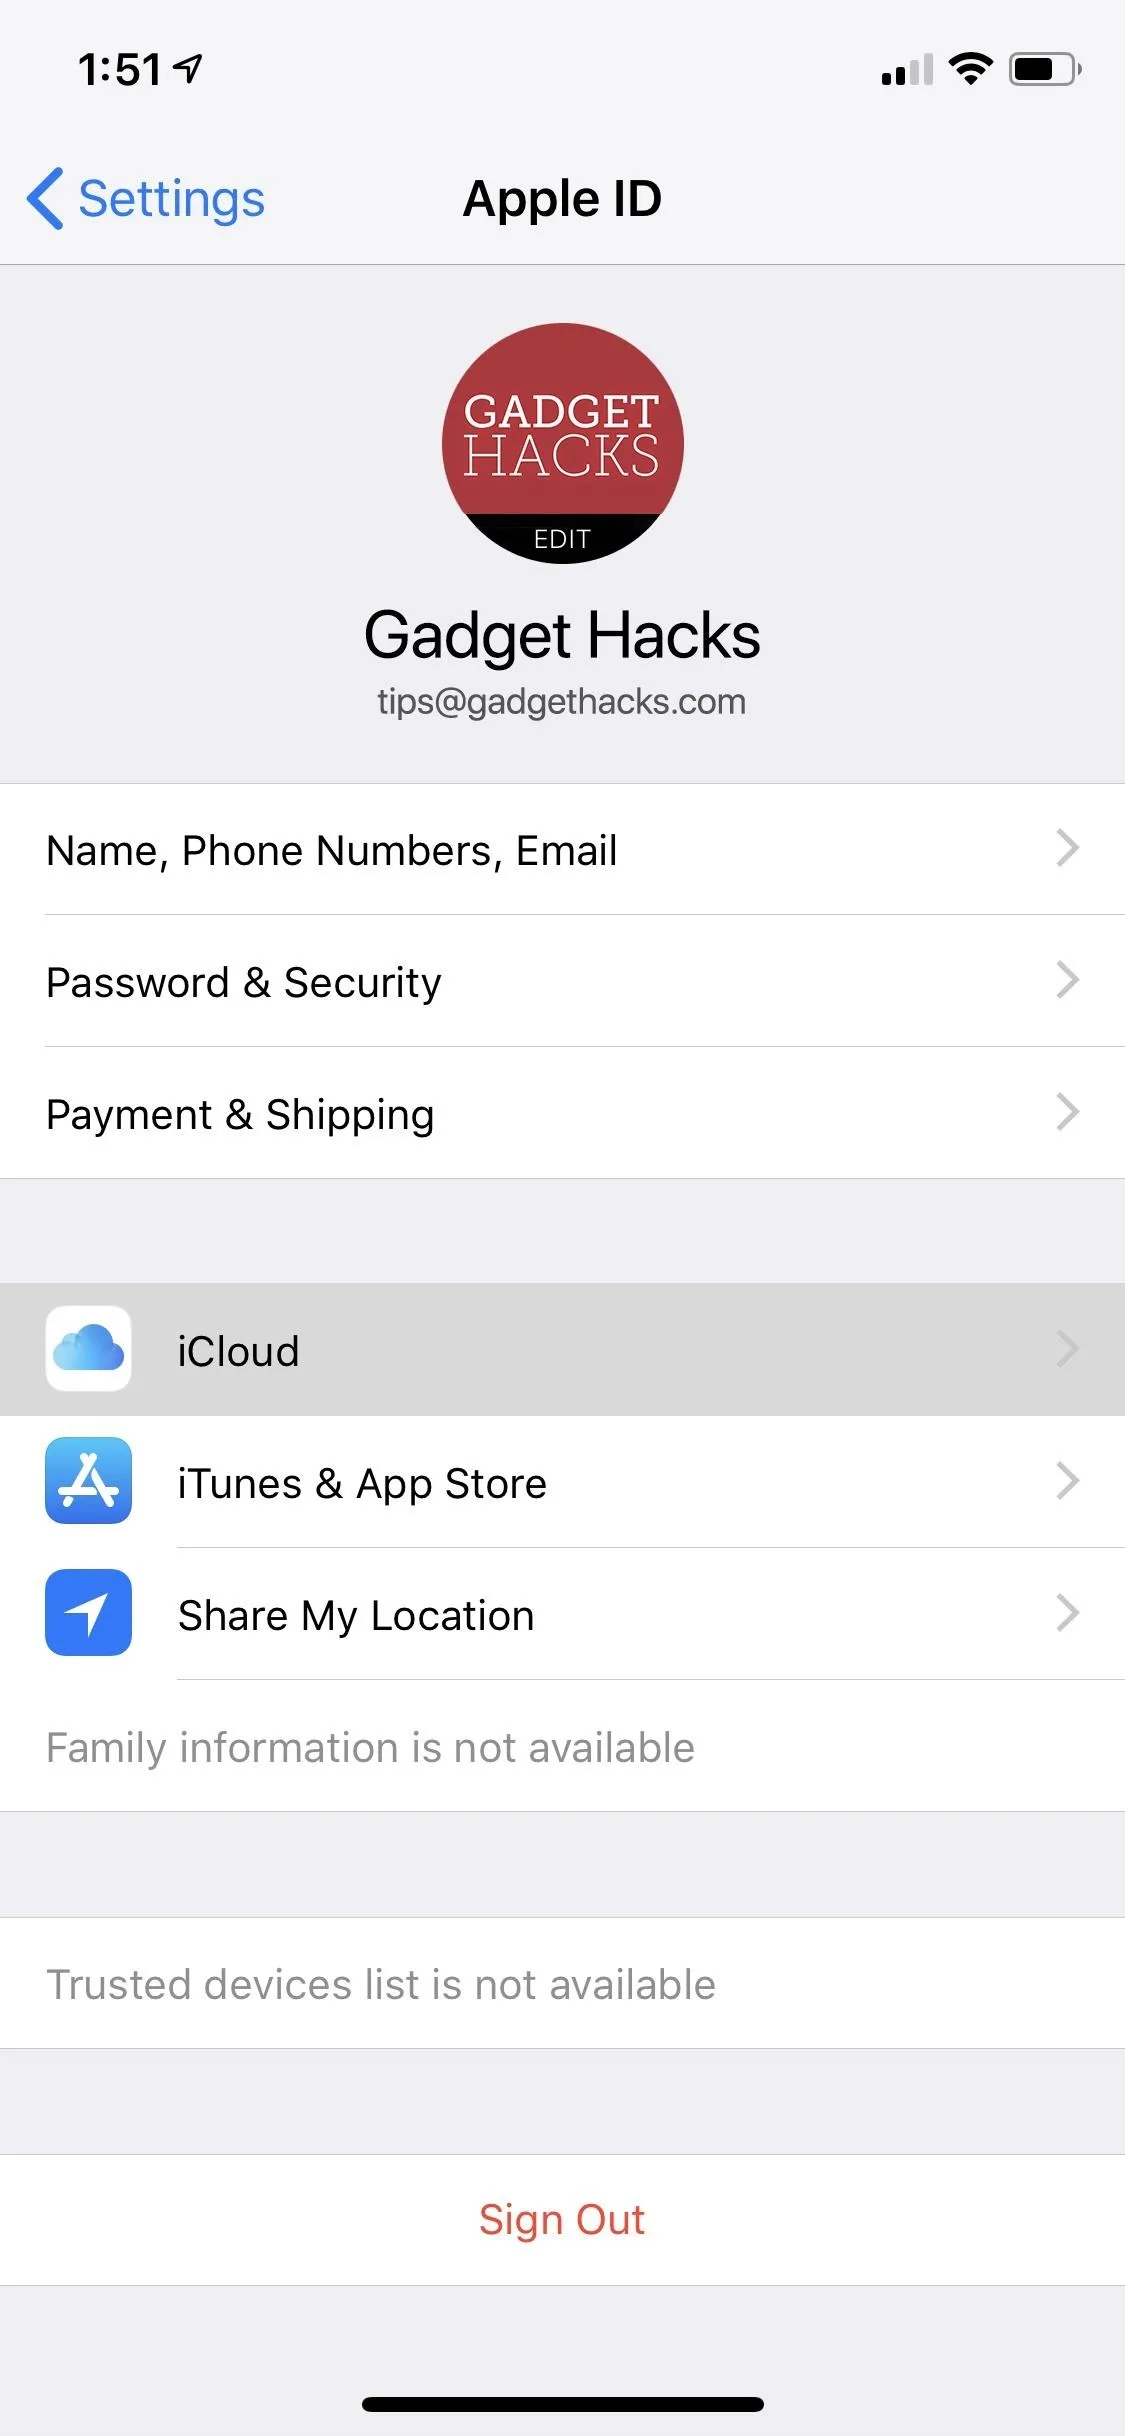
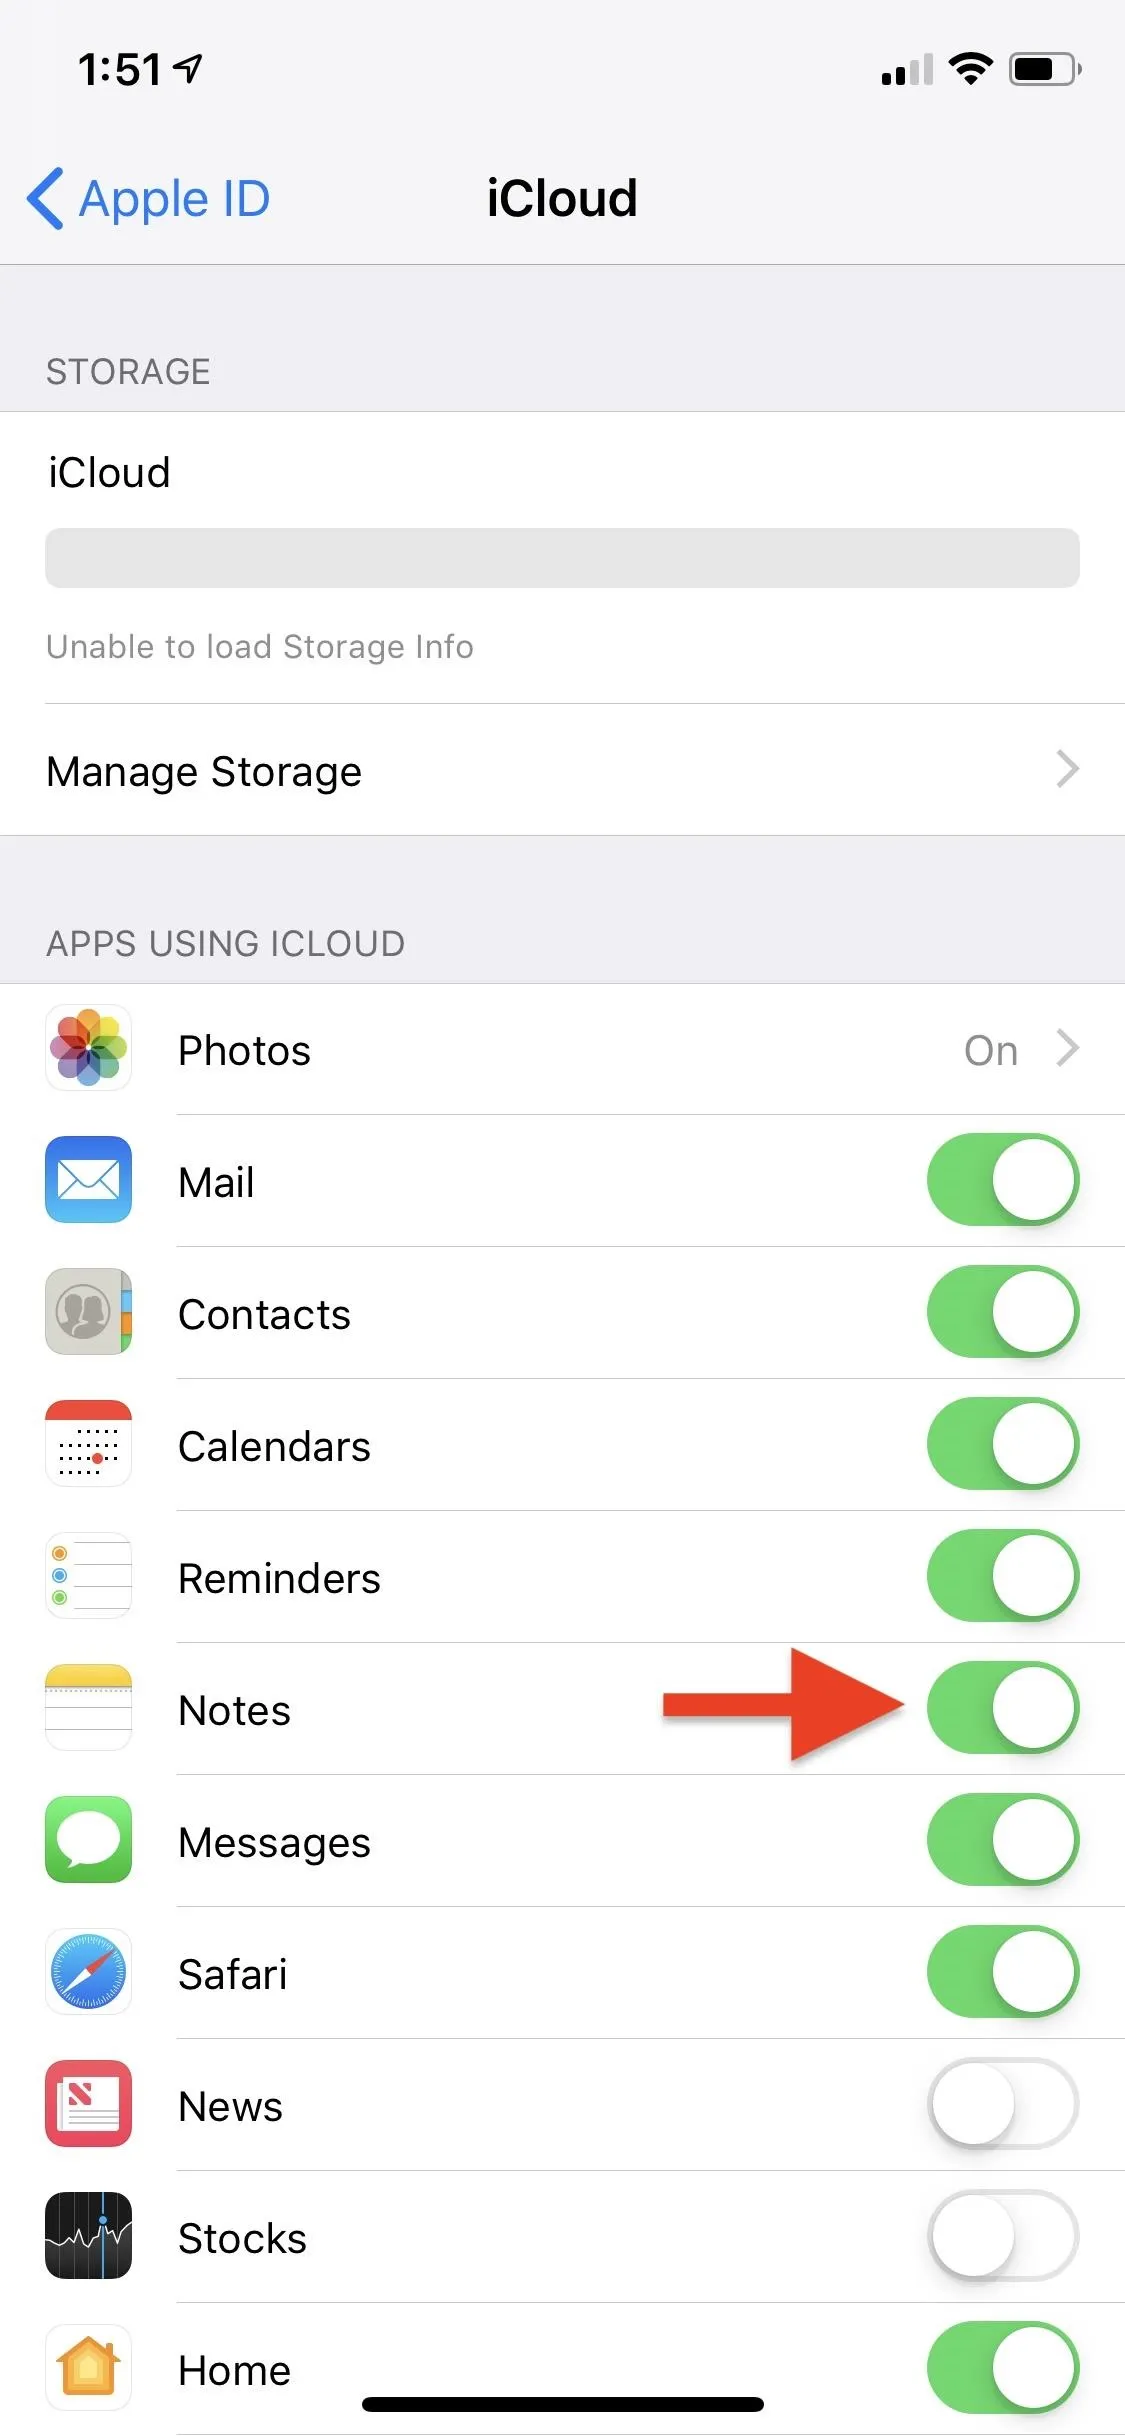
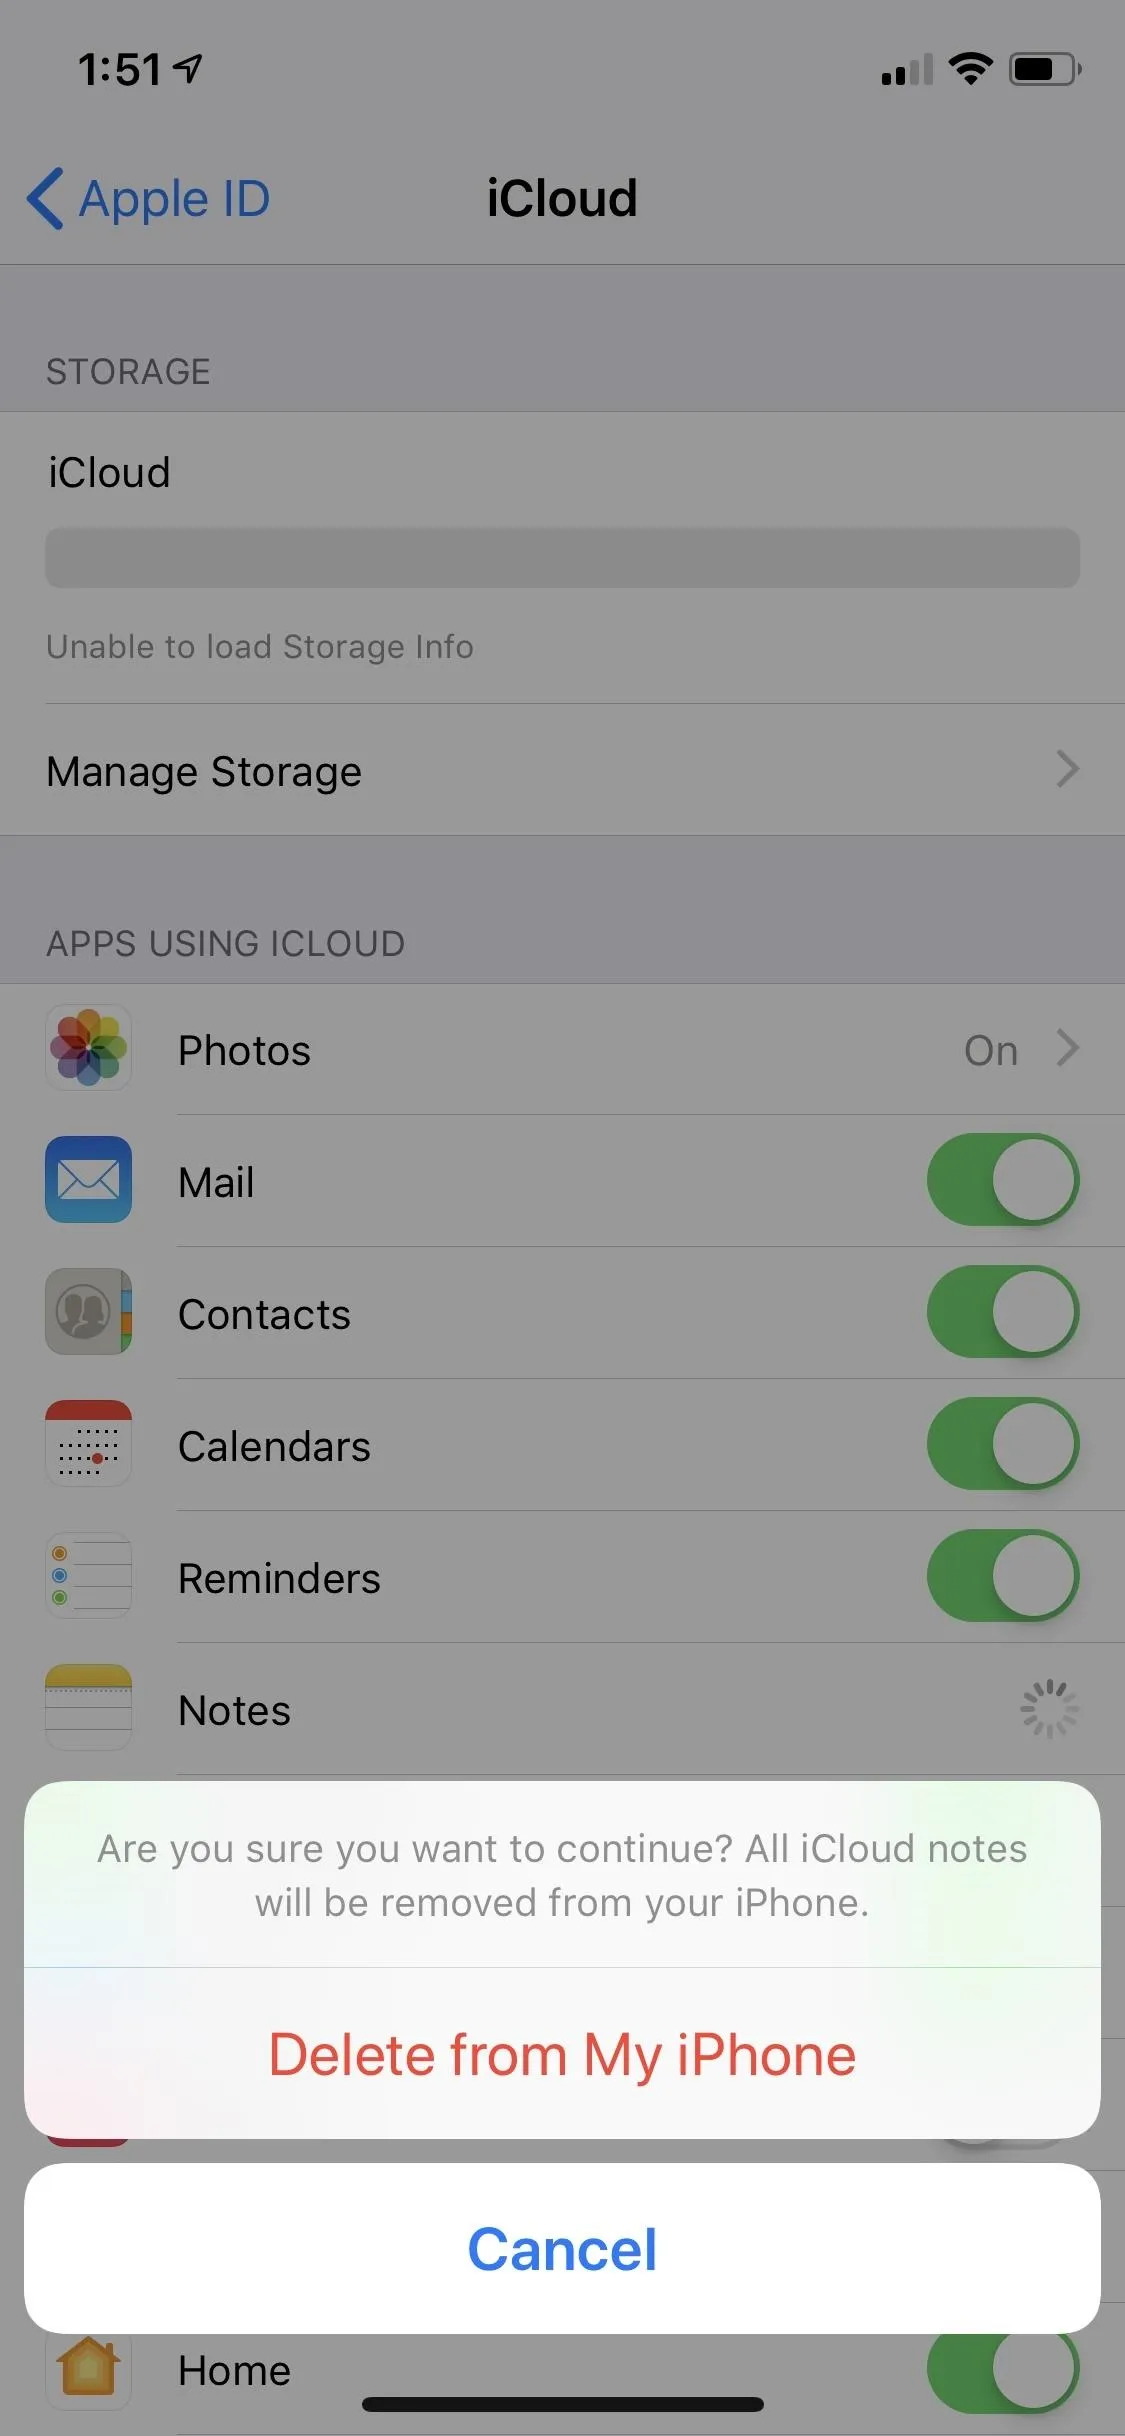
To turn it off on your iPhone, open Settings, tap your name up top, select "iCloud," then toggle off "Notes." On the prompt, tap "Delete from My iPhone" to erase all the iCloud notes from your device. By doing so, you're only erasing them from your iPhone, so don't worry — all your iCloud notes will still be stored in iCloud. However, you may want to move sensitive iCloud notes to your iPhone's local storage first (see Option 1 above).
In a scenario where all devices must be logged into iCloud, you can have your iPhone logged into a different iCloud account than the iPad and Mac, like one designated strictly for business use. But this becomes complicated if other apps and data synced via iCloud (i.e., Photos, Mail, Contacts, Calendar, Safari) need to be made available across all devices (as in sharing devices with family members). It is likely best to keep things simple and stick to a single iCloud account for your own devices and turn off Notes syncing for your iPhone to maintain privacy.
Finally, although locally stored notes on your iPhone are not synced across devices, they are still backed up with iCloud when "iCloud Backup" is toggled on in your iCloud settings. If you use iTunes to create iPhone backups instead, your notes will be stored in the backup on your computer. Because of the way these backups are designed, Notes data within a backup is not easily accessible — or even readable — unless the information is restored onto an iPhone, and that would require your iCloud credentials.
- Follow Gadget Hacks on Pinterest, Reddit, Twitter, YouTube, and Flipboard
- Sign up for Gadget Hacks' daily newsletter or weekly Android and iOS updates
- Follow WonderHowTo on Facebook, Twitter, Pinterest, and Flipboard
Cover photo by Justin Meyers/Gadget Hacks; Screenshots by David Chien/Gadget Hacks


Comments
Be the first, drop a comment!