


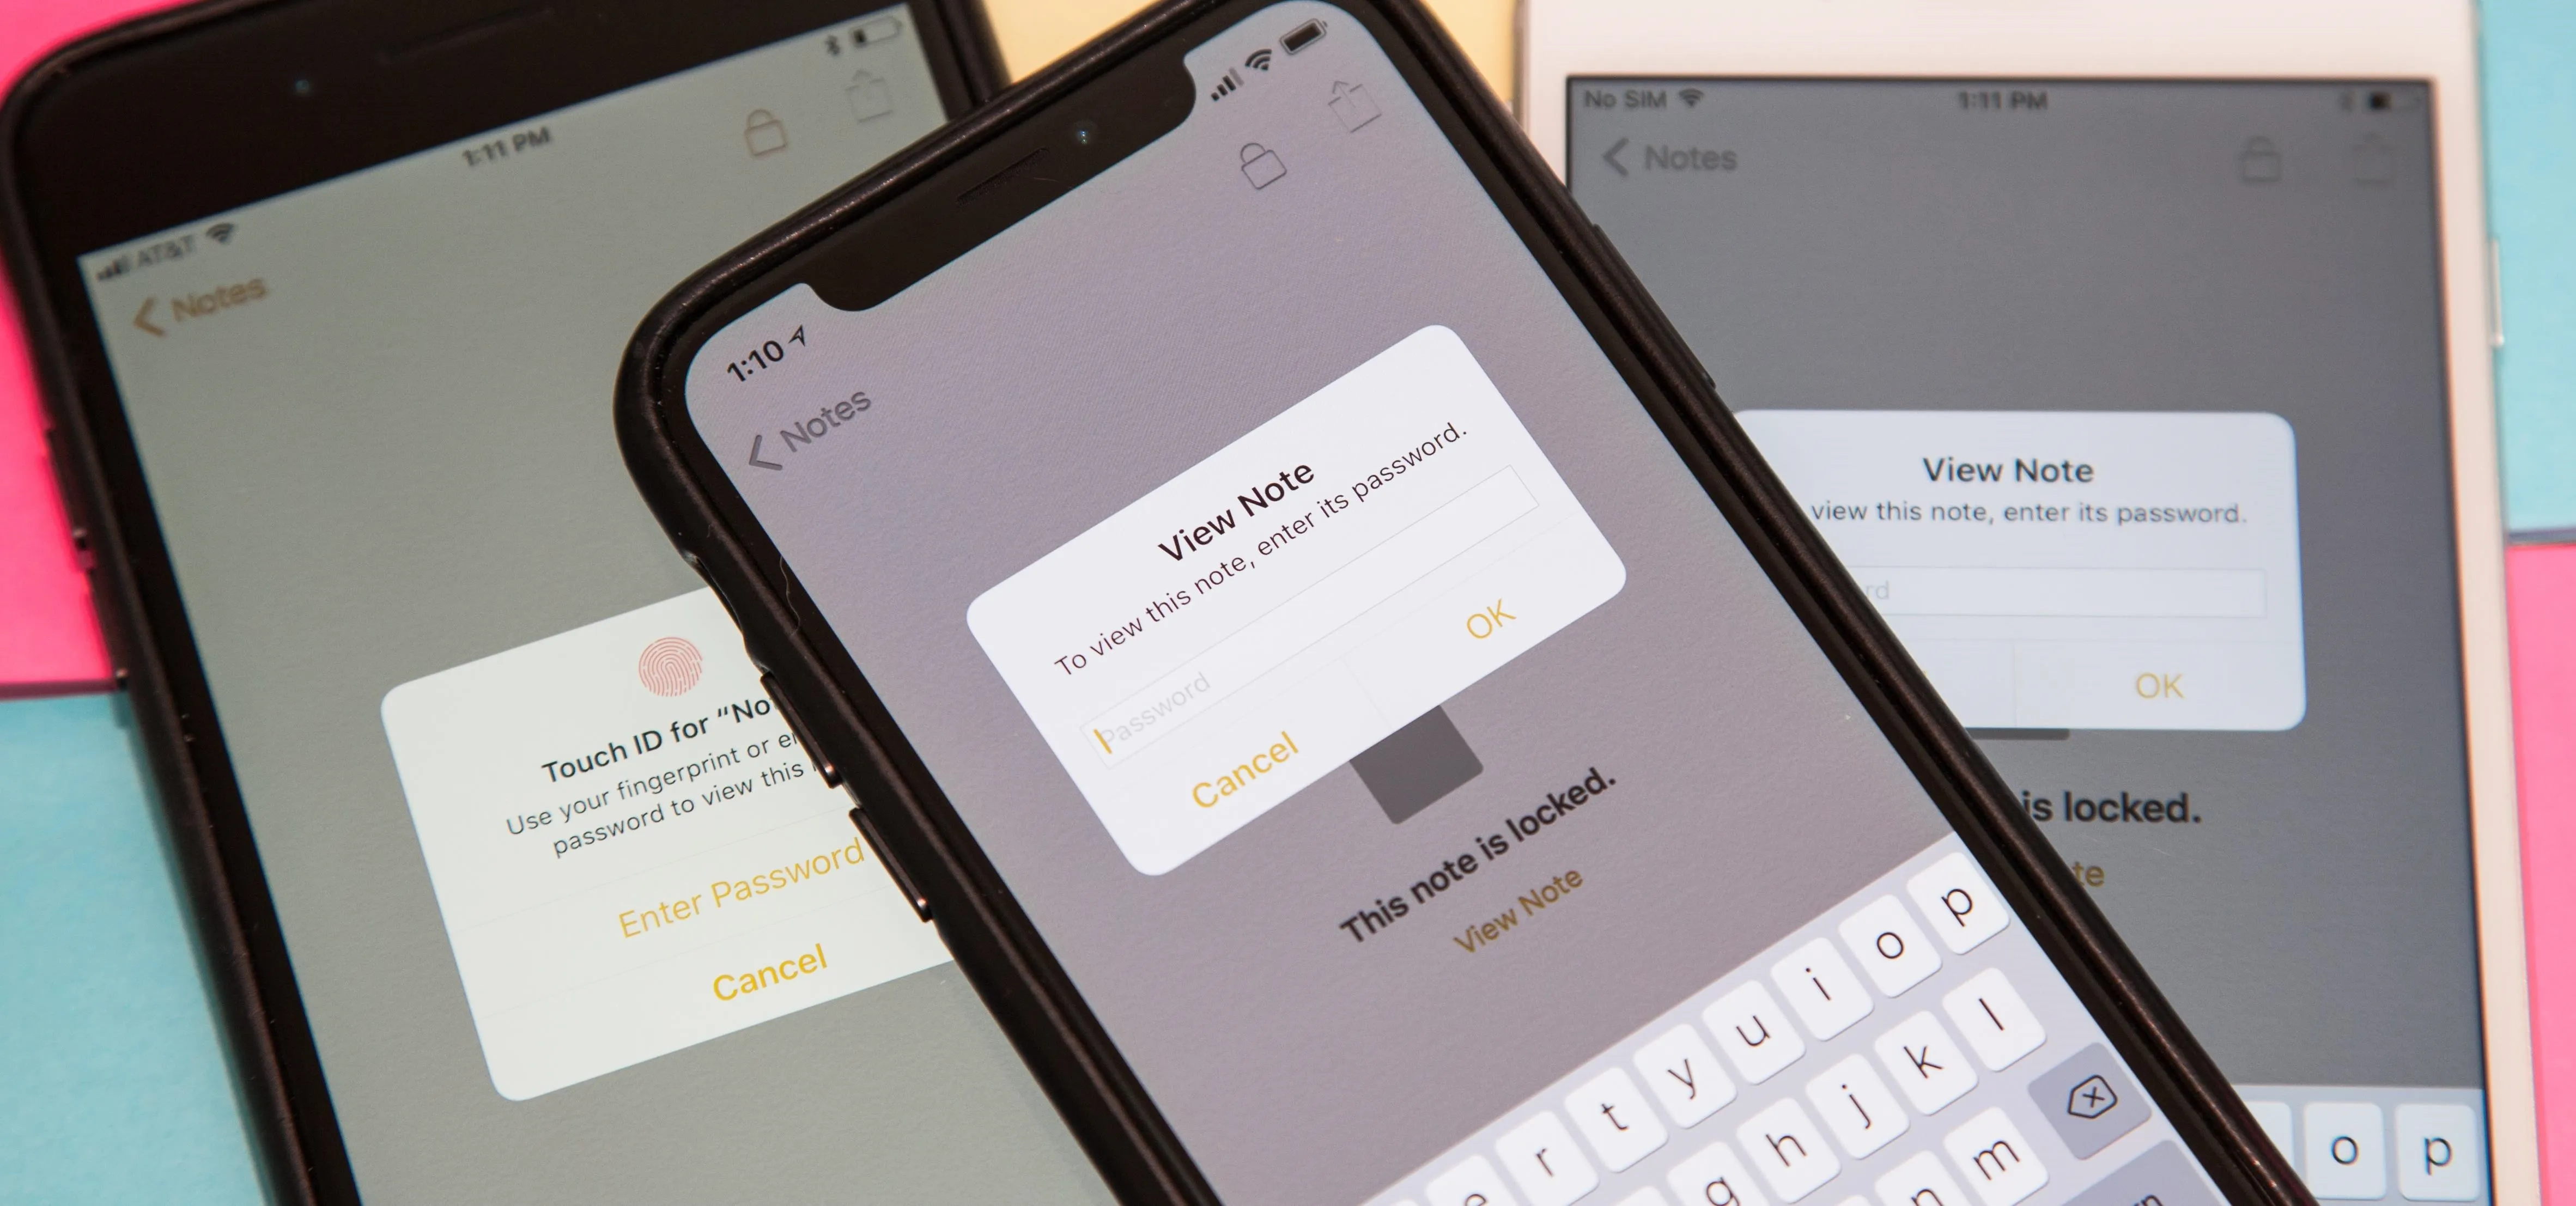
It's no secret that you can protect notes on your iPhone with a password, but one thing that most people don't know is that you can actually set unique passwords for each note instead of a blanket password for all of them. It's not obvious at all in the Notes app, but it's easy to do once you've got the hang of it.
Why would you want to do this? Well, if you have highly sensitive notes, using a different password for each one only makes sense, right? You wouldn't use the same password for Facebook that you use for Gmail, so the same rule applies here. If the password for one note was hacked, the attacker could open any other notes that use the same password, but using unique passwords prevents this from happening.
If you use Face ID or Touch ID, this won't change a whole lot when using those biometric methods in the Notes app. You already can't add a lock to a note using Touch ID, but you could with Face ID. However, after using at least two different passwords in the Notes app, you'll lose the ability to use Face ID to add locks. You'll still be able to unlock notes with Face ID or Touch ID, though.
Set a Password for Notes (If Not Already Done)
If you've never tried password-protecting notes before in the Notes app, then you'll want to create your first password for your first note now. For those of you who have already set up a password for your notes, you can proceed to Step 3 below.
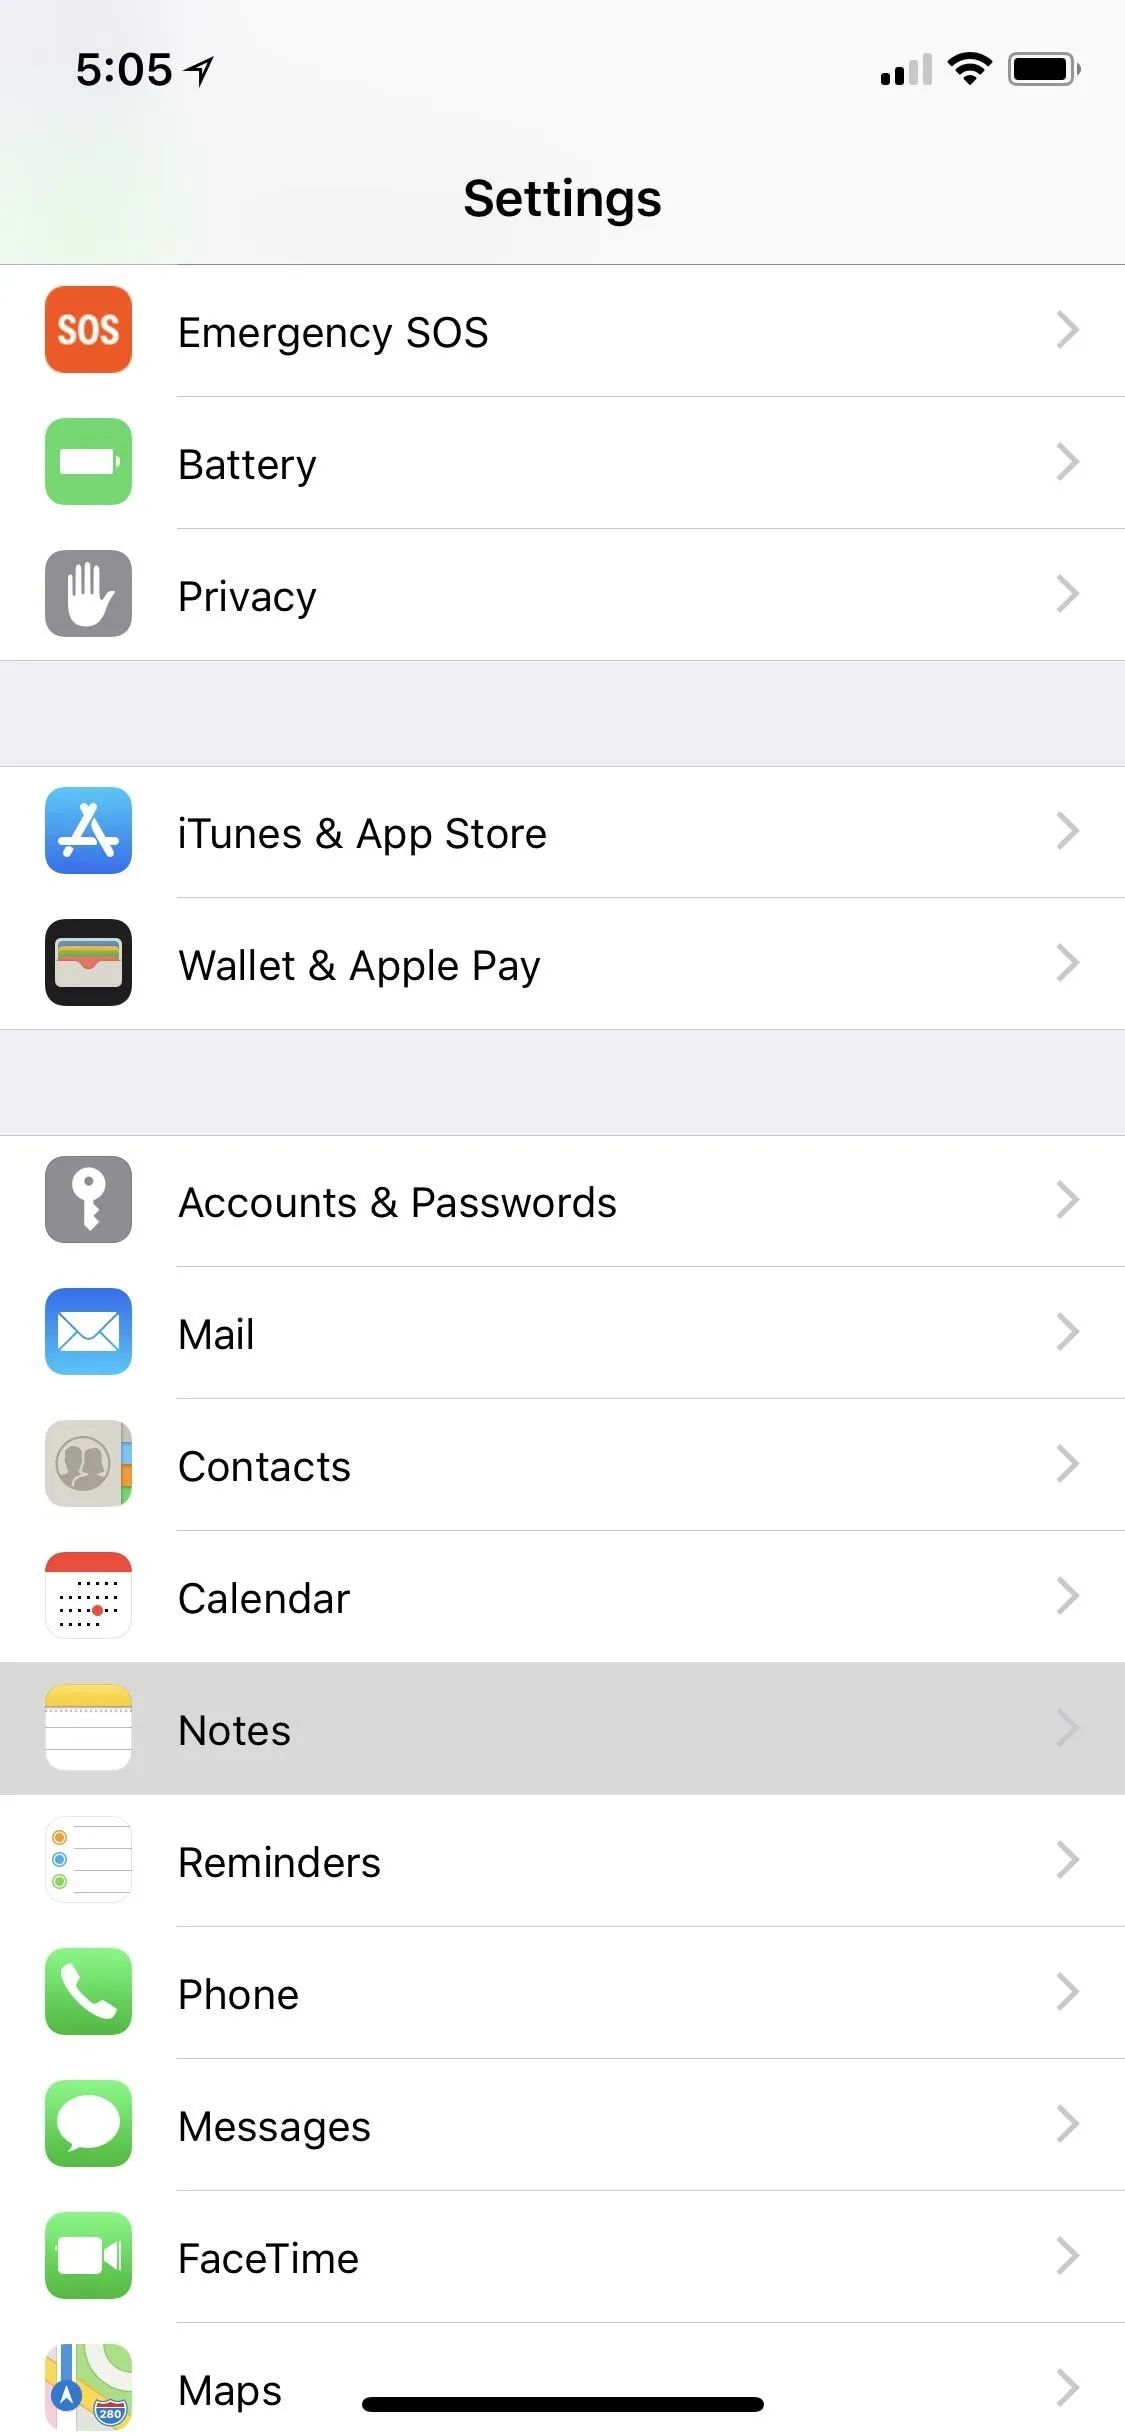
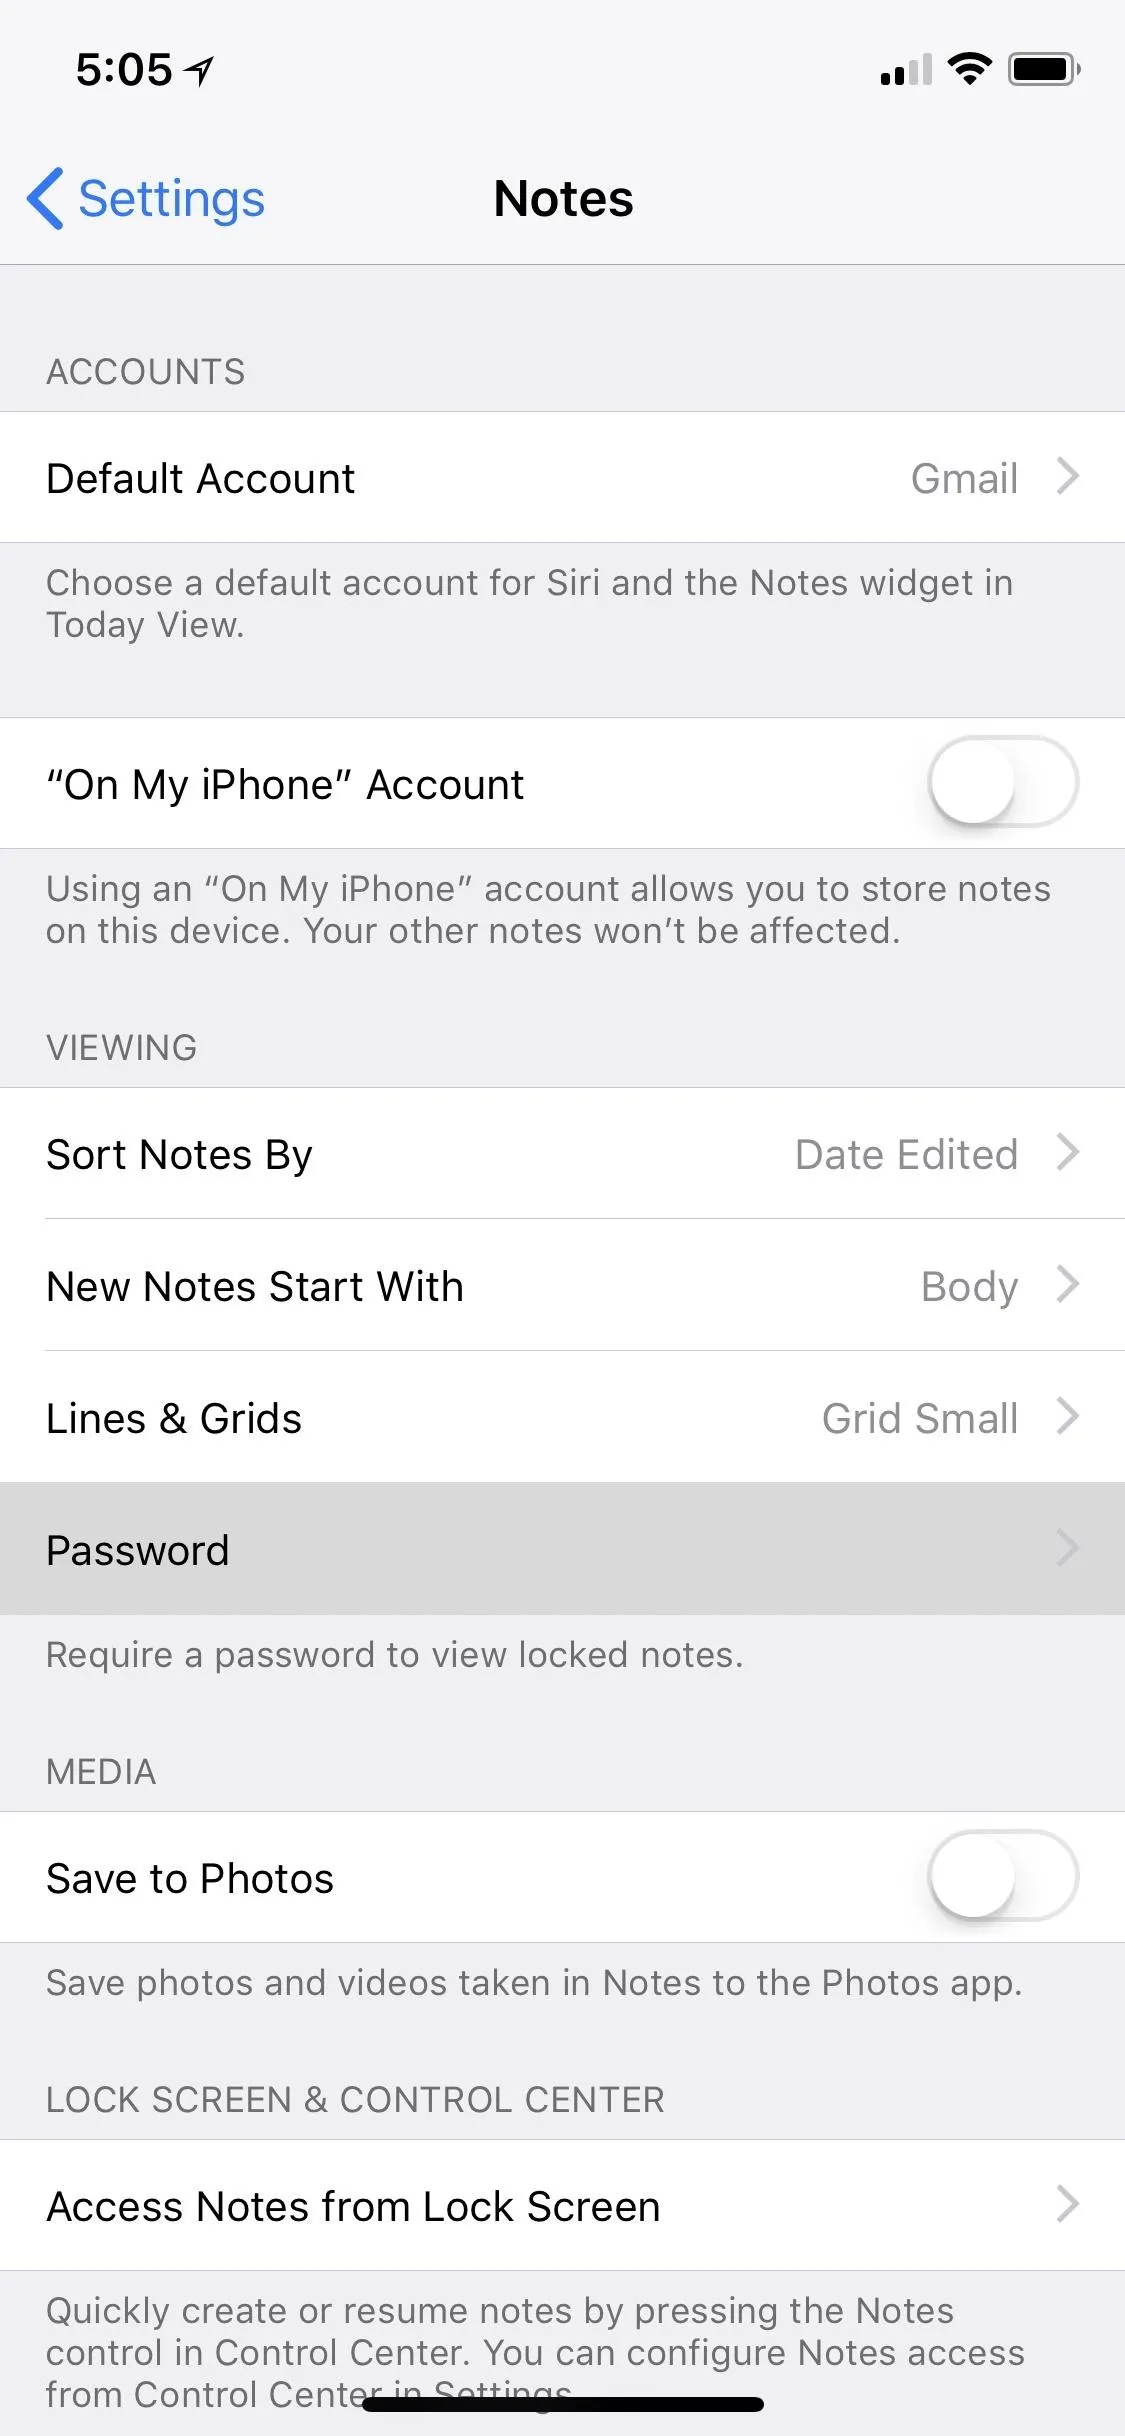
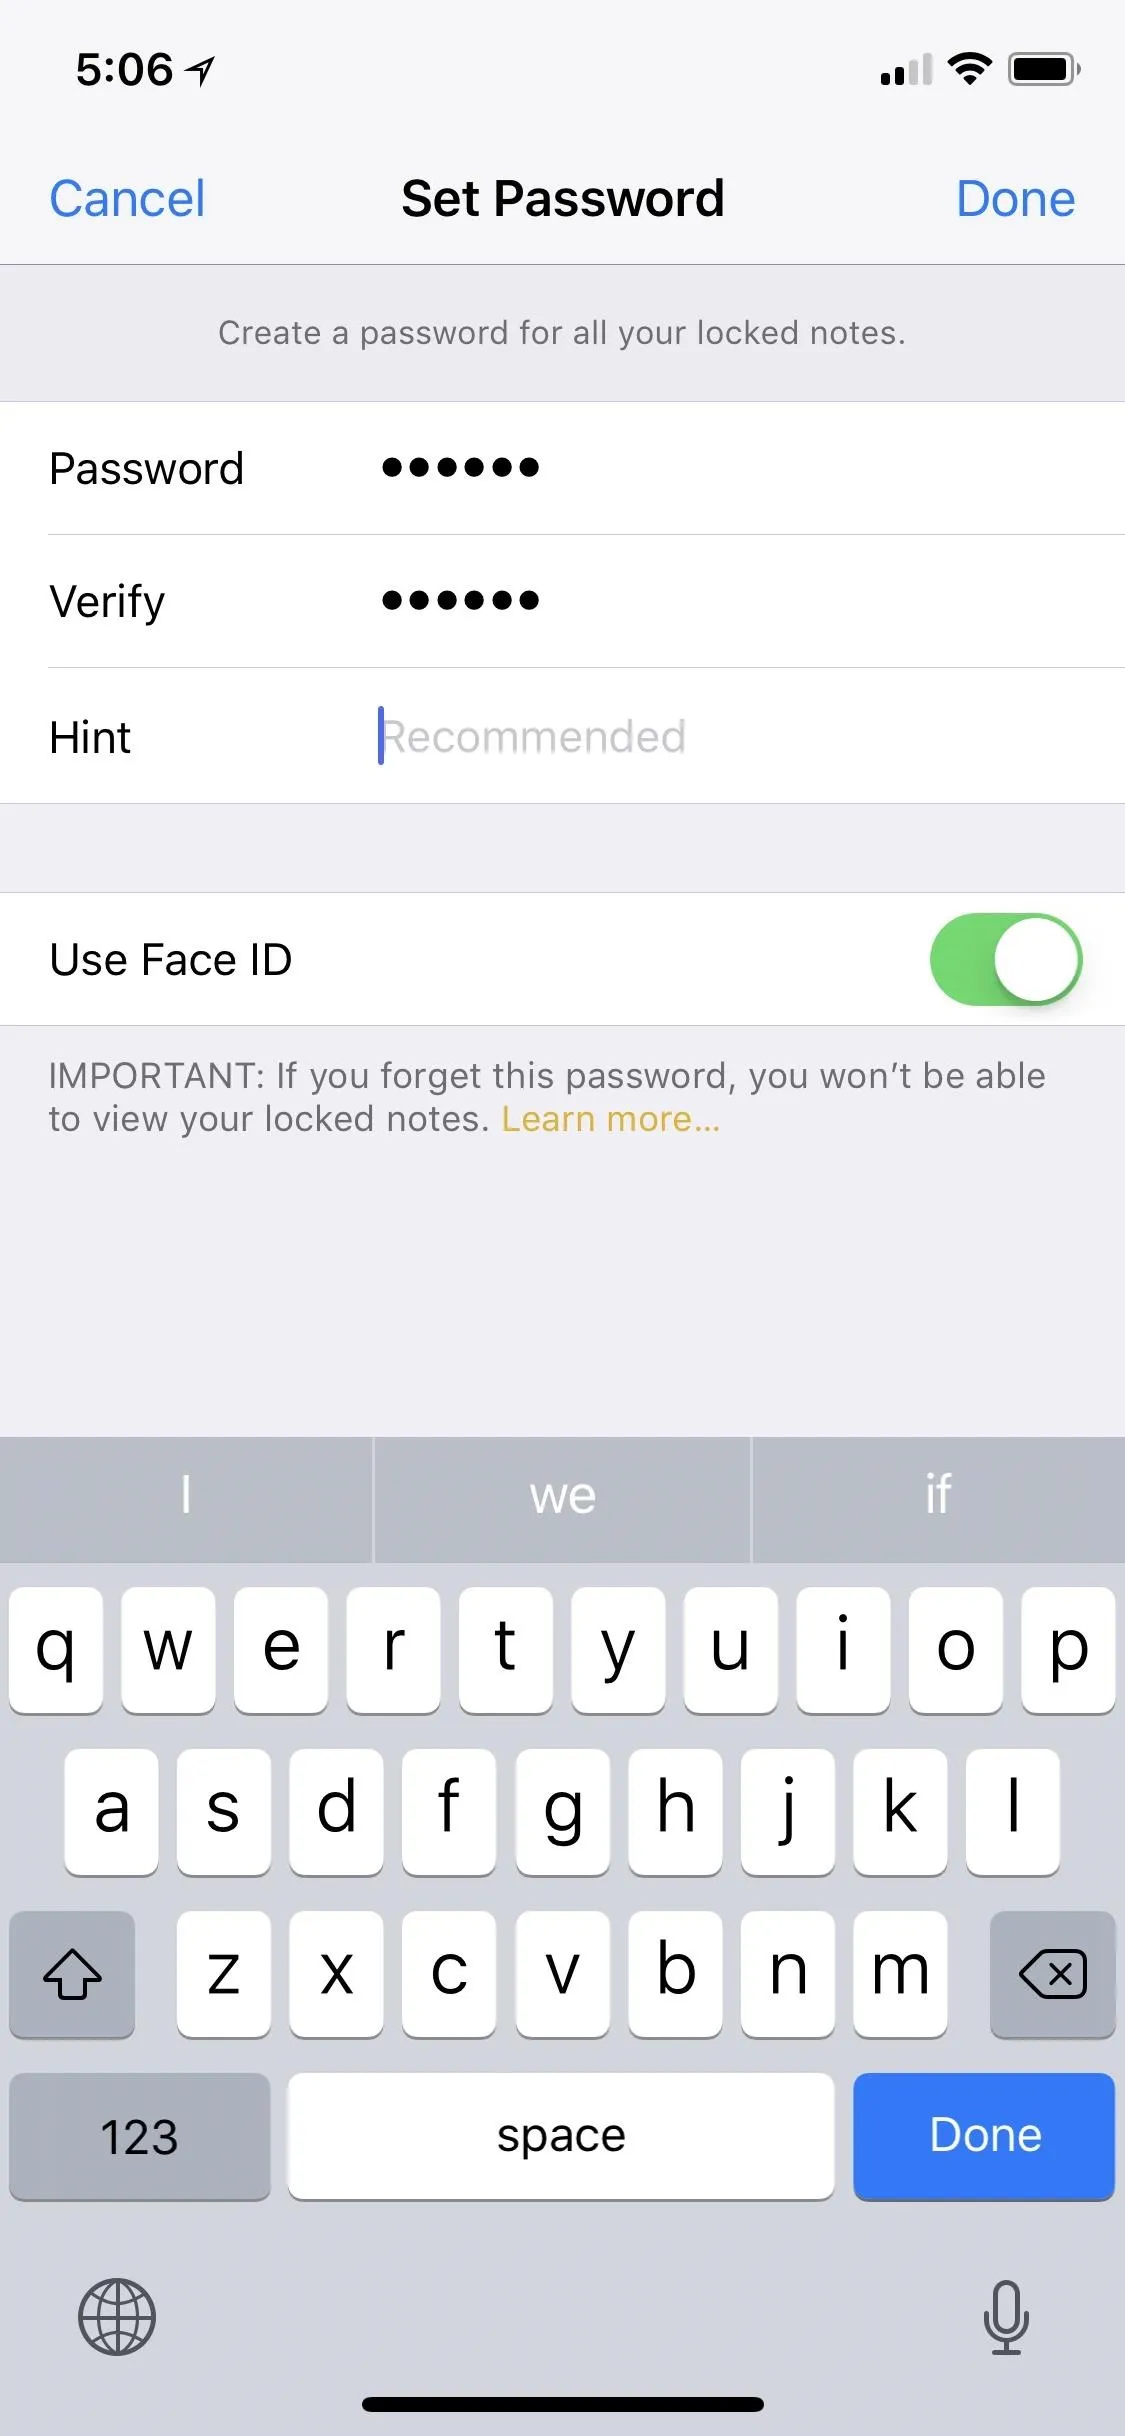
Open up the Settings app, then tap on "Notes." Next, tap on "Password" under the Viewing section. If you've never set a password before, the Set Password screen should pop up right away. Choose a strong password, verify it, add a hint (optional), and make sure "Use Face ID" or "Use Touch ID" is toggled on if you want fast access to locked notes later.
If you experience any issues setting up your first password, consult our full guide on locking notes for some troubleshooting tips.
Add a Lock to Your First Note (If Not Already Done)
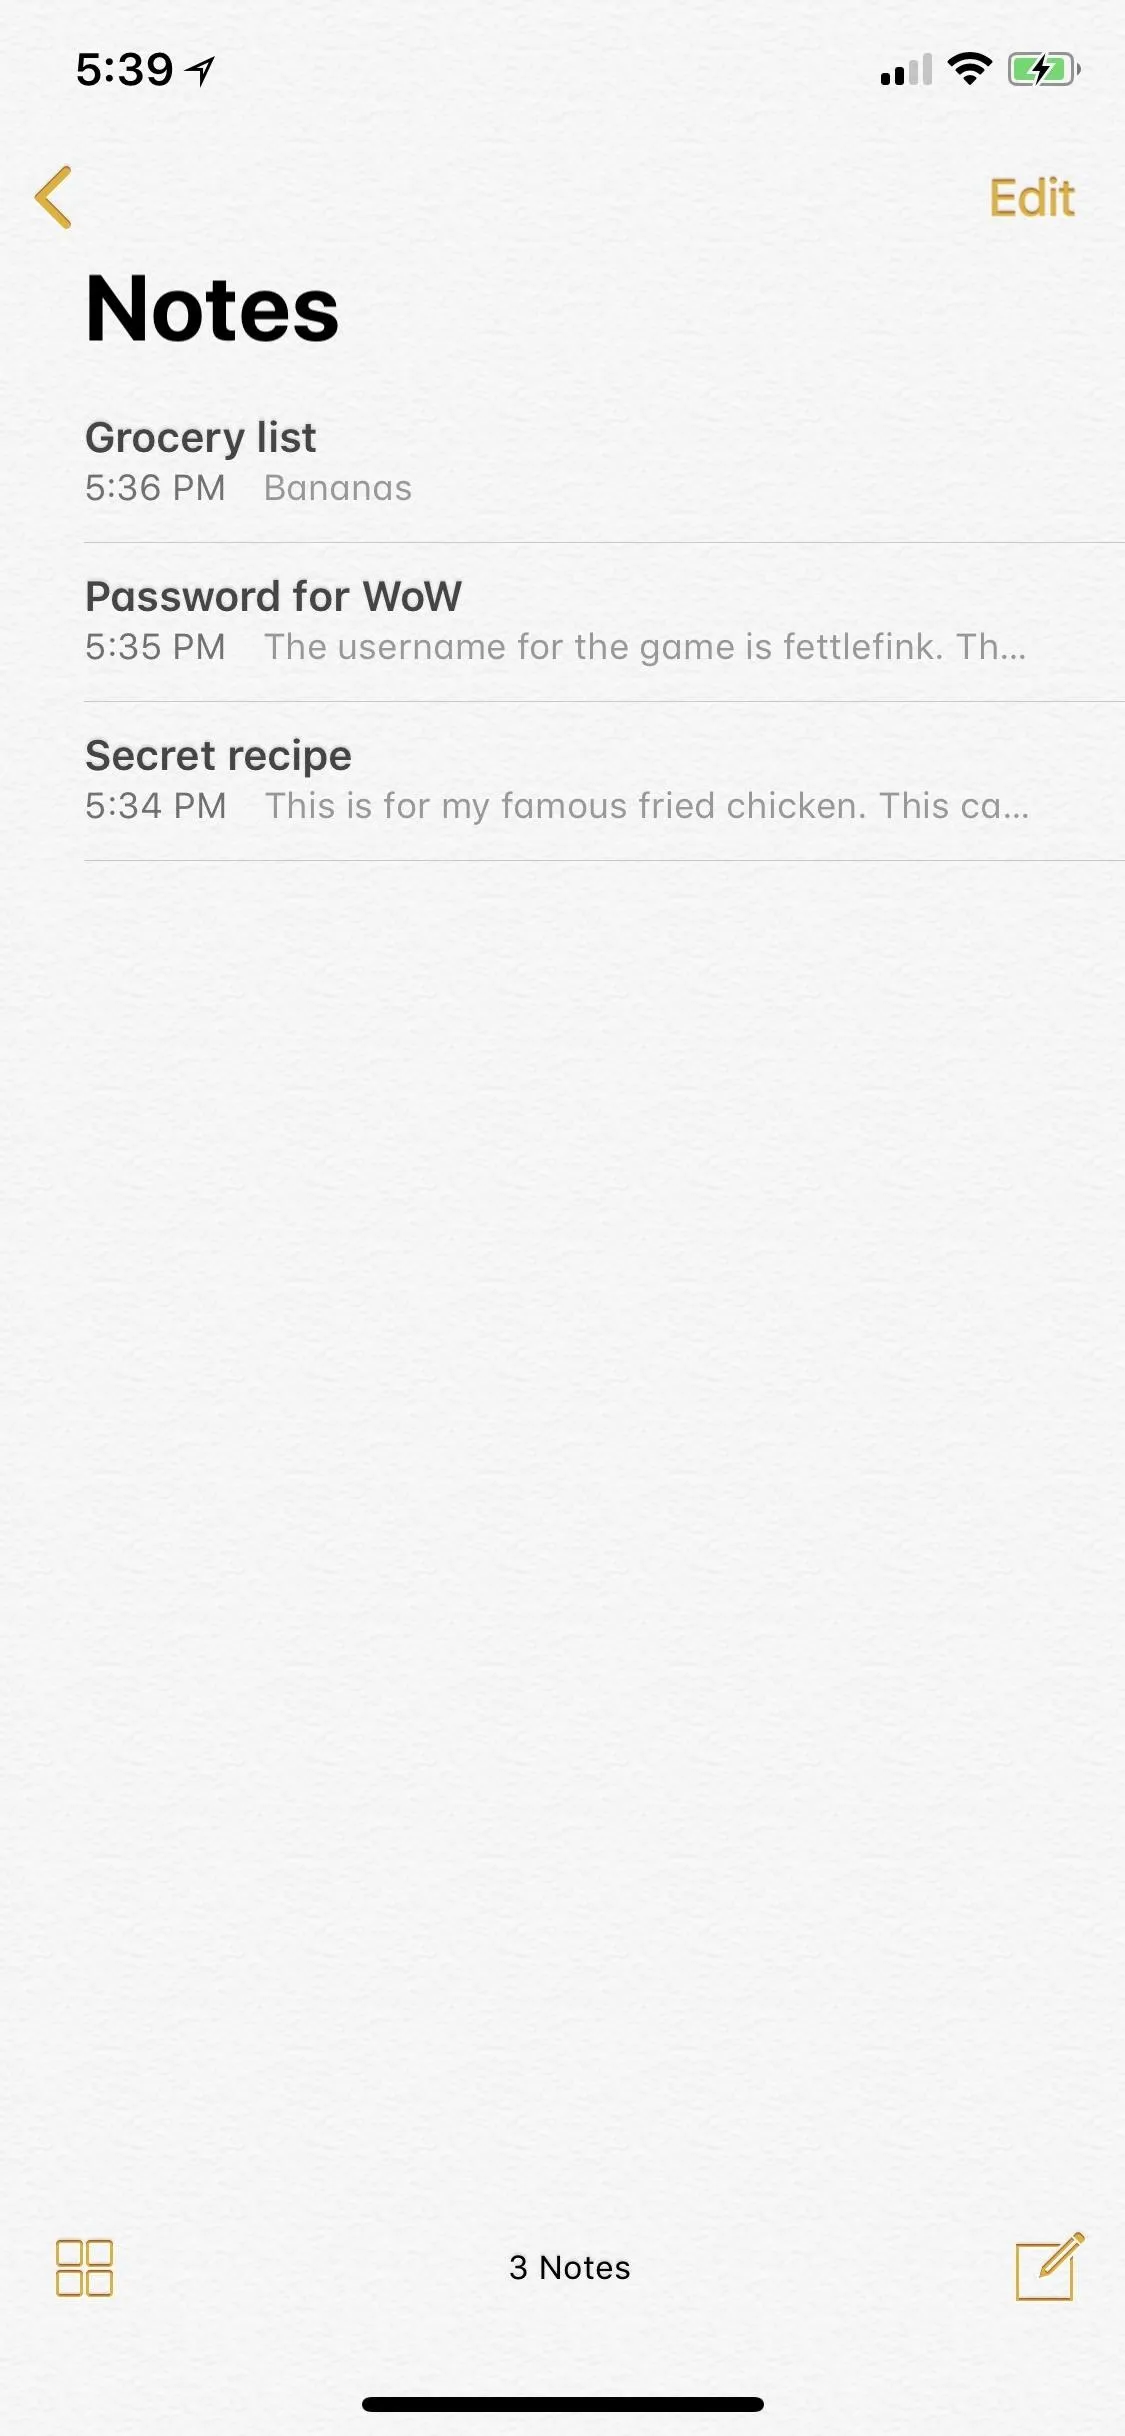
Adding a password to Notes doesn't add protection to all of your notes in the app, it just gives you the ability to add locks to individual notes of your choosing, but only in the iCloud or On My iPhone folders.
If you're running iOS 11 or higher, you can just swipe left on the note you want to add a lock to, then tap the lock icon from the list that appears.

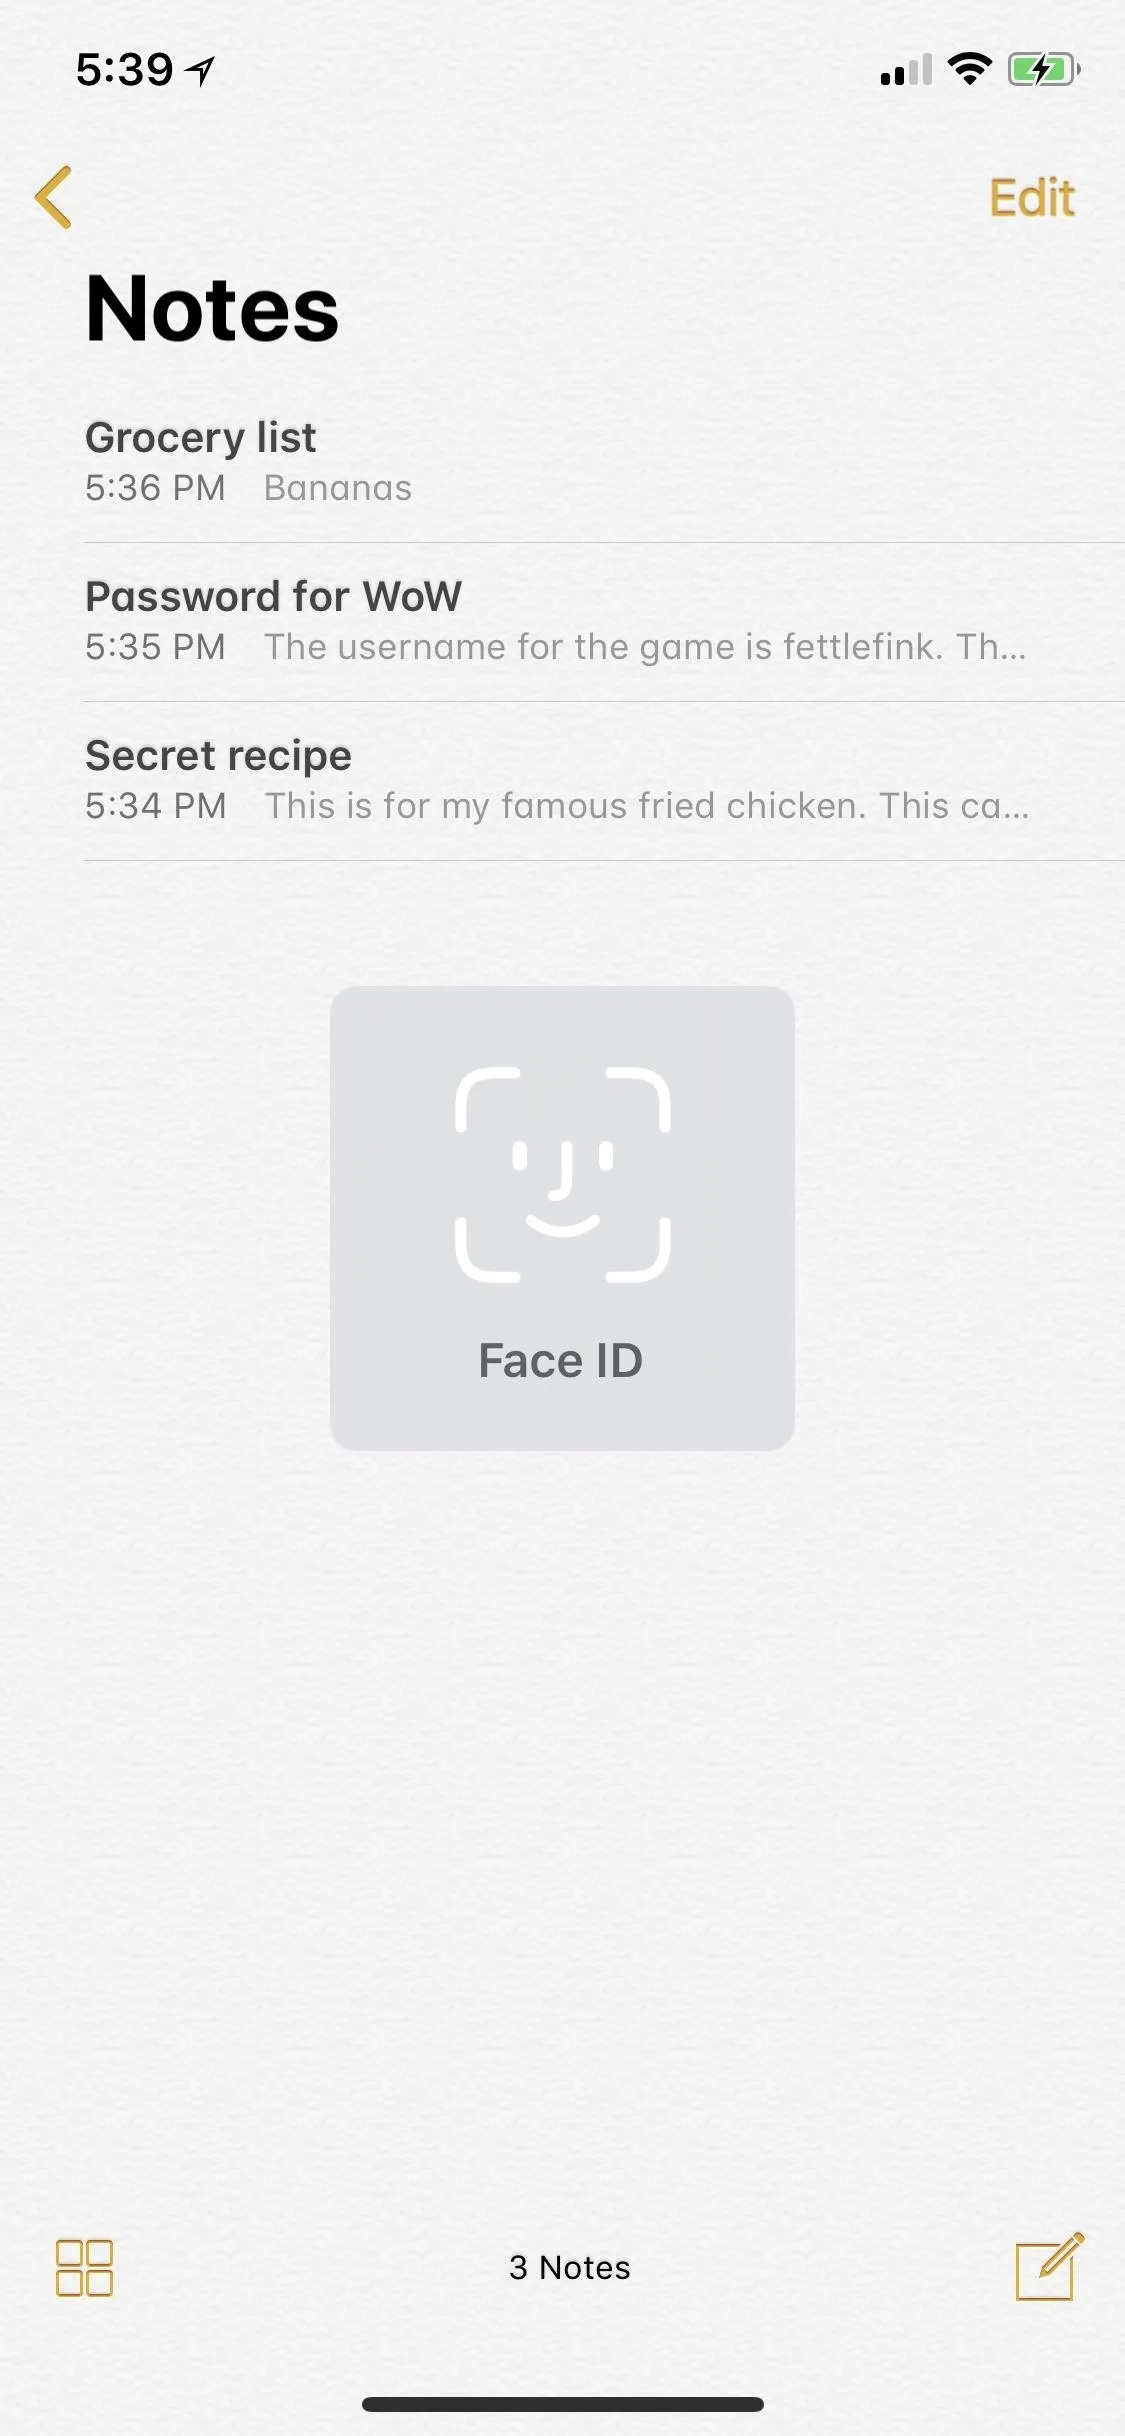
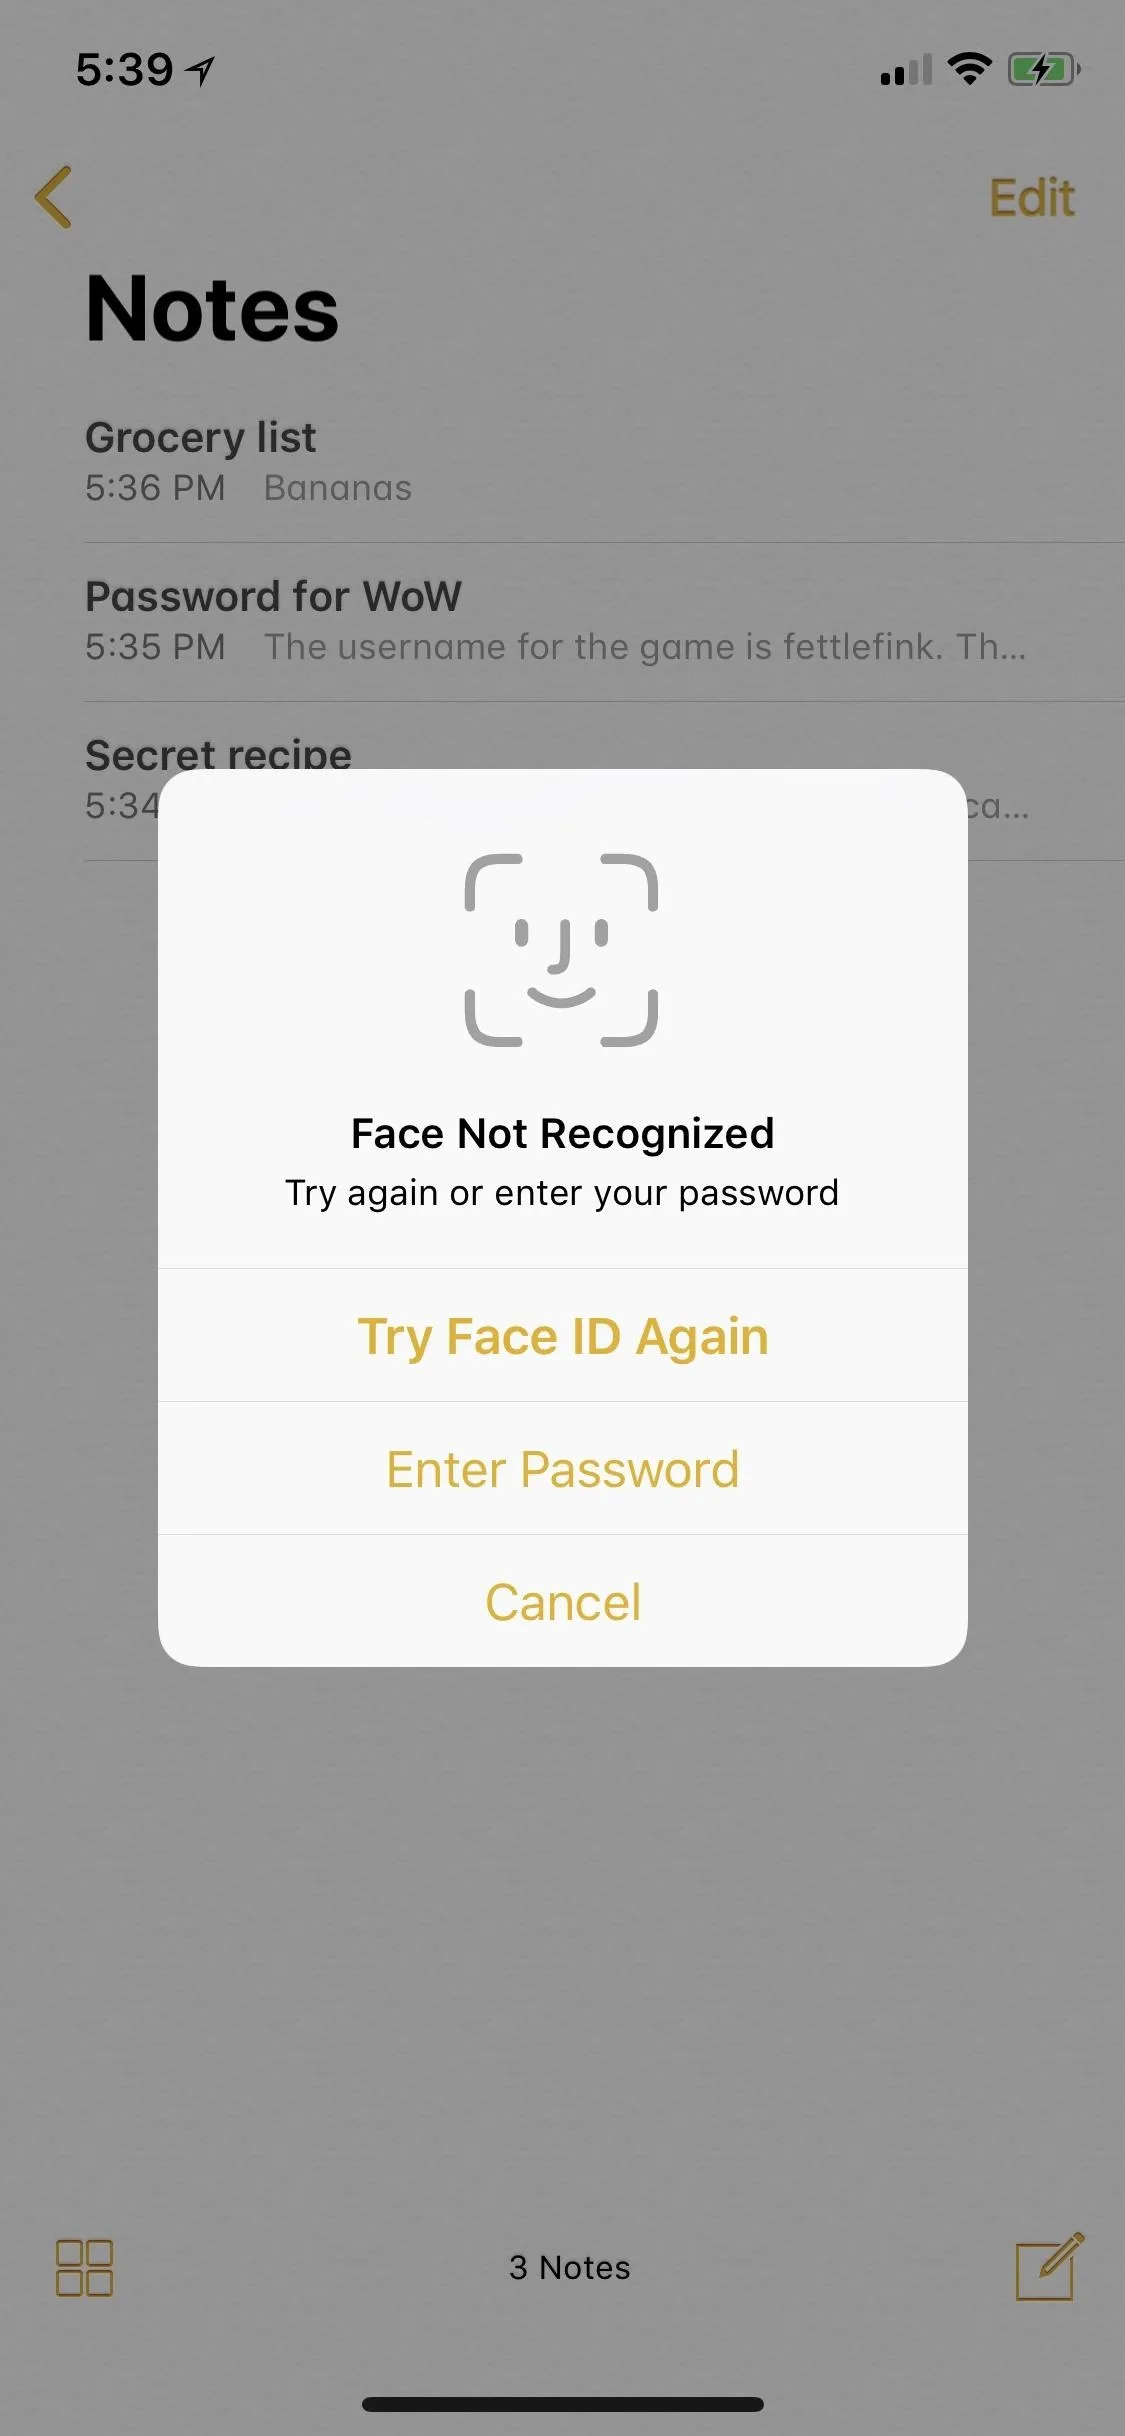
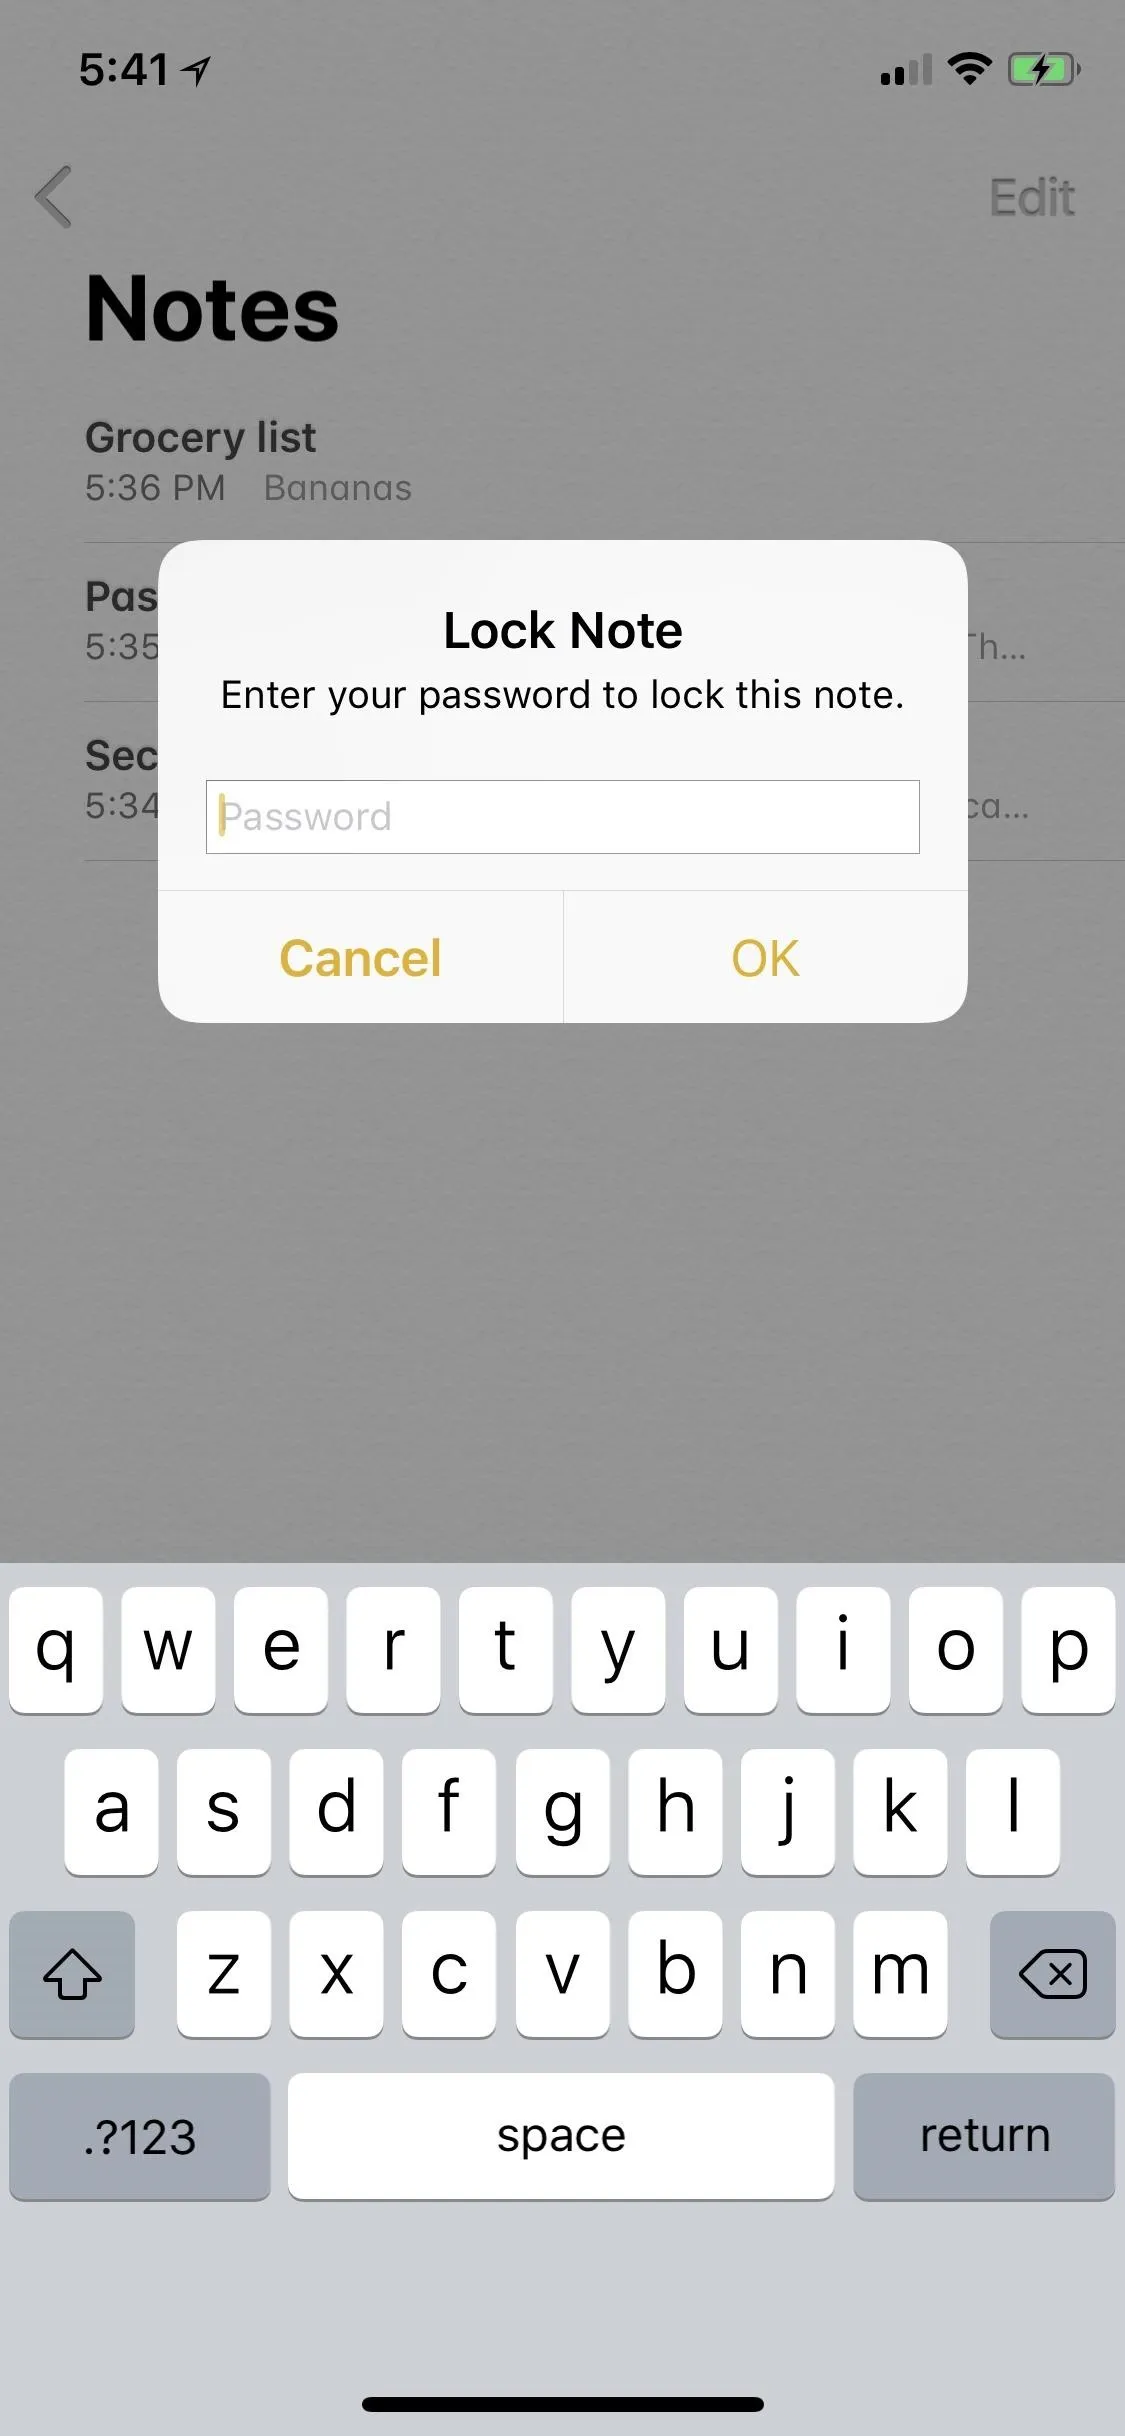
For those of you with an iPhone X, if you enabled Face ID for Notes in Step 1, it will automatically scan your face to add a lock to the note. For other iPhone models, or when Face ID fails to register, you need to enter the password you created in Step 1. Currently, you can't use Touch ID to add a lock, only to unlock it later.
If you're running iOS 9.3 through iOS 10.3.3 for some reason, or if you just want a different way to add locks to your notes, check out our full guide on adding locks to notes for another way to do so.
Reset Your Notes Password for New Notes
Apple includes a way to reset your main Notes password if you should ever forget it, but this is where our trick comes into play. When you reset the password, any protected notes that used the old password will still use the old password you had, and only new notes going forward will use the new password.
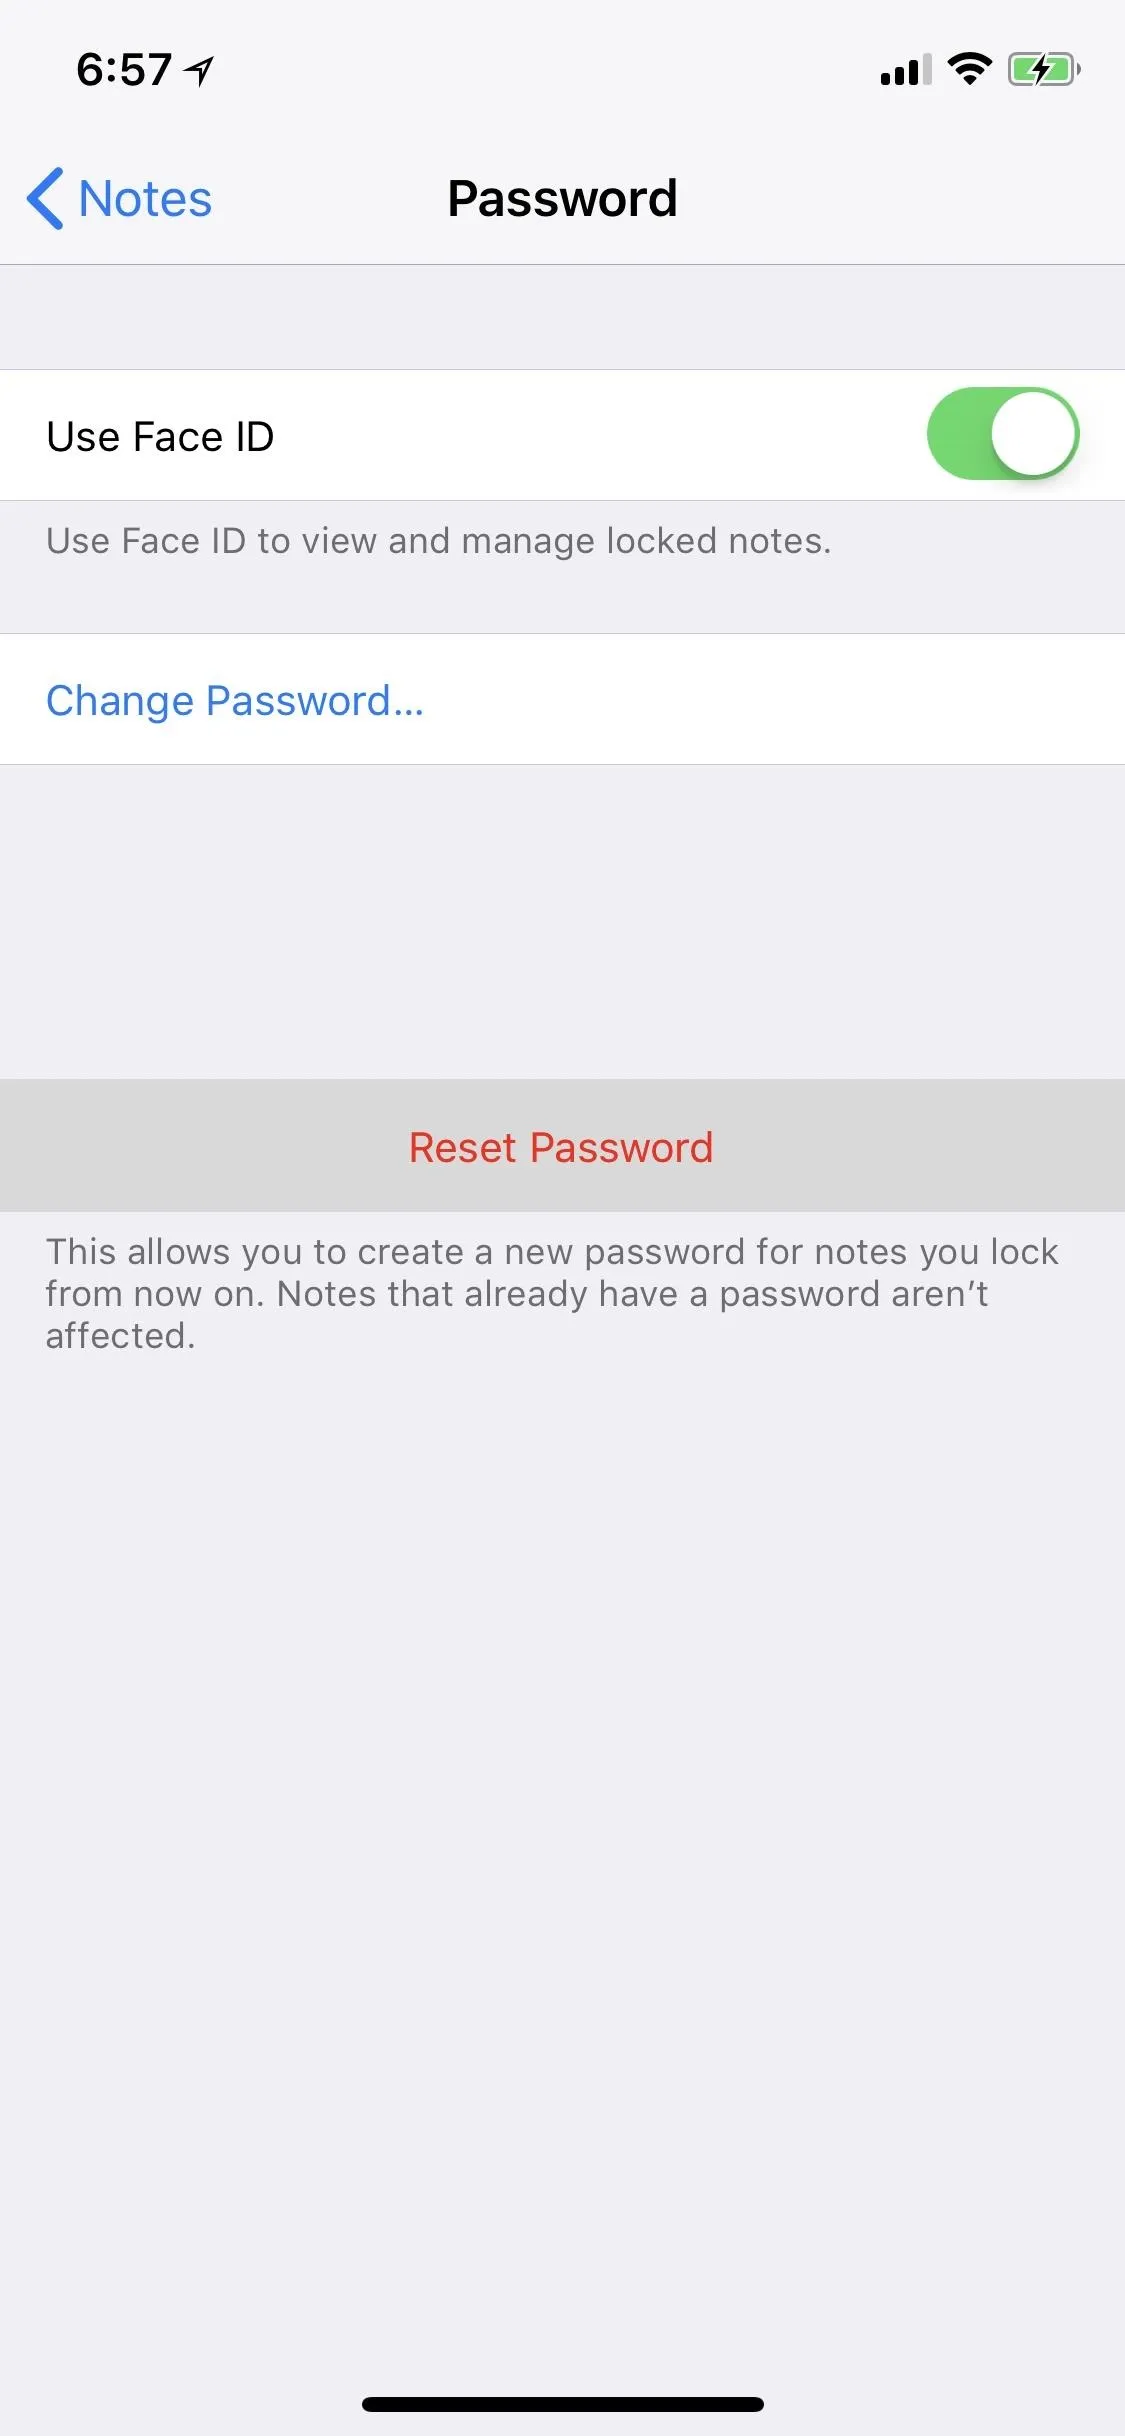
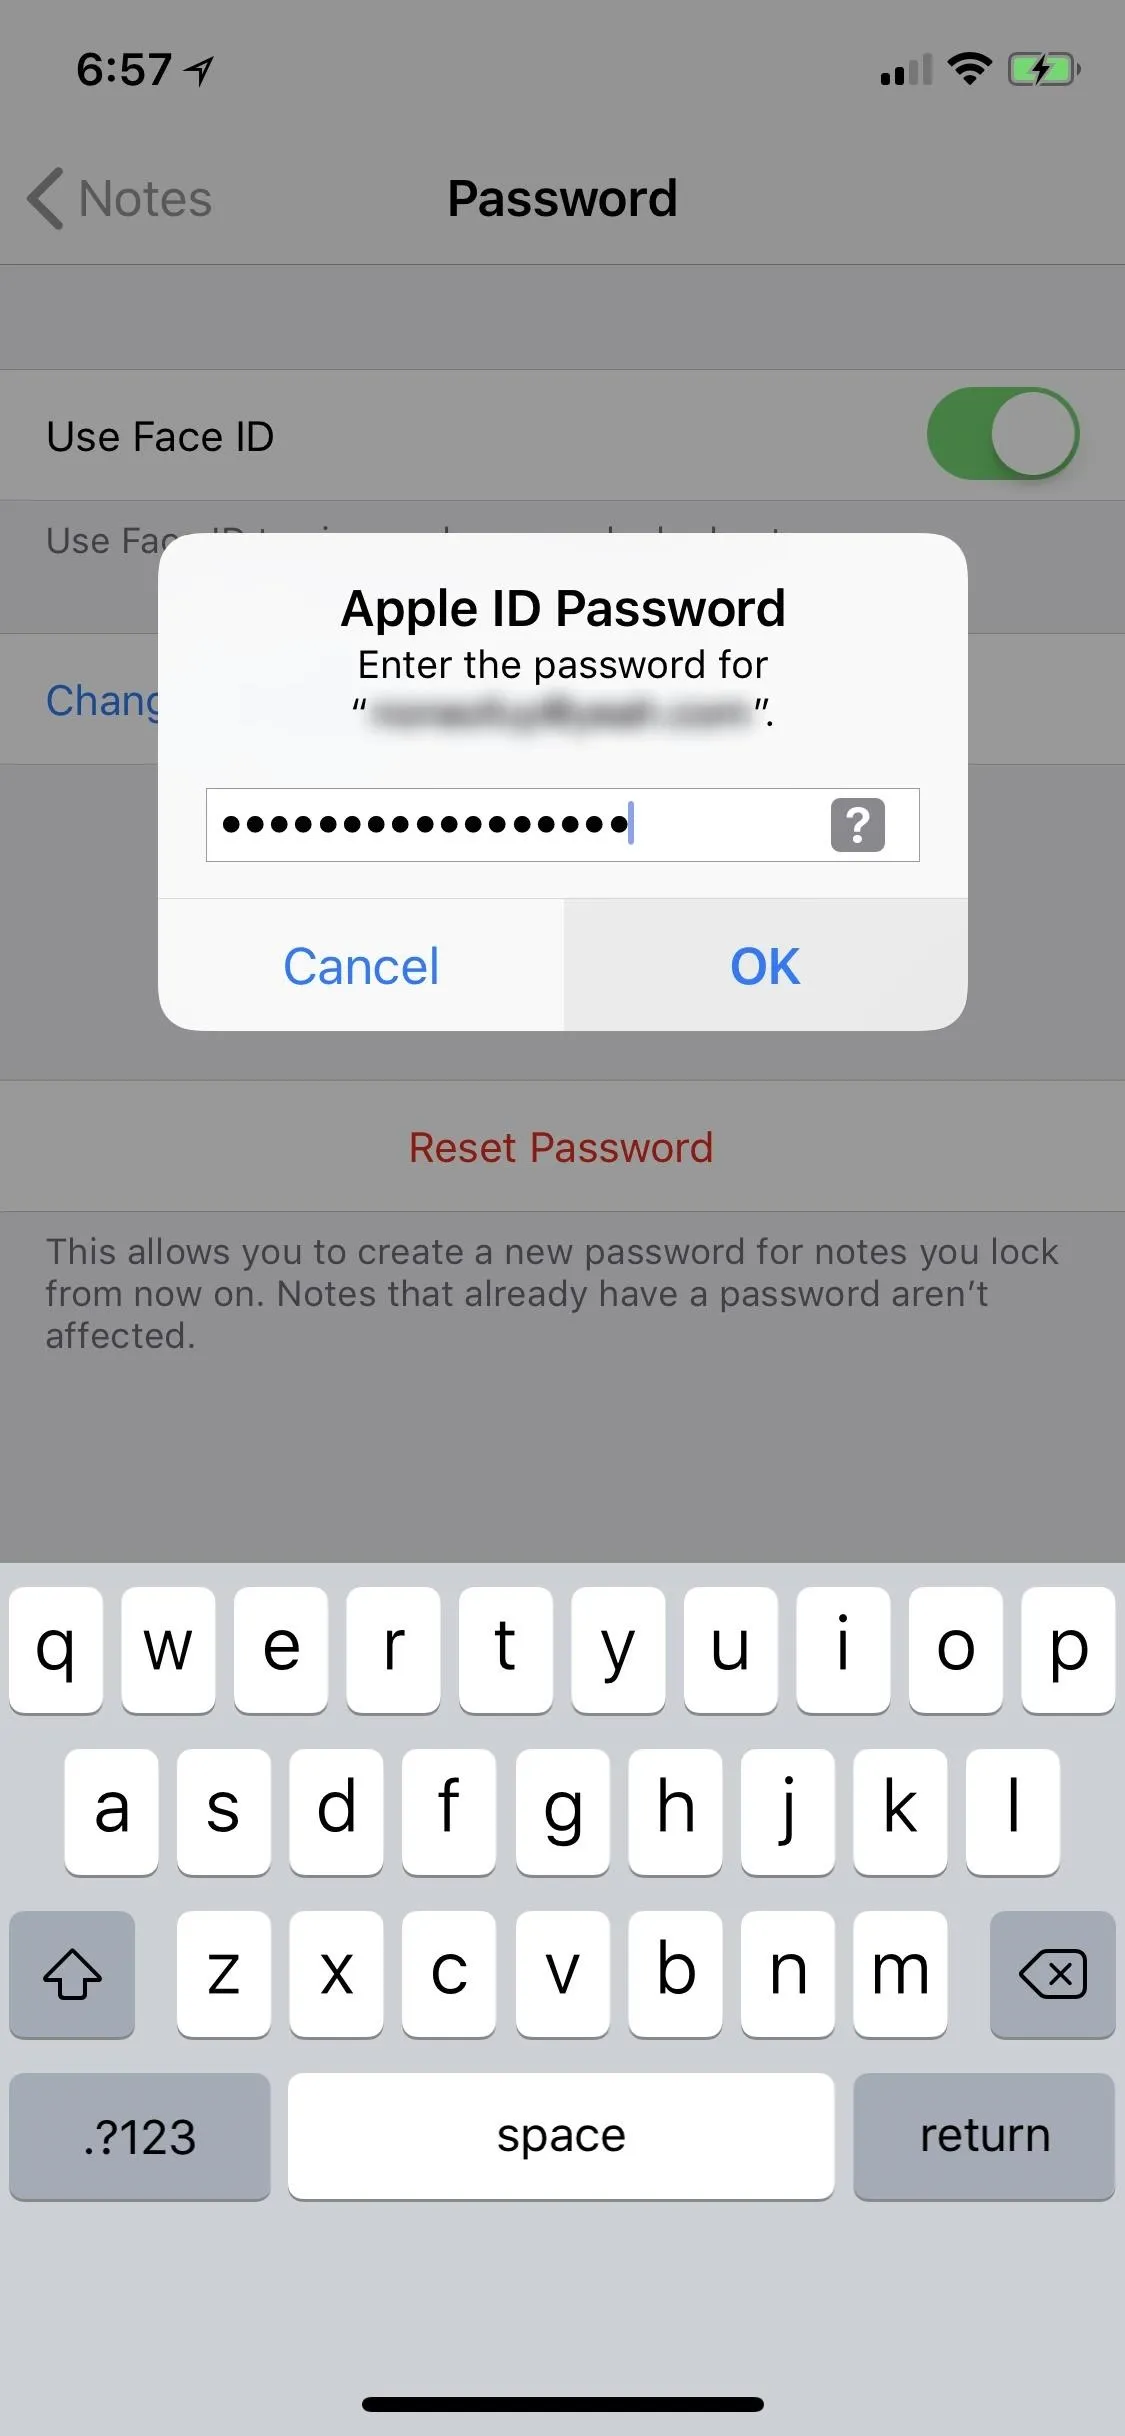
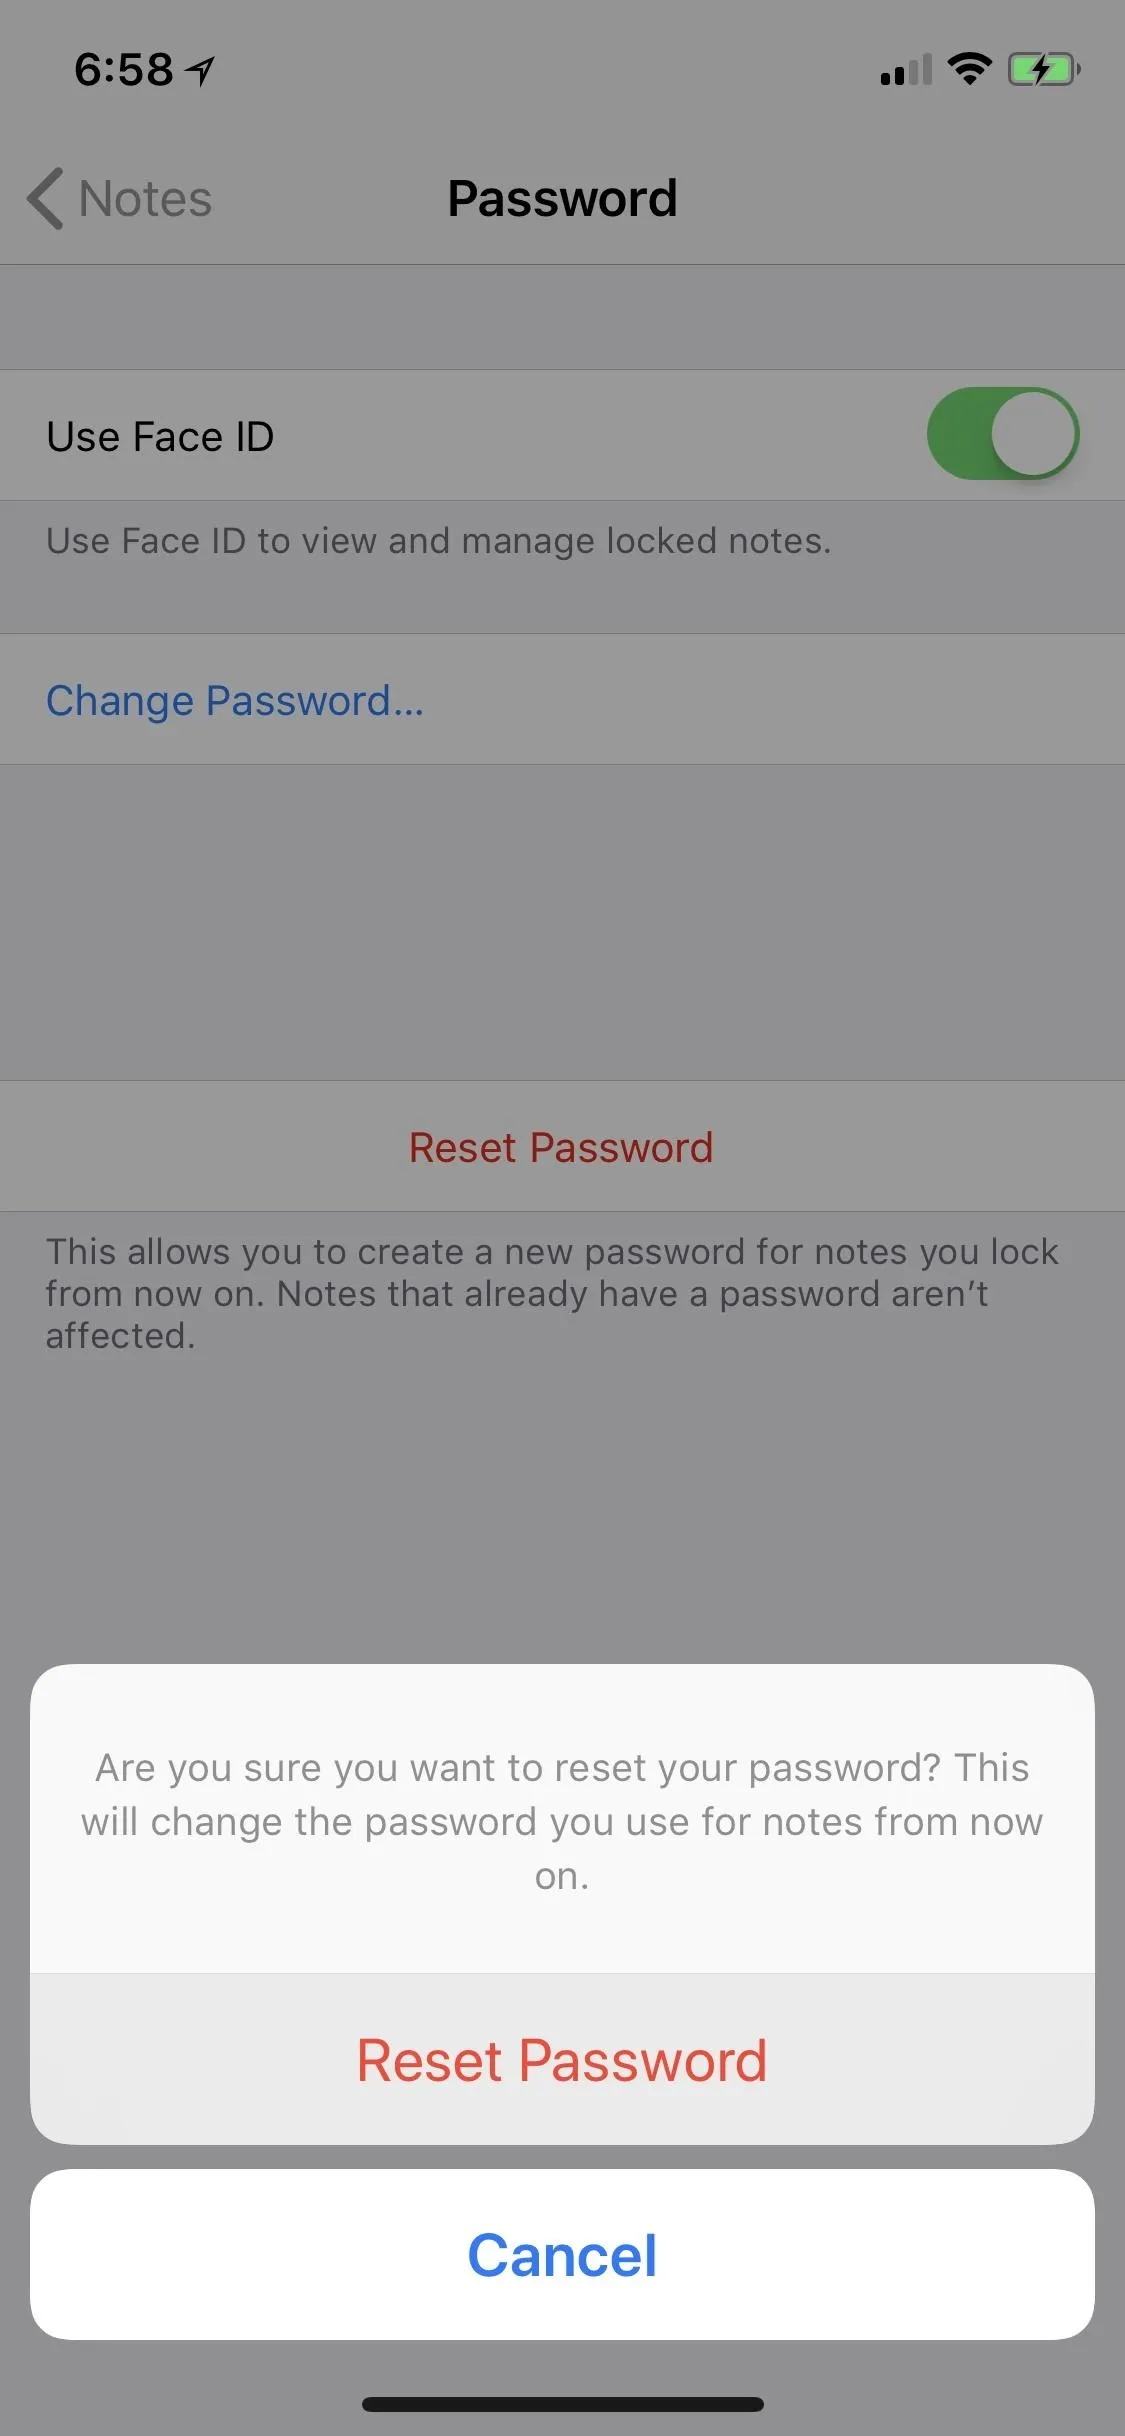
To reset your Notes password for the new note you want to protect, go to "Notes" in Settings, tap on "Passwords," and hit "Reset Password" on the next page. A prompt will open asking for your Apple ID password, so enter that and select "OK." Afterward, a warning will pop up asking you if you're sure. Tap on "Reset Password," then use Step 1 above to create a new password.
Add a Lock to Your New Note
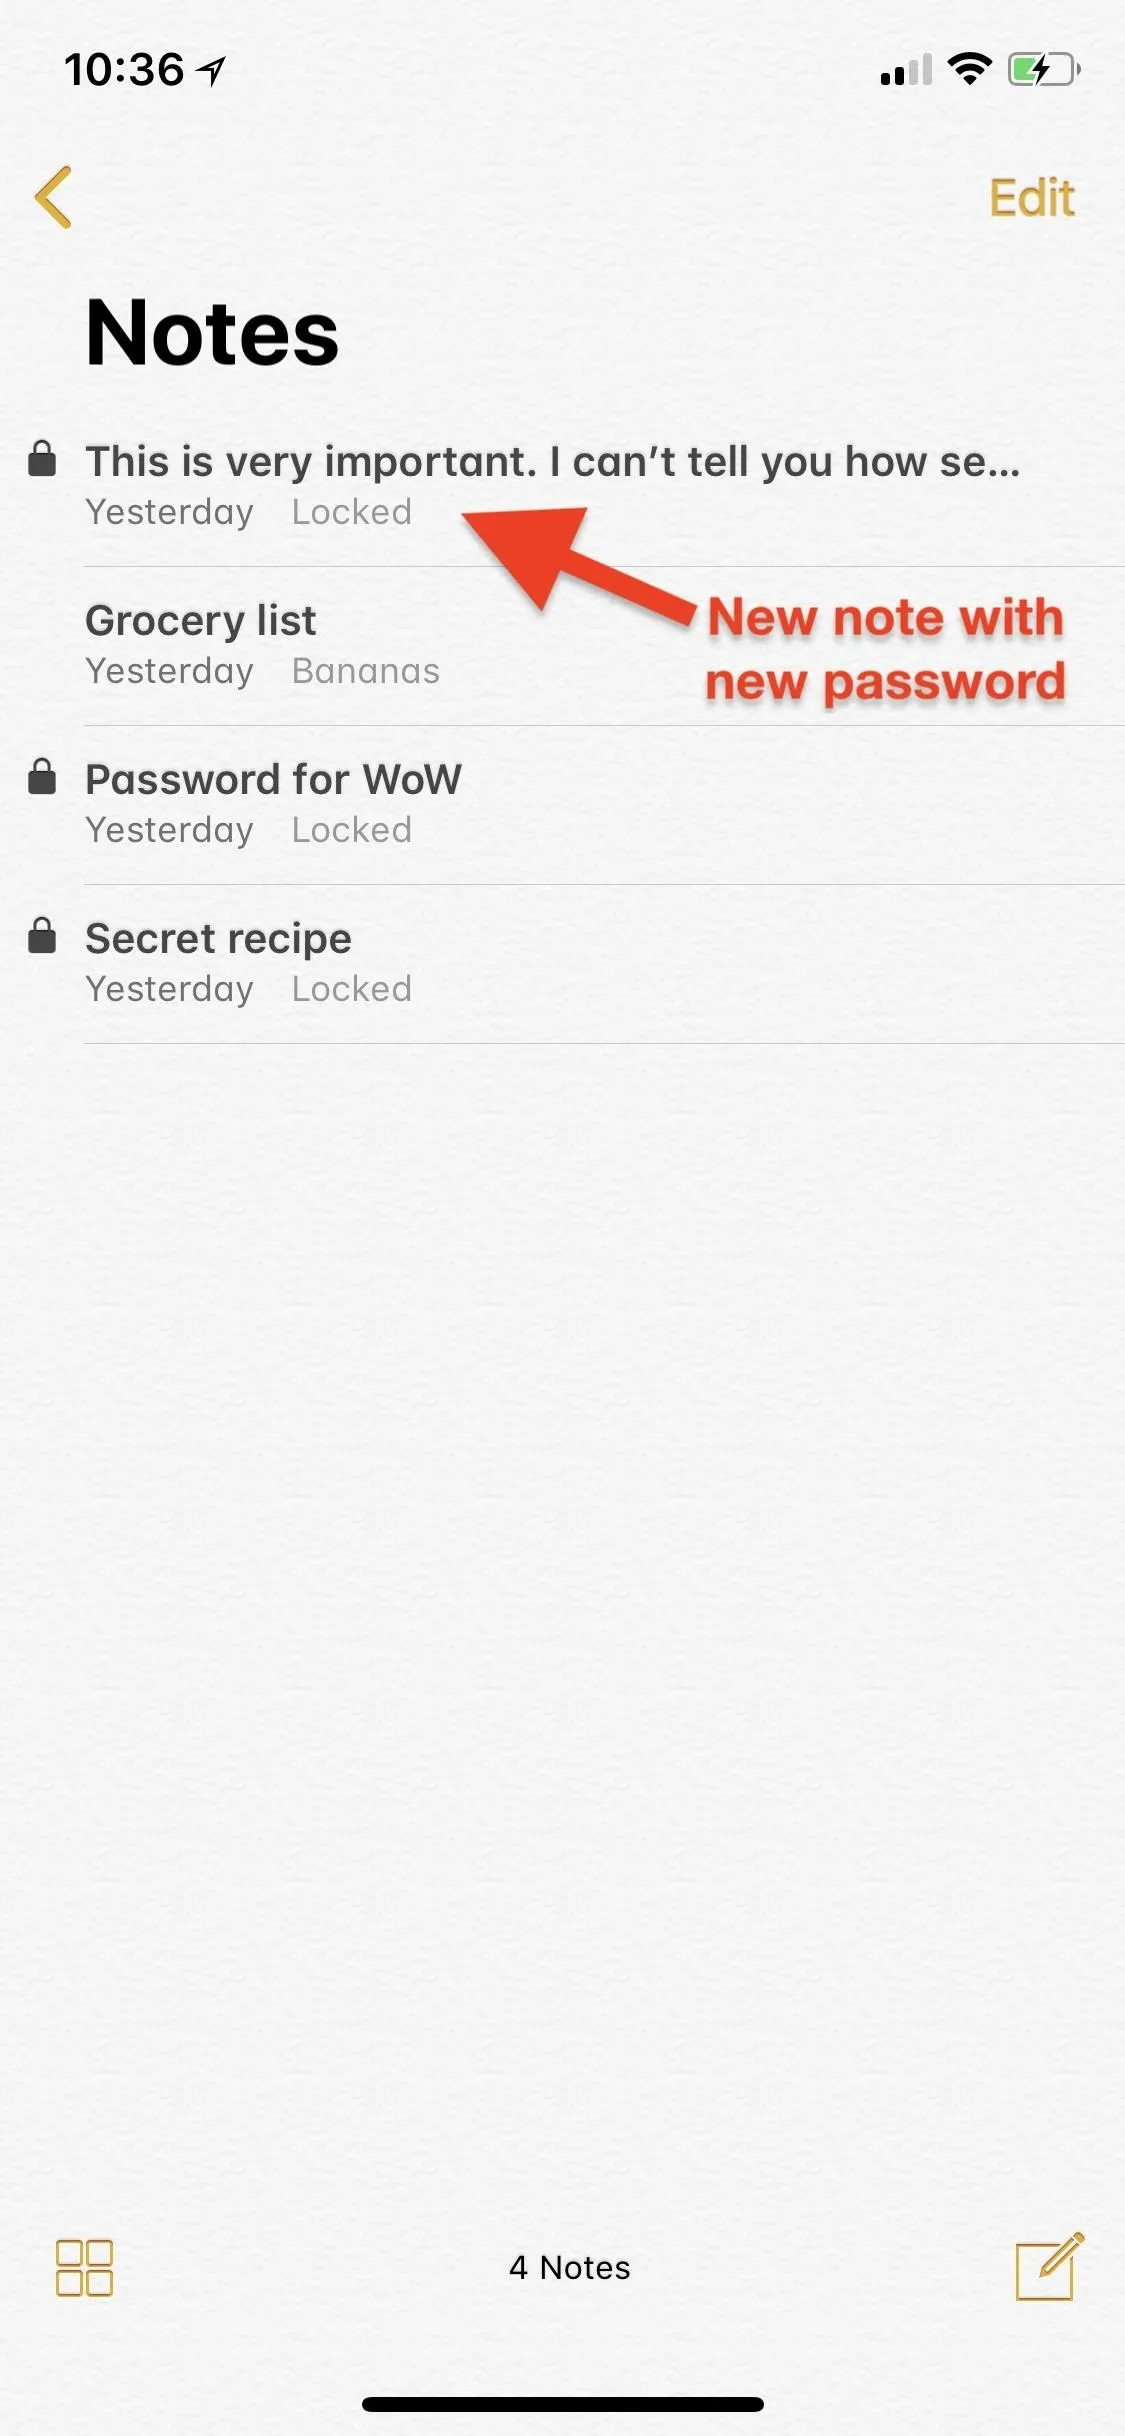
All of the notes you have that use the old password will still use that old password, but all new notes you add locks to will use the new password you just created in Step 3. So, proceed to add a lock to your new note using Step 2 above, and that's it. You now have at least two different notes with two different unique passwords.
Repeat for Each New Note You Want to Protect
To make each new note you protect have its own unique password, simply repeat Step 3 and Step 4 above to reset the password for Notes and add a lock to your new note. Do this each and every time you want to lock a new note with a new password.
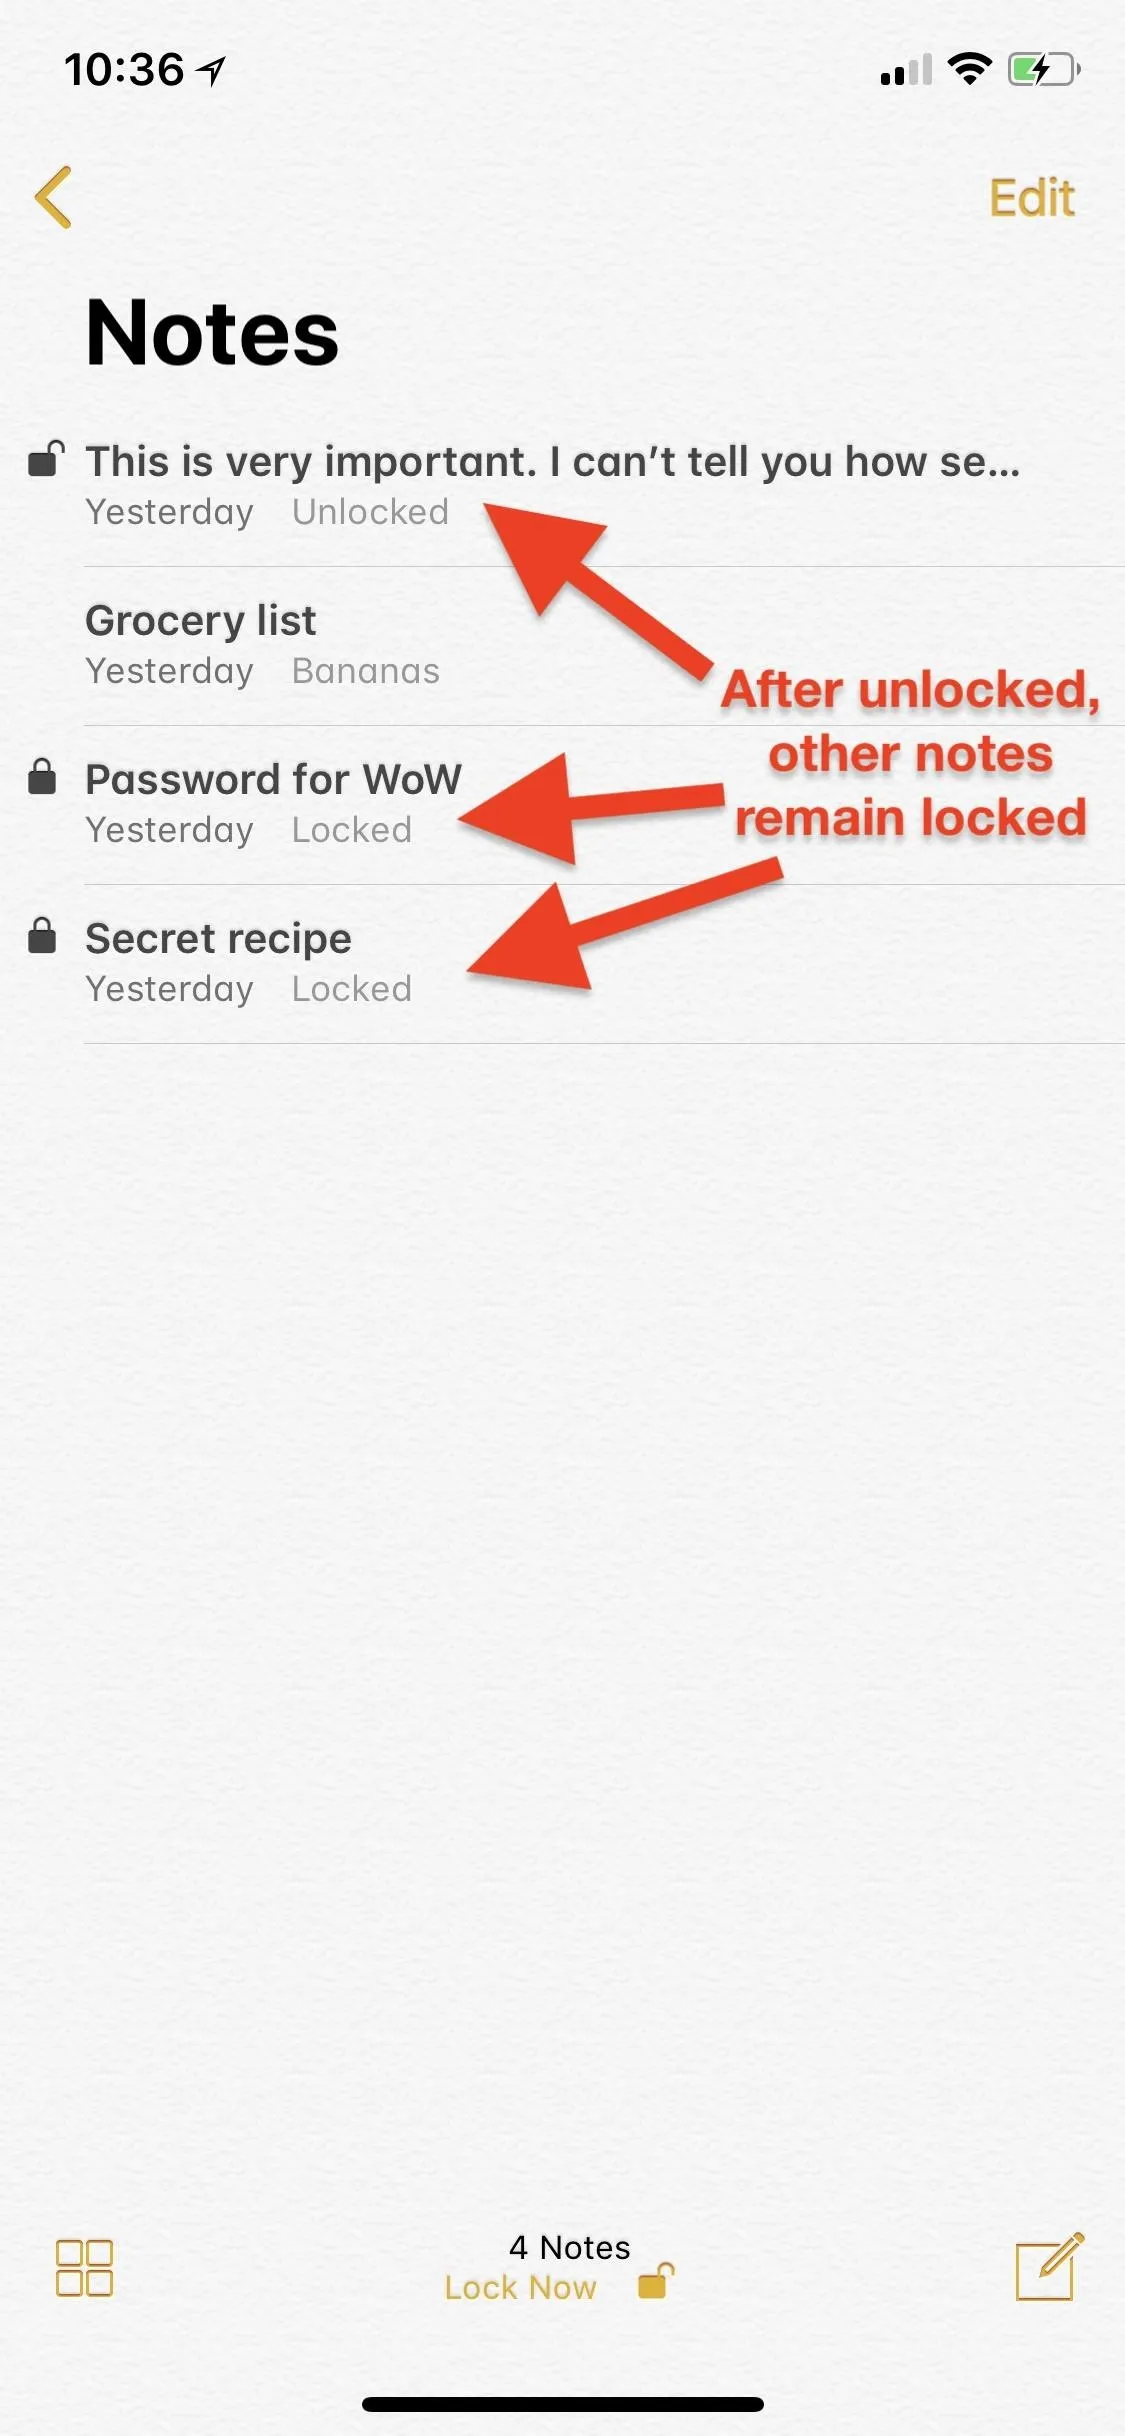
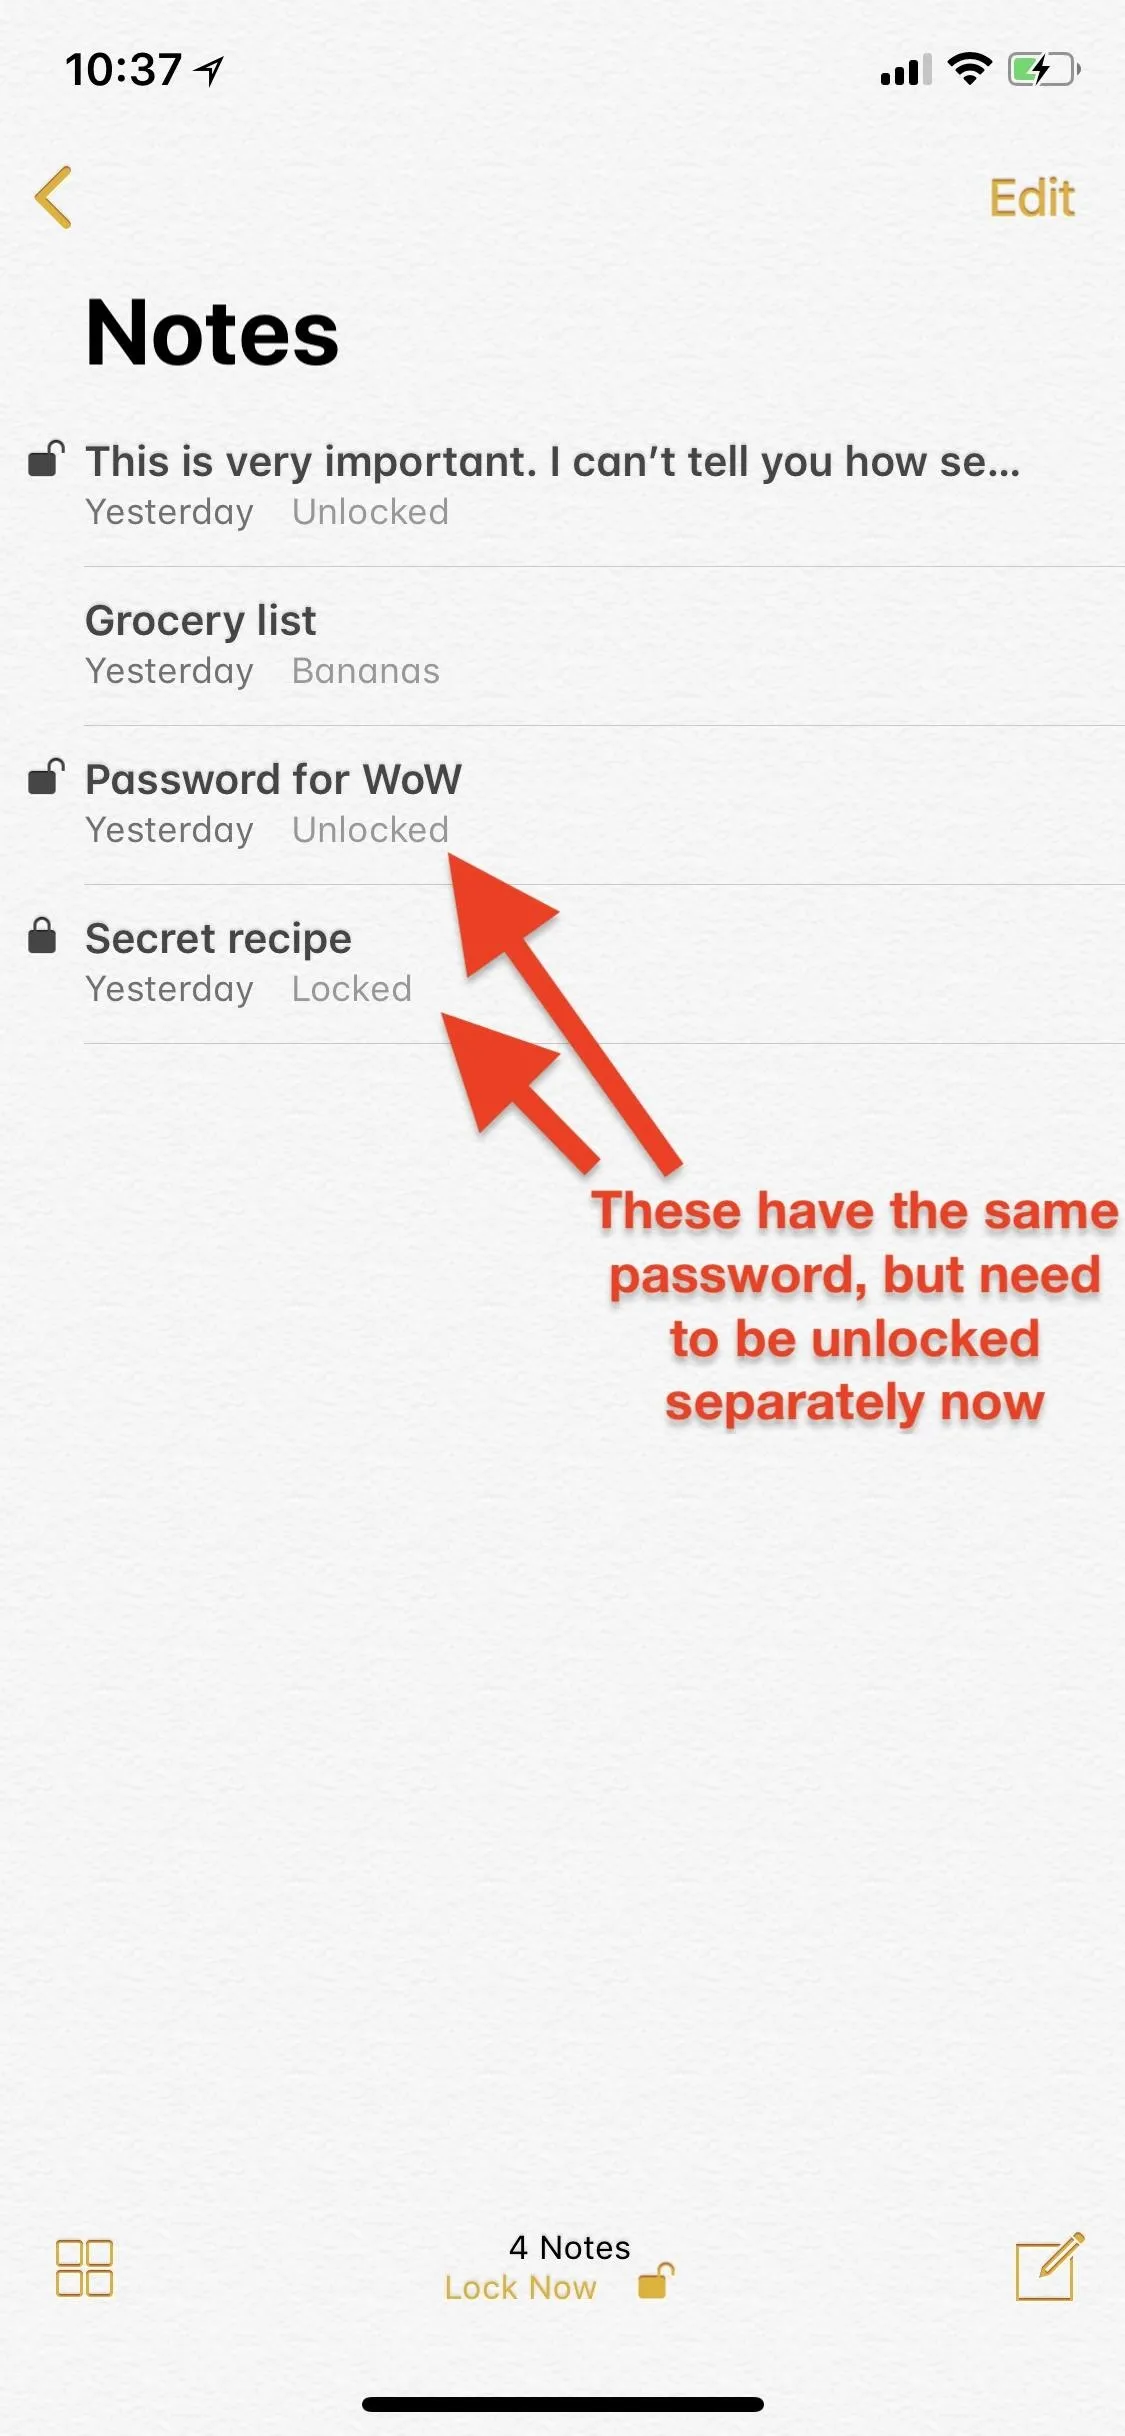
One downside to using this method is that when you unlock or lock one note, it will no longer unlock or lock all of the other notes that use the same password. All protected notes need to be locked or unlocked individually now. However, you can still use Face ID or Touch ID to unlock each note.
Another downside applies only to the iPhone X, which I've already mentioned above, where before you could use Face ID to add a new lock to a note but now you have to enter your most recent password each time you want to add a lock, putting it on par with Touch ID-enabled iPhones. This is not a big deal and only helps you remember your newest password created.
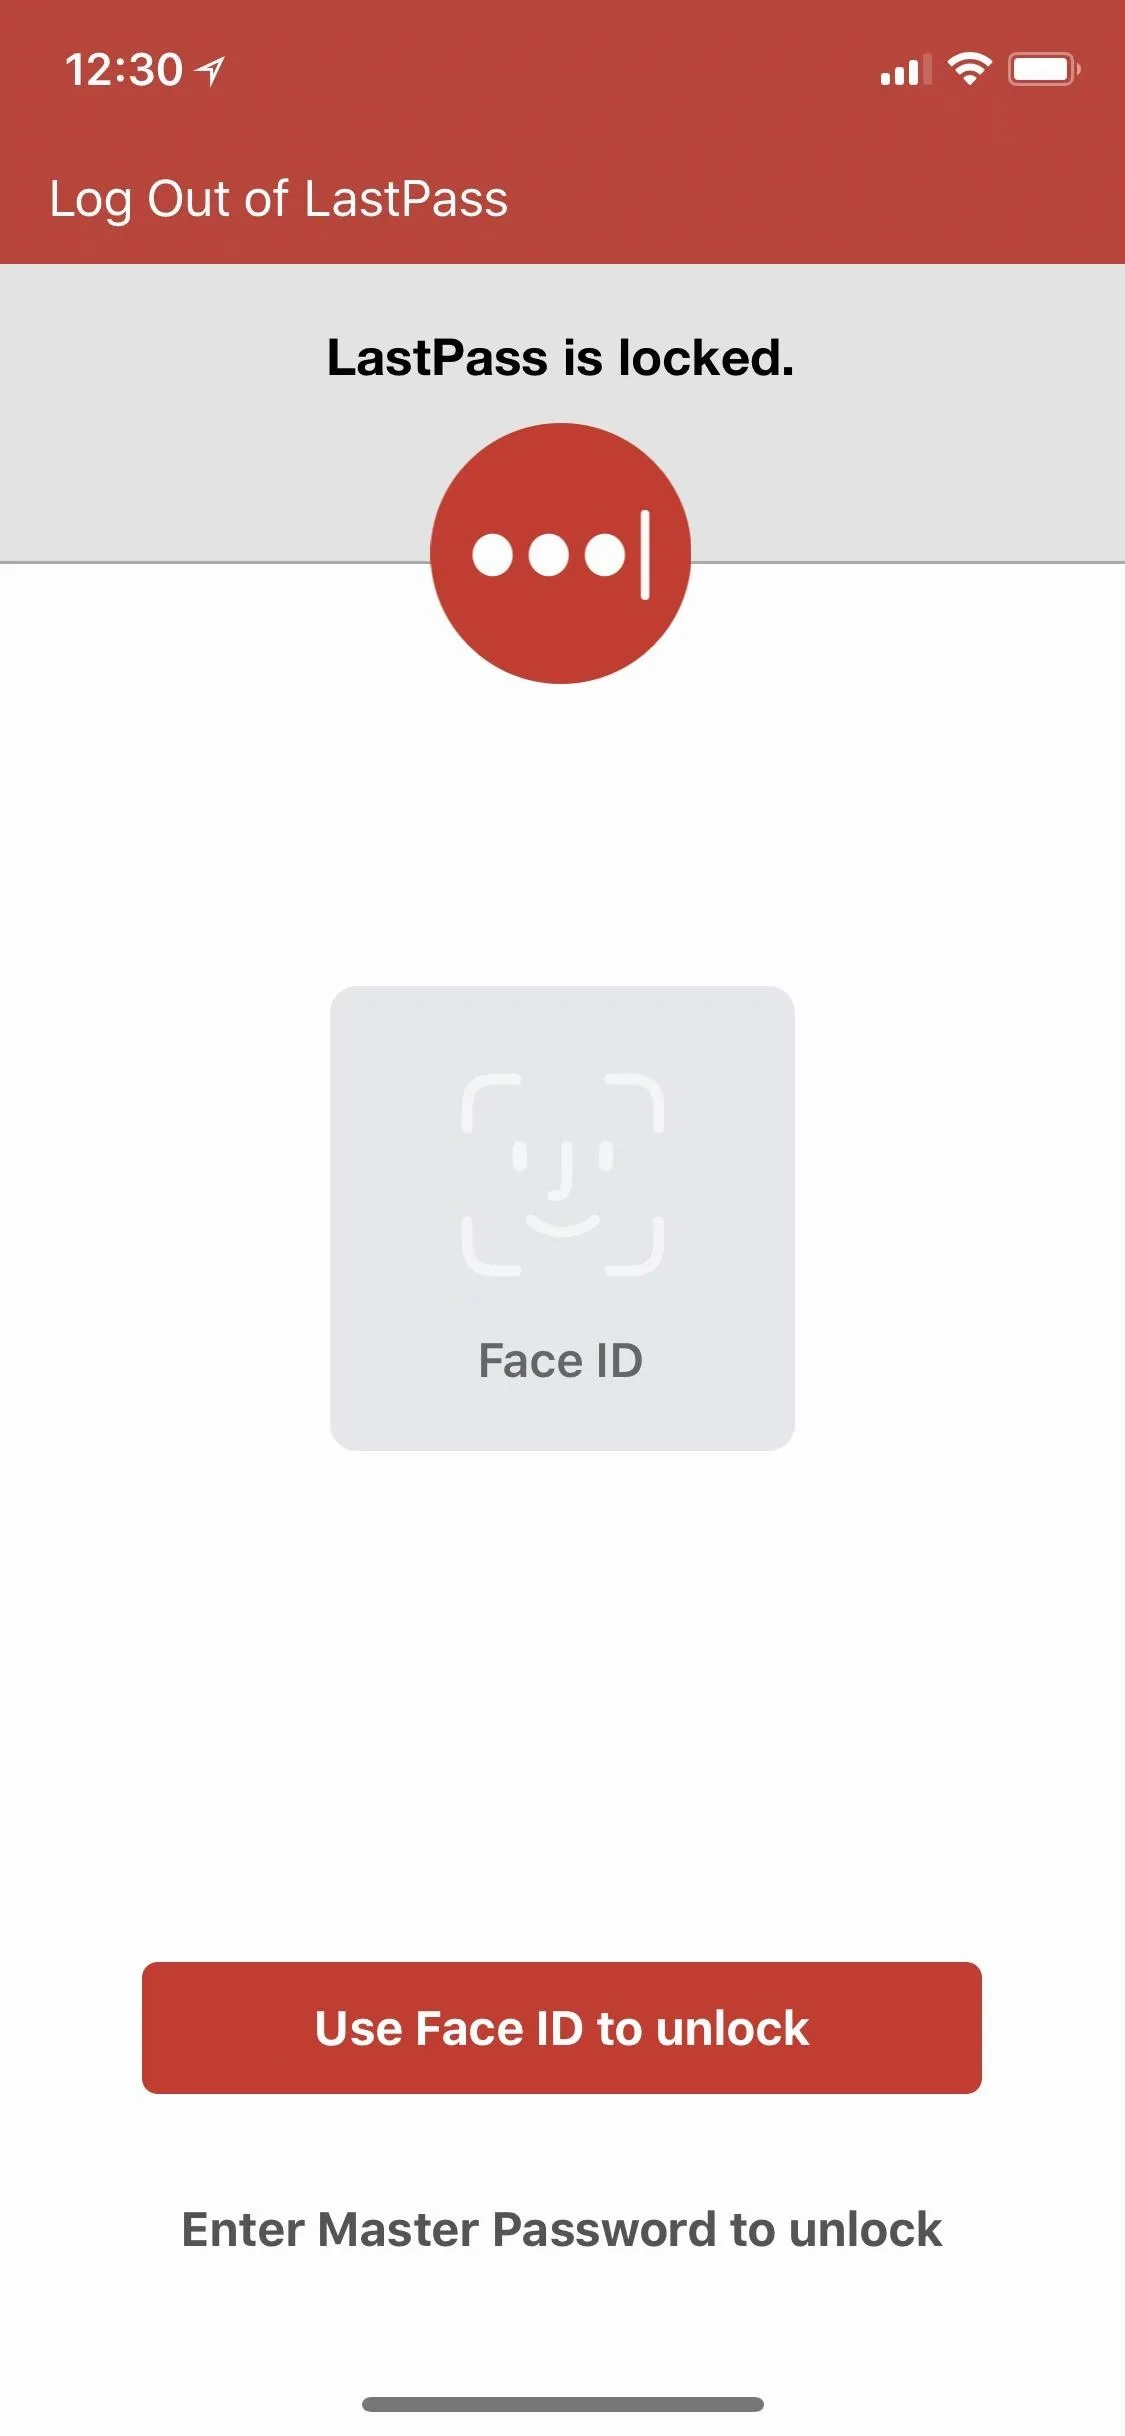
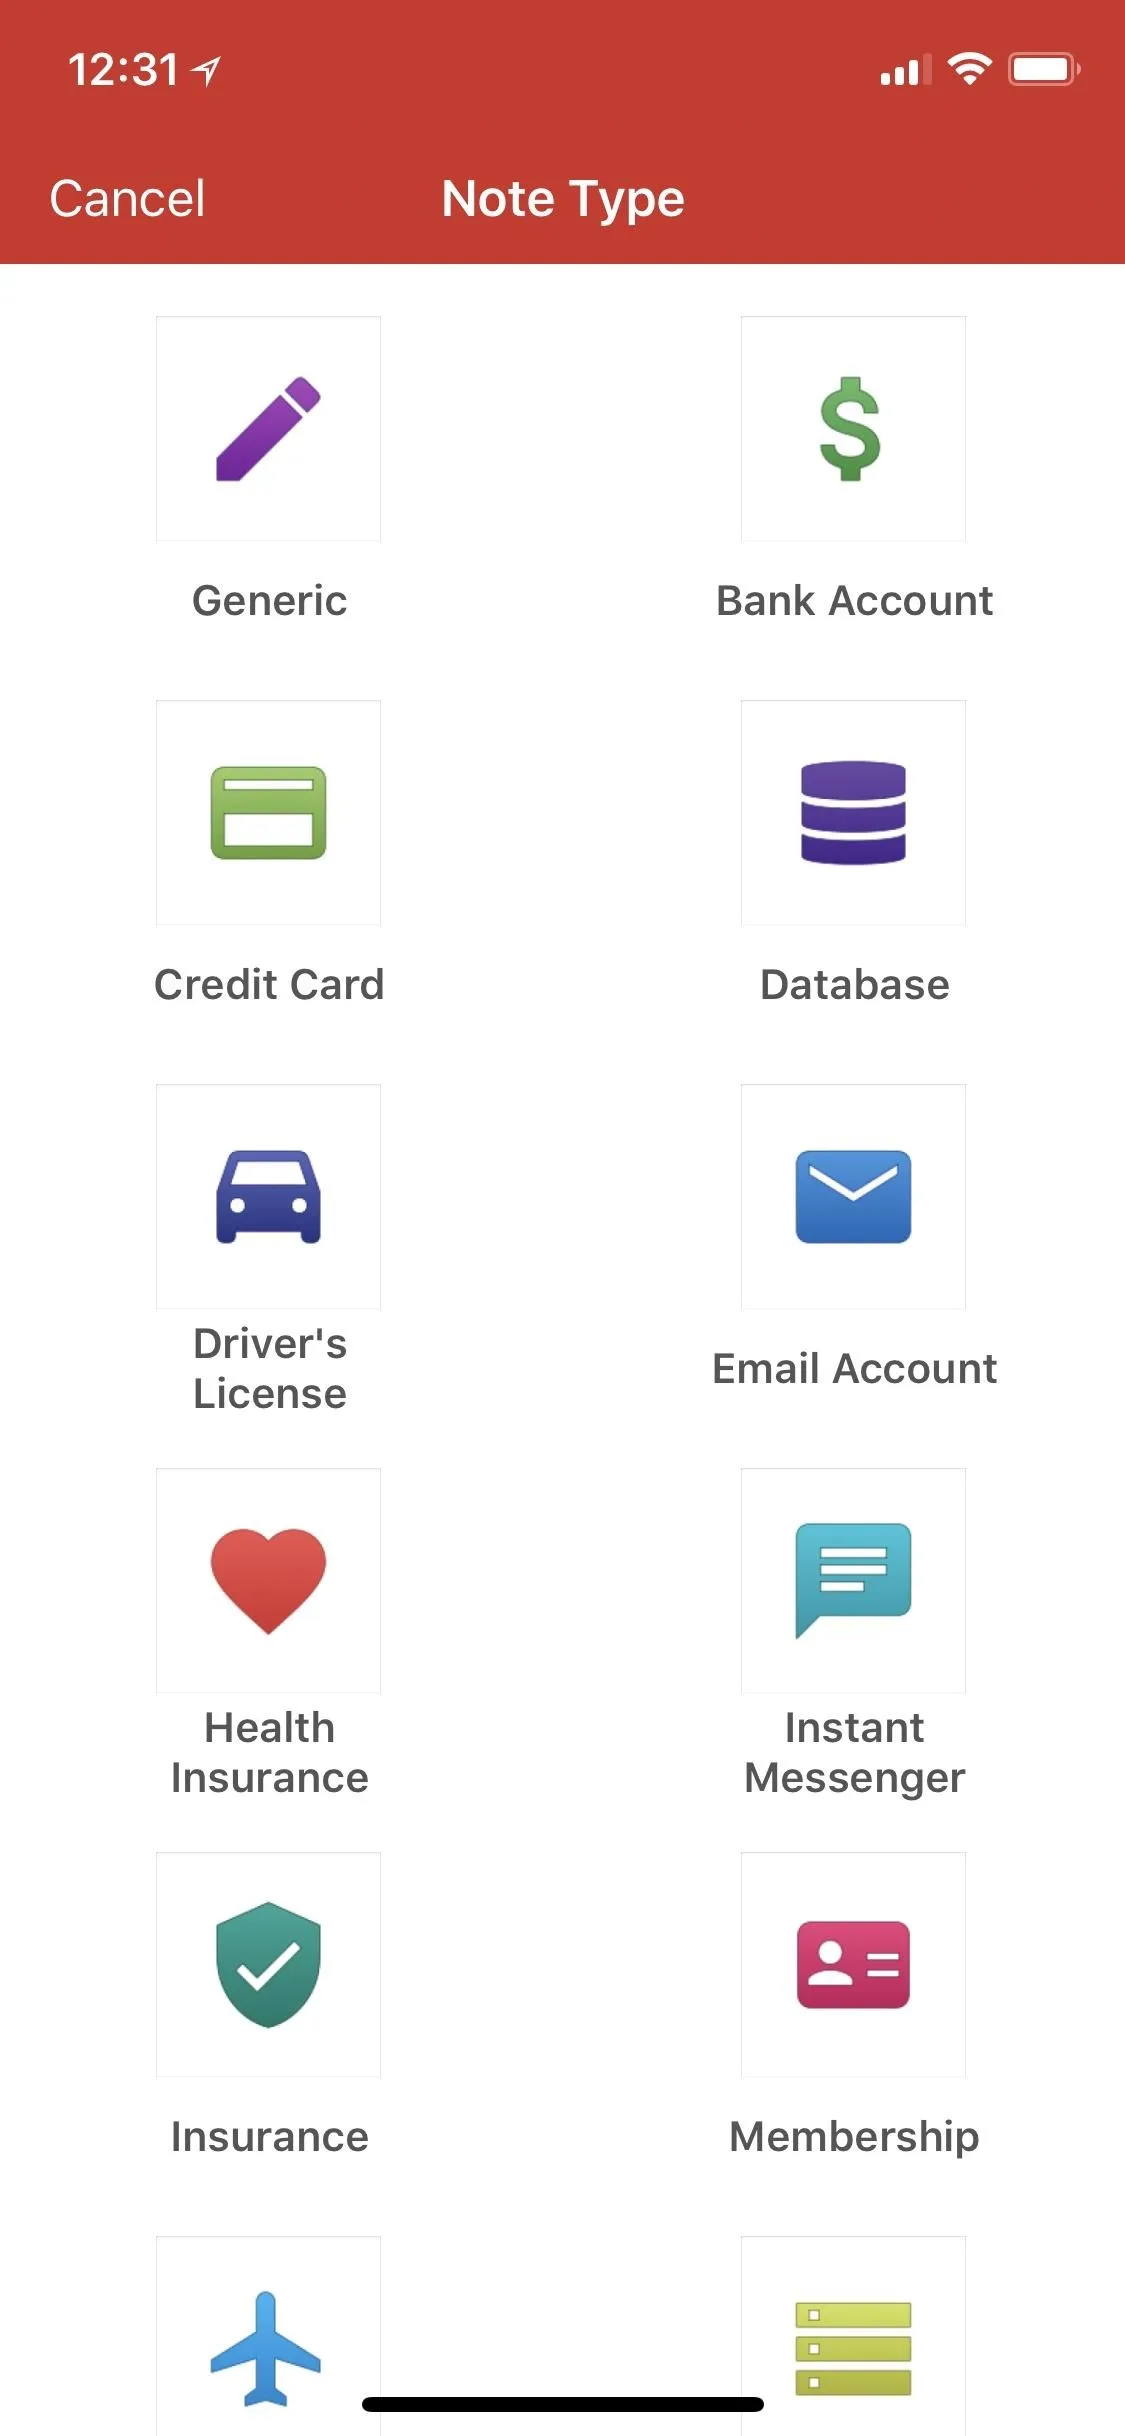
Use a Password Manager to Keep Track (Optional)
If you have a ton of different passwords in Notes, I highly recommend adding a hint during the password-creation process or saving it in a password manager because if you lose your password, you will only be able to access notes that are already protected using either Face ID or Touch ID. If those biometric methods should ever fail, you'll have a problem.
And if you want to access the protected notes that are synced on your Mac, well, you better have a newer one with Touch ID included. Keep track of your passwords! Try out one of the password managers recommended in the link below.
If you try to open a protected note that is using an older password, and you try to enter your new password instead of its original one, you'll automatically be prompted with your hint for your original password. Upon successful login with the original password, Notes will ask you if you want to update this "old" password to use your new one, so you could update all of your old passwords to your newest one this way if you get tired of having unique passwords for each.
- Follow Gadget Hacks on Facebook, Twitter, YouTube, and Flipboard
- Follow WonderHowTo on Facebook, Twitter, Pinterest, and Flipboard
Cover photo and screenshots by Justin Meyers/Gadget Hacks


Comments
Be the first, drop a comment!