


A rather exciting development has recently surfaced in the jailbreaking scene for iPhone. The Checkm8 bootrom exploit was shown off to the public by axi0mX, which made way for the undefeatable Checkra1n jailbreak tool. With it, you can freely jailbreak a variety of older iPhone models without any restrictions. The success rate is quite high, too, when compared to other jailbreak methods.
One major drawback to the Checkra1n jailbreak method: you always needed a macOS computer to execute the required commands in the first place. However, the developers of the Checkra1n tool recently released an update that now supports the Linux OS as well. It was only a matter of time until word got out that it would be a viable option for Android devices — way more portable than a computer — since it's built using the Linux base.
- Don't Miss: Jailbreak Your iPhone with Android Using TWRP
In this guide, I'll be breaking things down step by step and showing you exactly how to jailbreak your iPhone with a rooted Android device, whether a phone or tablet. It might seem like quite the chore at first, but once you get past the initial setup and understand how everything works, it's really not so bad. Follow along, and your iPhone should be ready to run the Checkra1n jailbreak in no time. This will jailbreak iOS 12.0 to iOS 14.0 depending on which iPhone model you have.
Requirements
- iPhone that supports the Checkra1n jailbreak
- Rooted Android device
- Magisk installed
- For connecting the devices: Lightning to USB-C data cable, Lightning to USB adapter with a USB-A to USB-C or USB-A to Micro-USB data cable, or Lightning data cable with USB-A to Micro-USB or USB-A to USB-C adapter, etc.
Check Your Android CPU Architecture Type
Before you can start jailbreaking your iPhone using Android, you'll need to know what CPU architecture type your rooted Android device has. Doing so will allow you to download the correct jailbreak file for Checkra1n in the next step.
Most newer Android phones will likely have the ARM64 architecture type, as it's widely adopted at this point. However, older Android phones would have the ARM architecture instead. If you're using an Android tablet, some might even have the x86/64 architecture type, so keep that in mind. If you need any help with this part, you can check out the guide below to get that all squared away.
Download the Checkra1n Binary File
Once you've identified which CPU architecture type your rooted Android device has, you can download the correct file from one of the links below. Make sure to save the Checkra1n file to the "Download" folder on your Android device for easy access so you can find it later.
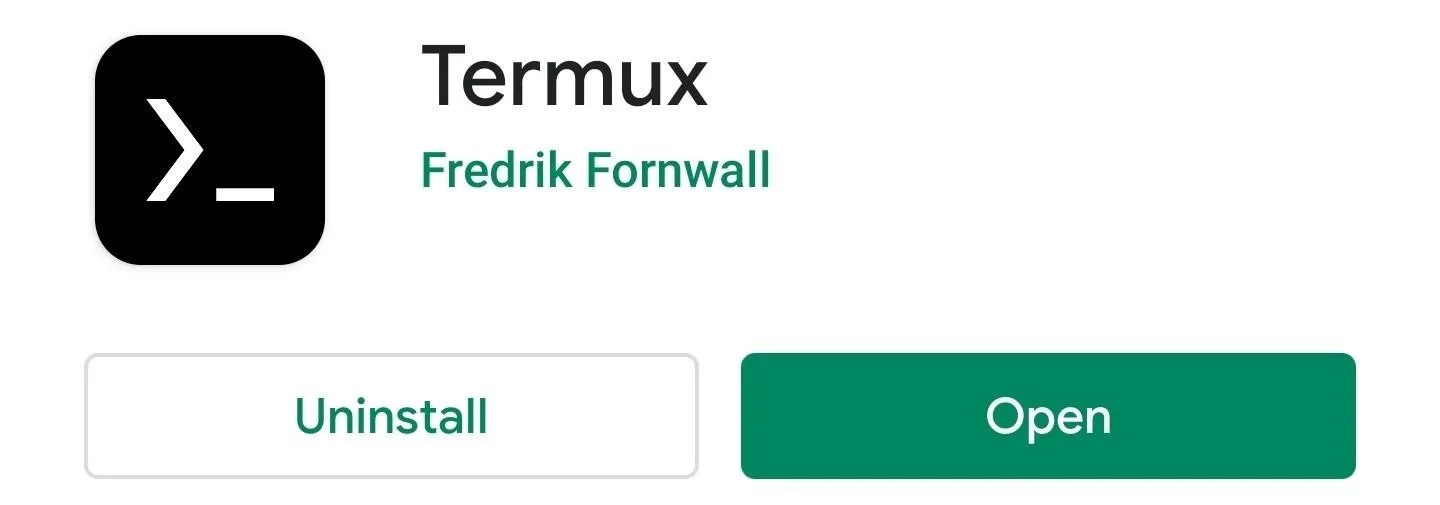
Download Termux
Now, you'll need a way to send over the Checkra1n file you just downloaded to the iPhone from your Android device. Doing so requires not only a terminal app, but it also means your Android device should have elevated permissions as well — you need to be rooted. With that in mind, Termux is one of the best terminal apps around for Android, so download it from the link below and continue onward.
- Play Store Link: Termux (free)
Once Termux is installed onto your device, you need to open the app real quick so that it can create the folder structure required to run the Checkra1n file. You can close the Termux app down if you want after that or just let it run in the background for now.
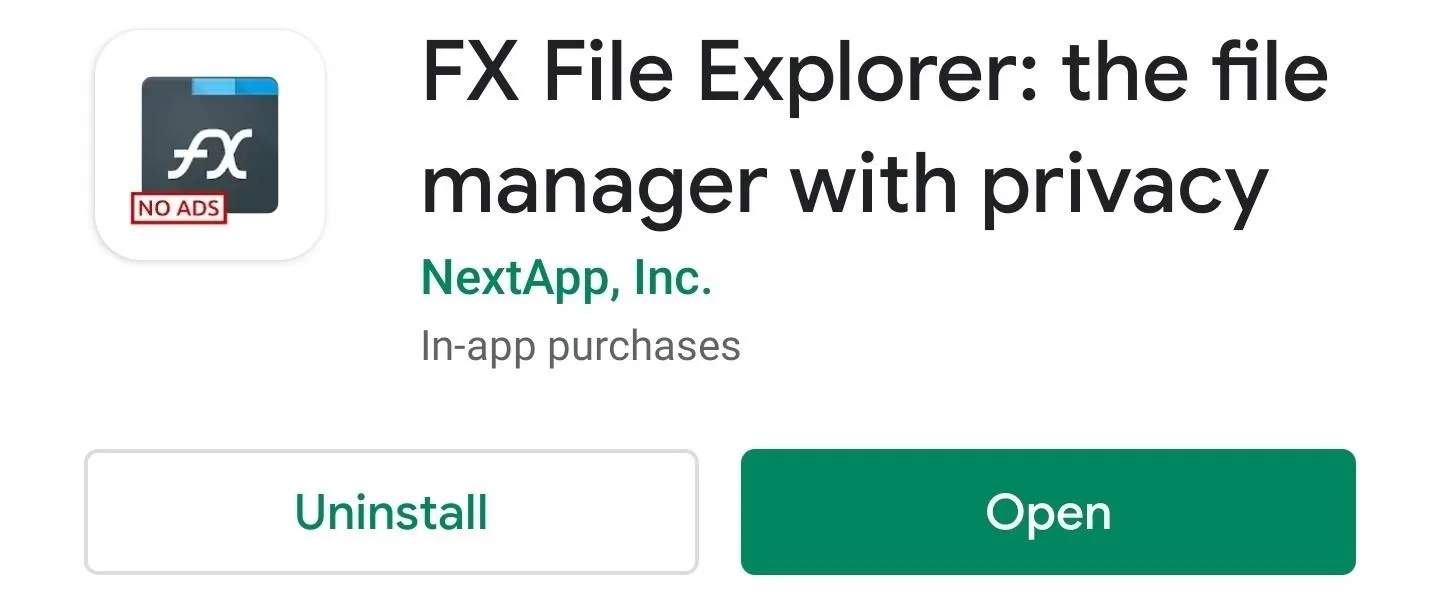
Download FX File Explorer
On top of needing a terminal app, you'll also have to use a file manager to access your Android system files via root access. You'll be transferring the Checkra1n file you downloaded from Step 2 in the next part of this guide. It's required so that Termux can locate the Checkra1n file when you send out the jailbreak command later.
Now that you know why you need these things, you can't go wrong with FX File Explorer as a great root file manager. Go ahead and download it from the link below so you can move onto the next step.
- Play Store Link: FX File Explorer (free)
Transfer the Checkra1n Binary File
Now it's time to transfer the Checkra1n binary file required for jailbreaking your iPhone to the correct folder location.
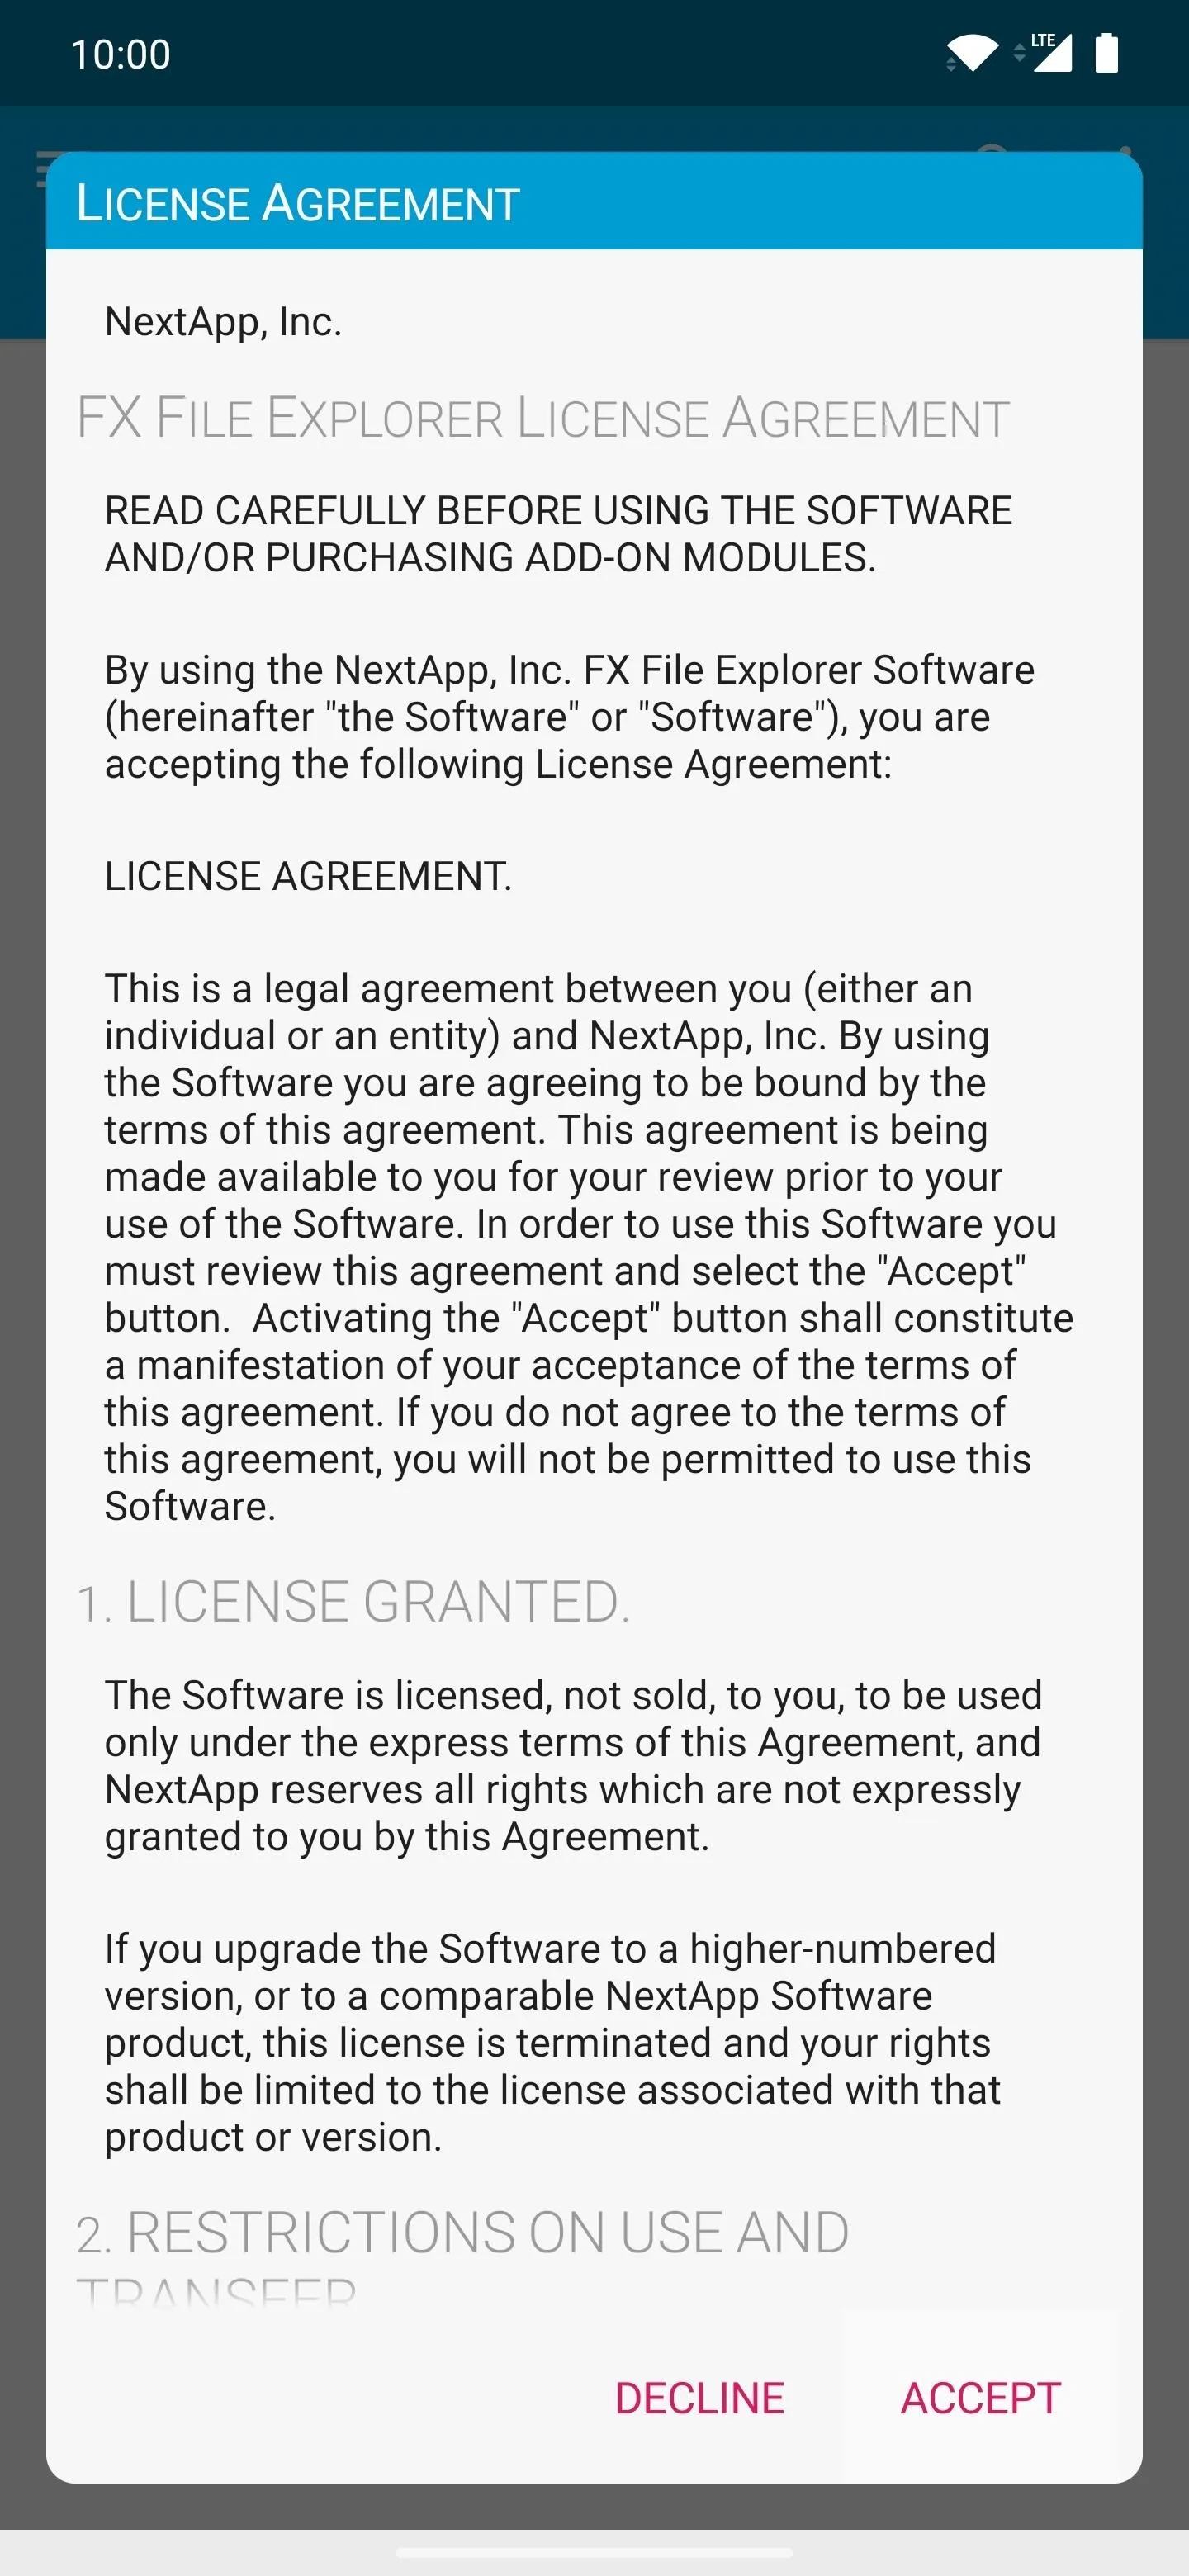
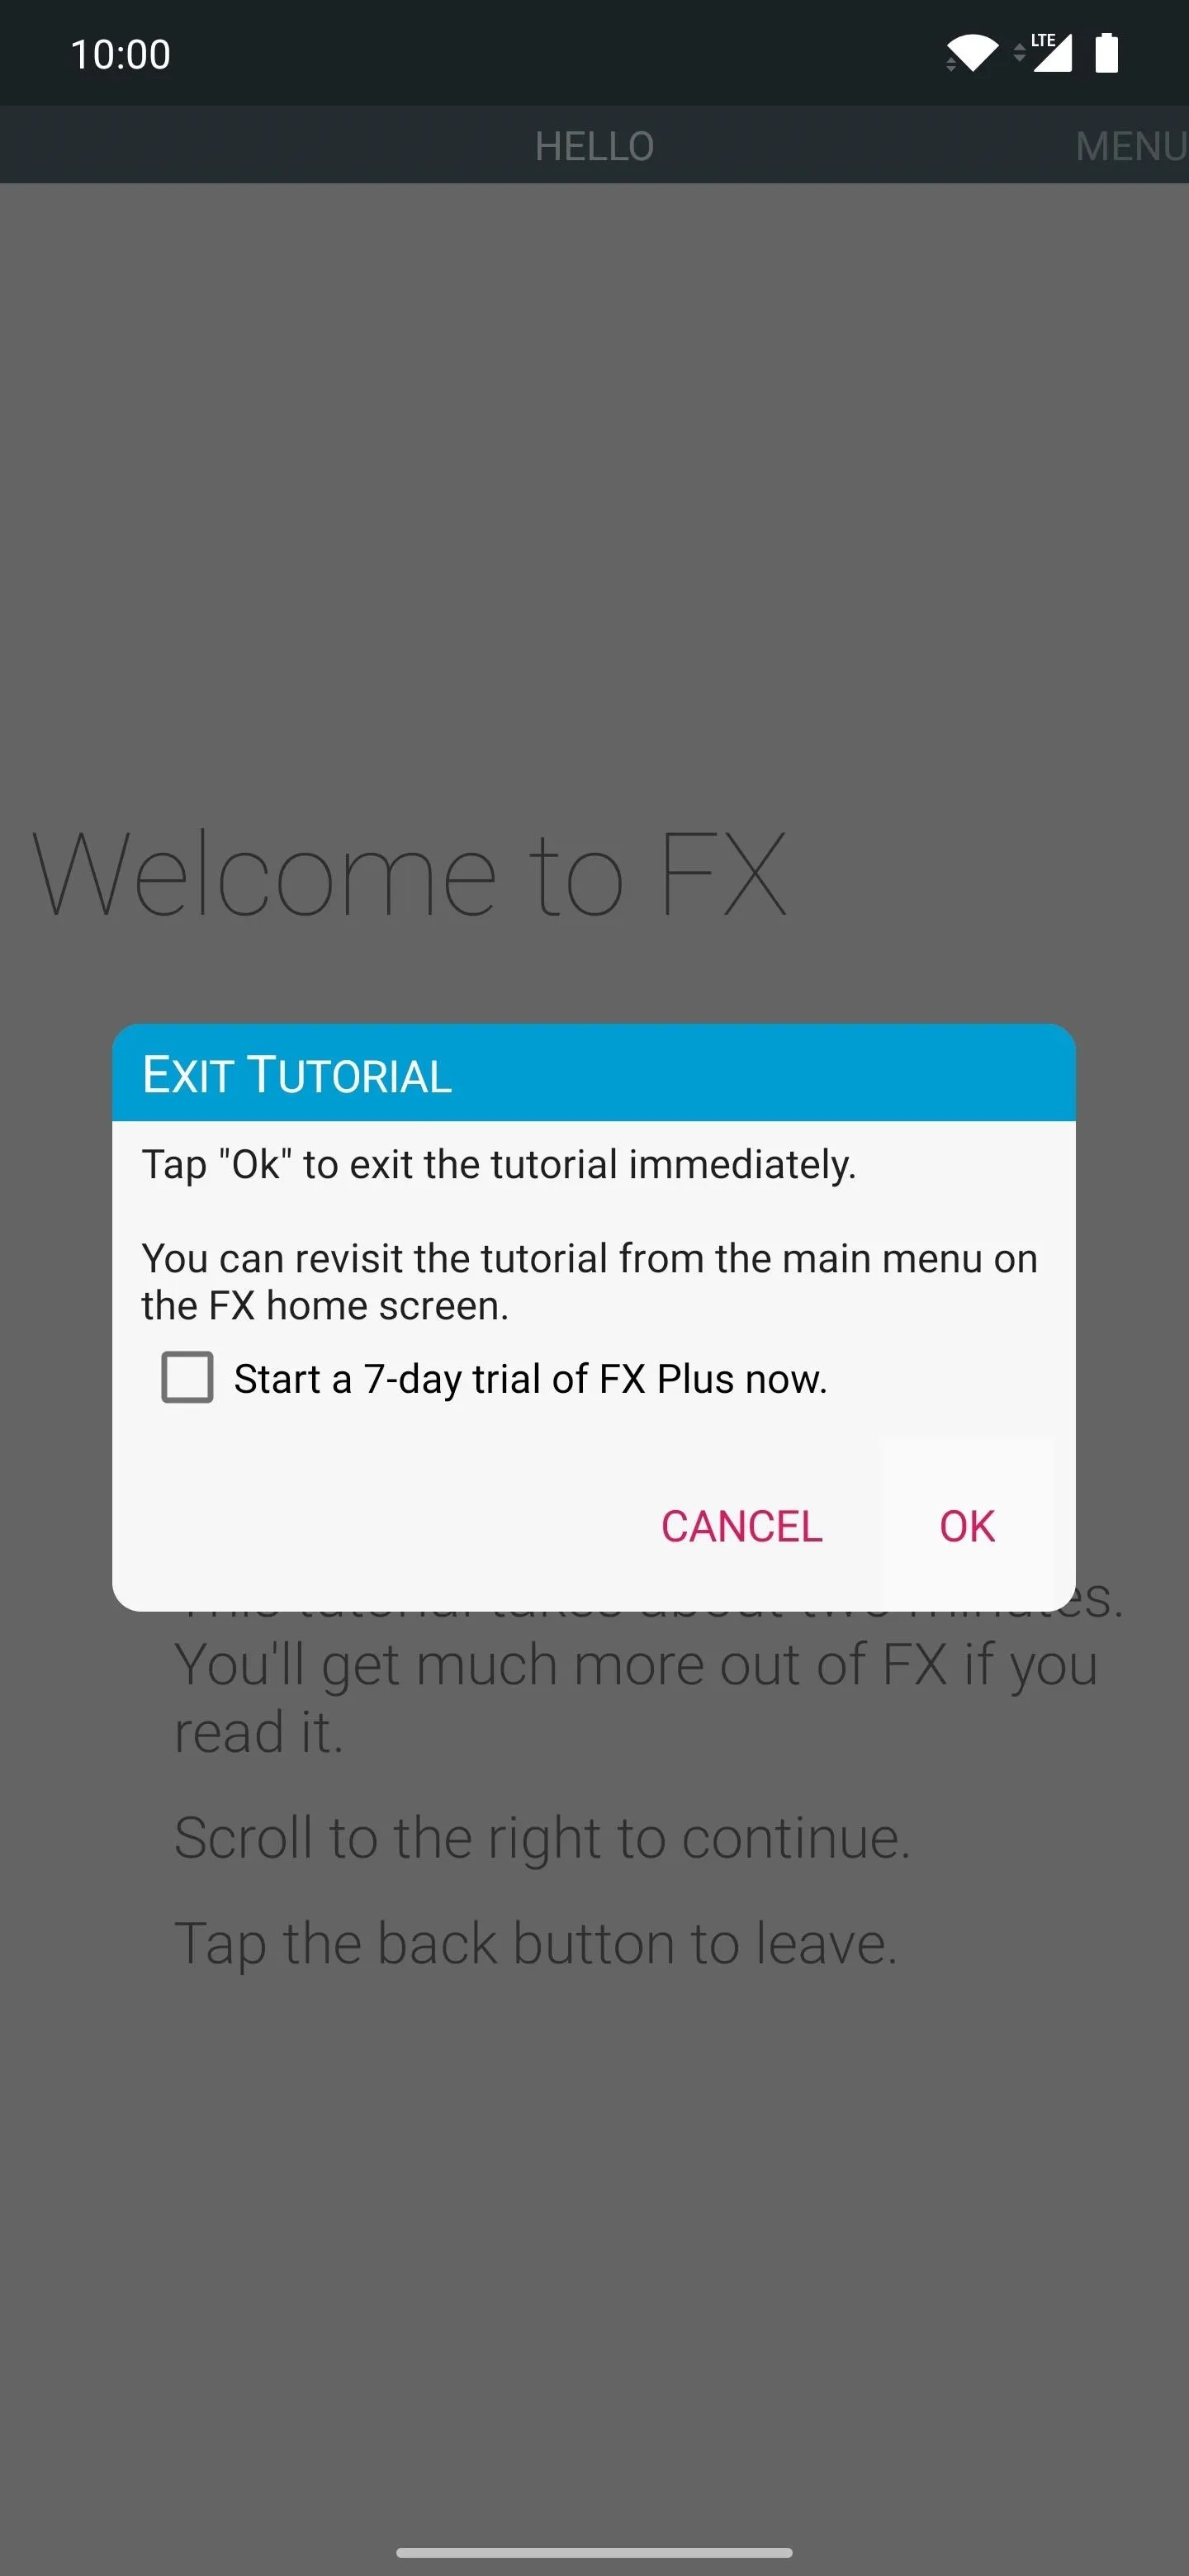
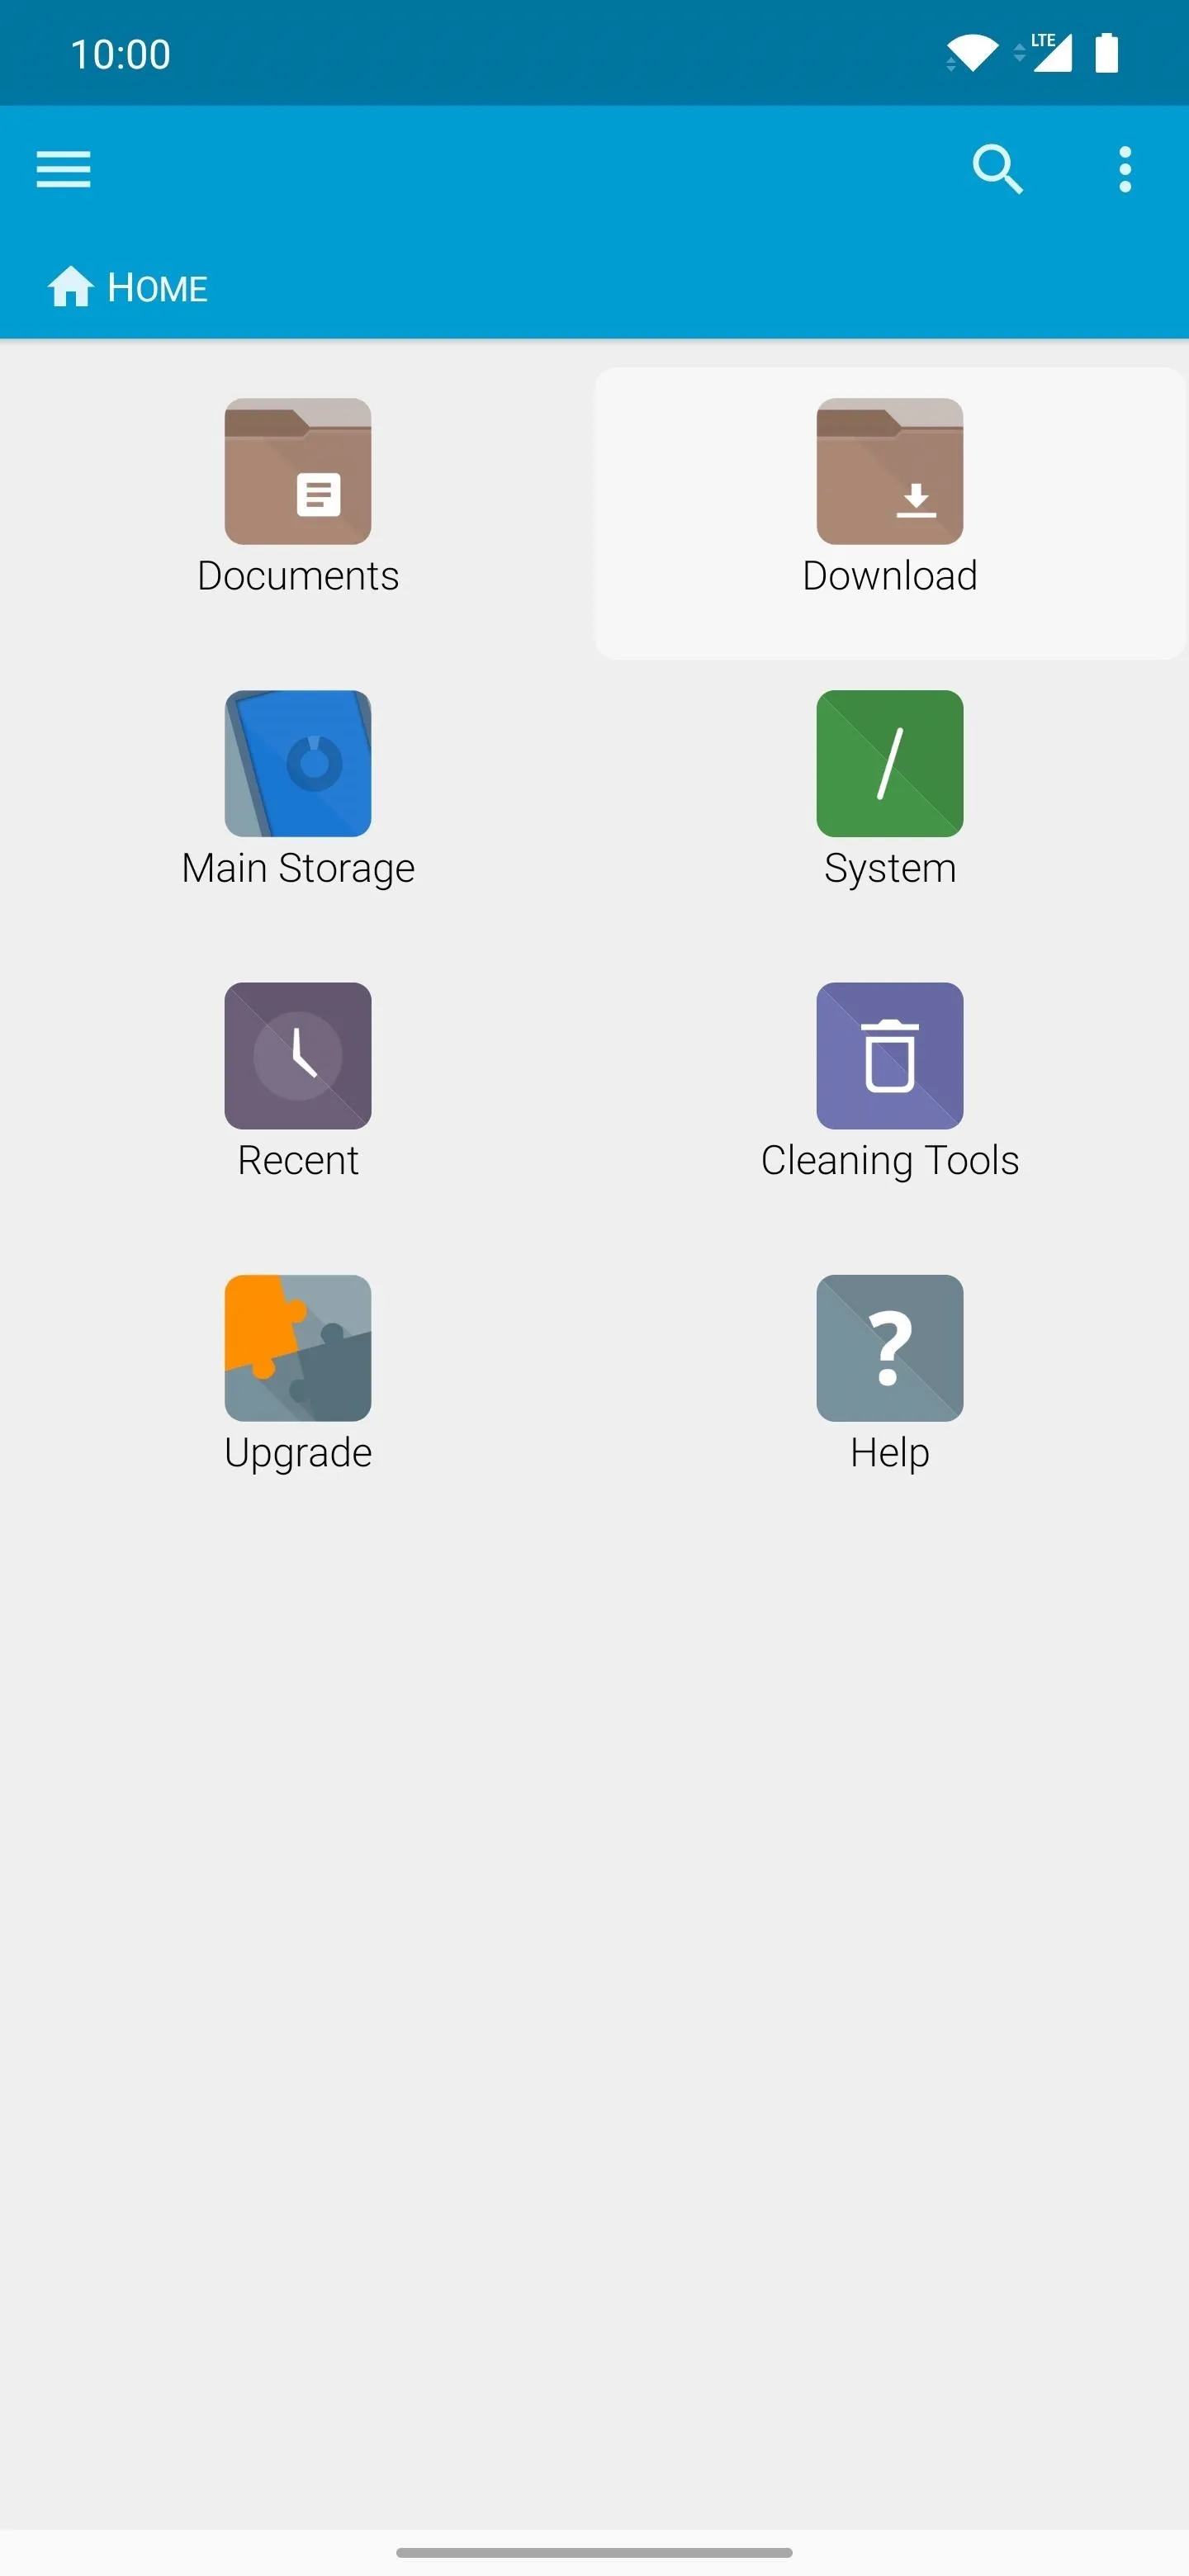
Open the FX File Explorer app on your Android device and confirm the agreement by tapping "Accept." Then you can either scroll through the pages to learn about the features or just hit the back arrow on your device to exit the tutorial. Uncheck "Start a 7-day trial of FX Plus now", then "OK" to confirm; there's no need to use this specific feature to transfer the checkra1n file.

Now you'll need to enable root file permissions so you can move the Checkra1n file into your system partition for use in Termux.
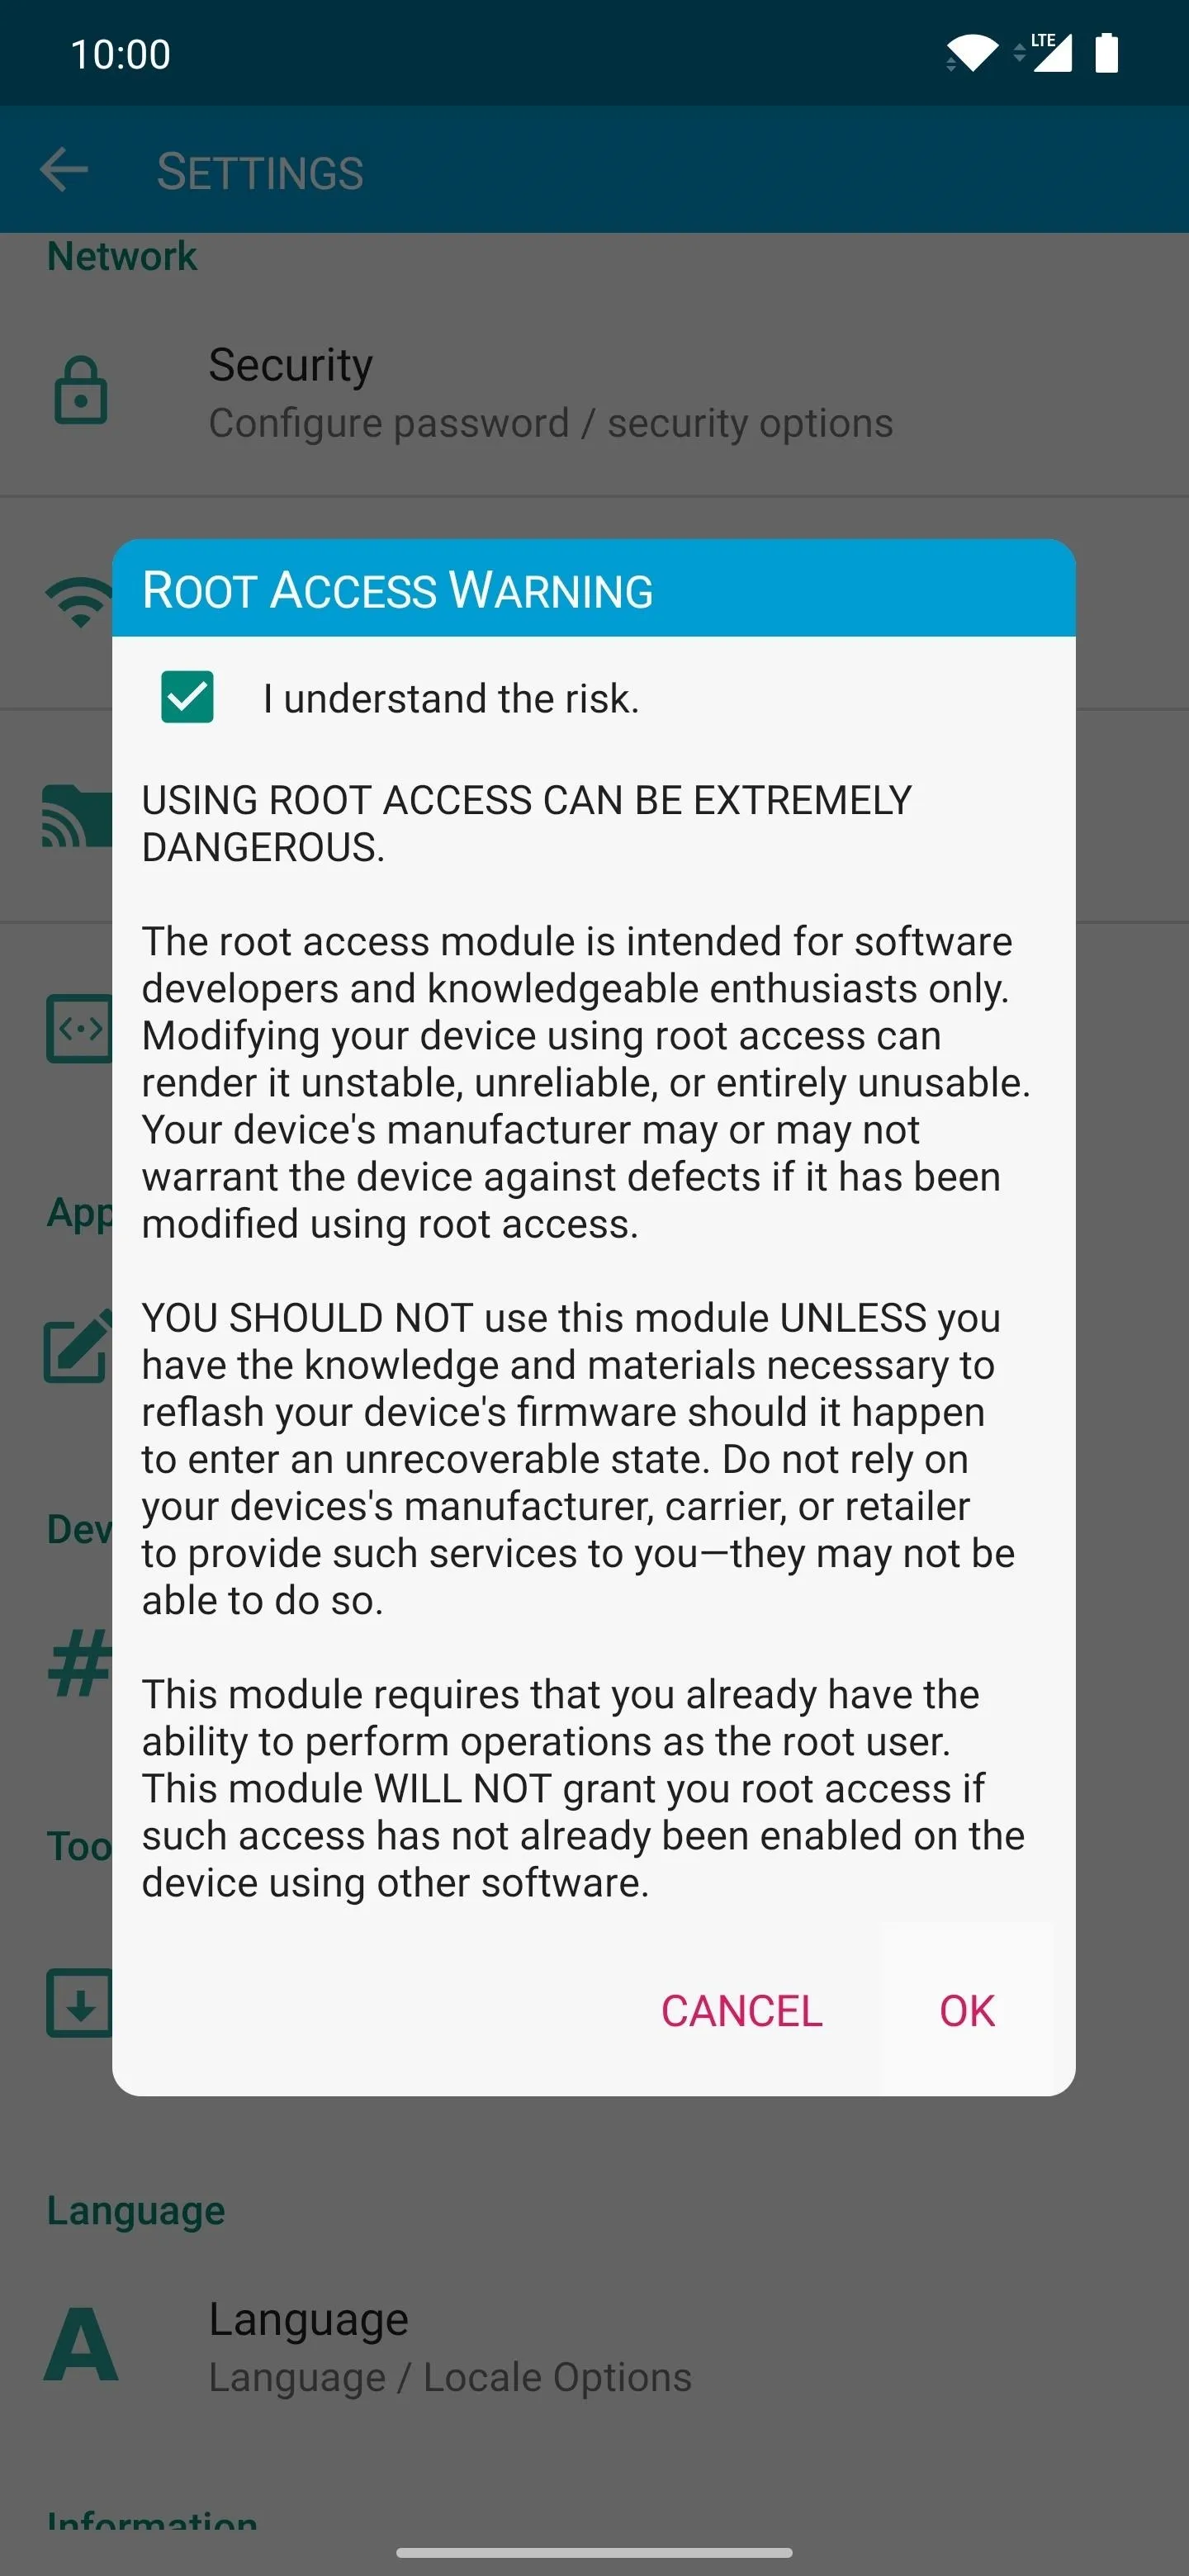
From the main home screen, tap the menu icon on the left, go to "Settings," scroll down until you find the "Developer Root" option, then select it to bring up a new warning screen you should read. It just lets you know to be careful when messing with system files. Check the "I understand the risk" box, then "OK" to confirm. Tap the back arrow to return to the home screen.
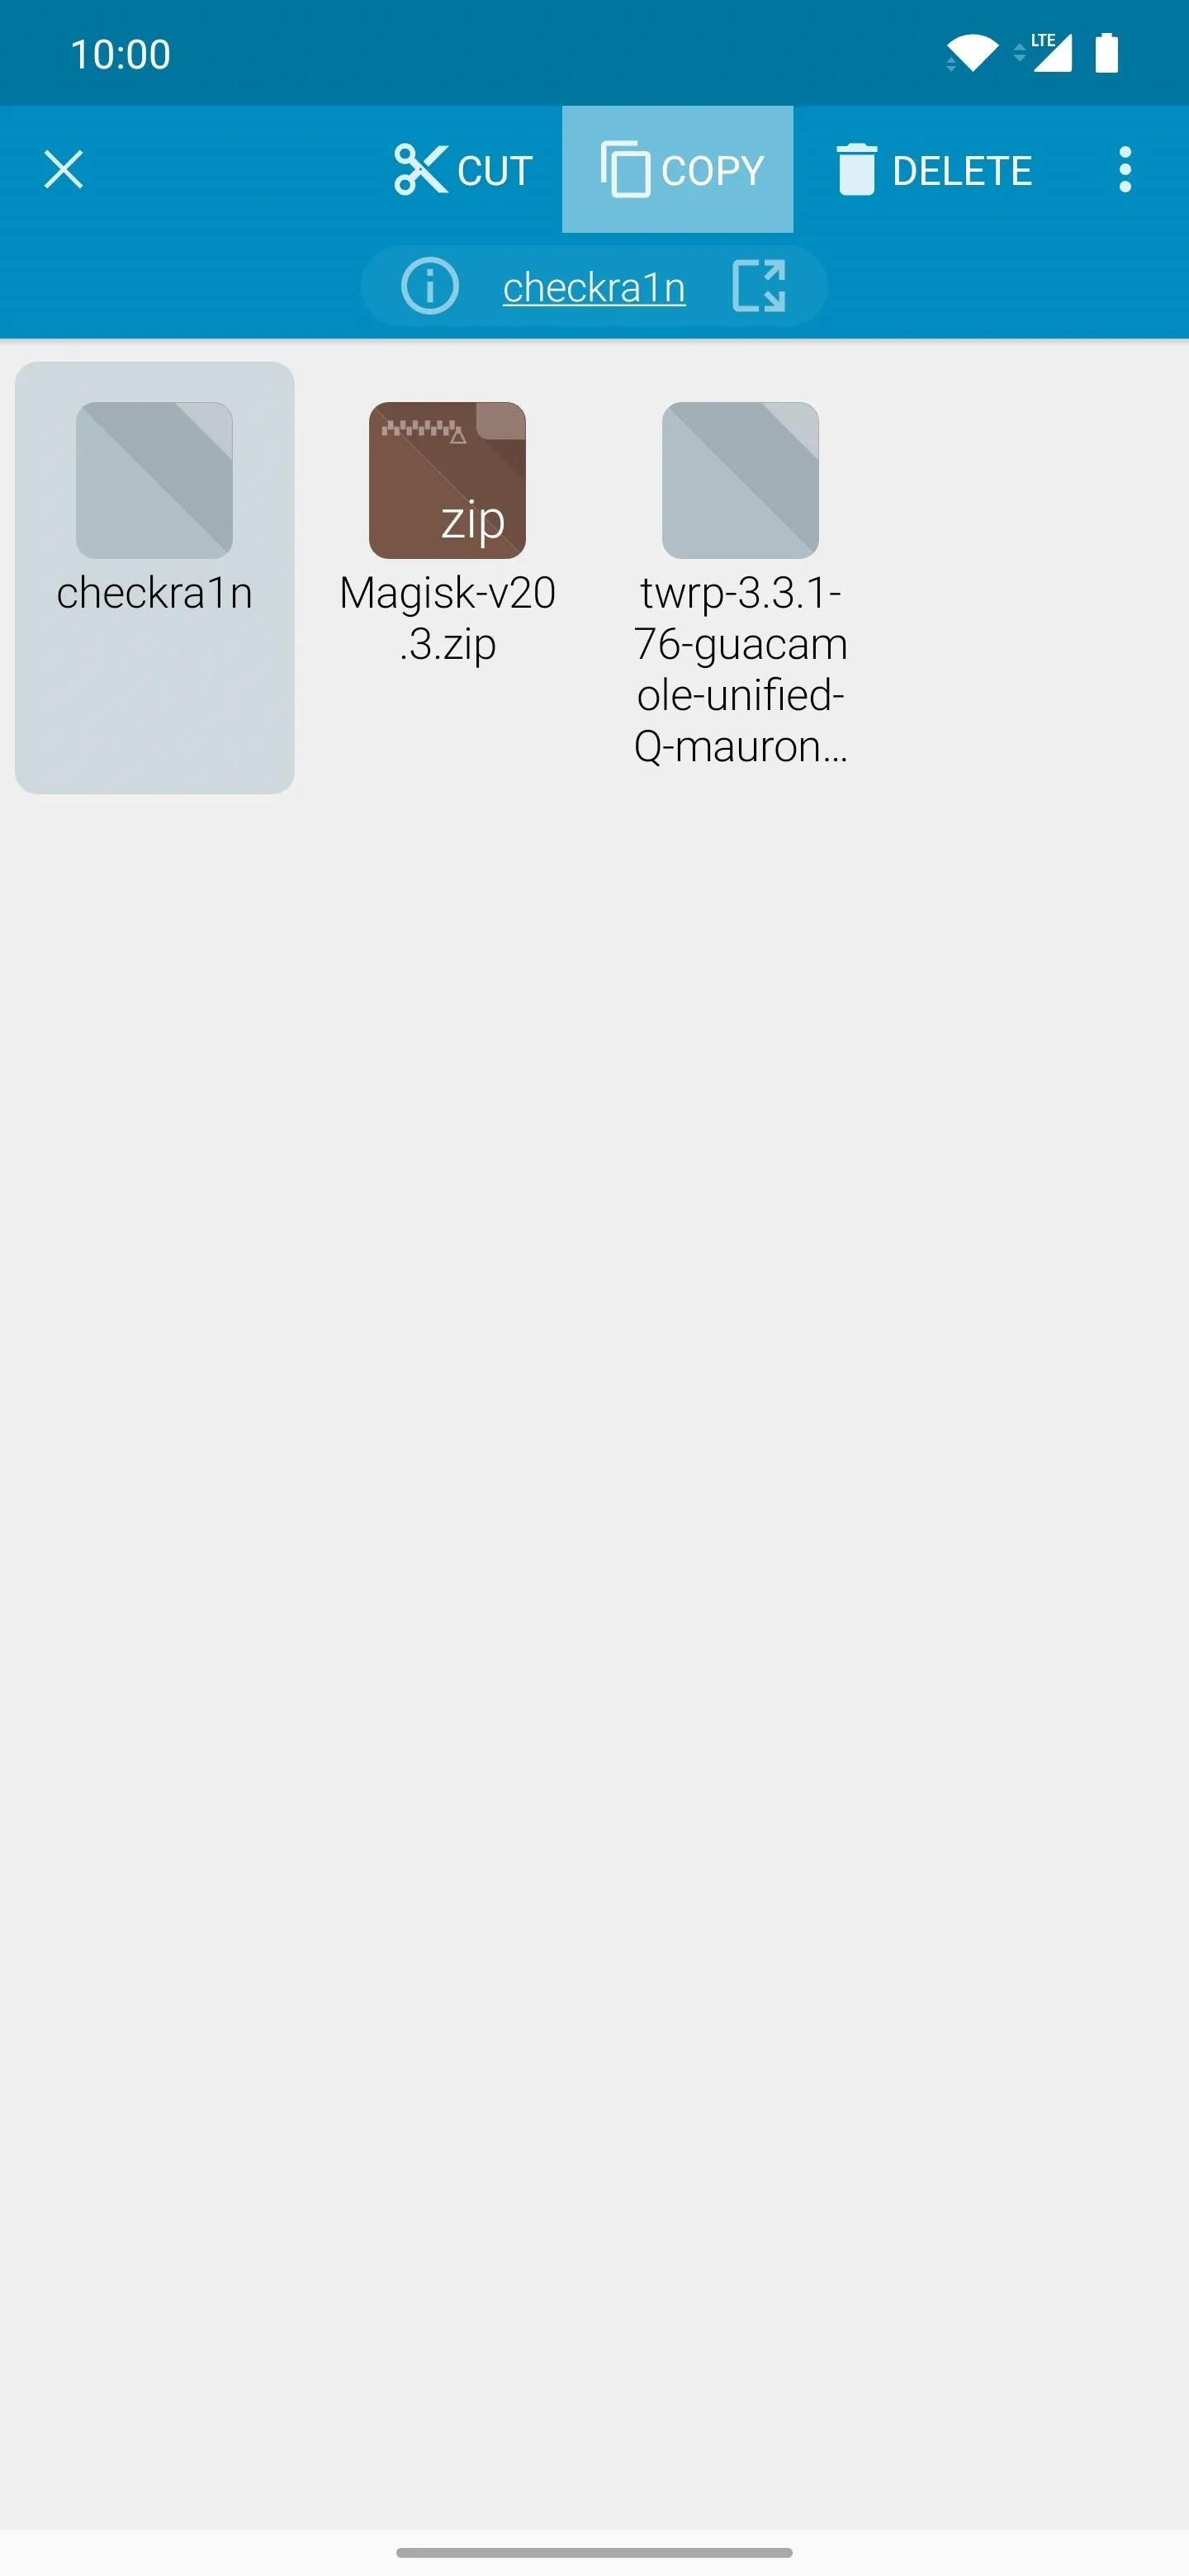
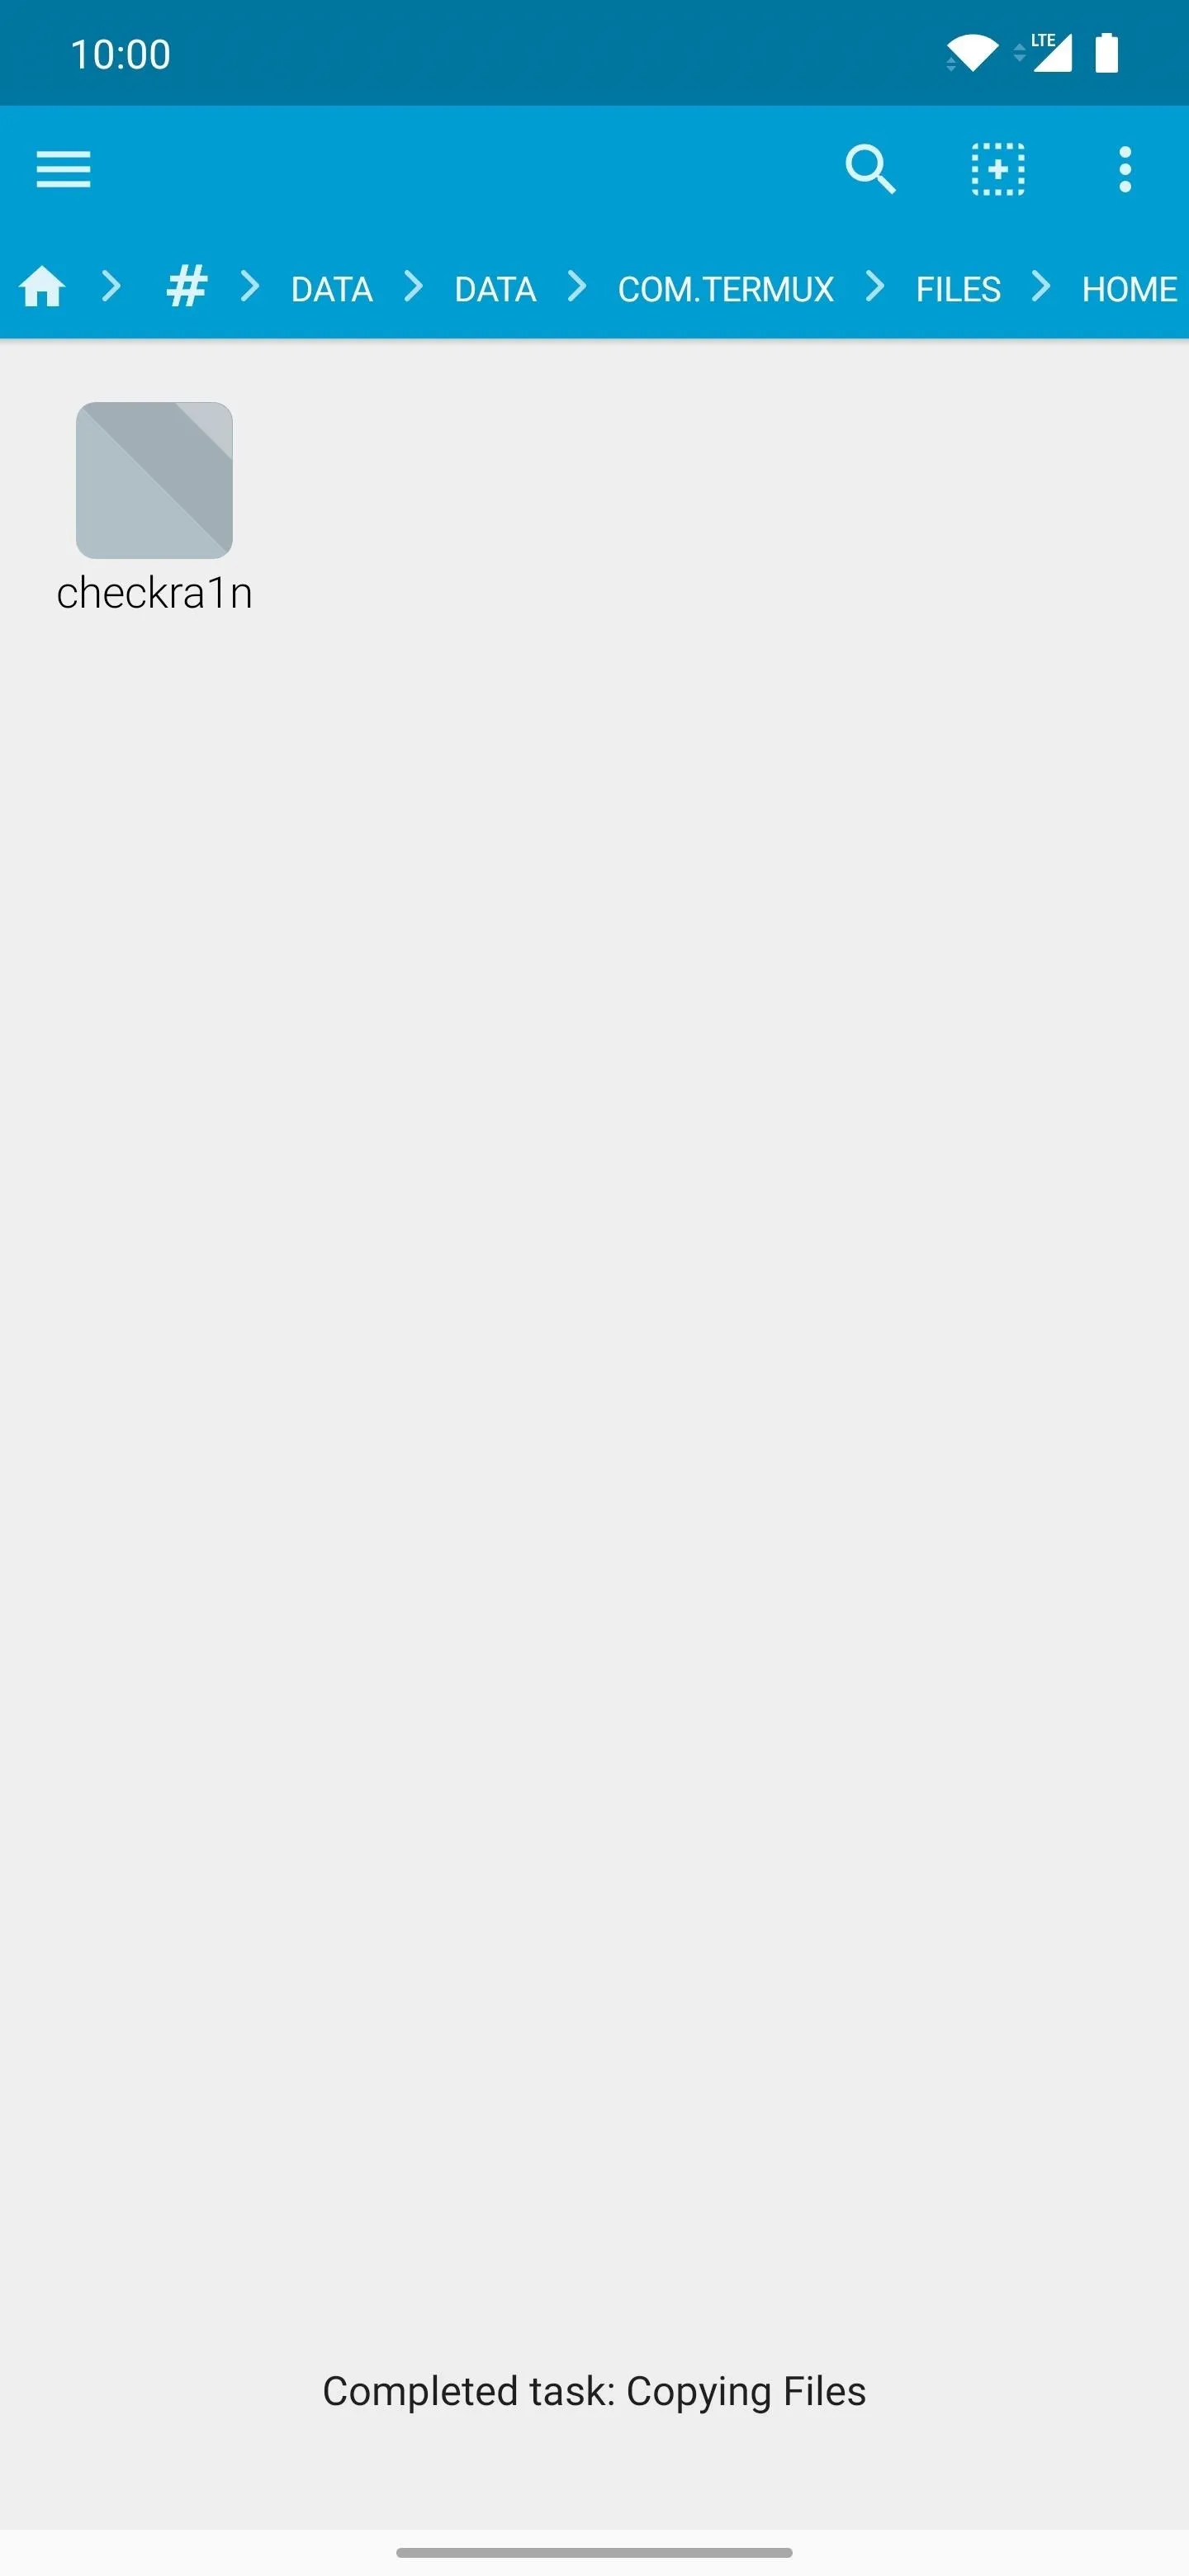
Now, tap the "Download" folder, locate the Checkra1n file you downloaded earlier, then long-press it to select the "Copy" option at the top.
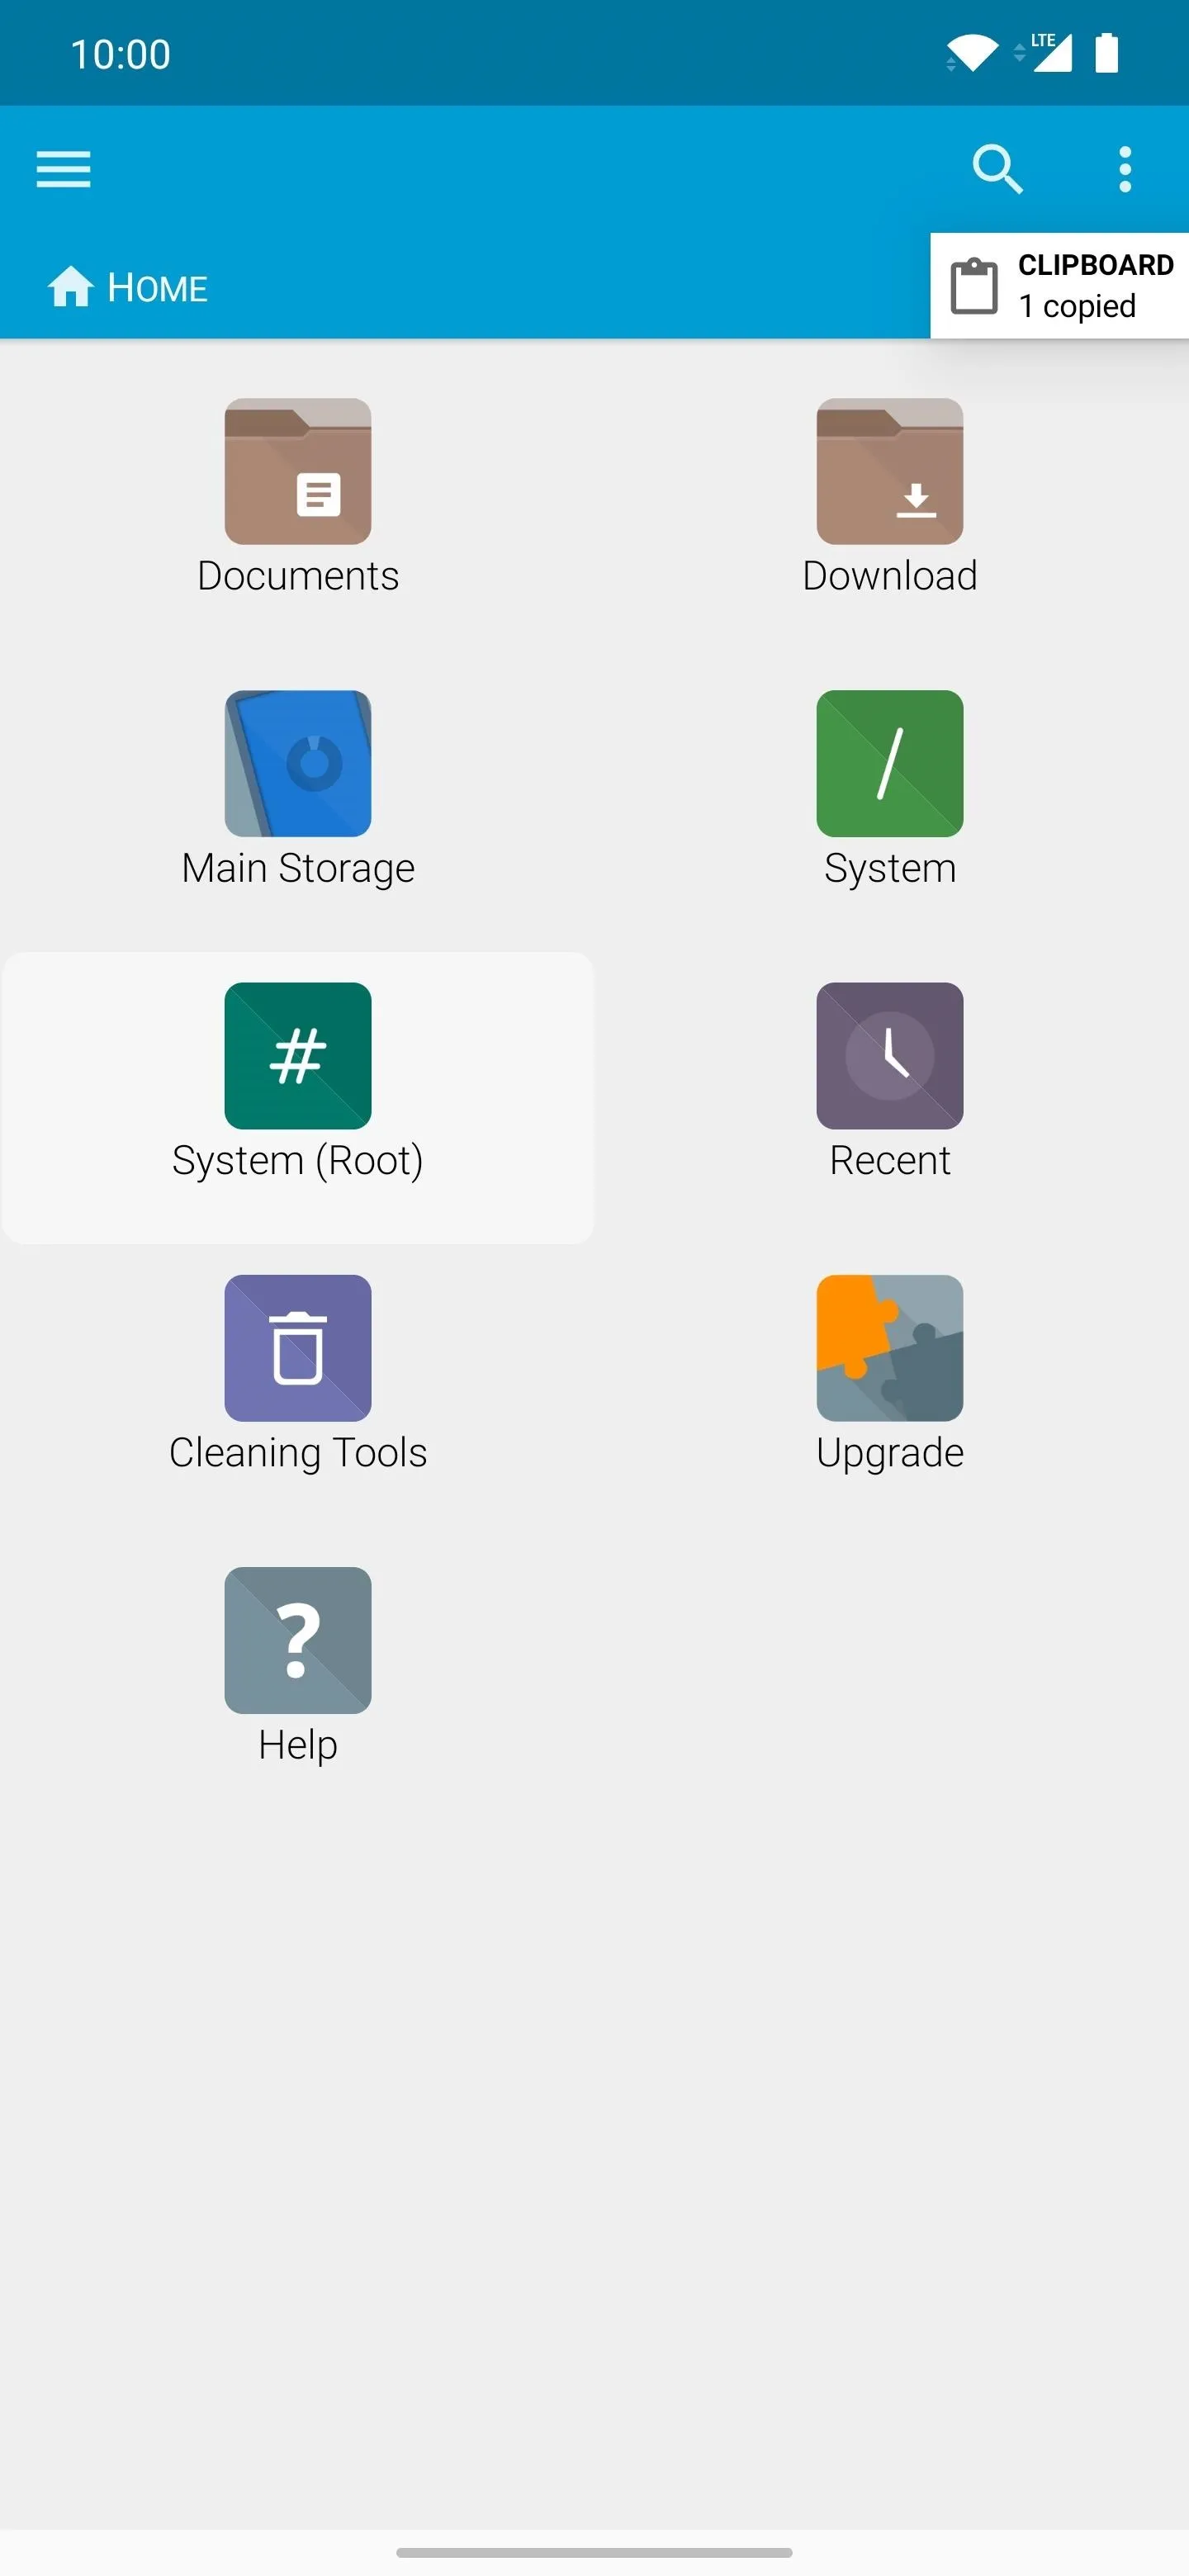
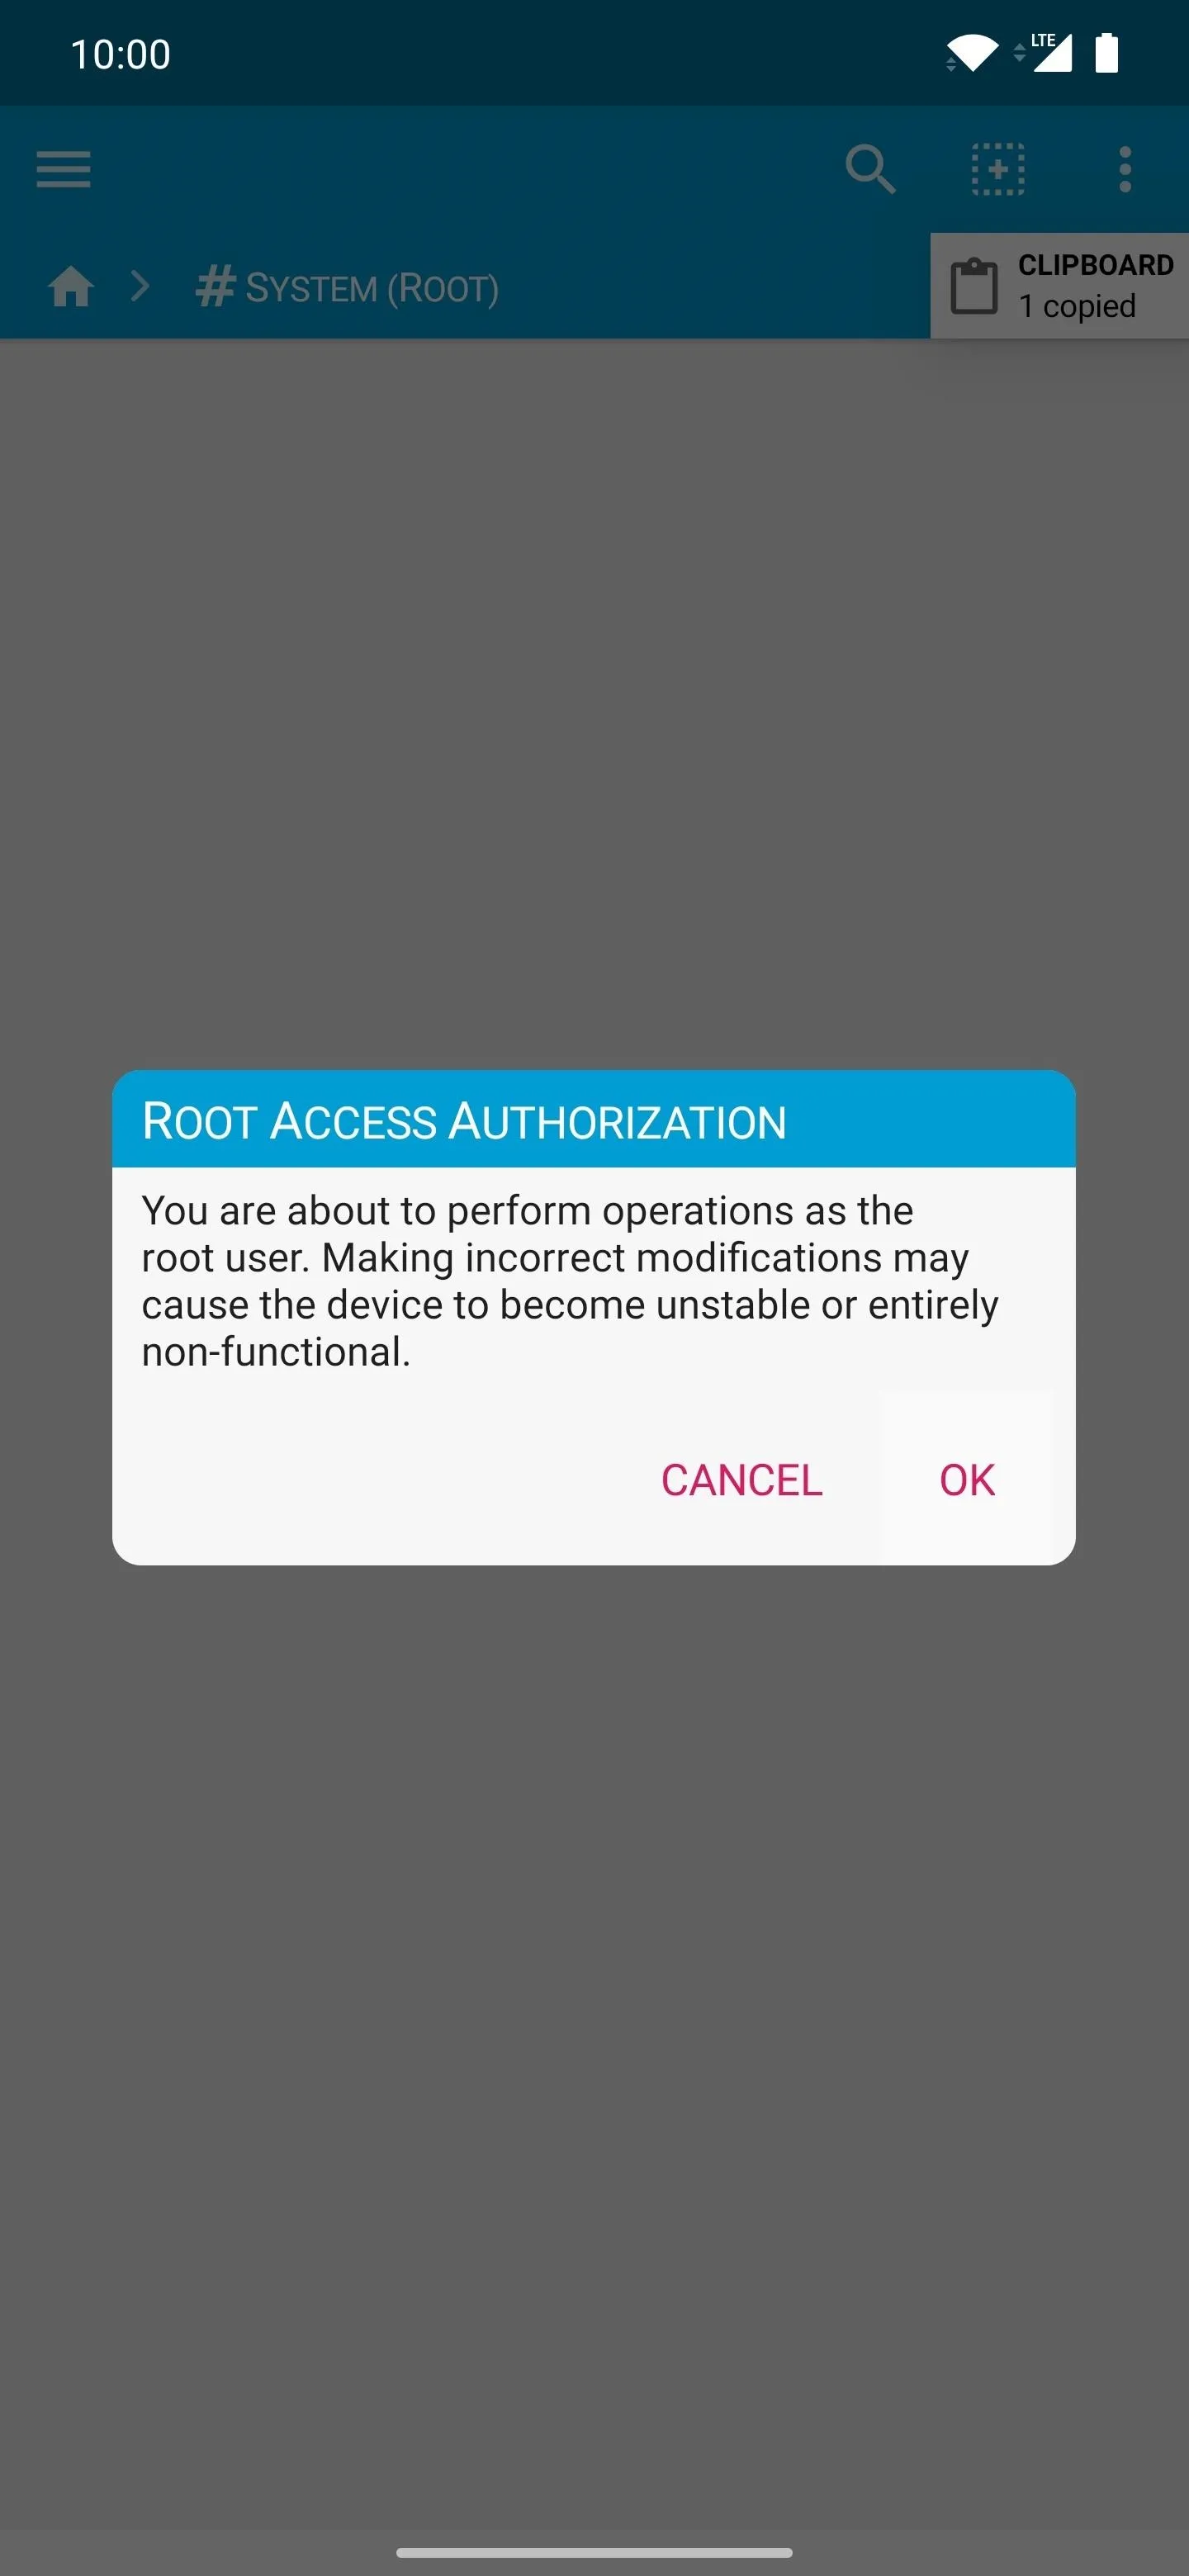
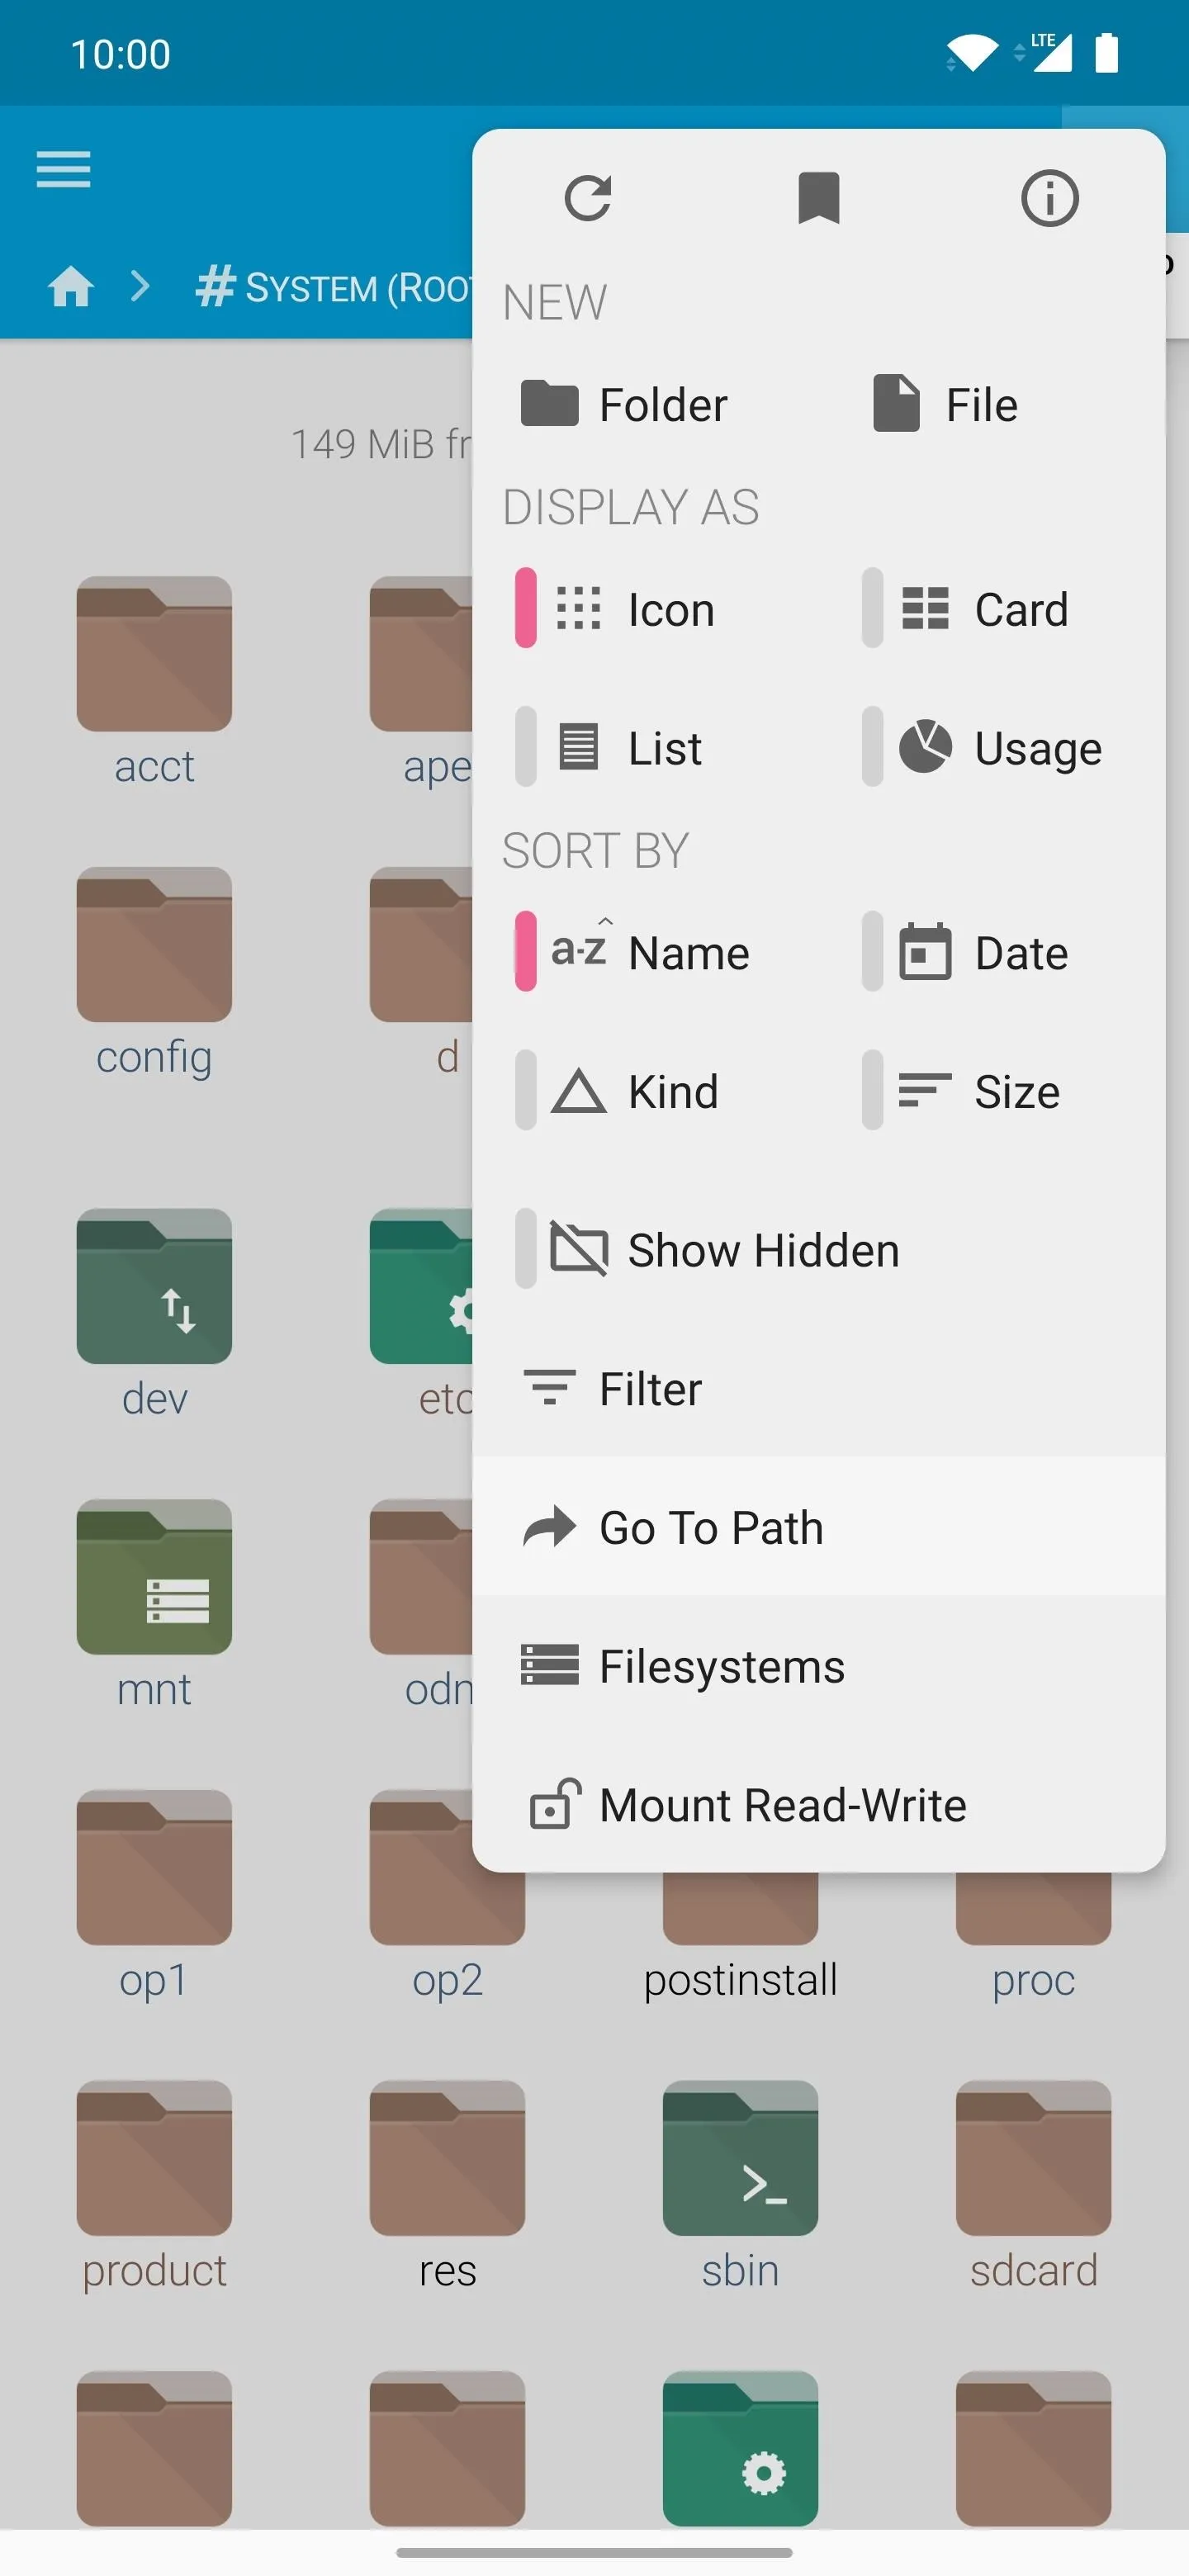
From here, tap the back arrow to return to the home screen, then go to the newly enabled "System (Root)" section. You will get a pop-up telling you to be careful with the changes you make here as a root user since the system partition has sensitive files on it. Tap "OK" to confirm, then hit "Grant" to enable superuser privileges.

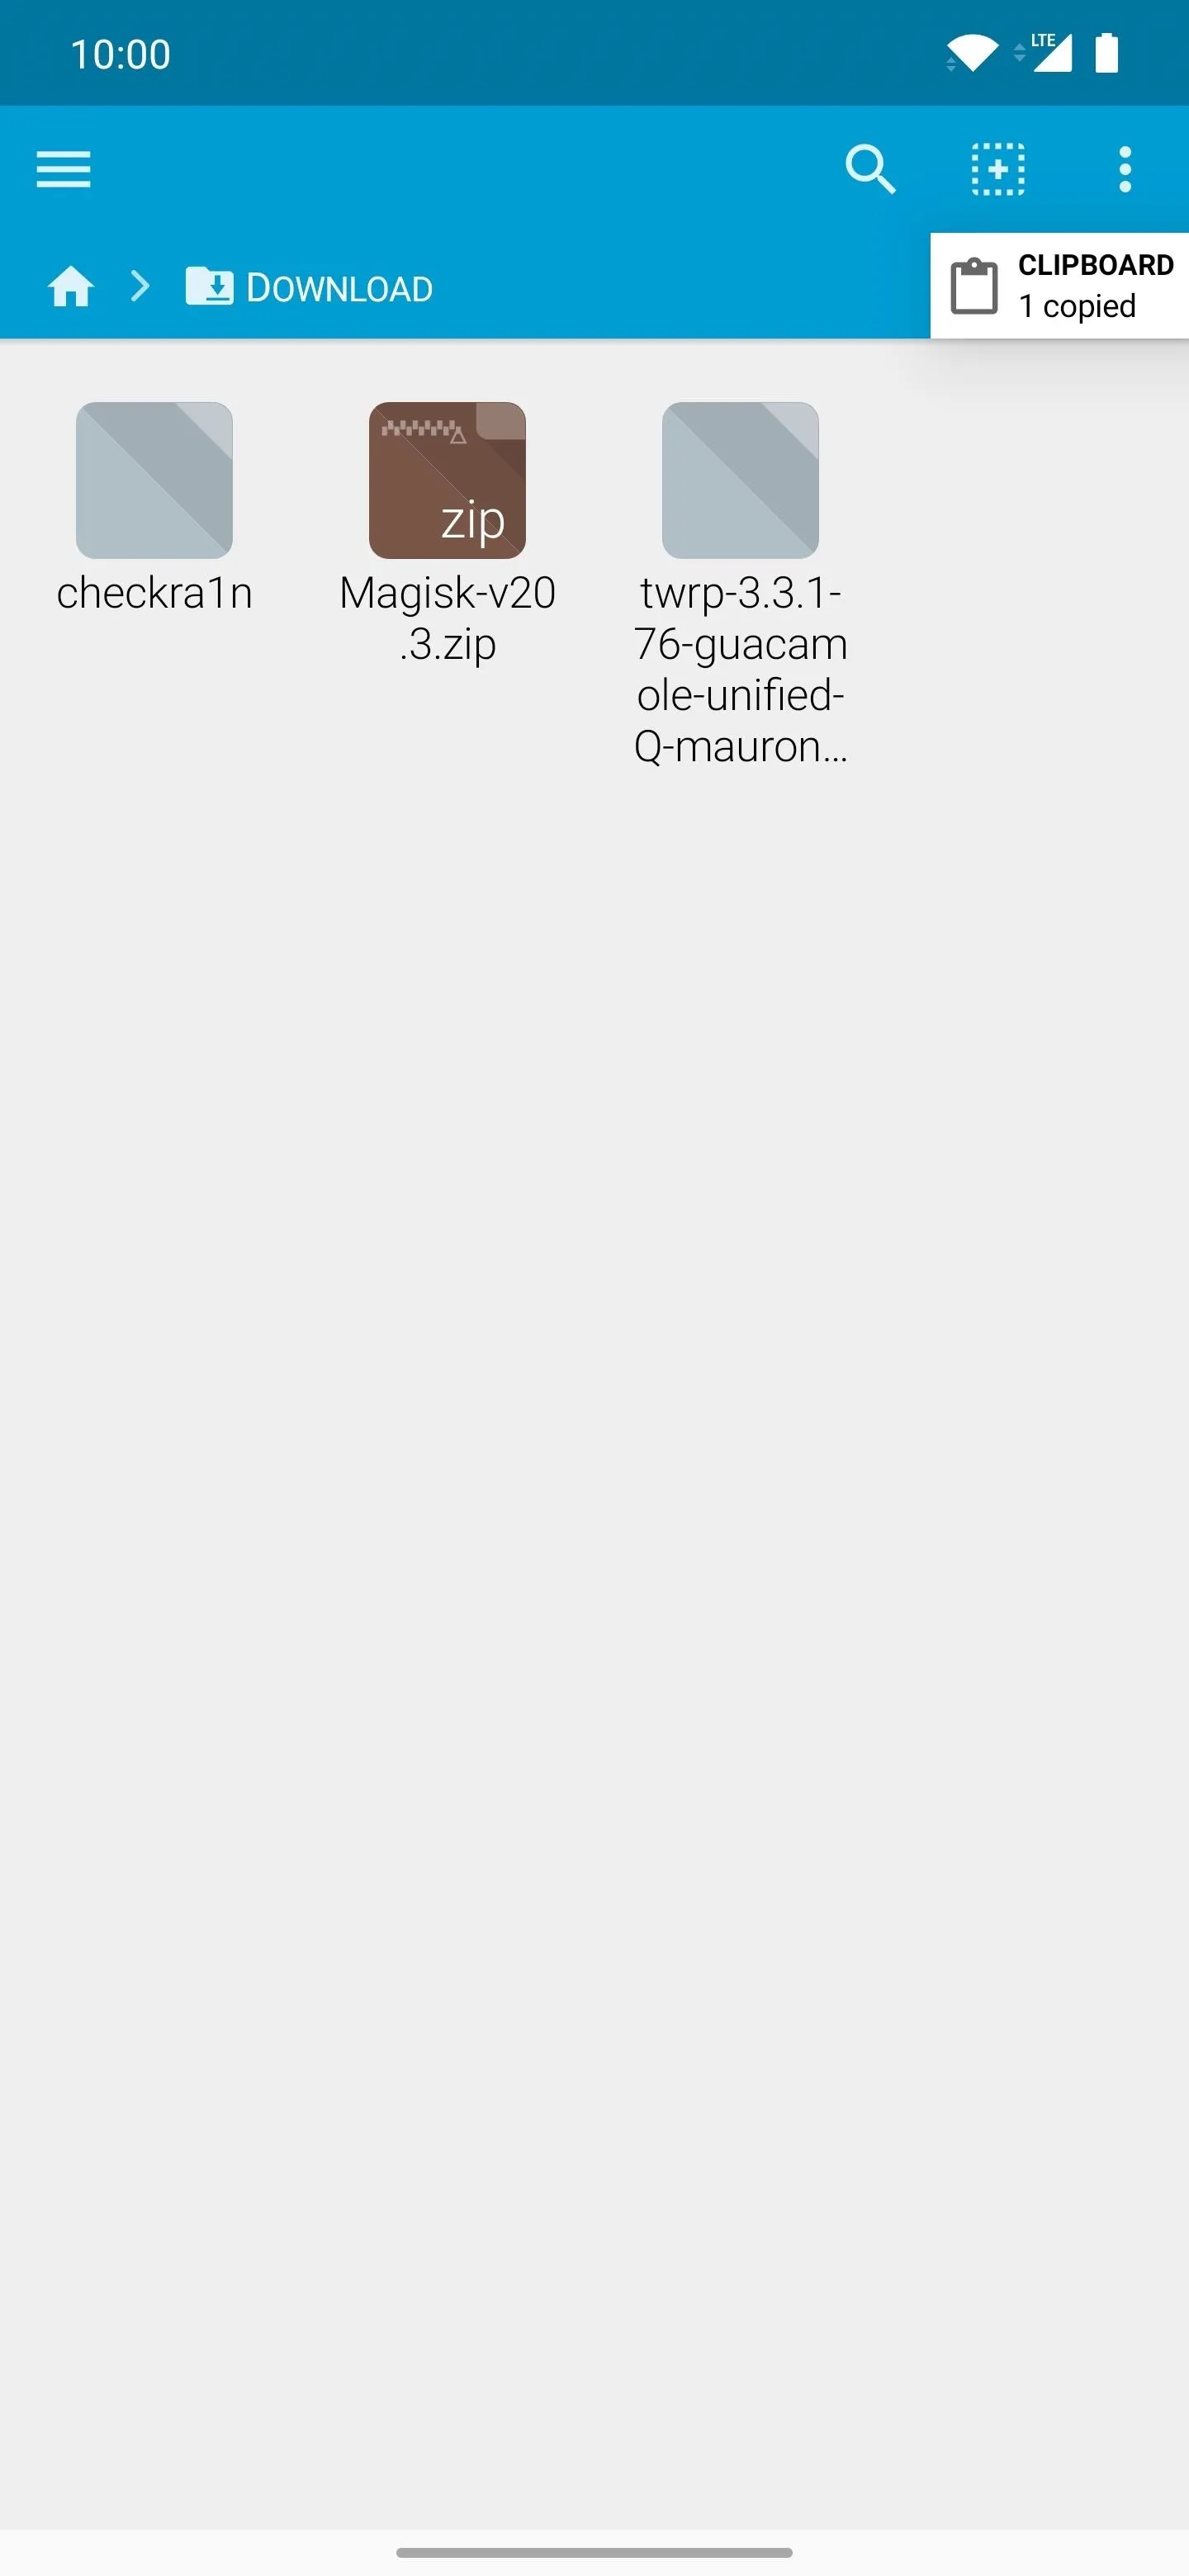
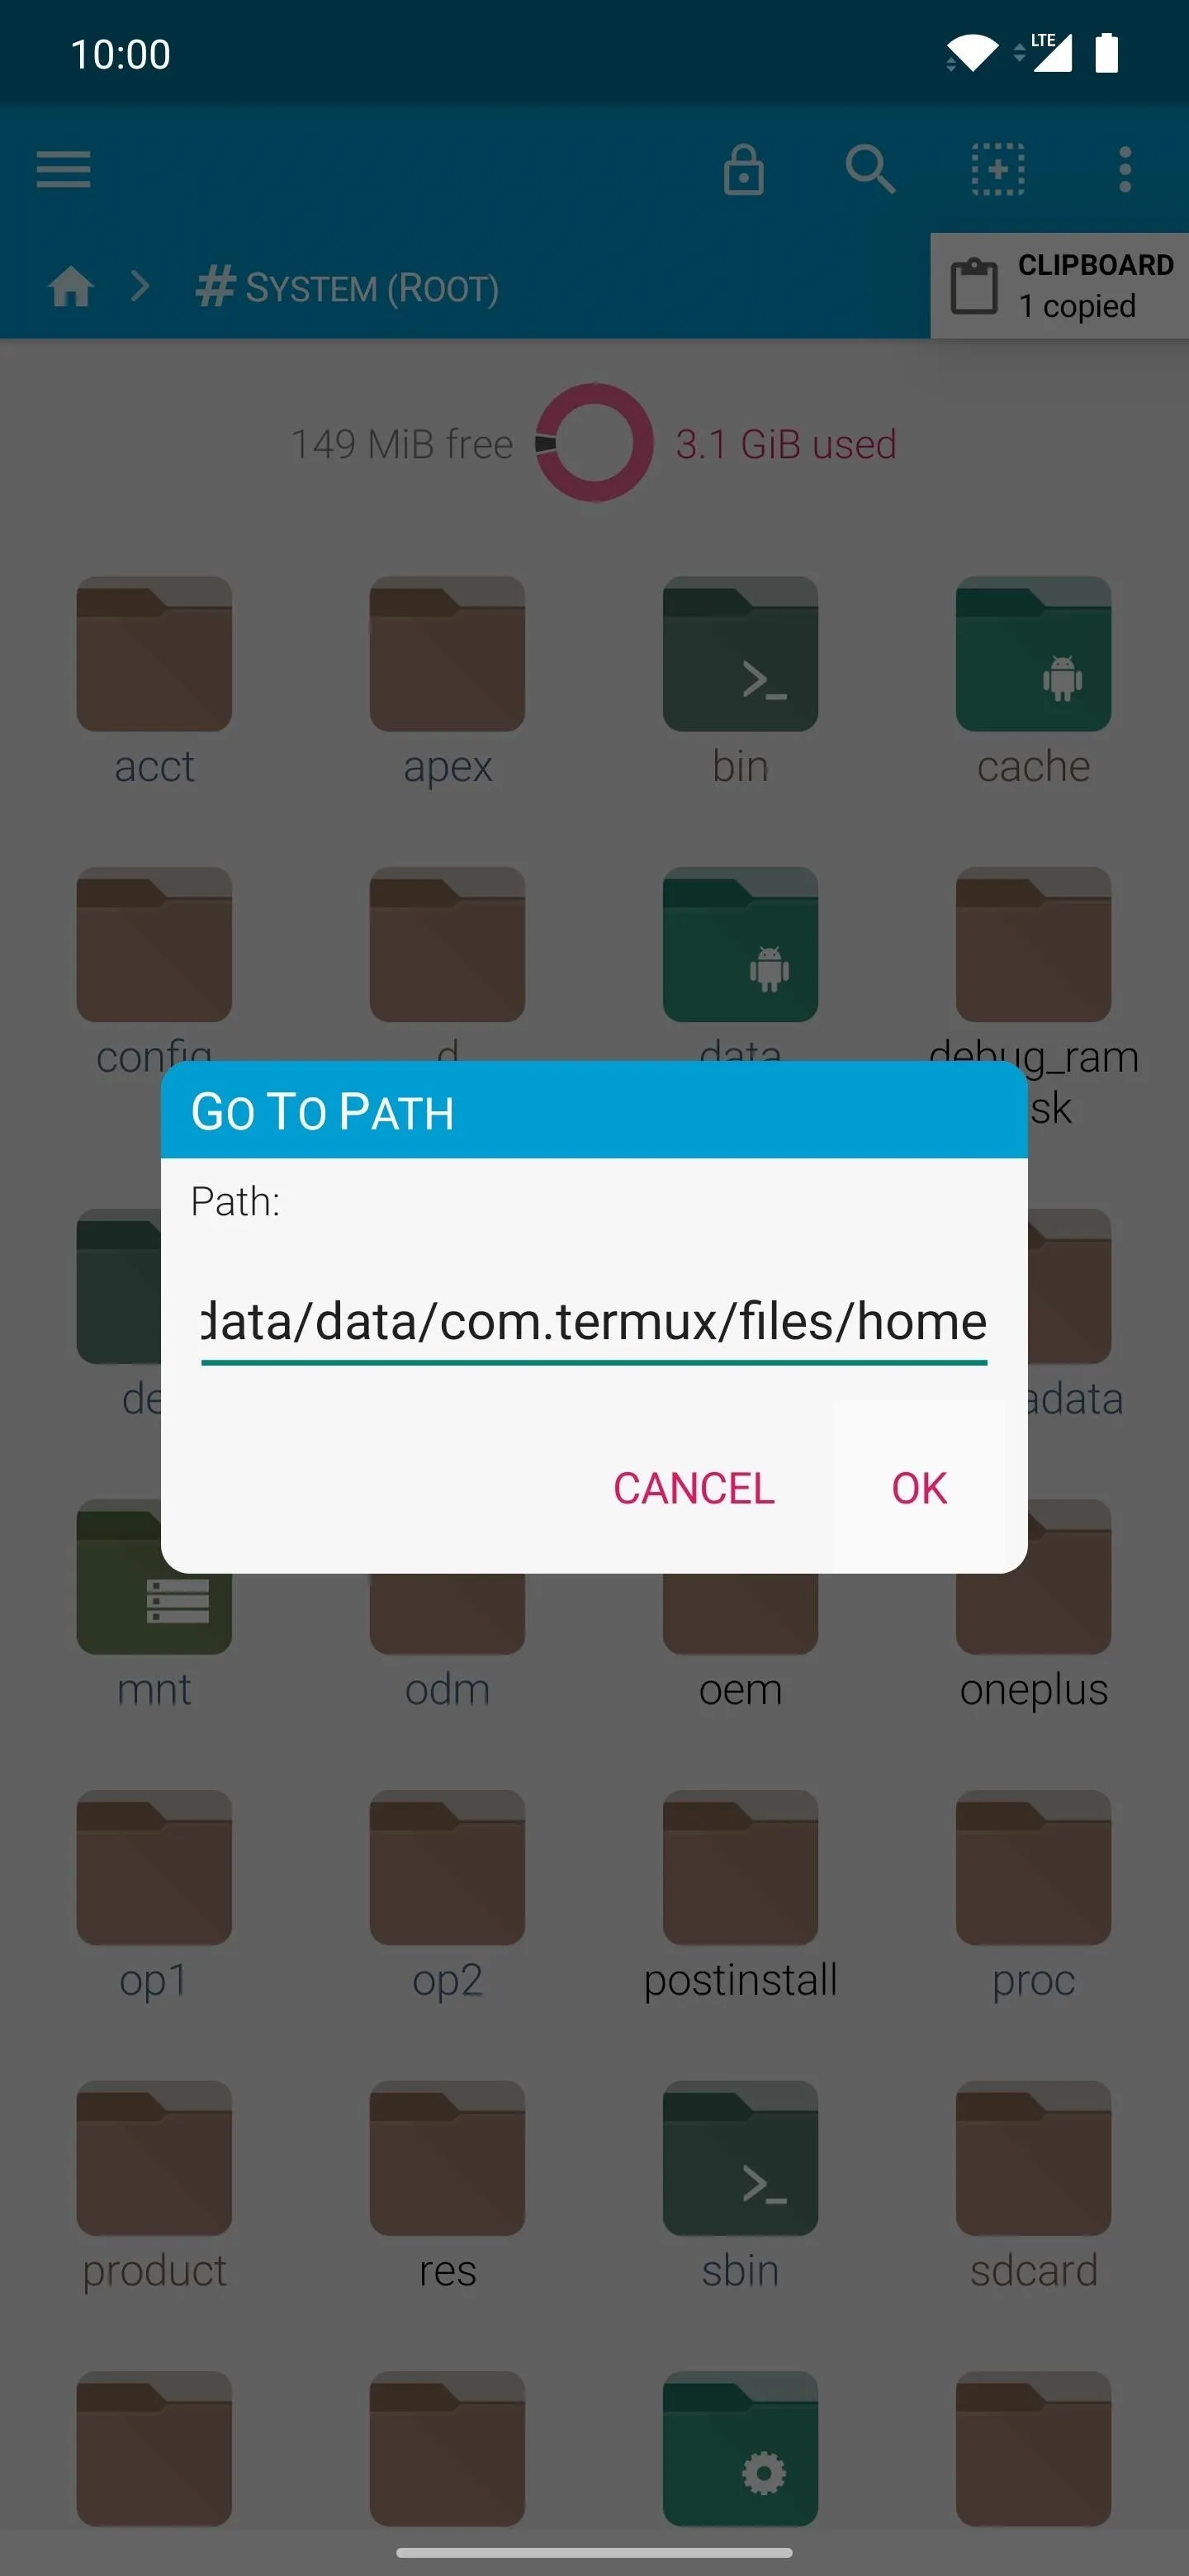
Next, tap the three-dot vertical menu icon at the top, select "Go To Path," and type or paste the folder location in the text box with "/data/data/com.termux/files/home." Hit "OK" to jump right into the correct folder location for storing files in Termux.
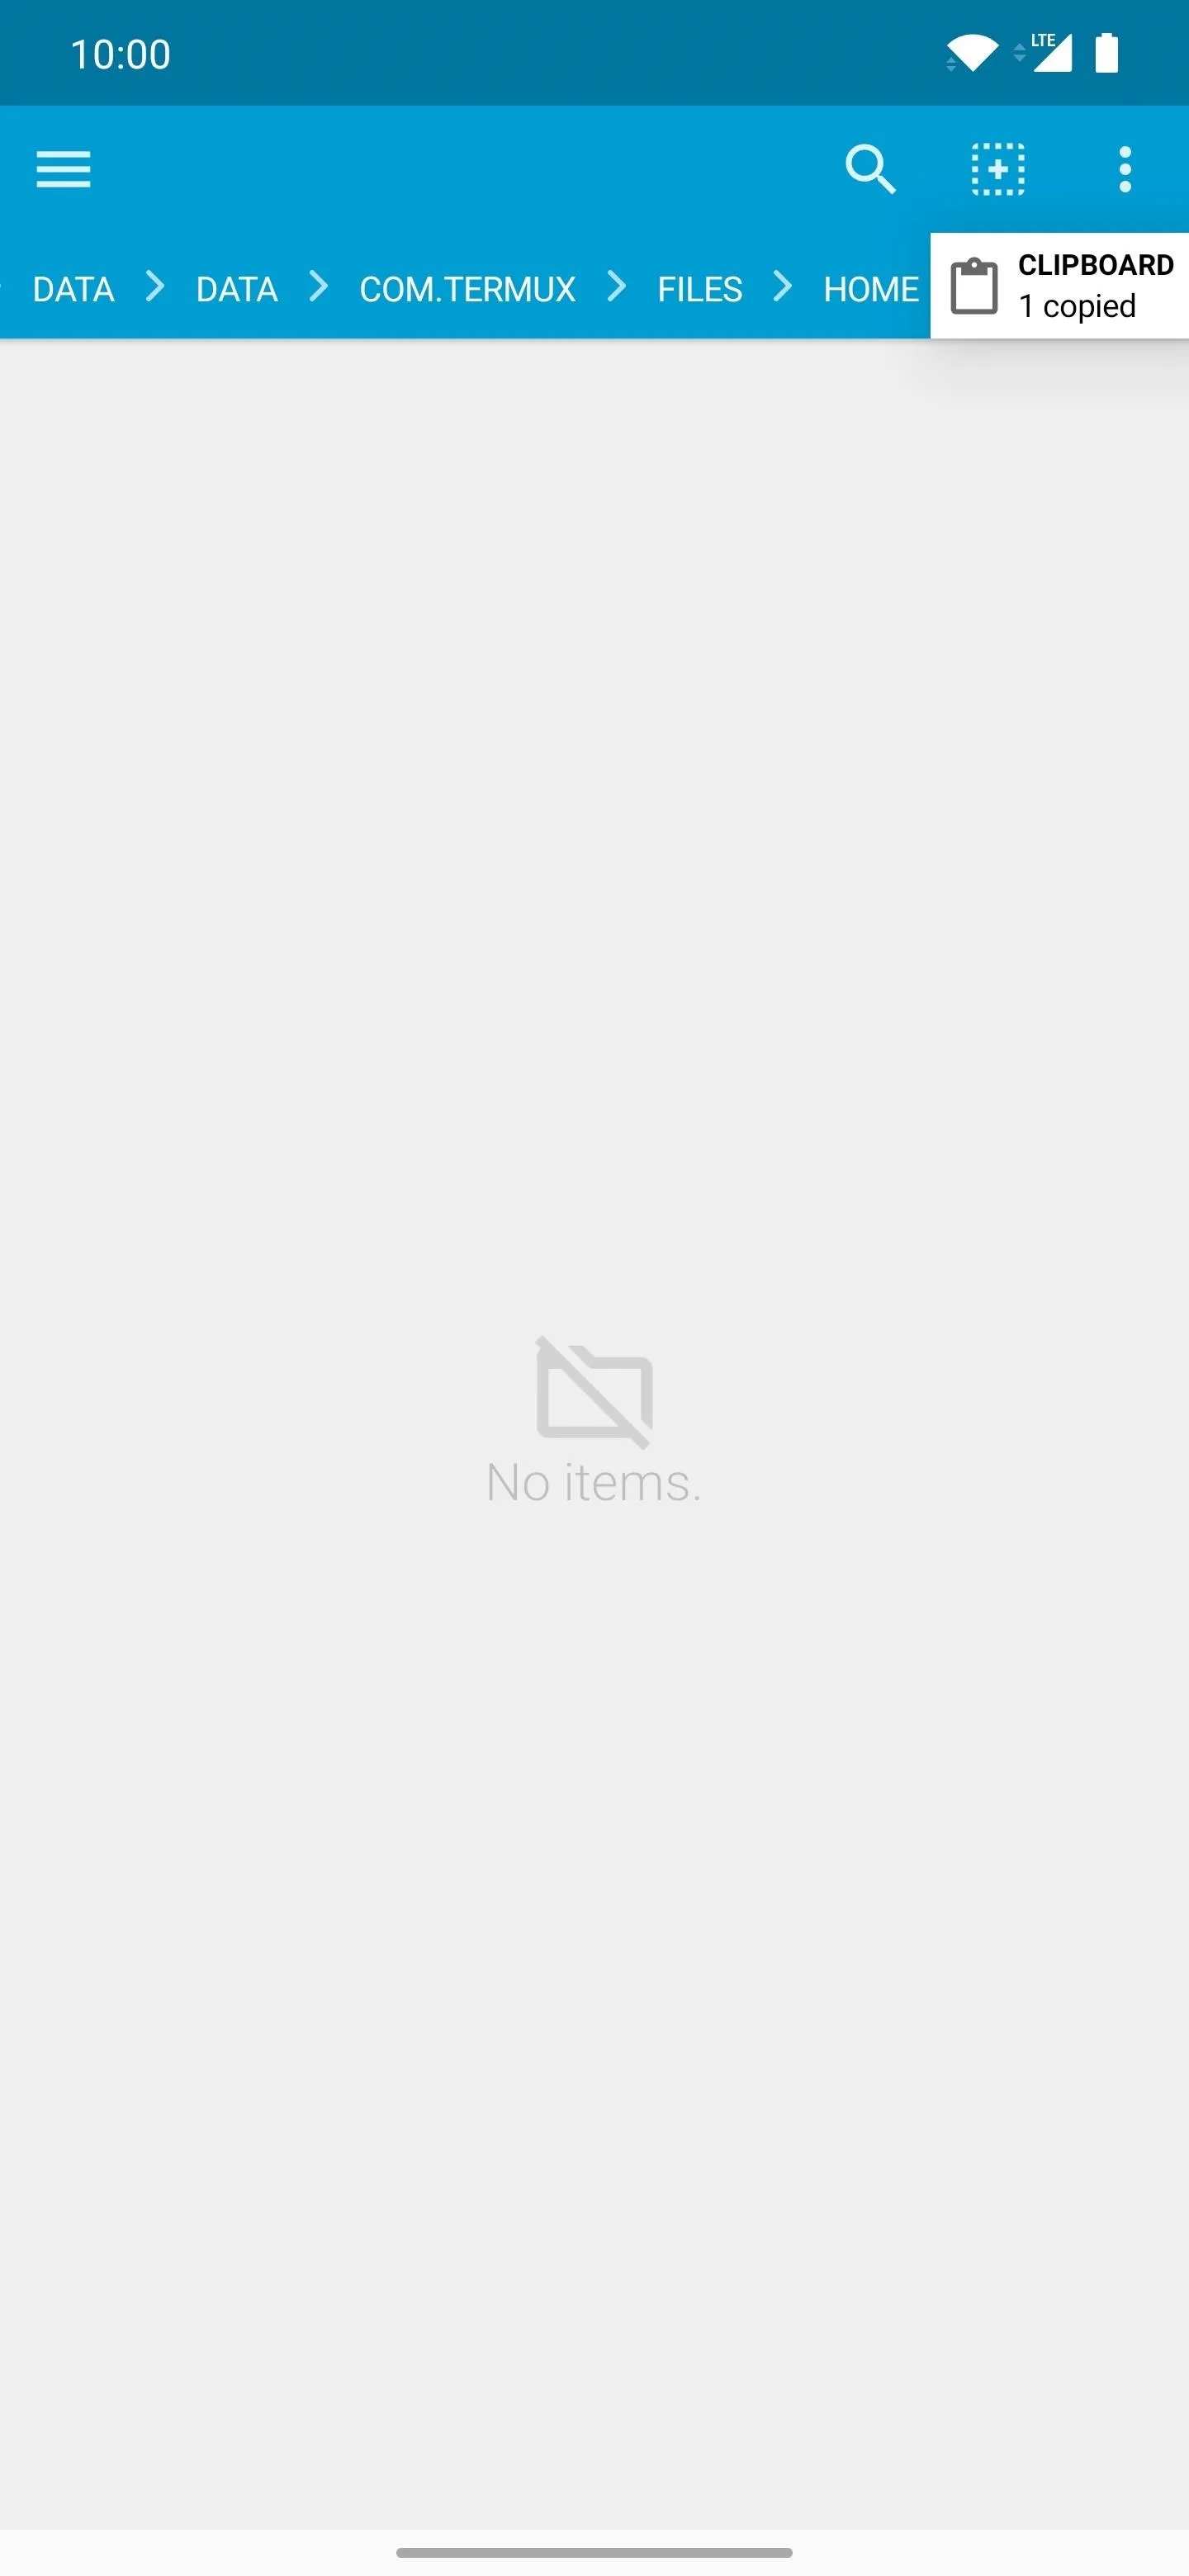
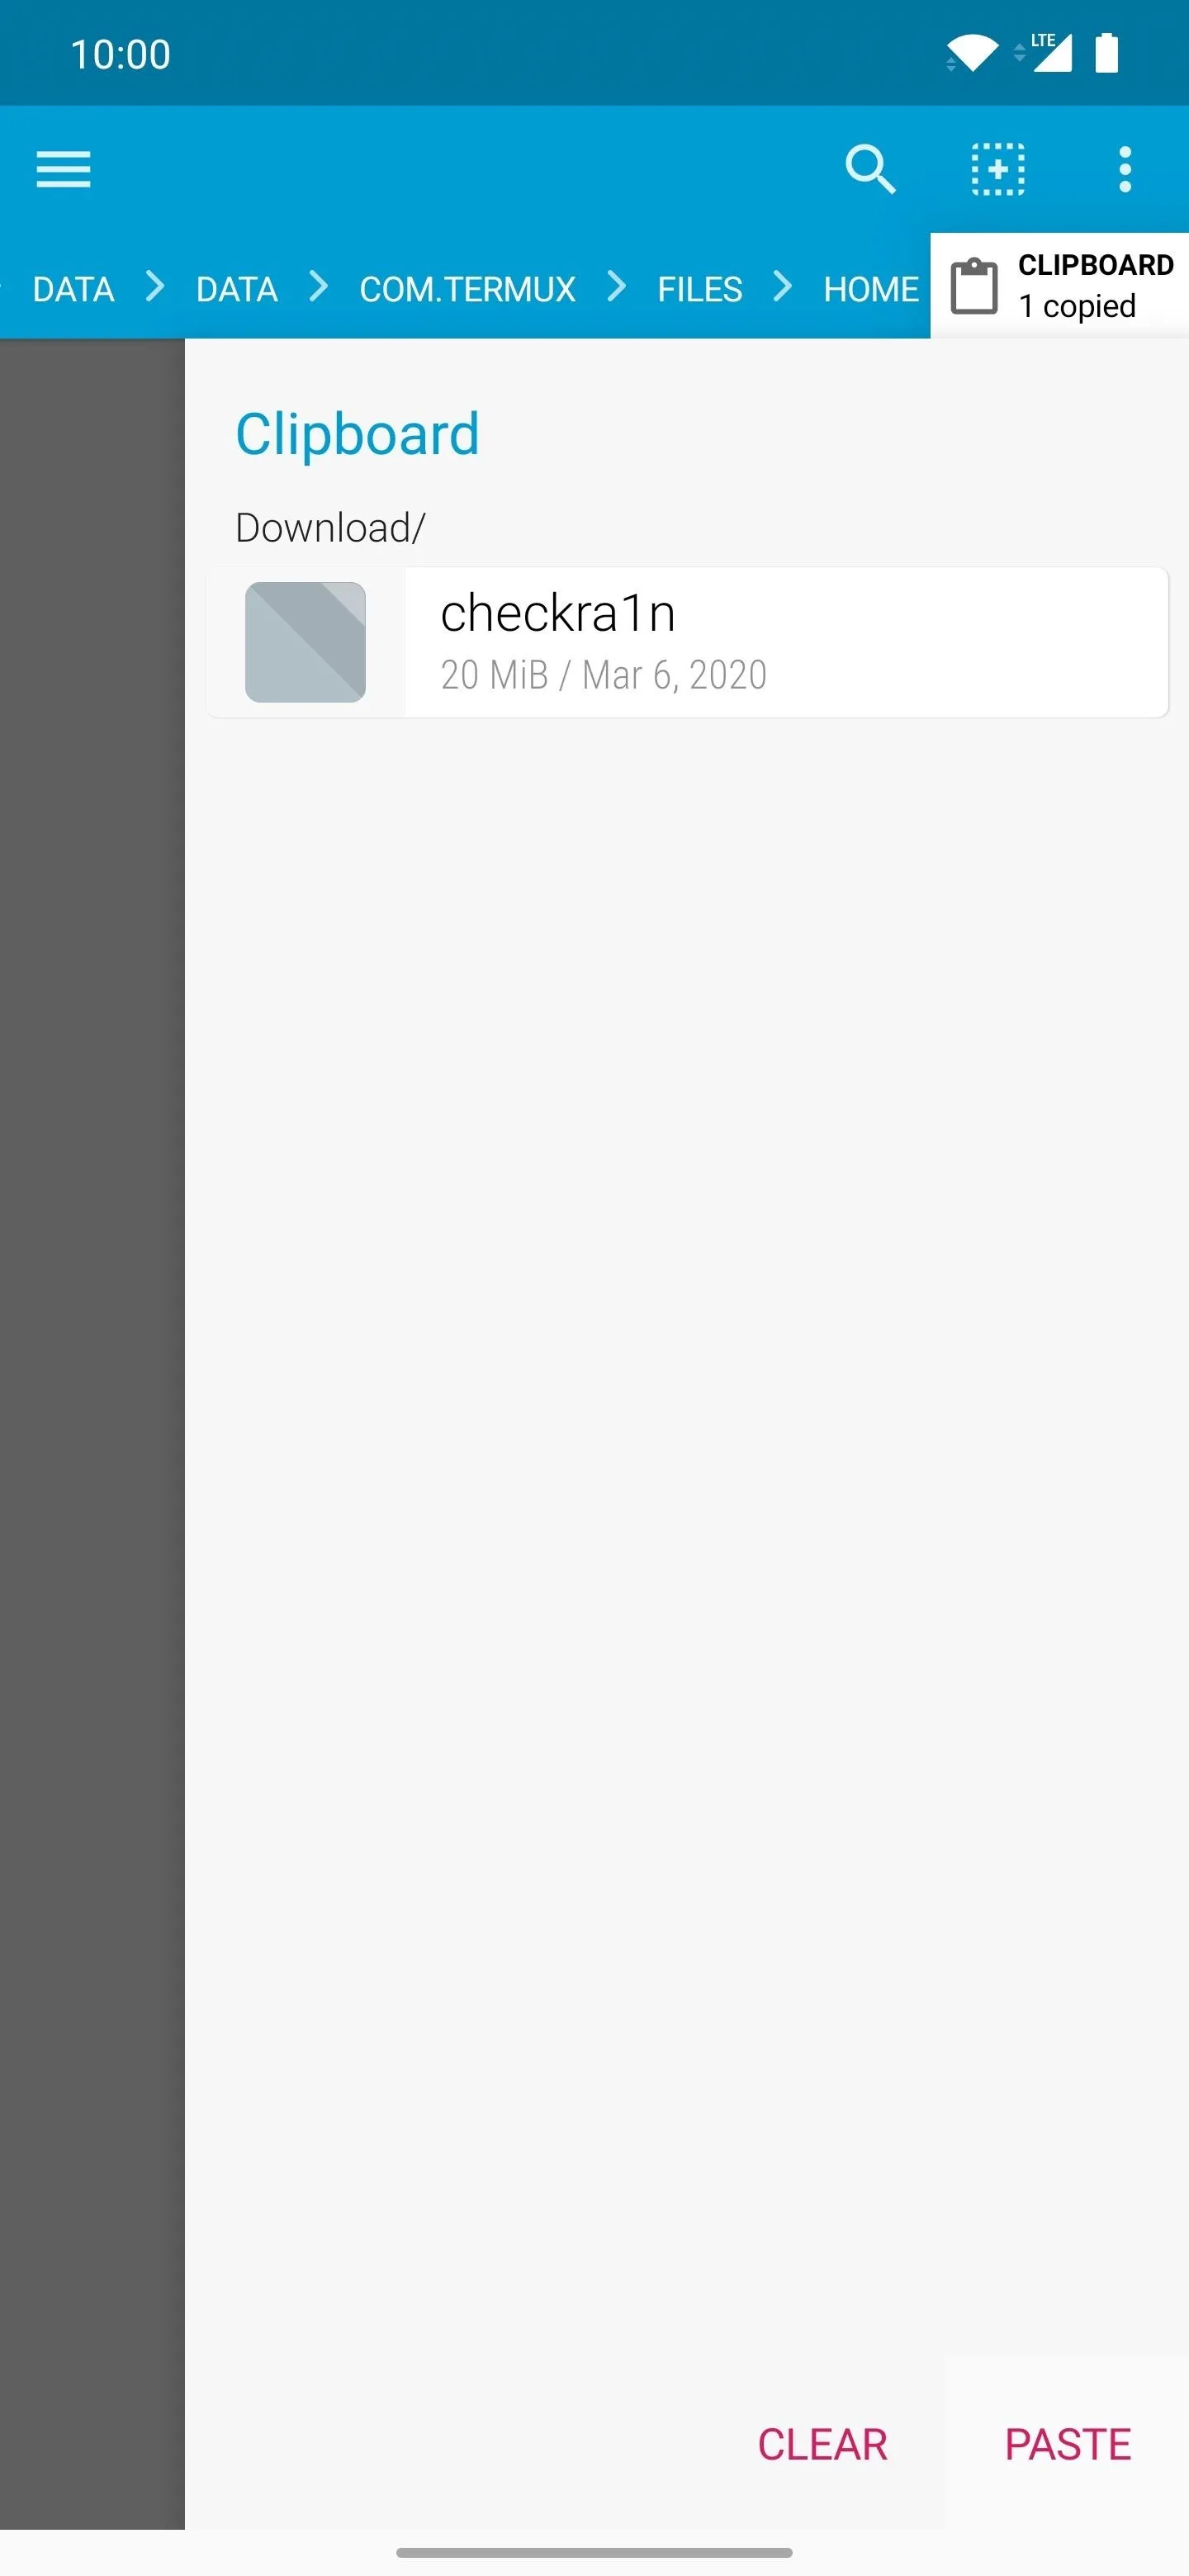
Finally, tap the "Clipboard" option in the upper right, then transfer your Checkra1n file into this folder by hitting the "Paste" button at the bottom. Once the file finishes transferring to the "Home" folder for Termux, you can leave the file manager app and move onto the next step in the guide.
Grant Superuser Permissions
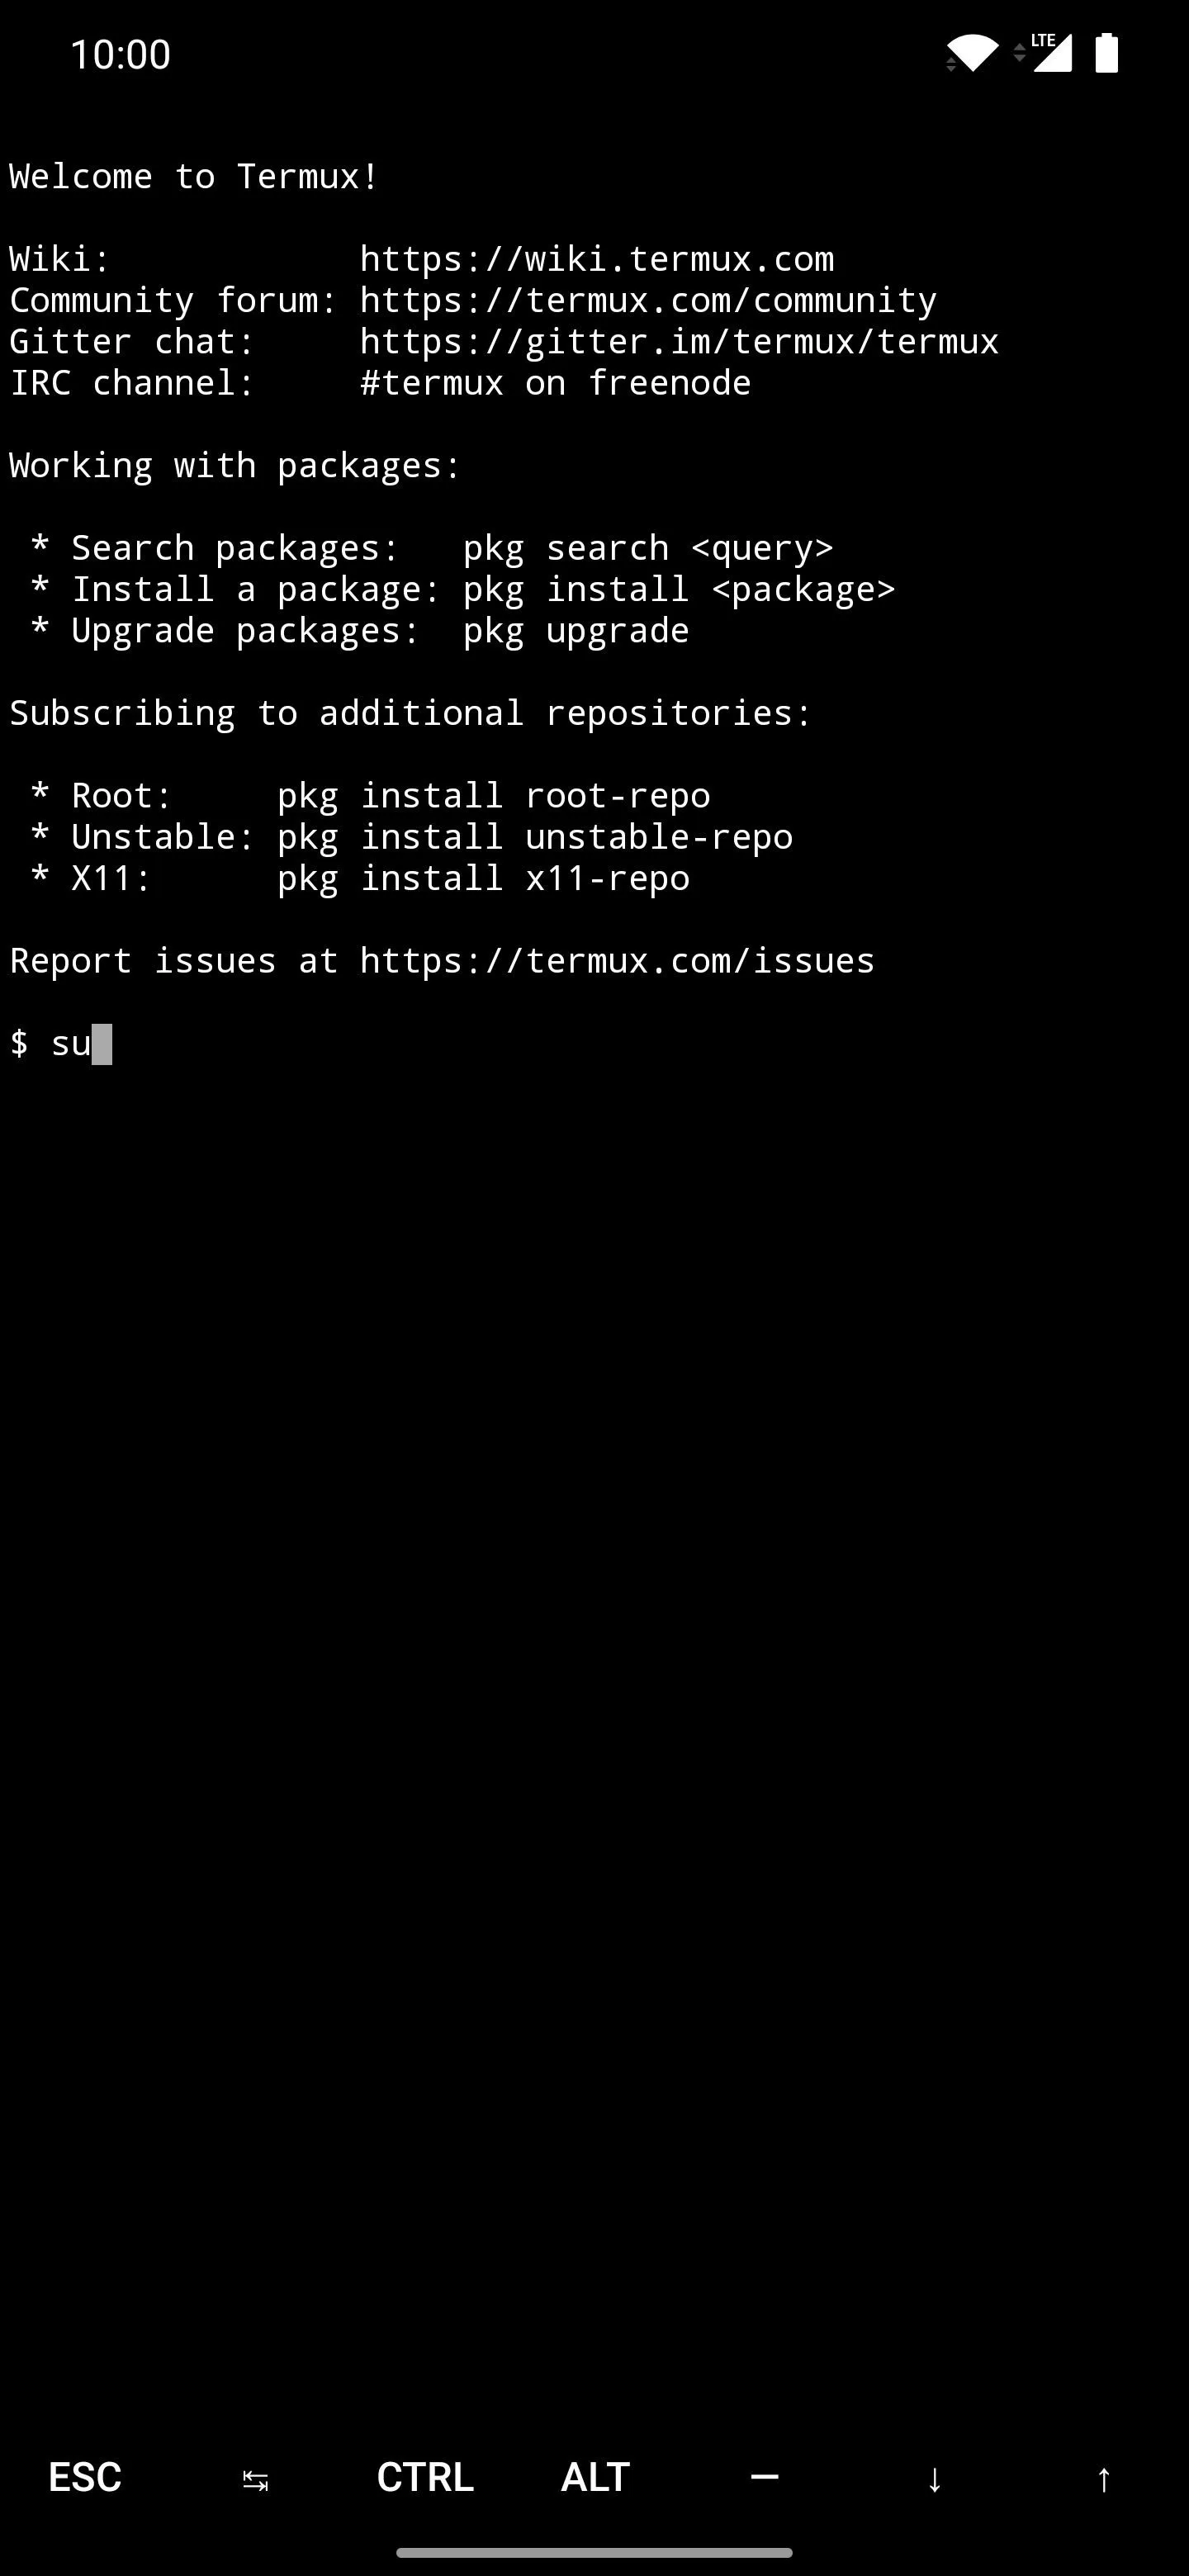
With the hard stuff mostly out of the way, it's time to open the Termux app to the main screen so you can get started with the install process for jailbreaking your iPhone. From the Termux main screen, type the following command, then press enter to confirm your action.
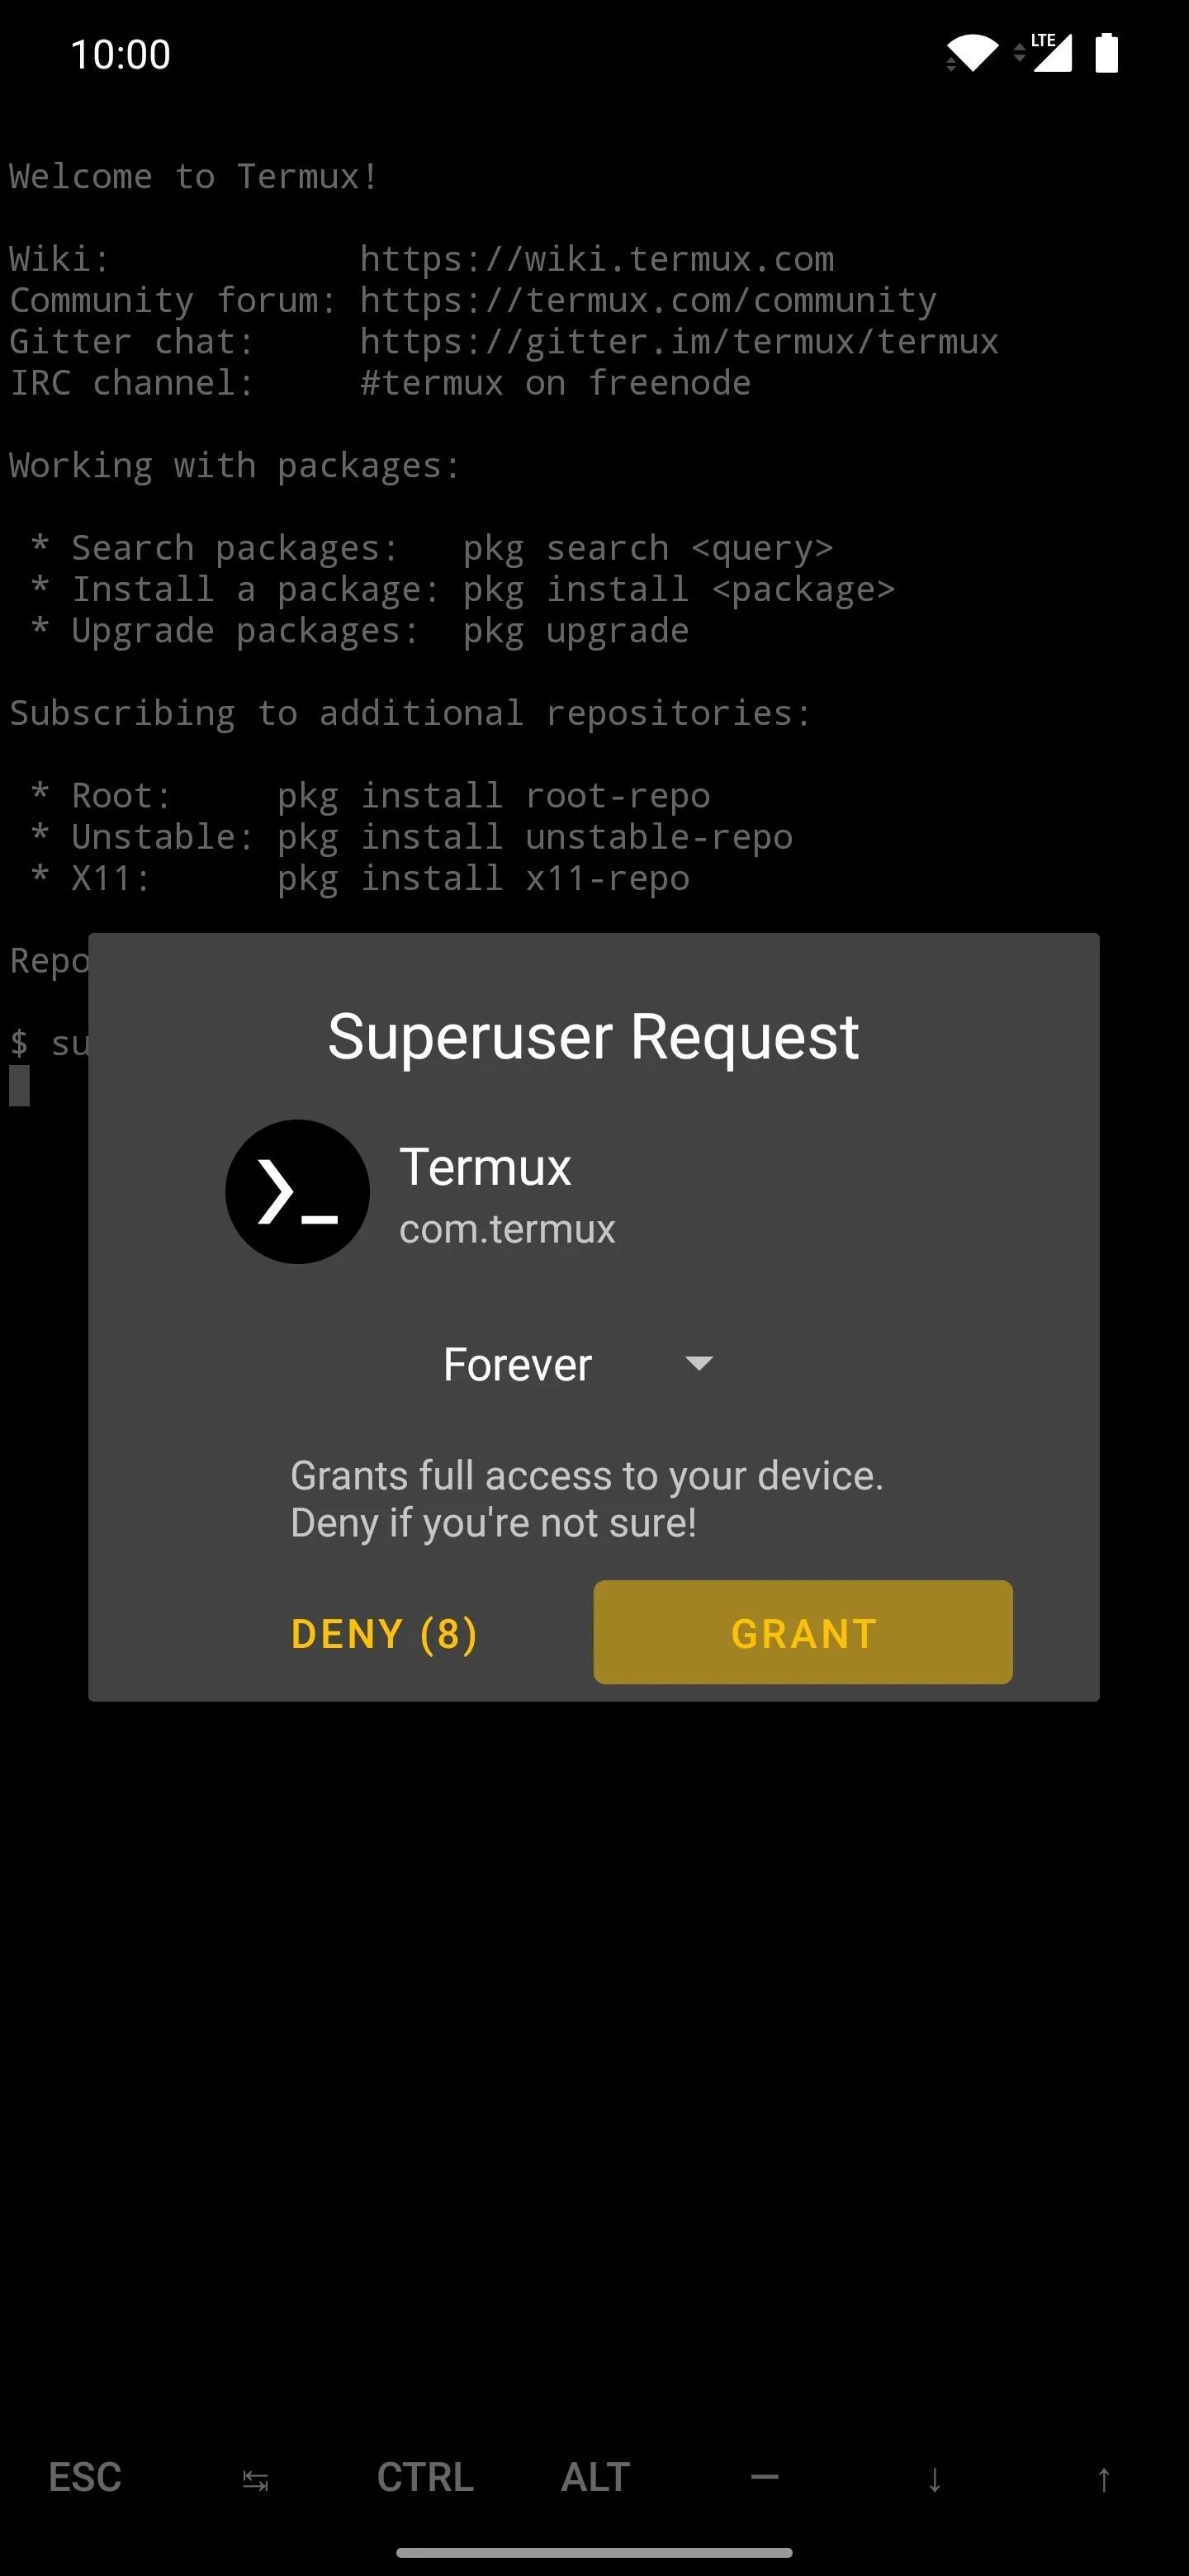
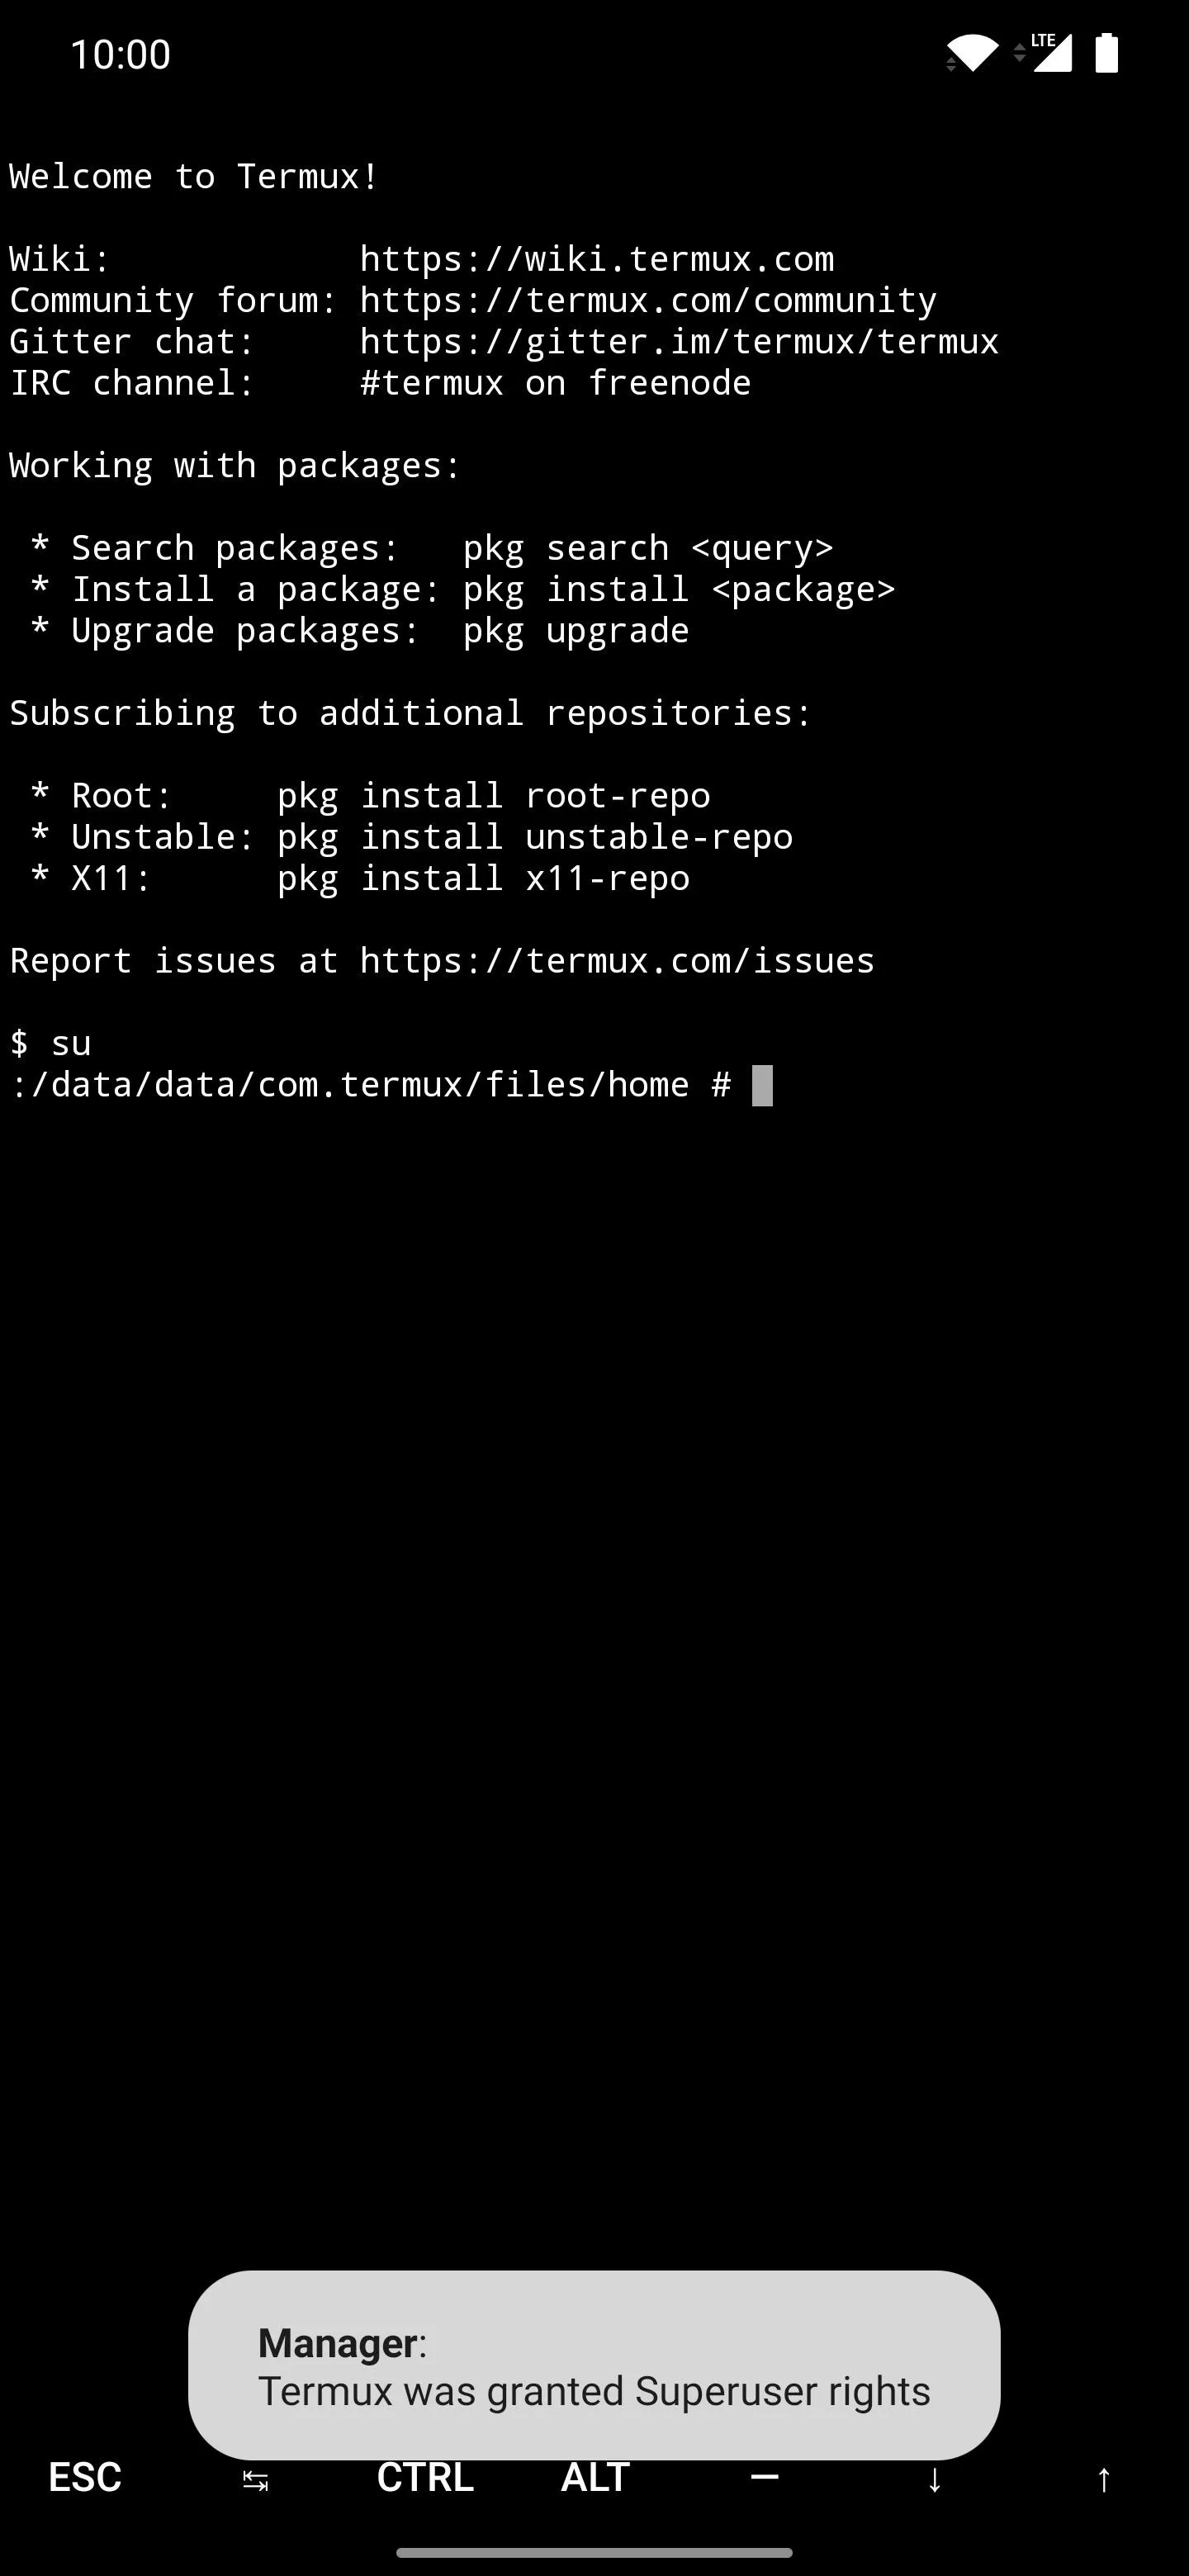
suThe above command will prompt another superuser request, but this time for Termux. Tap the "Grant" option when asked, then you'll be set here. You can leave Termux sitting just like this until it's time to actually send out the jailbreak command to your iPhone in just a bit.
Put Your iPhone into DFU Mode
For this step, you'll need to focus on the iPhone side of things before you can even think about sending over the jailbreak command for Checkra1n. Your iPhone needs to be manually put into DFU (Device Firmware Upgrade) Mode using iTunes or Finder on a computer first. The process differs slightly for some iPhone models, so hit up the link below to get that taken care of. While it shows how to do it in iTunes, the process is very similar for Finder if you're running macOS Catalina.
- Full Guide: How to Put the iPhone into DFU Mode in iTunes

Connect the iPhone to Your Android Device
Now, you'll need to take the iPhone and connect it to your Android device with the appropriate USB data cable or OTG adapter. Again, make sure the iPhone is in DFU Mode before trying to connect it to your Android device. If you need an OTG adapter or your cable doesn't seem to work, you can check out some from the links below on Amazon.
- Buy a Lightning to USB Type-C cable from Amazon
- Buy a USB Type-C OTG adapter from Amazon
- Buy a Micro-USB OTG adapter from Amazon
Grant the Checkra1n Terminal Permission
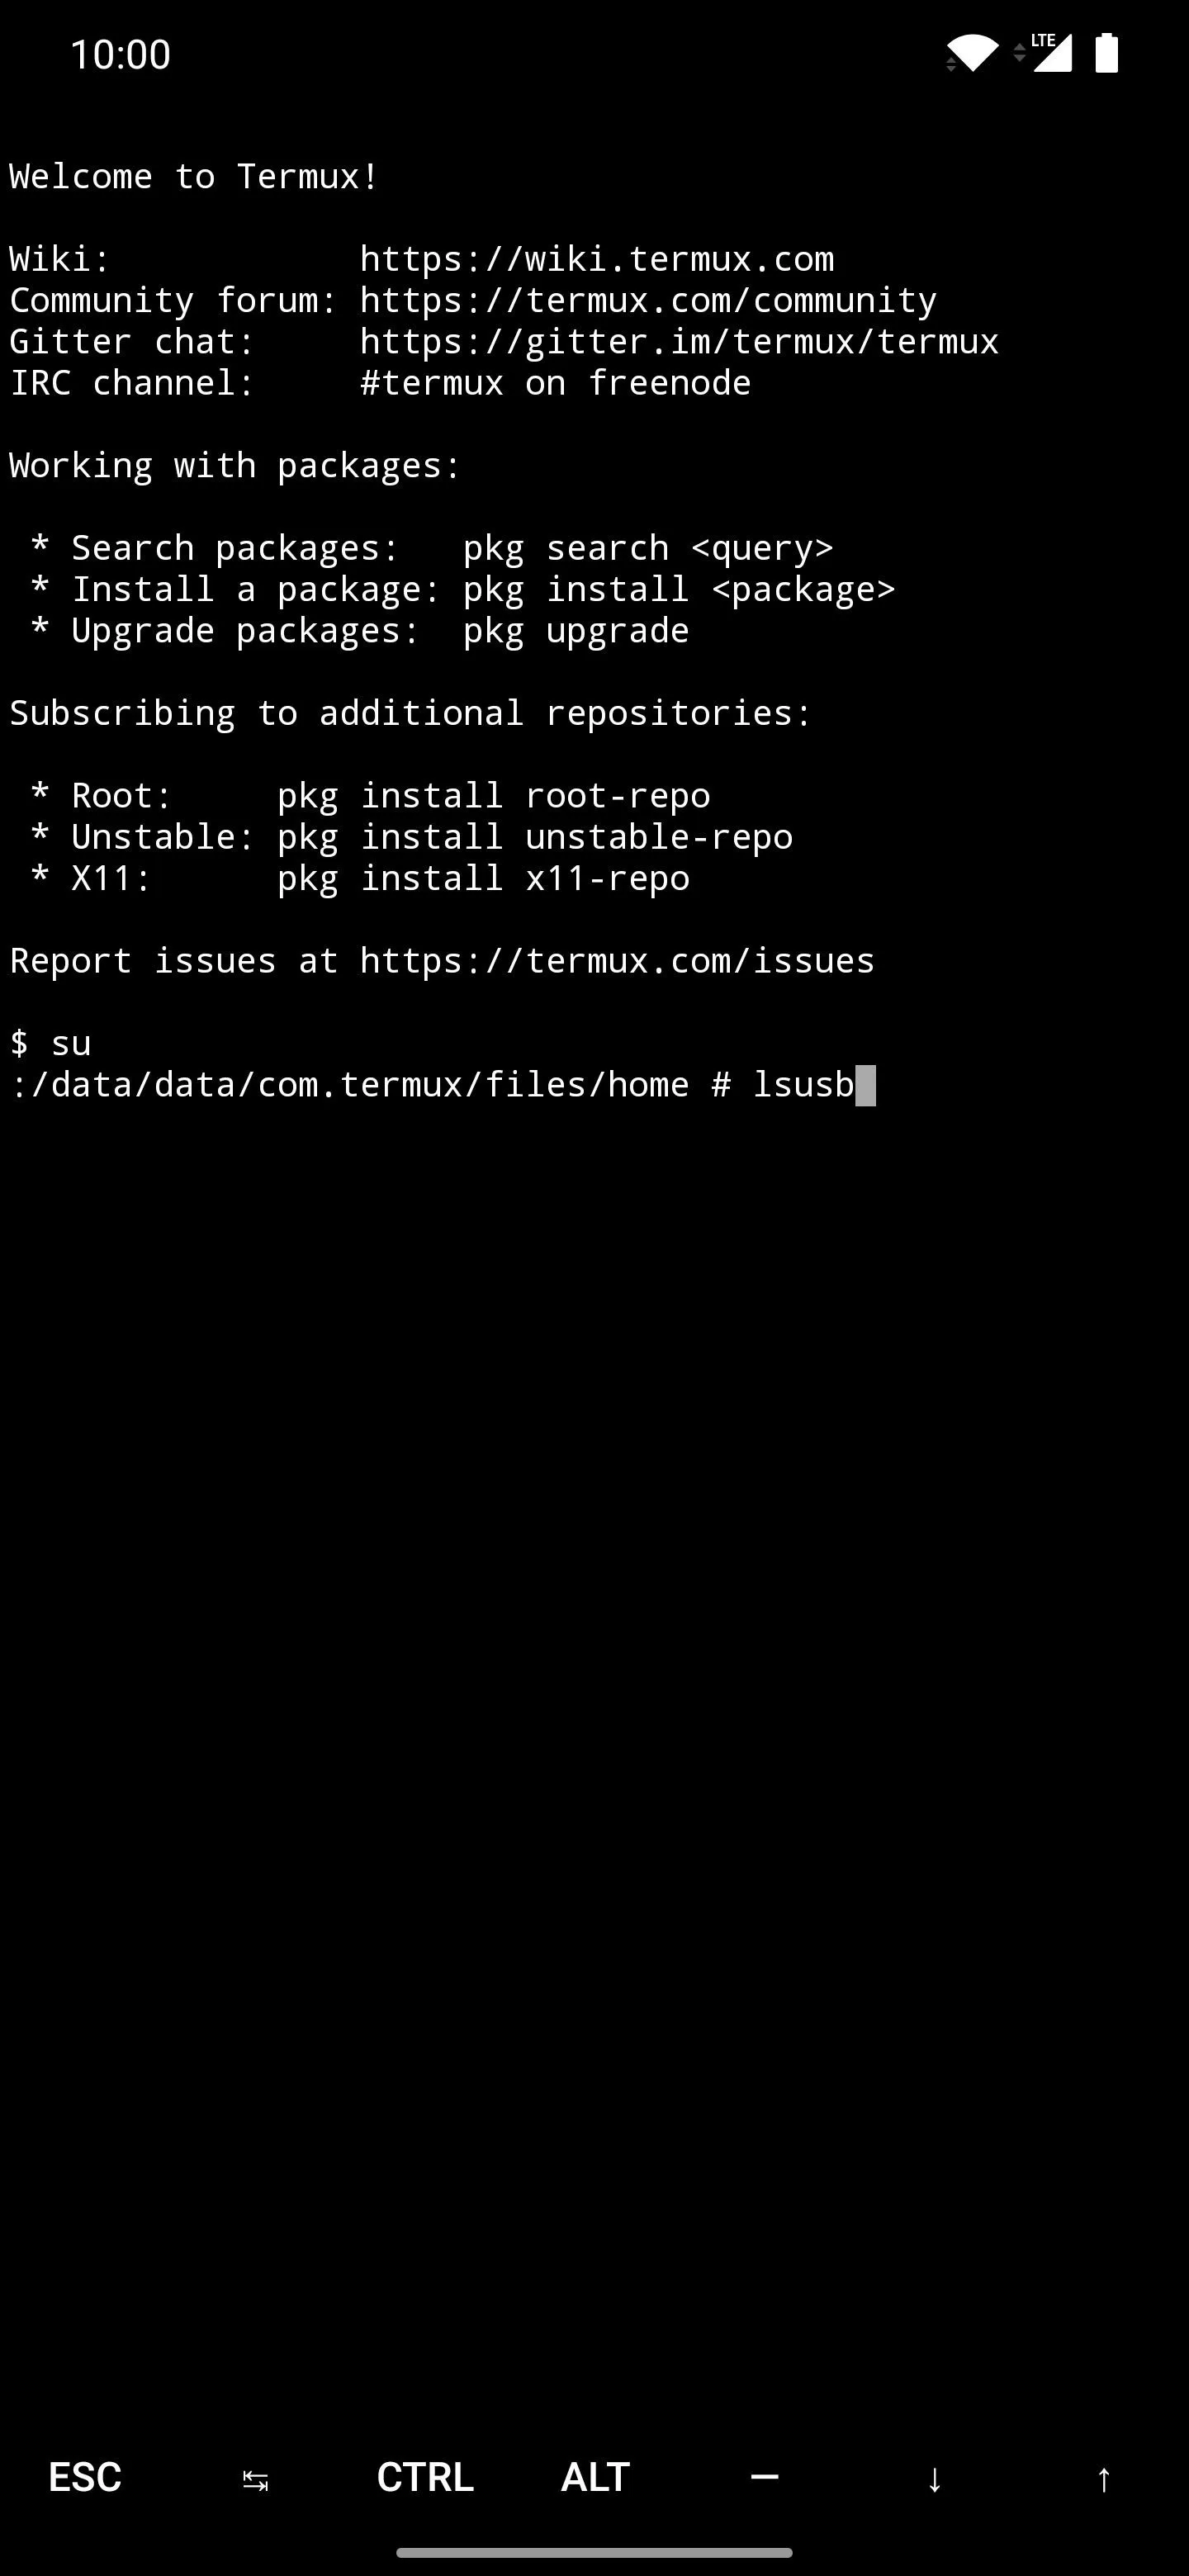
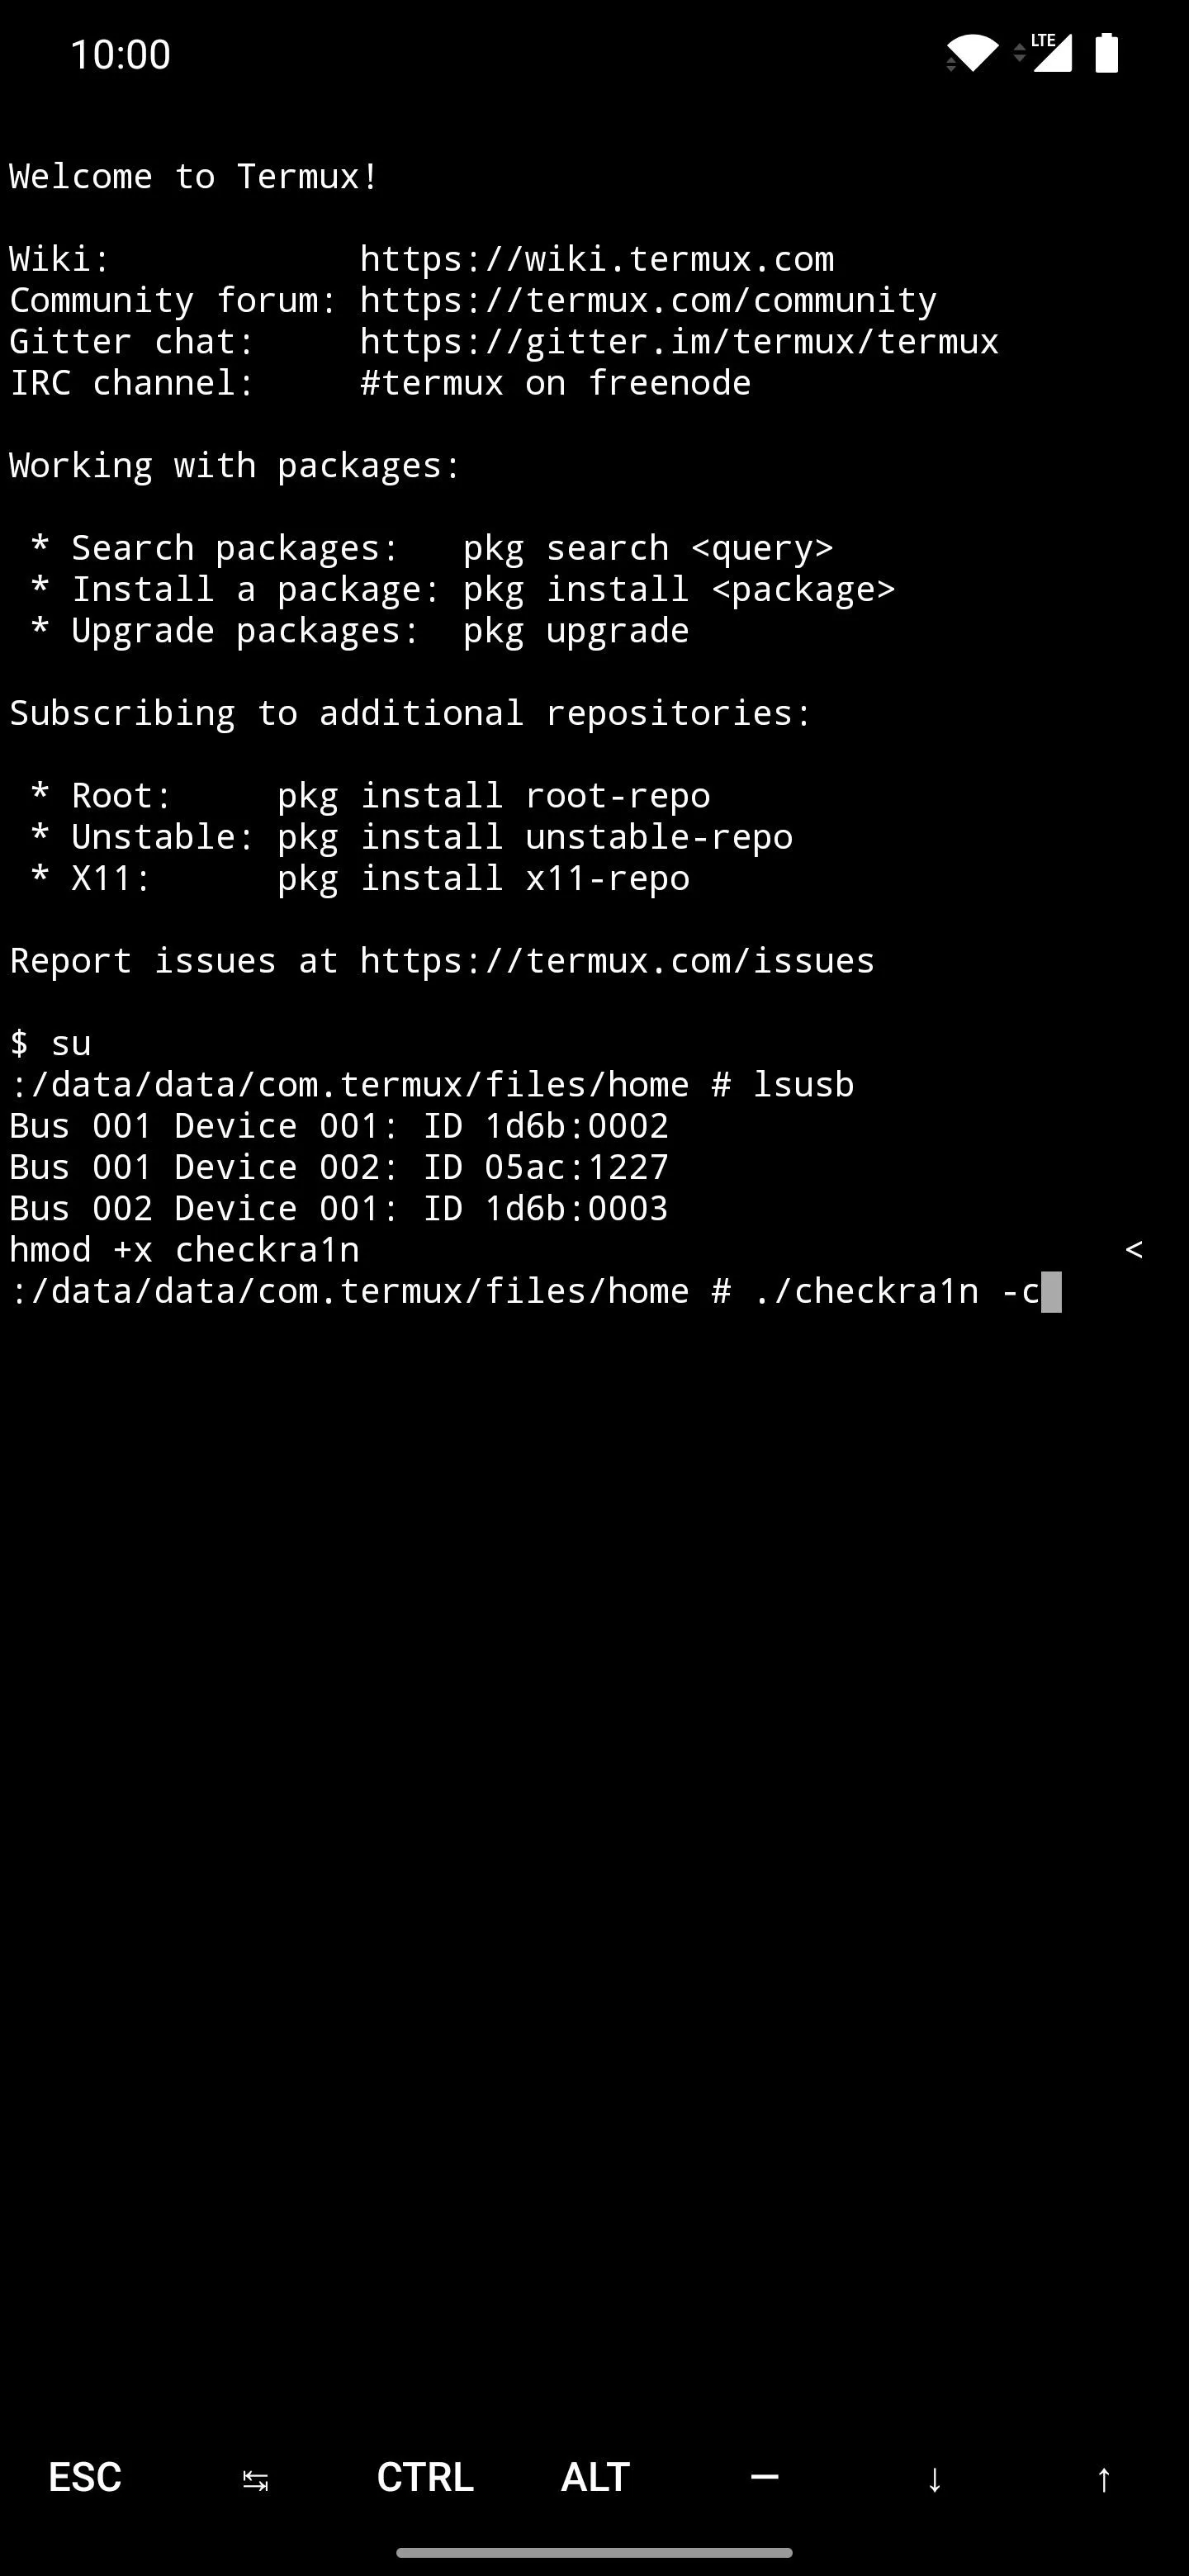
After all the prep work thus far, it comes down to these last few commands before you can jailbreak your iPhone using Checkra1n. Almost there! Go back over to the Termux app on your Android device, which should still be running from a previous step. Type the following command, then press enter to confirm your action.
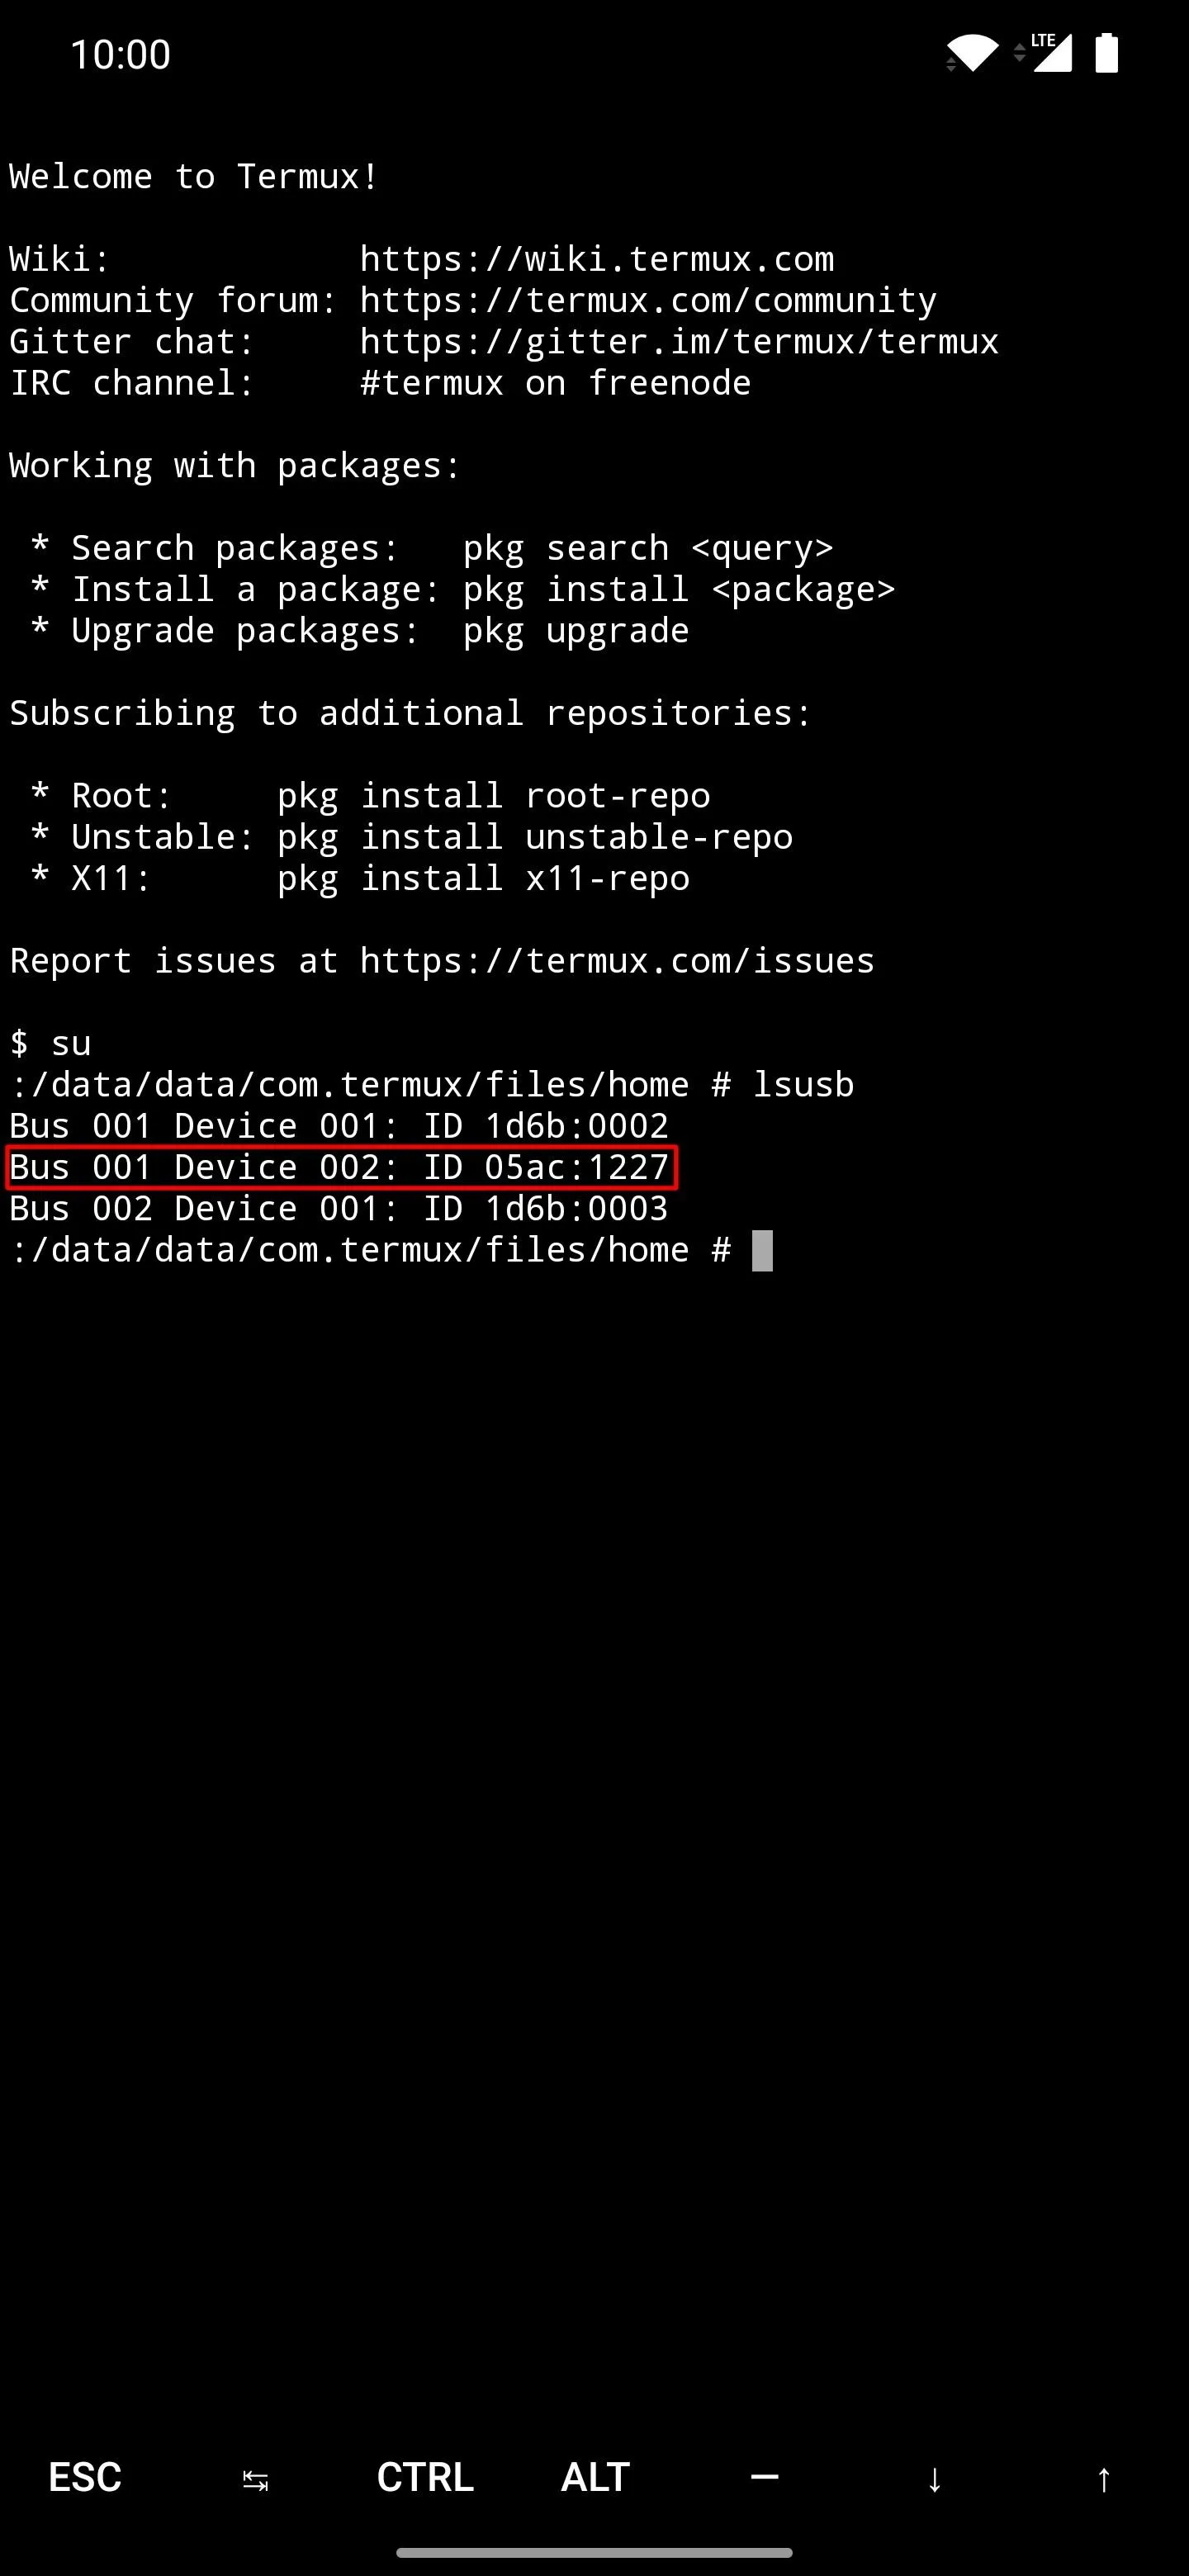
lsusbThat command will check to make sure your iPhone and Android device are properly communicating with one another. If they are successfully connected, you should see the USB ID of "05ac:1227". If the device ID matches, then you're ready to execute the jailbreak command in the next step. If not, you might have to repeat the previous two steps and try again.
At this point, your iPhone and Android device should be connected properly, which means you're ready for the final few jailbreak commands. Type the following command, then press enter to confirm your action.
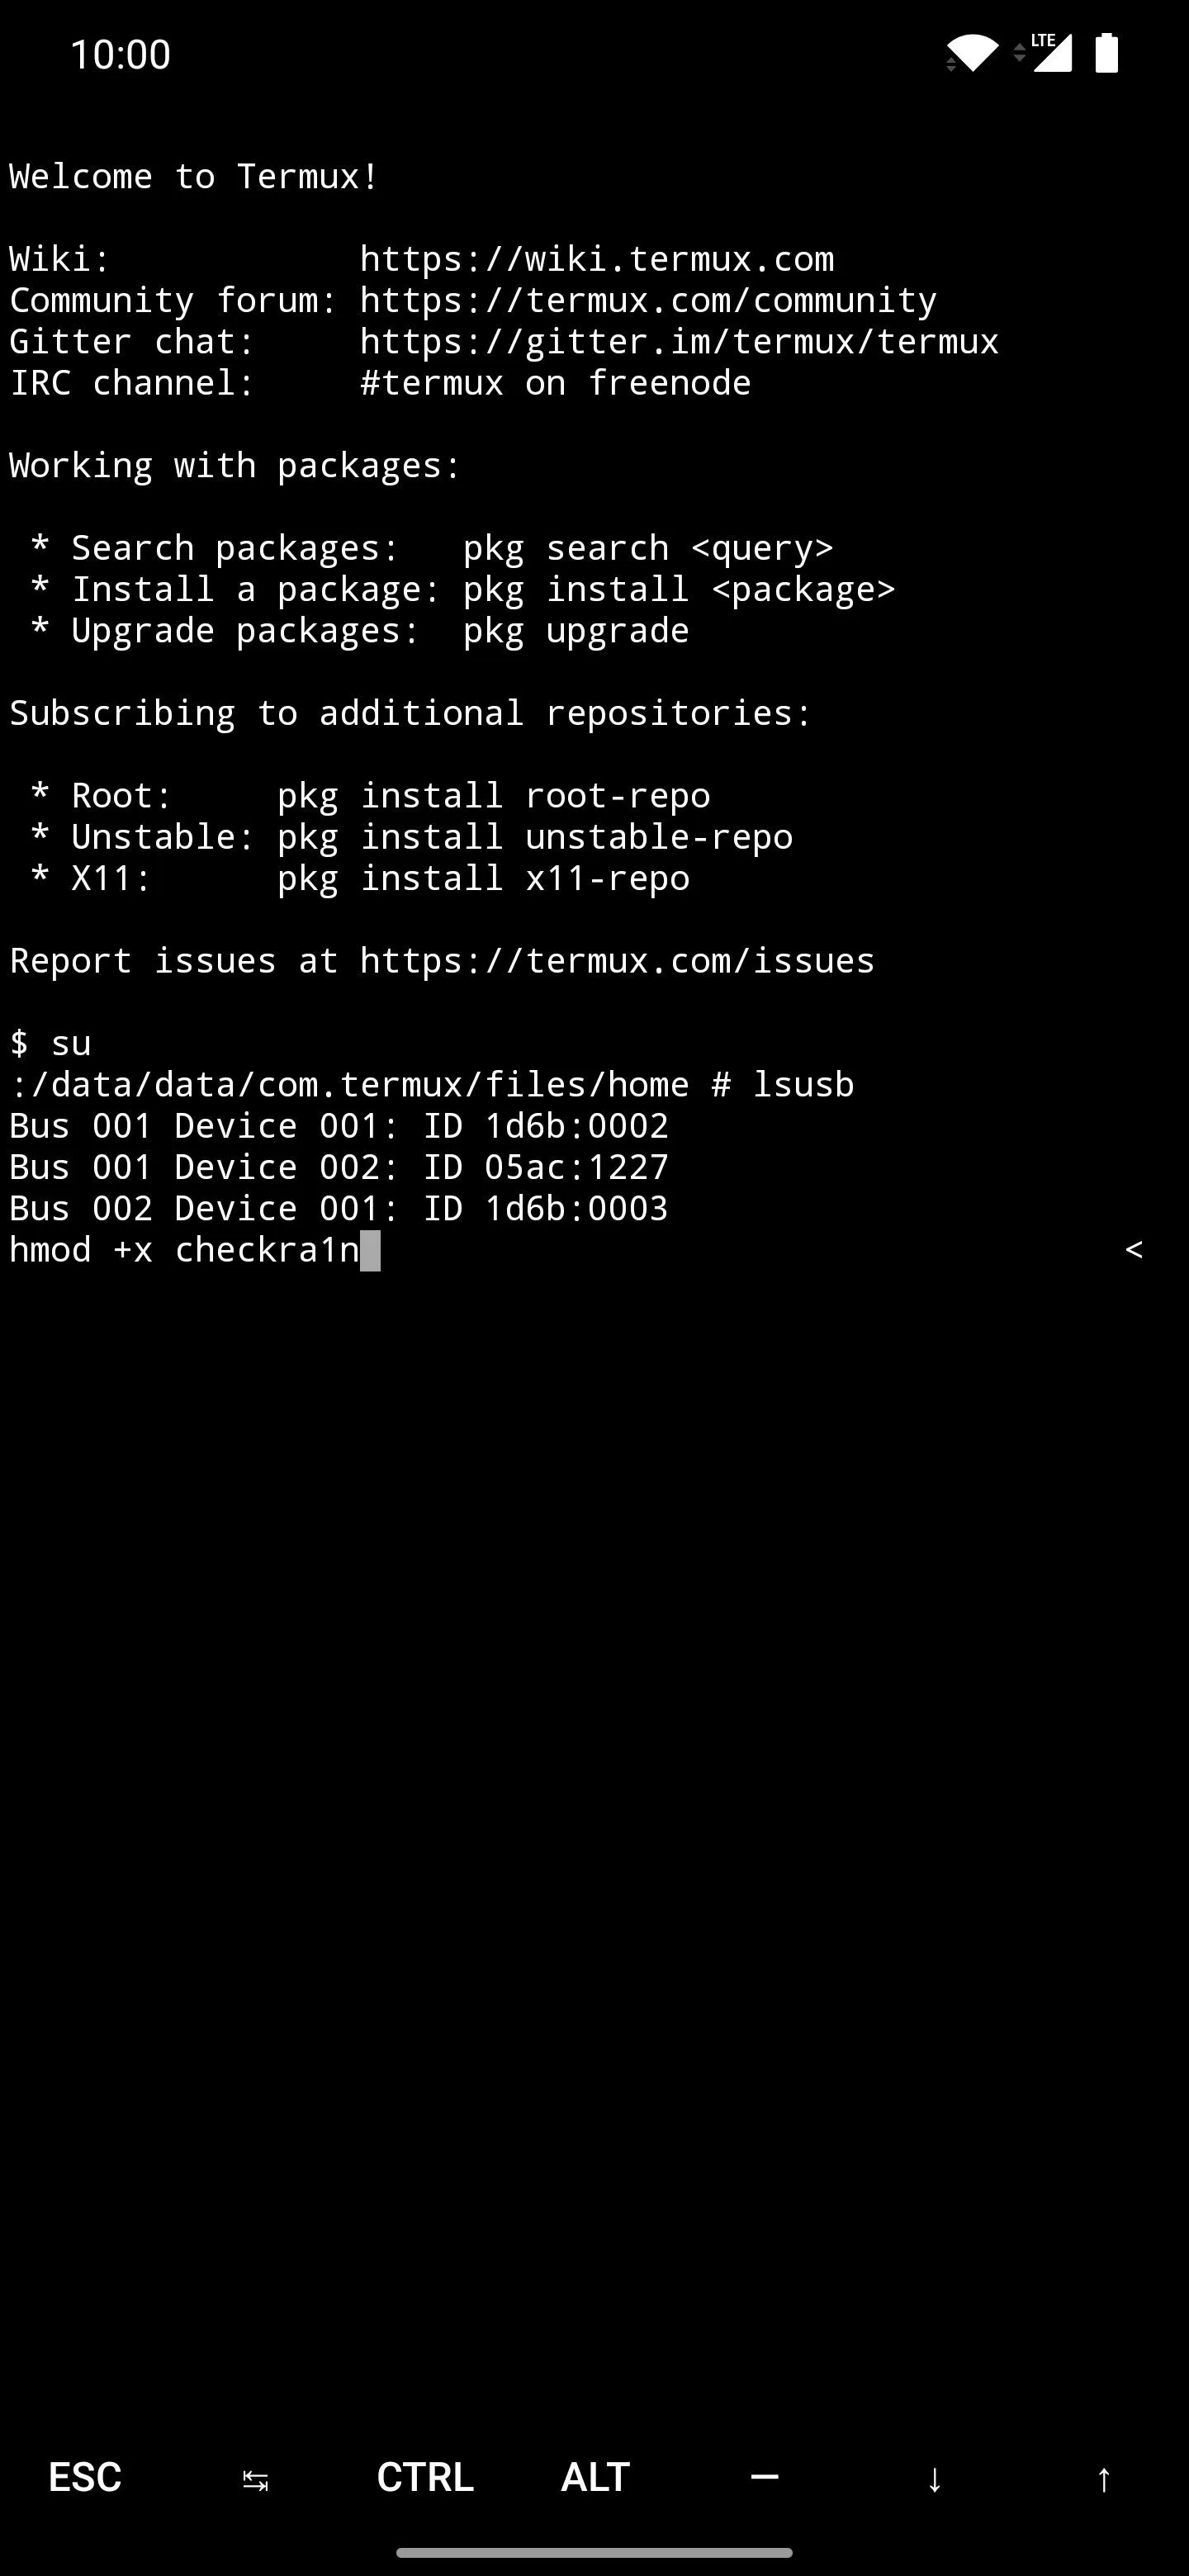
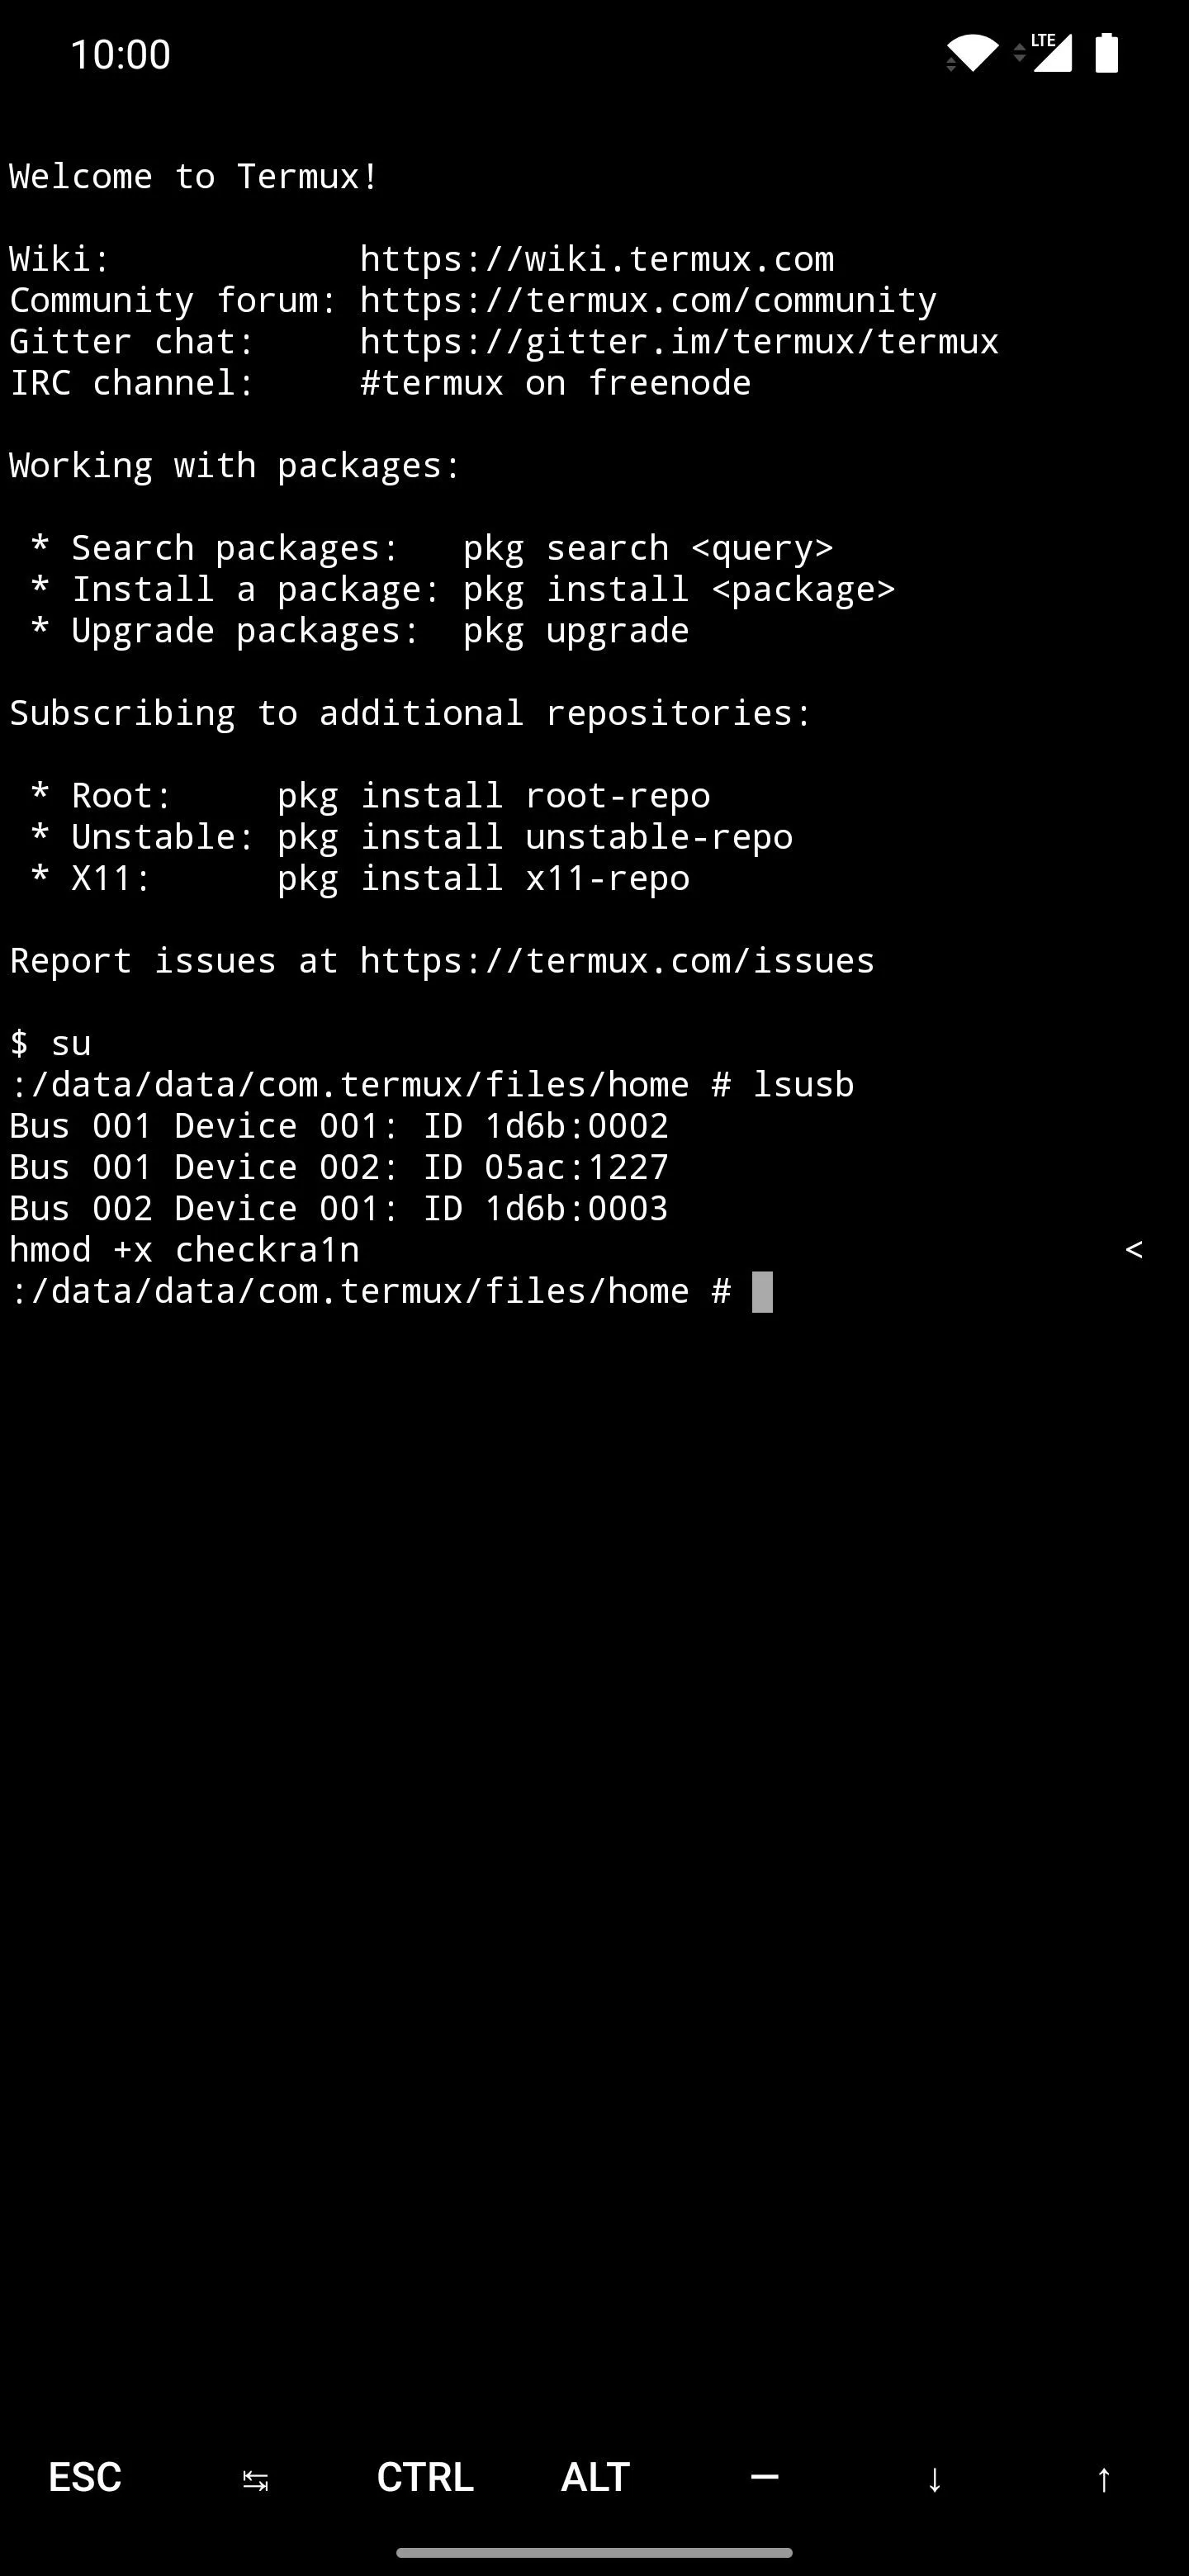
chmod +x checkra1nThe command above will grant the proper permissions to allow Termux to execute the Checkra1n jailbreak file in the terminal environment. You may or may not have to do this on some Android devices. However, doing so will ensure you have the proper permission beforehand, saving you an extra step in the process.
Execute the Checkra1n Jailbreak Command
Now that you have your iPhone and Android devices connected and the terminal permission has been set for Checkra1n, it's time for the last part of the guide. Type the following command, then press enter to confirm your action.
./checkra1n -cThis command is what will initiate the Checkra1n jailbreak and start sending it over to your iPhone. Theoretically, it should work without a hitch, but this part is not entirely reliable at this time. You'll likely run across a variety of USB error codes along the way, but don't let that stop you!
If you get USB errors, you should try disconnecting the cable from your Android device and plugging it back in to see if that fixes things. Sometimes it will kickstart the Checkra1n command, and it will continue installing after that. If this doesn't work, you might try repeating Step 6 onward to get a fresh start on everything.

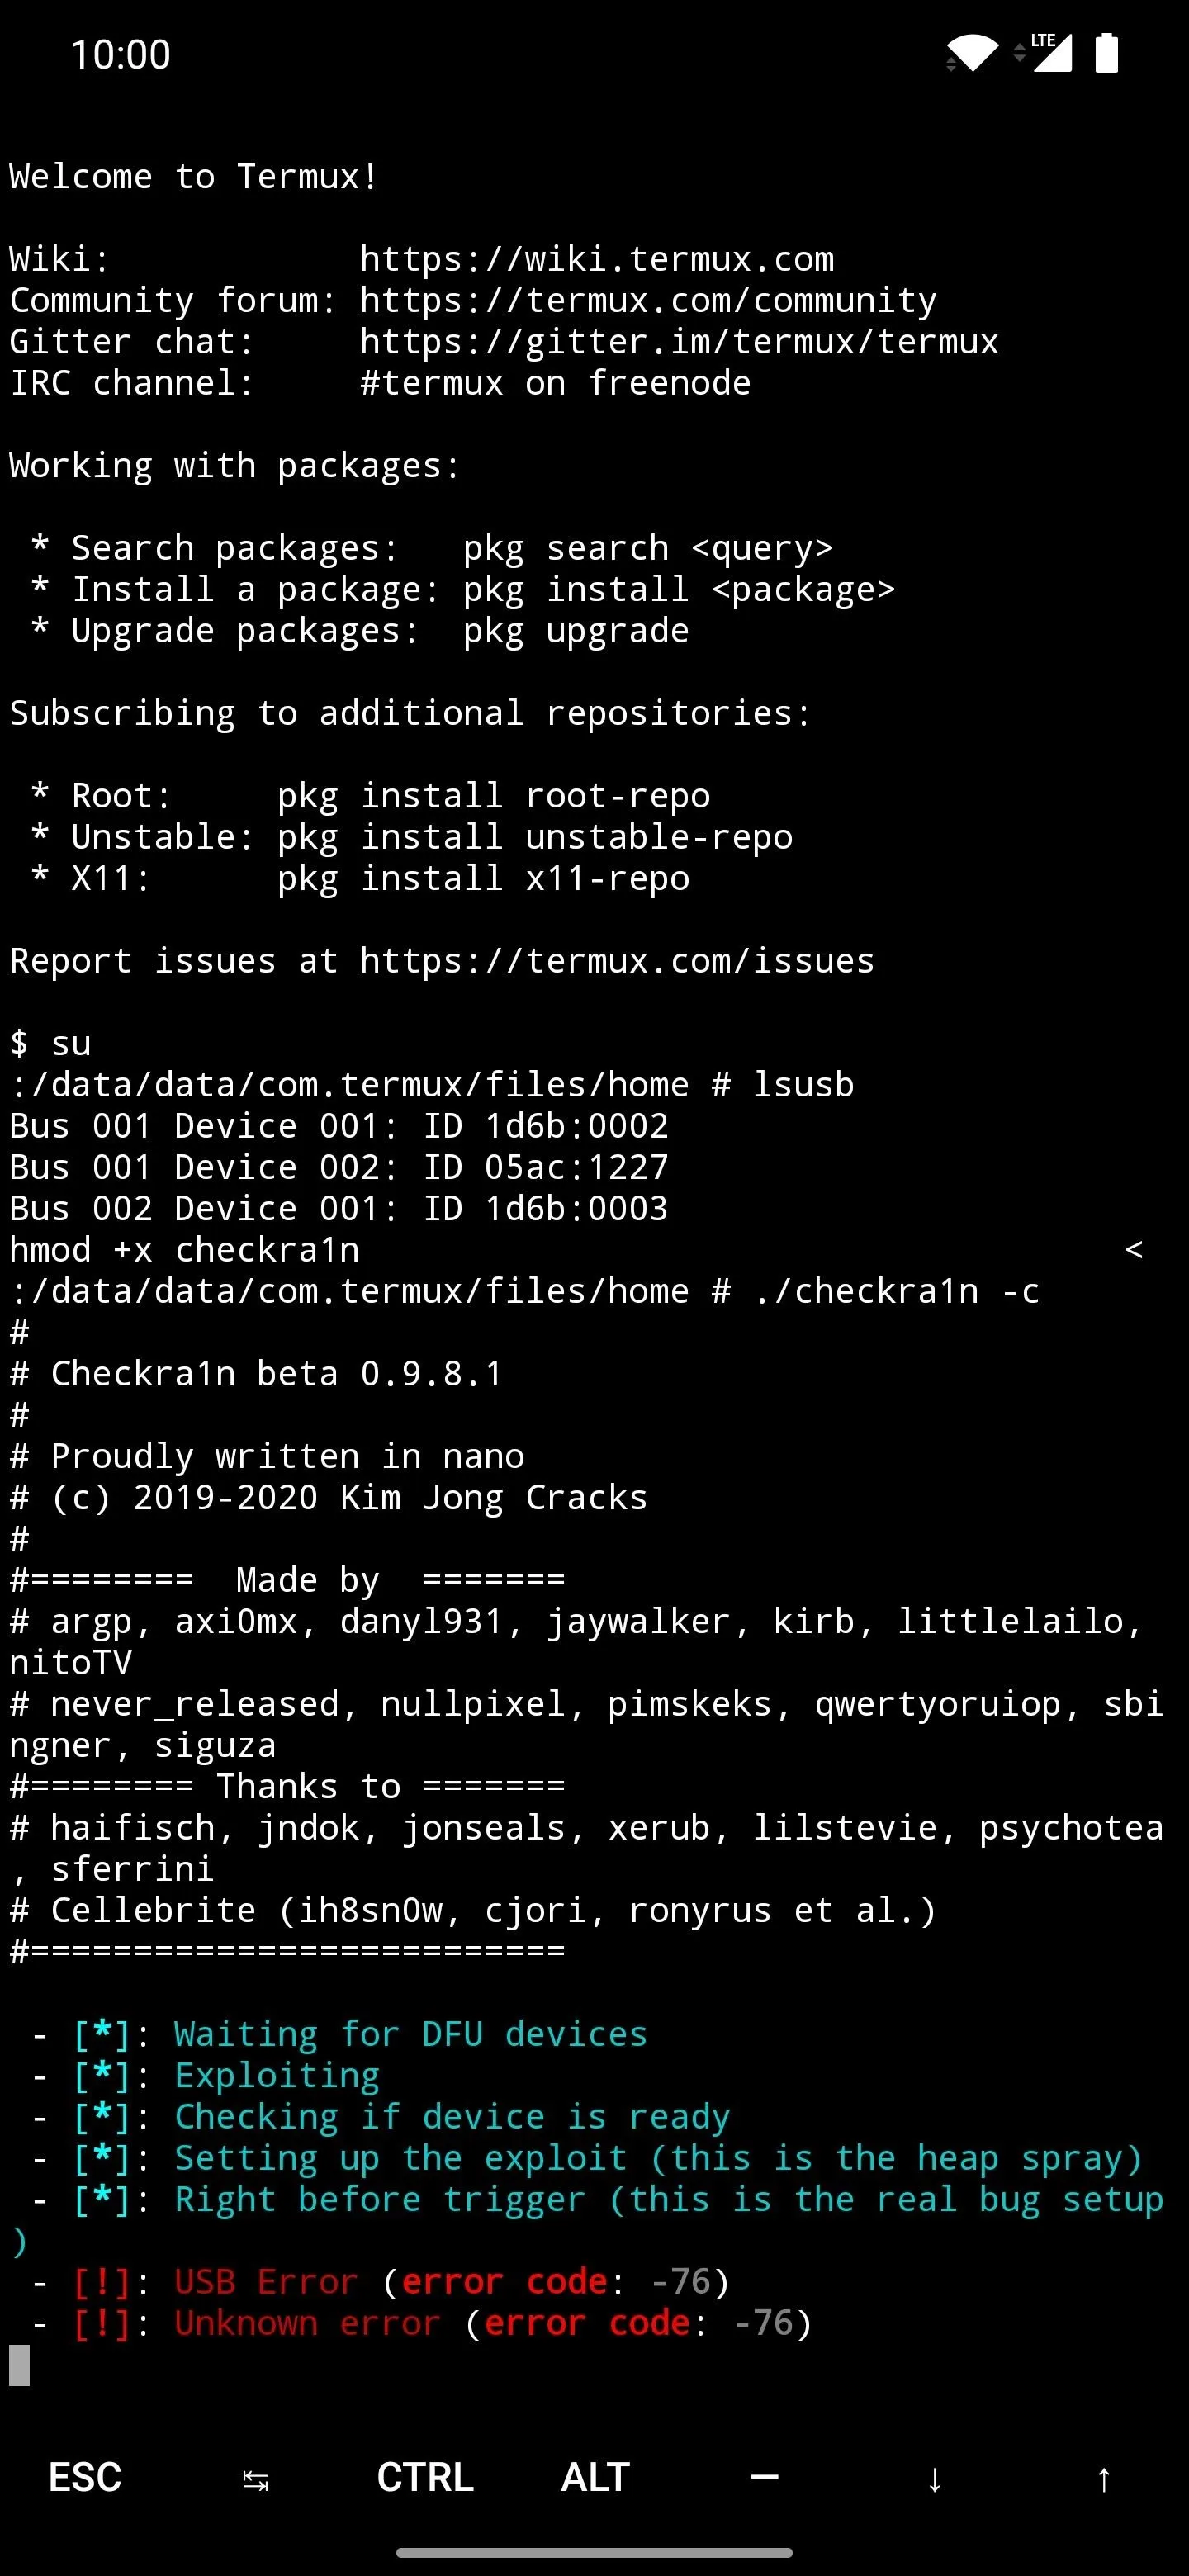
Here's an example of the USB errors you can expect when trying to run the checkra1n command.
Here's an example of the USB errors you can expect when trying to run the checkra1n command.
Once you can successfully get past any USB errors that might pop up, you should see the entire jailbreak code execute properly from start to finish. You'll notice the iPhone will start showing some command line things from here, which means everything is going as planned. Soon after that, your iPhone should have booted back into iOS like usual.
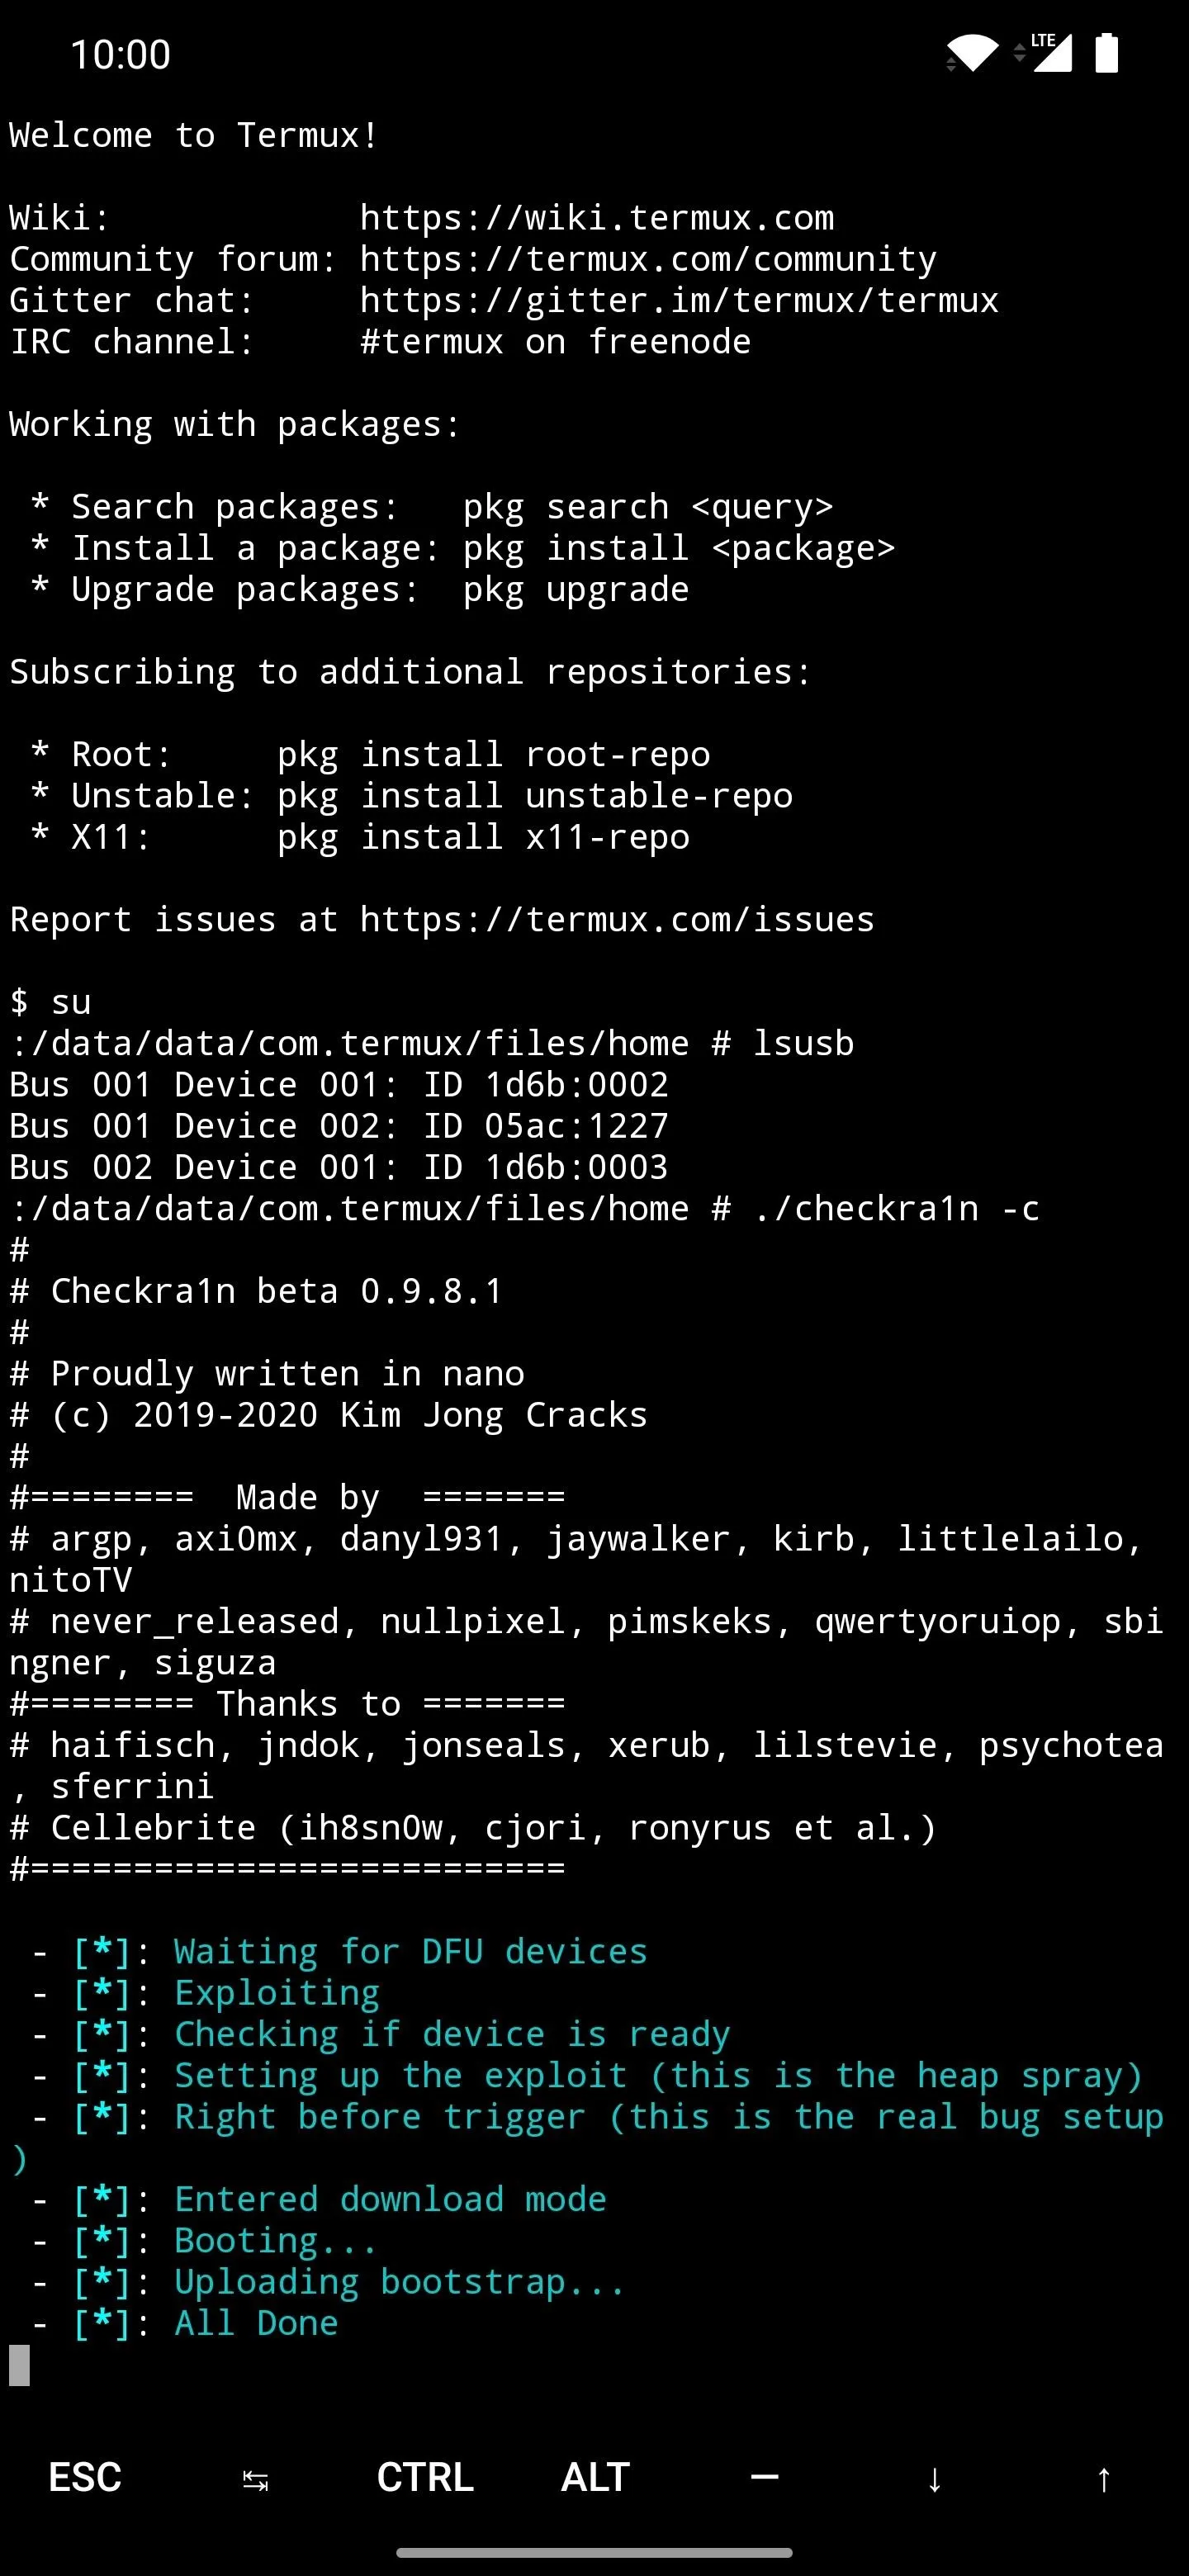
Here's an example of the Checkra1n command properly executing and jailbreaking the connected iPhone. Success!
Here's an example of the Checkra1n command properly executing and jailbreaking the connected iPhone. Success!
Open Checkra1n & Install Cydia
Now head over to the freshly booted iPhone and check out your home screen for the Checkra1n icon. Go ahead and open up the app then tap "Cydia" to install the Cydia app onto your iPhone, which is the app store used for jailbreak mods.


Hit the "Install Cydia" button, then you can begin installing the app onto your system. Once the process is done, you can disconnect your iPhone from the Android device and start your jailbreak journey from here. Enjoy!


Final Note
This Checkra1n jailbreak method is known as a semi-tethered jailbreak, which means you'll have to re-enable it every time you reboot your iPhone. Although not the end of the world, it's just something to keep in mind, as it's not a leave it and forget it type of solution.
There are other jailbreak methods out there, but the newest Checkra1n exploit is the best one yet, and using an Android device is much more convenient than unpacking a laptop or using a desktop computer. You can take an Android device anywhere you take your iPhone, for the most part, so you can re-enable jailbreak as long as you have it and the required cables.
As always, if you run into any issues, feel free to leave a comment below. I'll do my best to help iron out any problems you might run into along the way.
Cover photo and screenshots by Stephen Perkins/Gadget Hacks (unless otherwise noted)


Comments
Be the first, drop a comment!