


In the iPhone modding scene, the Checkm8 bootrom exploit, by developer axi0mX, led to a powerful jailbreaking tool known as Checkra1n. With it, you can jailbreak a variety of iPhone models without worrying about it getting patched later on. But in the past, it required you to have a macOS computer — but not anymore.
The developers of Checkra1n recently added Linux OS support to its jailbreak tool. Since Android is built using Linux as the base, it also means you can use an Android device to jailbreak an iPhone. It seems pretty wild when you think about it, but it works quite well as a convenient and portable jailbreaking machine.
We've already outlined the process for jailbreaking an iPhone with an Android with Magisk, but now we're going to detail how to run the Checkra1n jailbreak method through the TWRP custom recovery environment using Android. The biggest challenge here is during the initial setup process, but once that's taken care of, the rest is a piece of cake. This will jailbreak iOS 12.0 to iOS 14.0 depending on which iPhone model you have.
Requirements
- iPhone that supports the Checkra1n jailbreak
- Rooted Android device
- TWRP installed
- For connecting the devices: Lightning to USB-C data cable, Lightning to USB adapter with a USB-A to USB-C or USB-A to Micro-USB data cable, or Lightning data cable with USB-A to Micro-USB or USB-A to USB-C adapter, etc.
Check Your Android CPU Architecture Type
To get started with the iPhone jailbreak method that relies on the TWRP custom recovery, you'll need to figure out the CPU architecture type your rooted Android device has. It's essential to identify the specific CPU type so that you can download the appropriate Checkra1n binary file, which is required for jailbreaking your iPhone.
Since most newer Android phones will be running the ARM64 architecture type, you can expect the older devices to run on the ARM architecture instead. You should also note, some Android tablets could even have an x86/64 architecture type just the same. If you're unsure of how to figure it out or need a little extra help, you can hit up the guide below.
Download the Checkra1n Binary File
According to which CPU architecture type your rooted Android device has, download the correct file from one of the links below. Make sure to place the Checkra1n file in the "Download" folder of the Android device for easy access later.
Install or Update TWRP
Now, it's time to deal with the initial custom recovery install process for TWRP. If you don't have TWRP already installed on your rooted Android device, you'll need to install it now. Alternatively, you should also make sure your version of TWRP is up to date to ensure system stability. If you need any extra help here, you can hit up the guide below to get that all squared away.
If you're using a newer Android device that has an A/B partition, then your process for installing TWRP is actually going to be a bit different. The procedure involves downloading the TWRP image file for your specific device, then sending over a Fastboot command to temporarily boot into TWRP. Then you'd install the permanent version of TWRP onto your system via the ZIP installer or image file.
For more help on how to use Fastboot to install TWRP on A/B partition devices, you can check out the guide below. Look into the "Option 2" section to learn all about installing image files using Fastboot. The only thing you'd want to focus on here is the Fastboot recovery command for installing TWRP. Still, it couldn't hurt to briefly check the others out to be informed of them as well.
Put Your iPhone into DFU Mode
Now you need to head on over to your iPhone, which requires you to use the iTunes app or Finder, depending on which macOS version you're running. You'll be manually putting your iPhone into DFU (Device Firmware Upgrade) Mode, which is necessary before you can install the Checkra1n jailbreak. The process can differ slightly based on your iPhone model, so check out the link below to get booted into DFU Mode. While it shows how to do it in iTunes, the process is very similar for Finder if you're running macOS Catalina.
- Full Guide: How to Put the iPhone into DFU Mode in iTunes

Reboot into TWRP
Now that the iPhone is in DFU Mode, you'll need to reboot into recovery mode on your Android device. To access recovery mode on Android, you usually have to shut the device off and press a specific button combination, which can differ slightly based on your model. OnePlus phones even offer an advanced reboot option to its users as well in case you didn't know that.
At any rate, we have a quick and surefire way to reboot to recovery, so check out the guide below. Since you have TWRP installed, you'll boot into the TWRP main menu instead of the stock recovery that came with your system.
Open the Terminal on TWRP
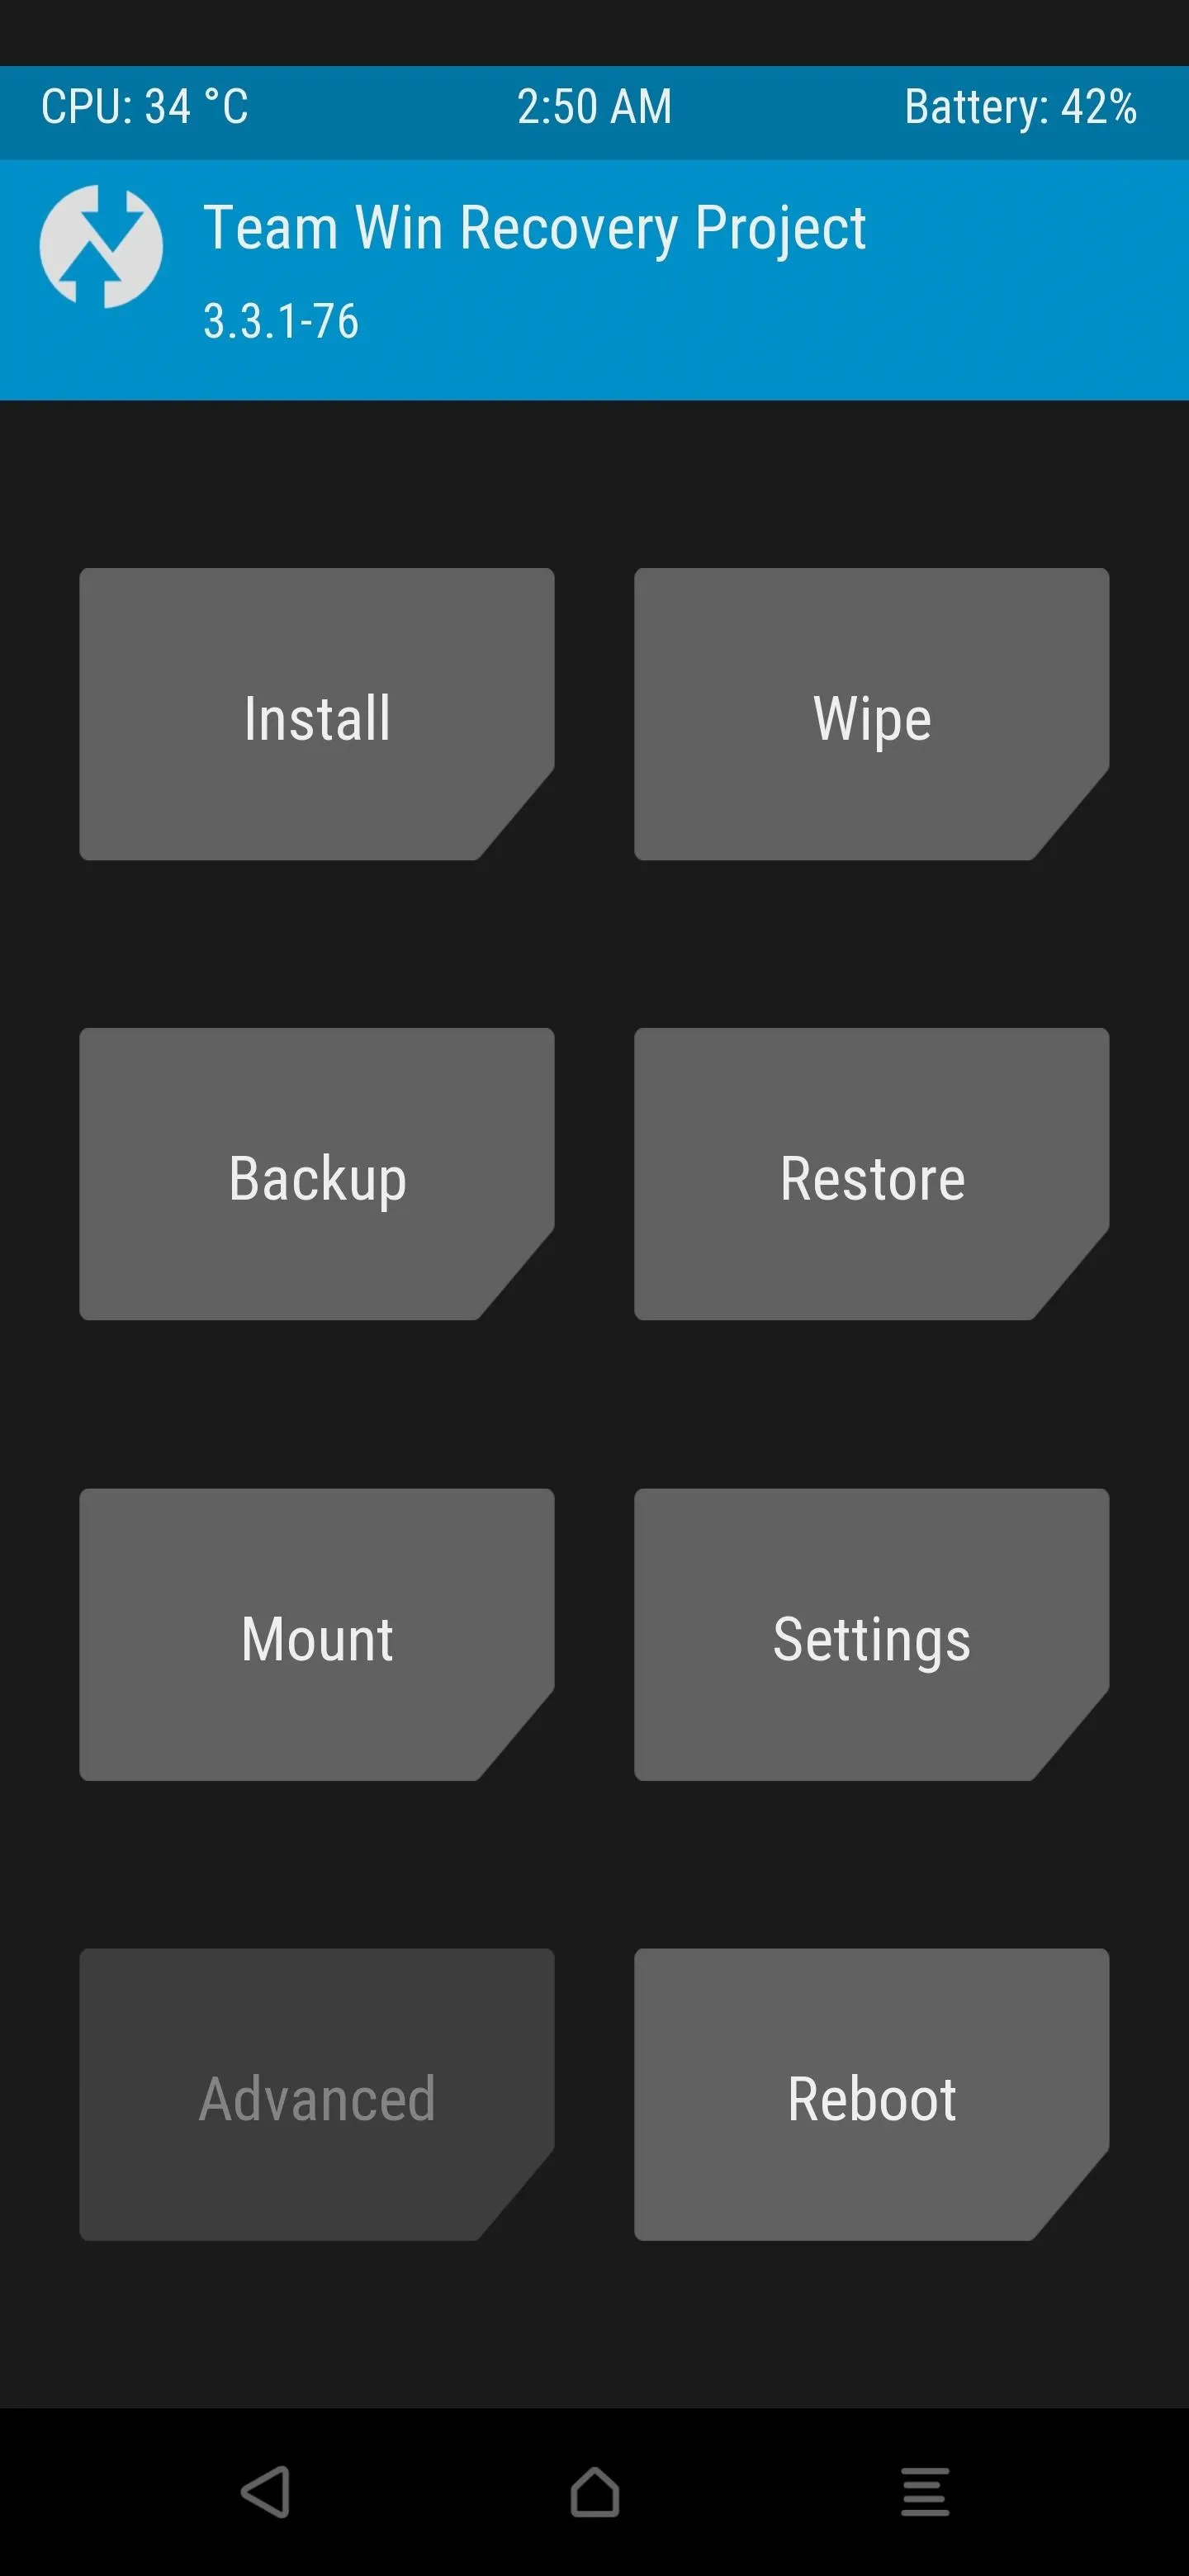
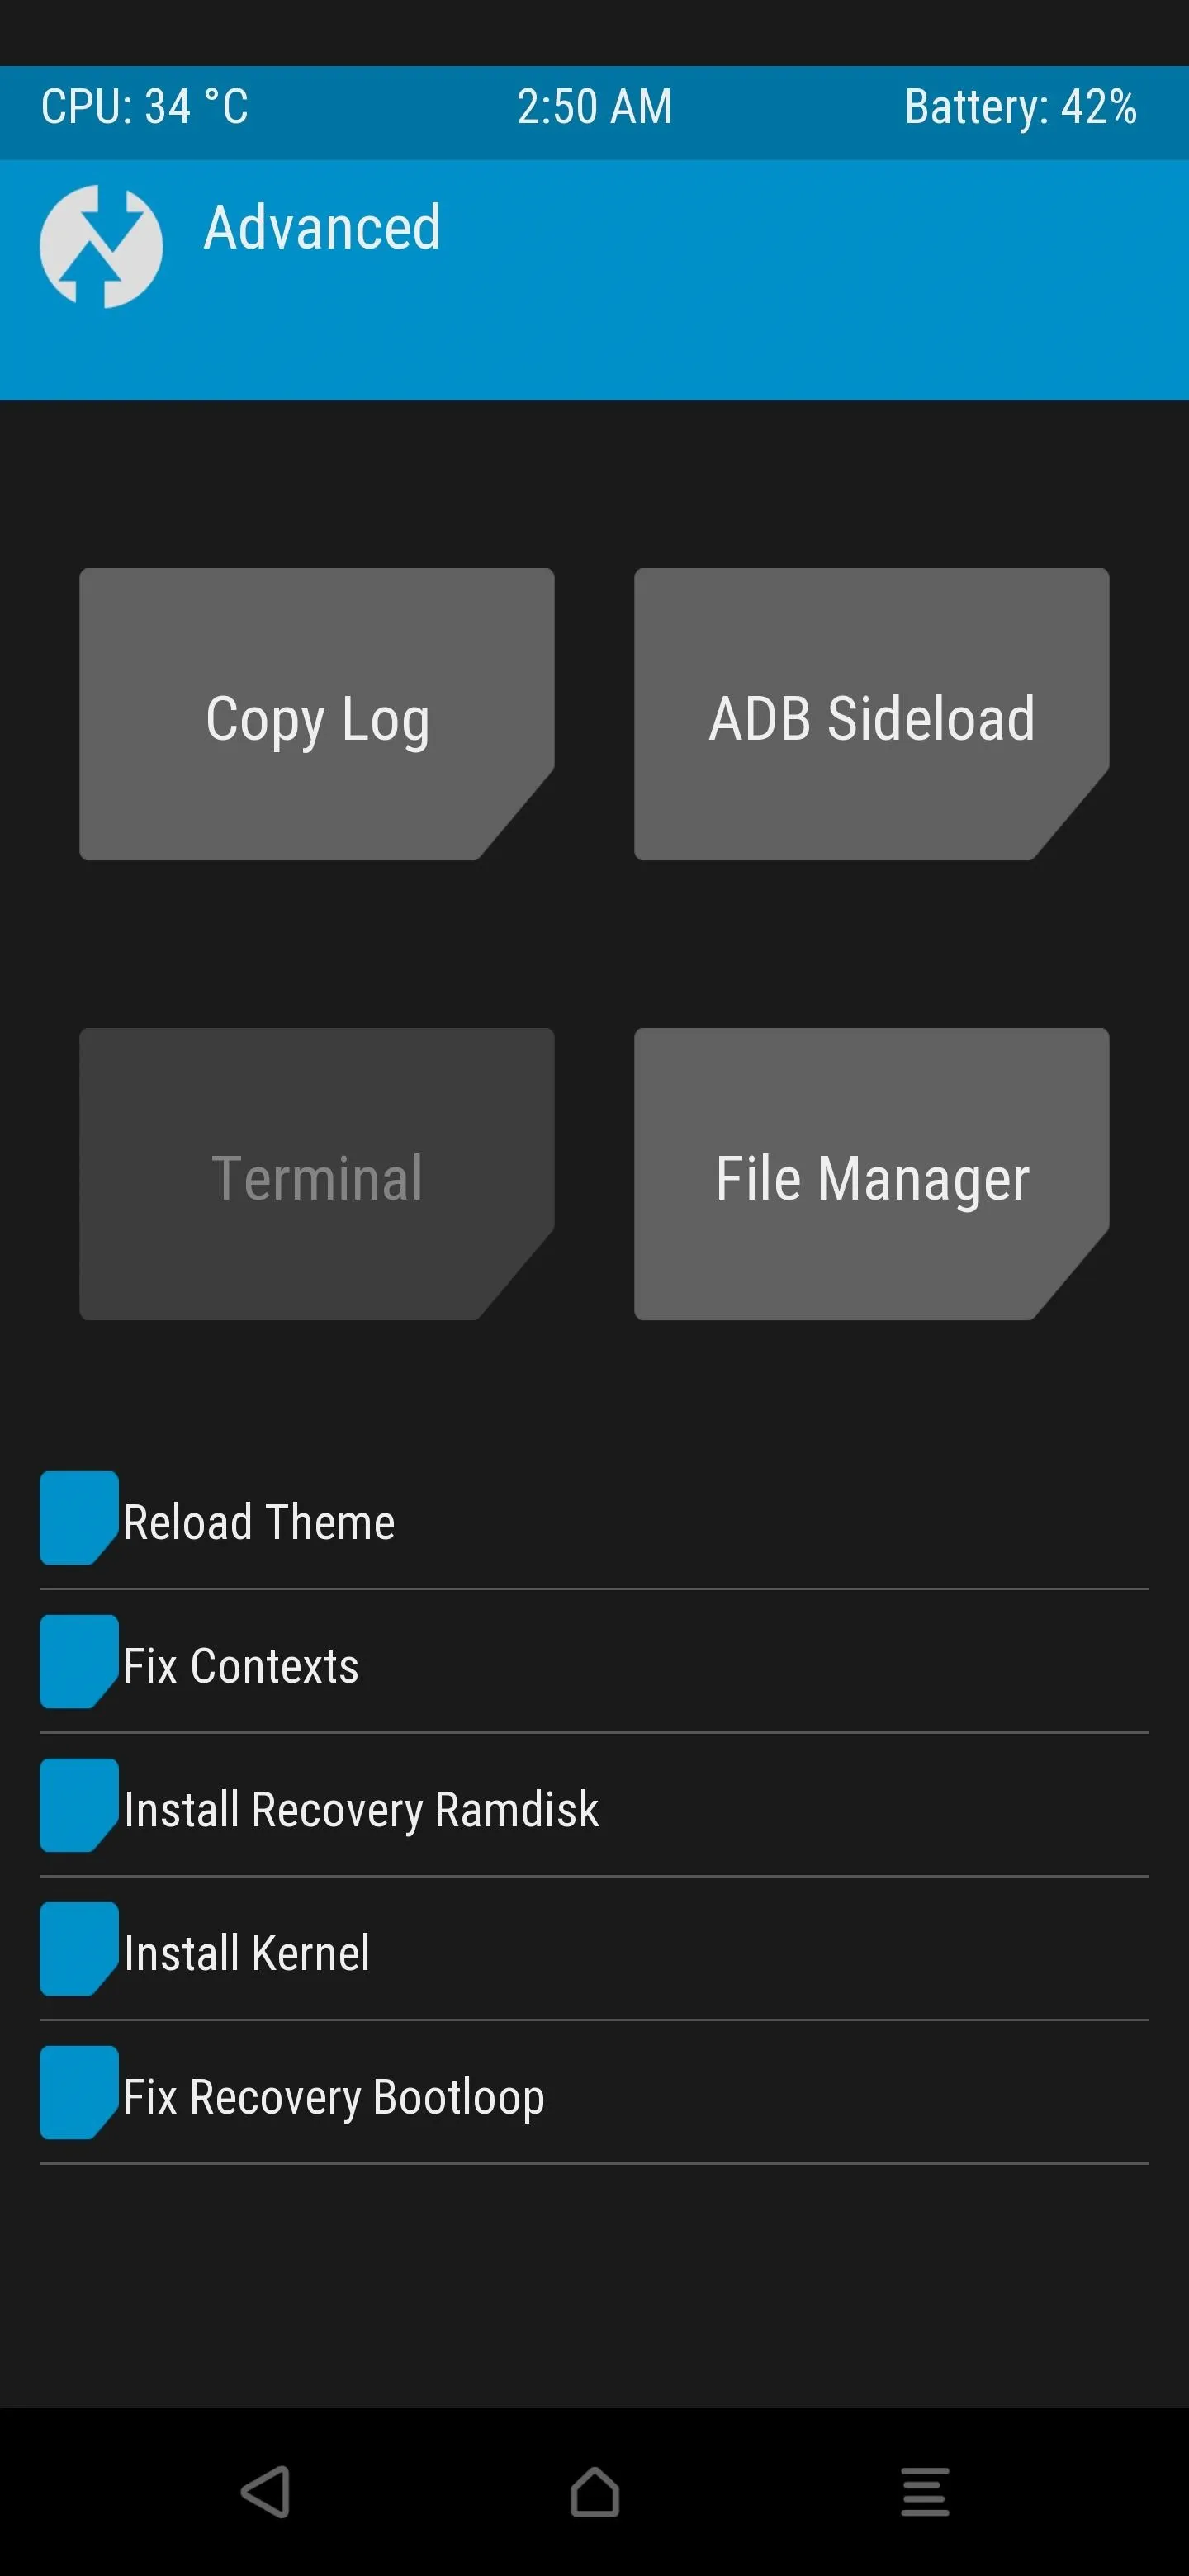
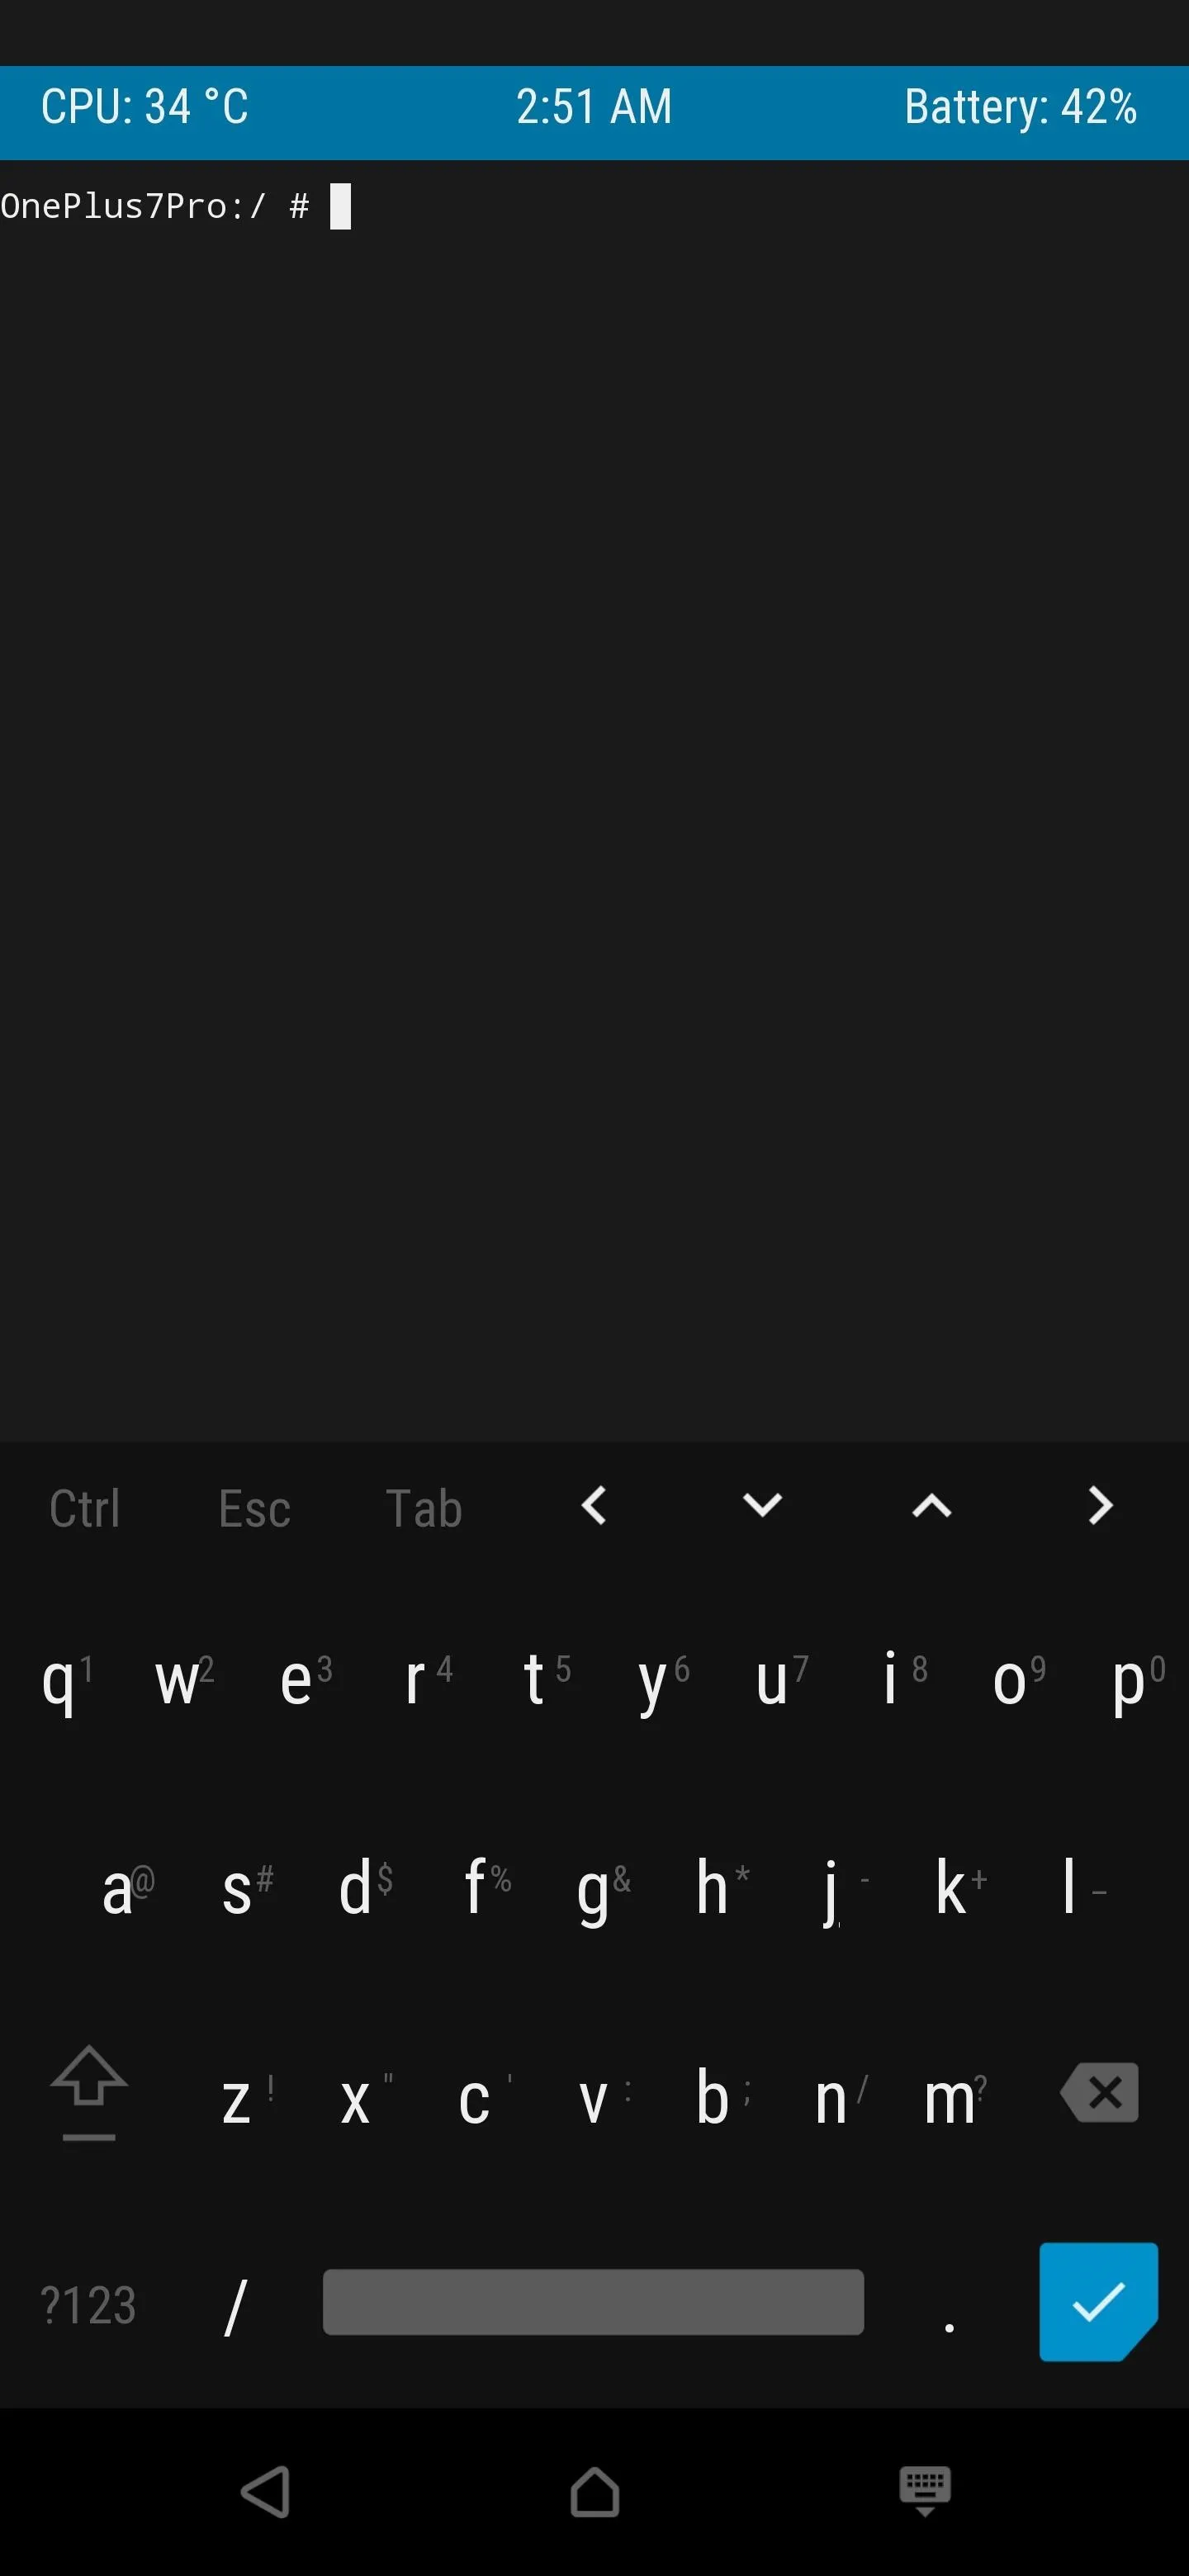
From the TWRP main menu on your Android device, go to "Advanced," then tap "Terminal." Now you can leave TWRP sitting just like this for the time being until it's time to run the Checkra1n jailbreak command.
Connect the iPhone to Your Android Device
From here, it's finally time to take the iPhone and connect it to your Android device with the appropriate USB data cable or OTG adapter. You'll need to make sure the iPhone is currently in DFU Mode before continuing. Once you do that, then you can connect your devices to get them ready for the actual jailbreaking process.
If you find you need an OTG adapter or your current cable doesn't seem to work correctly, you can check them out from the Amazon links below.
- Buy a Lightning to USB Type-C cable from Amazon
- Buy a USB Type-C OTG adapter from Amazon
- Buy a Micro-USB OTG adapter from Amazon
Check the USB Device Connection
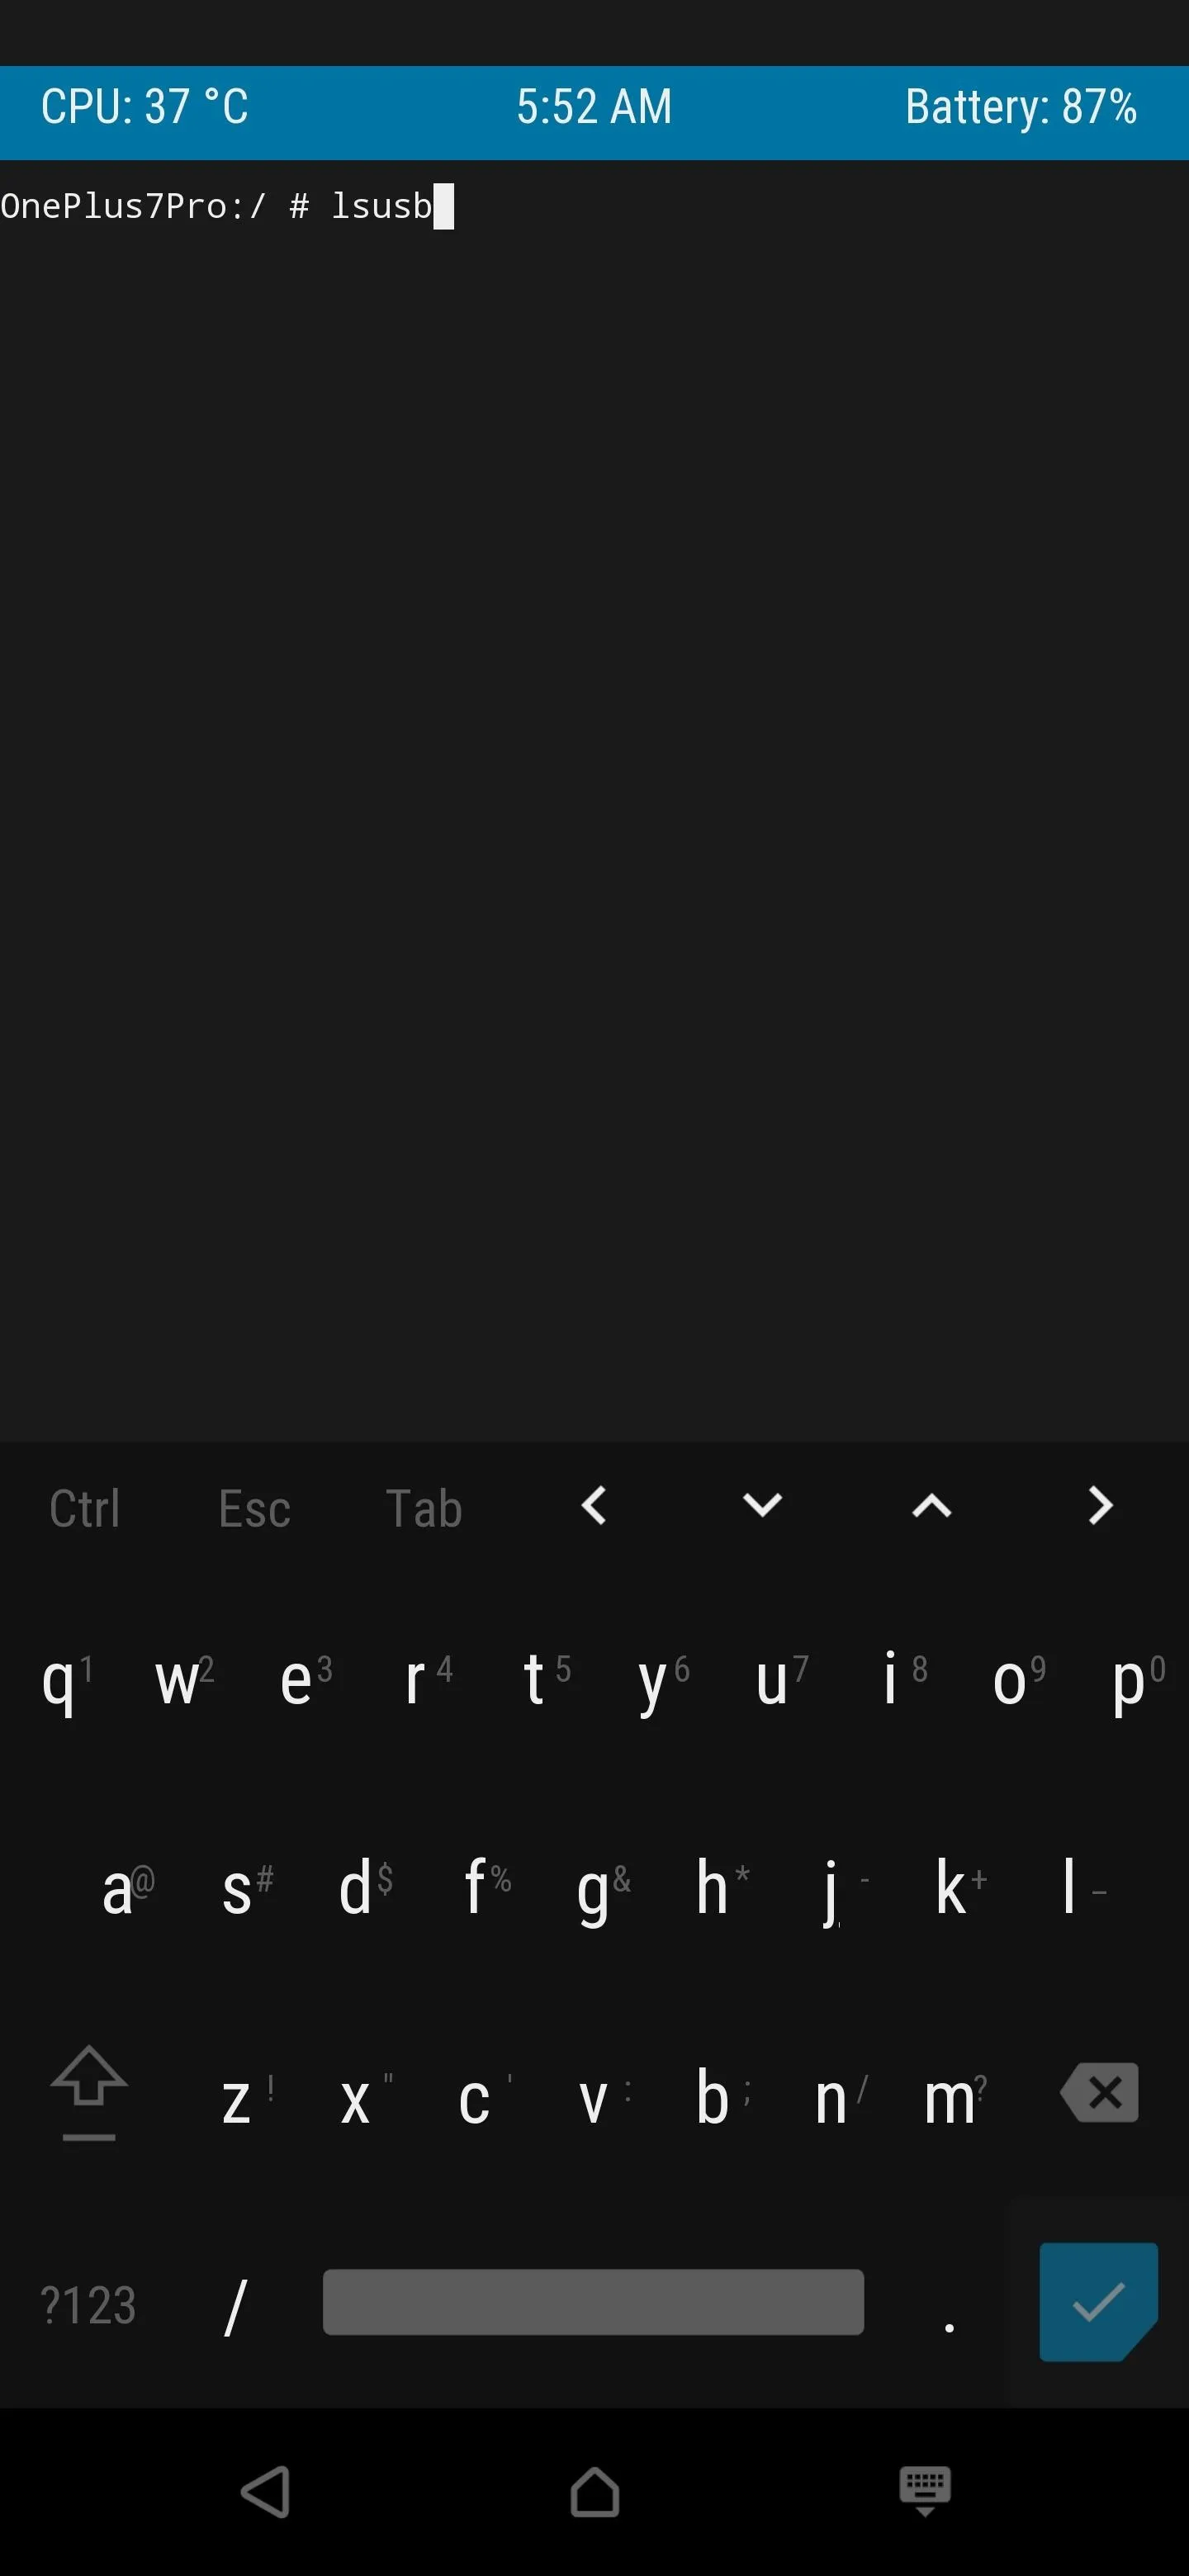
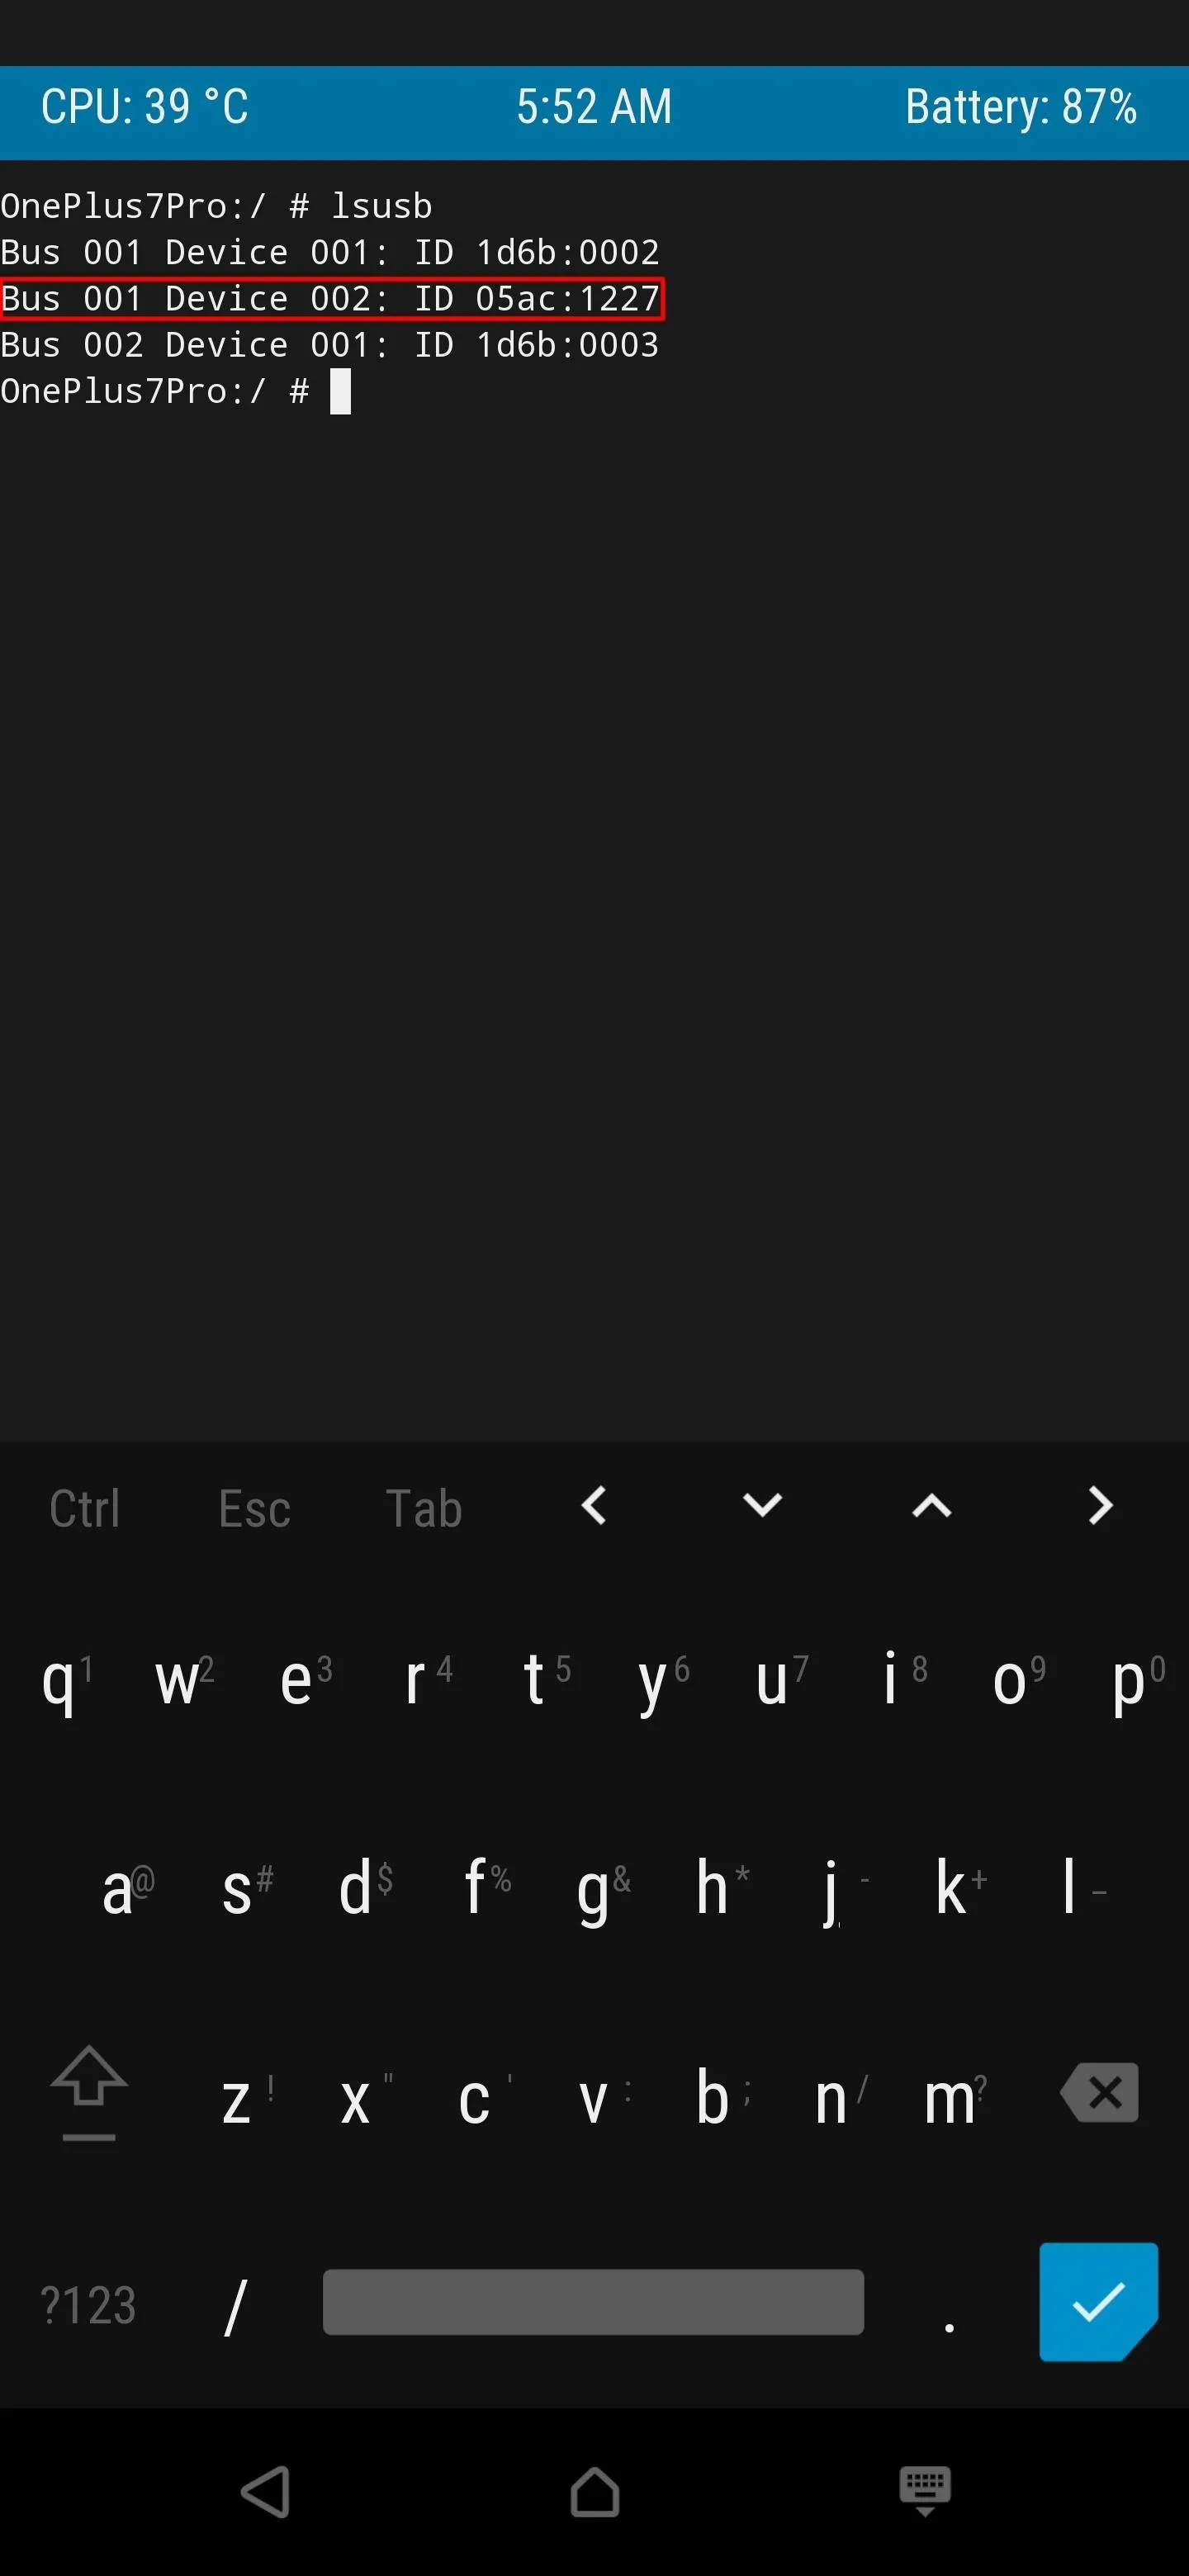
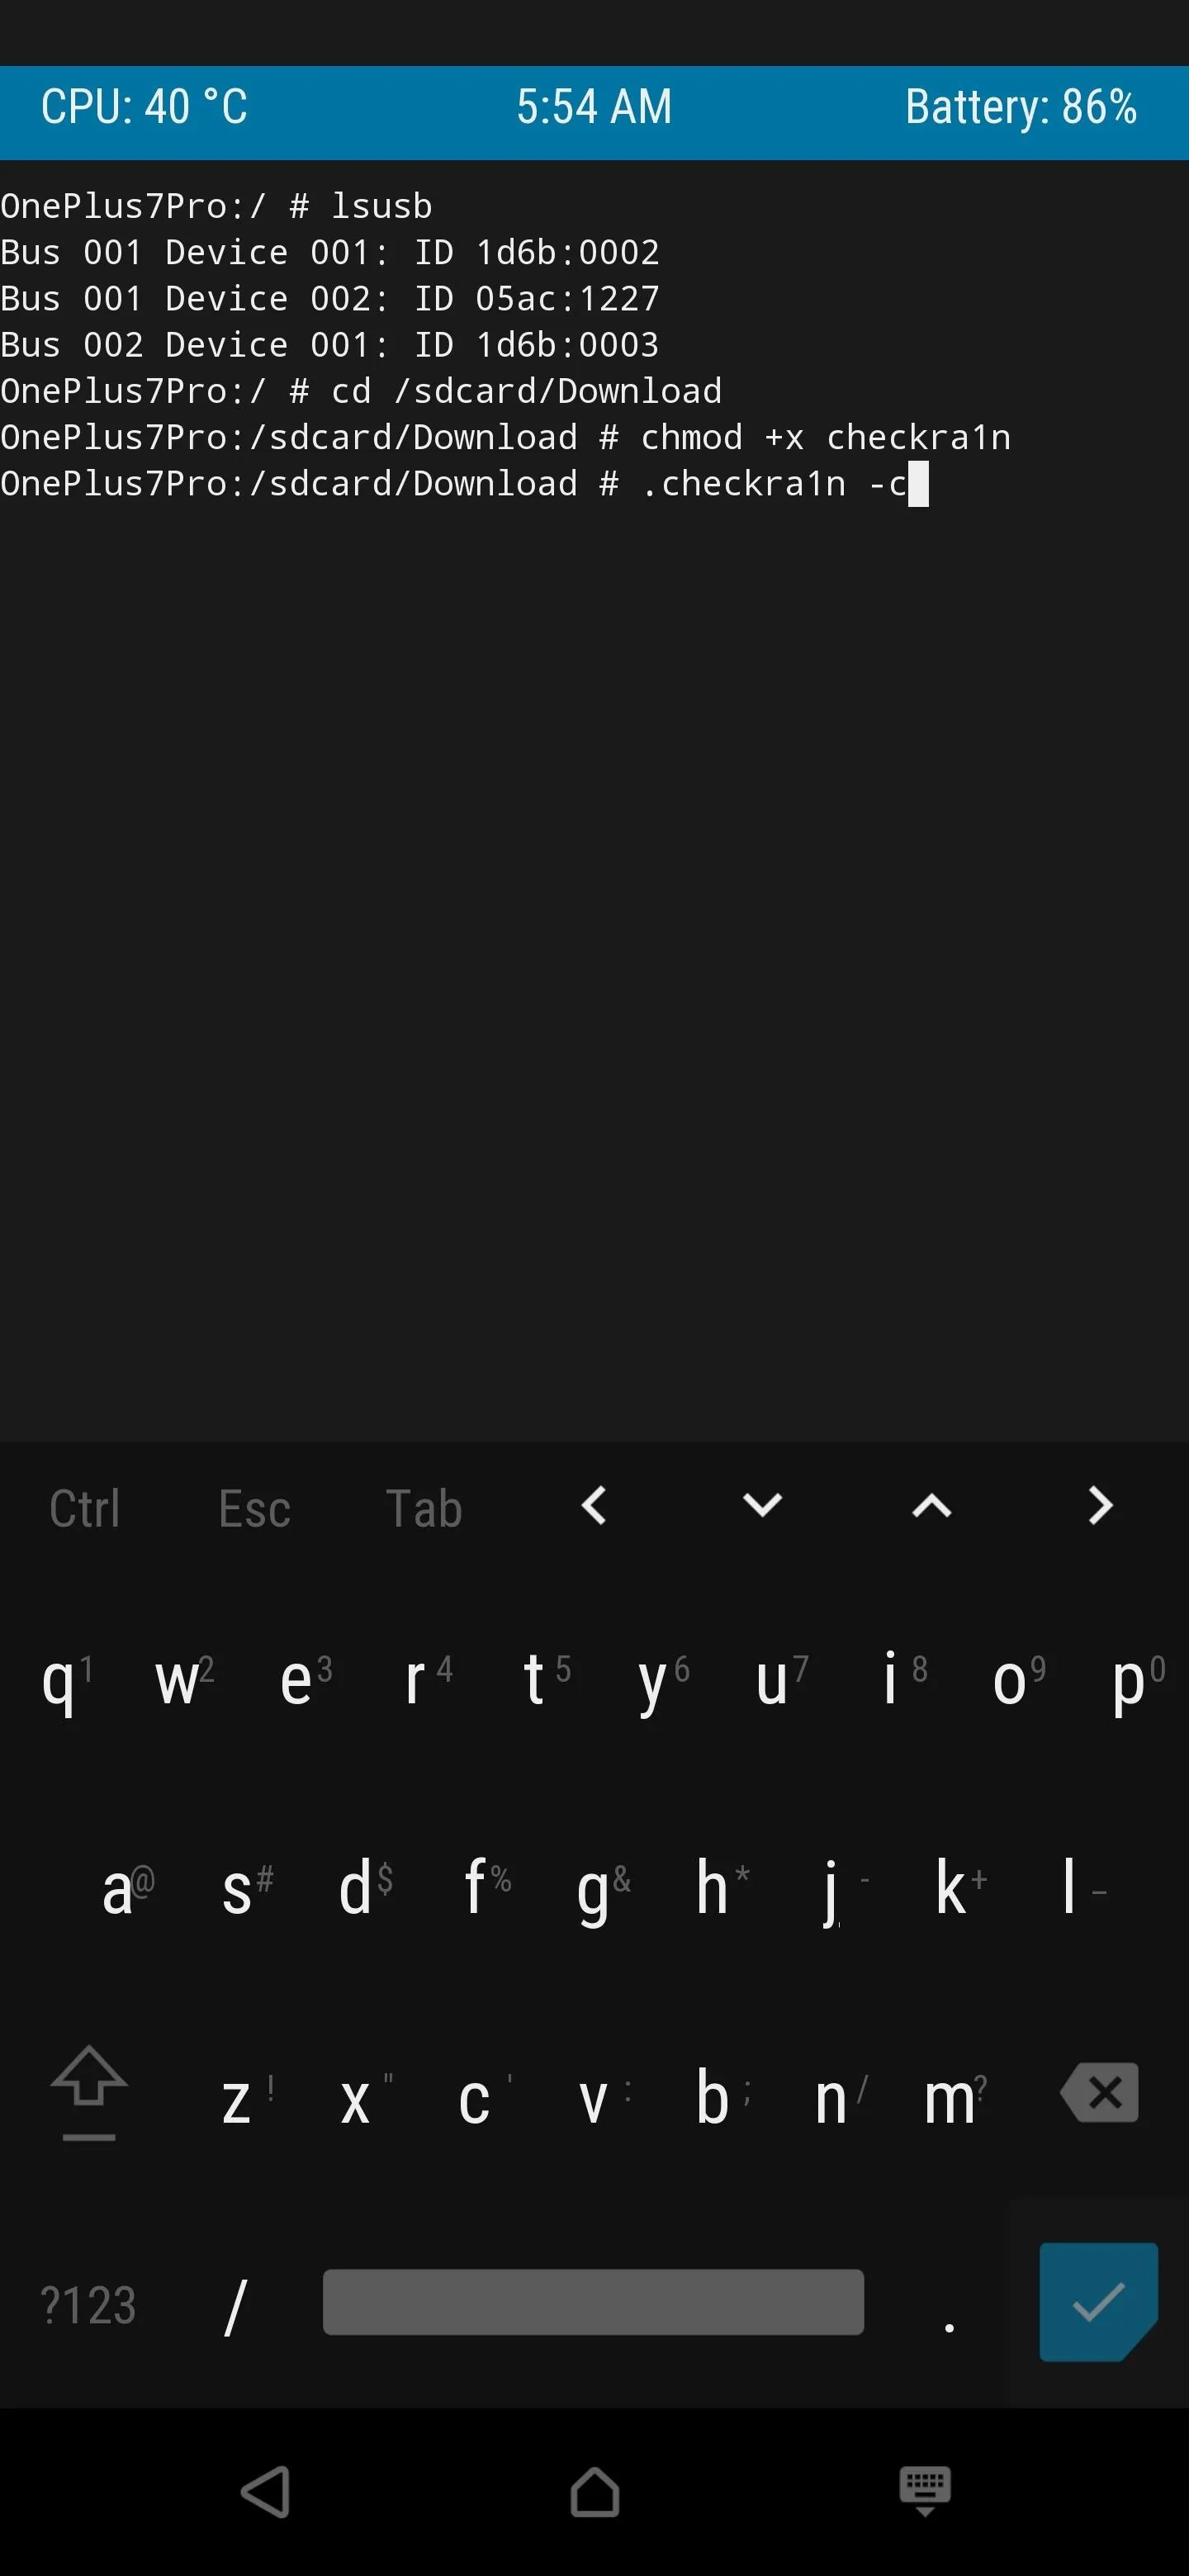
This is the part where you need to jump back over to the TWRP terminal environment on your Android device. Since your iPhone and Android devices should be appropriately connected at this point via USB or OTG adapter, type the following command, then press Enter to confirm your action.
lsusbThe above command will do a quick check to make sure both your iPhone and Android devices are indeed communicating with one another. Once you see the USB ID of "05ac:1227," then that means they are connected successfully. If not, you can try reconnecting the USB cable then giving the command another shot. However, you might even have to repeat the process, starting from Step 4.
Grant the Checkra1n Terminal Permission
Before you can send over the jailbreak command from the Android device to your iPhone, you'll need to grant the proper terminal permission first. If you don't do so, then the jailbreak command won't be able to work since it'll be denied access to the system. In the TWRP terminal, type the following command to change directories into your "Download" folder, then press Enter to confirm your action.
cd /sdcard/Download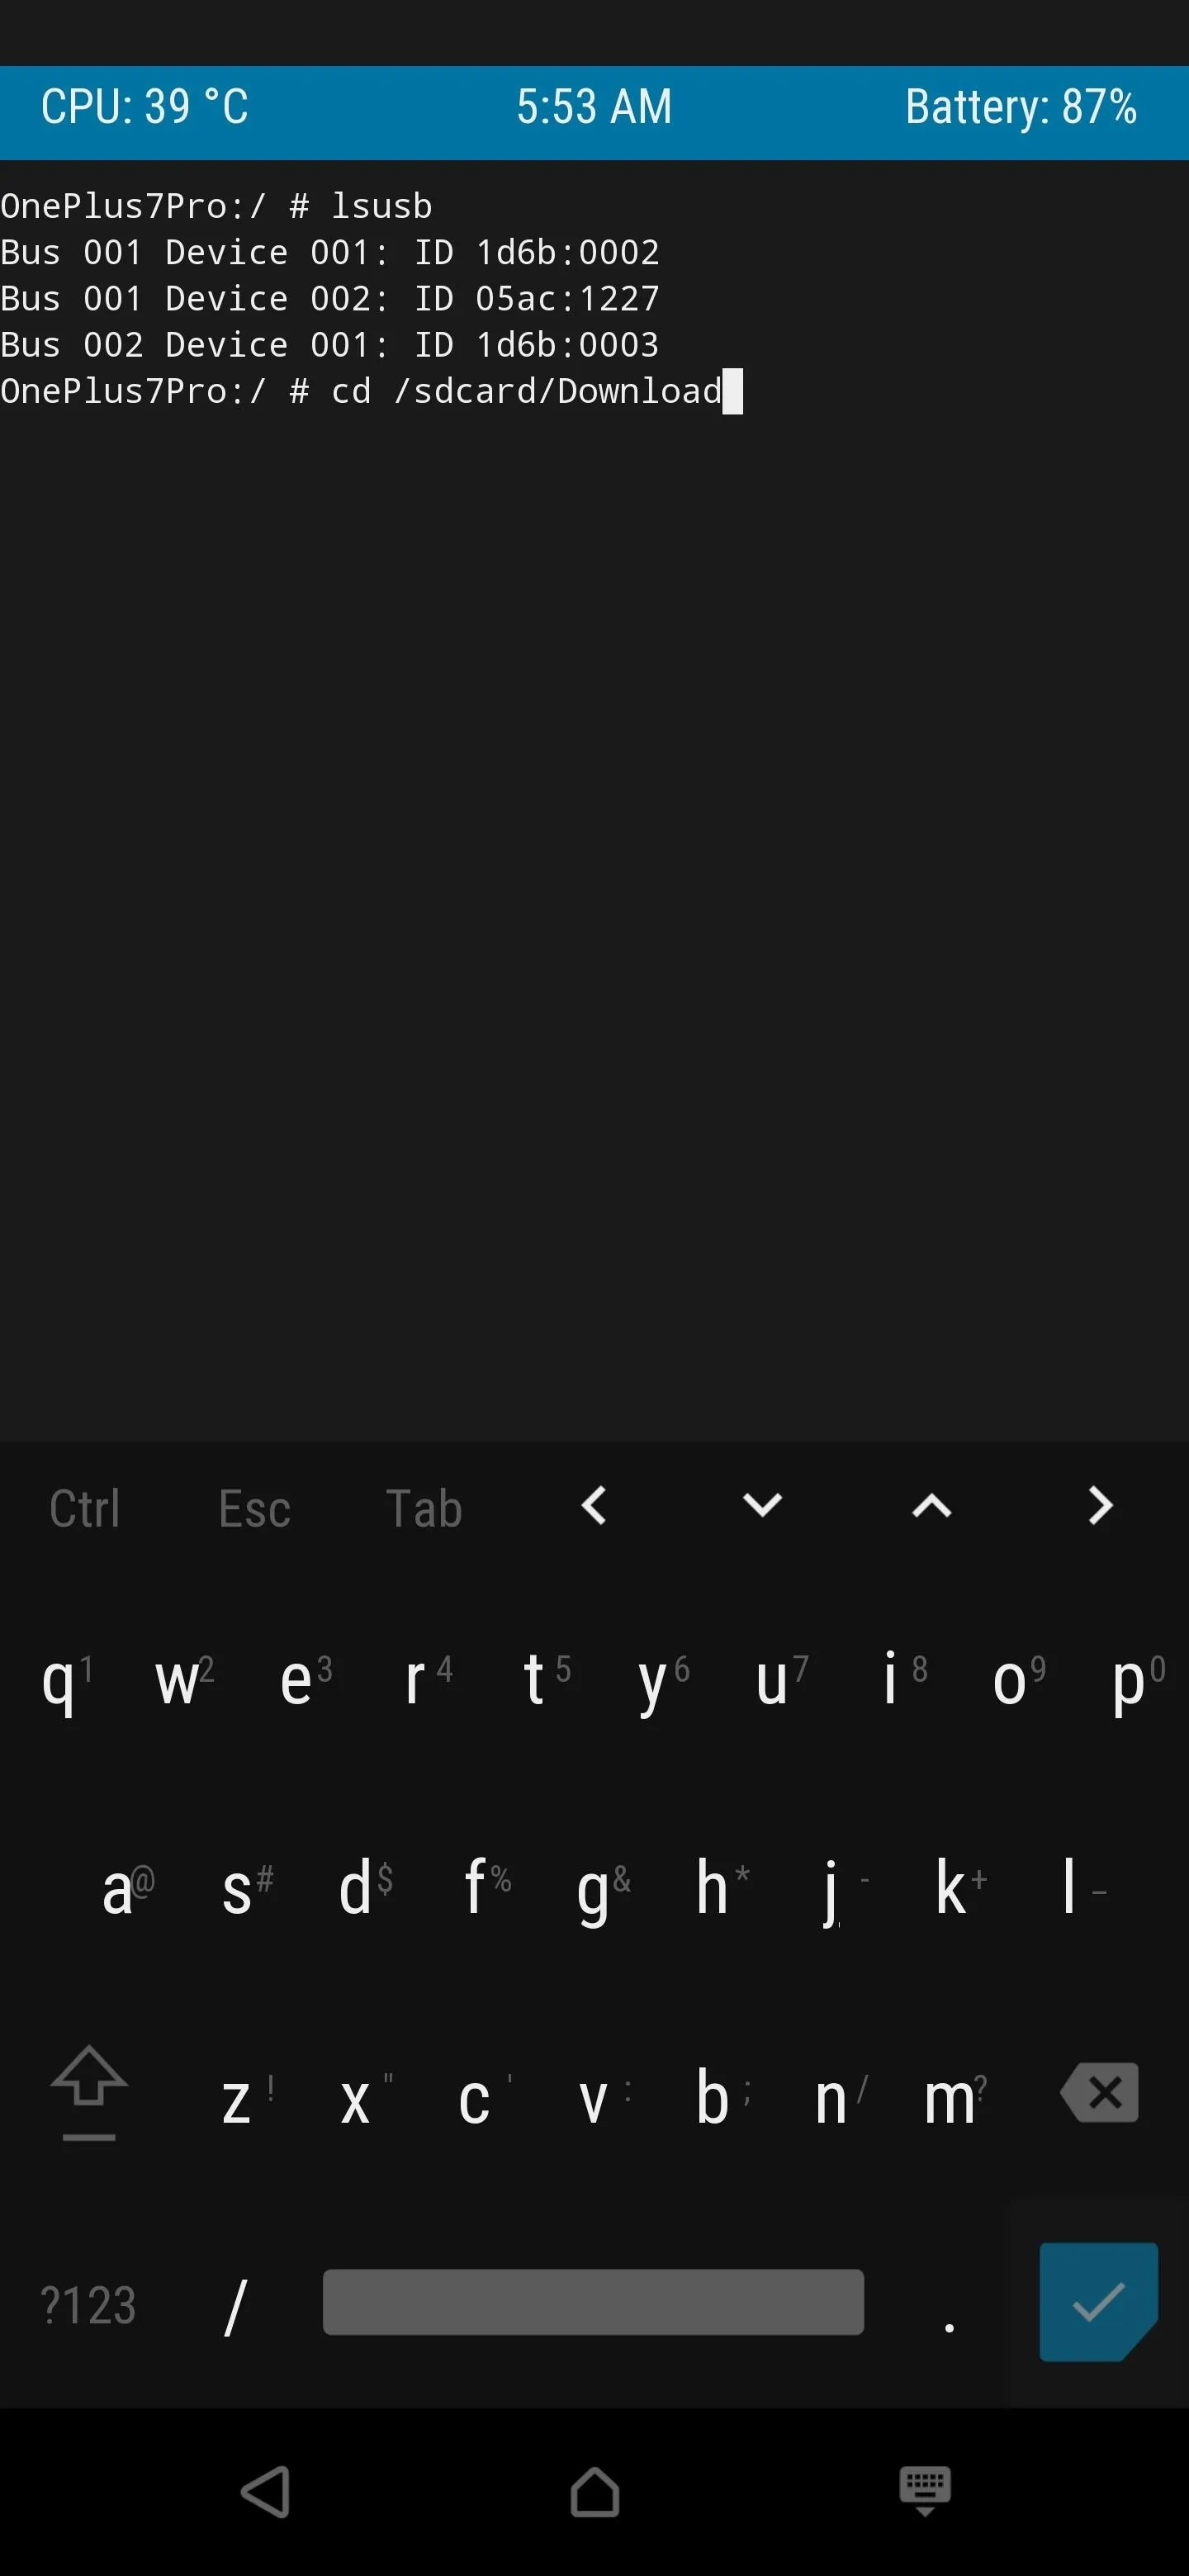

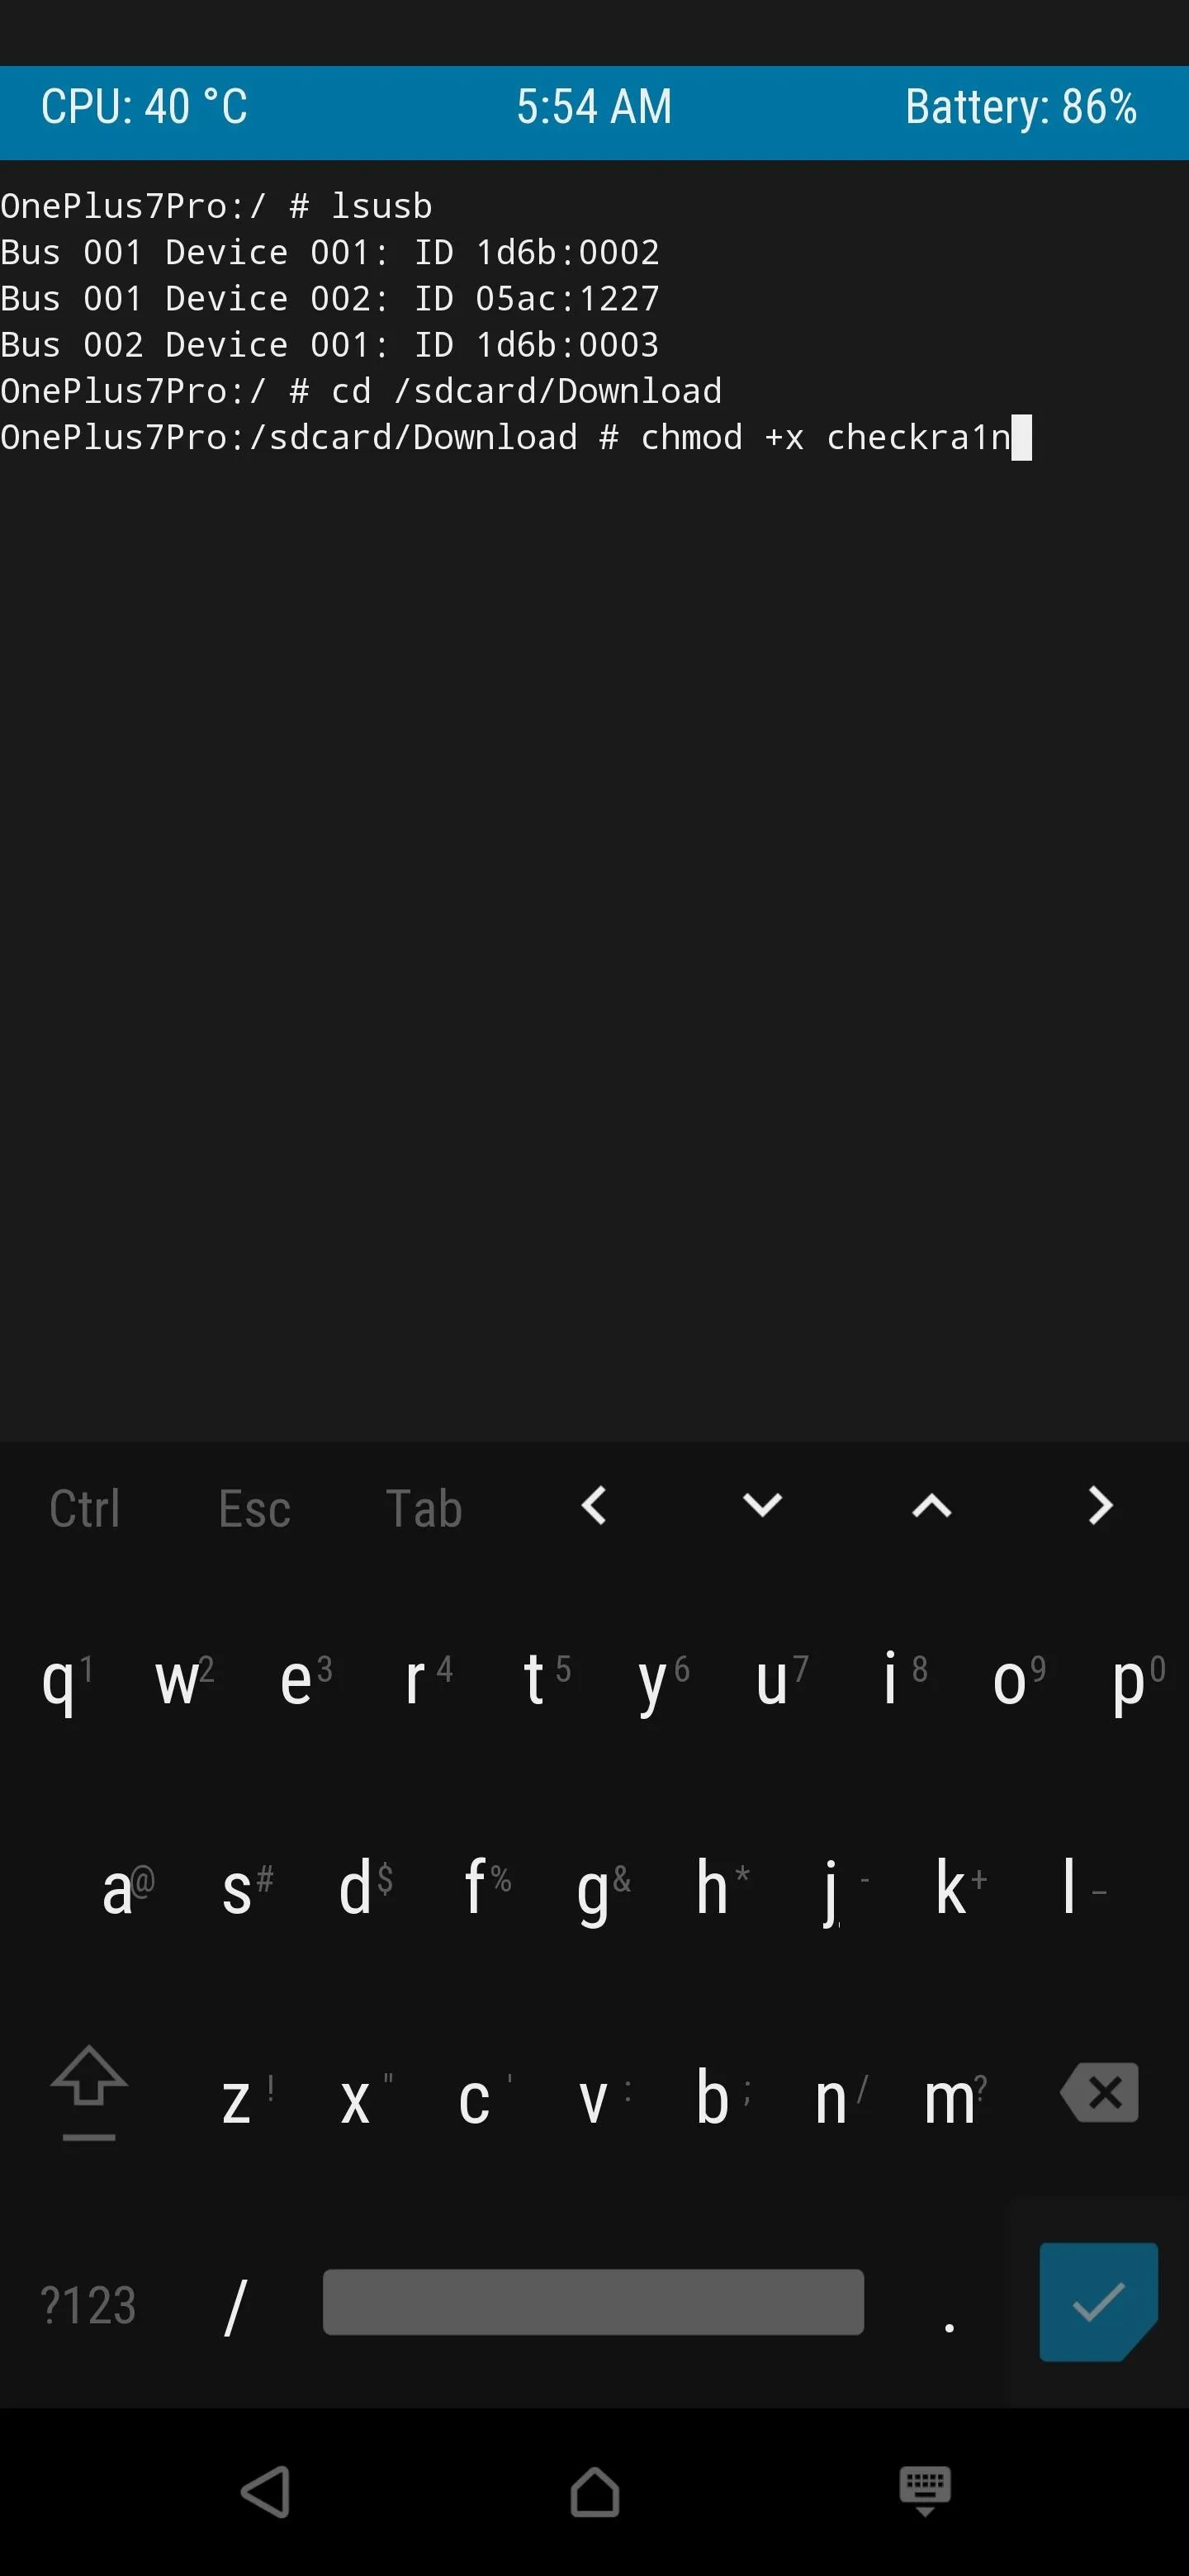
The "Download" folder on your internal storage is where your Checkra1n file should be located. Once that's done, type the following command, then press Enter to confirm your action.
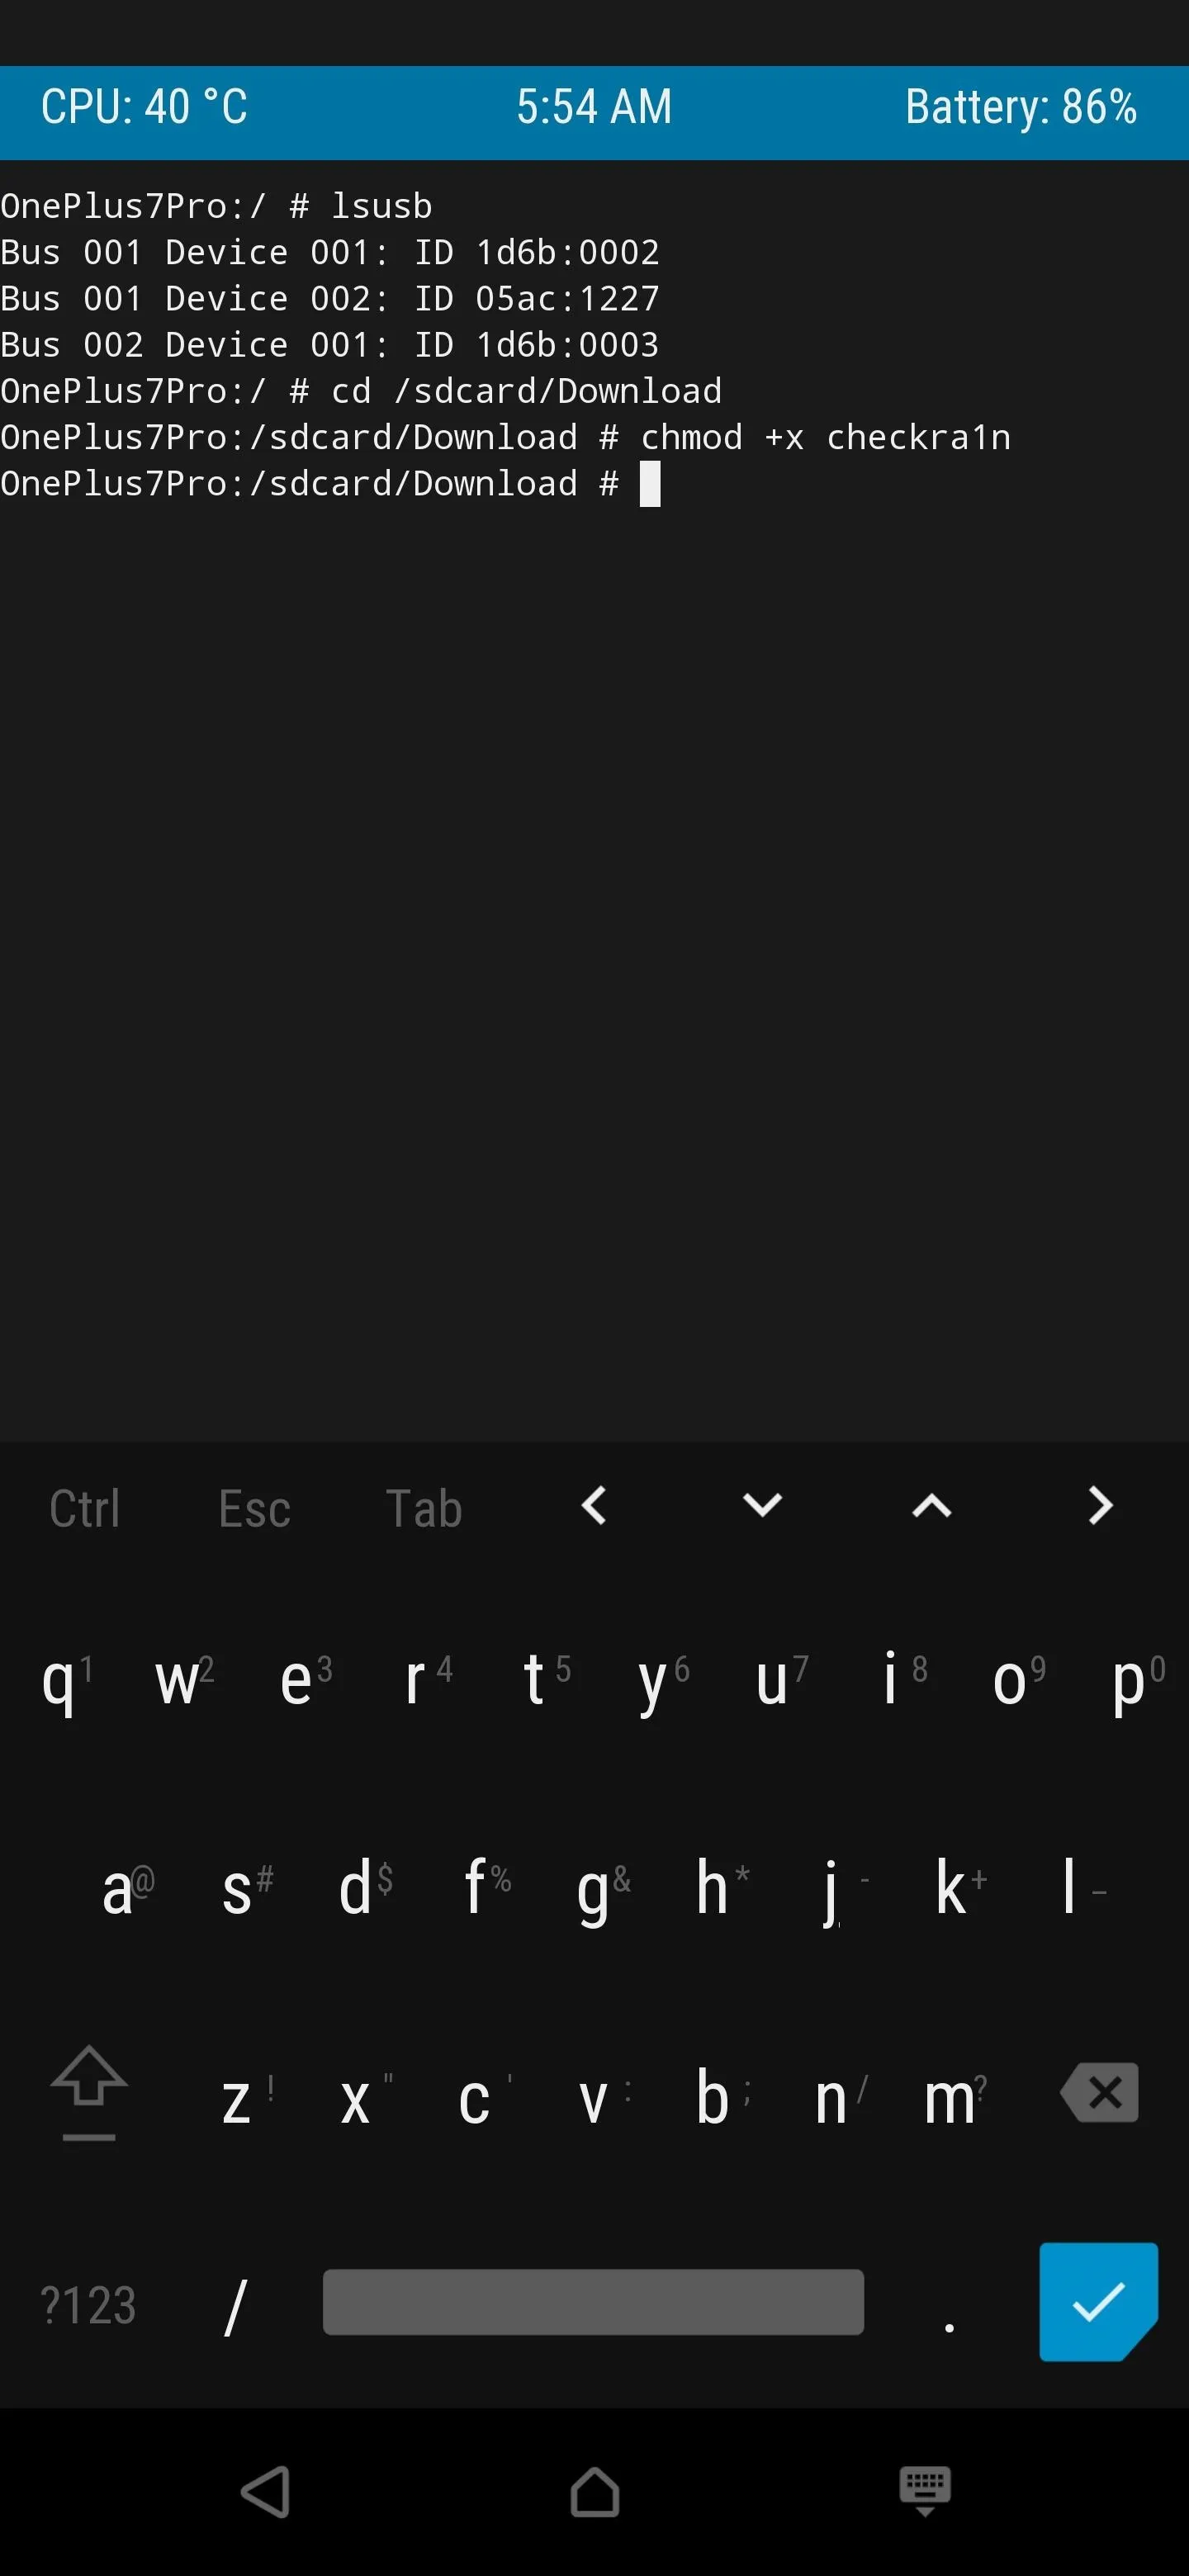
chmod +x checkra1nThe command here, as mentioned above, will grant the Checkra1n file proper access to your system via the TWRP terminal environment. Once you take care of it, you can then move onto the next step in the guide.
Execute the Checkra1n Jailbreak Command
Now that everything up to this point all checks out and the prep work is finished, it's time to execute the actual Checkra1n jailbreak command itself. On the same TWRP terminal as the previous step, type the following command, then press Enter to confirm your action.
./checkra1n -cThe above command will start the main Checkra1n jailbreak and send it over to the iPhone from here right away. Using TWRP to jailbreak your iPhone with Checkra1n is the most reliable method on Android right now, so you should be fine for the most part. It should work without any issues, but you can occasionally run into USB errors along the way. Just try again if it doesn't work the first time.
In the case of the USB errors, you can usually kickstart the Checkra1n command by disconnecting the USB cable from your Android device then plugging it back in. It often works right away, allowing the install process to continue as usual. If nothing else, you might have to repeat Step 4 onward to get a fresh start.

Once the jailbreak command goes through successfully without any USB errors, it'll start doing its thing in no time. You'll then notice your iPhone will start running some code during the process as well, which means the Checkra1n jailbreak is working as intended. Let it finish up, and then your iPhone should automatically reboot back into iOS as per usual.
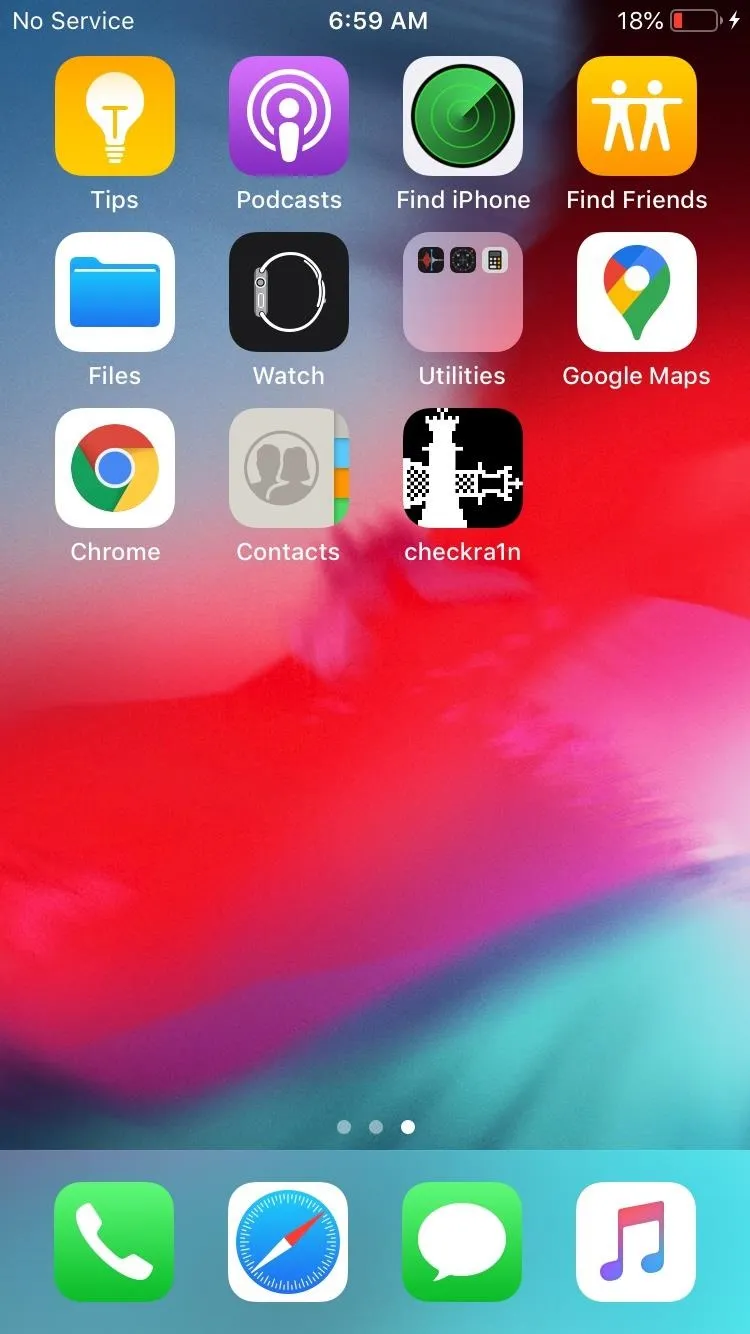
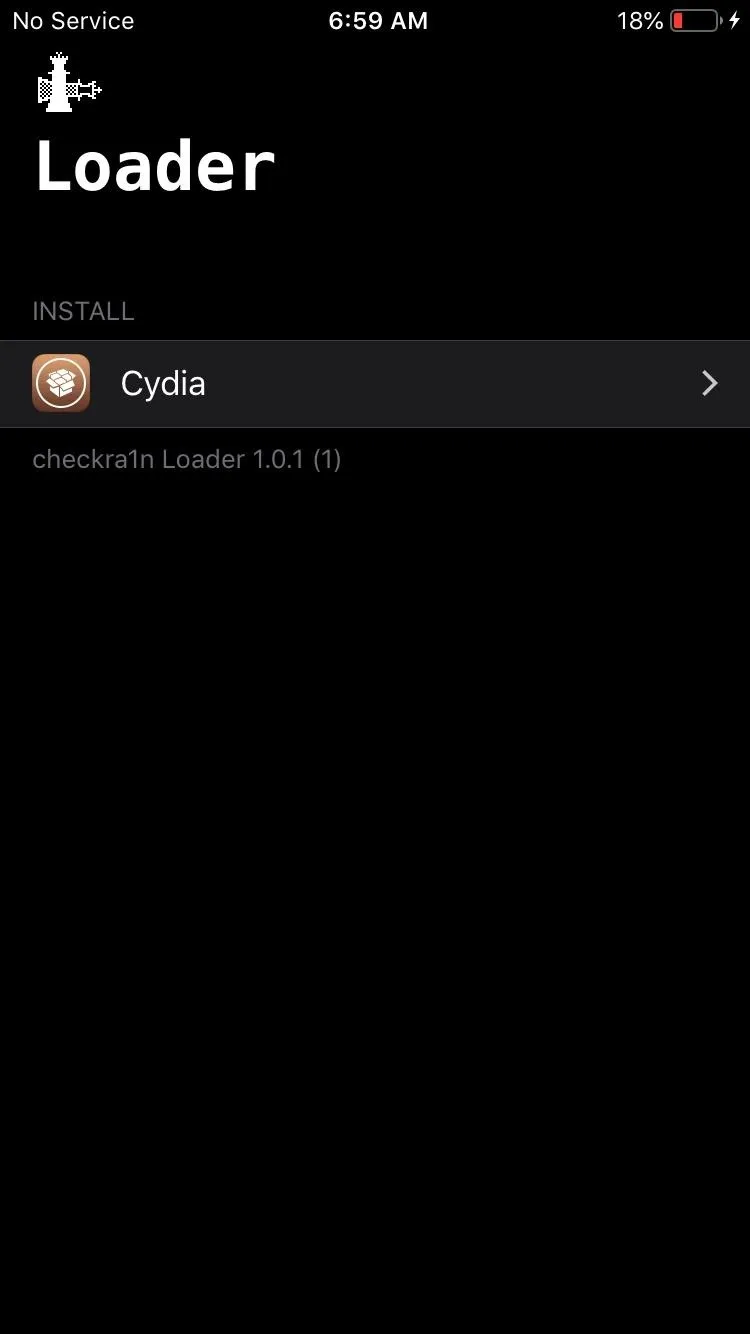
Open Checkra1n & Install Cydia
From here, you can head on over to your freshly booted iPhone then check your home screen for the Checkra1n icon. Open the app then tap "Cydia" to begin installing the Cydia app onto your iPhone. Cydia is the primary app store used for all of your jailbreak mods, and it's the only loader that works with the Checkra1n jailbreak method at this time as well.
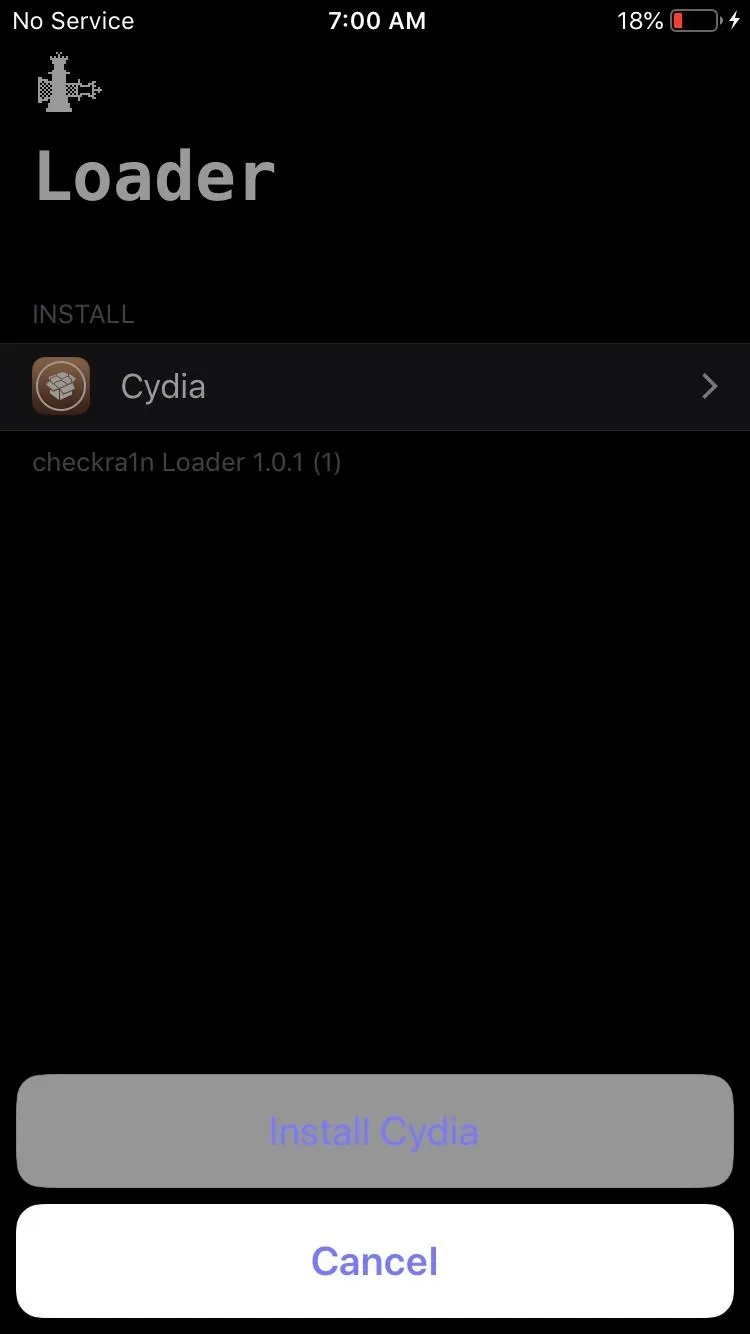
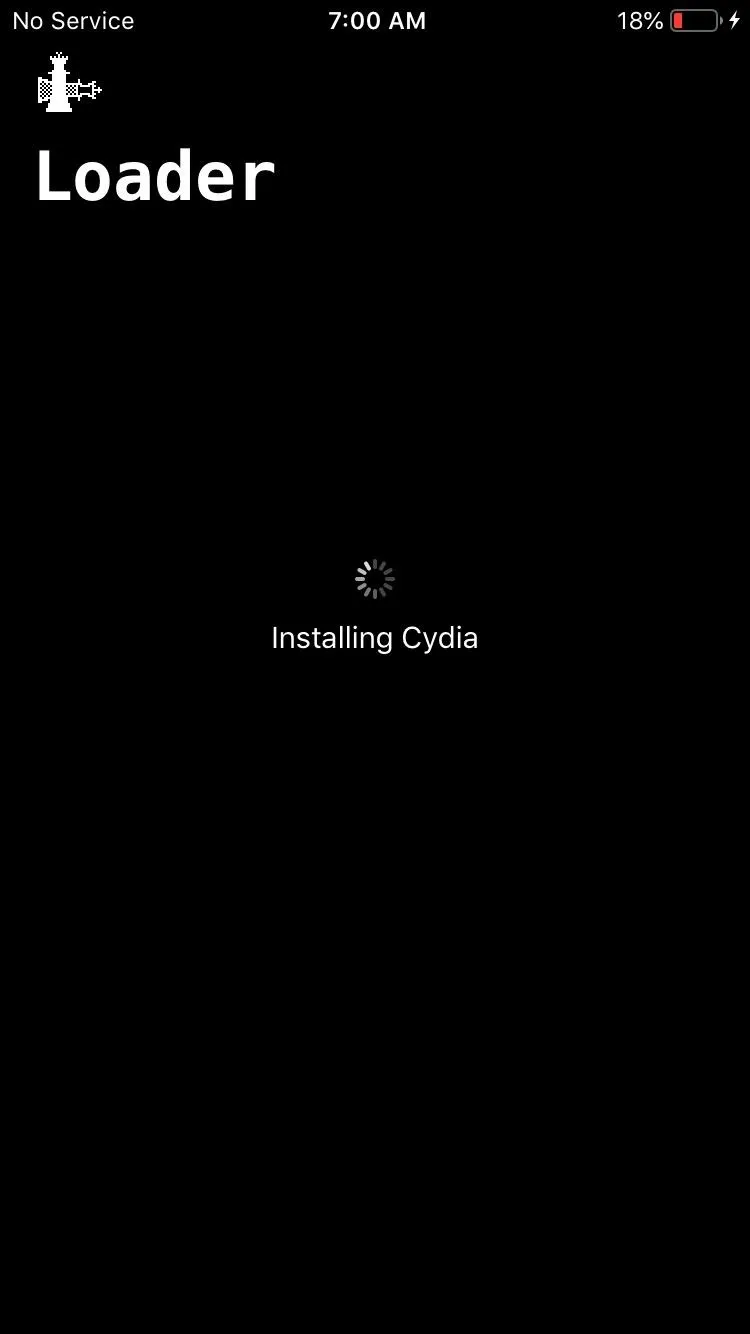
From here, hit the "Install Cydia" button, and it'll begin installing the required files for the Cydia app onto your iPhone. Once it finishes up, you can then disconnect your iPhone from the Android device and start working on building out your list of jailbreak mods. Have fun!

Final Note
You should be aware that the Checkra1n jailbreak method is known as a semi-tethered jailbreak, which means you'll be required to re-enable it each time you reboot your iPhone. It's such a small price to pay, however, so that you can maintain your jailbreak status indefinitely.
Since there are a few steps in this guide that might cause some issues along the way, you can leave a comment if you get stuck somewhere. I'll do my best to answer any questions you might have and hopefully help you jailbreak your iPhone in the process.
Cover photo and screenshots by Stephen Perkins/Gadget Hacks (unless otherwise noted)


Comments
Be the first, drop a comment!