


Adding additional photos to a movie project in iMovie for iPhone is relatively simple, but incorporating more videos to your timeline is a little bit more involved, only because there's more that you can do. Unlike with photos, you can trim the length of new videos, select the audio only, and add overlay effects.
You can add video clips to your movie project from your iPhone's built-in storage, iCloud Photo Library, iCloud Drive, or Files app, and you can always take new videos right away if you want. We'll cover these options below, but before that, make sure you have your movie project open and ready. If you don't have one yet, check out the basics in the link below for making one.
Select Where You Want to Add the Video
A new video can be added to any part of a movie project's timeline, then reorganized to the most appropriate spot afterward, but why not just add it to the right place when you import? Choosing the correct spot right off the bat means less work later.
In your movie project, swipe left or right on the timeline to position the playhead (the white vertical line in the middle) to the spot where you want to add the new video clip. If the playhead is situated over a clip in your timeline and not in between clips, the video is added either before or after that clip, whichever is closer to the playhead's current position. If you choose an overlay effect later, it will start at the playhead's location and be on top of the original video track.
When you're all set, tap the "+" sign on the left side to bring up the media browser.

Select a New Video to Import
As mentioned before, there are multiple places where you can find videos to import. You can get them from your Photos app or your Files app, the latter which includes iCloud Drive and third-party cloud storage apps if running iOS 11, iOS 12, or higher. You can also record a new video if you're editing in the moment.
Alternatively, you could import videos into your project from iTunes, but it's the least convenient option and entirely unnecessary when you could AirDrop the files to your Photos app first. So we won't cover iTunes here.
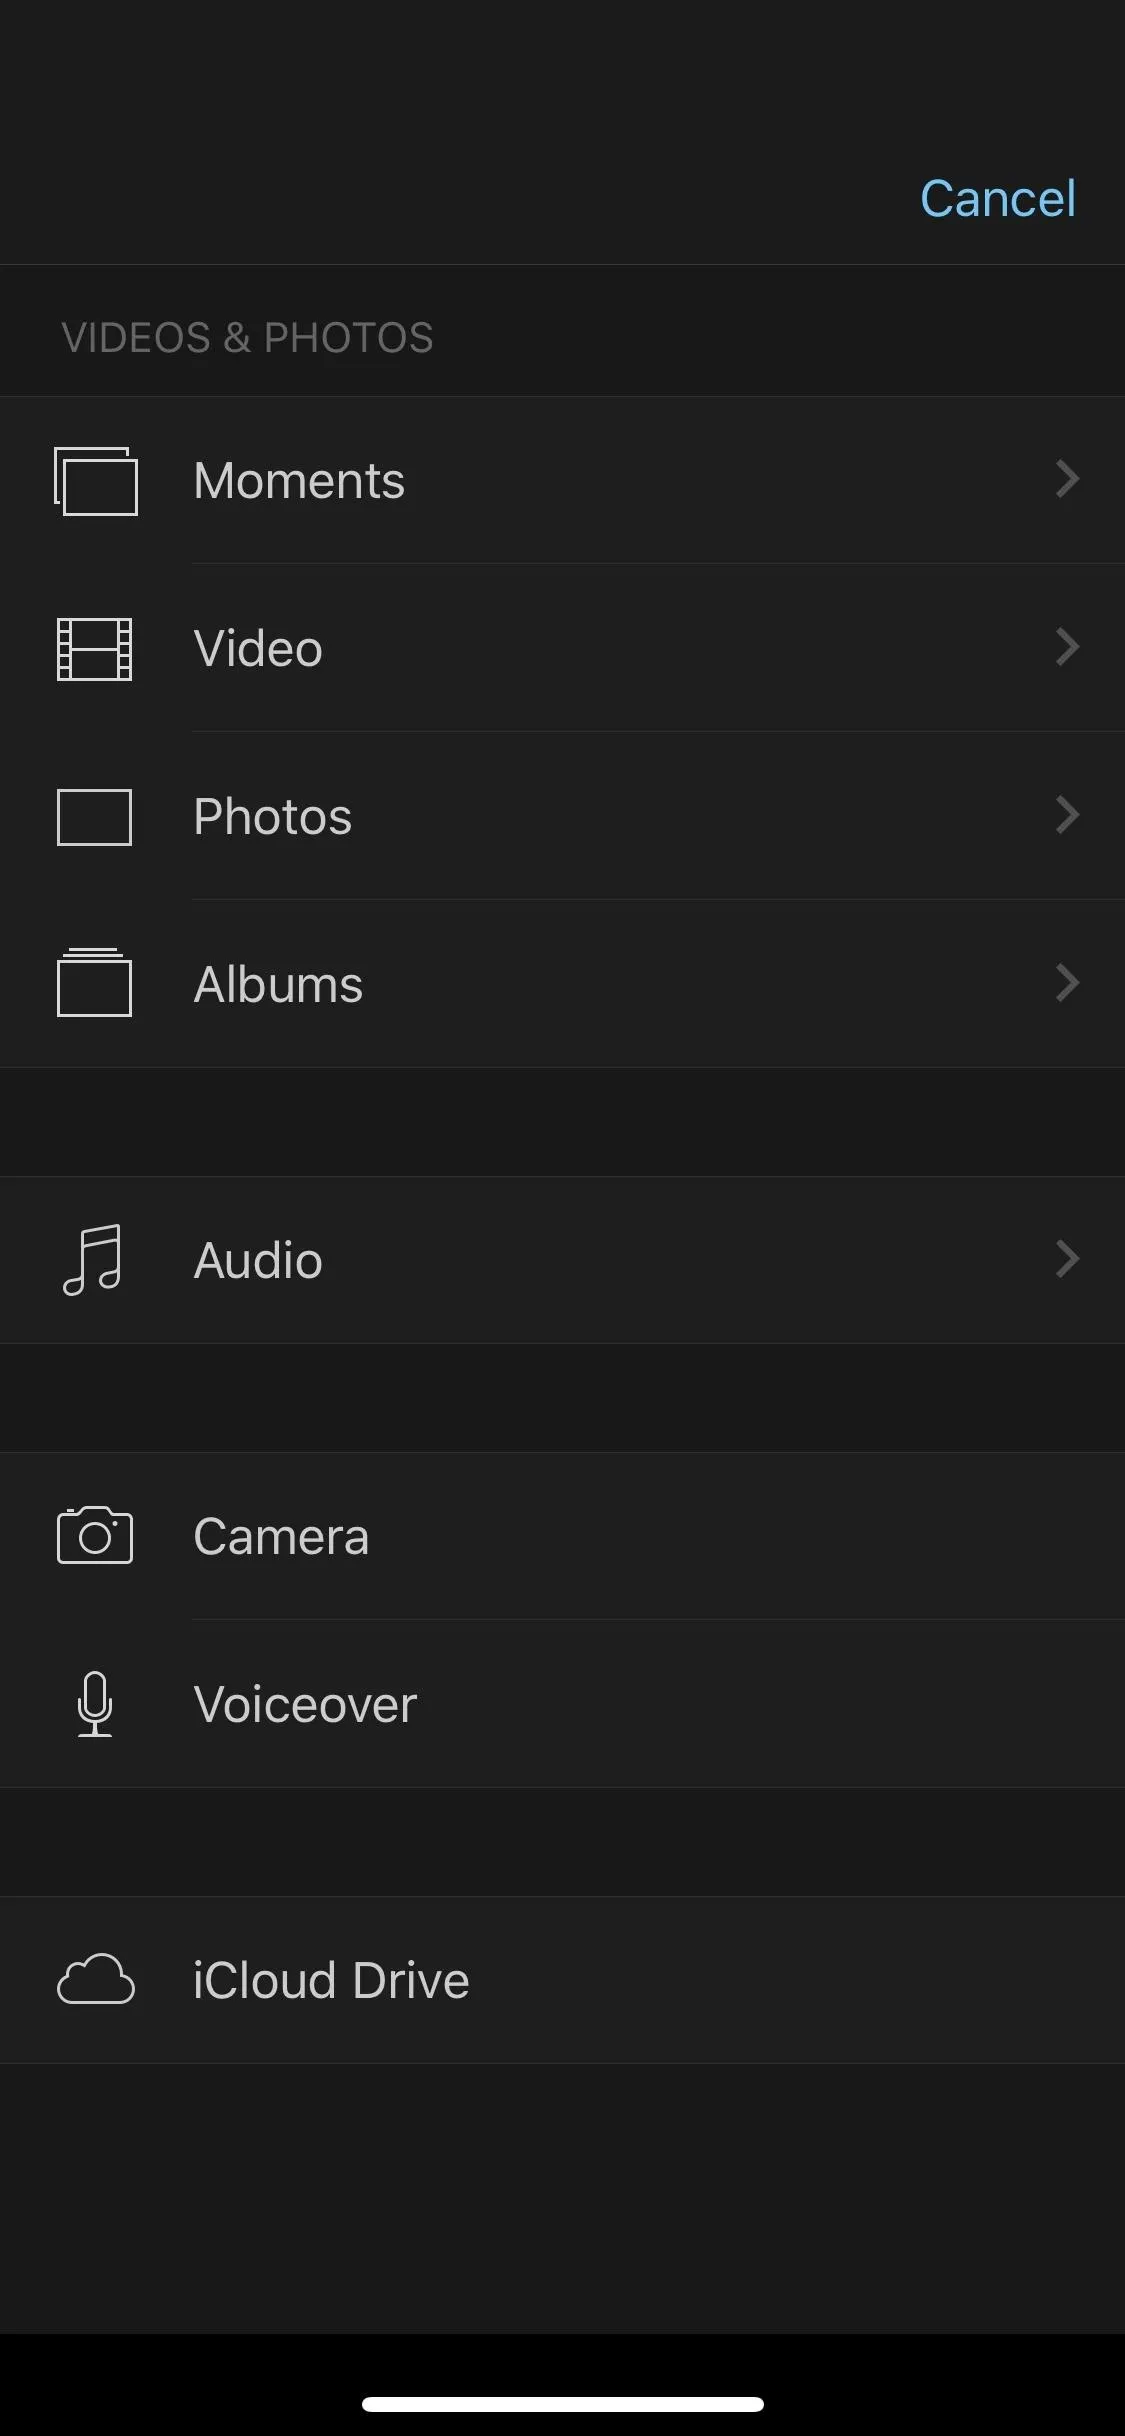
From the Photos App
Looking for a video that's stored on your iPhone or in your iCloud Photo Library? Then select either "Moments," "Videos," or "Albums" from the media browser. I recommend selecting "Videos" or an all-videos album since they will give you more detailed options for importing when you finally find the video you want to use.
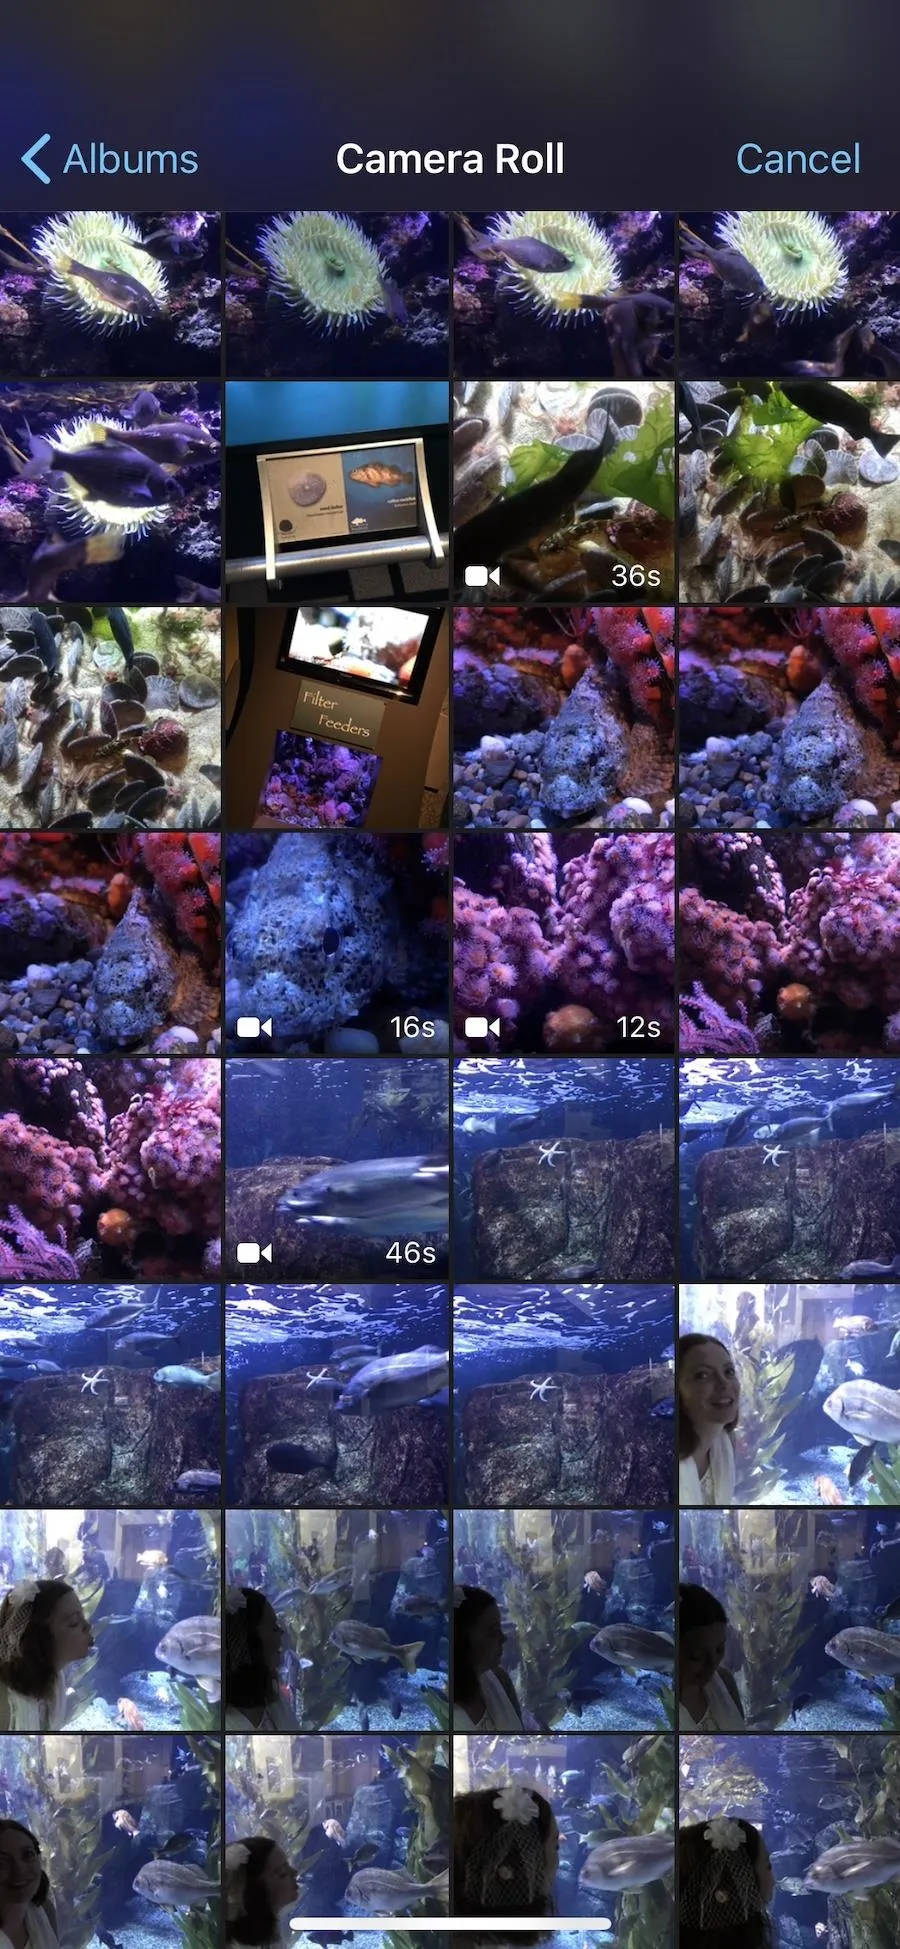
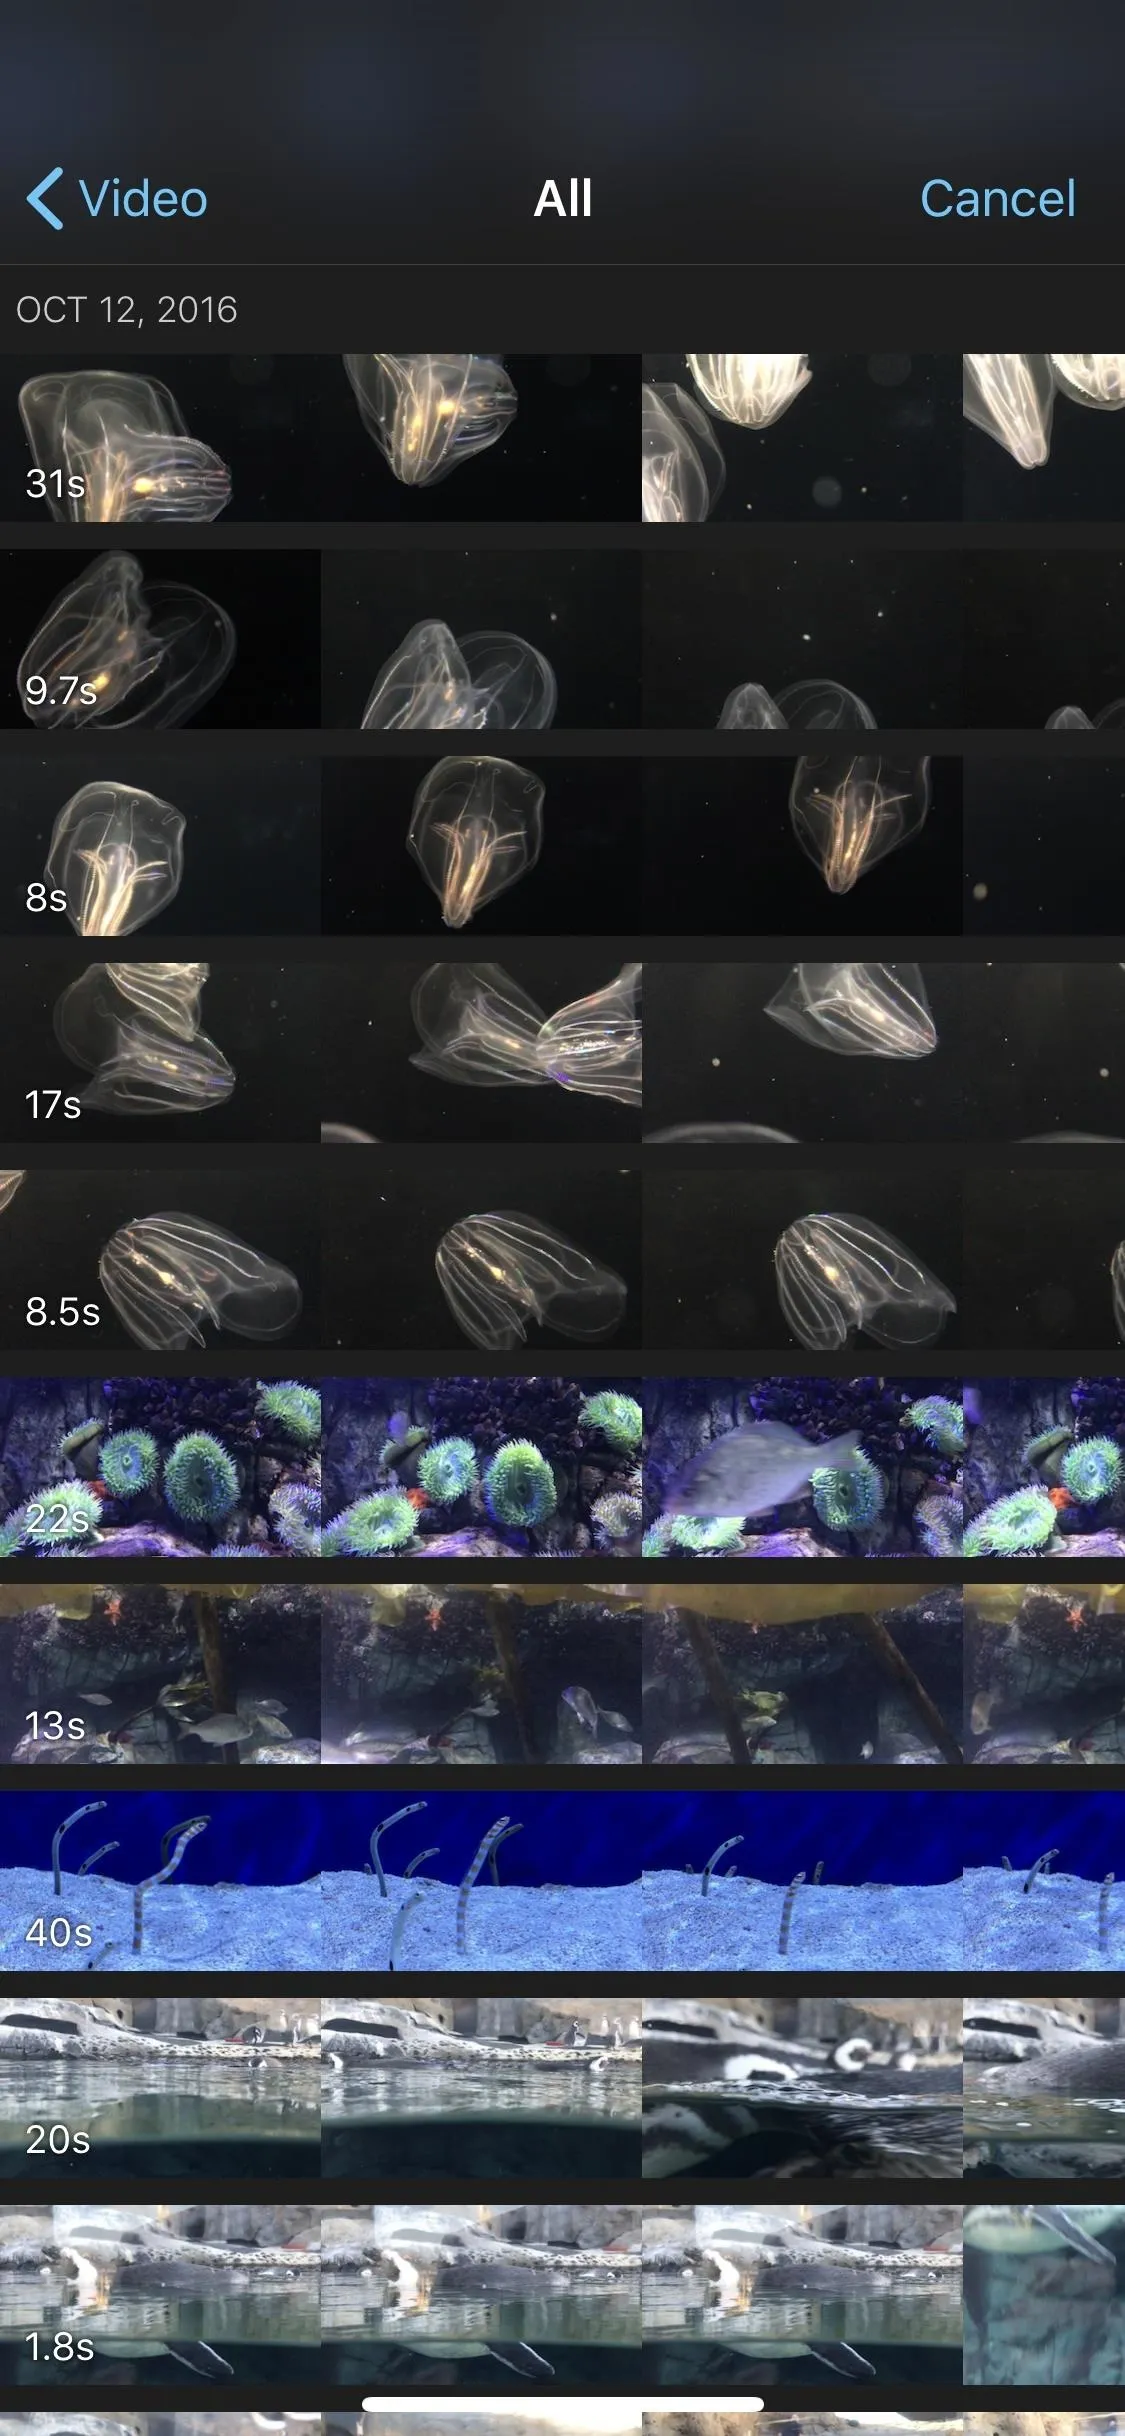
To preview in a folder with both photos and video, tap-and-hold on the video thumbnail. To play without holding, tap on it once, then tap the play button that appears. In an all-video album, tap on the video and hit the play button. You can also swipe your finger across the video to scrub through the frames.
If you see a cloud icon in the top right of the video thumbnail, when you preview it, the quality might seem reduced since the video is not downloaded to your iPhone. The original quality will be maintained when importing.
From the Files App
Your iCloud Drive lets you store files of any type into a central location that lives online. You can access and add to this online storage space from your Mac or any of your iOS devices, which makes it easy to share content from one device to another. In iMovie, you can import videos into your movie project right from the iCloud Drive, as well as other services in the Files app, as long as you're running iOS 11 or higher.
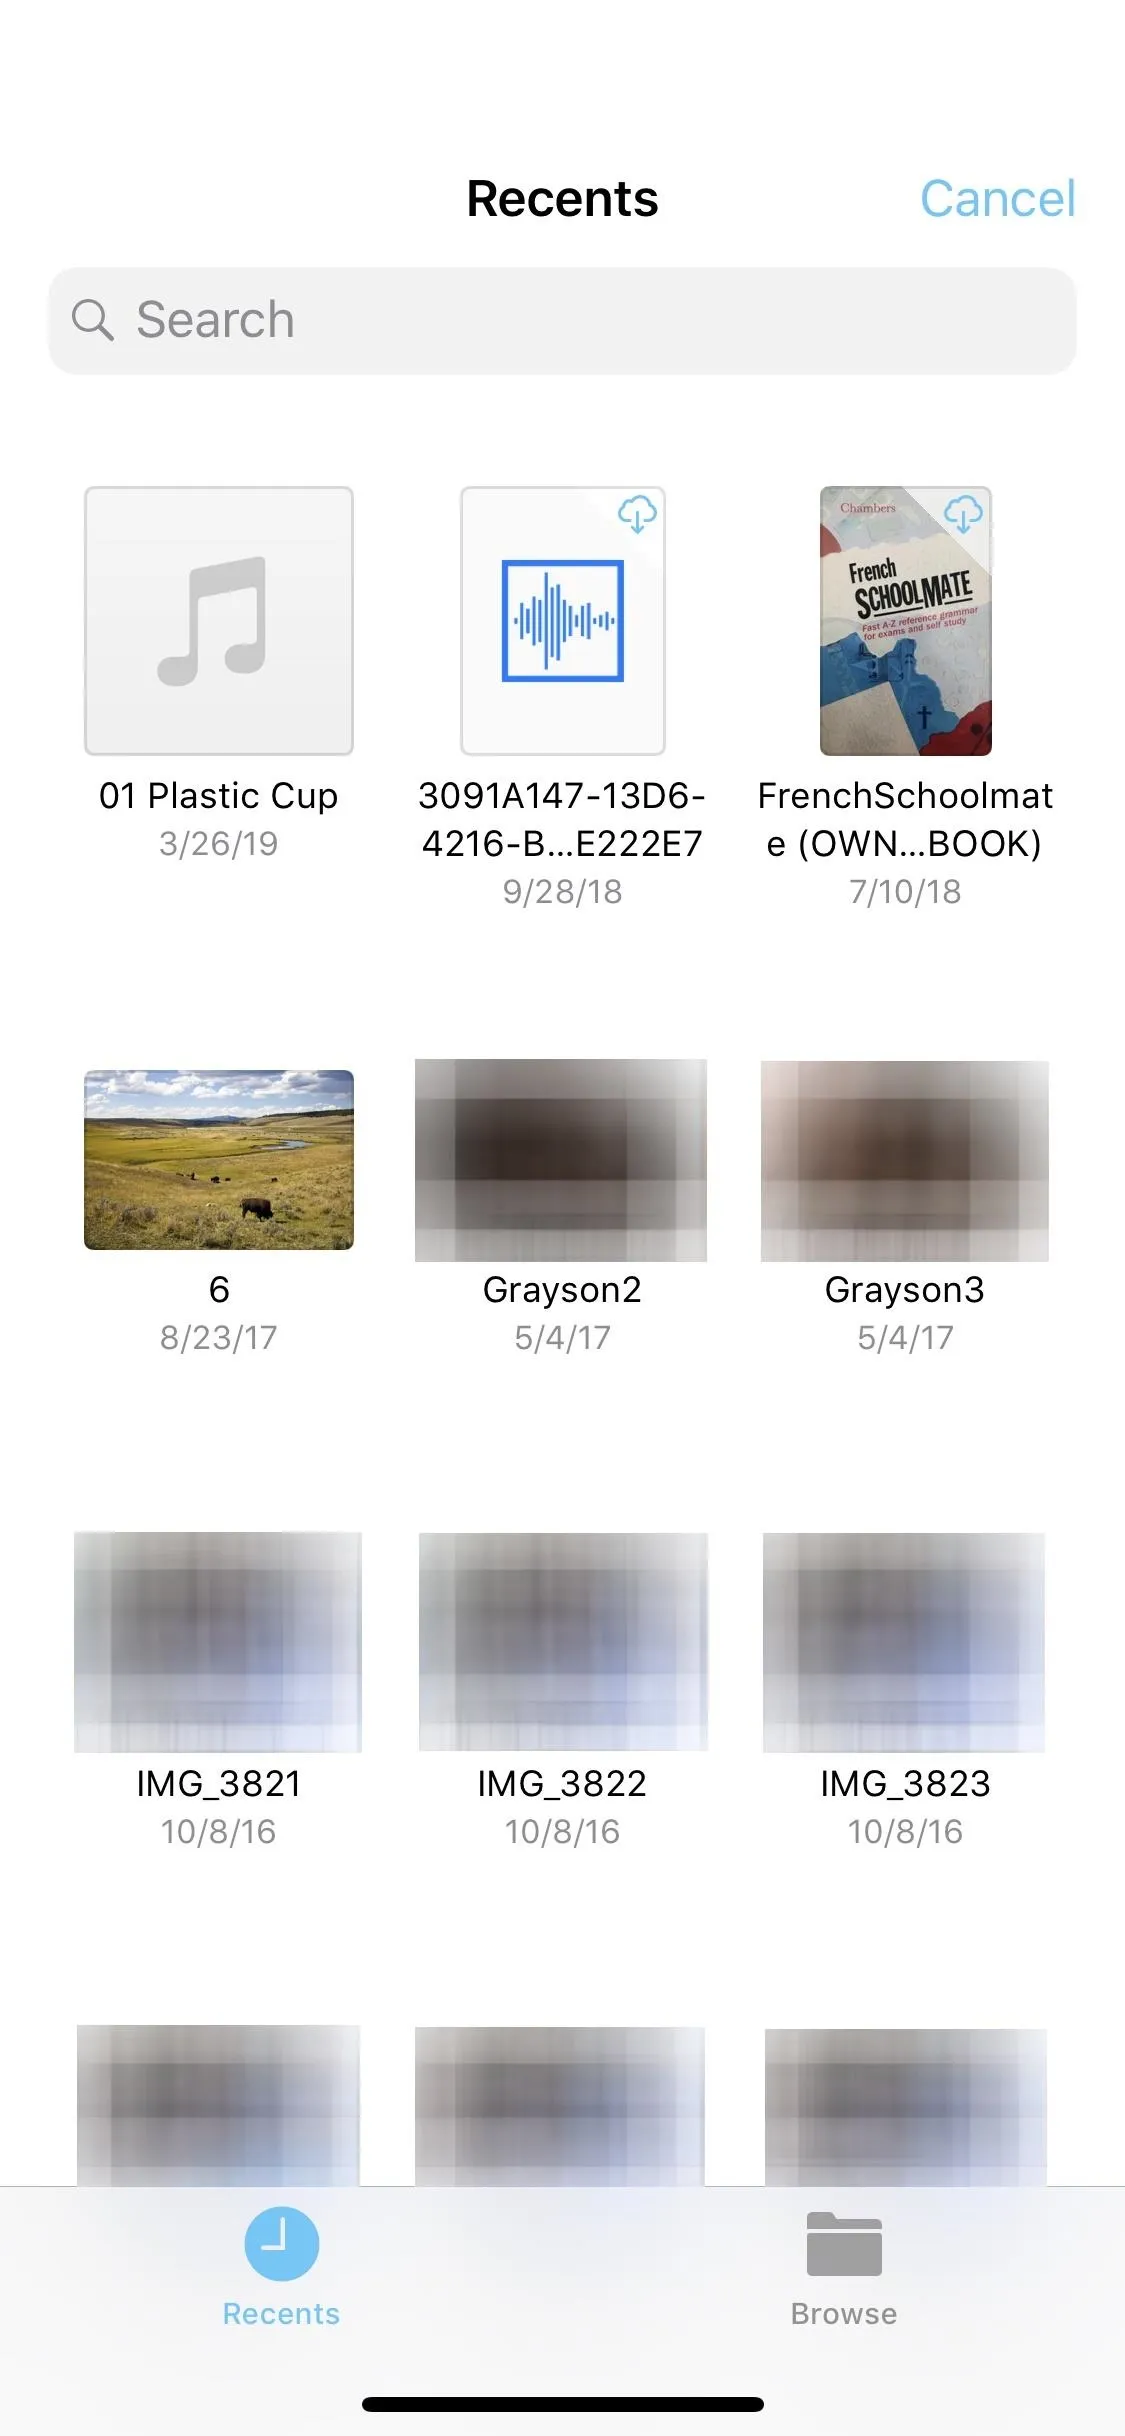
Tap on "iCloud Drive" from the media browser to access your files. The import screen will appear with iCloud Drive opened to either the "Recents" or "Browse" tab. If the "Recents" tab is empty or doesn't have any of the videos you want, select the "Browse" tab instead. Unlike with pictures in the Photos app, you cannot enlarge thumbnails for previewing when in the iCloud Drive browser.
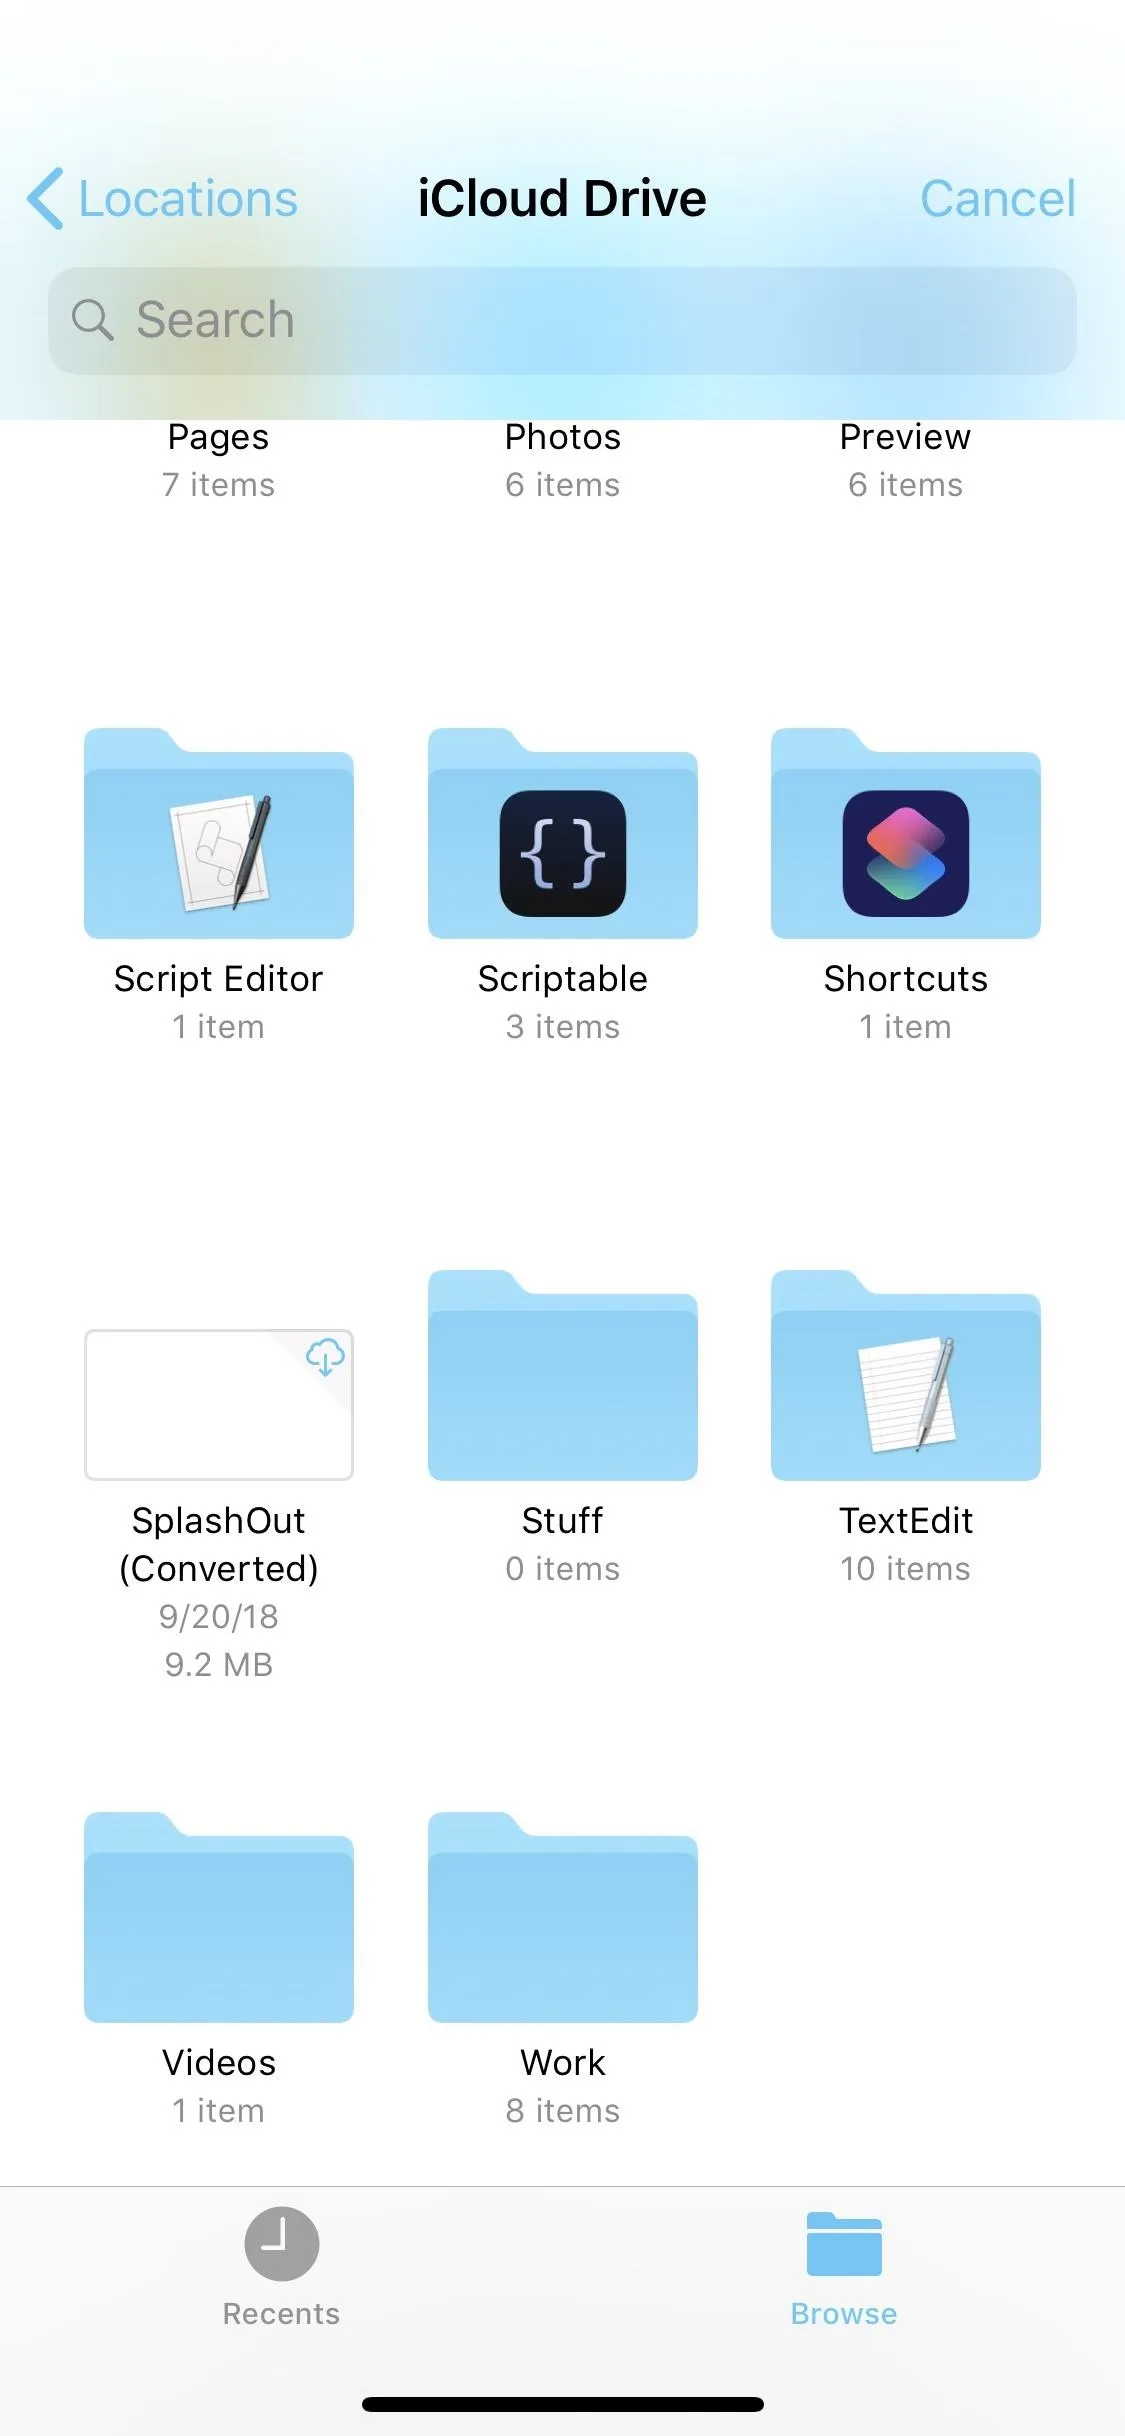
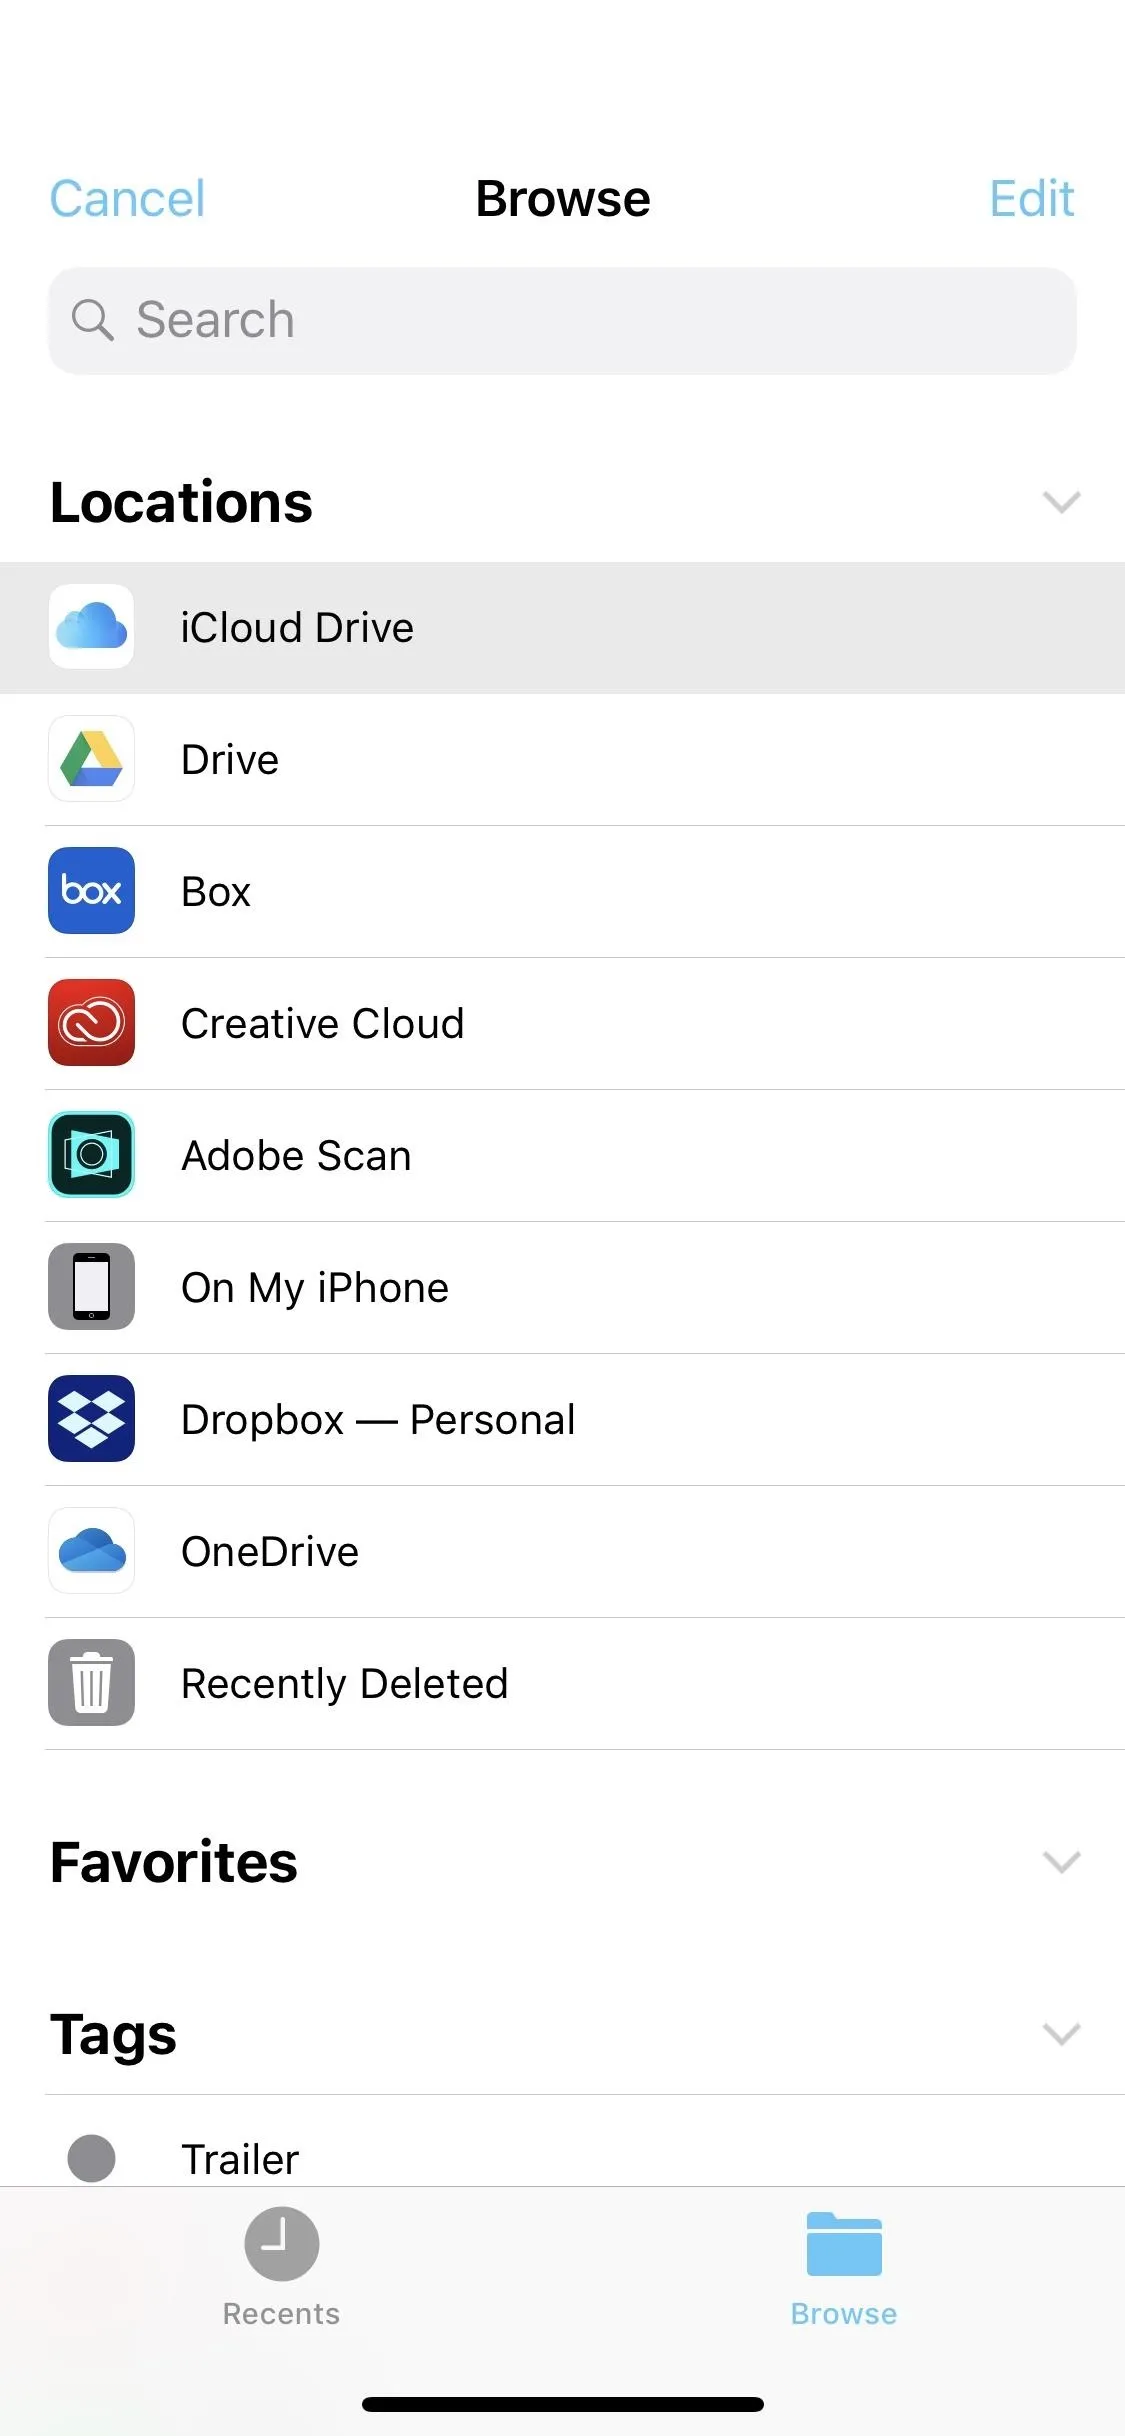
If you'd rather use footage stored in one of your other cloud services that is connected to the Files app, tap on "Locations" from the iCloud Drive's "Browse" tab. If you're in landscape mode on a large screen iPhone, the Locations menu may already be on the left side. Supported third-party cloud services and apps include Adobe Creative Cloud, Adobe Scan, Baidu Cloud, Box, Dropbox, Google Drive, and Microsoft OneDrive, among others.
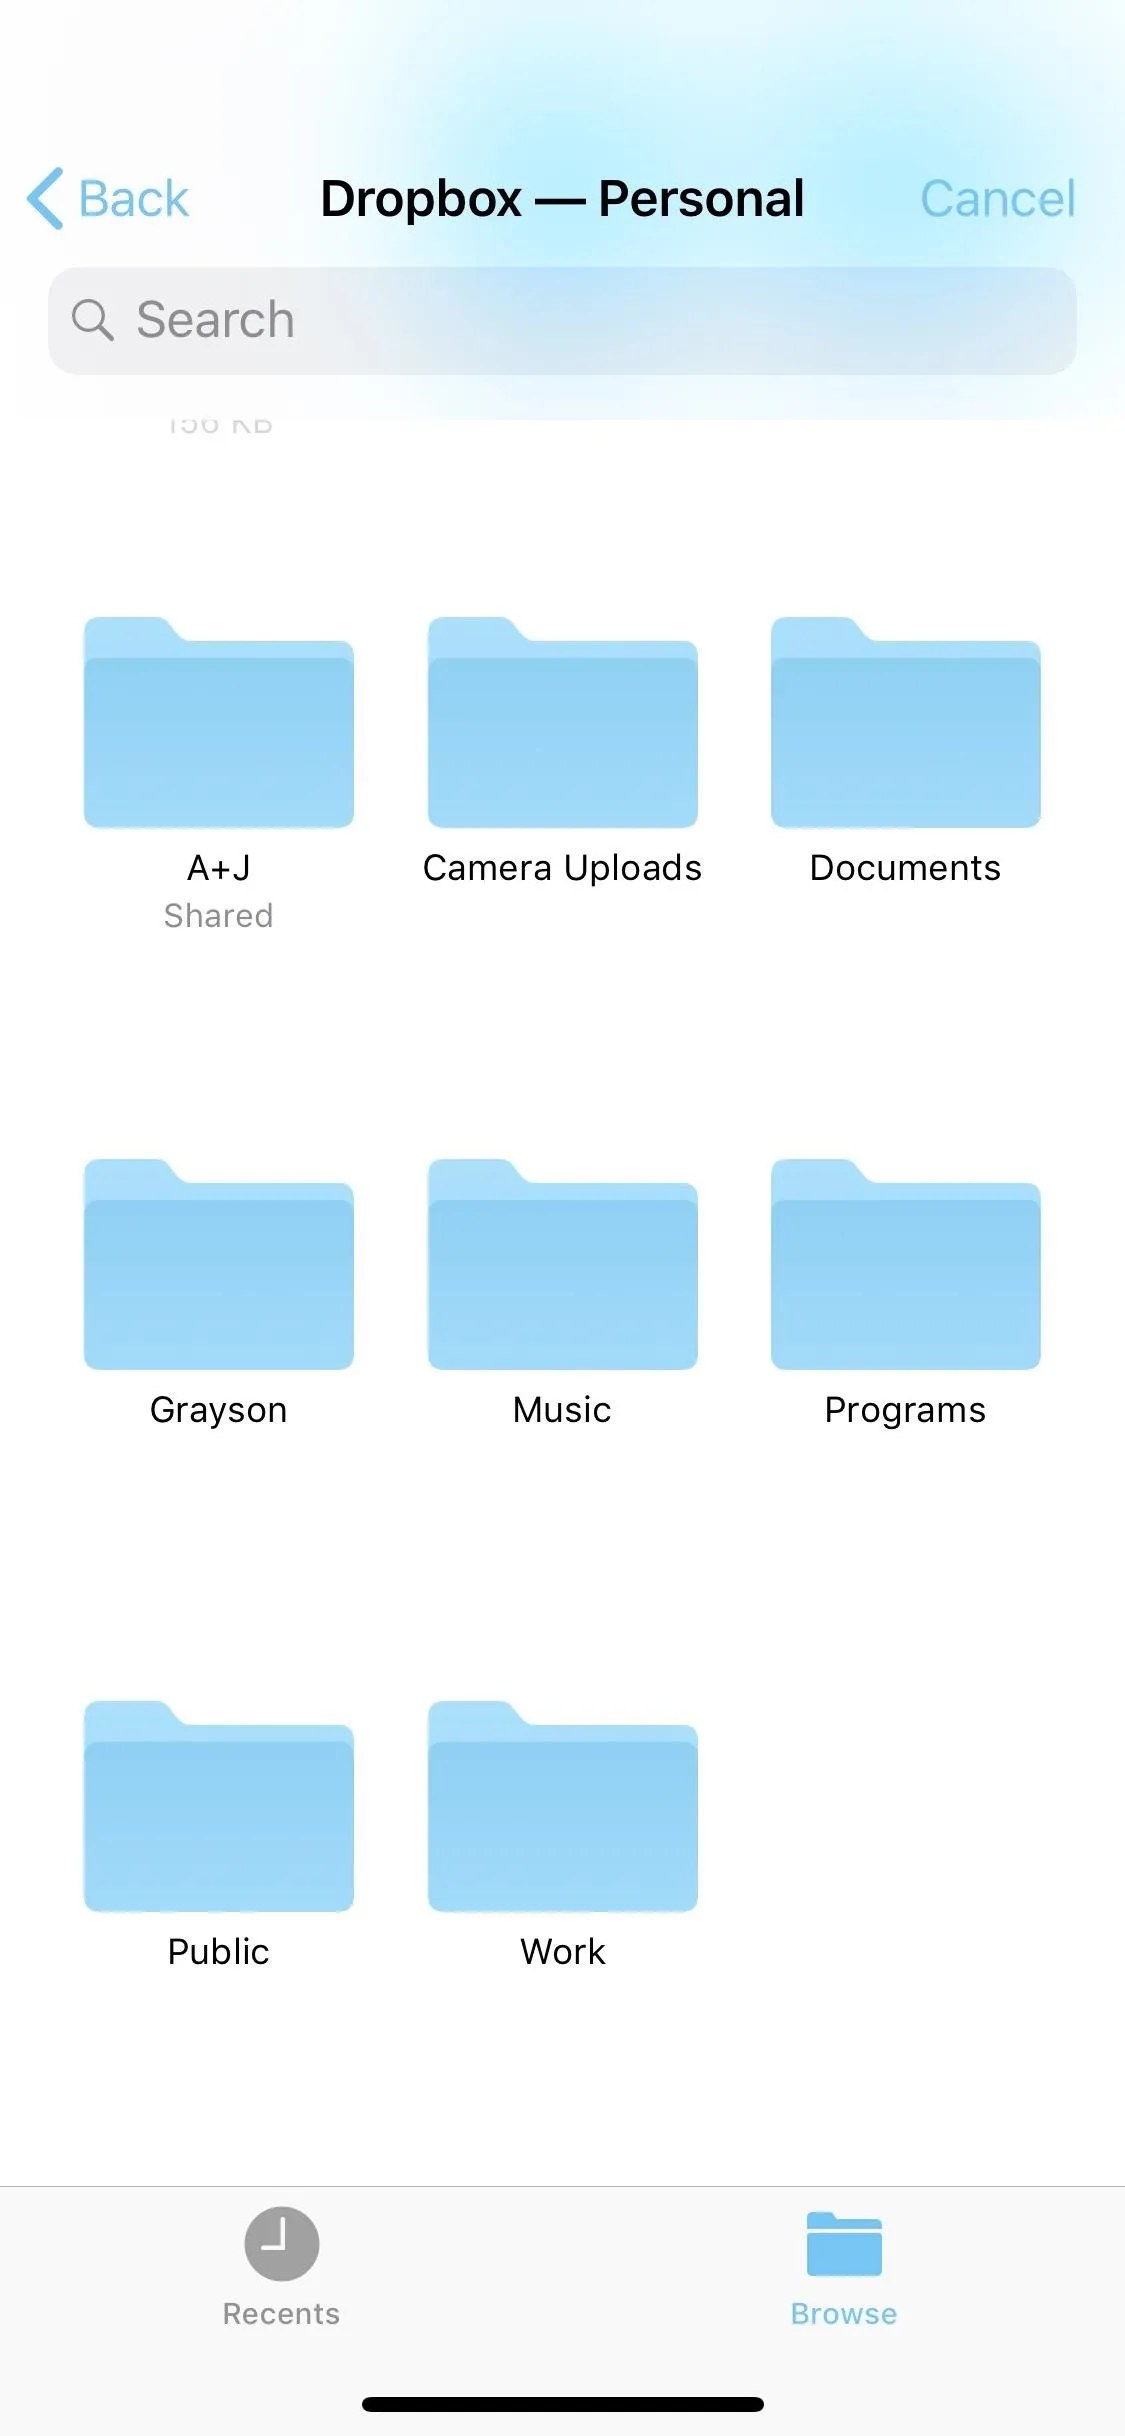
Unfortunately, you can't preview or scrub through videos located anywhere within the any of the connected Files apps either. That's only possible from videos in your Photos app (the previous method).
Take a New Video
Want a brand new video to include in your movie project's timeline? Then tap the "Camera" option from the media browser to open the viewfinder up. The video camera opens up by default, so you can start recording right away.
To better match the videos in your timeline already, you can tap on the noted resolution/frame rate up top to change between options such as 720p (240 fps), 1080p (30 fps), 1080p (60 fps), 1440p (60 fps), and 4K (30 fps). Options will vary depending on what model iPhone you own. You can also turn on the flash if you'd like or go into selfie mode. If shooting a selfie, you won't get a flash or any options to change the shooting mode.

When you're ready, tap the shutter button to start recording, then tap the stop button to quit recording. You can preview the video afterward, and if it's all good, choose "Use Video" to save the video to your Photos app and import into your timeline. You can also choose "Retake" to try again.
Trim the Video (Optional)
Before adding a video, you can trim the length right away instead of doing it afterward in your timeline. To do so, you must have used Method 1 above and only in an all-video album. You won't get the trim option any other way when importing.
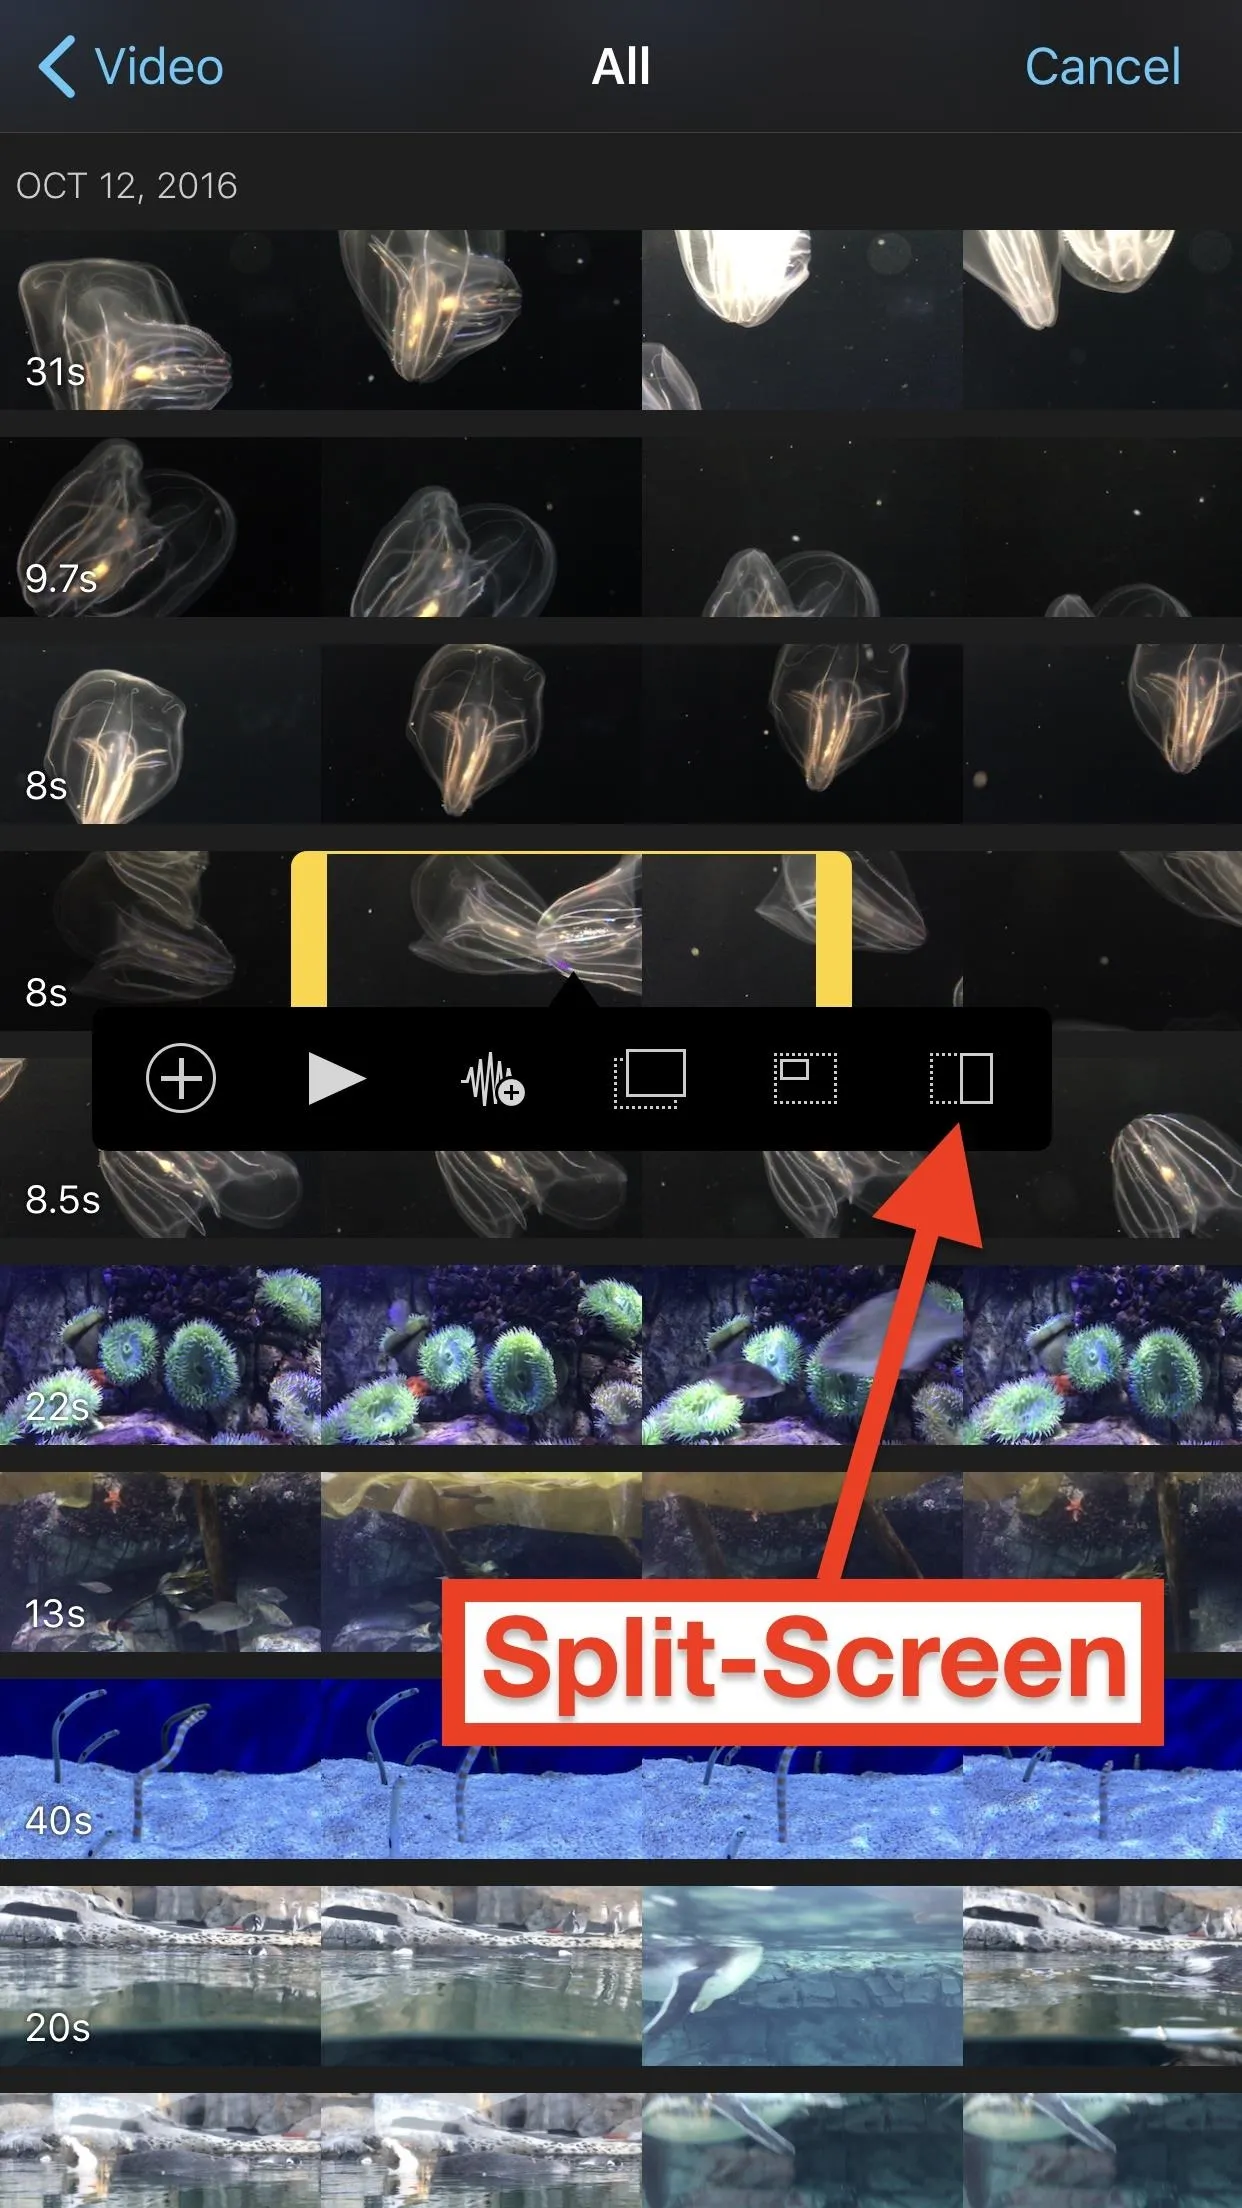
In an all-video album, highlight the clip you want, then drag the bold yellow borders on the left and right of it inward to where you want your start and stop points, respectively. As you drag your finger along the screen, a preview will show the frame for where you're currently at.
Import the Video into Your Timeline
If you chose to use the "Camera" option to record a new video, you likely already added the video to your timeline. All you had to do was tap on "Use Video." If you chose a video from your iCloud Drive or Files, then tap on the video to import it into the timeline.
For videos residing in your Photos app, tap on the video to bring up the import menu. To add the full or trimmed video, tap the "+" sign, and it will appear in your timeline where the playhead was. If it's a video from iCloud Photo Library (with the cloud icon), then it will download to your device first, then automatically import into the project.
By default, video clips added to the timeline get a dissolve transition added to them on each side of the clip if it is in between two other clips. If they start or end the project, only one dissolve will be added for its connecting video. This effect can be changed later.
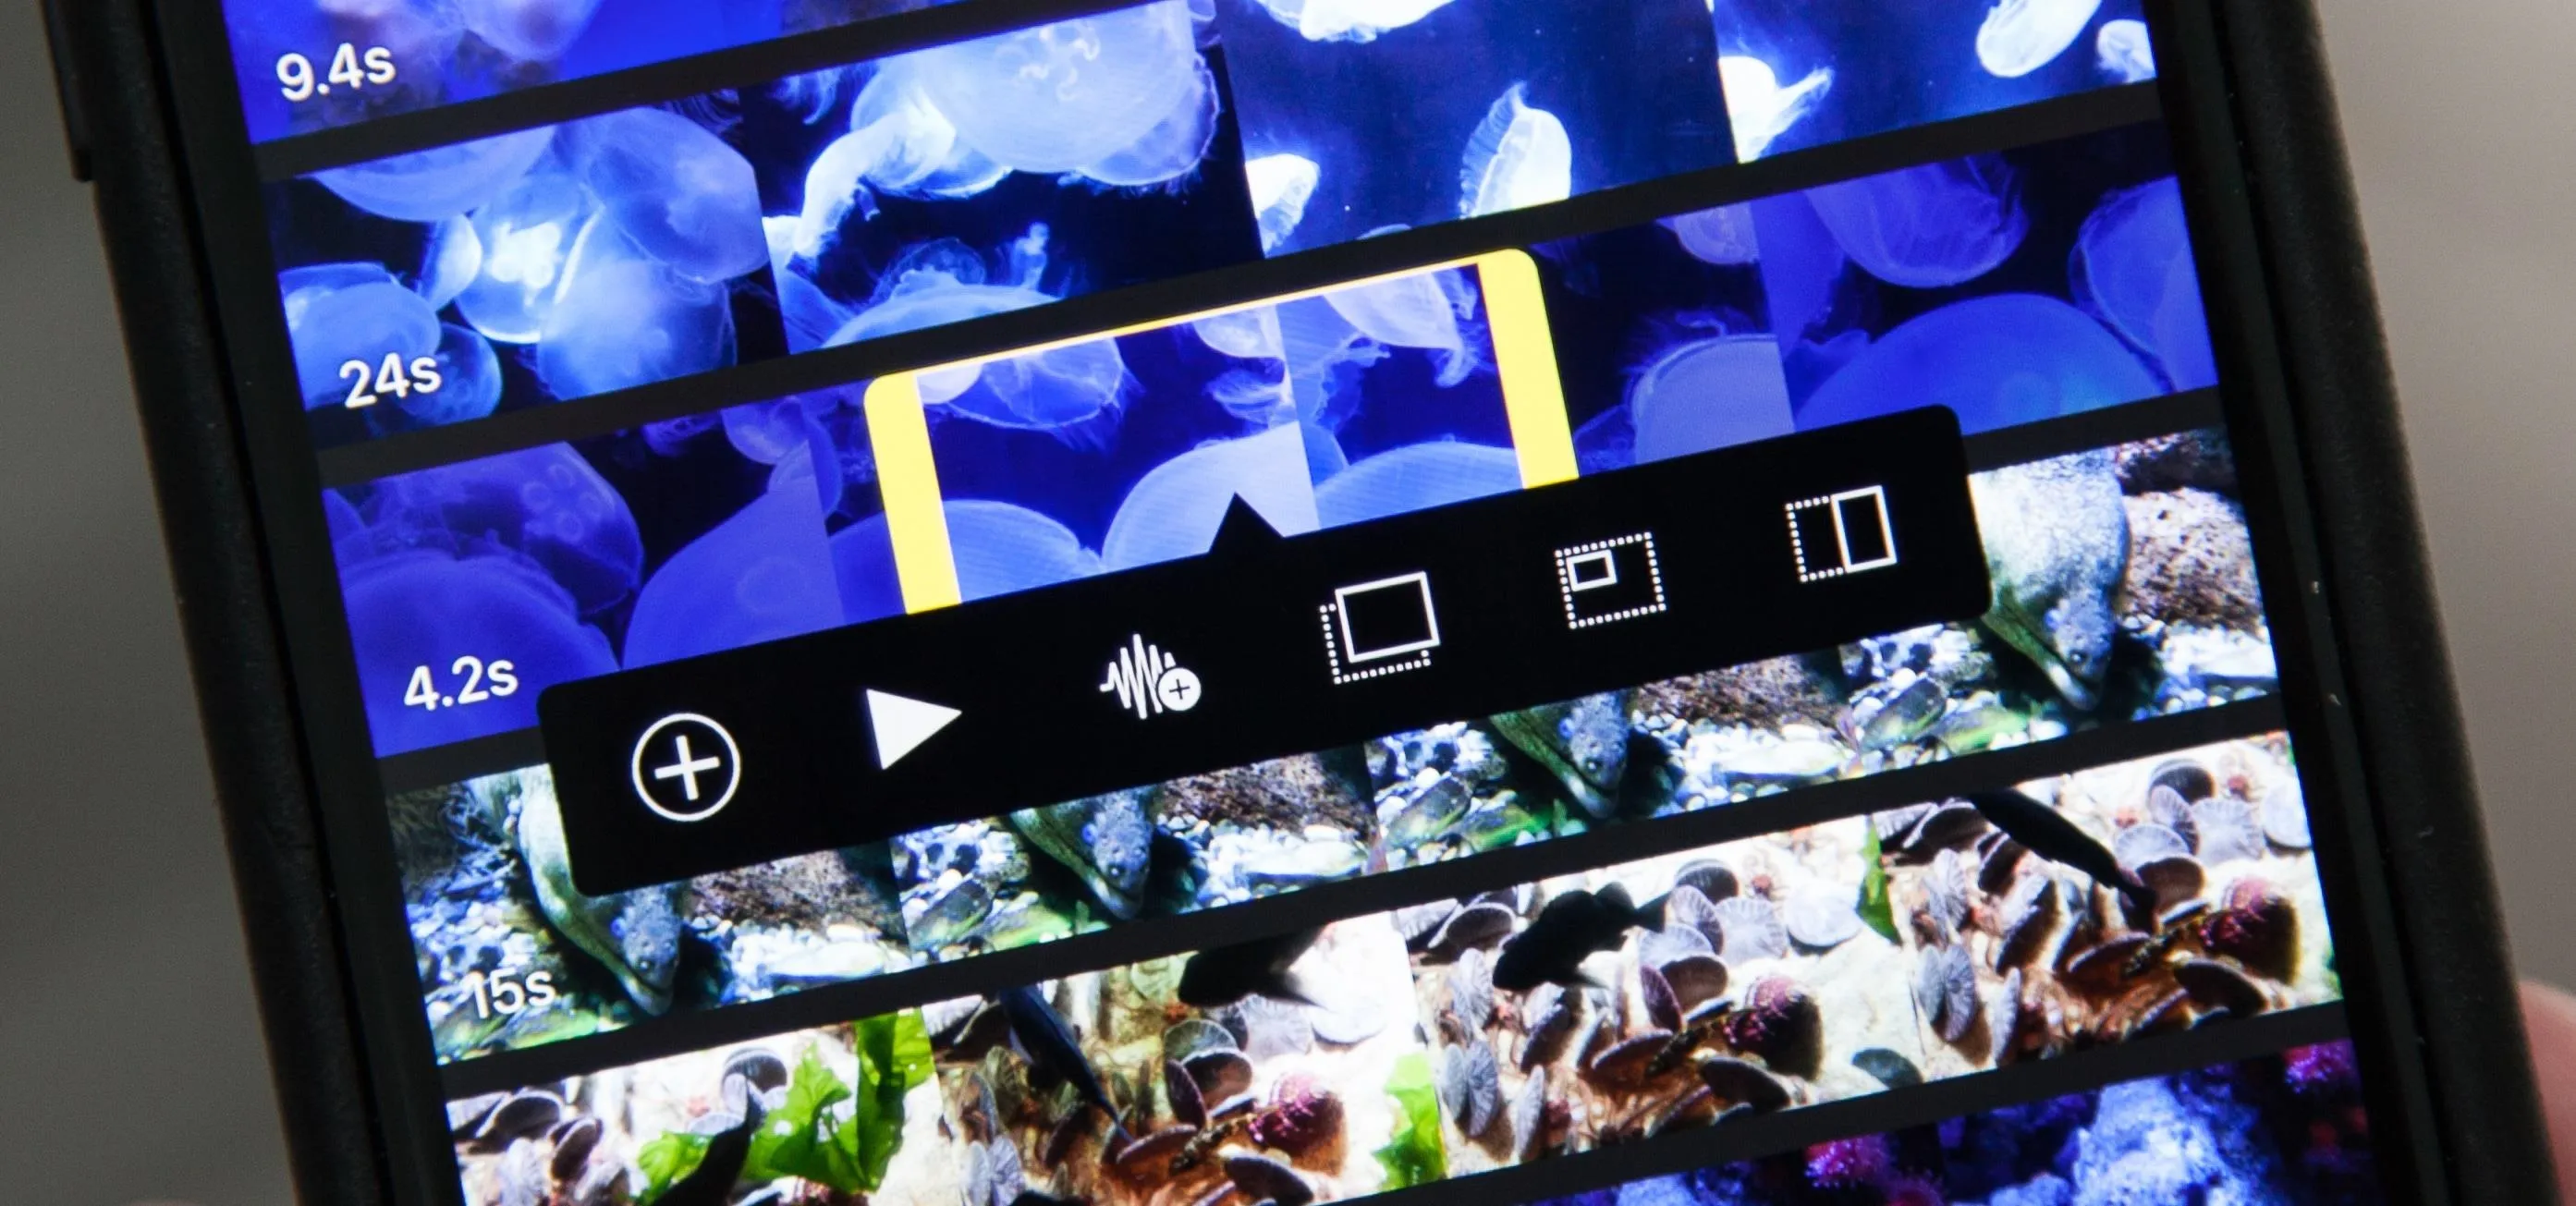
Aside from importing the clip as is, you can also choose from the import menu to import just the video's audio or to import the video as an overlay effect on top of the original timeline. For any overlays added, the sound will automatically be muted (though you can unmute it later).
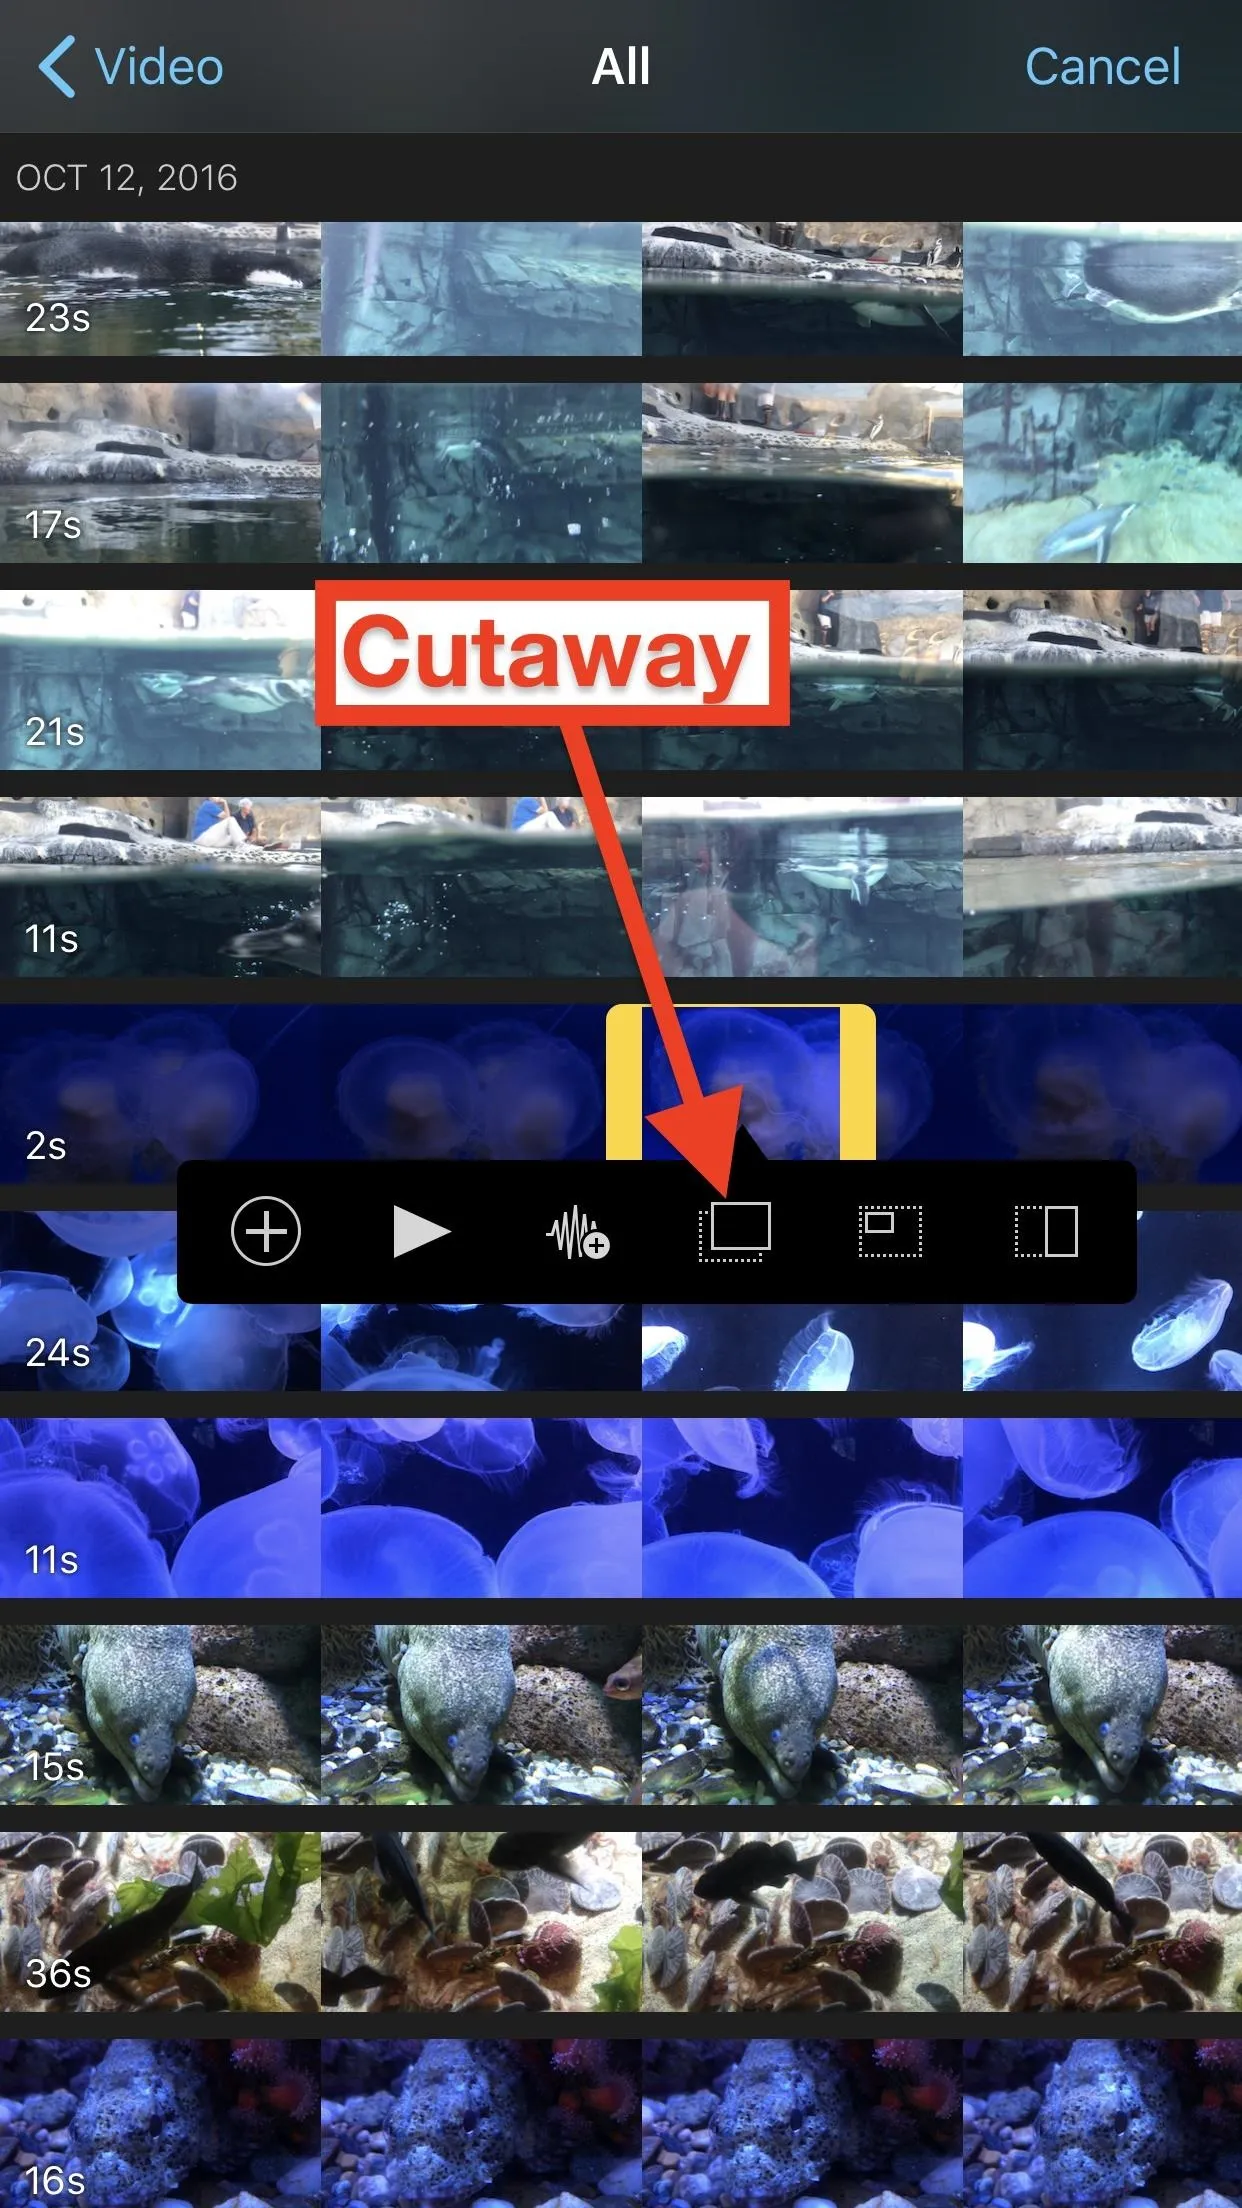
Cutaway
The cutaway option (two rectangles the same size) lets you add the video directly on top of another video or group of videos in your timeline. So, effectively, the movie will cut away from the main timeline to this clip, then back to the main timeline.
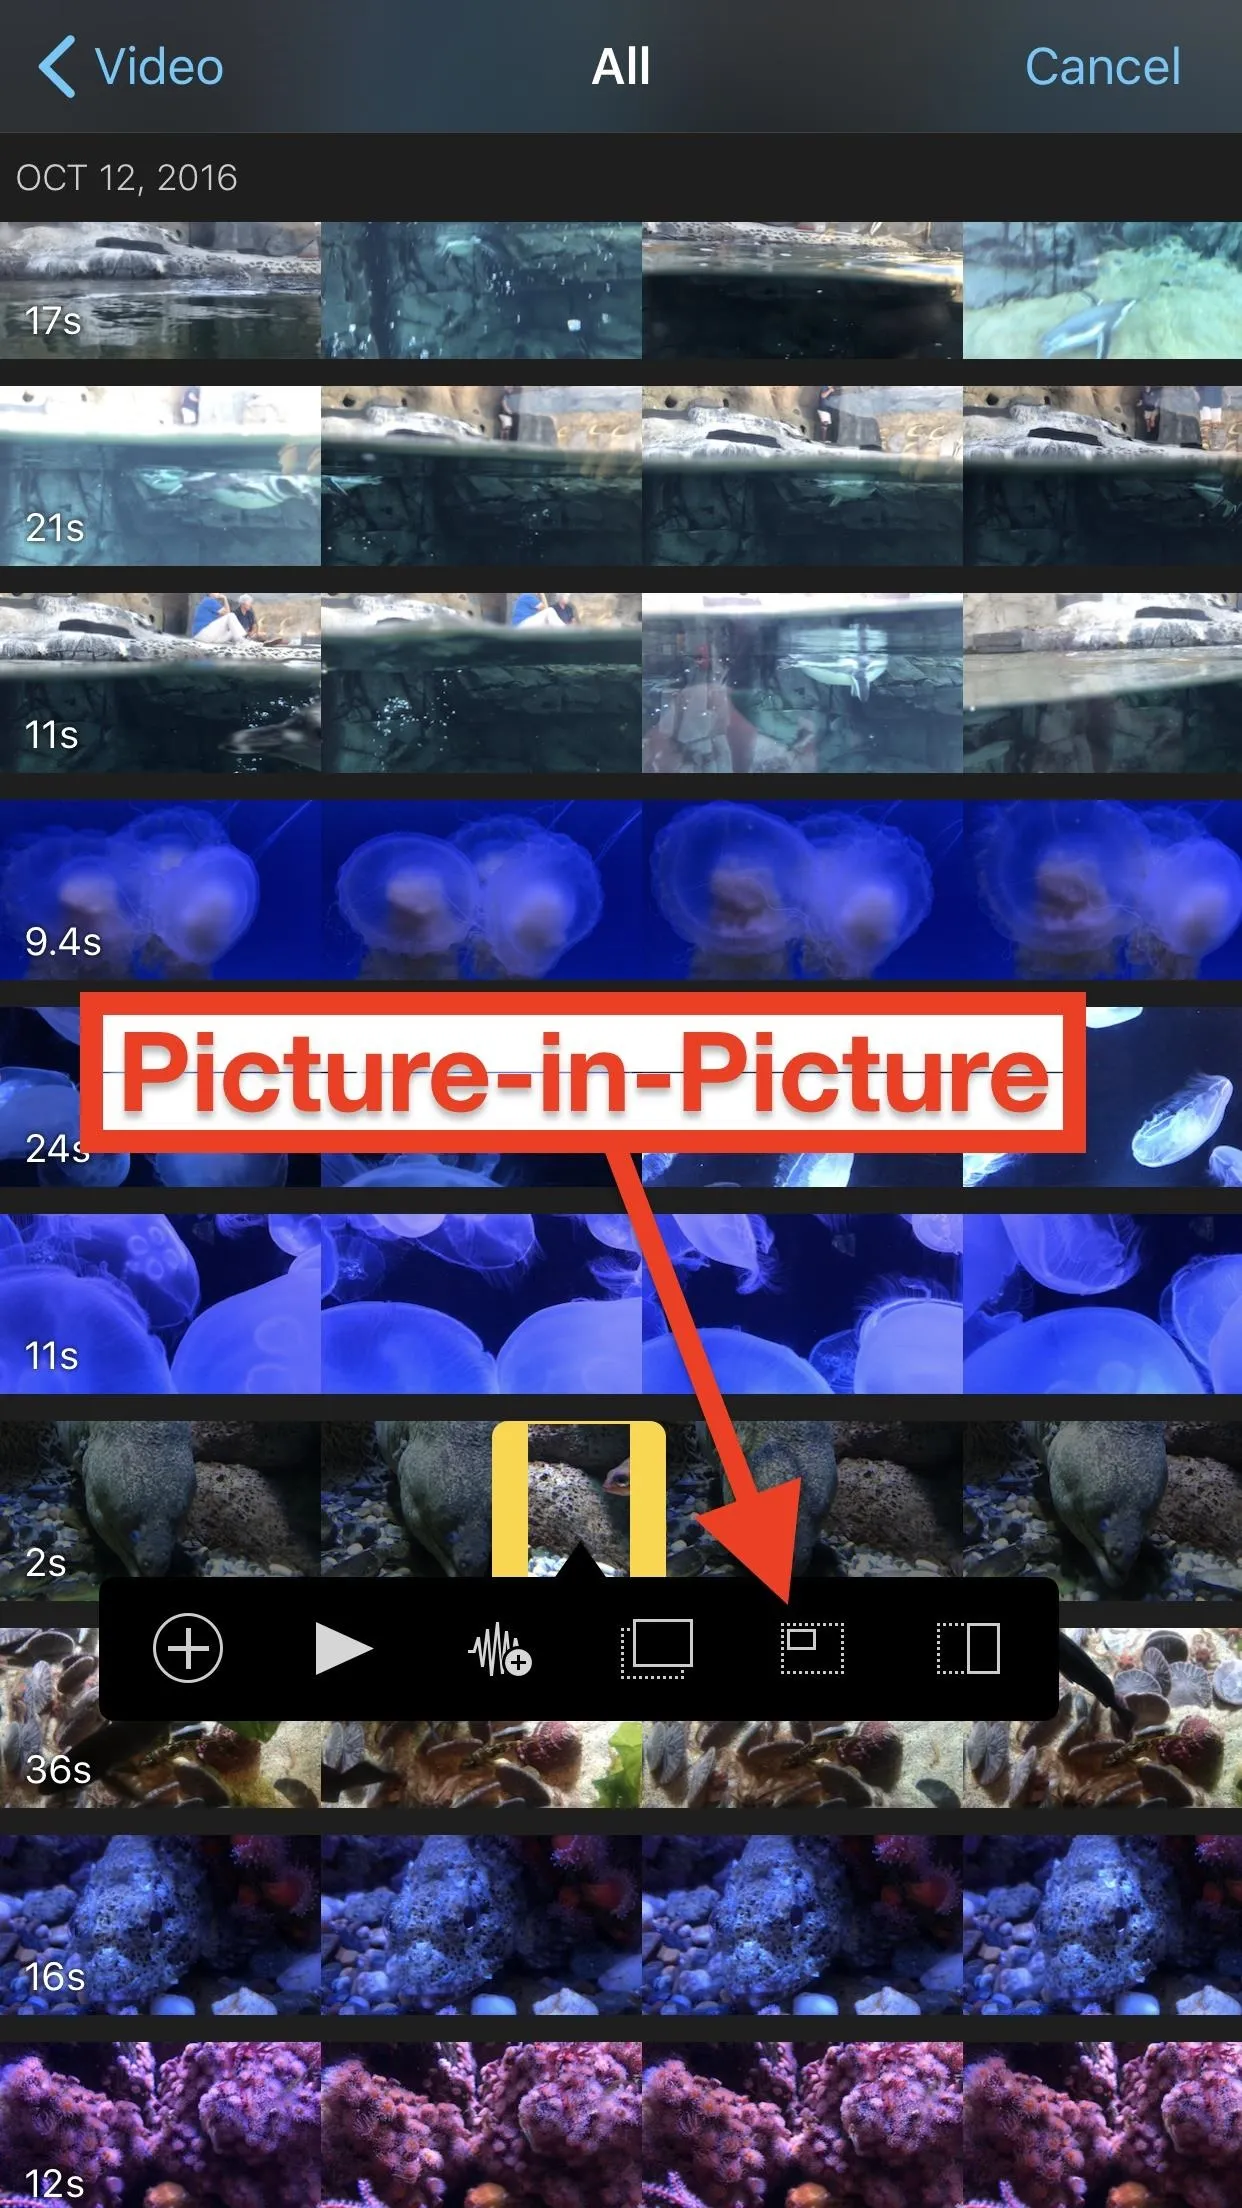
Picture-in-Picture
The picture-in-picture option (a bold rectangle in the top left of a bigger rectangle) lets you overlay the video over the main video. It's just superimposed in a smaller window over the bigger video in your movie project.
Split Screen
The split-screen option (a rectangle split in two) lets you put the selected video right beside the video already in the timeline, so they both play at the same time in an equal amount of space in the player.
And you've just added another video to your movie project! Do this as many times as necessary to get all of the video clips that you want in the timeline. And don't forget that you can add photos too.
This article was produced during Gadget Hacks' special coverage on smartphone-based video creator tips for filming and editing. Check out the whole Videography series.
- Follow Gadget Hacks on Pinterest, Reddit, Twitter, YouTube, and Flipboard
- Sign up for Gadget Hacks' daily newsletter or weekly Android and iOS updates
- Follow WonderHowTo on Facebook, Twitter, Pinterest, and Flipboard
Cover photo, screenshots, and GIFs by Justin Meyers/Gadget Hacks


Comments
Be the first, drop a comment!