


In most cases, when you create a movie project in iMovie for iPhone, you're starting with just a few media clips. There's no reason to select every photo or video at once, and that's likely a hard task anyway. Adding additional media footage to your movie project couldn't be any easier, especially when it comes to photos.
You can add additional photos to your movie project from your iPhone's built-in storage, iCloud Photo Library, or iCloud Drive, and you can always take new pictures on the spot if need be. We'll cover these options below, but before that, make sure you have your movie project open and ready. If you don't have one yet, check out the basics in the link below for making one.
Select Where You Want to Add the Photo
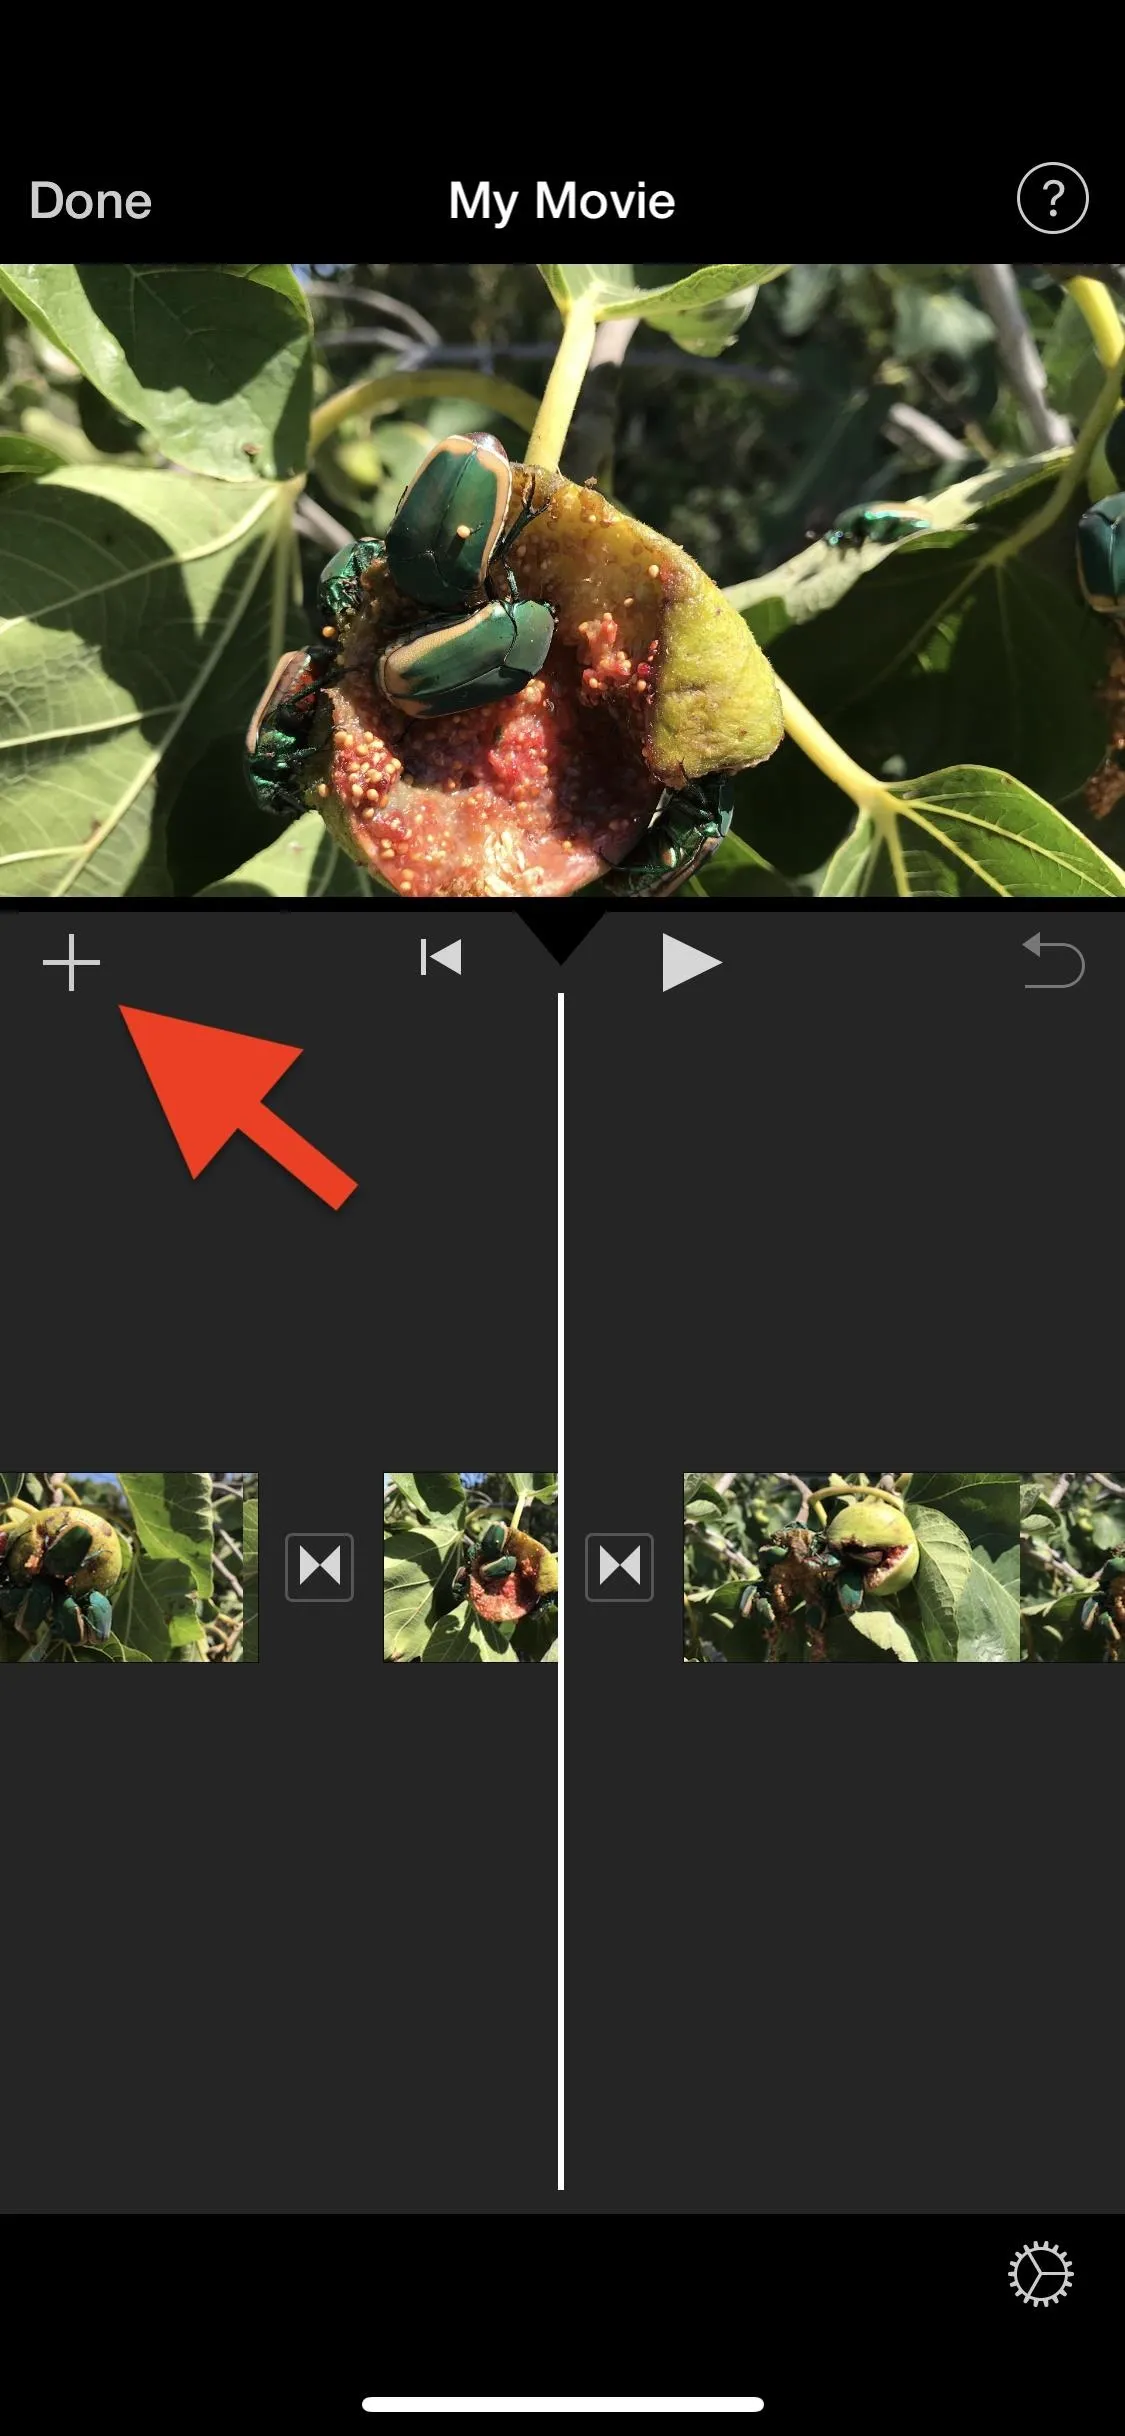
You can drop a new photo in any part of your movie project's timeline and then move it to the correct spot afterward, but it makes more sense to select the right place for the photo before you add it, so there's less work involved.
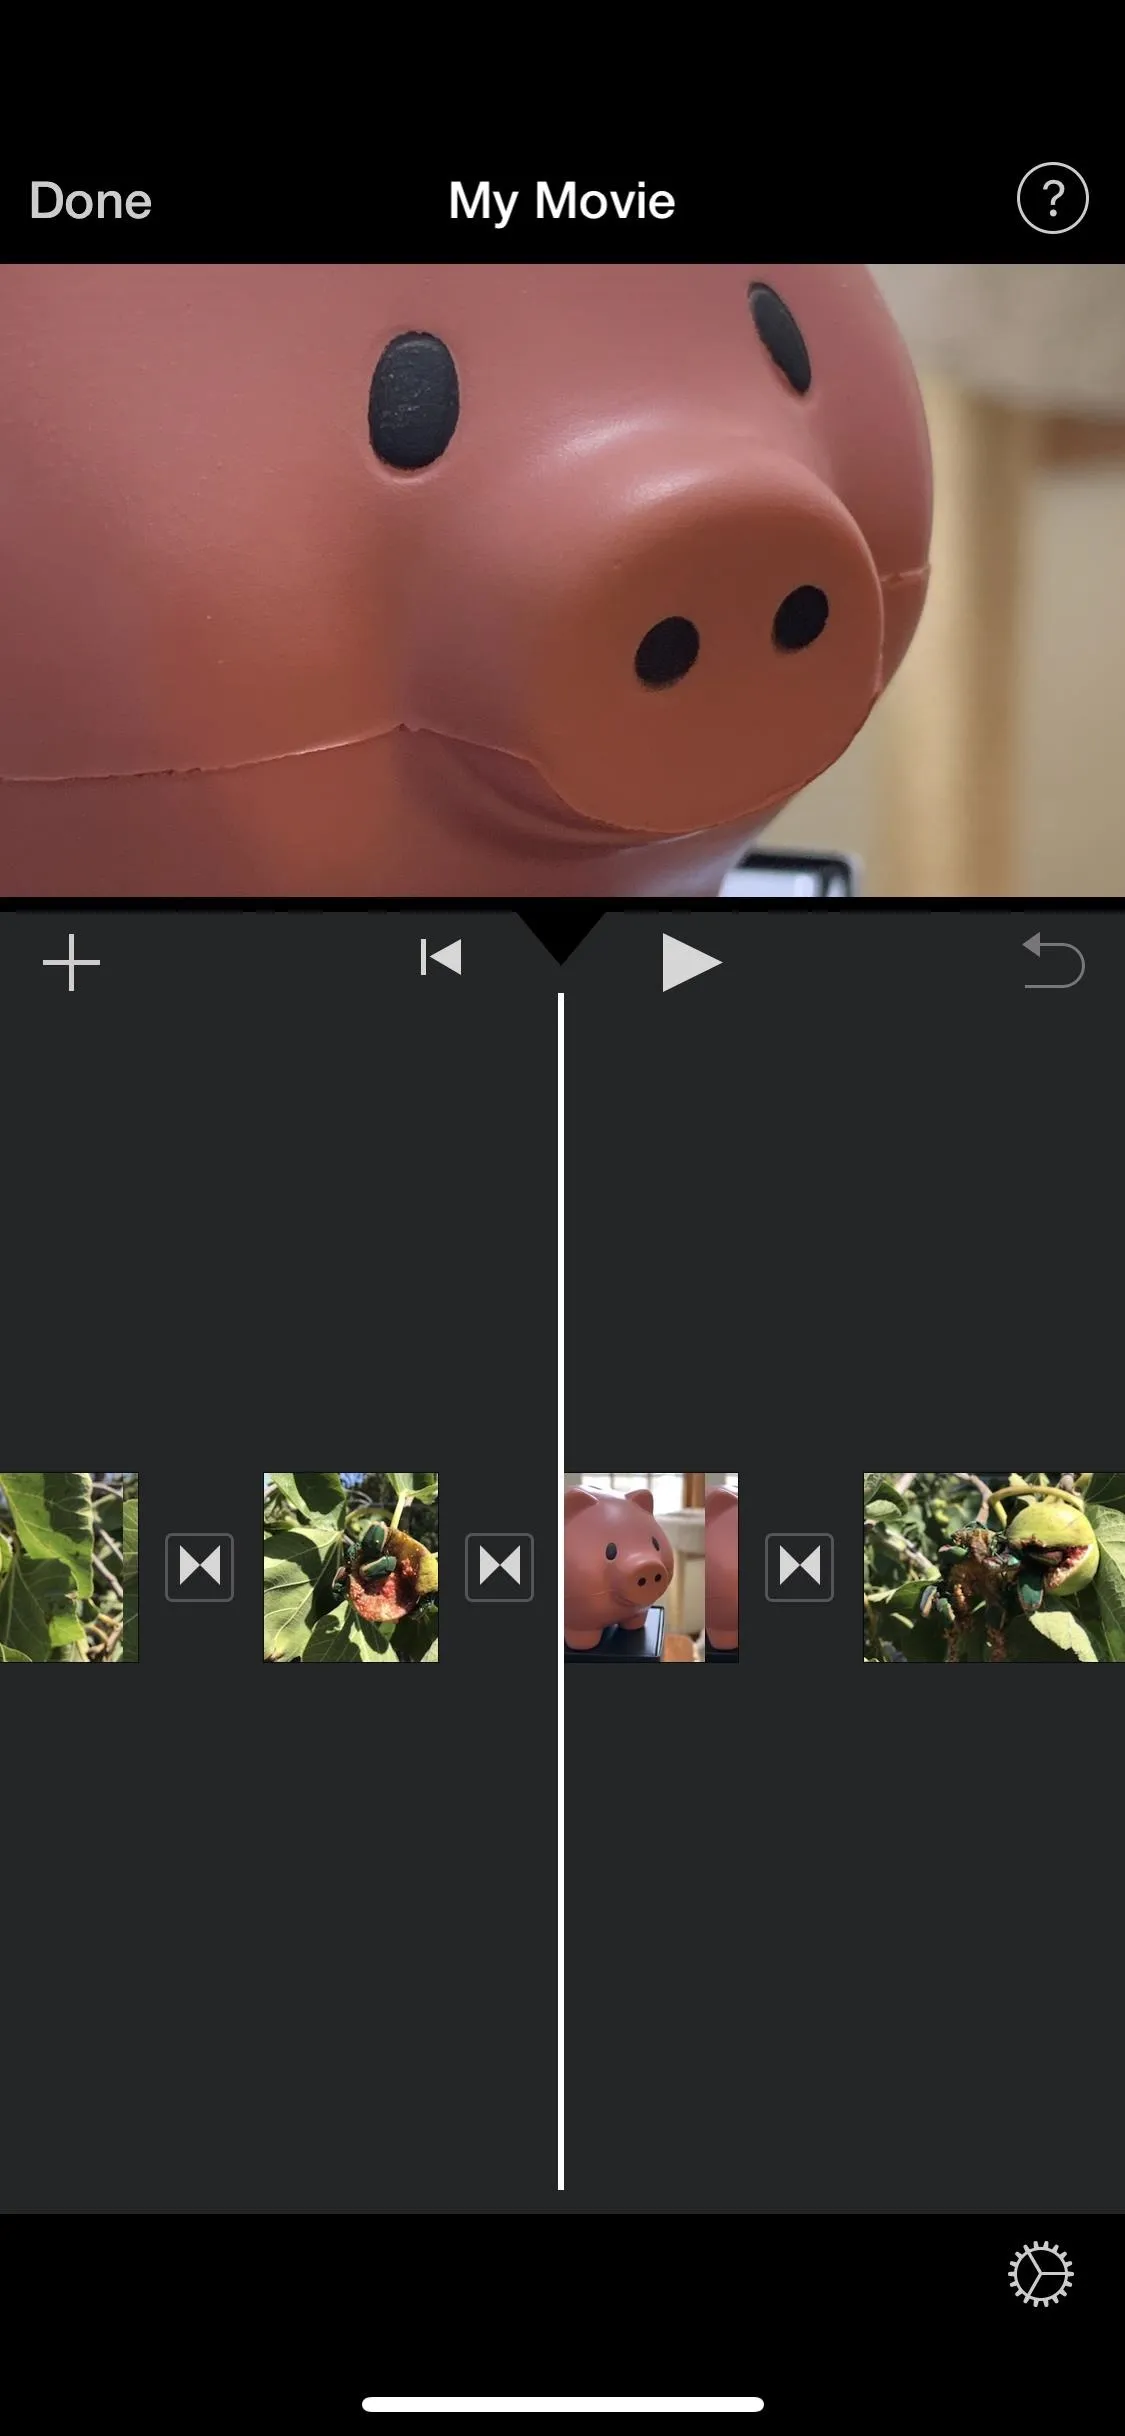
In your movie project, swipe left or right on the timeline to position the playhead (the white vertical line in the middle) in the spot where you want to add the photograph. If the playhead is situated over a clip in your timeline and not in between clips, the photo will insert itself either before or after that clip, whichever is closer to the playhead's current position.
When ready, tap the "+" sign on the left side to bring up the media browser.
Import the Photo into Your Timeline
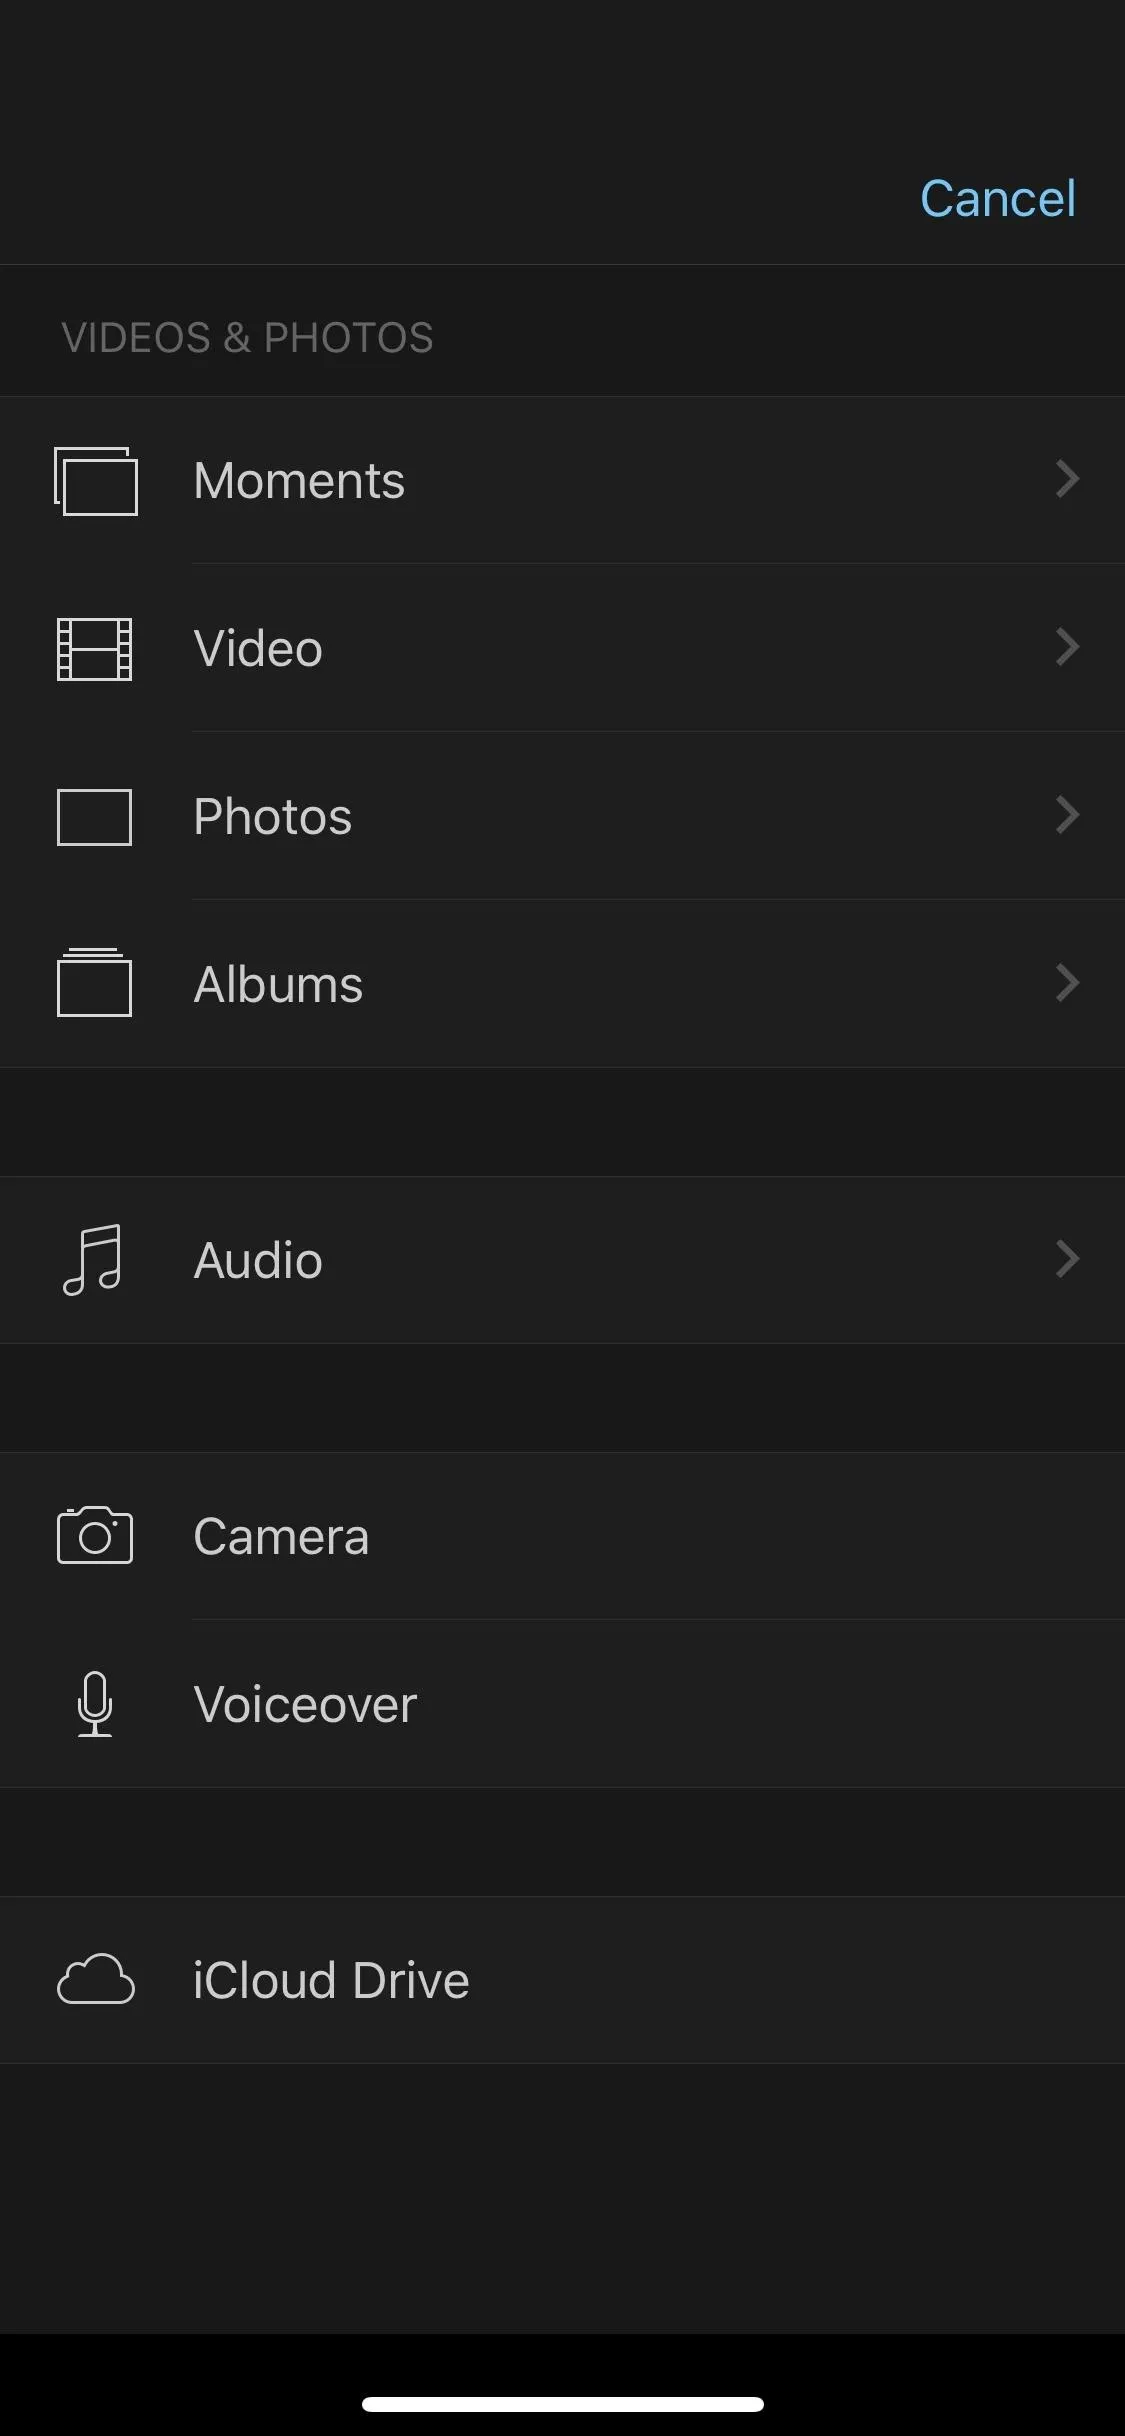
As mentioned before, there are multiple places where you can find images. You can get them from your Photos app or iCloud Drive, the latter of which gives you access to the Files app which also has third-party cloud storage apps included if you're running iOS 11, iOS 12, or higher. Also, you can snap a new pic if you're editing in the moment.
Alternatively, you could import photos into your project from iTunes, but it's the least convenient option and entirely unnecessary when you could AirDrop the files to your Photos app first. So we won't cover iTunes here.
From the Photos App
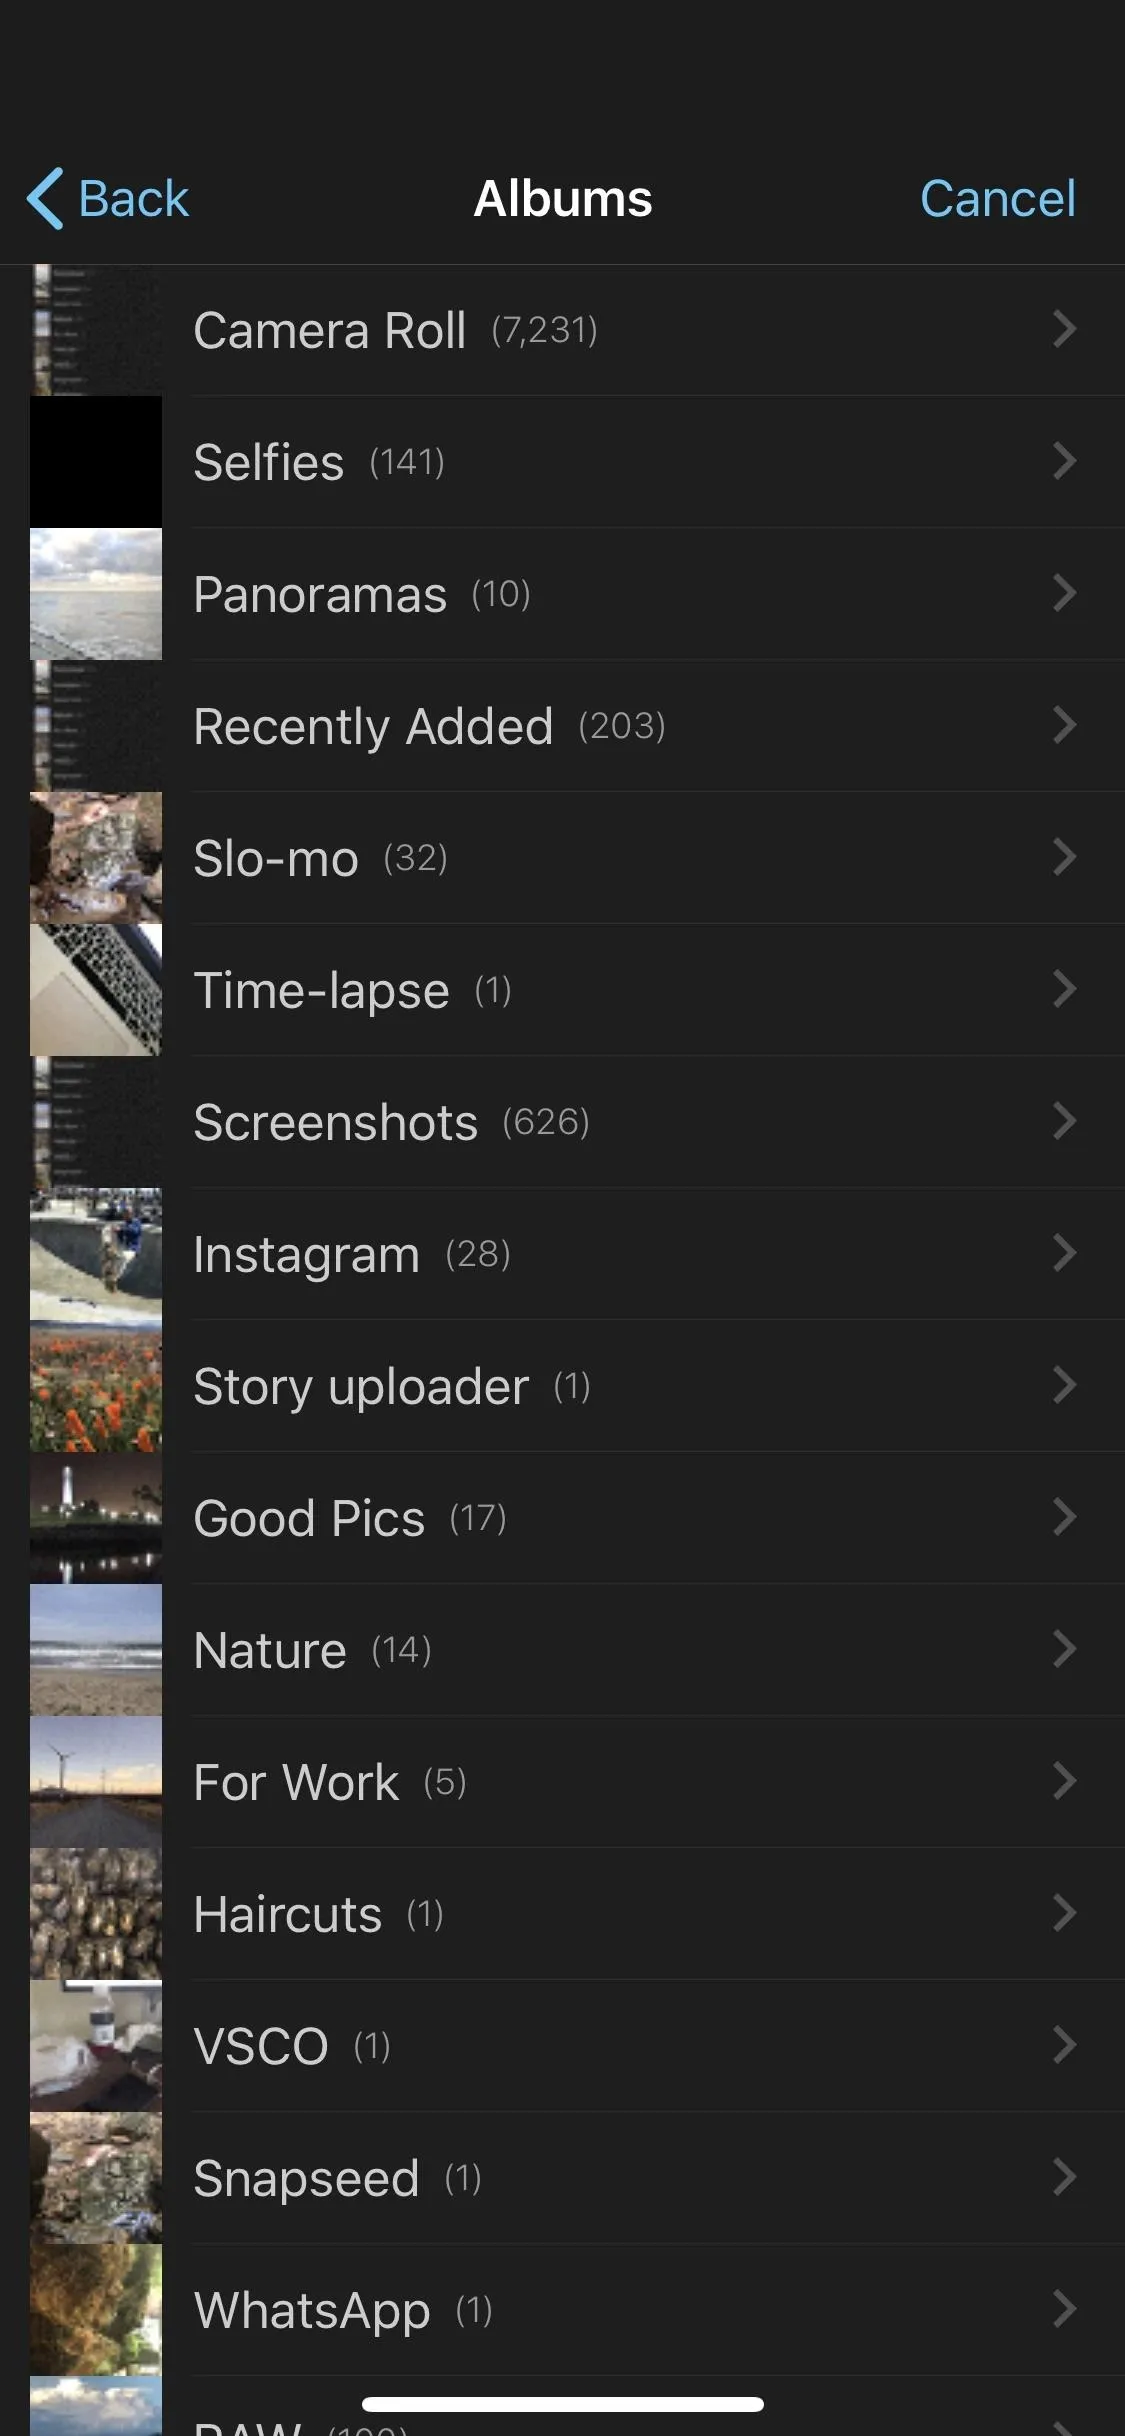
If you're looking for a photo that's stored on your iPhone or in your iCloud Photo Library, select either "Moments," "Photos," or "Albums" from the media browser.

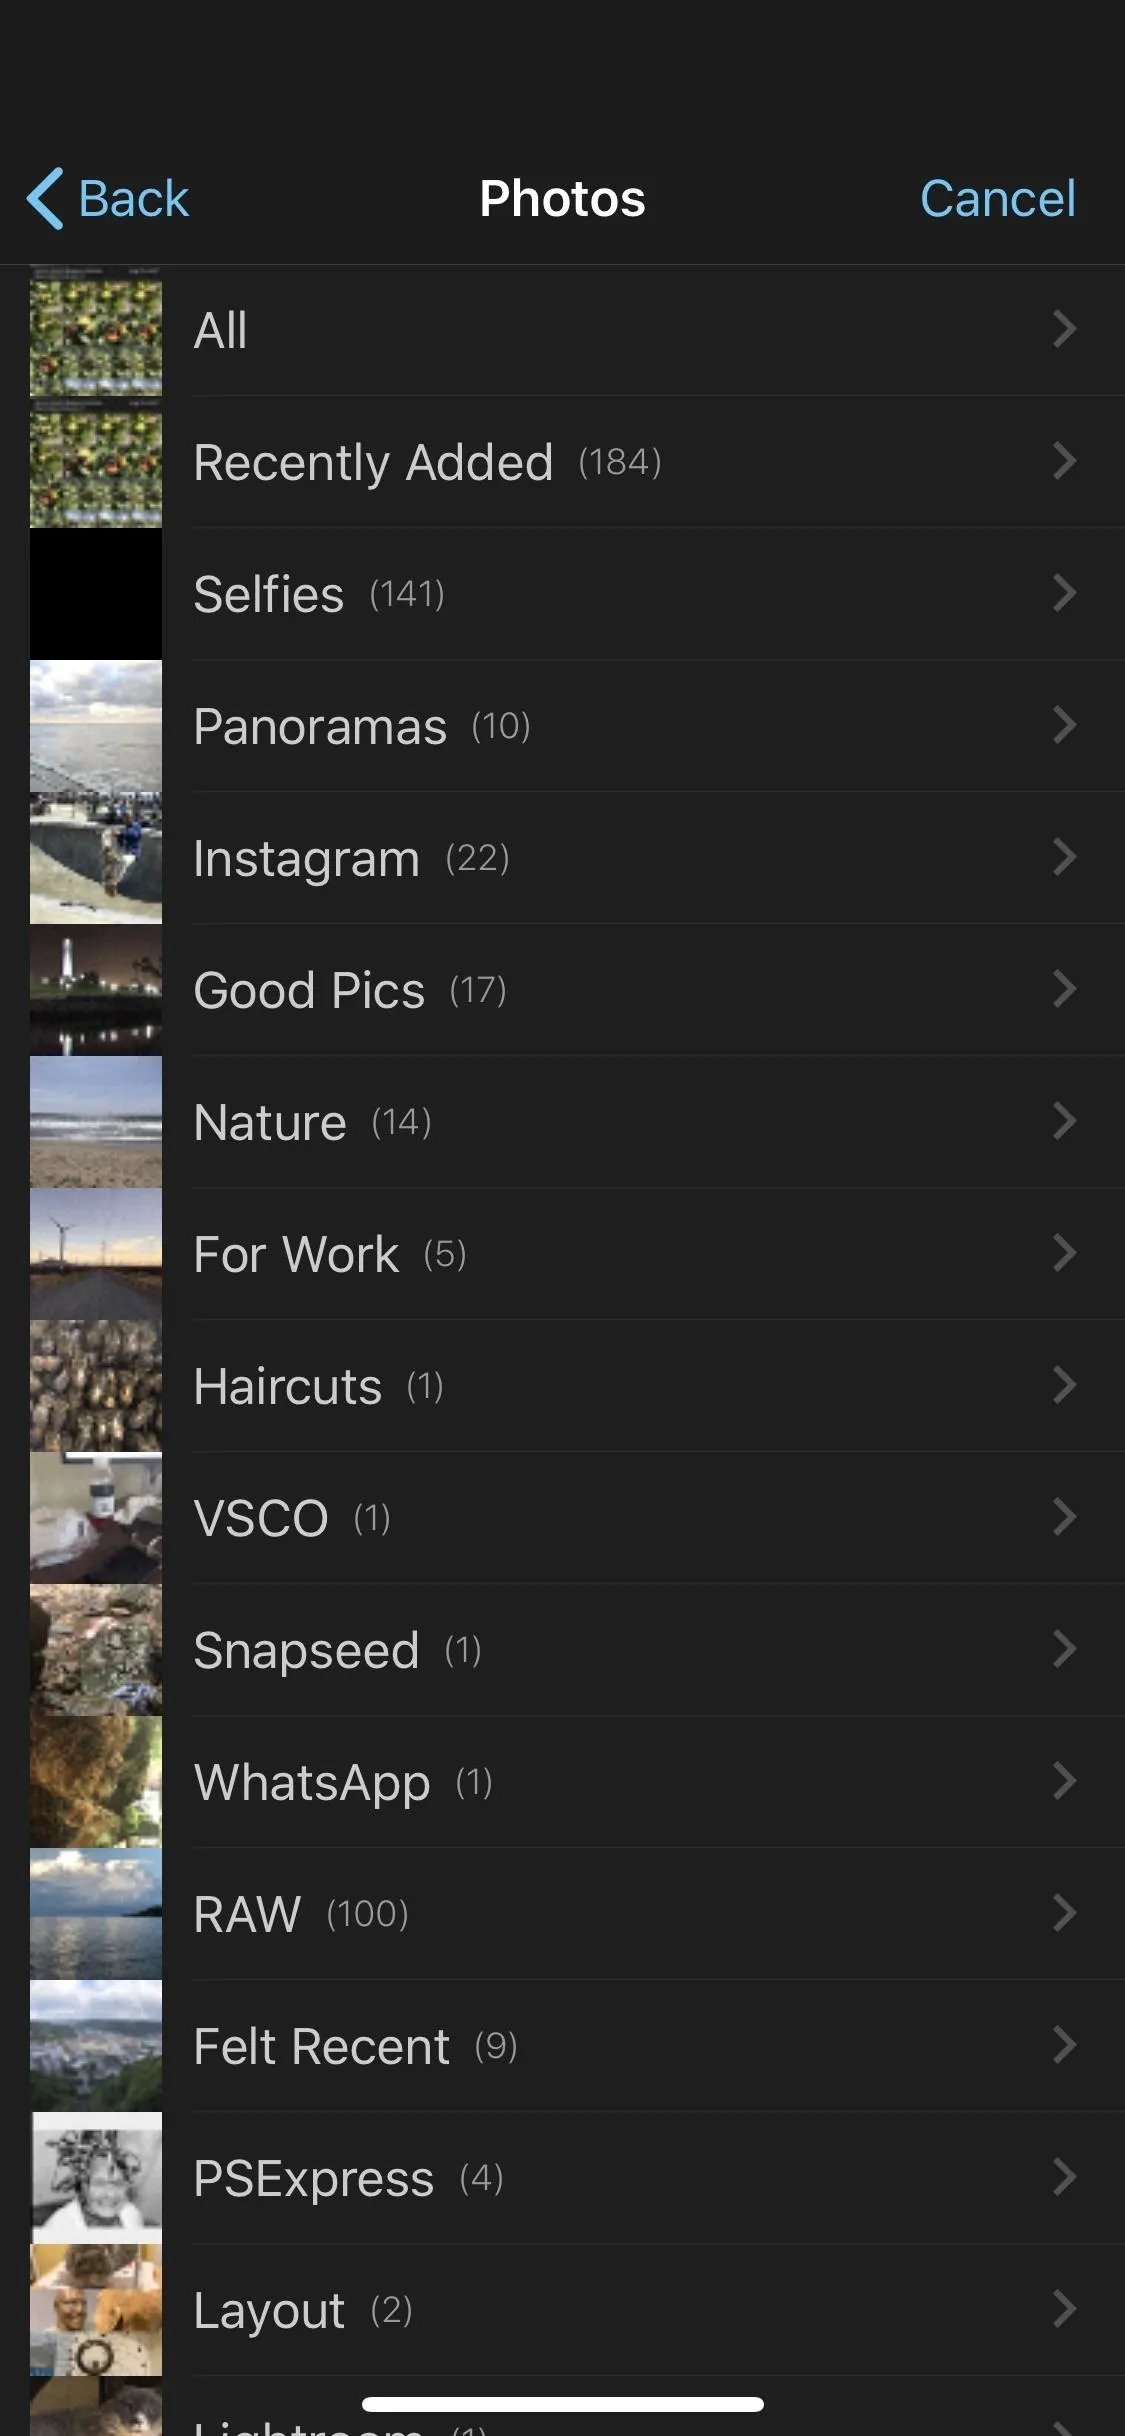
For an enlarged preview of a photo, tap-and-hold on the photo's thumbnail. If you see a cloud icon in the top right of the image, when you preview it, the quality might seem reduced since the photo is not actually on your iPhone. The original quality will be maintained when importing.
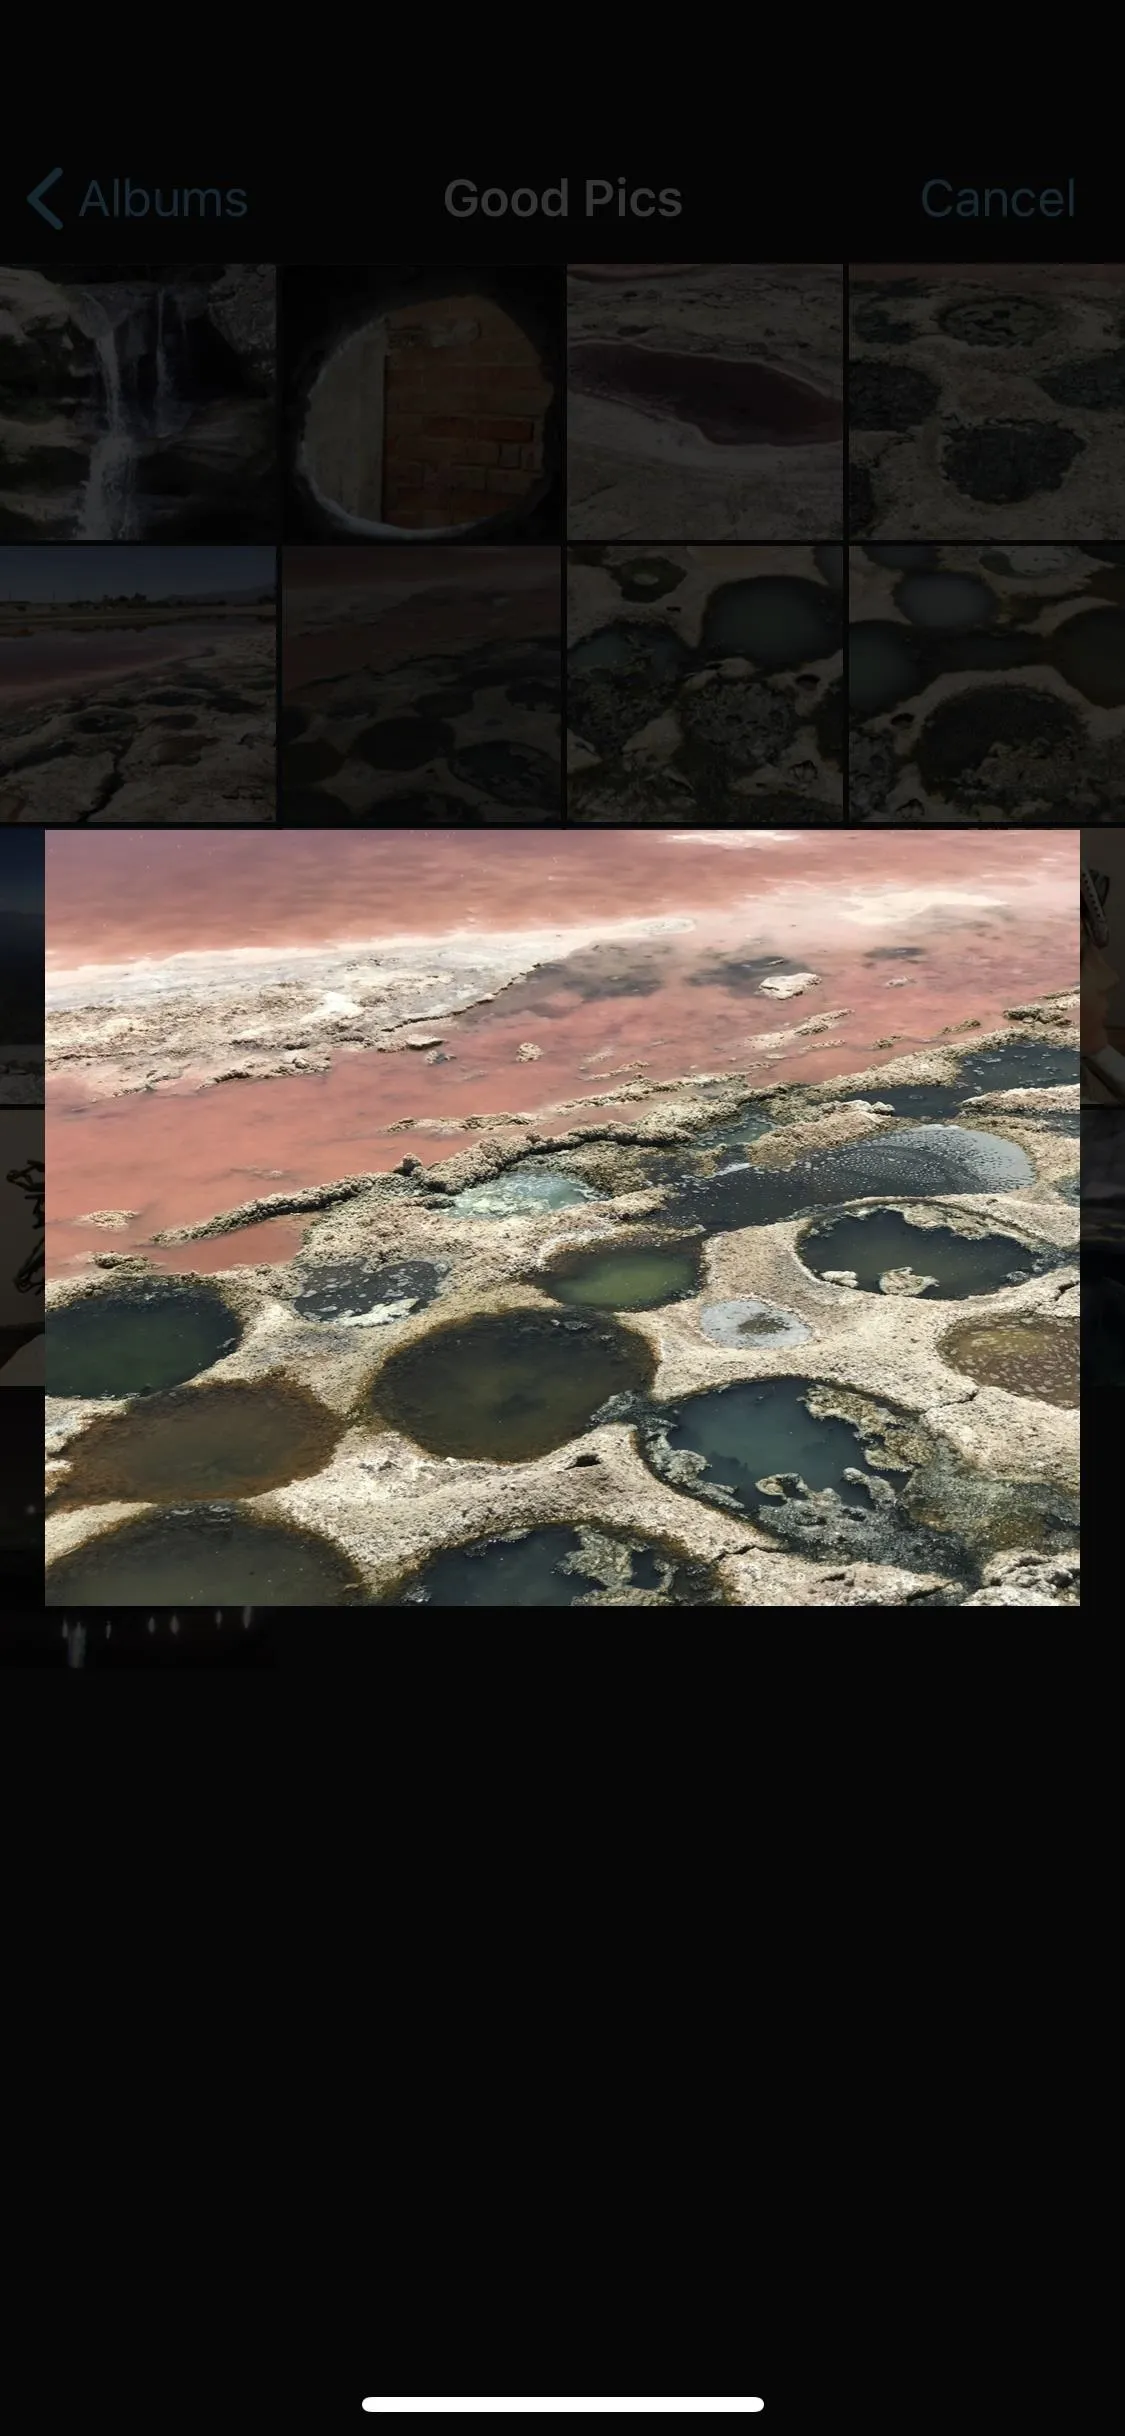

When you've found the image you want to use, tap on it to have it immediately imported into your movie project's timeline where you wanted. If it's a photo from iCloud Photo Library (with the cloud icon), then it will download to your device first, then automatically import into the project.
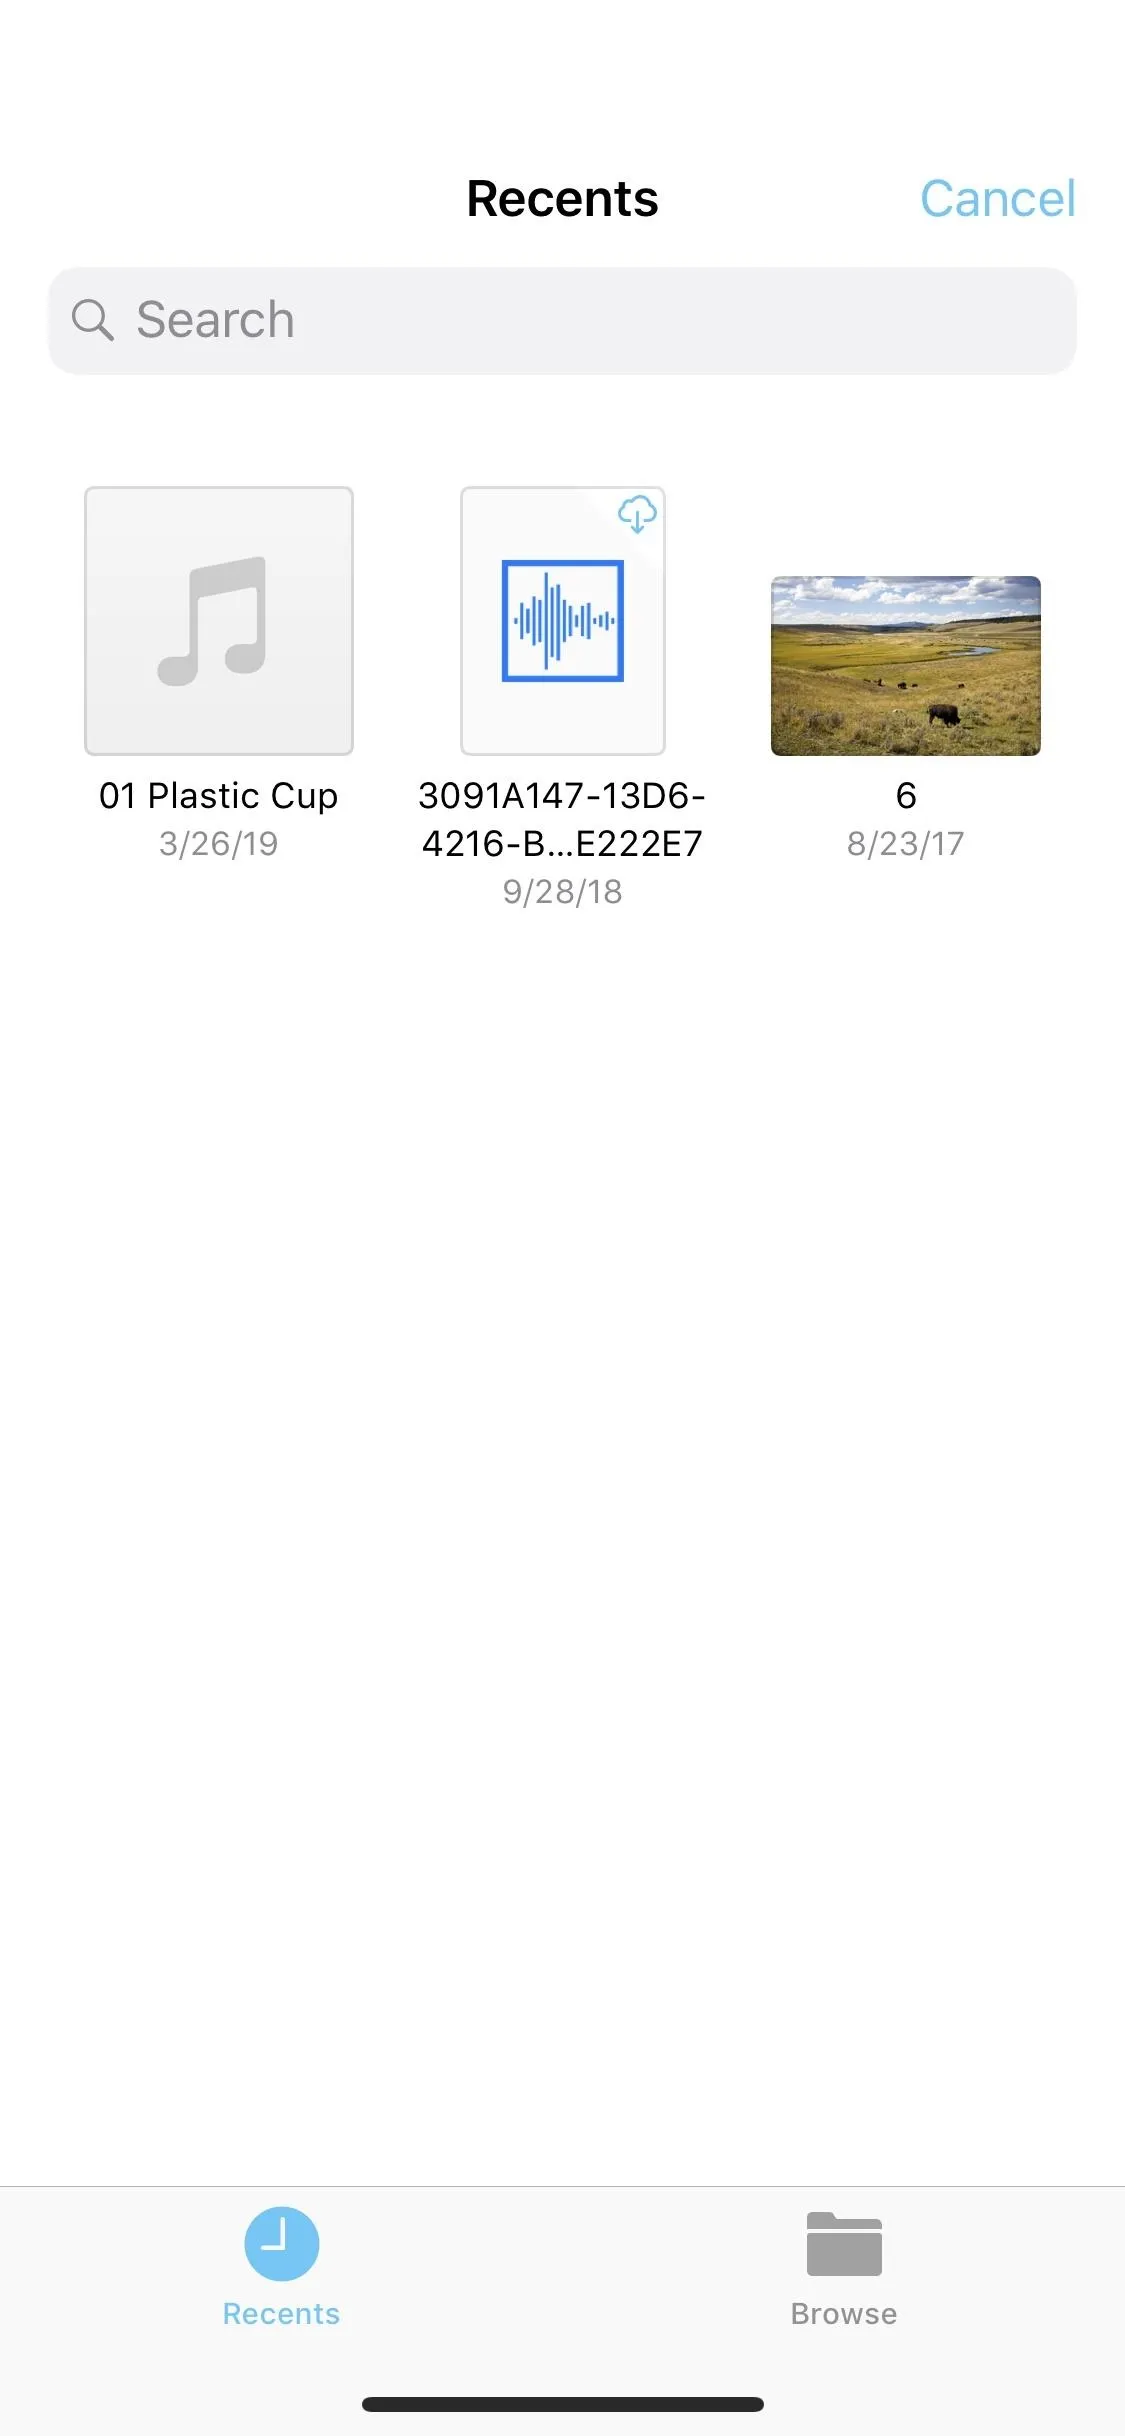
From Your iCloud Drive
If you're a fan of iCloud Drive, which lets you store files in a central location online that you can access from your Mac or any of your iOS devices, then you'll be glad to know you can import photos into your movie project right from the Files app.
Just tap on "iCloud Drive" from the media browser. The importer screen will open with your iCloud Drive opened to either the "Recents" or "Browse" tab. If the former is empty or doesn't have the photo you want, select the "Browse" tab.
Unlike with pictures in the Photos app, you cannot enlarge thumbnails for previewing when in the iCloud Drive browser.
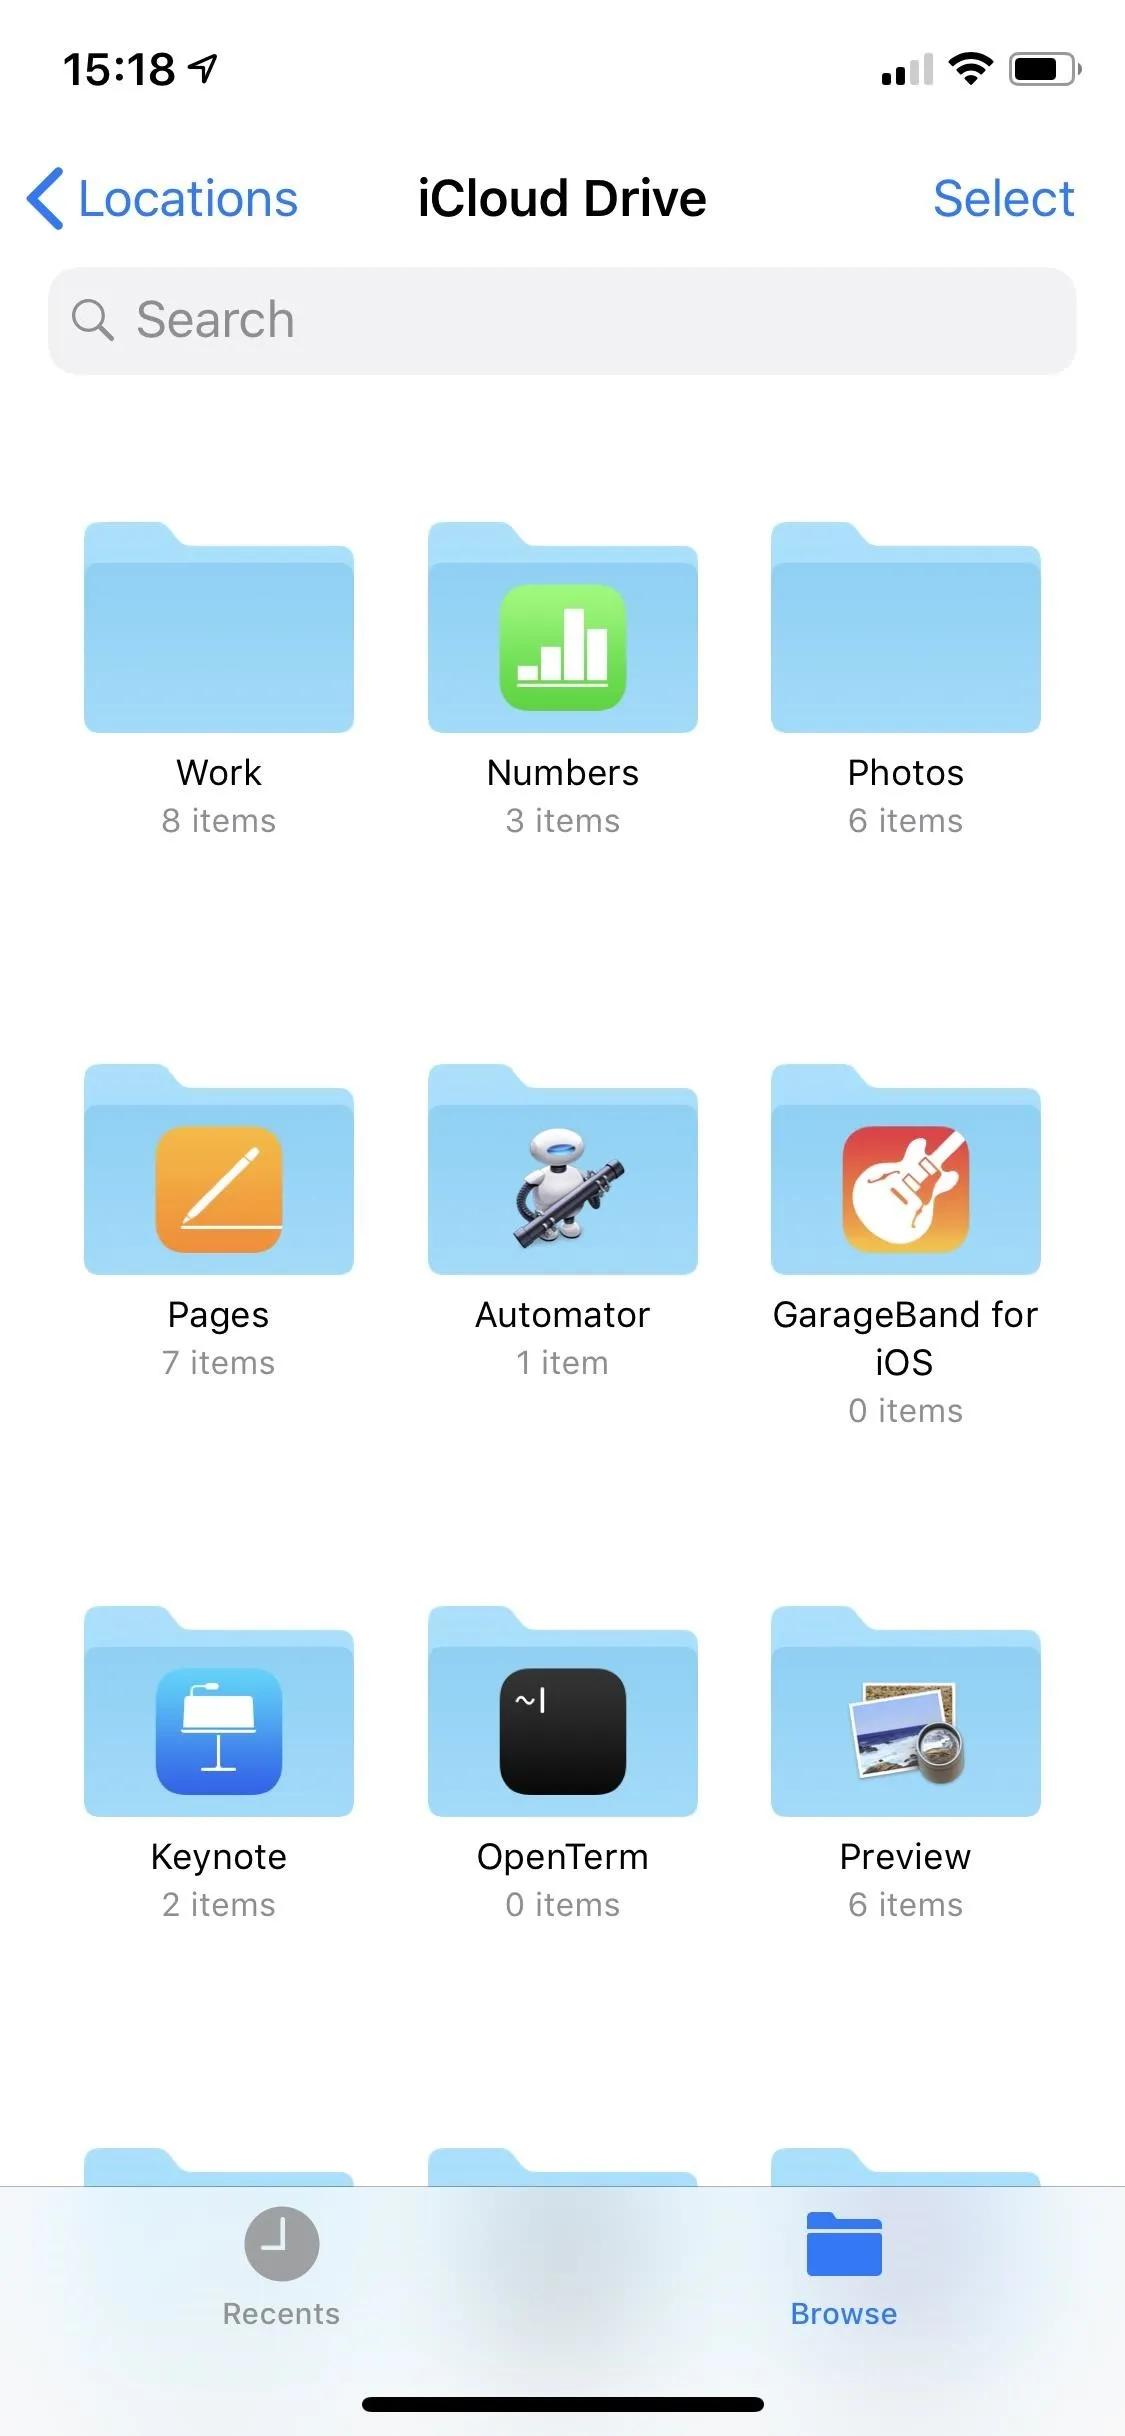
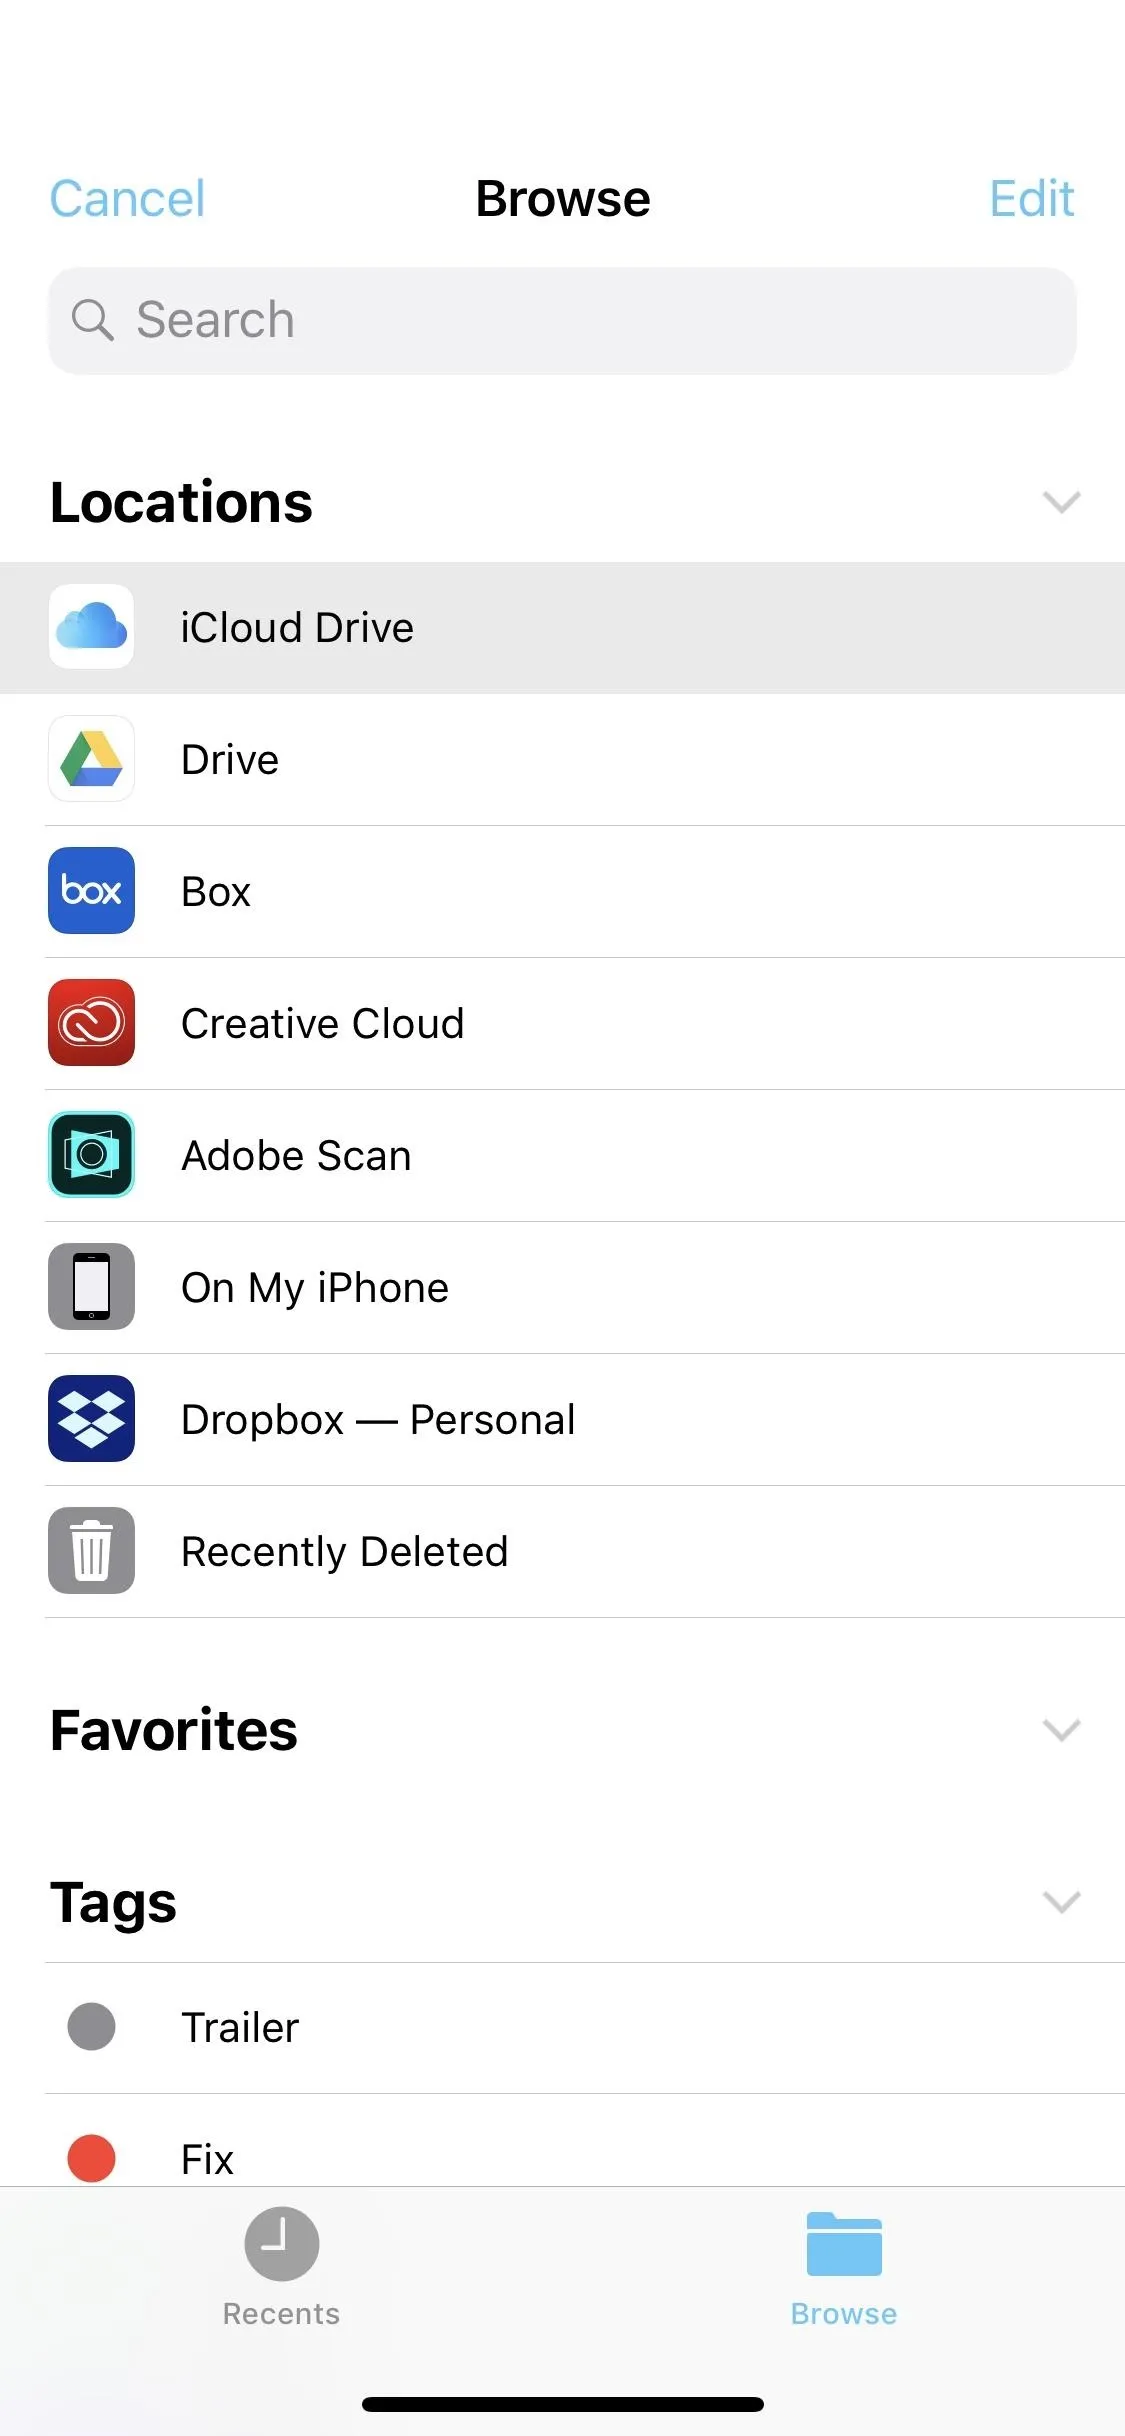
If you want to find photos in other cloud services that are connected to your Files app, such as Google Drive or Box, tap on "Locations" from the "Browse" tab on the iCloud Drive page. If you're in landscape mode on a large screen iPhone, the Locations menu may already be on the left side.
Supported third-party services in the Files app include cloud services and apps such as Adobe Creative Cloud, Adobe Scan, Baidu Cloud, Box, Dropbox, Google Drive, and Microsoft OneDrive.
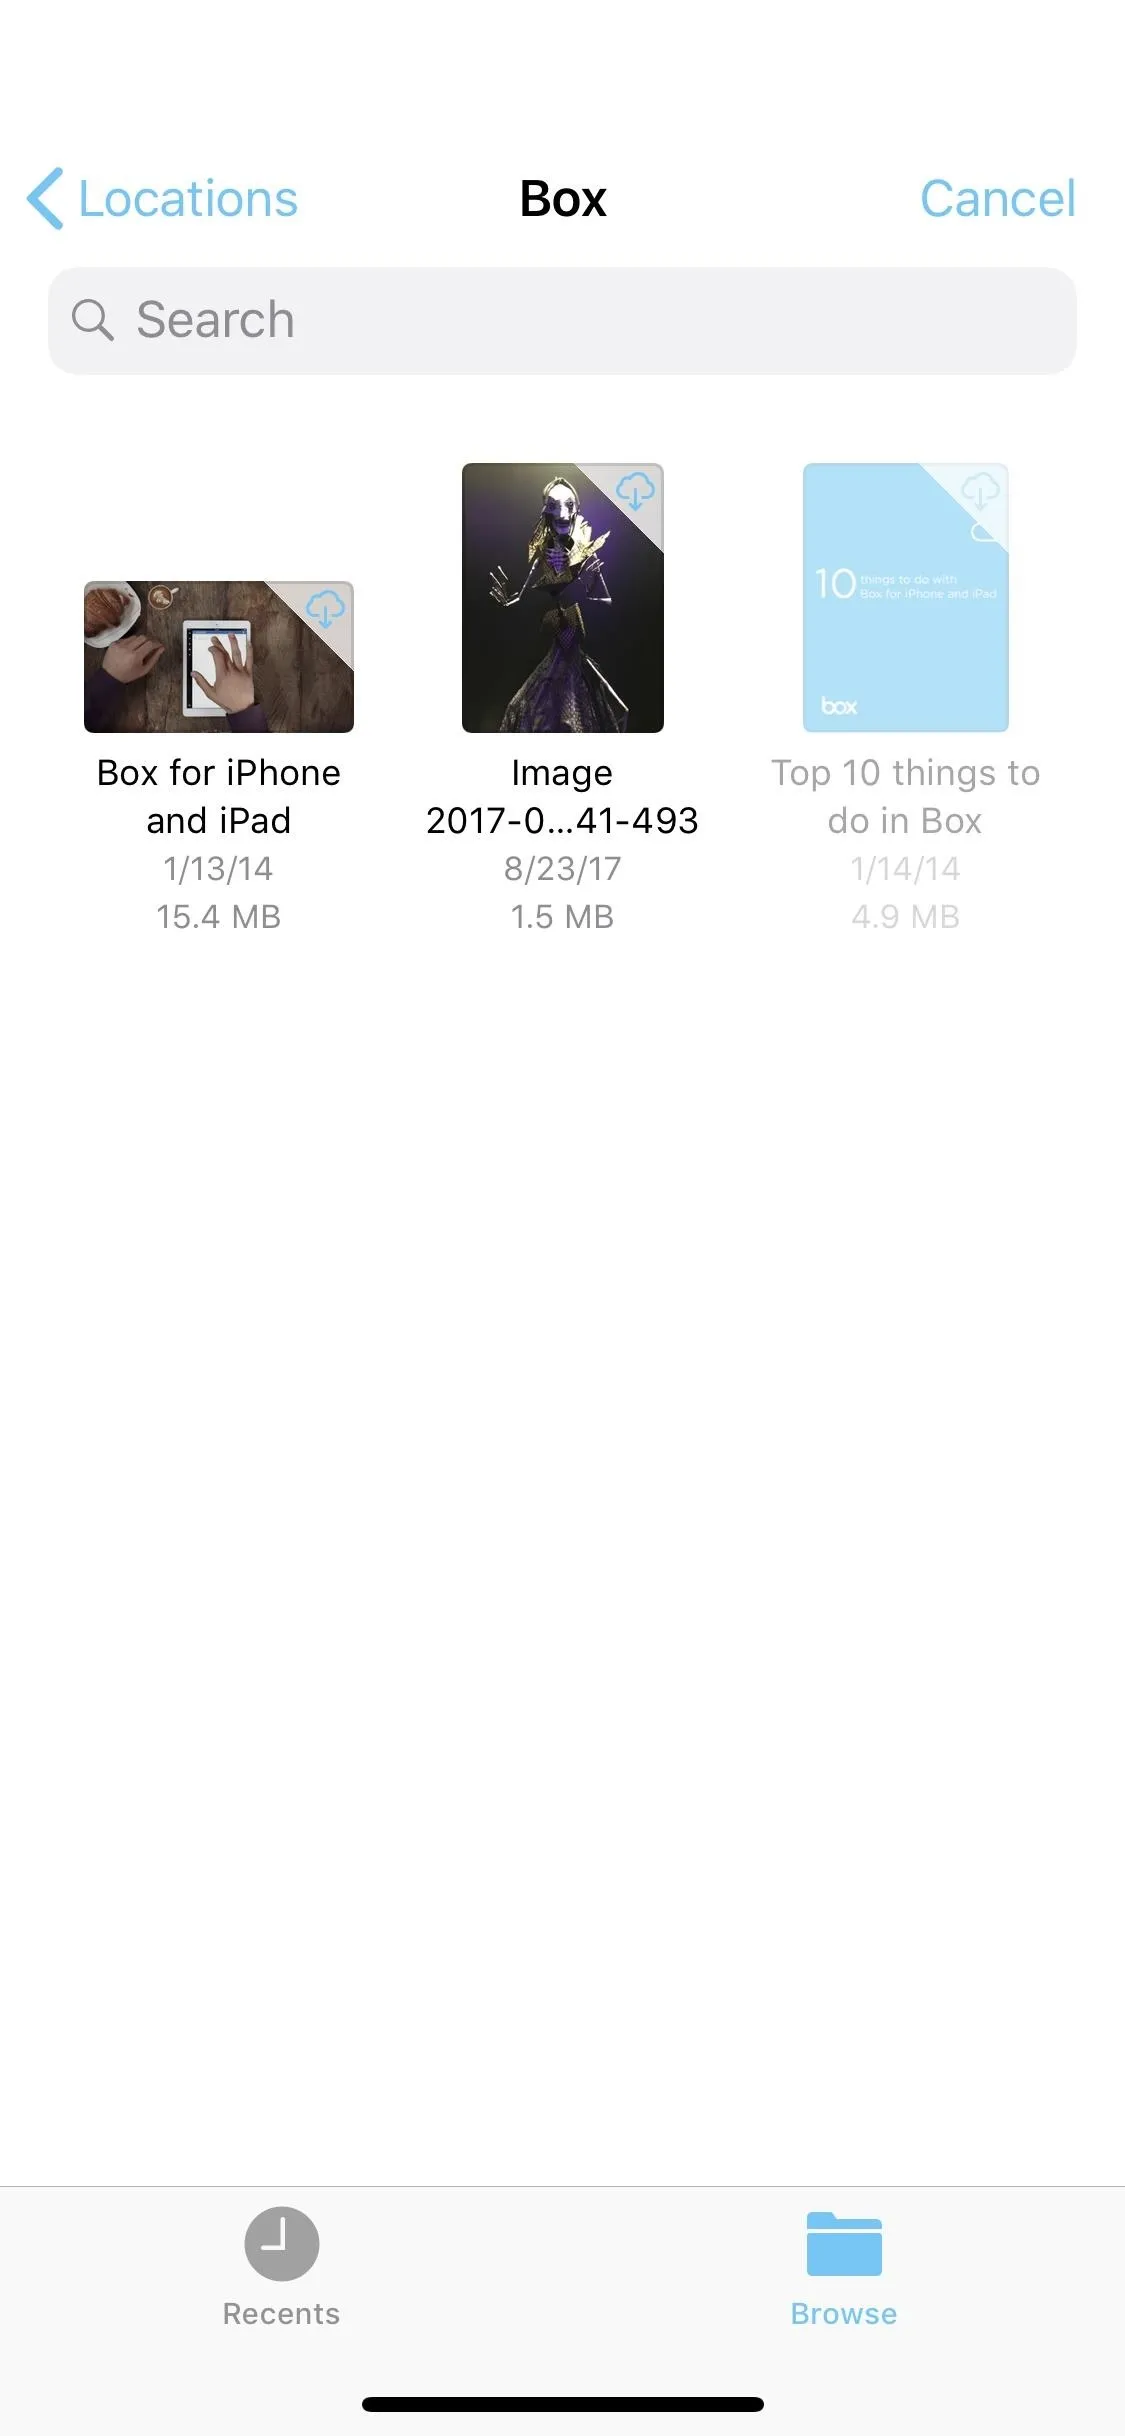
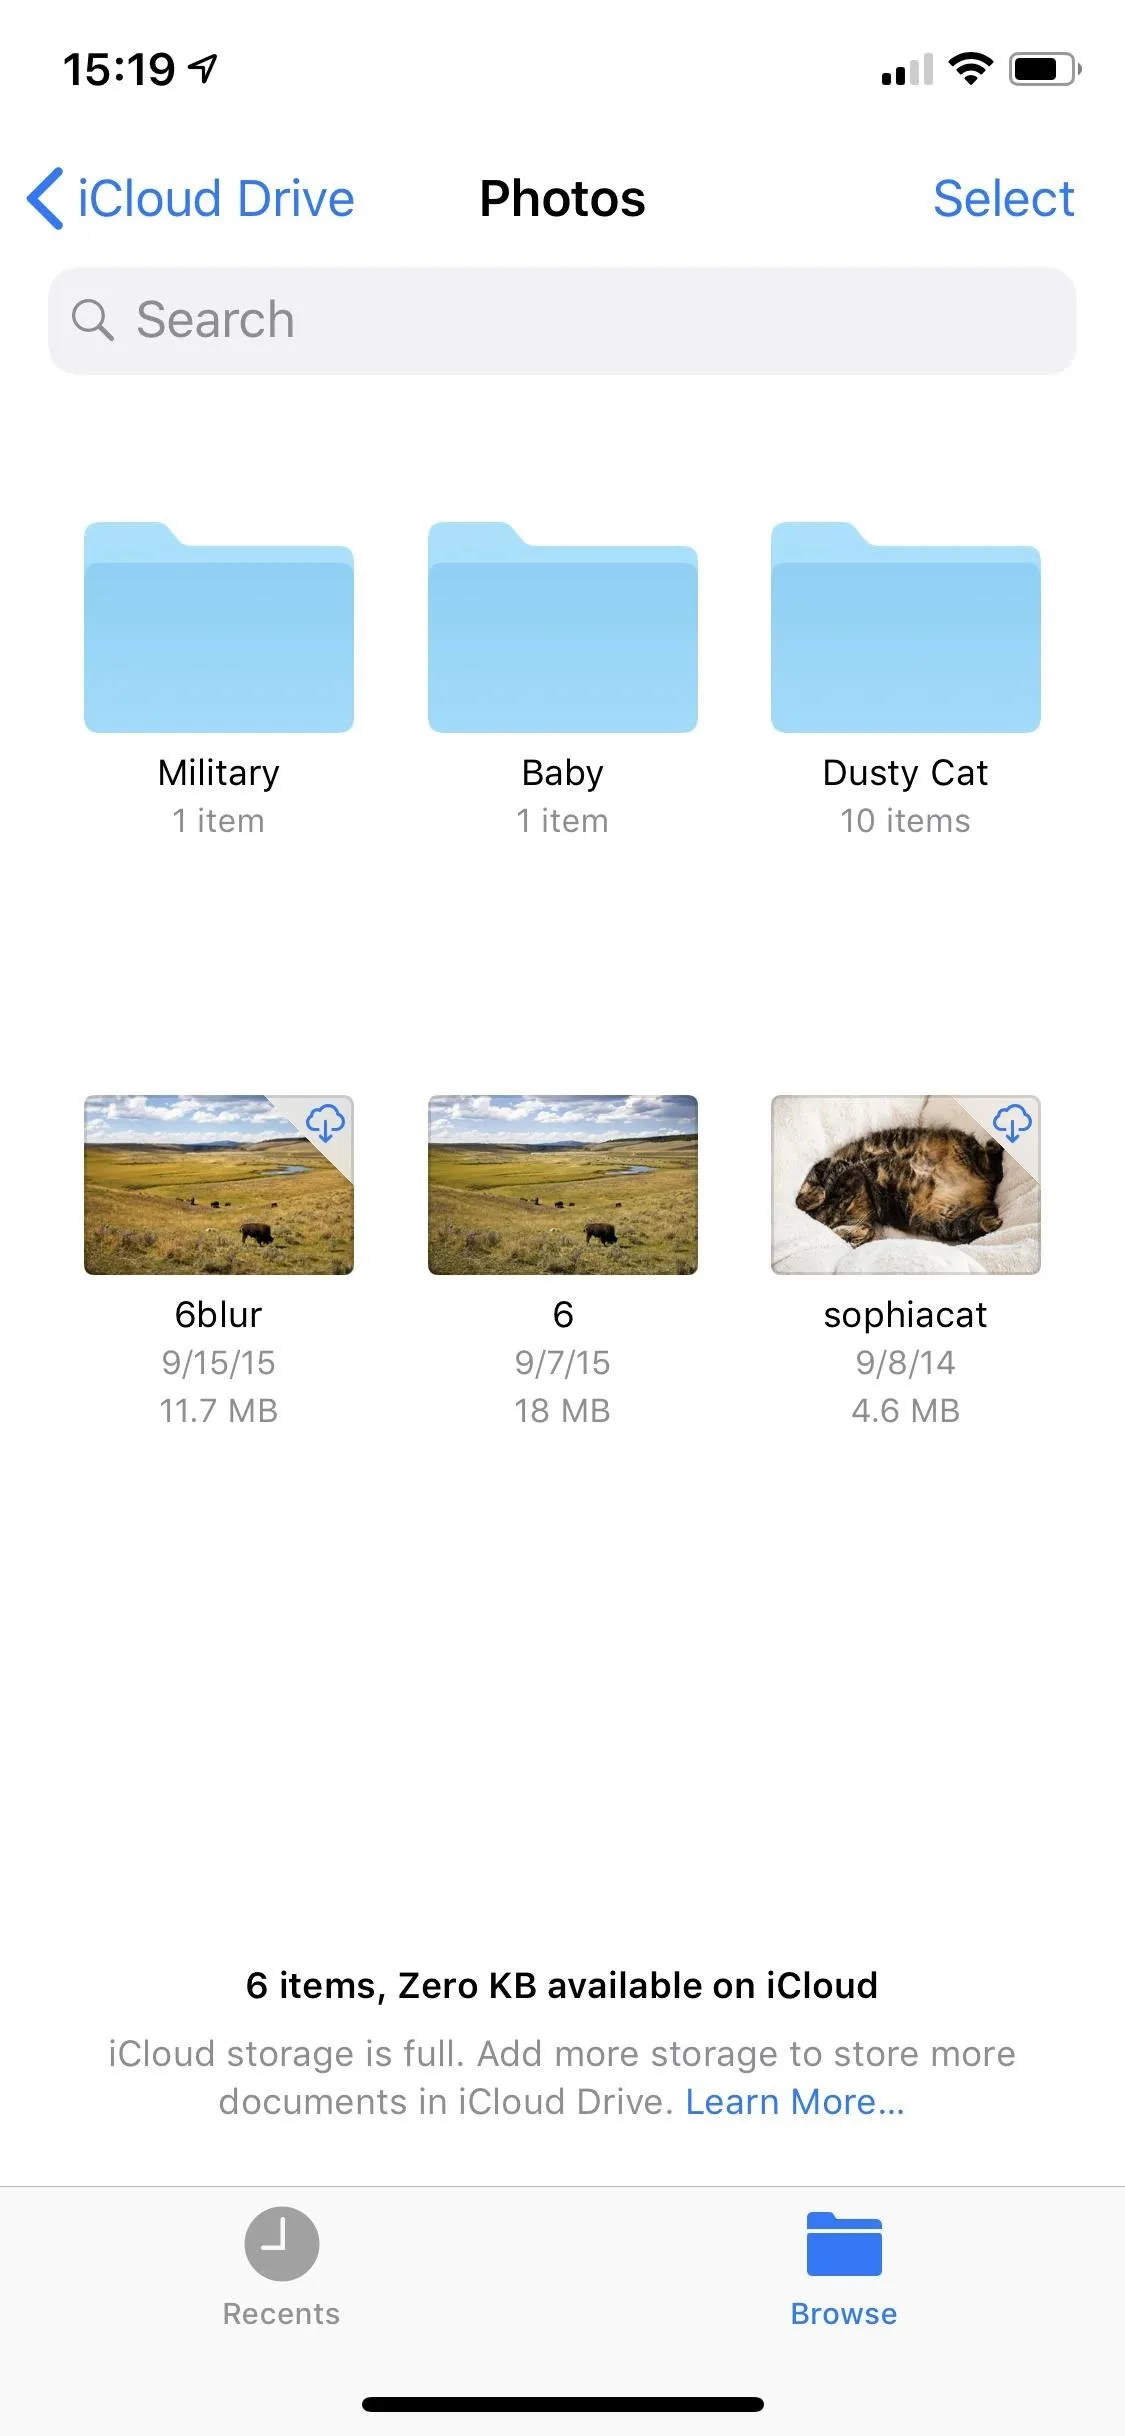
When you've found the image you want to use, either from your iCloud Drive or a third-party provider connected to the Files app, tap on the image to download it onto your device and import it into your project's timeline automatically.
Take a New Photo
If you want to pop a brand new image into your movie project's timeline, tap the "Camera" option from the media browser to open the viewfinder up. The video camera opens up by default, so tap on the "Photos" tab to take a picture. You can zoom in, turn on the flash, or take a selfie — the options are pretty bare-bones here.
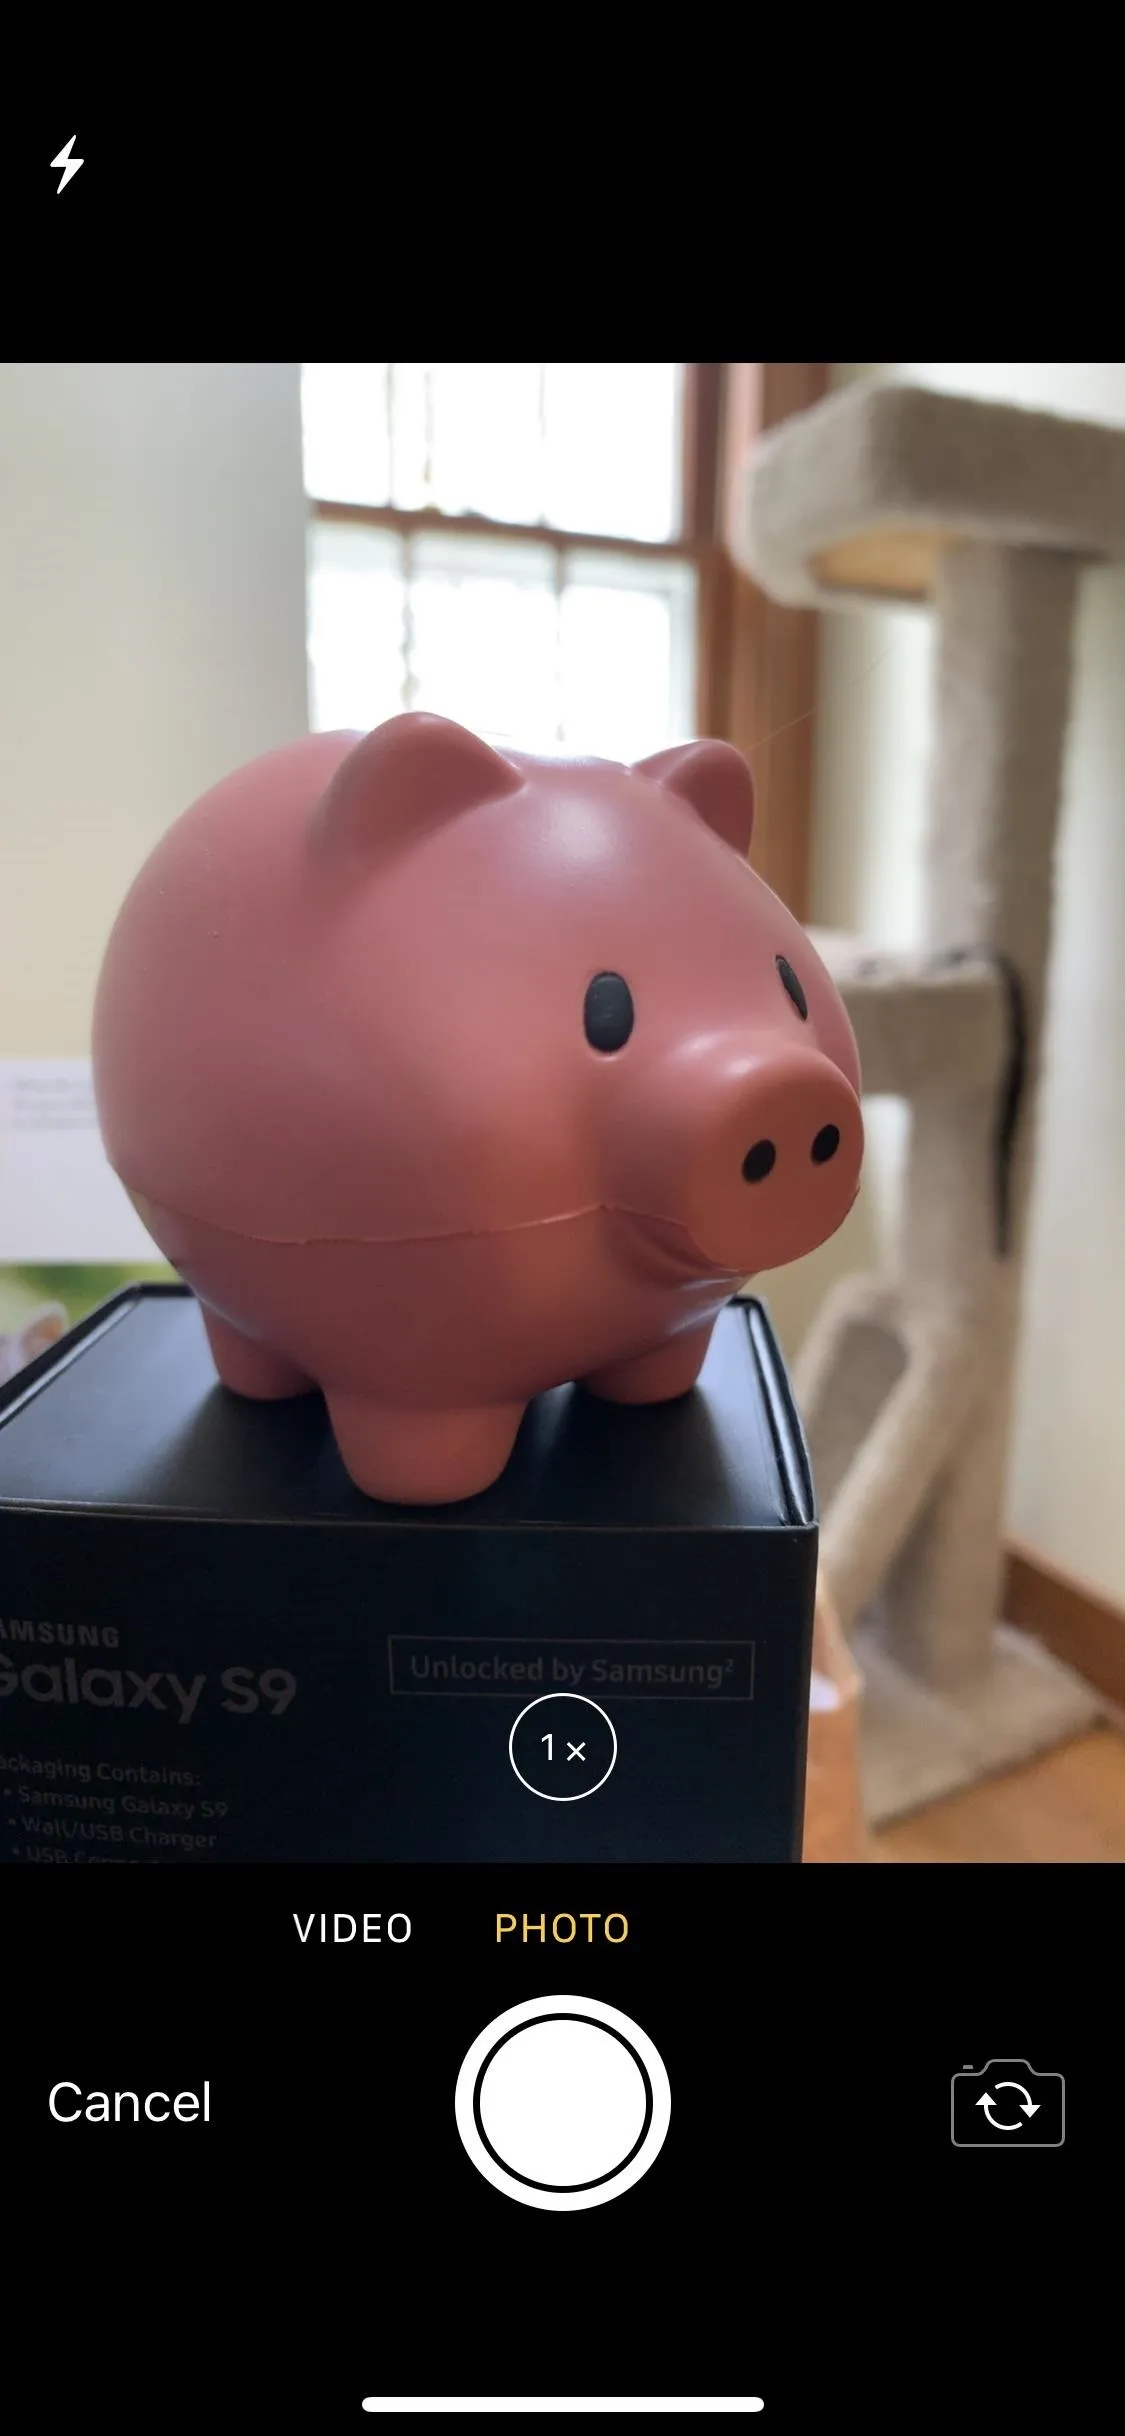
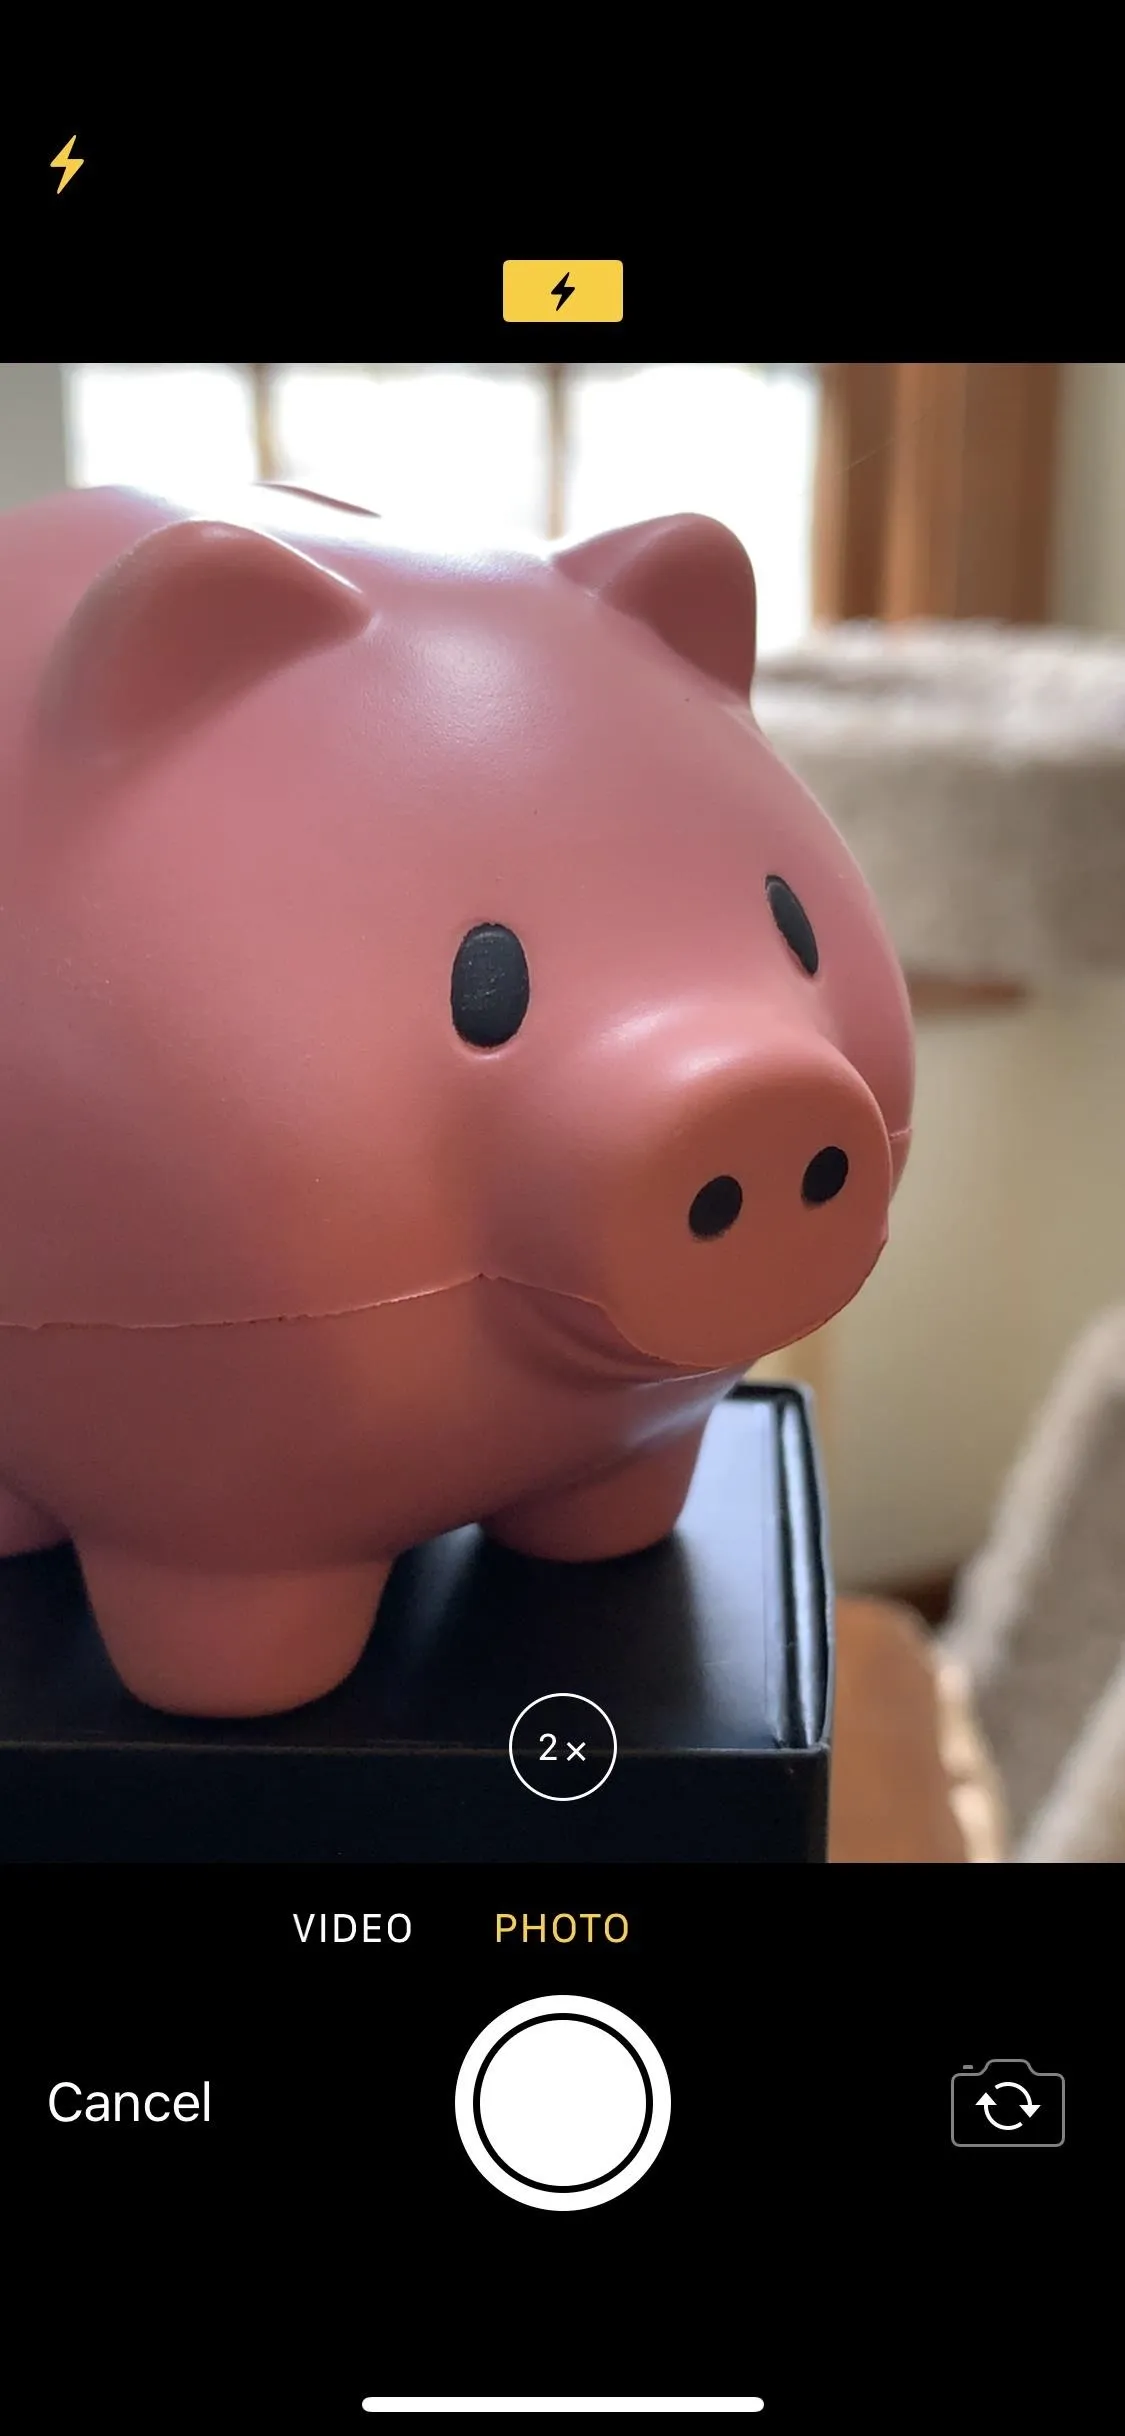
When you're ready, tap the shutter button to take the snap, then choose "Use Photo" to save the photo to your Photos app and import into your timeline. You can also choose "Retake" to try again.

After importing the photo, it will be anywhere from 3 to 6 seconds in length. Most likely, it will be 4 seconds if in the middle of the timeline or 5 seconds if at the start or end. By default, a Ken Burns effect applies to the photo, but you can remove that or change up the transition to match the rest of your project.
This article was produced during Gadget Hacks' special coverage on smartphone-based video creator tips for filming and editing. Check out the whole Videography series.
- Follow Gadget Hacks on Pinterest, Reddit, Twitter, YouTube, and Flipboard
- Sign up for Gadget Hacks' daily newsletter or weekly Android and iOS updates
- Follow WonderHowTo on Facebook, Twitter, Pinterest, and Flipboard
Cover photo and screenshots by Justin Meyers/Gadget Hacks


Comments
Be the first, drop a comment!