


Apple's Reminders app has never been particularly sexy or appealing, but that changes in iOS 13. Although the productivity tool has always been useful for quick to-dos, it now has an overhauled user interface with several new features, including grouping lists together for improved organization.
Before iOS 13, the only thing you could do is create lists stored on your iPhone, in iCloud, or with a third-party service such as Yahoo or Outlook that has Reminders access. They were all jumbled together on the main screen, and it was hard to determine which list was in which account. In iOS 13, things are more obvious, and you can stick two or more lists into a grouping to keep the clutter down.
Each account has a prominent section on the new Reminders main screen, right underneath the automated tiles at the top. That alone is exciting enough, but let's get into how grouped lists work.
- Don't Miss: 200+ Exciting New iOS 13 Features for iPhone
Compatibility
The new Reminders app is only available in iOS 13 and iPadOS 13 for iPhone and iPad and macOS 10.15 Catalina for Macs. If you don't upgrade all of your devices, any using older OS versions can only sync with other devices not upgraded yet. And when you finally do update each device, any reminders you created on those devices after updating your first device to the new Reminders app will be lost when syncing to iCloud since iCloud uses the updated Reminders app as the primary.
Also, if you don't open the updated app on each device before creating reminders on those devices (like via Siri), those won't stick either. Learn more at Apple.
Creating Grouped Lists
To create a grouped list, you can do one of two things. First, you can tap "Edit" in the top right, then "Add Group" in the bottom left. That will prompt the New Group modal to open, but before we get to that, let's go over the second way to initiate a new grouping.
Second, press-and-hold on one of your lists to catch it, drag it above another list that you want it grouped with, then drop it when the bottom list is highlighted. The New Group modal should open.
You can only create grouped lists in iCloud, not third-party services. So if you have a Yahoo or Outlook section with lists in it you want to consolidate, it will have to wait until those services support it. Additionally, you cannot drag one list from one service over to a list that's in iCloud — lists stay put in their own accounts.

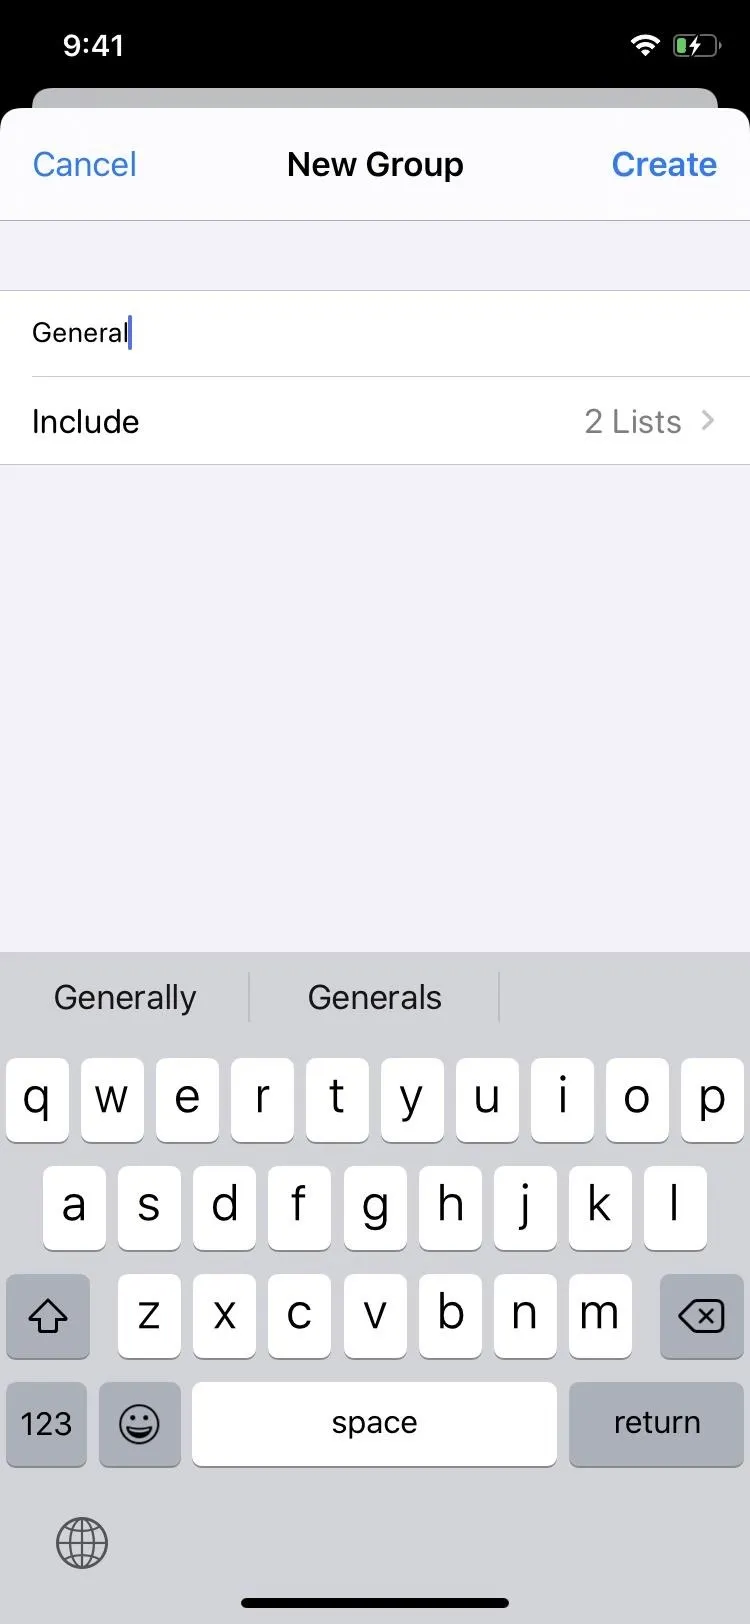
Either way, in the New Group modal, choose a name for your lists group. After, you can view the lists that are included in the group via the "Include" menu item. There, you can remove some of the lists from the group (hit the red minus button) or other lists you already have (the green plus).
If you want to change the order of your included lists, hold down on the three-bar icon on the right of a list and drag it up or down to where you want it. When you're all set, tap "Create" to finish.
Viewing Grouped Lists
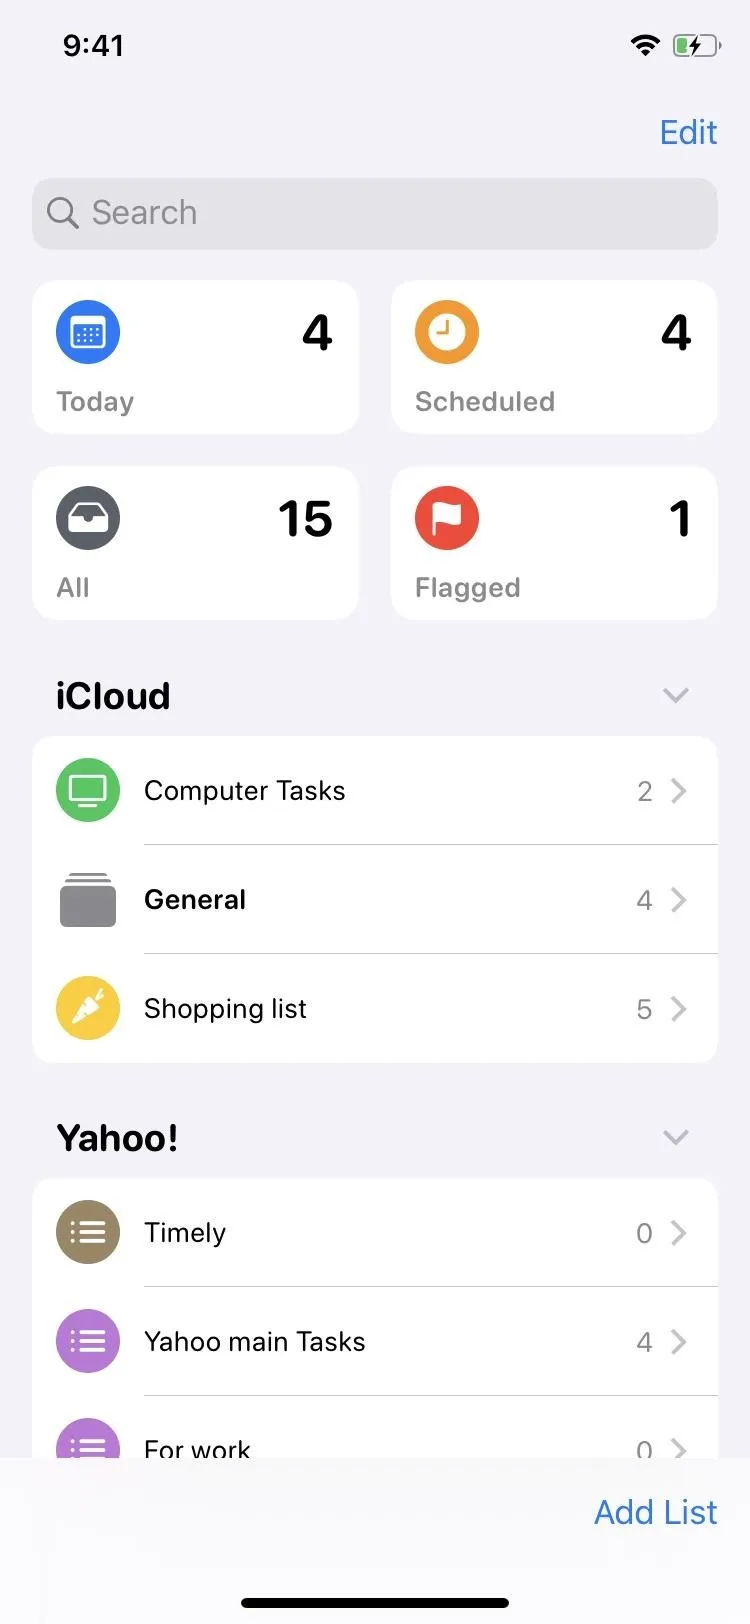
Your new grouped list will appear under My Lists (if you're only using iCloud for Reminders) or iCloud (if you have more than one account connected to Reminders). The number to the right of the list indicates the total tasks from all lists in the group, not the number of lists. Tap on the group's chevron to view or hide the lists in it, and tap on any list inside to see your reminders.
Reordering Lists & Grouped Lists
If you press-and-hold on a grouped list, you can drag it up or down to change its place among your lists. There are no nested grouped lists, so you can't drag and drop a grouped list over to another list or grouped list. Within a consolidated list, you can do the same thing with nested lists to reorganize them.
You can also move the grouped list up or down by tapping "Edit" in the top right. Next, hold down on its three-bar icon, and drag and drop it to its new placement. Hit "Done" to finish up. Again, this also works with the nested lists.

Renaming & Adding to Grouped Lists
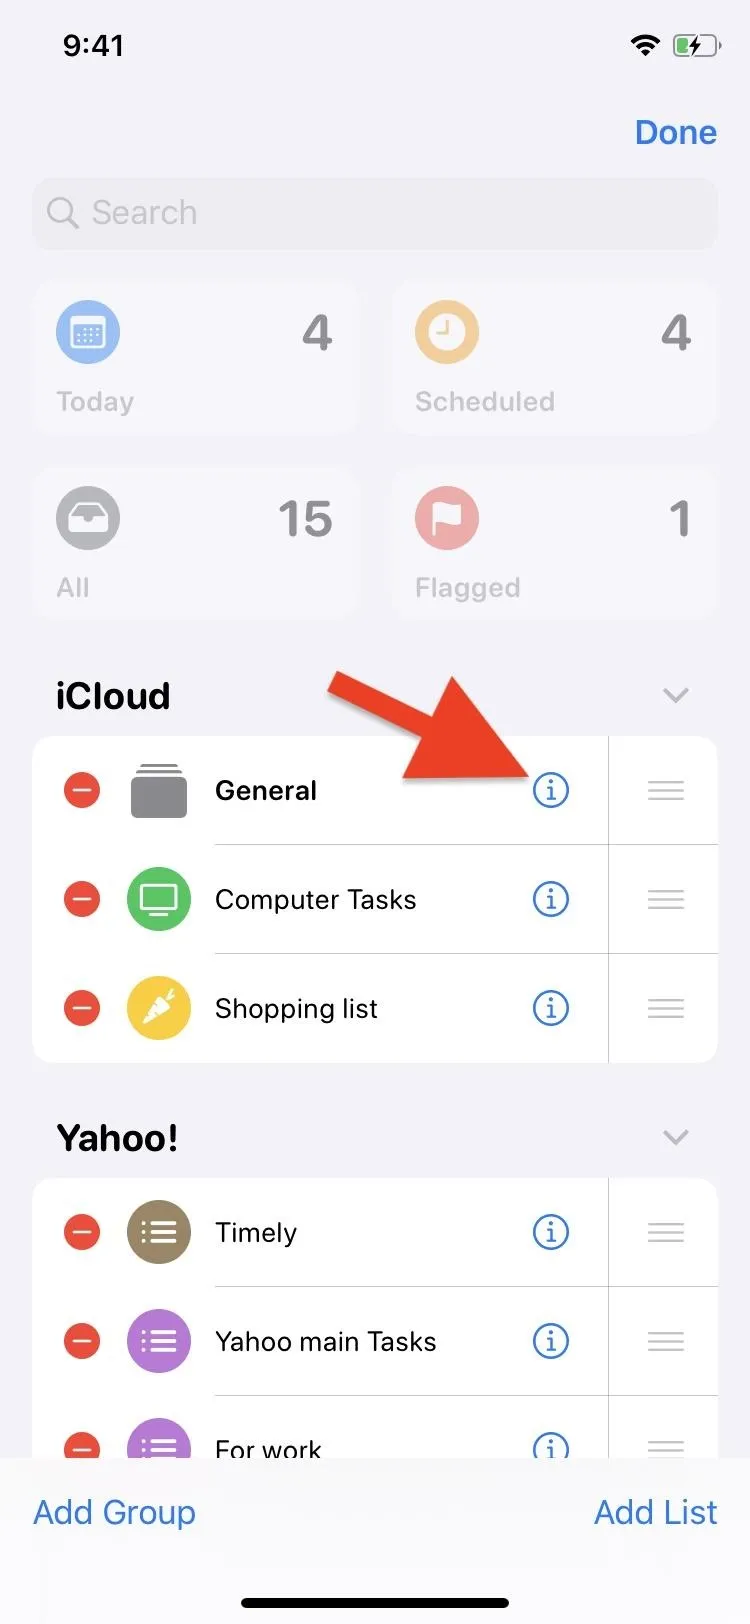
If you want to add more lists to your grouped list, you can drag and drop the lists on top of the grouping just as seen above. Alternatively, you can enter the Group Info pane for the grouping by either slow-swiping left on the grouping and hitting the (i) button or tapping "Edit" in the top right followed by the (i) button next to the group. That will bring you to a page that looks exactly like the New Group page. Tap "Include" to adjust the lists within, and you can also tap on the group's name to rename it.

Deleting Lists & Grouped Lists
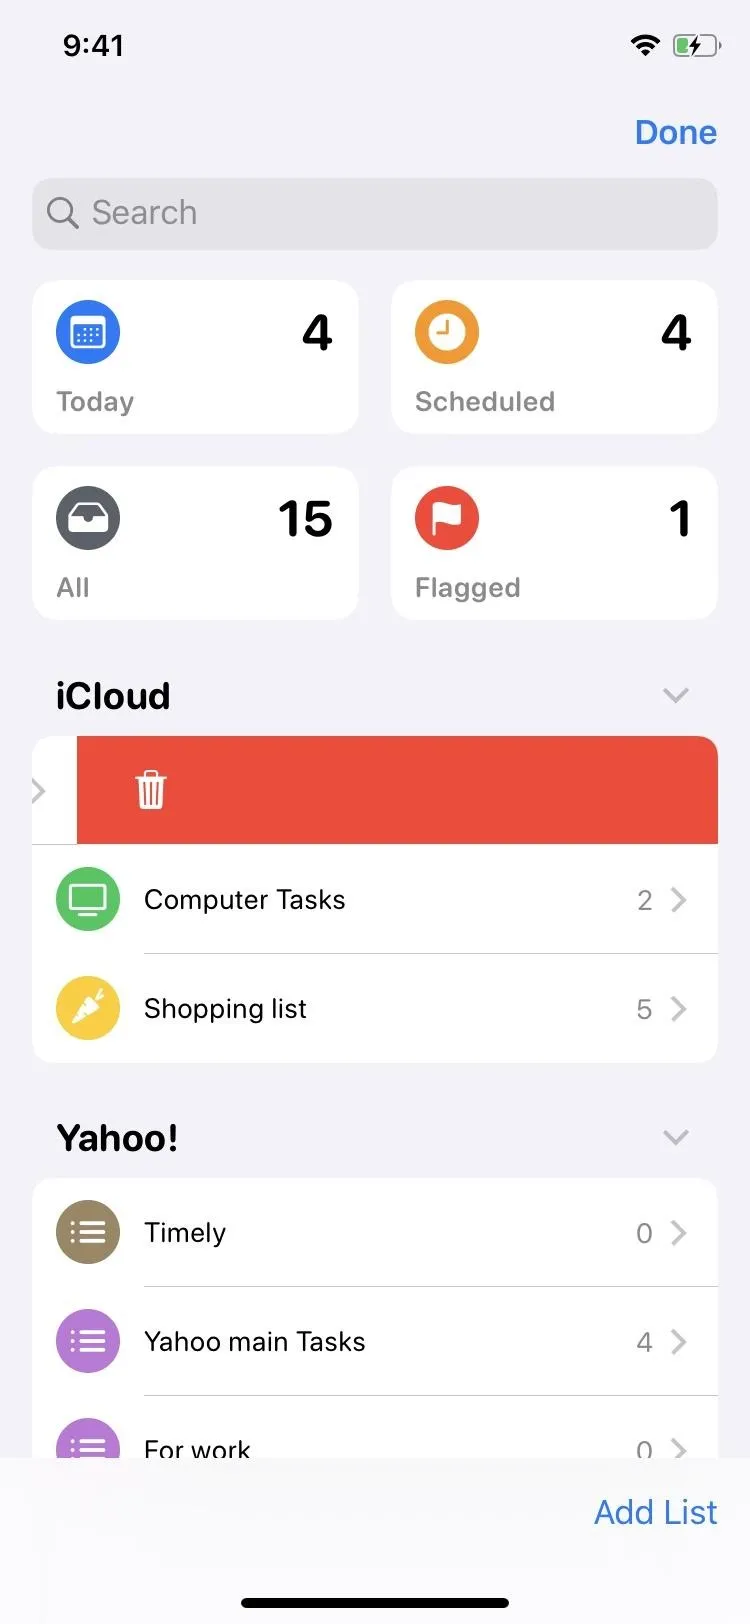
To delete a list, grouped list, or nested list, short-swipe left on it, and tap on "Delete." You can also long-swipe left instead to delete it automatically. Or you can hit "Edit" in the top right, tap the red minus button next to the list, and the "Delete" that shows up.
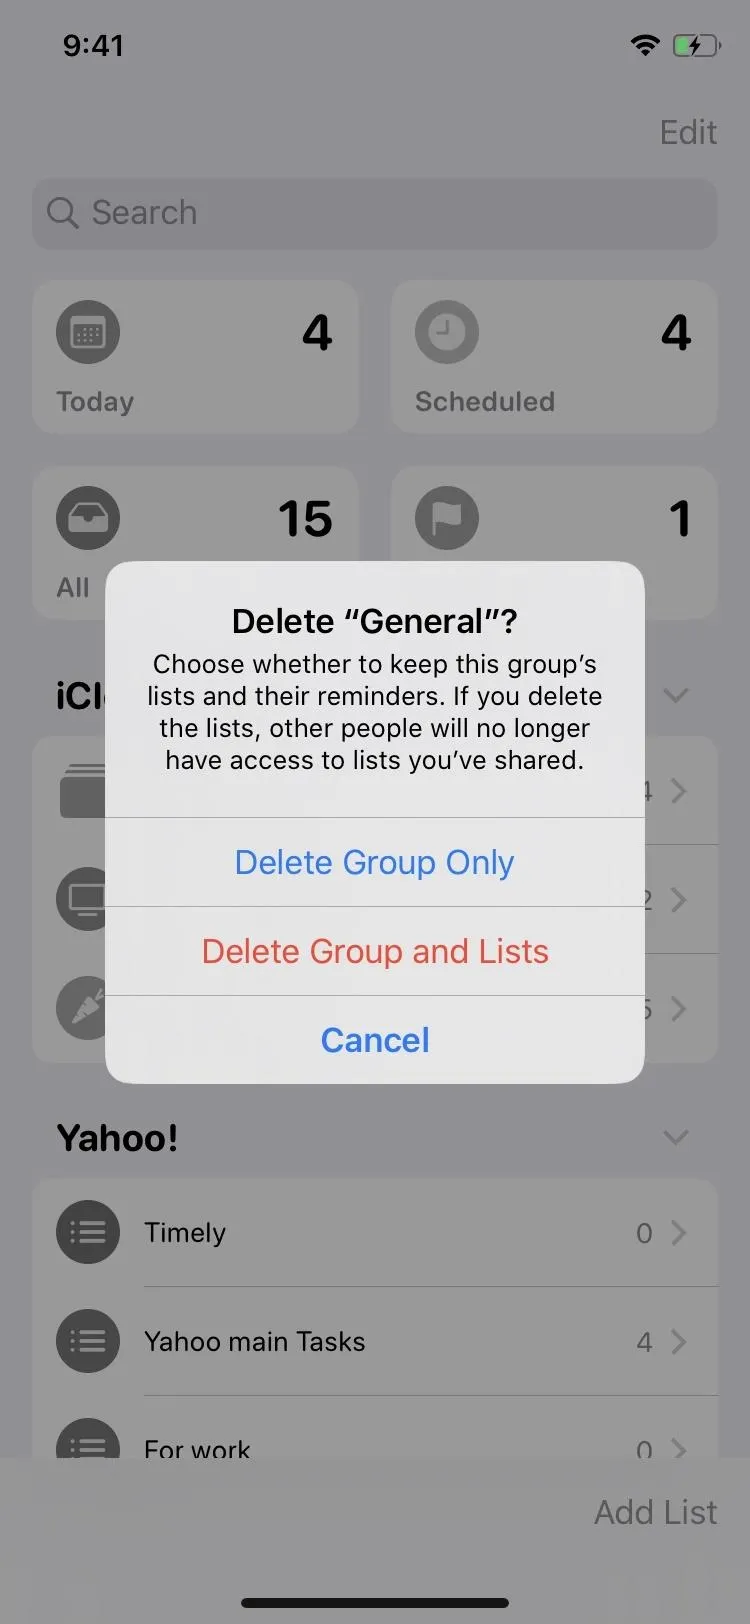
If you delete a list or nested list, it will disappear from your Reminders along with all the tasks that were inside it. However, if you remove a grouped list, the app will ask if you want to "Delete Group Only" or "Delete Group and Lists," and you can always hit "Cancel" if you change your mind.
Cover photo, screenshots, and GIFs by Justin Meyers/Gadget Hacks


Comments
Be the first, drop a comment!