


Since iOS 13, your iPhone's come equipped with a fonts manager that lets you install custom fonts for use in Apple apps and supported third-party apps. To add fonts, you need to use a font provider app that'll load them on your device and register them system-wide, and one of these apps shines above all else.
Adobe has developed some of the best creative apps in the world, including Photoshop, Illustrator, Lightroom, InDesign, and Premiere, but you might not realize that it also has thousands of fonts available for personal and commercial use. These fonts can be installed on your iPhone and used in apps that support custom fonts.
Around 1,300 of Adobe's fonts are free to anyone with a free Adobe ID, and that number goes up to about 17,000 if you already subscribe to one of Adobe's services. As long as you're running iOS 13.4 or later, you can install any of these fonts and use them in apps that support the custom fonts API.
Install the Creative Cloud App
All of Adobe's fonts are available from its Creative Cloud app. While the fonts used to work in iOS 13.1 and later, the updated app requires iOS 13.4 or later. For an iPad, it'd be iPadOS 13.4 or later. If you're running iOS 14 or iPadOS 14, you're all set.
- App Store Link: Adobe Creative Cloud (free)
Log in to Adobe
When first opening the app, Adobe gives you plenty of ways to log in to Creative Cloud, so choose the appropriate one; you can use your Adobe ID, Apple ID, Google account, or Facebook account. If you don't have an account yet, you can create one with Adobe here.
View & Filter Fonts
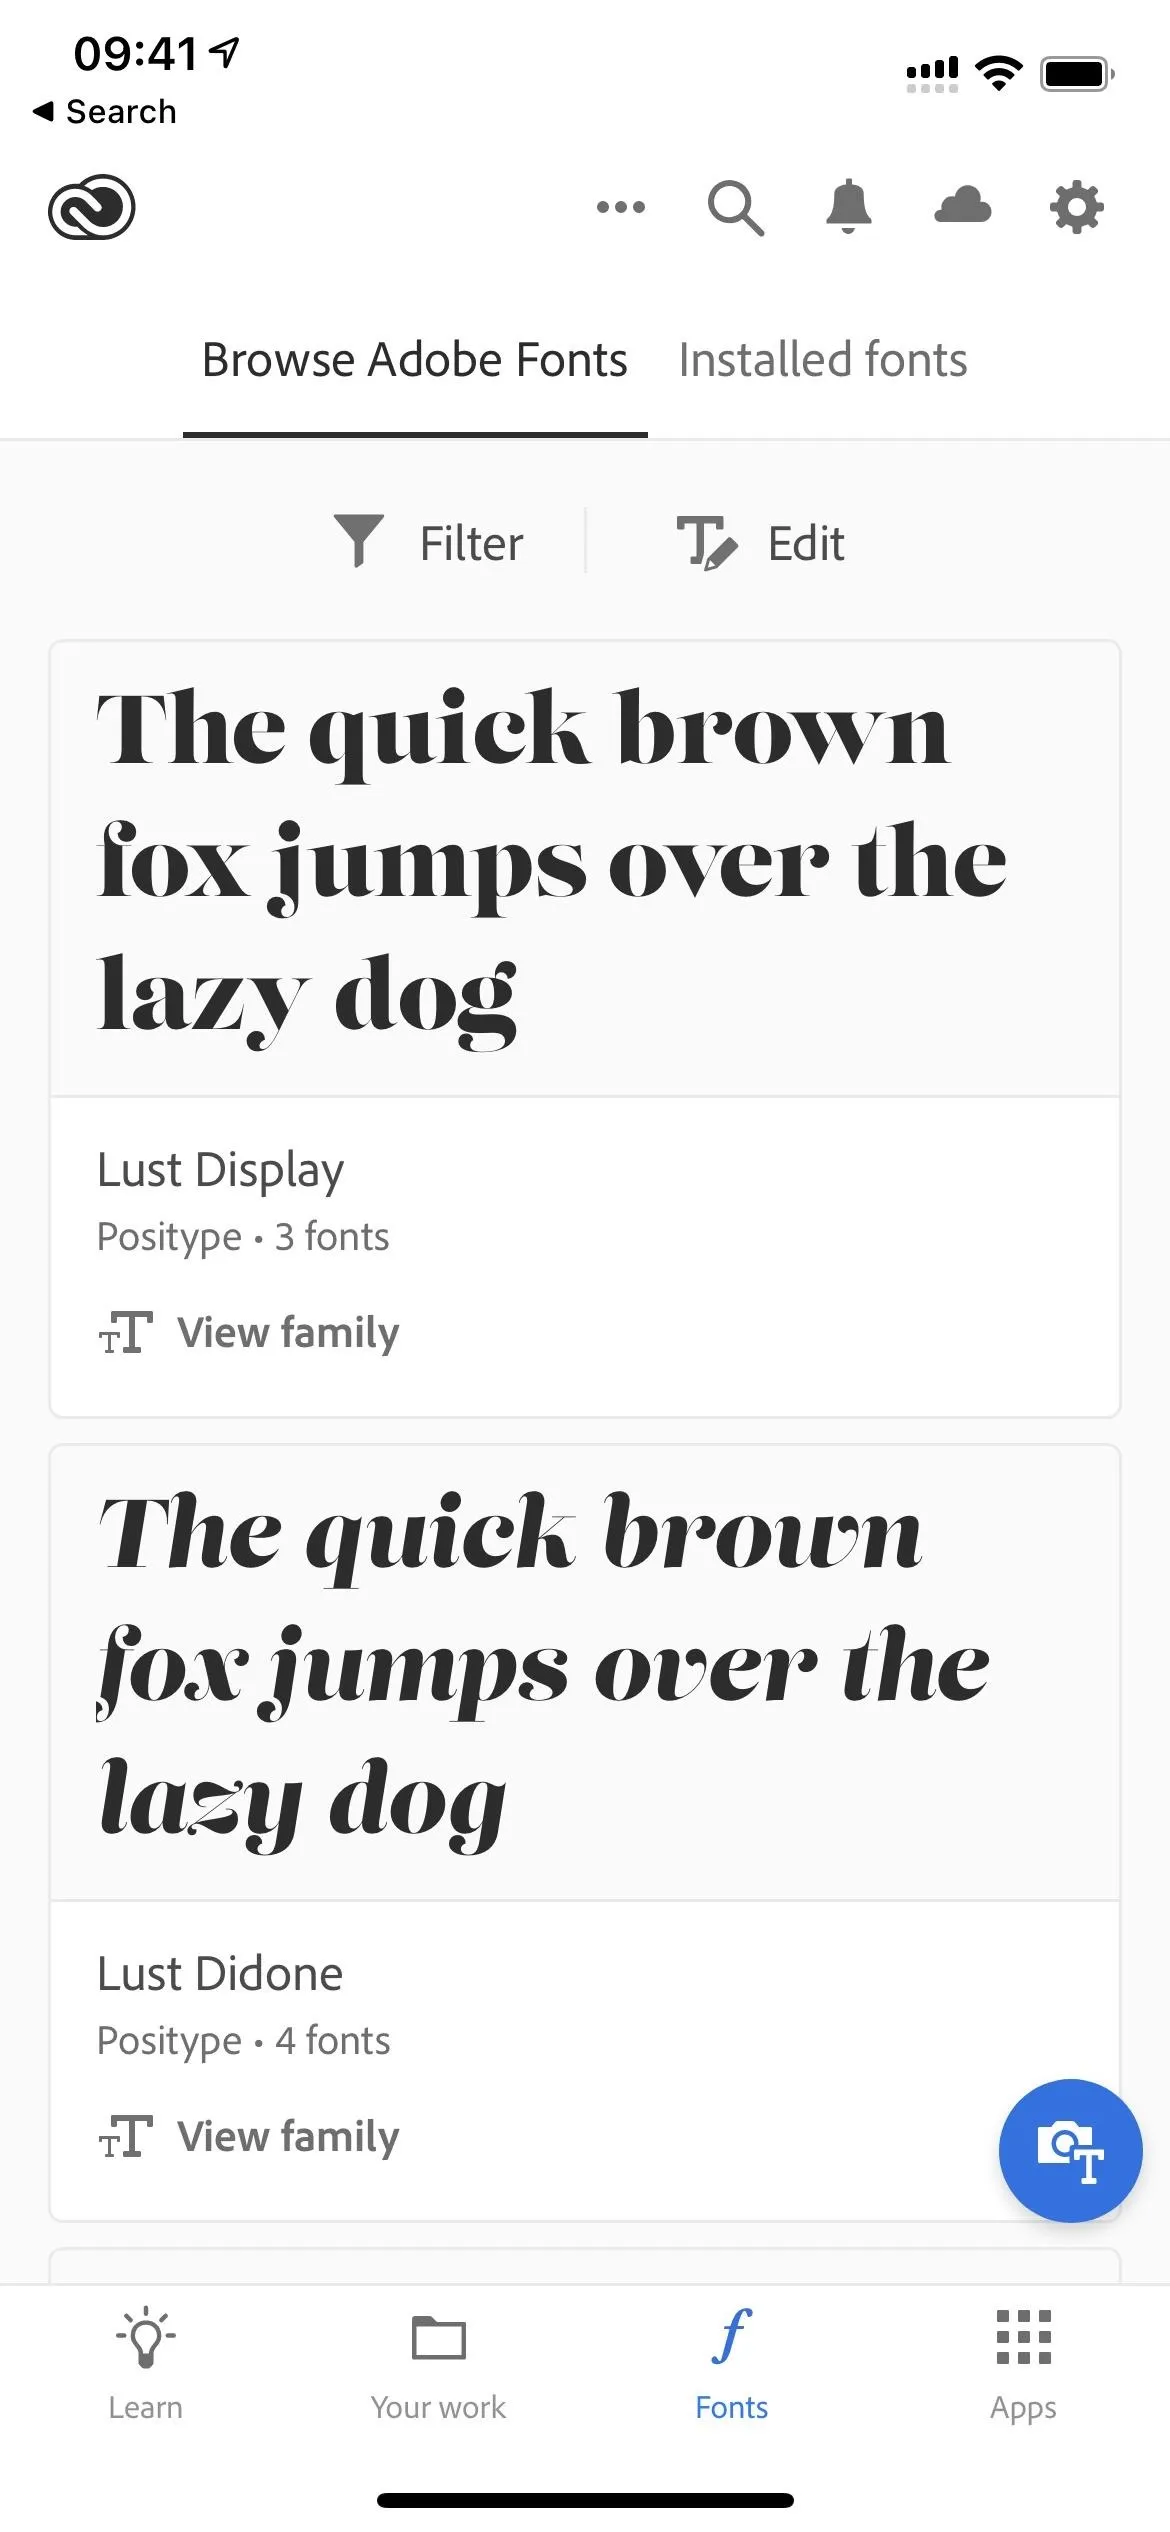
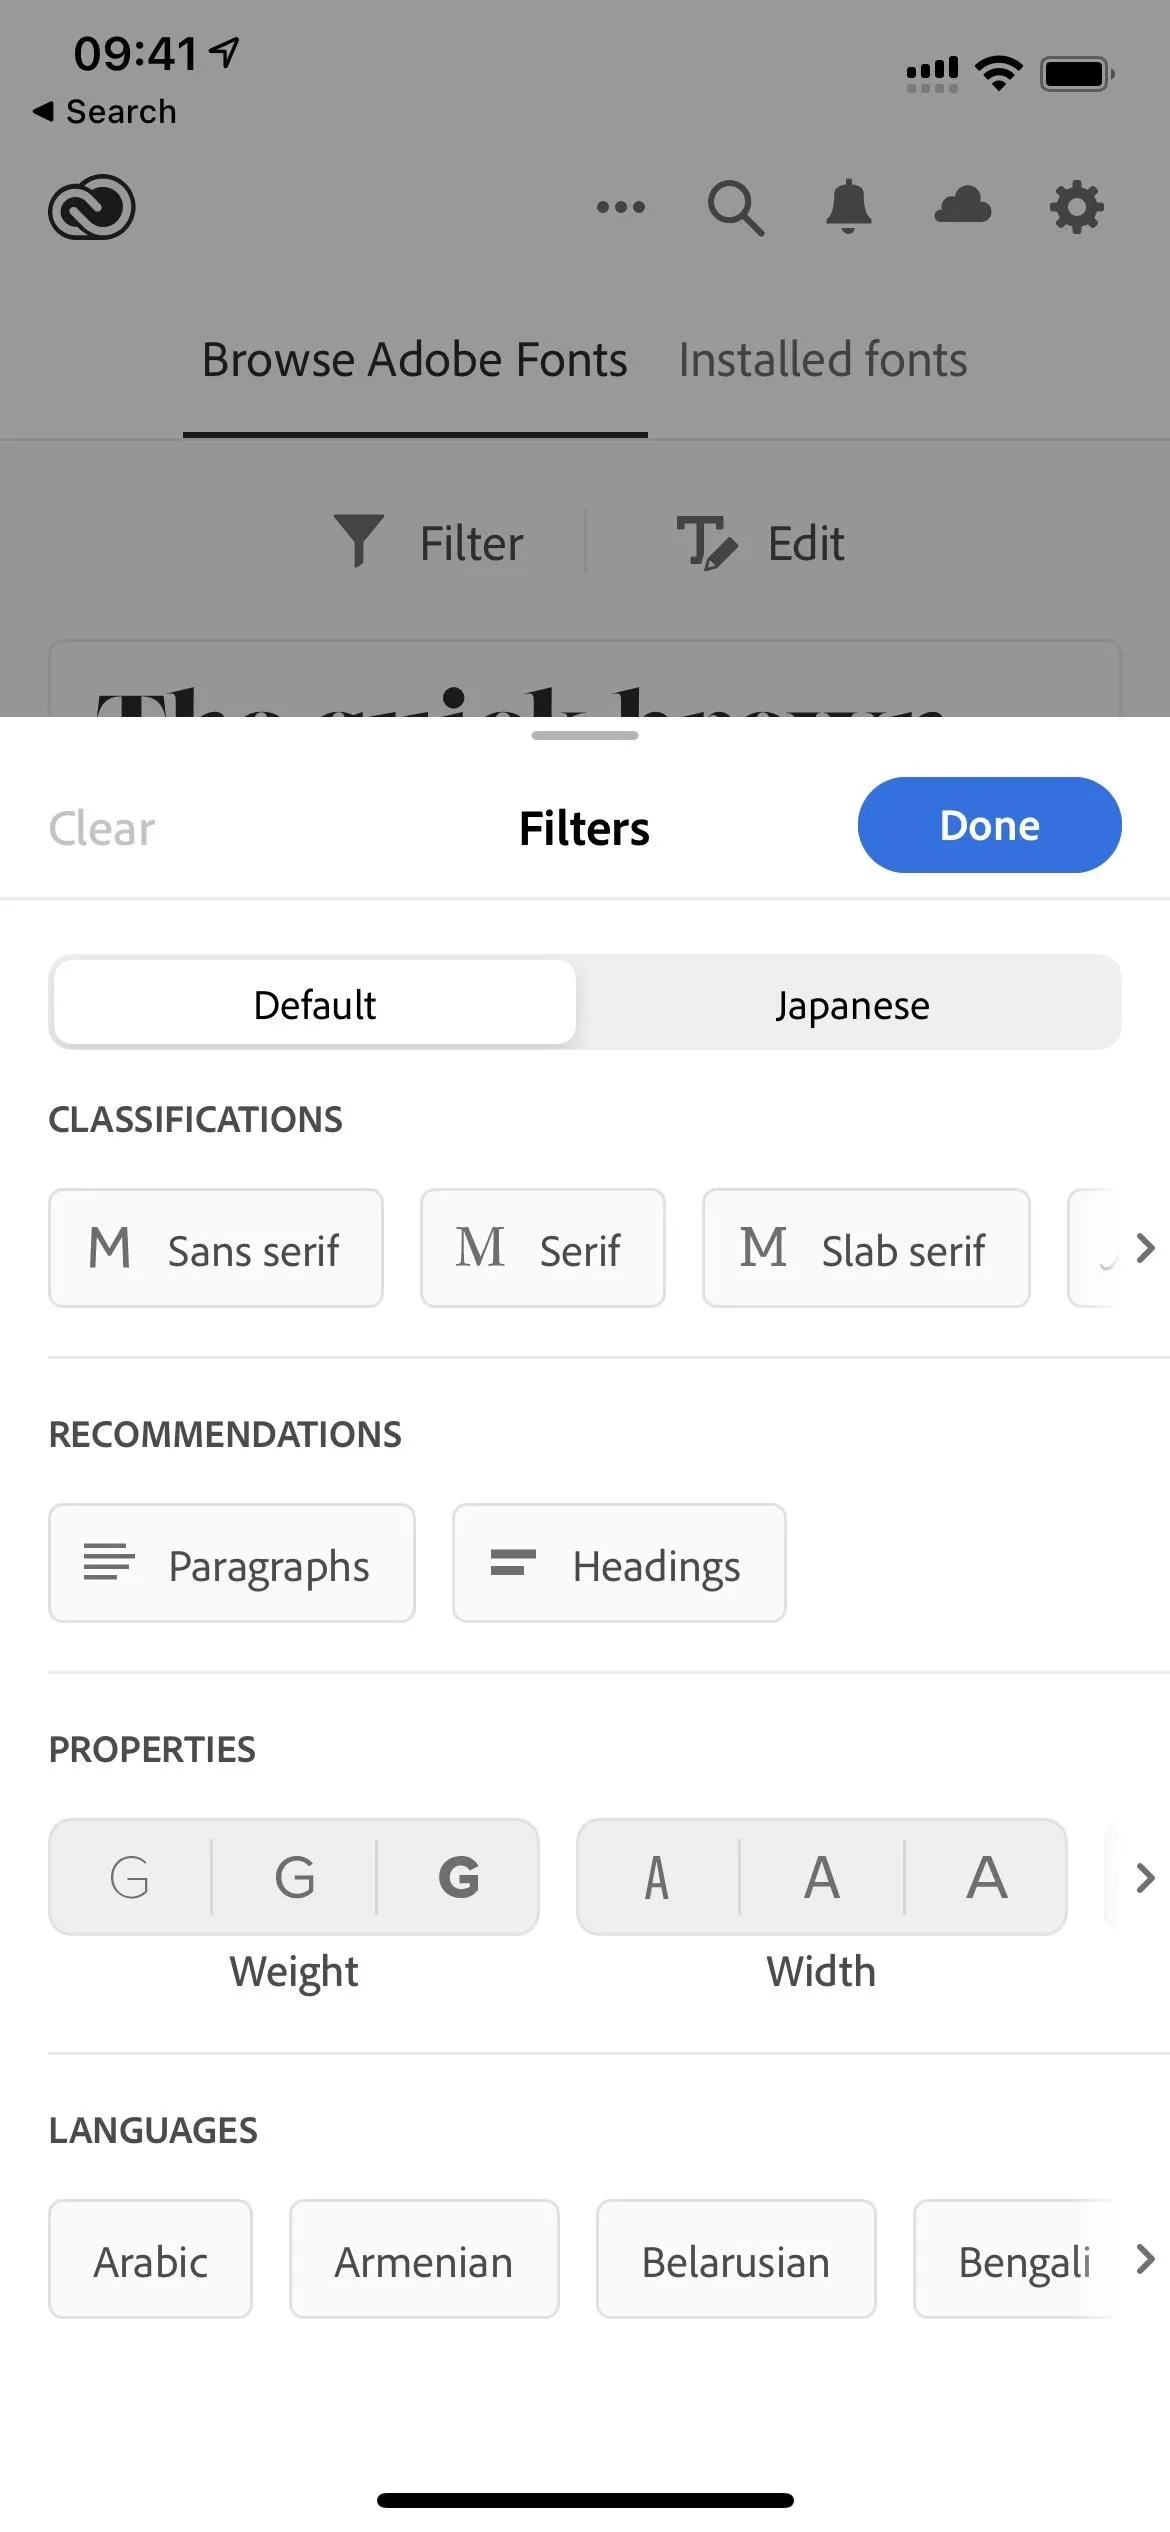
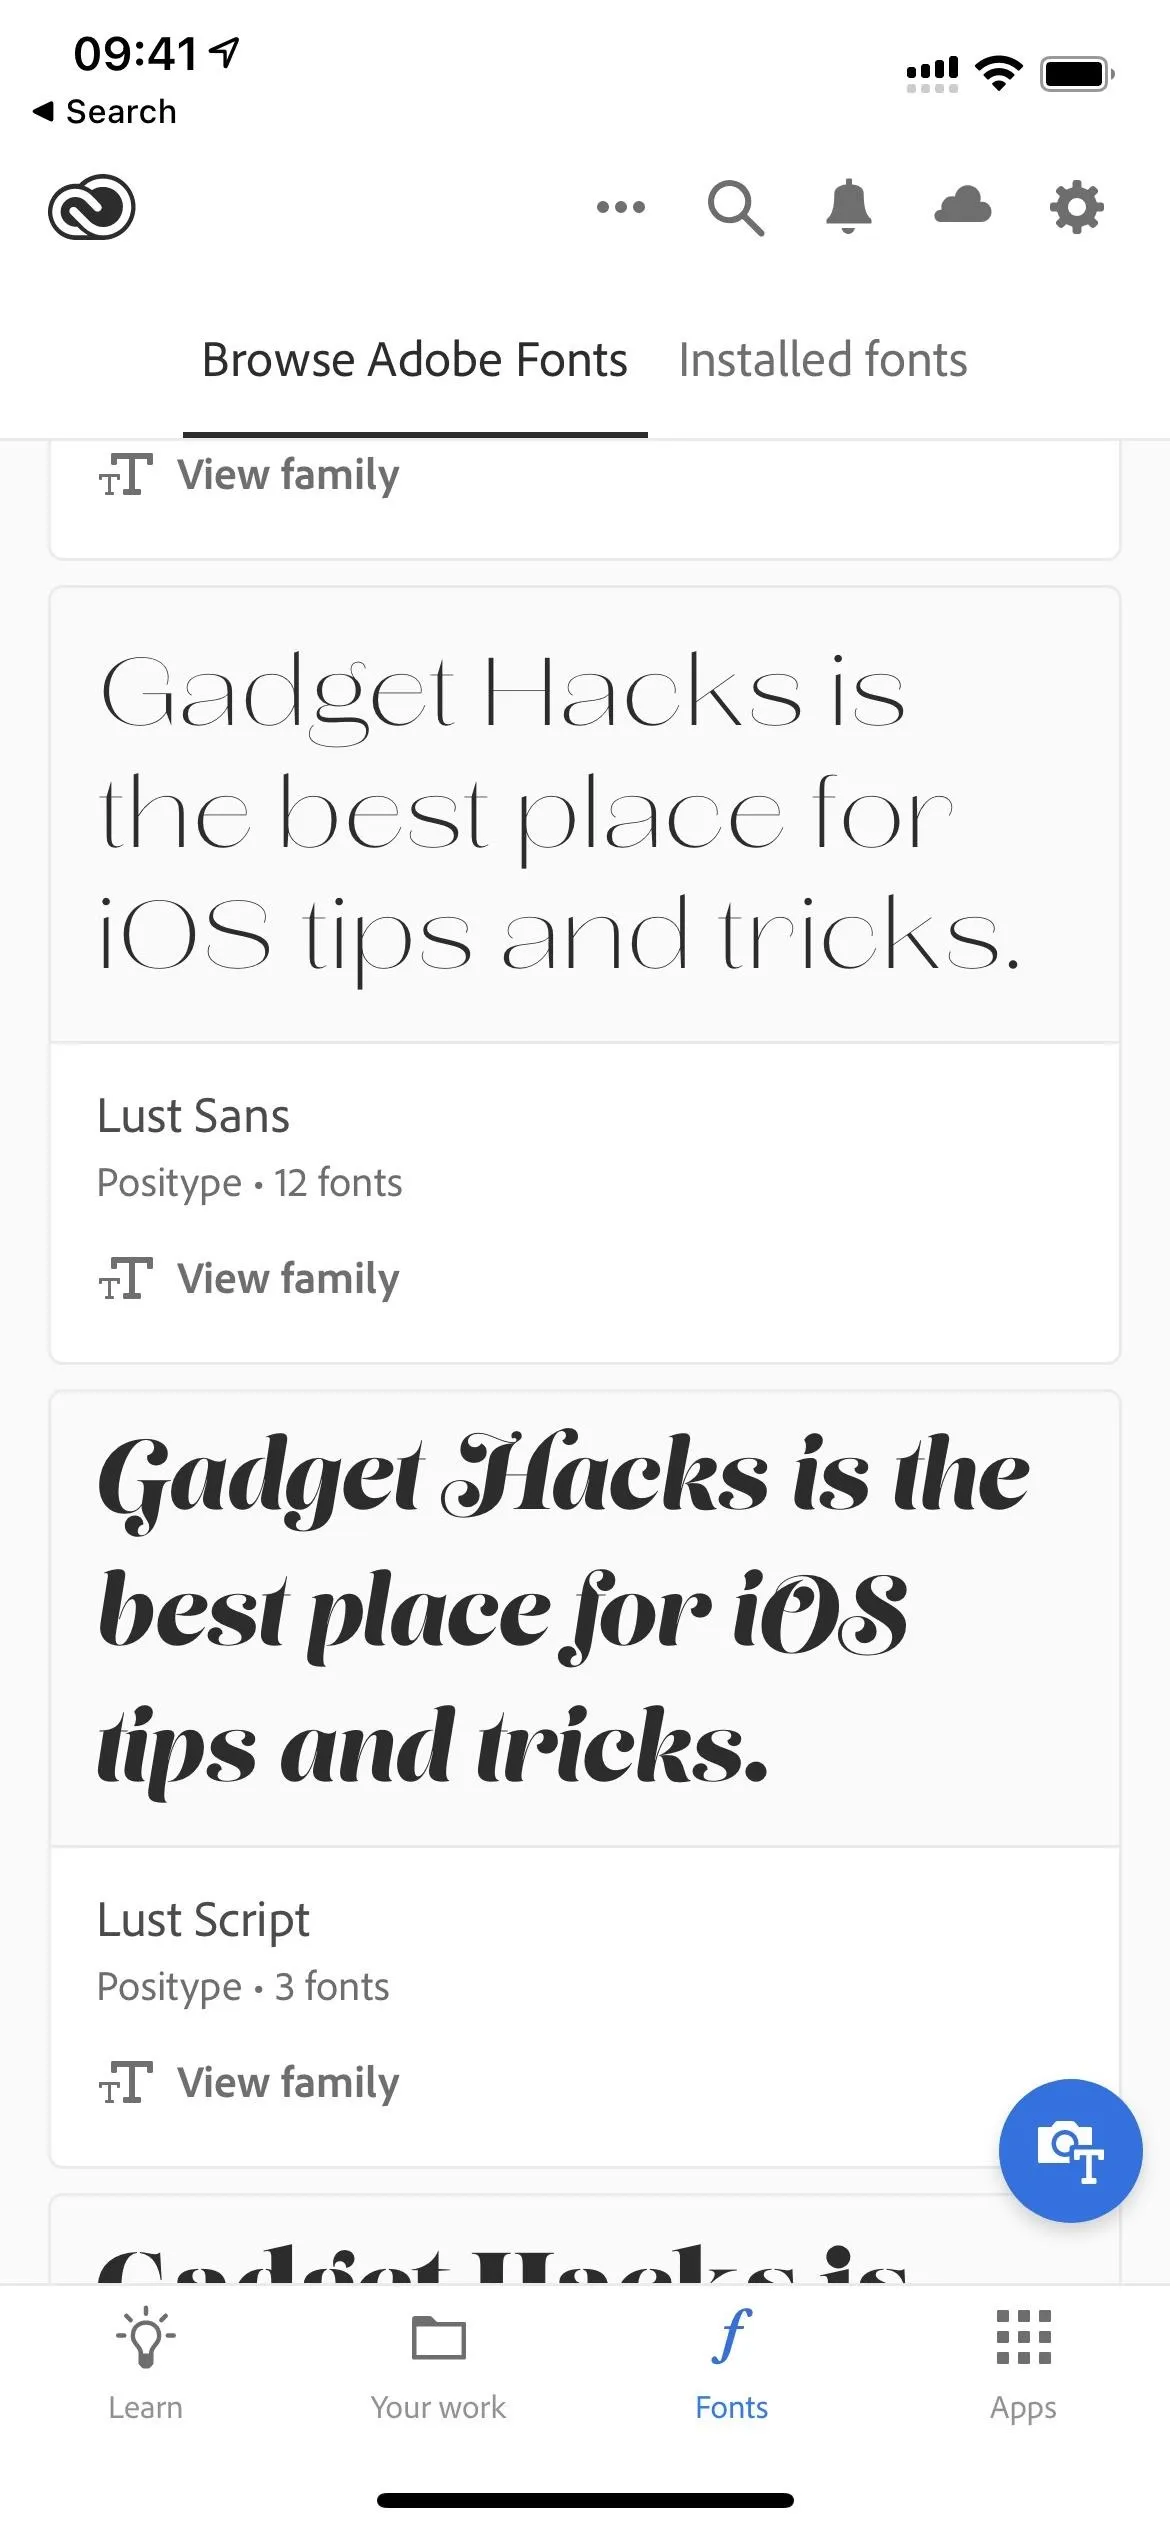
To view available fonts, go to the "Fonts" tab at the bottom navigation bar in the app. Here, you can browse through all of the available fonts you can install on your iPhone. At the top, you can hit "Filter" to narrow the results based on font type classifications, recommended use, unique properties, and language.
- Classifications: Sans serif, Serif, Slab serif, Script, Blackletter, Mono, Hand, Decorative
- Recommendations: Paragraphs, Headings
- Properties: Weight, Width, x-height, Contrast, Standard or caps only, Default figure style
- Languages: Arabic, Armenian, Belarusian, Bengali, Catalan, Chinese (Hong Kong), Chinese (Simplified), Chinese (Traditional), Czech, Danish, Devanagari, Dutch, English, French, German, Greek, Gujarati, Hebrew, Hungarian, Italian, Japanese, Korean, Macedonian, Maltese, Norwegian, Polish, Portuguese, Russian, Serbian, Slovenian, Spanish, Swedish, Thai, Turkish, Ukrainian, Vietnamese
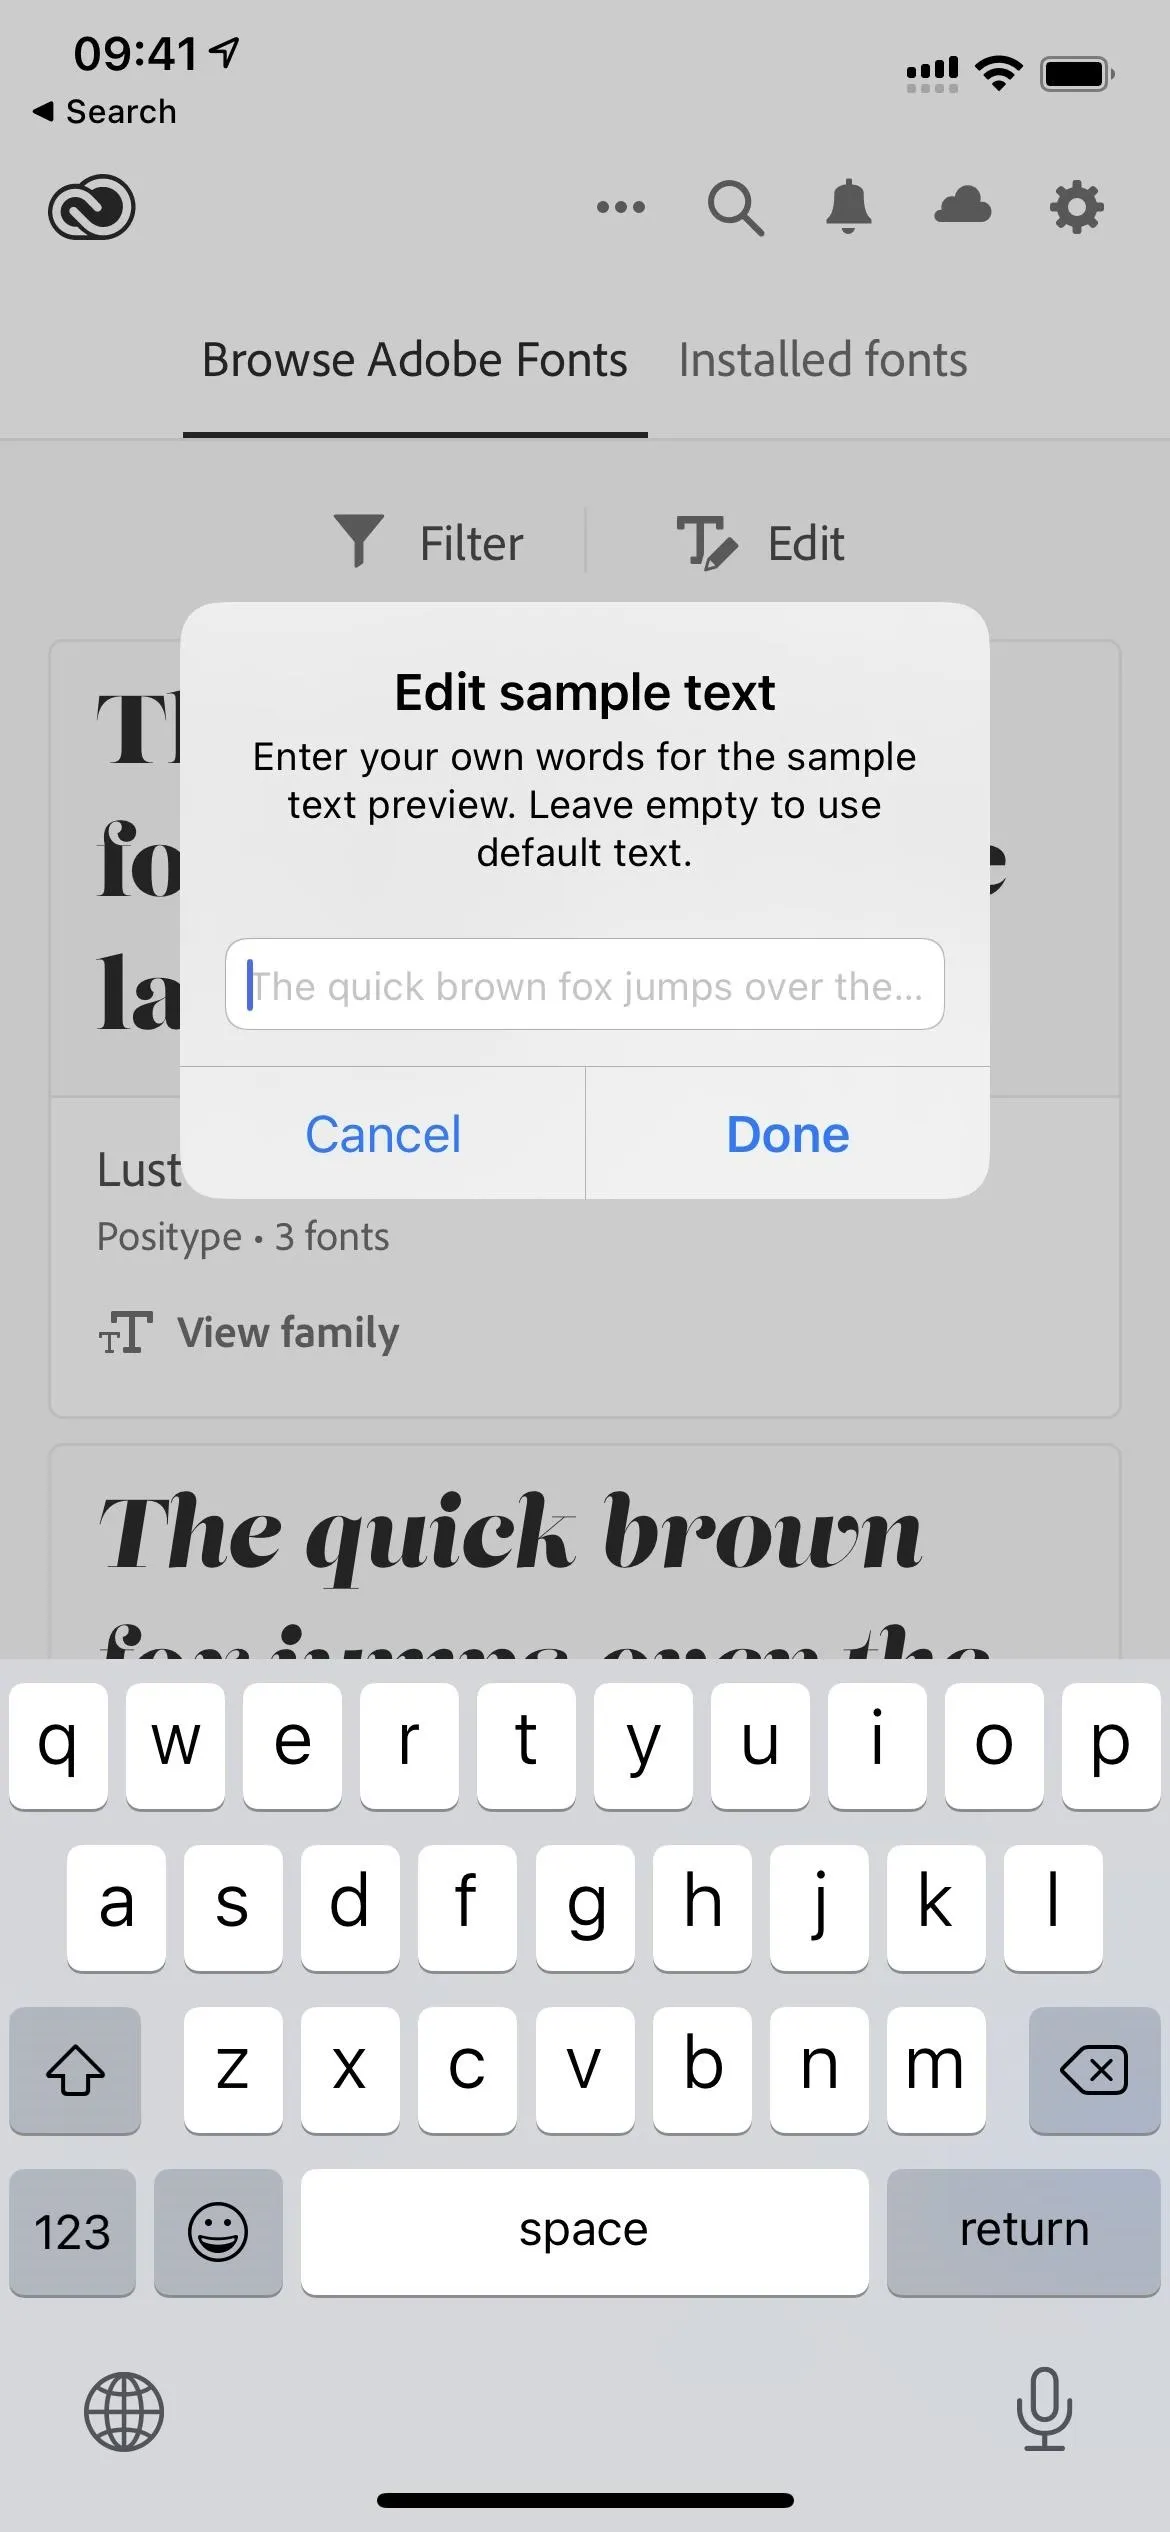
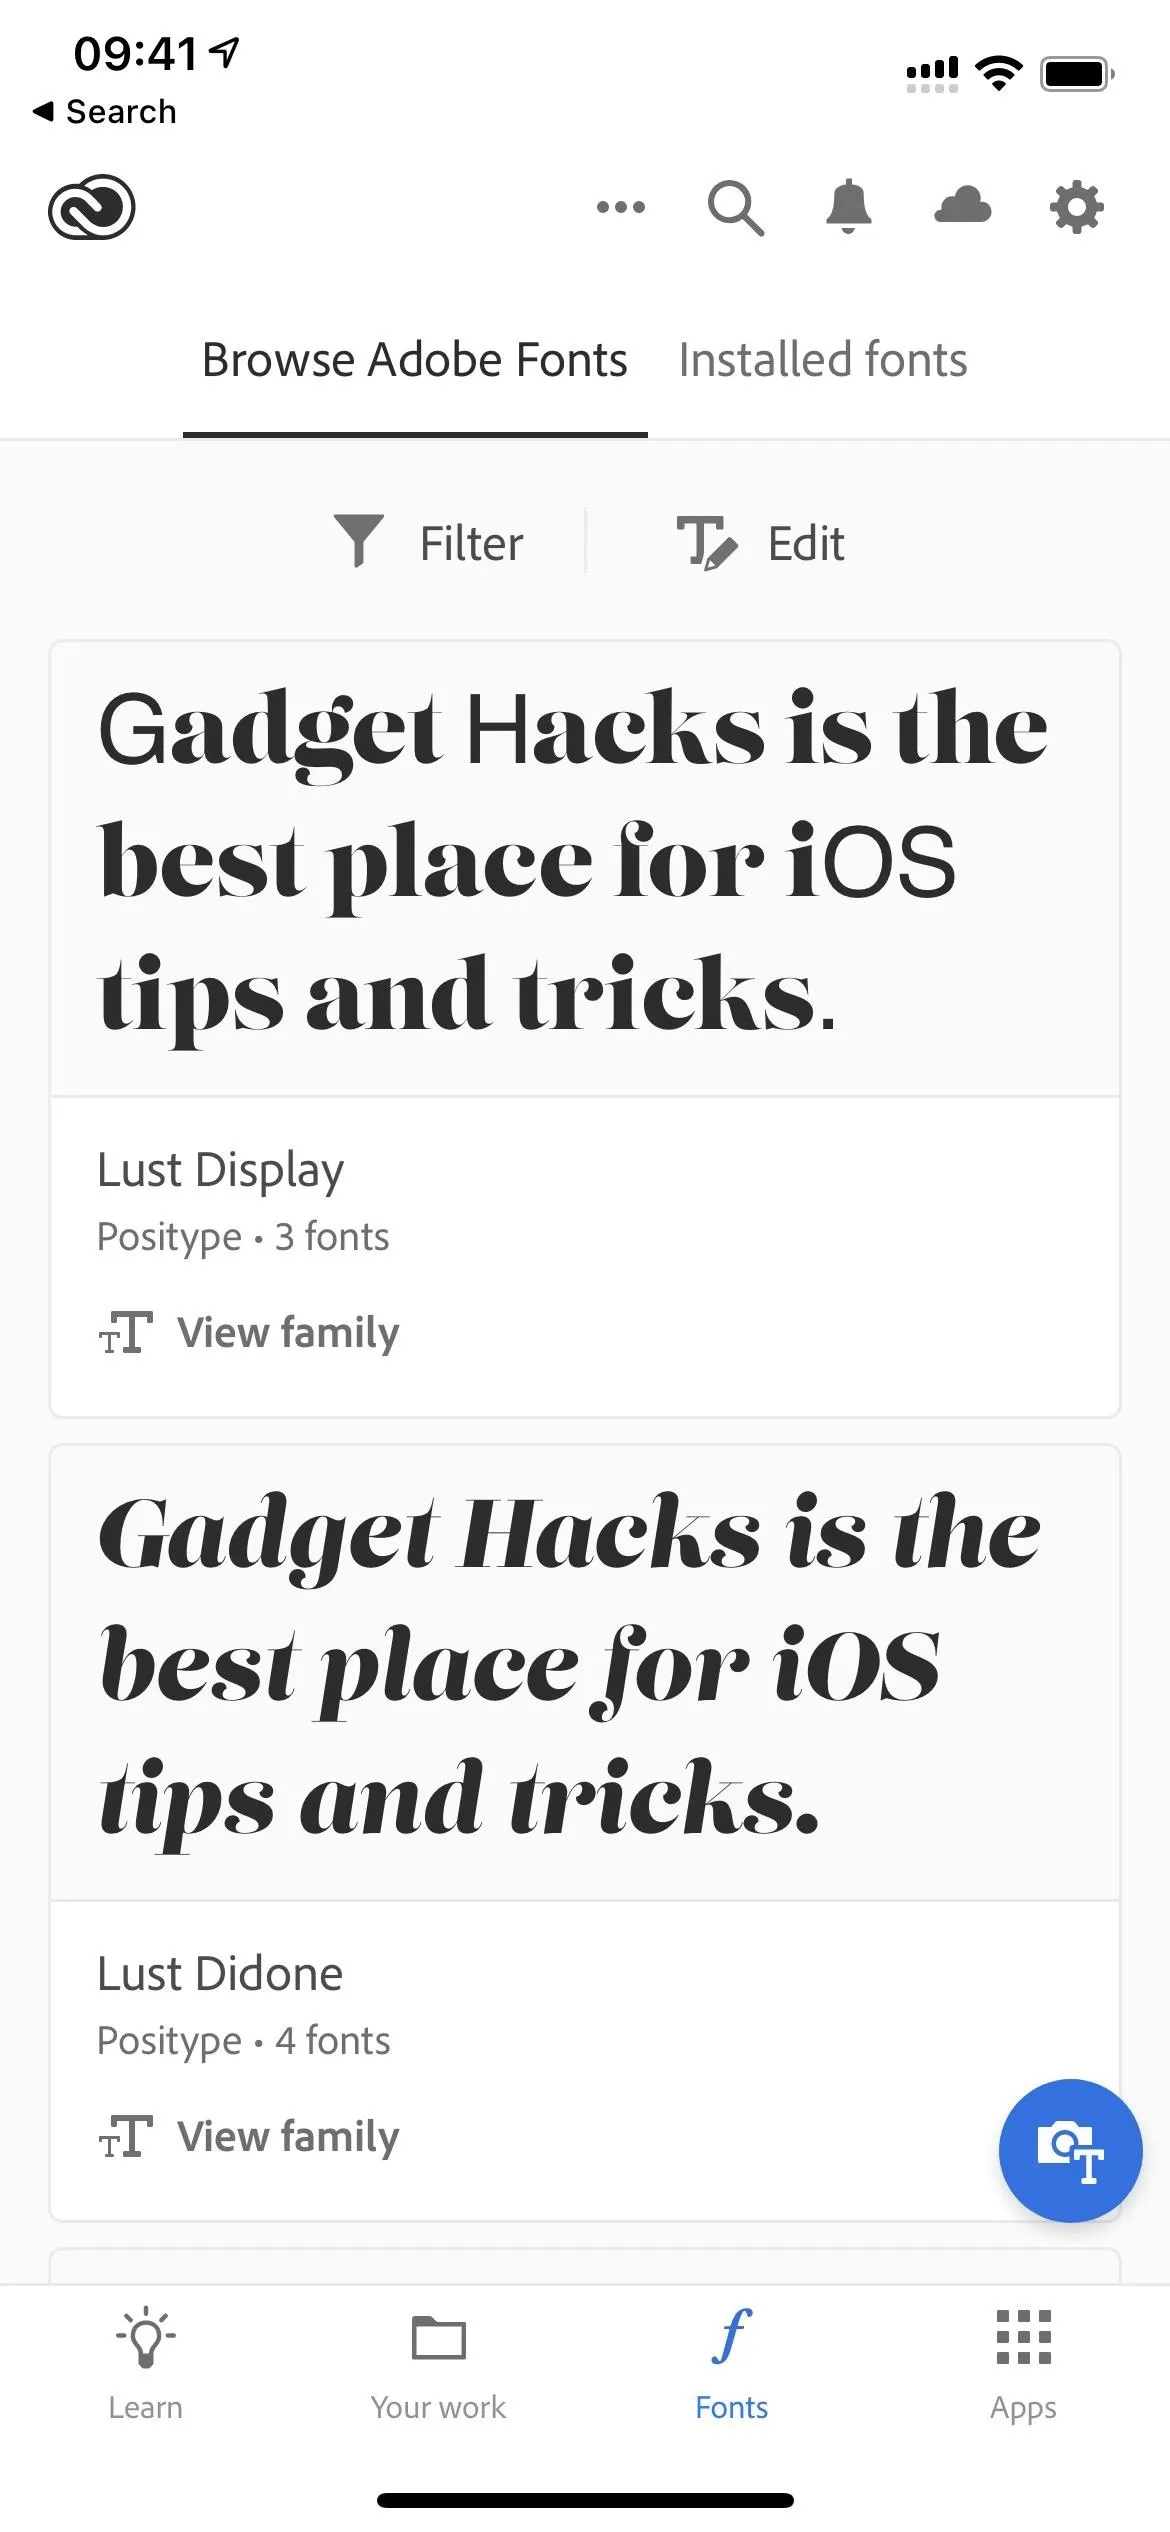
Edit the Preview Text (Optional)
Next to the "Filter" button is "Edit," which you can use to provide your own text example that each font shows as a preview. In most cases, the default sample text will work just fine. If you want to change the sample text but forget to here, you'll have other opportunities to do so later.
View Fonts in a Family
Once you've found a typeface that matches what you need, tap it to view its available font types in the family. Some will only have one font, while others can have up to 15 or 20, give or take.
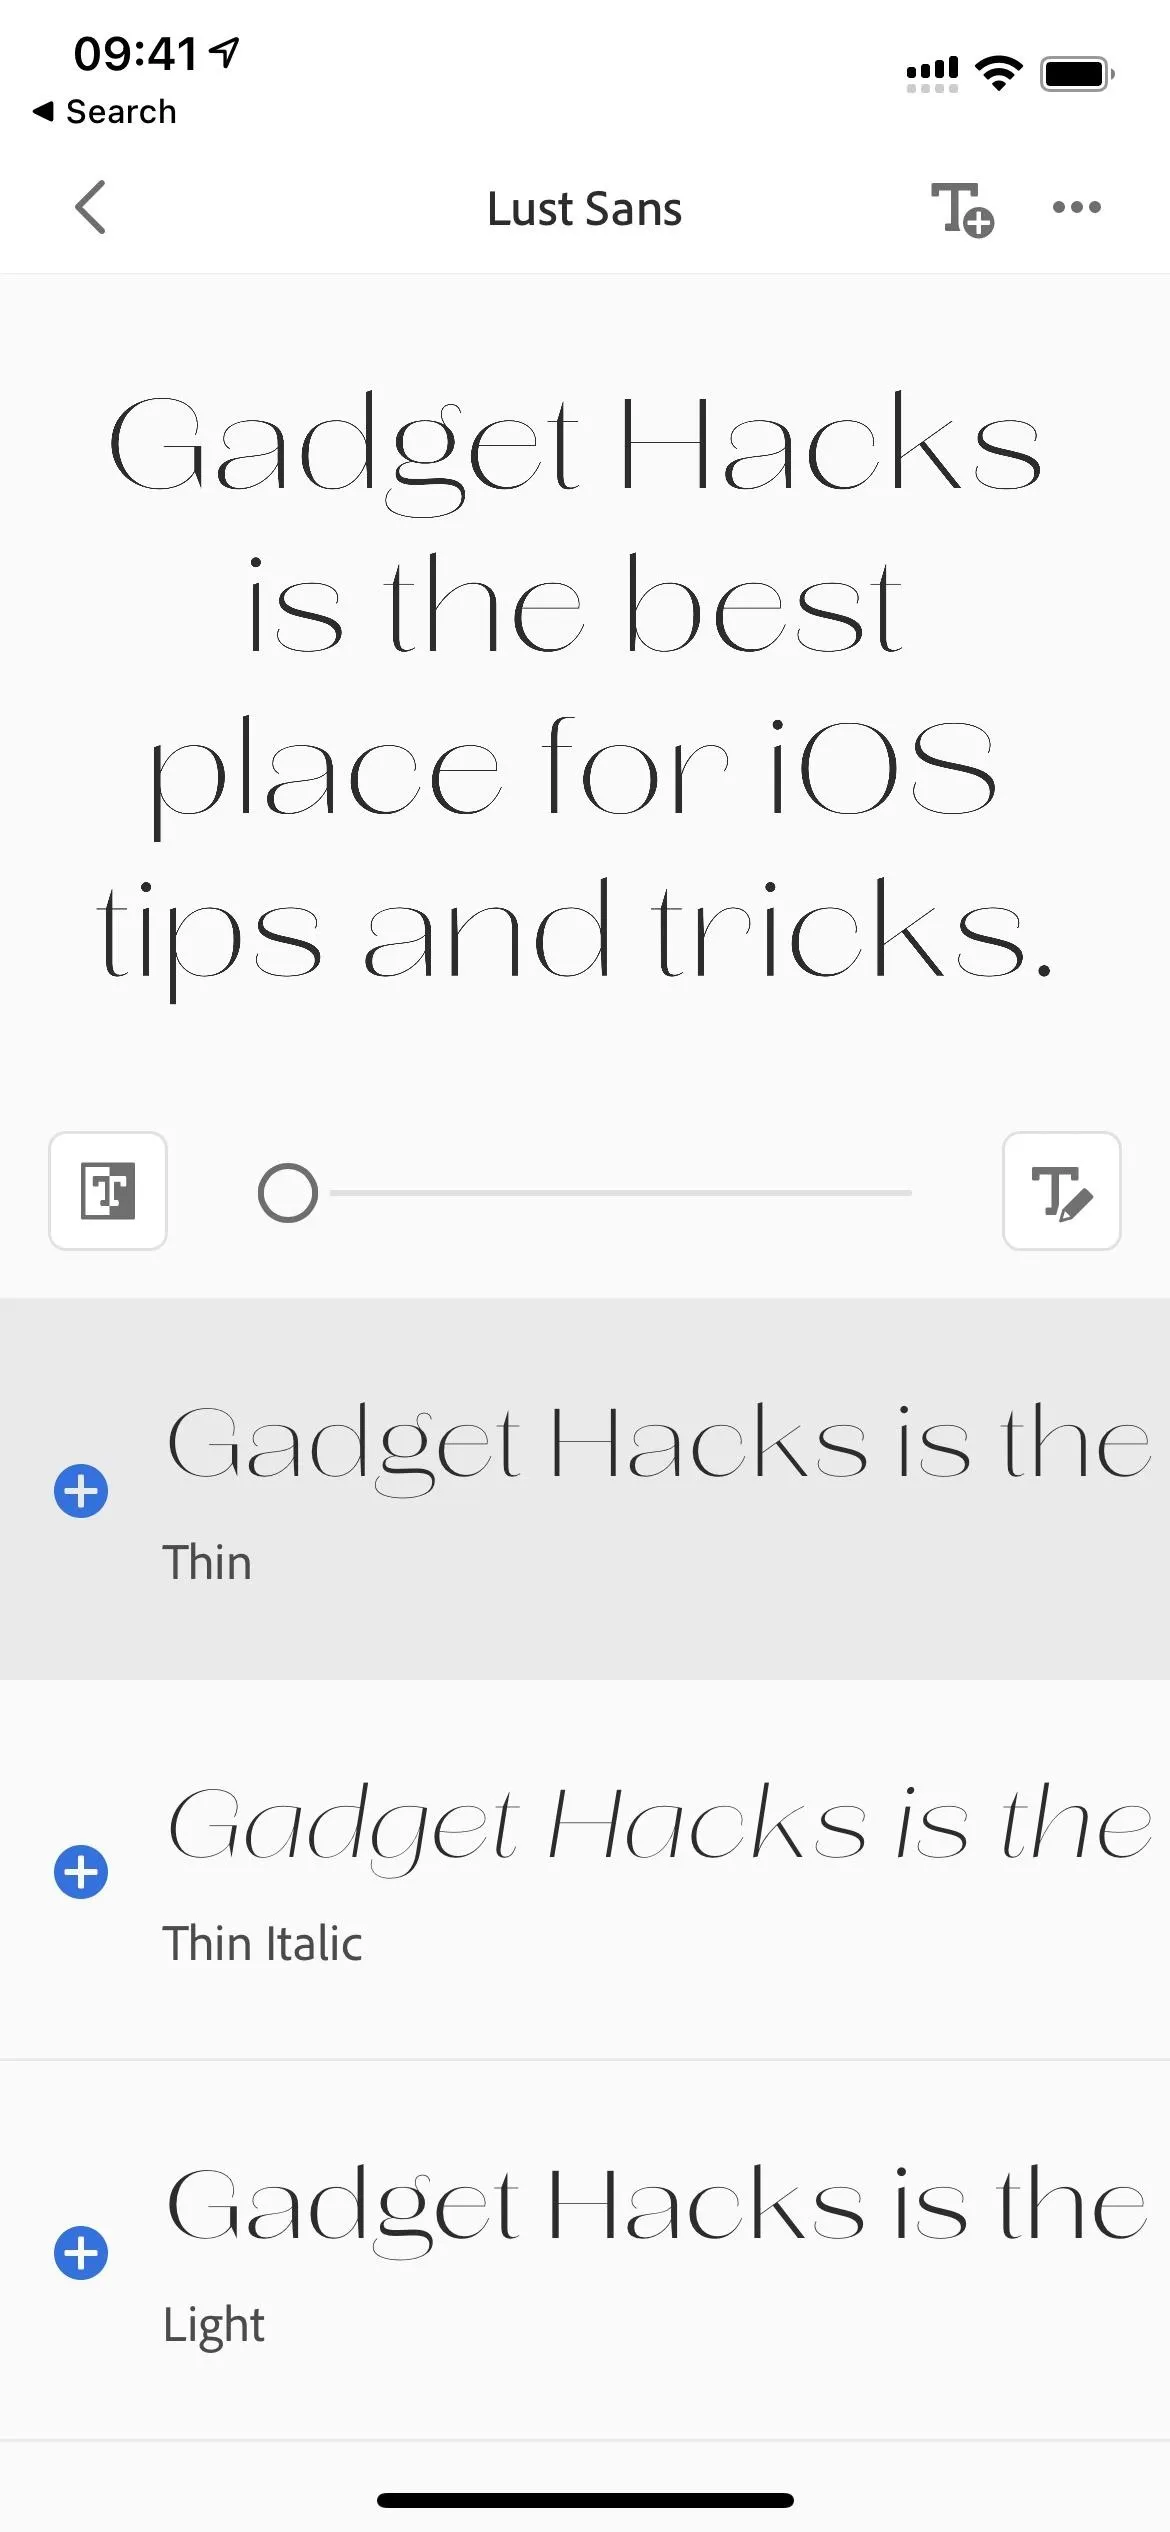
View the Selected Font Differently (Optional)
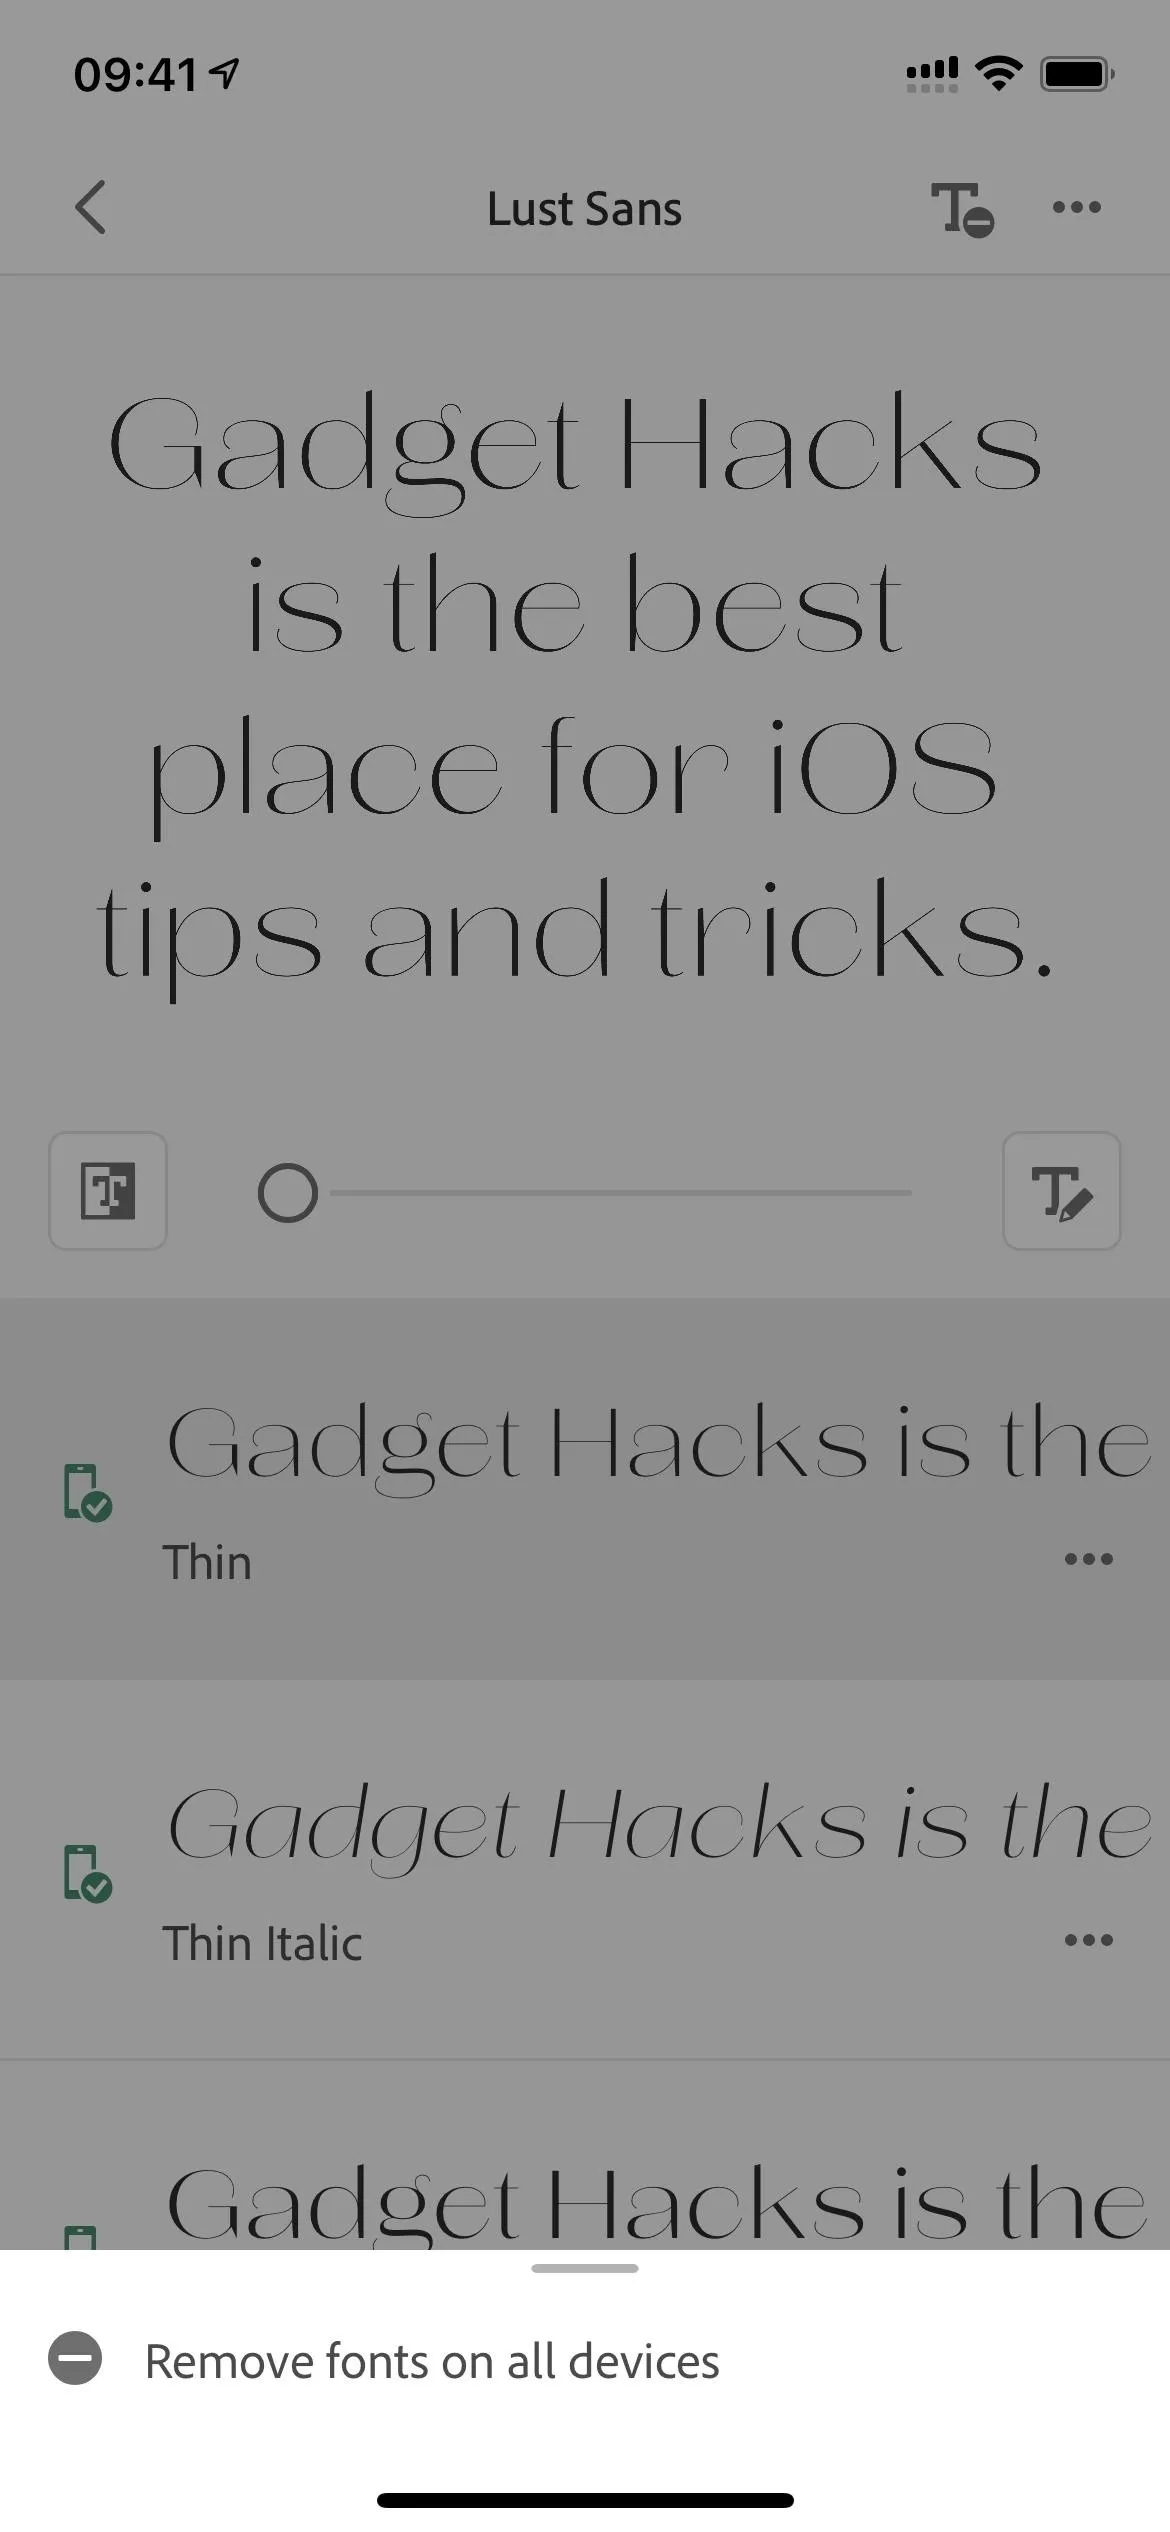
At the top, there's a preview of the currently selected font in the family; tap on any font in the list to view that in the preview instead.
In the large preview, you can use the slider to zoom in on the text, and you can use a finger to drag the text around to get a closer look at everything. Next to the slider is a black-and-white button which will change the view from black text with a white background to white text with a black background. There's also a text button that lets you change the text shown, so you don't have


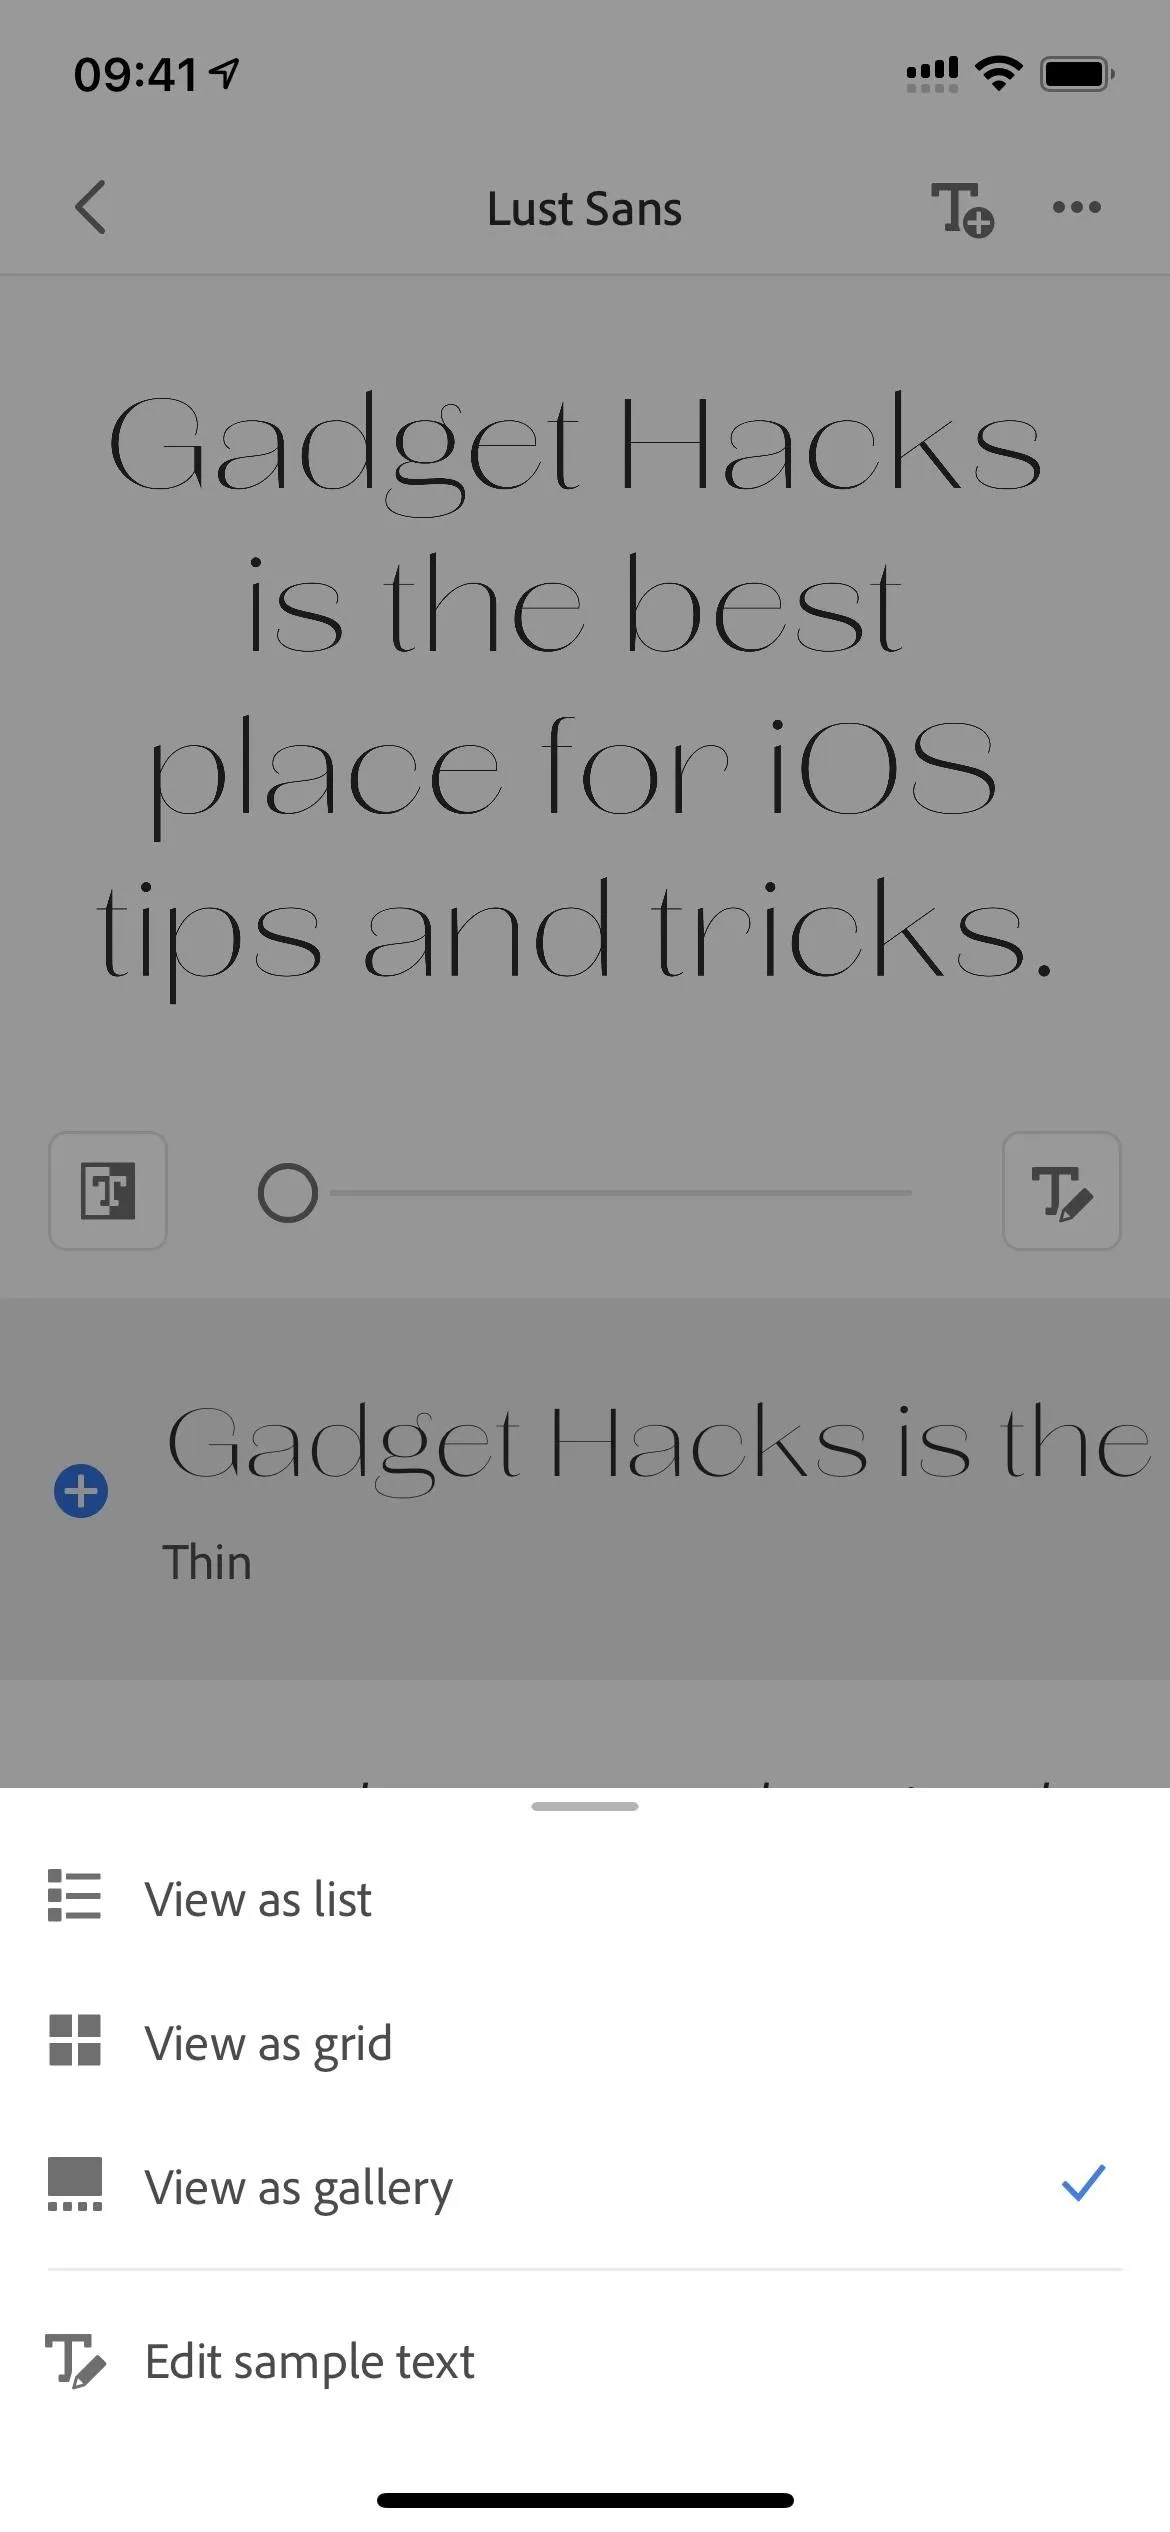
Change the Family View (Optional)
The ellipsis (•••) button in the top right lets you change the view from a gallery to a grid or list, in case that's easier to look at. Both grid and list get rid of the expanded preview at the top.
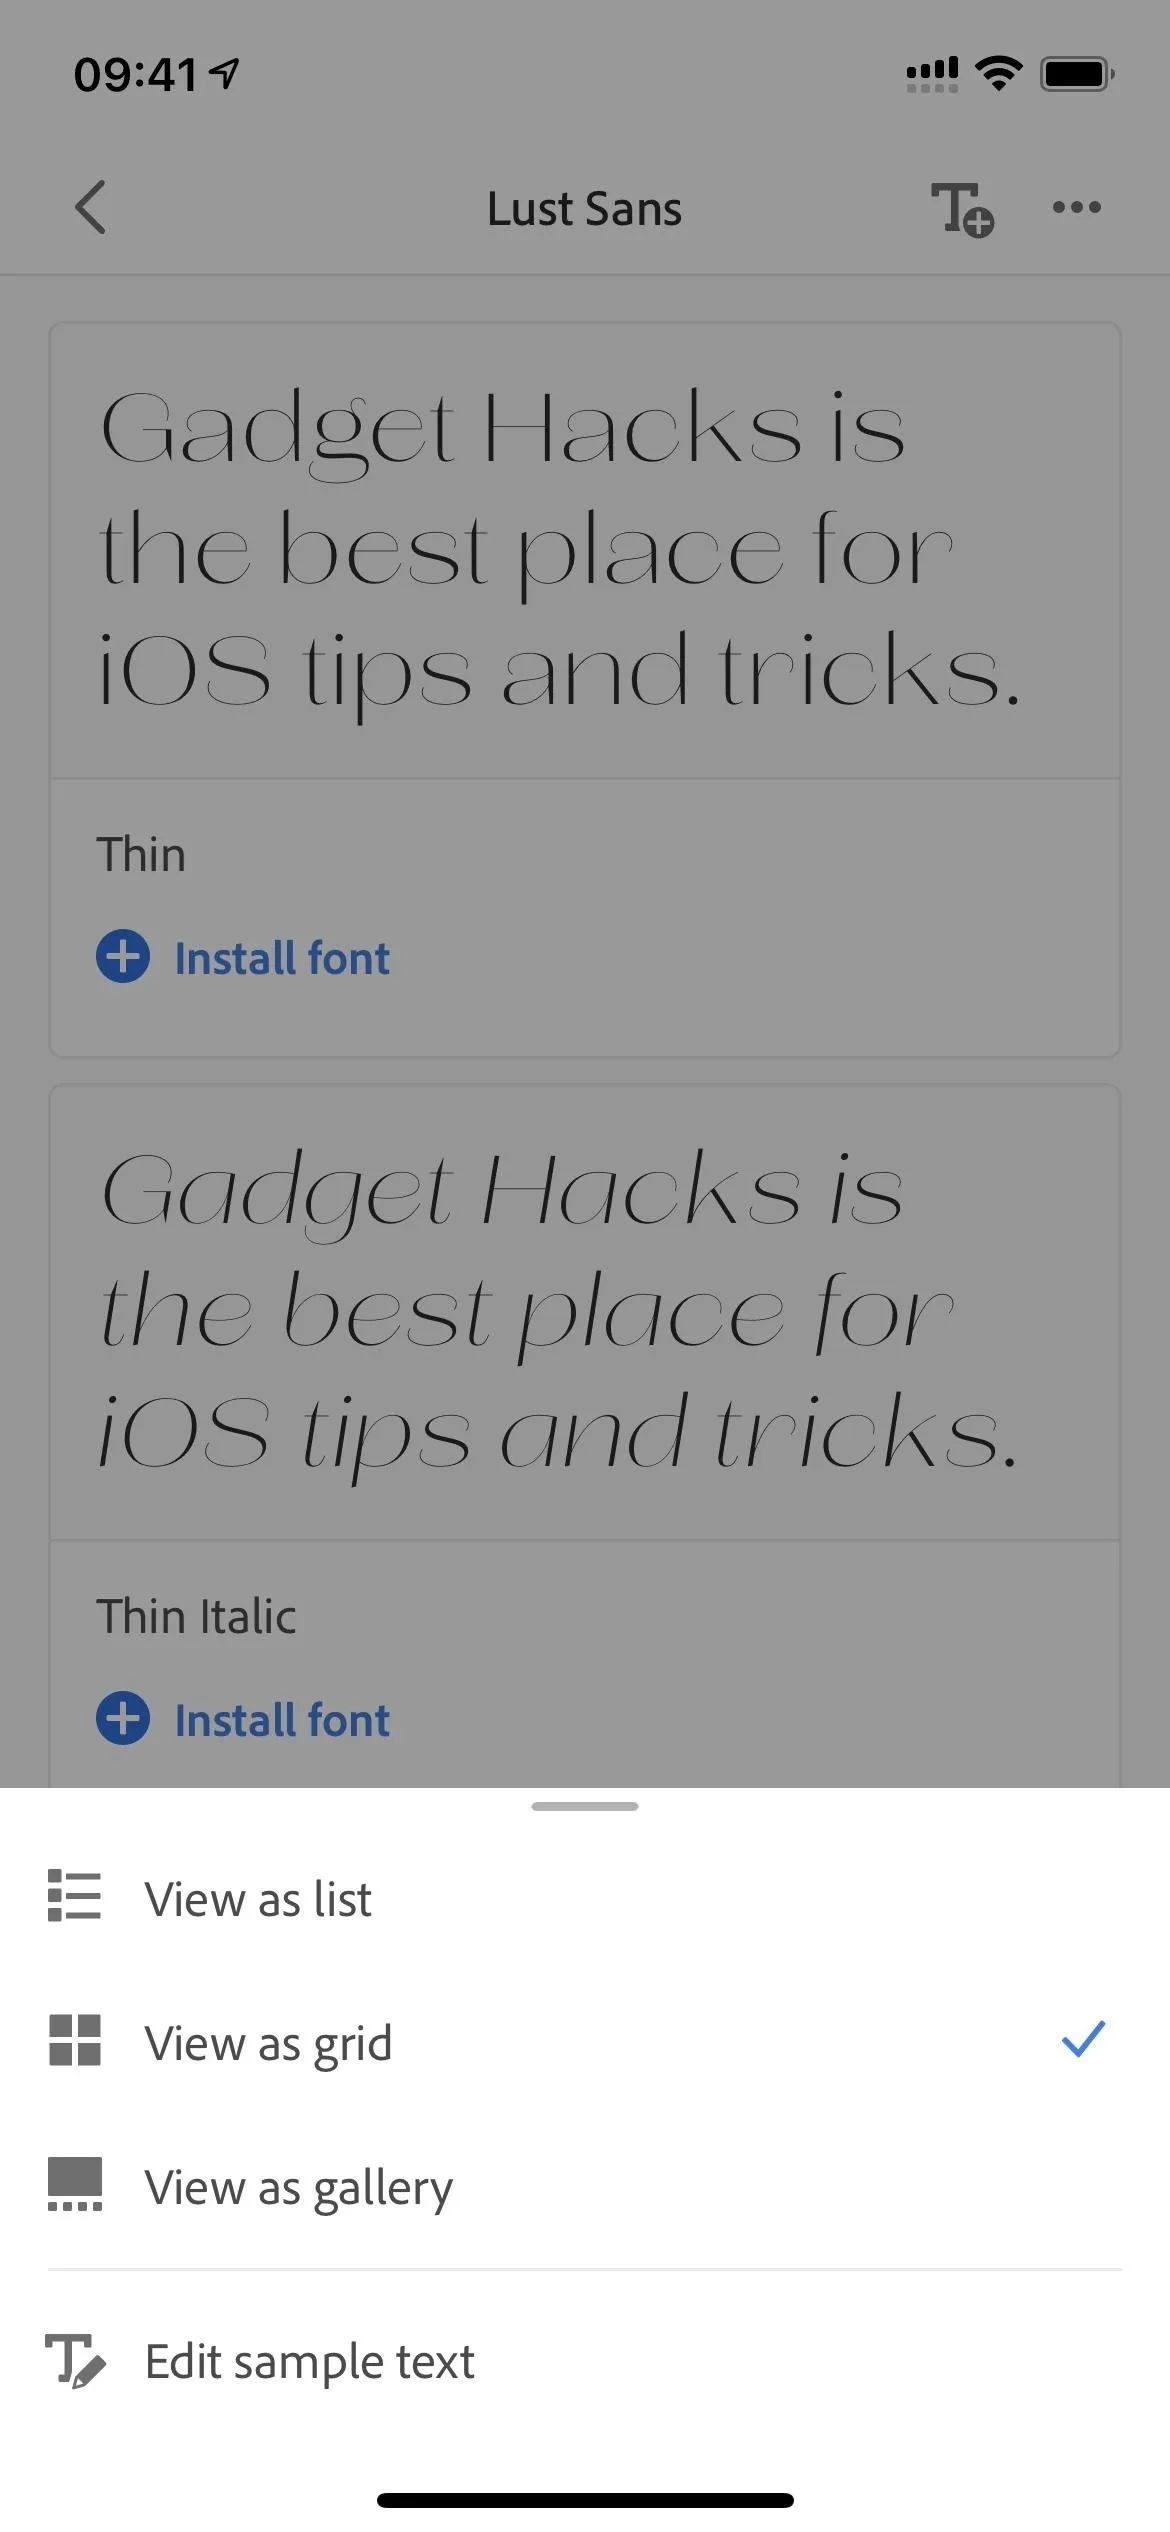
Install Fonts in the Family
To install one of the fonts, tap the plus (+) icon next to it. The first time you install a font, Adobe will prompt you with an "Install Fonts?" pop-up that lets you know that other apps can use these fonts. Tap "Install" to continue.
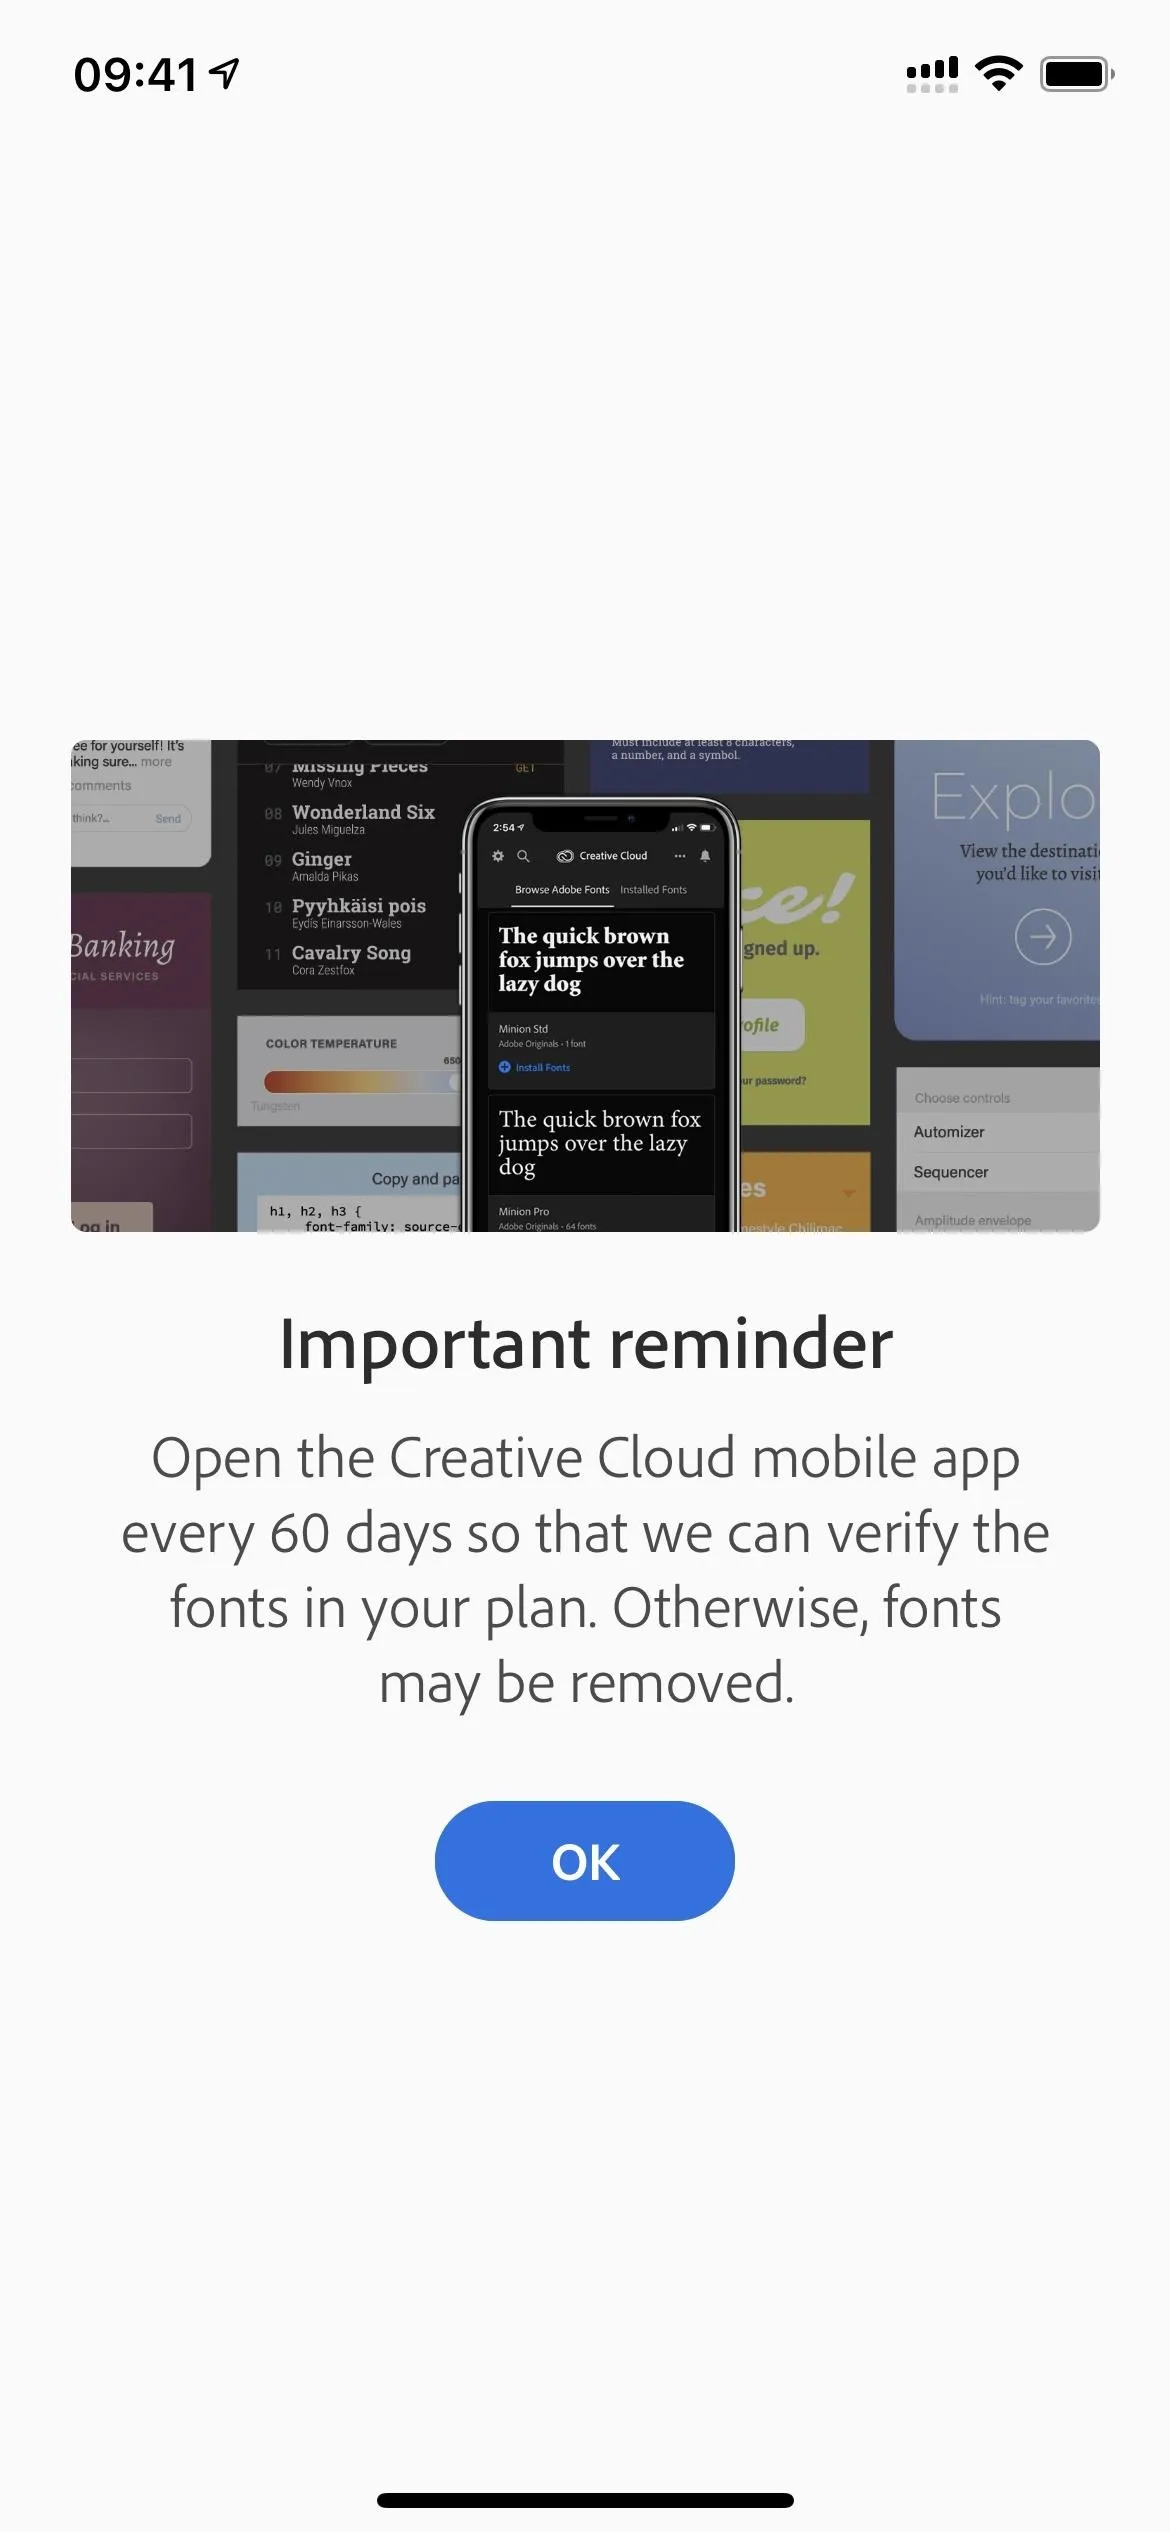
After tapping "Install," you may see a splash page telling you to open the Creative Cloud app every 60 days or they may be removed from your iPhone. You'll still be able to reinstall them, but you may not remember what they were called.

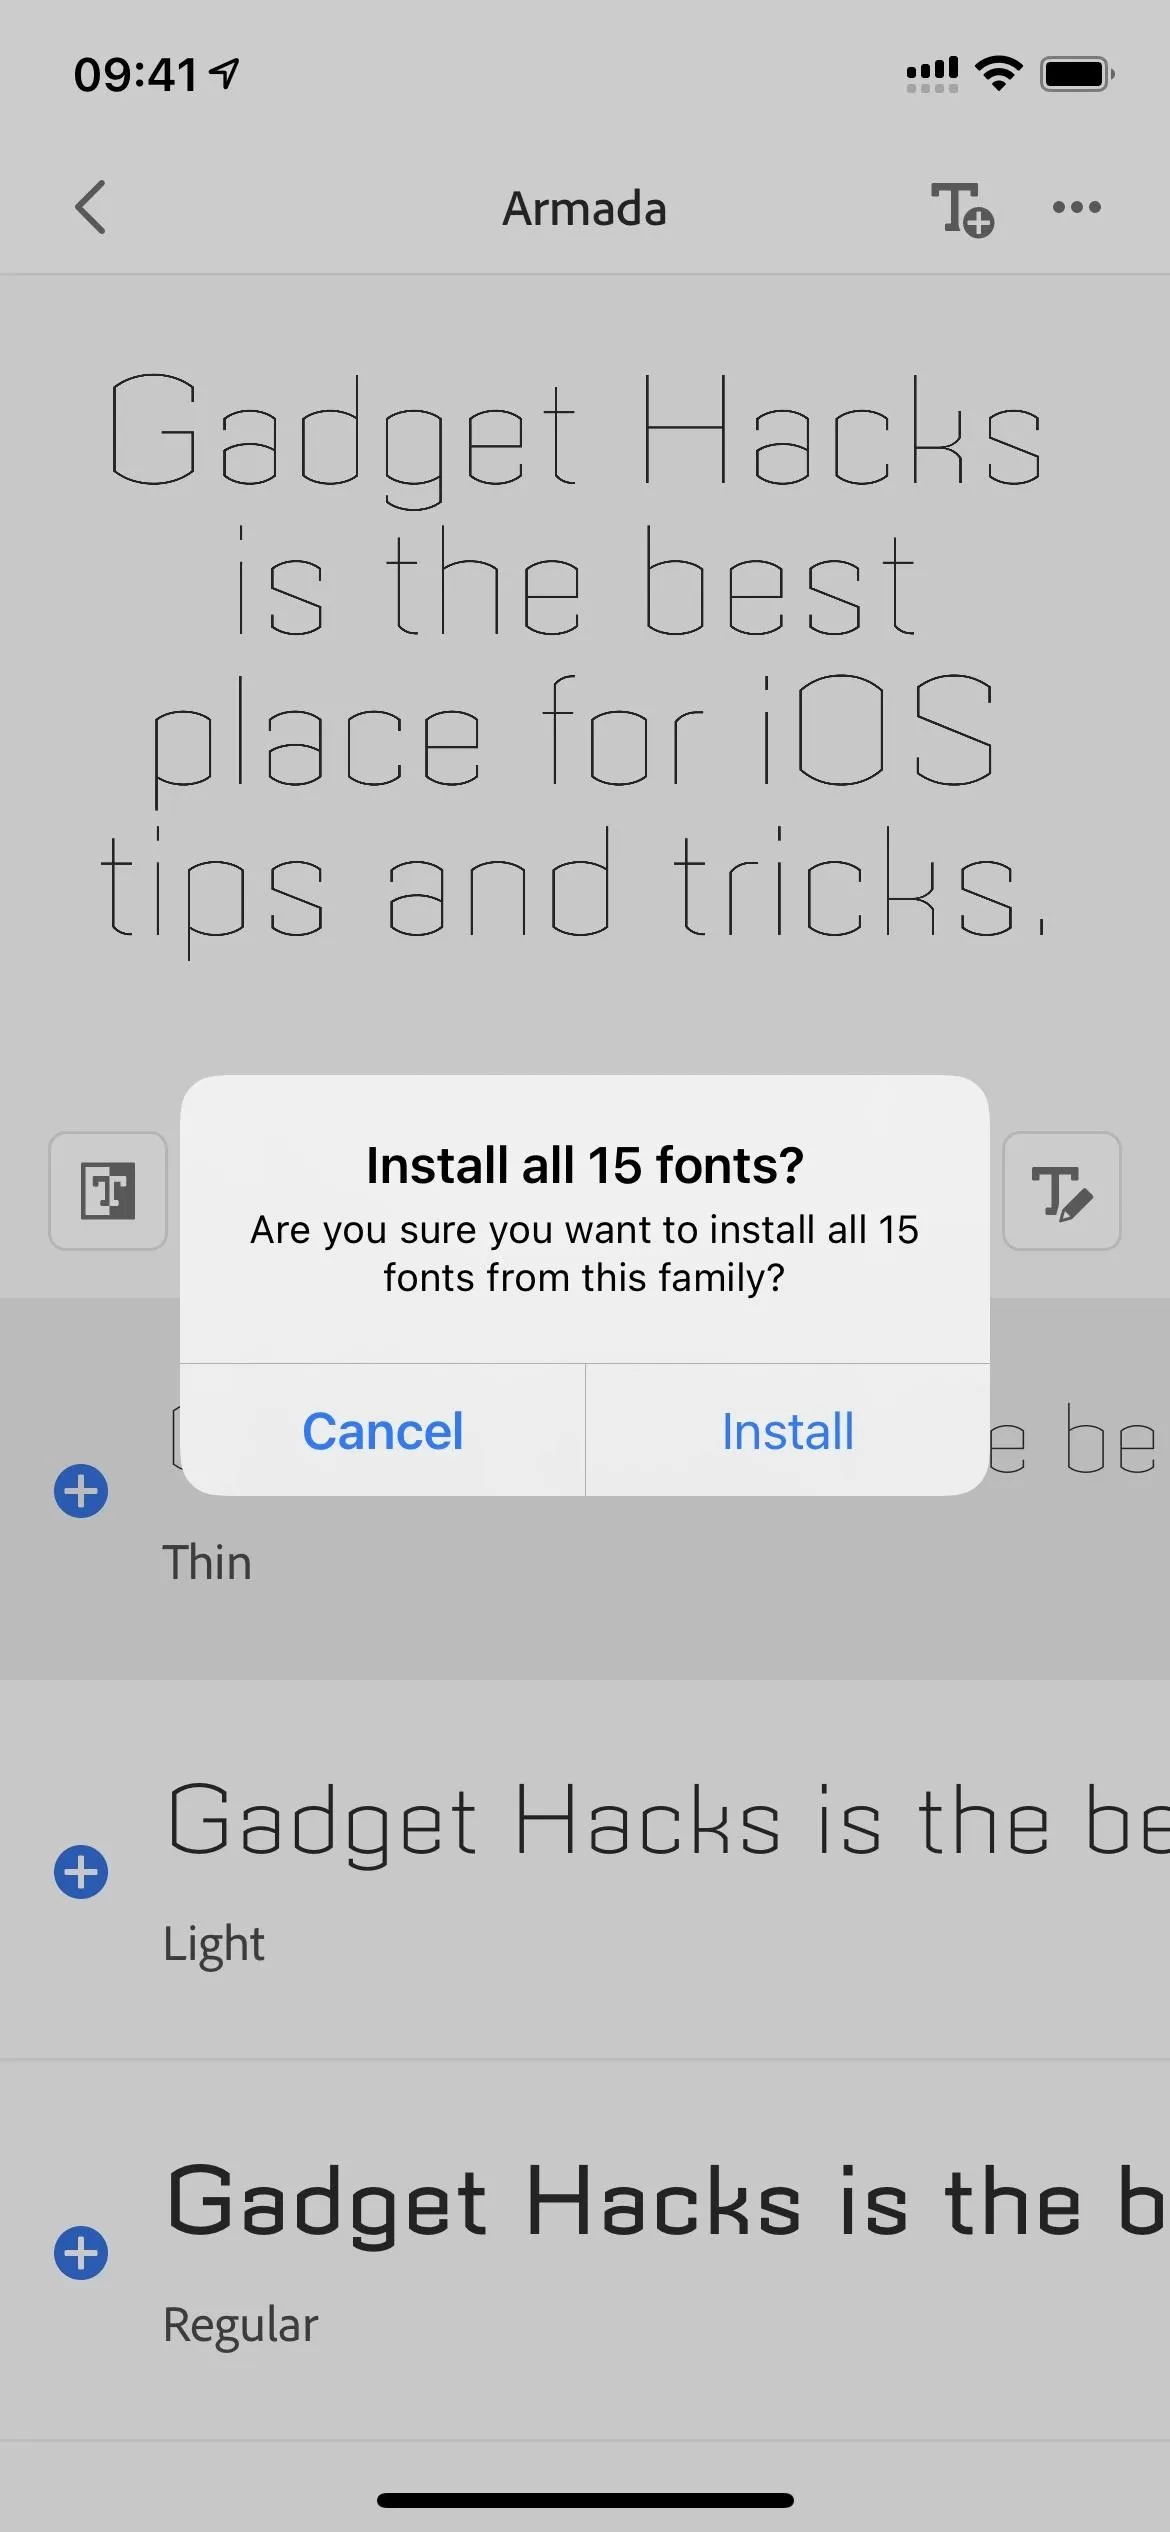
If you want to install all of the fonts in the family, you can tap the T+ button up top. It'll warn you that you're about to install all of the fonts; tap "Install" to do so.

View Your Installed Fonts
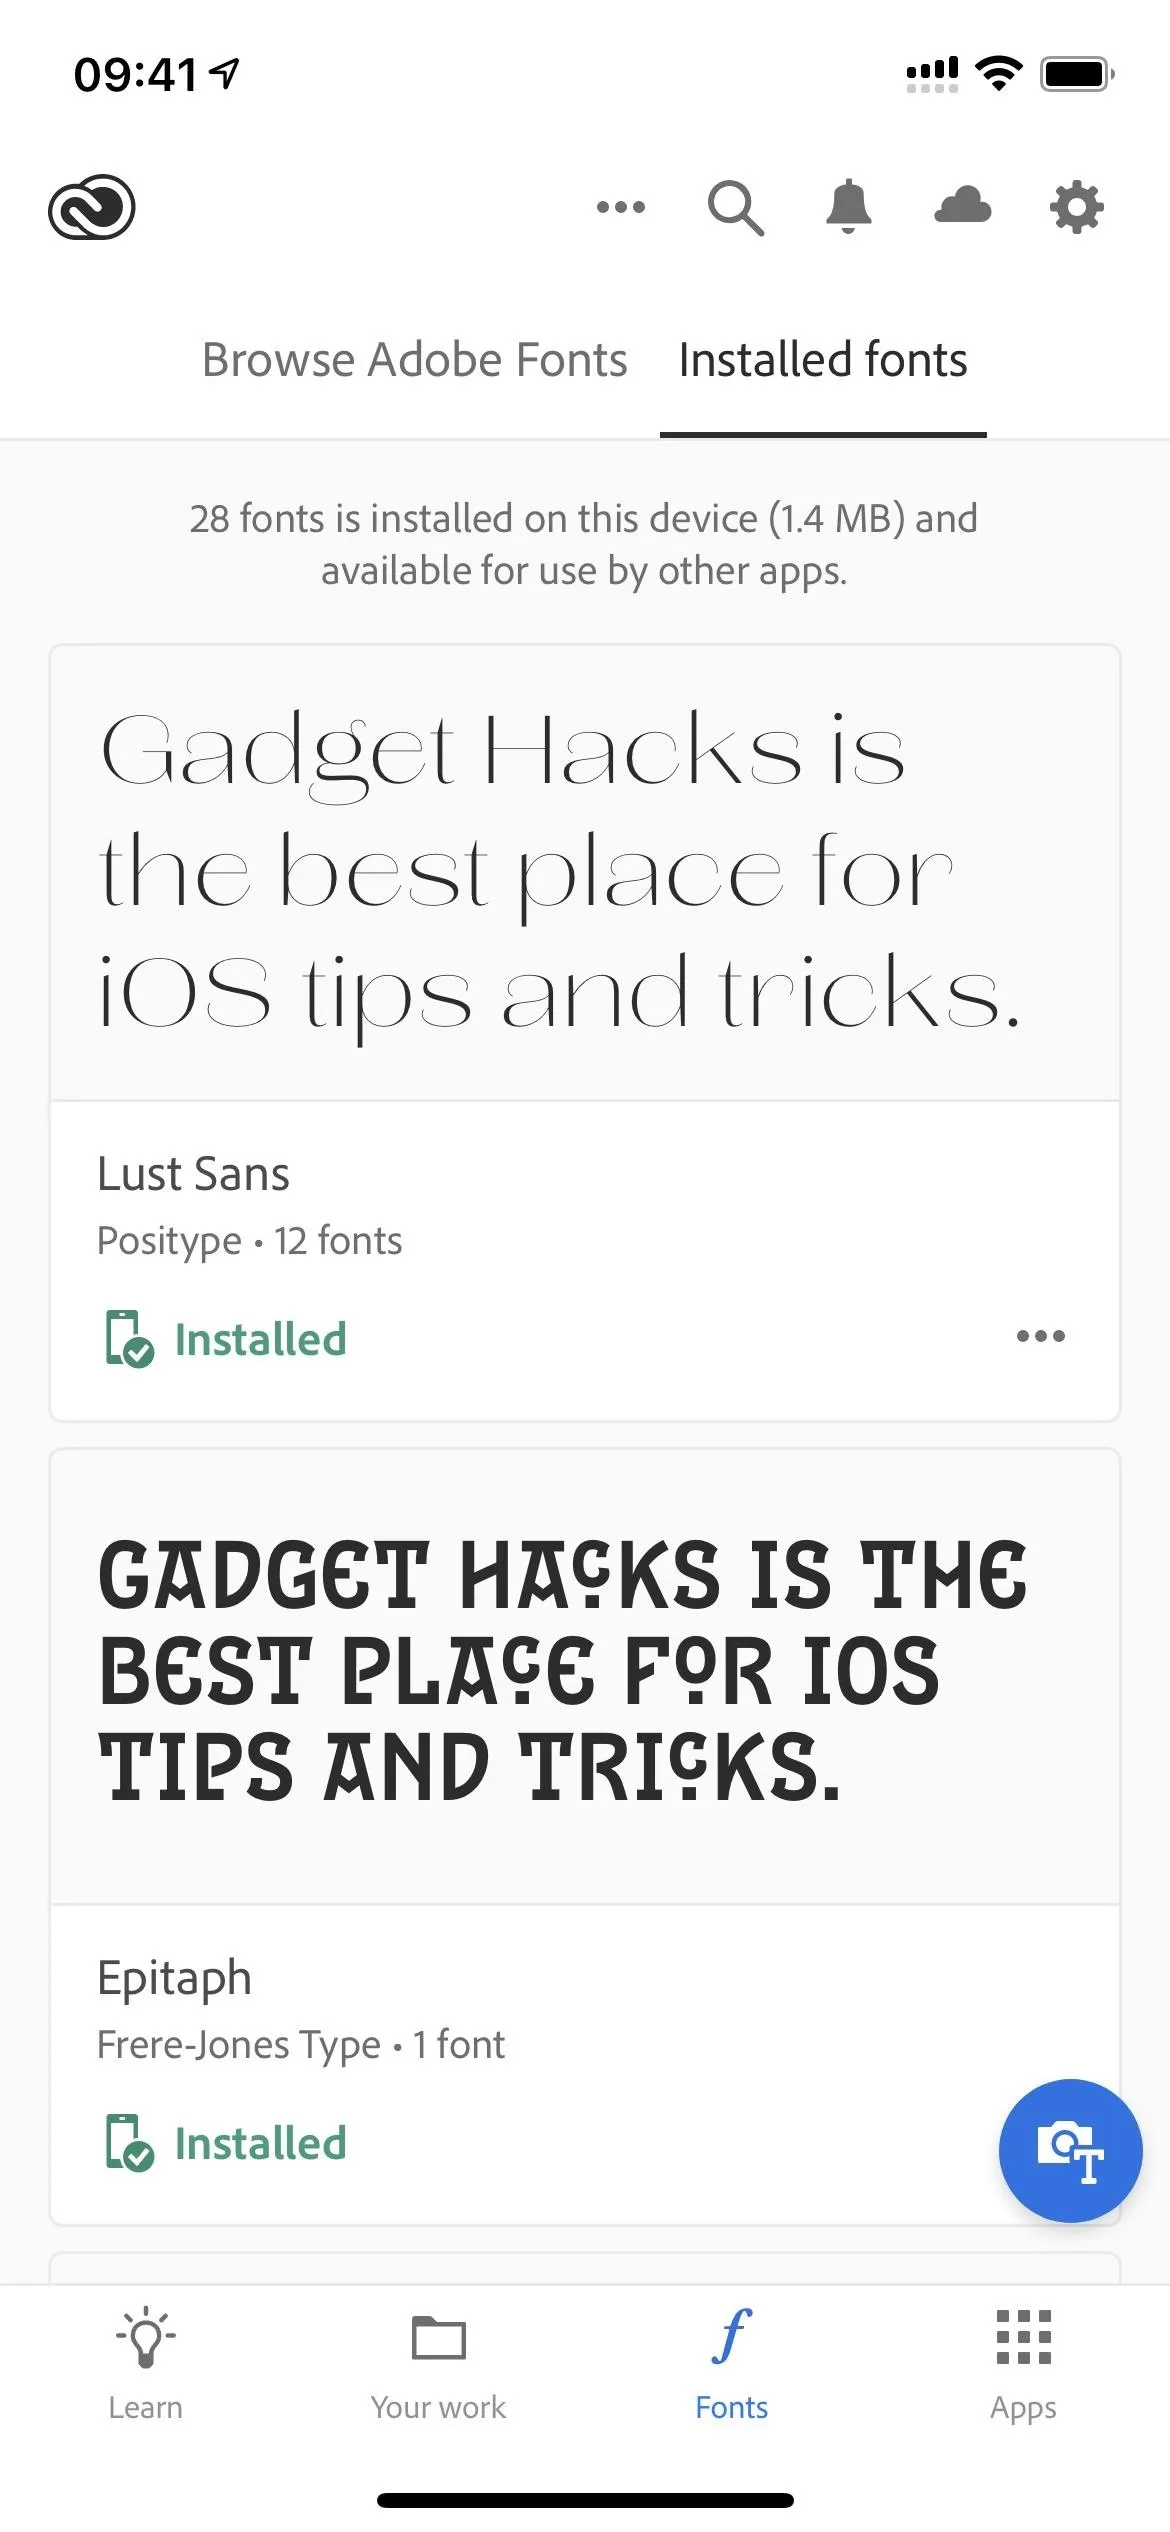
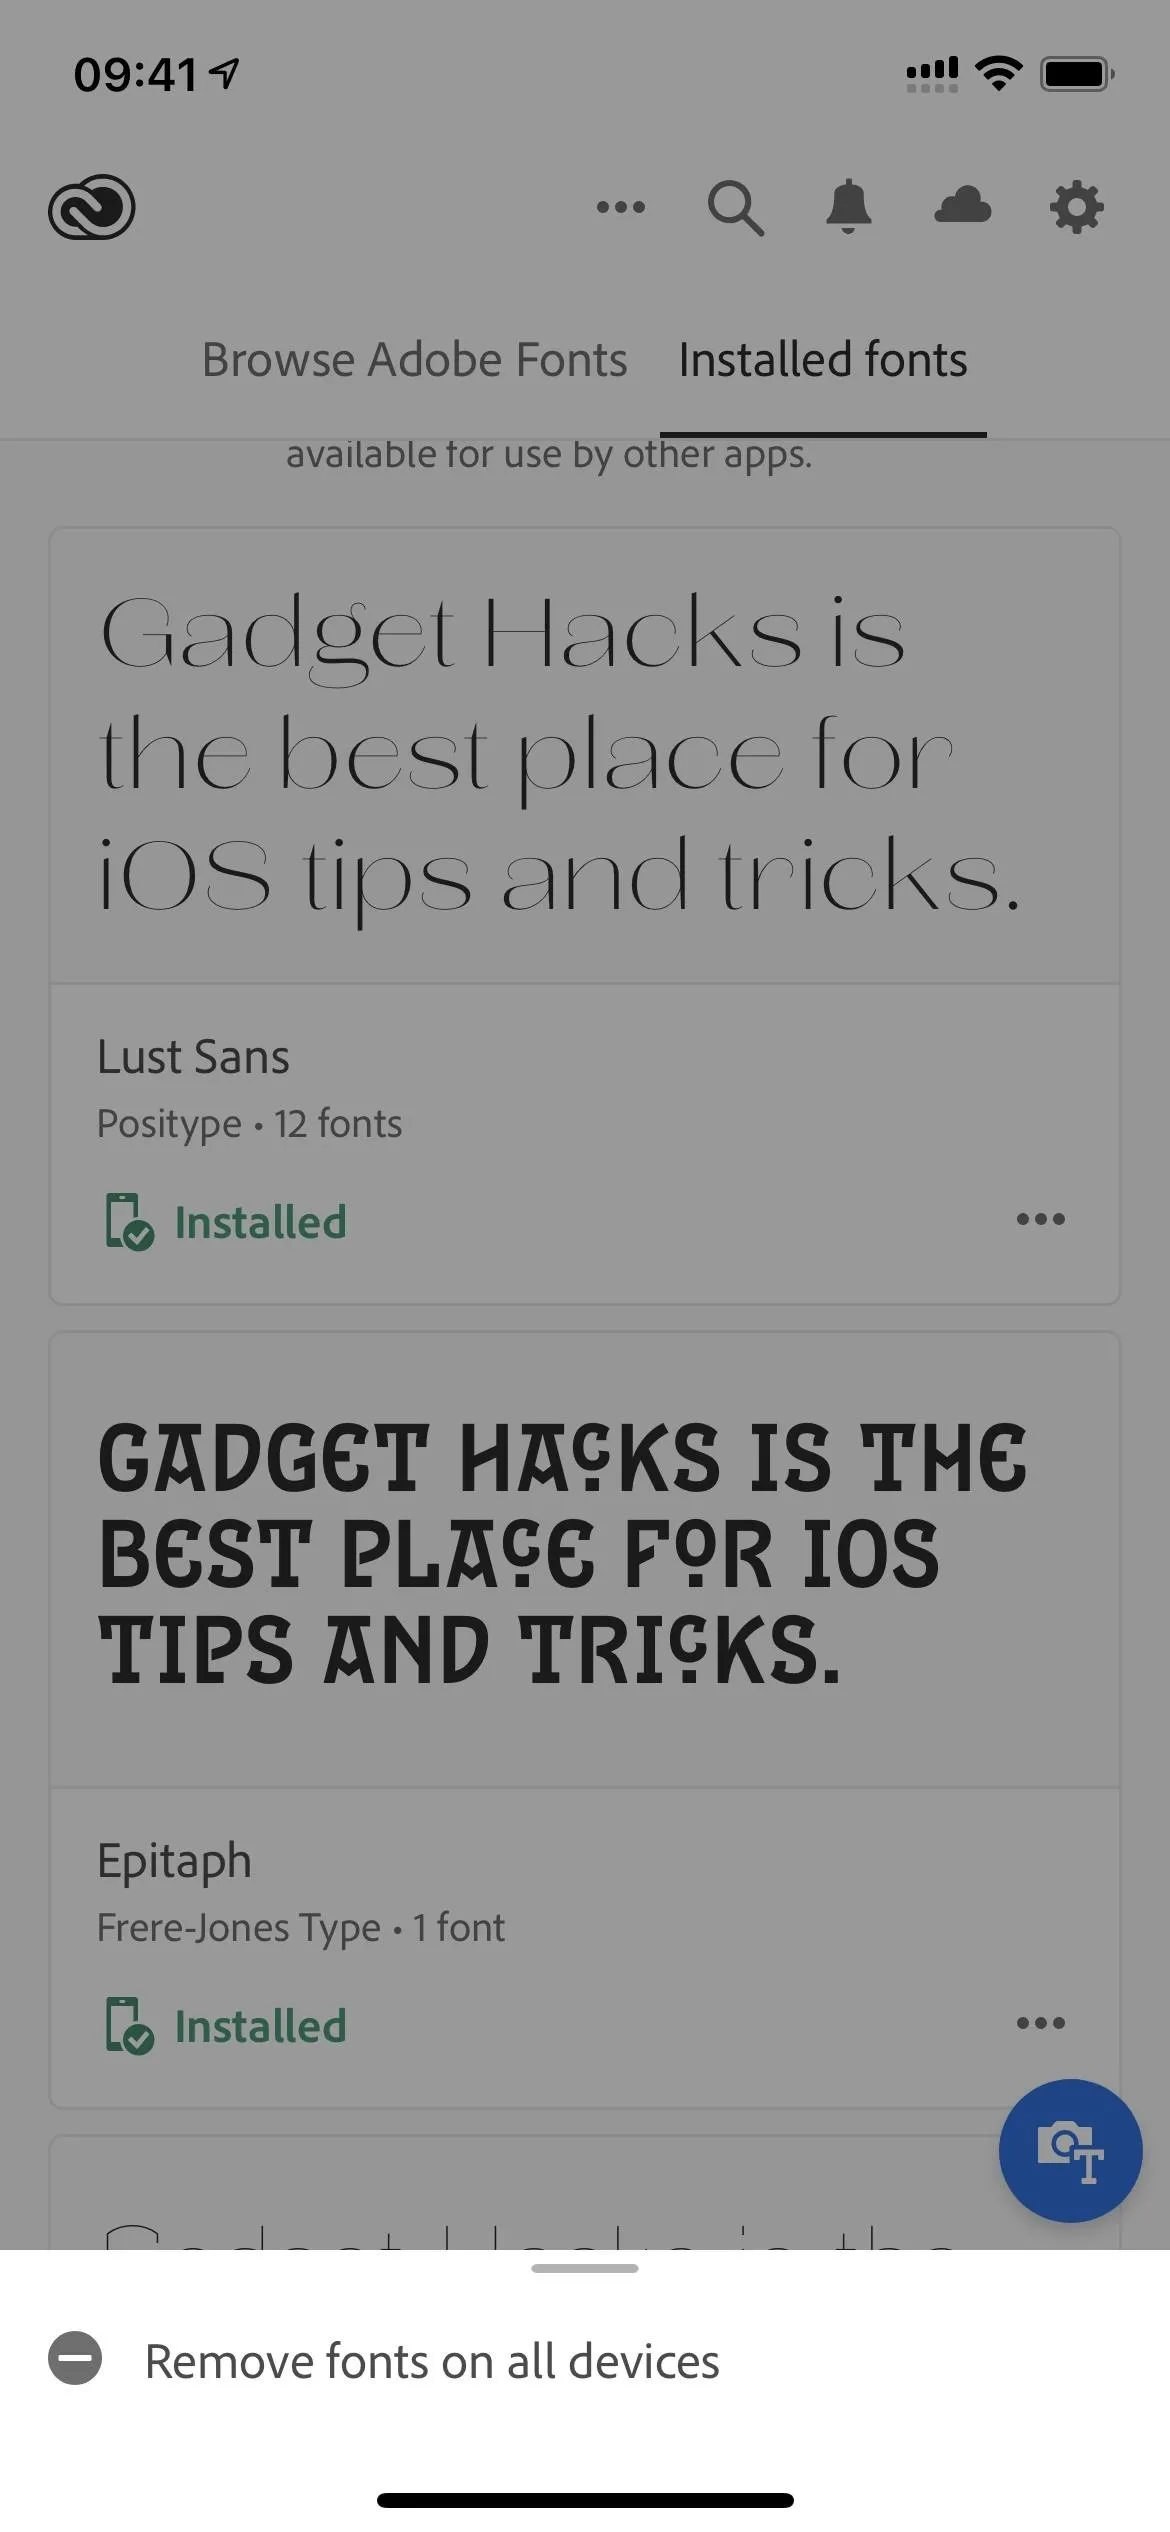
To see all of the fonts you've installed on your iPhone from Adobe, go to the "Installed fonts" section in the Creative Cloud app's "Fonts" tab.

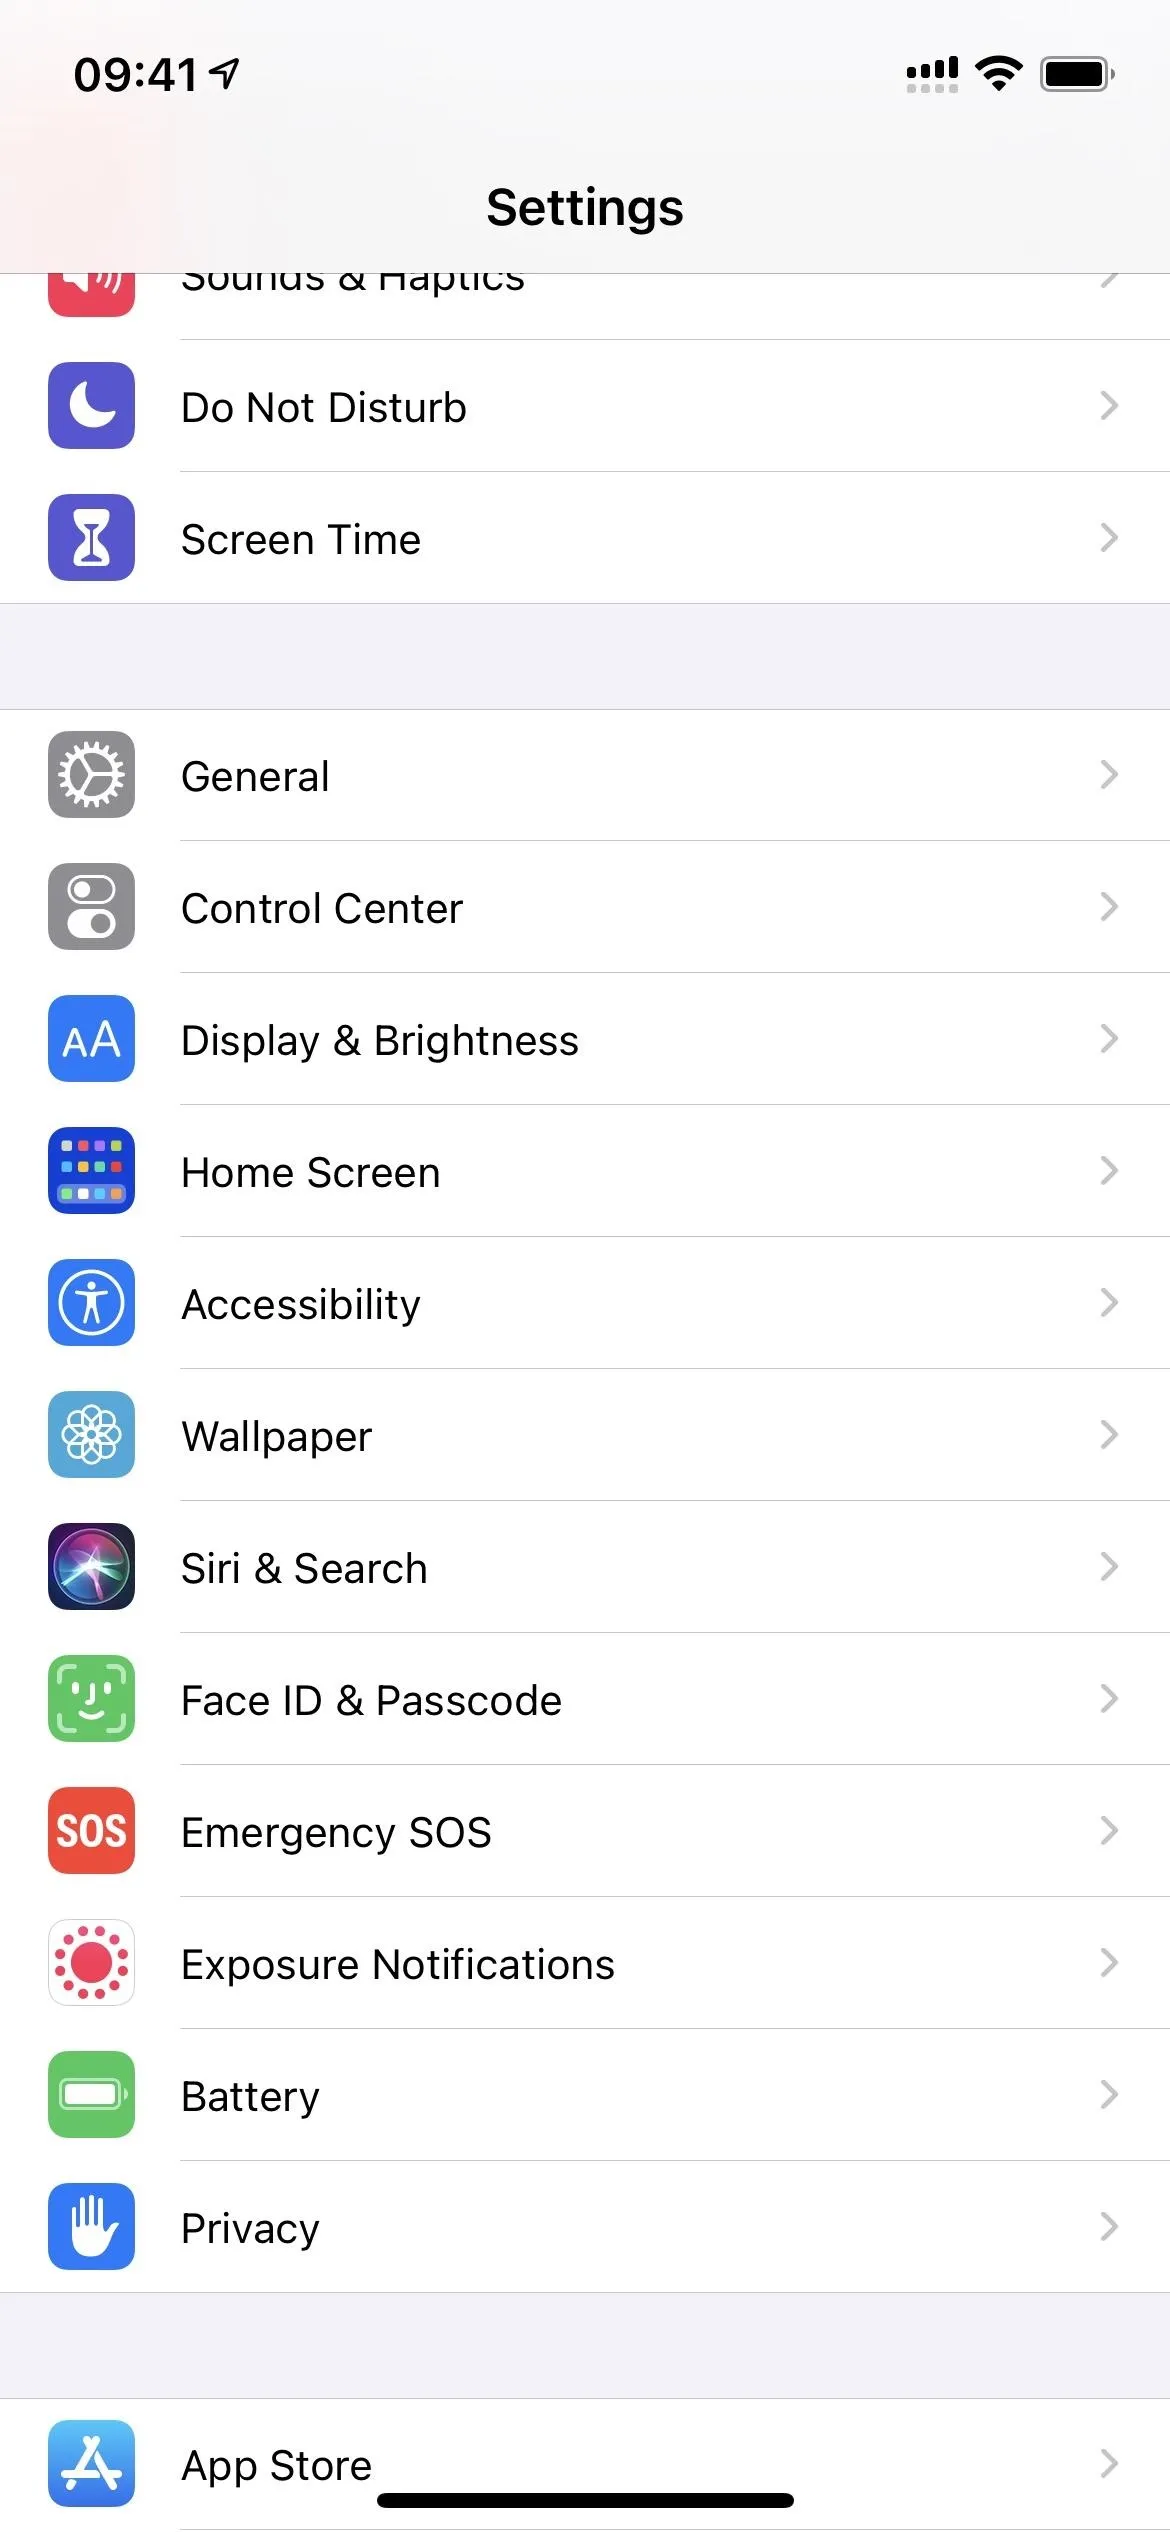
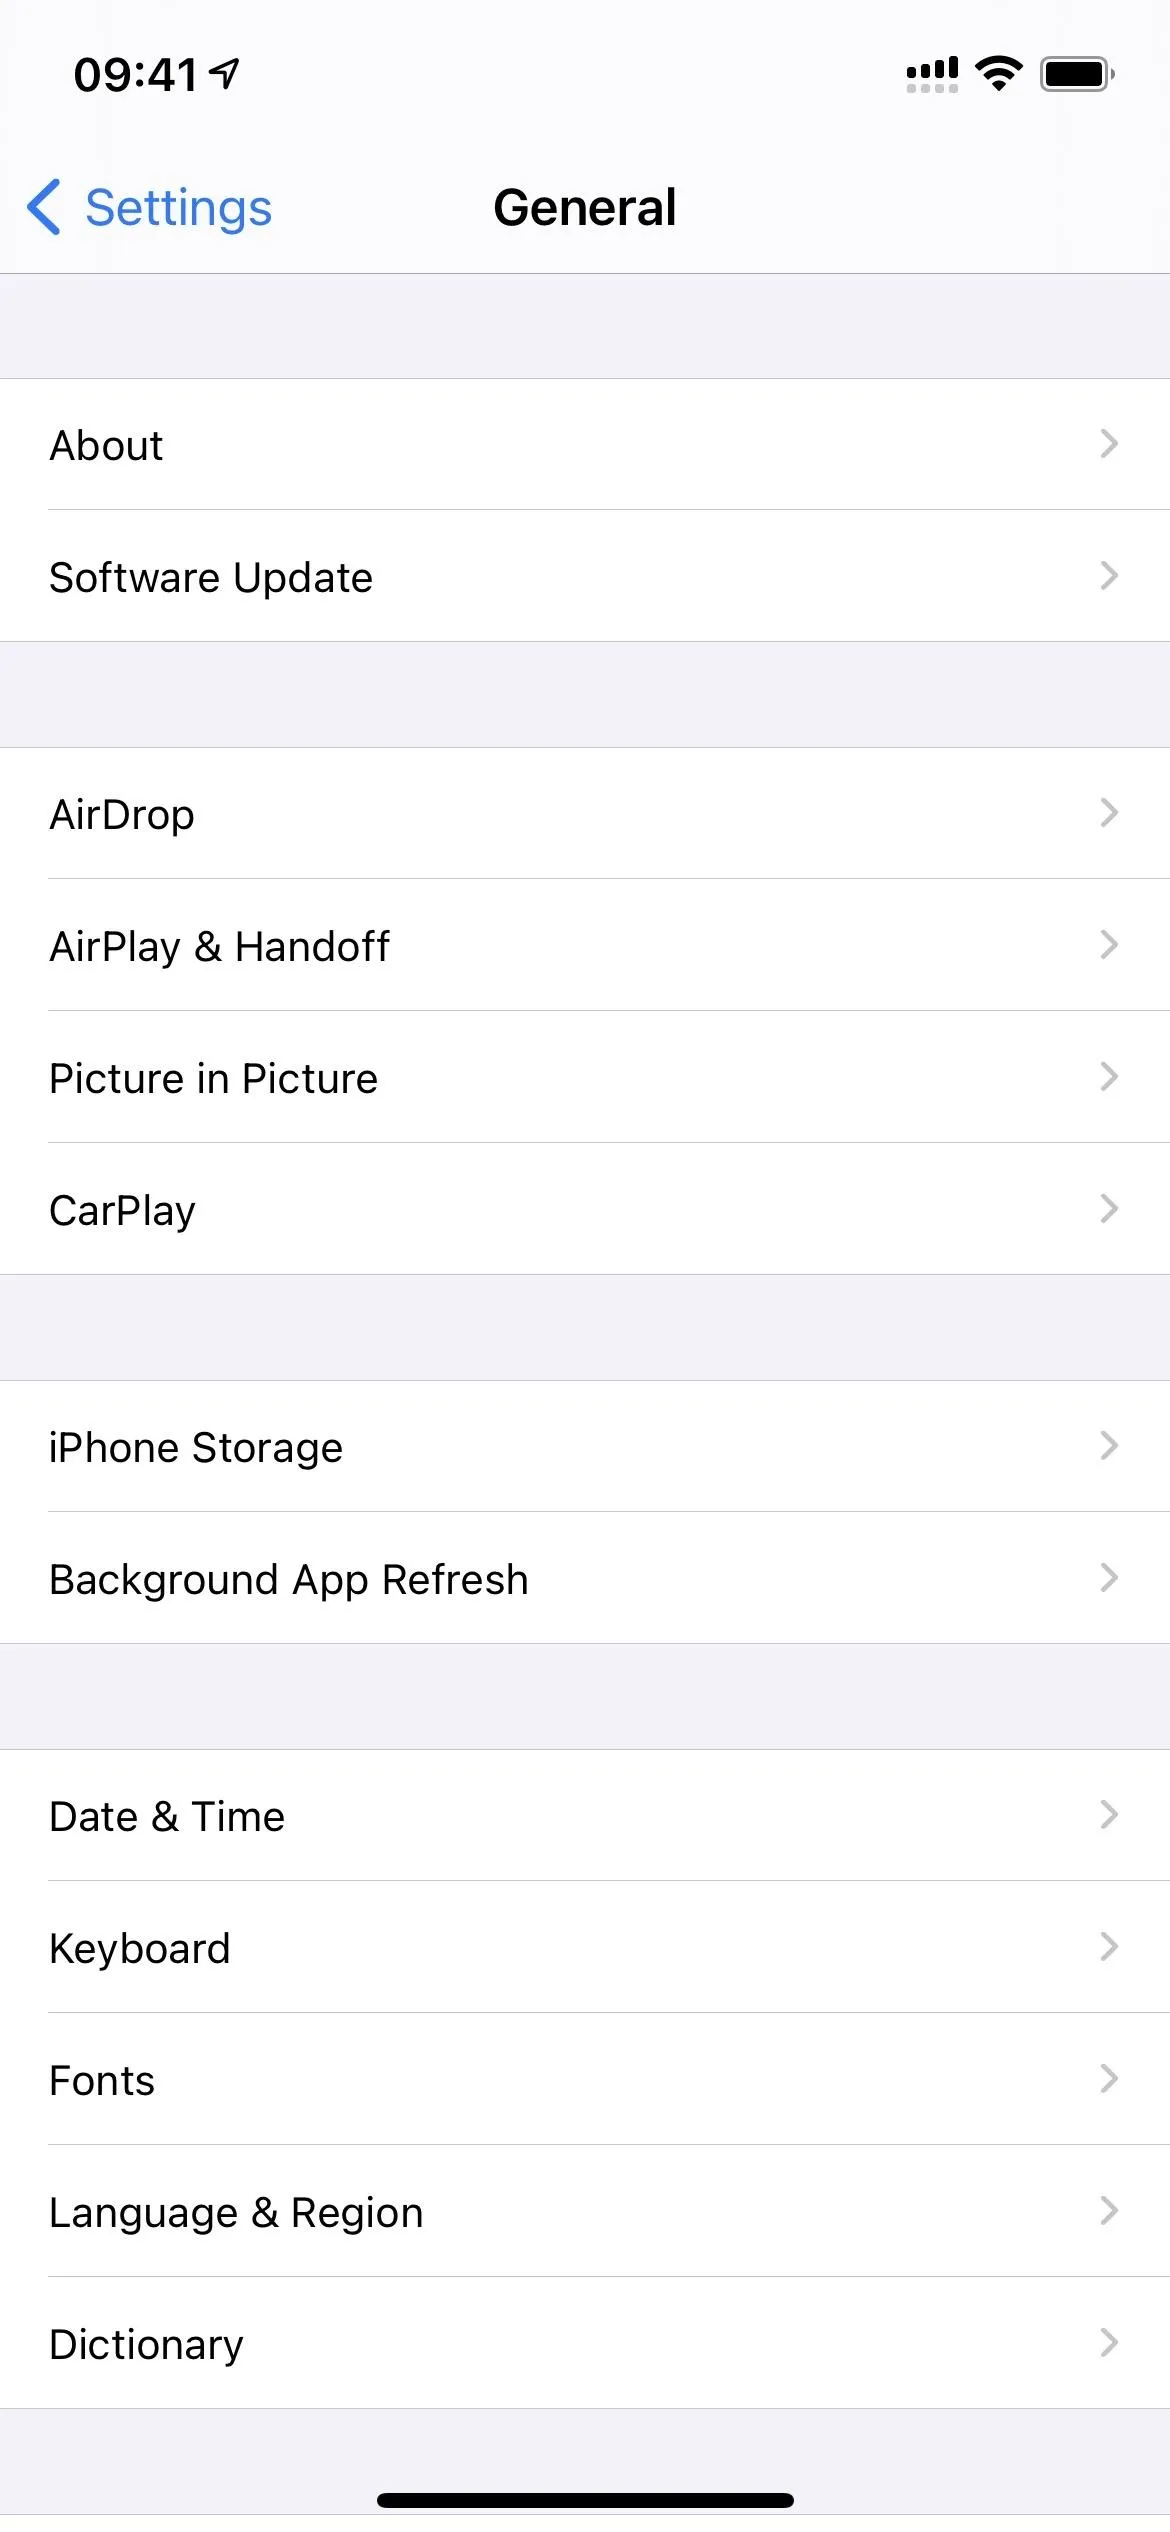
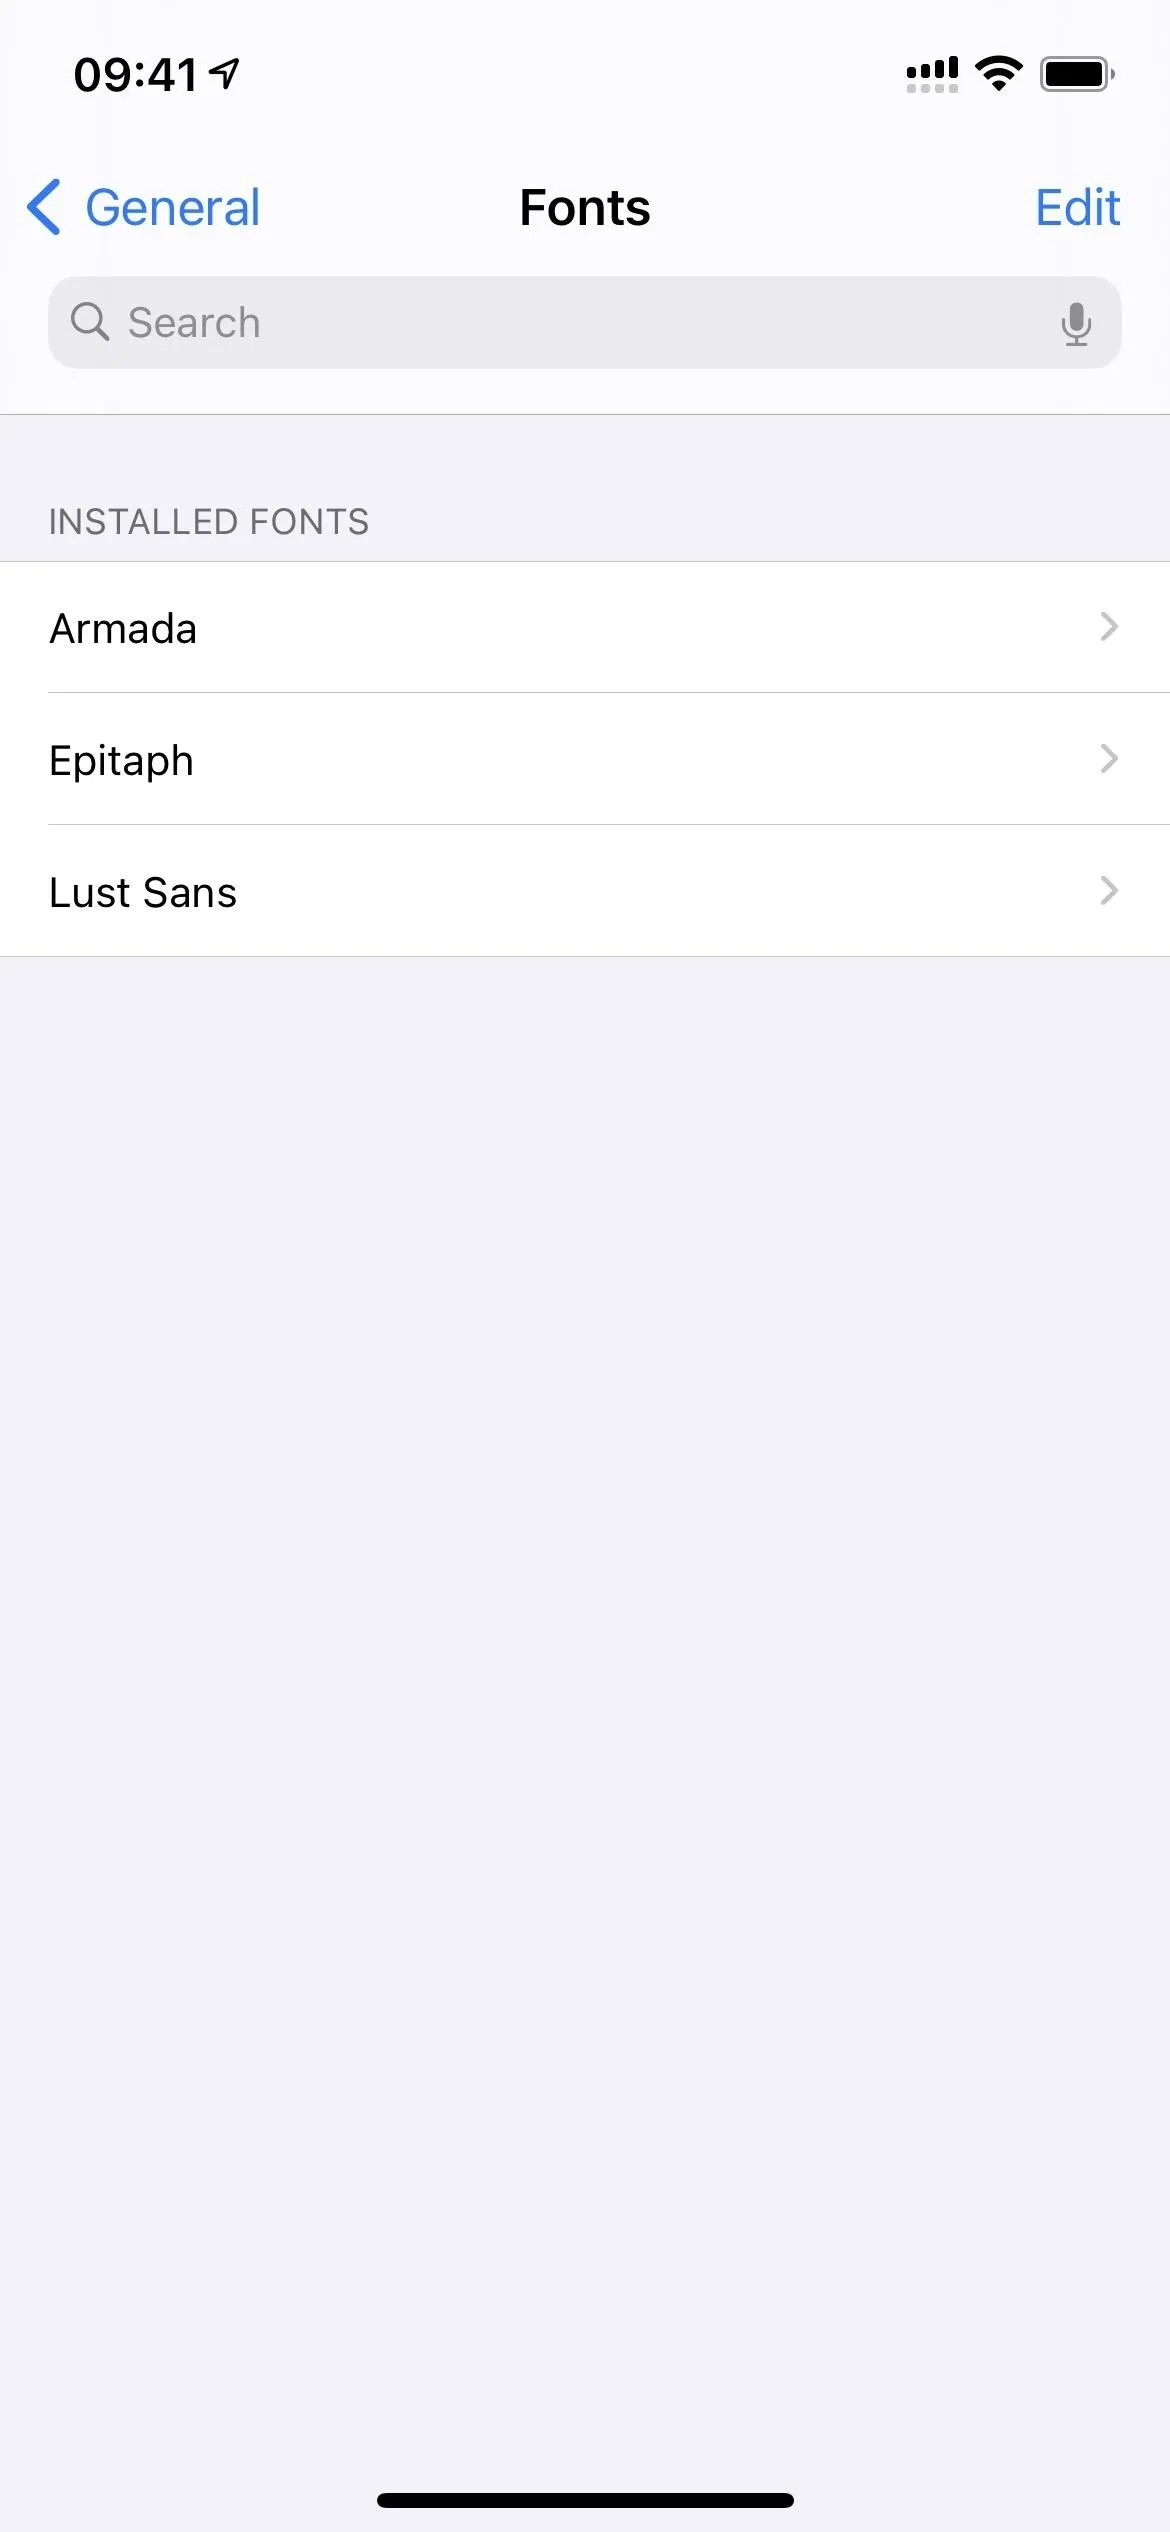
You can also view the fonts in your iPhone's fonts manager; go to General –> Fonts in the Settings app. Just keep in mind that the fonts you've installed from Creative Cloud won't be the only fonts in the list if you've installed any from other font provider apps or configuration profiles. Everything's mixed here in alphabetical order; the search bar could help if you have hundreds to sort through.
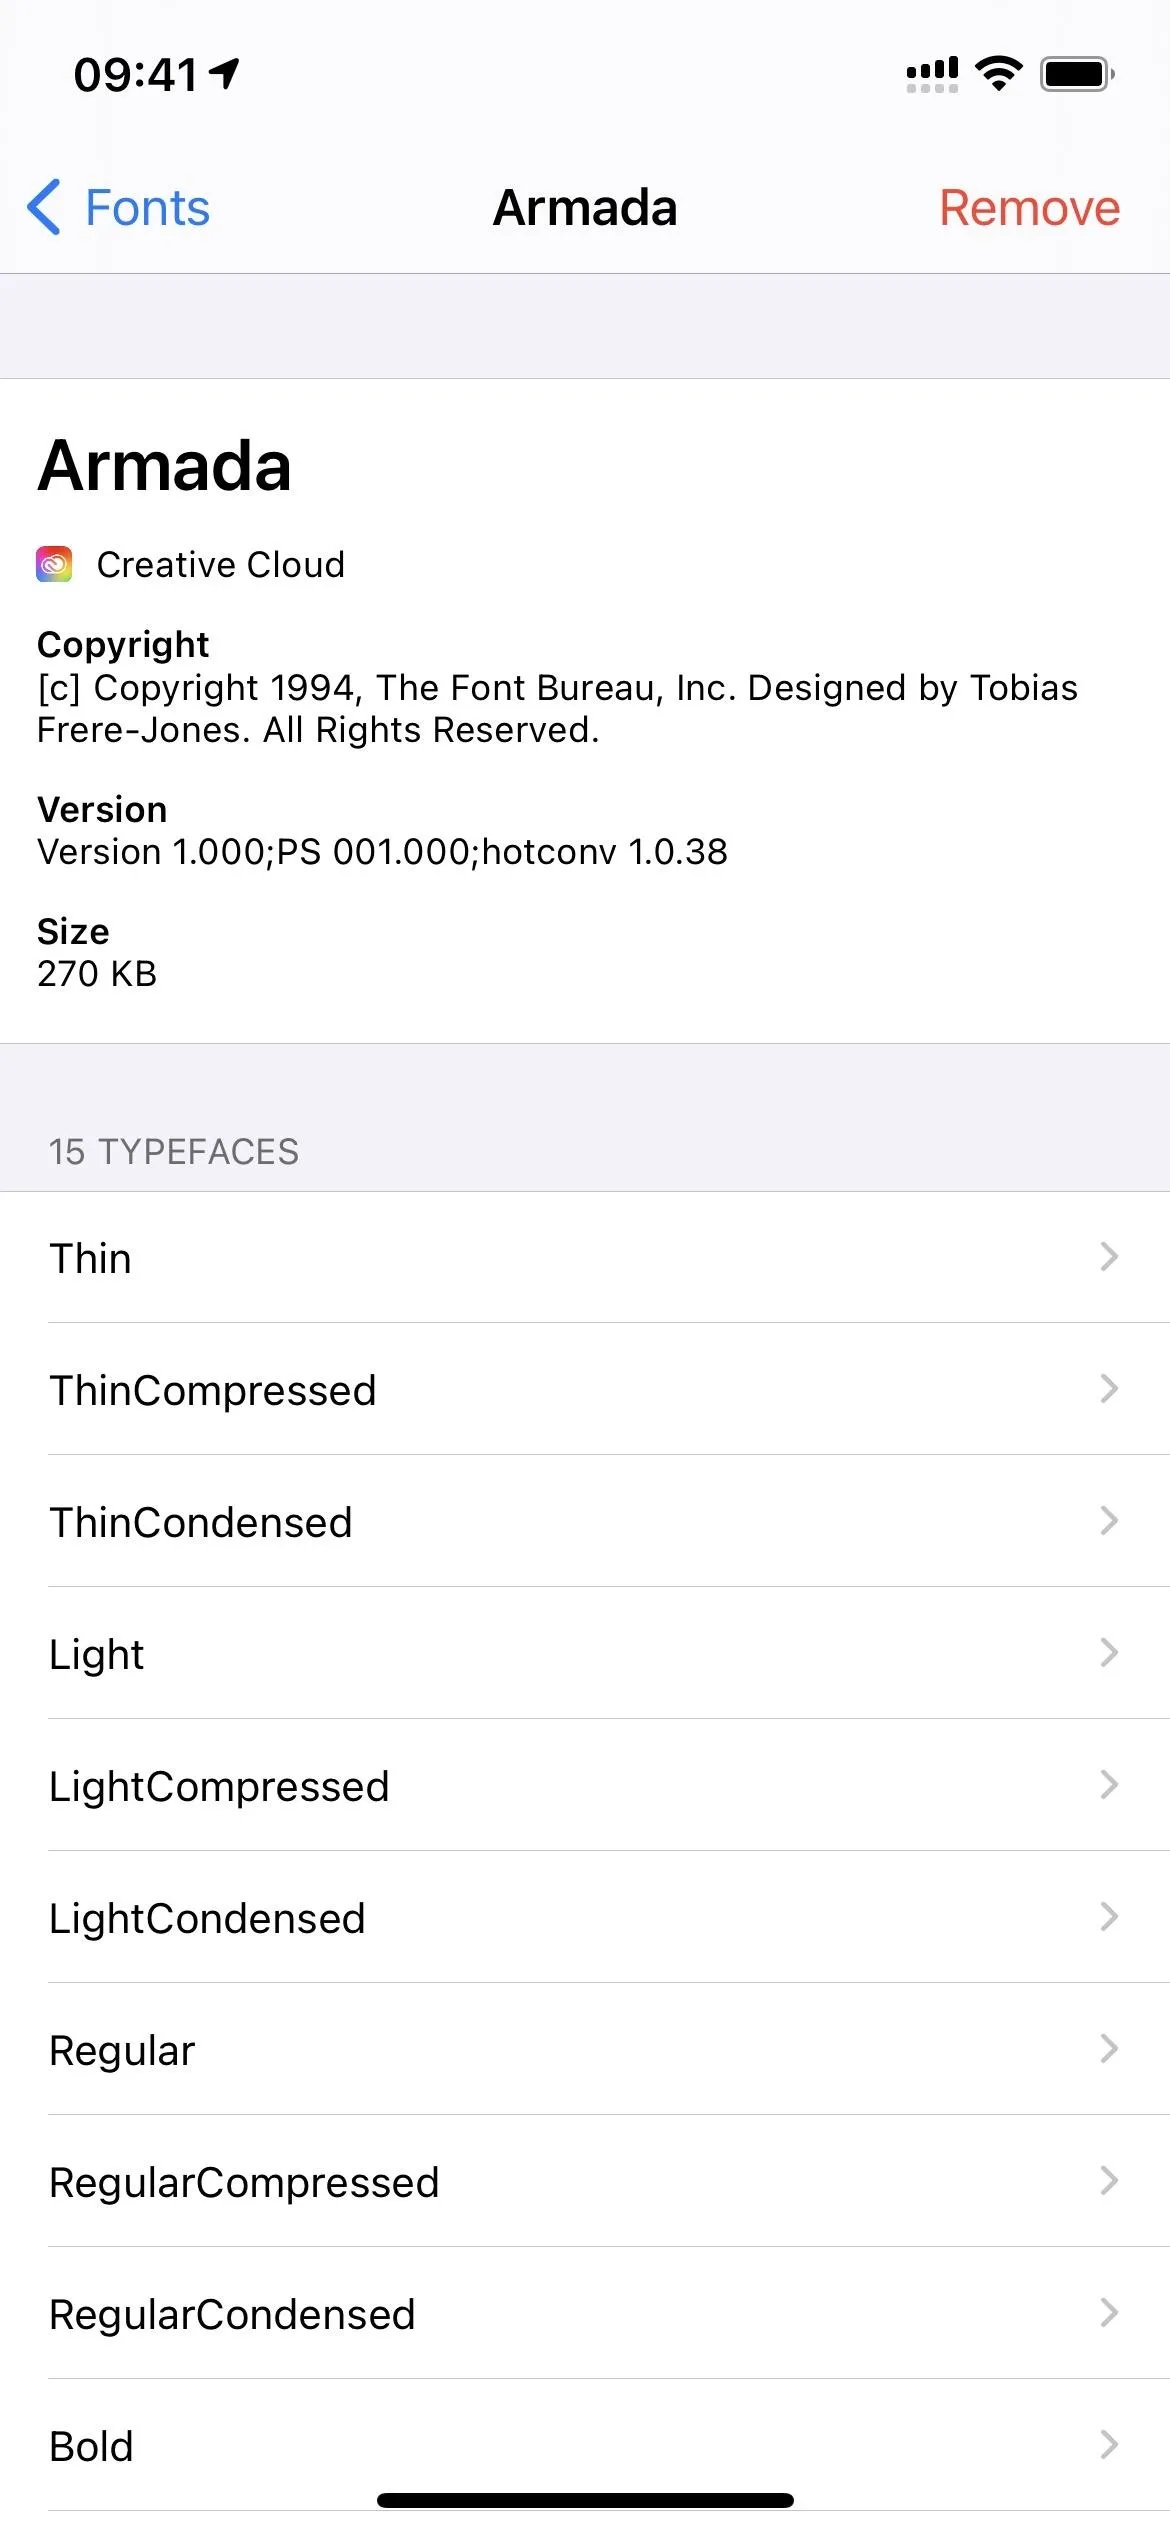
Tap on any font family to get more information about it; ones from Creative Cloud will say so. In the family view, you can tap on any of the fonts to see different views.
Apple lists all of the fonts as typefaces here, and that's fine since font and typeface are used these days interchangeably by most people. But if you're a pedant for typography, you might be freaking out that they aren't called "fonts" here and "typefaces" on the main list of families.
Use Your Installed Fonts
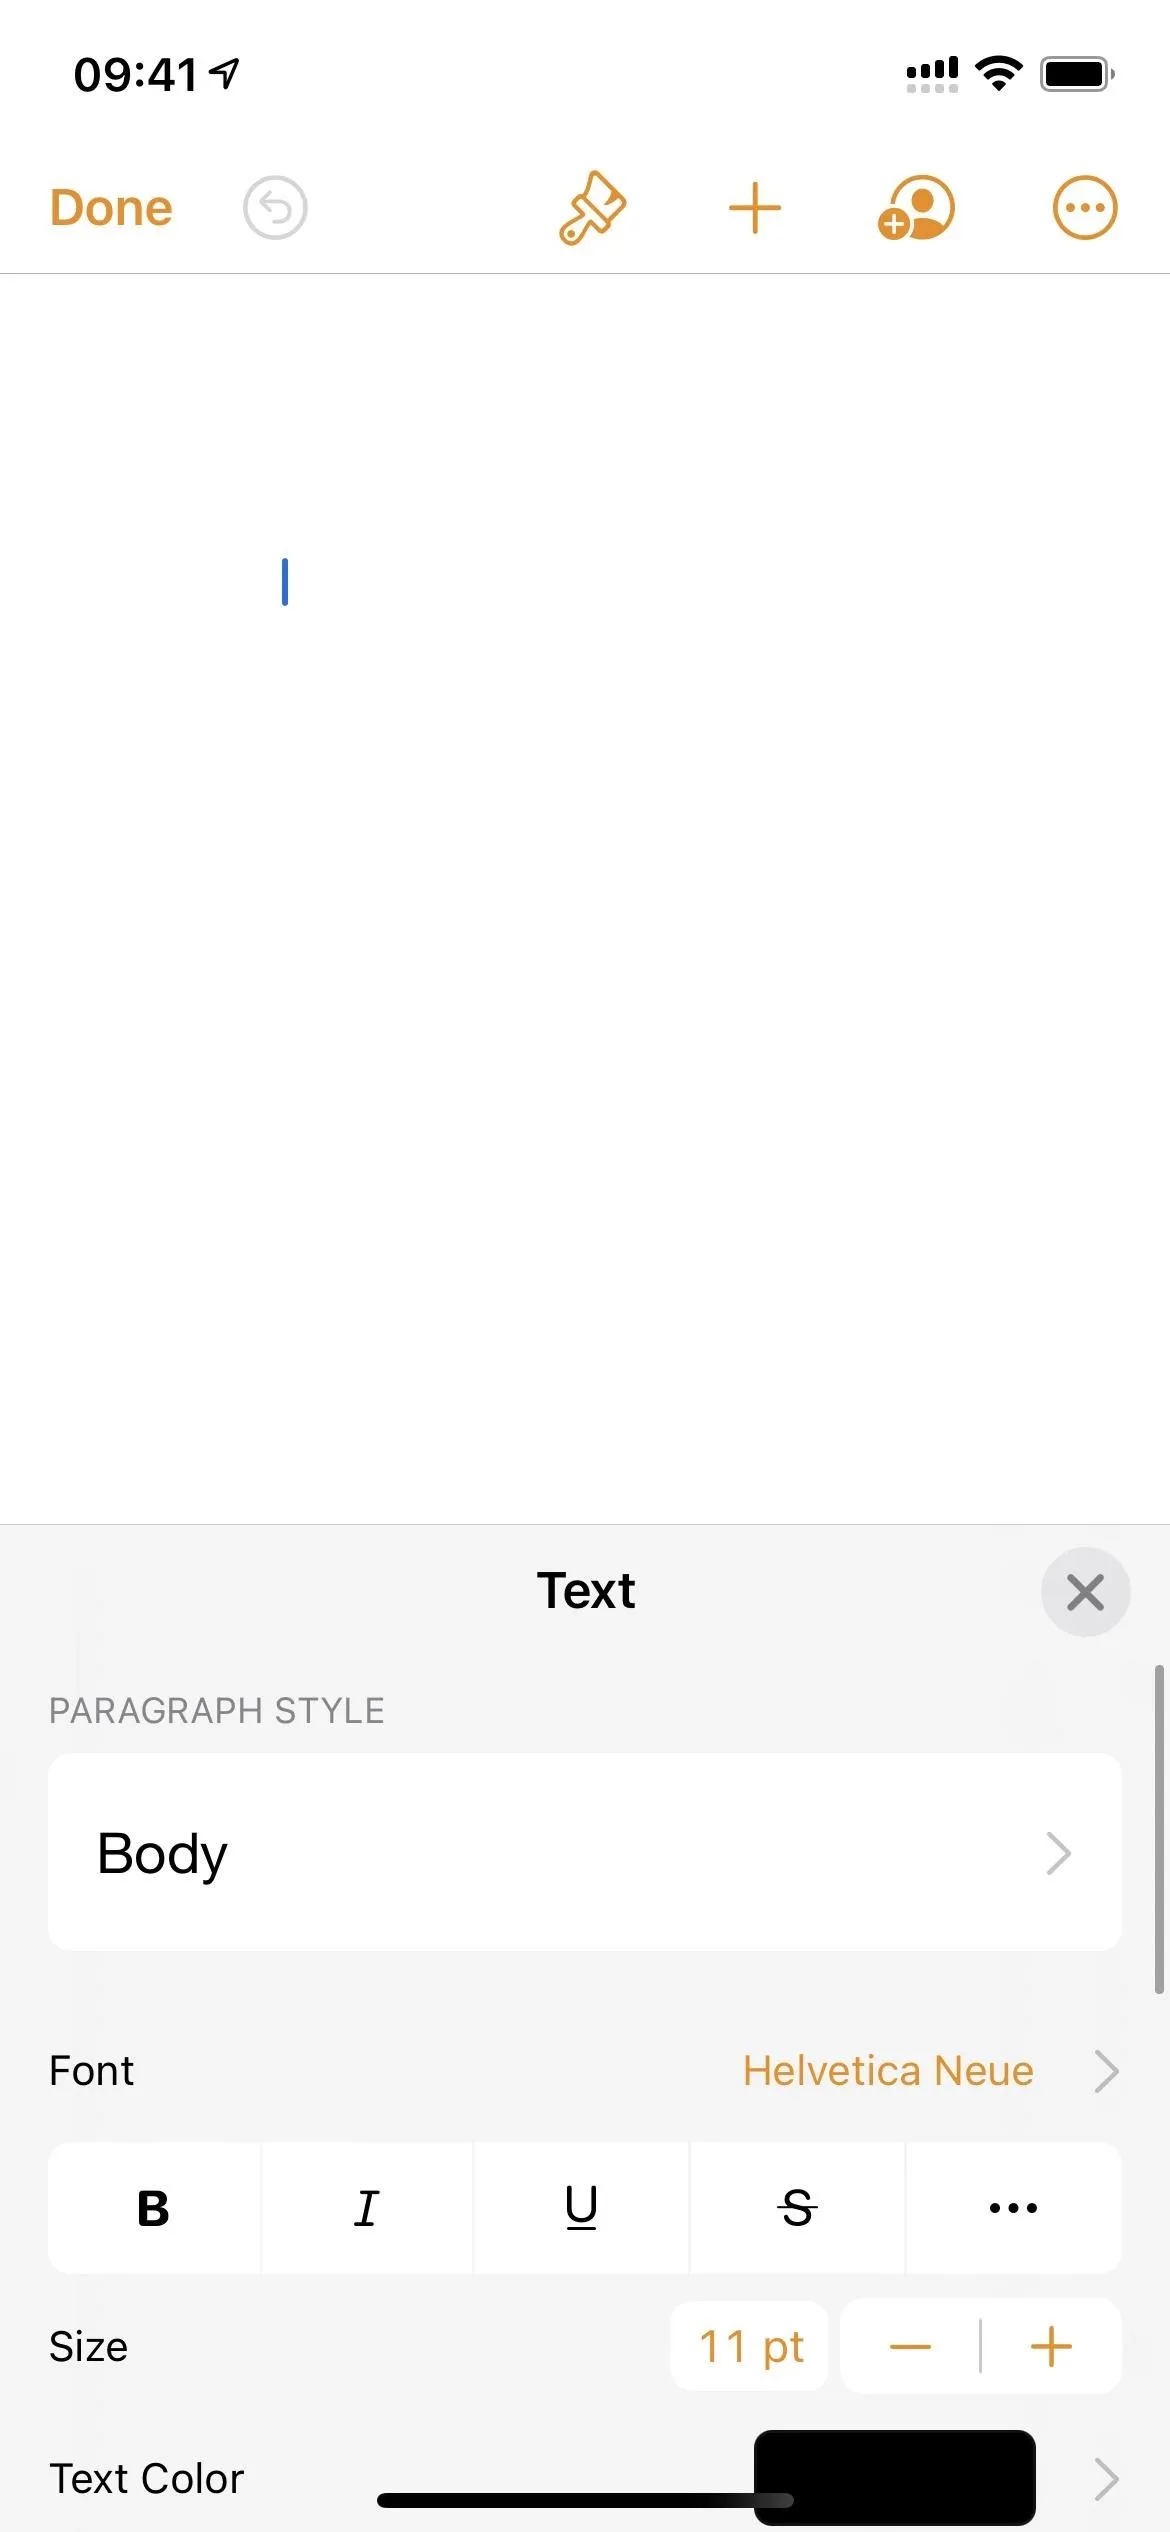
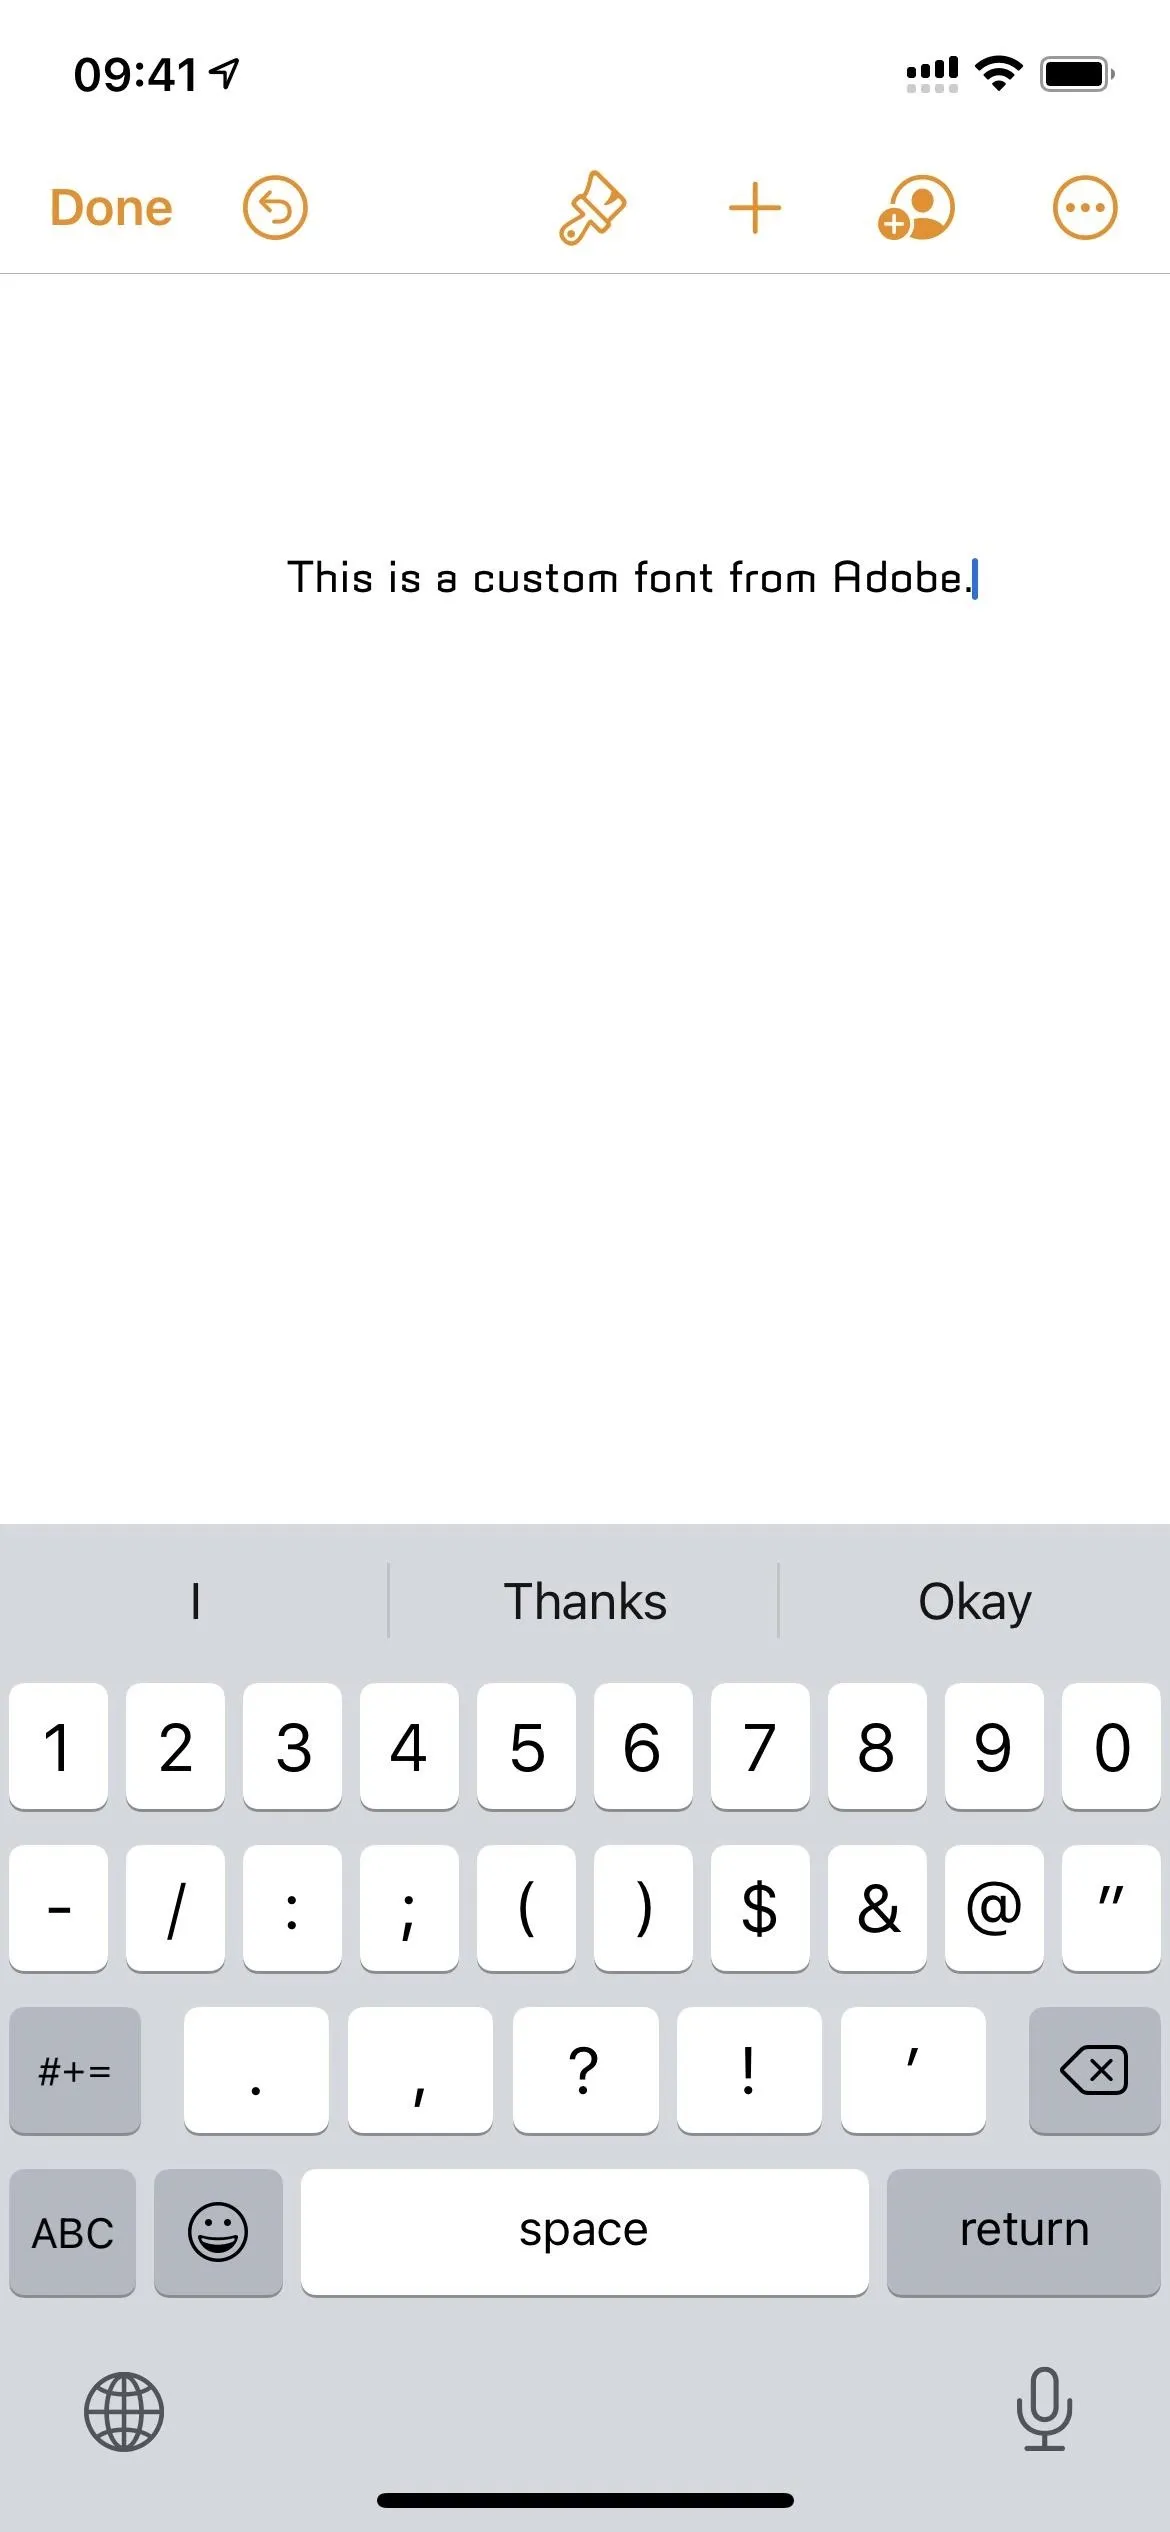
Only apps that support the custom fonts API will let you use your installed fonts in the app. Apple does not enable this for every app automatically. Developers have to add the "Fonts" capability to their apps in Xcode, then enable the "Use Installed Fonts" privilege. If they don't do that, they won't be able to use any of the fonts in your fonts manager.
You won't really know if an app supports custom fonts until you try. Some apps may support some of the fonts but not others too, which makes things confusing. Apps you can try include Mail, Pages (seen below), any of Adobe's apps, and any of Microsoft's productivity apps.

Manage Your Installed Fonts
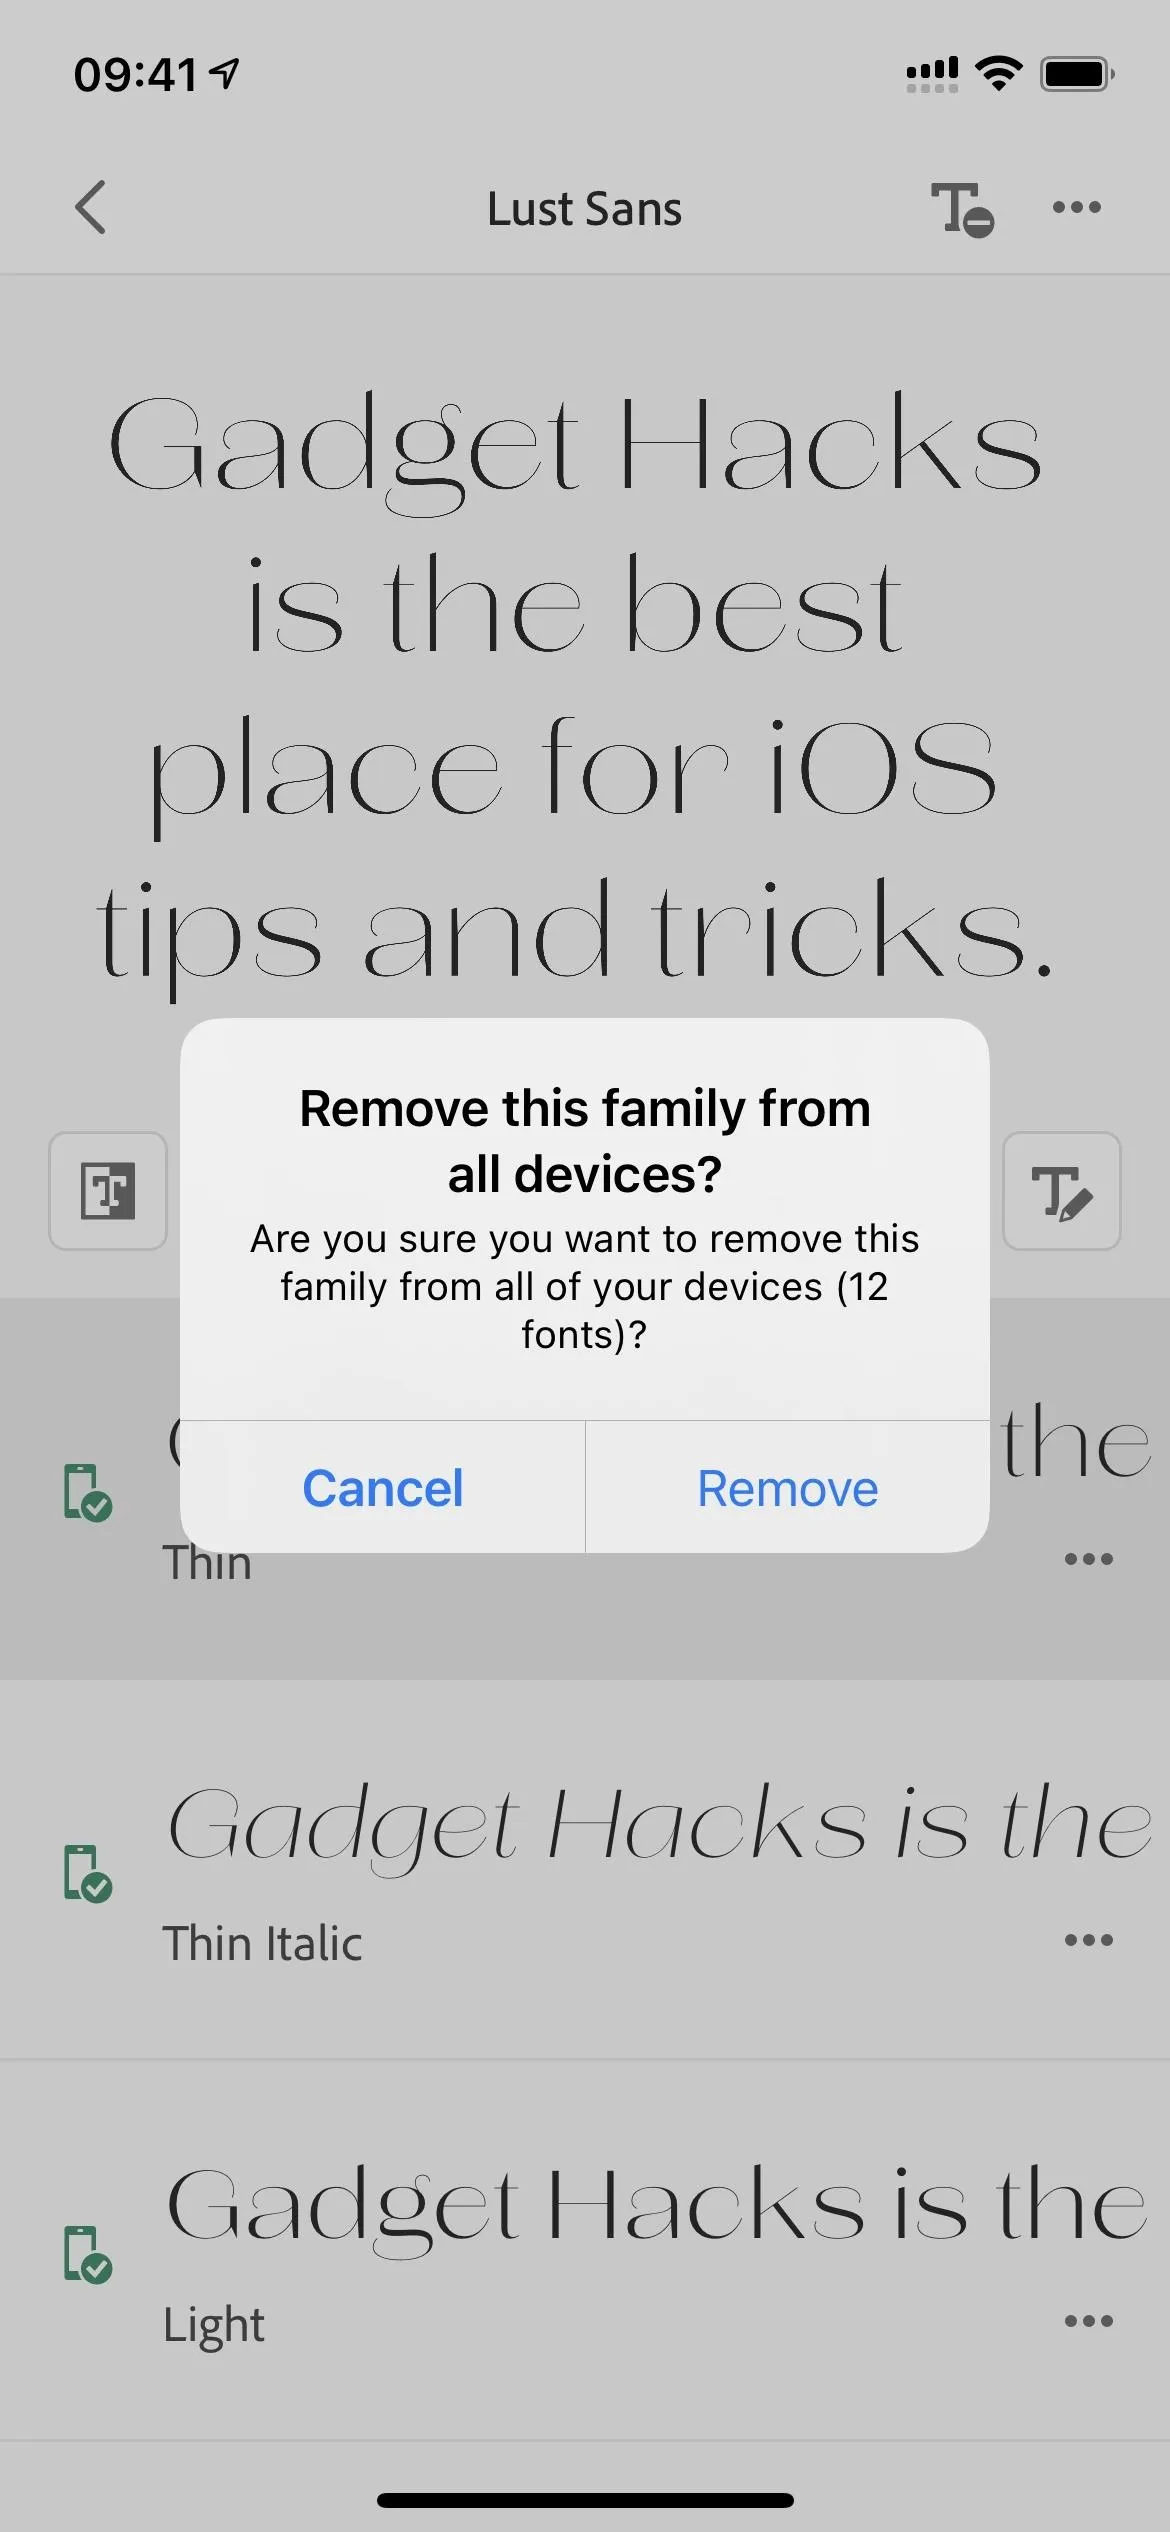
When you no longer need a font or font family, you can remove it from your iPhone. In the Creative Cloud app, you can go to your installed fonts and tap the ellipsis (•••) on any typeface, then choose "Remove fonts on all devices." You can also open the typeface and tap the T- button up top, followed by "Remove" to get rid of the family.
If you don't want to remove the whole family, tap the tap the ellipsis (•••) next to the font you want to delete, then choose "Remove fonts on all devices."
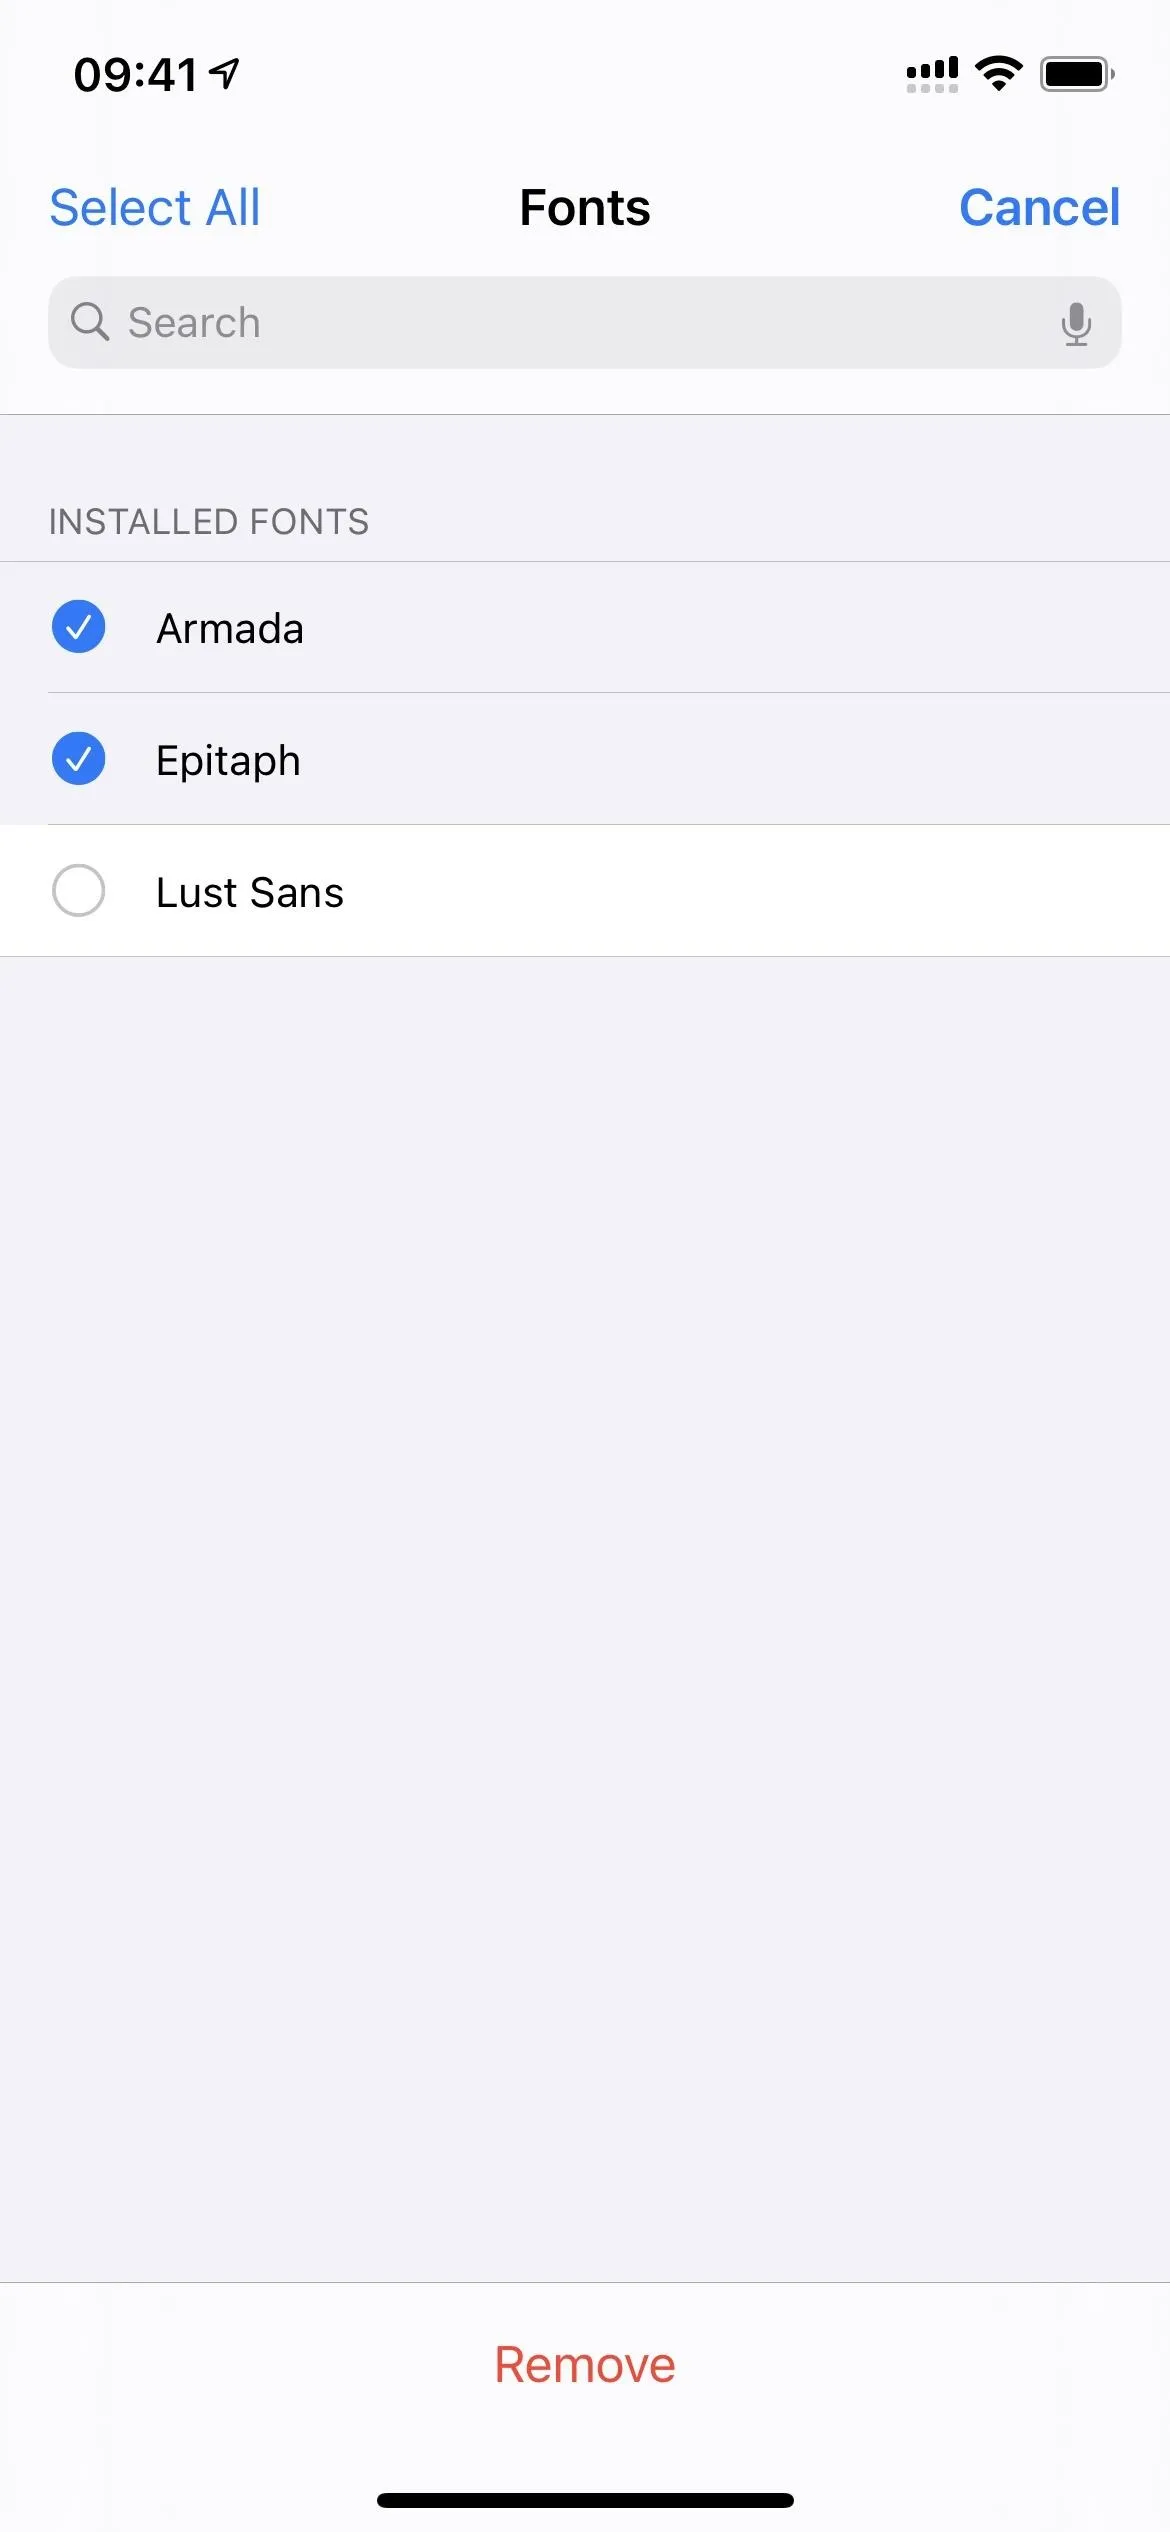
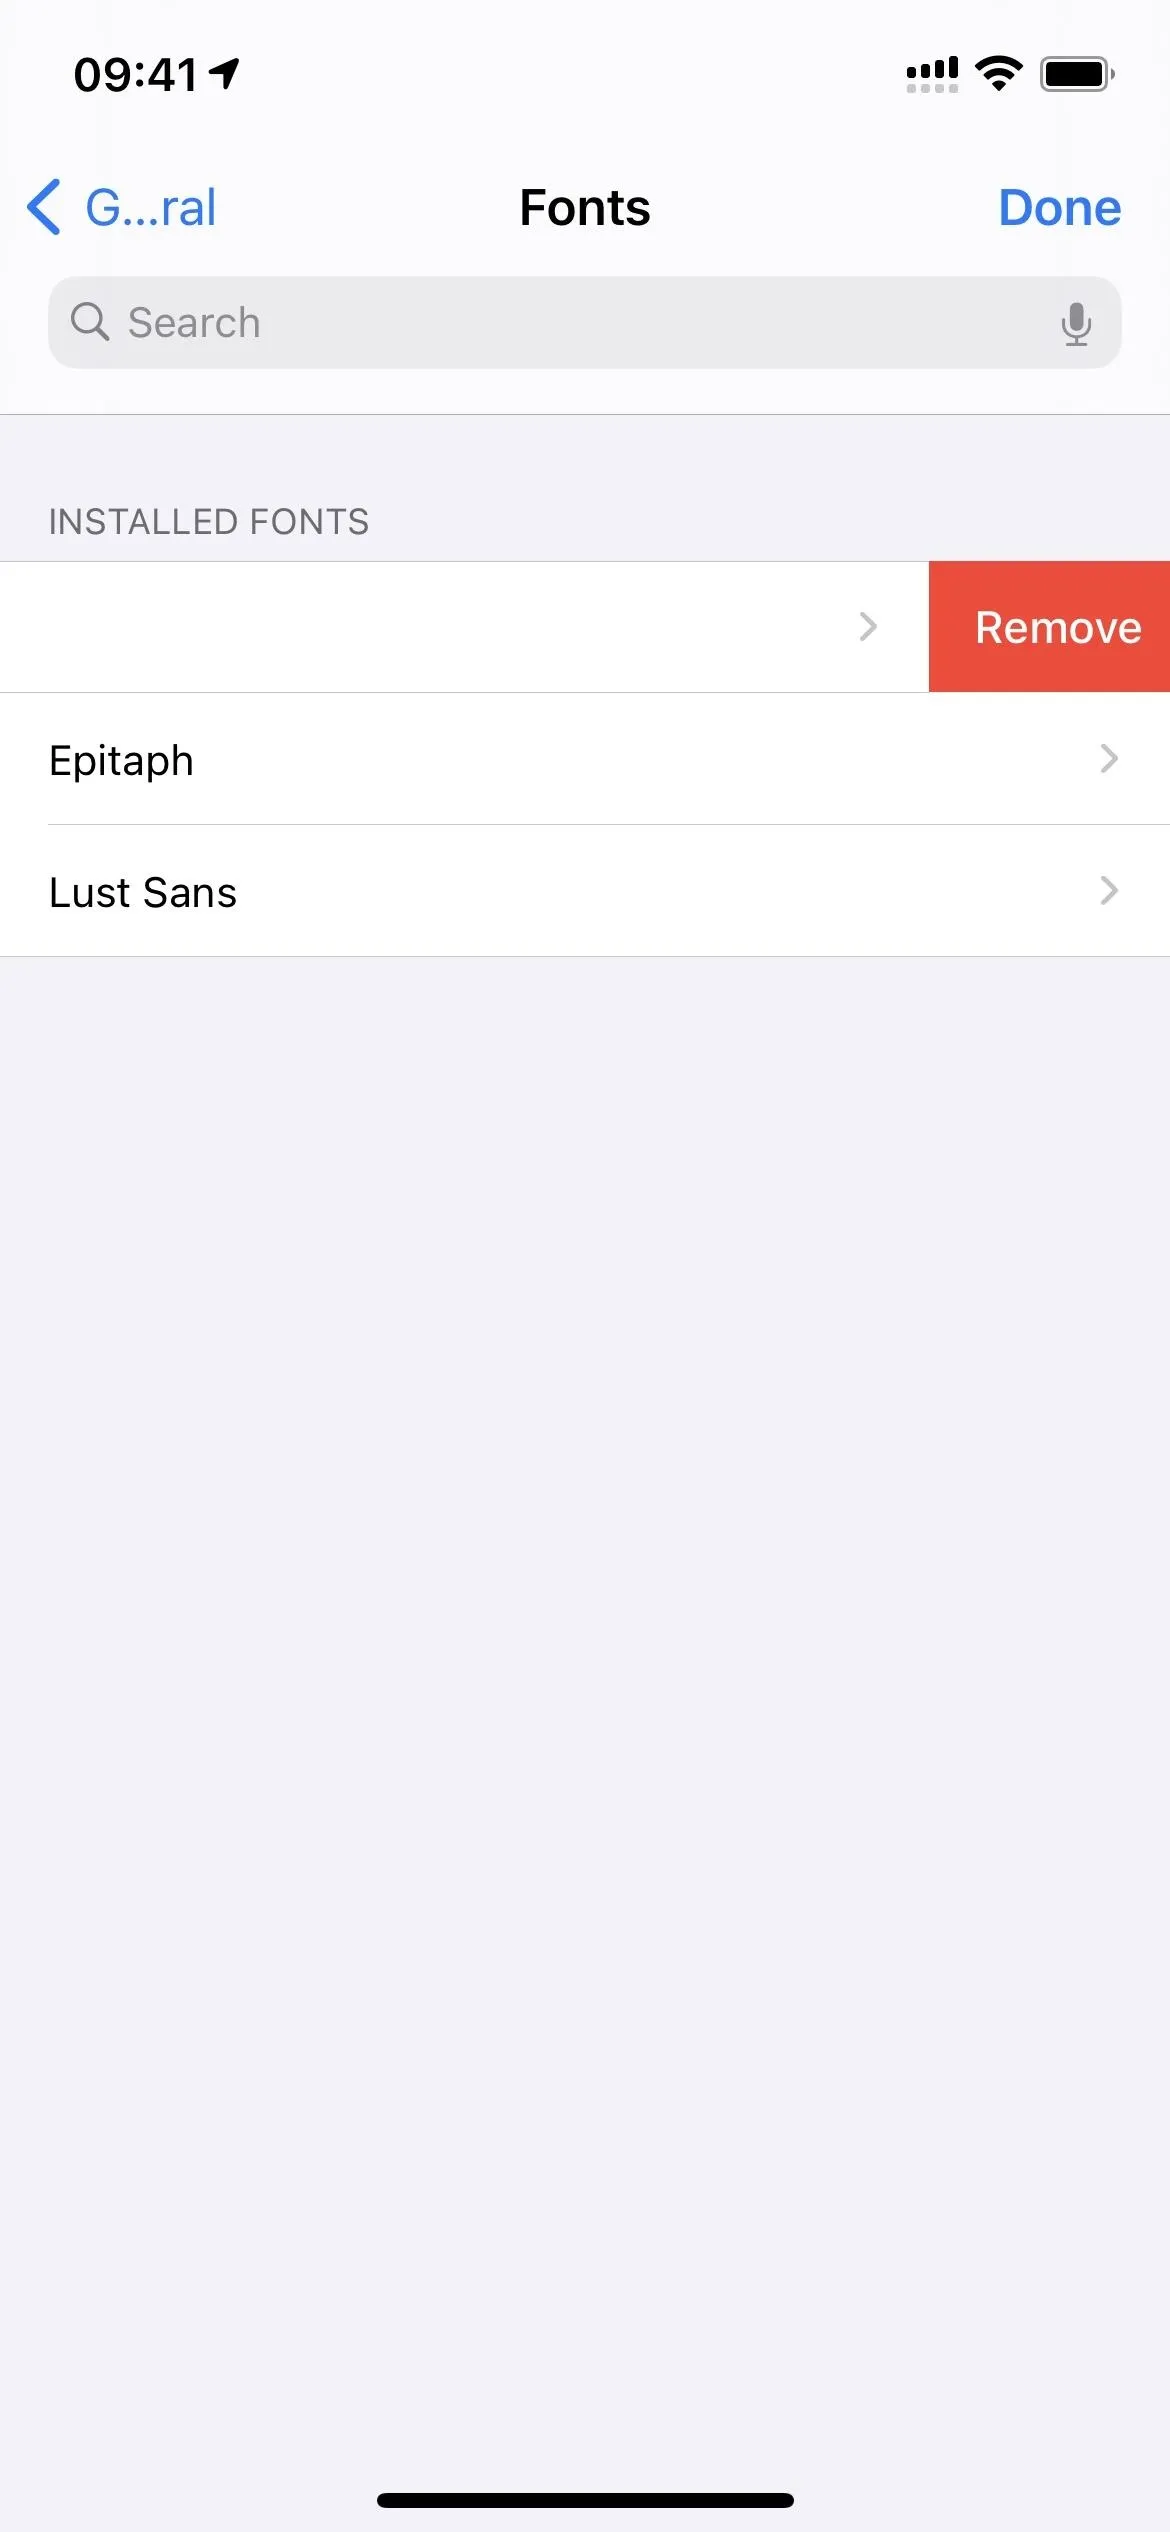
You can also delete fonts from the fonts manager in your iPhone's Settings app. In the list of font families, tap "Edit" in the top right, select the typefaces, then hit "Remove." Alternatively, you can delete them one at a time by long-swiping left or short-swiping left and hitting "Remove."
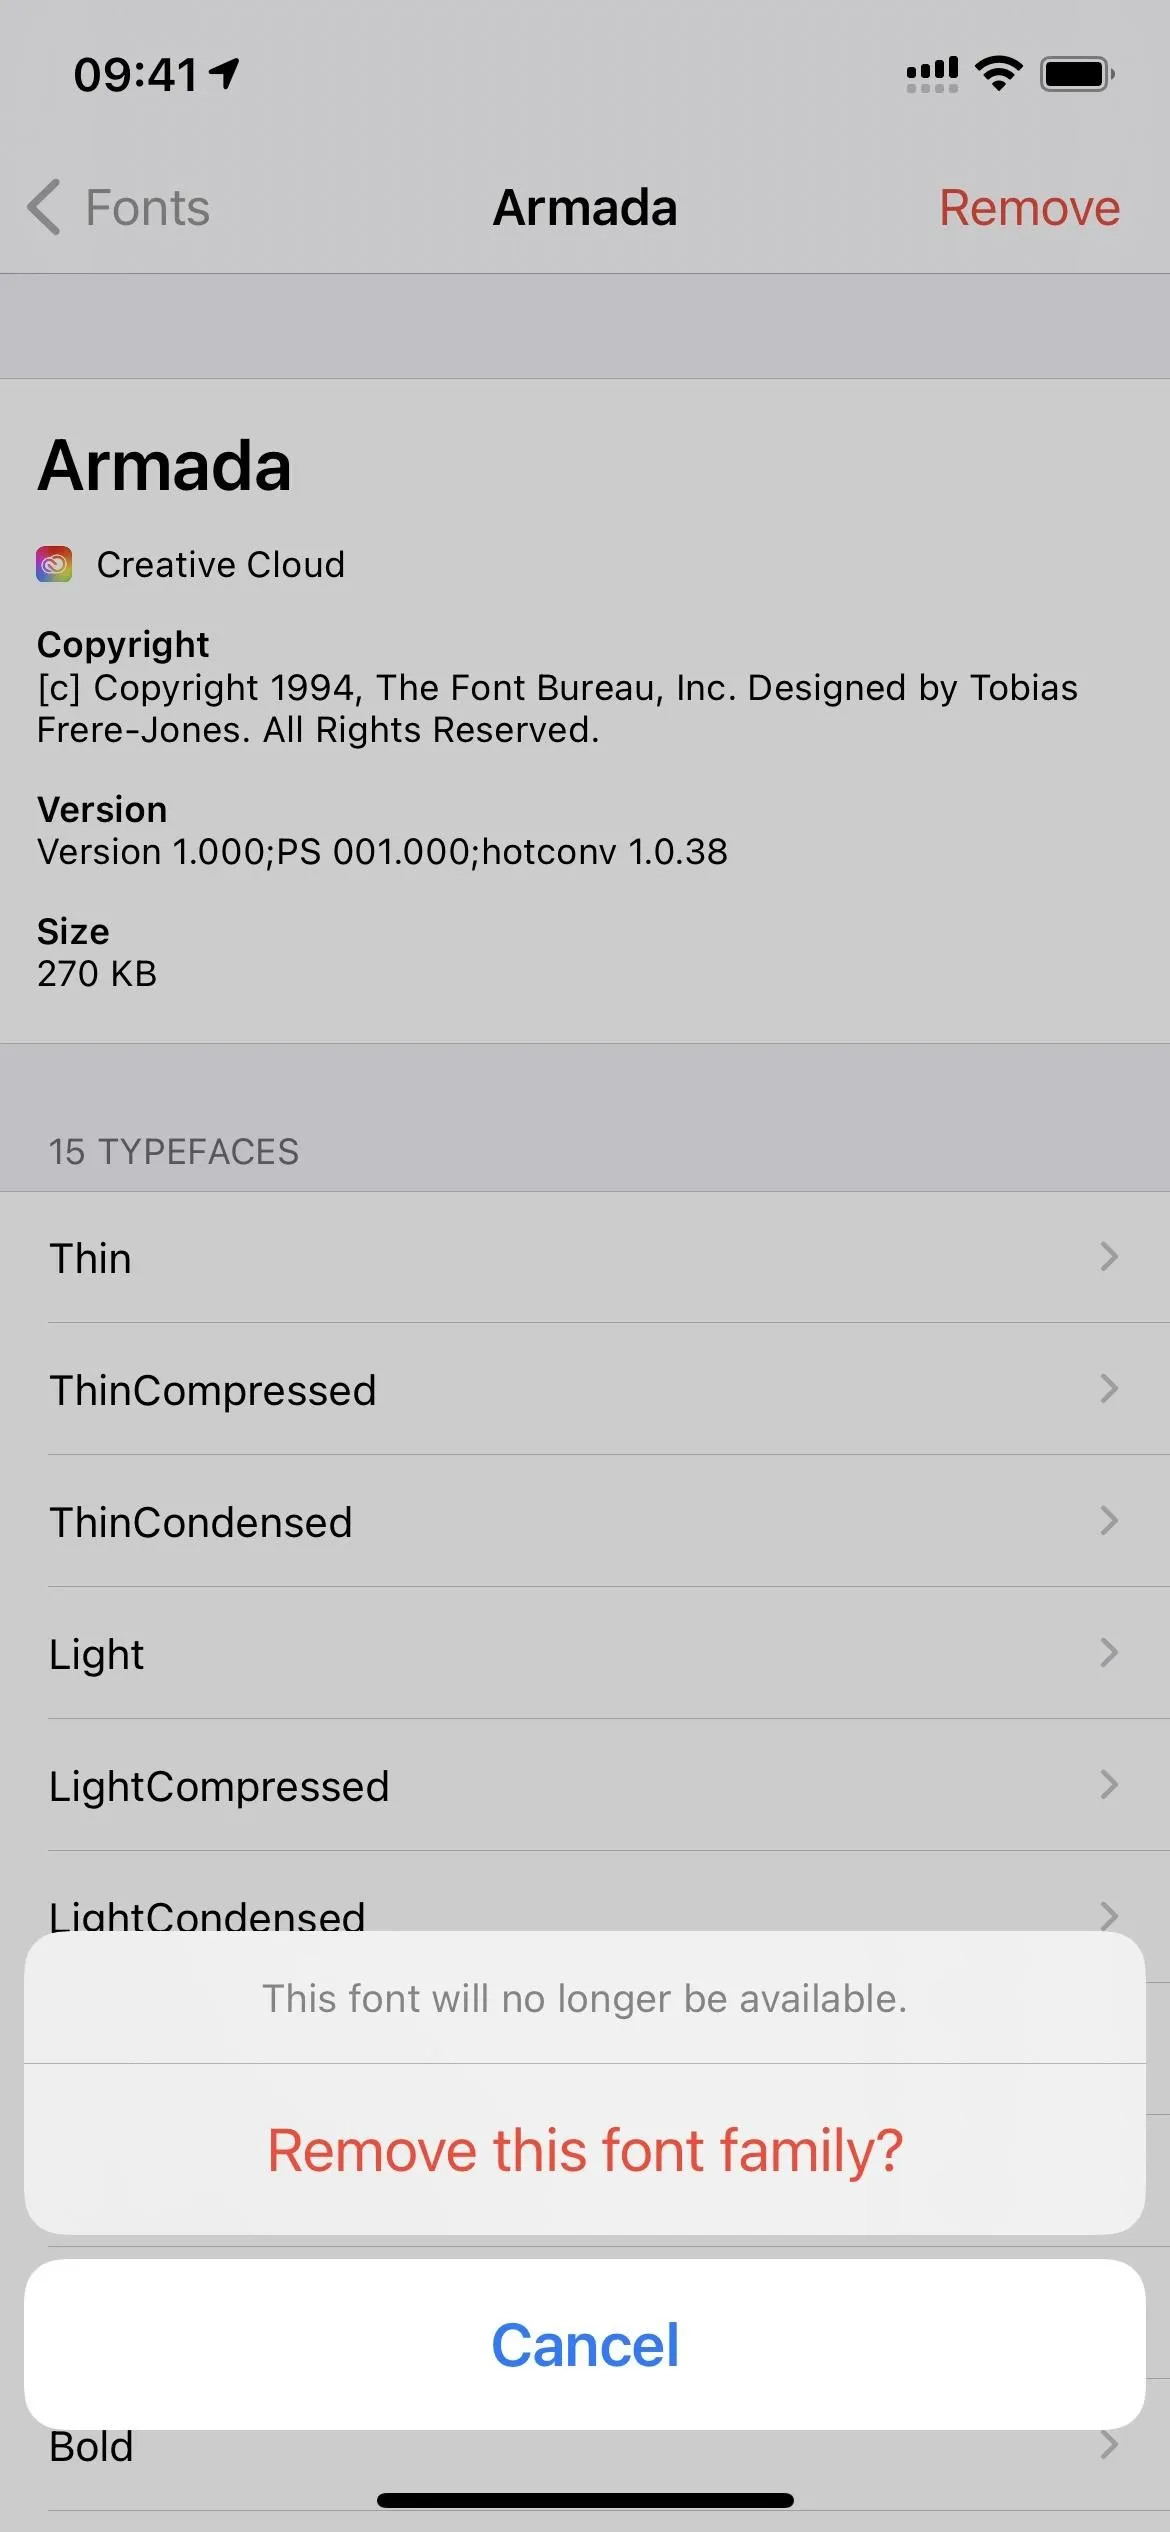
You could also go into the family view, tap "Remove" up top," then "Remove this font family?" to ditch the whole group.

You can also delete all of the fonts you've installed on your iPhone from Adobe by simply logging out of the Creative Cloud app. When you log back into Creative Cloud, they won't automatically be re-installed to the system. Instead, you'll need to select "Show active fonts" from the "Installed fonts" view in Creative Cloud, then add all the ones you want back from here.
Cover photo, screenshots, and GIFs by Justin Meyers/Gadget Hacks


Comments
Be the first, drop a comment!