


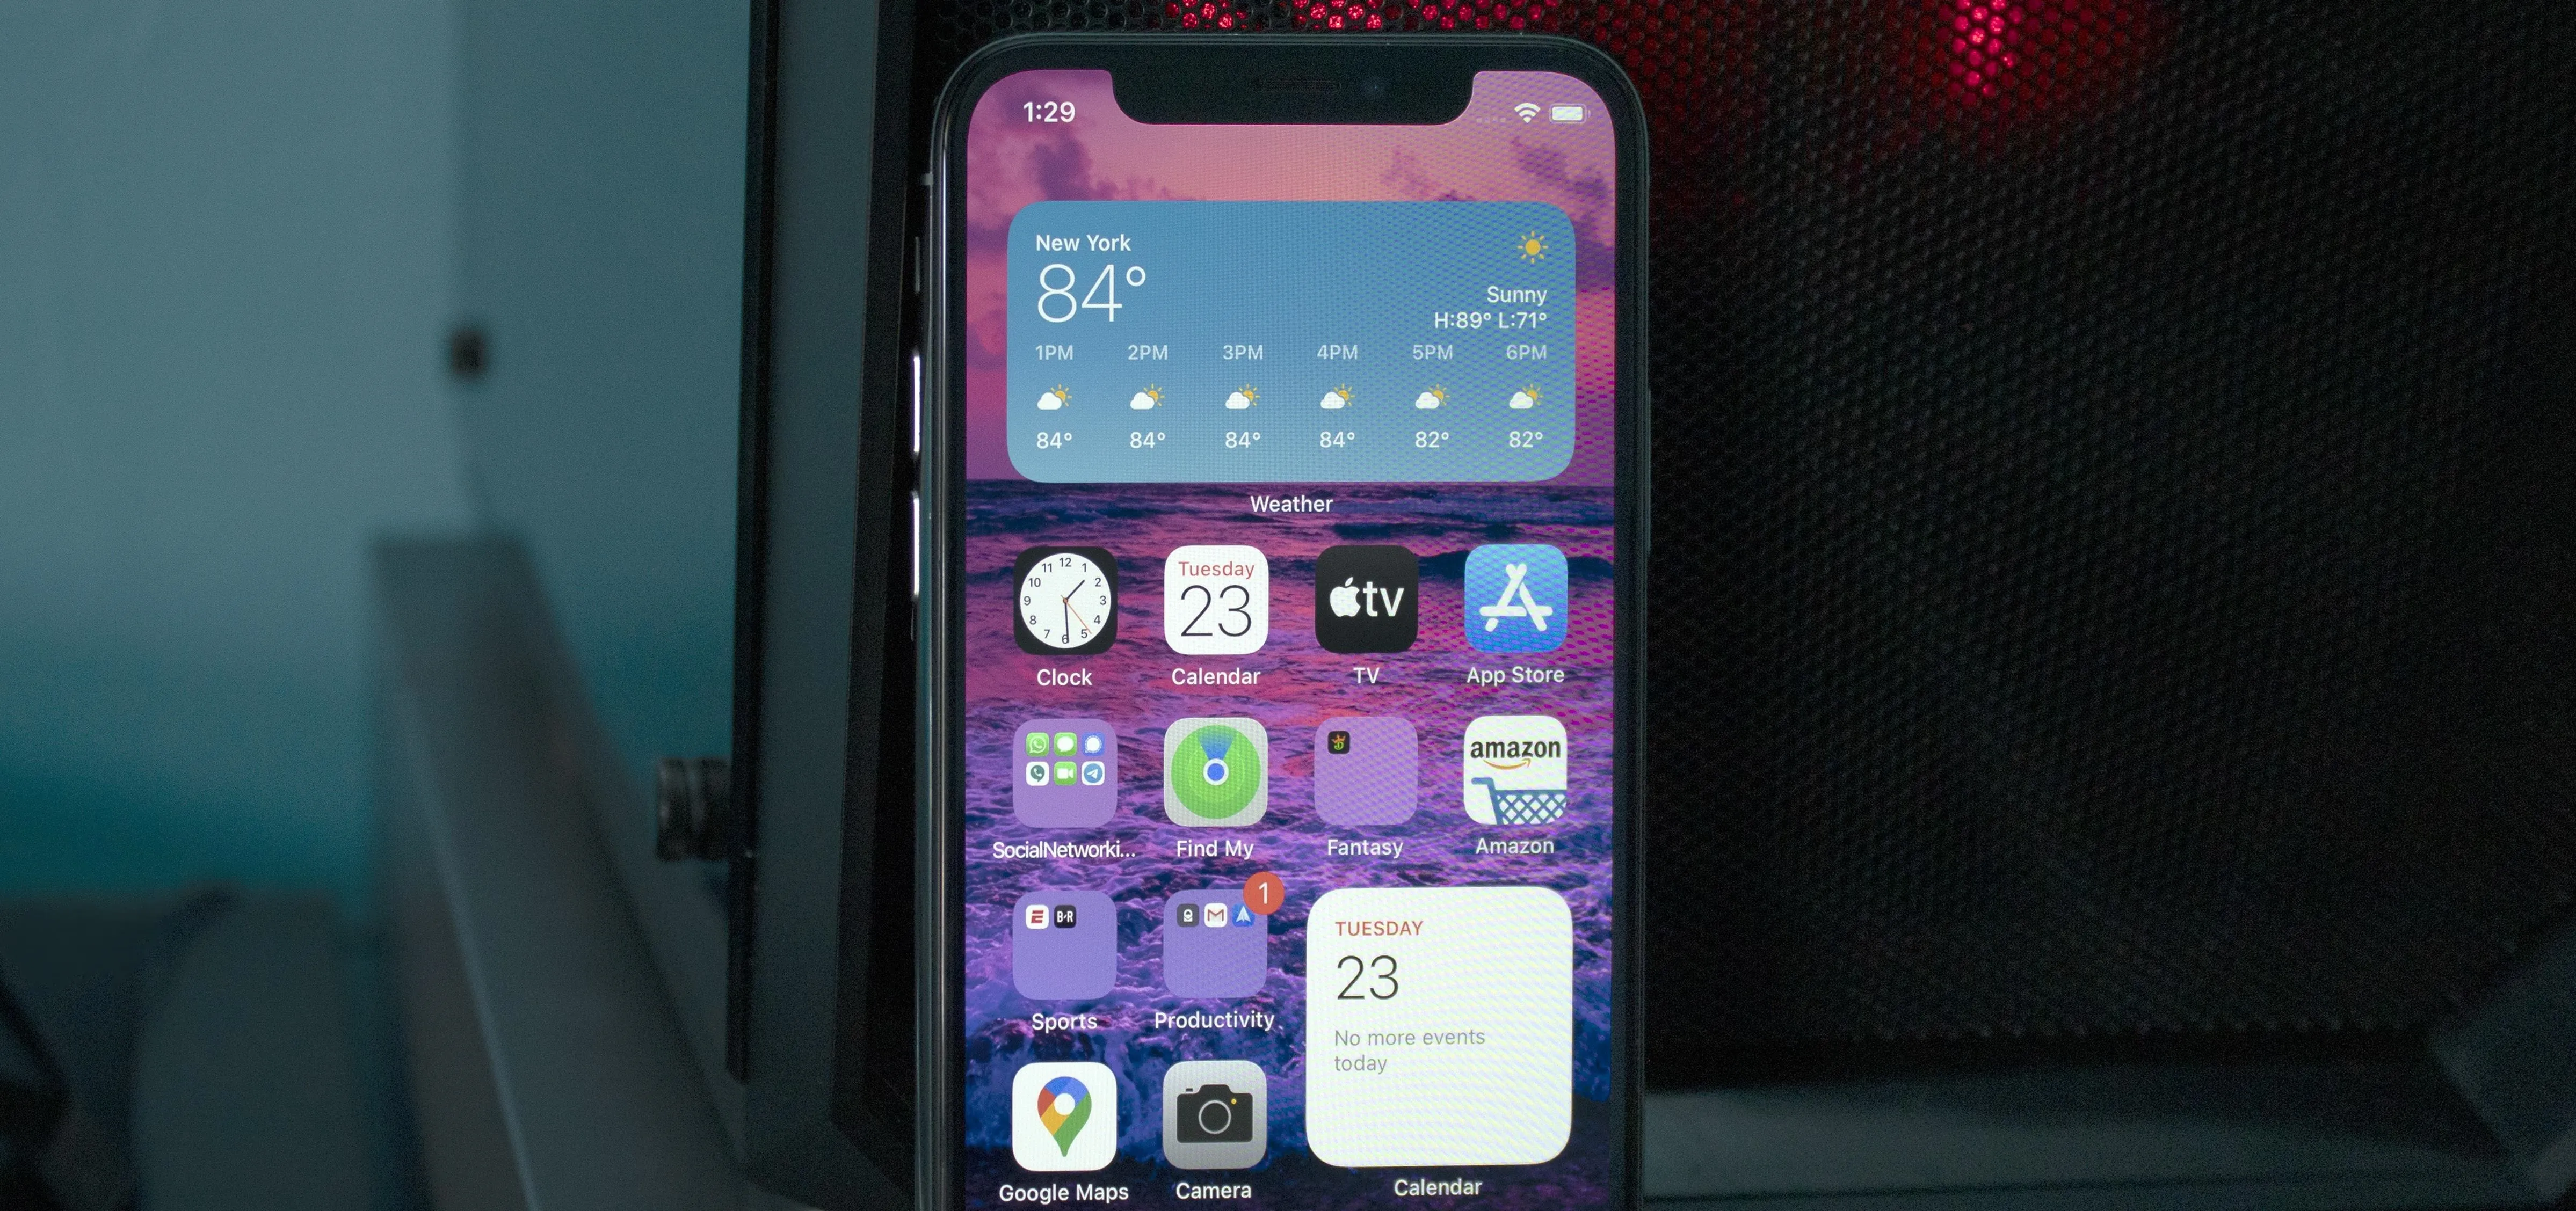
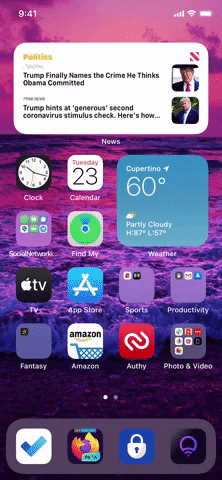
We've wanted them for years, and Apple has finally made widgets accessible on the home screen in iOS 14. These are not the same widgets found in past versions of iOS. They're more data-rich, more colorful, and more versatile. And best of all, both the home screen and Today View get access to them.
Depending on the app, the widget can come in a range of sizes to help you find a balance between the information you need and the space available on your home screen. You can add multiple widgets to one spot with a "widget stack," and there's even an AI-enhanced "Smart Stack" that automatically puts widgets together based on what the system predicts you'll need at that time.
Add a Widget
First, touch-and-hold any empty space on your home screen to enter edit mode. You can also access this mode using quick actions, a quick drag, or long-pressing an icon on the home screen.
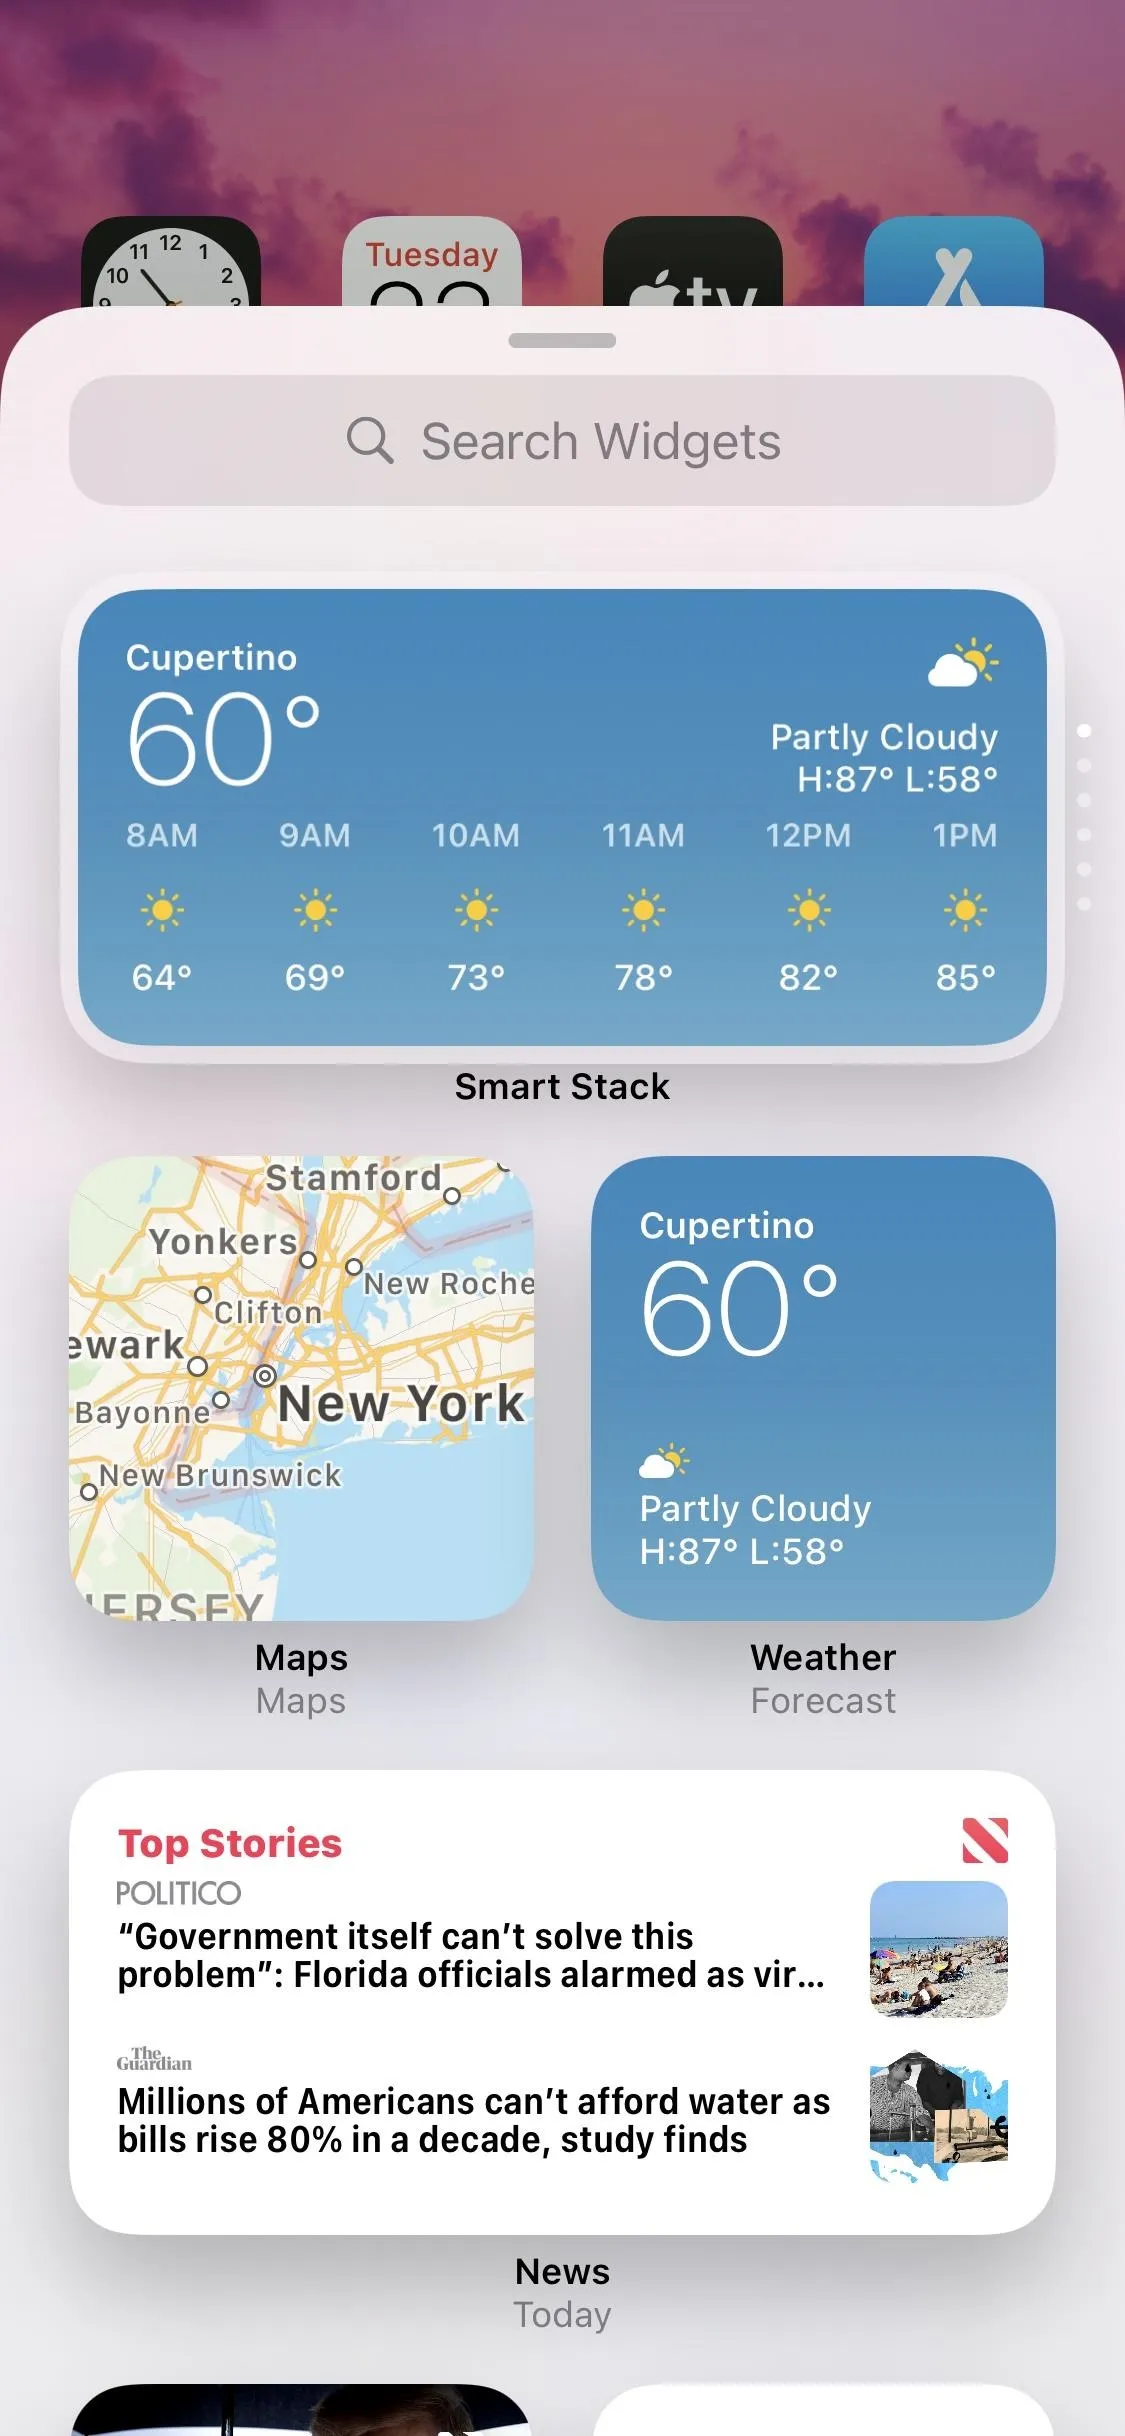
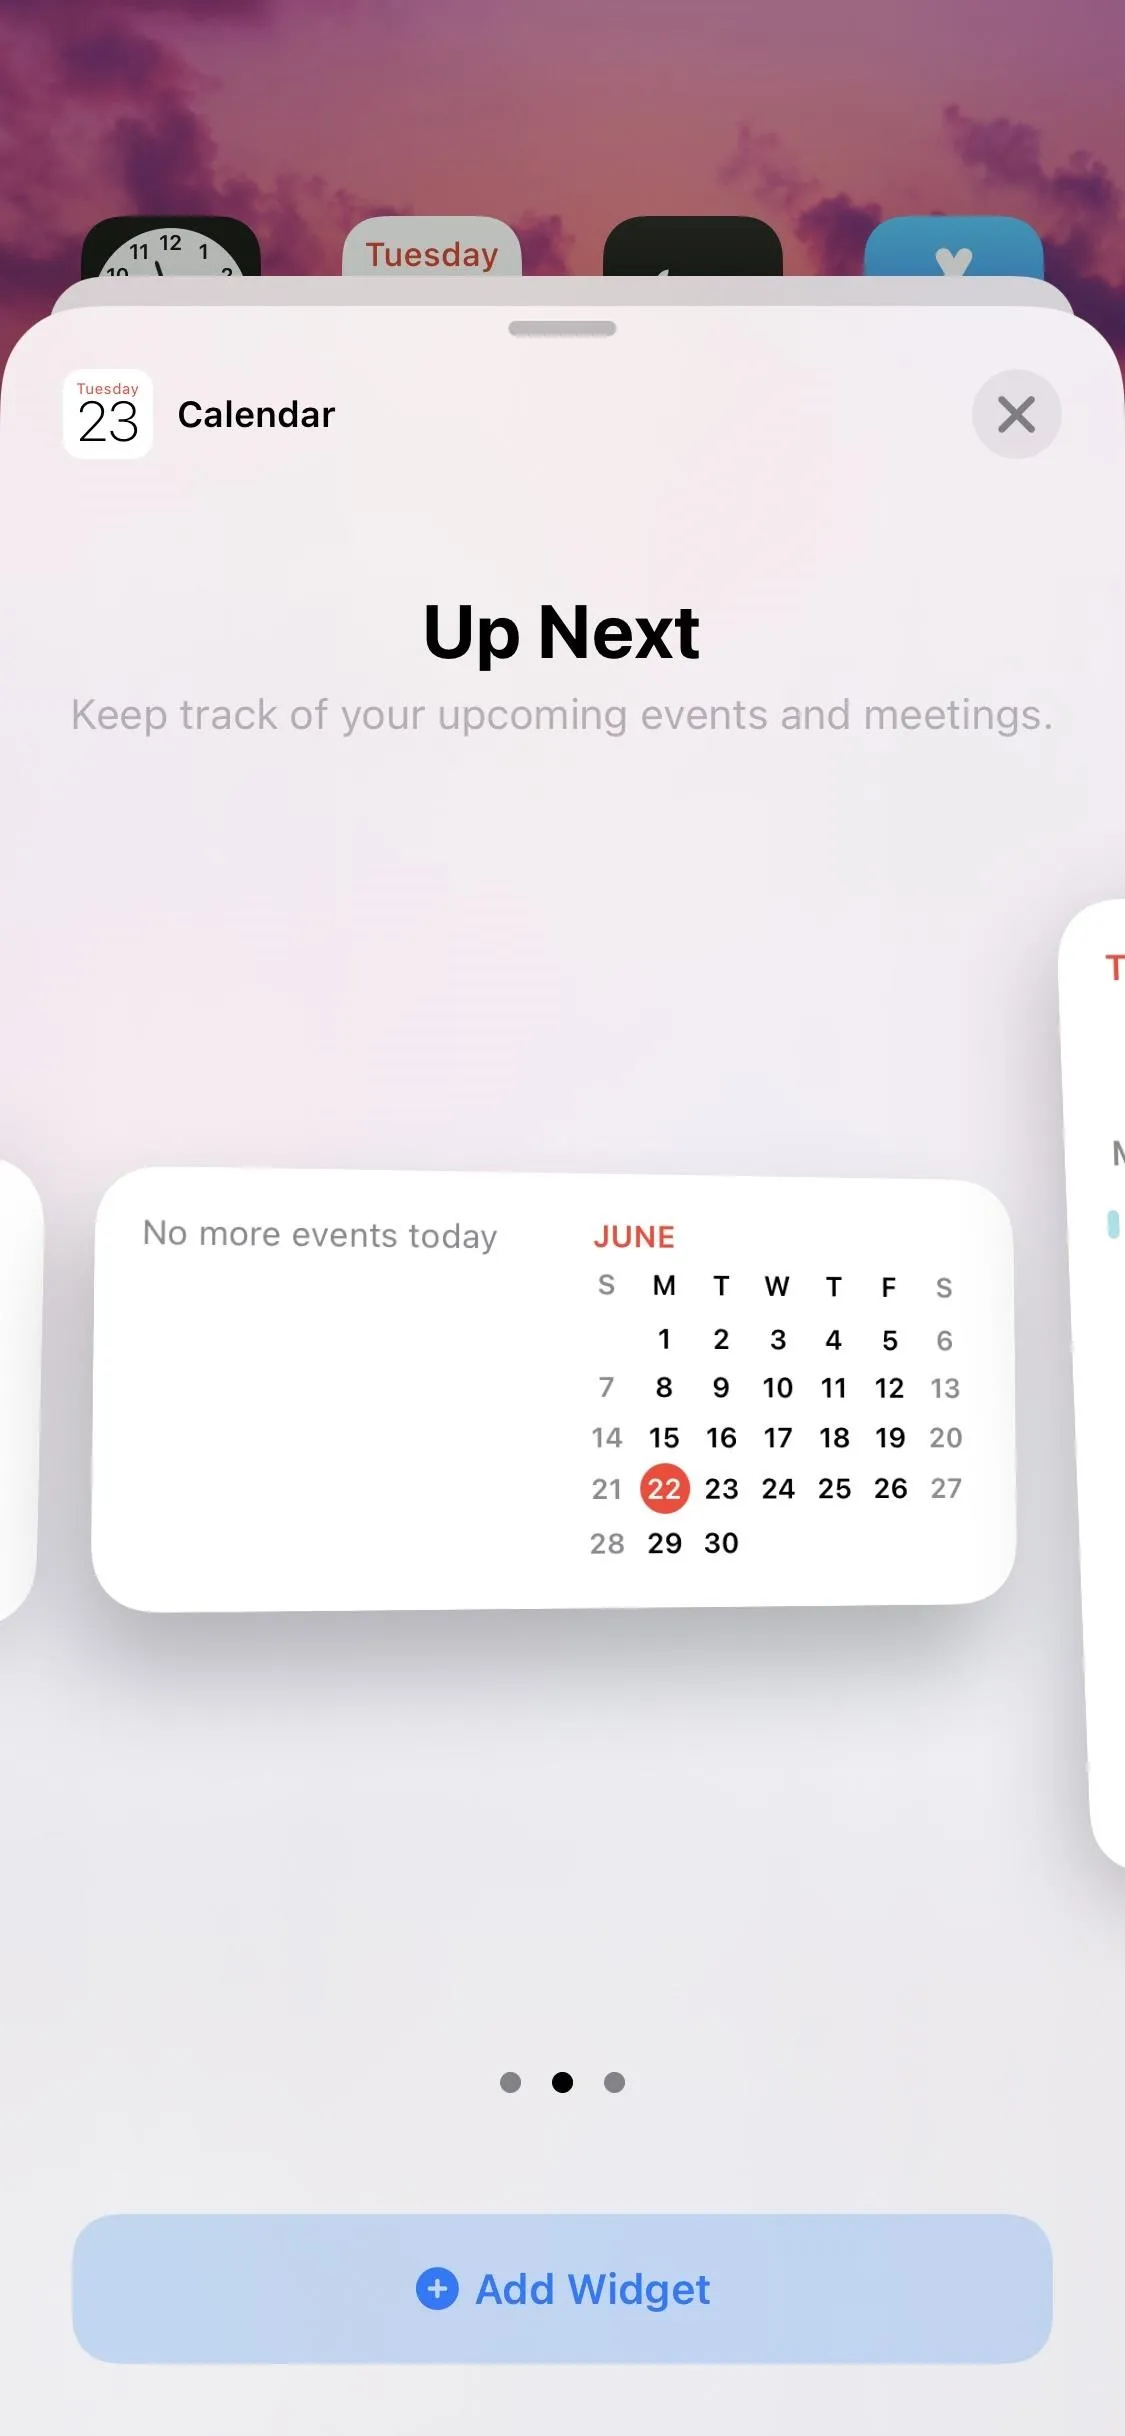
Once in edit mode, the apps will start jiggling, which means you can now modify the home screen. Select the plus (+) icon in the top left to reveal the widgets gallery. Here, you will see a list of widgets for the current apps you have installed. There are previews for select widgets up top, and you can drag one onto your home screen. Additionally, you can tap one, swipe through to select a size, then tap "Add Widget."
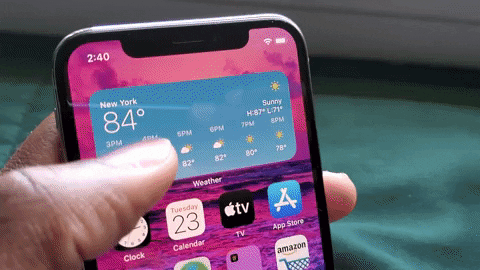
Depending on the developer, the widget can come in multiple sizes from compact to massive. The smallest size of a widget is 2 by 2, or two icons tall by two icons wide. Widgets can also come in 2 by 4 and the massive 4 by 4 if you need to see a lot at once.
If the widget you want isn't available in a preview, whether it's because the app is not there or it's not the size you want, you can tap one or tap an app's name in the list below the previews. This will reveal a new page of all the available sizes as well as a real-time look at the data it will show when added. Once you find the desired size, drag it to the home screen or use the "Add Widget" button beneath it to add it to the top of the current home screen.
Add Widget Stacks (Optional)
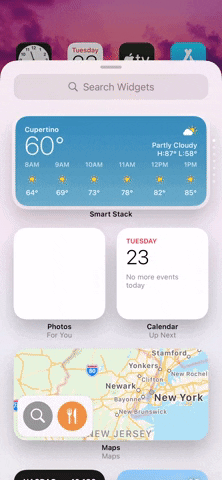
If you need to add multiple widgets but don't have space, you can create widget stacks, which are multiple widgets layered on top of each other that occupy the same area on your home screen. The widgets must be the same size to stack, so a 2 by 4 widget won't be able to stack on top of a 2 by 2 or vice versa.
To create a widget stack, drag a similarly sized widget on top of another widget and drop it in place. The new widget will cover up the old one, but I'll show you how to switch between them below.
Alternatively, you can add a "Smart Stack." This is an AI-enhanced widget stack which automatically selects a widget to appear on the top of the stack based on your usage. Add this widget by entering home screen edit mode, tapping +, then dragging the "Smart Stack" entry into place on your home screen.
Actually, all stacks you make are "Smart" ones, and any of them can be "Dumb" too if you want. Meaning, they won't rotate automatically based on your predicted needs. (Long-press a stack, tap "Edit Stack," then toggle off "Smart Rotate." You can then reorder the widgets if you want.)
Move Today View Widgets to Your Home Screen (Optional)
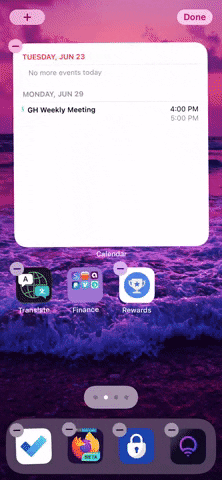
You can also move a widget from Today View to the home screen. You need first to enter edit mode in the Today View. However, iOS 14 changed how you do it. Now, you'll need to long-press an empty space in the Today View or on your home screen to enter editing mode. You could also long-press a widget or app and select "Edit Home Screen," or long-press a widget or app and move it.
In edit mode, drag a widget from Today View to the home screen to move it over. Be aware that not all widgets in Today View can be moved to the home screen. Namely, the old-style widgets that some third-party apps are still using can only be situated in Today View. Until every developer adds support, those at the bottom of the page (usually with a transparent background) will be unable to move.
Rearrange Widgets as Needed
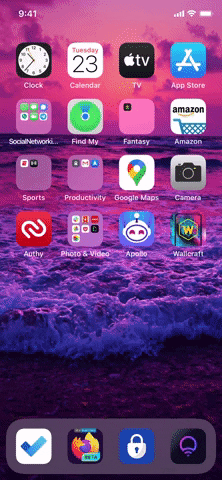
Once added, you can rearrange widgets in the same manner as rearranging your app icons. As long as you are in edit mode, you can drag the widget around and drop it anywhere. While moving it, any apps underneath it will automatically move to the nearest free space, whether on the current home screen or the next one. You can also create stacks, as mentioned before.
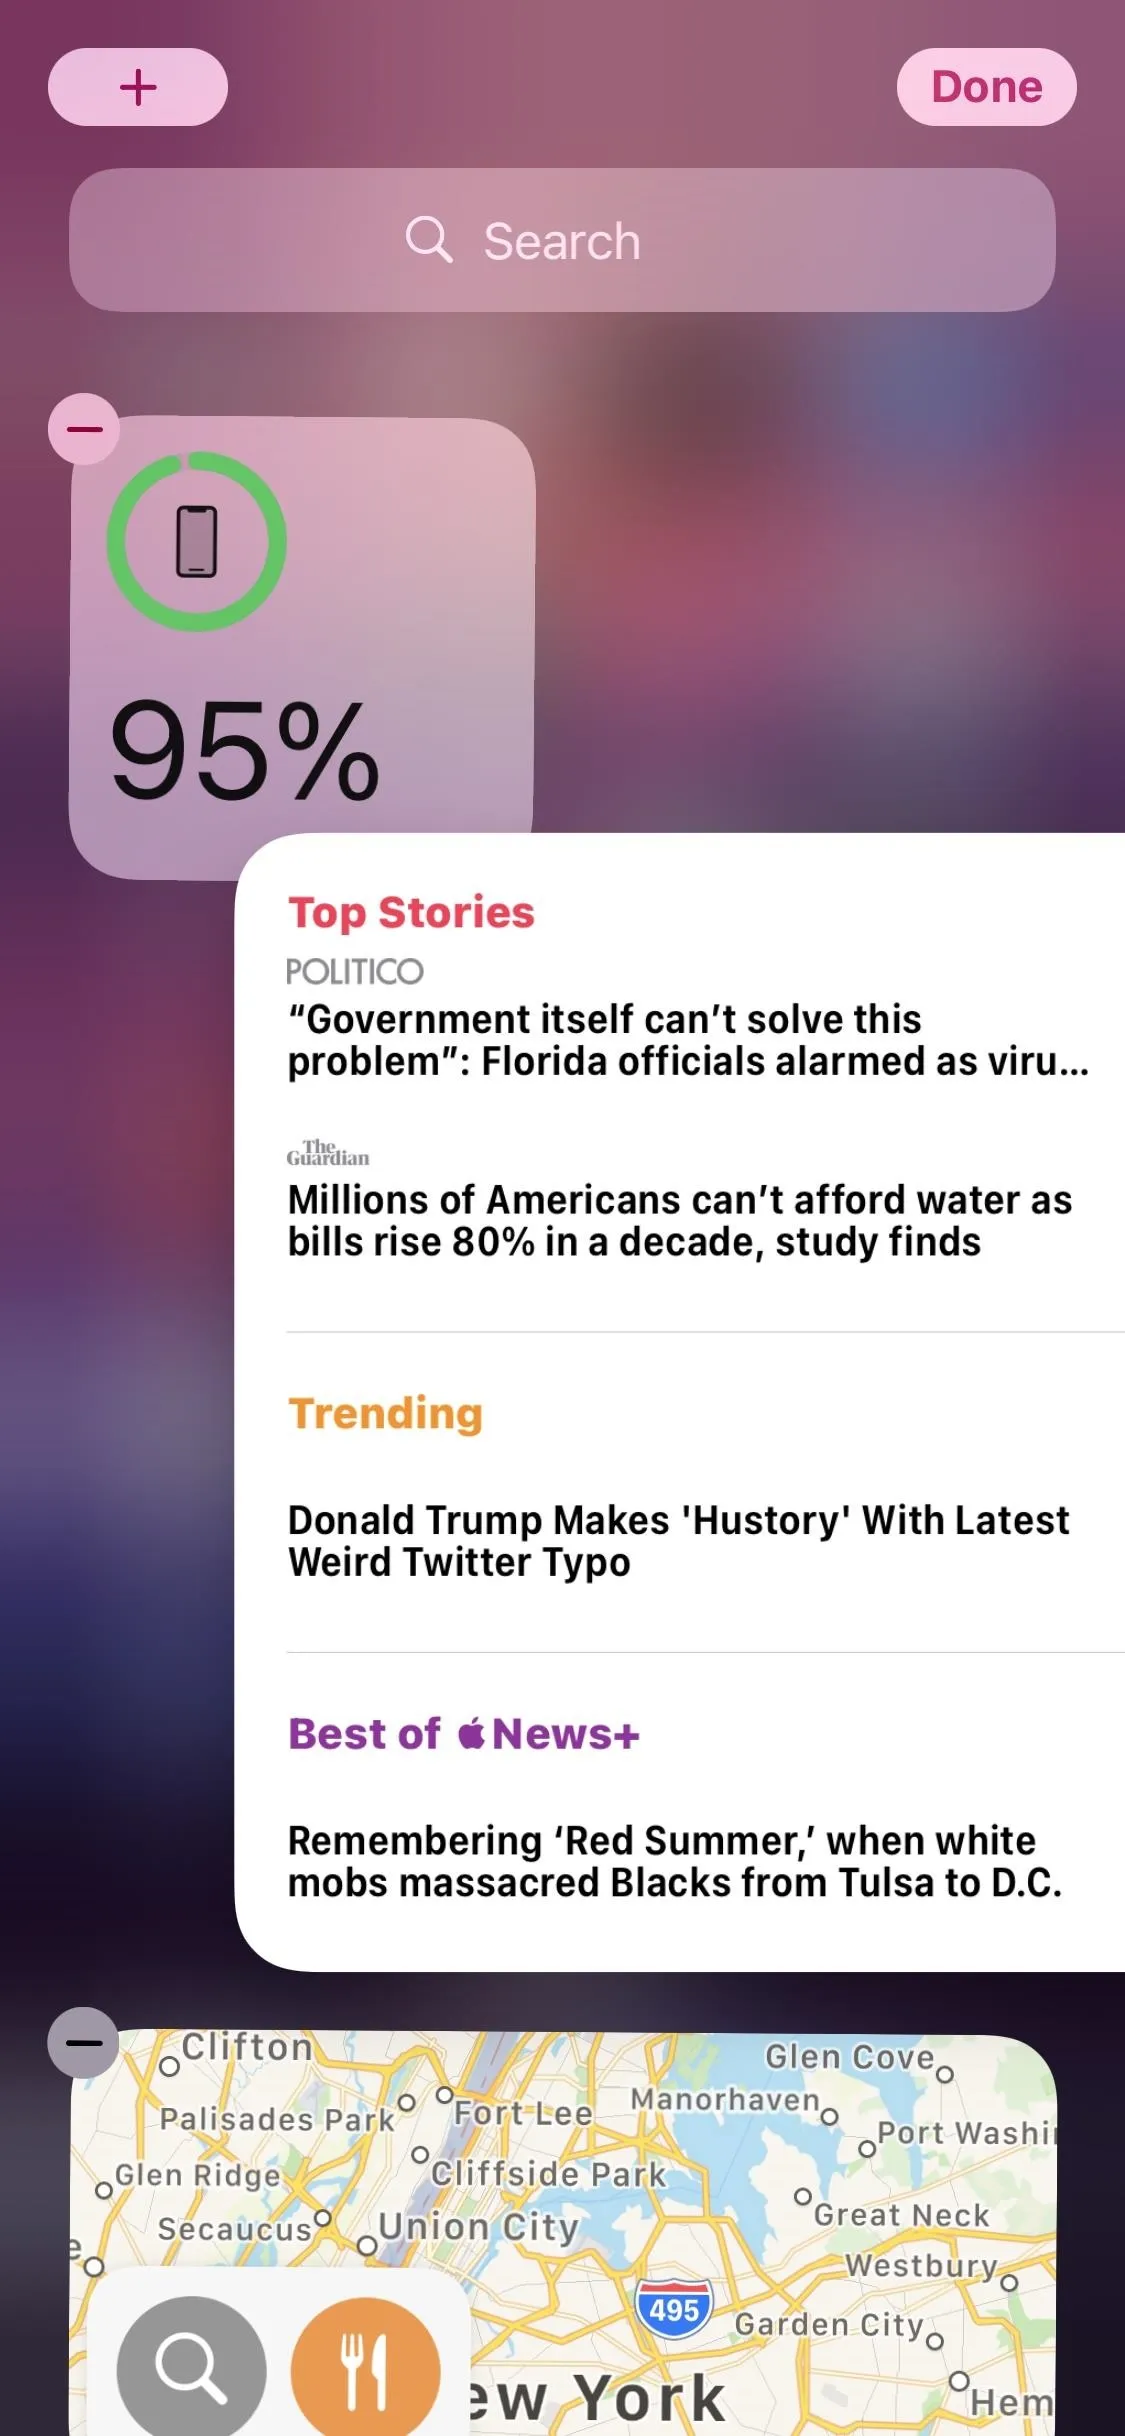
To delete a widget, you can tap the – sign in the widget's top-left corner while in home screen editing mode, or you can long-press the widget to open its quick actions and select "Remove Widget."
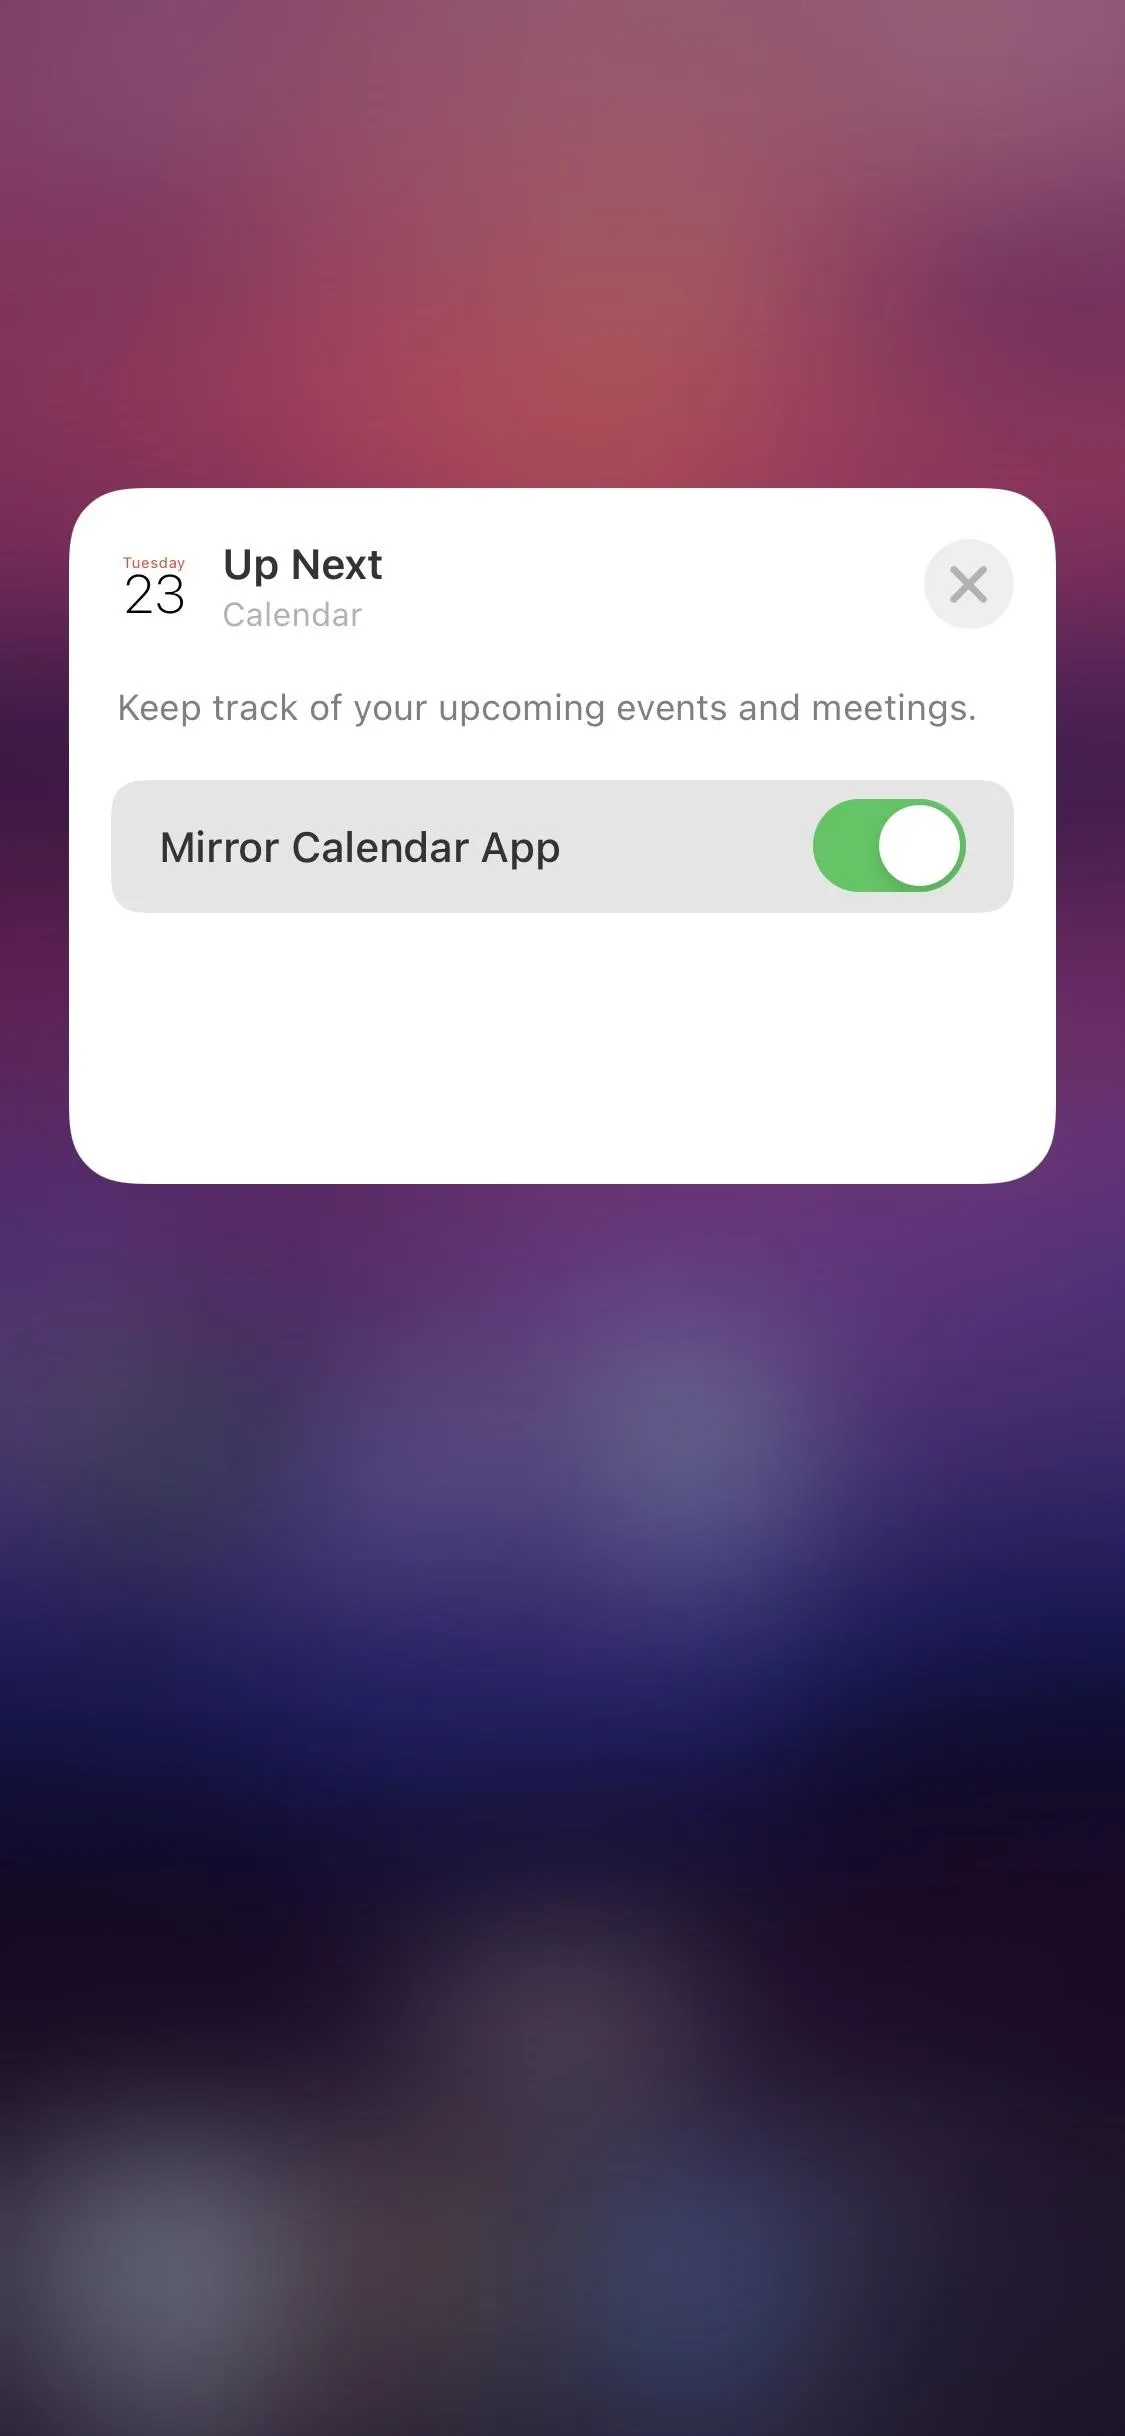
While in edit mode, selecting a widget on the home screen flips it over, revealing its options — although not all widgets have an options page. You can also choose "Edit Widget" from quick actions or "Edit [AppName]" if it's in a stack to see a widget's customizability. If you tap "Edit Stack" instead, you'll see the possibilities for stacks, as discussed earlier.
Interact with Your Widgets
Once added, the widget will update periodically with new information (even with Low Power Mode enabled). Selecting a widget will pull up the corresponding page in the app. For stacks, you can swipe up or down on the widget to switch between the different widgets. Have fun!
Cover image, screenshots, and GIFs by Jon Knight/Gadget Hacks


Comments
Be the first, drop a comment!