


Instagram has extensive tools built in for creating and editing posts and Stories, but there could always be more. Third-party apps can help you add photo and video effects for even more visually stimulating content, as well as create announcements, text-based images, and everything in between. However, now that Shortcuts exists on iOS, you may no longer need all those extra apps on your iPhone.
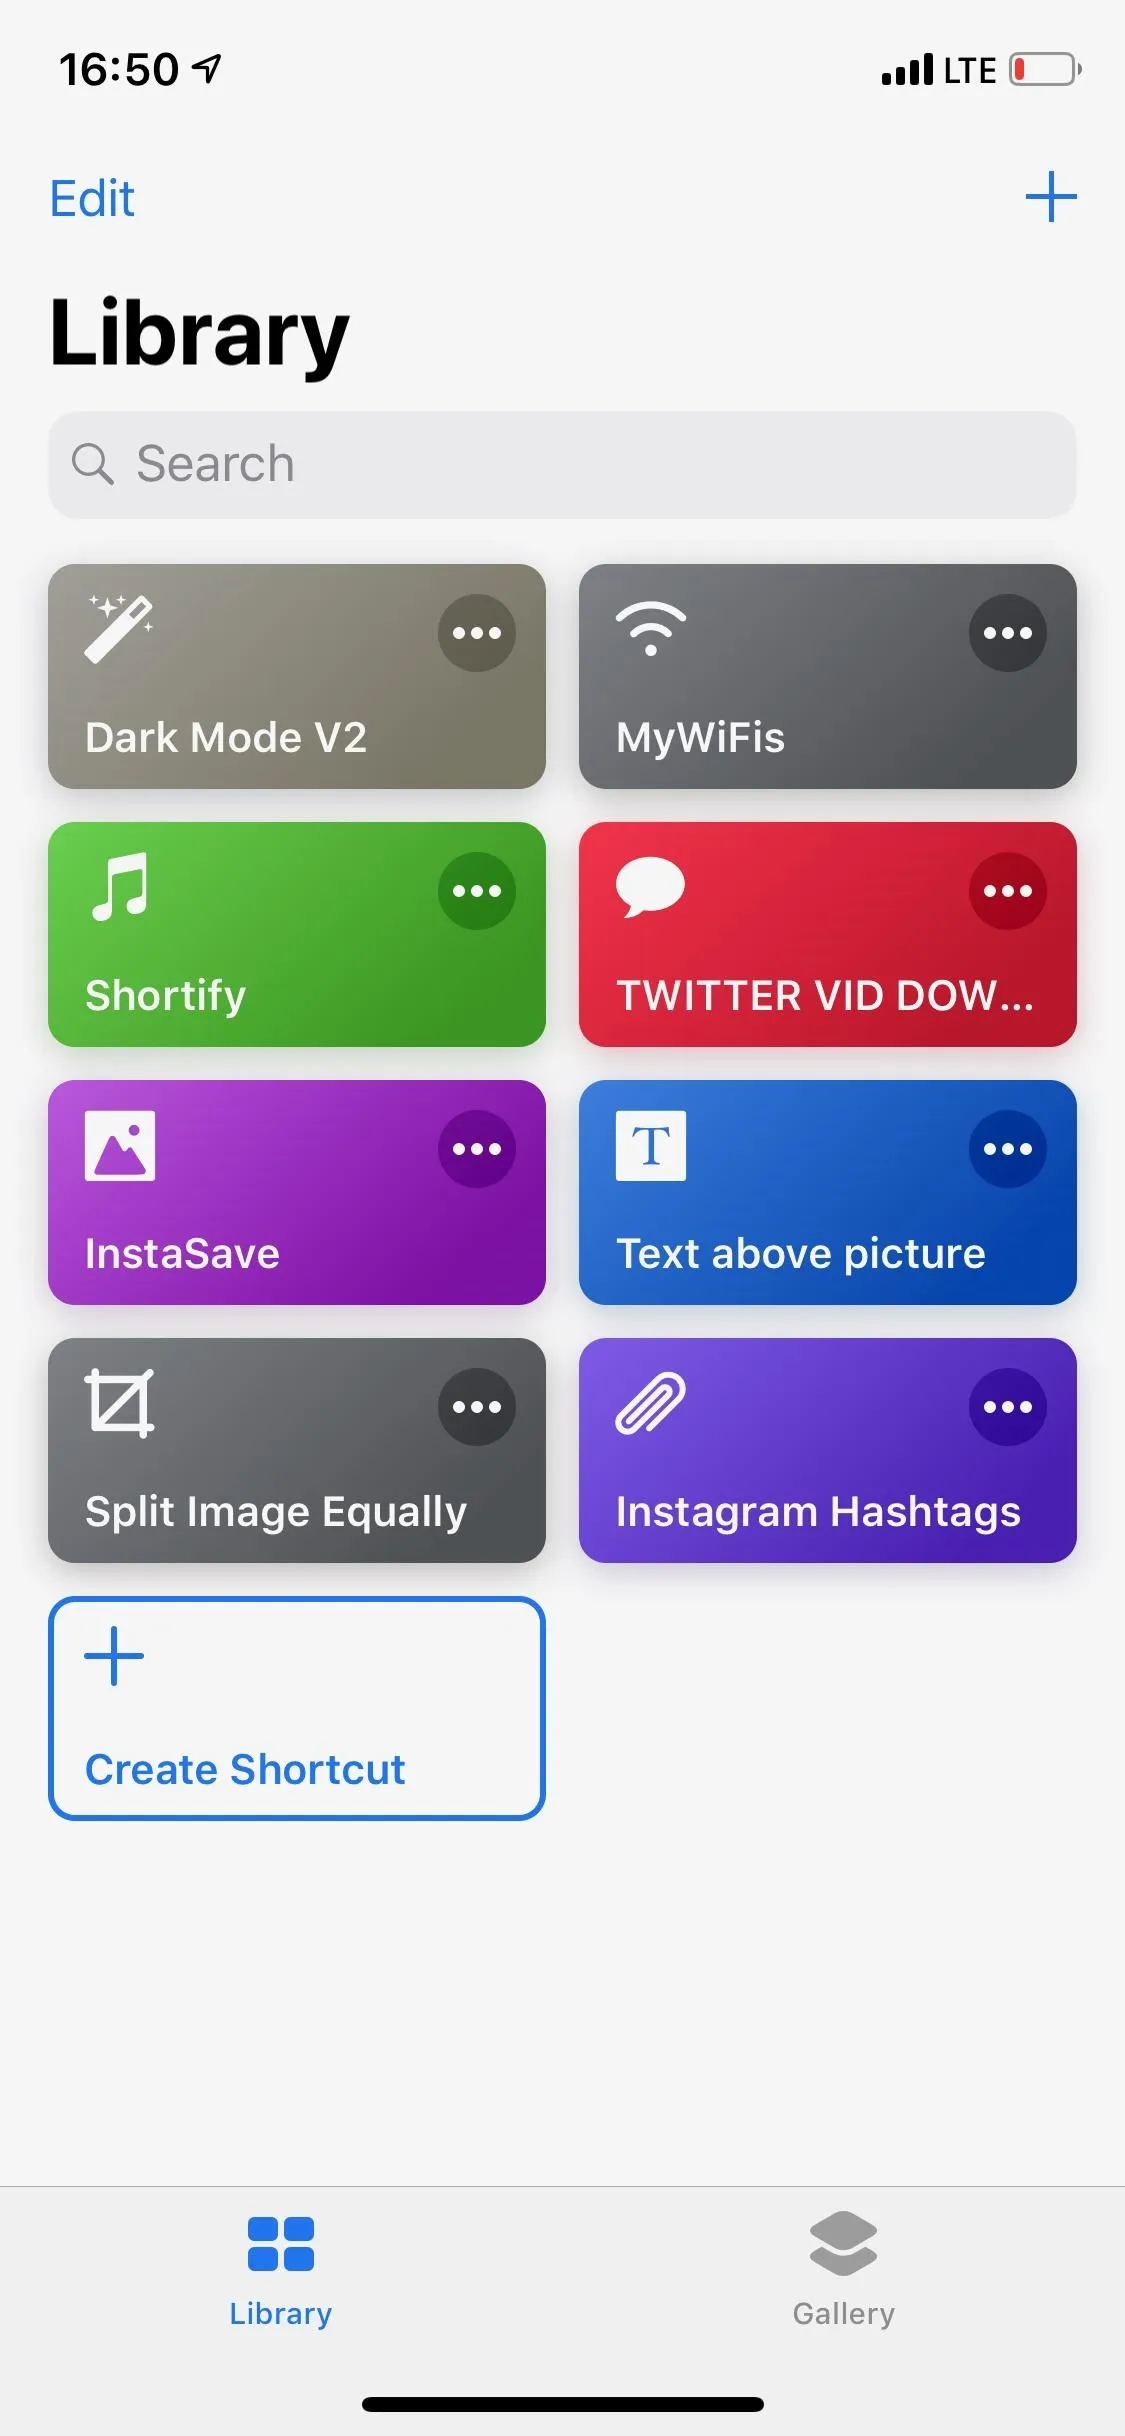
Apple's Shortcuts app brings deeper automation to iOS devices, and that means a lot of fun and useful features for Instagram. You can download Instagram videos, create funny memes, and steal popular hashtags — all without needing a third-party app installed on your iPhone. Some of these shortcuts do use third-party services to work their magic, but it's a lot better than wasting home screen space.
1. Download Instagram Photos, Videos, Stories & More
Tired of using screenshots and third-party apps to save images and download videos on Instagram? "Instasave," from hinapupina, allows you to save pretty much visual content from other users — individual posts (photos or videos), Stories, highlights, and even complete IG profiles.
- Shortcuts Link: Instasave
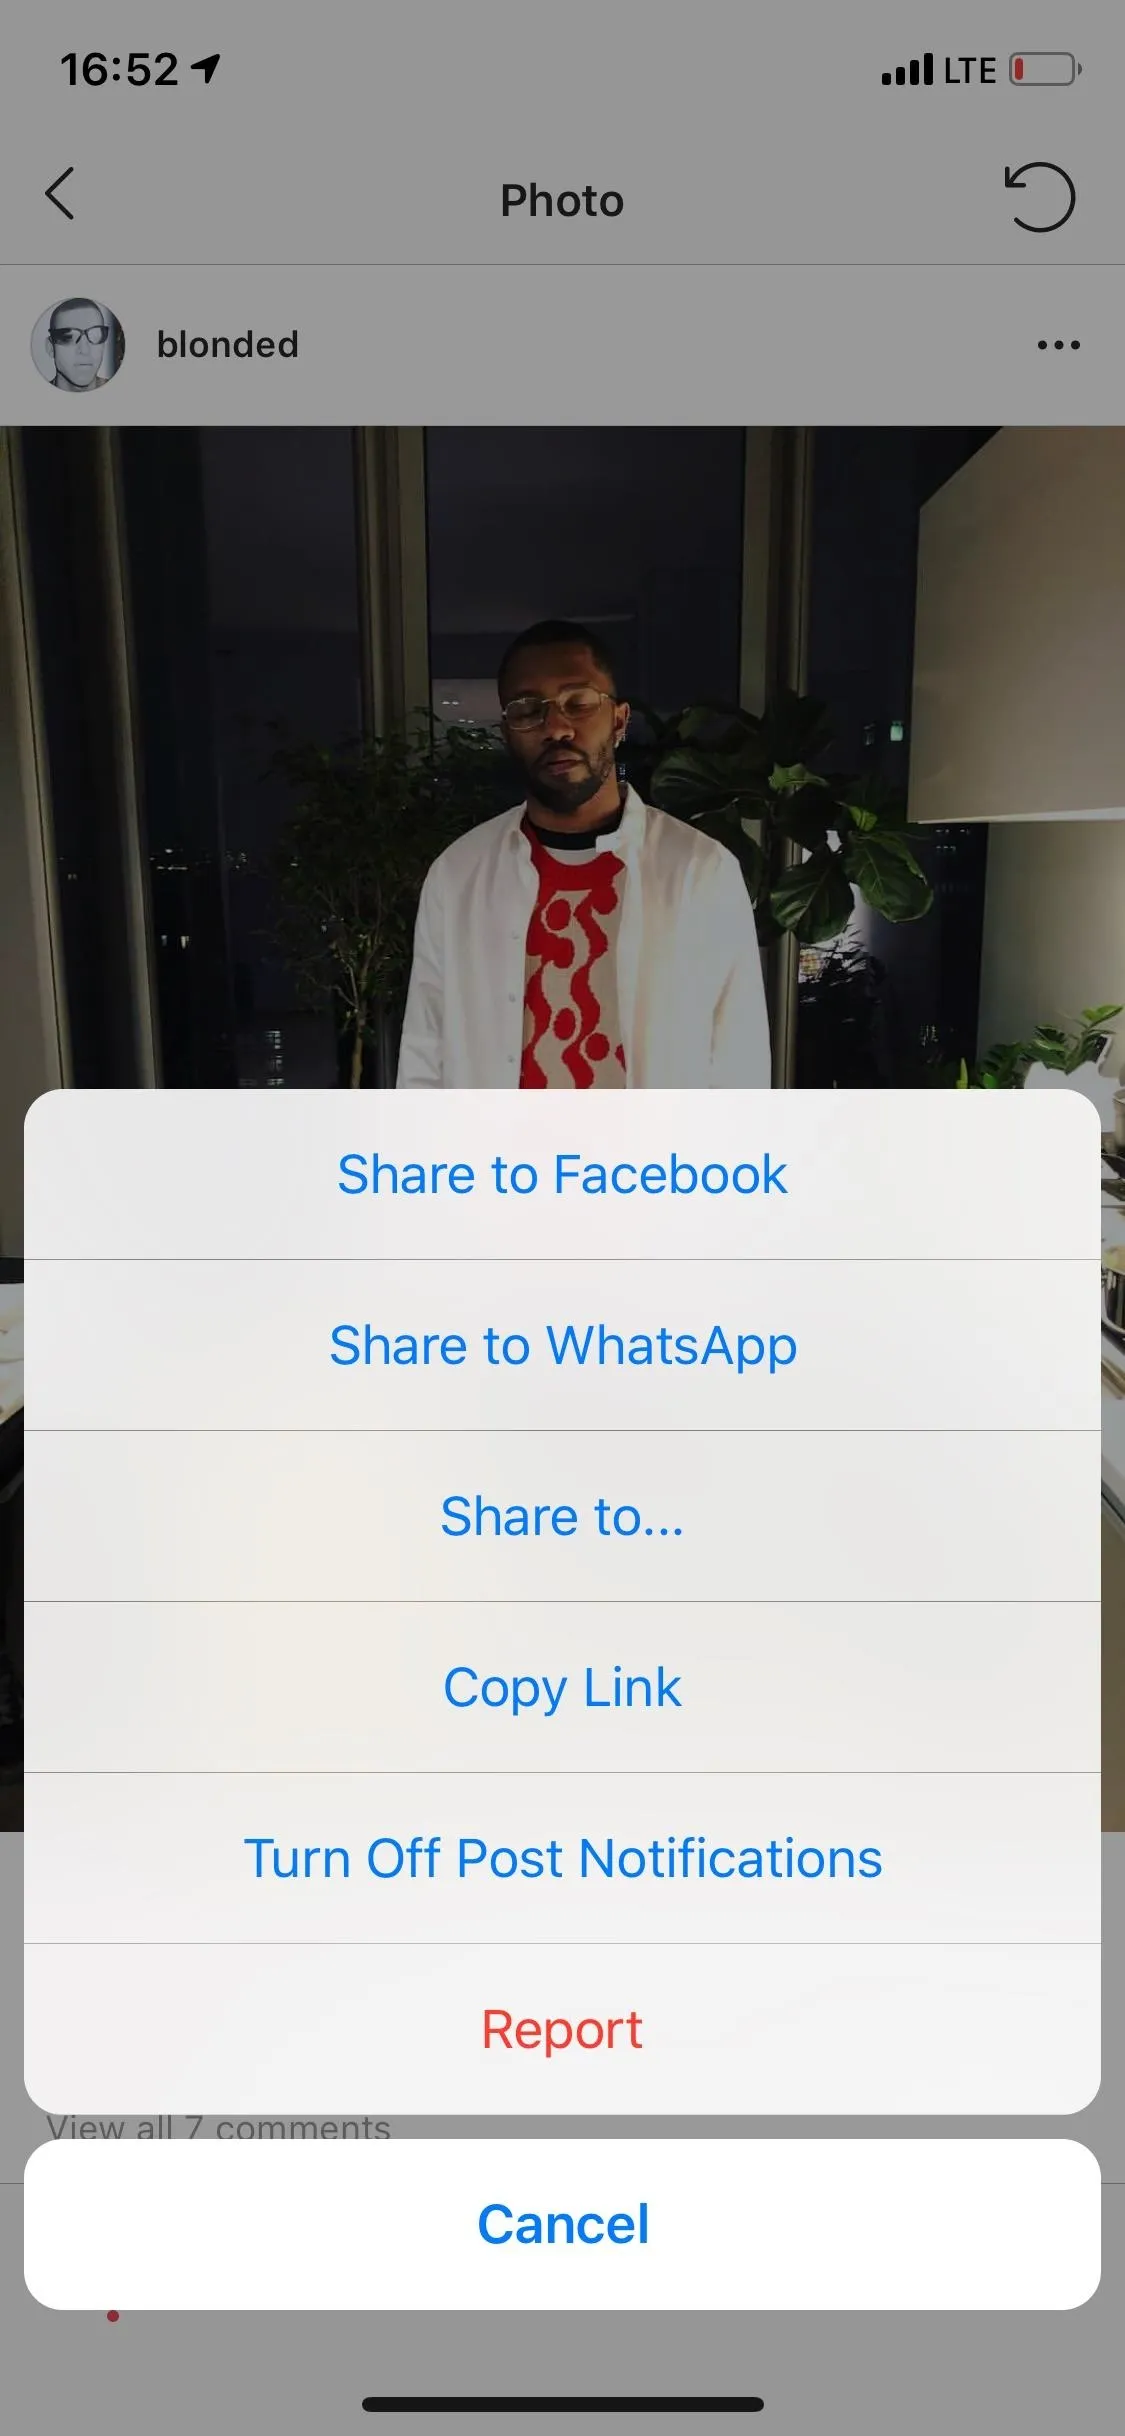
To save an individual photo or video, you must first go to the post on Instagram. Next, tap on the three-dot menu (•••) in the top right, select "Share to," then "Shortcuts" from your share sheet. Finally, tap on the "InstaSave" shortcut, and after a few seconds, your picture or video will be saved to your Photos app.
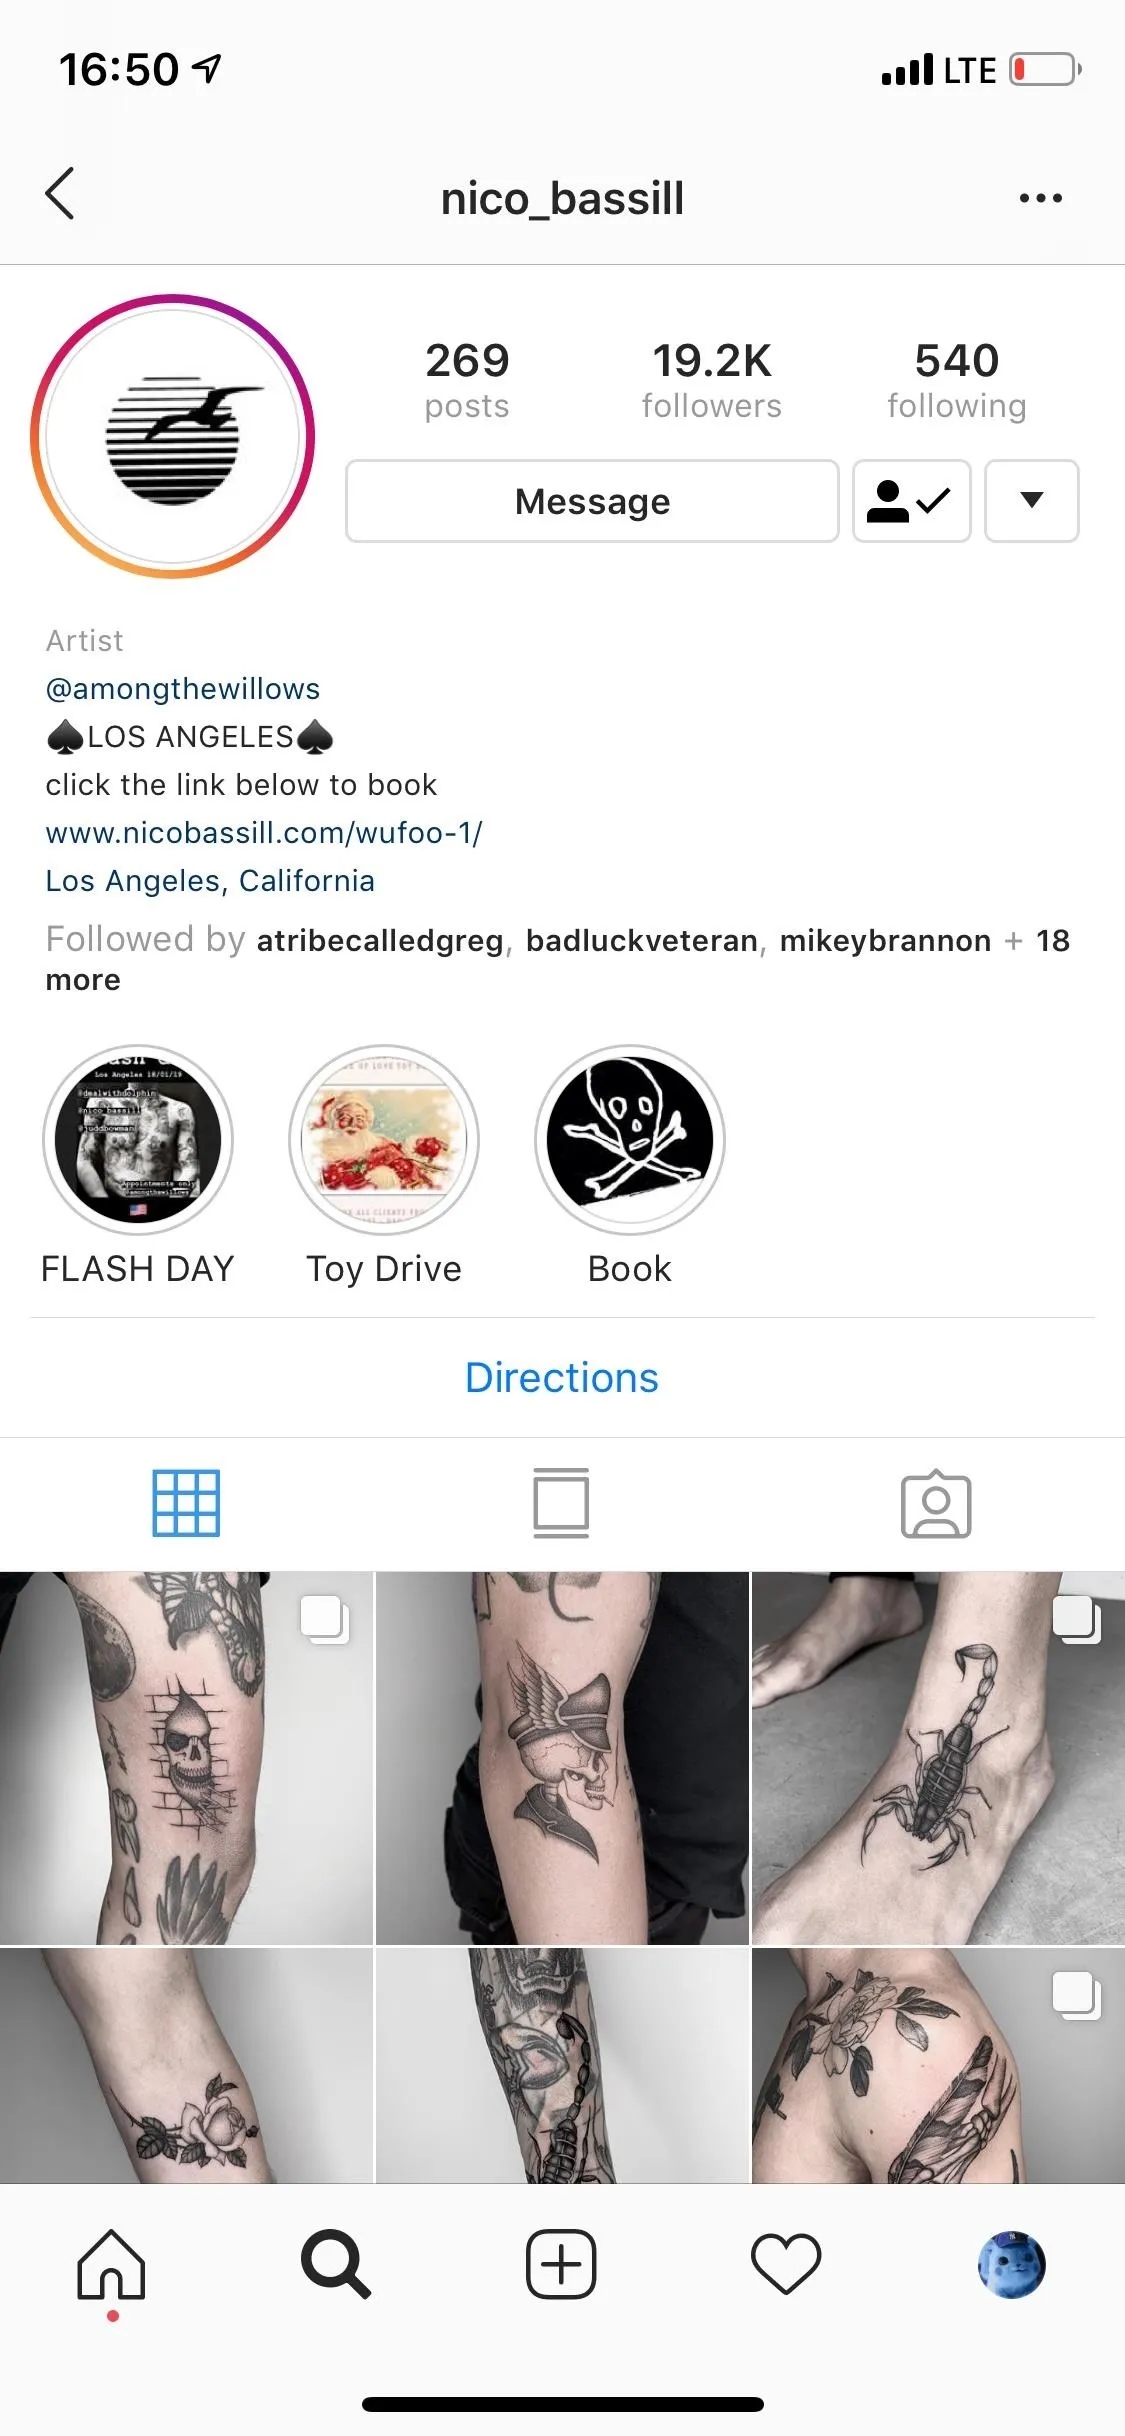
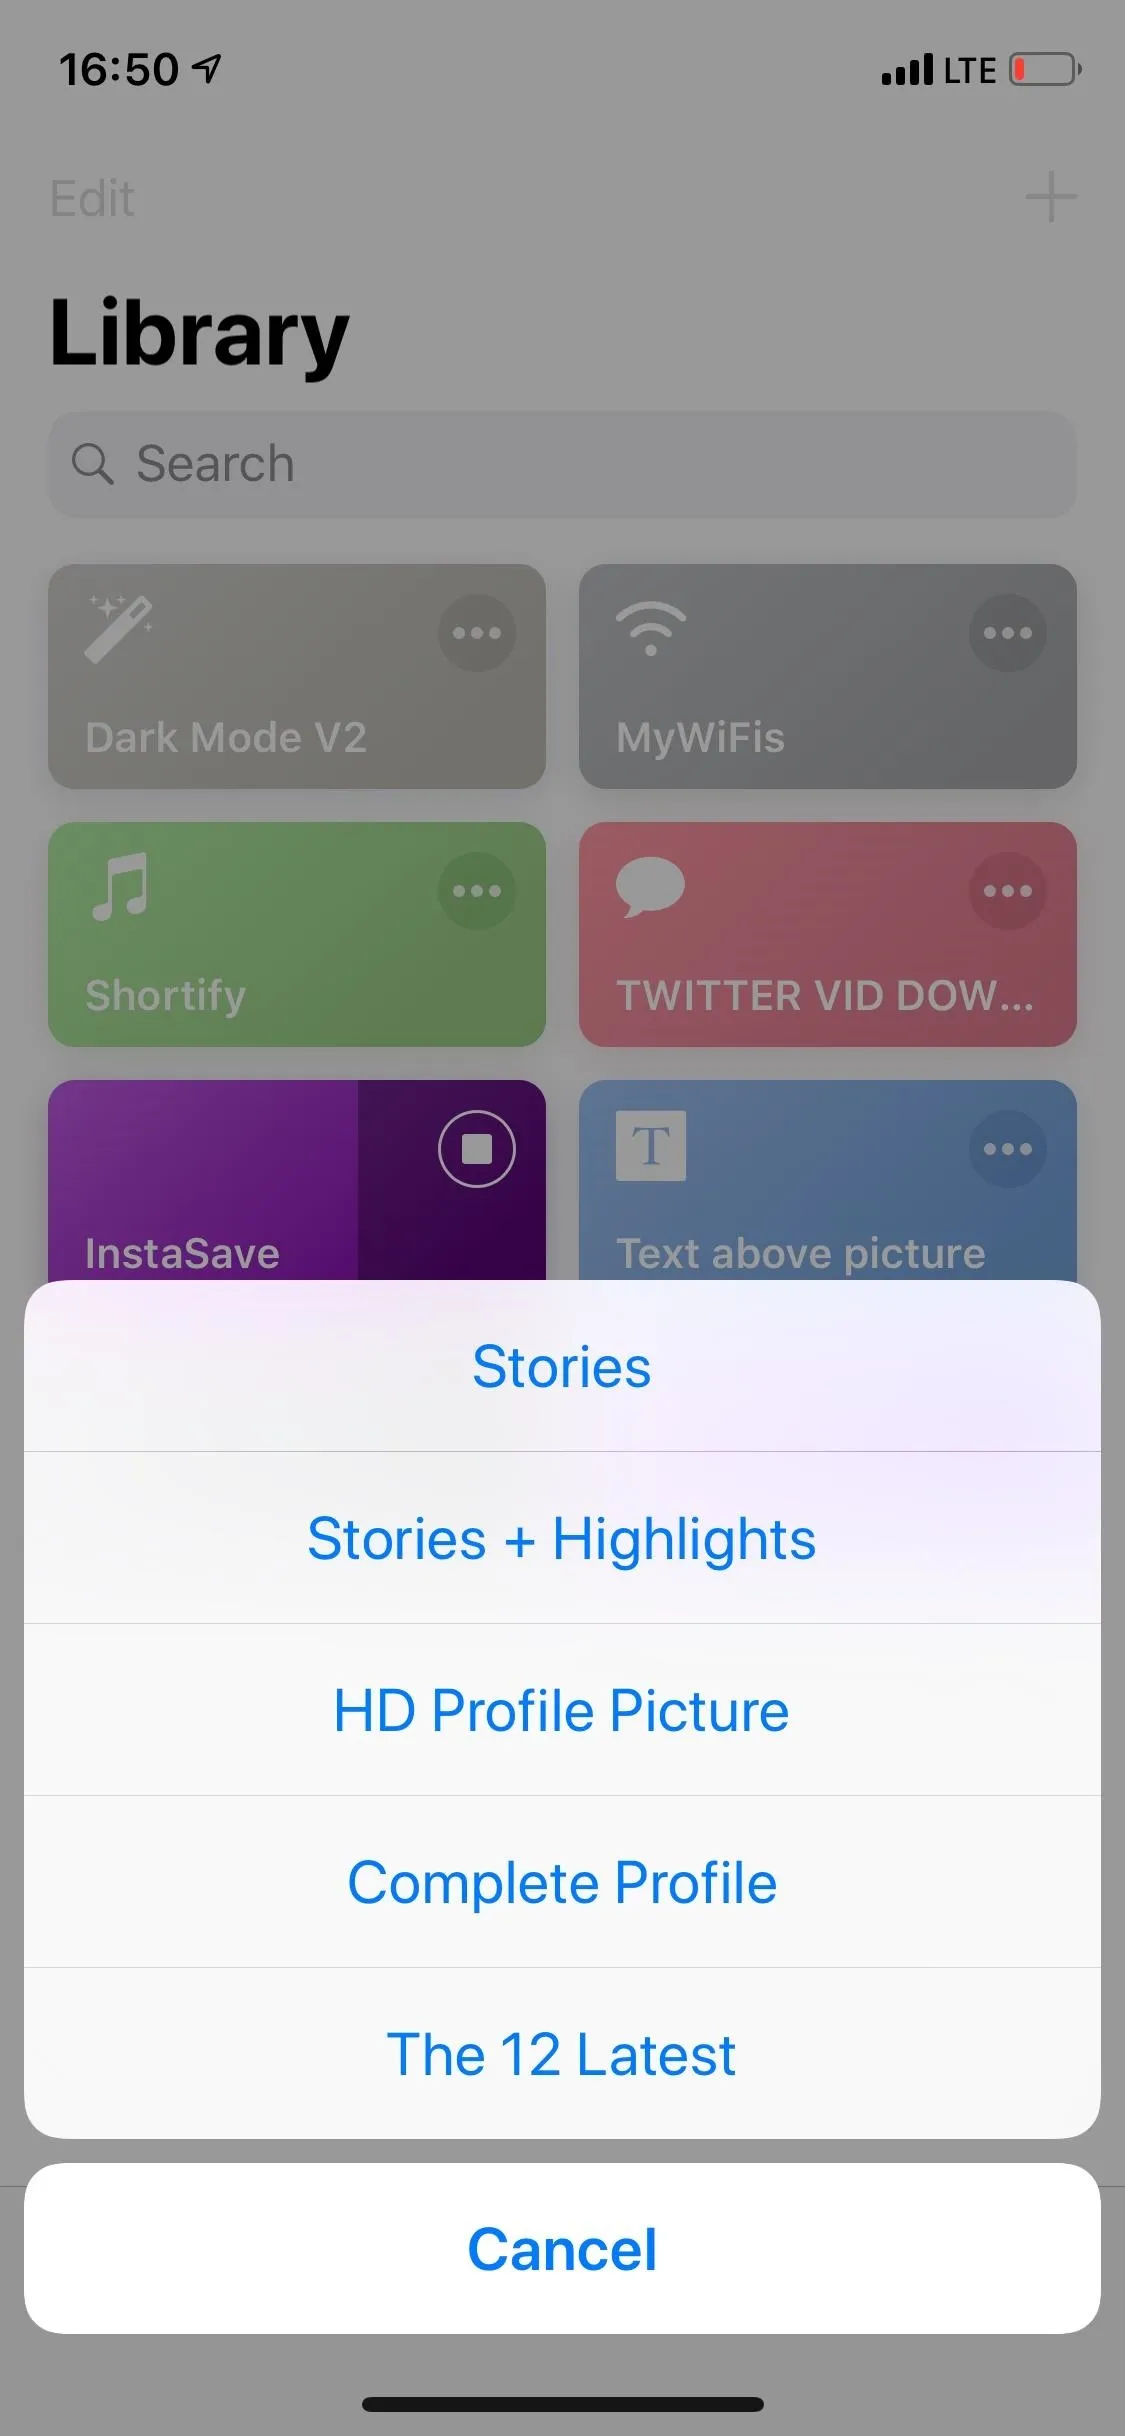
If you want to save an Instagram user's Stories, Highlights, profile picture, 12 latest photos and videos, or their entire profile, you must go to their Instagram profile. Then, tap on the ellipsis (•••), and hit "Copy Profile URL." Go to the Shortcuts app, tap on Instasave, and select what you want to save from the profile.
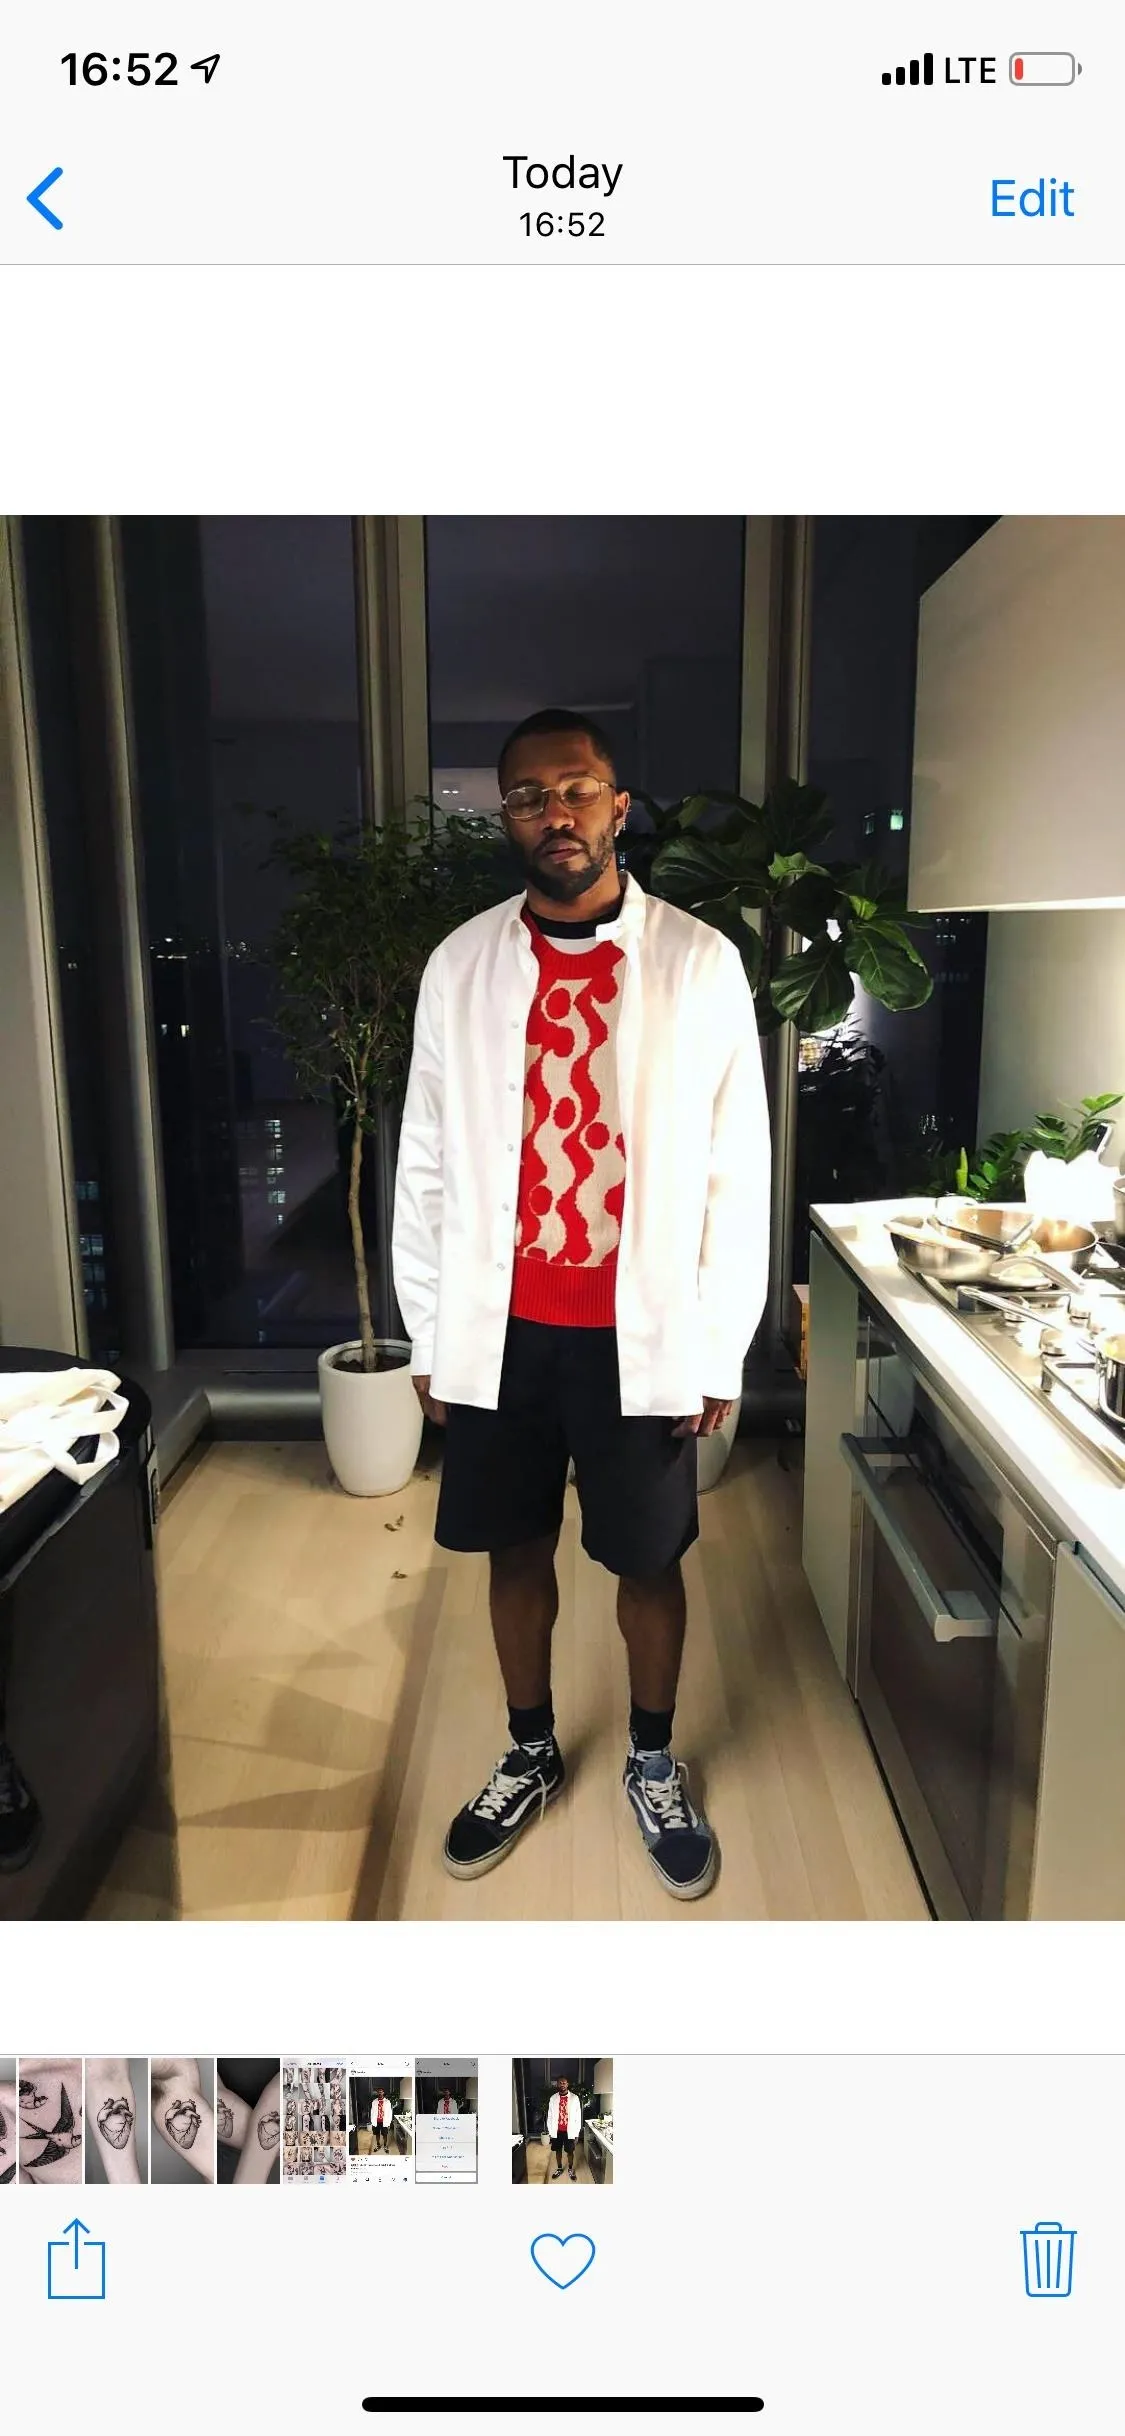
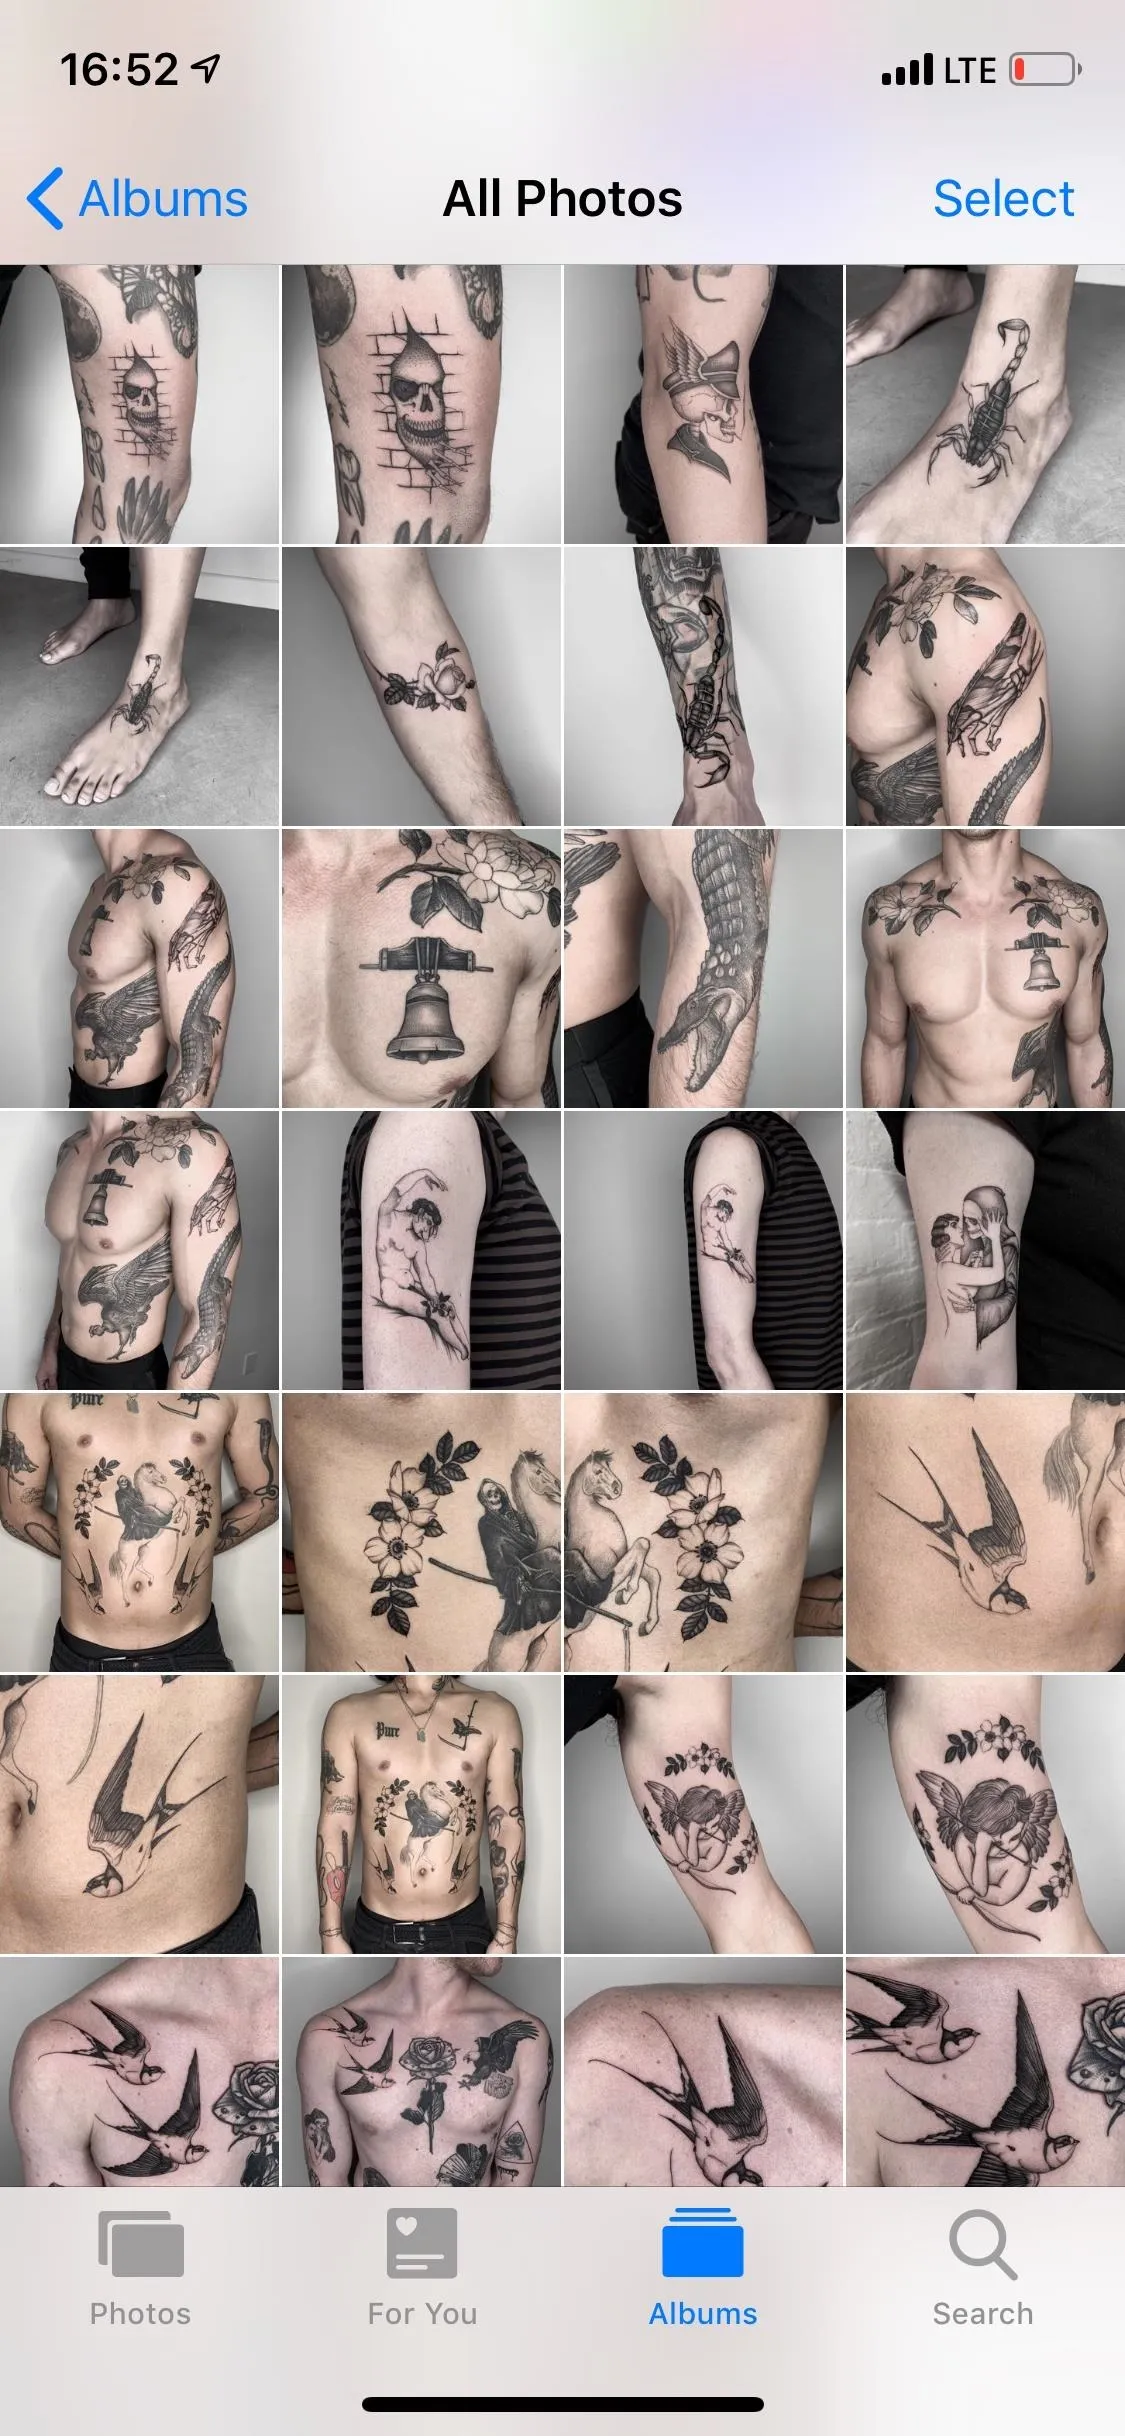
Below, you can see that I chose to download their 12 latest posts, which included over 30 photos because some posts had more than one photo or video.
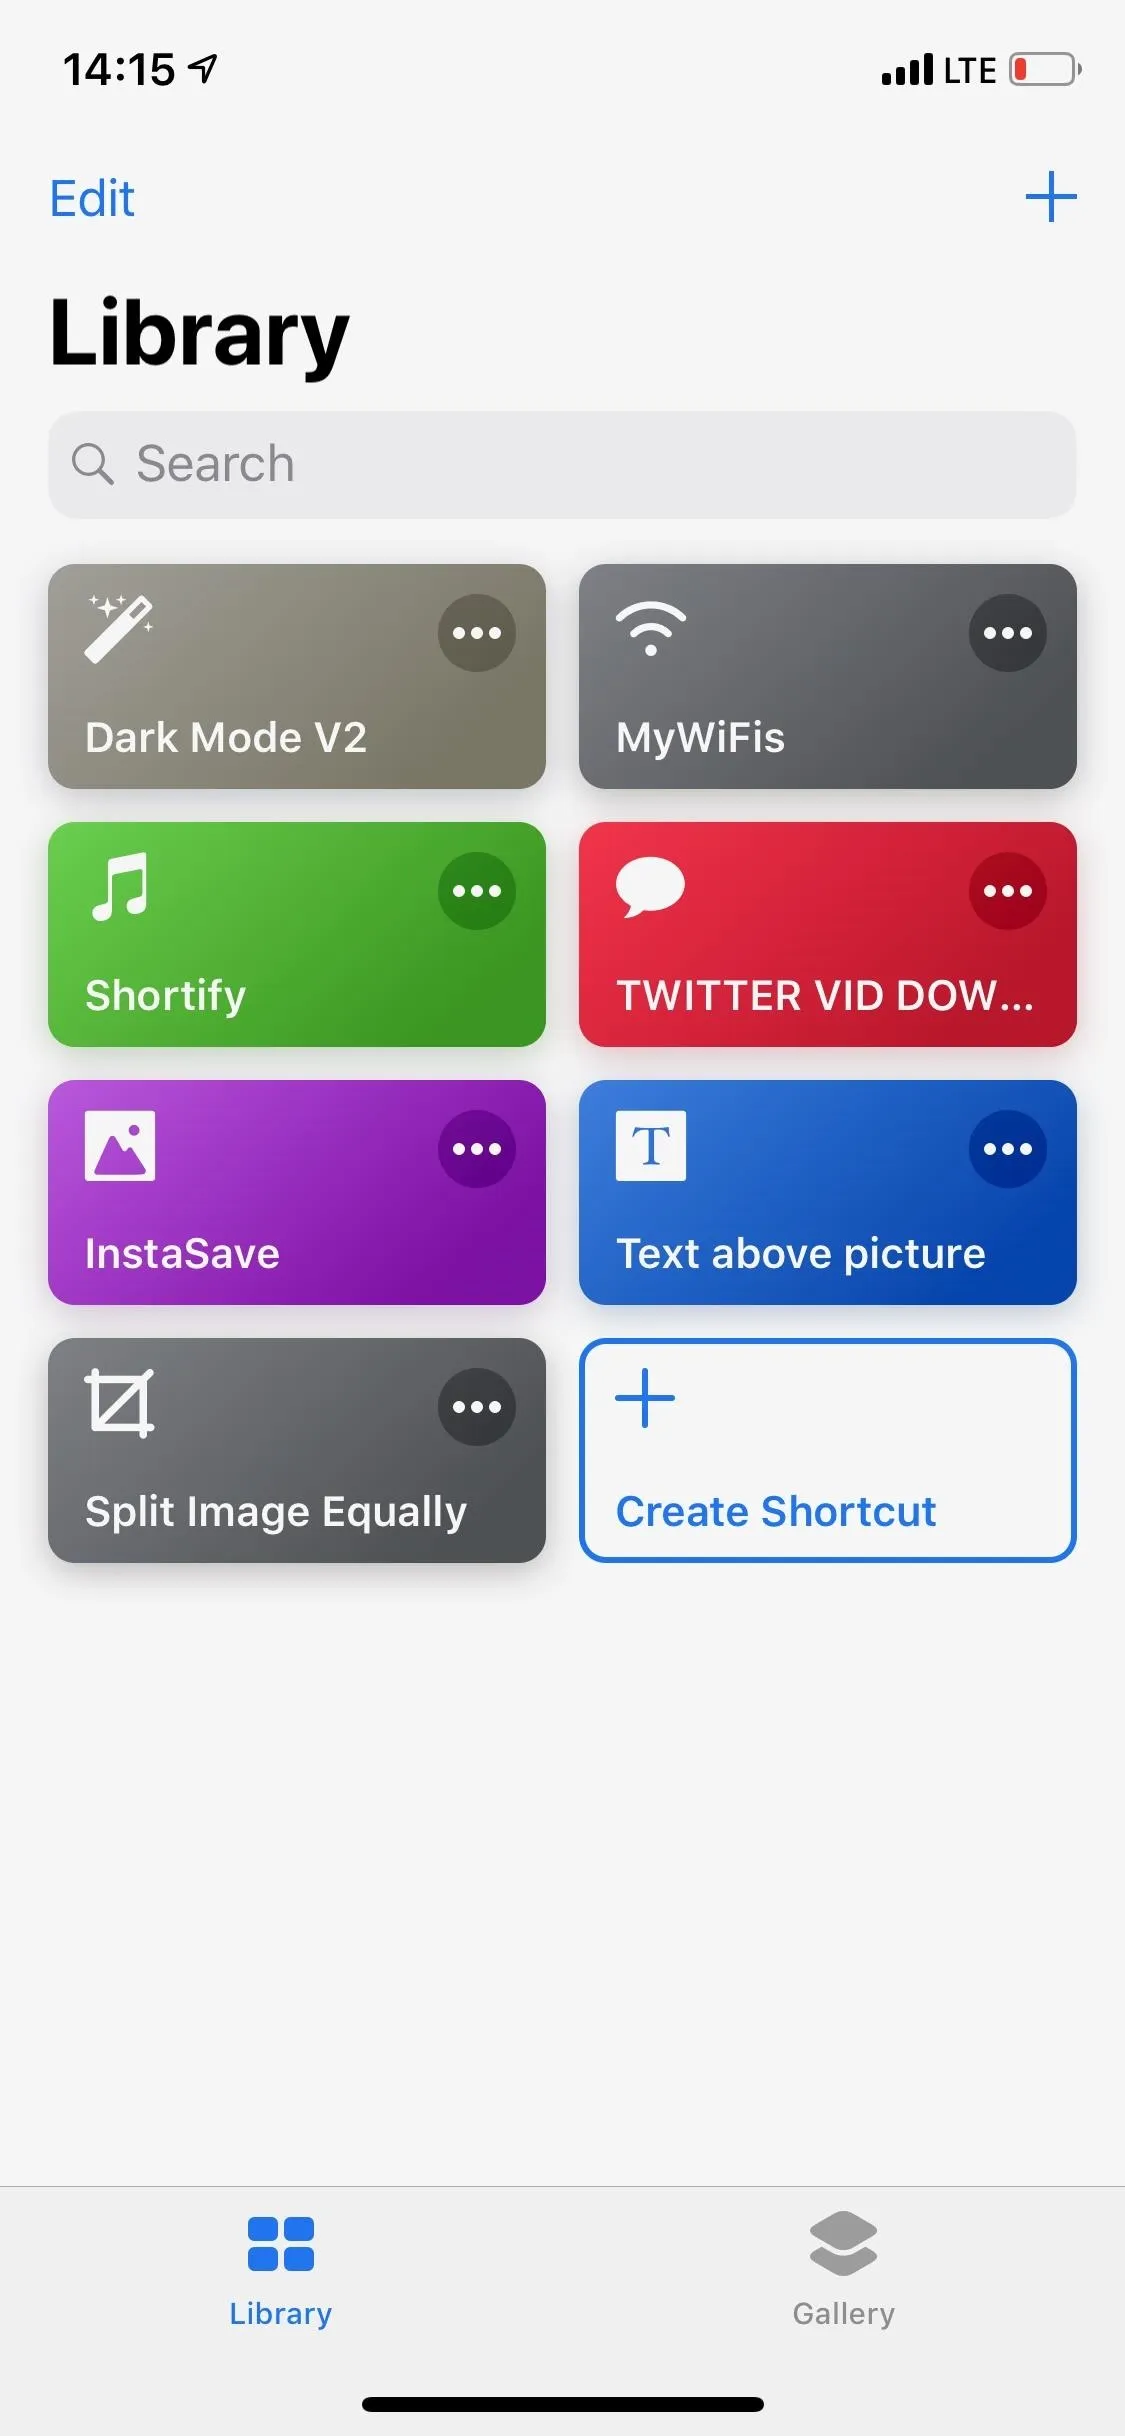
2. Split Photos for Instagram Grids & Multi-Image Posts
If you've ever wondered how Instagram accounts split up an image into a grid of posts that can be viewed as one image from their profile page, they likely use third-party apps like Griddy, Grid Post Maker, and Photo Grid. However, you're better off using the actions available in the Shortcuts app.
While you can try to build your own from scratch, Joe__Soap has one called "Split Image Equally" that does all the complicated leg work for you using only math and the available actions in the Shortcuts app.
- Shortcuts Link: Split Image Equally
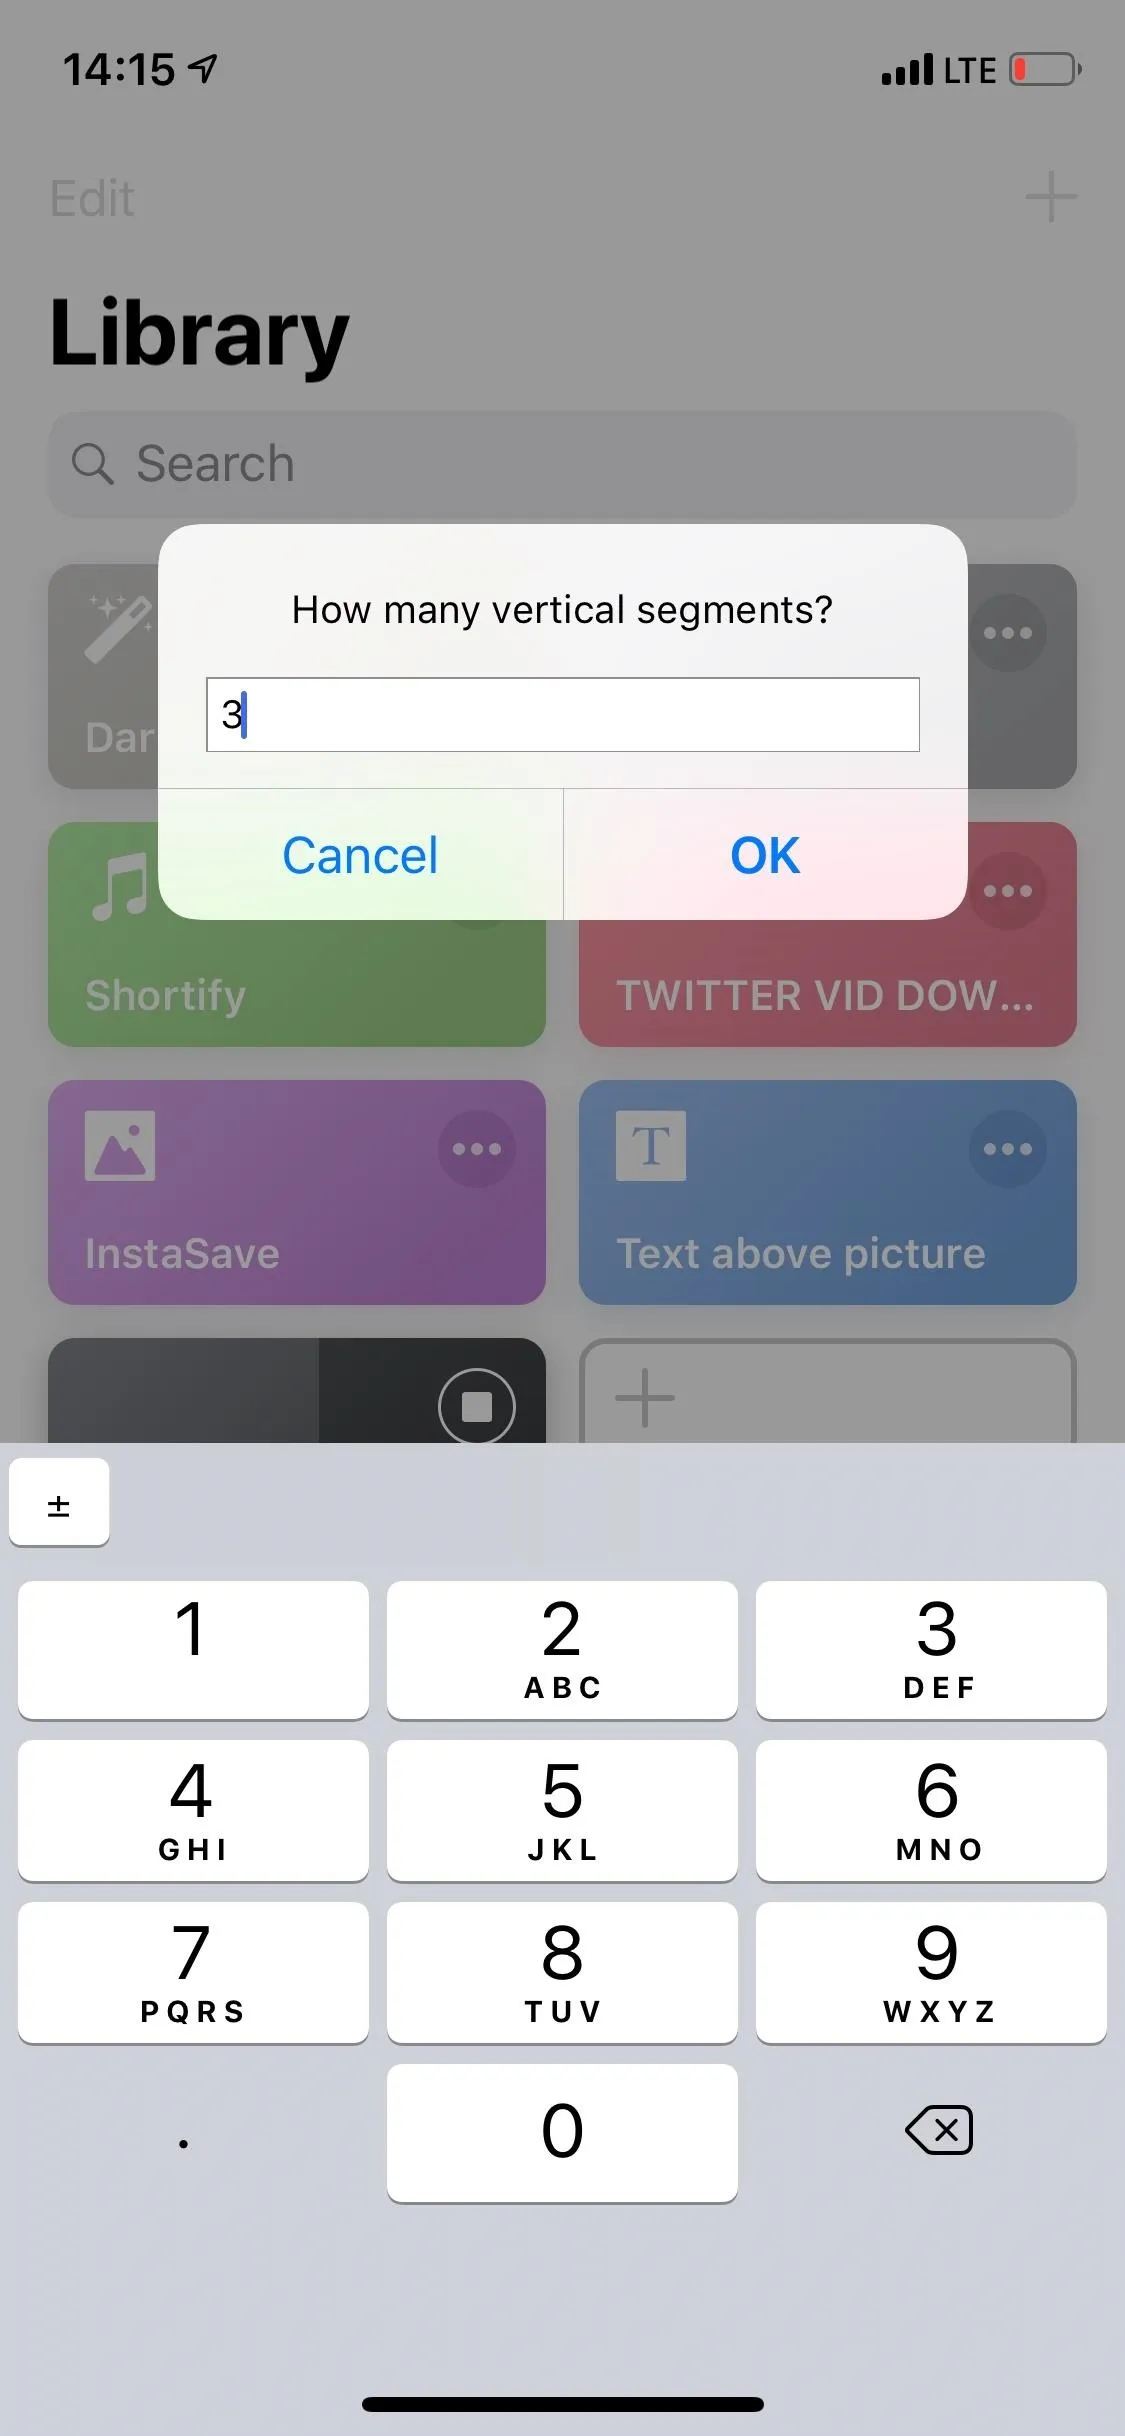
Open the Split Image Equally shortcut, select the photo that you want to chop up from your on-device library. In general, if you want each image to be a square that flows evenly to create the image across multiple posts, you'll want to choose an image that's already a square. If you don't some images may appear on a profile or in multi-image posts with borders on the sides or top.
Next, choose how you want it split. First, add a number for horizontal segments, then vertical. I chose a 3-by-3 grid, which splits my square photo into 9 different shots, the most frequent grid used by Instagrammers on profile pages. You can choose something like a 1-by-3 grid, but unless the image has a ratio of 1:3, the results won't look perfect on Instagram.
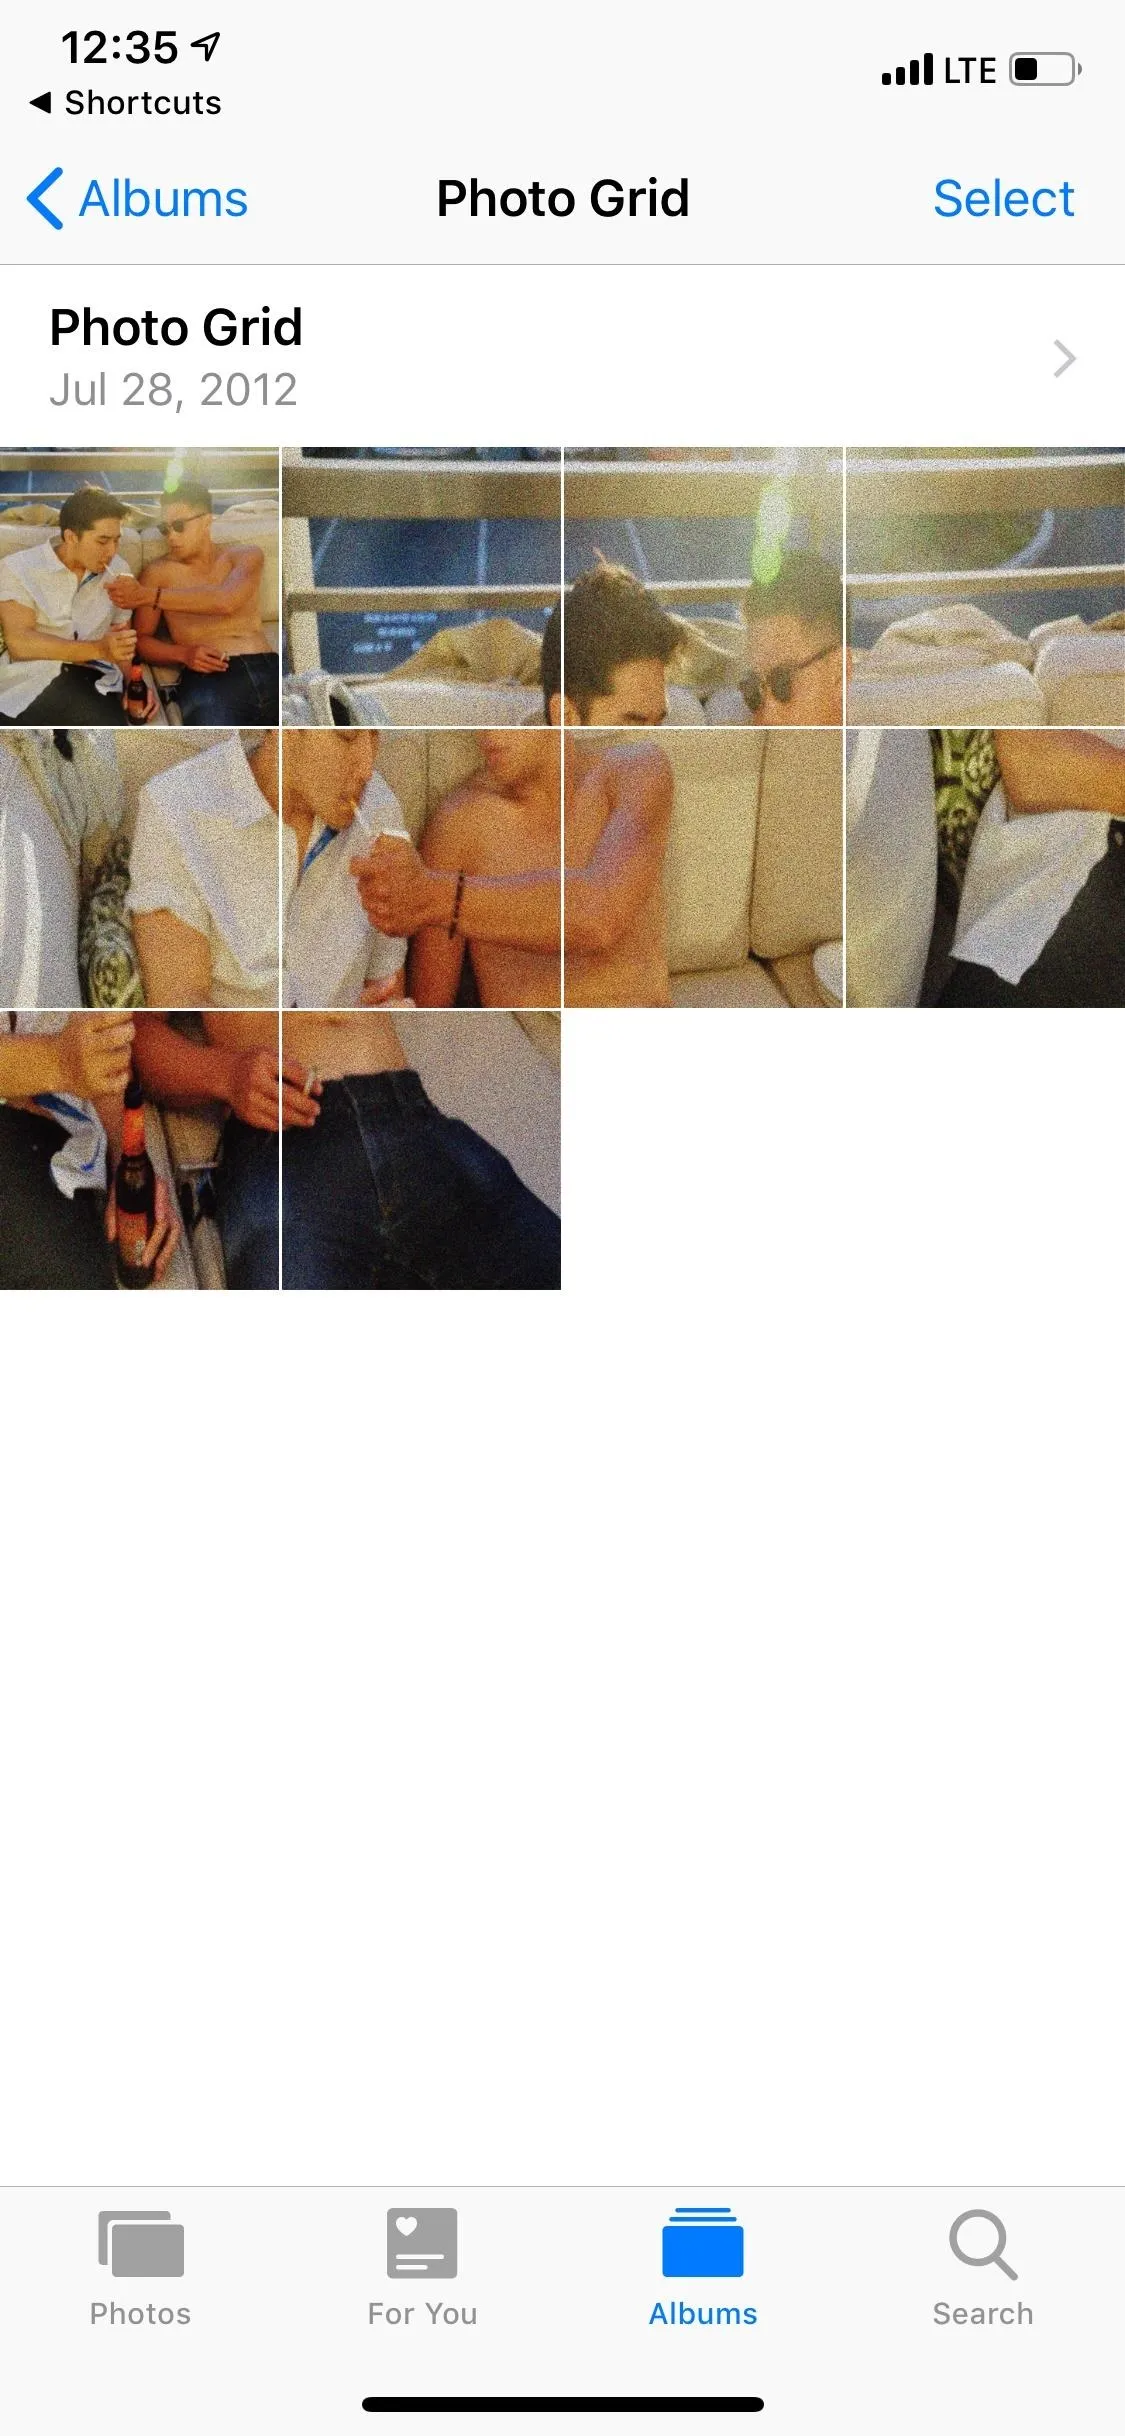
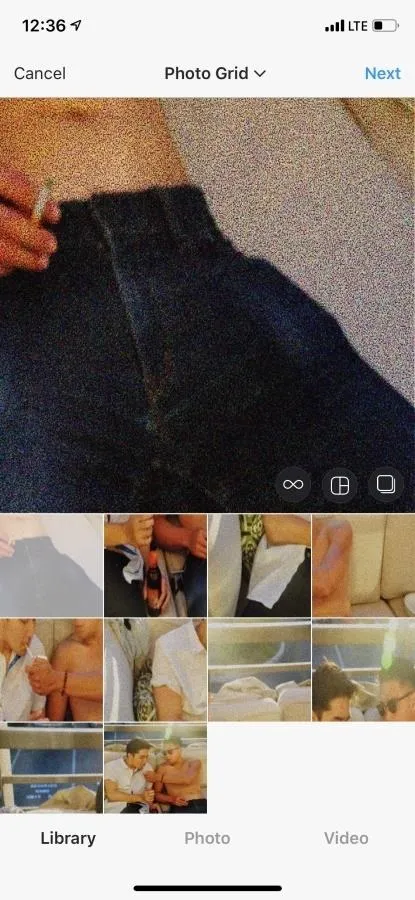
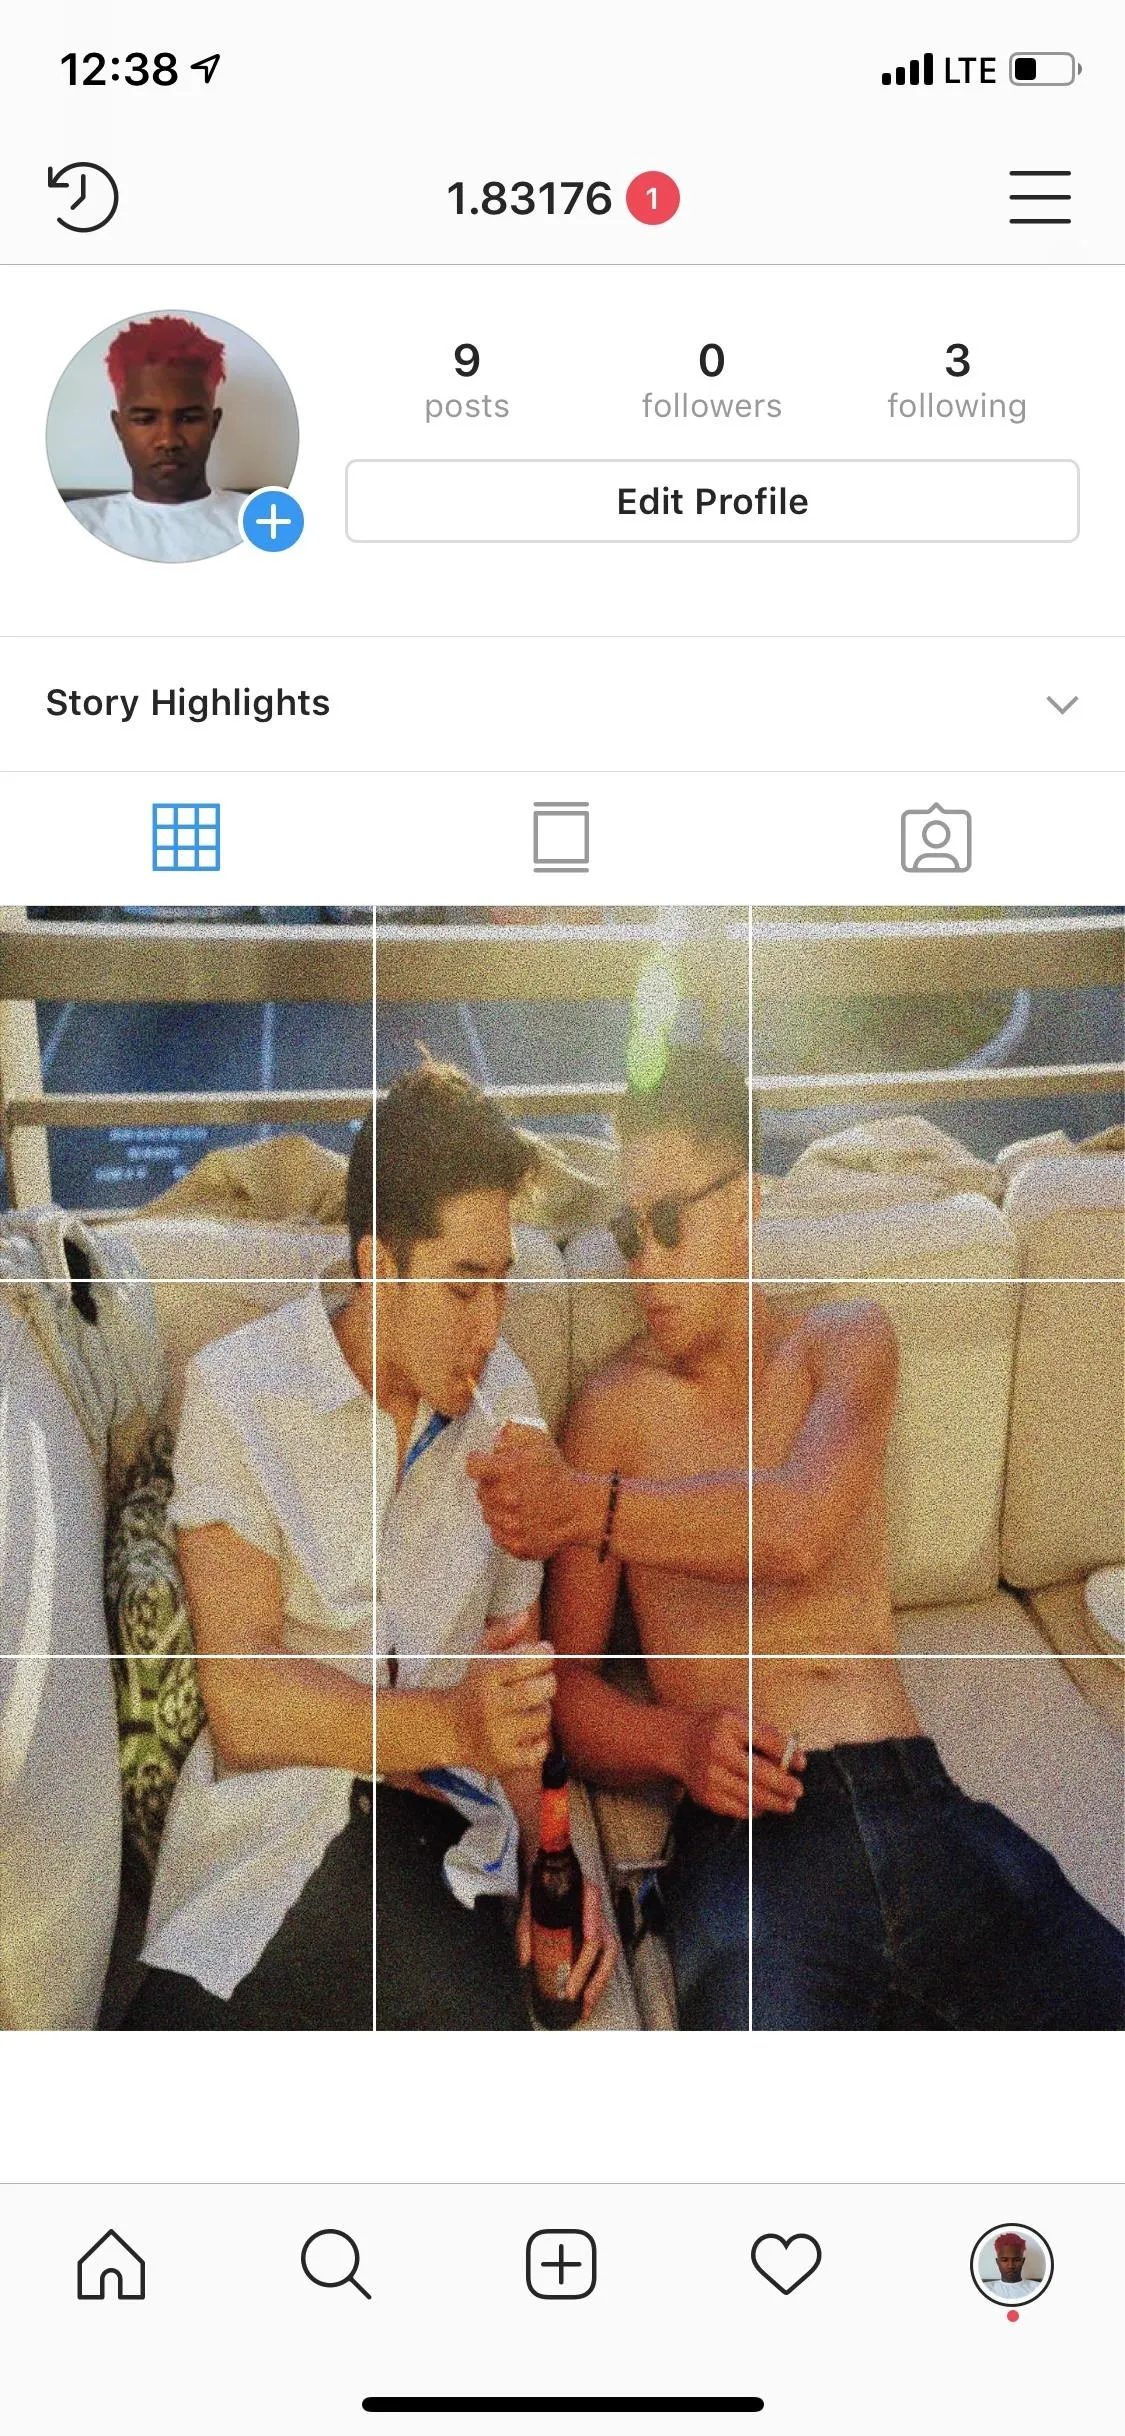
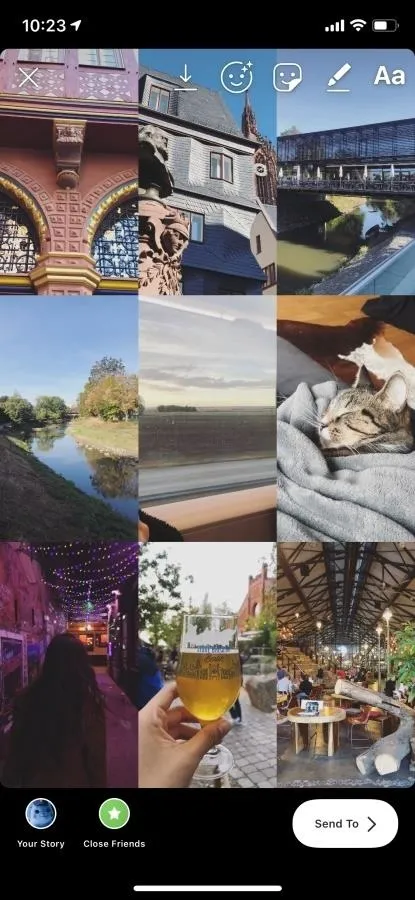
Now, if you want to make a grid on your profile page, open Instagram and post each picture one by one, starting from the most recent photo (they're split in order). For multi-image posts that you can swipe through to view a whole panorama, just select all of the images at the same time in the right order. Then just upload like normal, and view your split-up masterpiece.
3. Create a Collage from Multiple Photos
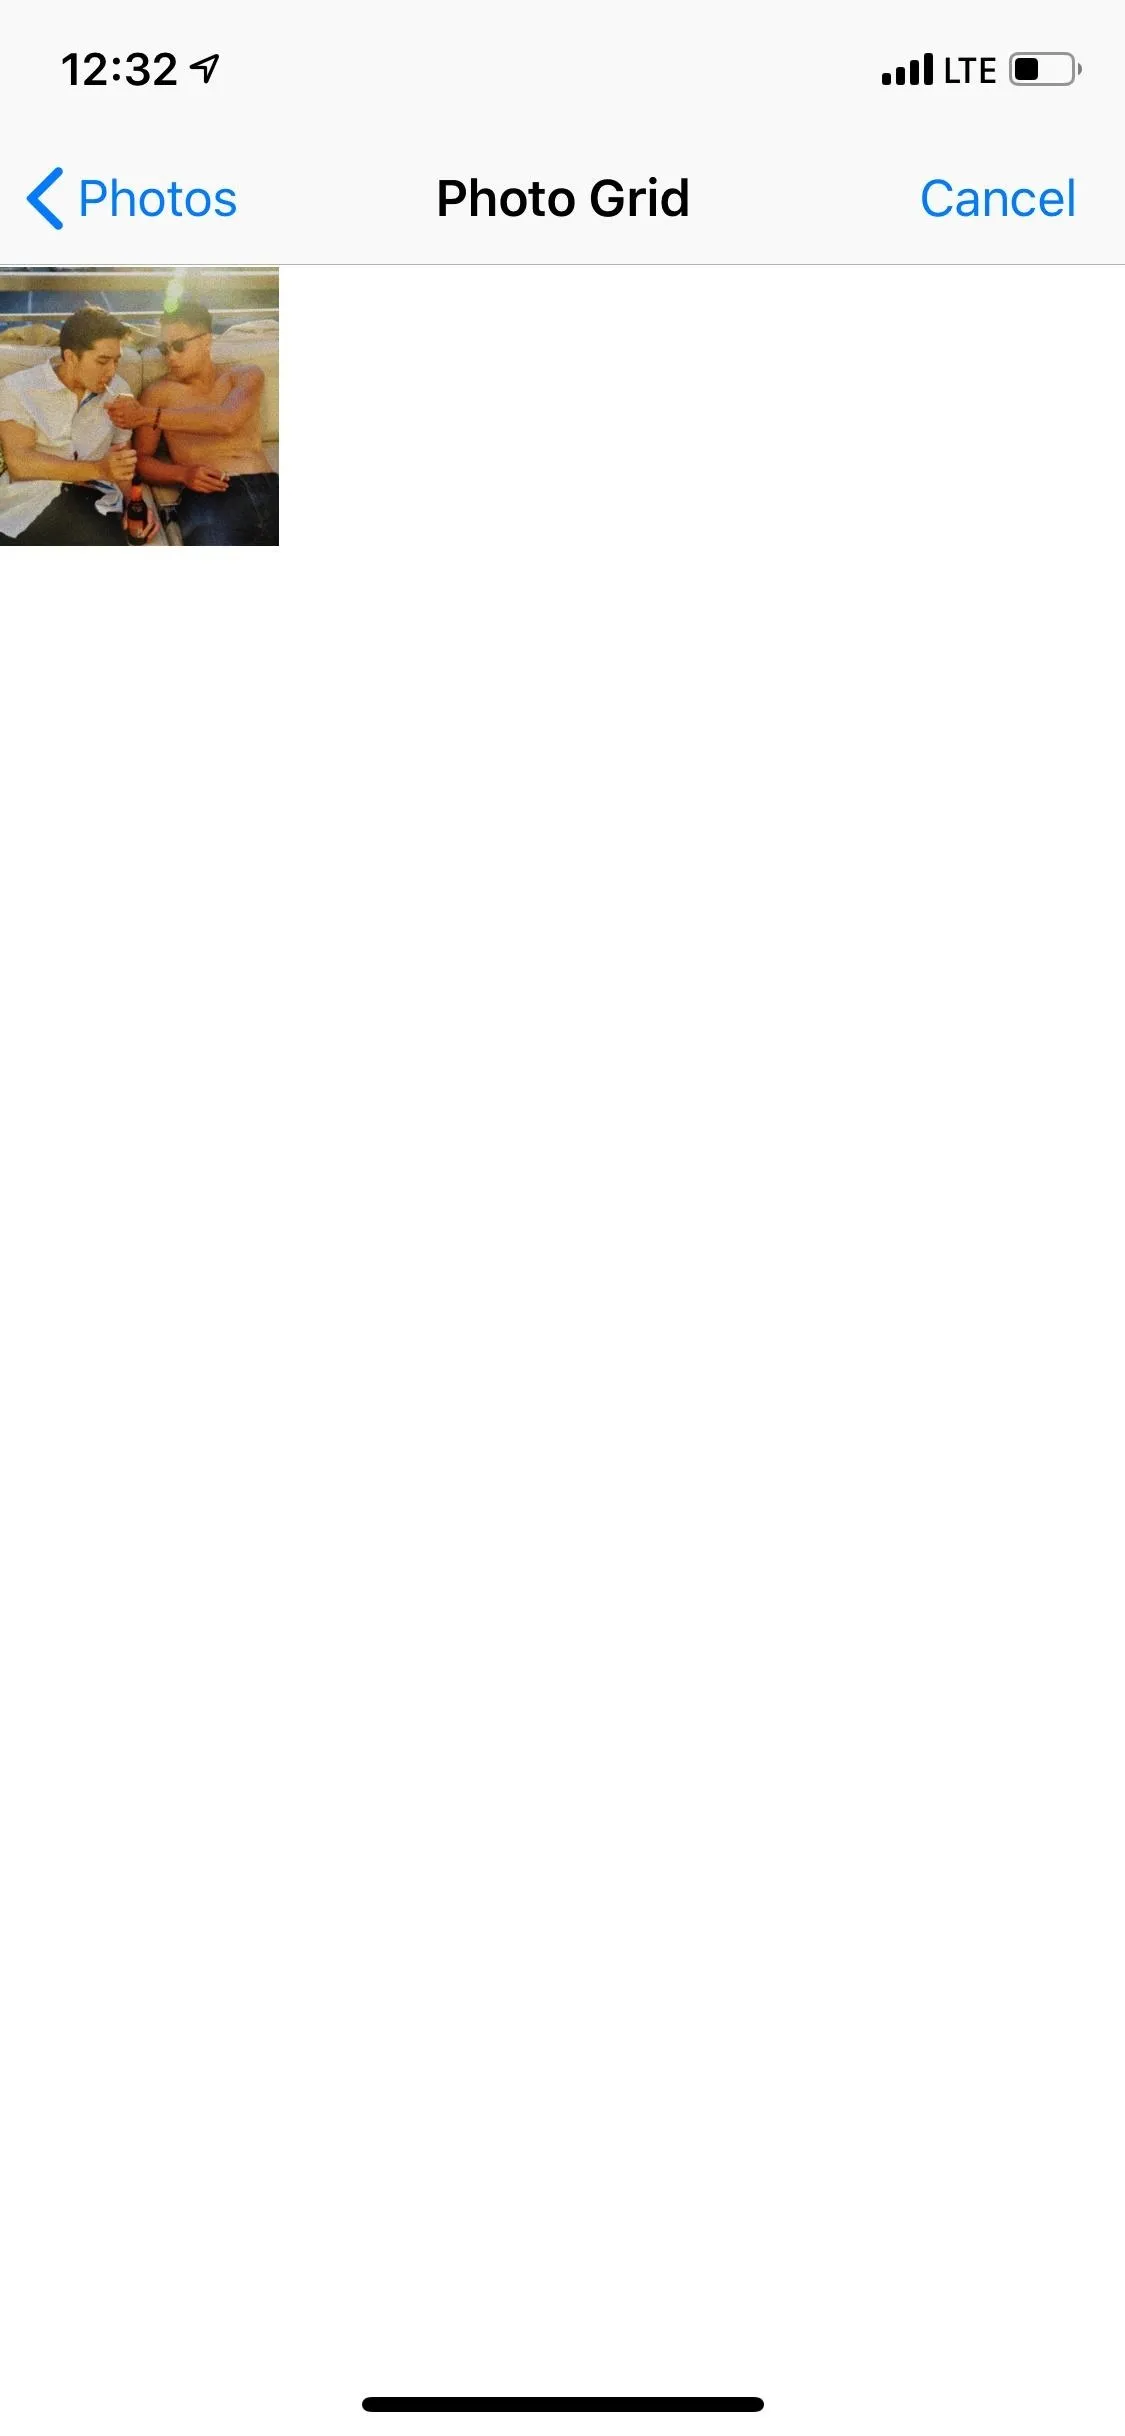
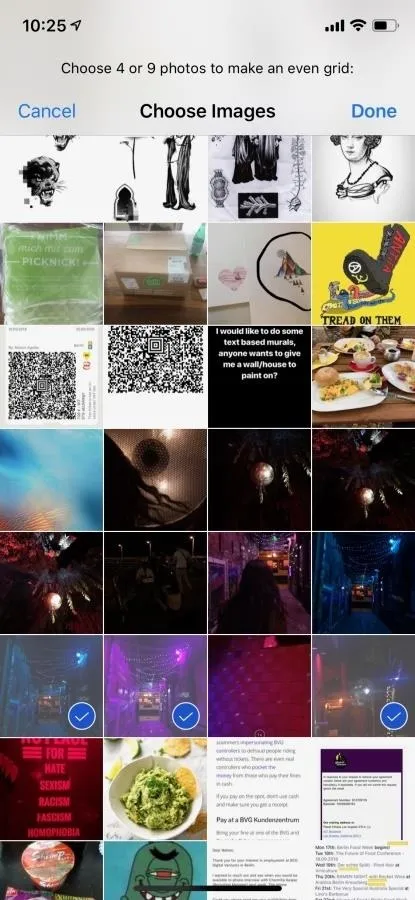
"Instagram Grid" — which you can find by searching the "Gallery" in Shortcuts — helps you create a grid of photographs to post on Instagram. Instead of splitting one picture up (like in the previous shortcut), this one lets you make a grid from 2, 4, 6, 9, or 12 images in your Photos app.
- Shortcuts Link: Instagram Grid
Start by going into the Shortcuts app. Tap on the Instagram Grid shortcut, then select the photos you want in your grid, and hit "Done." The order you select your photos in is how they will appear in the grid, starting from the top down, left to right. You can then share your image to Instagram or save it into your Photos app. If you choose 3, 5, 7, 8, 10, or 11 images, there will always be at least one empty box in the grid.
4. Automatically Upload Your Latest Photo
Siri isn't necessary for many shortcuts, but it does make executing certain tasks much easier. "Post to Instagram," also available with a quick search in the "Gallery," allows you to easily post your last photo taken on Instagram with the help of your voice.
- Shortcuts Link: Post to Instagram
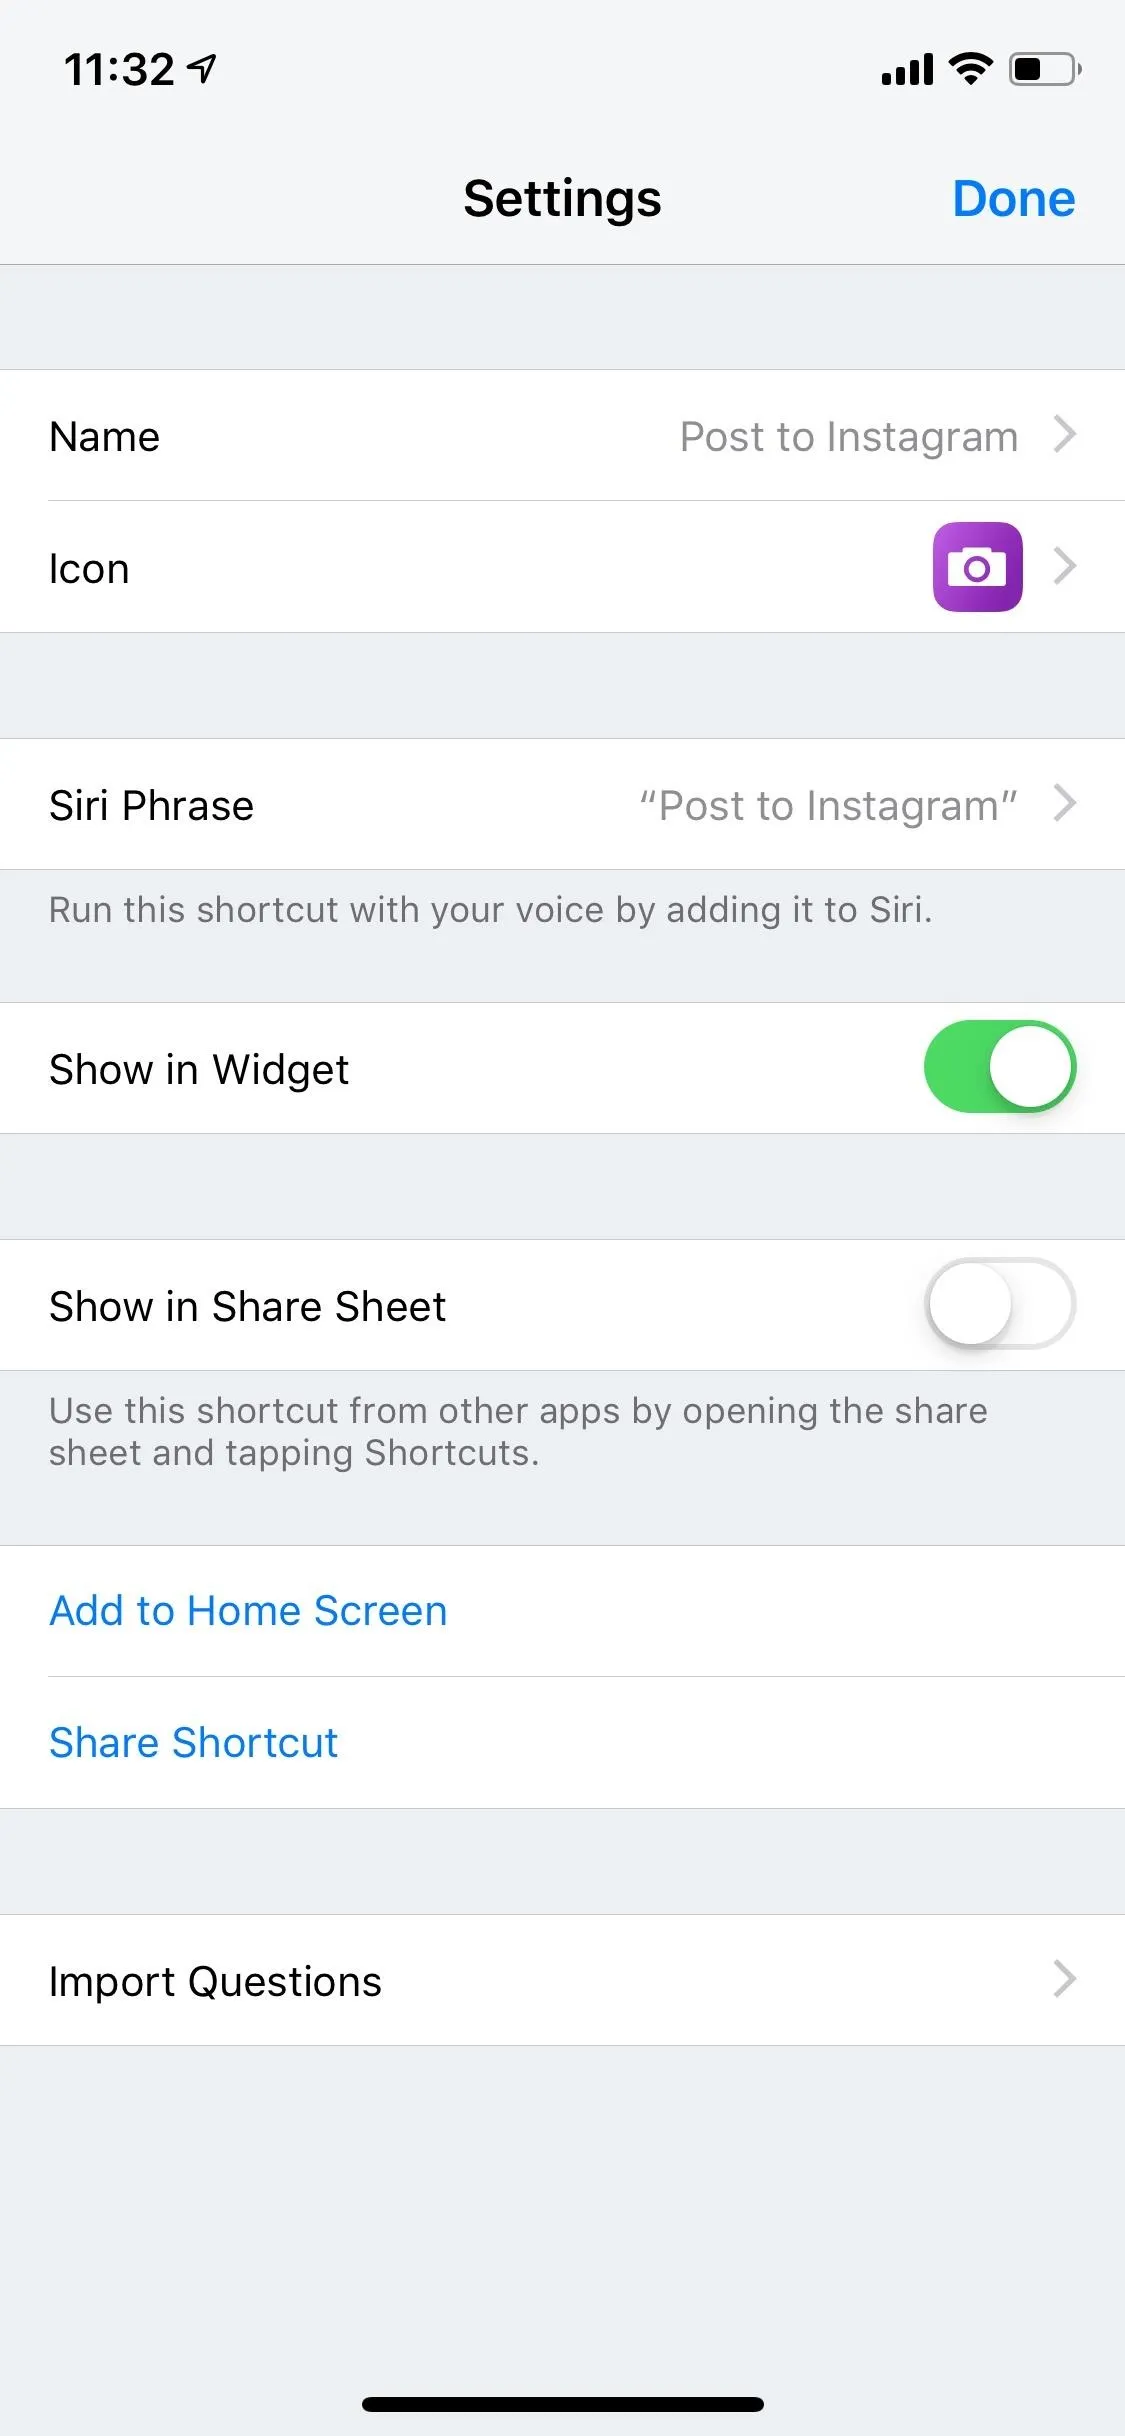
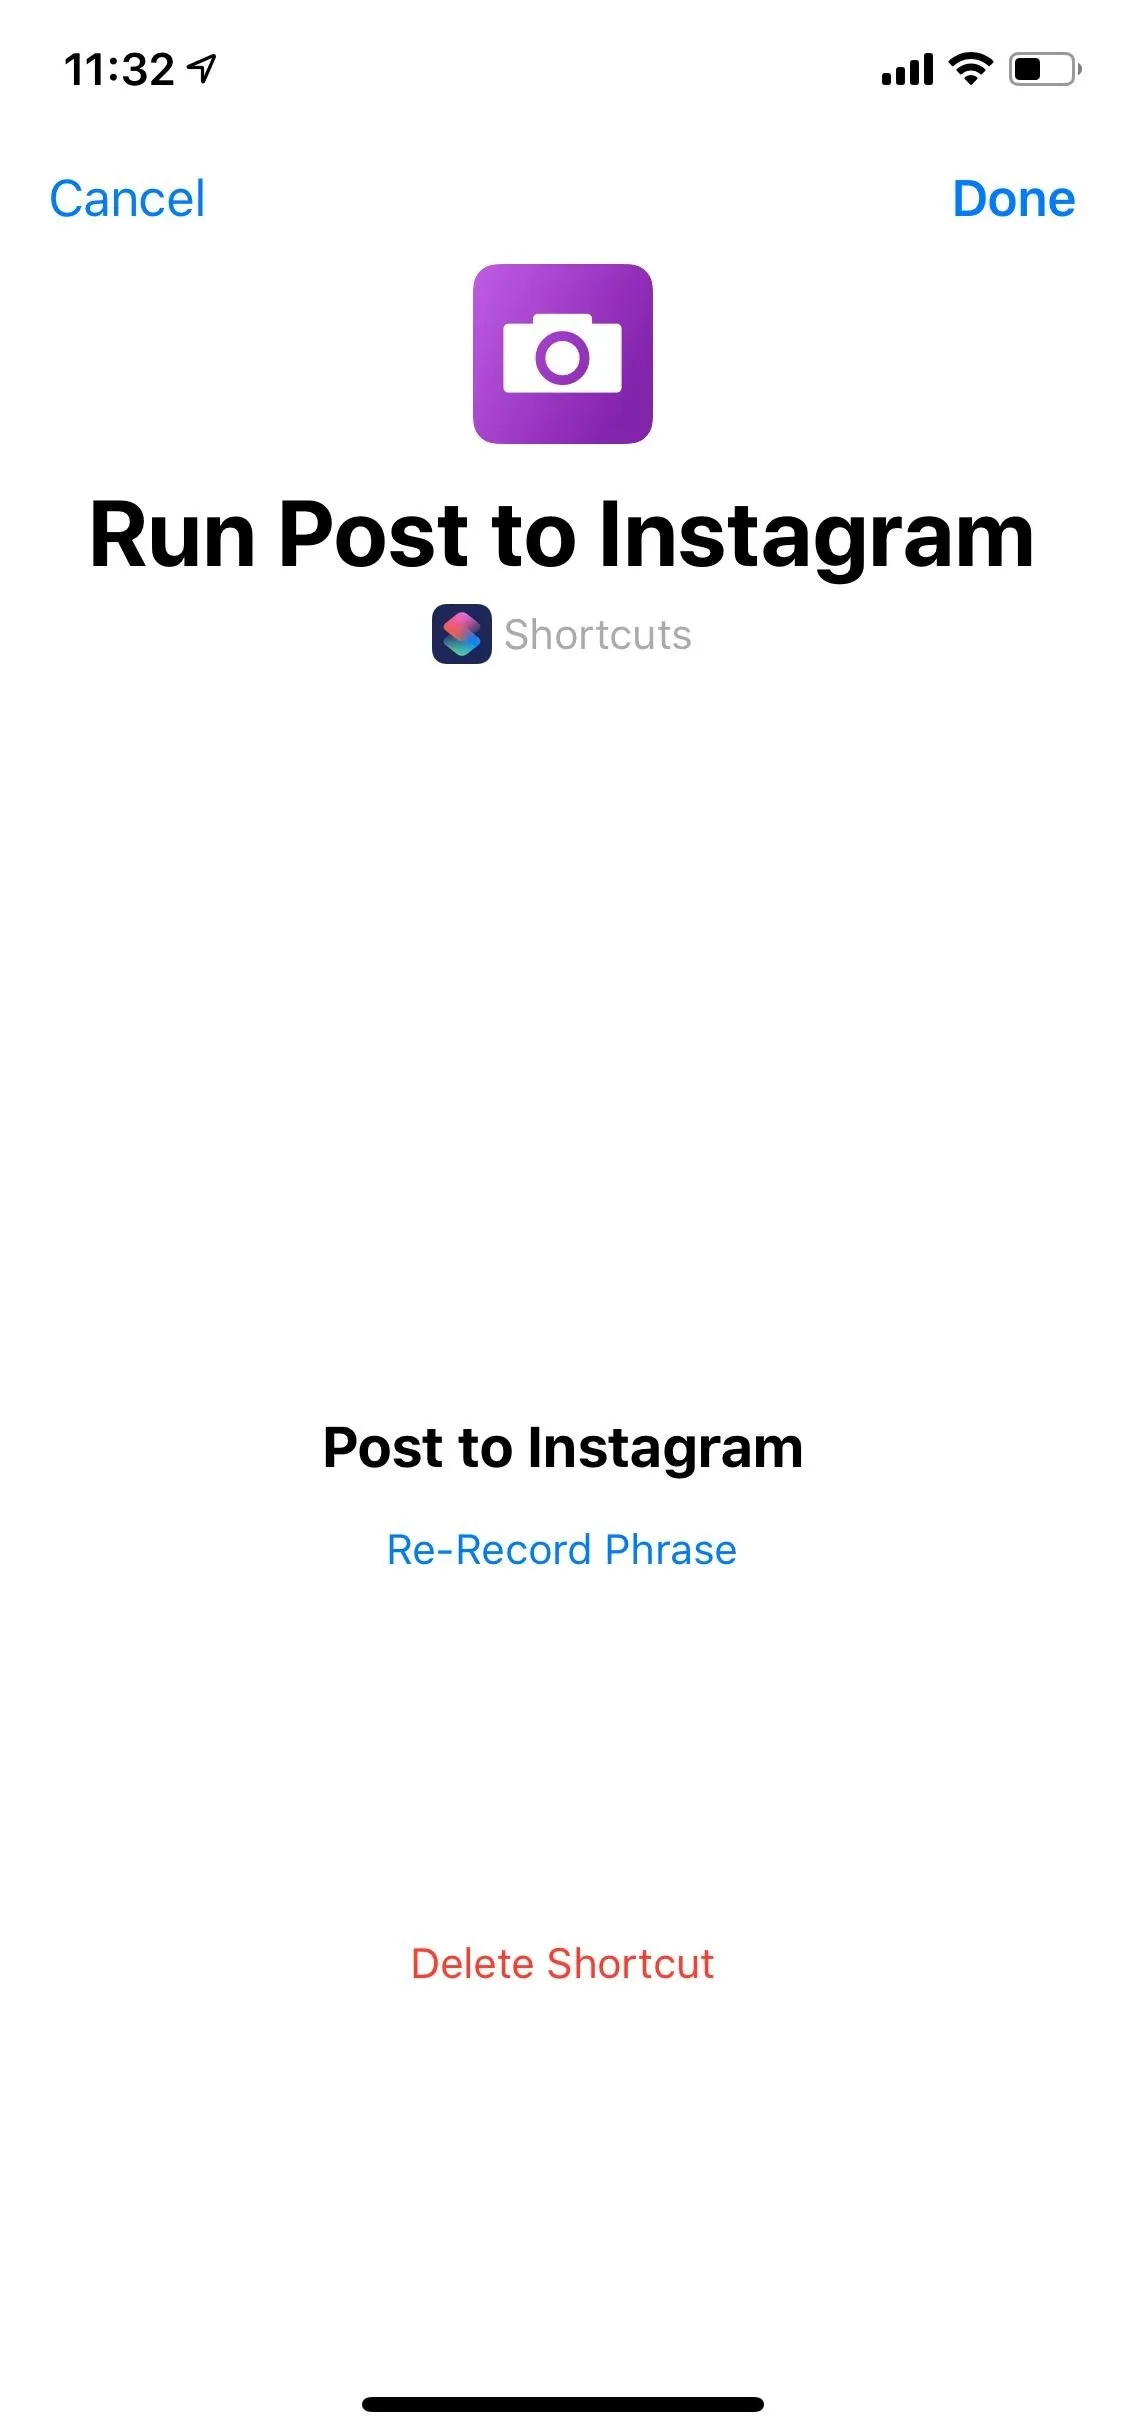
After installing the shortcut, in the Shortcuts app, tap on the ellipsis (•••) icon on "Post to Instagram." Tap on the settings icon in the right, and select "Add to Siri" to create a voice command to execute the action. Either tap on the red record button or "Type Phrase" to record or type out your voice command, respectively, and hit "Done" if you're happy with it.
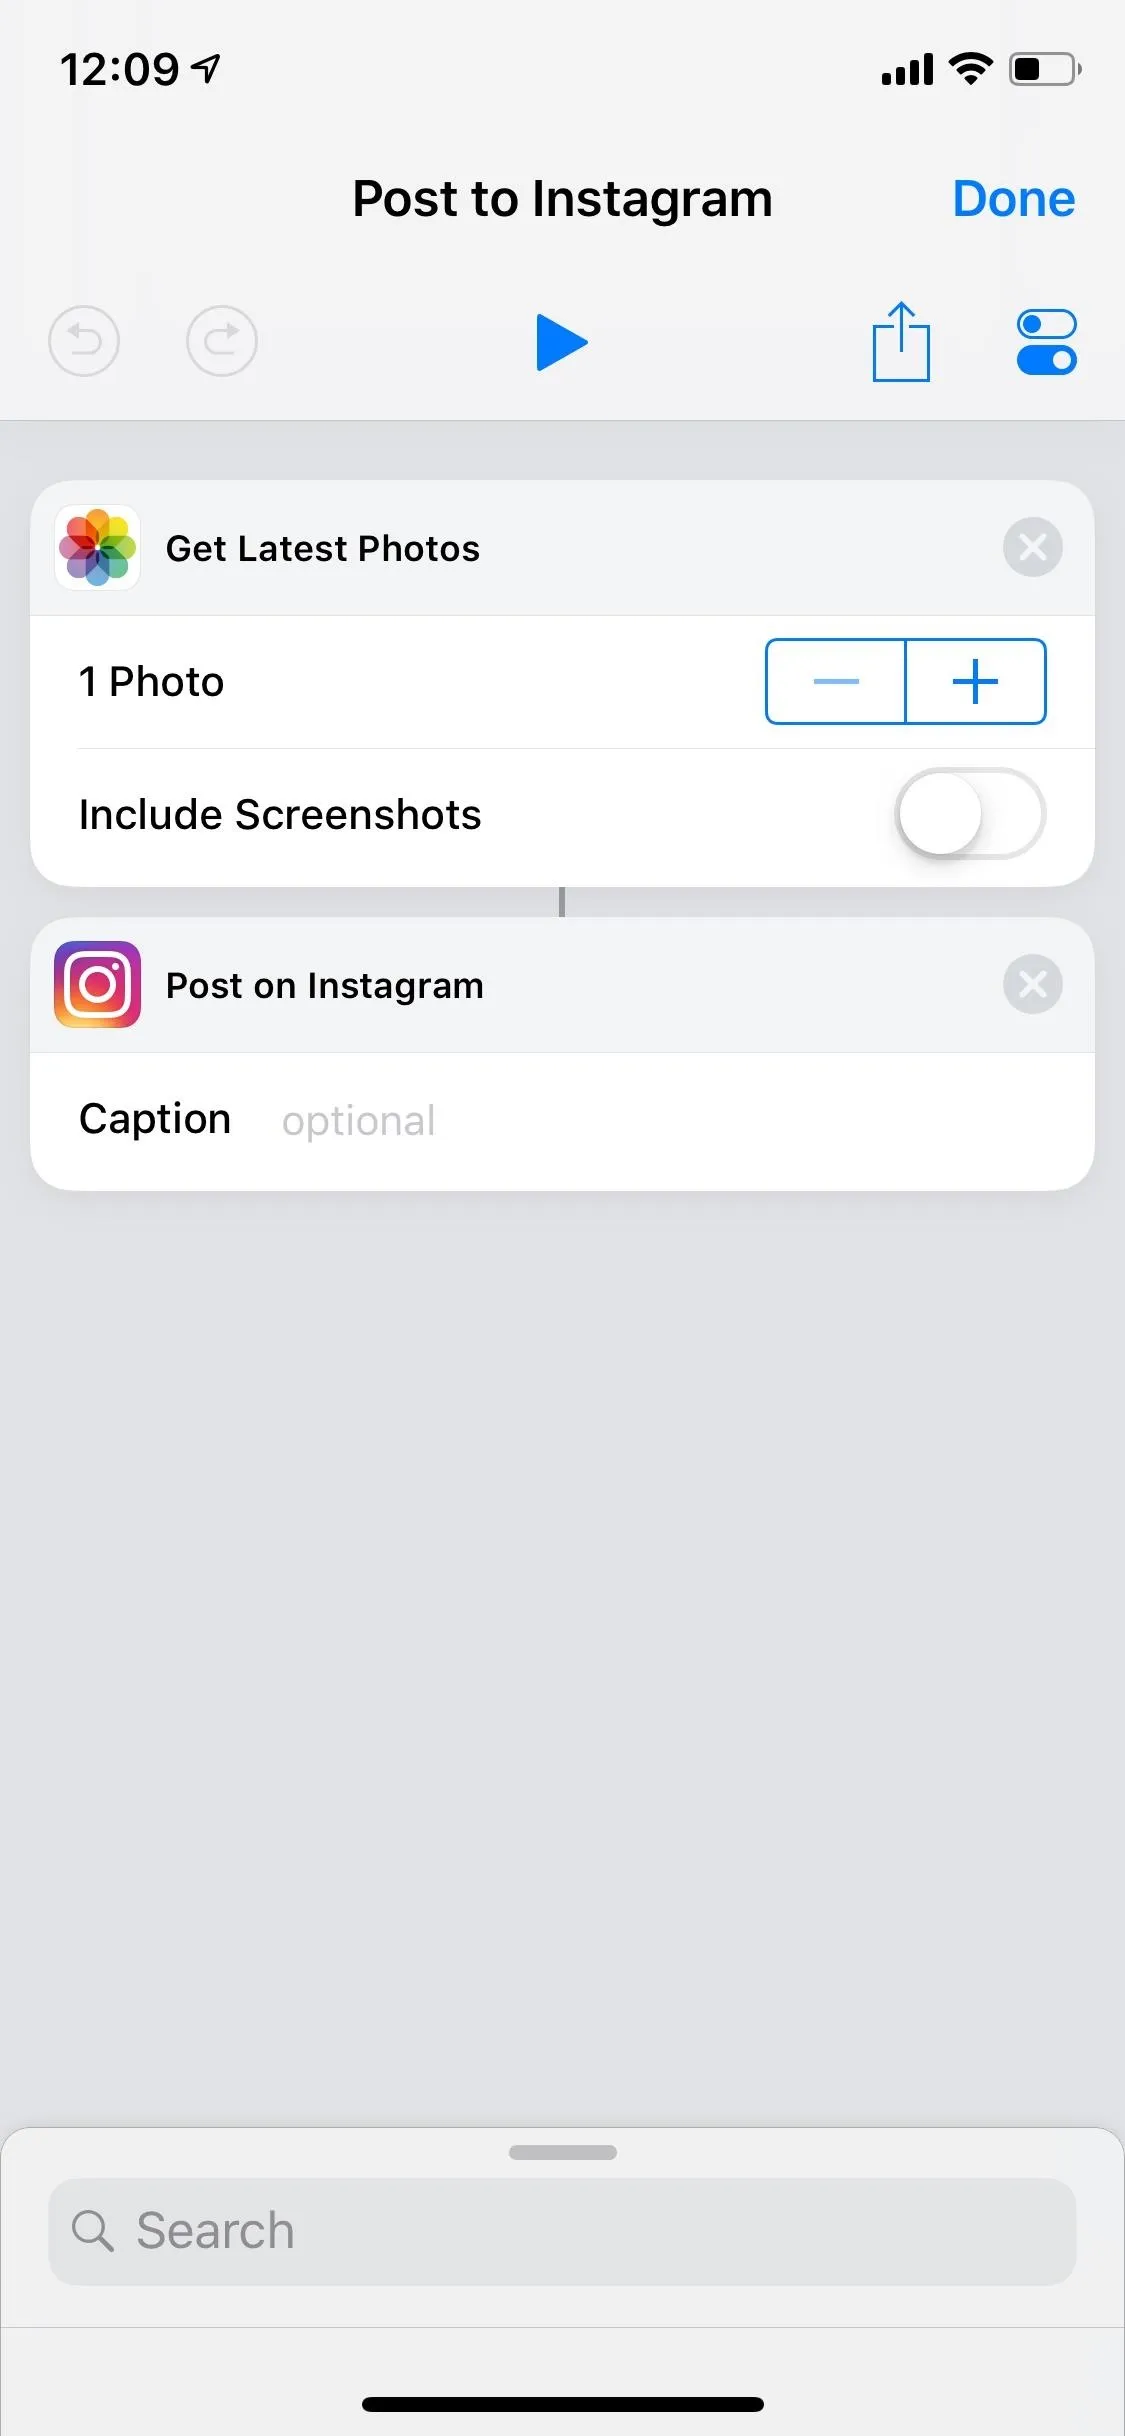
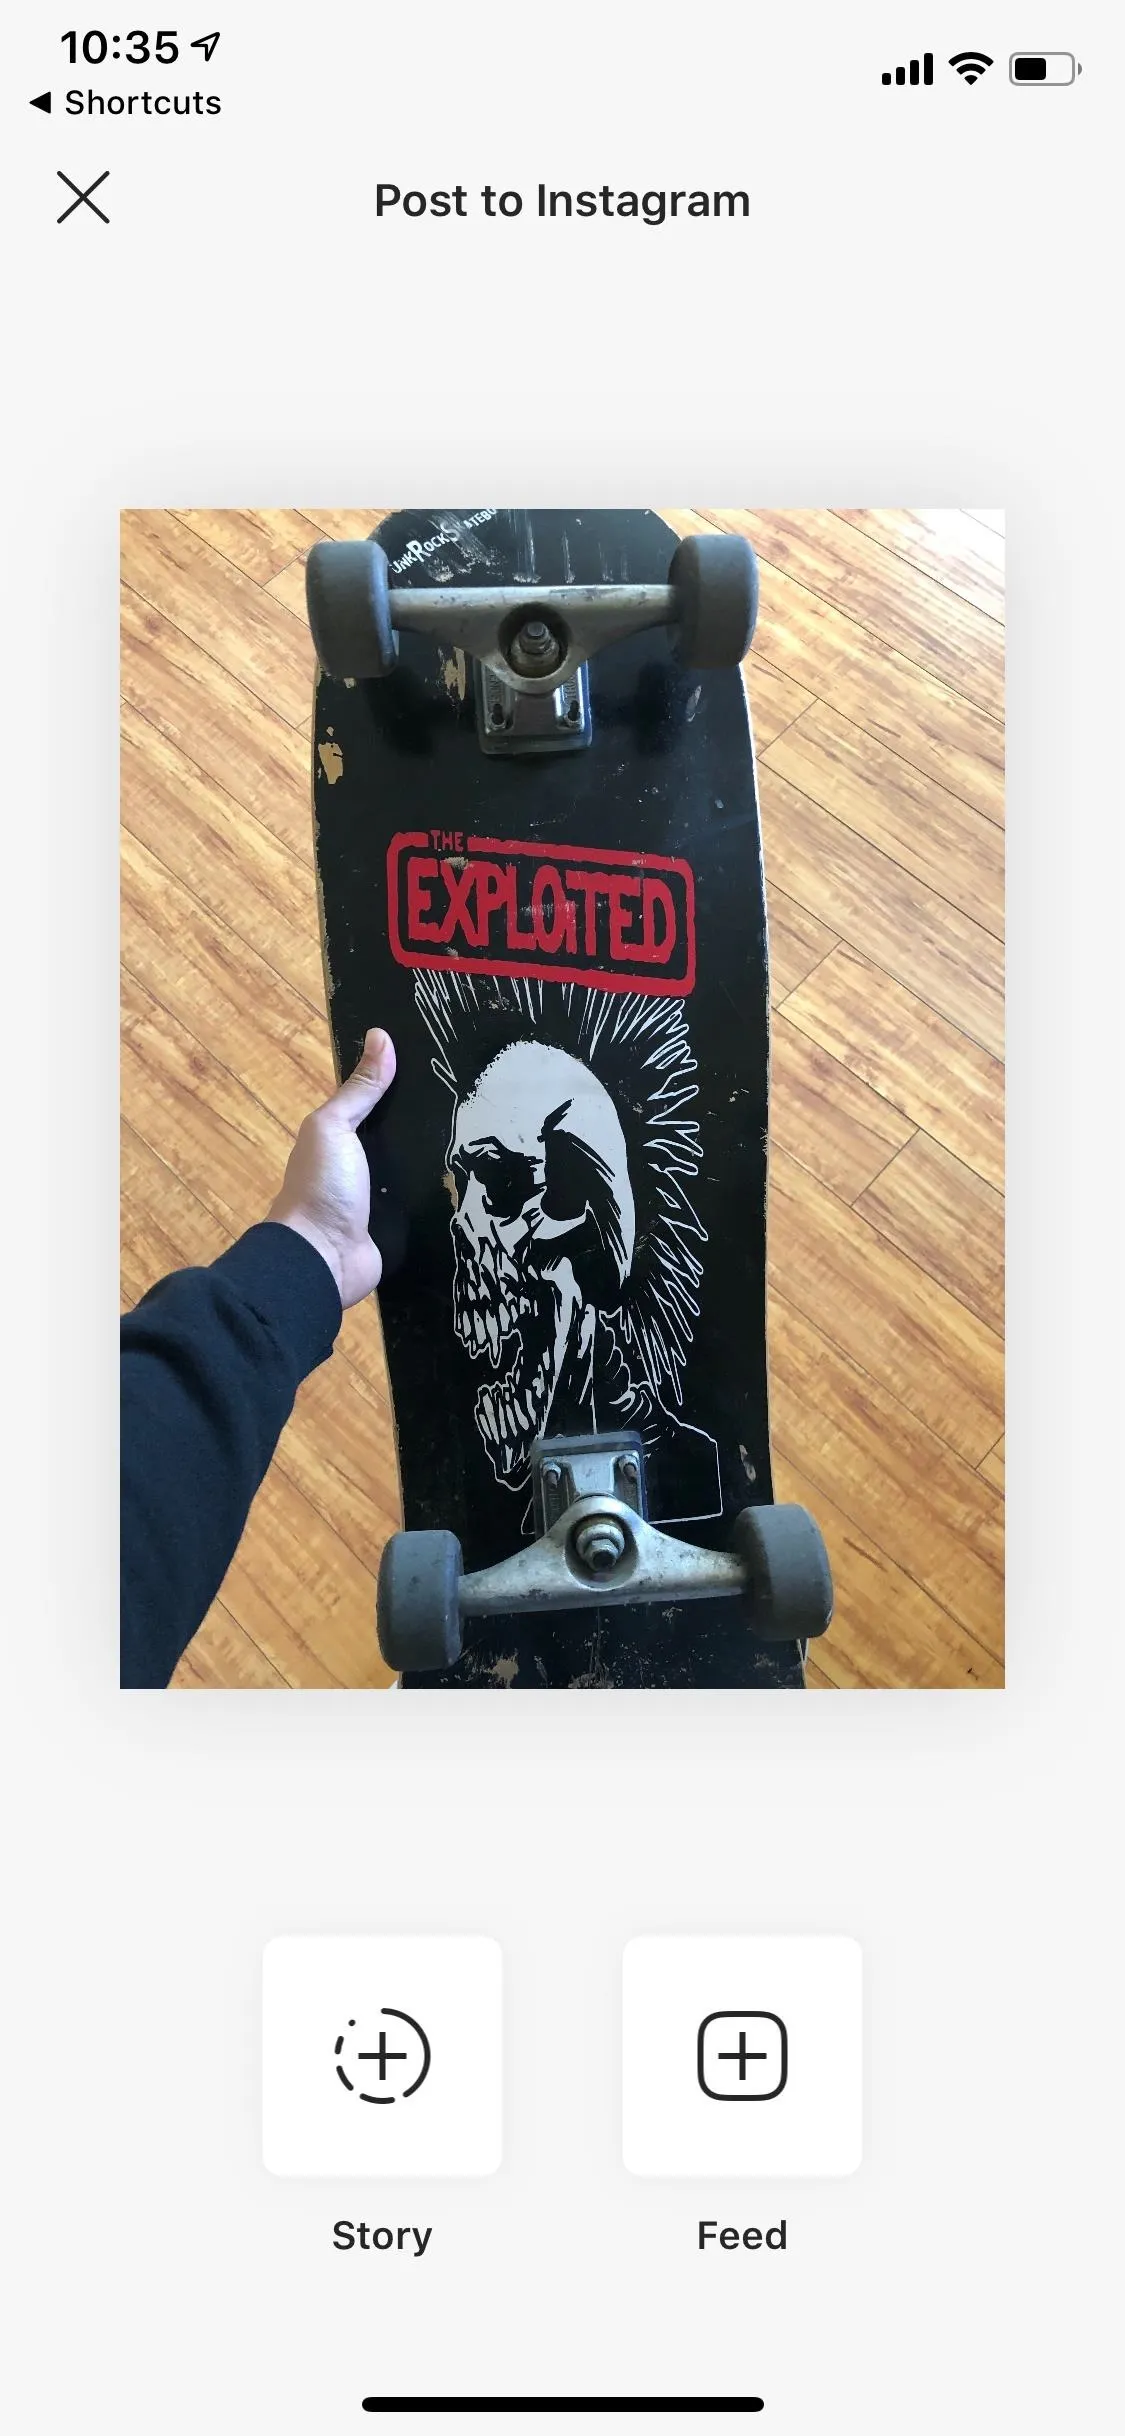
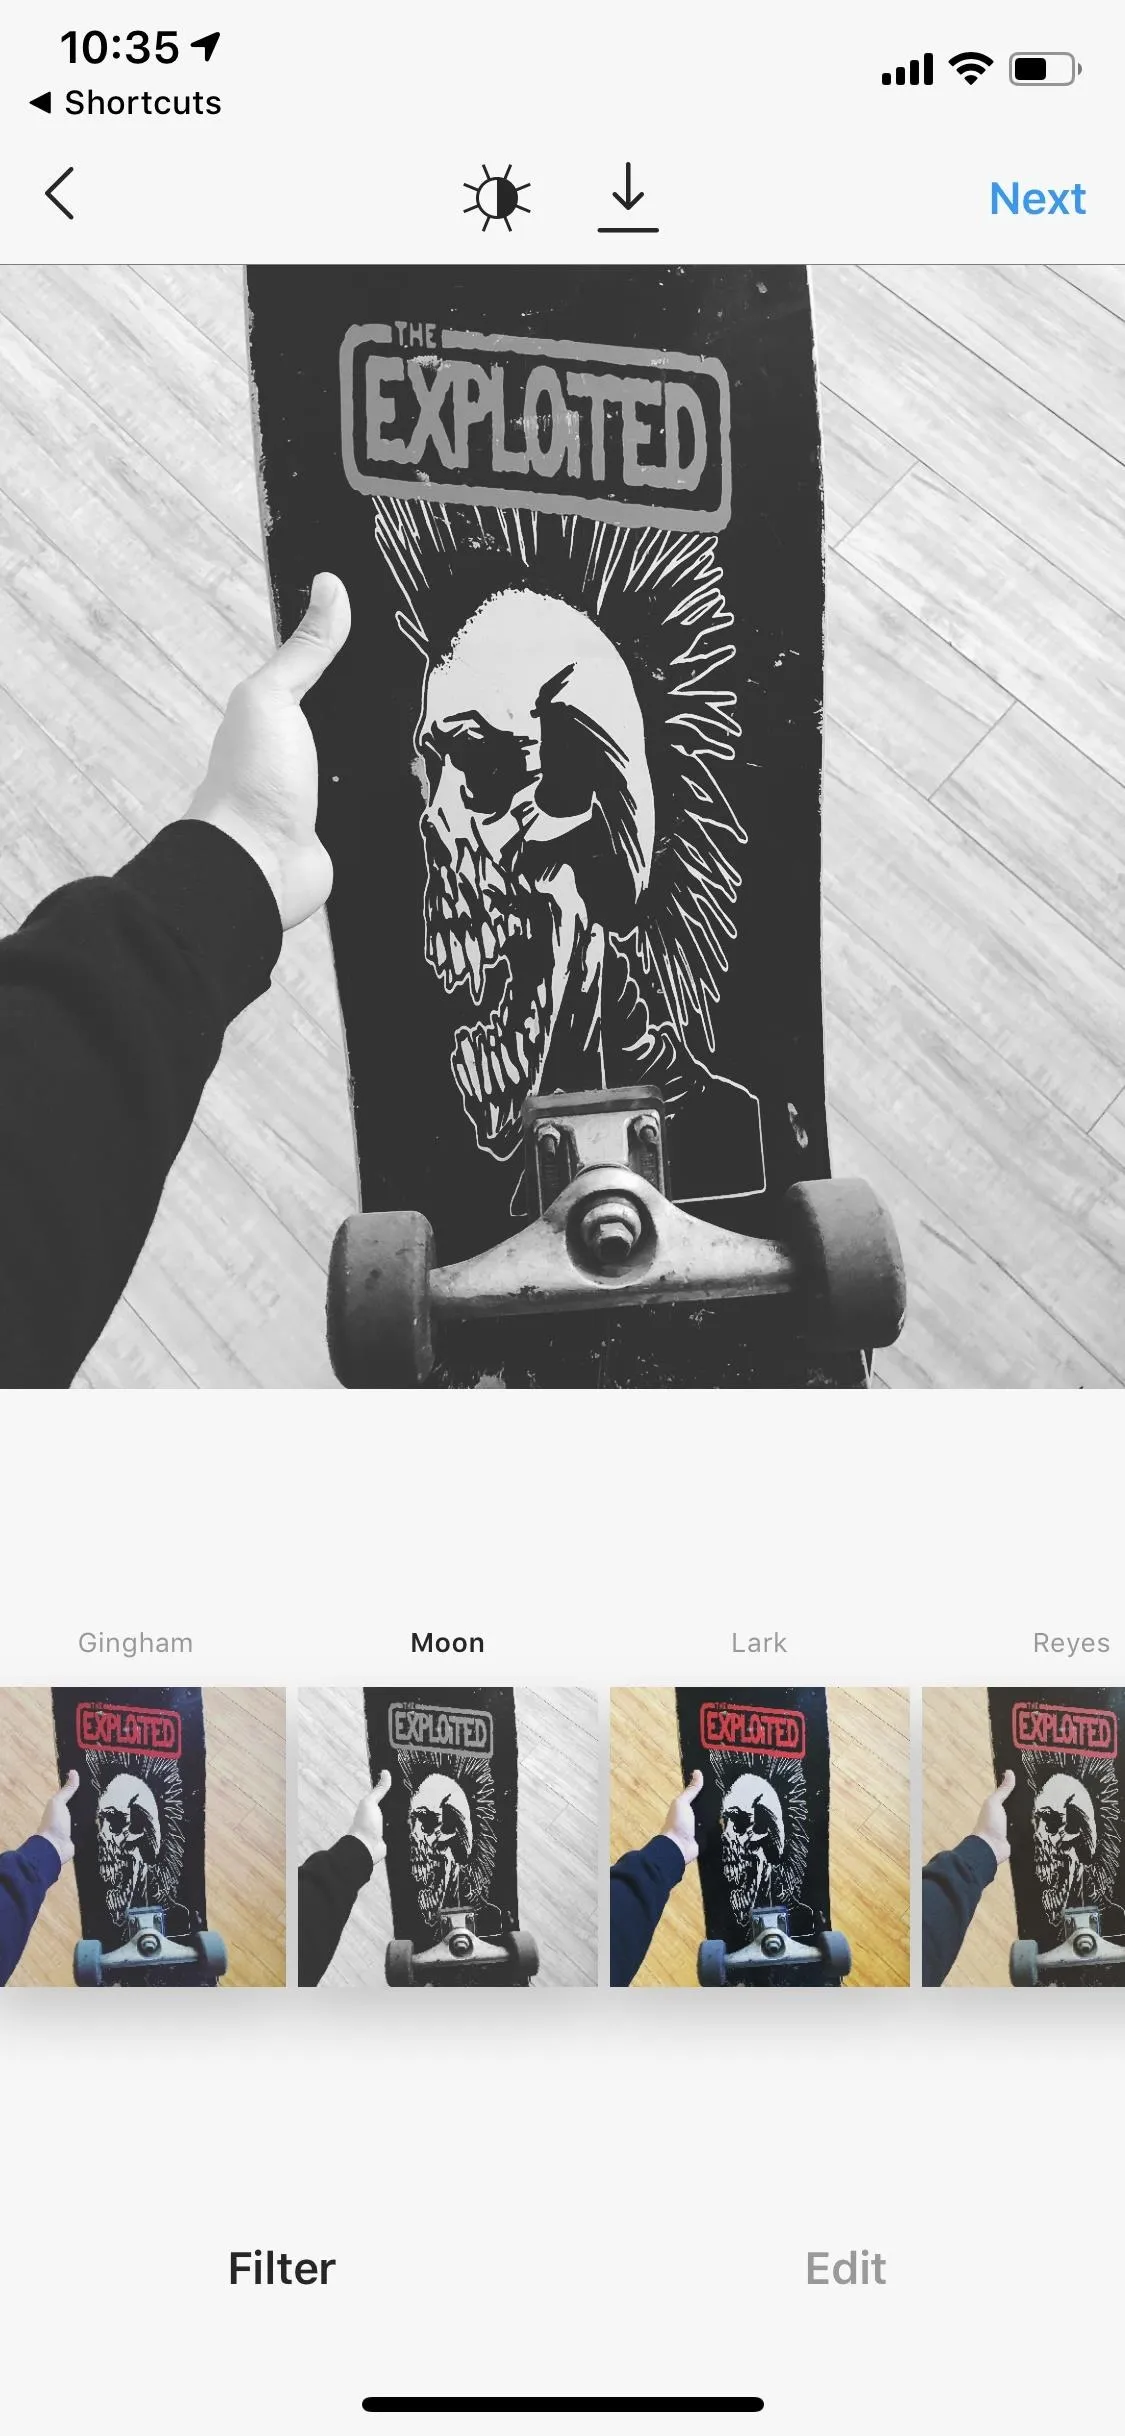
Now you can use Siri to help you post your last photo taken, i.e., the newest photo in your Photos library, to Instagram. Trigger Siri, and say your command to open the shortcut. The last photo you took (videos won't work) with your camera will be brought up, and the shortcut will ask if you want to upload it to your "Story" or "Feed." Finish the posting process manually, and you're finished!

5. Automatically Upload Your Newest Live Photo
In addition to the shortcut above that posts your newest image in Photos, there's one called "Post Live Photo to Instagram" that allows you to post your last Live photo taken on Instagram. You can set it up and run it just like the last shortcut, so just follow those steps to get it working.
- Shortcuts Link: Post Live Photo to Instagram
6. Place Text Above Photos to Create Memes
Is your Instagram account an up-and-coming meme page? Or do you just like posting your own meme creations every once in a while? Thanks to KurokoNB, a shortcut aptly titled "Text above picture" lets you (drum roll please) place text directly above a photo to create a meme.
- Shortcuts Link: Text above picture
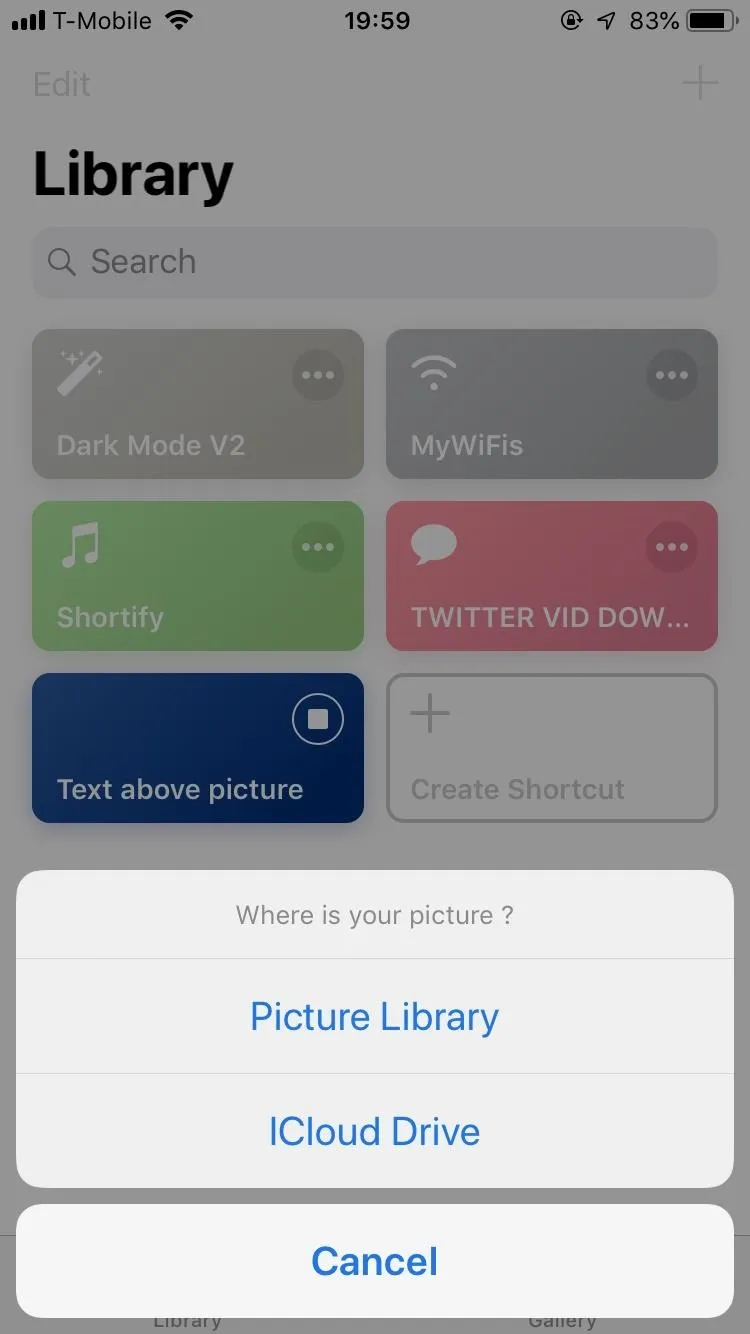
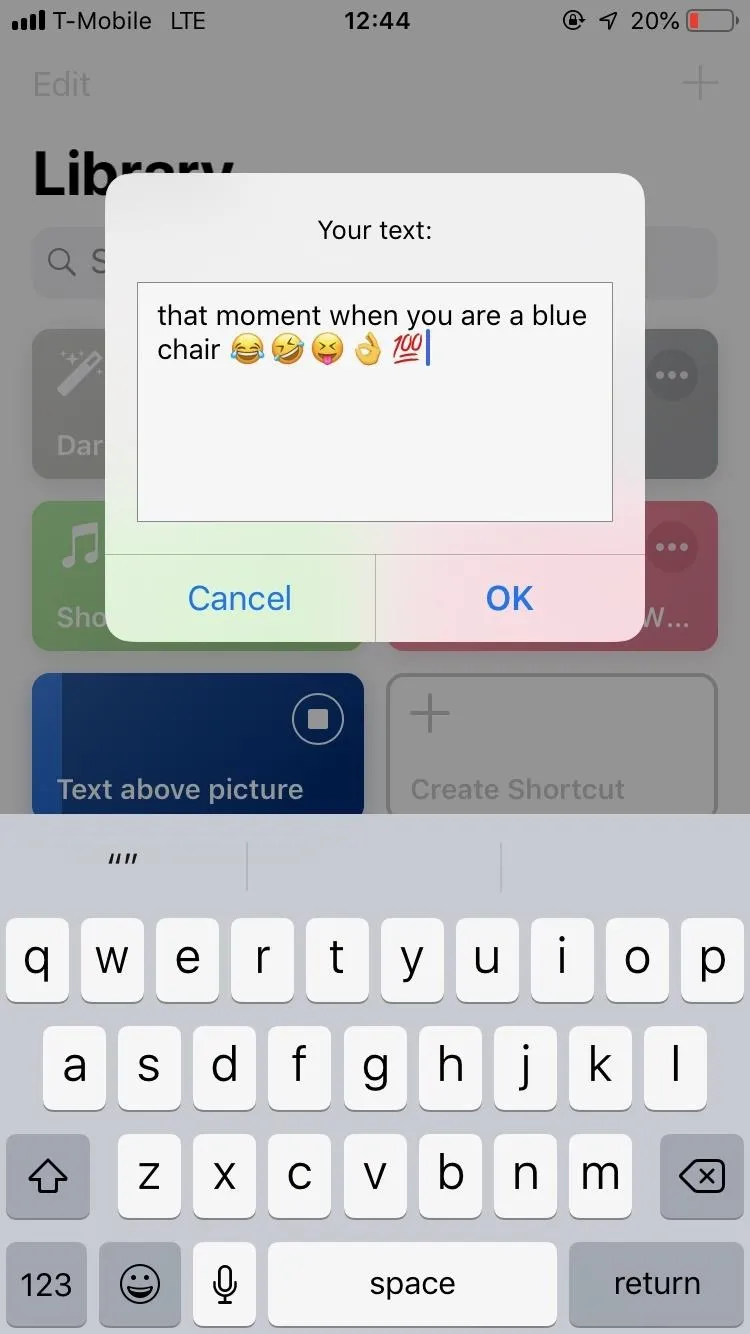
If you want to create a meme, tap on the shortcut, and choose a photo to add text to, either from Photos (Picture Library) or Files (iCloud Drive). Enter your text, which can include emojis, then hit "OK."
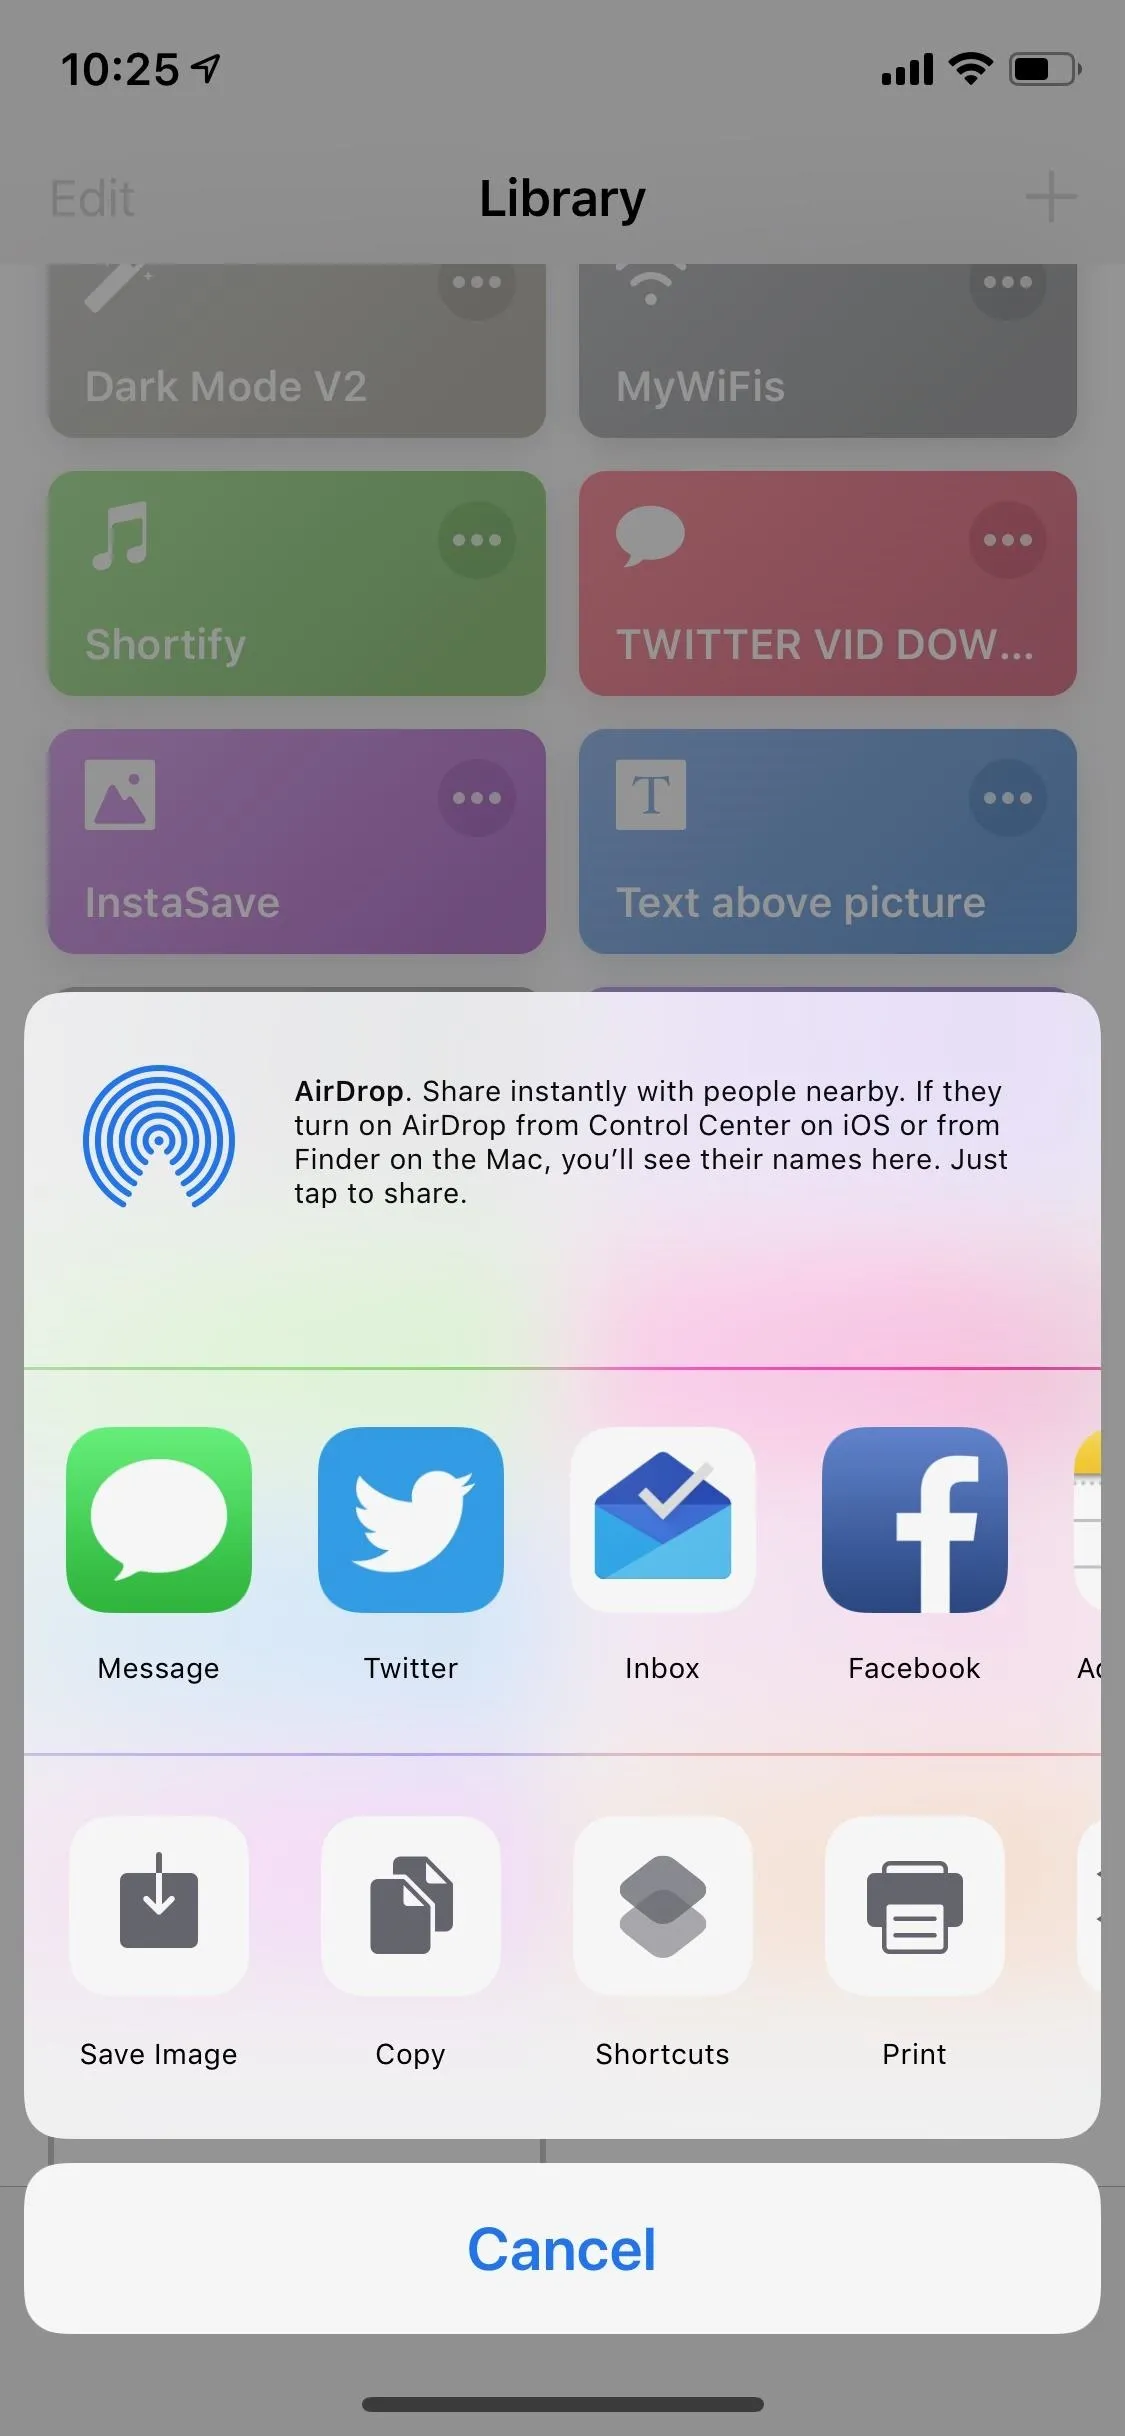
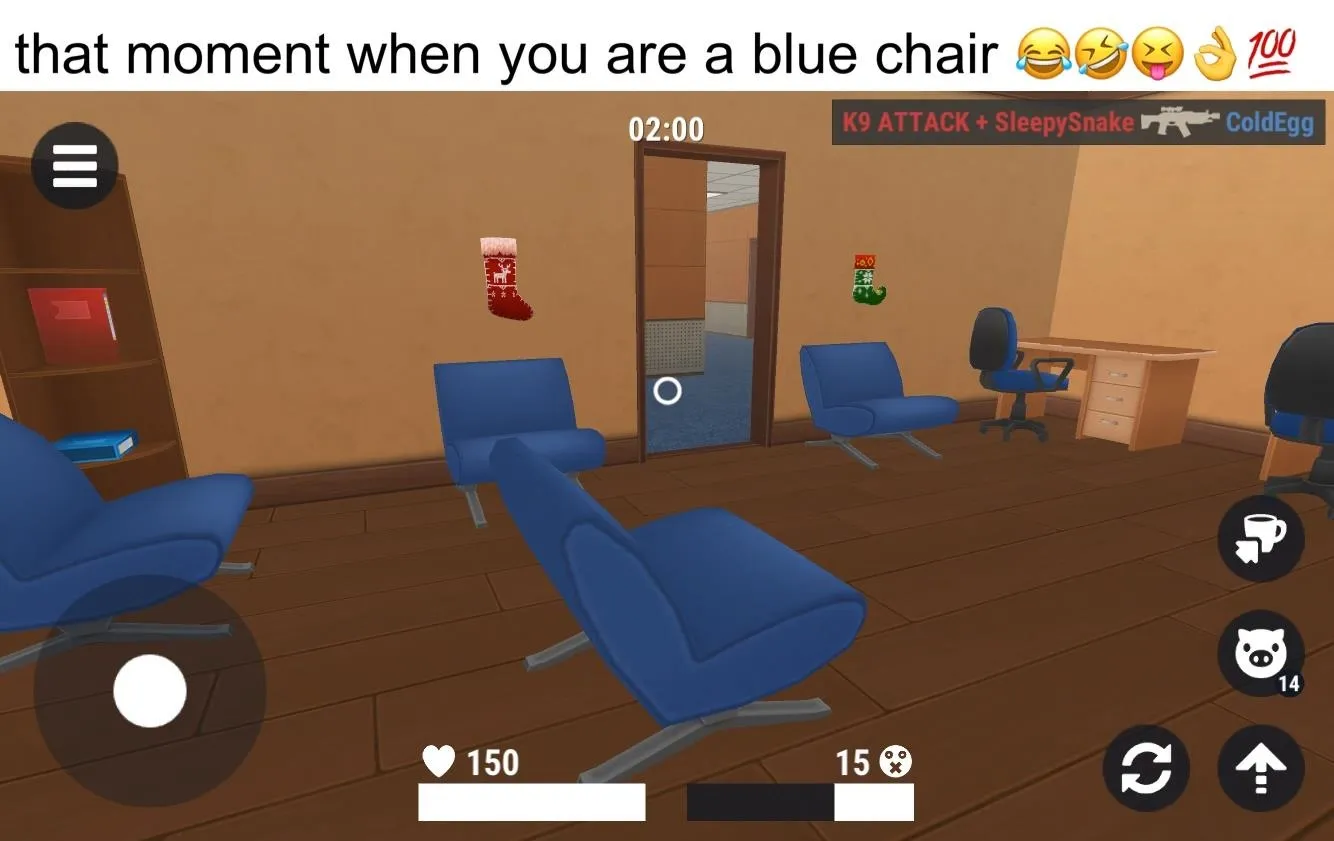
Your meme is finished! You can either save it on your phone or iCloud or share it through text message, email, etc. In this case, sharing directly to Instagram is just a tap away.
7. Steal an Instagram Post's Hashtags
If you want people to discover your profile or pictures, you need to use the same hashtags that social media influencers and brands use (#fitness, #hypebeast, #fashion, etc.). While you can type up hashtags for your captions, it's easier to just steal the hashtags of a popular picture. Thanks to "Instagram Hashtags," by socaljoker, you can do just that.
- Shortcuts Link: Instagram Hashtags
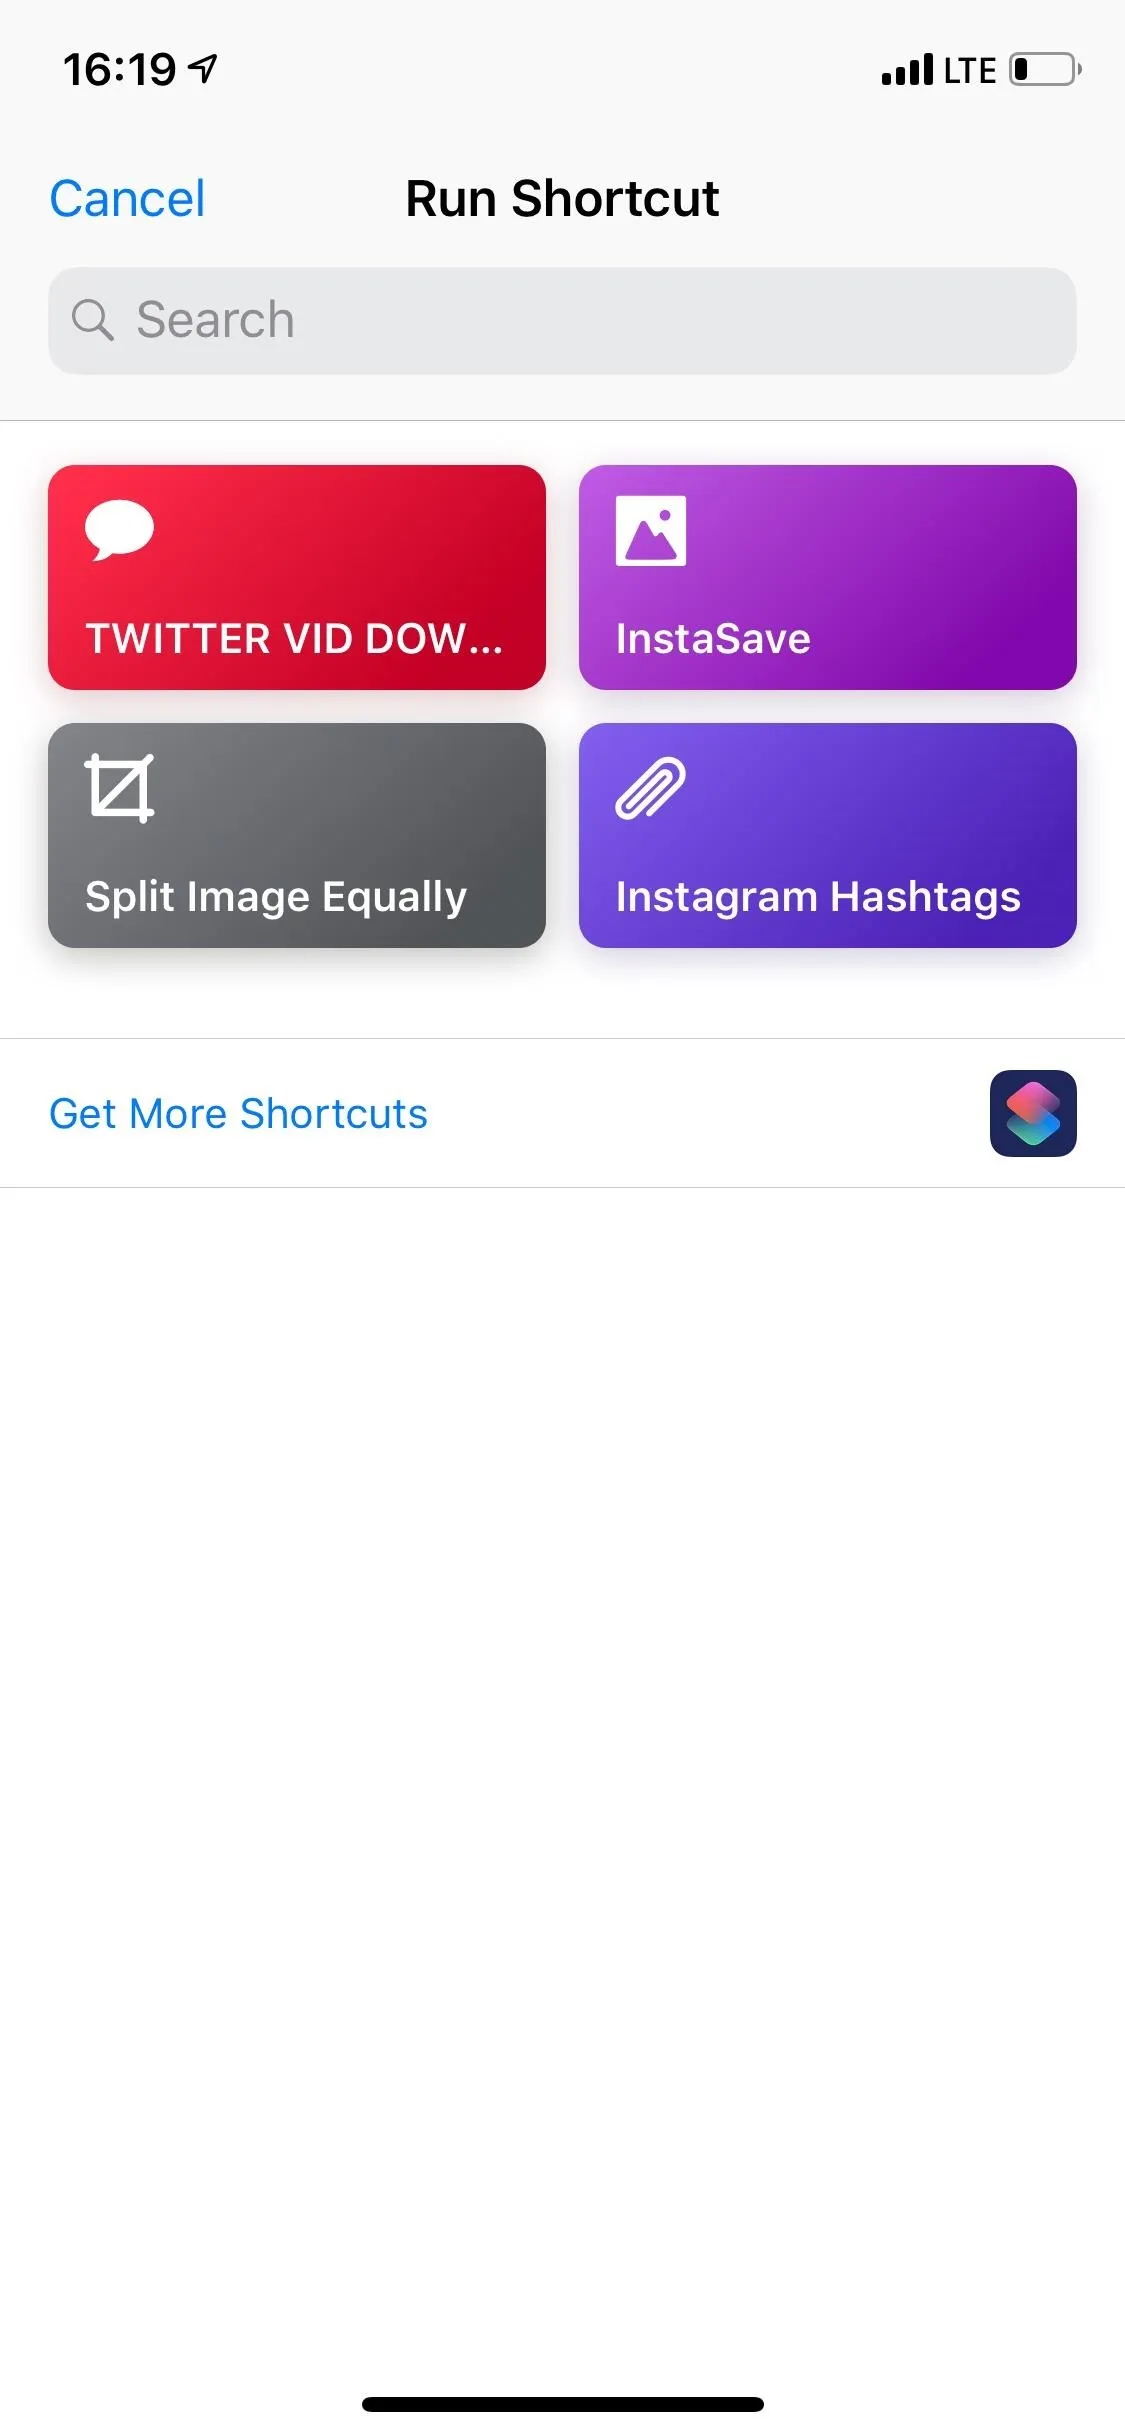
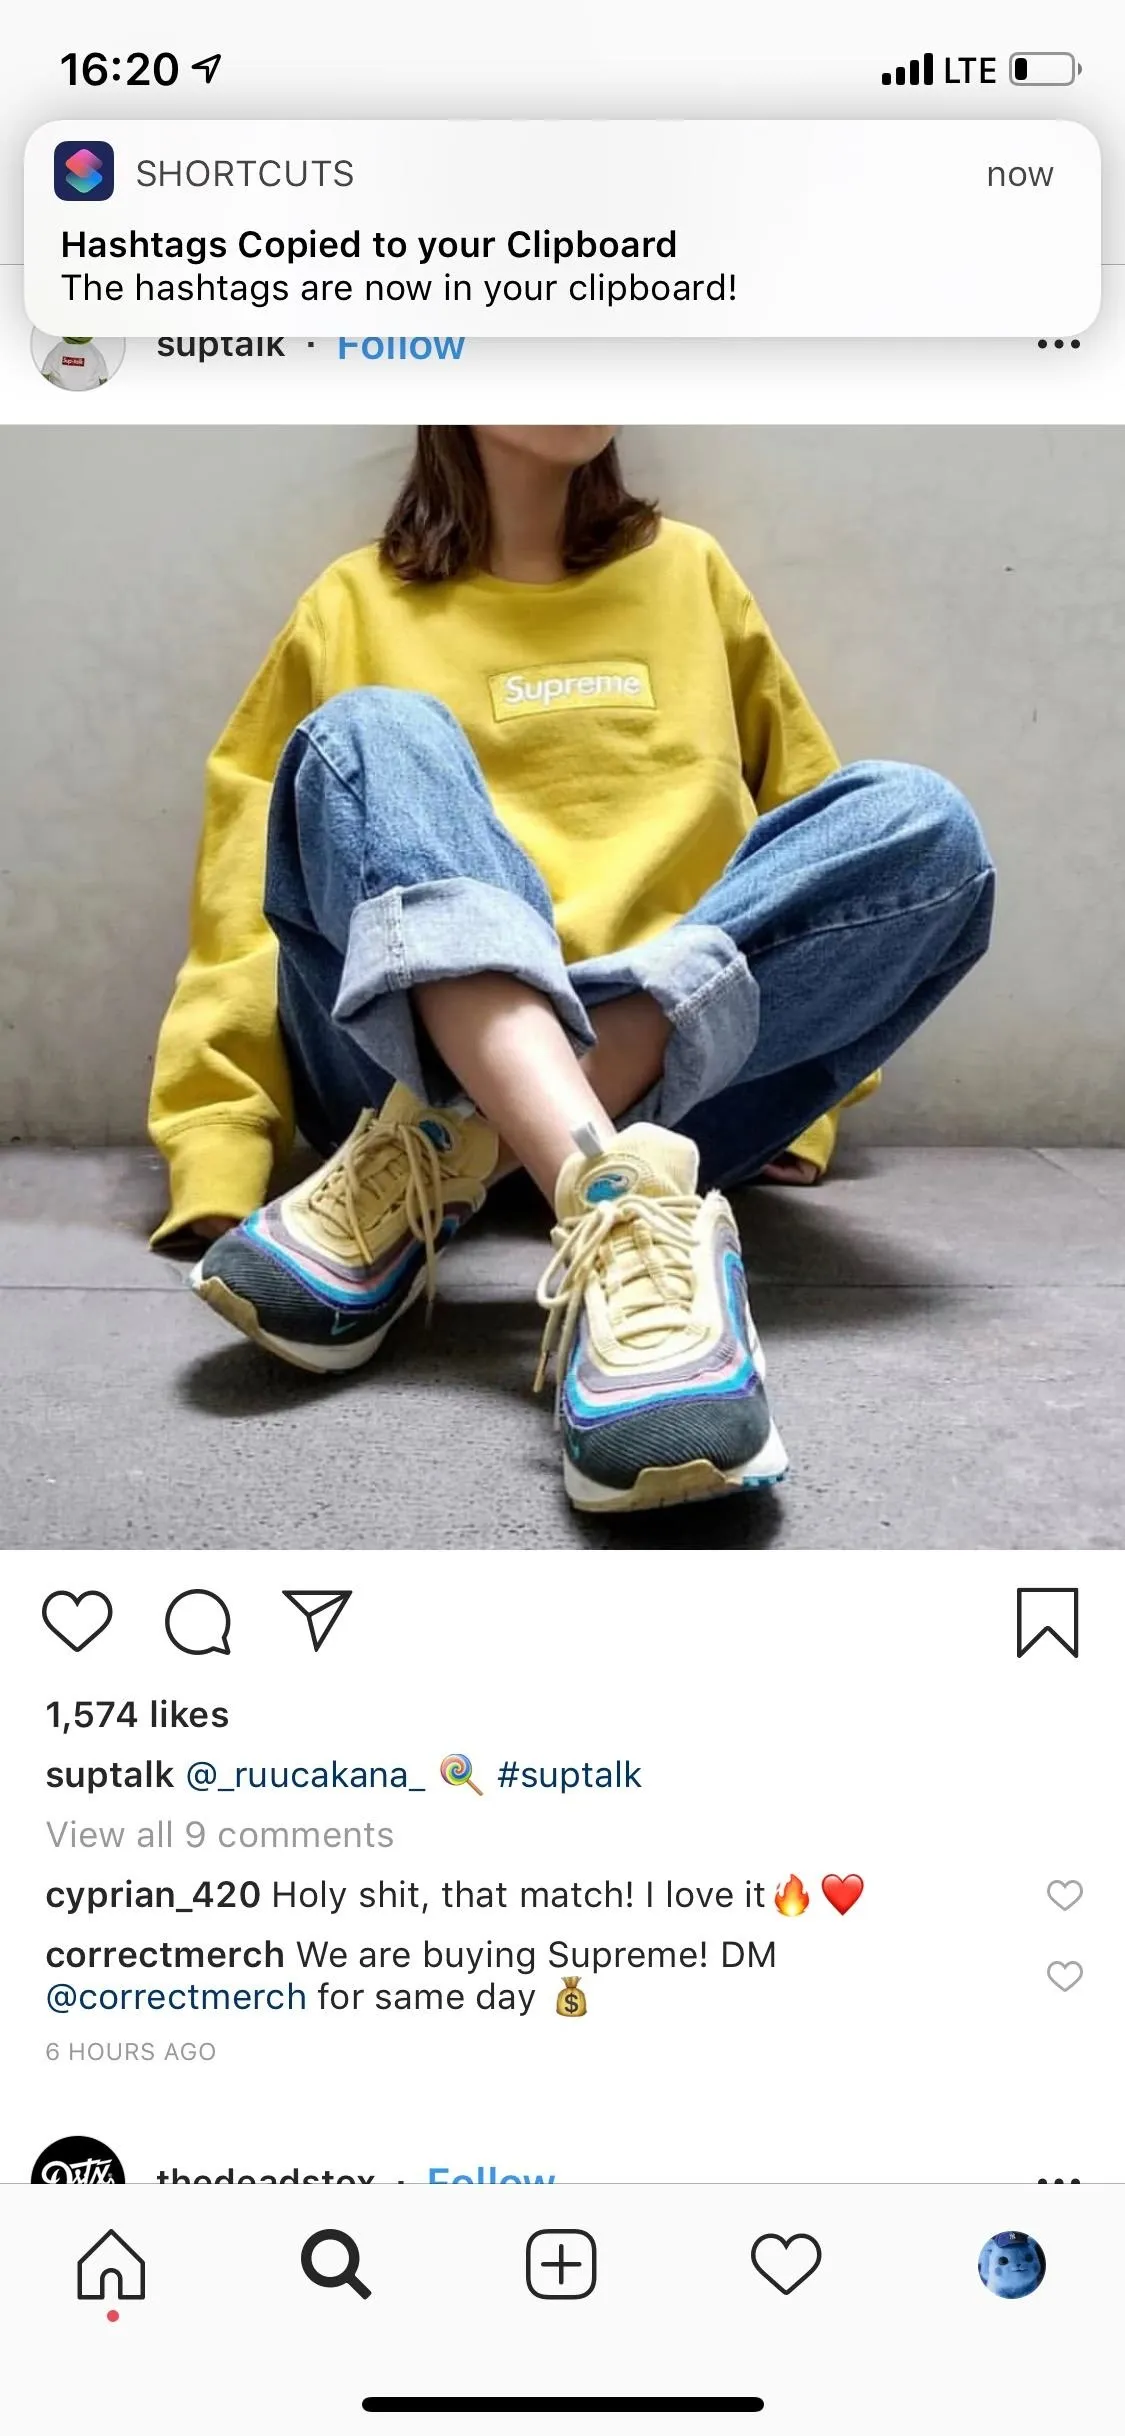
After installing Instagram Hashtags, go to Instagram, find the picture that you want to steal the hashtags from, and tap on the ellipsis (•••) in the top right. Next, tap on "Share to," and select "Shortcuts" from the share sheet.

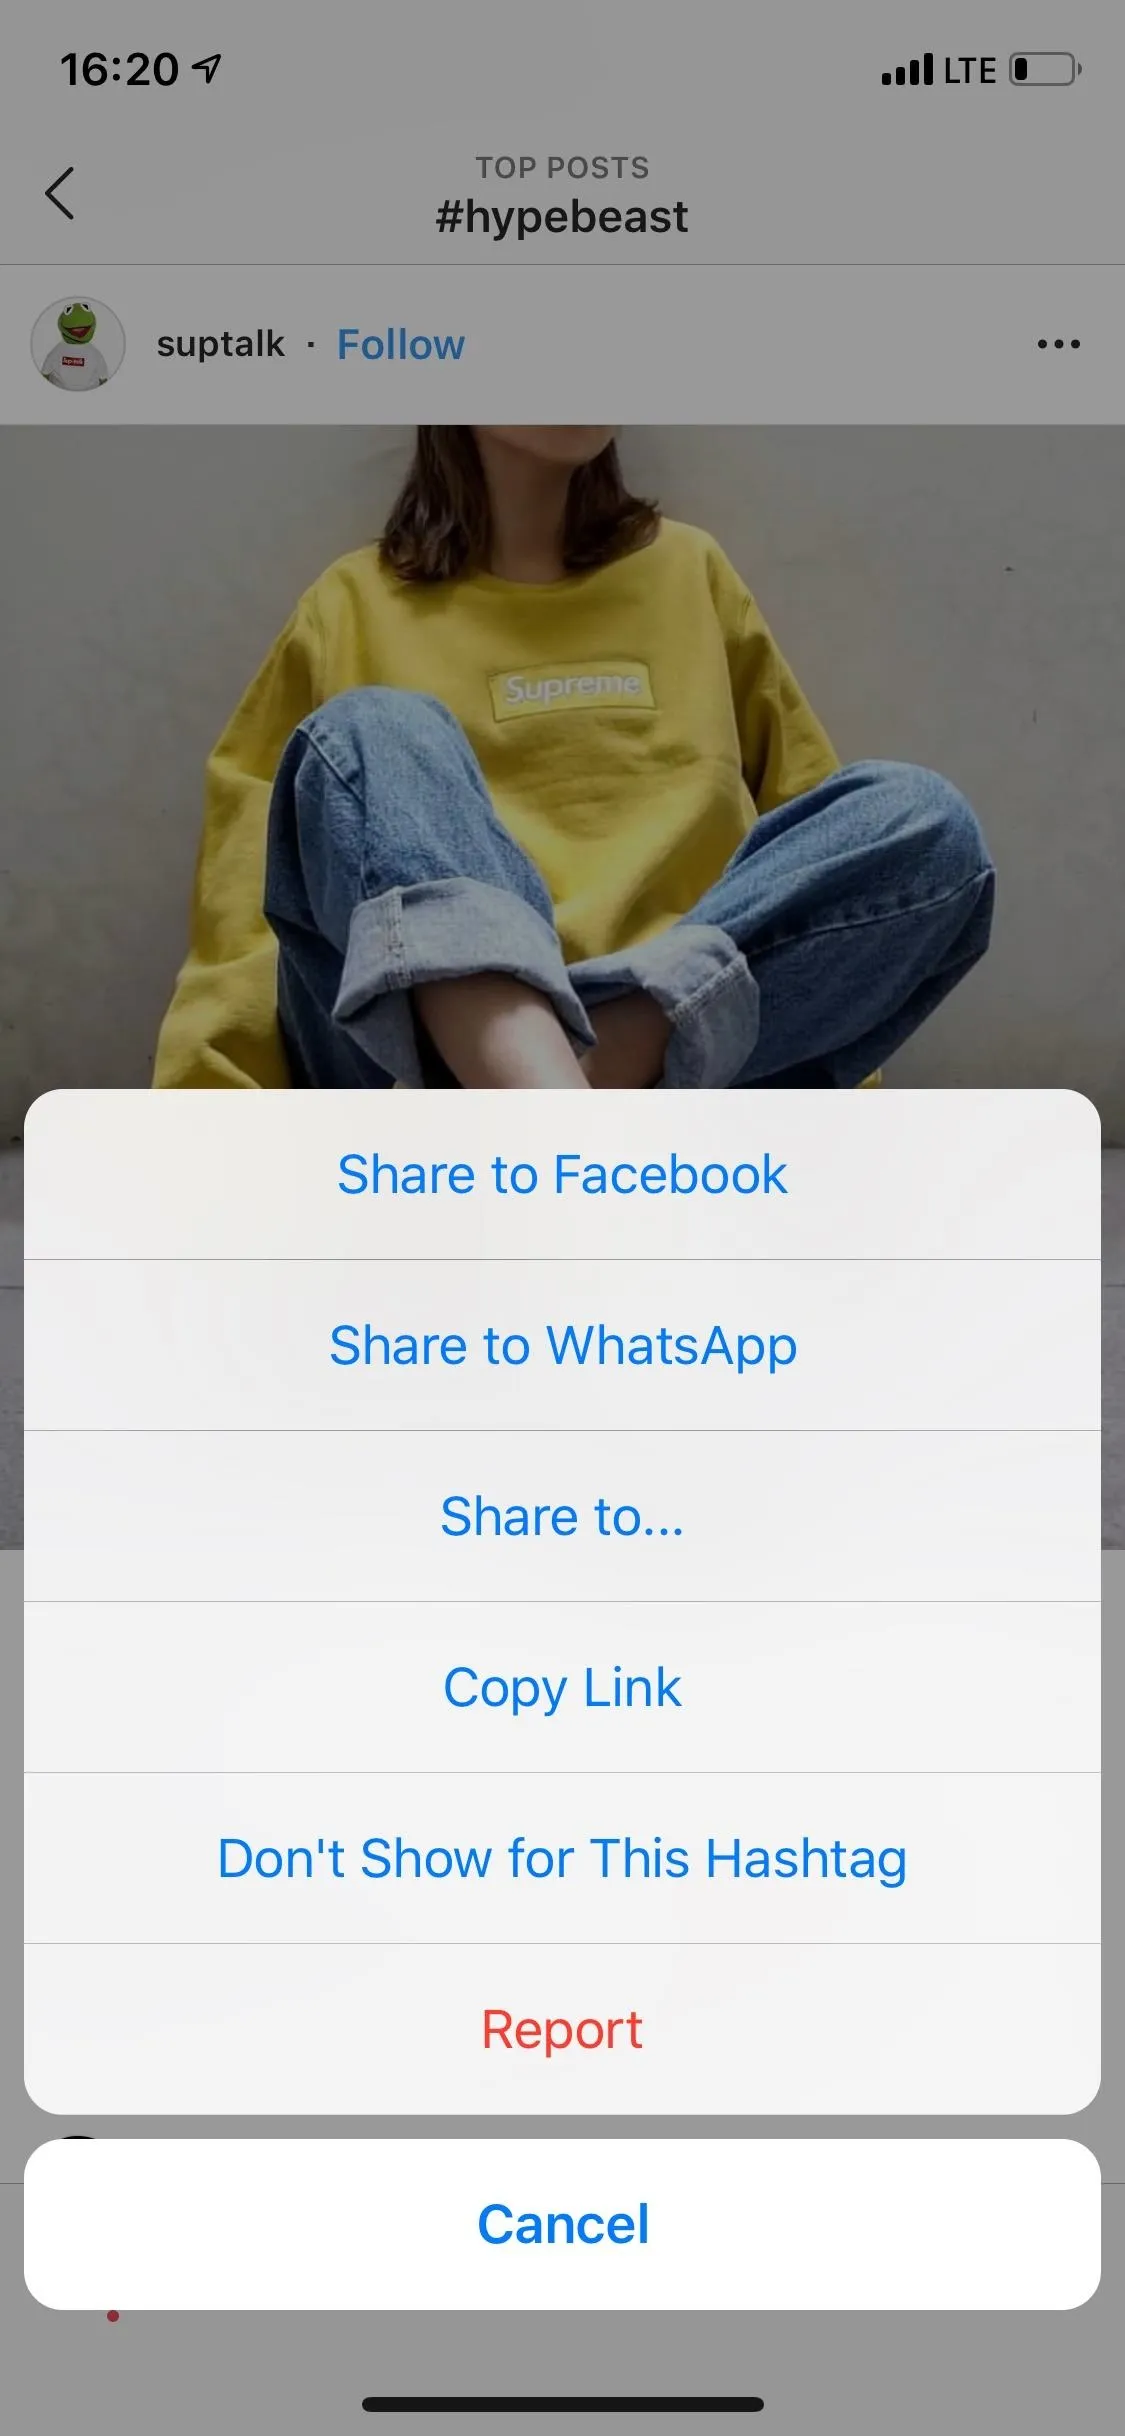

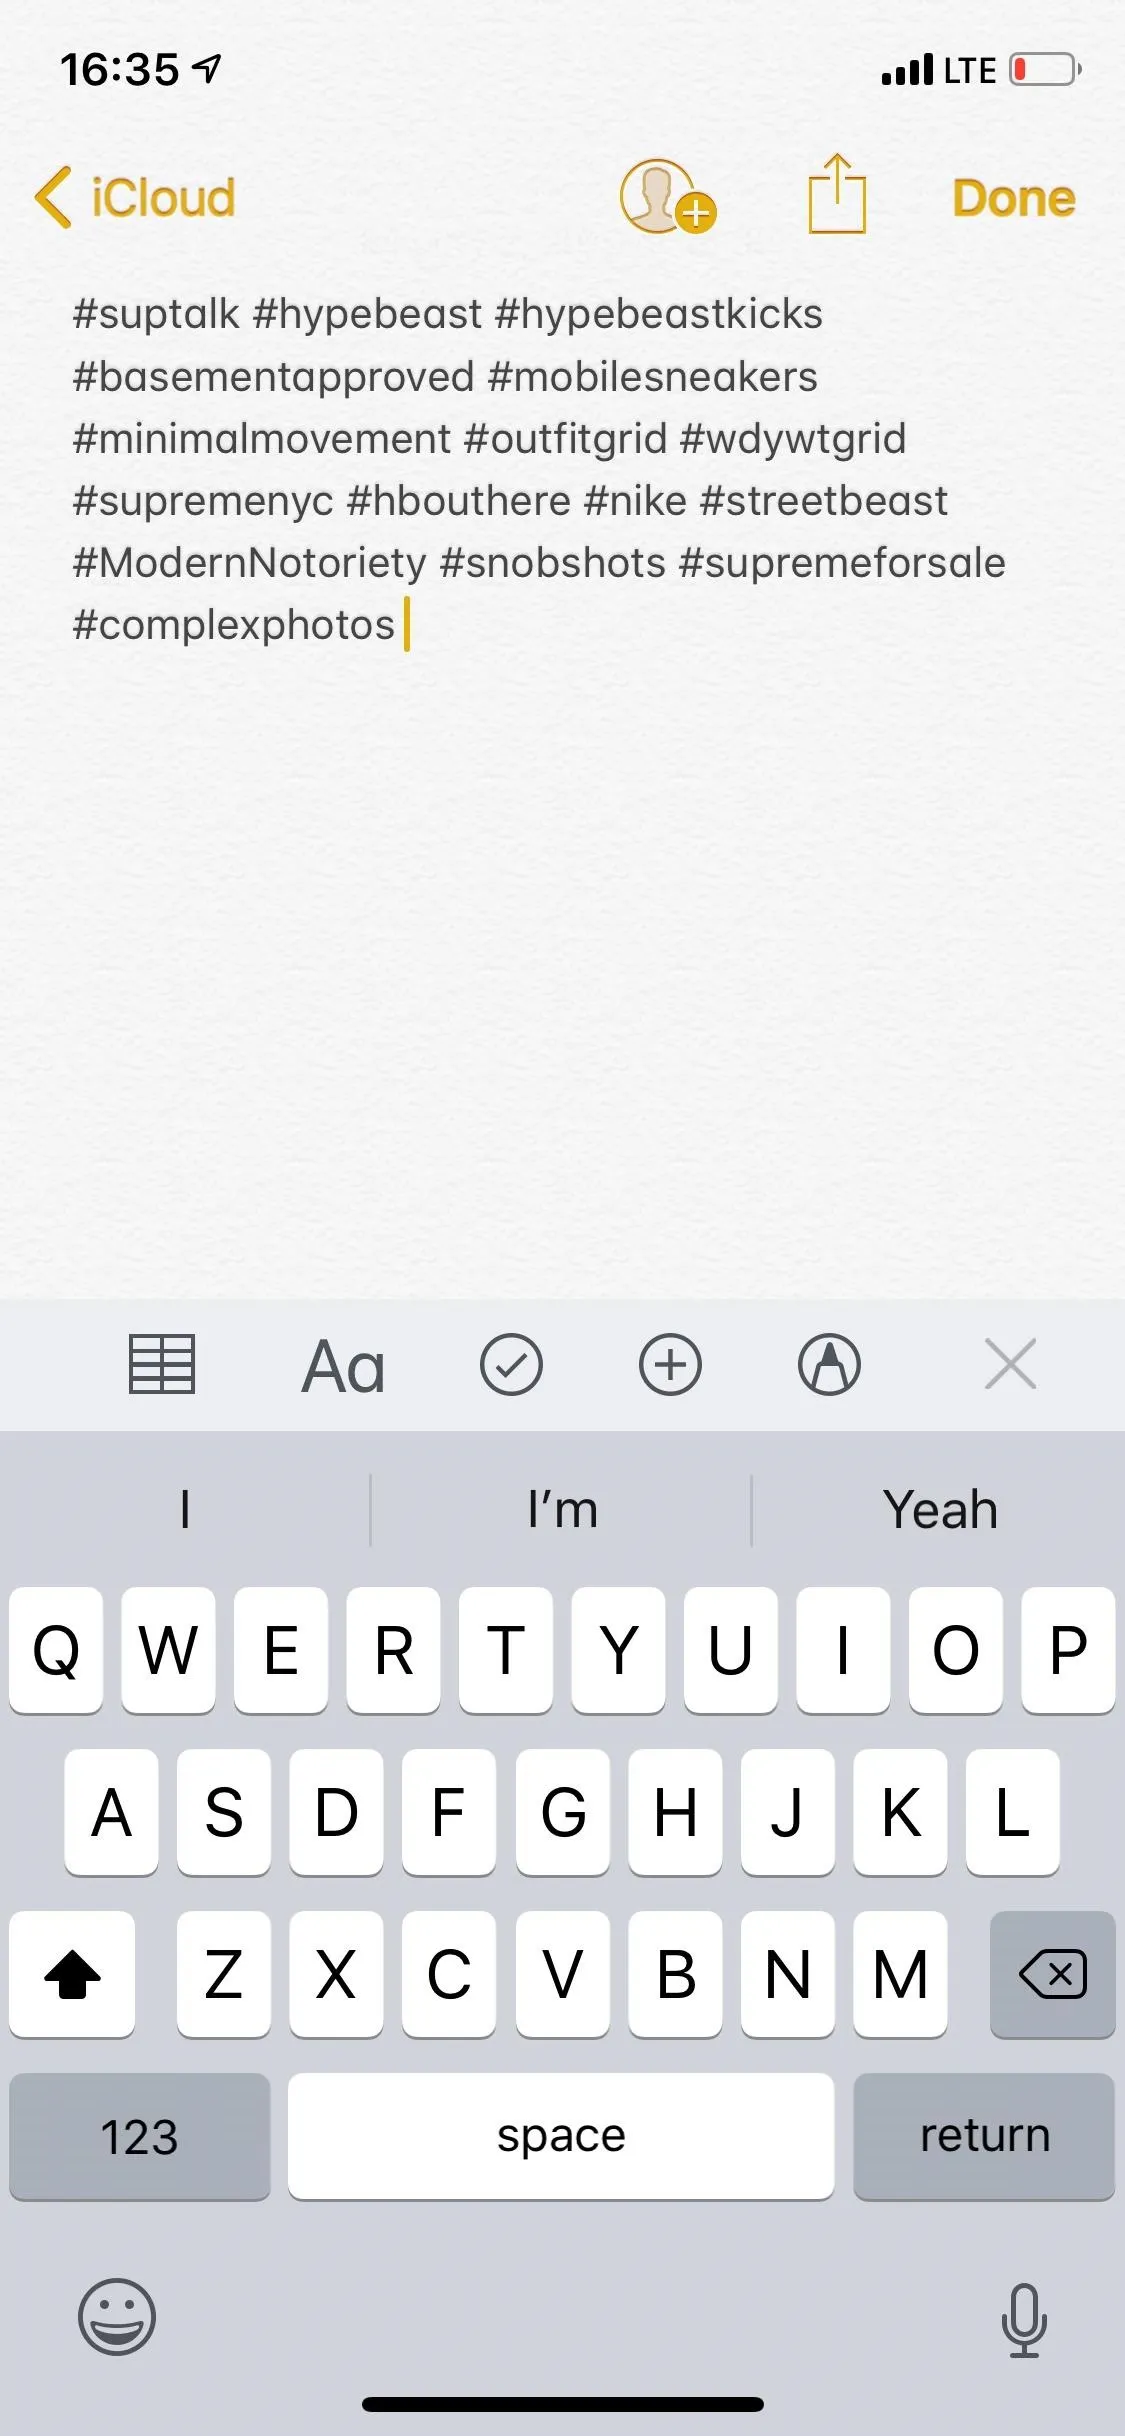
You'll be redirected to the Shortcuts app, where you must tap on "Instagram Hashtags." All of the hashtags in the caption (and in the messages) will go to your clipboard. You can then paste the hashtags in your post's caption or in comments for a post already published.
8. Add Thumbnail Map to Photo
Add some flair to your Instagram photos with "PhotoMap Thumbnail," by atomicsiren, which allows you to place a thumbnail map on a photo before posting it to Instagram.
- Shortcuts Link: PhotoMap Thumbnail
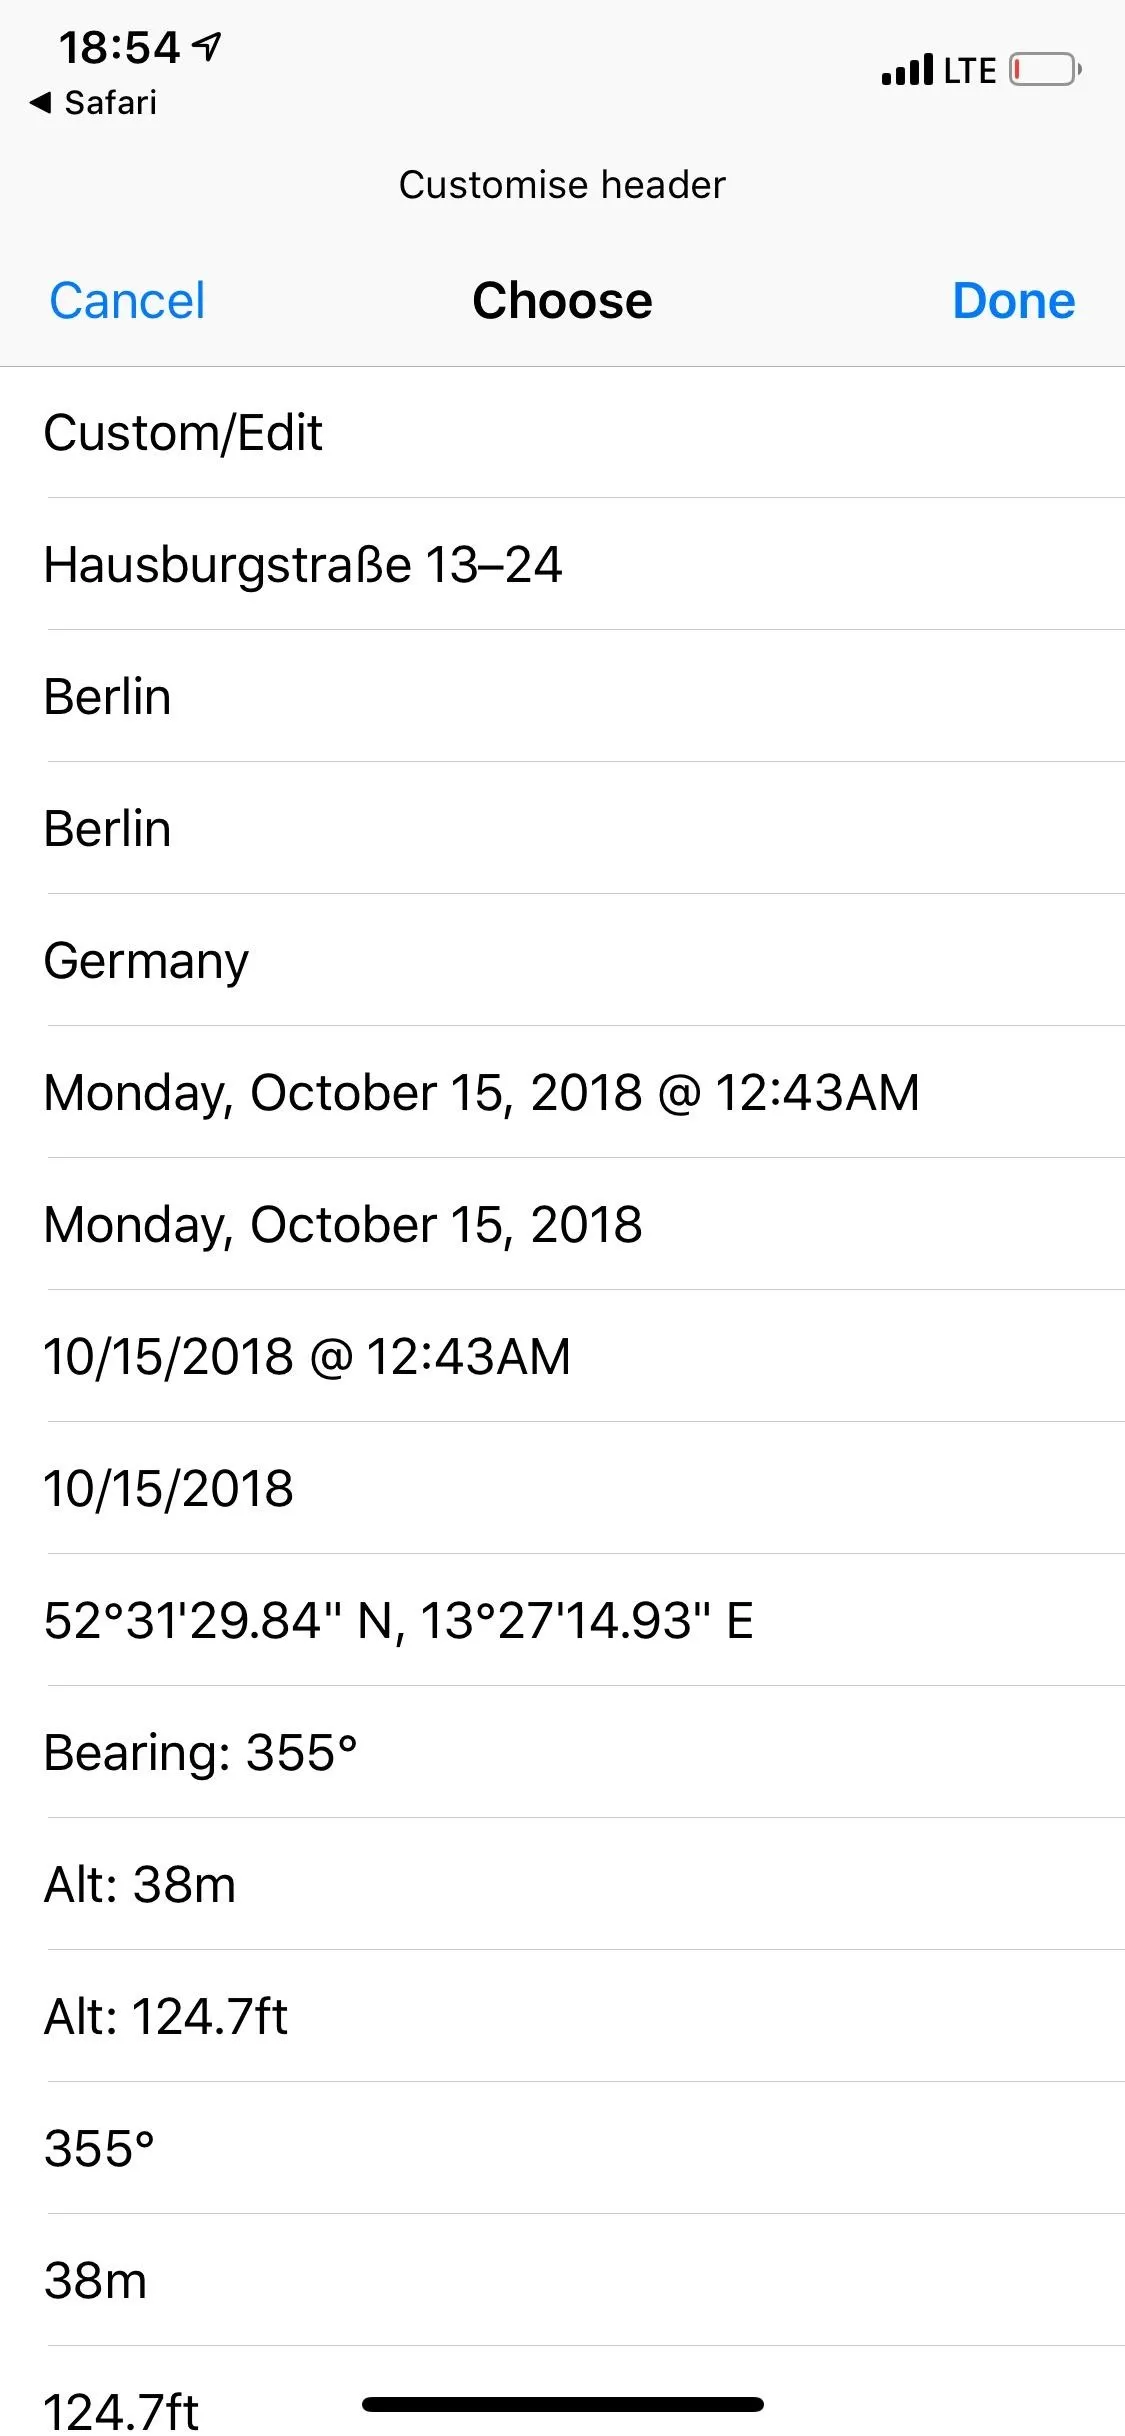
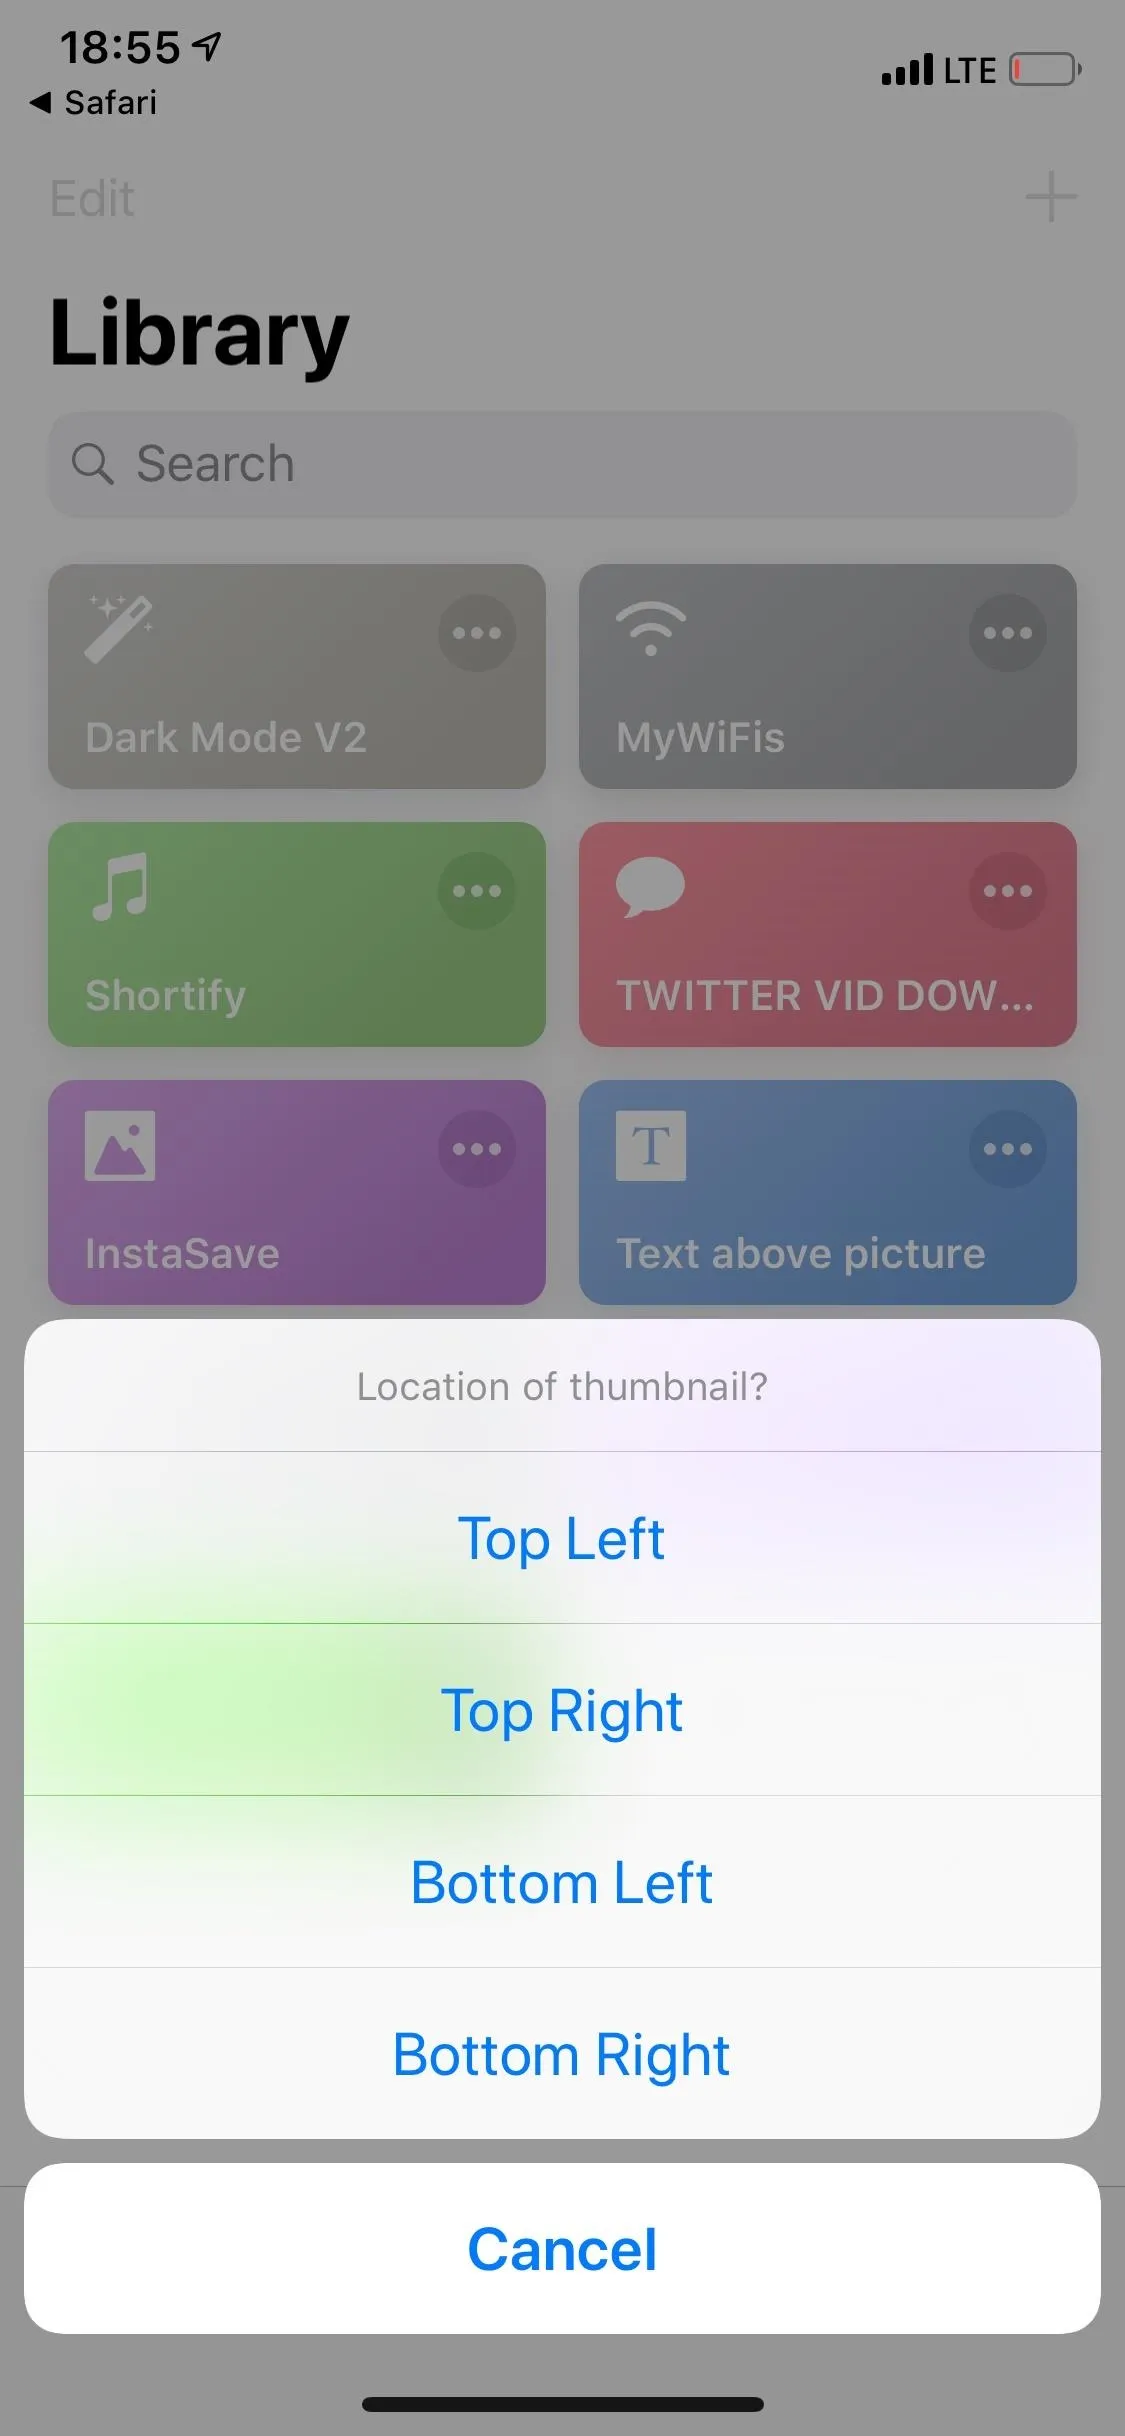
Tap on the "PhotoMap Thumbnail" workflow in Shortcuts, then choose a photo from your library, and the shortcut will then ask you to customize the map thumbnail on your photo. Select a header and footer (choose between date, time, location, and custom text), the map size, and the location of the map. Once you're done, you can share and save your photo.
Needless to say, this will not work if you have disabled "Location Services" for the camera app you shot the image with. You can, however, use another app to add coordinates to the image before uploading, if you want.

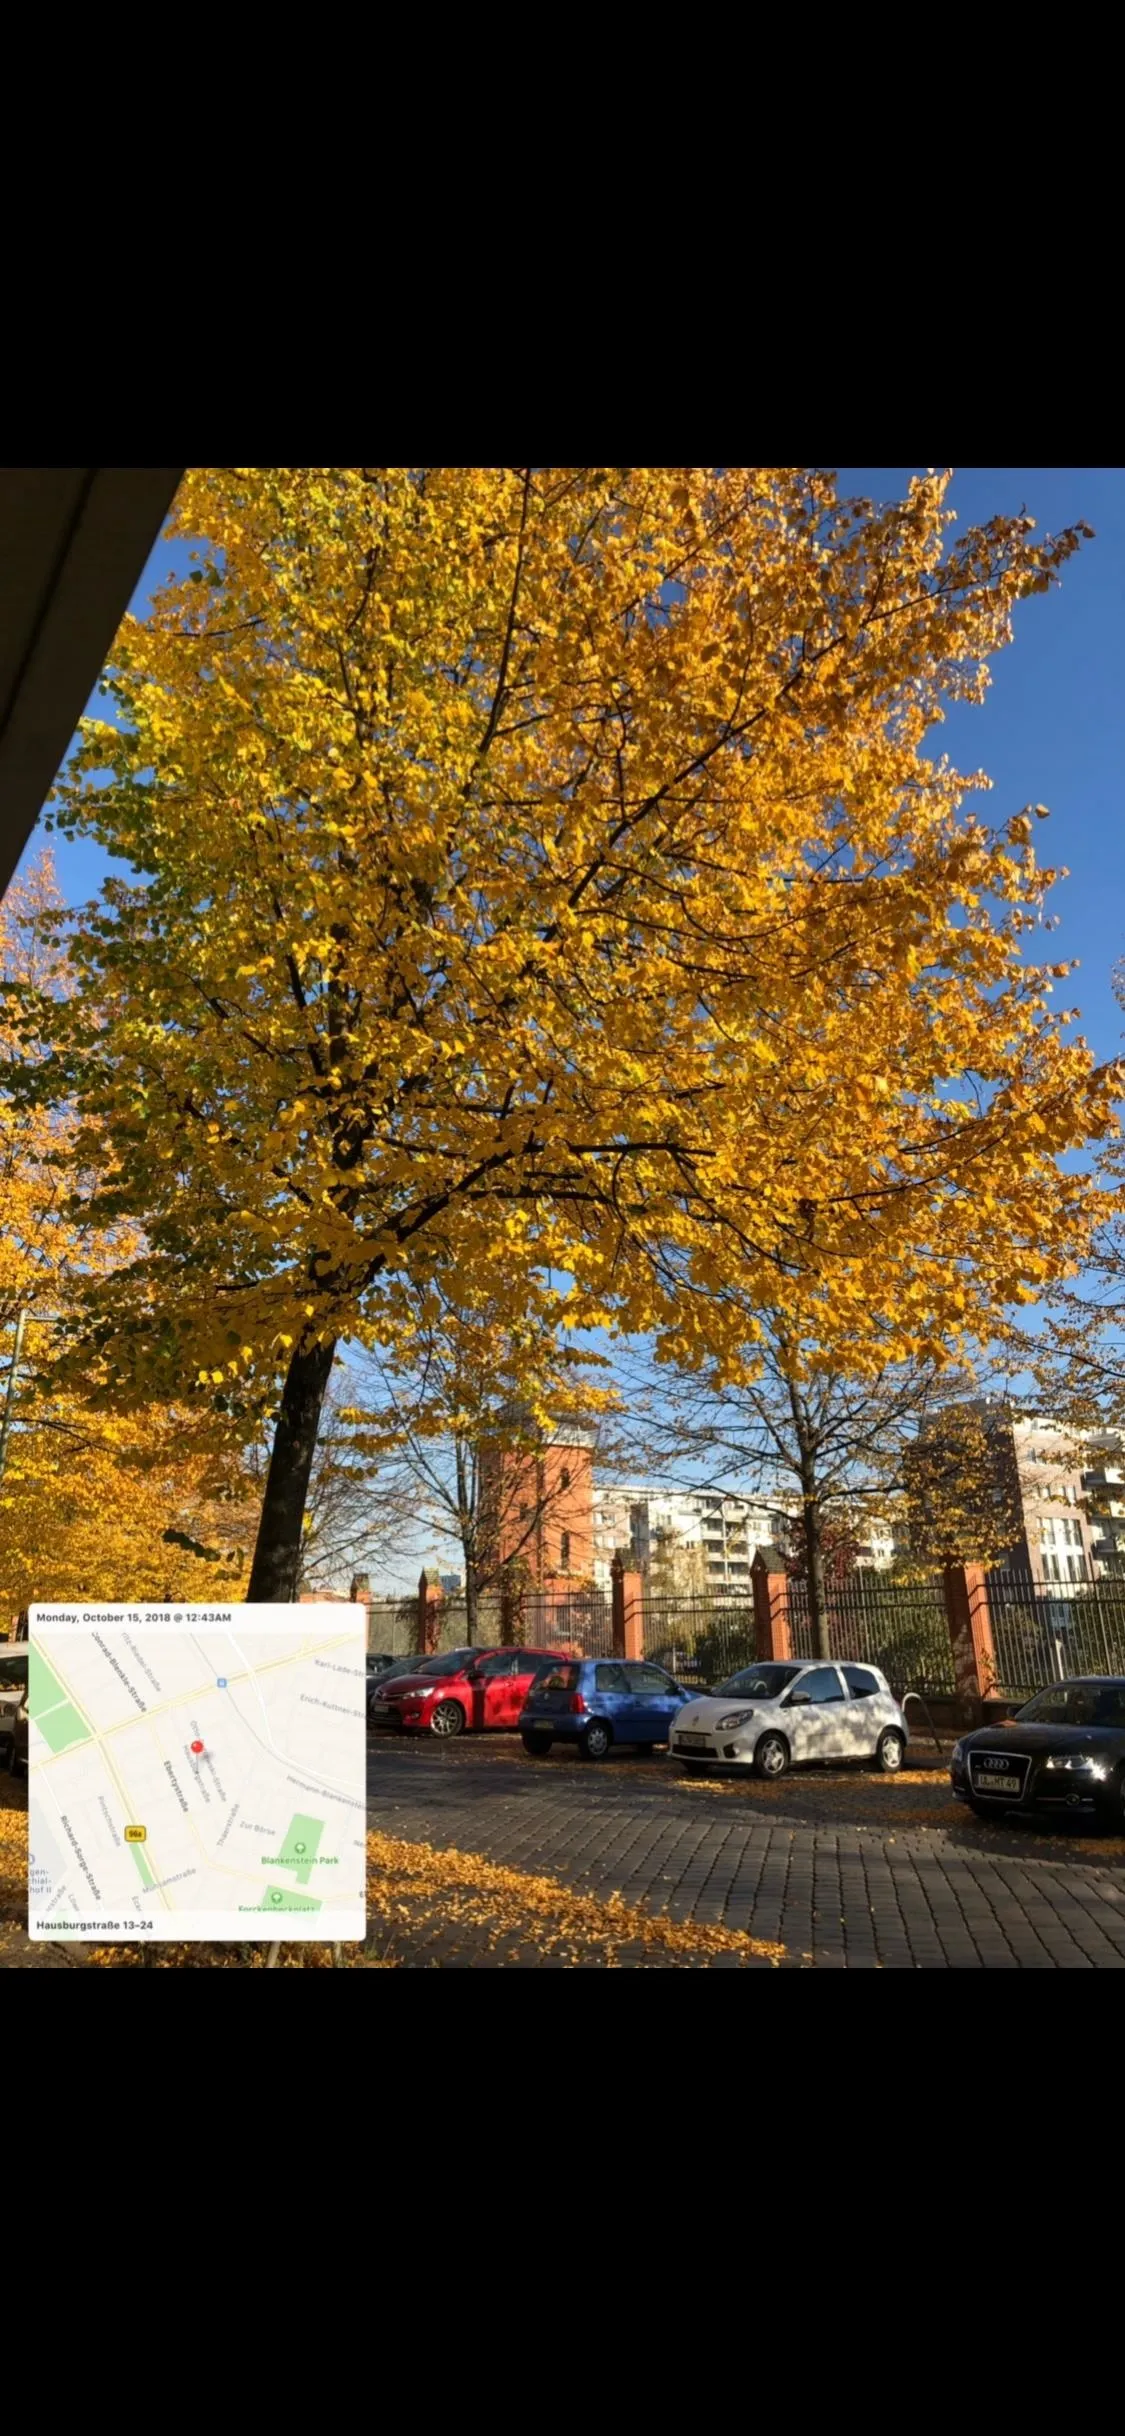
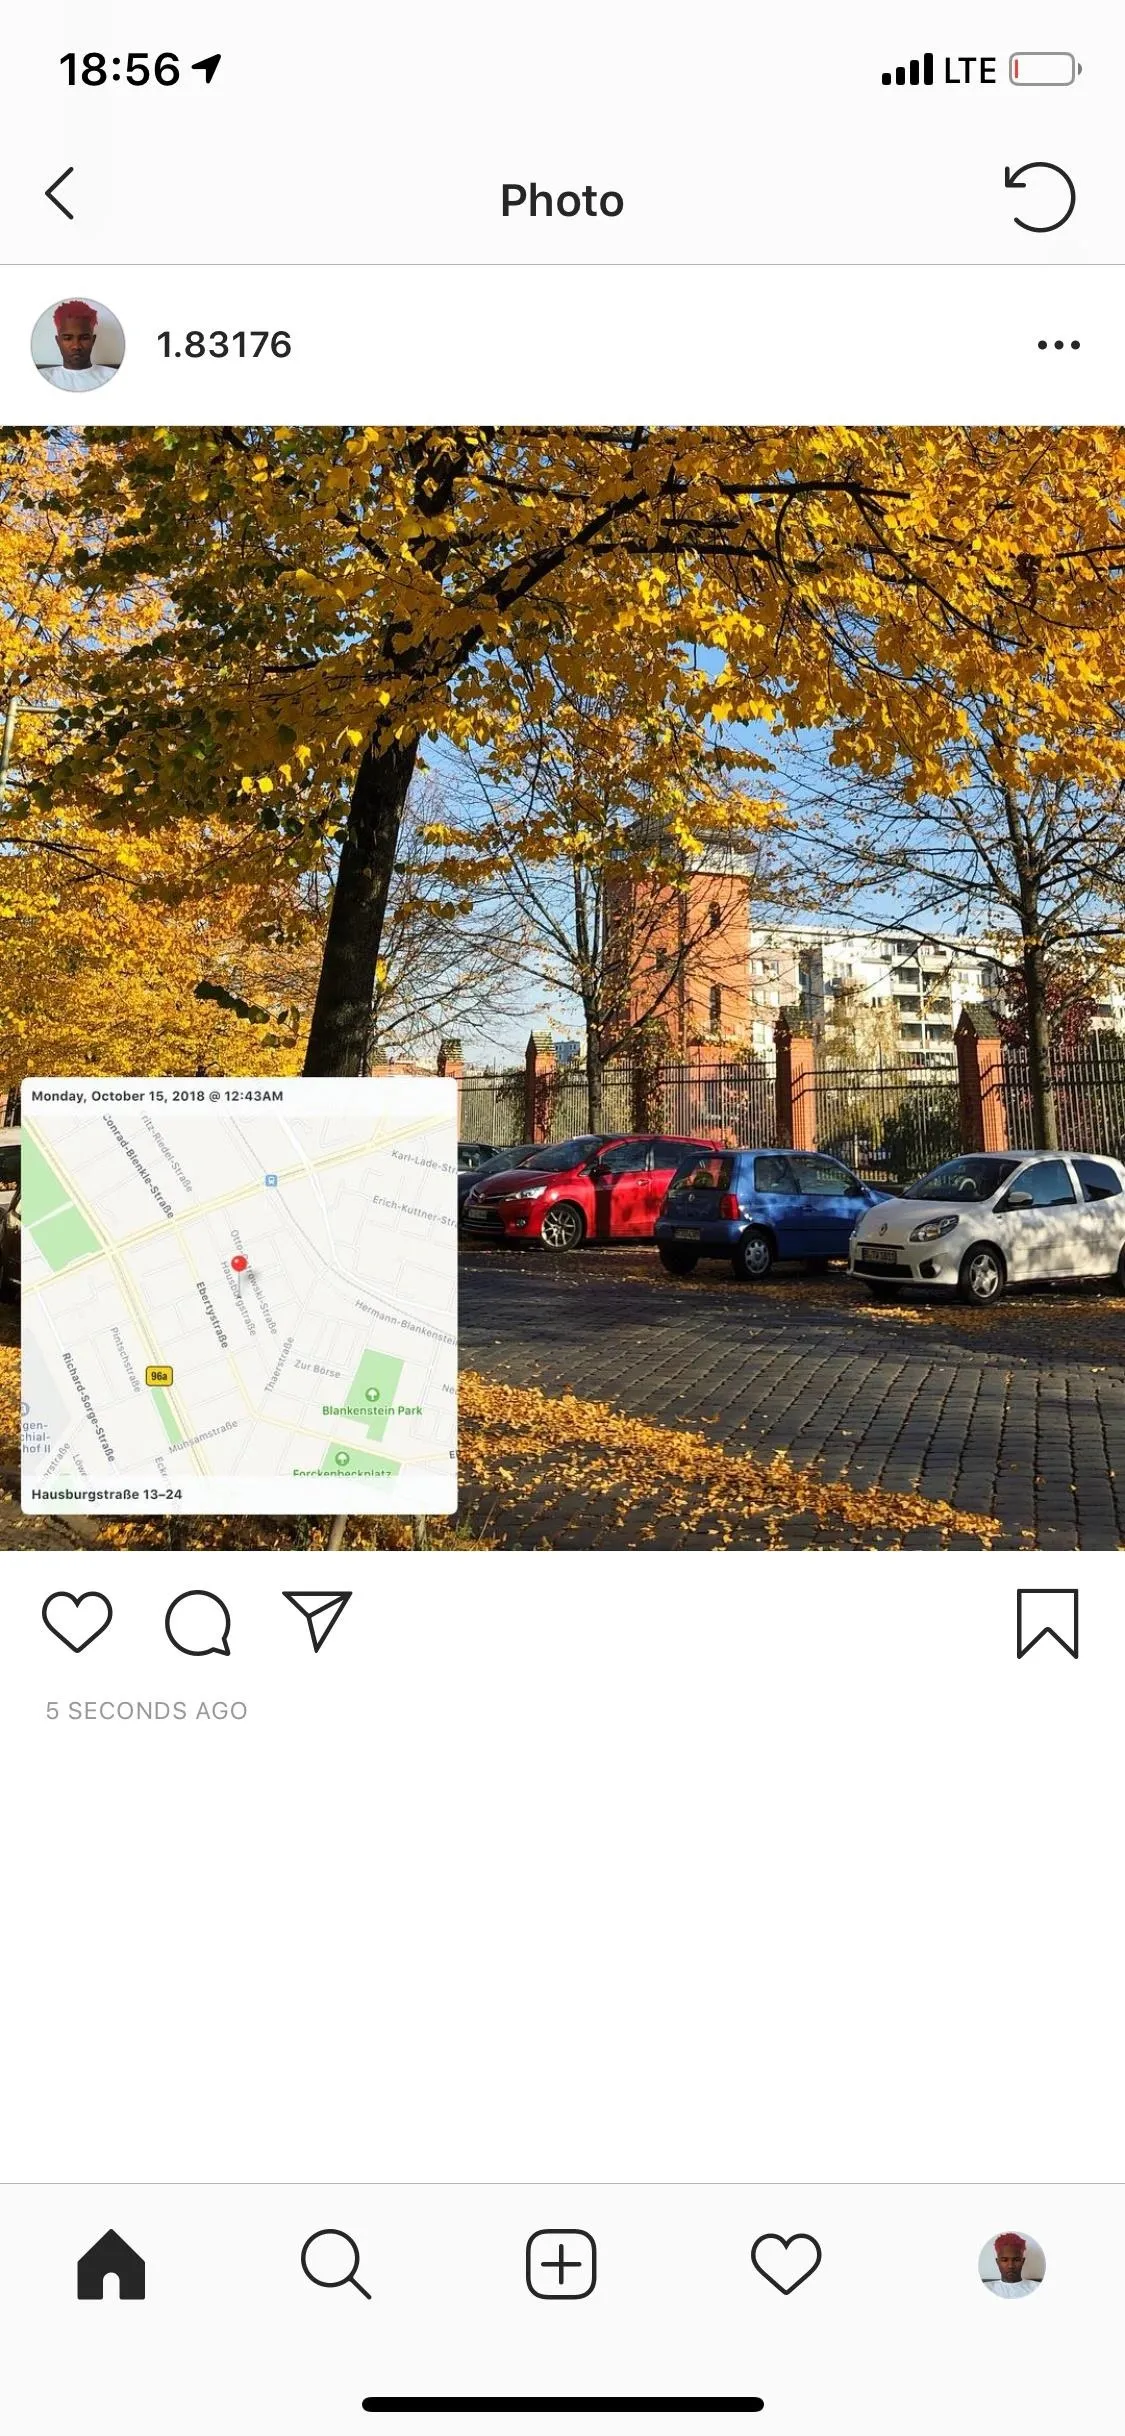
Your photo with a thumbnail map will be saved to your Photos app. Now, you can post the picture to Instagram to show off the location of where it was taken in a unique manner, without having to tag the actual location.
This article was produced during Gadget Hacks' special coverage on becoming a social media expert on your phone. Check out the whole Social Media series.
- Follow Gadget Hacks on Pinterest, Reddit, Twitter, YouTube, and Flipboard
- Sign up for Gadget Hacks' daily newsletter or weekly Android and iOS updates
- Follow WonderHowTo on Facebook, Twitter, Pinterest, and Flipboard
Cover photo and screenshots by Nelson Aguilar/Gadget Hacks


Comments
Be the first, drop a comment!