


Your iPhone has a lot of personal information contained within it, so of course you want your device to be secure. You don't want that information getting into the wrong hands — or any hands other than your own, for that matter.
This guide breaks down the new privacy settings in iOS 11 that you should check, along with settings that have existed since previous versions of iOS. Make sure to read this list carefully, and check any settings that apply to you. After all, you don't want your valuable data escaping the confines of your iPhone. Study this list, and you should be well armed against any hackers, thieves, and nosy neighbors.
1: Face ID (iPhone X Only)
Now, I'm sure there will be a heated argument about this one, but hear me out. Apple claims that the chance of a false positive is literally one in a million with Face ID. Compare that to their claim of one in 50,000 for Touch ID, and Face ID sounds pretty secure.
But this article is about maximizing privacy. Not only is there a chance, however small, that an intruder's face will let them unlock your phone, there's a higher chance that your own face can be used against you. Eliminate that risk altogether by disabling Face ID under Settings –> Face ID & Passcode.
2: Temporarily Disable Face ID (iPhone X Only)
If you must keep Face ID on, you're not completely out of luck here. Apple has included a quick way to disable Face ID temporarily, in case you know your physical security is about to become compromised.
Check out our guide to find out more about this option, which leaves your phone's security in the hands of your passcode.
3: Passcode
The default iPhone passcode is six-digits long, although the four-digit passcode is still very popular since it used to be iPhone's default. Chances are, your iPhone's passcode is one of these two options.
While there is nothing inherently wrong with using these passcode limits, they aren't the most secure. A four-digit passcode has 10,000 possible combinations, which, considering there are 85.8 million iPhone users in the United States alone, means there aren't enough unique combinations to go around.
Increasing that number to six helps, since a six-digit combination has one million permutations. But now we're back to the one-in-a-million chance that Face ID gets you.
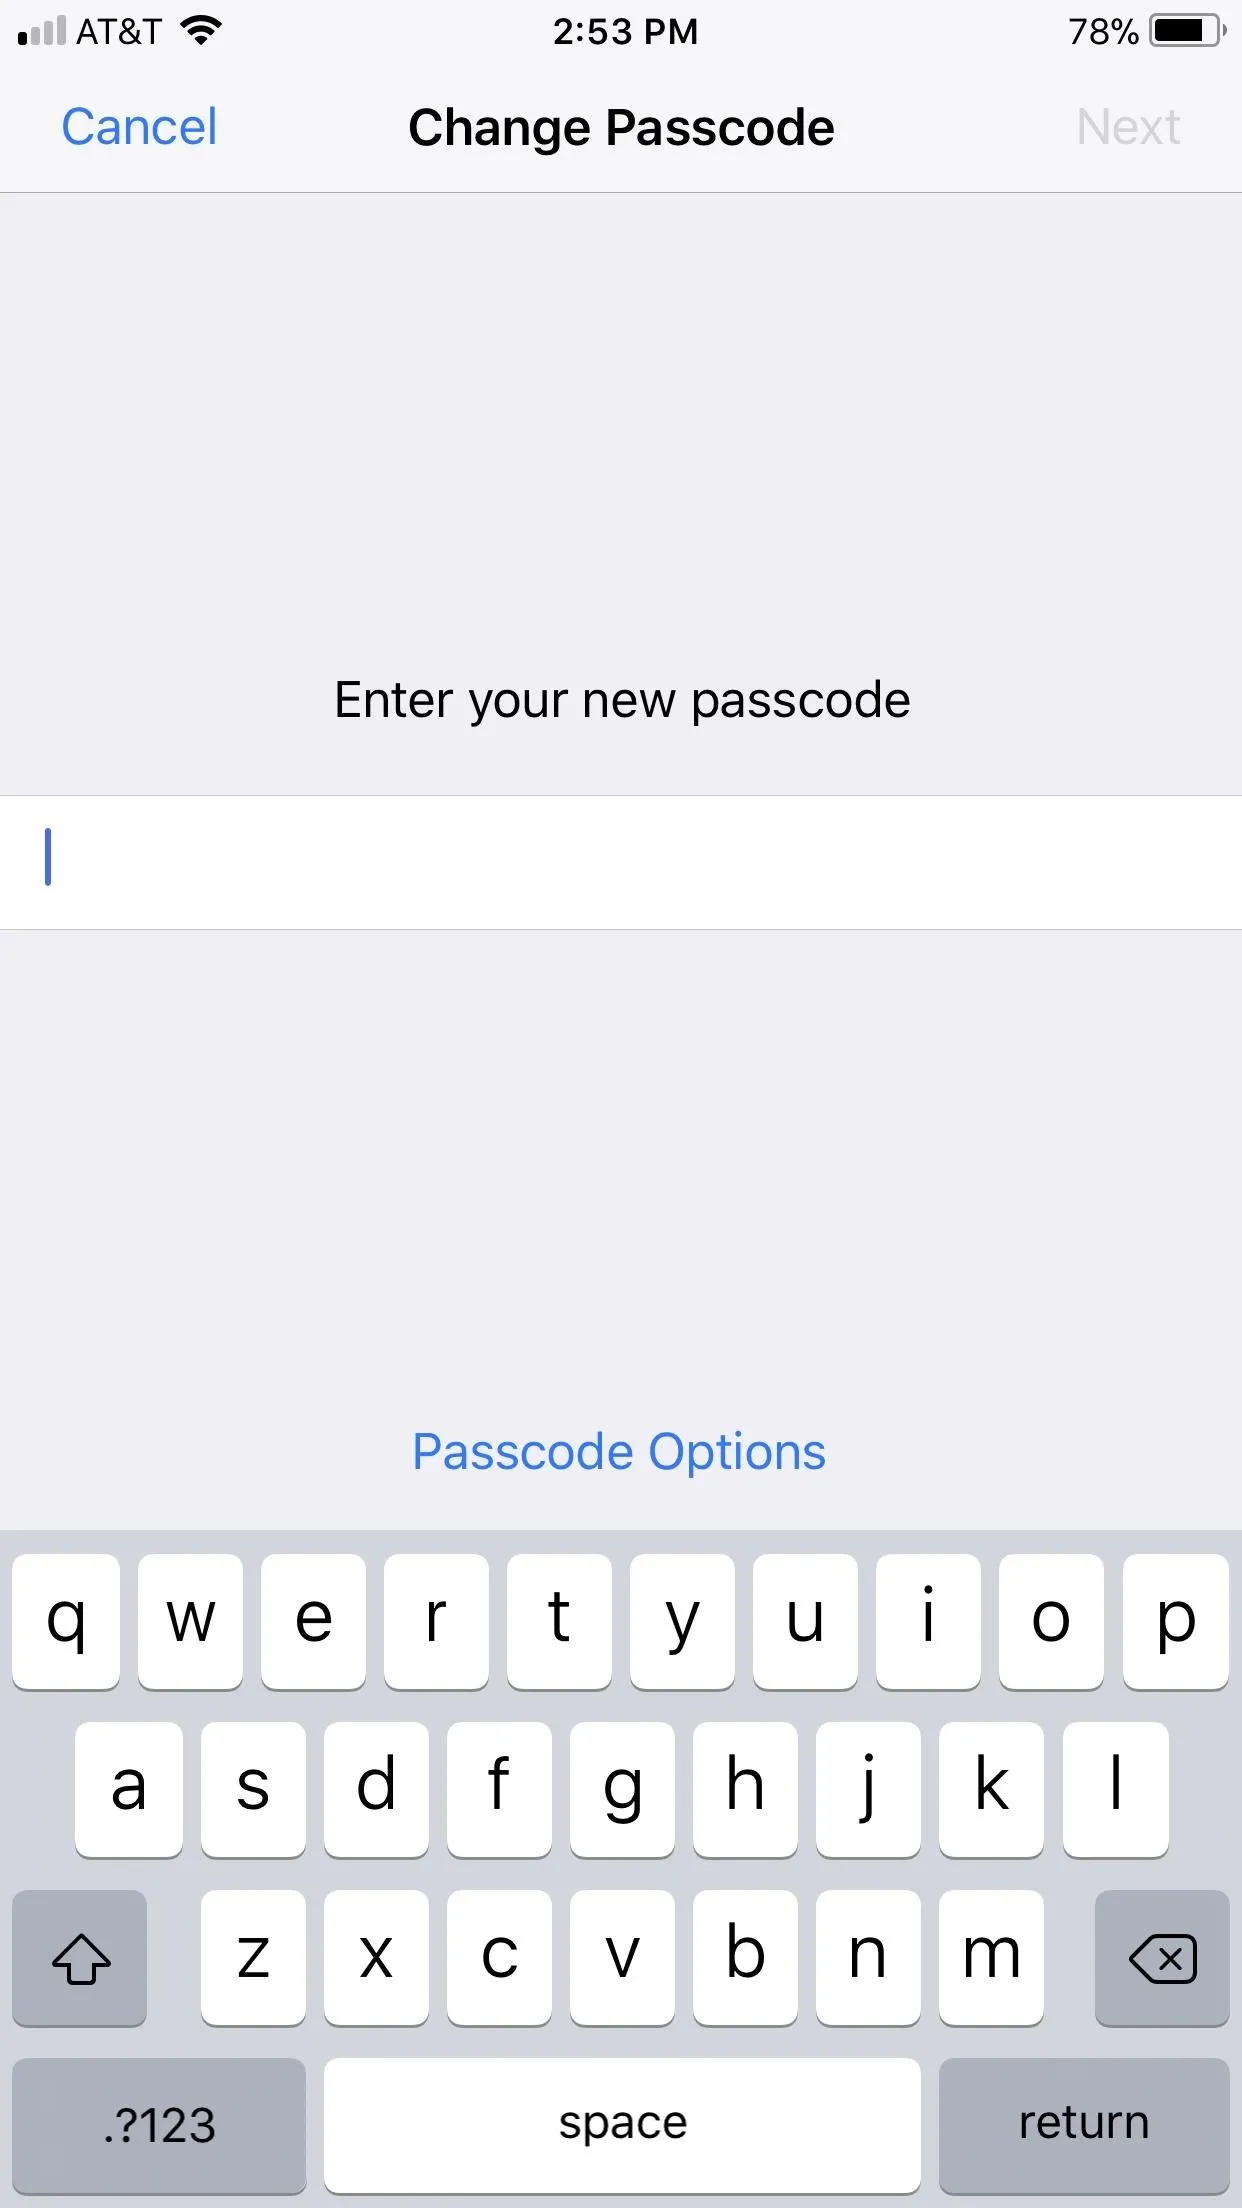
If you really want to make sure your iPhone is secure, change your passcode to a password. Using a true password with a combination of letters, numbers, and special characters will make your lock screen virtually impenetrable.
But, that's totally obnoxious. Manually entering a convoluted password into your phone every time you want to use it is not really practical. We're just letting you know it's the most secure way to lock your phone.
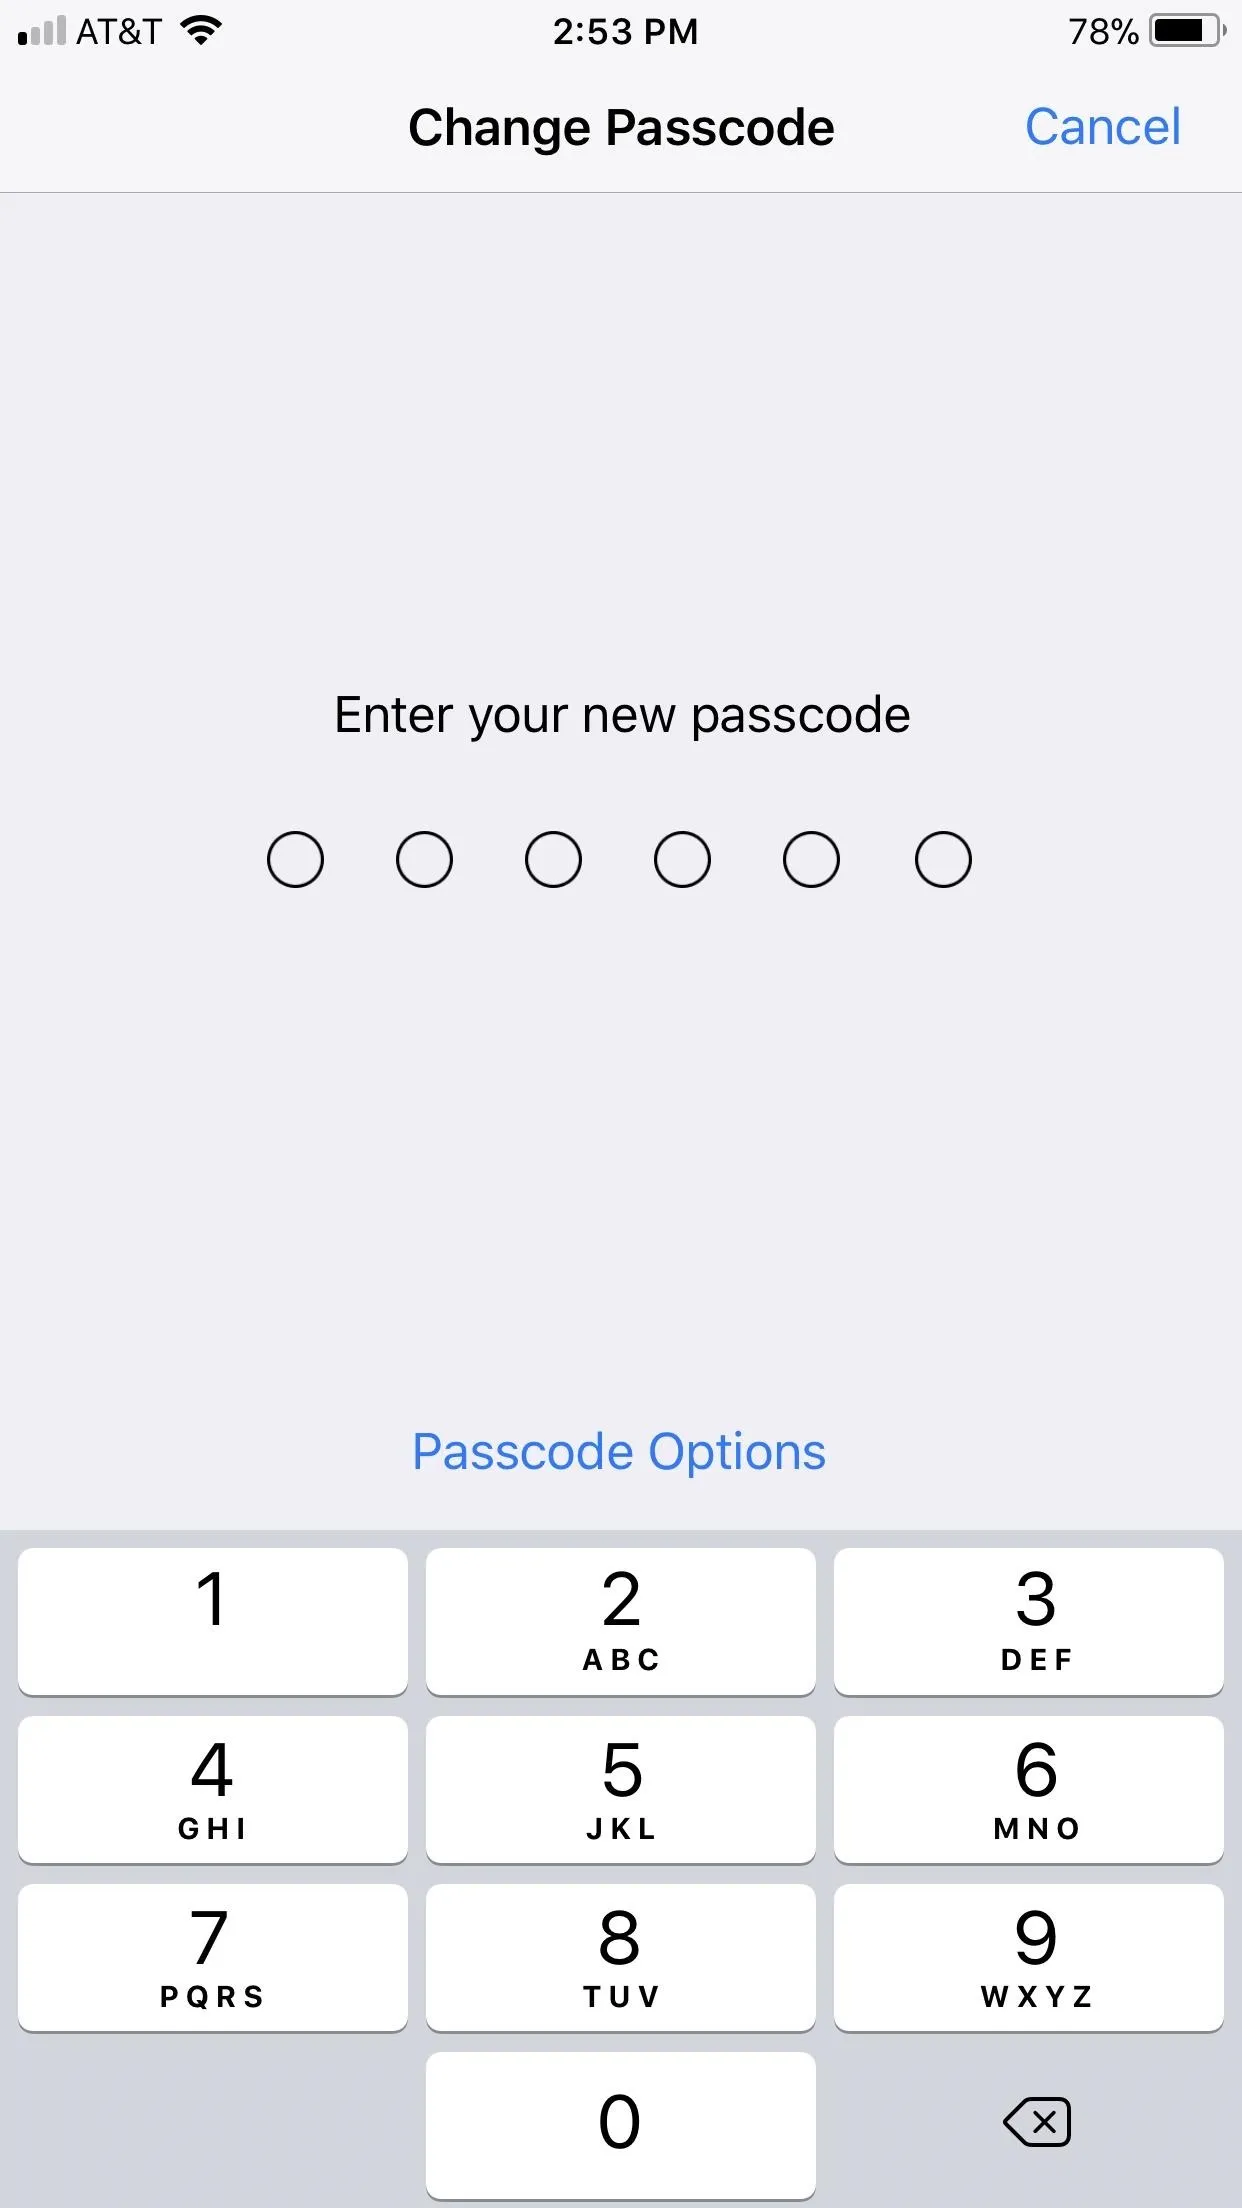
If you'd rather stick to something easy, make sure to use a six-digit passcode over a four-digit one. Make sure to avoid common passcodes like 123456, or six of the same number.
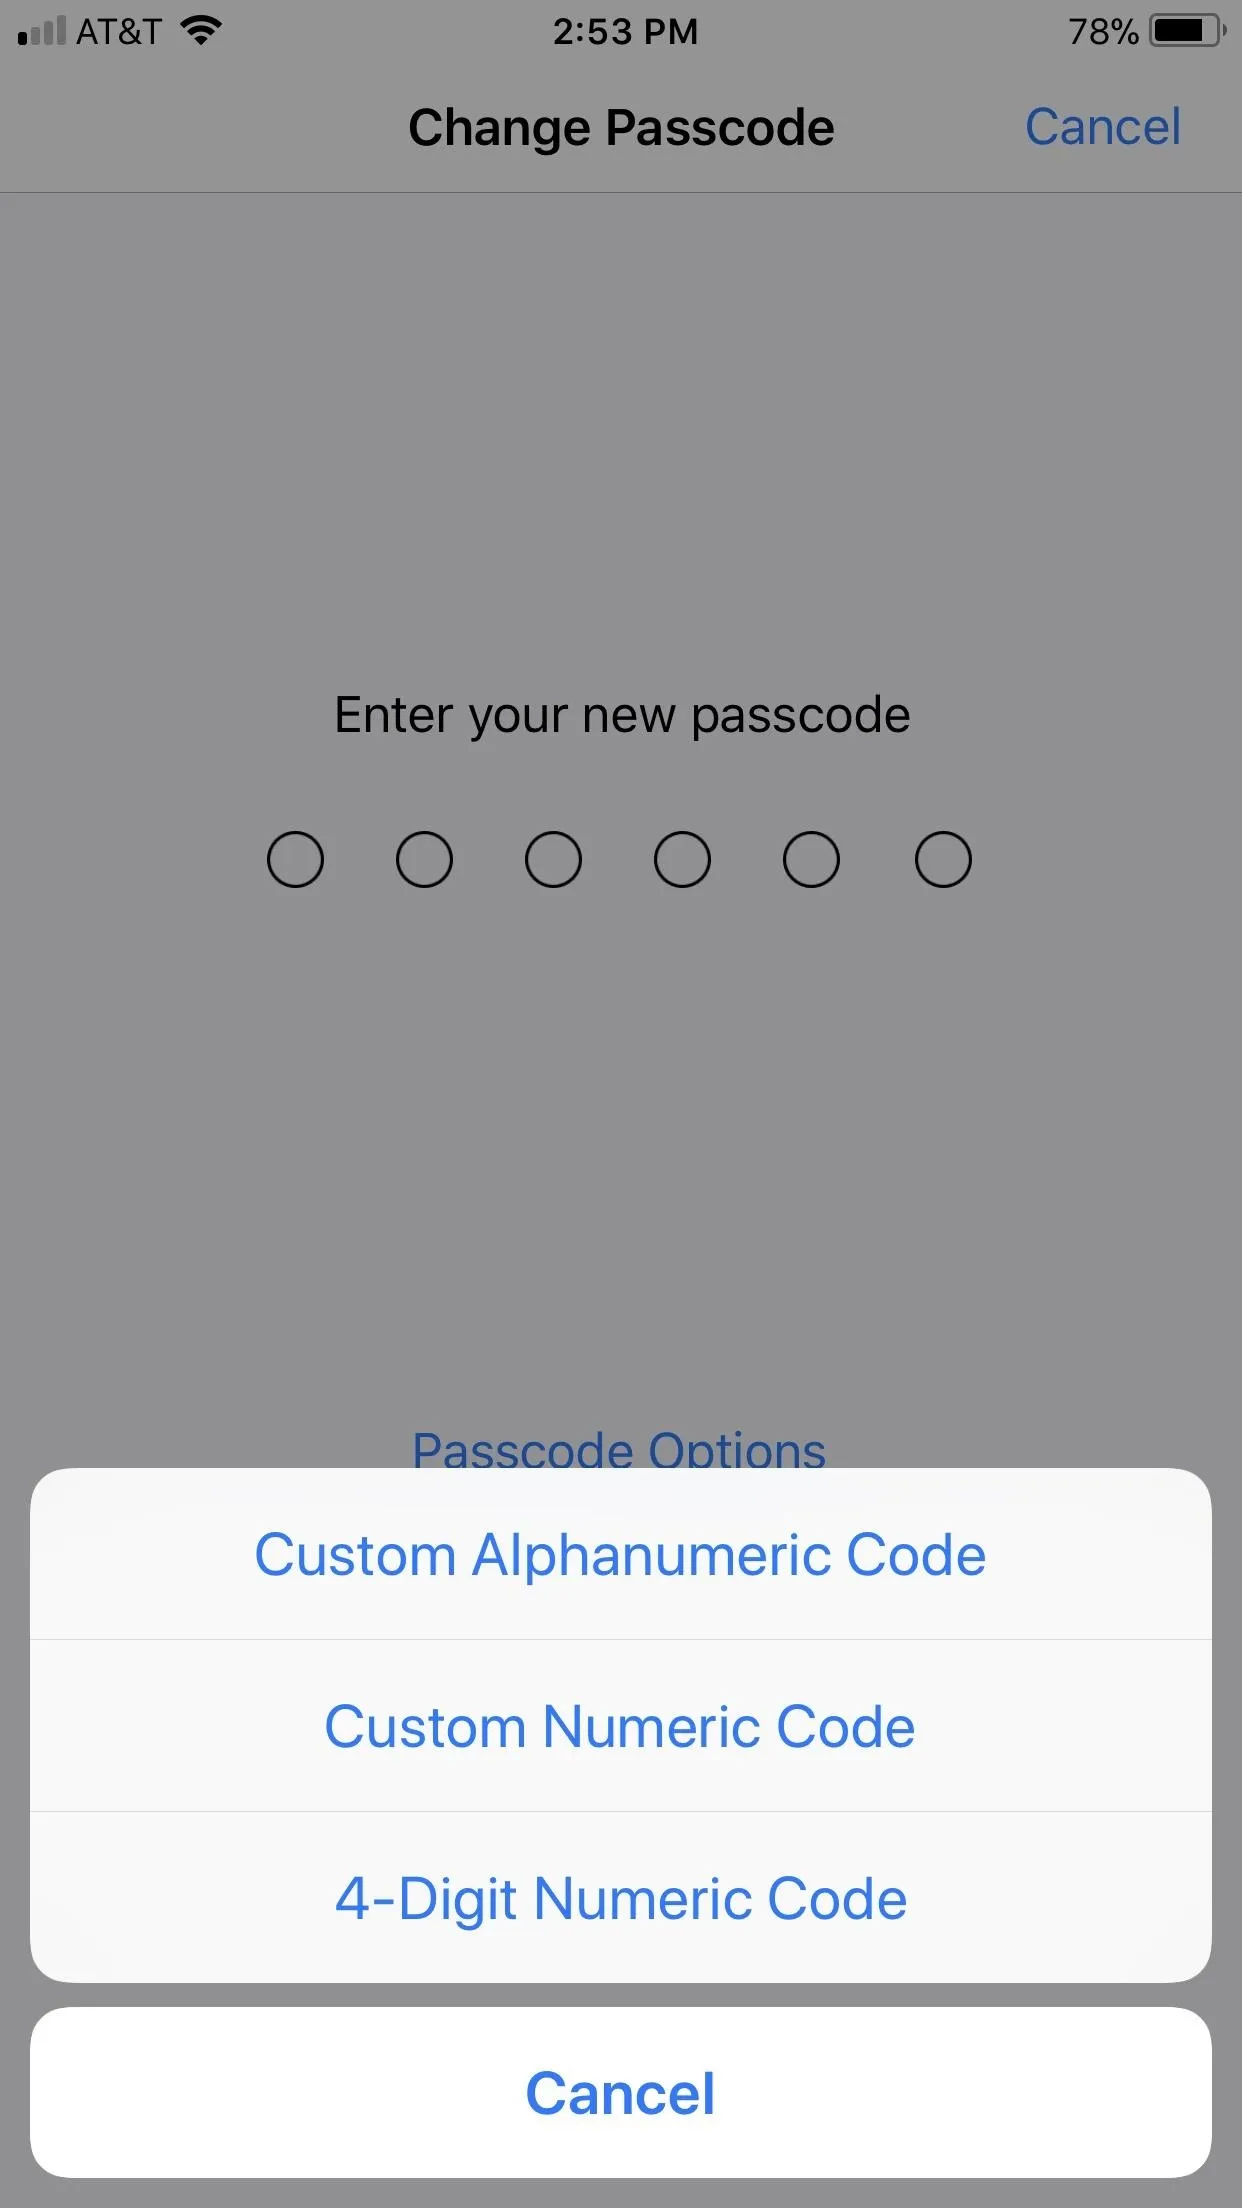
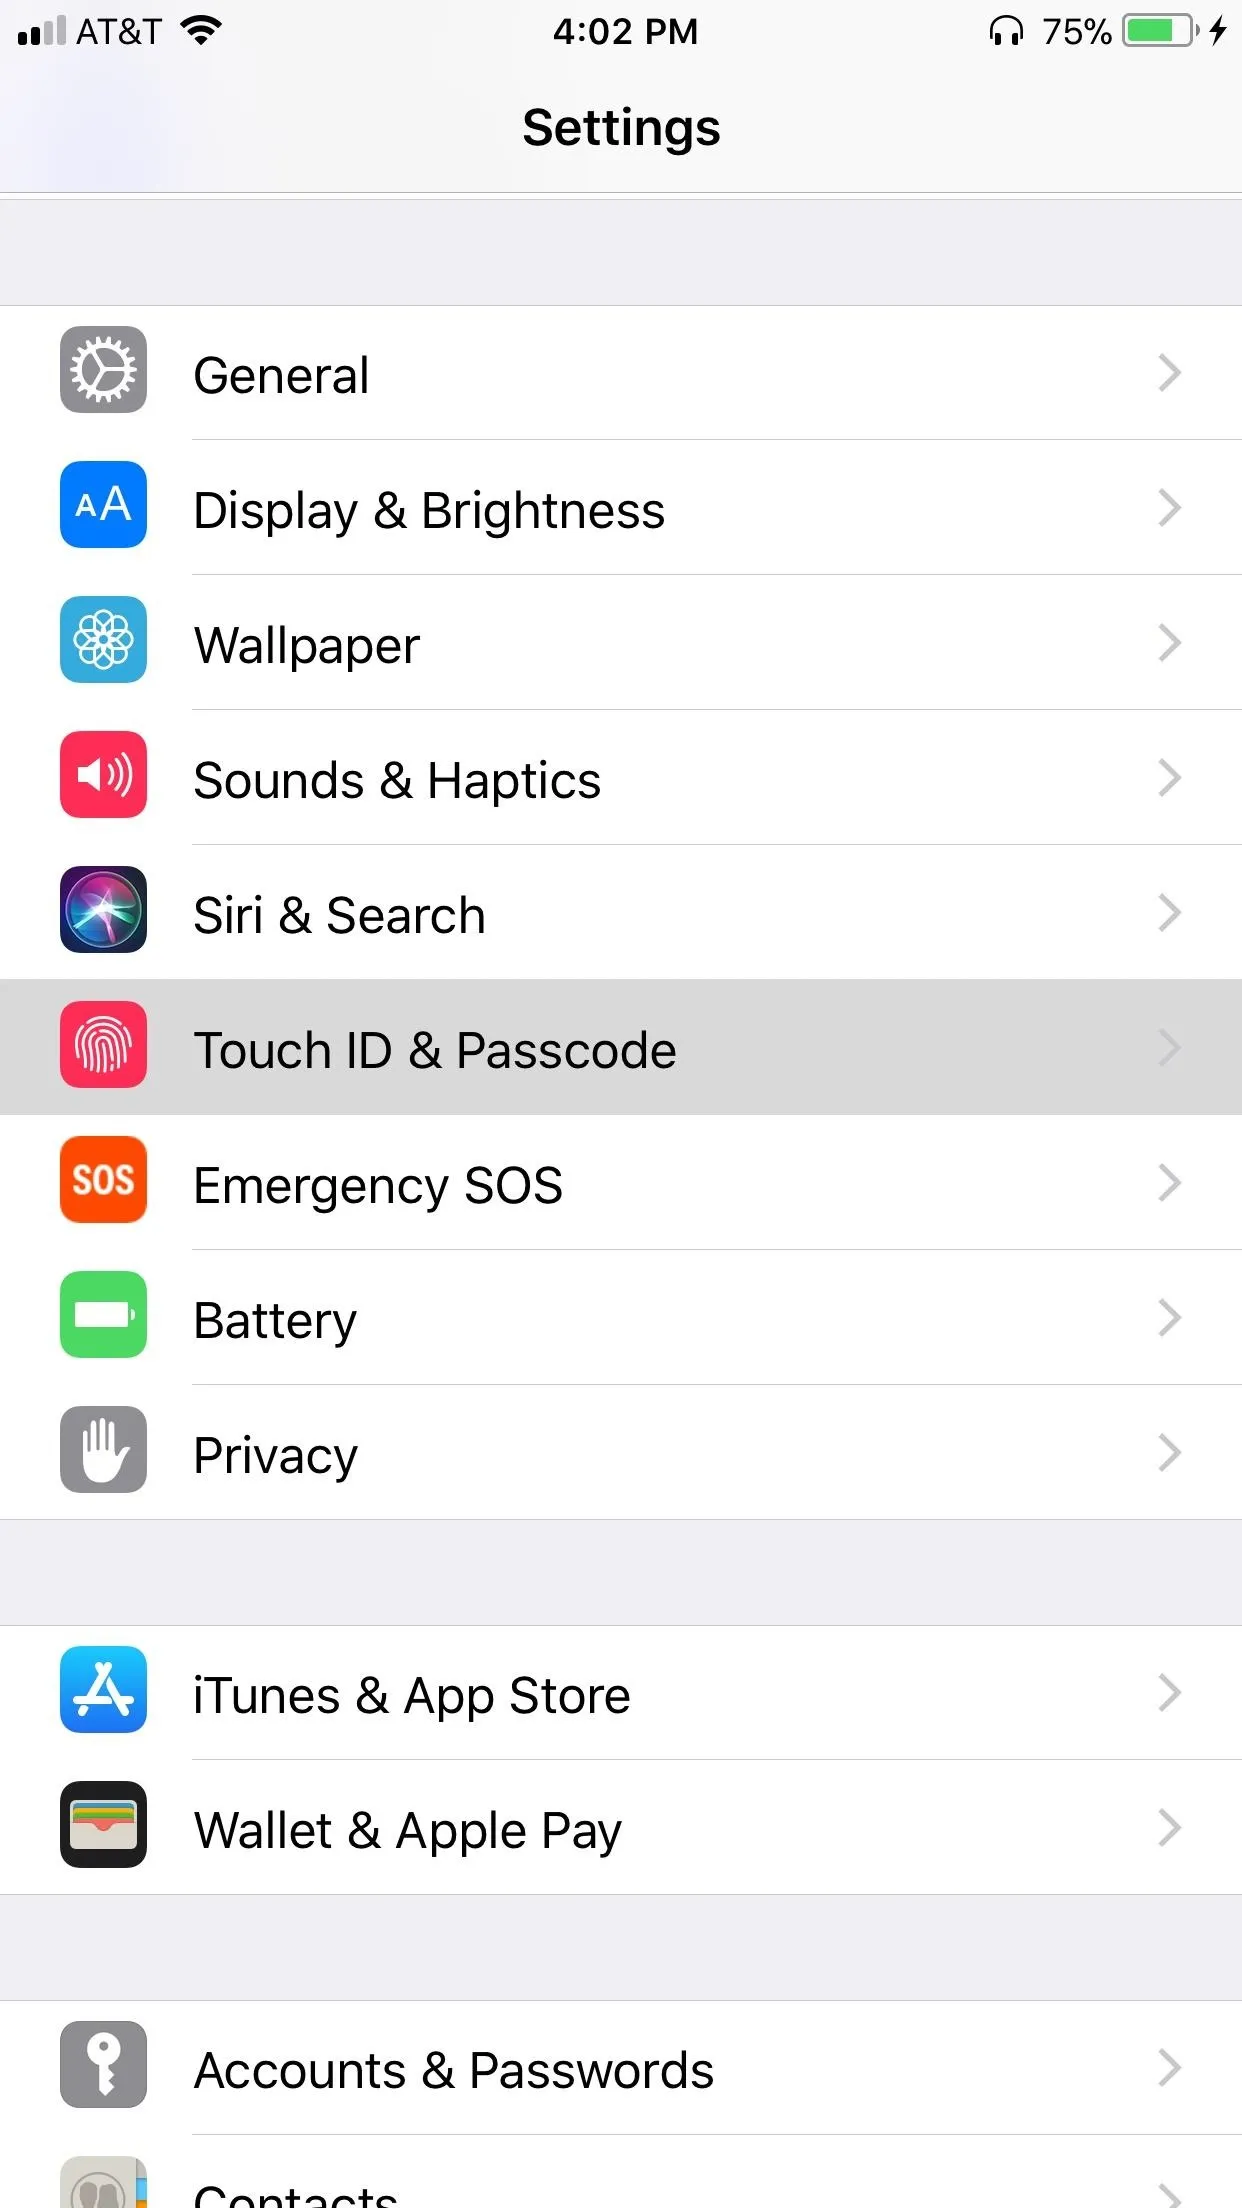
To change your iPhone's password, go to Settings –> Touch ID & Passcode –> Change Passcode. Enter your old password when prompted, then tap "Passcode Options" to choose which type of passcode you'd like to make.
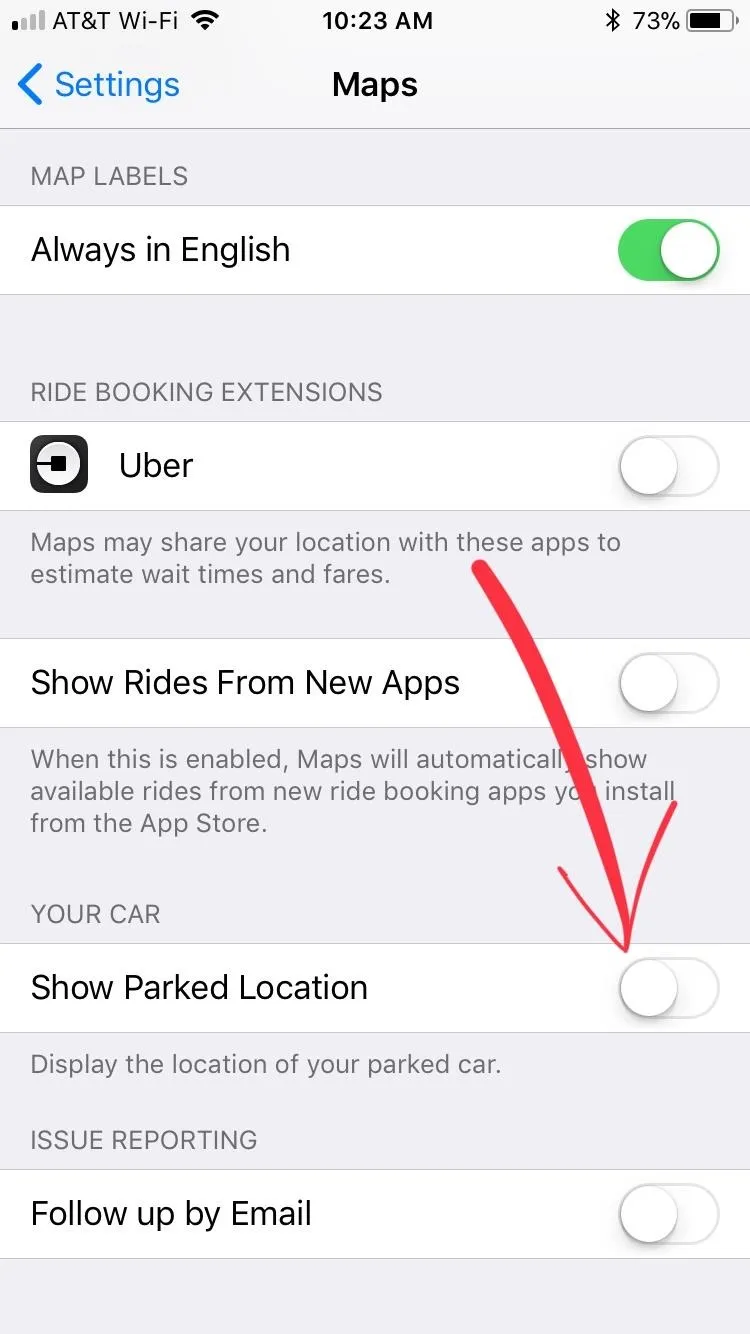
4: Show Parked Location
If you connect your iPhone to your car either through Bluetooth or CarPlay, your iPhone may be recording the location of where you park. To some, that might be a helpful feature. To others, it's an invasion of privacy.
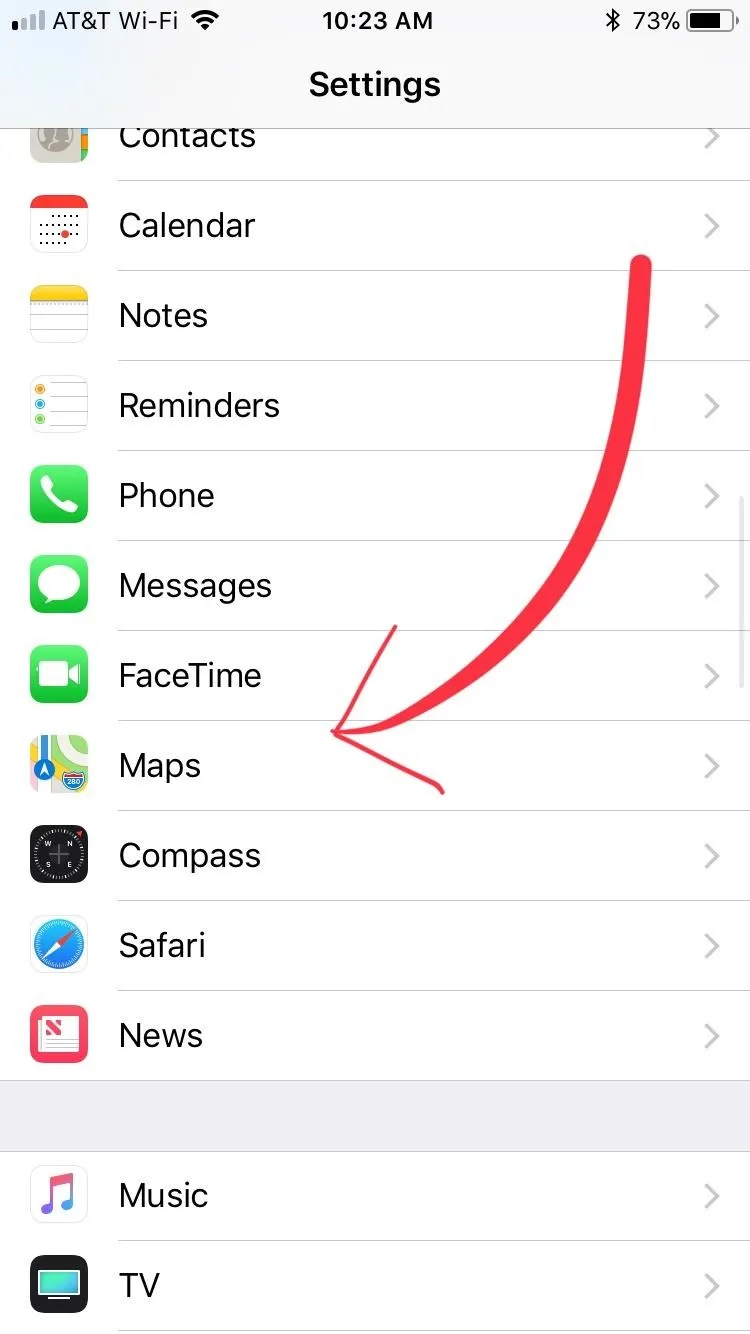
To disable this feature, go to Settings –> Maps, then disable "Show Parked Locations."
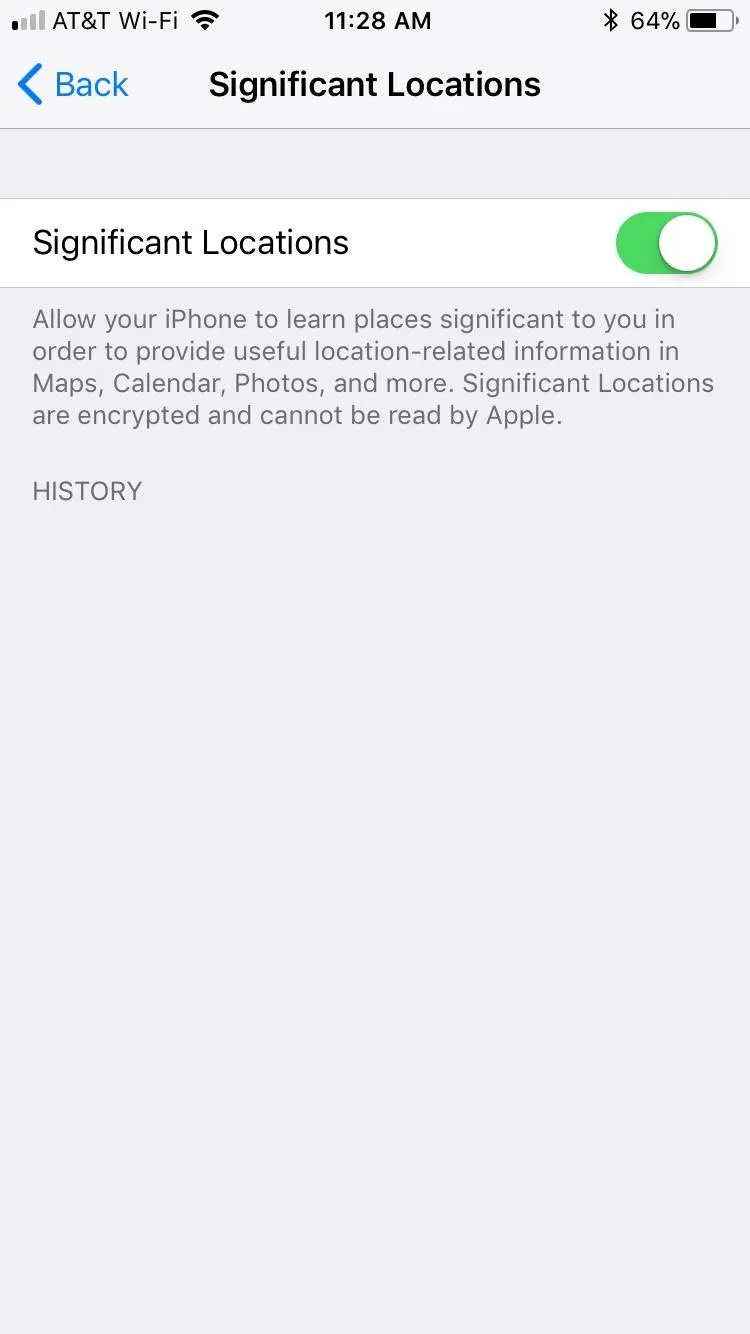
5: Significant Locations
You may think you know nothing about Apple's new "Significant Locations," but if you remember Frequent Locations, they're essentially the same. Apple records a list of your most frequently visited locations, which, on paper adds some convenience to apps that use your location.
However, this may serve as a privacy issue to you. If you'd rather not have Apple recording your most frequent locations, just head to Settings –> Privacy –> Location Services –> System Services –> Significant Locations. From here, you can also clear the history that your phone may have accumulated over time.

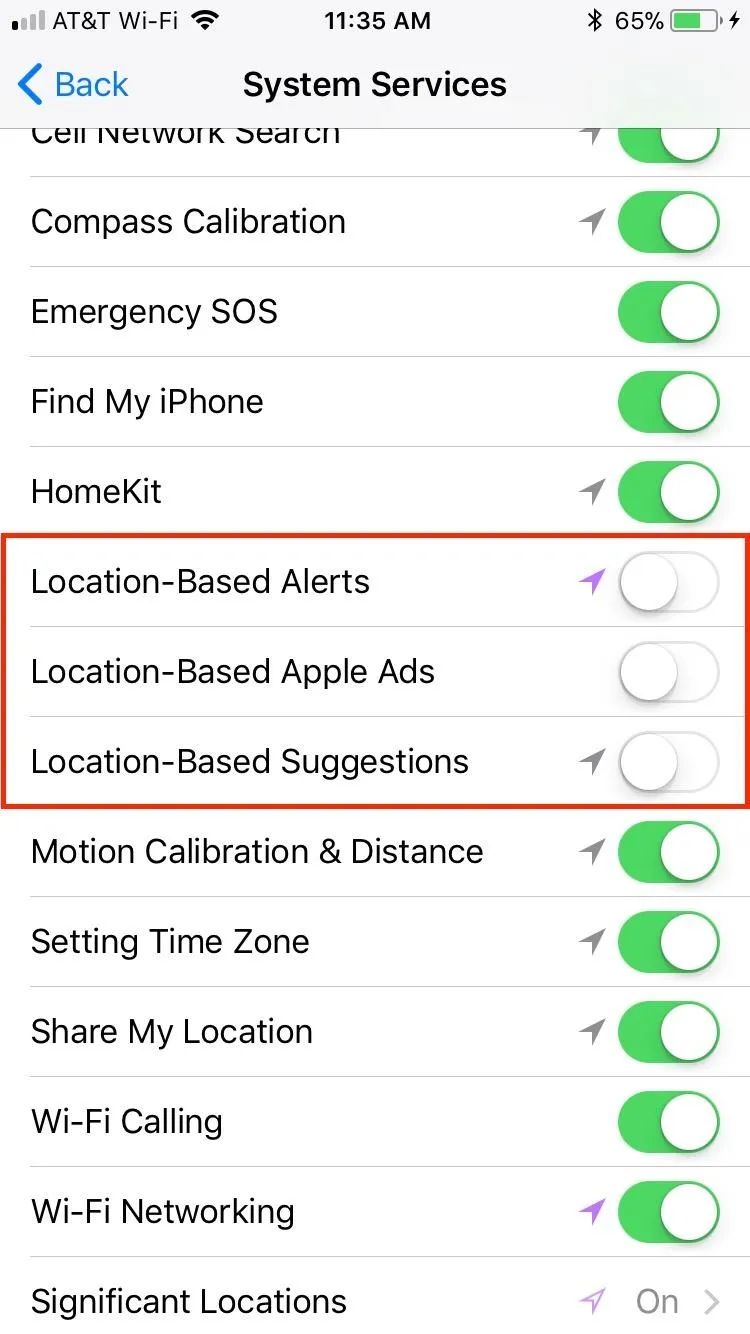
6: Location-Based Alerts, Apple Ads & Suggestions
These next three options have remained the same across the update, however, they're still important to know and understand. When enabled, these selections track your location to provide targeted notifications, advertisements, and options. Let's just say, they're not the most privacy-centric features in iOS 11. Actually, quite the opposite — this is some Minority Report-level stuff.
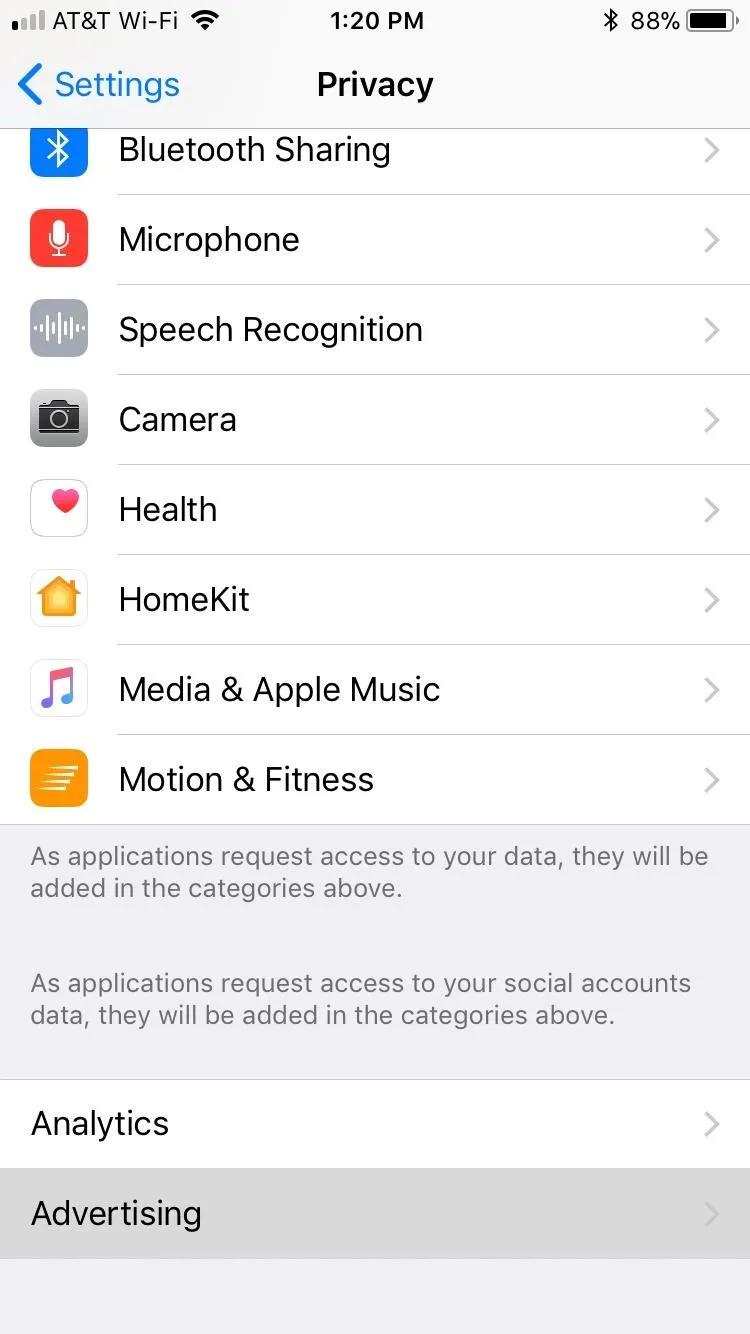
If you'd rather not be specifically targeted by Apple wherever you go, here's what to do: Settings –> Privacy –> System Services. From here, you can deactivate "Location-Based Alerts," "Location-Based Apple Ads," and "Location-Based Suggestions."
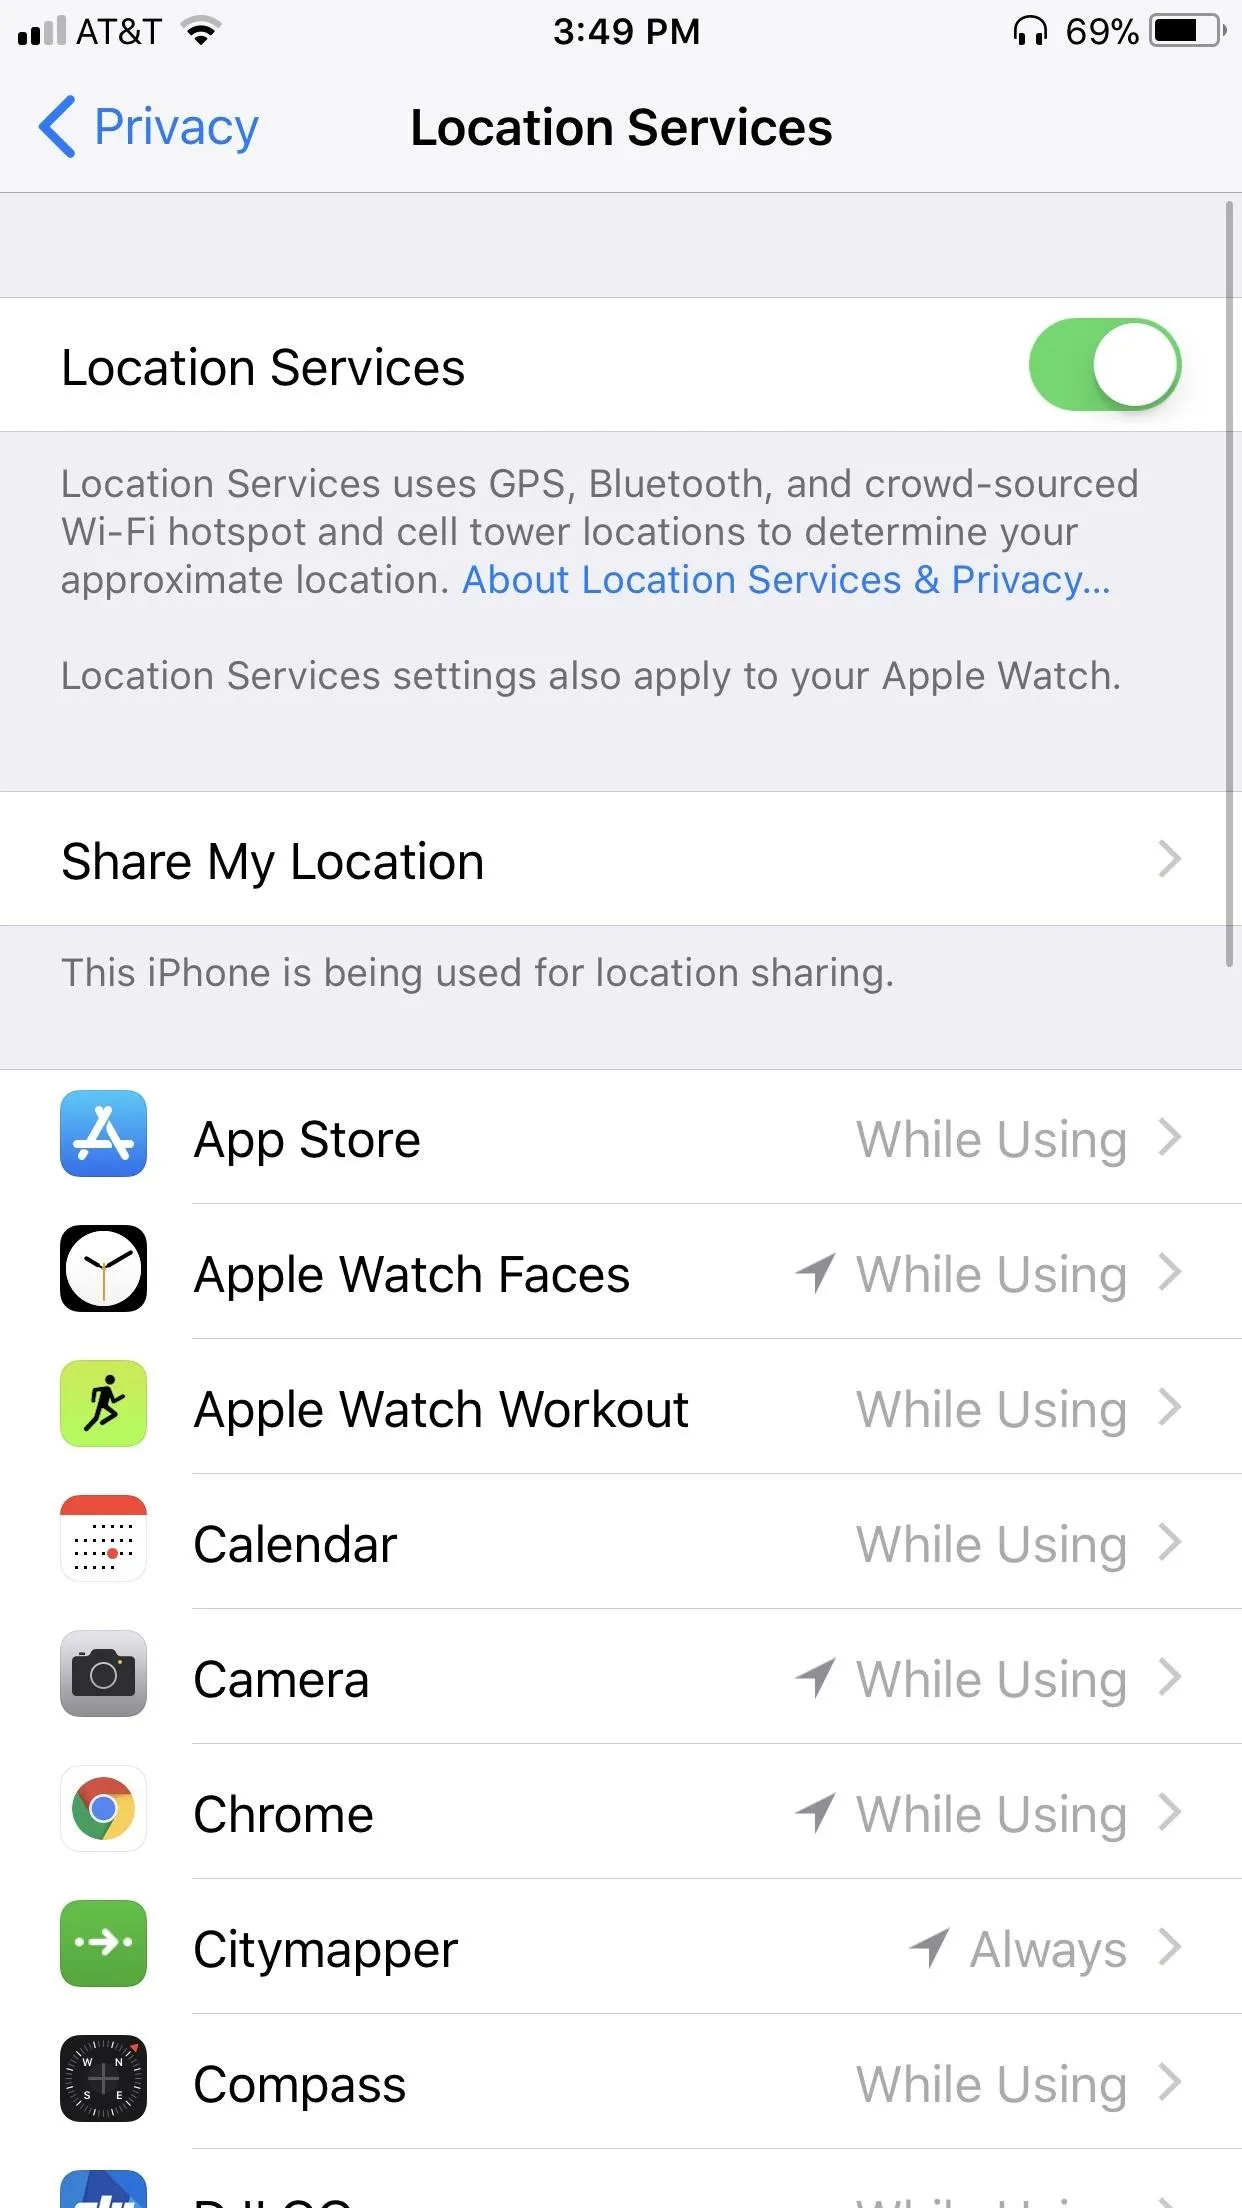
7: Share My Location
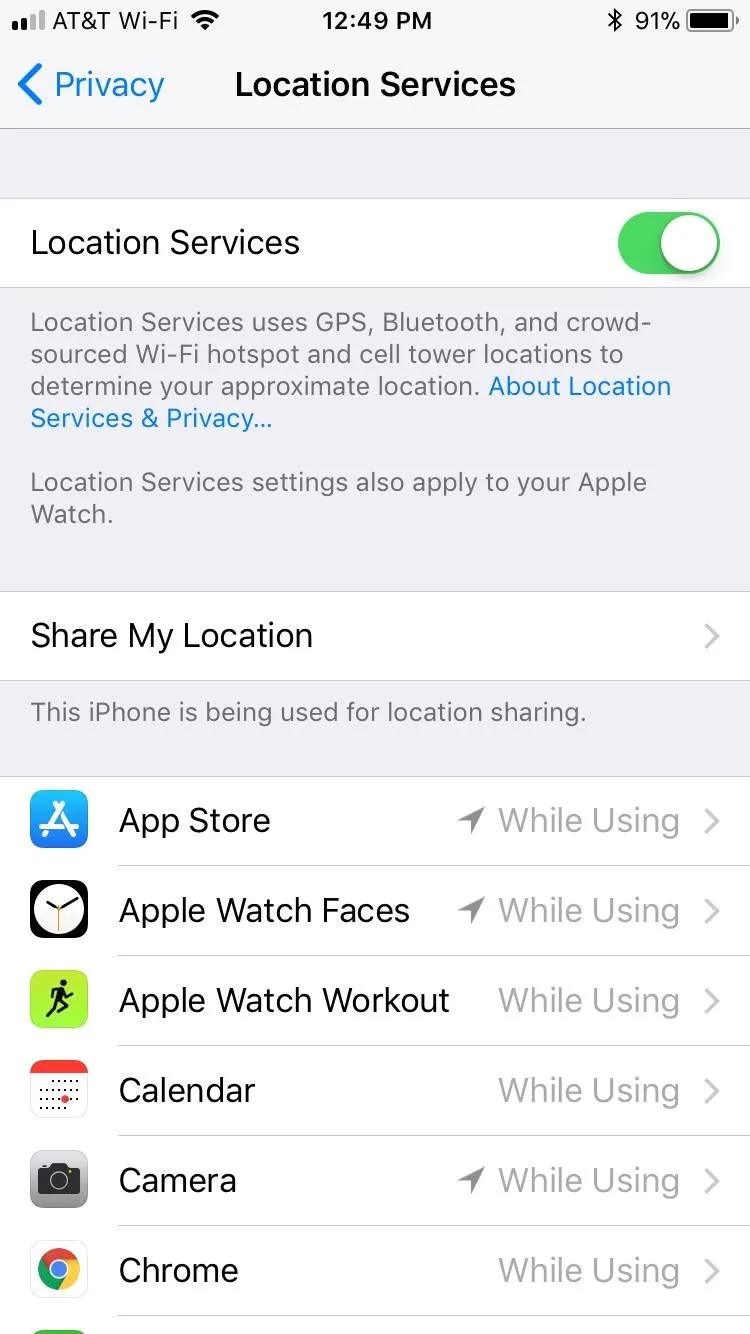
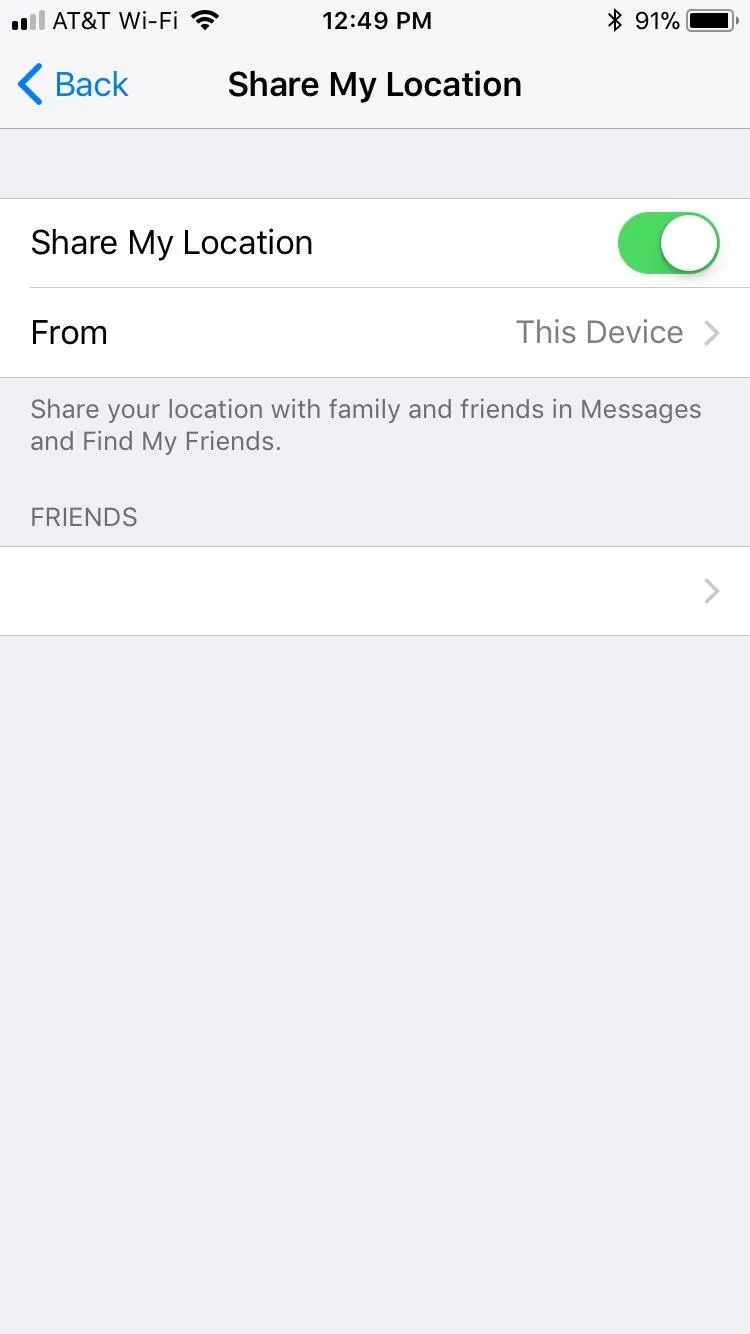
Share My Location is a setting that allows your phone to send your current whereabouts to a friend who requests it. Usually, you need to mutually agree to this arrangement with another person using the Find My Friends app. However, there are ways of tracking your iPhone without your permission.
If you'd like to avoid that risk altogether, disable the option by going to Settings –> Privacy –> Location Services –> Share My Location.
Alternatively, you can change the device that shares your location, if you have more than one attached to your Apple ID. You can also check with friends of yours you have approved to view your location.
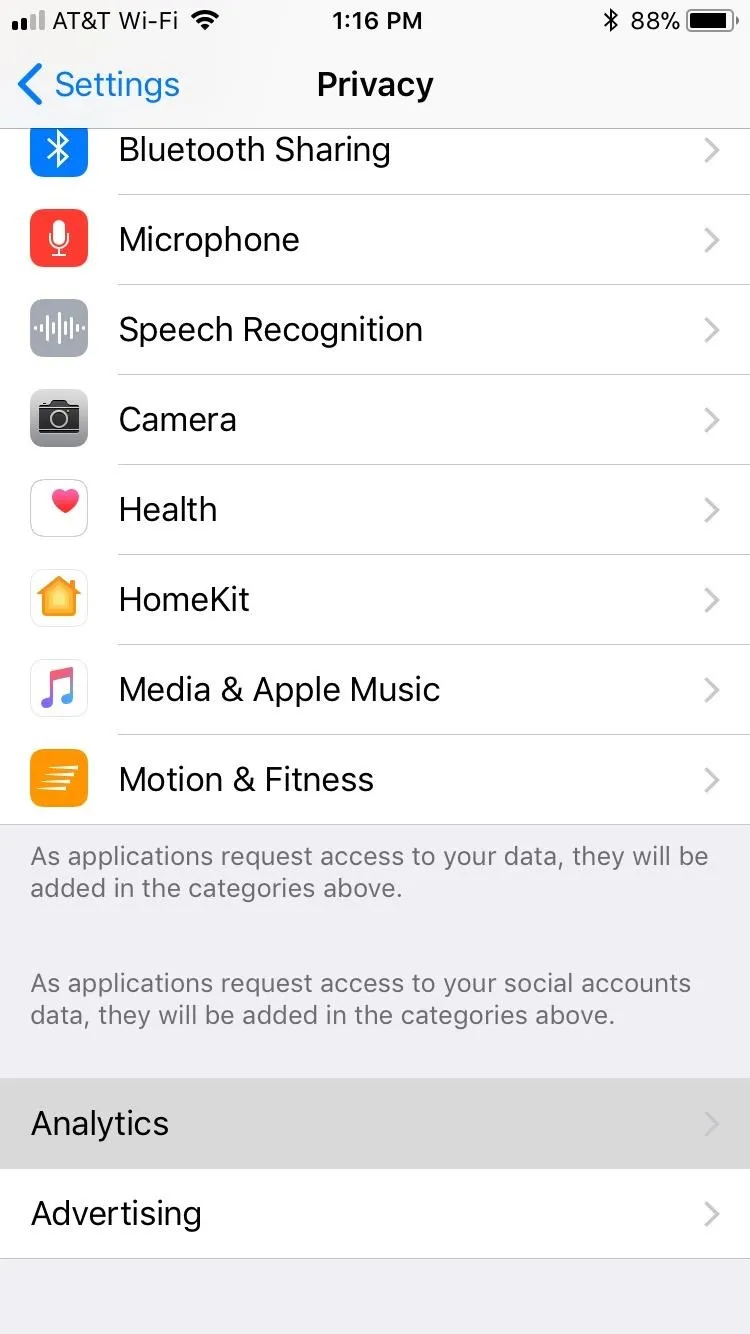
8: Analytics
Apple changed the name of "Diagnostics & Usage" to "Analytics." This area contains settings that share data from your phone to Apple, in an effort to help identify bugs in the system and make iOS better overall. Think of it like a beta test, only for the official iOS 11 release.
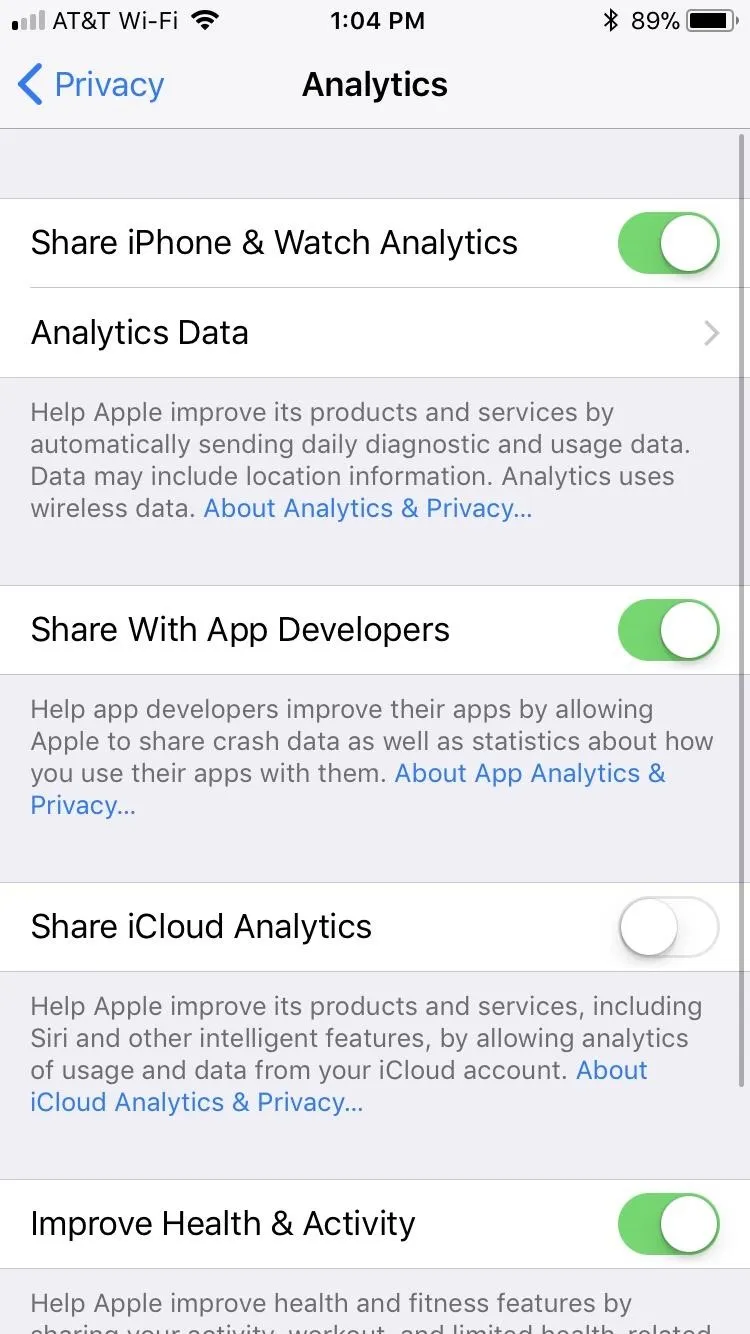
While this information helps Apple keep iOS 11 running smoothly, you may feel it's sharing too much without your knowledge. If you'd like to shut down that line of hidden communication, go to Settings –> Privacy –> Analytics.
From here, you have many options you can disable:
- To disable all analytics with Apple, simply turn off "Share iPhone & Watch Analytics."
- "Share With App Developers" shares your app data with that app's developer. Disable this setting to close that line of communication.
- "Share iCloud Analytics" shares your iCloud data with Apple to help them improve on apps and services associated with that information. Sounds like an unnecessary setting to someone concerned about privacy.
- "Improve Health & Activity" will share your health and activity data with Apple to improve these services on your iPhone. Personally, the only person I want knowing my daily step-count is myself.
- "Improve Wheelchair Mode" will send Apple your activity data if you use a wheelchair. If you don't use a wheelchair, you especially don't have a use for this setting, but if you do, turn this off as you did "Improve Health & Activity."

9: Limit Ad Tracking
If you prefer your ads to be directly targeted towards you and your interests, you can leave this alone. However, if you care about your privacy, you may not like Apple sharing your data with advertisers.
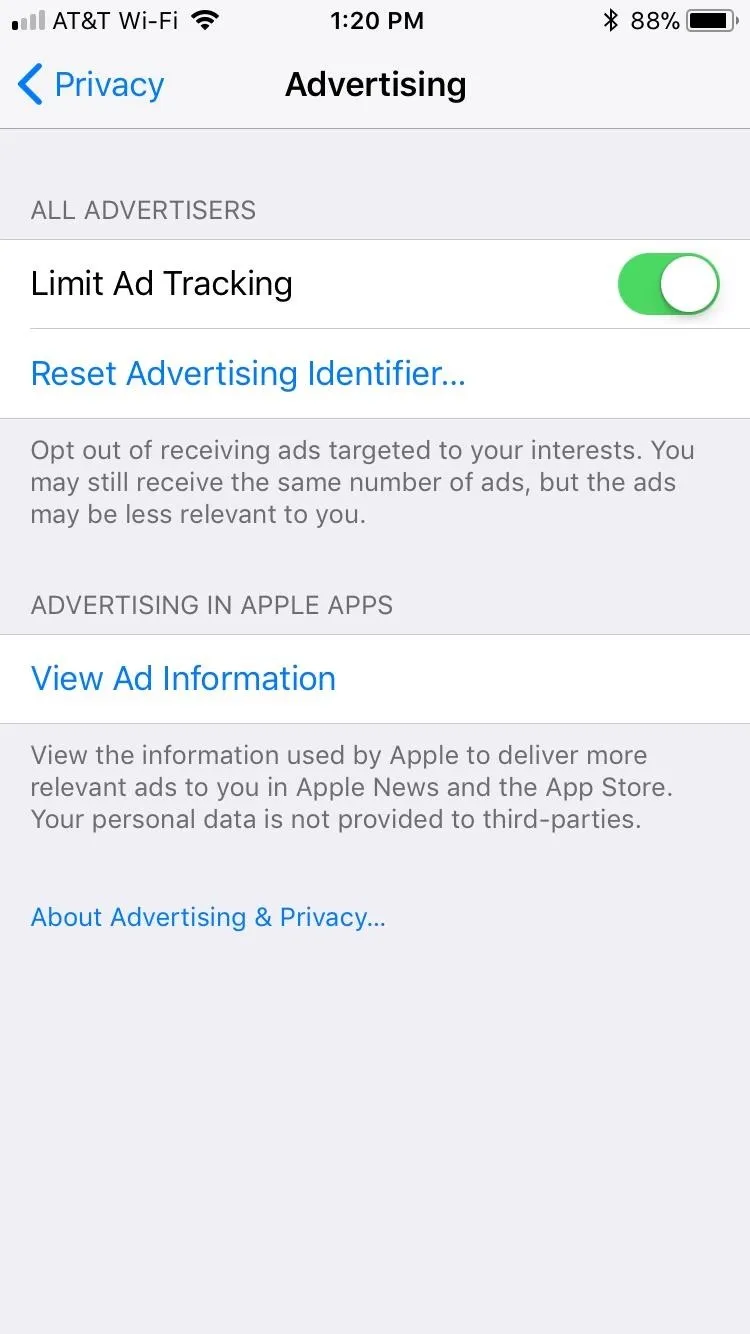
This setting is one you actually turn on rather than off. Go to Settings –> Privacy –> Advertising, then enabled "Limit Ad Tracking." Notice how the option is Limit Ad Tracking, not Stop Ad Tracking. Even with this setting enabled, Apple claims that your iPhone connectivity, time setting, type, language, and location can be used to target advertising. If you disabled Location-Based Ads, location targeting will not apply to you, but all others will. Tap "View Ad Information" to learn more.
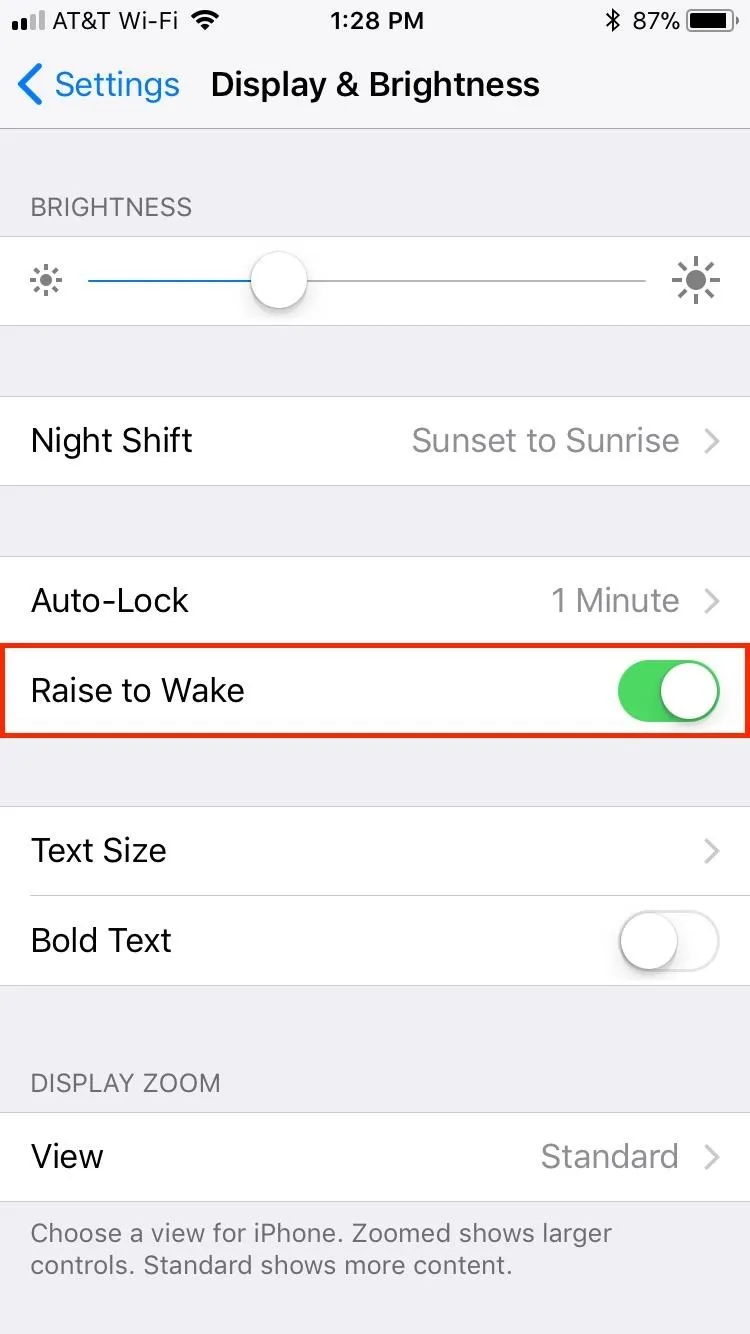
10: Raise to Wake
Raise to Wake can be extremely convenient — simply raise your phone from a flat position, and it will wake up for you to use. It feels natural, however, it poses a privacy risk. If your iPhone turns face-up accidentally, those in view of the display may see messages and notifications you did not intend for them to see.
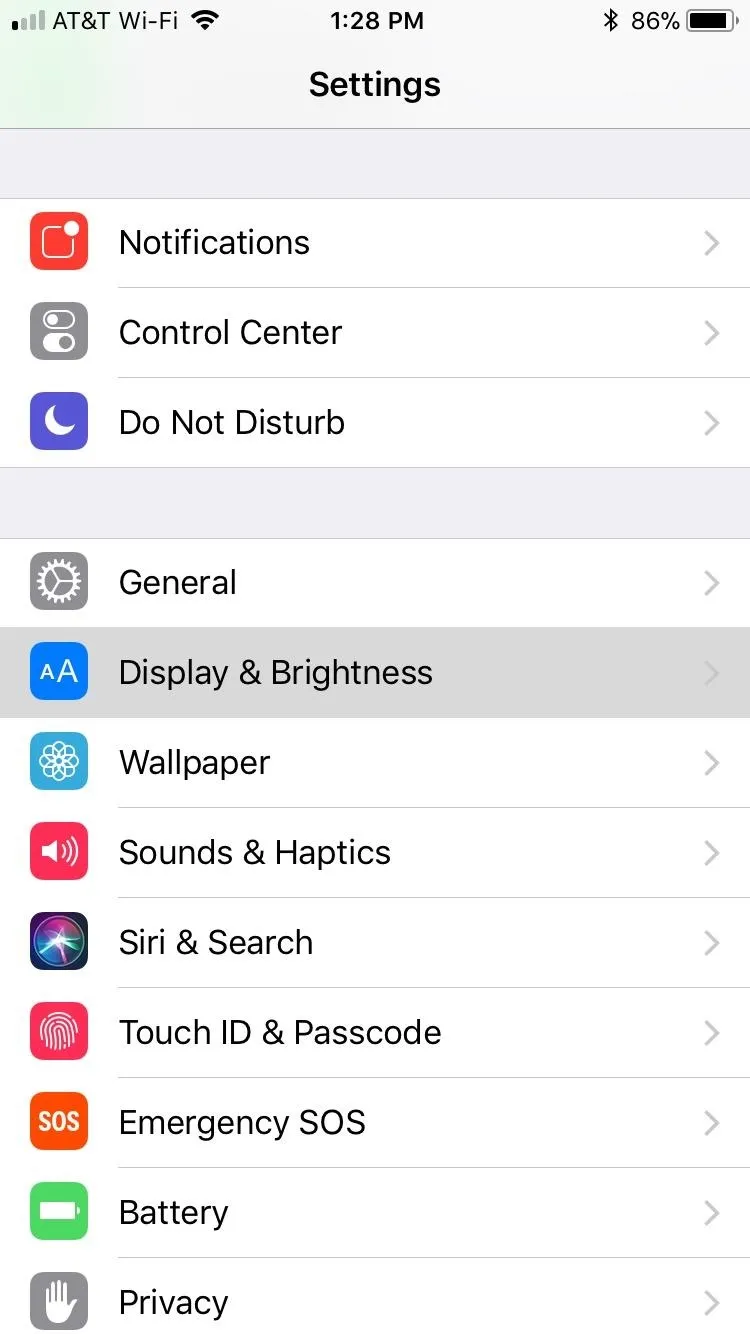
To avoid this scenario, head over to Settings –> Display & Brightness, then disable "Raise to Wake."
11: Lock Screen Widgets
Lock screen widgets are great ways to keep up with your messages, notifications, weather updates, whatever you need to know without having to unlock your iPhone. But that's just it — you don't need to unlock your iPhone to see this information. Anyone can pick up your iPhone and potentially see what your calendar for the day is, or who's texting you what.
To stop this privacy-breach in its tracks, you could hit "Edit" at the bottom of the lock screen, then delete all widgets. However, you will lose those widgets when you've unlocked your phone as well, not just on the lock screen.
If you want to deactivate the widgets for only the lock screen, jump over to the article below.
12: Reply with Message
Introduced in iOS 10, your iPhone gives you the option to 3D Touch messages to reply from your lock screen. While fun and useful, the feature is also easily accessed by other people.
If you're worried about those around you replying to incoming messages on your iPhone, you might want to disable this one. Check out the article below to find out how.
13: Control Center
iOS 11's Control Center is a major change from previous designs. We've never had the ability to customize our Control Centers, and with that comes more options than ever. Unfortunately, those added apps and features means more privacy risks for your device.
While most content-sensitive apps require a passcode from the lock screen to access, some do not, or, at the very least, give users limited access without having to unlock the iPhone. For example, while you cannot see written notes without unlocking the phone, anyone is able to write a note from the Control Center, if you have Control Center notes activated.
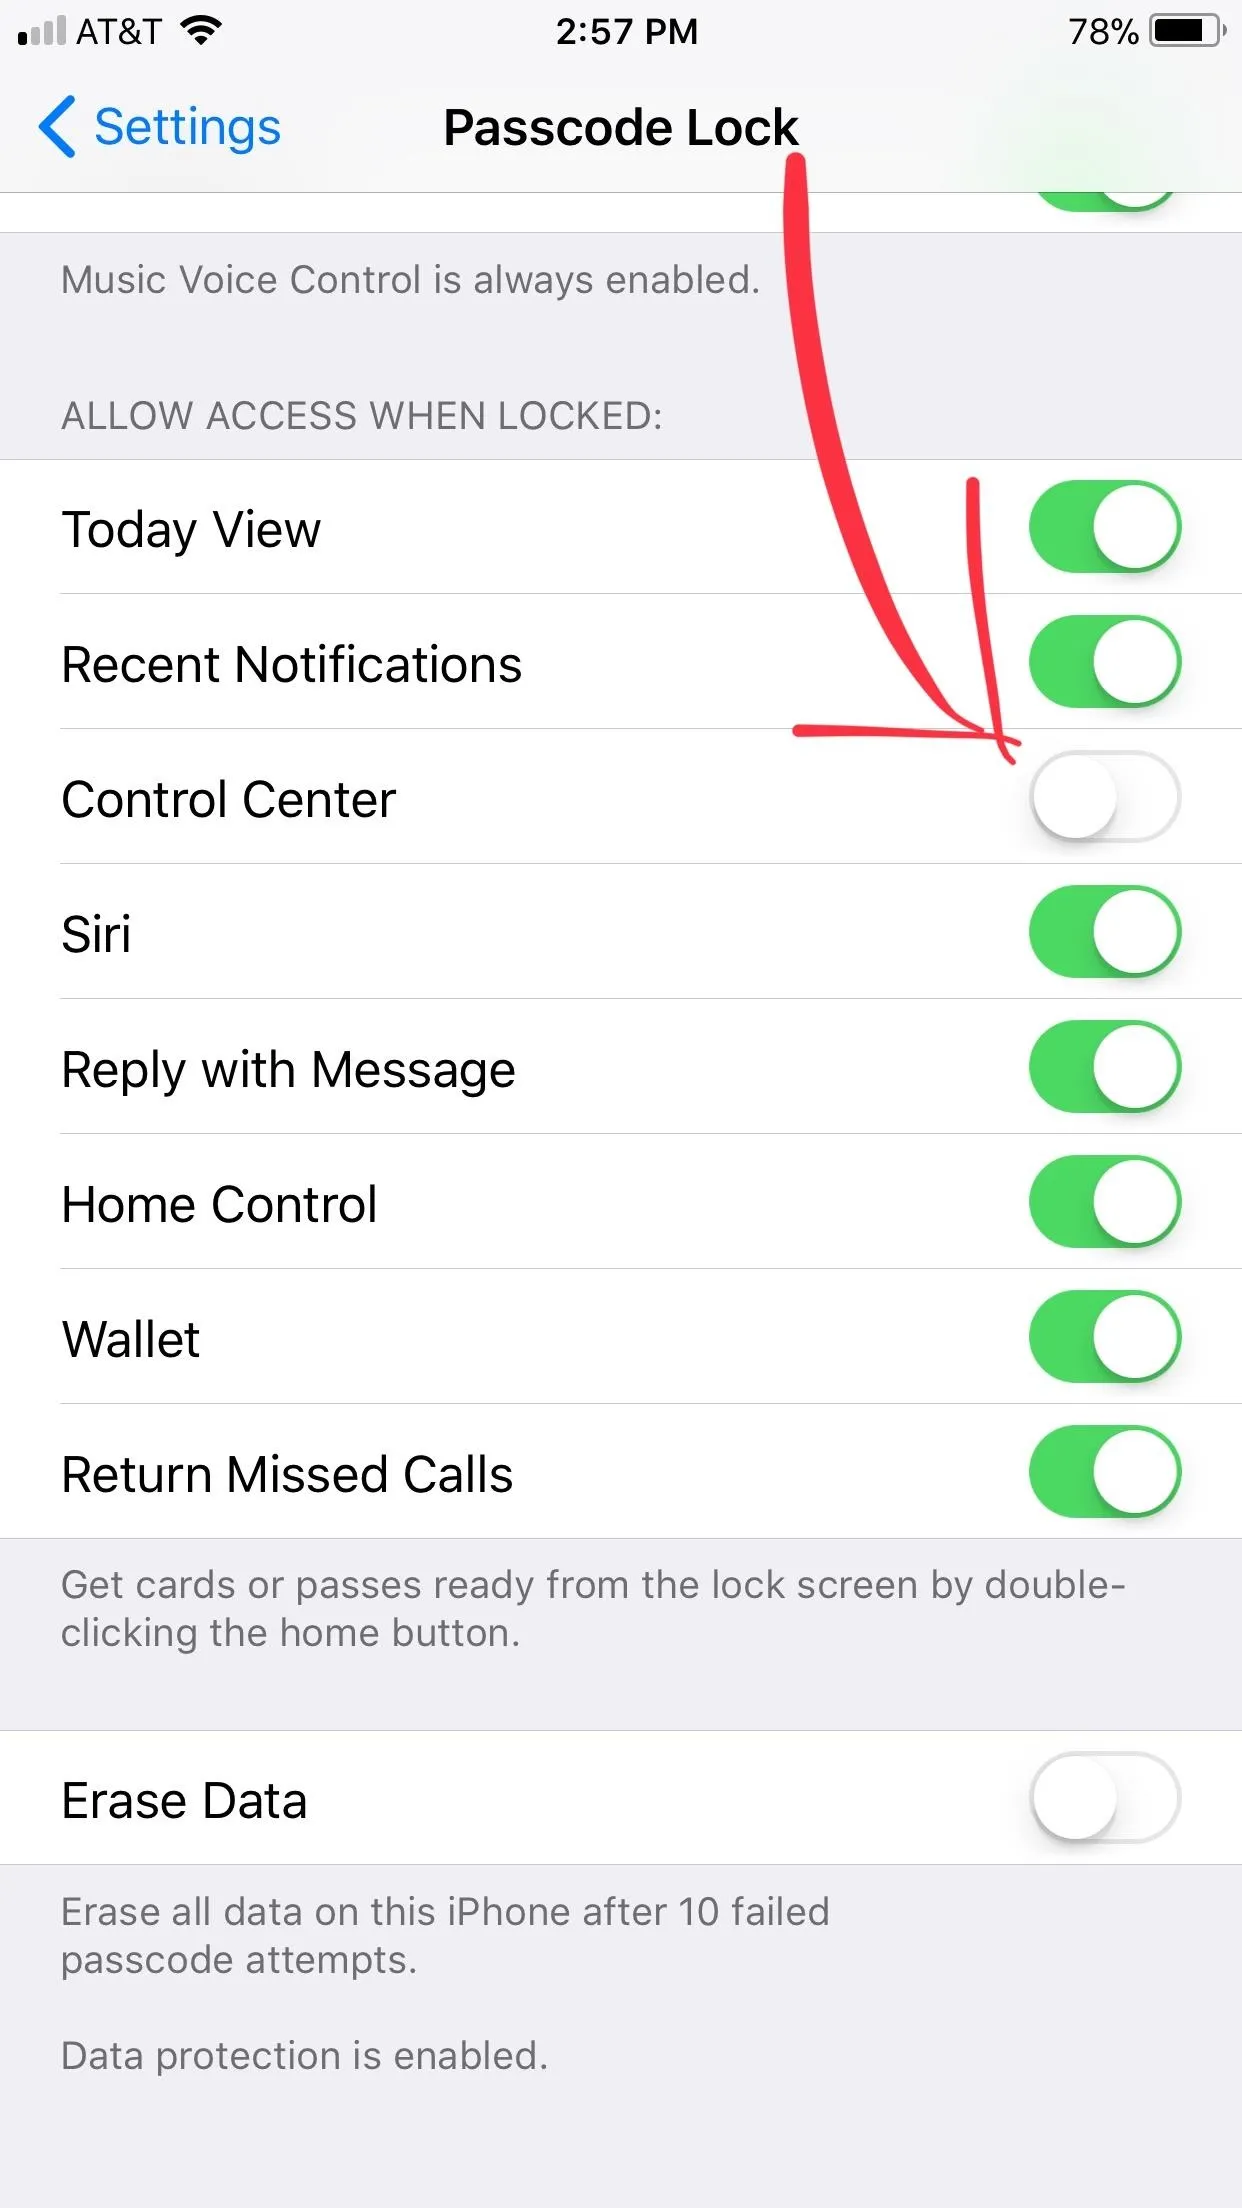
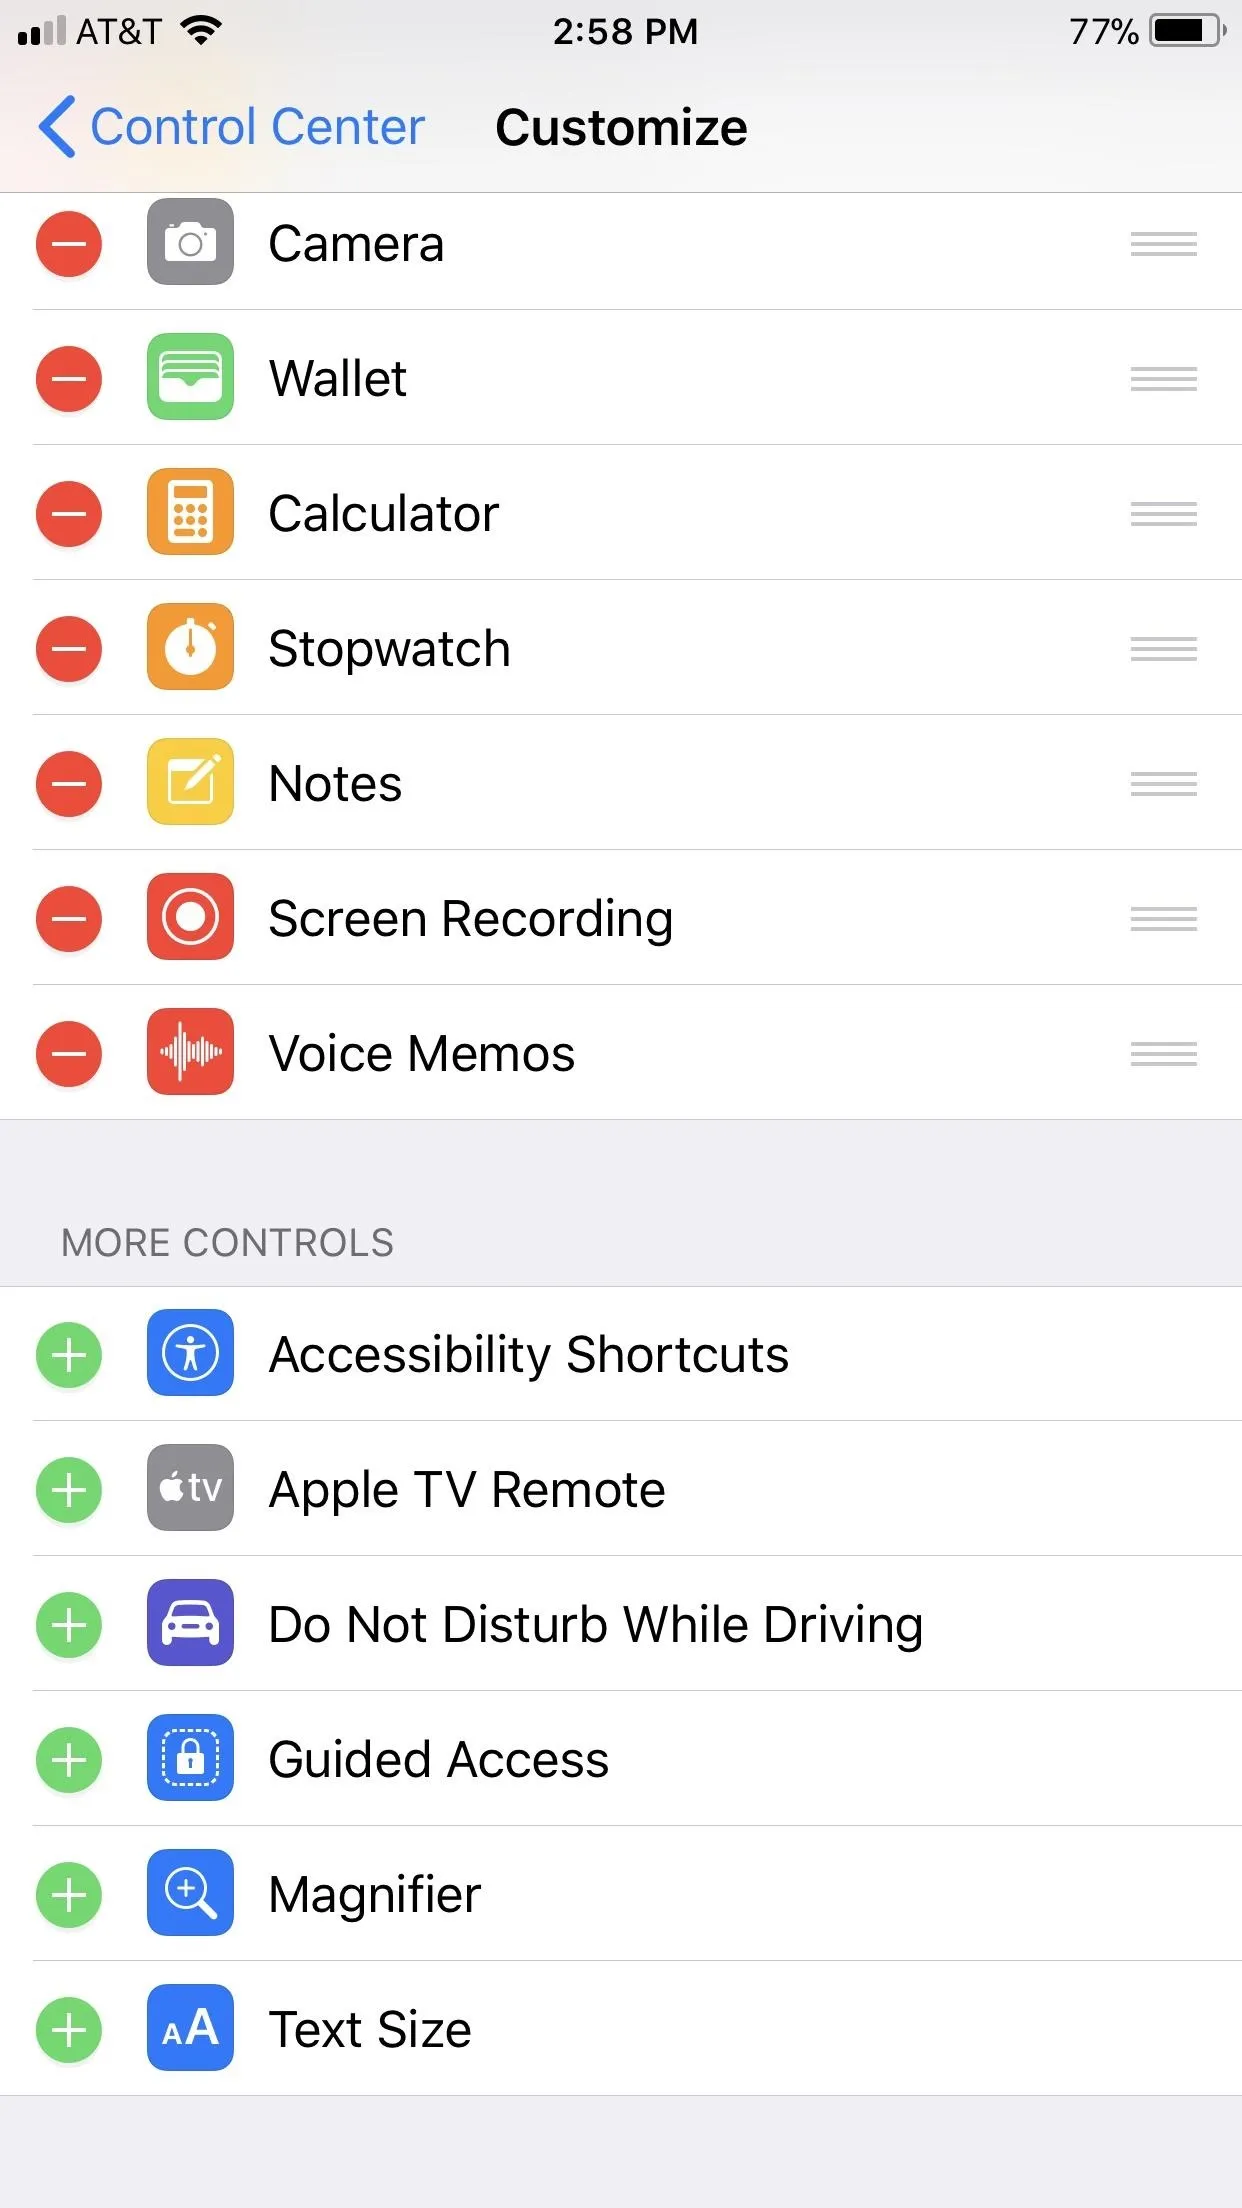
You can disable any apps from the Control Center that you don't want people having access to, but that means you won't be able to access them when your phone is unlocked, either. An alternative option is to disable Control Center entirely from the lock menu, by going to Settings –> Touch ID & Passcode and disabling the switch next to "Control Center." We'll talk more about Passcode Lock later.
One app that I would highly recommend disabling from Control Center is Wallet. While you do need your Touch ID or passcode to access any credit cards stored in your iPhone, other types of cards, like Starbucks, Dunkin Donuts, travel passes, and various other loyalty cards, do not. If you want to prevent others from gaining access to these forms of currency, disable Wallet from Control Center.
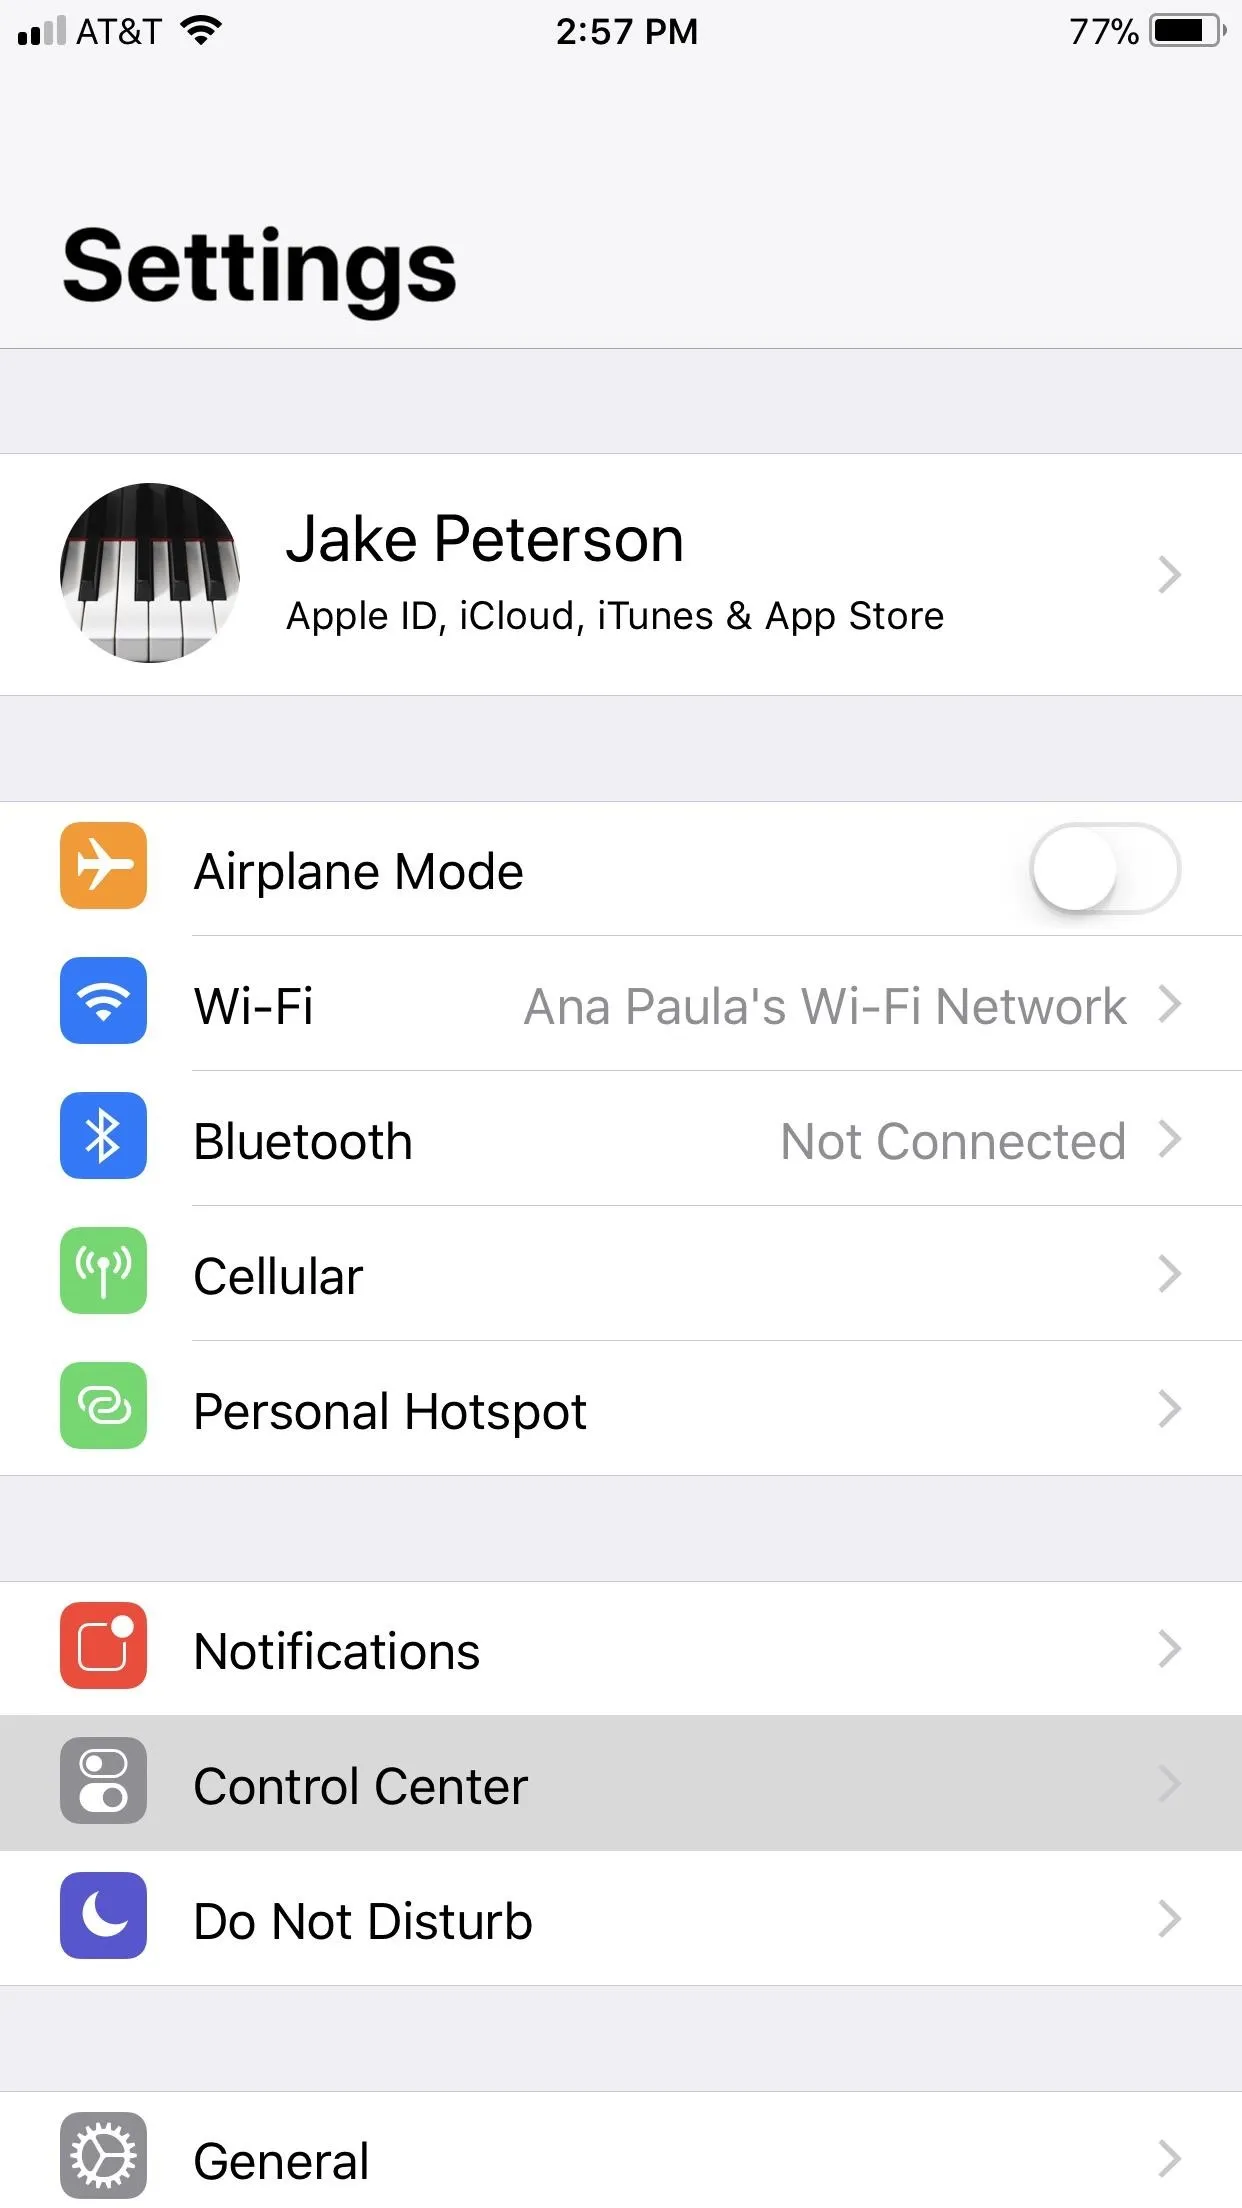
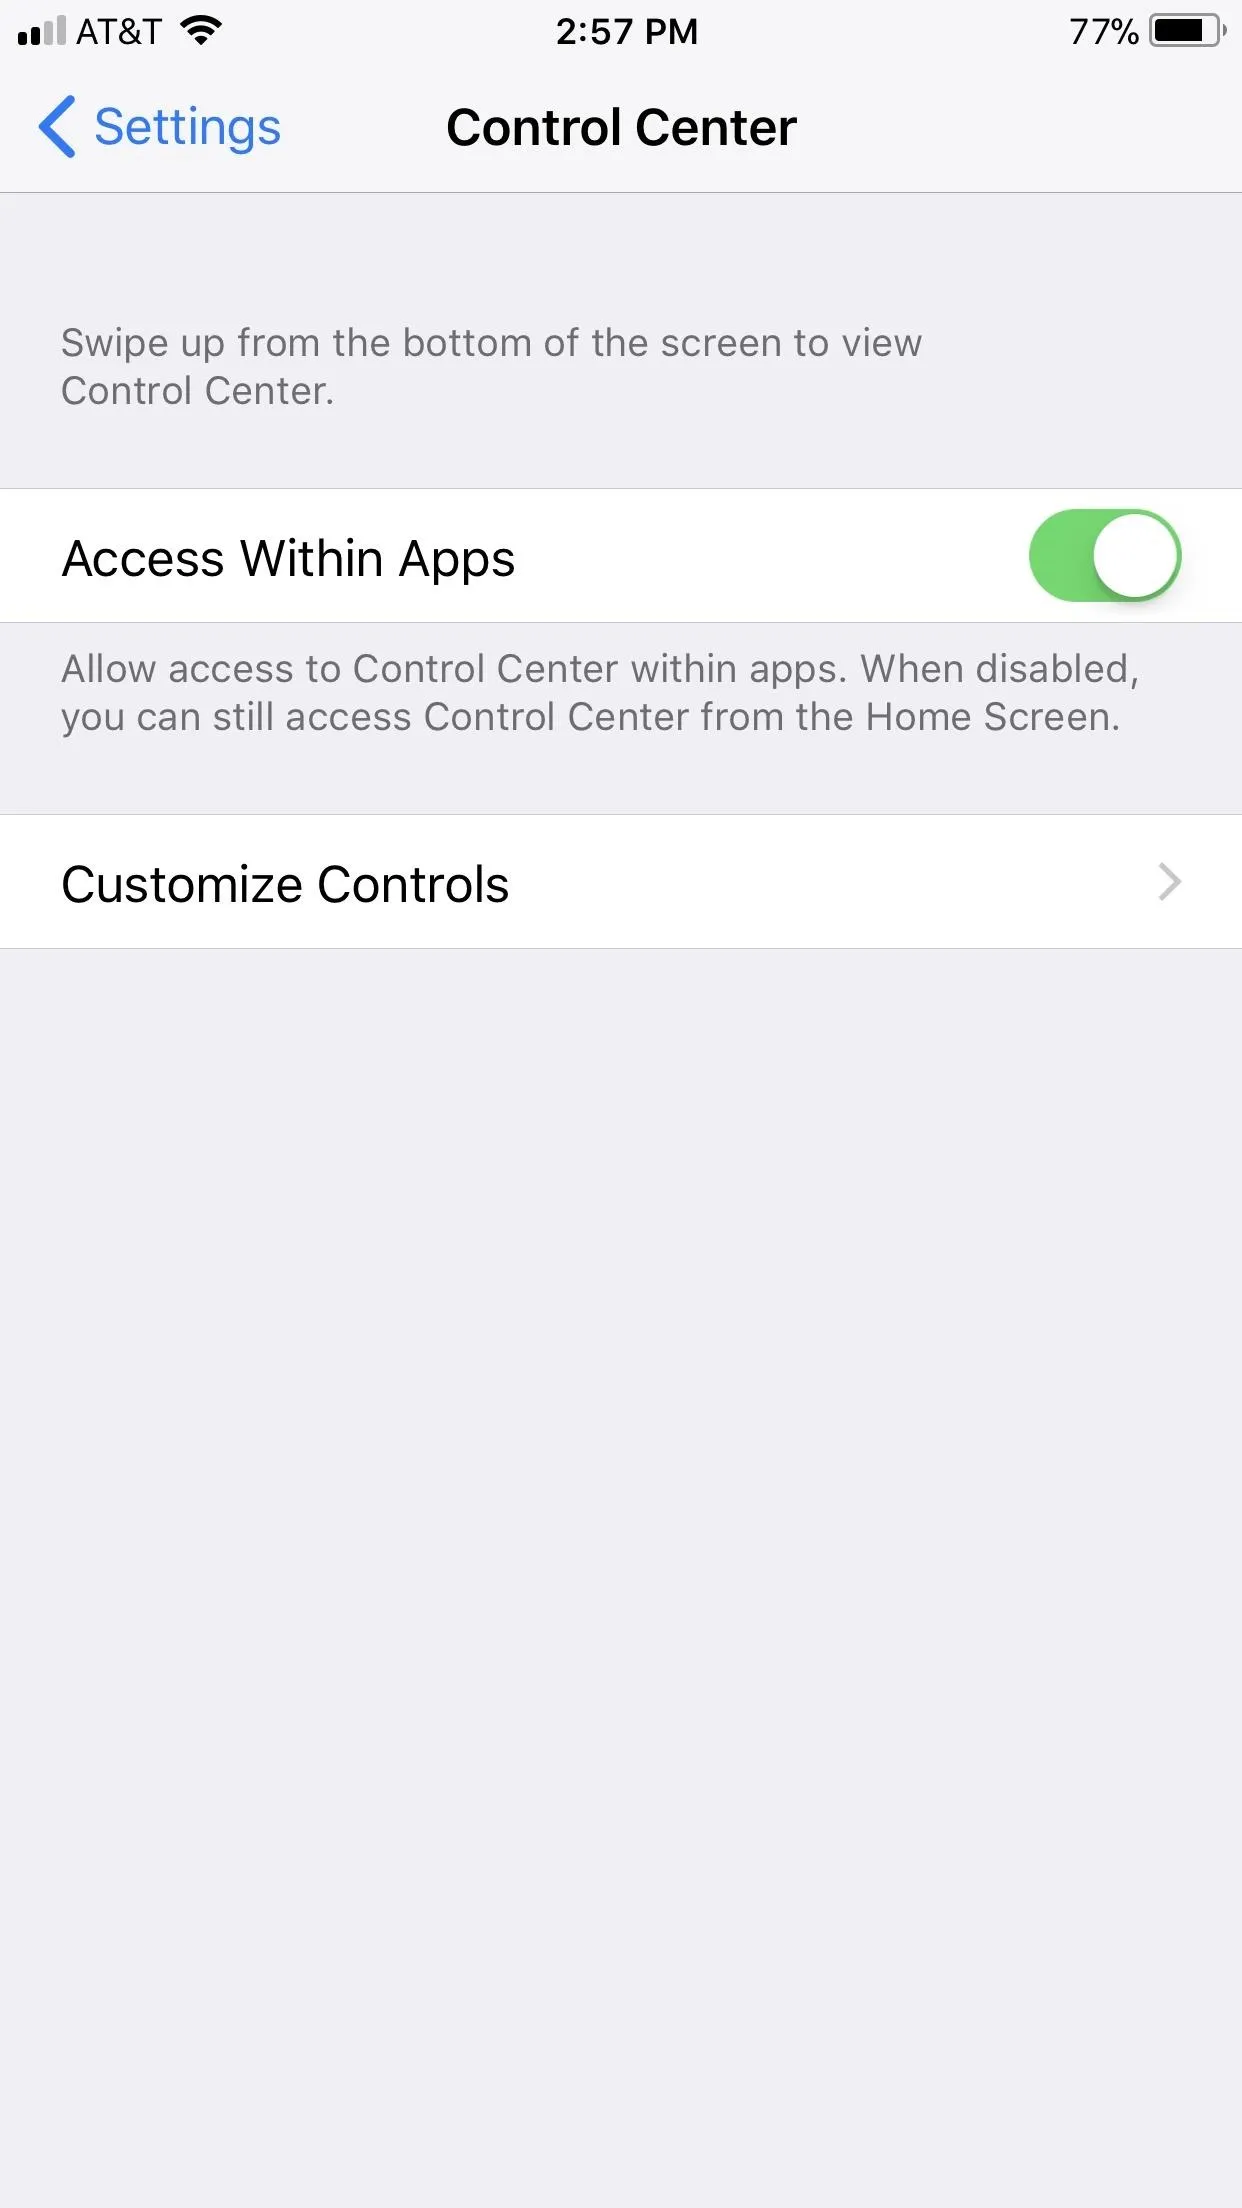
You can customize your Control Center items by going to Settings –> Control Center –> Customize.
14. Ask Websites Not to Track Me (Safari)
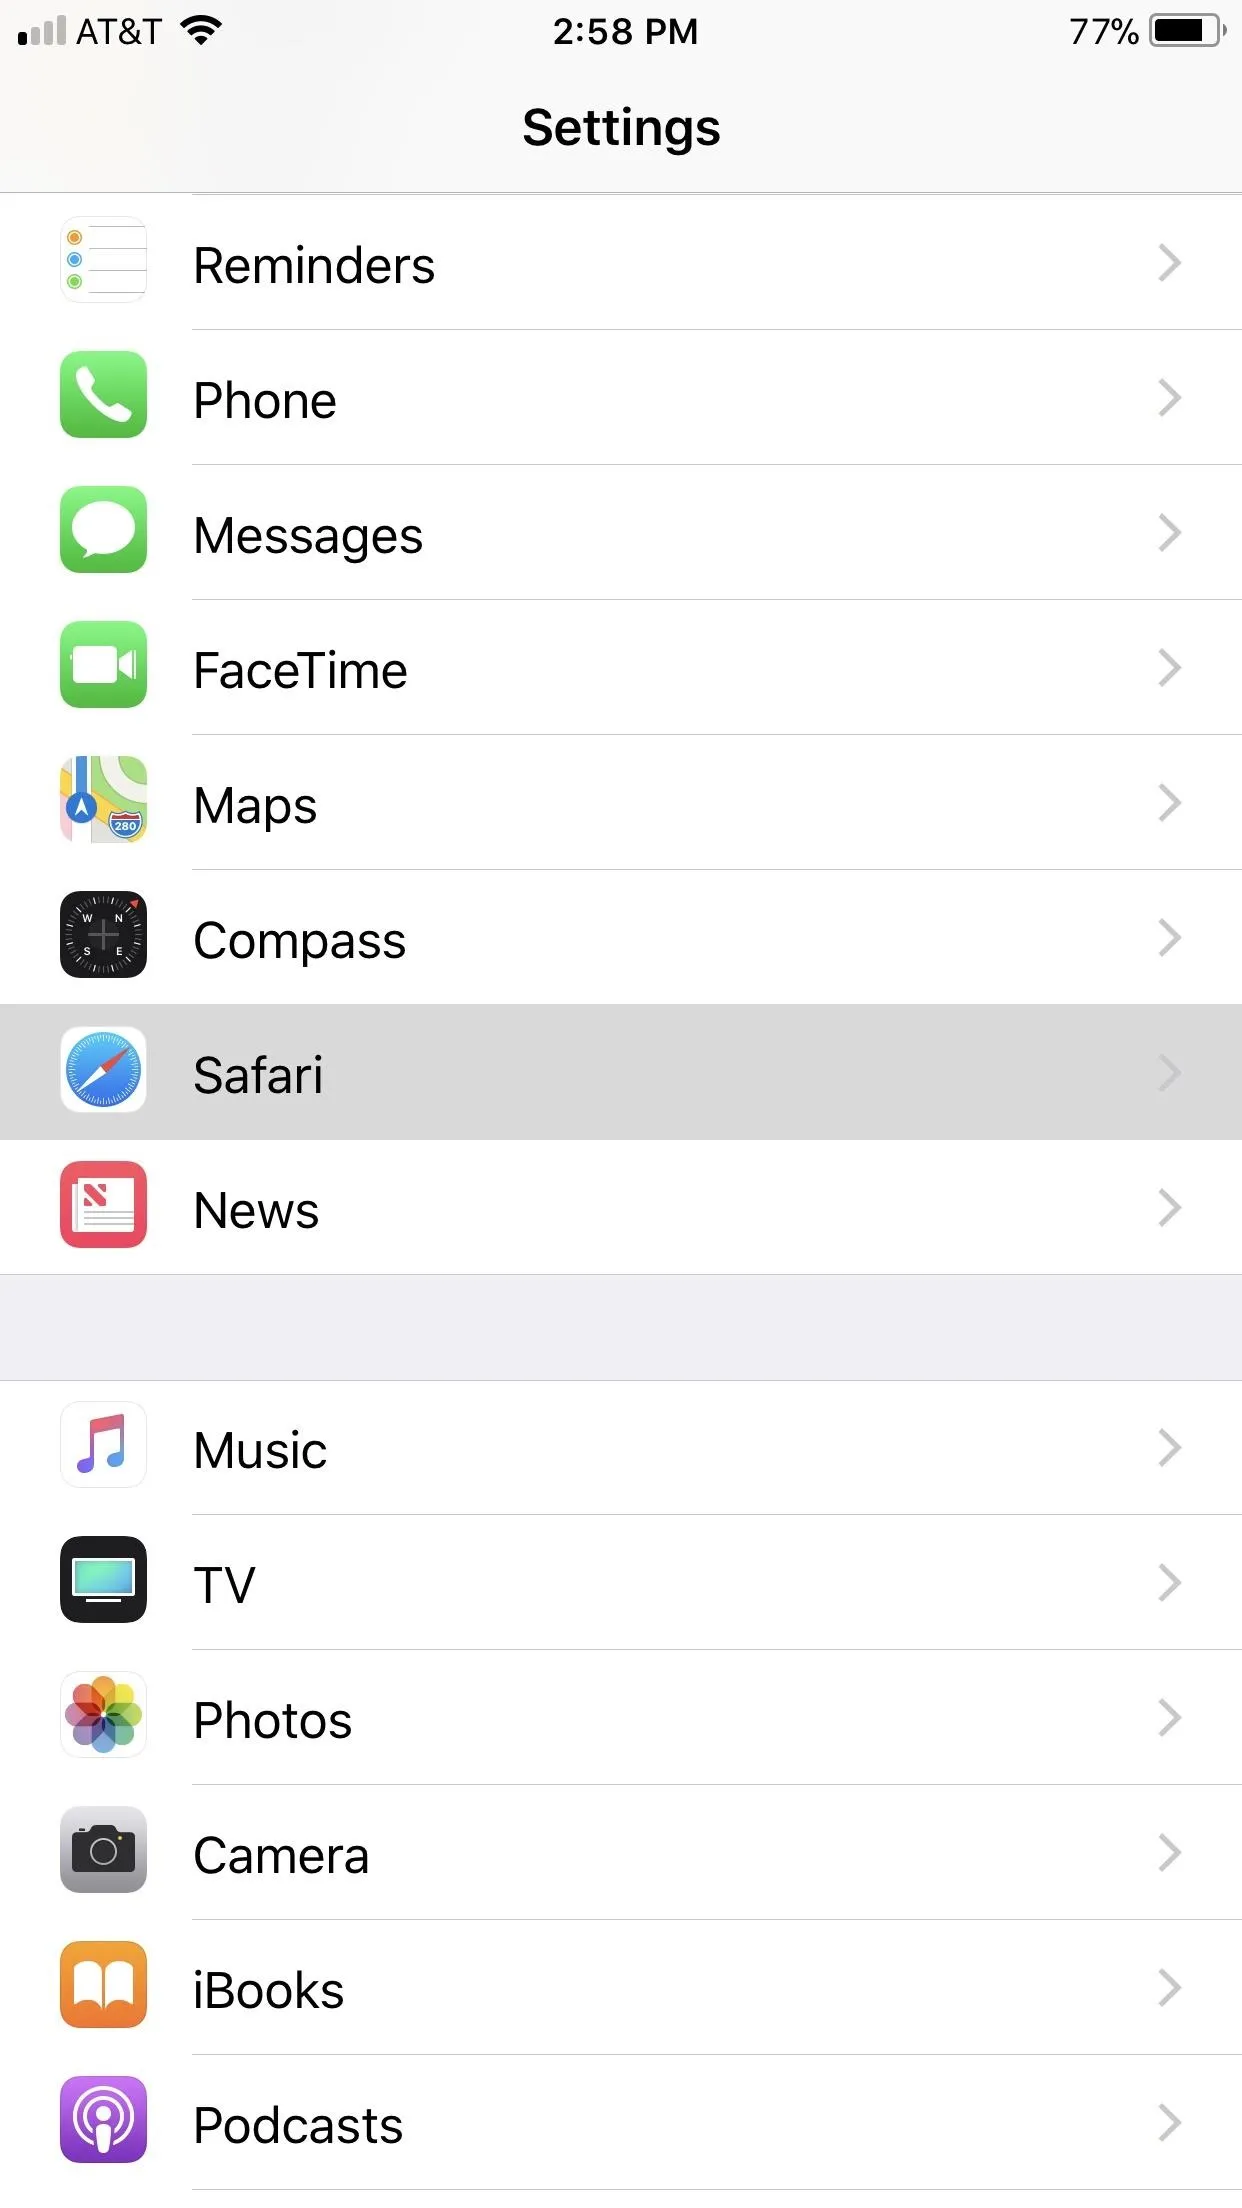
Formally known as Do Not Track, this setting lets users decide whether or not to allow Safari to share your phone's IP address with the websites you visit. You will mostly likely not wish to share this information with websites, so to enable this setting, head to Settings –> Safari, then enable the switch next to "Ask Websites Not To Track Me."
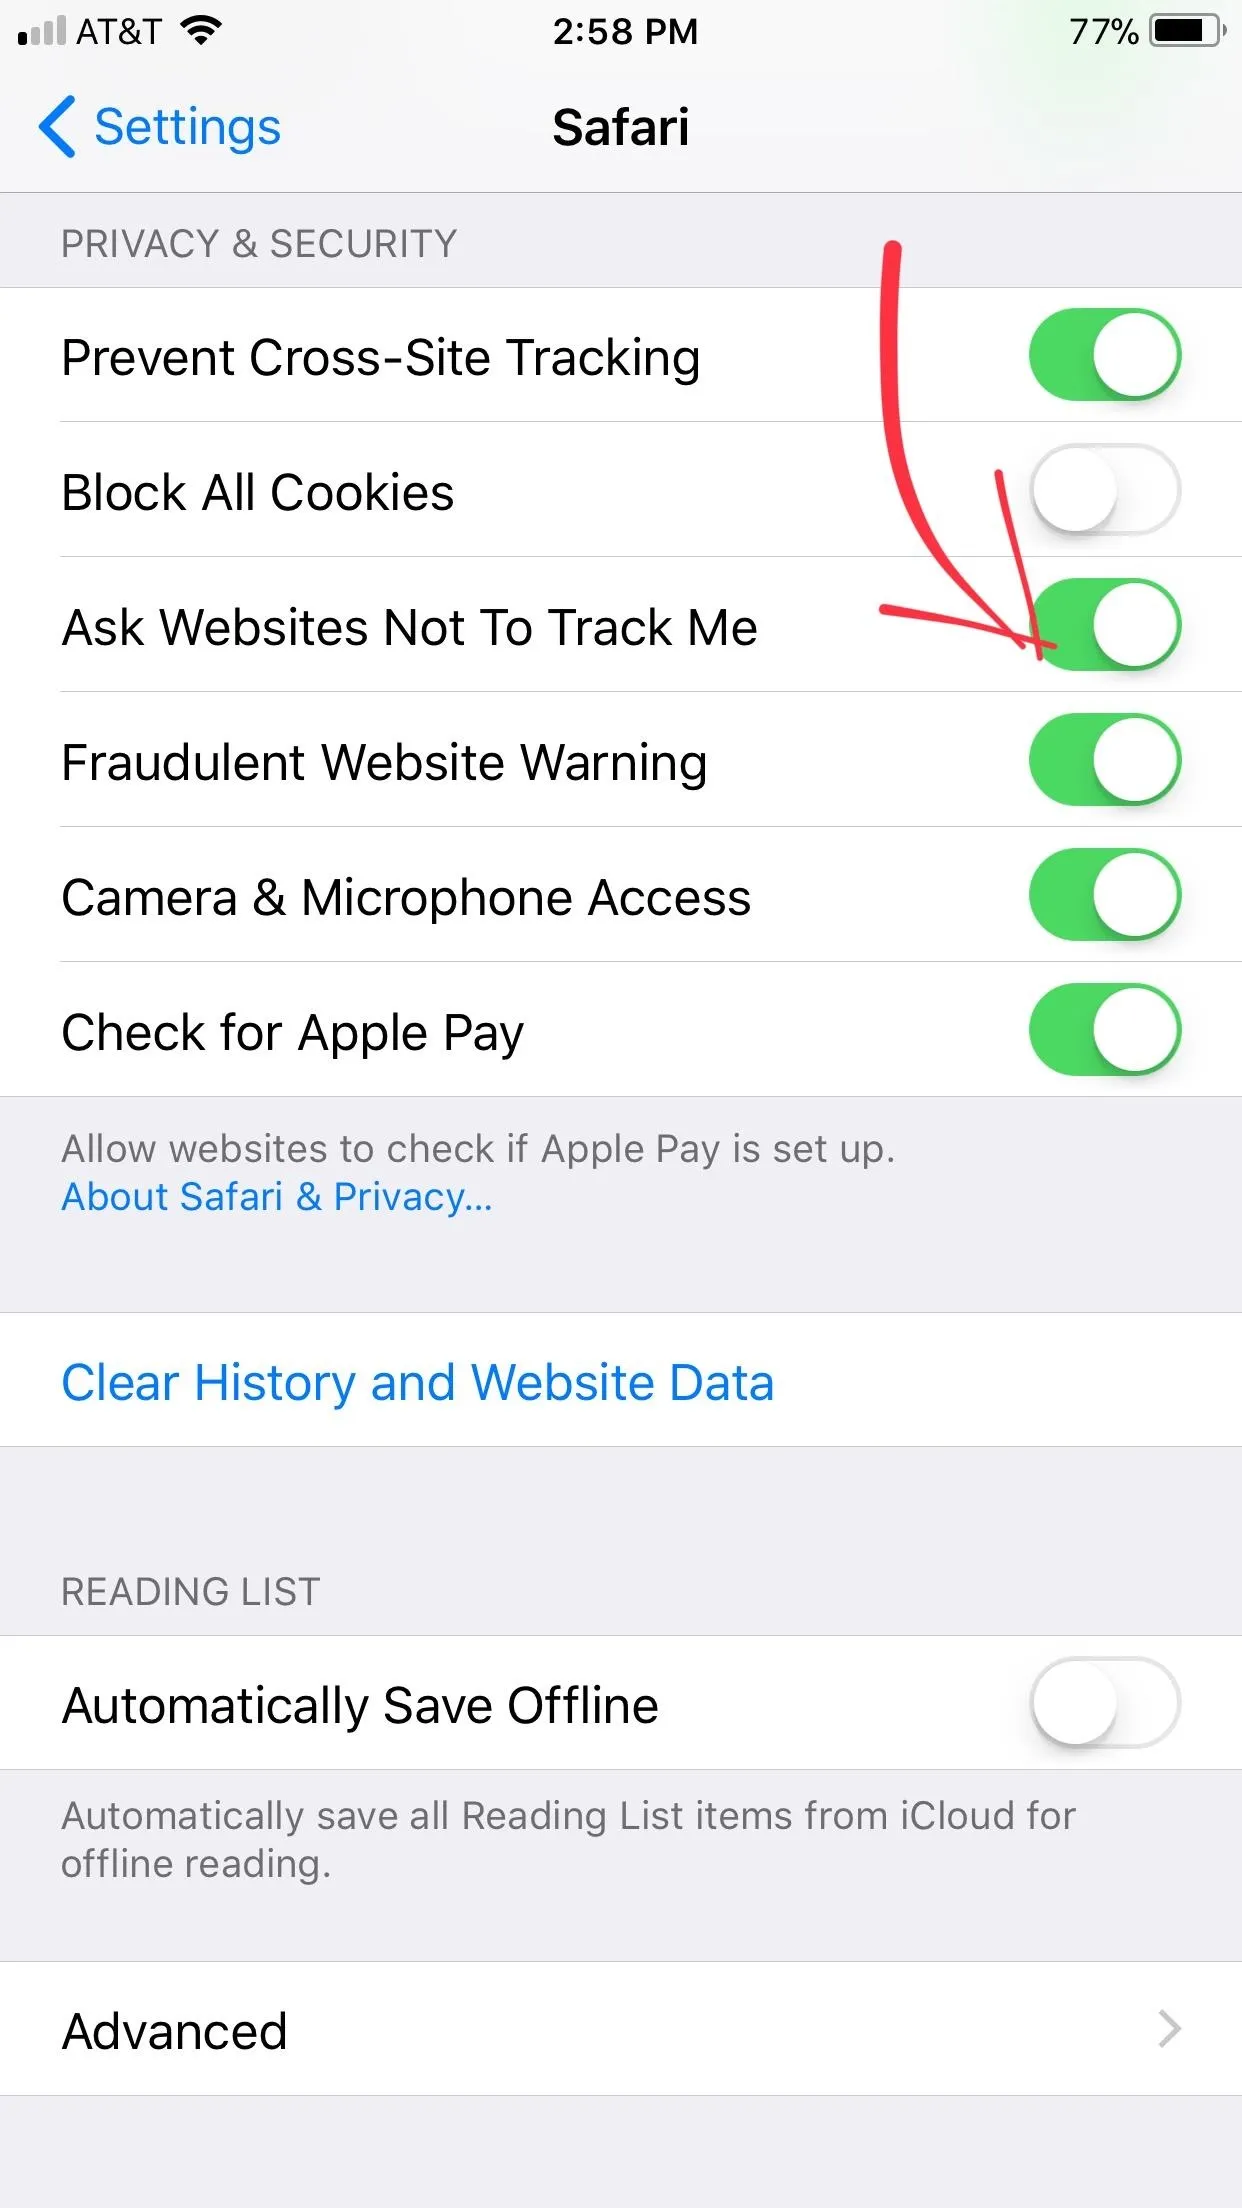
15. Block All Cookies
Cookies allow websites to save bits of your information, so that when you return, the website can load for you faster. While convenient, cookies certainly aren't privacy-forward.
In iOS 11, Apple has taken away various options for blocking cookies, in favor for a blanket ban on all. While you may notice a difference in performance on some sites, at least you know you're securing your privacy. To disable cookies, go to Settings –> Safari, then turn on the "Block All Cookies" option.


16. App & Website Passwords
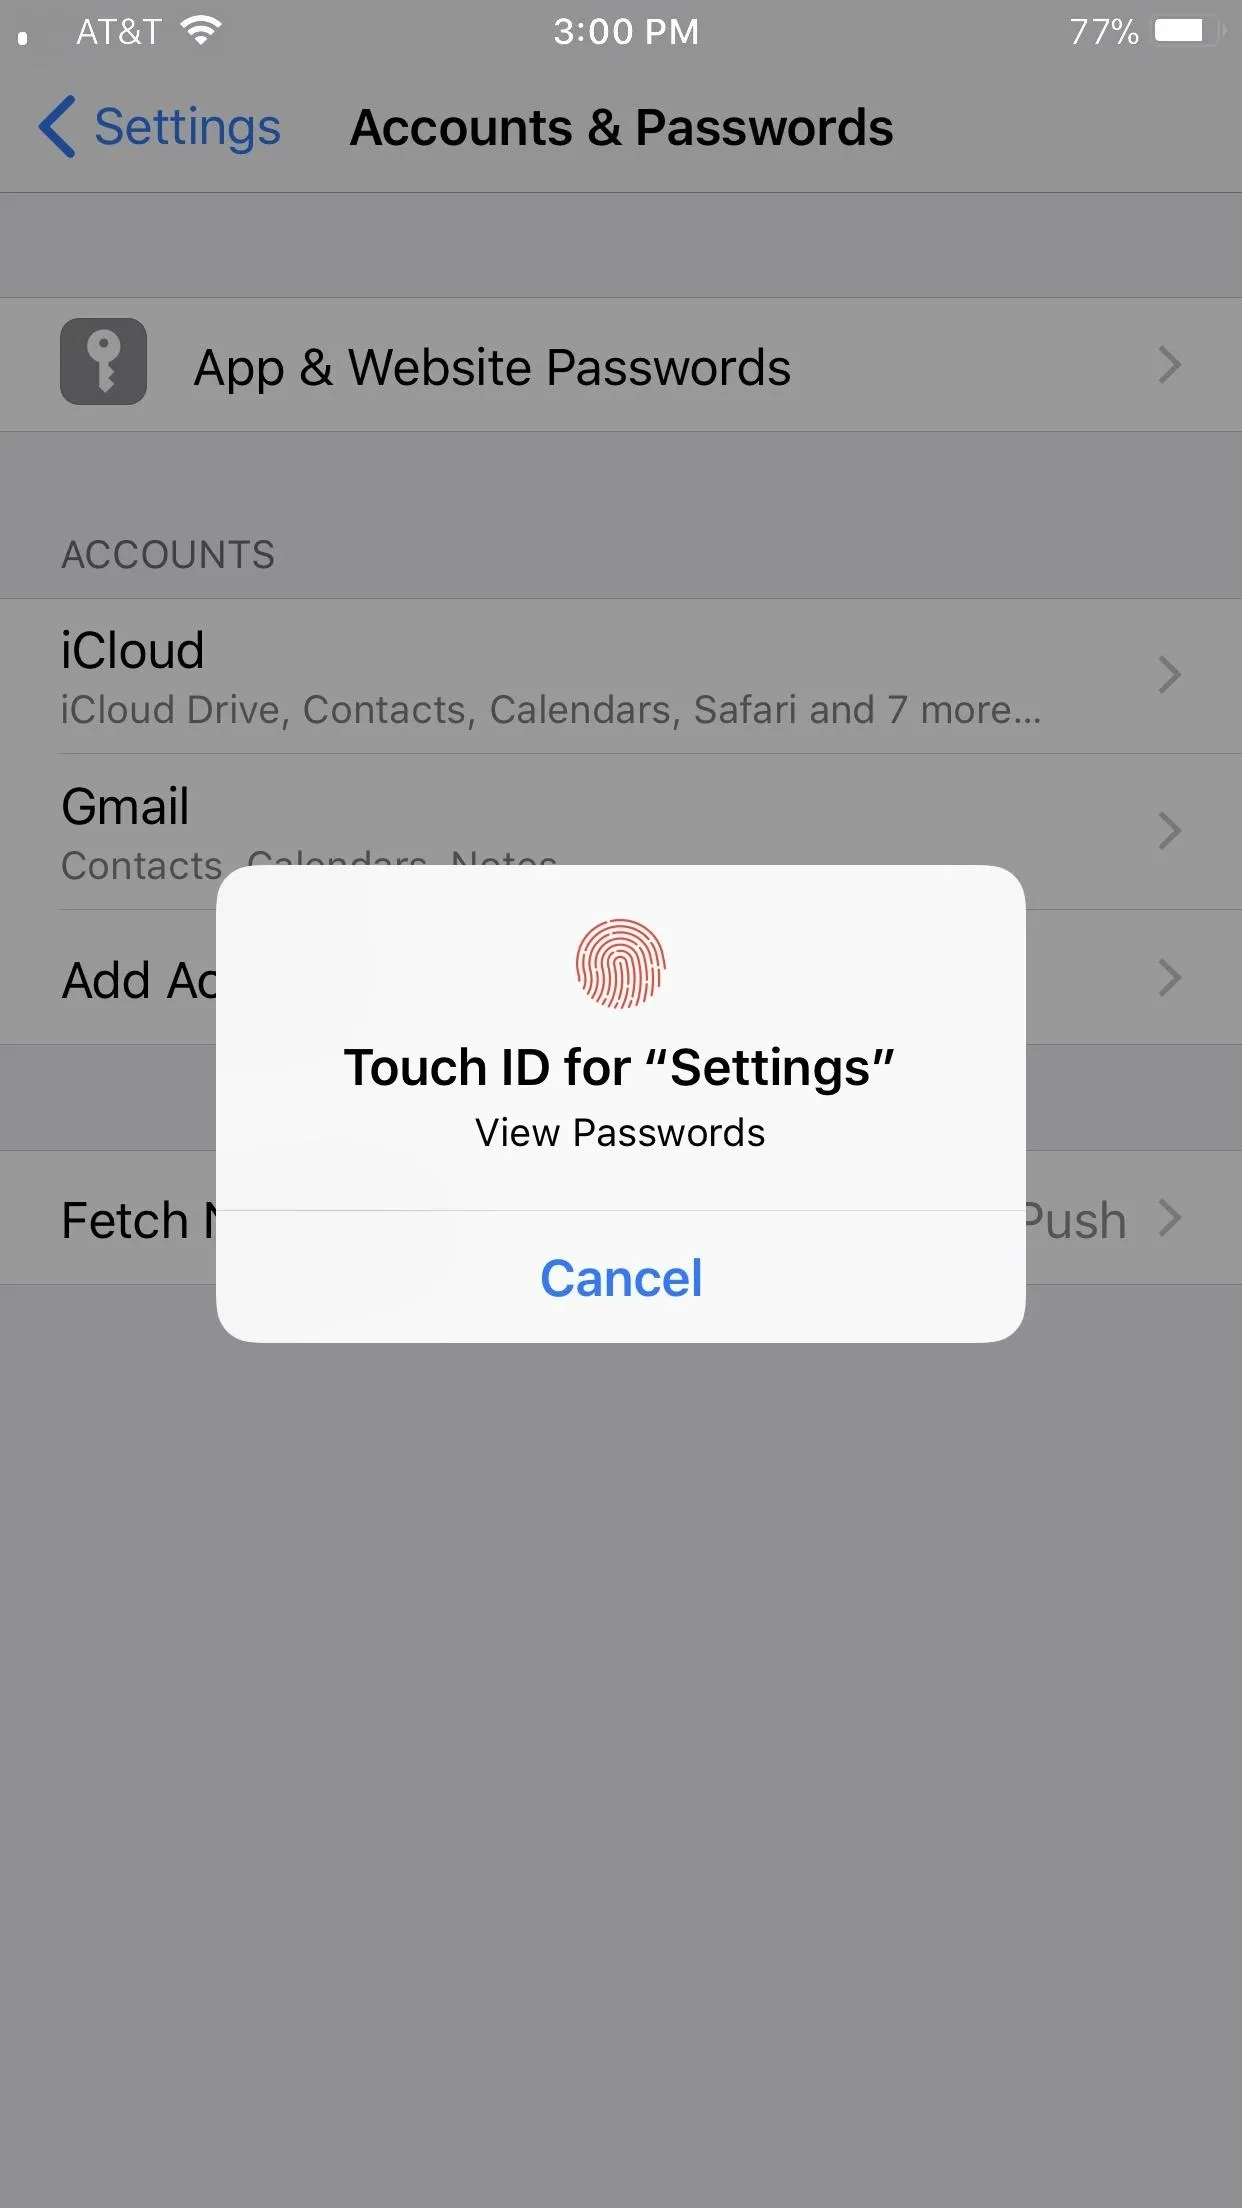
Your iPhone, along with your iCloud account, has a built-in password manager to make entering passwords easier and more secure. These passwords are protected by Touch ID or your iPhone's passcode, however, if your iPhone is breached, an assailant would have access to all of your passwords.
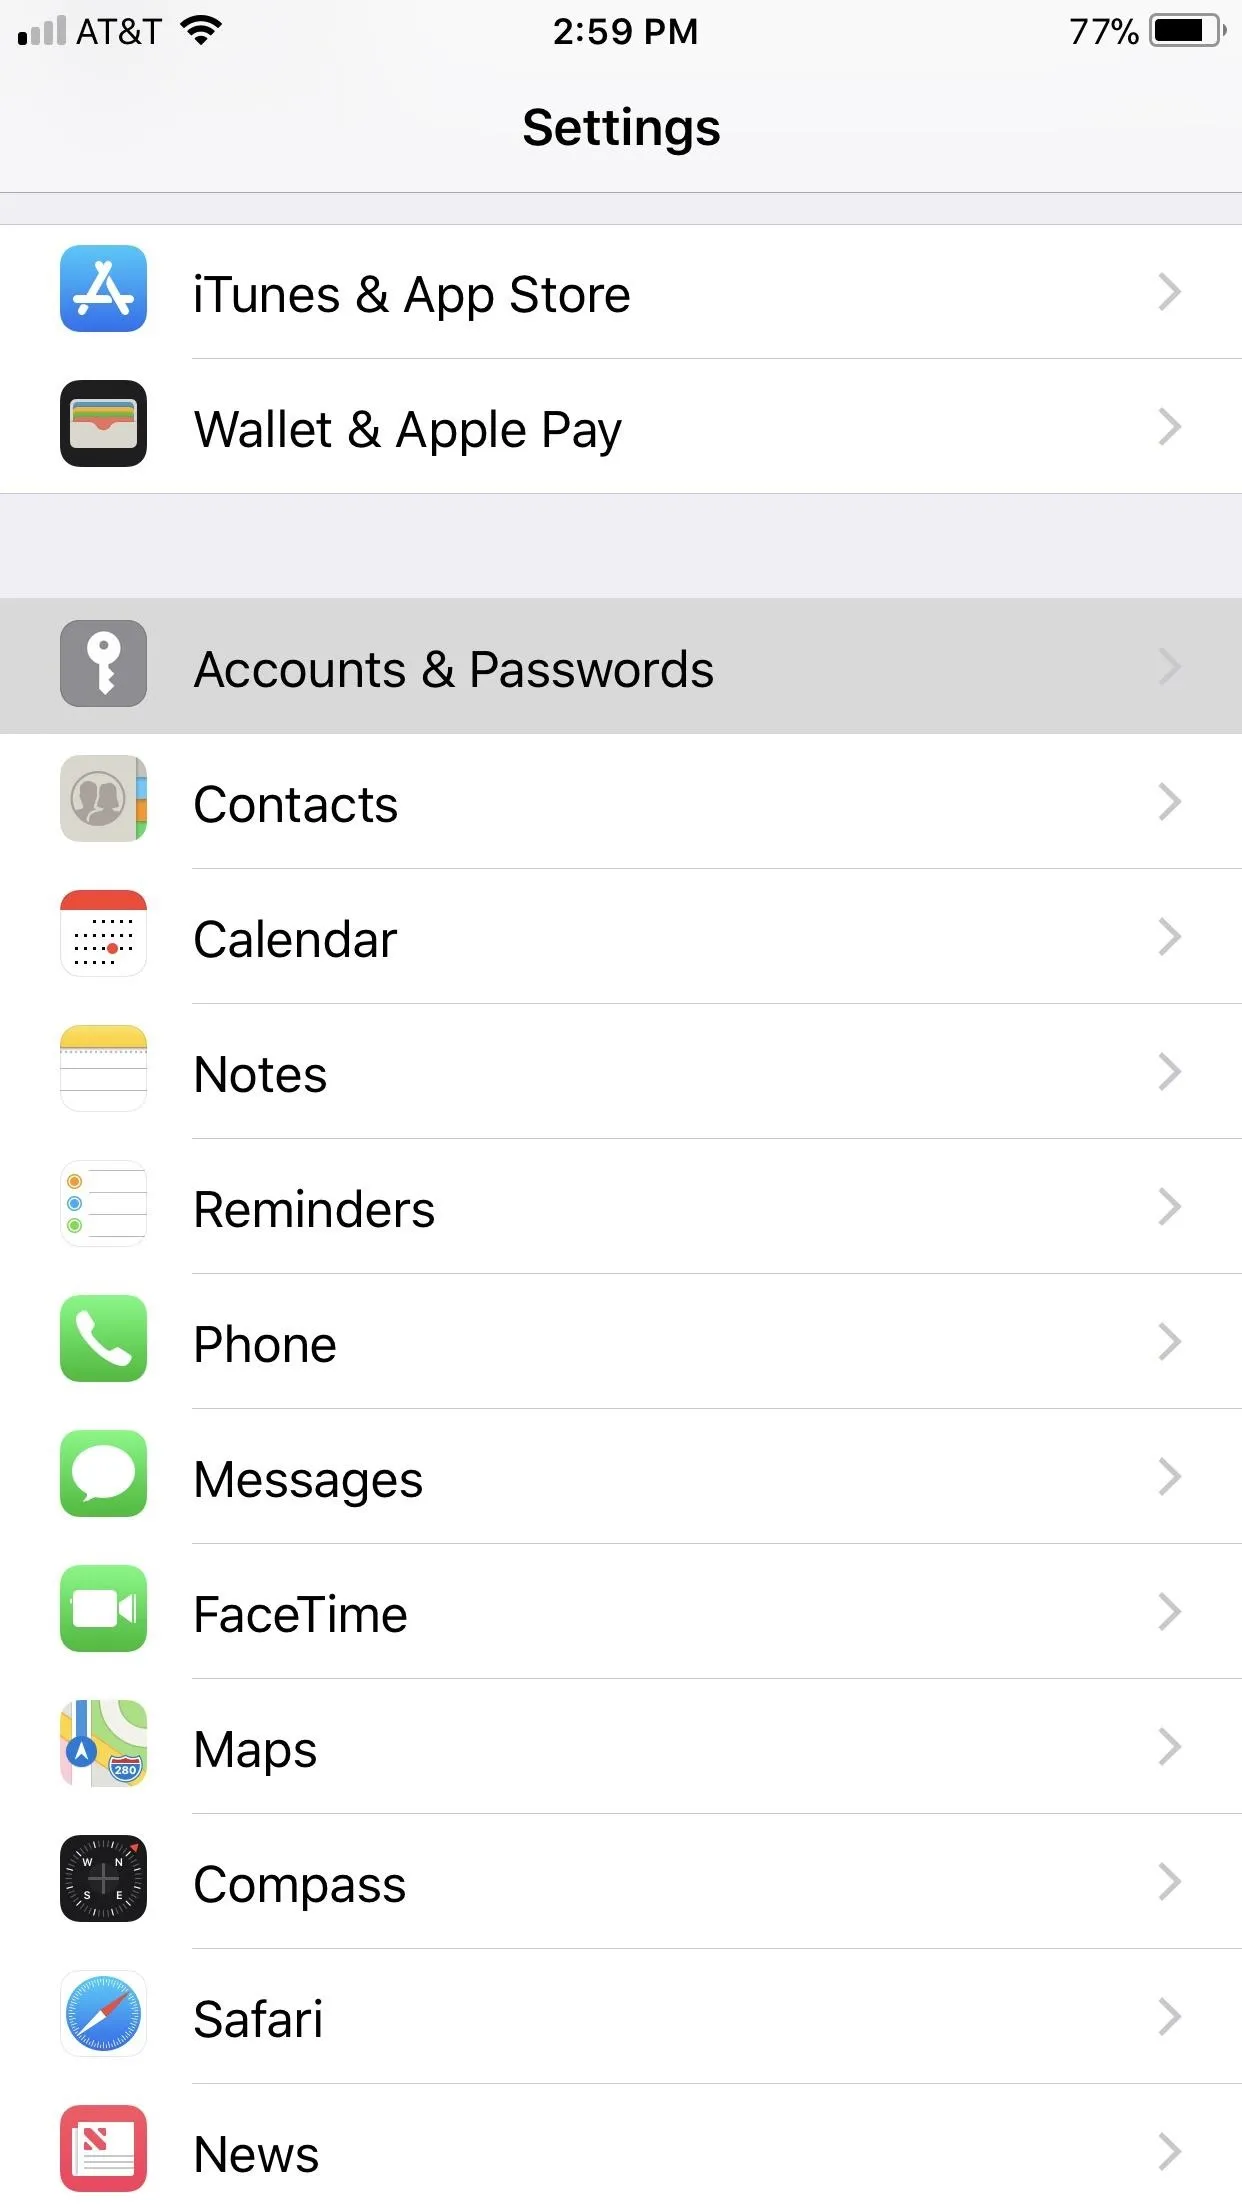
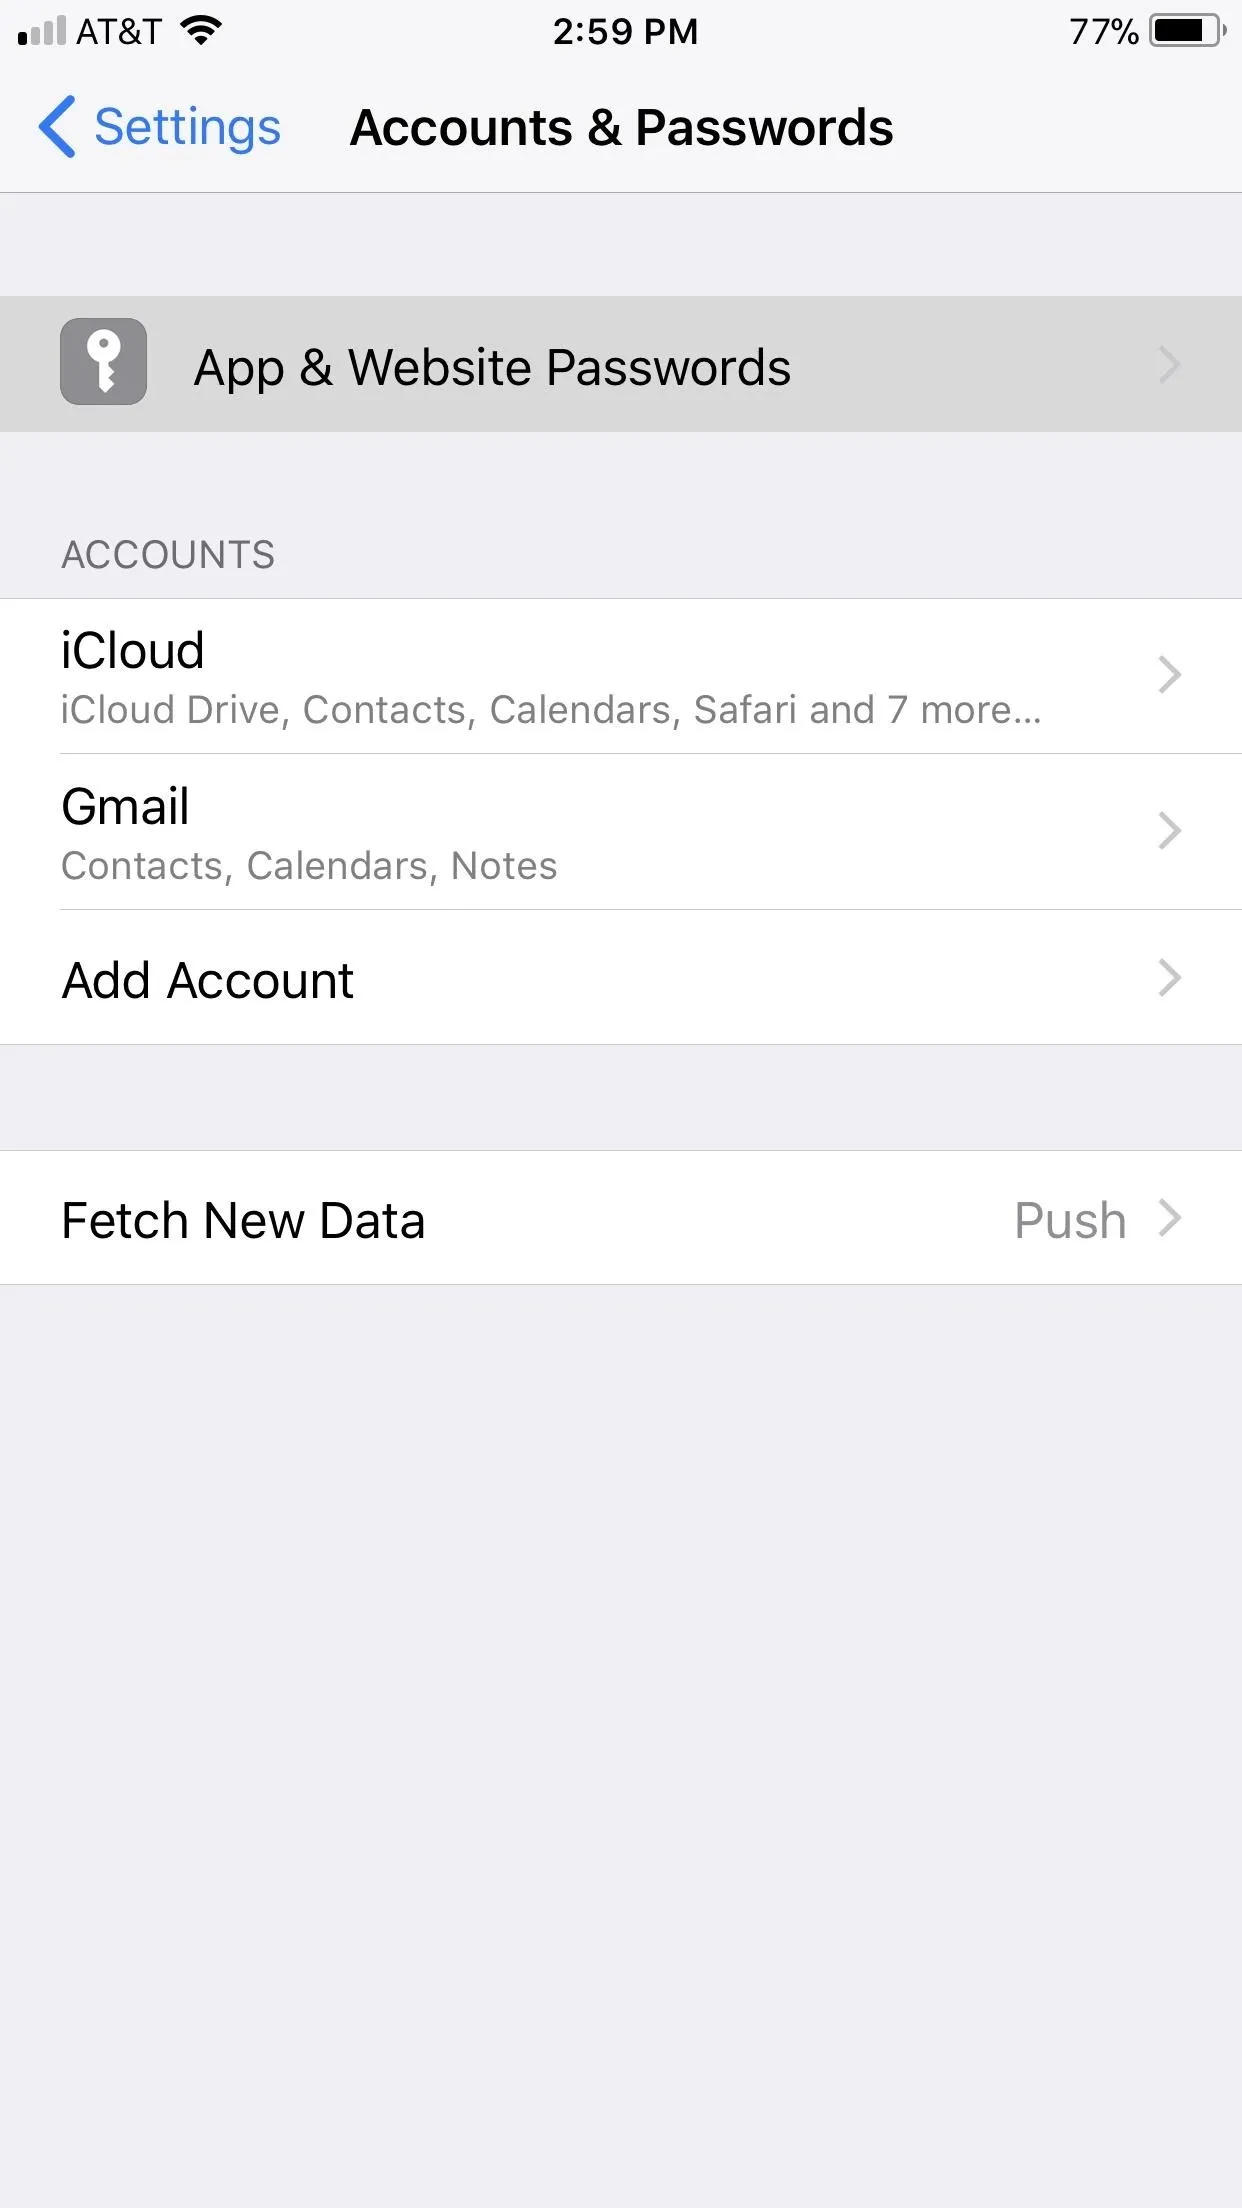
To manage your saved passwords, visit Settings –> Accounts & Passwords –> App & Website Passwords. Enter your passcode or use Touch ID to view your saved passwords. To delete individual passwords, swipe left on each password, then hit "Delete." To delete en masse, tap "Edit" in the top-right corner, then select each password you'd like to delete. Finally, tap "Delete" in the top left corner.
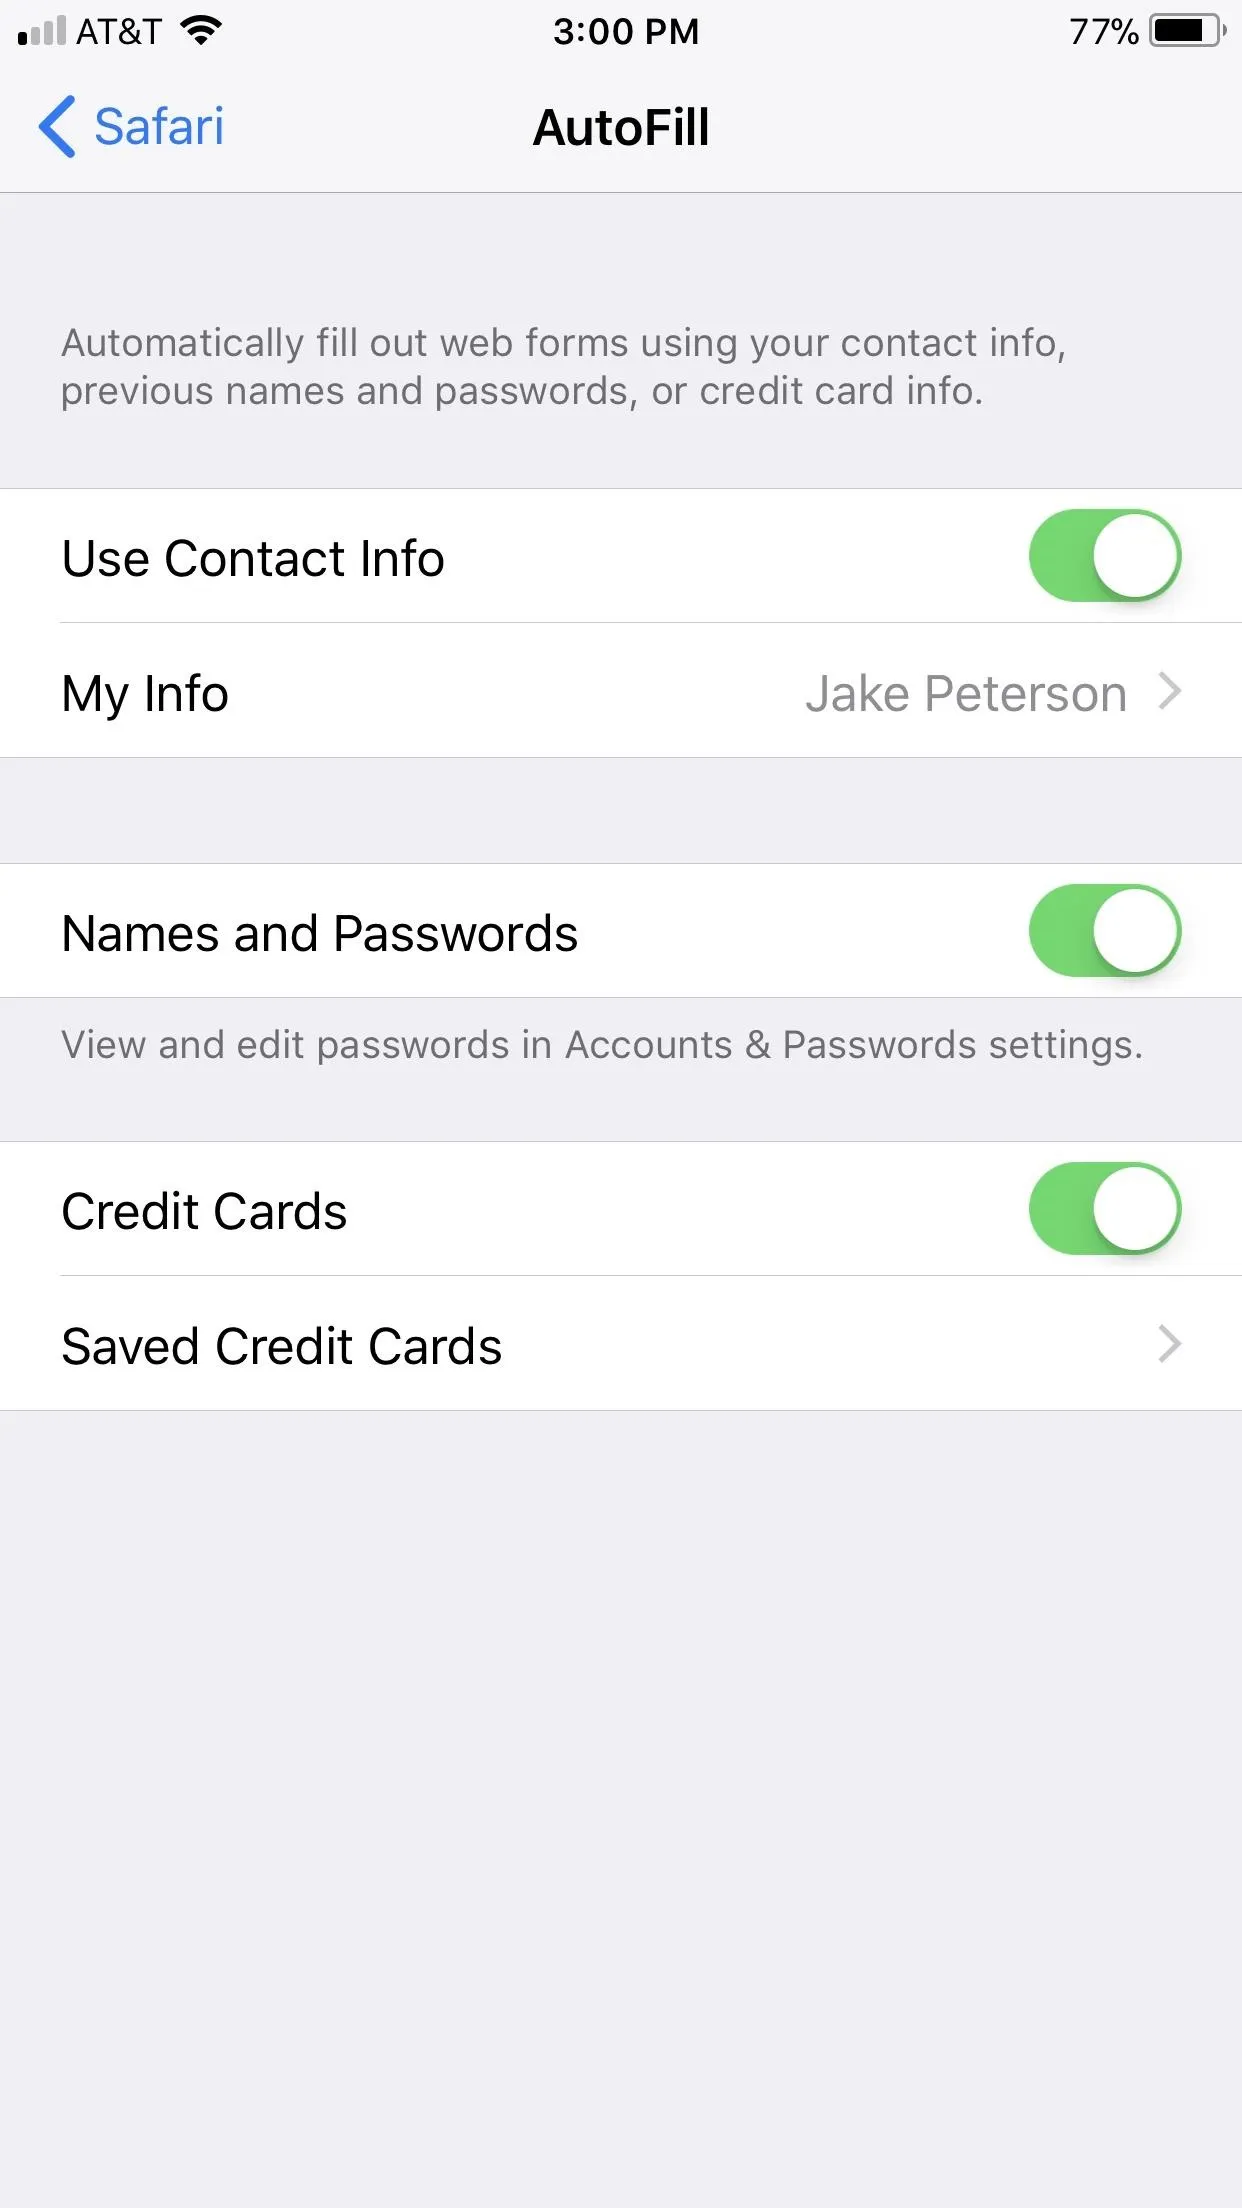
17. AutoFill
Along with storing your passwords, your iPhone can store your personal information for AutoFill. This feature makes it easy to fill out forms online or in apps, as you iPhone can automatically enter information such as your name, address, phone number, credit card number, and more.
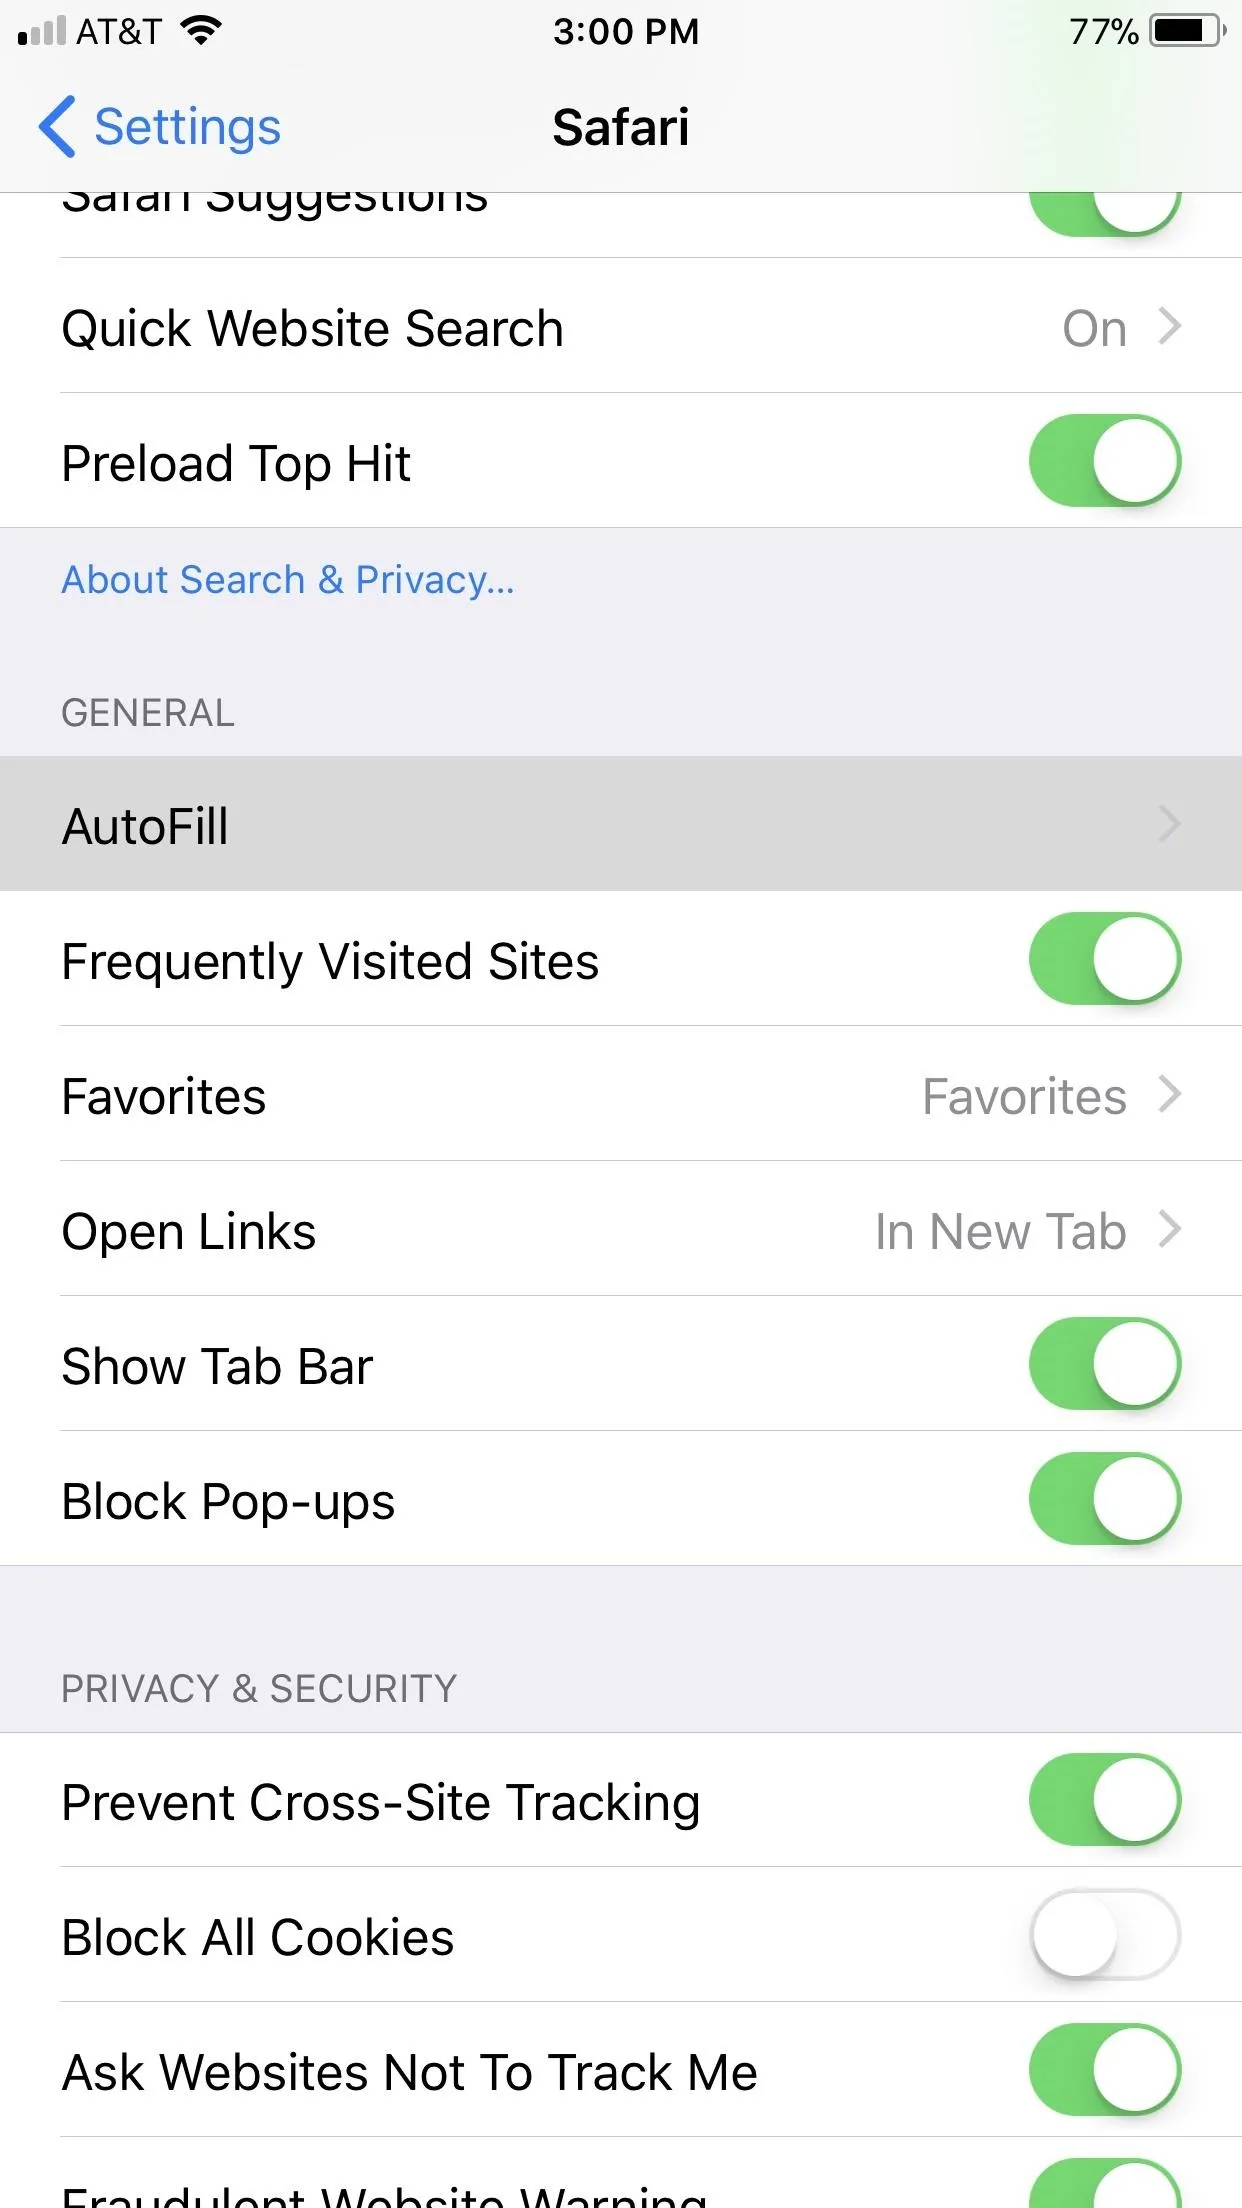
Obviously, the downside is your iPhone carries this personal information for a potential thief to find. To protect yourself, head to Settings –> Safari –> AutoFill. From here, you can investigate what information is already saved, such as Contact Info and Credit Cards, or disable all by toggling each slider off.
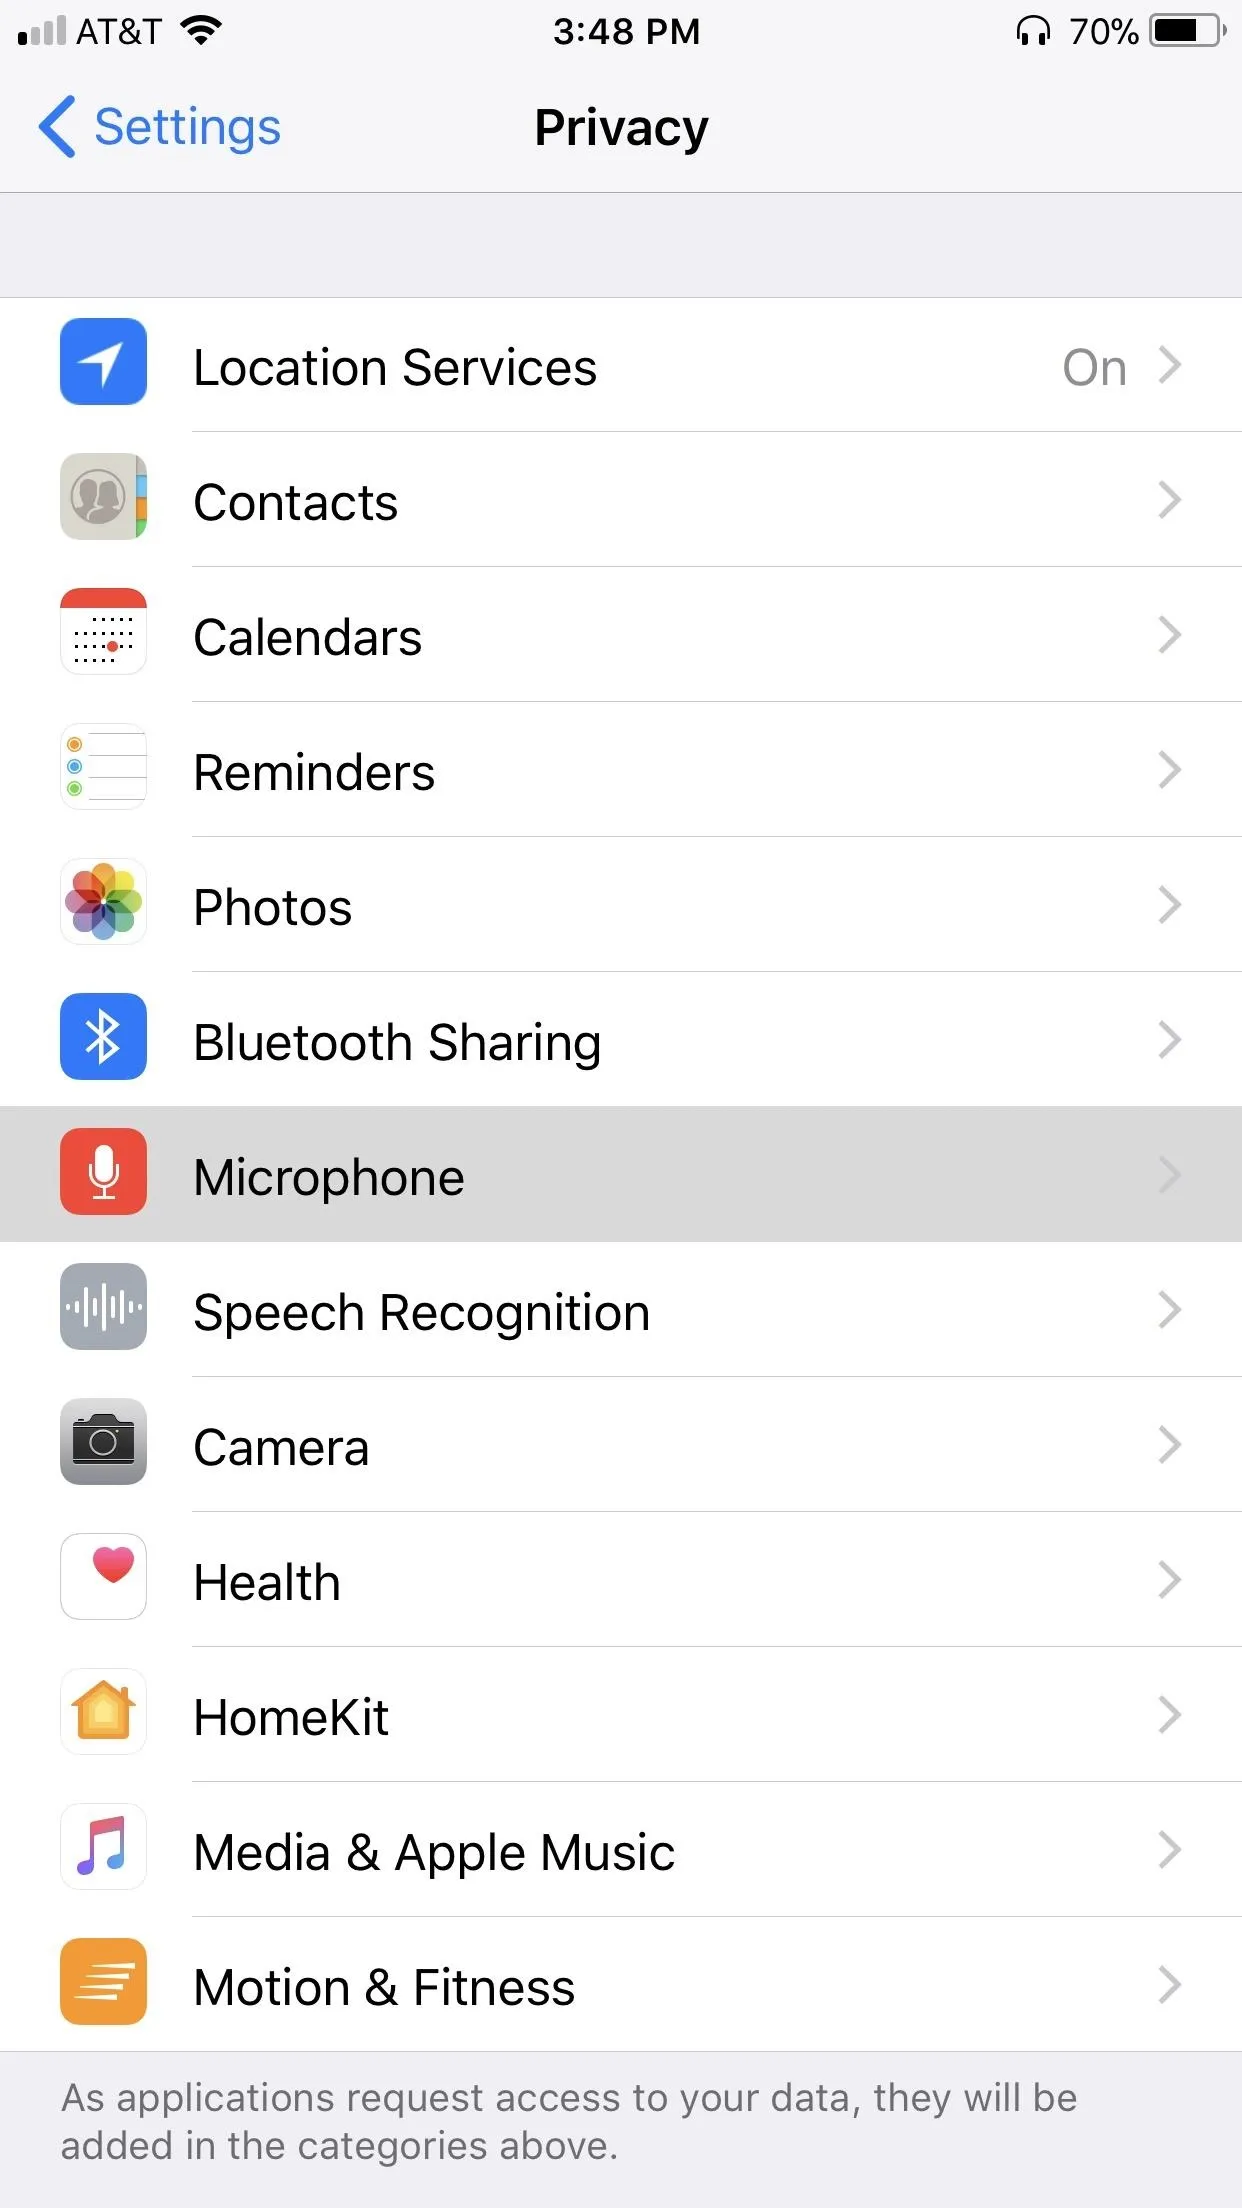
18. Microphone Access
You've probably seen a request for microphone access when opening certain apps for the first time. Many times, this request is totally legitimate, and needed for key features for those apps. However, you never know if an app is using that microphone access for shady reasons.
To manage which apps have access to your iPhone's microphone, check out Settings –> Privacy –> Microphone. Here, you will find a list of all apps that are approved to use your microphone. Disable any and all by tapping the slider next to each app.
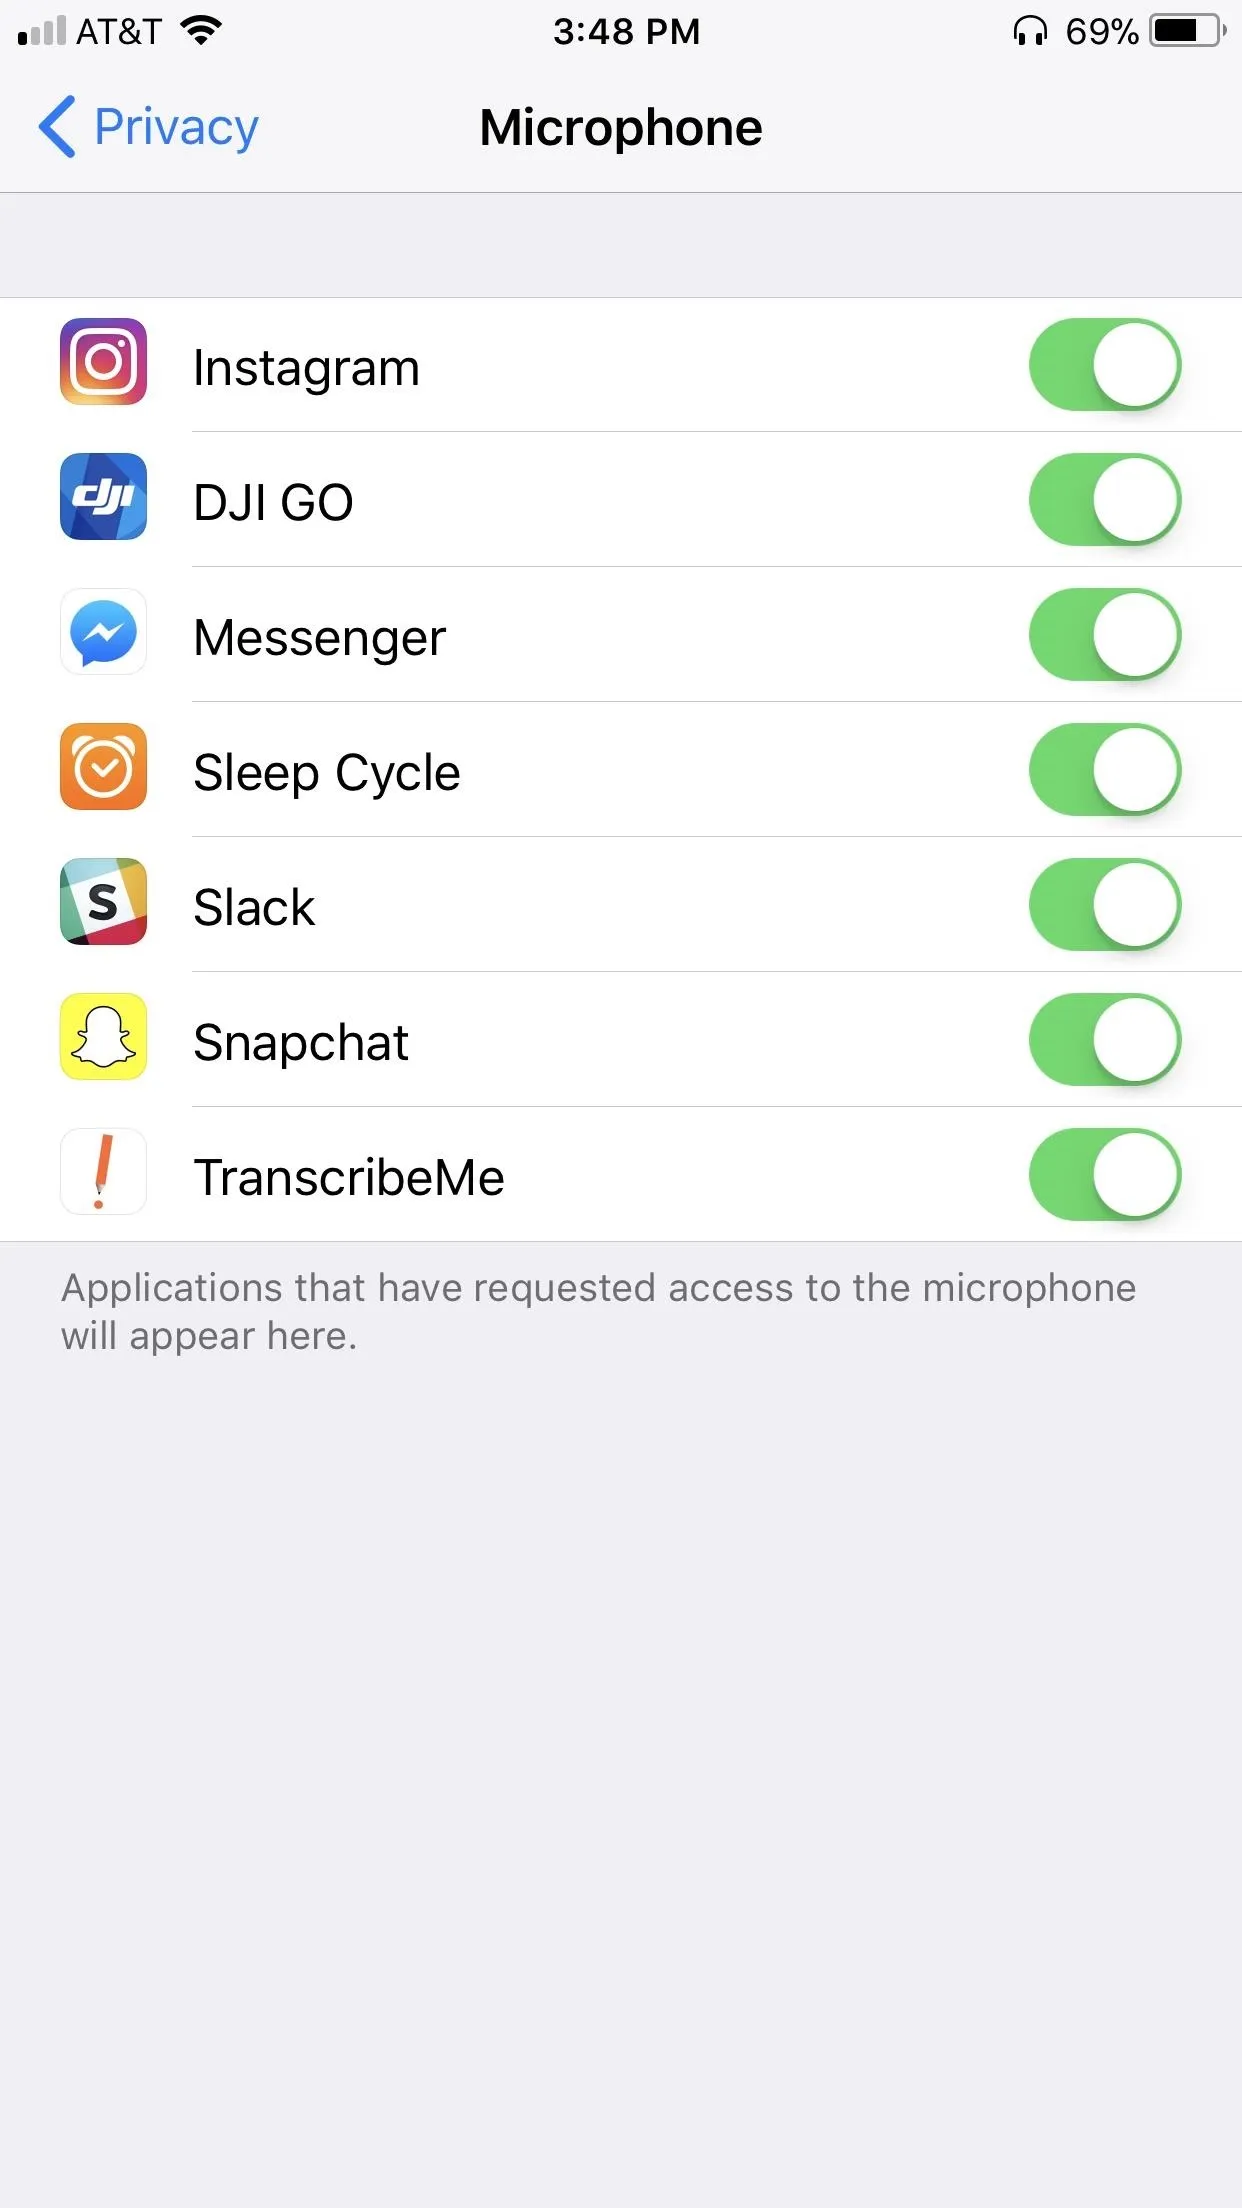
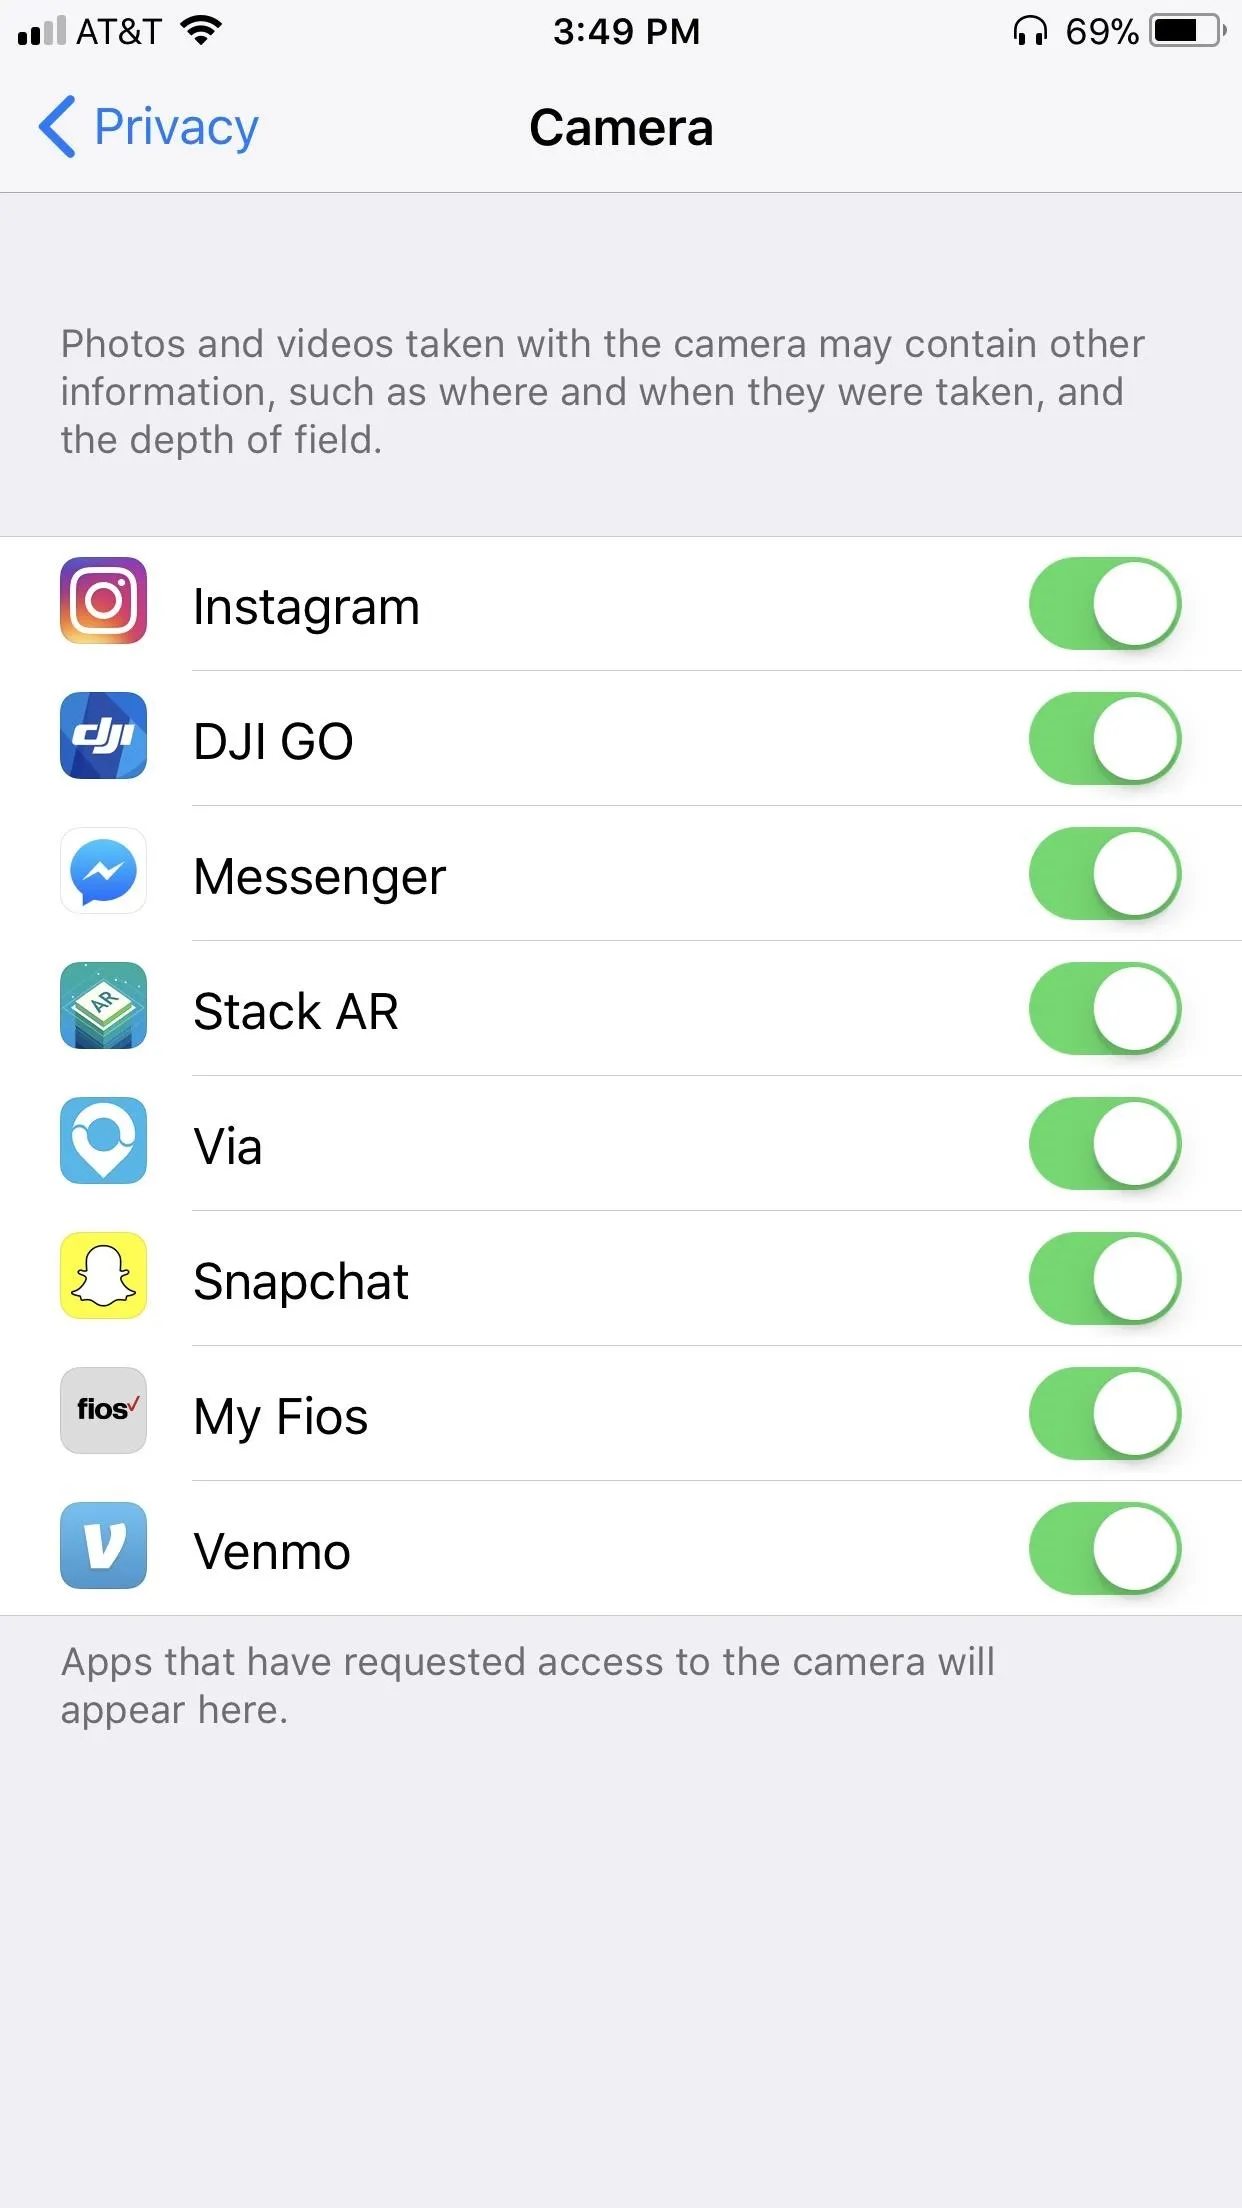
19. Camera Access
For apps like Snapchat, camera access is essential to function — how else are you going to use those classic filters? However, there might be apps on your iPhone you don't want using your camera.
In that case, you'd want to disable camera access for those apps. Check out Settings –> Privacy –> Camera. From here, disable the switch next to any apps that you'd rather not have using the cameras on your iPhone.
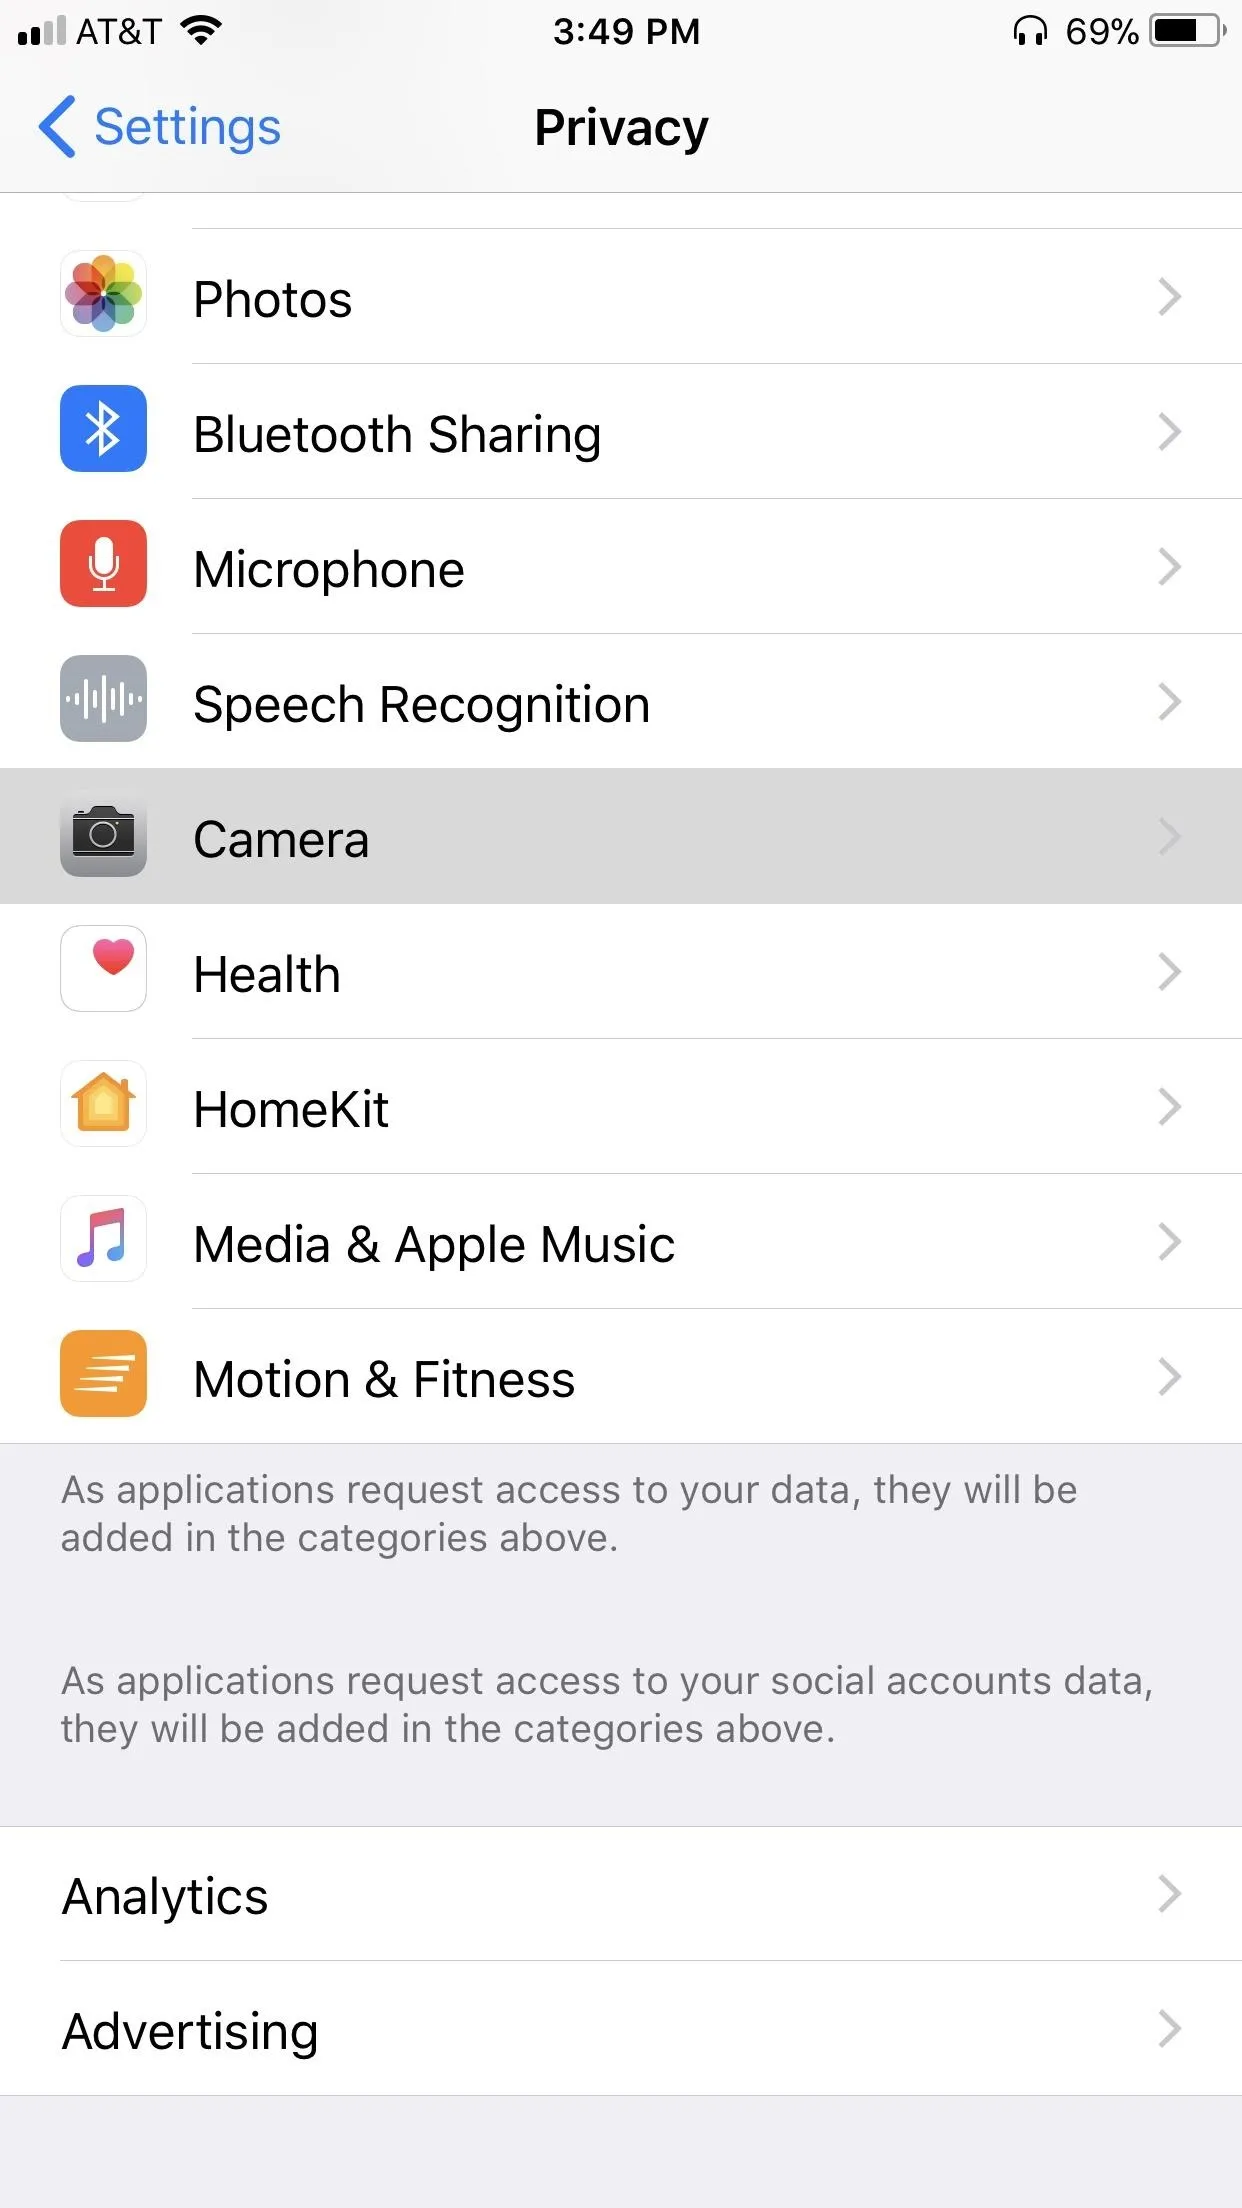
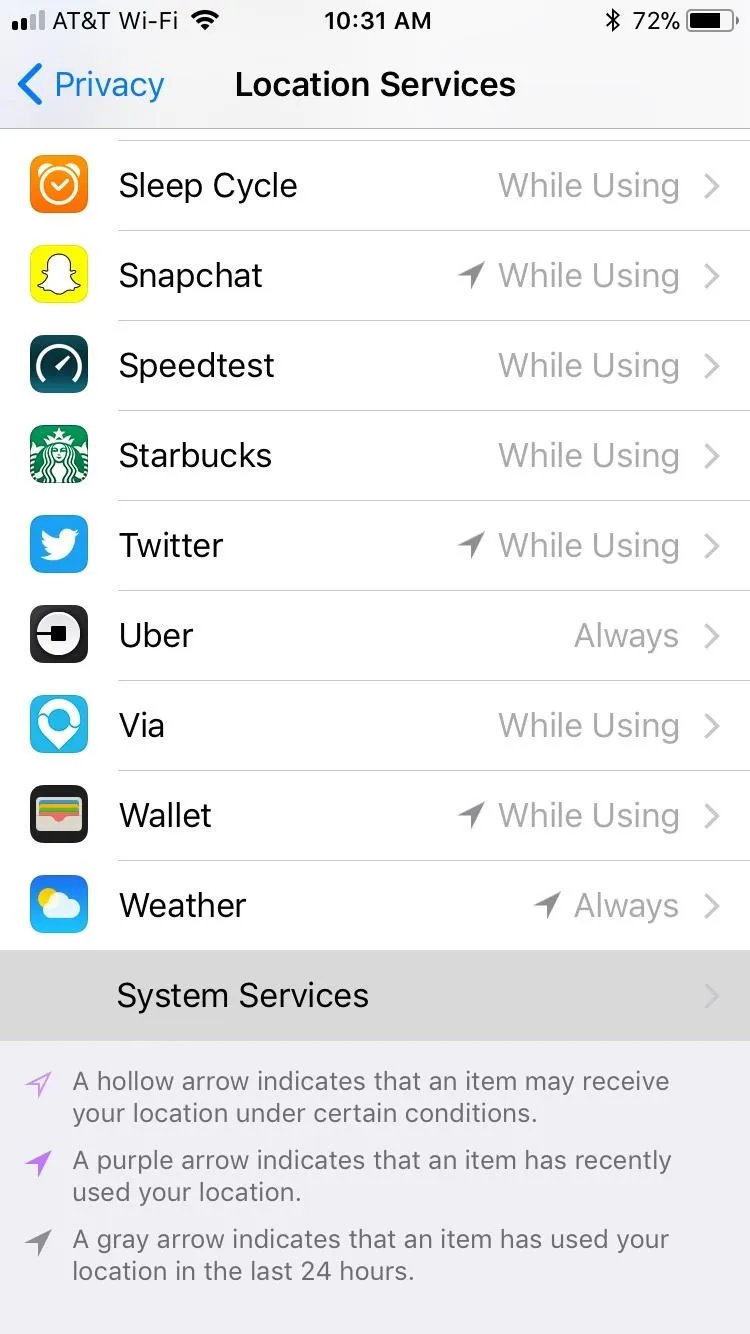
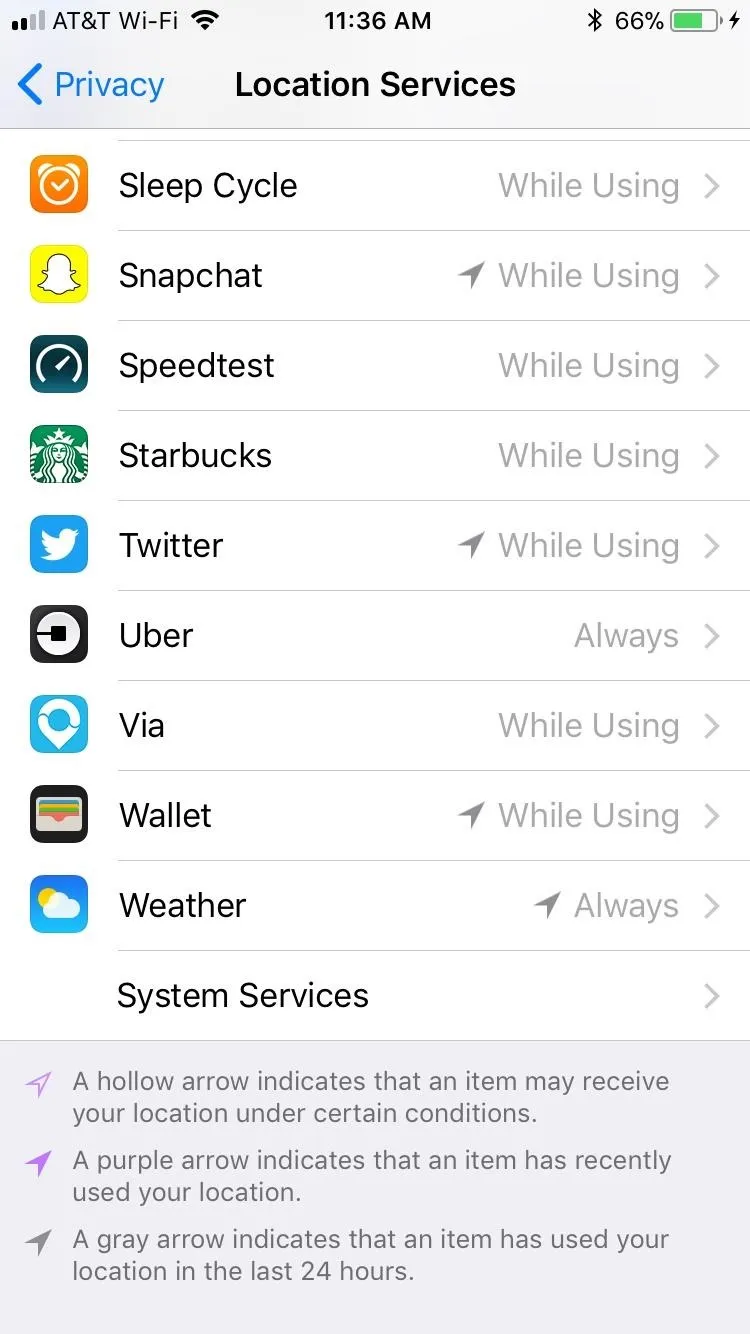
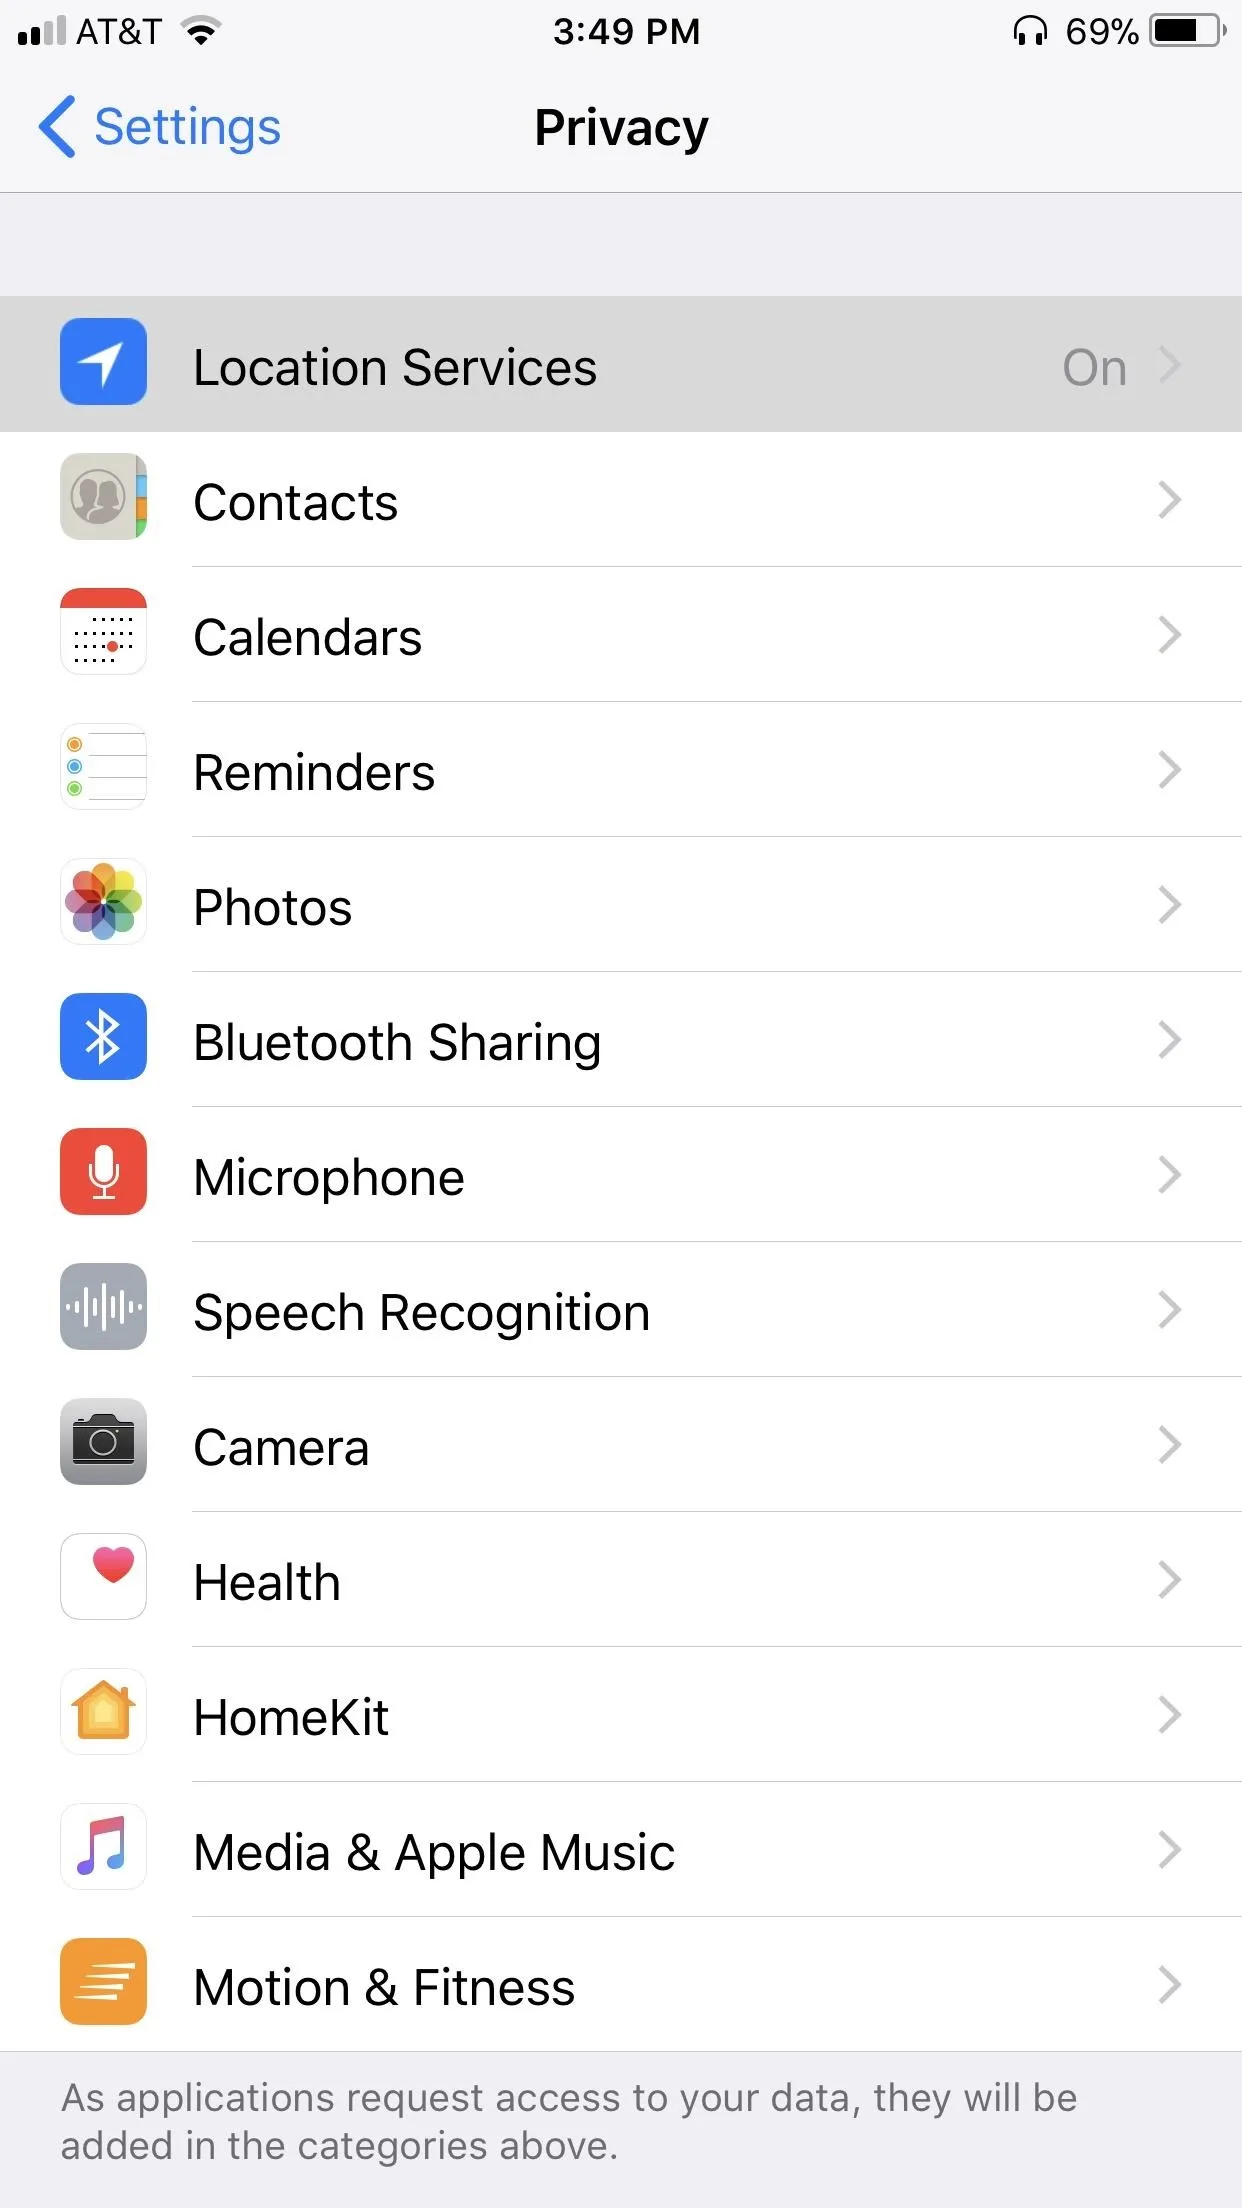
20. Location Services
Location services are necessary for apps such as Maps or Waze — your iPhone needs to know your location in order to properly give you directions. Apps like Snapchat can use your location when taking photos to apply interesting and unique filters only available where you currently are. While location services make certain apps fun, other apps may not be so forthcoming.
If you want to disable location services for certain apps, go to. Settings –> Privacy –> Locations Services. You could always disable "Location Services" entirely, however, you'd lose access to all location functions. That's probably not going to fly for you, so it'd be better to go through each app, making to sure to set the apps you don't want accessing to your location to "Never."

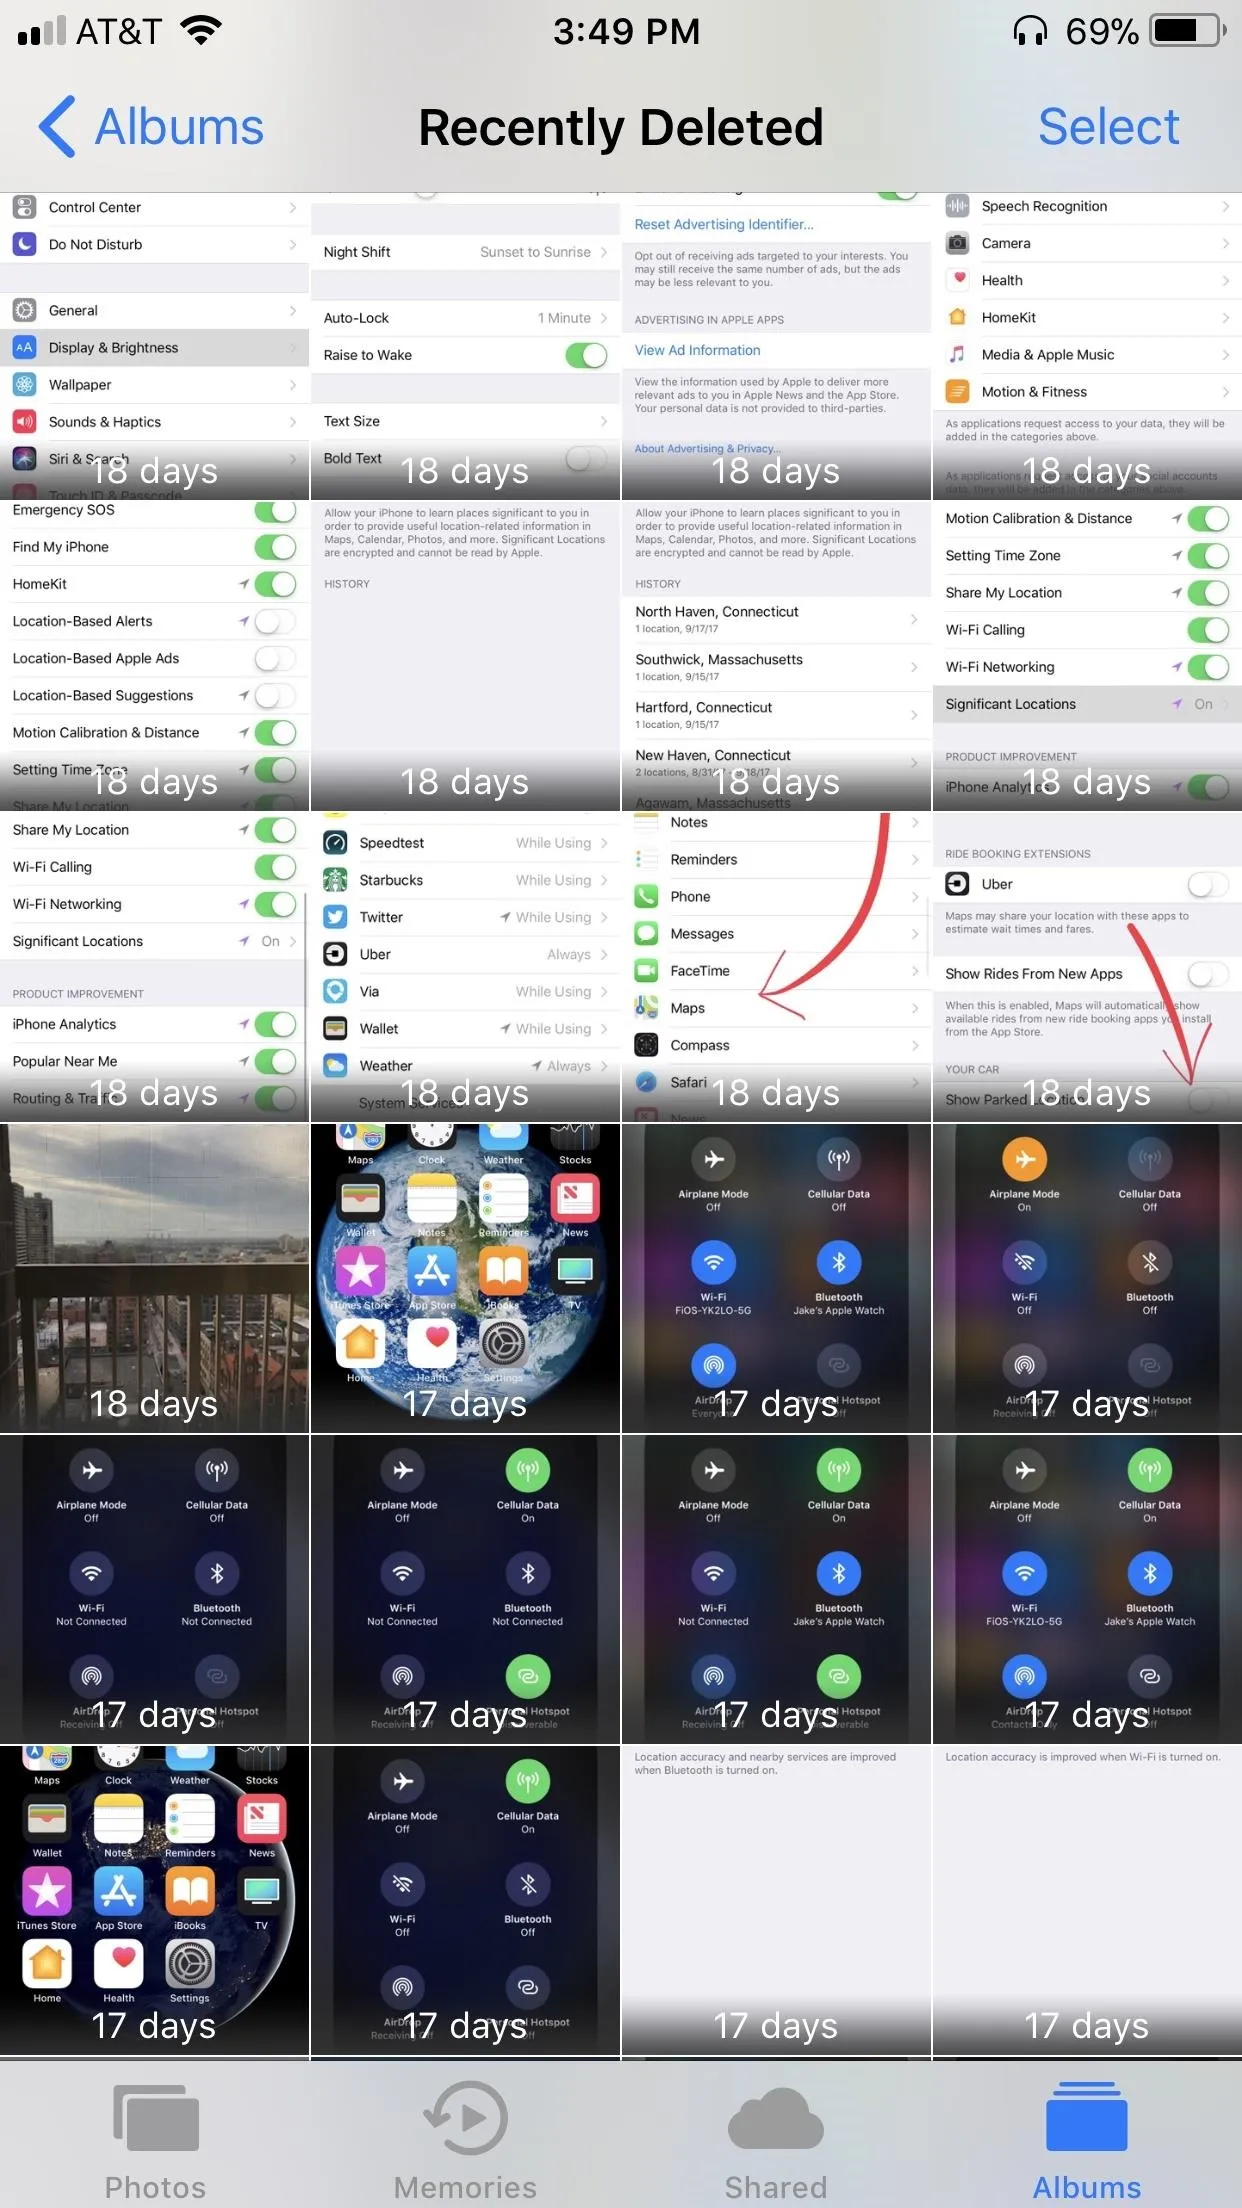
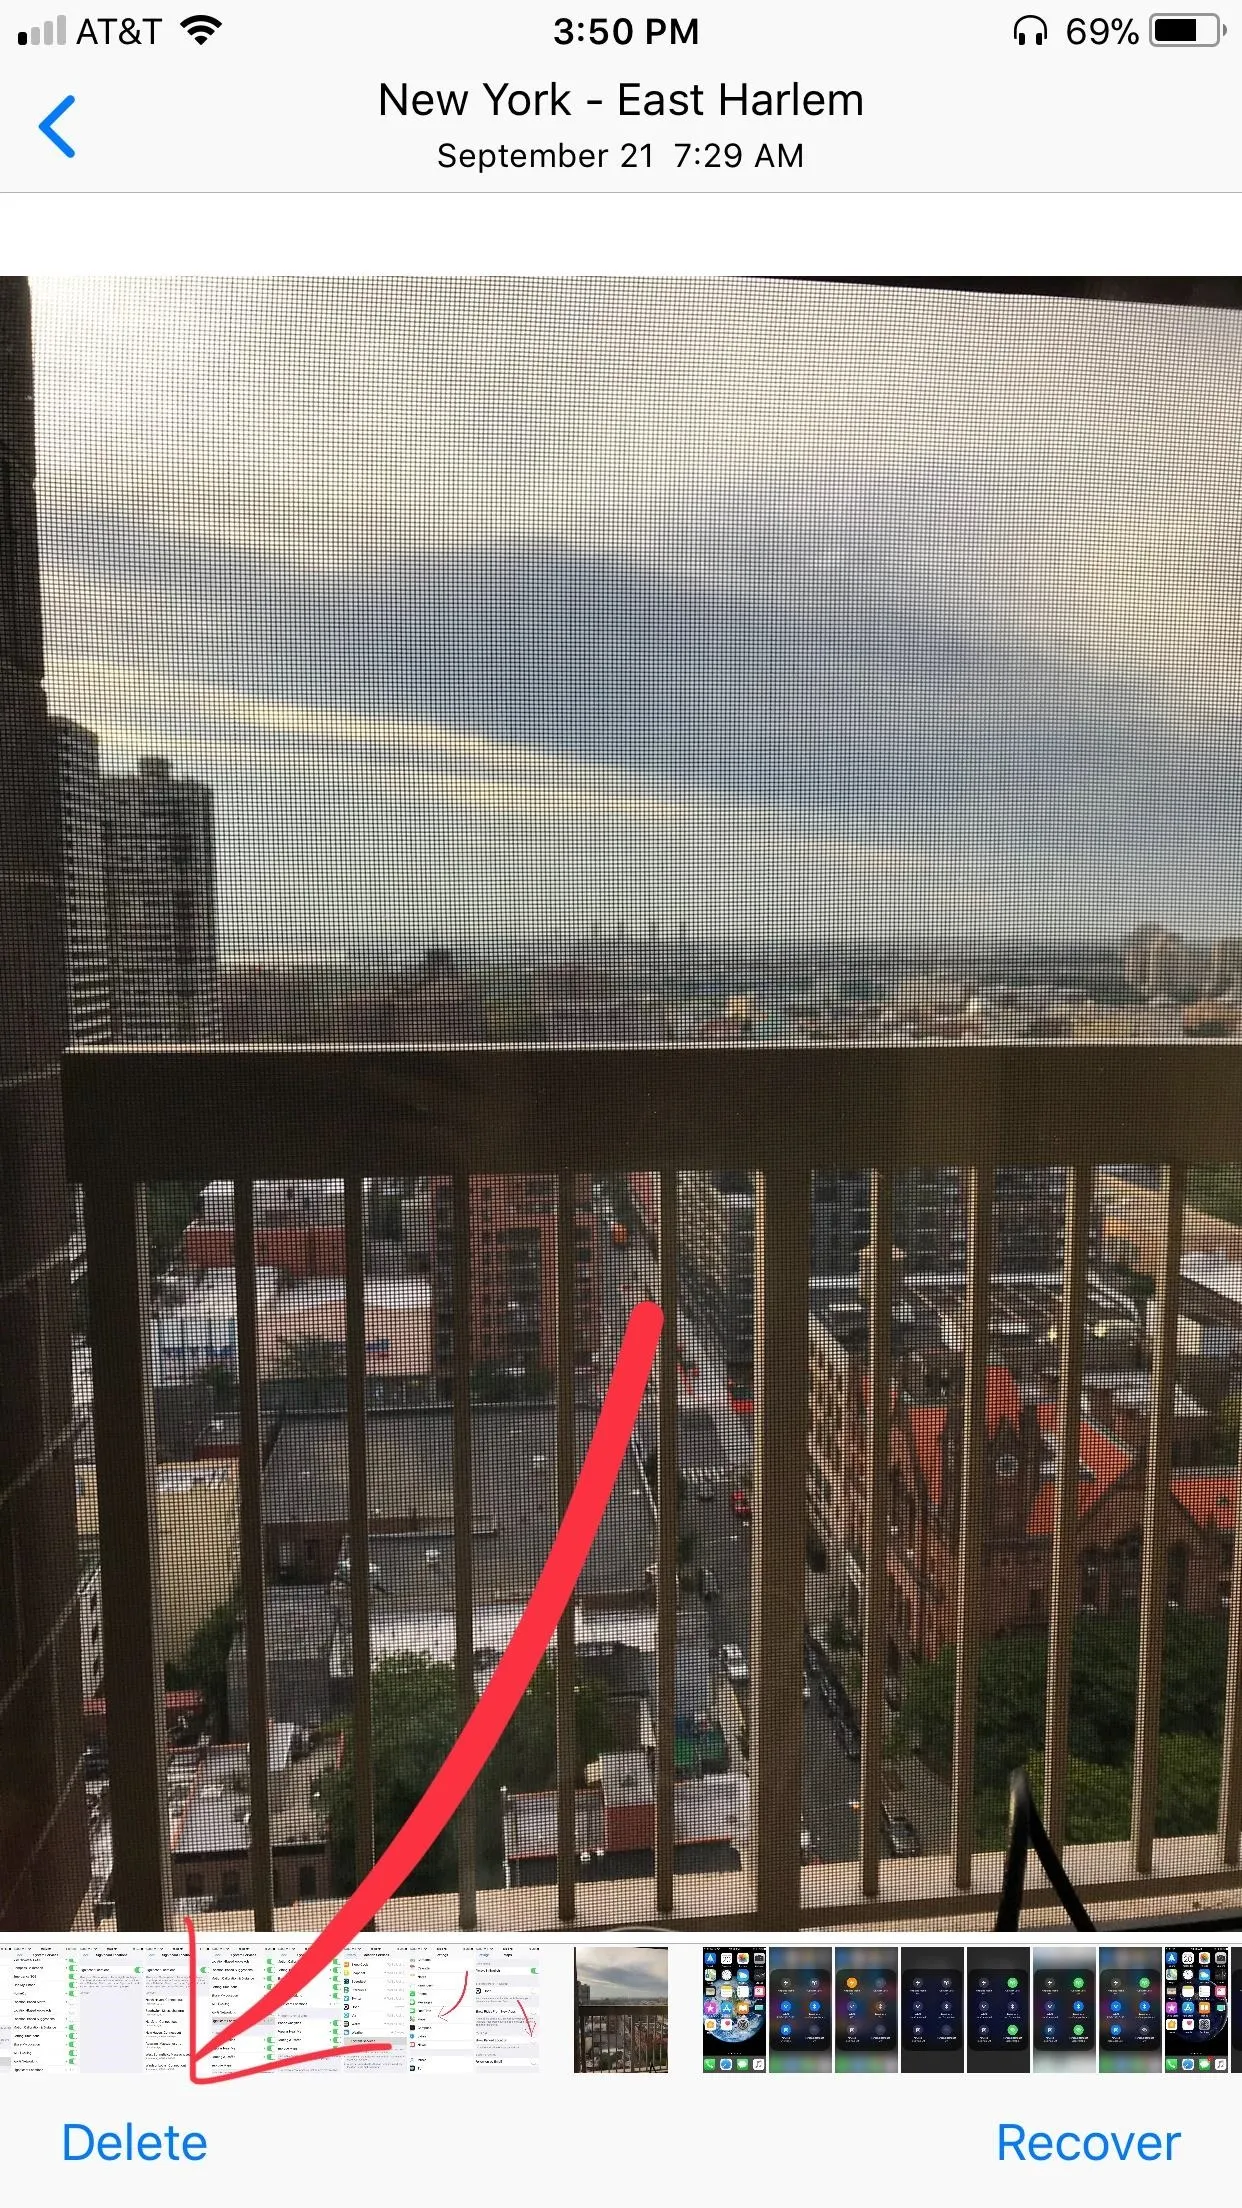
21. Recently Deleted Photos
When you delete a photo, it's gone for good. Right? Not so much. Apple saves your deleted photos in a folder titled "Recently Deleted" for 30 days before actually deleting said photos. If someone were to gain access to your phone, they'd have access to any photos deleted within 30 days from that time.
You don't need to be privacy-focused to realize that could be a bad situation. To make sure those deleted photos stay that way, head to the Recently Deleted folder in the Photos app, then delete your photos all over again.
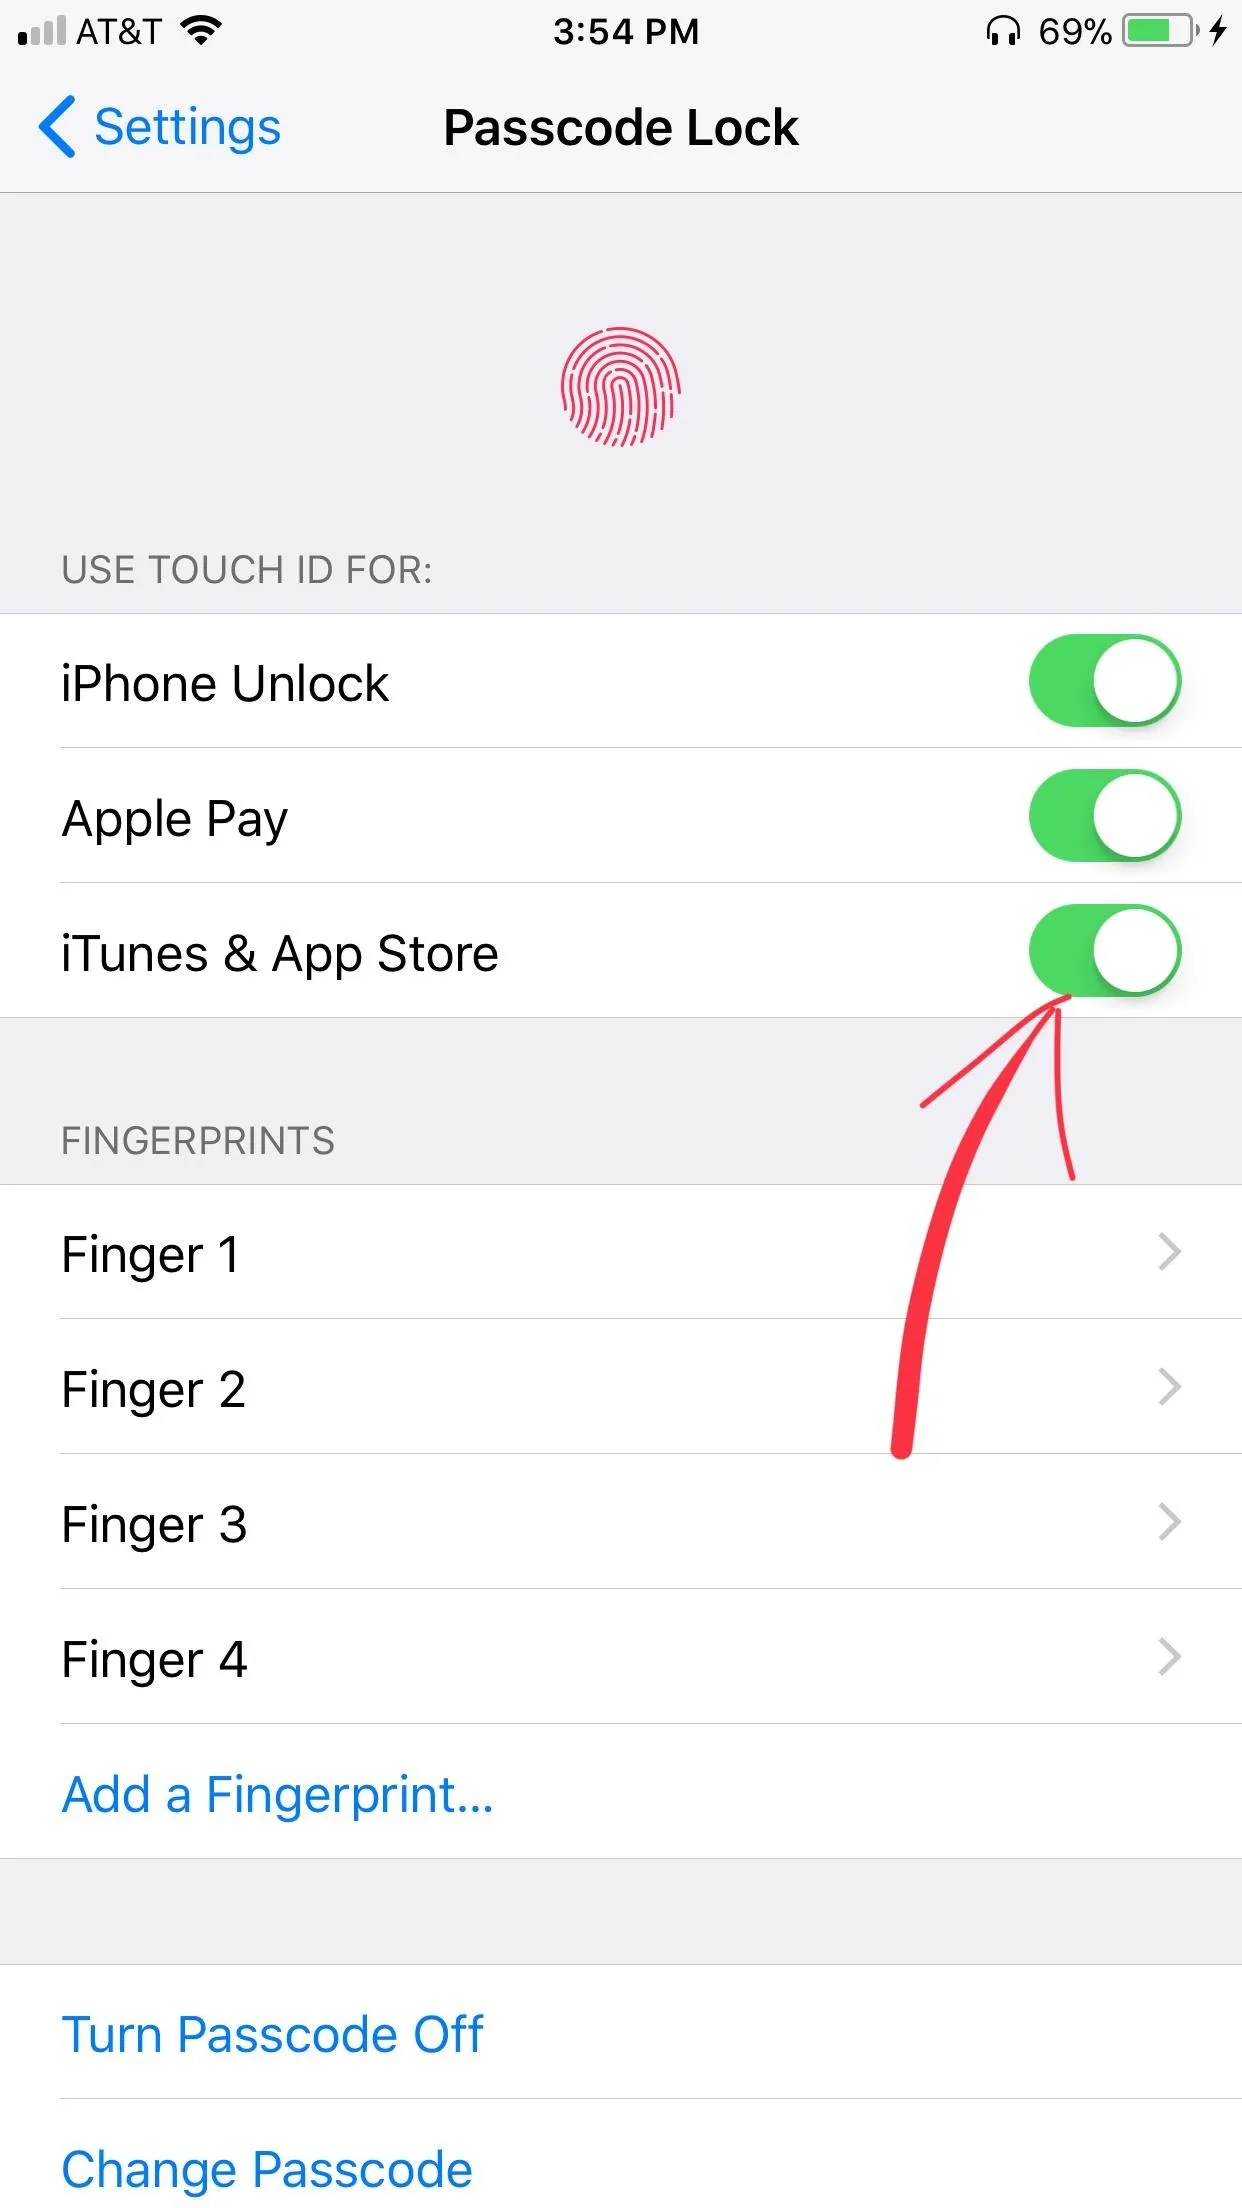
22. App Store Purchases
Let's say you decide to buy an app. You leave your iPhone for a moment, but as you do, someone manages to break in and gain access to the App Store. Because you just purchased an app, the App Store might not require your password before buying another app, so this person can buy as many expensive apps as he or she wishes.
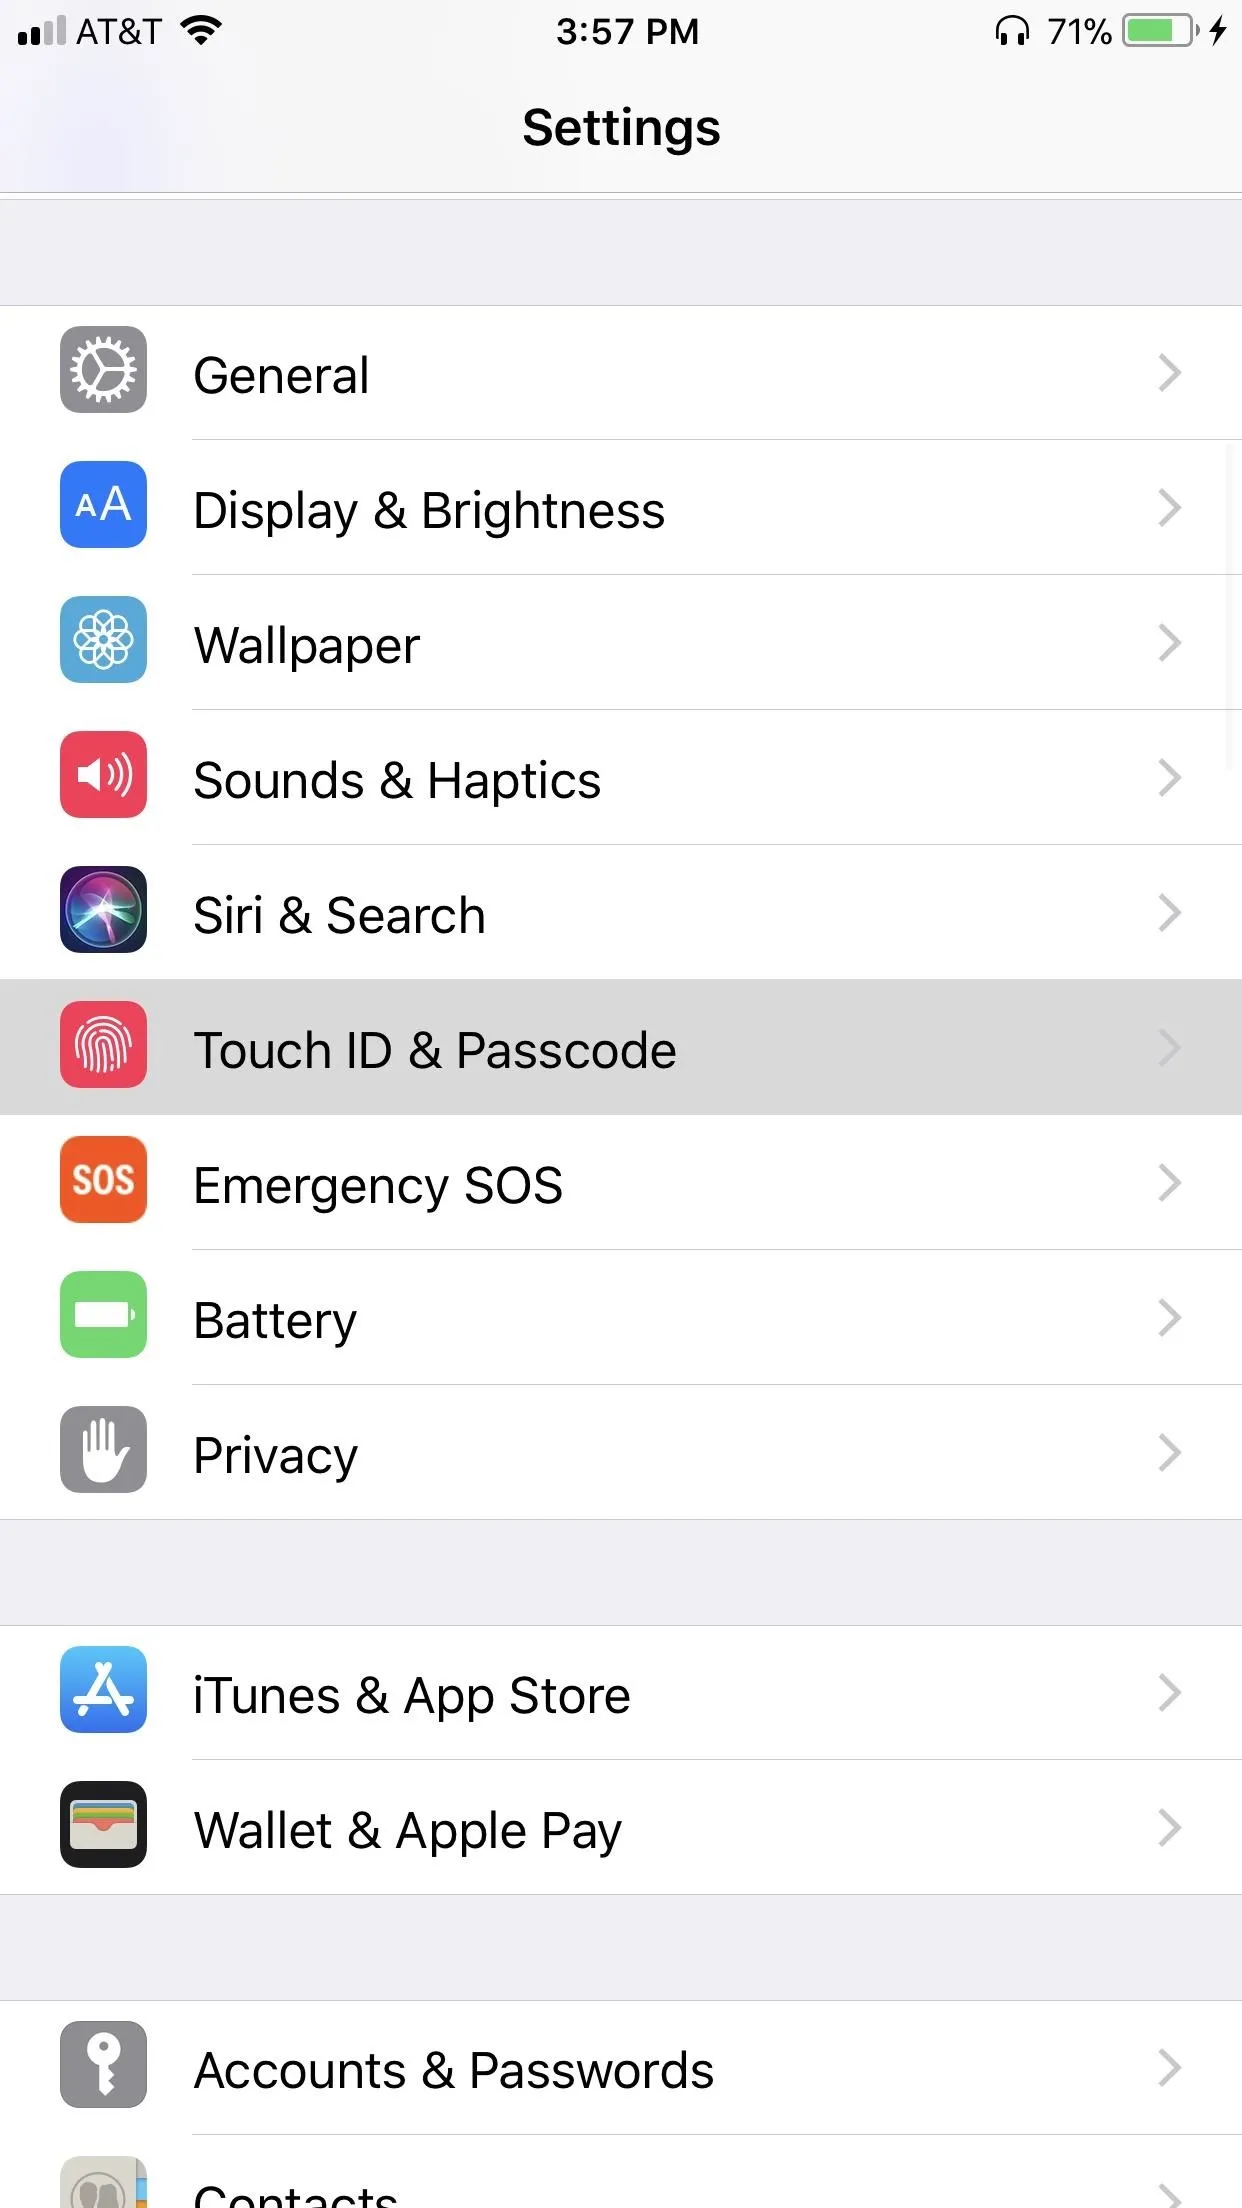
Let's prevent this. If you use Touch ID, go to Settings –> Touch ID & Passcode. From here, enable Touch ID for iTunes & App Store. Just enter your iTunes password, and you'll be all set.

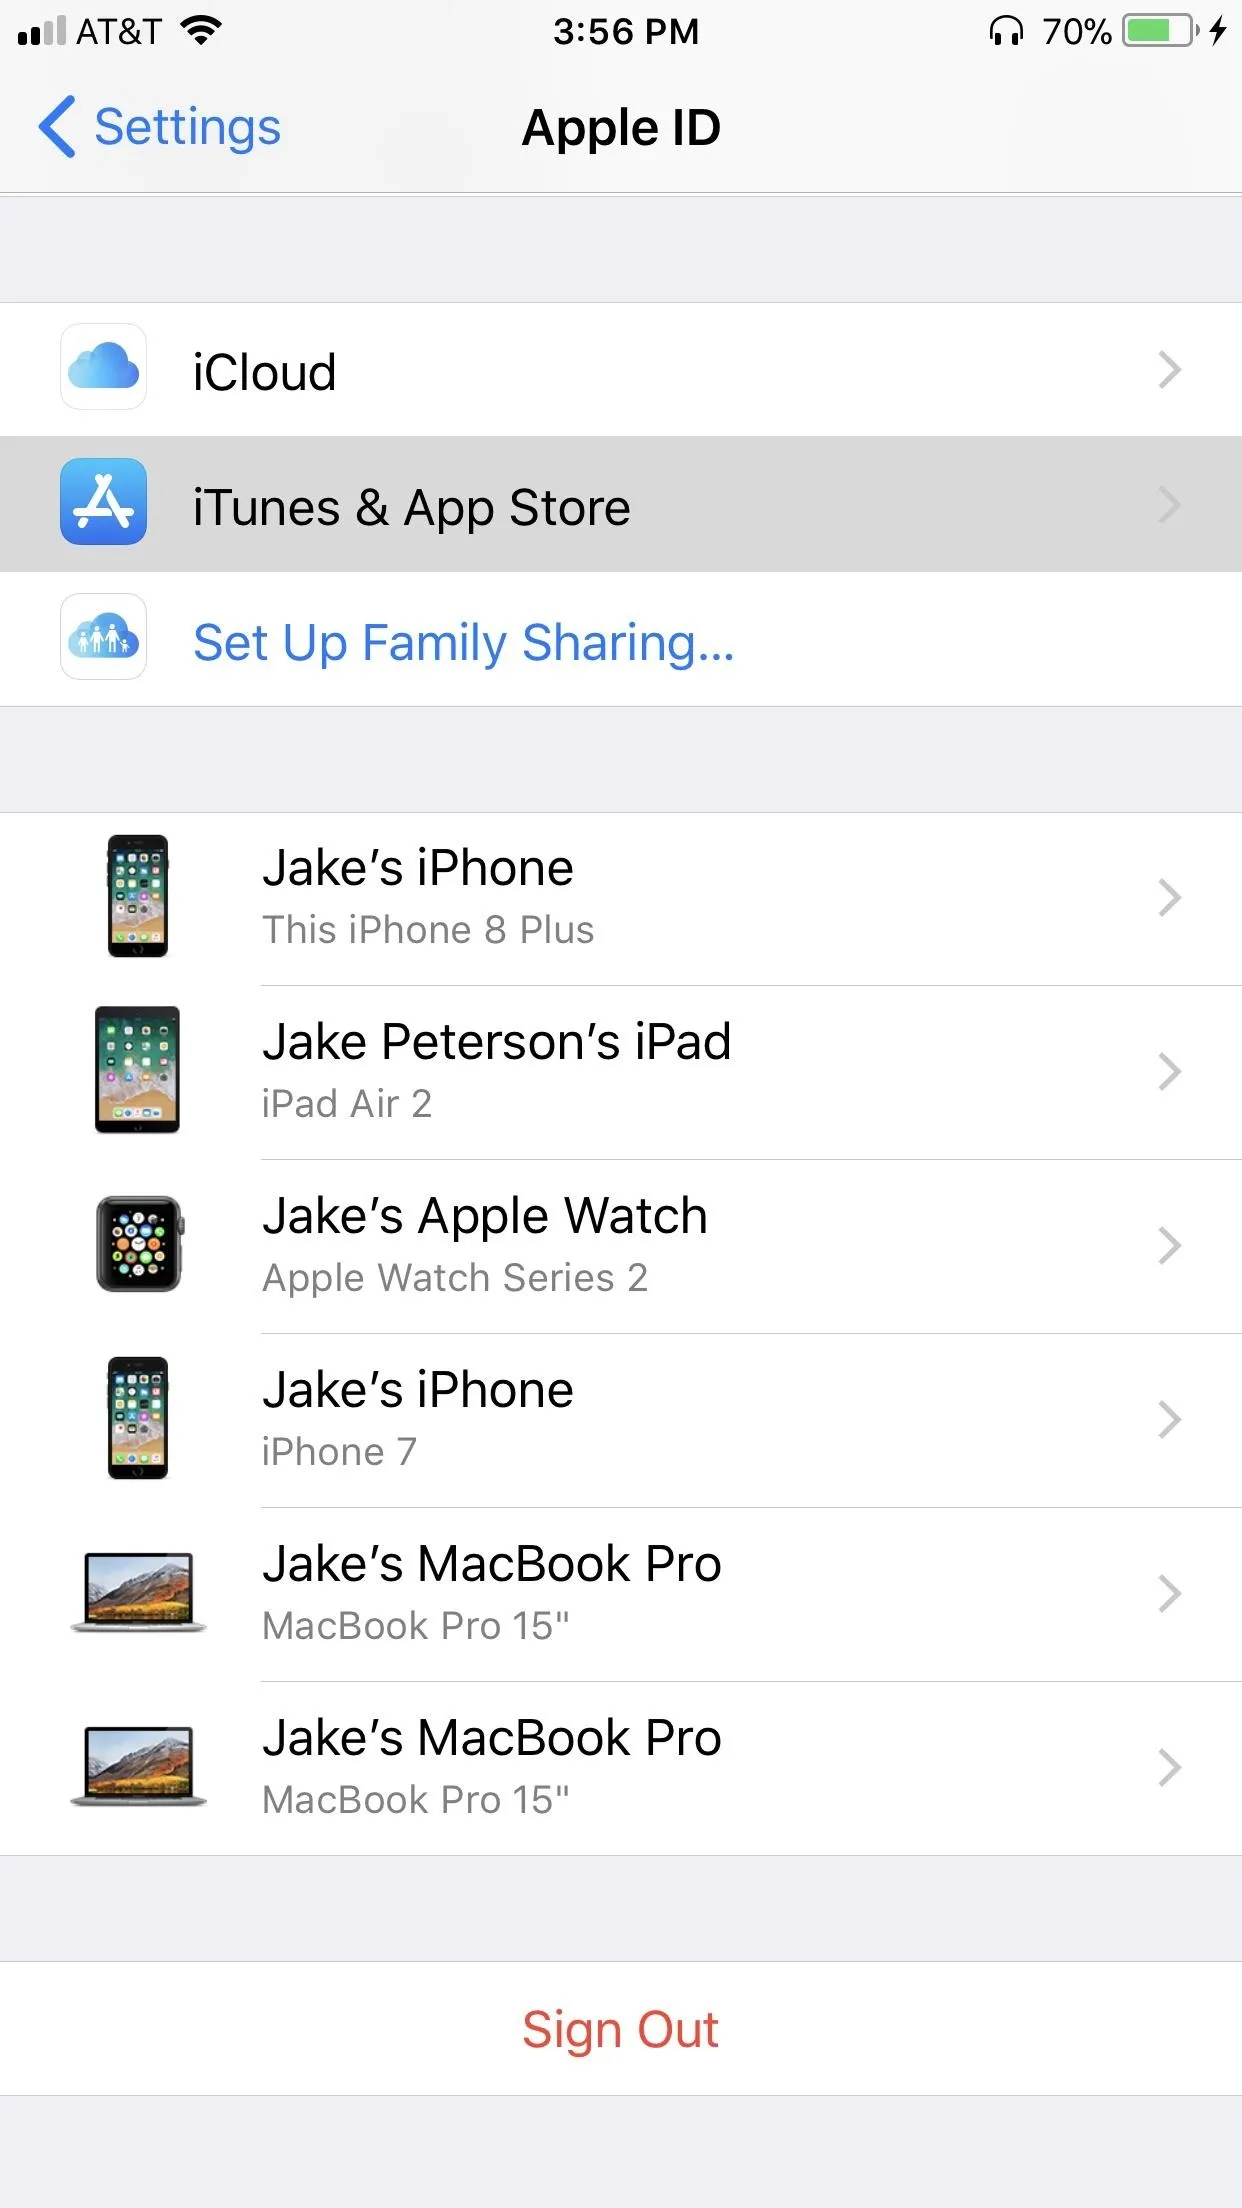
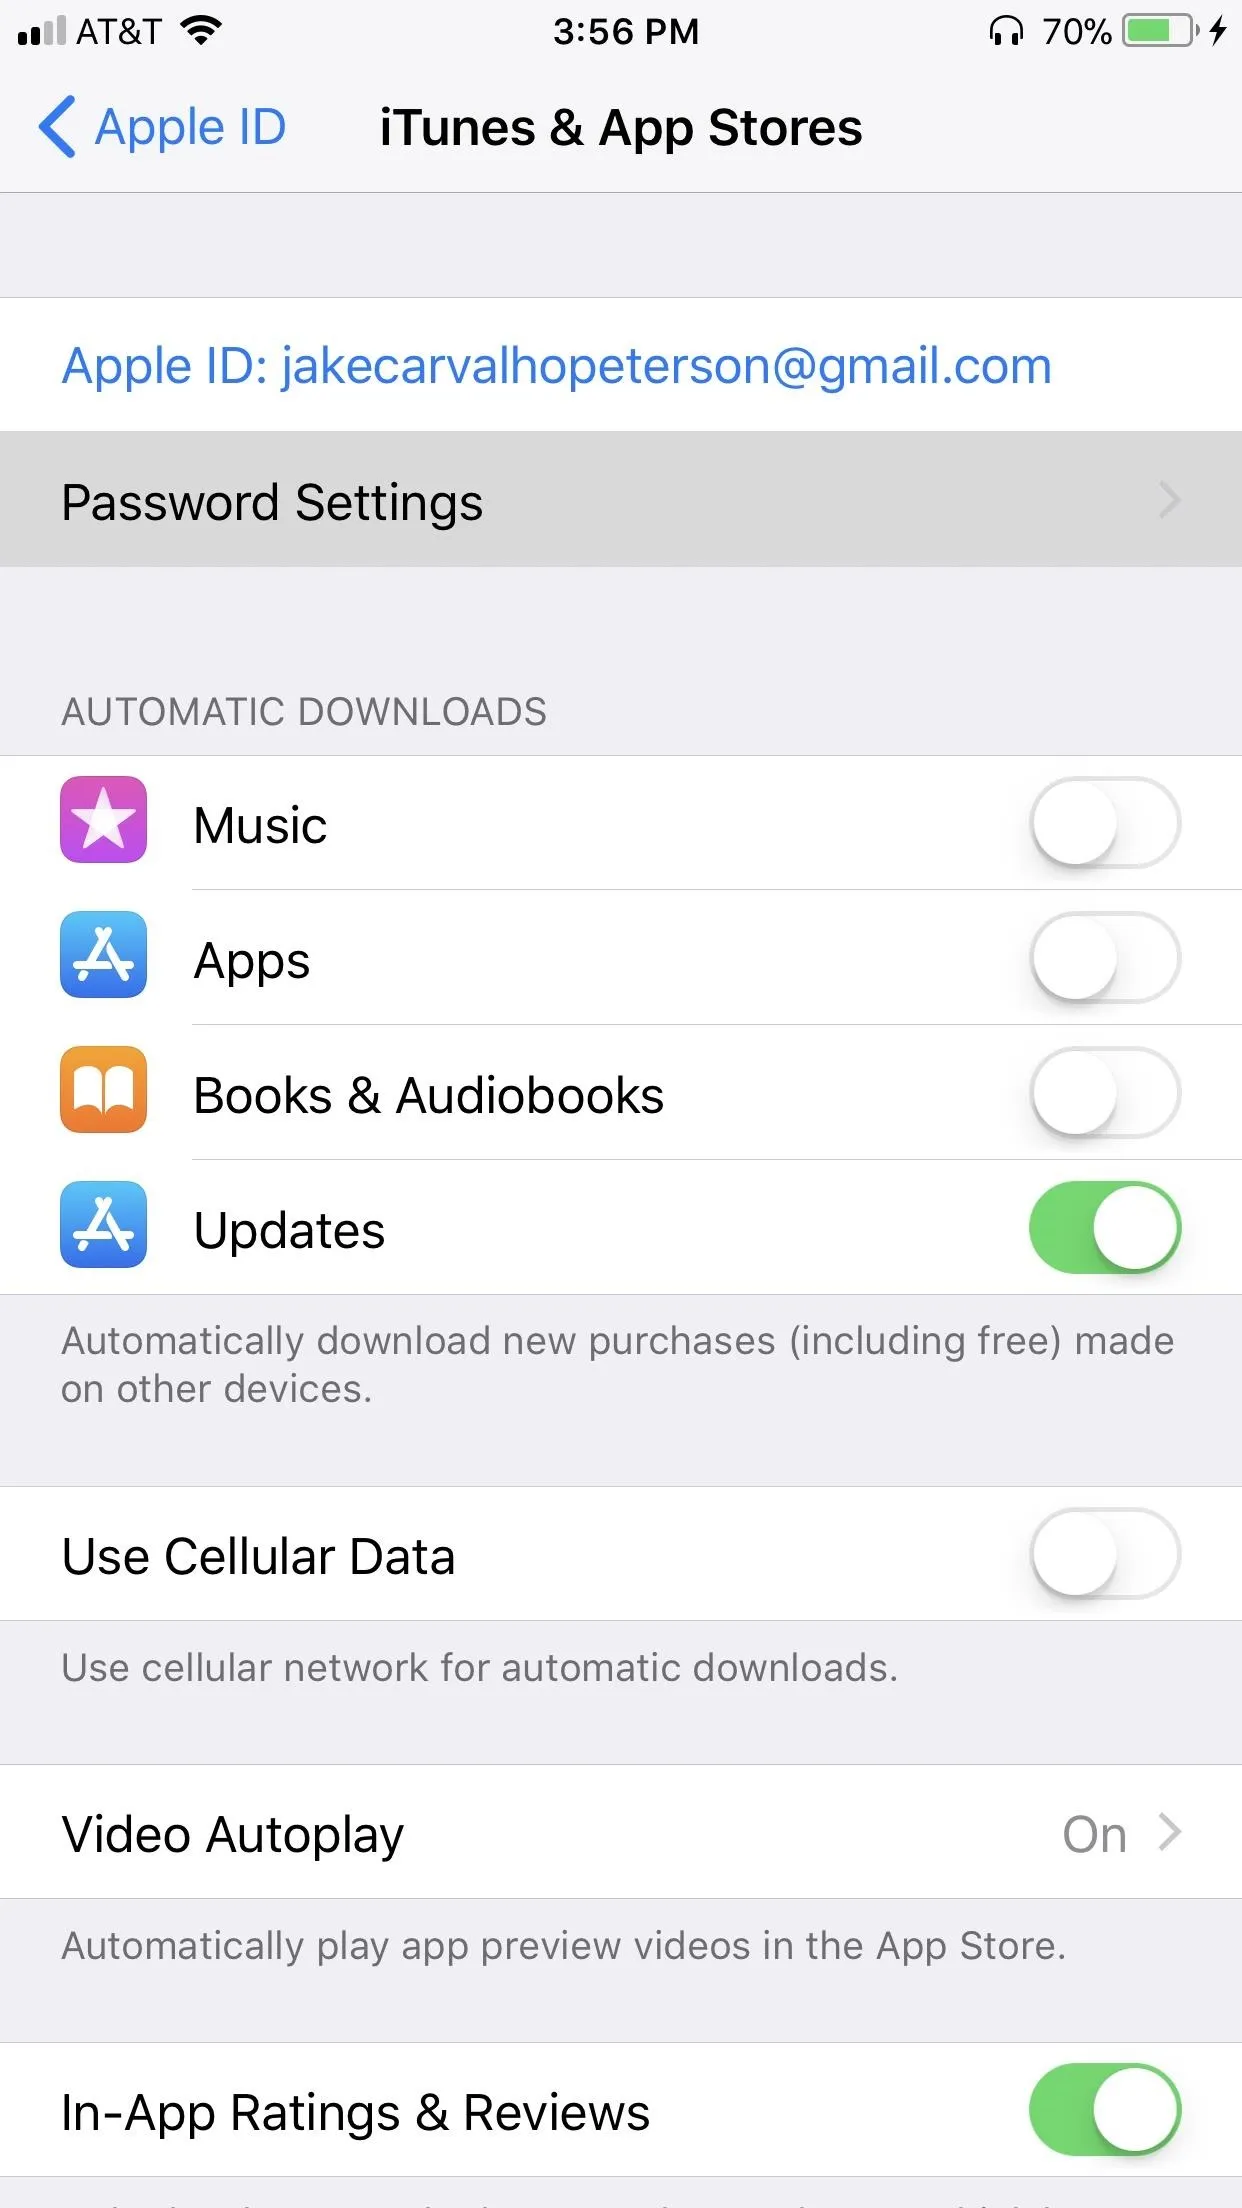
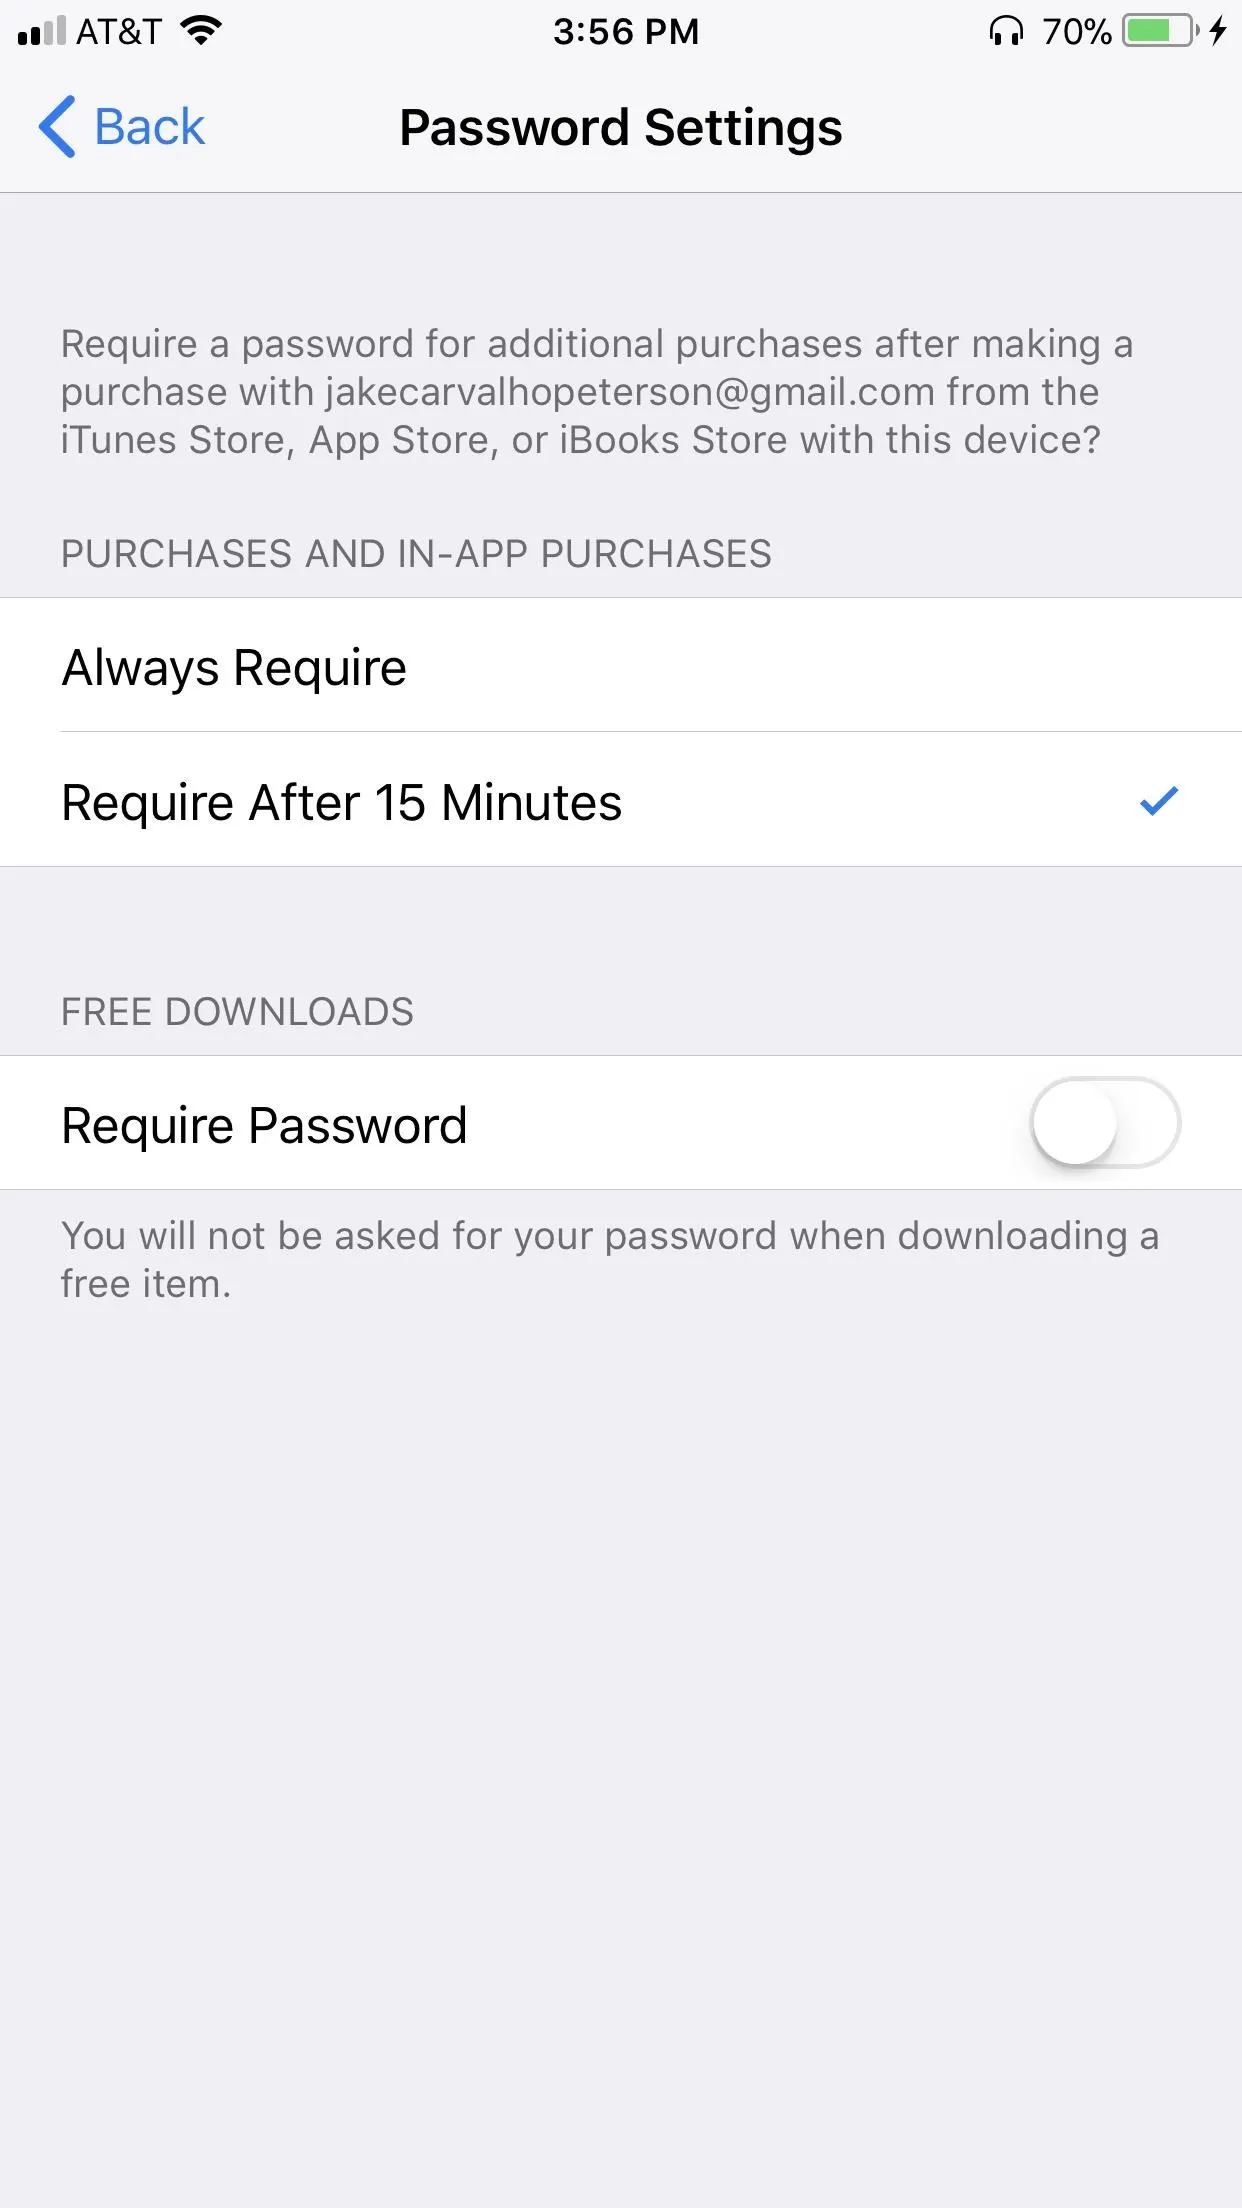
If you don't use Touch ID, tap on your name at the top of the Settings page. Then, go to iTunes & App Stores –> Password Settings. Set the preference to "Always Require" for maximum security. If you wish, you can also require a password for free downloads as well.
23. Keep Messages
We love our messages. With iOS 11, we can even back up our messages to the cloud, to make sure we never lose them. However, as a user concerned about privacy, you may not want to keep your messages forever. Unfortunately for you, your iPhone does just that by default.
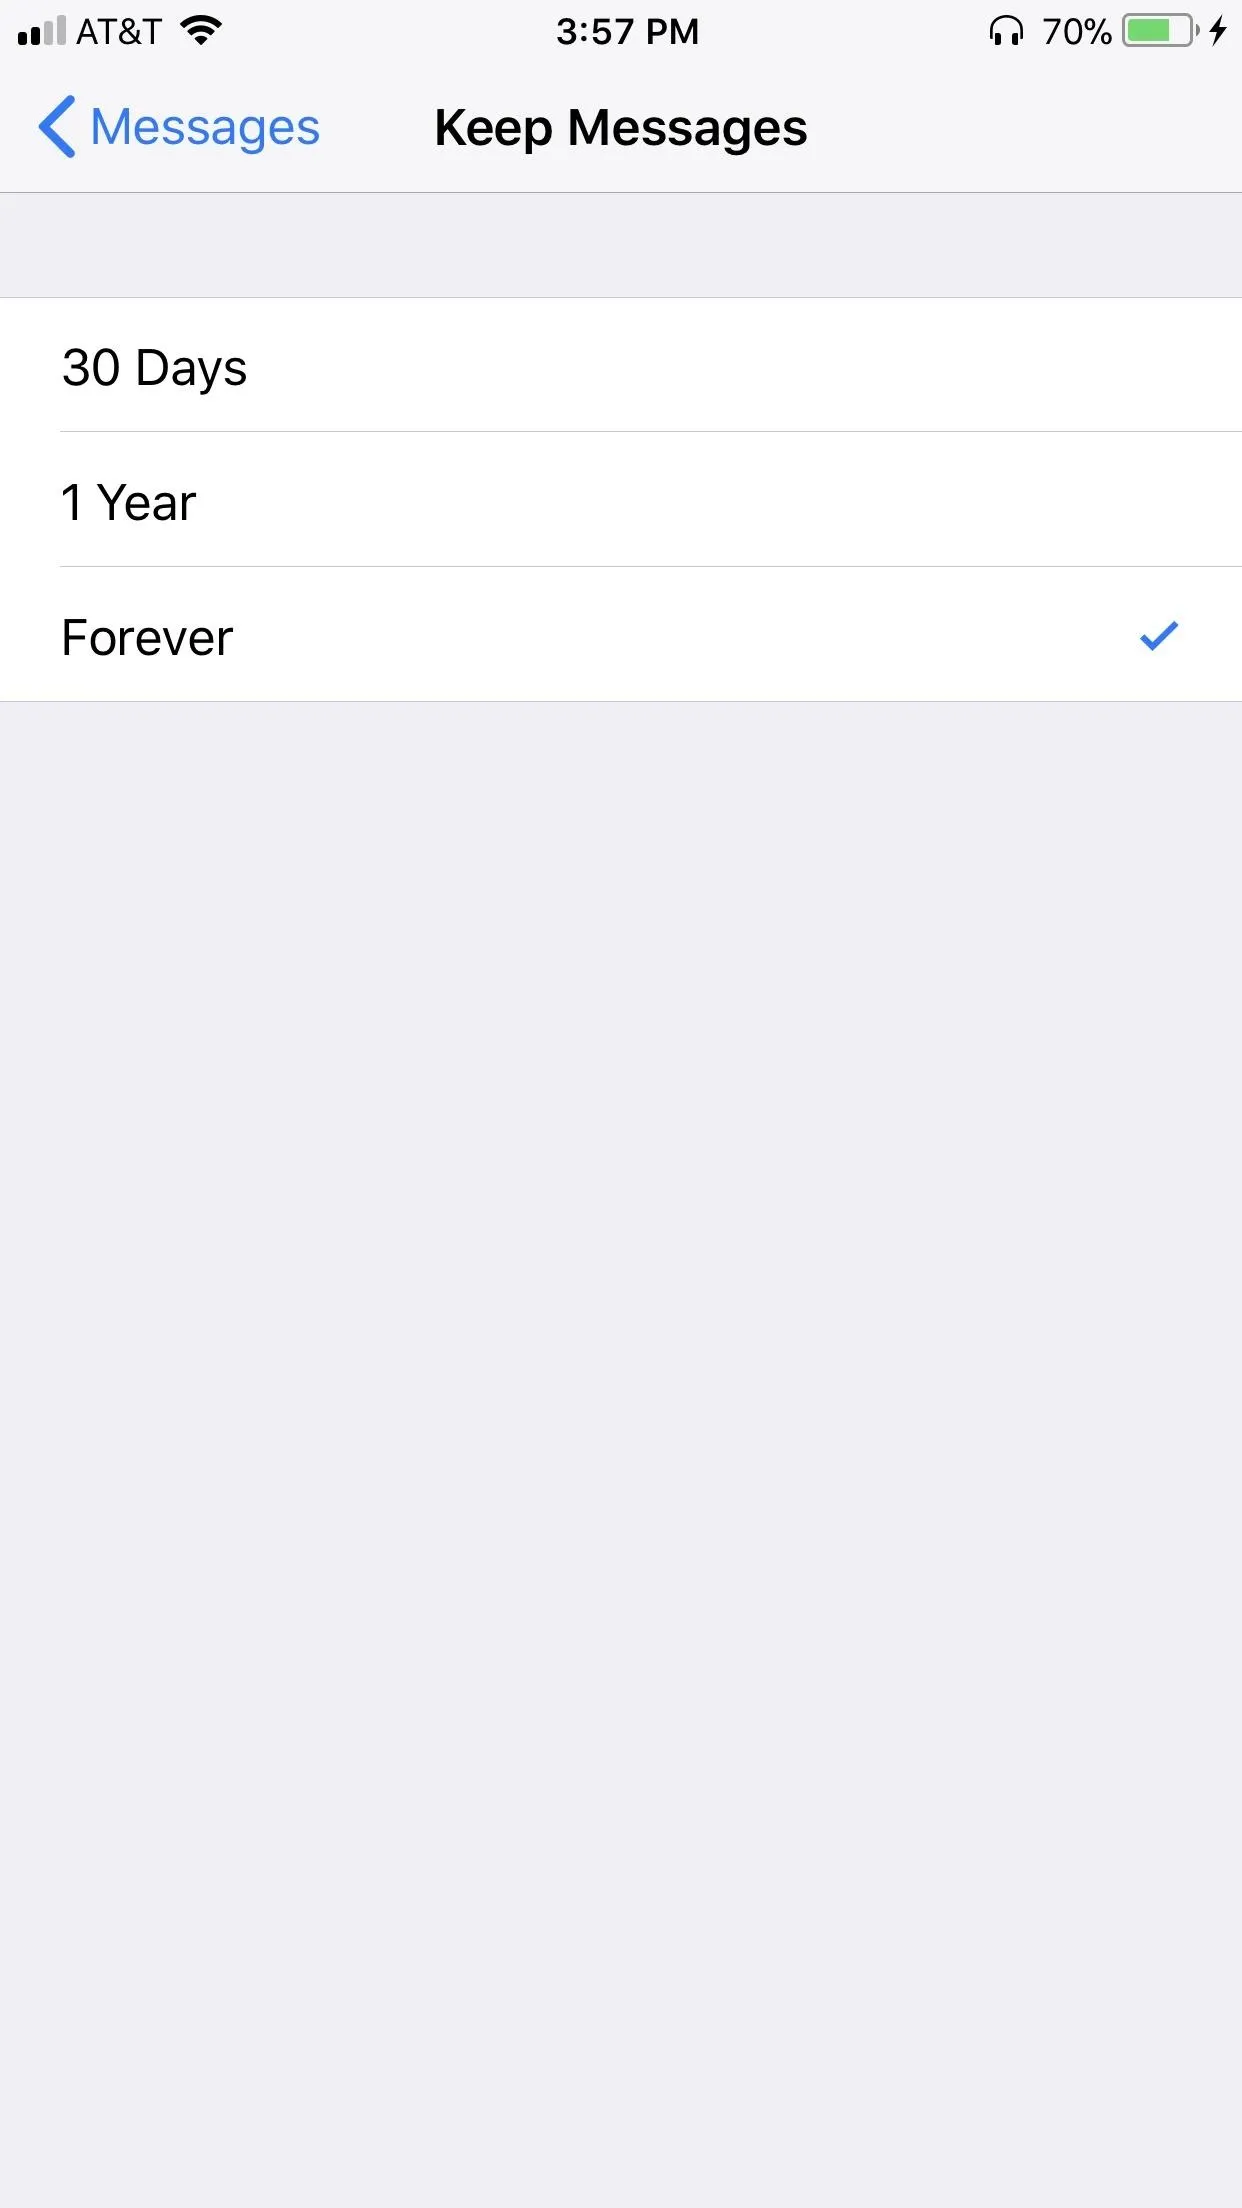
There's a bright side, though. You can set your iPhone to automatically delete messages after a certain period of time. Just jump over to Settings –> Messages –> Keep Messages. Choose either "30 Days" or "1 Year," whatever your preference, and your iPhone will make sure your messages never see a day beyond that time.

For more information on permanently deleting texts from your iPhone, check out the guide below.
24. Allow Access When Locked
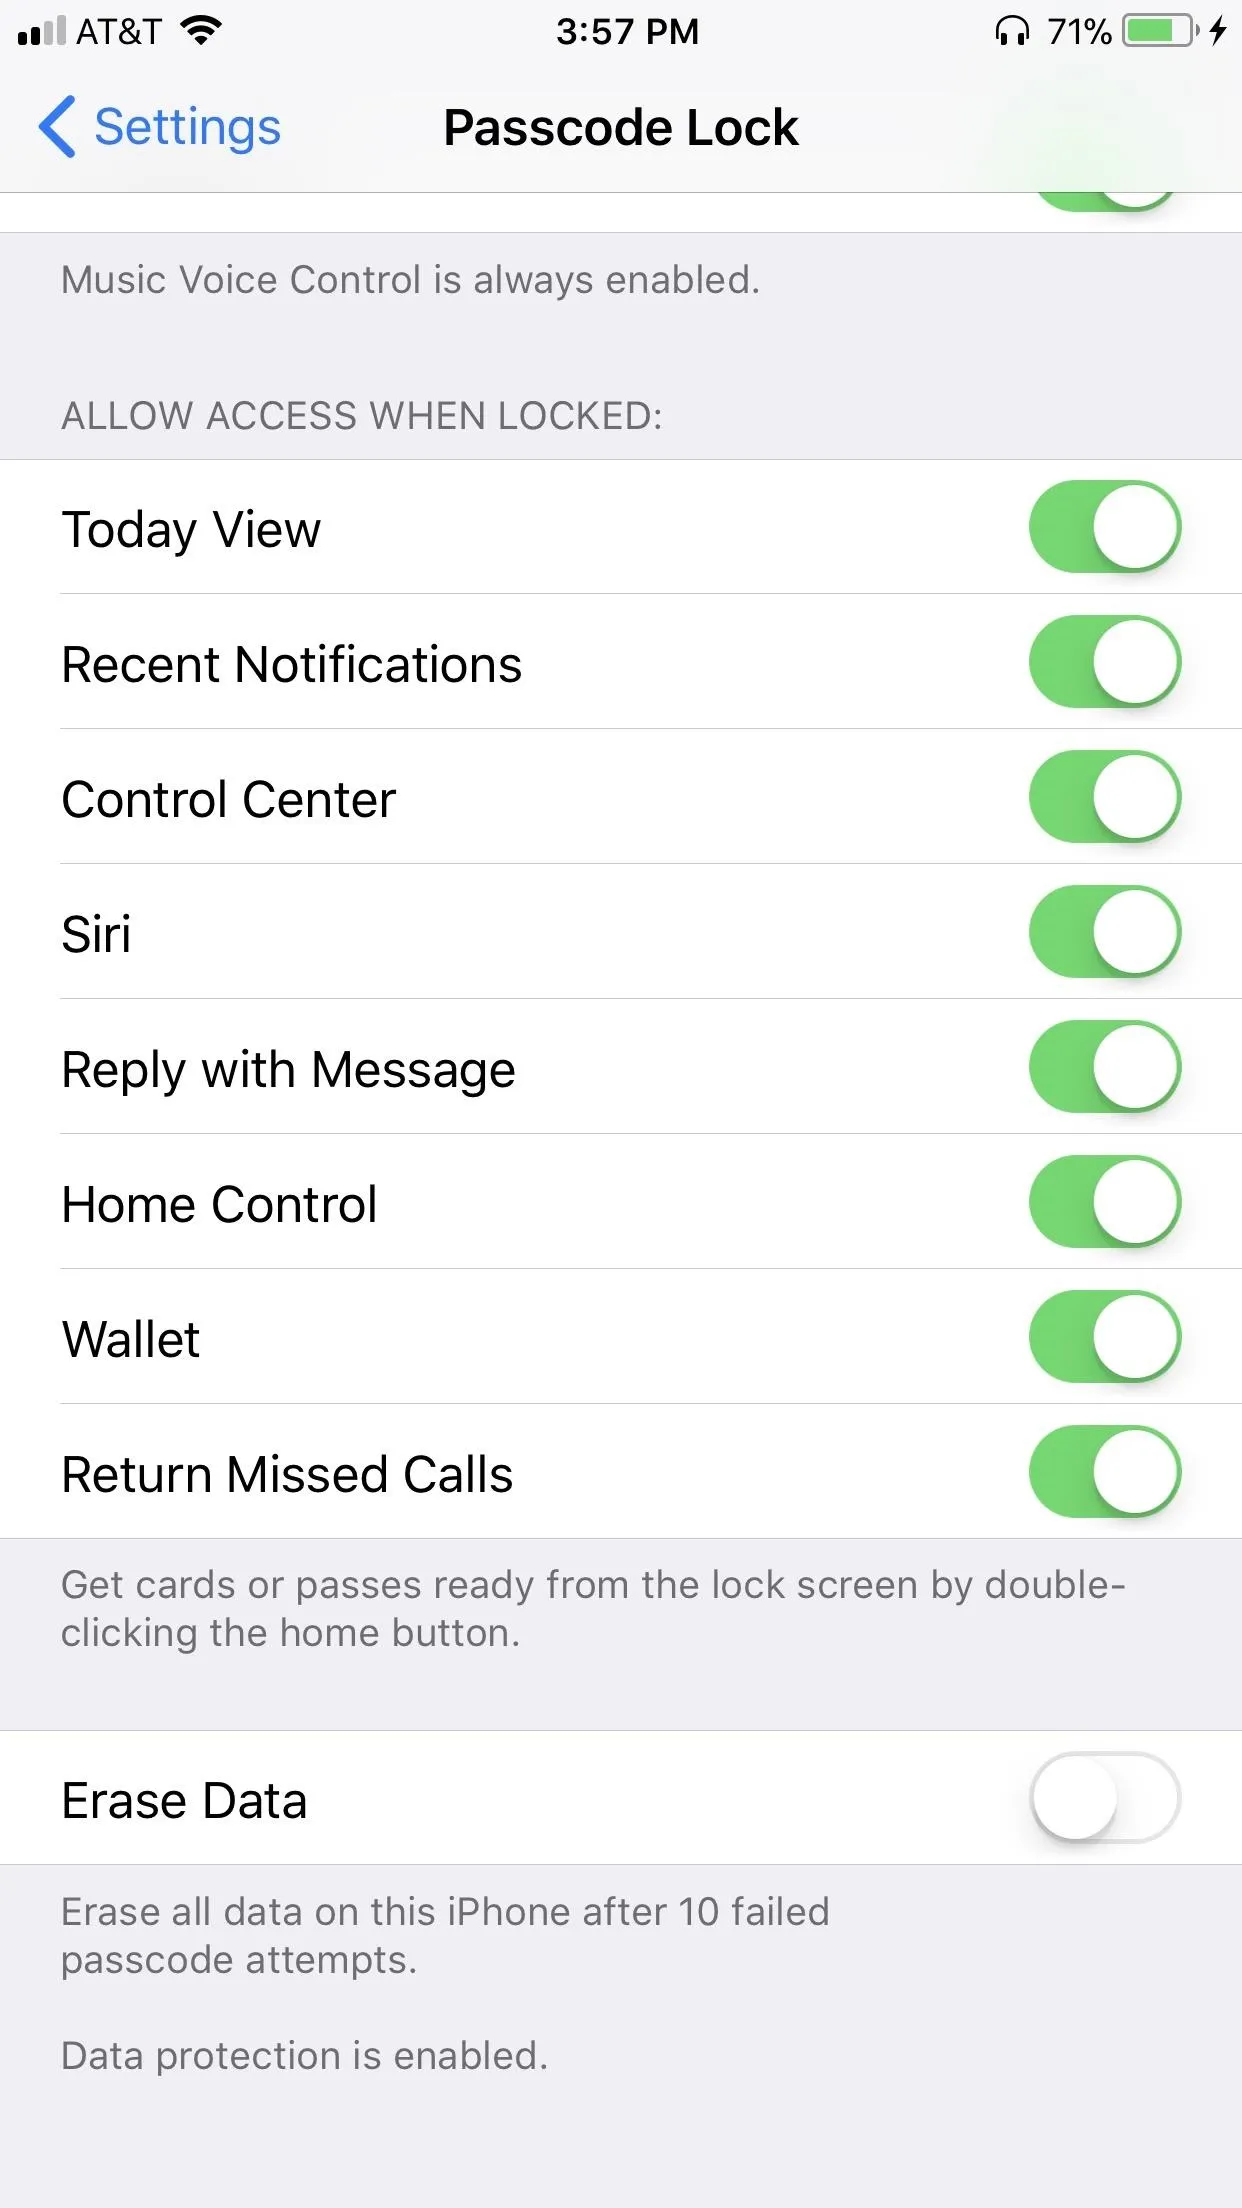
Your lock screen, by default, contains a treasure trove of personal information, such as recent notifications, your Wallet, and the Today View, which is a collection of widgets of your most useful apps. Fortunately, many of the apps that contain this info can be specifically disabled from the lock screen by going to Settings –> Touch ID & Passcode.
From here, you can choose which apps you'd like to prevent access to from your lock screen. If you'd rather not have others see your texts, emails, or app alerts, or if you'd prefer people not see information from your apps in the Today View, you can disable those apps and features here.
So, what do you think of our list? Does your iPhone feel more secure? Are there any other settings you'd recommend disabling? Let us know in the comments below!
- Follow Gadget Hacks on Facebook, Twitter, Google+, YouTube, and Instagram
- Follow WonderHowTo on Facebook, Twitter, Pinterest, and Google+
Cover image and screenshots by Jake Peterson/Gadget Hacks


Comments
Be the first, drop a comment!