In iOS 13 and later, Spotify supports Siri commands, something we've wanted ever since Siri and Spotify were things. But if you're on iOS 12 still, you're missing out. All you can do is open the Spotify app, then pause and skip tracks with Siri after you start playing a song manually. There is a workaround, however.
Spotify resisted using SiriKit and the Shortcuts API up until Apple began letting any music app hook into Siri's capabilities, so it had to jump on board in iOS 13 to compete against other services, leaving its in-app Spotify Voice tool somewhat useless unless you're running iOS 11 or 12.
With the Shortcuts app, you can build workflows to automate complex tasks, most of which can you can activate with a simple, customized Siri command. Redditor fernix96 (Lorenzo Ferrante) hooked into that and created a shortcut that let you use Siri to play a track or playlist on Spotify in iOS 12. He used it as a starting point for his Shortify Actions app, which let you "save links to almost any kind of content" for use with Siri Shortcuts.
If you're on team Spotify and are interested in setting up his original Spotify-only shortcut on your iPhone, follow along below. Just be warned, there's some work involved, so familiarity with the Shortcuts app will come in handy. And it's not as good as using Spotify's official support for Siri in iOS 13, so we recommend using that now that it's out.
Before going any further, make sure you have the most up-to-date version of Shortcuts available, as well as the latest version of iOS 12 (it also works in iOS 13 but just use the official support in that case). If you don't, you might get the "Sorry, there was a problem with the app" response from Siri when trying to play Spotify songs or playlists.
Log in to Spotify for Developers
This may seem like an odd requirement, but to make Siri control Spotify with the shortcut, you'll need a Spotify for Developers account. Dev accounts for Spotify are free, and you use it to connect the script in a future step with a few items from your dev account to make this all work.
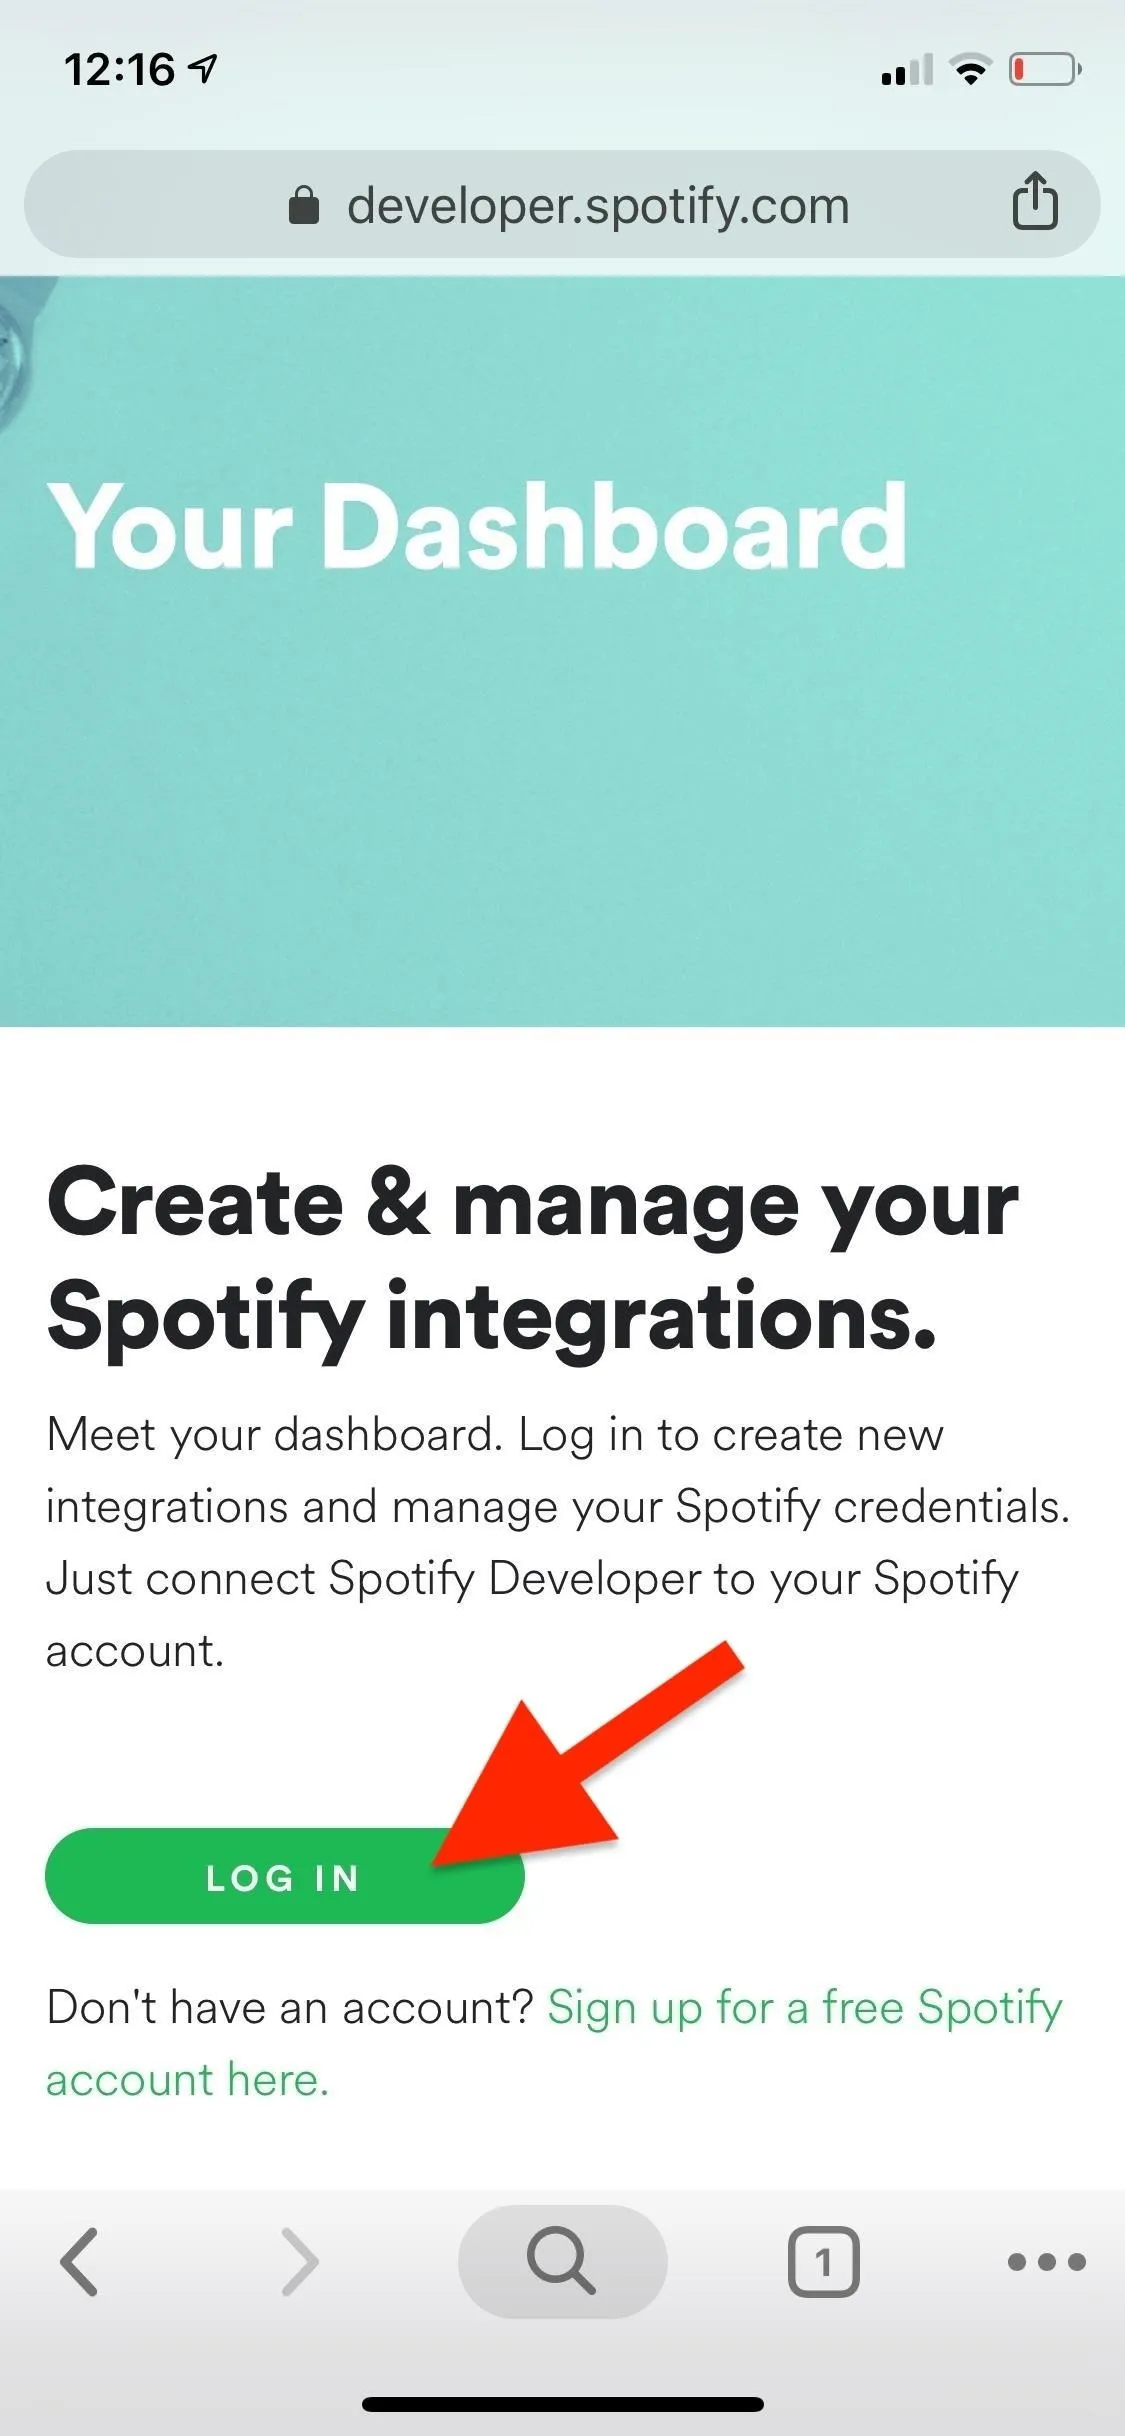
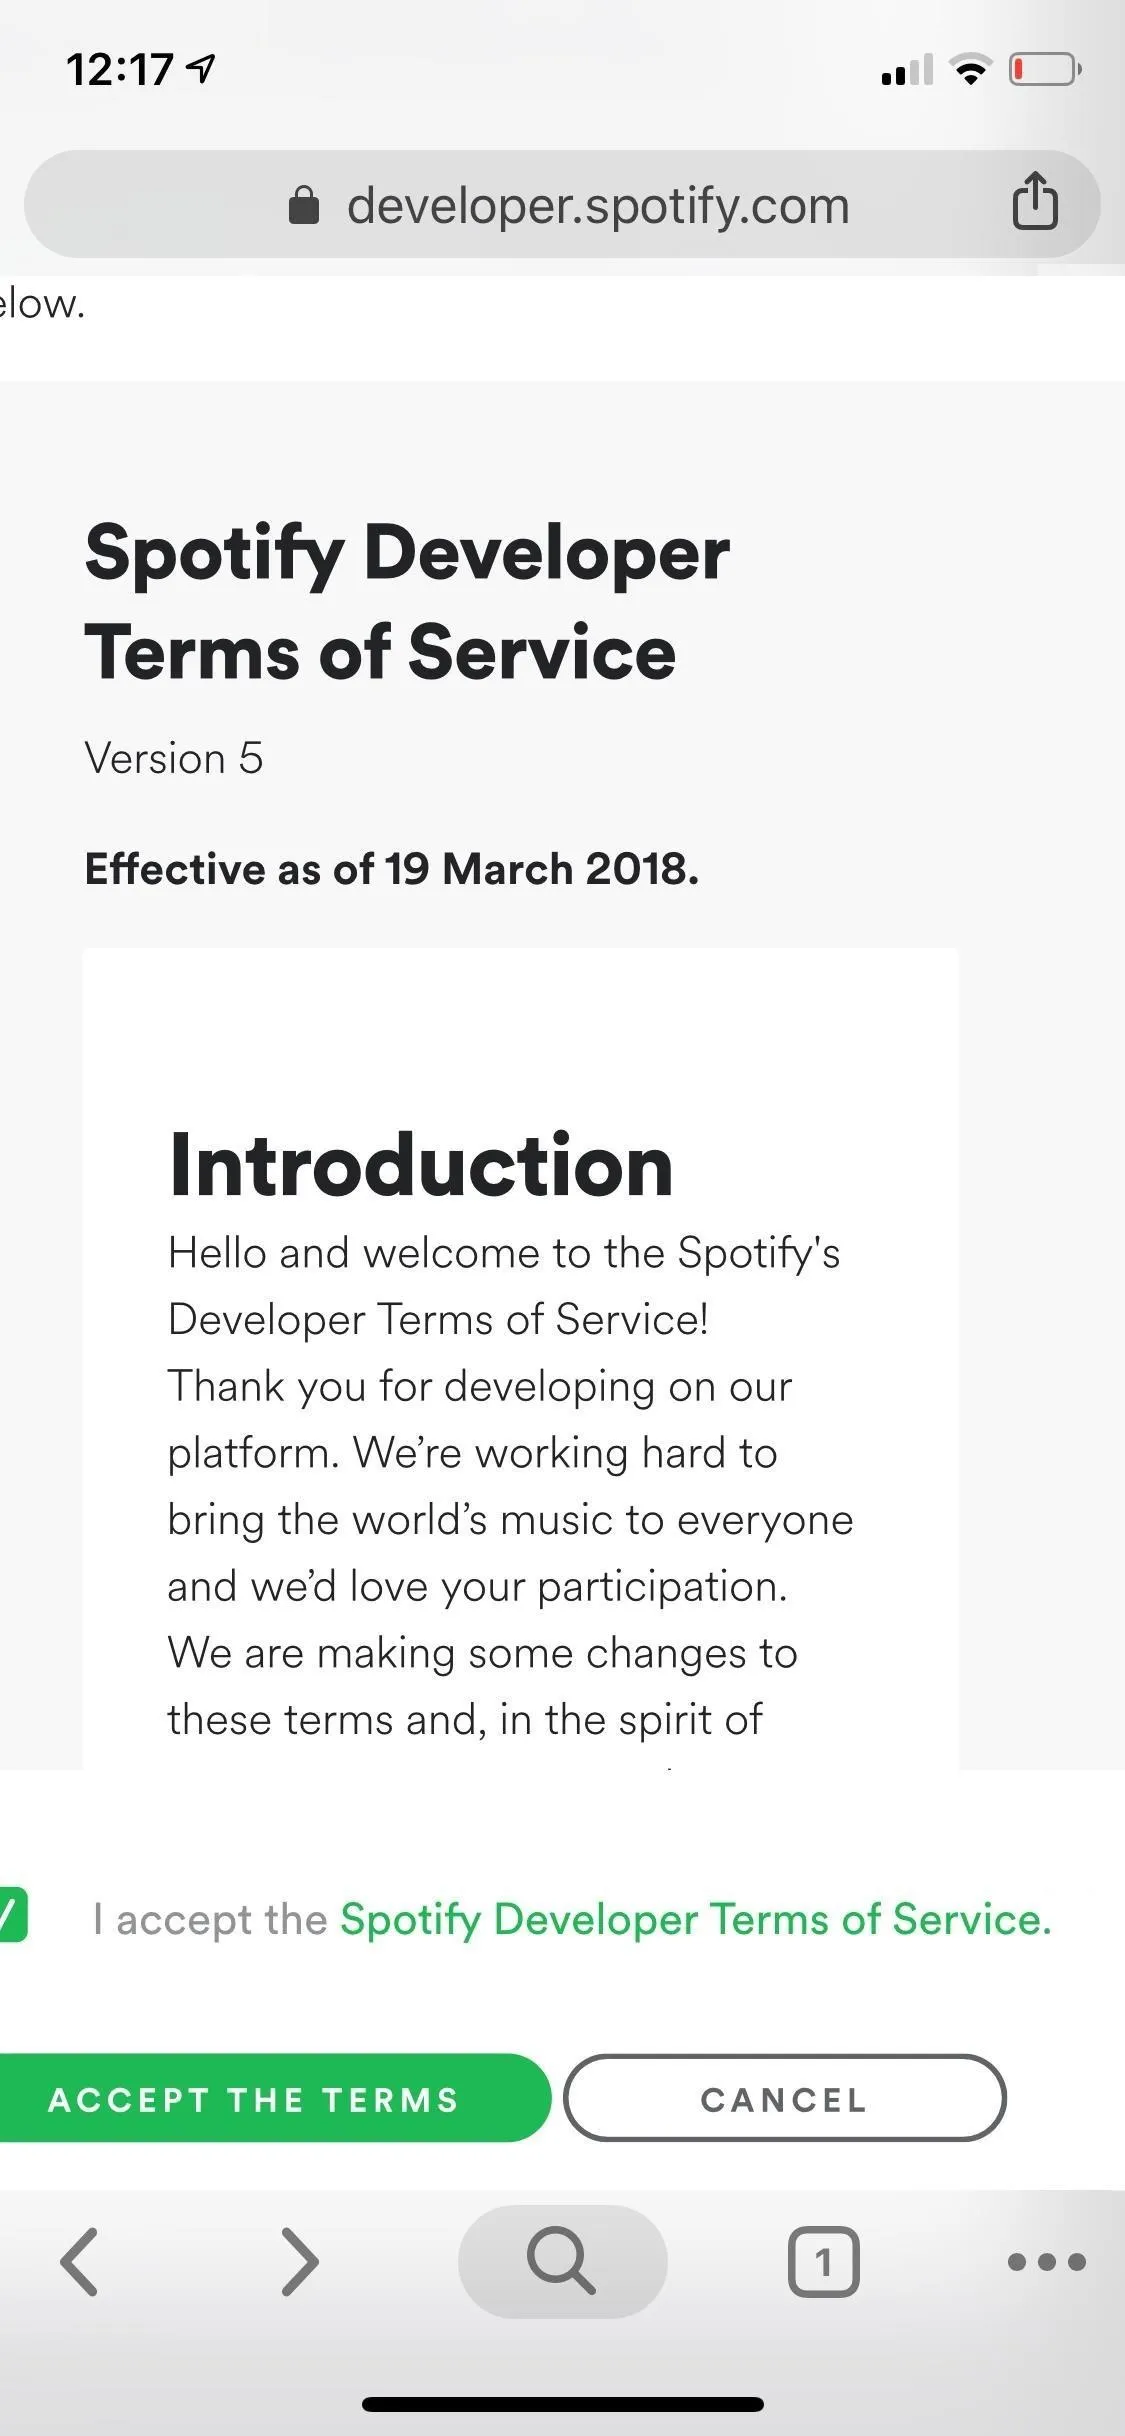
In your web browser of choice, visit developer.spotify.com/dashboard on your iPhone, then choose the "Log In" option. You don't need to create a separate dev account — sign in with your existing Spotify free or premium account. Once you sign in, accept the terms of service, and your developer account is ready to go. (Note, if you have issues accepting the terms in Safari, try another browser.)


Create an App in Spotify for Developers
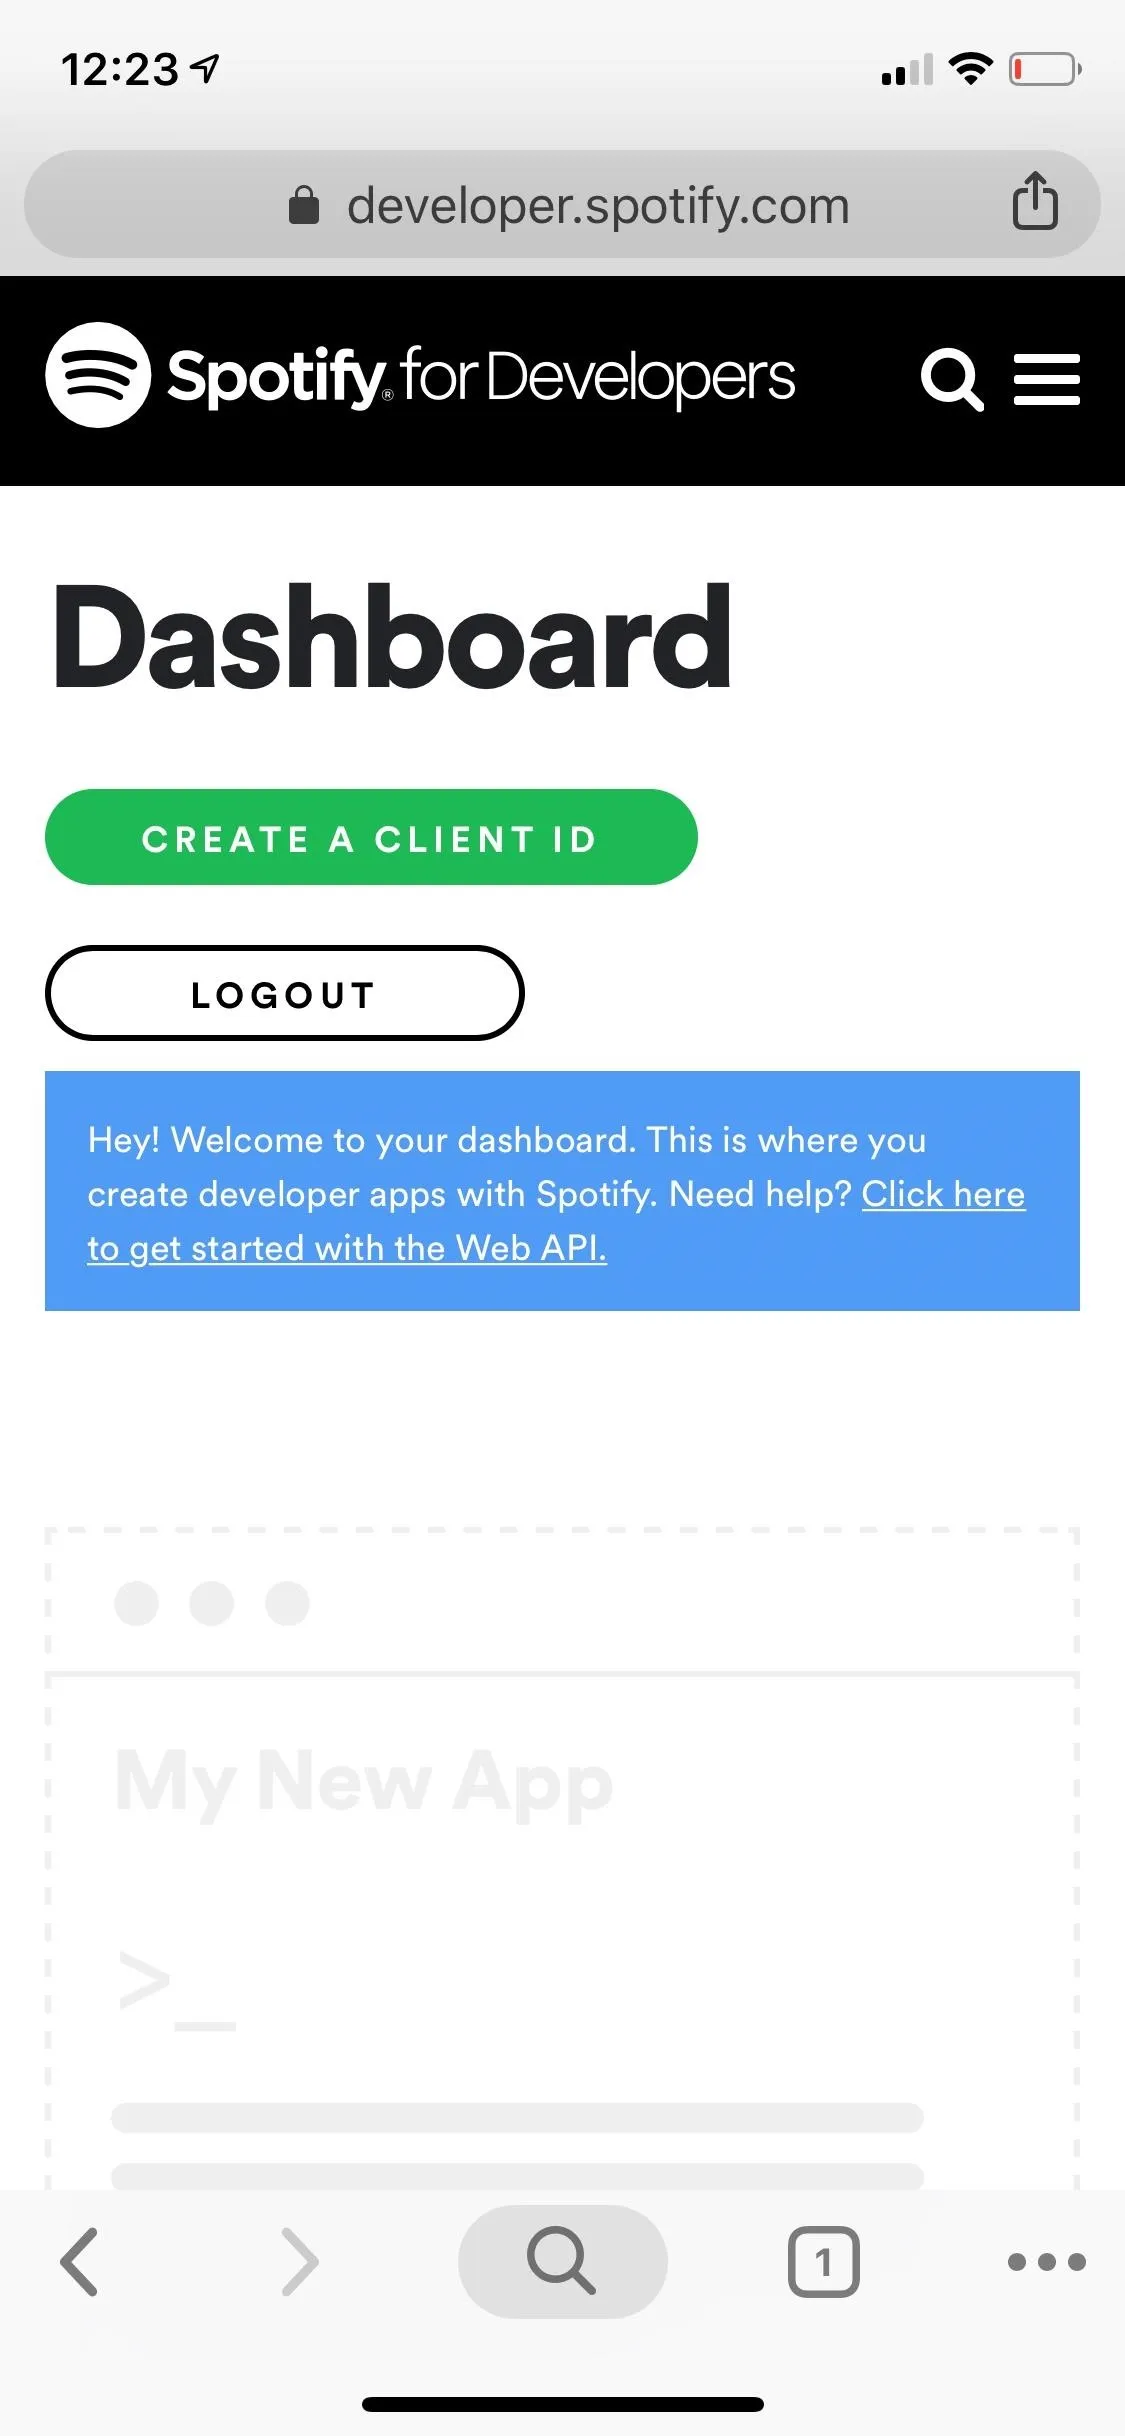
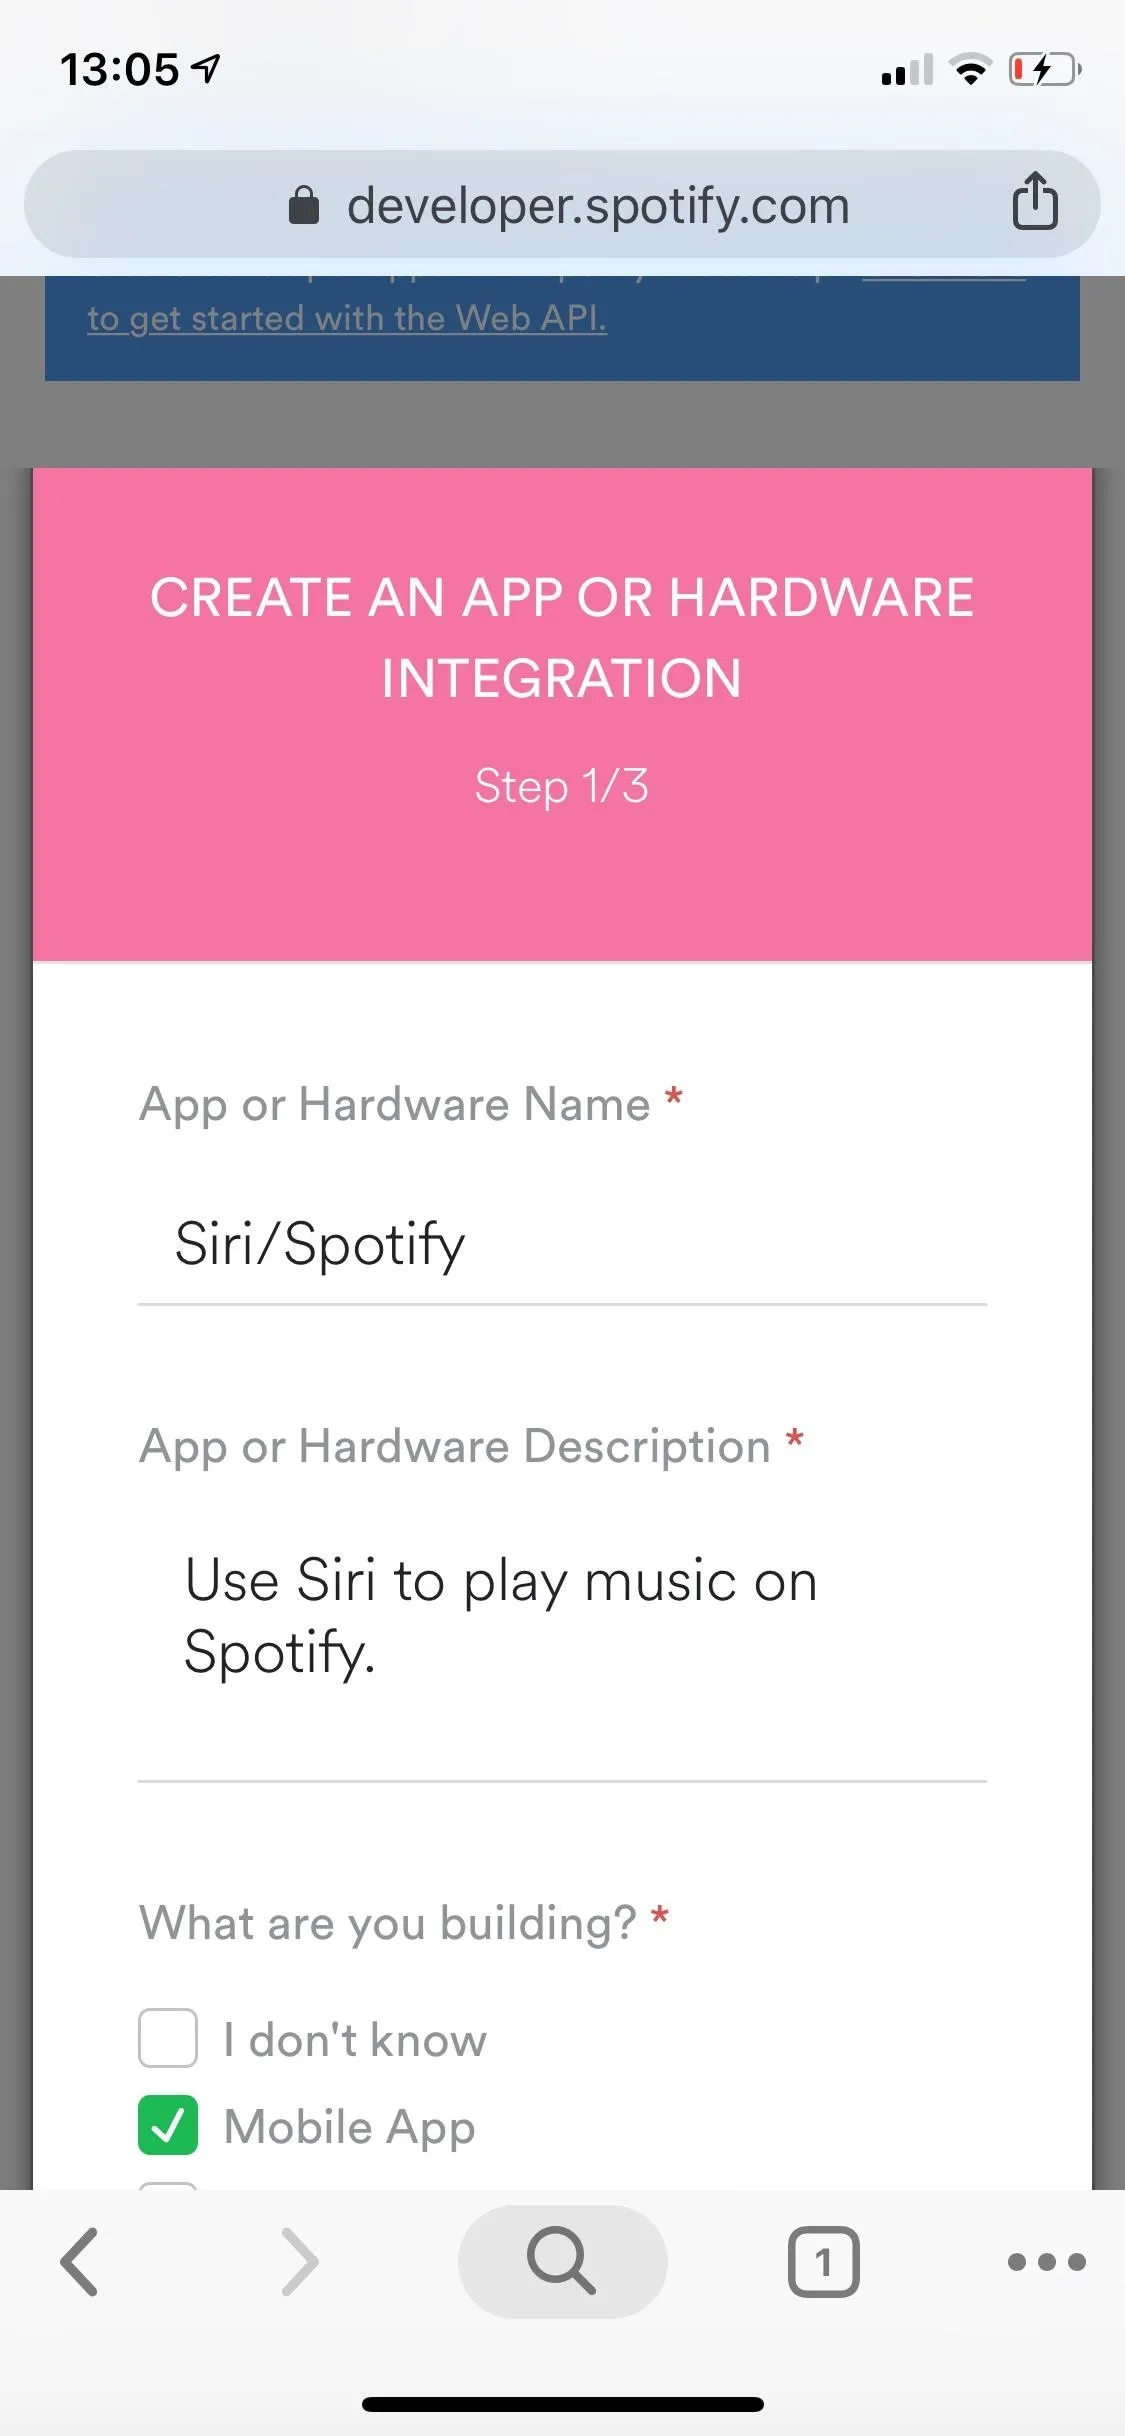
In your Spotify for Developers account, go to Dashboard from the menu if you're not already there, then tap on "Create a Client ID." Enter any name and description for the application, something that describes what it will do, then check the "Mobile App" box. Hit "Next," select "No" for commercial integration, then hit "Submit" after agreeing to the three options.
![How to Use Siri to Play Spotify Music & Start Playlists in iOS 12 [Shortcut]](https://assets.content.technologyadvice.com/636797852046395026_d655e69b83.webp)


![How to Use Siri to Play Spotify Music & Start Playlists in iOS 12 [Shortcut]](https://assets.content.technologyadvice.com/636797852046395026_d655e69b83.webp)
Install & Rename the Shortify Shortcut
Stepping away from the Spotify for Developers account for a second, install Ferrante's shortcut called "Shortify2" (it's the second version of his workflow). You won't find this by browsing or searching the "Gallery" in the Shortcuts app, so follow the link below to get it.
- Shortcuts Link: Shortify2 (free)
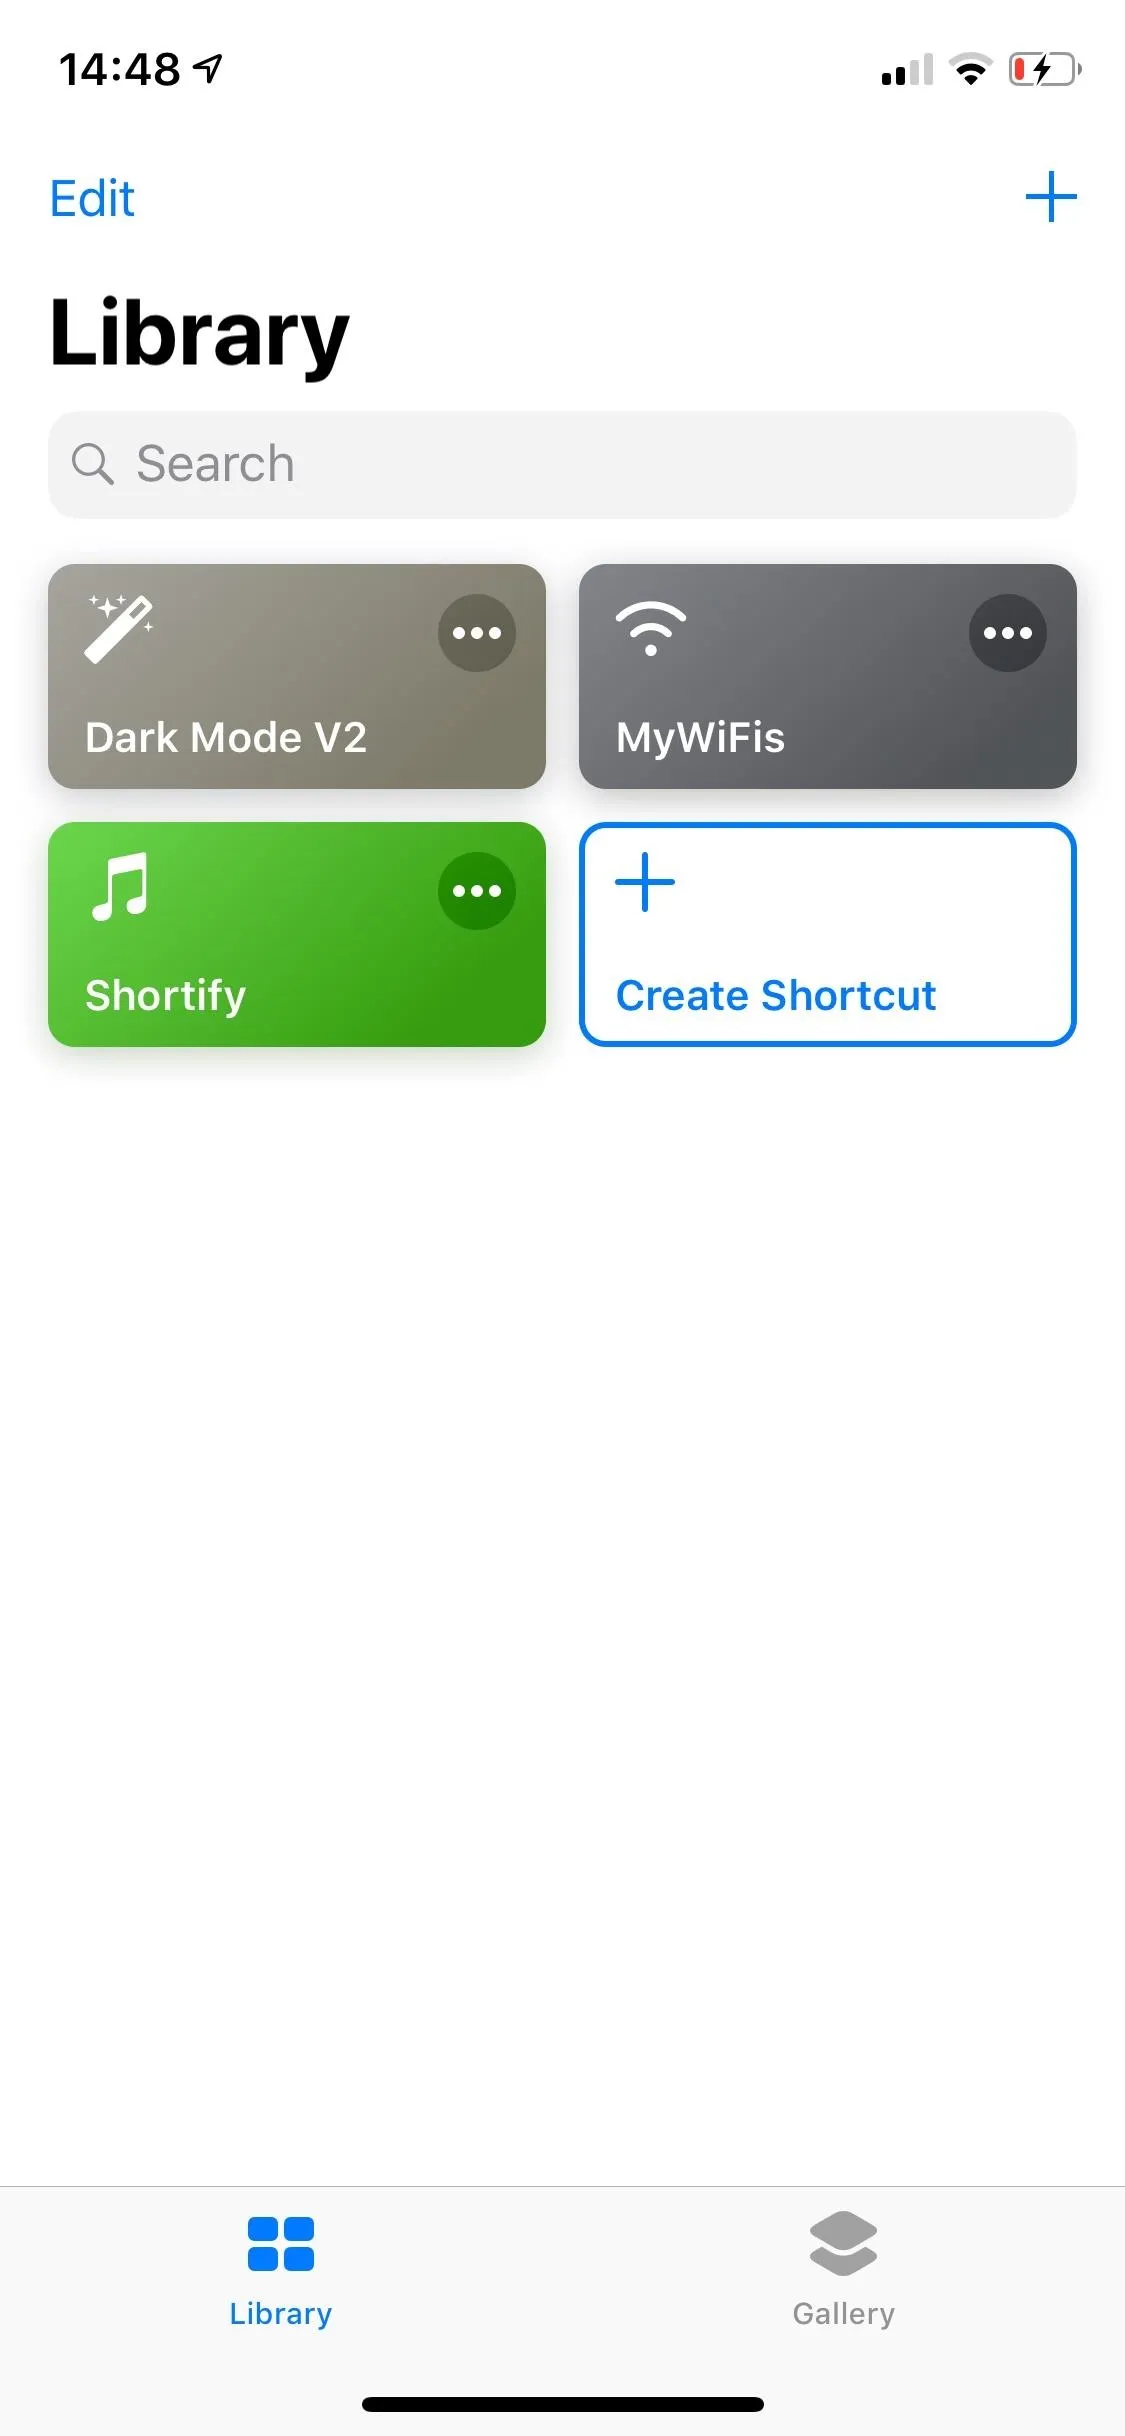
The link will open up Shortify2's info page in Shortcuts. Tap "Get Shortcut" to install it. Next, go to the "Library" tab, then either 3D Touch on it or tap the ellipsis (•••) to open up the shortcut editor.
![How to Use Siri to Play Spotify Music & Start Playlists in iOS 12 [Shortcut]](https://assets.content.technologyadvice.com/636797866860096855_0b03b433b4.webp)
![How to Use Siri to Play Spotify Music & Start Playlists in iOS 12 [Shortcut]](https://assets.content.technologyadvice.com/636797866616707918_95f071ab23.webp)
Tap on the "Settings" icon in the top right, then "Name," and change it to just "Shortify," which will be used to link the script necessary with this shortcut. Hit "Done" when finished.
![How to Use Siri to Play Spotify Music & Start Playlists in iOS 12 [Shortcut]](https://assets.content.technologyadvice.com/636797867802071636_360fe48a9f.webp)
![How to Use Siri to Play Spotify Music & Start Playlists in iOS 12 [Shortcut]](https://assets.content.technologyadvice.com/636797868170664857_4def734792.webp)
Install Scriptable
For this whole process to work, you'll need a little bit of JavaScript to connect the Shortcuts app with the app you made in your Developer for Spotify account. So, you'll need an app that lets you edit and save JavaScript, and Scriptable is an excellent choice.
- App Store Link: Scriptable (free)

Create a New Script
That might sound intimidating if you don't know any JavaScript, but you don't have to worry. Ferrante did all the leg work with his Shortify.js file, and all you need to do is visit its GitHub page and copy the whole script. For your convenience, you may also copy his script from below.
// Base64 encoding of your credentials
let clientID = '<your client id>'
let clientSecret = '<your client secret>'
let cred = clientID + ':' + clientSecret
let credEncoded = Data.fromString(cred).toBase64String()
let auth = 'Basic ' + credEncoded

// Get token
let tokenURL = 'https://accounts.spotify.com/api/token'
var reqToken = new Request(tokenURL)
reqToken.method = 'POST'
reqToken.body = 'grant_type=client_credentials&undefined='
reqToken.headers = {
  'Content-Type': 'application/x-www-form-urlencoded',
  'Authorization': auth
}

let res = await reqToken.loadJSON()
let token = res['access_token']
let auth2 = 'Bearer ' + token

// Params
var q = encodeURI(URLScheme.parameter('query'))
var t = URLScheme.parameter('type')

let endpoint = 'https://api.spotify.com/v1/search?q=' + q + '&type=' + t
let method = 'GET'
let headers = {
  'Accept': 'application/json',
  'Content-Type': 'application/json',
  'Authorization': auth2
}

// Make the request
let req = new Request(endpoint)
req.method = method
req.headers = headers

// Get the track URL
let json = await req.loadJSON()

var finalURL = ''
if (t == 'track') {
  finalURL = json['tracks']['items'][0]['external_urls']['spotify']
} else {
  finalURL = json['playlists']['items'][0]['external_urls']['spotify']
}

// Open the track on Spotify
Safari.open(finalURL)
Once you've copied the script to your clipboard, open up the Scriptable app, tap the plus (+) icon to start a new script, then paste the Shortify.js text inside it. Tap on "Untitled Script" up top and rename it "Shortify" so that it works with the Shortify shortcut from earlier. Hit "Rename" to finalize it.

![How to Use Siri to Play Spotify Music & Start Playlists in iOS 12 [Shortcut]](https://assets.content.technologyadvice.com/636797882860565783_920105bab3.webp)

![How to Use Siri to Play Spotify Music & Start Playlists in iOS 12 [Shortcut]](https://assets.content.technologyadvice.com/636797882860565783_920105bab3.webp)
We're not done yet, since we need to change a few things in the script.
Copy Info from Your Dev Dashboard
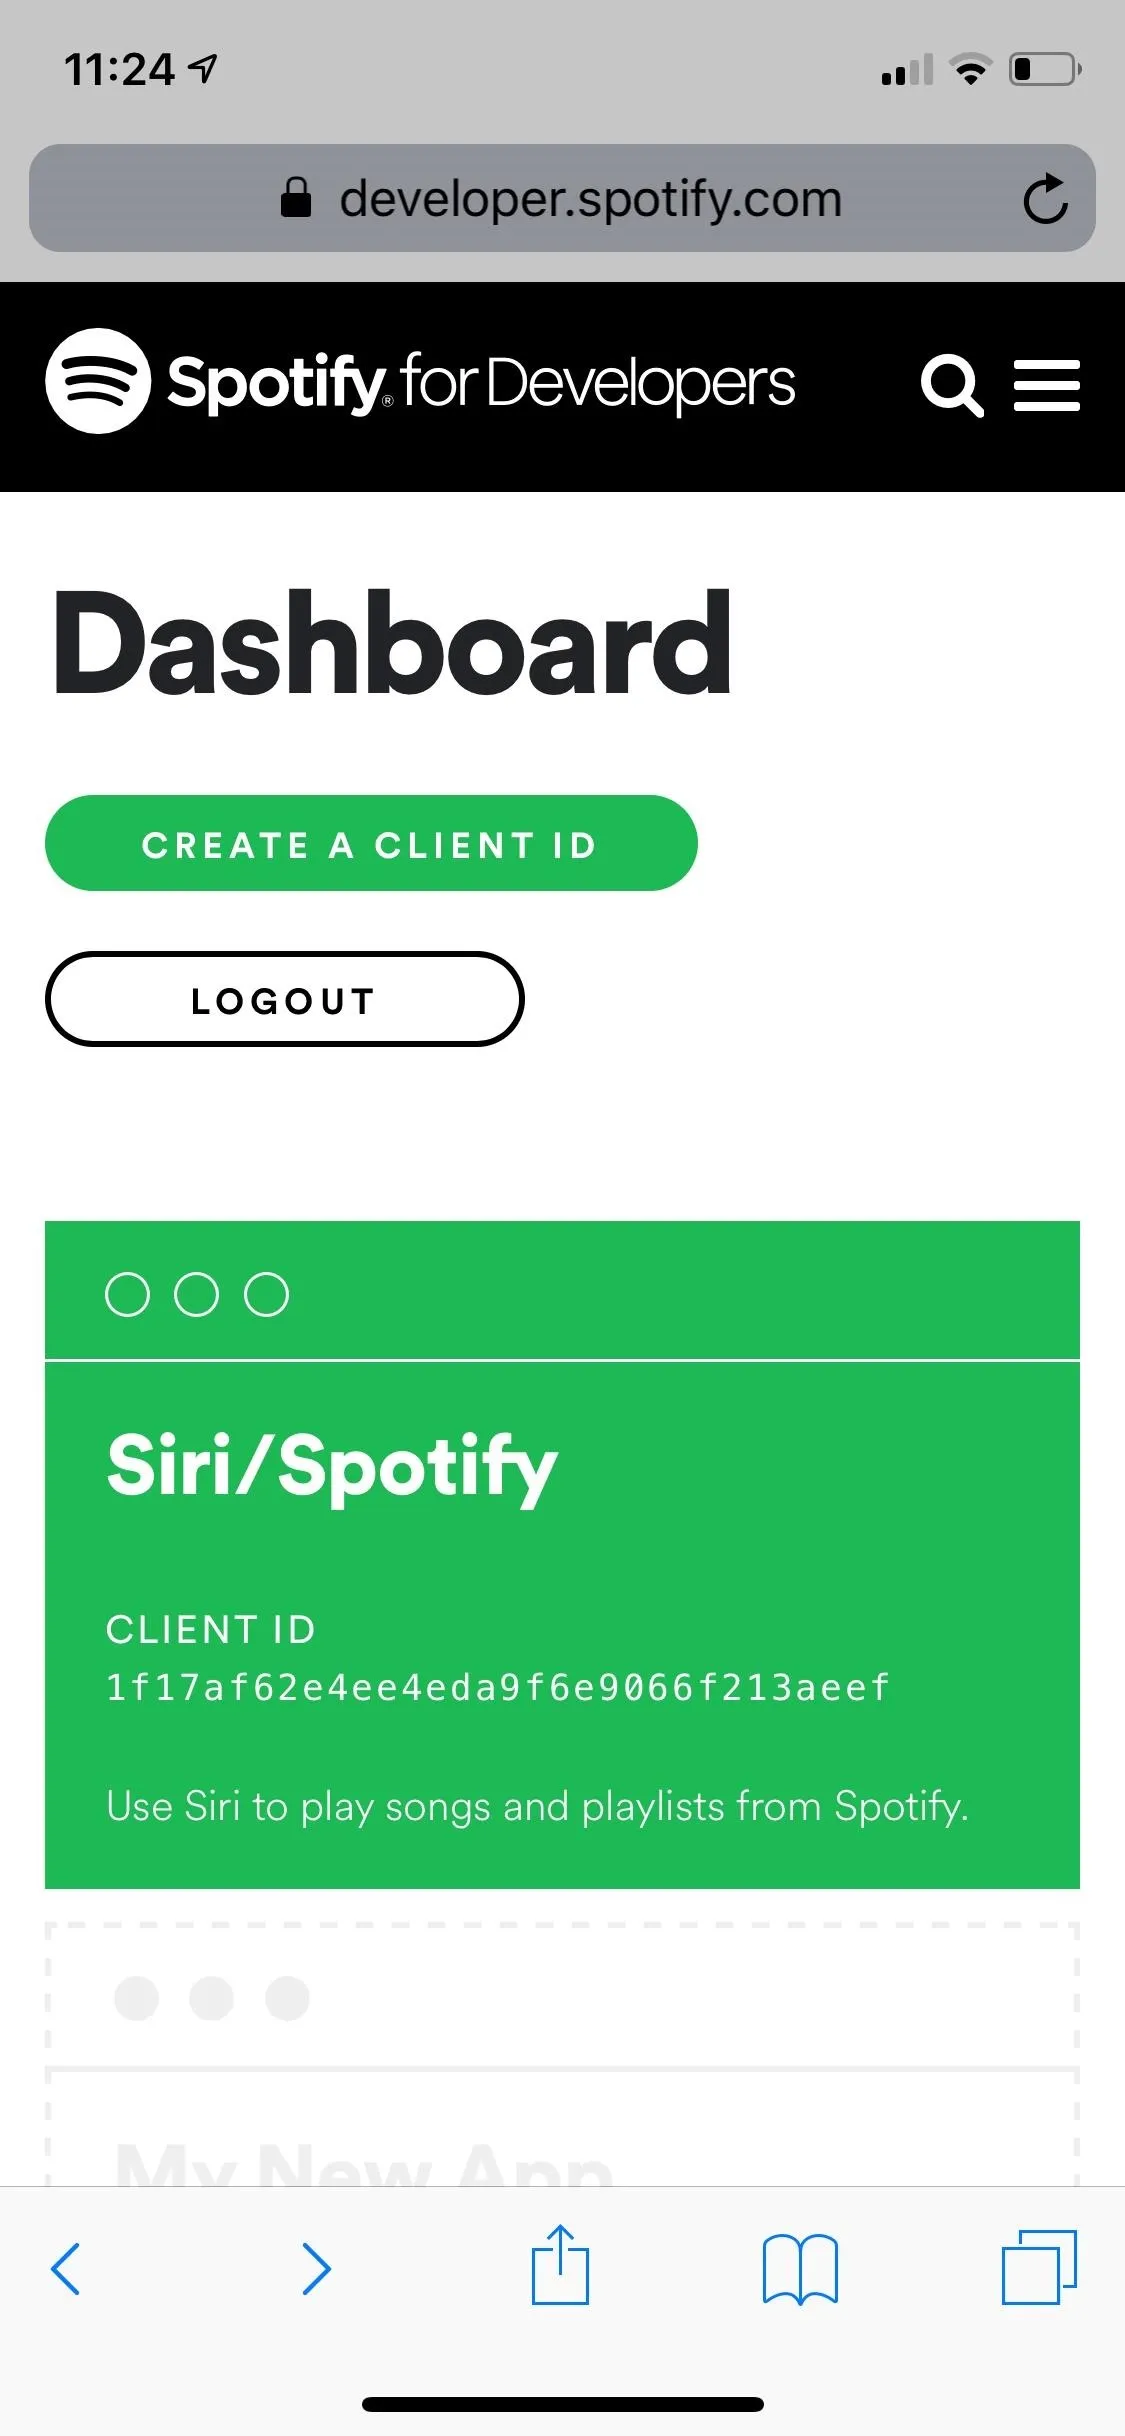
Go back to developer.spotify.com/dashboard in your browser, find the Spotify app you created earlier, tap on it, and copy its "Client ID." You'll be pasting this ID into the Shortify script you're making. You'll also need to copy the "Client Secret" identifier, but you can only copy one thing at a time.
![How to Use Siri to Play Spotify Music & Start Playlists in iOS 12 [Shortcut]](https://assets.content.technologyadvice.com/636797857247909998_a601933ea6.webp)

![How to Use Siri to Play Spotify Music & Start Playlists in iOS 12 [Shortcut]](https://assets.content.technologyadvice.com/636797857247909998_a601933ea6.webp)
Save Script with Client ID & Client Secret
Go back to the Shortify script in Scriptable, then find
![How to Use Siri to Play Spotify Music & Start Playlists in iOS 12 [Shortcut]](https://assets.content.technologyadvice.com/636797887074364718_5e529cf3eb.webp)
![How to Use Siri to Play Spotify Music & Start Playlists in iOS 12 [Shortcut]](https://assets.content.technologyadvice.com/636797887130977070_ffbc3d0a19.webp)
Choose Either Track or Playlist in Shortcuts
Unfortunately, this shortcut we're making can only listen for either a track or a playlist; it can't listen for both. So edit the Shortify shortcut in the Shortcuts app again, and enter either "track" or "playlist" into the second Text box in the workflow, right below the second Comment box.
If you have a premium Spotify account, you can choose "track" so you can play a specific song right away using the shortcut. However, for "playlist," which works for both premium and free Spotify accounts, it will just open up the playlist in Spotify, not start playing right away. I have premium, so I chose to search for tracks, which is the default, because that broadens my options in Spotify.
![How to Use Siri to Play Spotify Music & Start Playlists in iOS 12 [Shortcut]](https://assets.content.technologyadvice.com/636797909182440692_23b66c7312.webp)

![How to Use Siri to Play Spotify Music & Start Playlists in iOS 12 [Shortcut]](https://assets.content.technologyadvice.com/636797909182440692_23b66c7312.webp)
You can always go back and switch "track" for "playlist" if you're so inclined. You could also duplicate this entire shortcut with a different name and Siri command (the Siri command is coming up in the next step) so that you can search for both songs and playlists without having to edit the command.
Add a Siri Command
Finally, you must add a Siri command to make this all work. So while still editing your Shortify shortcut's workflow, tap the "Settings" icon just like you did when changing the shortcut's name. Next, tap "Add to Siri," then "Type Phrase" to set the Siri command you want to use. You can go with anything, although something simple like "Search Spotify" should do the trick. When ready, tap "Done" three times in succession to save and exit the workflow. You're done here!
![How to Use Siri to Play Spotify Music & Start Playlists in iOS 12 [Shortcut]](https://assets.content.technologyadvice.com/636797913857333039_3046c25fa4.webp)
![How to Use Siri to Play Spotify Music & Start Playlists in iOS 12 [Shortcut]](https://assets.content.technologyadvice.com/636797913533270456_1a6f3f8e75.webp)
Use Siri to Play Music on Spotify
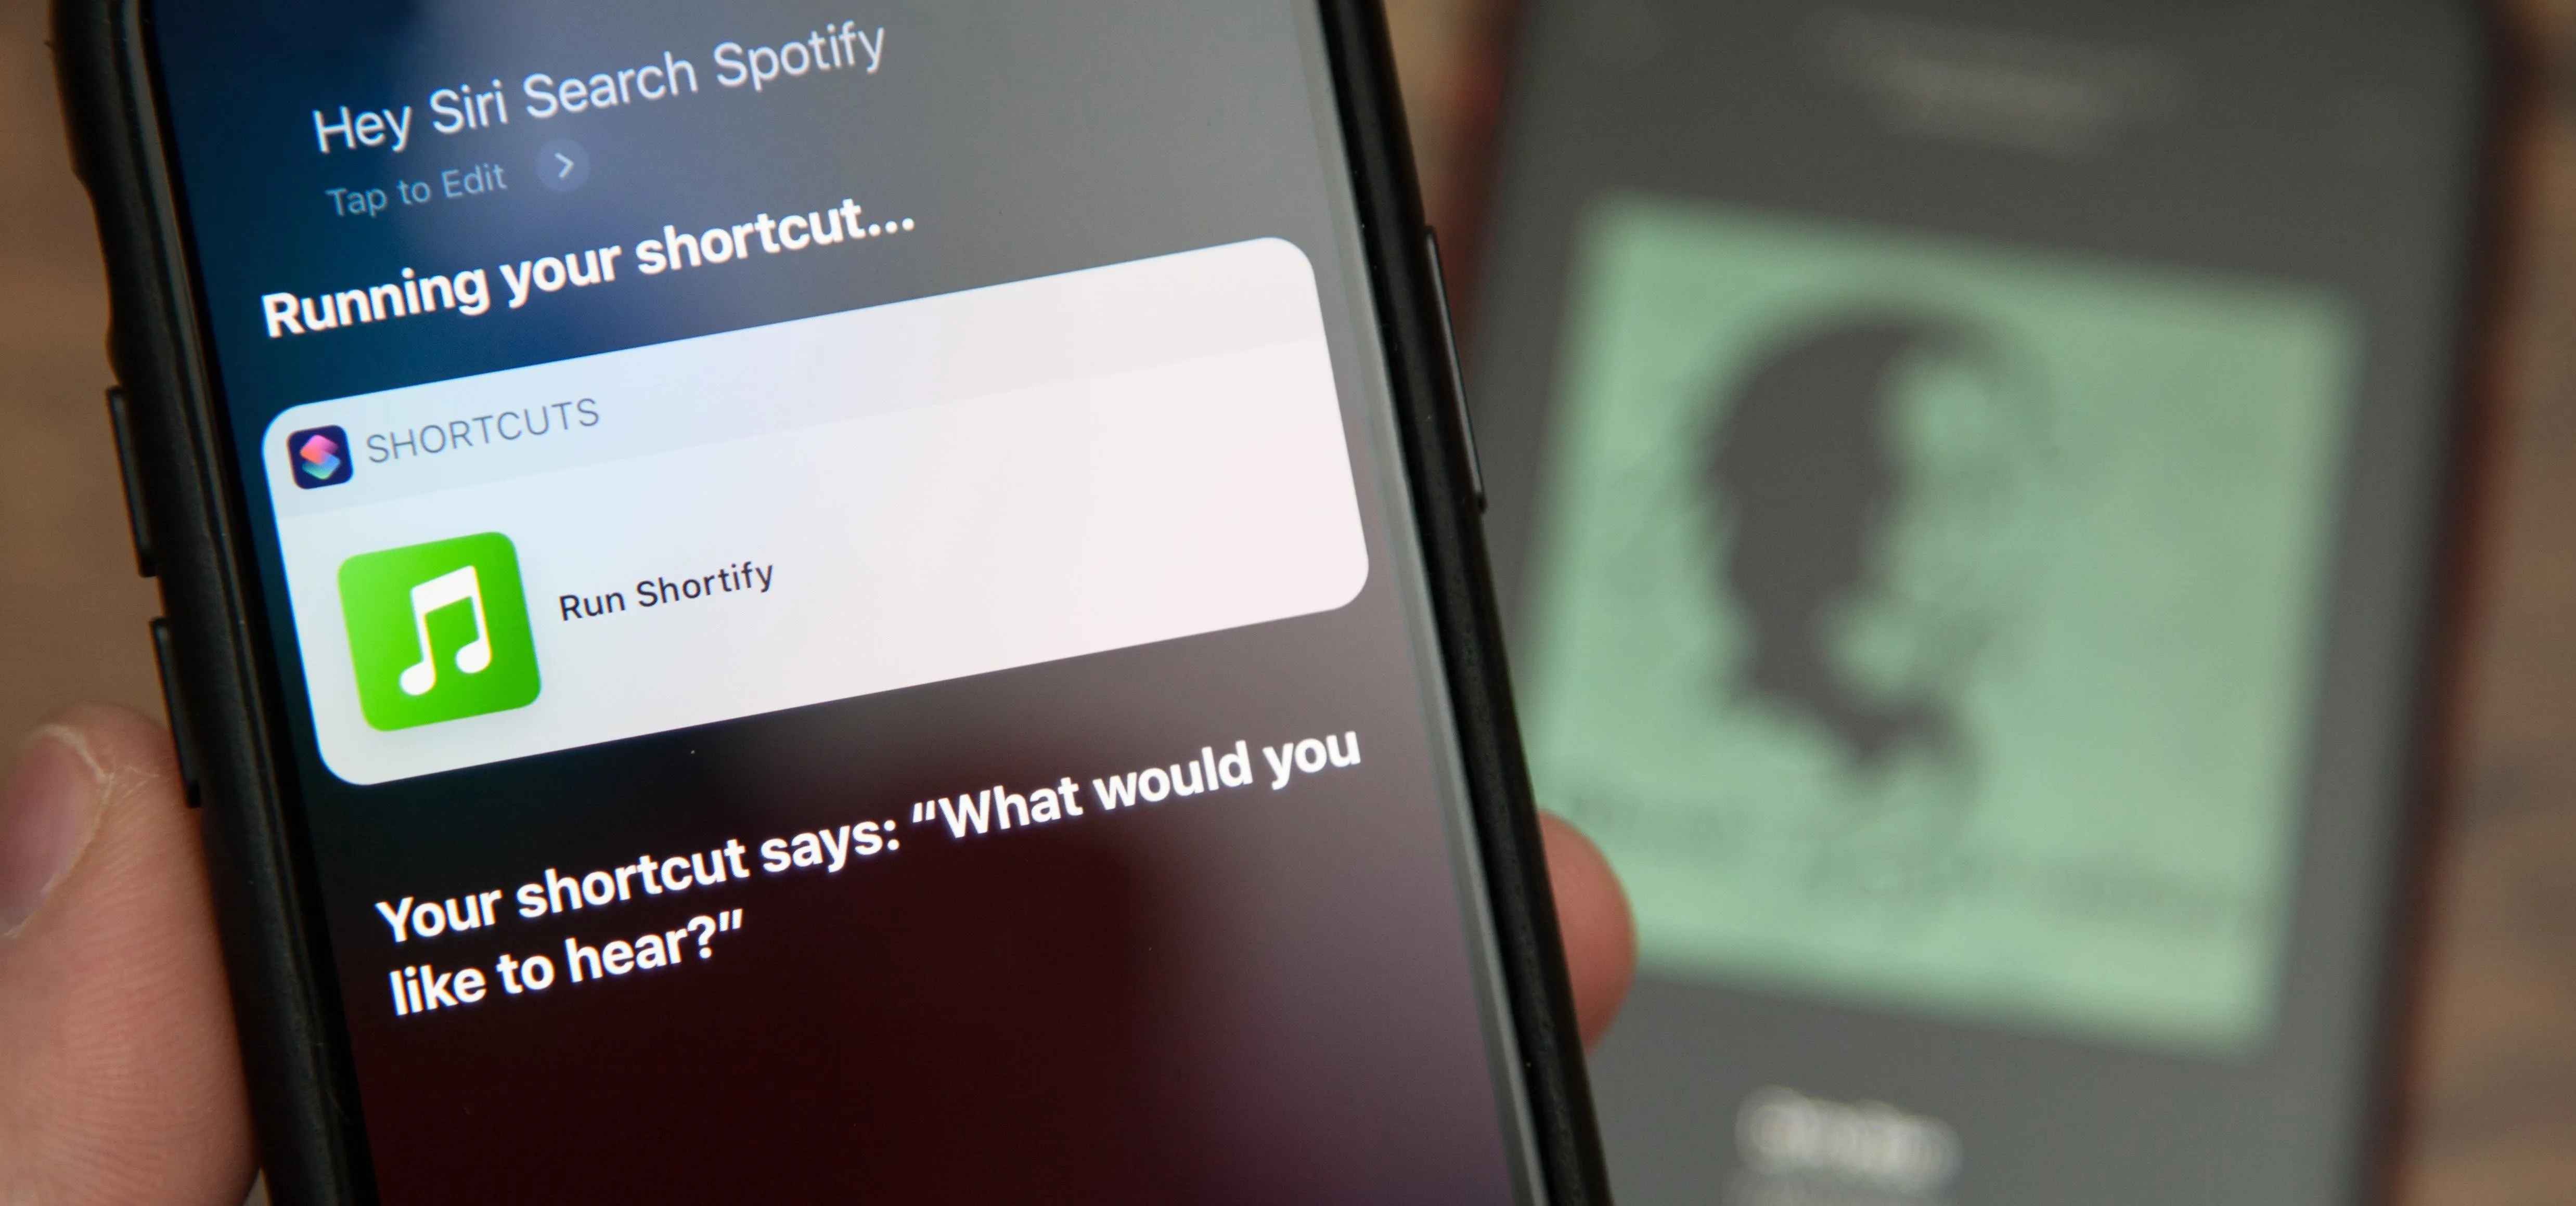
Now it's time to test out all your hard work. Open up Siri how you usually would, whether it's with "Hey Siri" or the Side or Home button shortcut, then say your Siri phrase from the previous step. Siri will ask you what you'd like to hear, and then the "Dictate Box" will open in Shortcuts. Say either a song or playlist name, depending on which route you went when setting the shortcut up.
The shortcut will quickly reroute to the Shortify.js script which will use Safari to connect to your dev app and use a URL scheme to open Spotify and play the song or playlist you asked for. For playlists, it will only open the most popular public playlist closest to the title you mentioned, so you can't open your own playlists. That's just another reason why the "track" option is the most useful.
![How to Use Siri to Play Spotify Music & Start Playlists in iOS 12 [Shortcut]](https://assets.content.technologyadvice.com/636797914693065872_1506cfeaf0.webp)
![How to Use Siri to Play Spotify Music & Start Playlists in iOS 12 [Shortcut]](https://assets.content.technologyadvice.com/636797915029627708_a851d84677.webp)
![How to Use Siri to Play Spotify Music & Start Playlists in iOS 12 [Shortcut]](https://assets.content.technologyadvice.com/636797915759472141_e19beb77e8.webp)
If you've created the Shortify shortcut here and had issues, or have any other questions, feel free to drop a comment down below. We'll try to help you troubleshoot any problems you ran into.
Cover photo by Justin Meyers/Gadget Hacks; Screenshots by Nelson Aguilar/Gadget Hacks




Comments
Be the first, drop a comment!