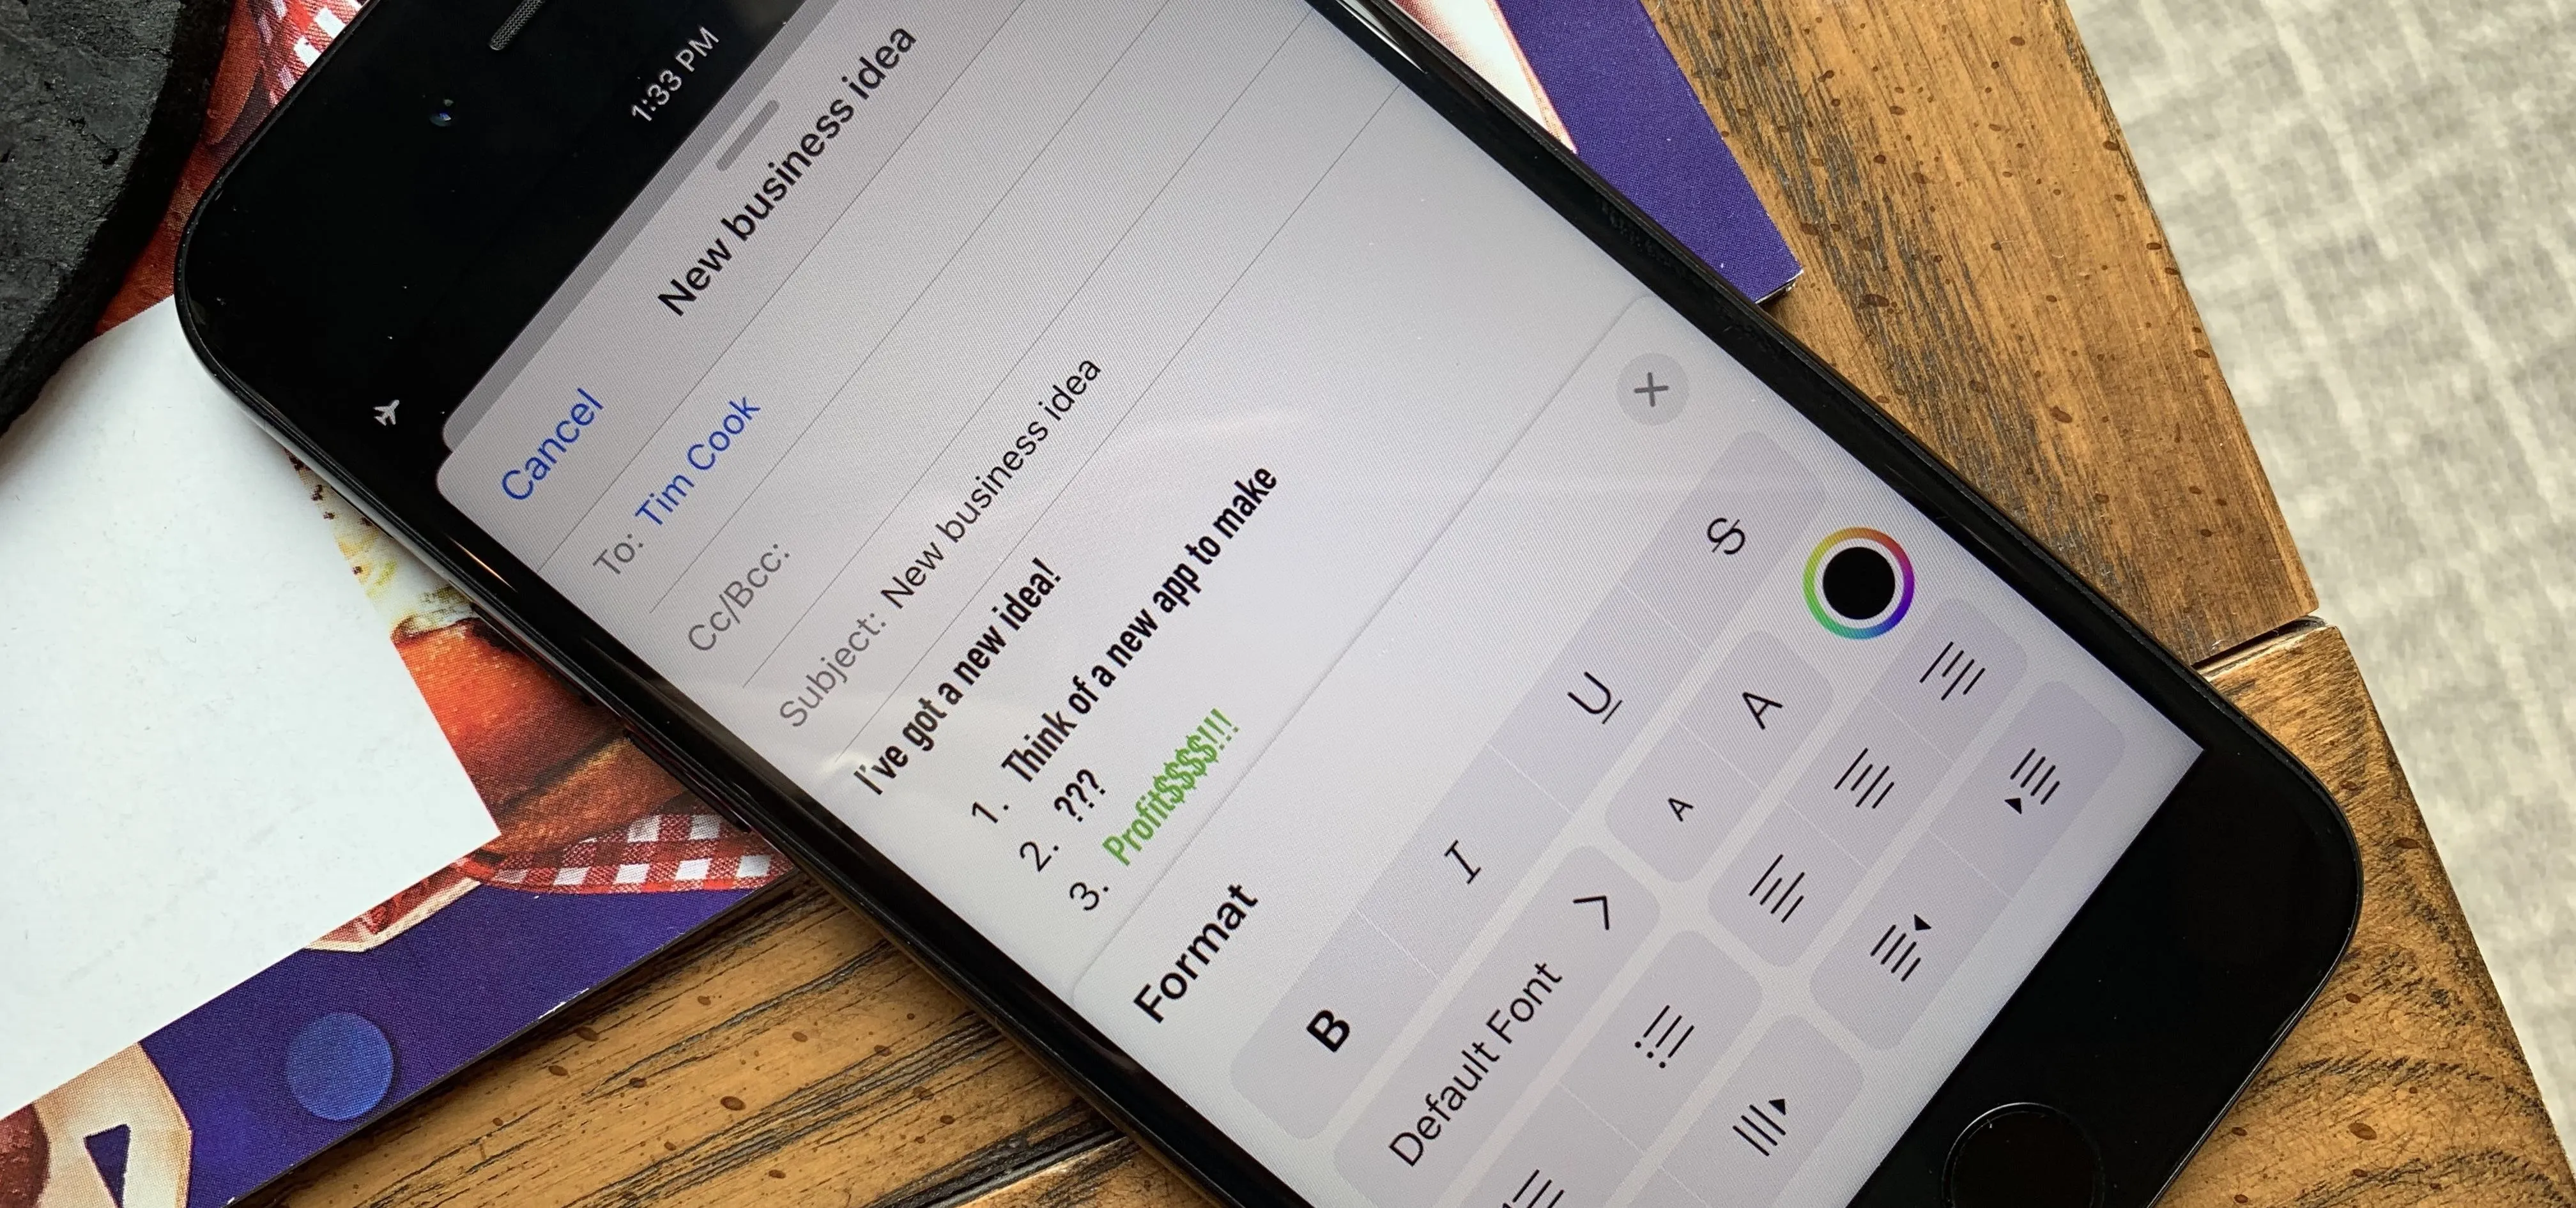
Although Mail didn't get a massive update in iOS 13, the new formatting and attachments toolbar makes it easier to stylize your messages and get quick access to files you'd like to send. It even includes the excellent document scanner built into iOS, so you can use your iPhone to turn a physical document into a PDF and attach it to your message — all from within the Mail app directly.
The built-in Mail app in iOS has never been a powerhouse email client. While it's always handled the basics well, certain features like attaching files beyond images and video had just been added in iOS 10 when iCloud Drive was incorporated. Even then, however, adding attachments wasn't very discoverable, and you could only do so by opening the edit menu in the body of a message or sharing the file from another app to Mail.
- Don't Miss: 200+ Exciting New iOS 13 Features for iPhone
The new format bar in iOS 13's Mail app brings these features to the foreground. It also adds additional functionality, pushing Apple's email app a few steps forward.
Accessing the Formatting & Attachments Bar
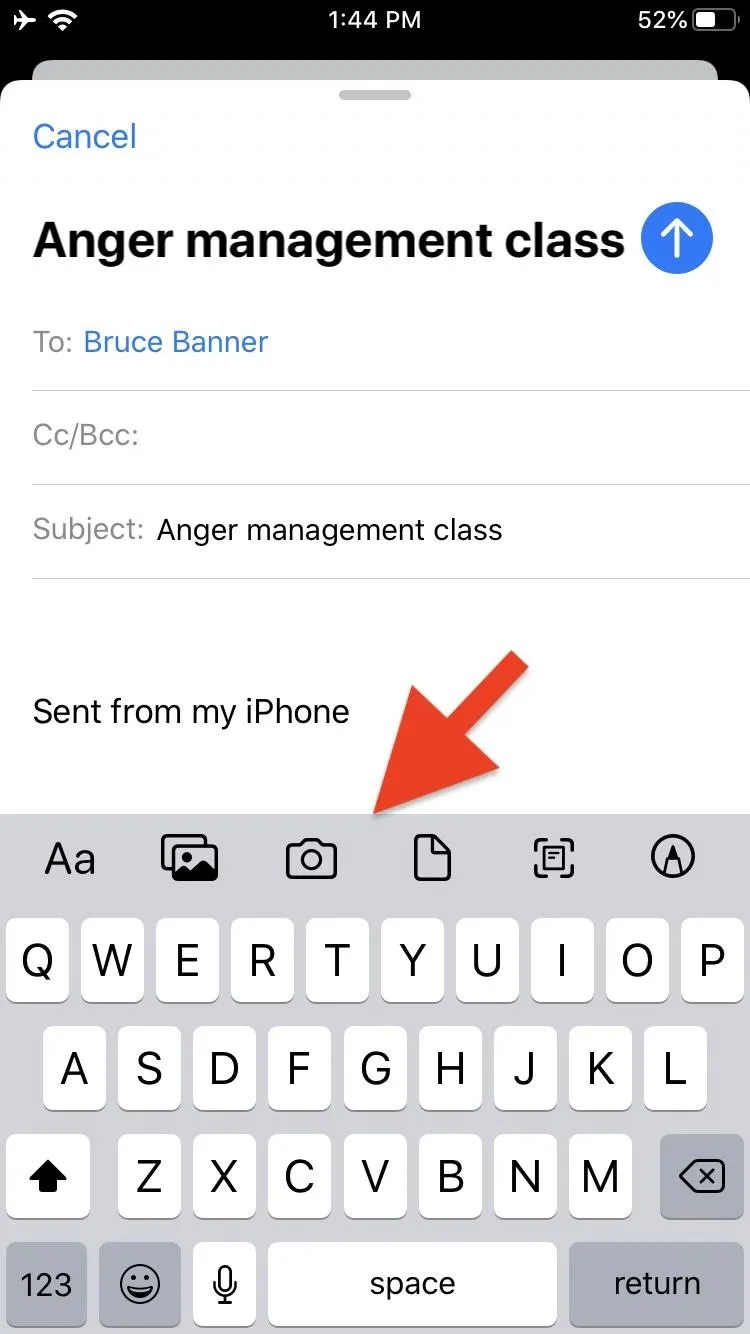
When writing a new message in Mail, you'll notice an angle bracket (<) icon to the right of the QuickType bar above the keyboard. You can either tap the icon or swipe left over the QuickType bar to slide in the formatting and attachments toolbar. If you're using a third-party keyboard such as Gboard, the new toolbar is locked right above it, so you don't have to unhide it. In the toolbar, you will see options to:
- Add rich text formatting: Includes options to stylize your text, including font styles, sizes, and color, as well as bulleted and numbered lists, text justification, and indentation options.
- Attach photos and videos: Choose photos and videos from the Photos app to attach to your message.
- Attach a photo or video from Camera: Take a picture with the iPhone's camera and attach it directly to your message.
- Attach a file from the Files app: Choose a file from the Files app to attach to your message.
- Scan a document: Use the built-in iOS document scanner to attach a document either as a PDF or as a photo.
- Add a drawing: Use the built-in drawing tools to attach a drawing to your message.



Add Rich Text Formatting
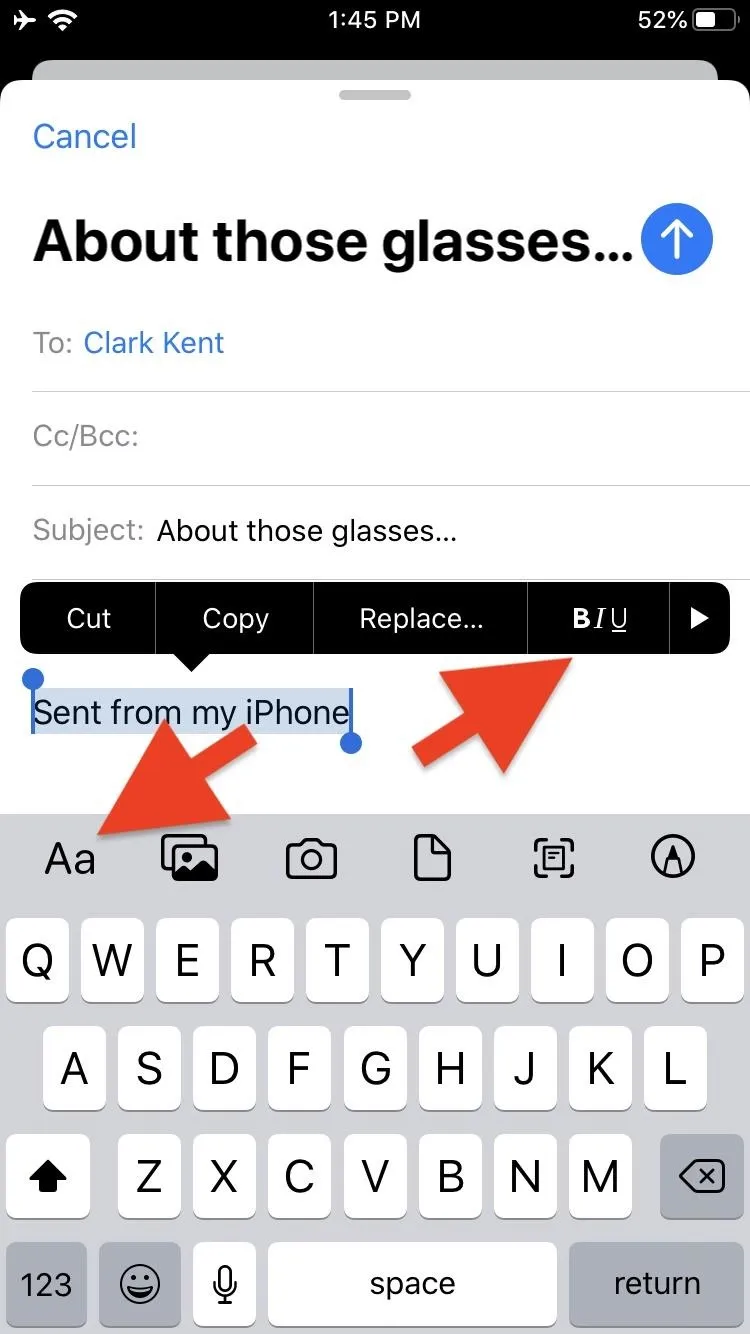
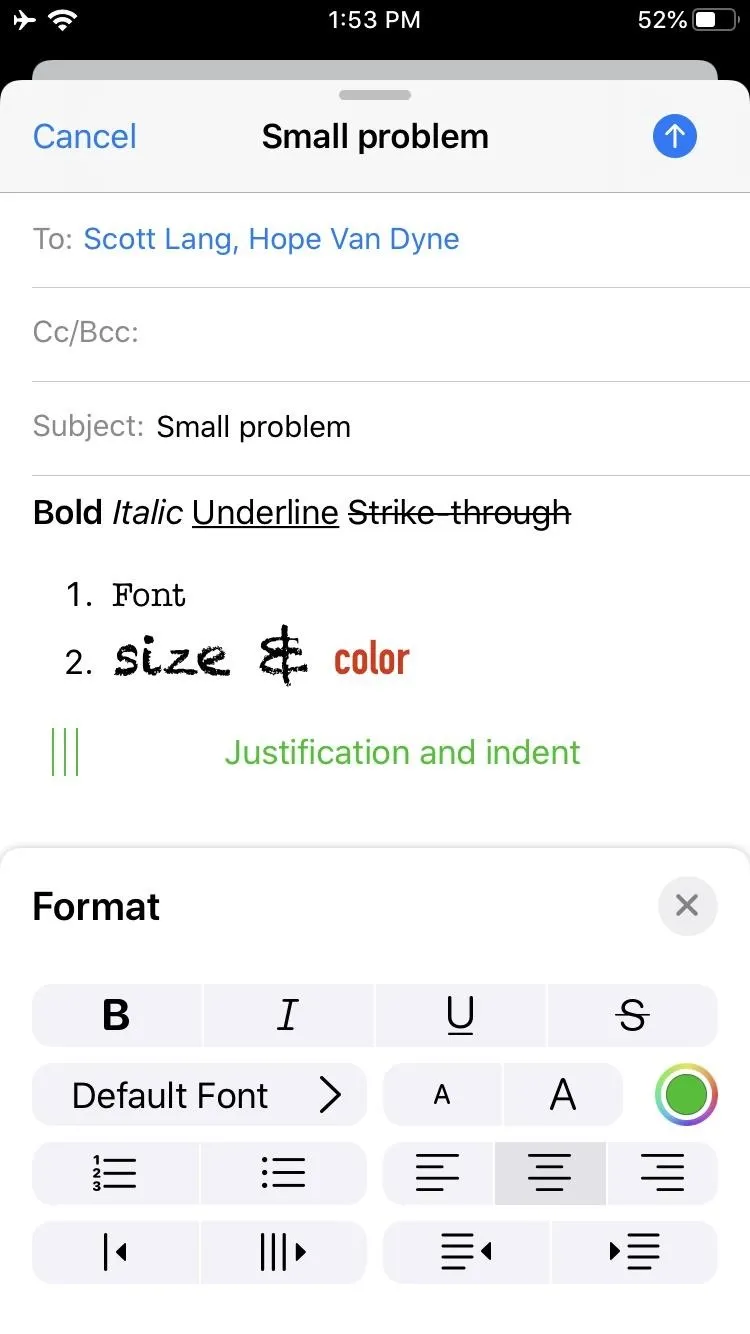
Before iOS 13, Mail offered limited formatting options through the contextual edit menu. After highlighting some text in your message, the edit menu would appear with a button to bold, italicize, underline, or change the quote level of the text. While these options are still available in iOS 13 edit menu, by tapping the "Aa" icon in the toolbar, you can access even more formatting options. These include:
- Bold, italicize, underline, or add a strike-through to the text.
- Change the font to any font currently installed on your iPhone.
- Change the size of the font.
- Change the color of the font.
- Create numbered or bulleted lists.
- Left, center, or right-justify the text.
- Change the quote level or indentation of the current paragraph.


Insert Photos & Videos
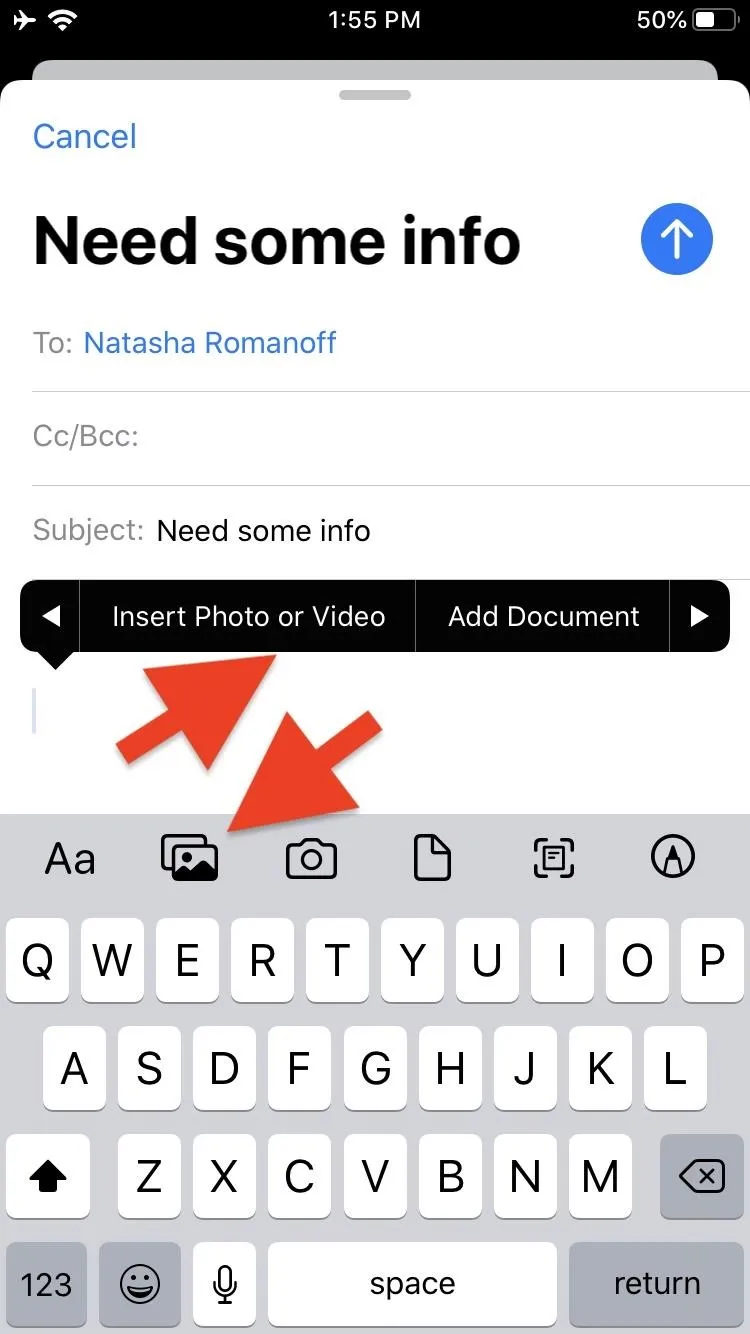
Similar to text formatting, inserting a photo or video could be accessed from the edit menu in previous versions of iOS. In iOS 13, photos or videos can be added either by using the edit menu or by tapping the gallery icon in the formatting and attachments toolbar. By default, your most recent photos appear, but you can access your full Photos library by tapping "All Photos." Photos will insert themselves inline with the text, while videos will add themselves to your message as attachments.


Insert a Photo or Video from Camera
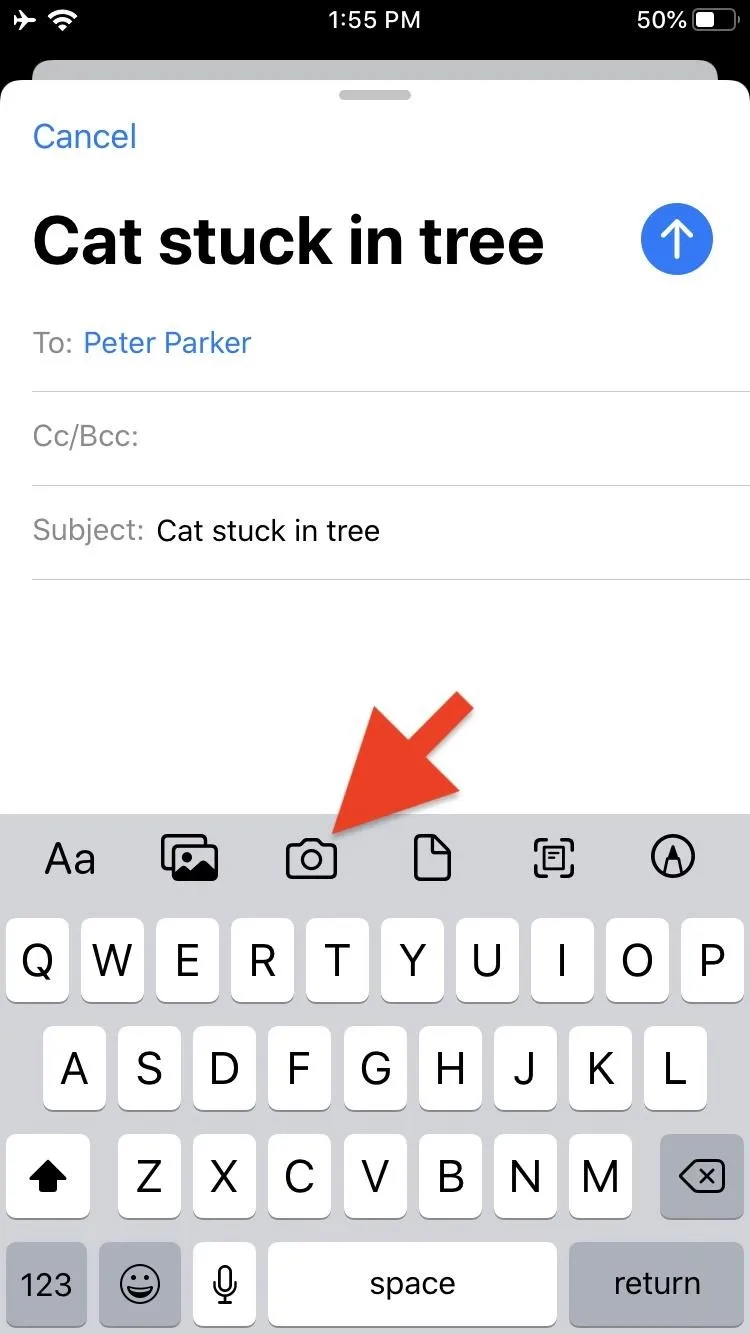
New in iOS 13, the Camera app can be used to take a photo or video and directly attach it to your message. Tap the Camera icon in the toolbar to open the viewfinder, where you can then choose between taking a photo or video.
After taking the shot, either tap the "Retake" button in the lower-left to take a new shot or tap "Use Photo" or "Use Video" in the lower-right to attach the photo or video to your message. Similar to inserting from the Photos app, images will appear inline with the text while videos will become attachments.


Attach a File from the Files App
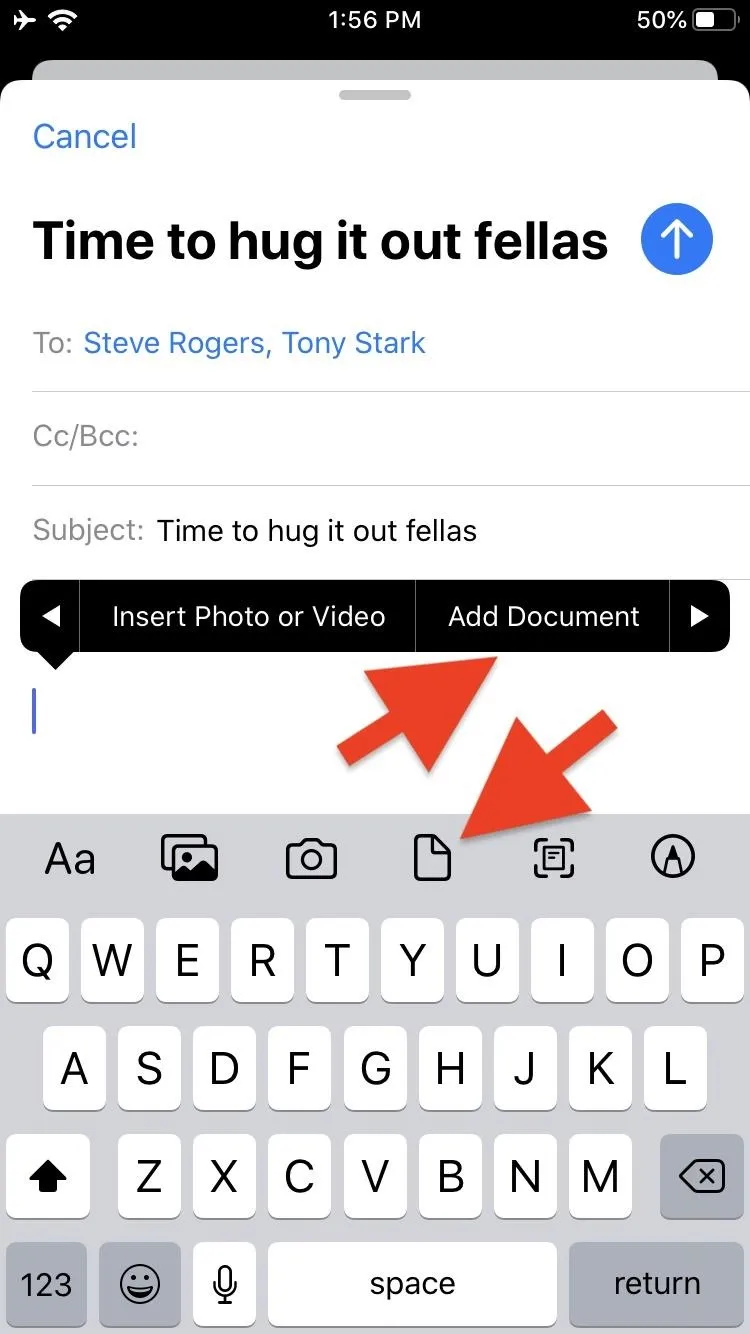
Inserting a file is another function that is available from the edit menu in older iOS versions, specifically iOS 10 and higher. In iOS 13, you can still do it that way, but inserting a file can also be done by tapping the document icon in the toolbar. Doing so will open the Files app, where you can navigate to the file you'd like to attach to the message. Image files will appear inline, while any other file will become an attachment.


Scan a Document
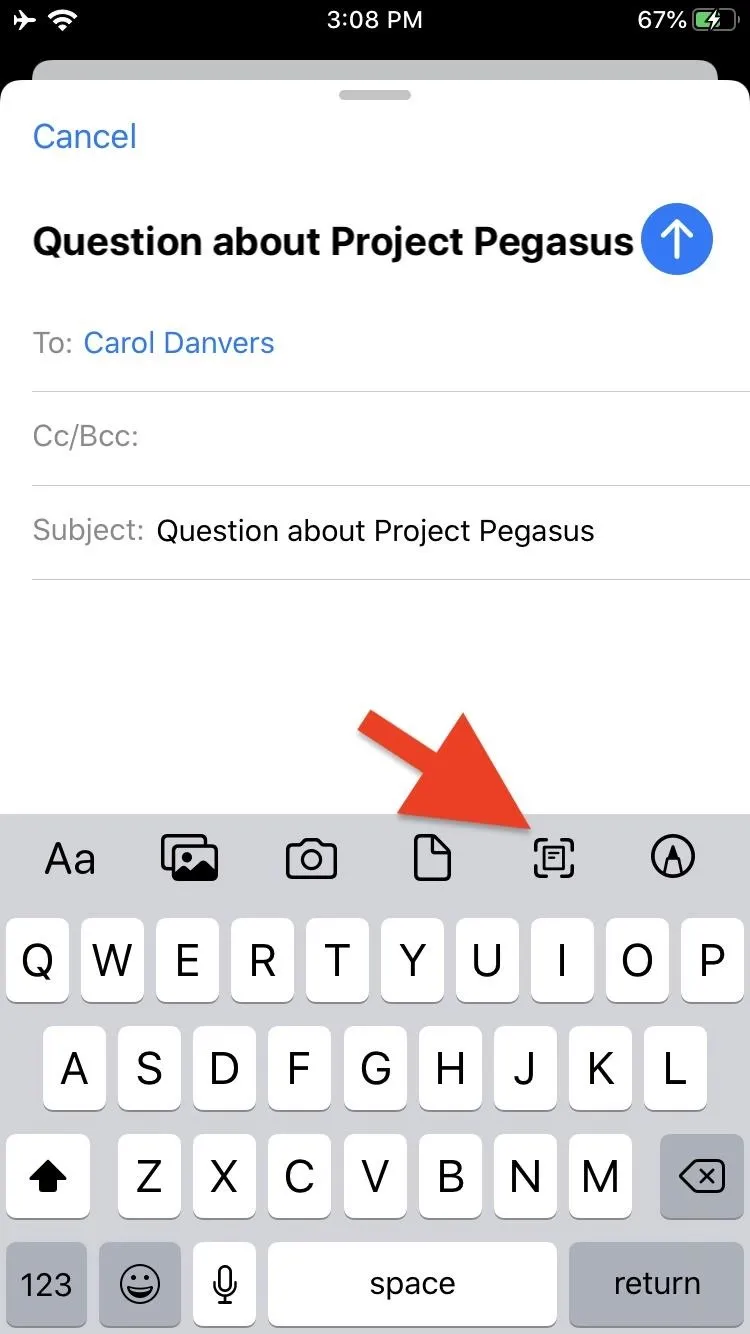
New in iOS 13, physical documents can now be scanned directly from the Mail app. To open the scanner, tap the scanner icon in the toolbar. For a detailed rundown of using the scanner and its options, check out our article on using the scanner in the Files app. The scans will either attach as a PDF or as photos depending on what options you use during the scan.


Add a Drawing
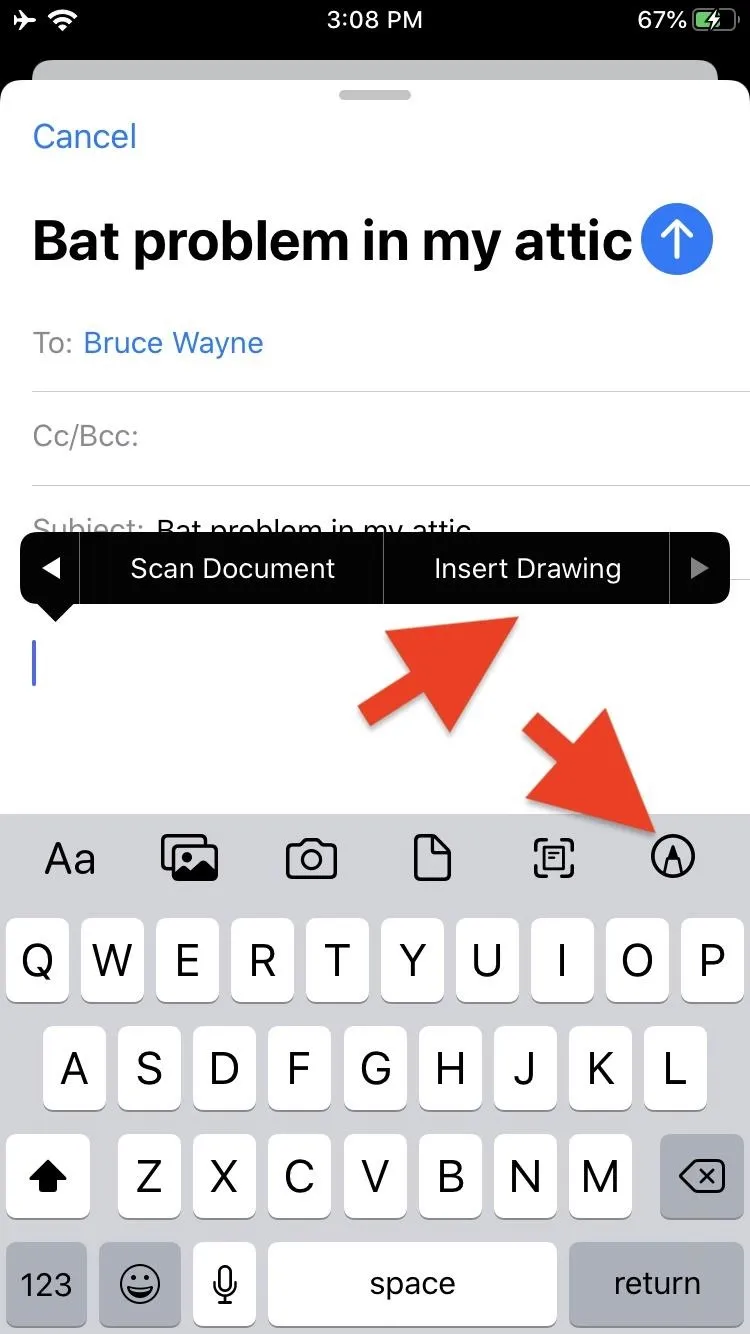
The ability to add drawings was also available in the edit menu in previous versions of iOS, specifically iOS 11 and higher. In iOS 13, you can access it the same way, but you can also tap the marker icon in the toolbar. Doing so will open a blank canvas in the built-in markup tool that you can draw on with your finger or stylus. The full set of tools is available, including a pen, marker, pencil, eraser, lasso, and ruler.
When you finish your drawing, tap "Done" to insert the image into your message.


The new formatting options can bring much more style and personalization to your messages, and the addition of the attachment functions to the toolbar brings an essential feature to a more visible spot compared to being buried in a contextual edit menu. Though not a complete overhaul, the new format bar goes a long way to making the Mail app feel complete.
Cover photo, screenshots, and GIFs by Mike Goril/Gadget Hacks




Comments
Be the first, drop a comment!