


One of the most powerful features when editing videos with Enlight Videoleap is the keyframe tool, which allows you to add custom transitions, animate text, granularly adjust audio, move video clips across the frame, supplement effects, and more. If you want your video to change color over time or for captions to move across the screen, use keyframes in combination with Videoleap's other tools.
If you're new to video editing, keyframes can be a tricky thing to get used to, but learning how they work will give you almost endless possibilities for fine-tuning both video and audio layers. Videoleap has a ton of editing tools, and you can use each of those tools in conjunction with keyframes for total customization. A sequence of keyframes will determine how long the effect takes place, while the number of keyframes in that sequence will decide the movement and other changes.
Get Your Project Ready
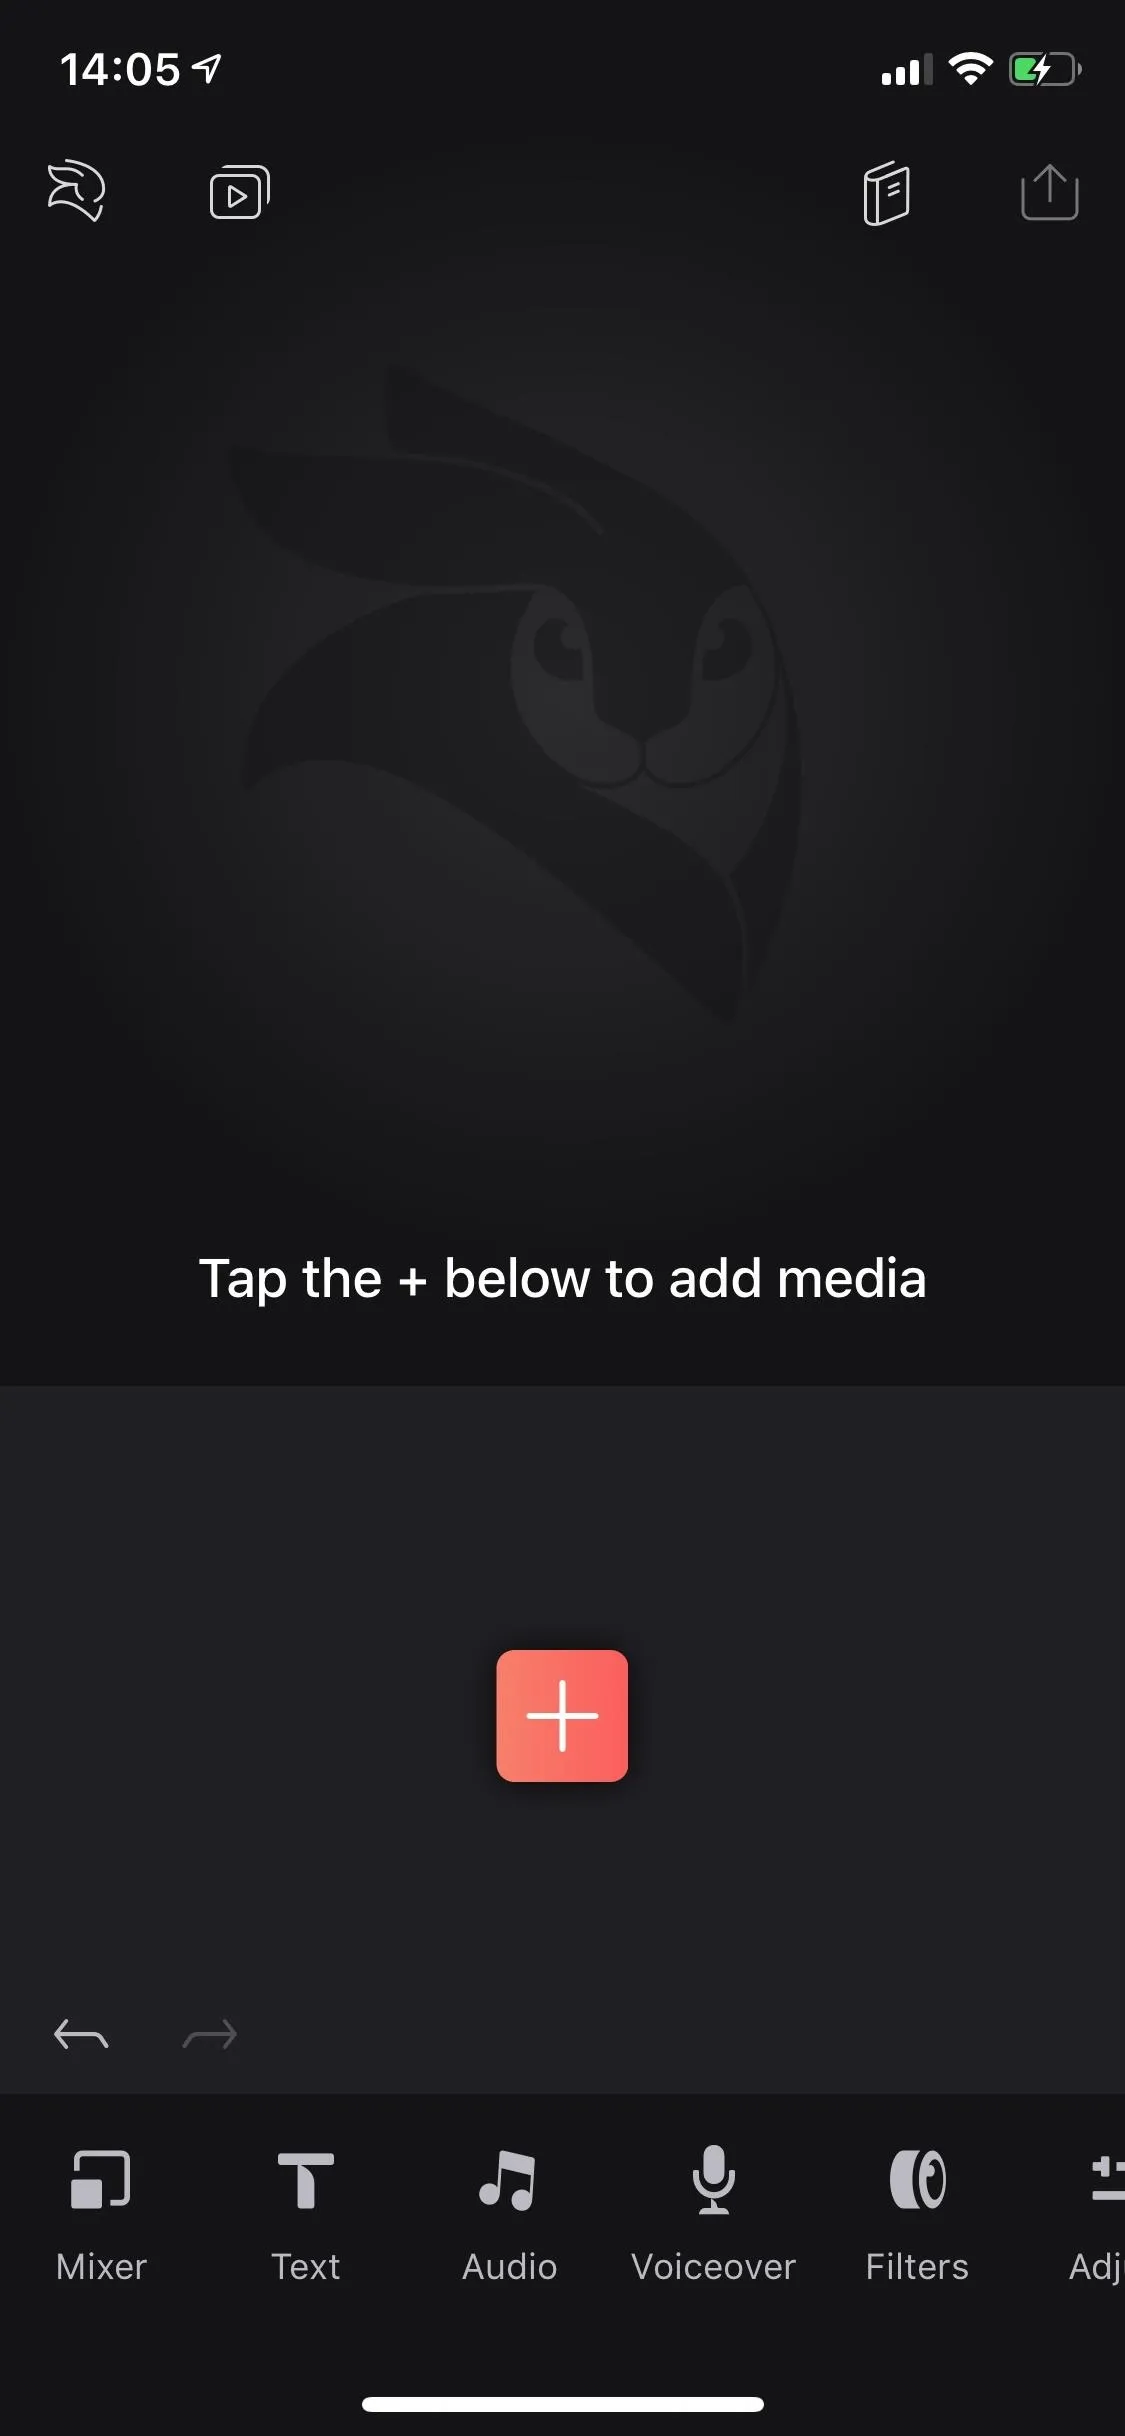
Make sure you've updated "Enleap Videoleap Video Editor" on your iPhone, as the developers continually add new features and fix bugs. Then, if you already have a project open that you want to try keyframes out on, skip to Step 2. Otherwise, add some media to a new project.
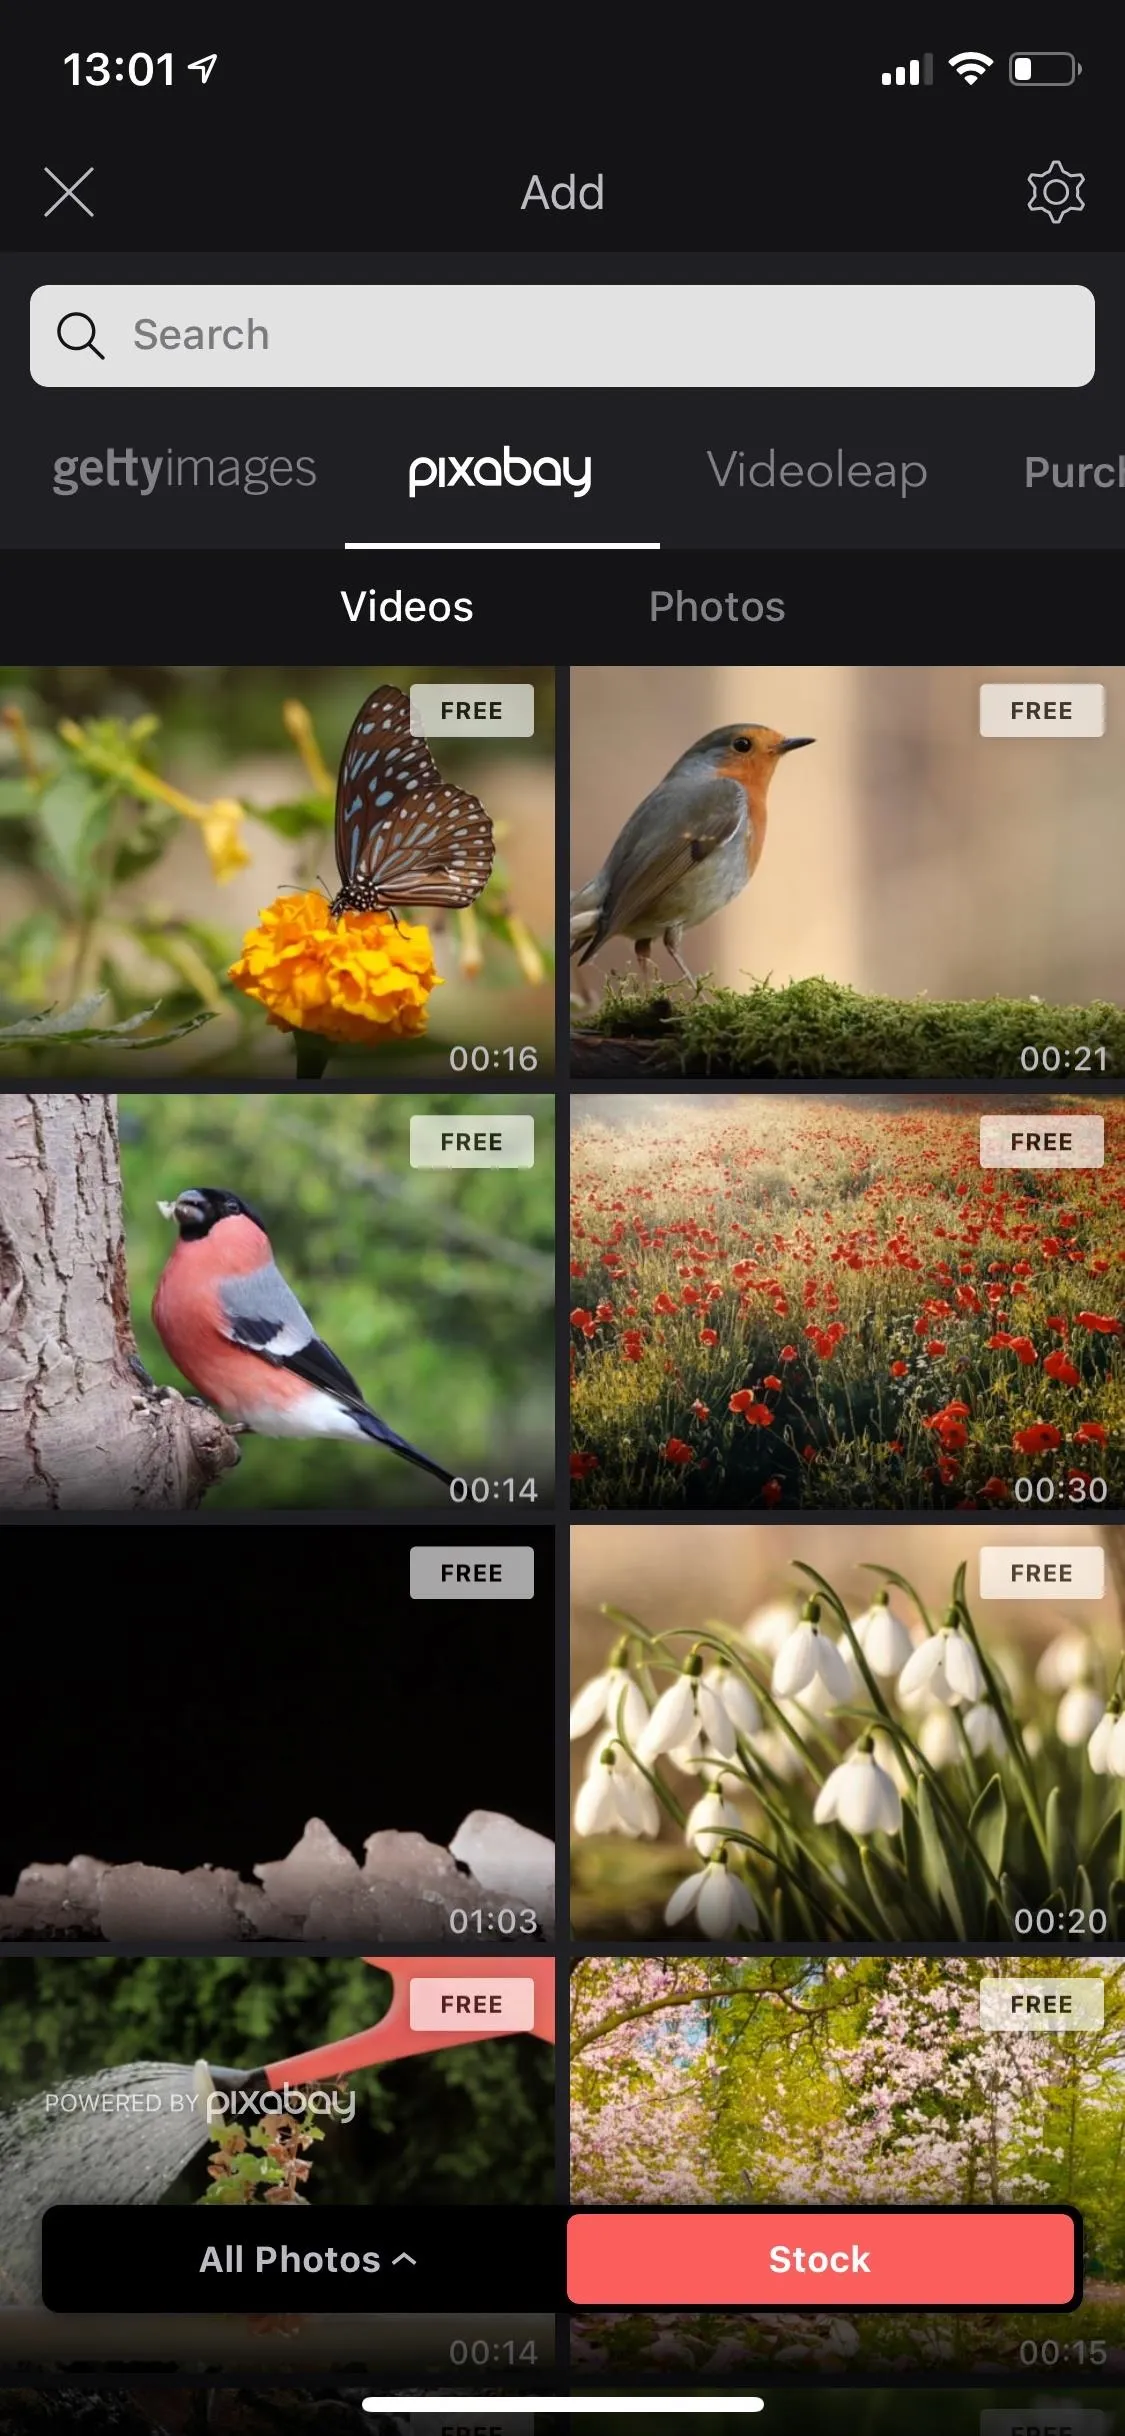
Tap on the red-and-white plus sign in the timeline, and select a video from an album in your Photos app, from the cloud in your Files app, or from Videoleap's stock options, which has a good amount of free videos to play around with. Once you've added a video or two (or however many), you can start right away adding keyframes to those clips or you can add some effects to animate such as green screen footage or captions.
Add Some Keyframes
Before we get into what keyframes can do for you in regards to animations and effects, you need to know where the keyframe icon is and how to add and erase keyframes from your project. Start by tapping on a clip or effect in your project, which will change options in the bottom toolbar. Above the toolbars on the right, you'll see a diamond icon with a plus sign above it — that's the keyframe tool.
Tap on the keyframe tool to add a keyframe marker to your clip. You just made your first keyframe, which tells the app you want the video, audio, or photo to have the same settings it has already up until the specified time. It will also be the start of your animation or change.
Move the playhead forward on the highlighted clip, and tap the keyframe icon to add another marker to your clip. If you only add a second keyframe, it will be the end of your animation or change. With this keyframe selected in the clip, you can make changes with any tool available. When you play the clip back, the video, audio, or photo will play as normal, then at the first keyframe, it will start transitioning to the effect you applied in the second keyframe, but it won't be fully realized until the playhead hits the second keyframe.
That's the basics of adding keyframes. Of course, you can have as many keyframes as you want for each keyframe sequenced, depending on how elaborate you want your animation or change to be throughout the clip.
If you want to get rid of a marker, tap on it, then the keyframe icon, which should now have a minus sign. You can also use the back tool (far left above the toolbar) if you make a mistake. Getting rid of a marker is important to know because there is no way to move a marker, but you can remove one and place a new one.
Additionally, as you'll soon see, you don't always have to add keyframe markers to the video clip manually. After you create one, move the playhead, then make a clip adjustment, a keyframe will automatically be added.
Animate Effects with Keyframes
Now that you know how to lay down keyframe markers, it's time to see how they work with effects. You can use keyframes to shift through filters, change opacity, make speed adjustments, use different color hues, move text around throughout your video, and change volume levels, to name just a few things.
For this example, I'll be creating different color hues for specific parts of a video clip, but you can do this with effects for audio clips and photos. I'll also be starting from scratch, without any keyframes in the clip, so I can show you the other way to add additional keyframe markers.
Start by tapping the clip, then move the playhead to where you want the first keyframe marker, then tap the keyframe tool to add one. Next, with the clip still highlighted, move the playhead to where you want to next keyframe to be, but don't add one.
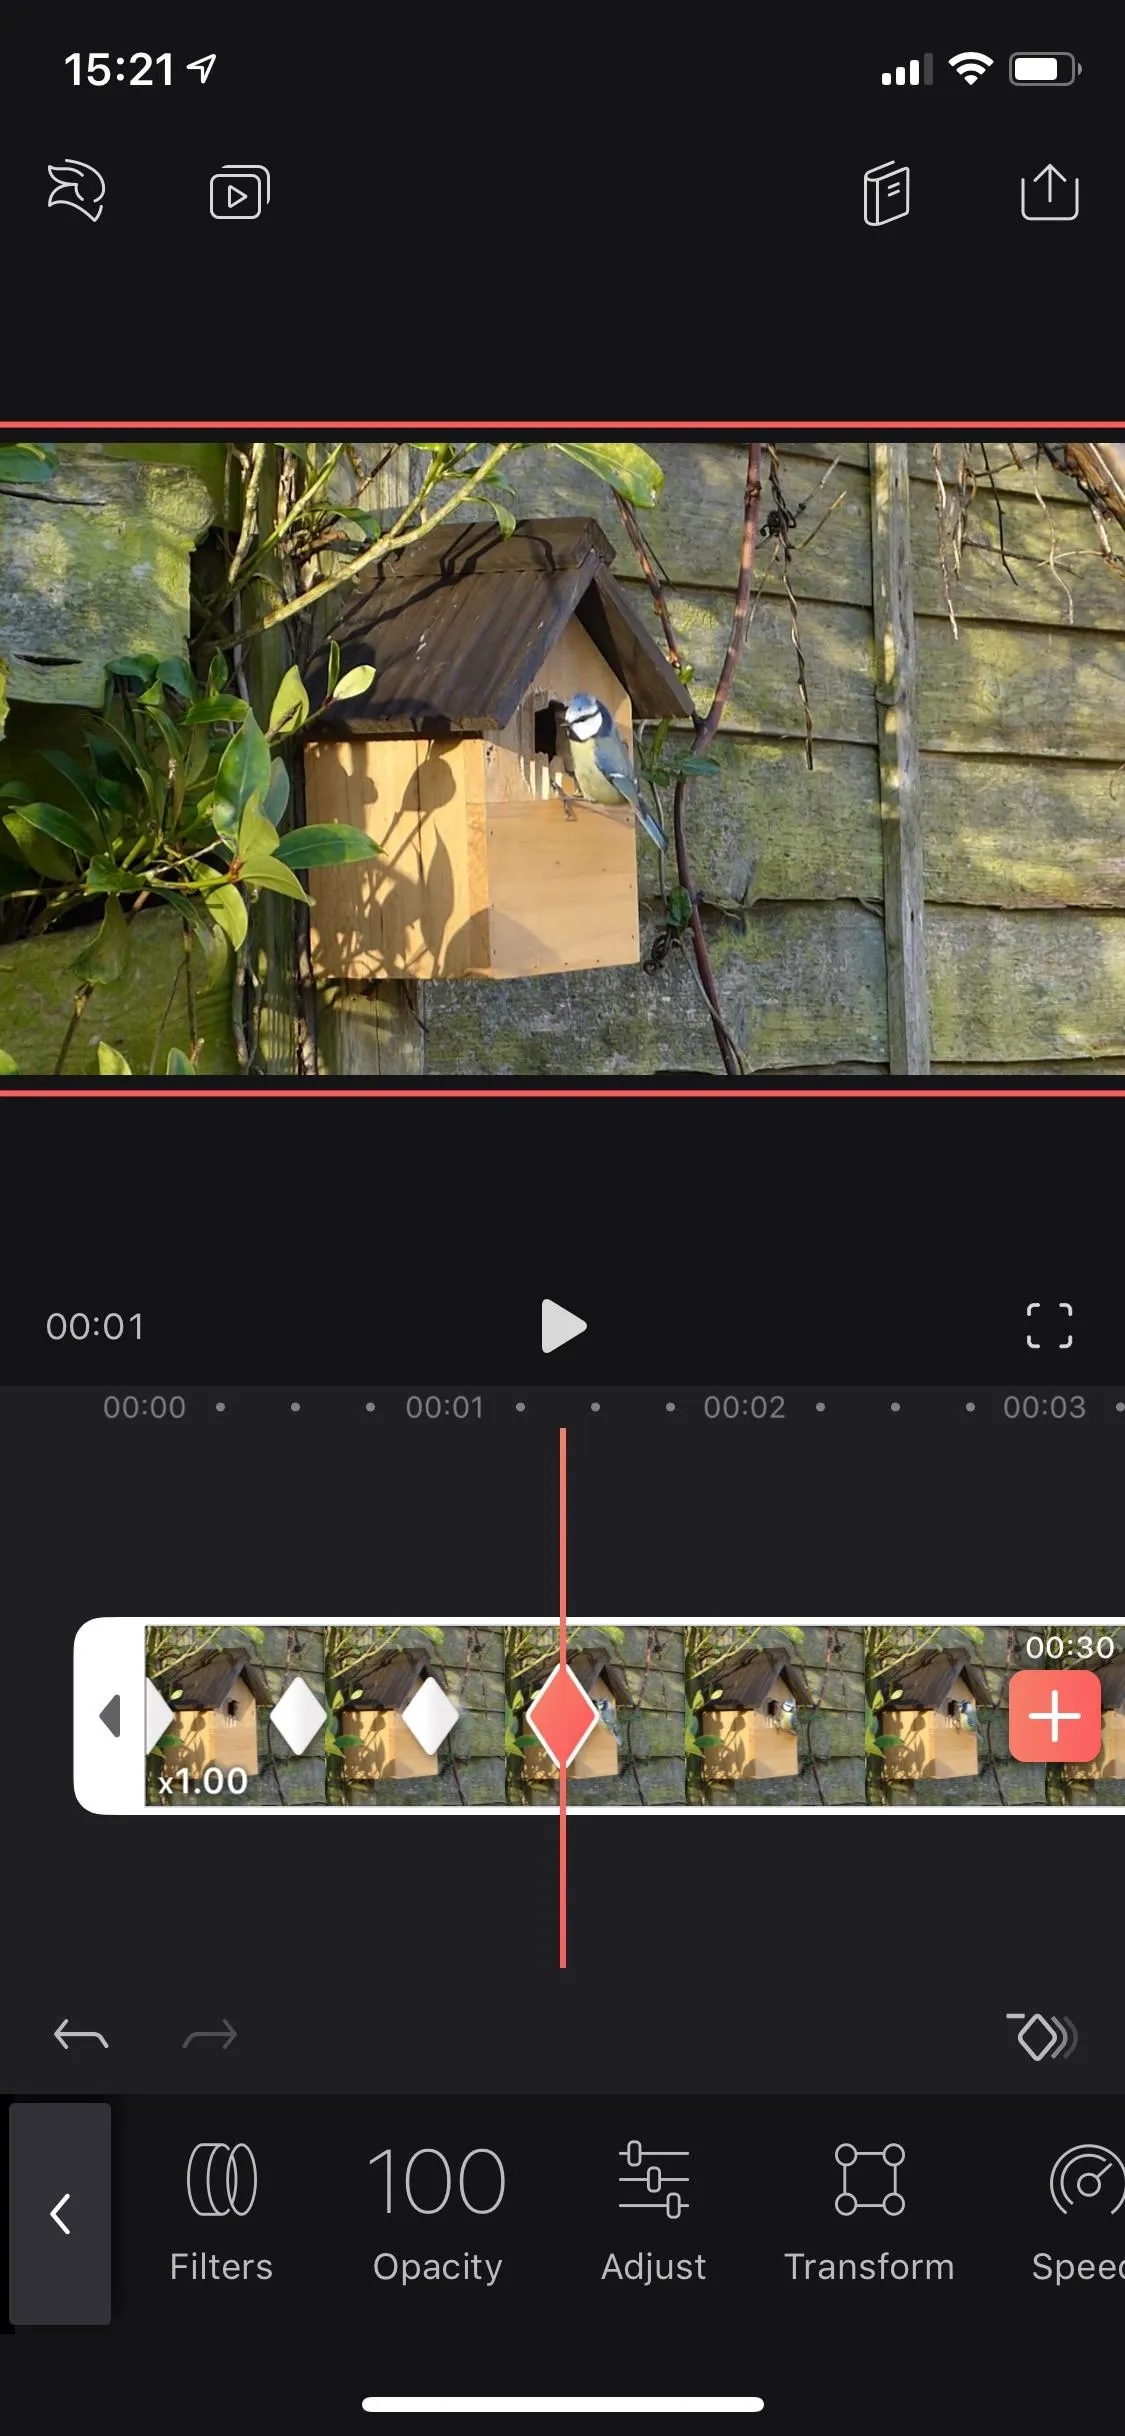
Since we're changing the hue in this example, tap on "Adjust" in the toolbar, then tap the "Hue" option. A slider will appear above the toolbar, so use that to adjust the hue to where you want it. As soon as it goes above or below zero, a new keyframe will automatically be added.
You can also set down markers in advance and change the hue after tapping on each one, but the automatic keyframe option feels more intuitive. Just know that you have options! You can keep moving the playhead down the clip to add more hues, thus, more keyframes, until you're satisfied. Use the erase keyframe icon or the back button to set up new markers if you make a mistake.
When you're finished adding keyframes, play the video to see if you like the effect. Videoleap will automatically create a transition for you between keyframes. The closer the markers are to each other, the faster the transition between effects; the farther away, the longer the transition takes. Play around with distance to see which transition you like best. Below is what my video looks like with several keyframes different hues.

If you create keyframes for text and move the text around with your finger, the animation will be the path between the original placement and the new placement. For example, you can place text in the middle of the video, set down a keyframe marker, move up the timeline, and move the text to the top right to automatically set down another marker. During playback, you'll see the path animation of the text you moved.
Each editing tool reacts differently to keyframes, so playing around is the best way to see what the results will look like. This guide was just a starting point to get you going and finding ways to be creative with it.
This article was produced during Gadget Hacks' special coverage on smartphone-based video creator tips for filming and editing. Check out the whole Videography series.
- Follow Gadget Hacks on Pinterest, Reddit, Twitter, YouTube, and Flipboard
- Sign up for Gadget Hacks' daily newsletter or weekly Android and iOS updates
- Follow WonderHowTo on Facebook, Twitter, Pinterest, and Flipboard
Cover photo, screenshots, and GIFs by Nelson Aguilar/Gadget Hacks


Comments
Be the first, drop a comment!