


While Live Photos has been a fun addition to iOS ever since the iPhone 6S and 6S Plus, there hasn't been much practical use for Apple's moving images so far. That was, until iOS 11 added advanced features such as long exposure effects that make a DSLR less and less impressive these days.
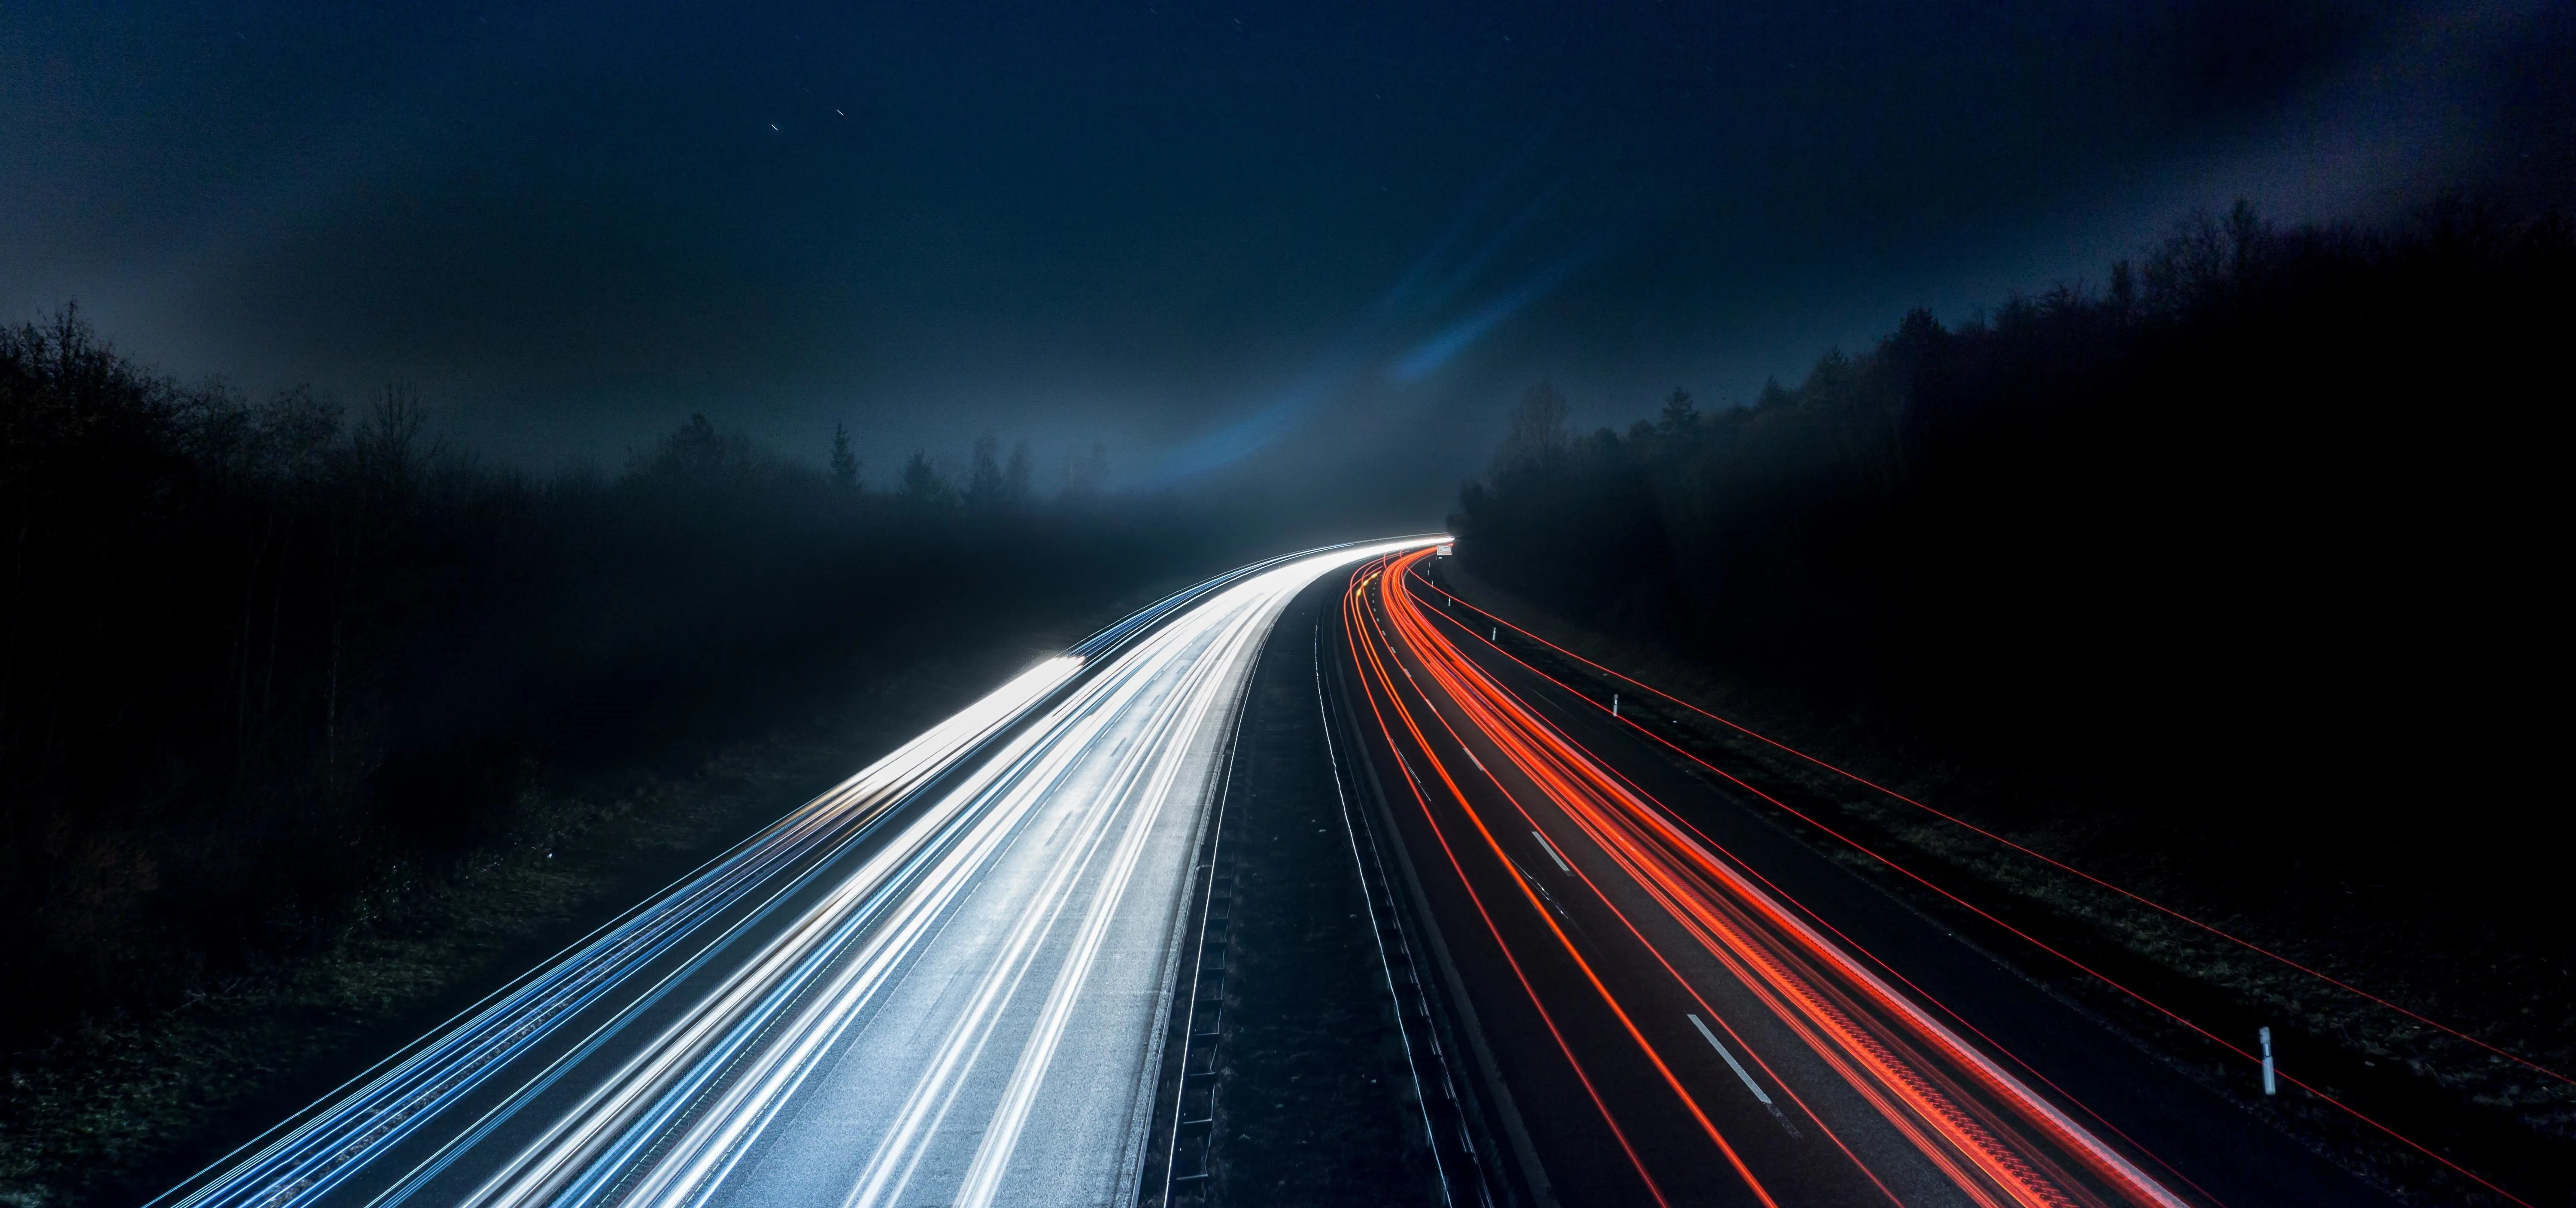
Usually, a camera creates a long exposure when it keeps its shutter open for an extended period, and it can work in the day or night depending on the right aperture. While still photographs may not change dramatically, ones with motion in it absolutely will. If you've ever seen a photo of blurry, trail-like, or surreal movement amongst an in-focus background or foreground, that's a long exposure.

You used to need a tripod and some decent camera equipment to achieve this effect, but Apple offers it as a free option inside your Photos app. It works as long as you have iOS 11 or higher installed on your iPhone, and as long as your iPhone supports taking Live Photos, so that just leaves out the iPhone 5S.
Make Sure Live Photos Is Turned On
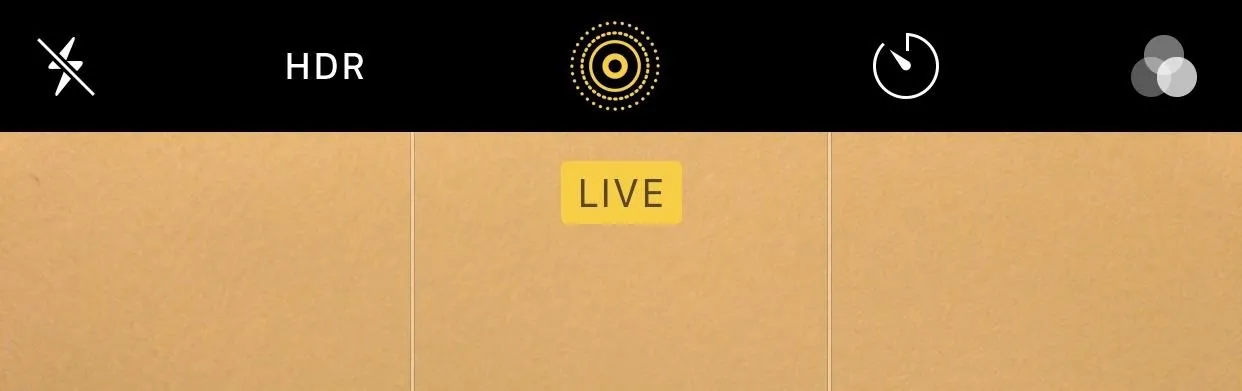
Because this is technically a Live Photos effect, you need Live Photos activated to take advantage of long exposures. Tap the middle circular button in the top menu bar to enable Live Photos in the Camara app. If activated, the icon will turn yellow, along with a yellow "Live" notification.
Take Your Photo
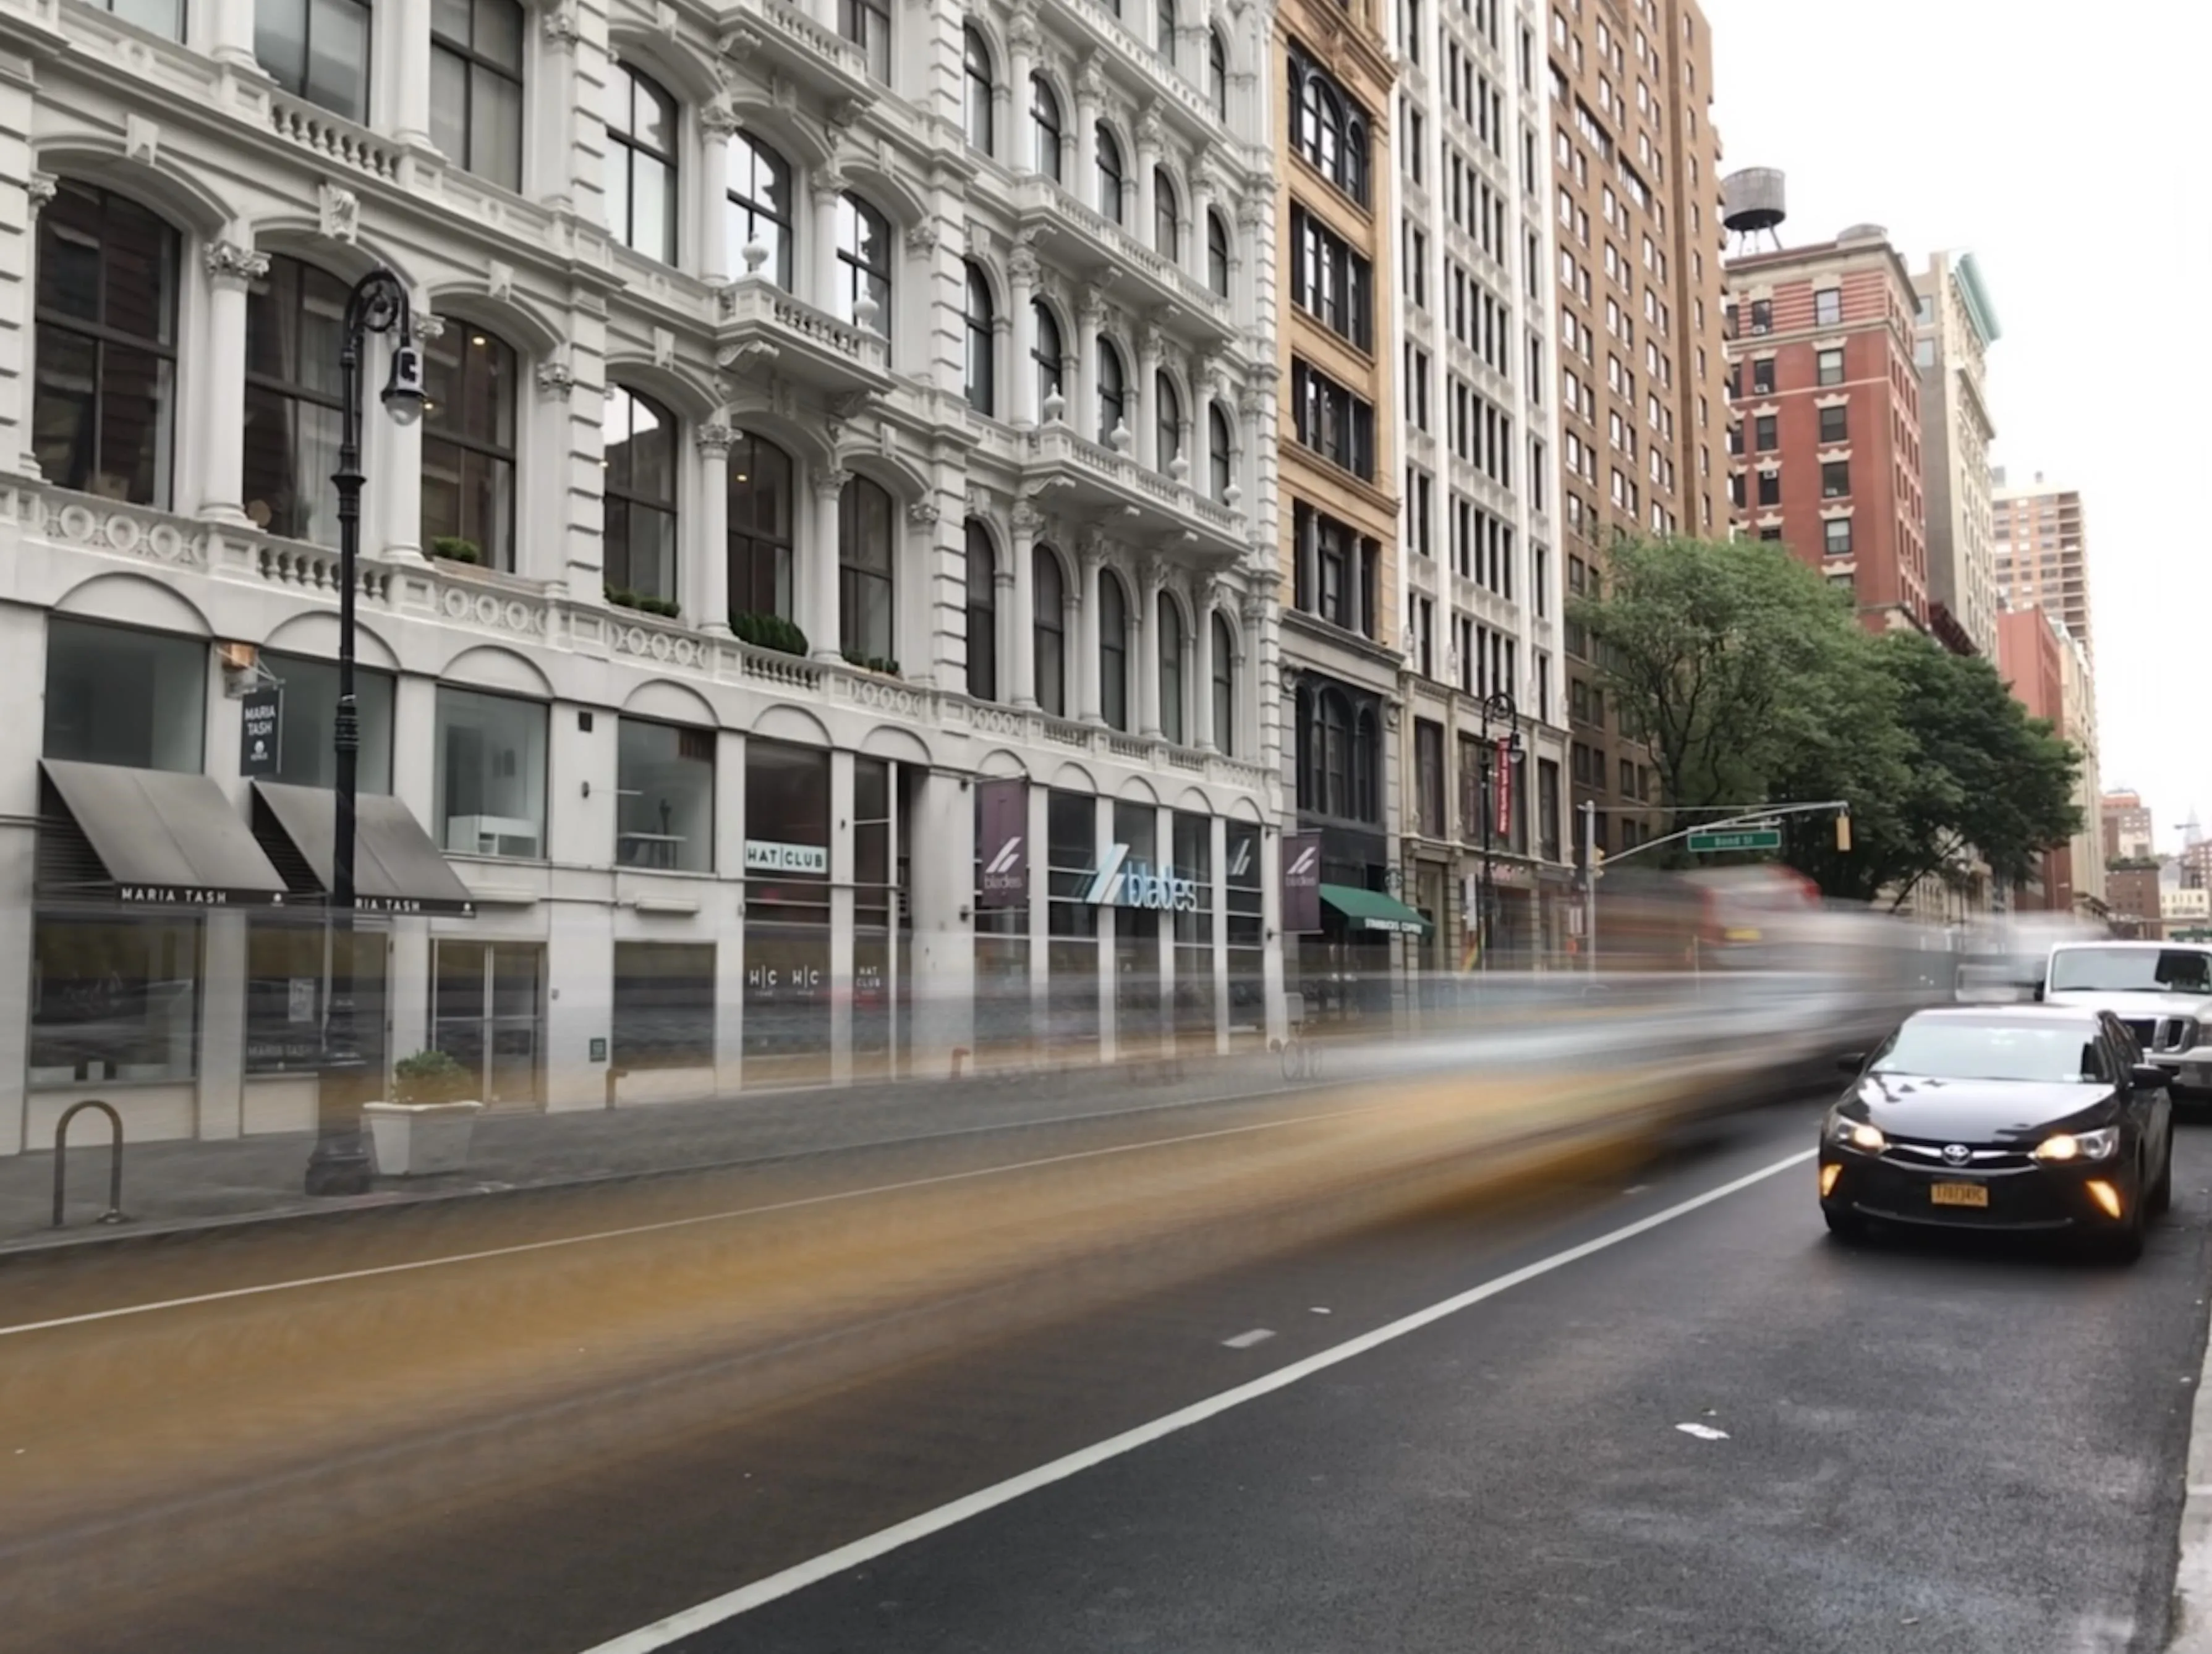
To maximize the look of long exposure, you're going to want to take a photo of something continuously moving, with a relatively still background. Street traffic is a great photo subject because while always moving, the continuous flow of traffic won't leave the frame, giving you a classic long exposure effect. Ideally, you'll want to keep your iPhone as steady as possible while taking the Live Photo.
Set the Effect
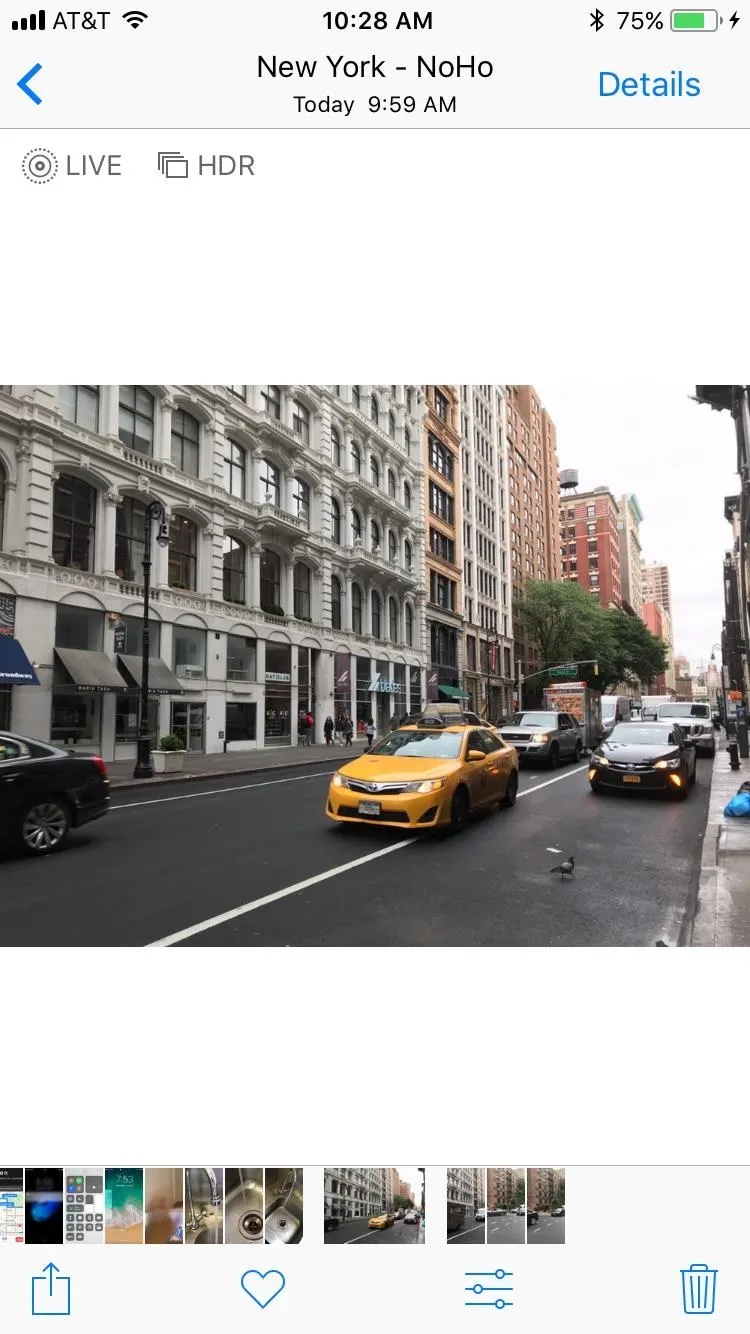
View your Live Photo, either in the Photos app or by clicking the photo icon in the bottom left of the Camera app. Next, swipe up on the screen or hit "Details" to reveal the Effects selector. You have a few here to choose from, but for our purposes, scroll to the end and tap on Long Exposure.
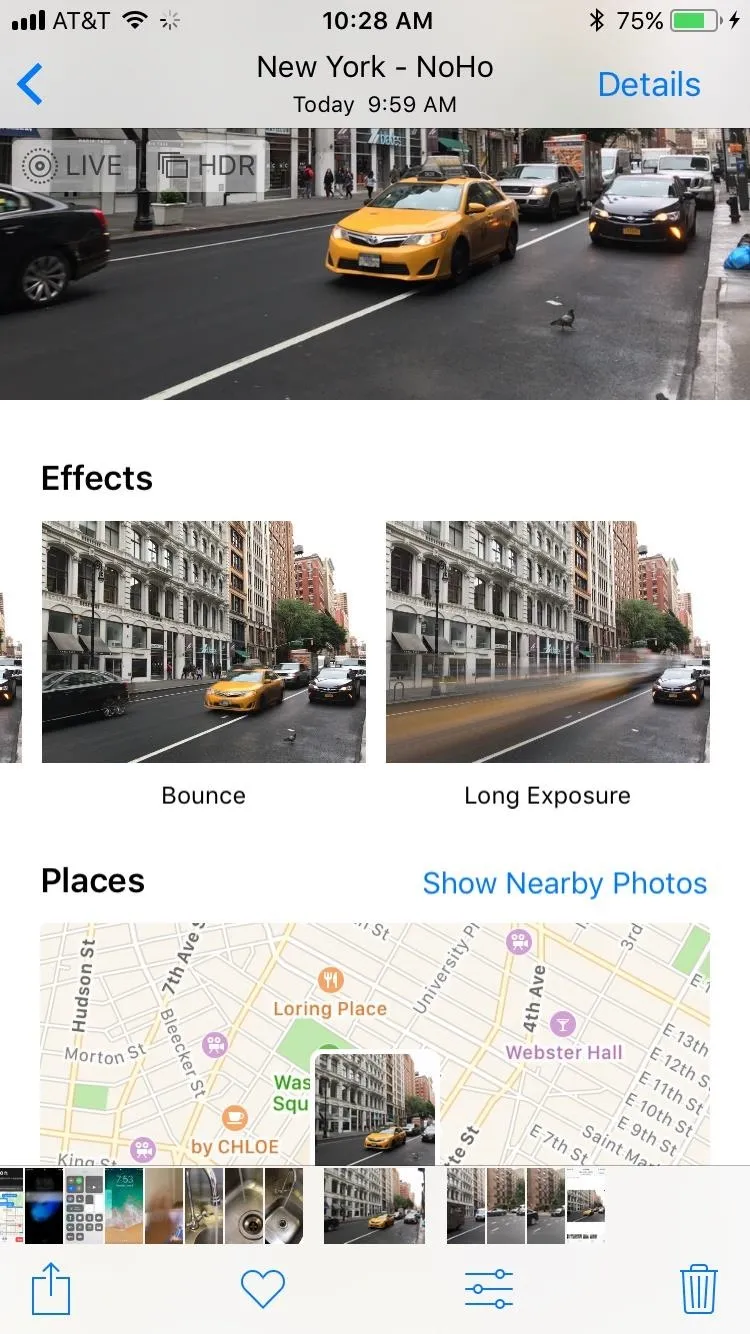
Your iPhone will automatically adjust the picture, and you'll have a pro-looking long exposure photo to share on Instagram, Facebook, or wherever you like to share your excellent photo skills.
If you want to get your Live Photo back, you have to go back to the Effects menu and choose "Live" or "Live Photo" to revert the changes.
- Follow Gadget Hacks on Pinterest, Reddit, Twitter, YouTube, and Flipboard
- Sign up for Gadget Hacks' daily newsletter or weekly Android and iOS updates
- Follow WonderHowTo on Facebook, Twitter, Pinterest, and Flipboard
Cover image via flo222/Pixabay; Screenshots by Jake Peterson/Gadget Hacks


Comments
Be the first, drop a comment!