


Whether you mean to or not, taking burst photos is super easy on the iPhone. In the Camera app, just compose your photo, tap-and-hold the shutter button, and watch the number of pics go up and up until you take your finger off the screen. However, finding that one special keeper out of all of them in the Photos app isn't as intuitive as taking them in the first place.
Bursts are best suited for action shots, so you can pick and choose the best angles from fast movement in front of your camera. However, I accidentally hold the shutter button down all the time when taking still shots, causing me to have to find the best one to keep even when I don't want to do all that extra work. Whatever your case may be, here's how it all works.
Finding Your Burst Photos
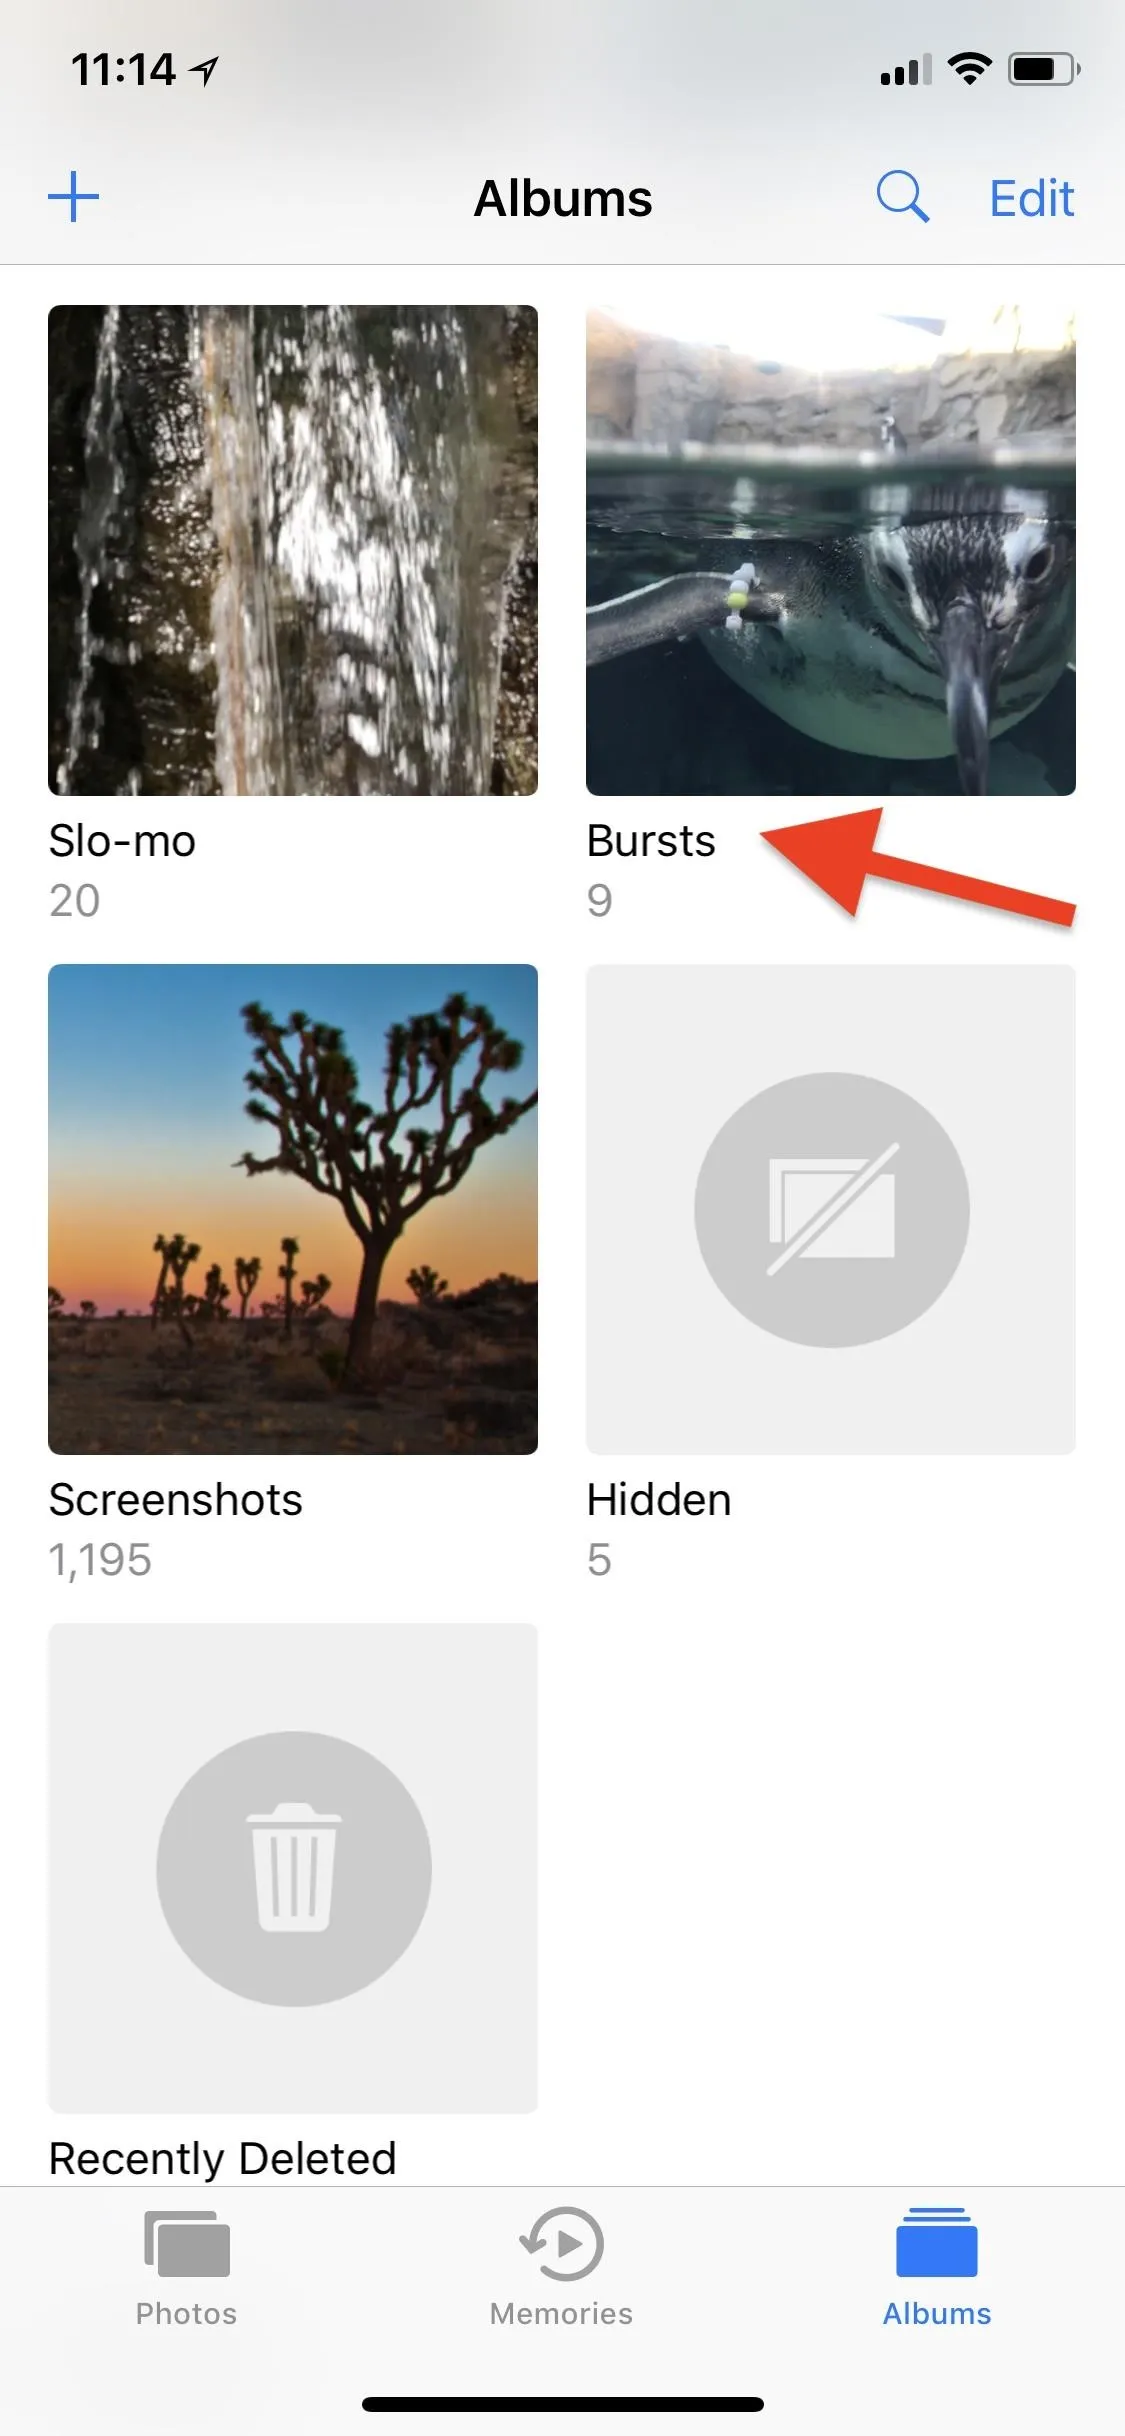
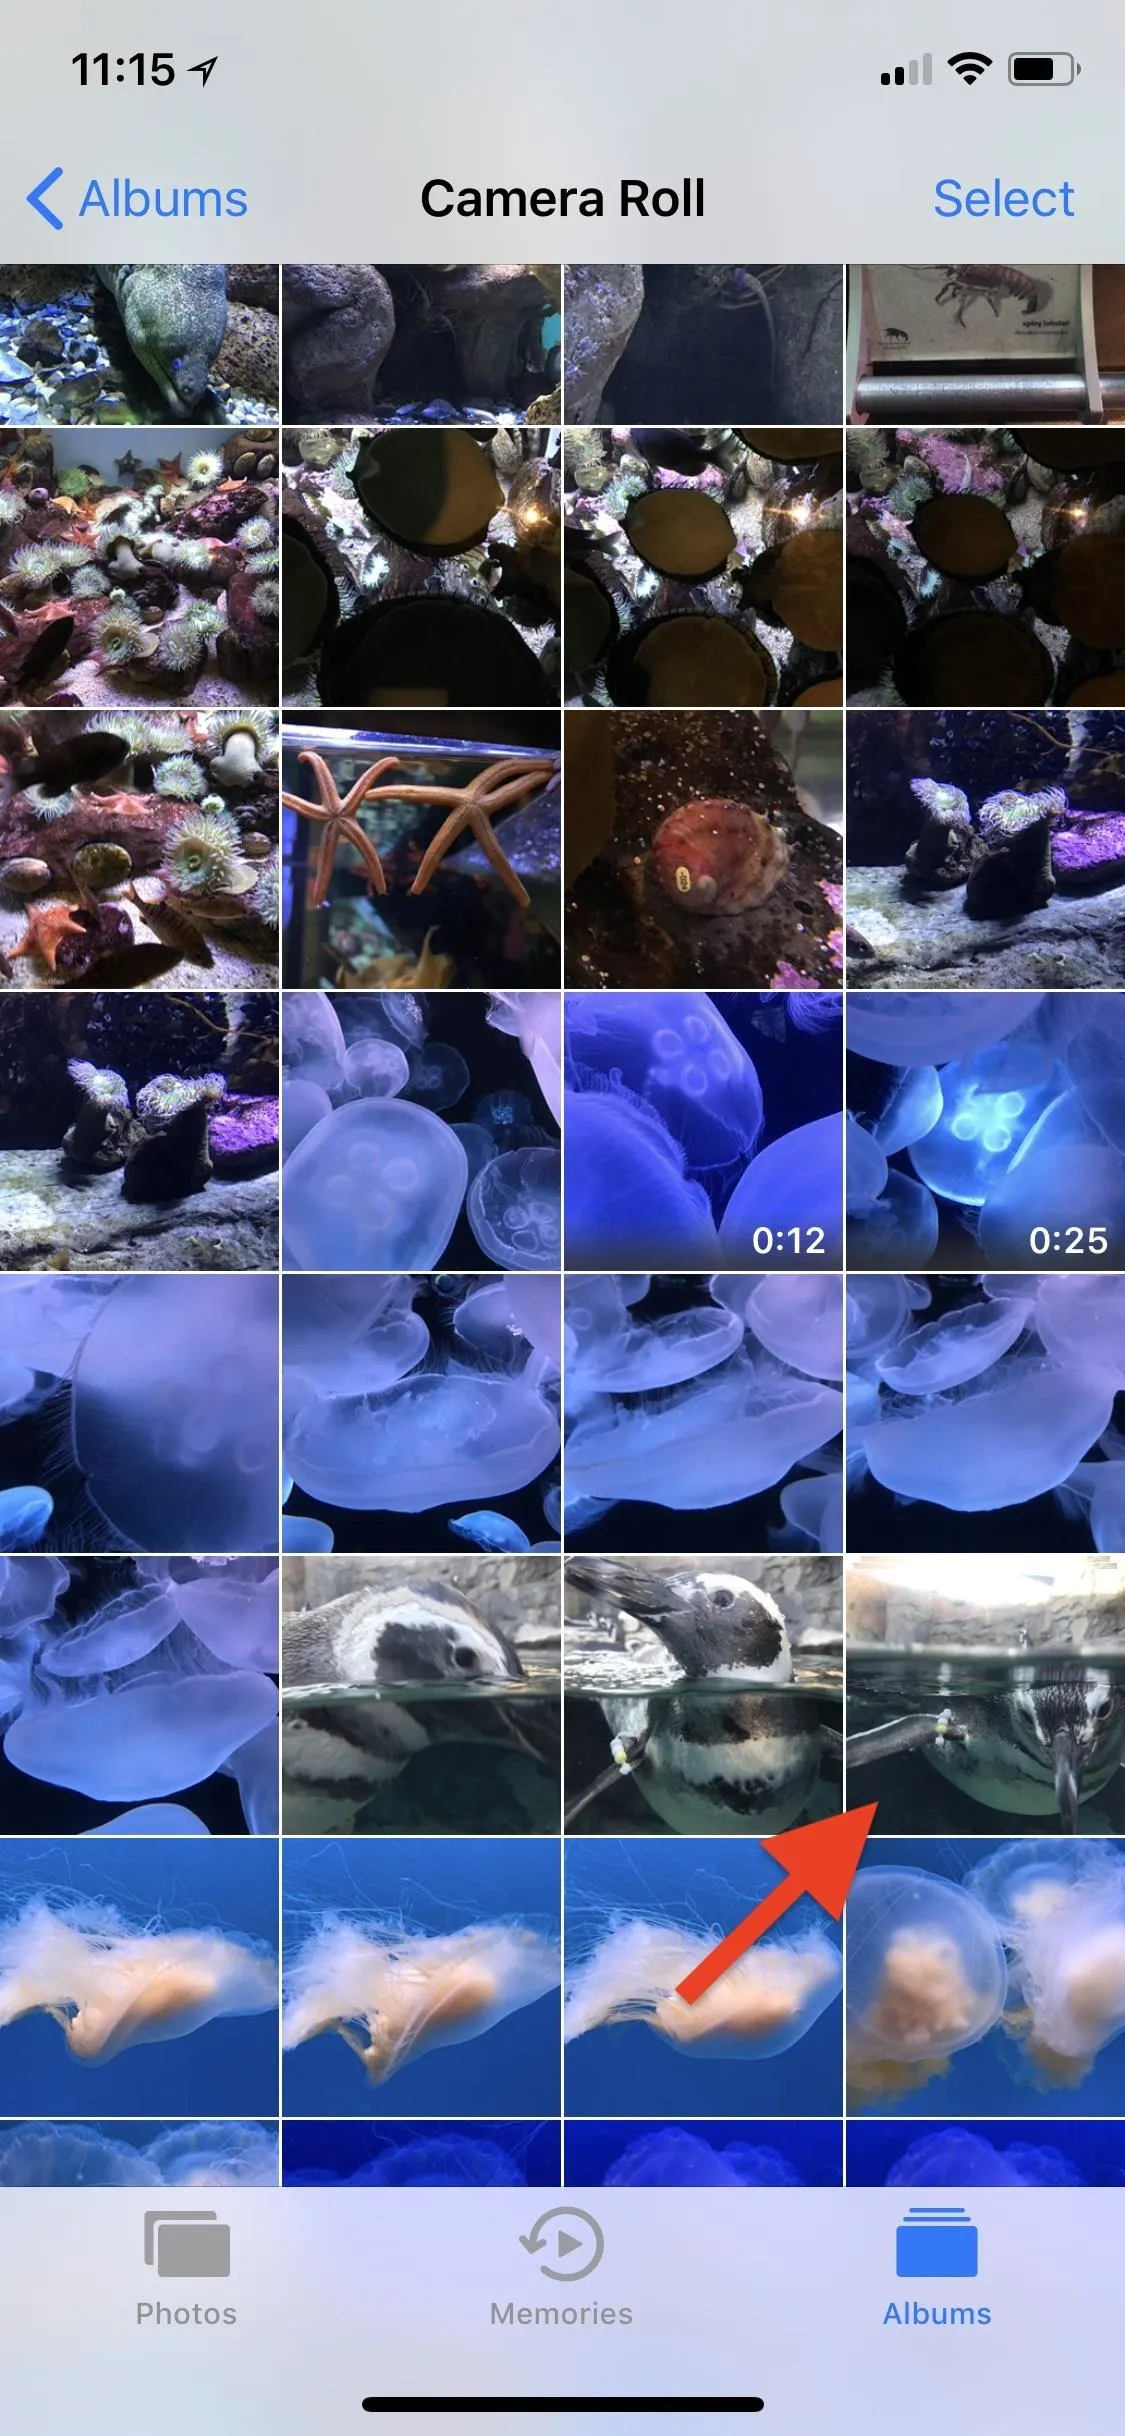
First things first, when you take a burst of photos, they will be saved in your Photos app just like every other photo you take with Apple's default shooter. You can see them in the main "Camera Roll" (or "All Photos" for some) album, in the "Bursts" album that's automatically created when you have some, or in any of the auto-created folders that apply such as "Selfies" or "Places."
Additionally, you can see them in the "Moments" view in the "Photos" tab.
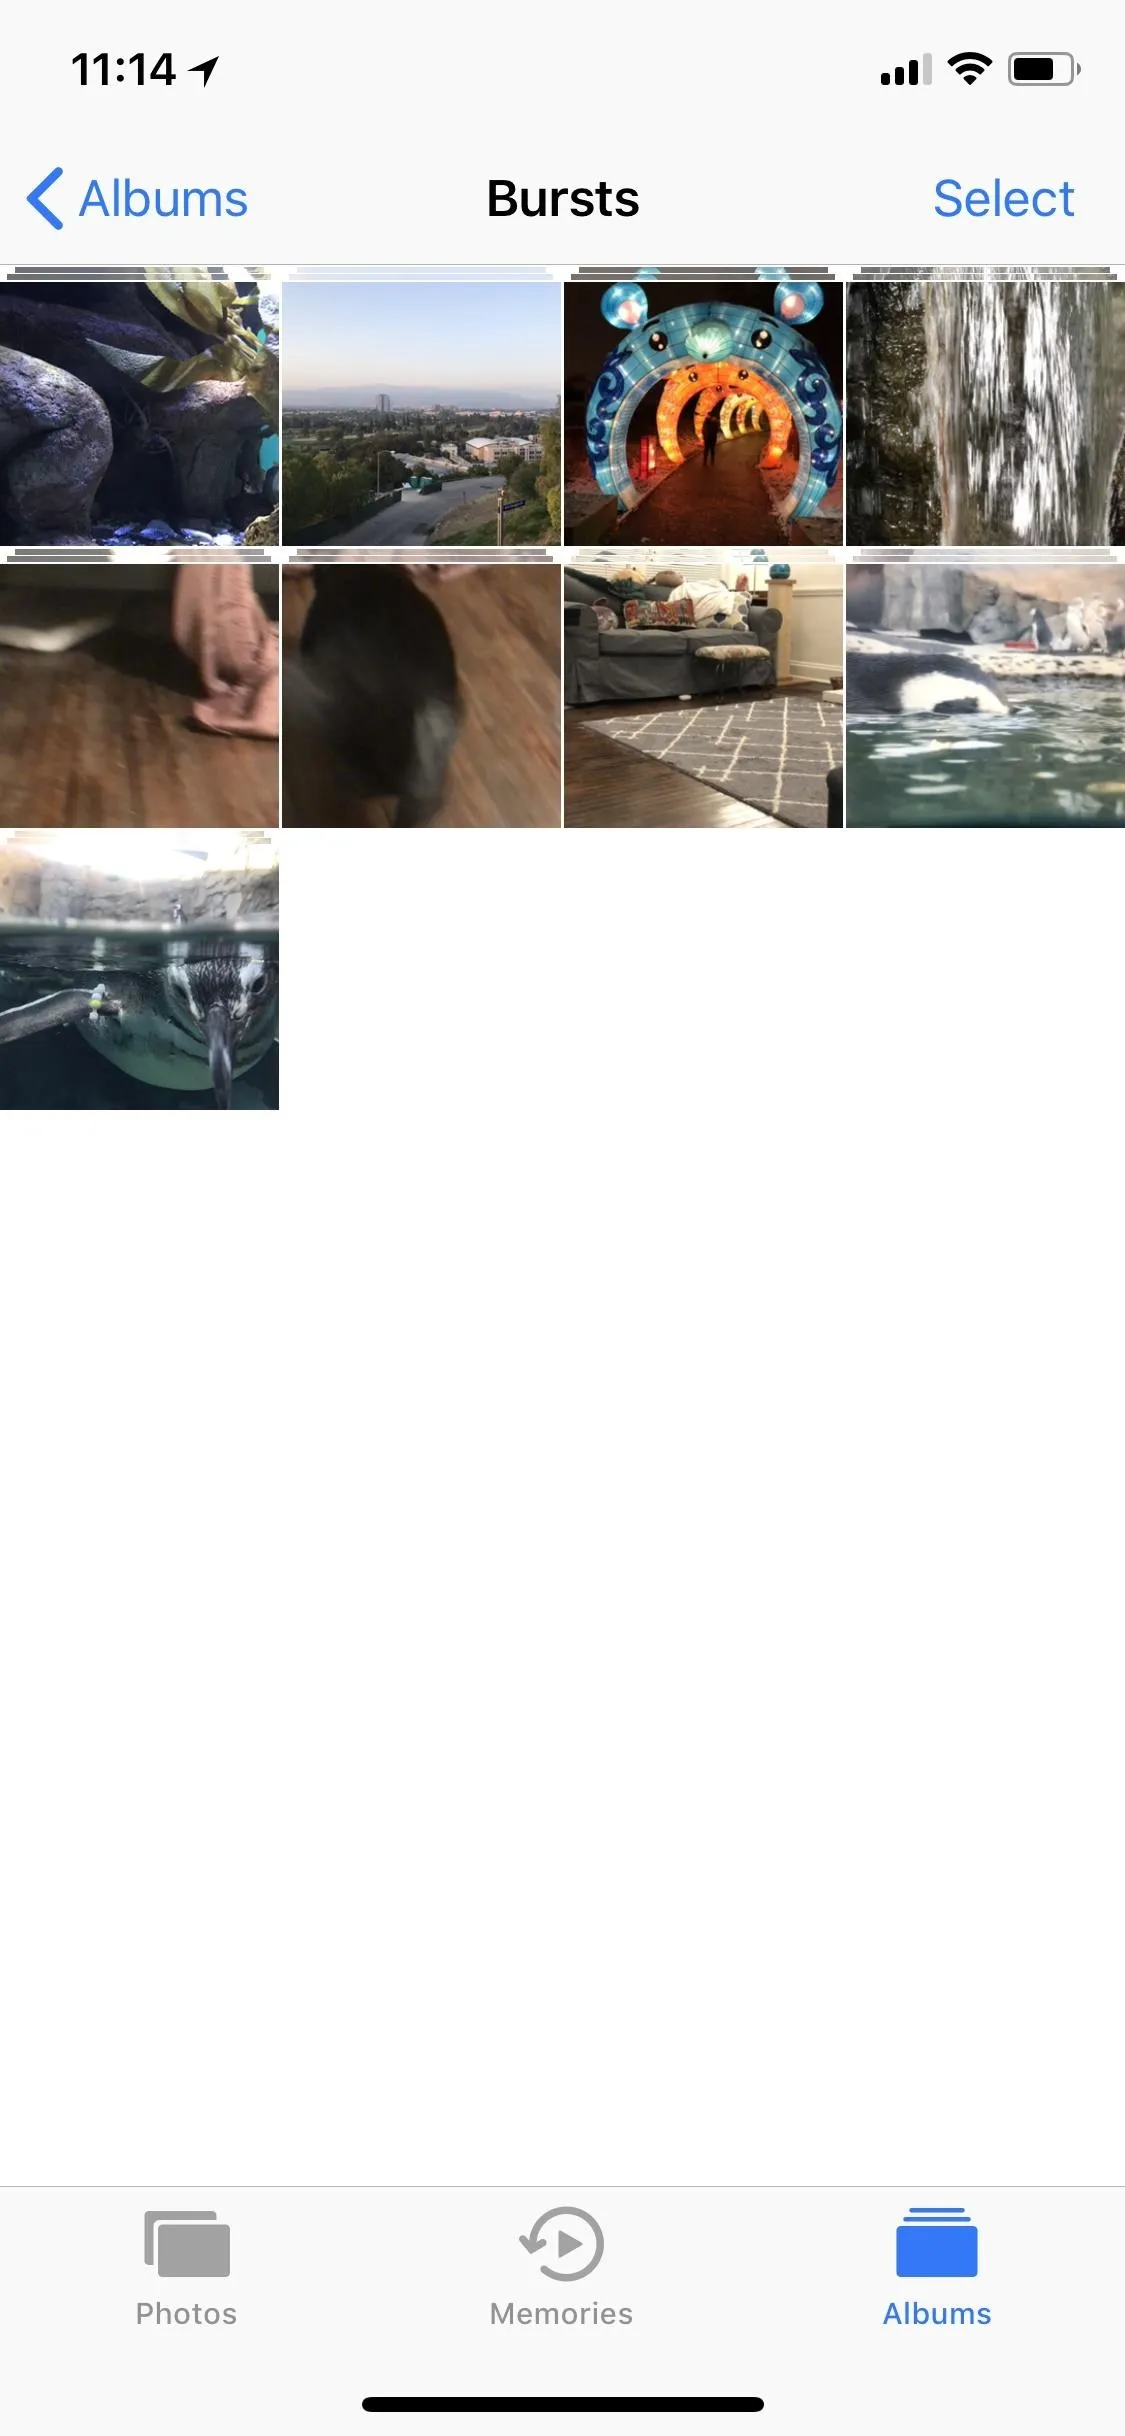
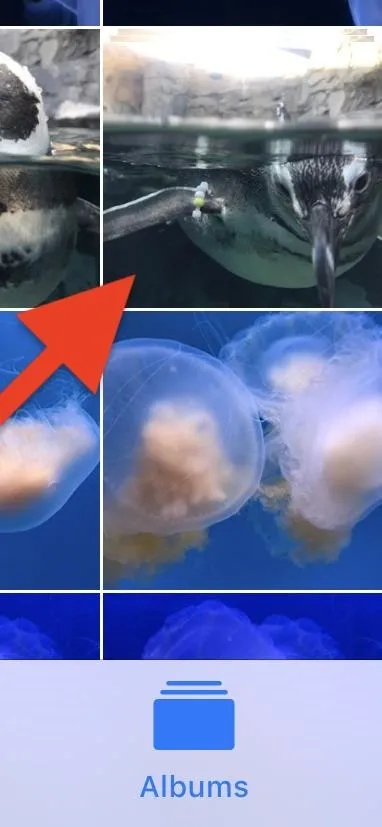
In all of these sections, you can tell right away that they are burst photos because the thumbnail image for the group will be slightly smaller than the rest of the thumbnails, and it will show two other images cascaded behind it. The burst photos won't show up individually to prevent unnecessary clutter and confusion.
Viewing Photos in Your Burst Group
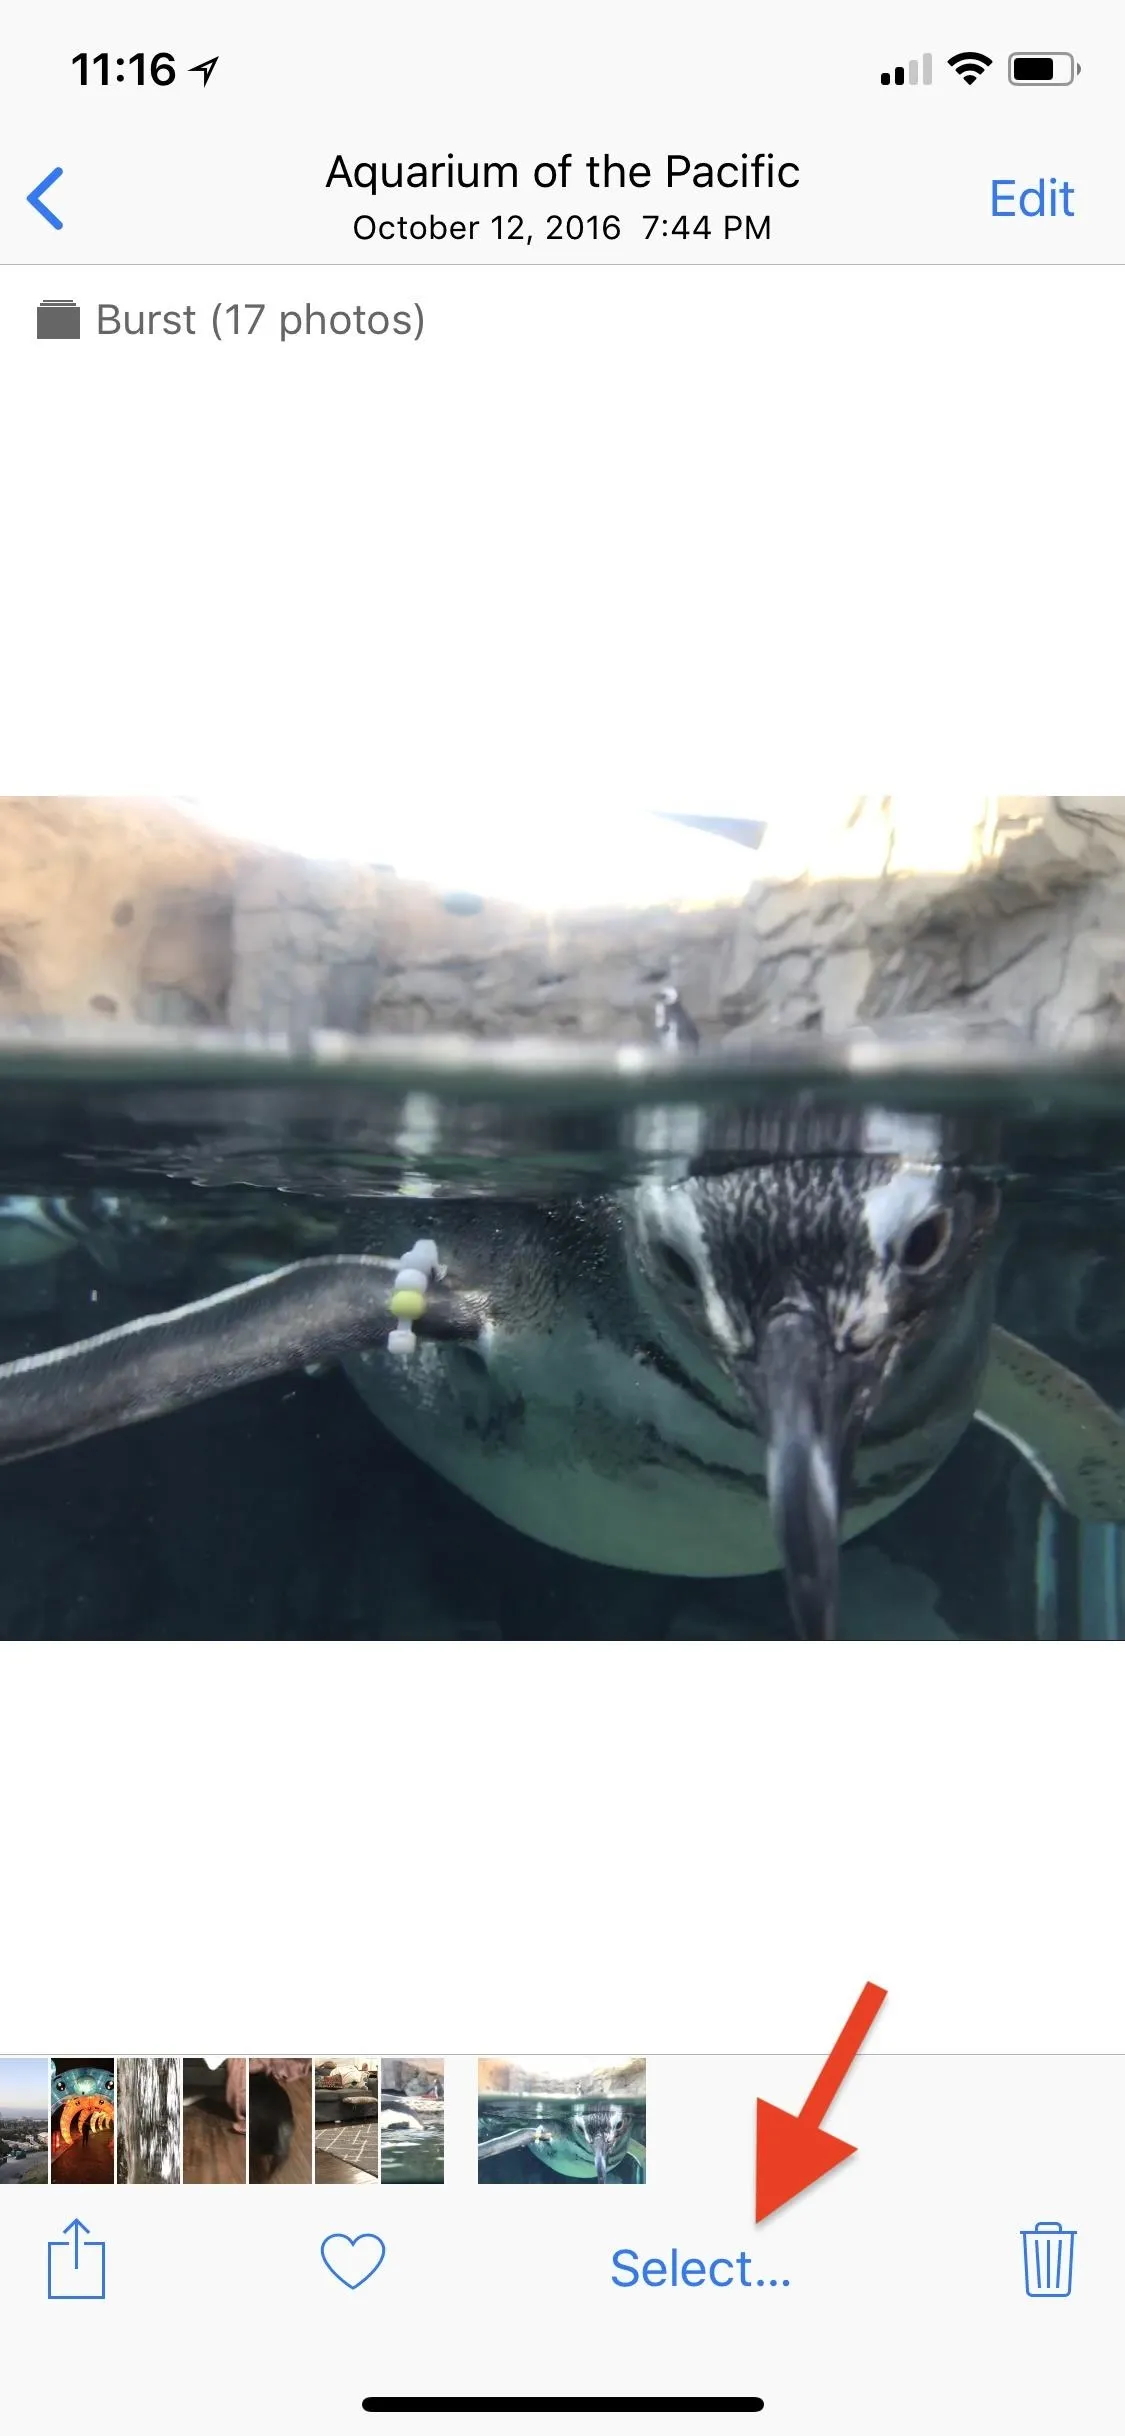
As you can tell, when you tap on a group of bursts from one of the locations above, you will only see that one image that's the main thumbnail.
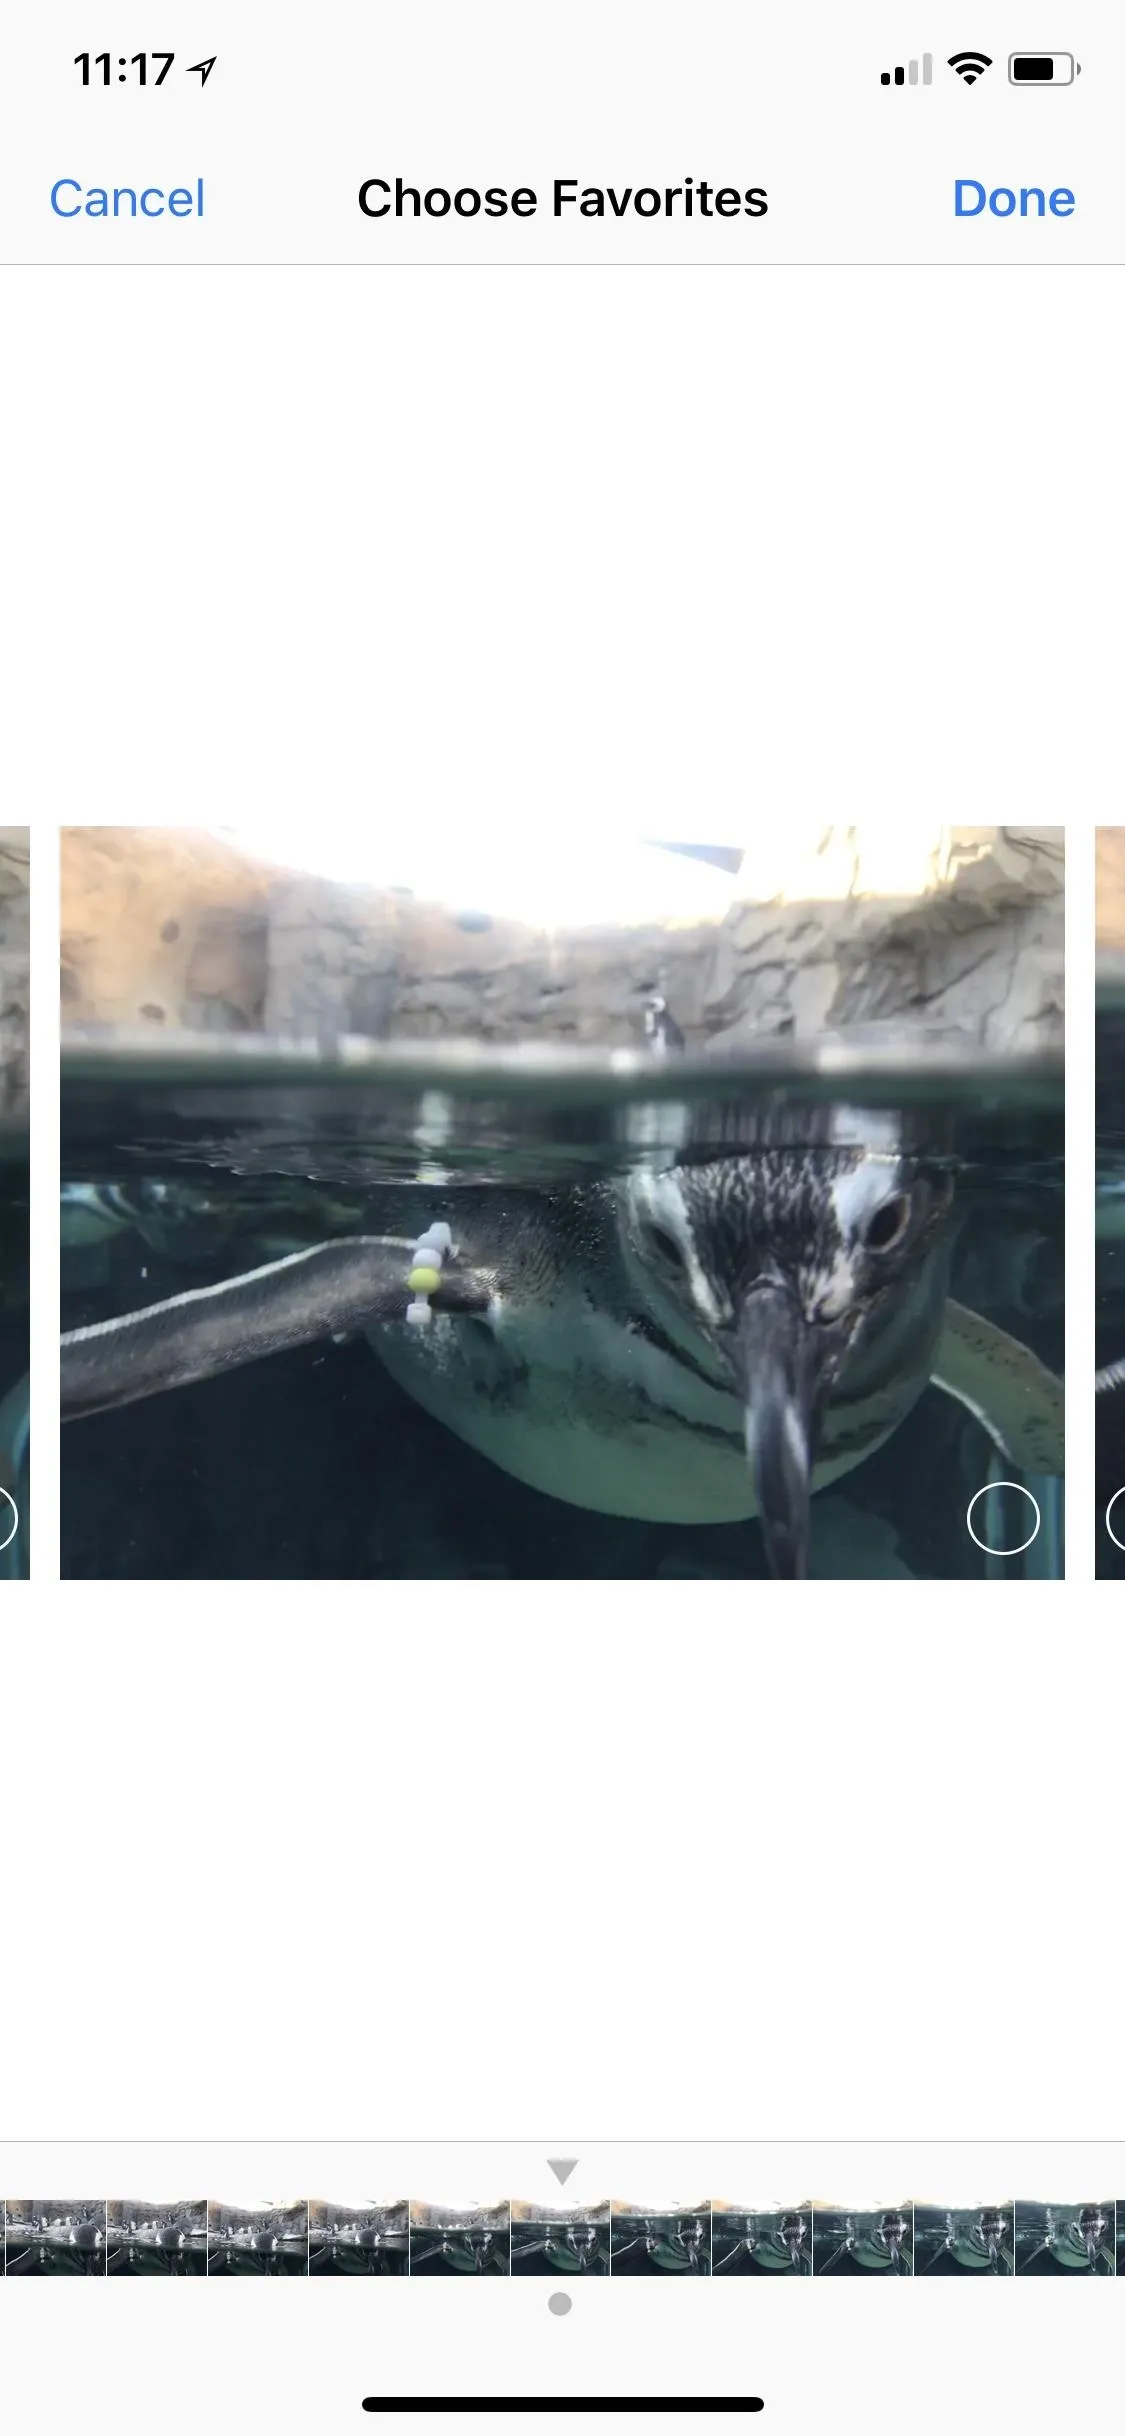
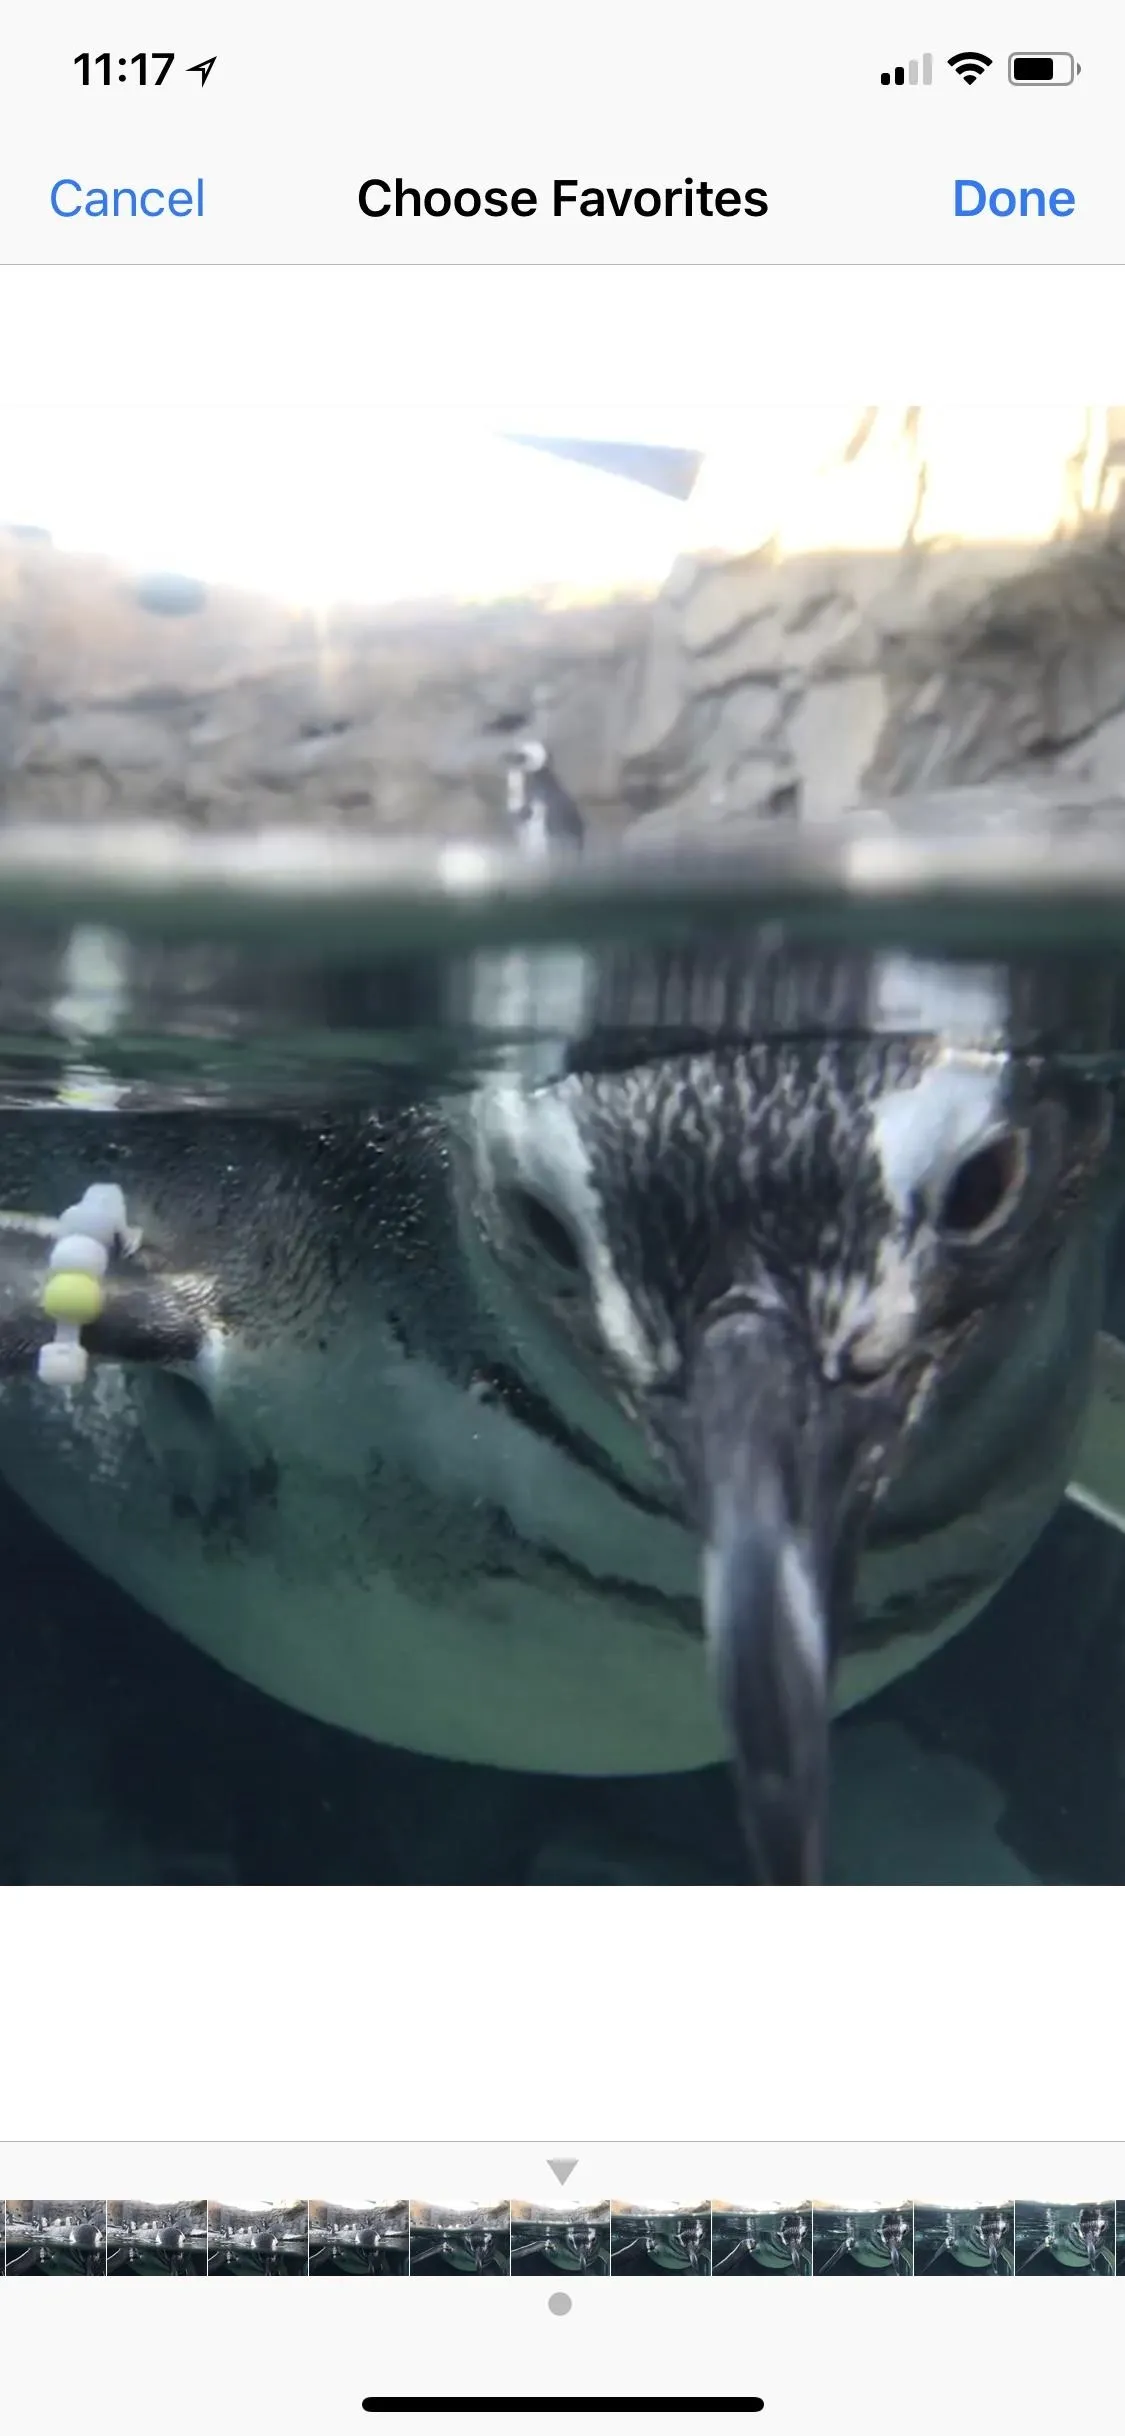
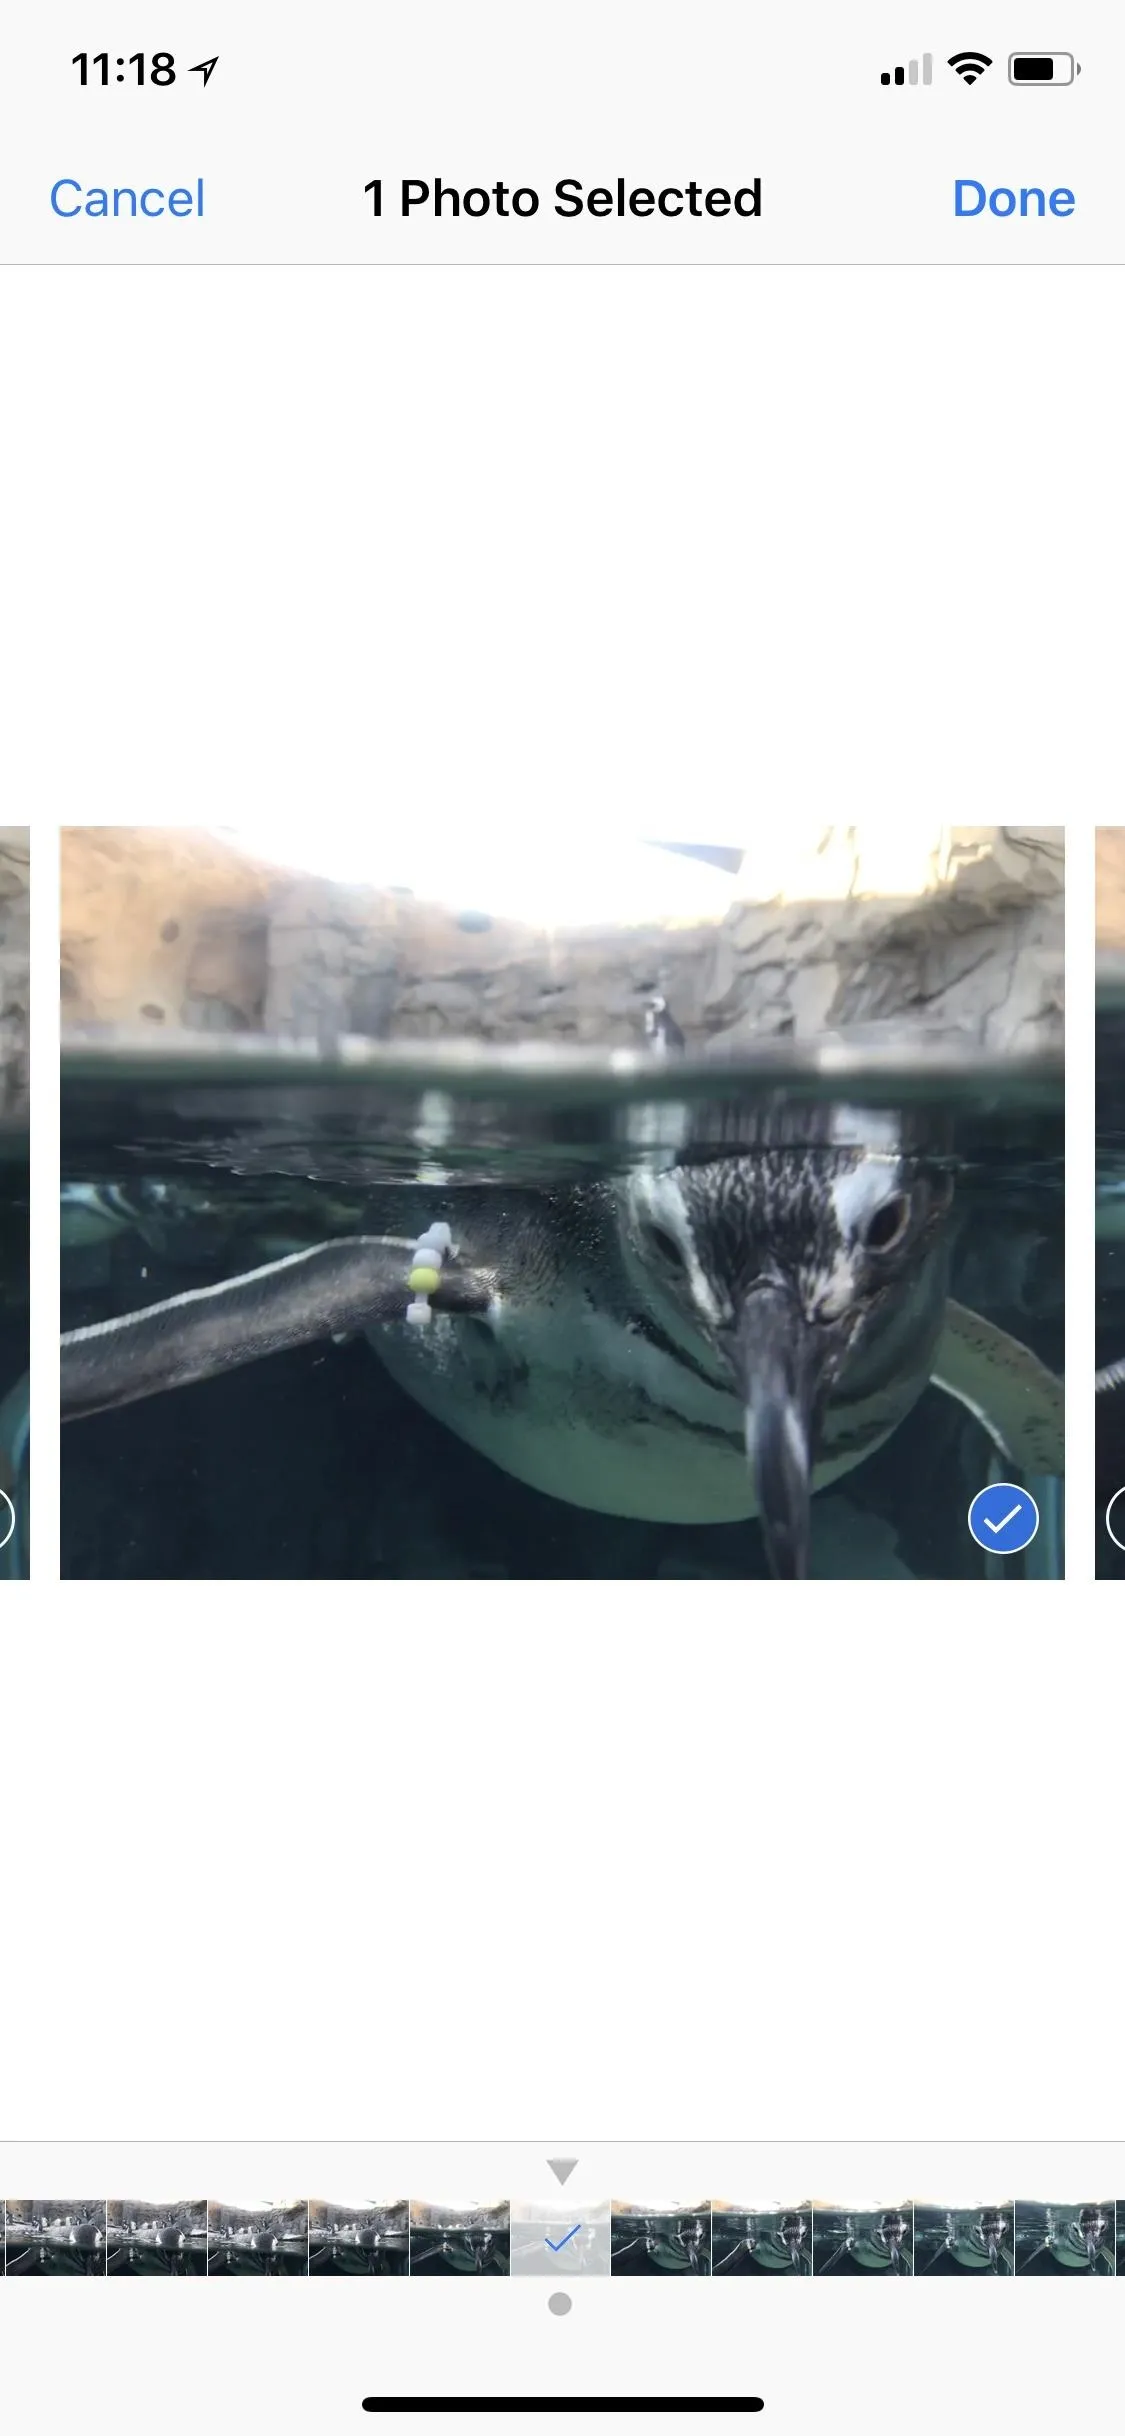
In order to find the one or two photos you want to keep out of the bunch, you would tap on the "Select" button in the menu bar. This brings up the carousel view. Here, you can swipe through and view all of your images in the group, as well as pinch to zoom in and out of each one.
You also might notice in the timeline at the bottom, that there's a little gray dot underneath the tiny image that Apple automatically selects as the main one for the burst group. In some cases, you might see gray dots under other image thumbnails; These indicate that Apple's AI thinks those images are good (even if they aren't).
One downside here is that you can't choose a new image to be the main thumbnail of your burst group. However, you couldn't select a new Live Photo thumbnail image before either and now you can, so maybe Apple will build a way for us to do so in the near future.
Saving Photos in Your Burst Group
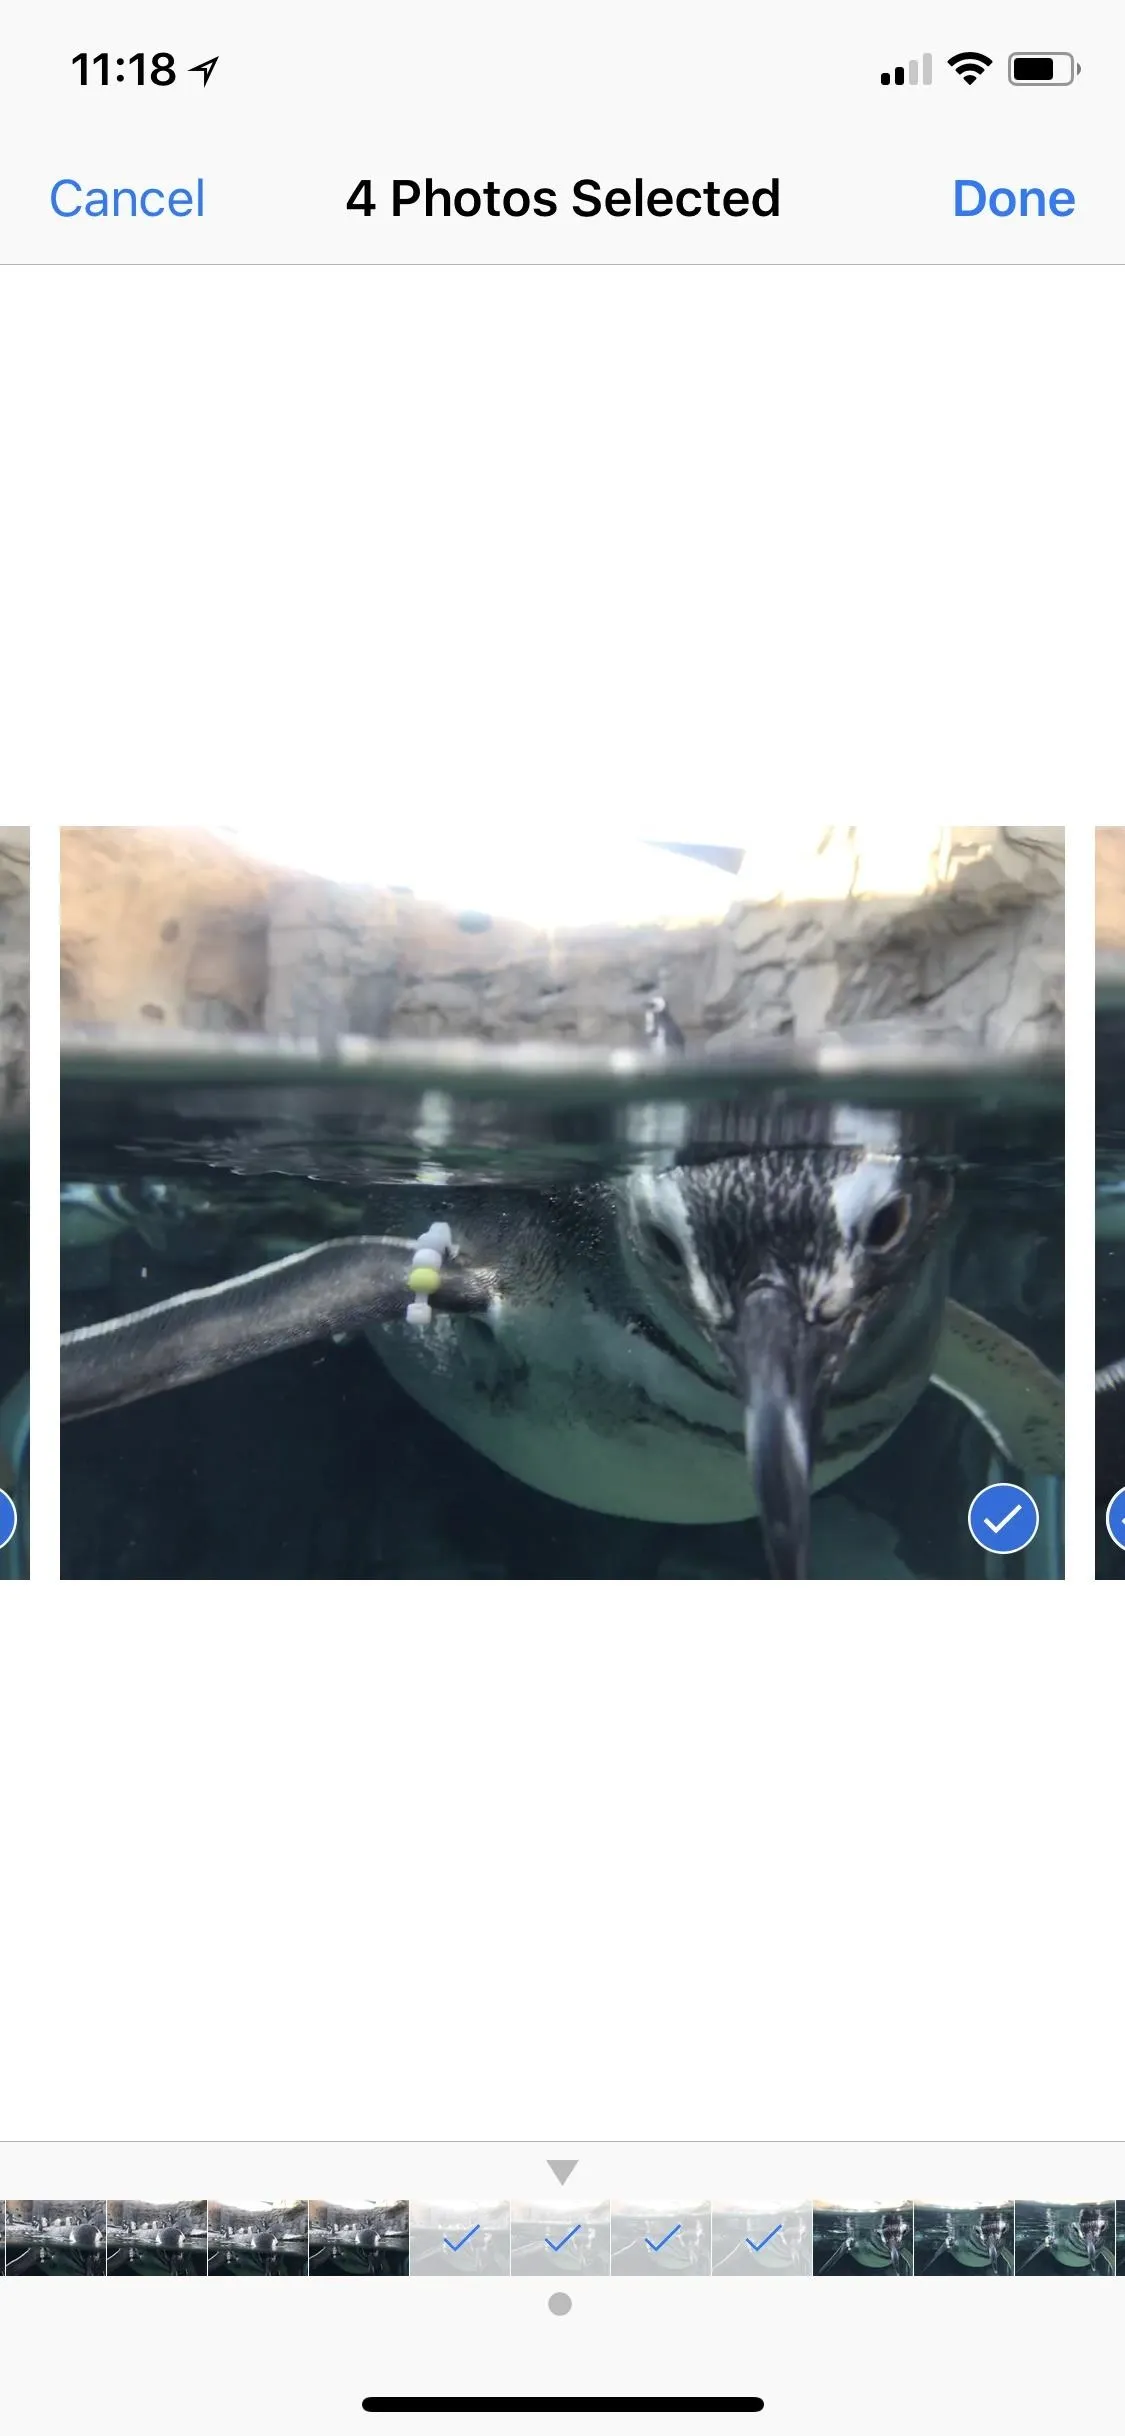
If you couldn't tell already, you can just tap on each image in the group that you want to keep, and each one will show a checkmark in the corner to signify it's been chosen. In the tiny timeline bar at the bottom, a checkmark overlay will also appear on the images that are selected in the group.
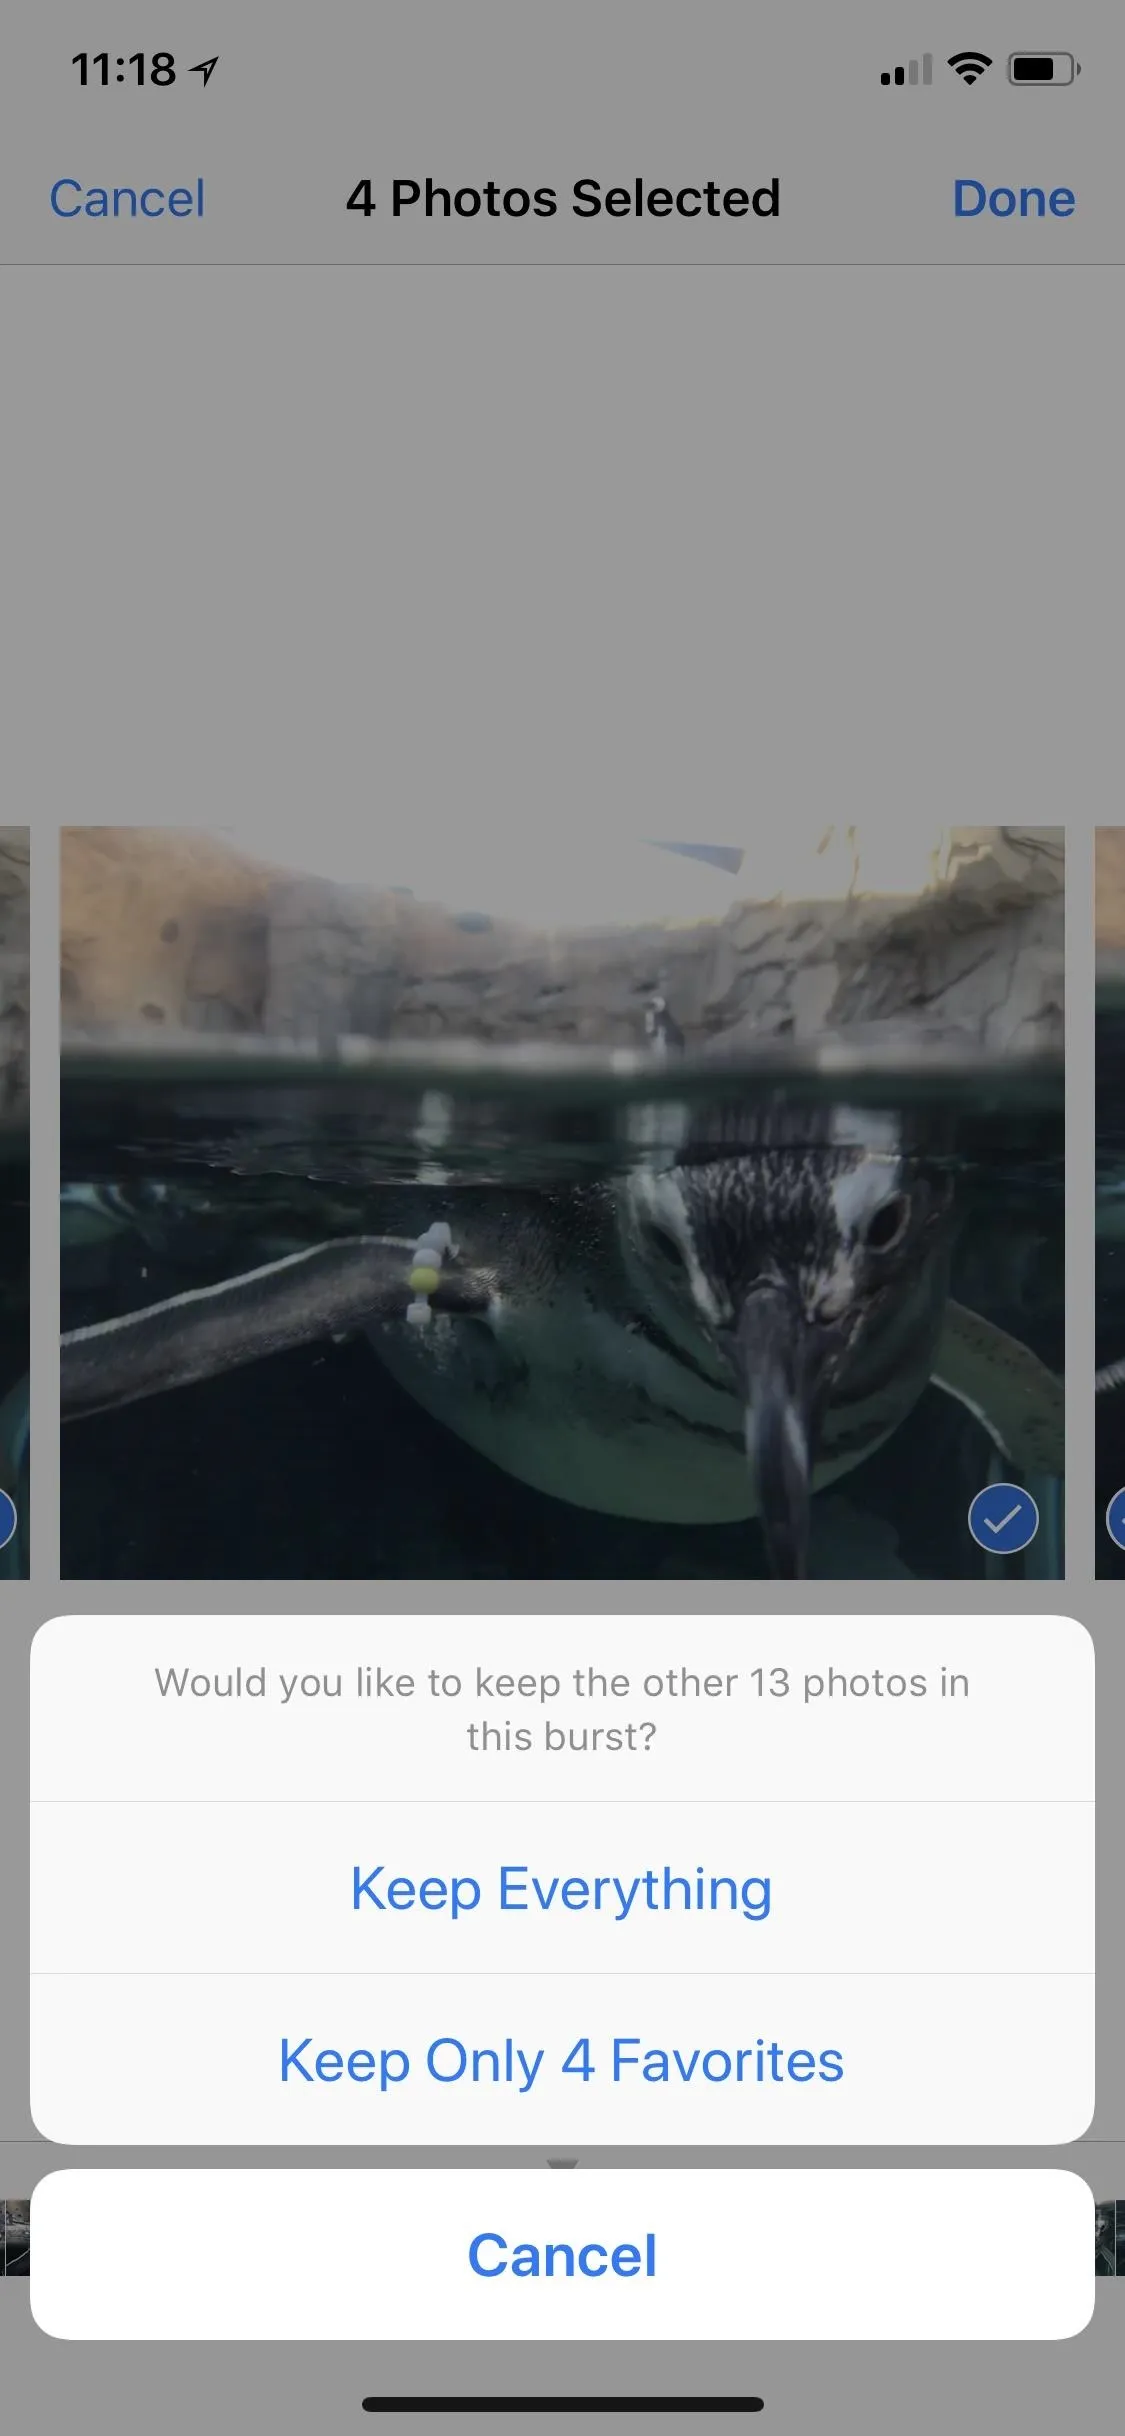
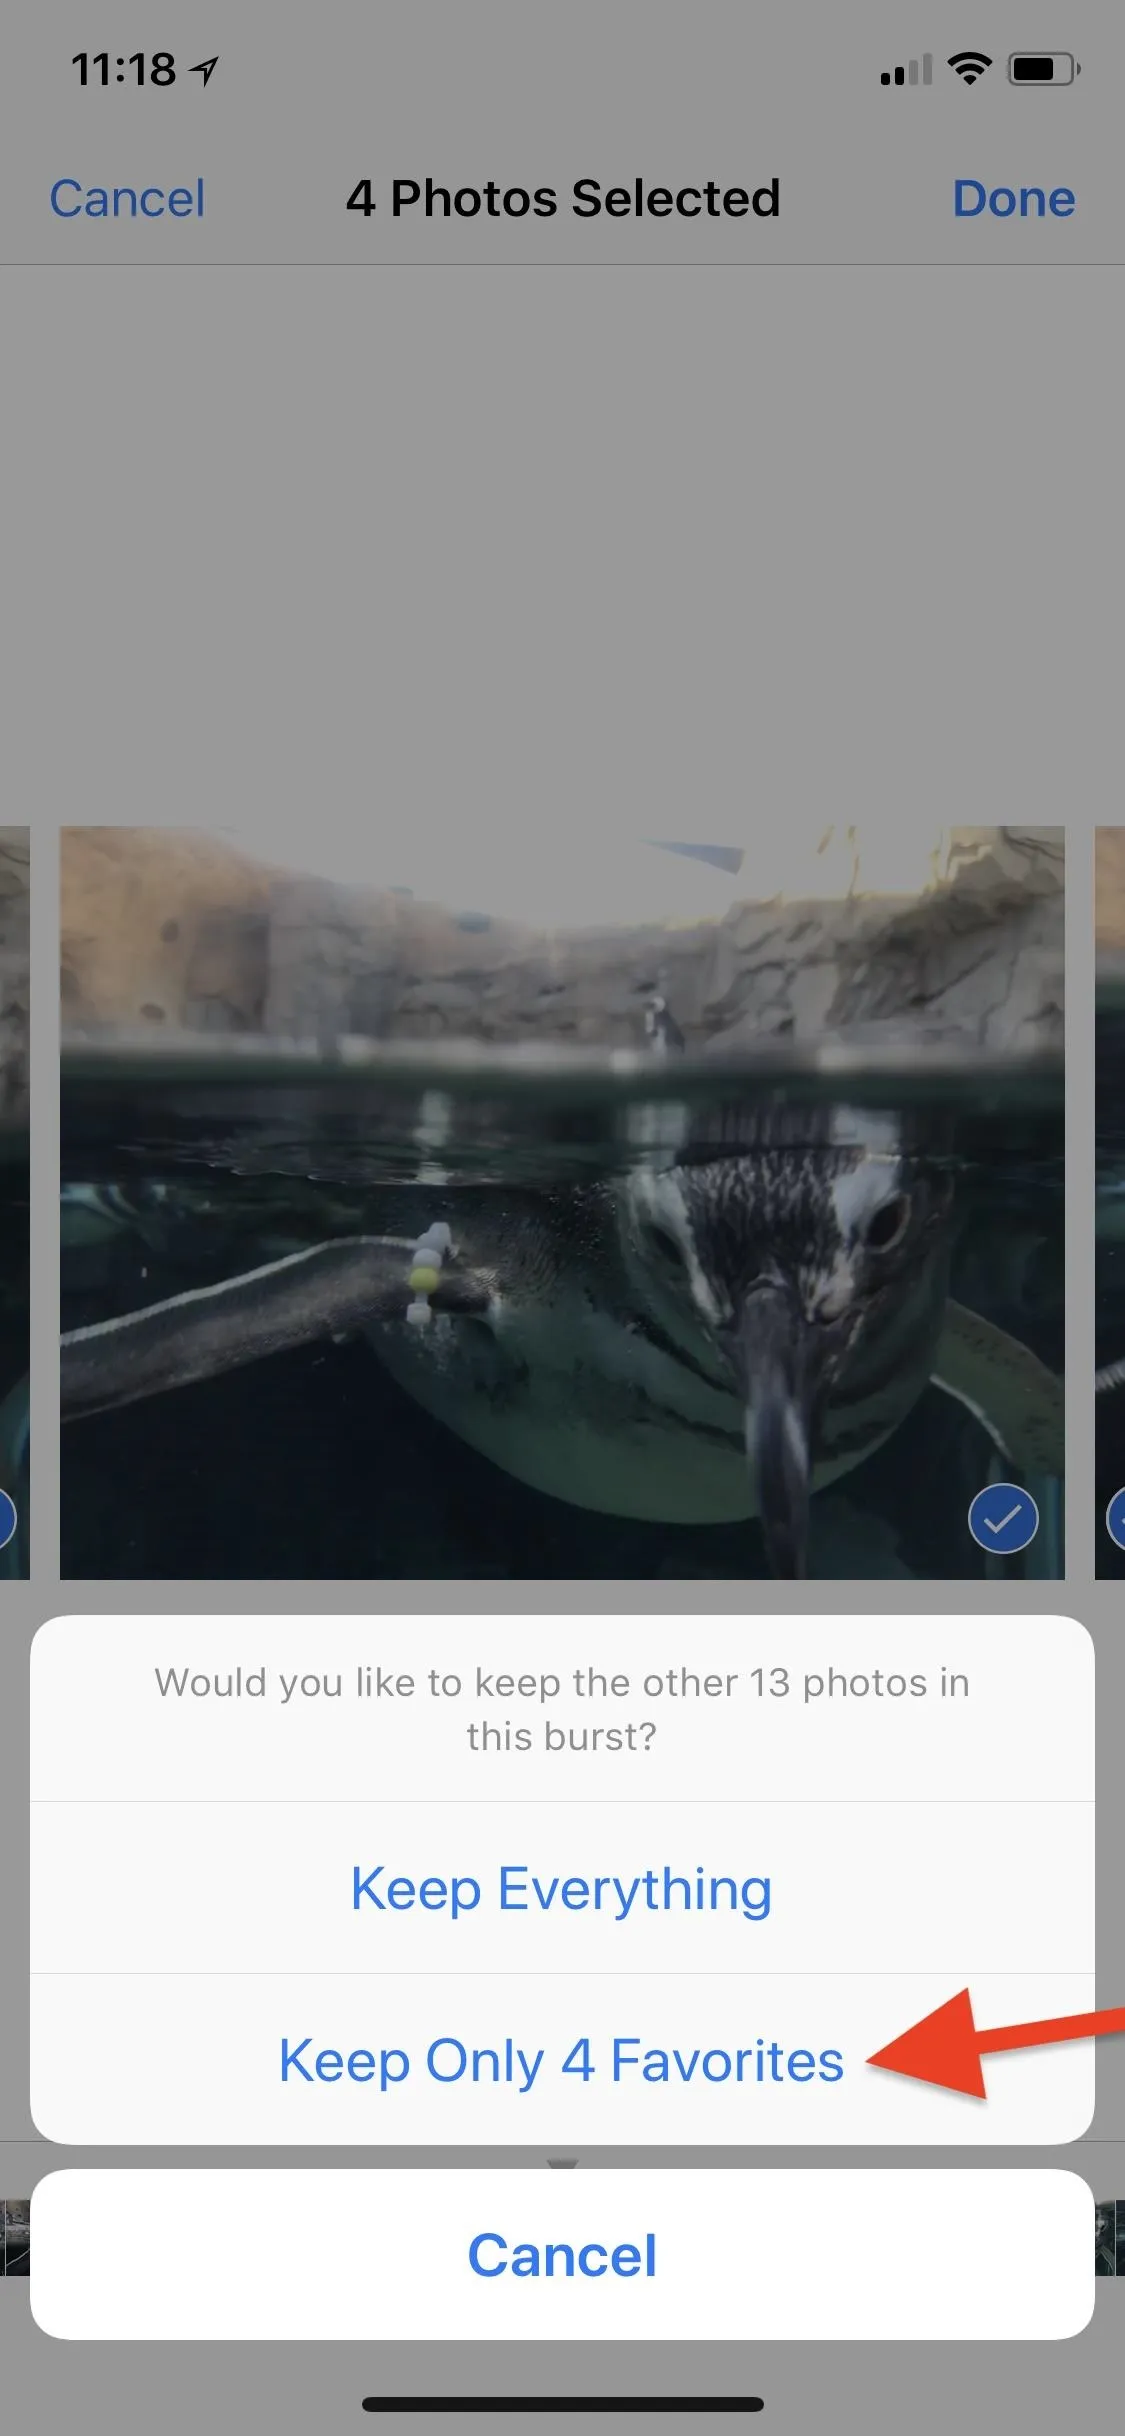
When you've selected all of the images you want to save, just tap on "Done." Now you'll be presented with two very different options: "Keep Everything" in the group or "Keep Only # Favorite/s." What you choose here is very important.
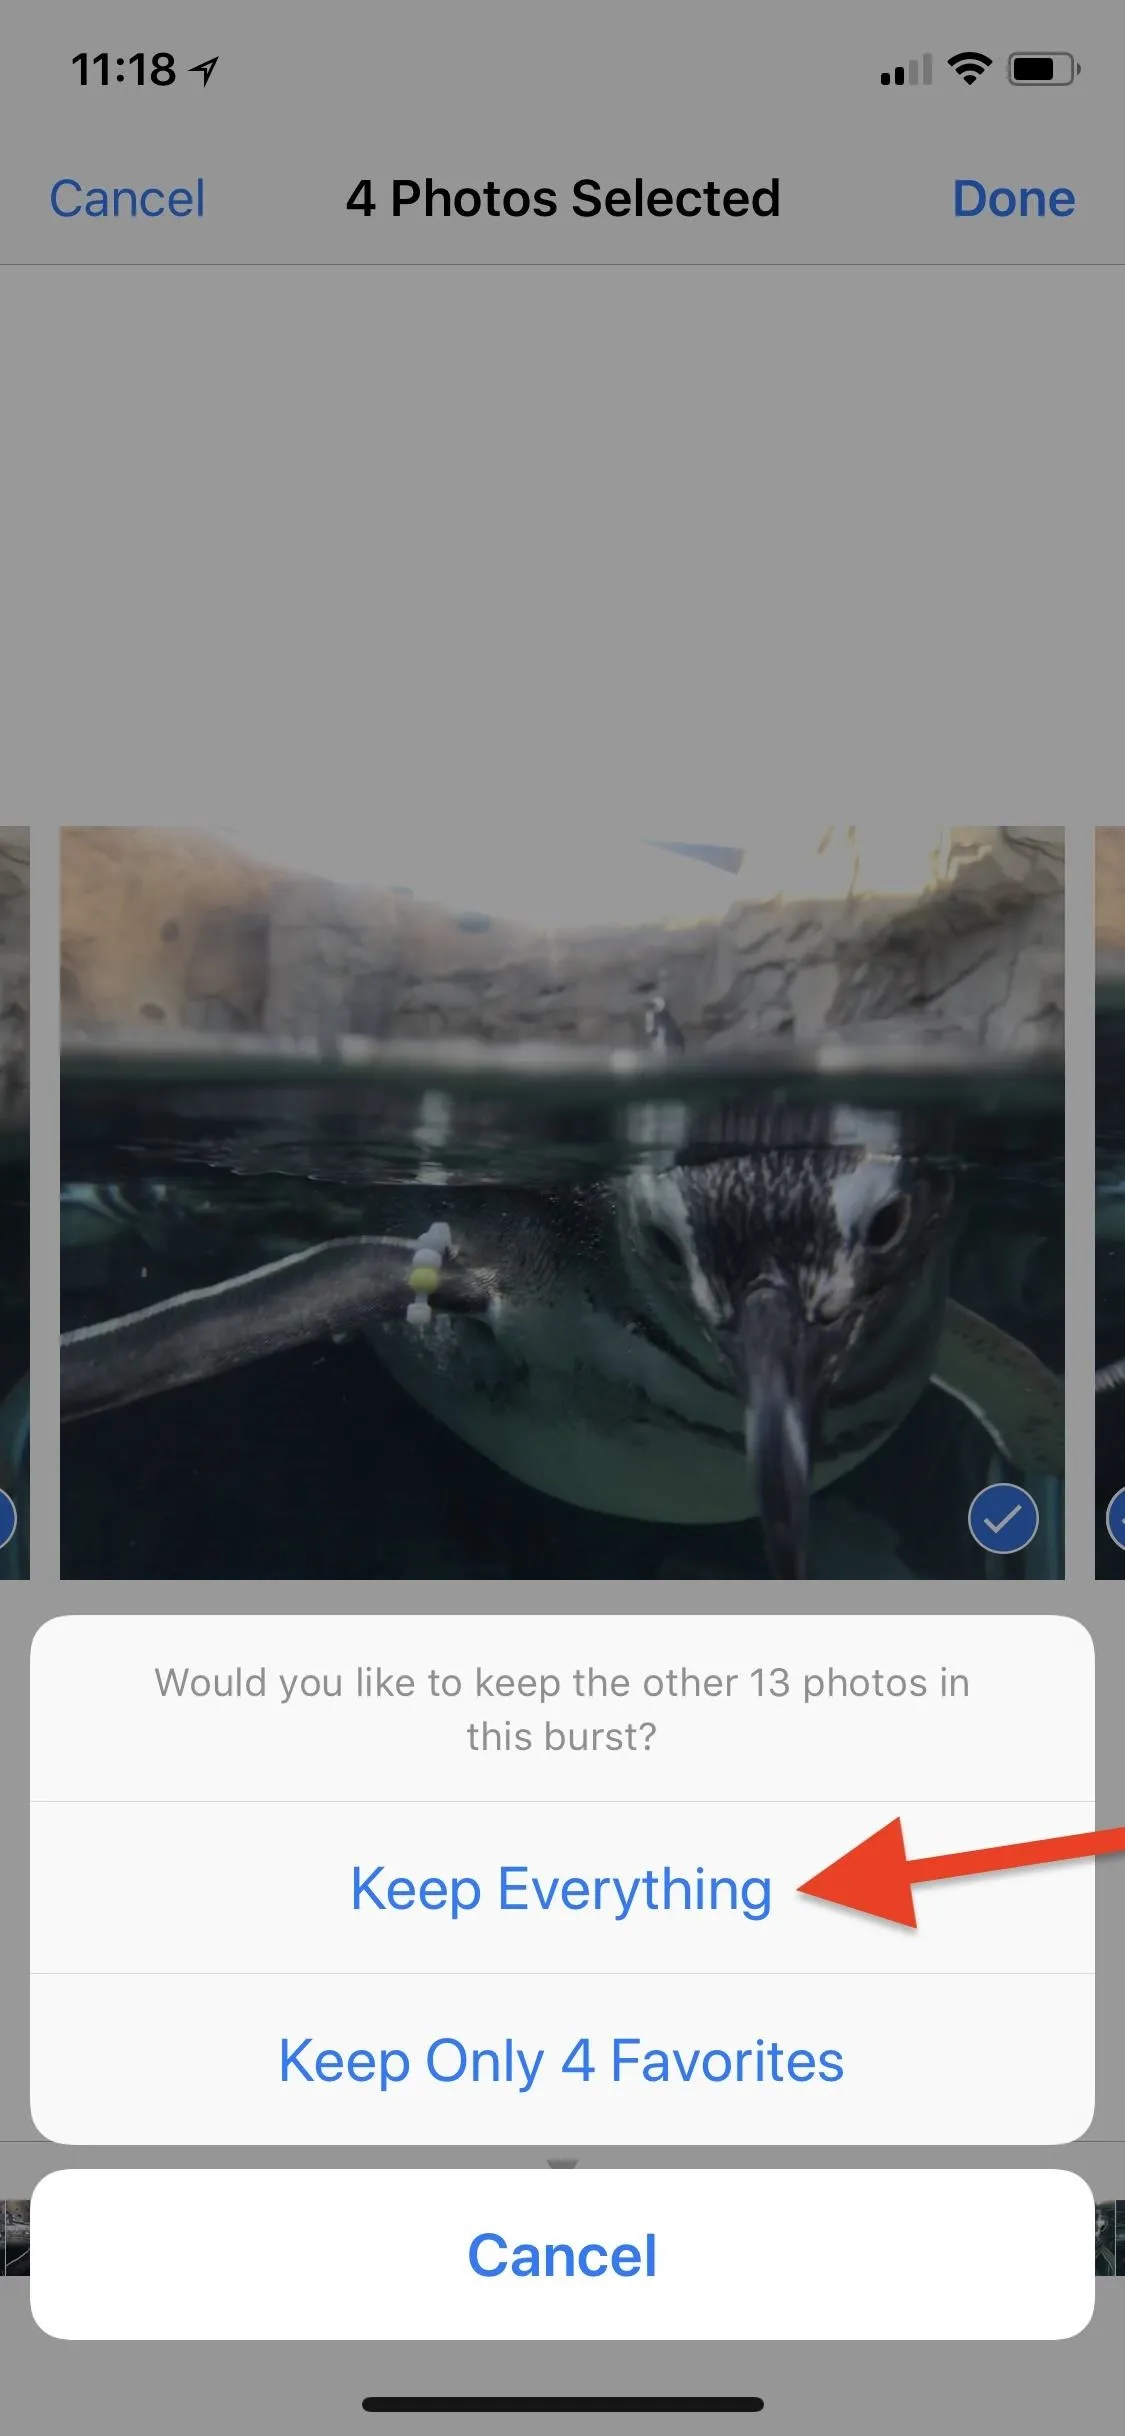
Keeping Everything
If you choose to keep everything, all of the photos you selected will now appear as single images in your Photos app in your "Camera Roll" and elsewhere right after the burst group, which stays put.

When going back into selection menu of the burst group, you'll notice that all of the images you selected are still selected, and all of the ones that aren't, well, aren't. You are free to deselect and select new photos whenever you want now, and when you hit "Done," the photos will adjust in your albums automatically, disappearing and/or appearing, depending on what changes you made.
Keeping Only Your Favorites
For those times when you're sure you never want to see the unselected items ever again, choose the option to keep only the ones you favorited (i.e., checked).
If you previously selected "Keep Everything," this option will no longer appear unless you deselected everything in the burst group first, hit "Done," and then go back to the selection menu to choose your real favorites.
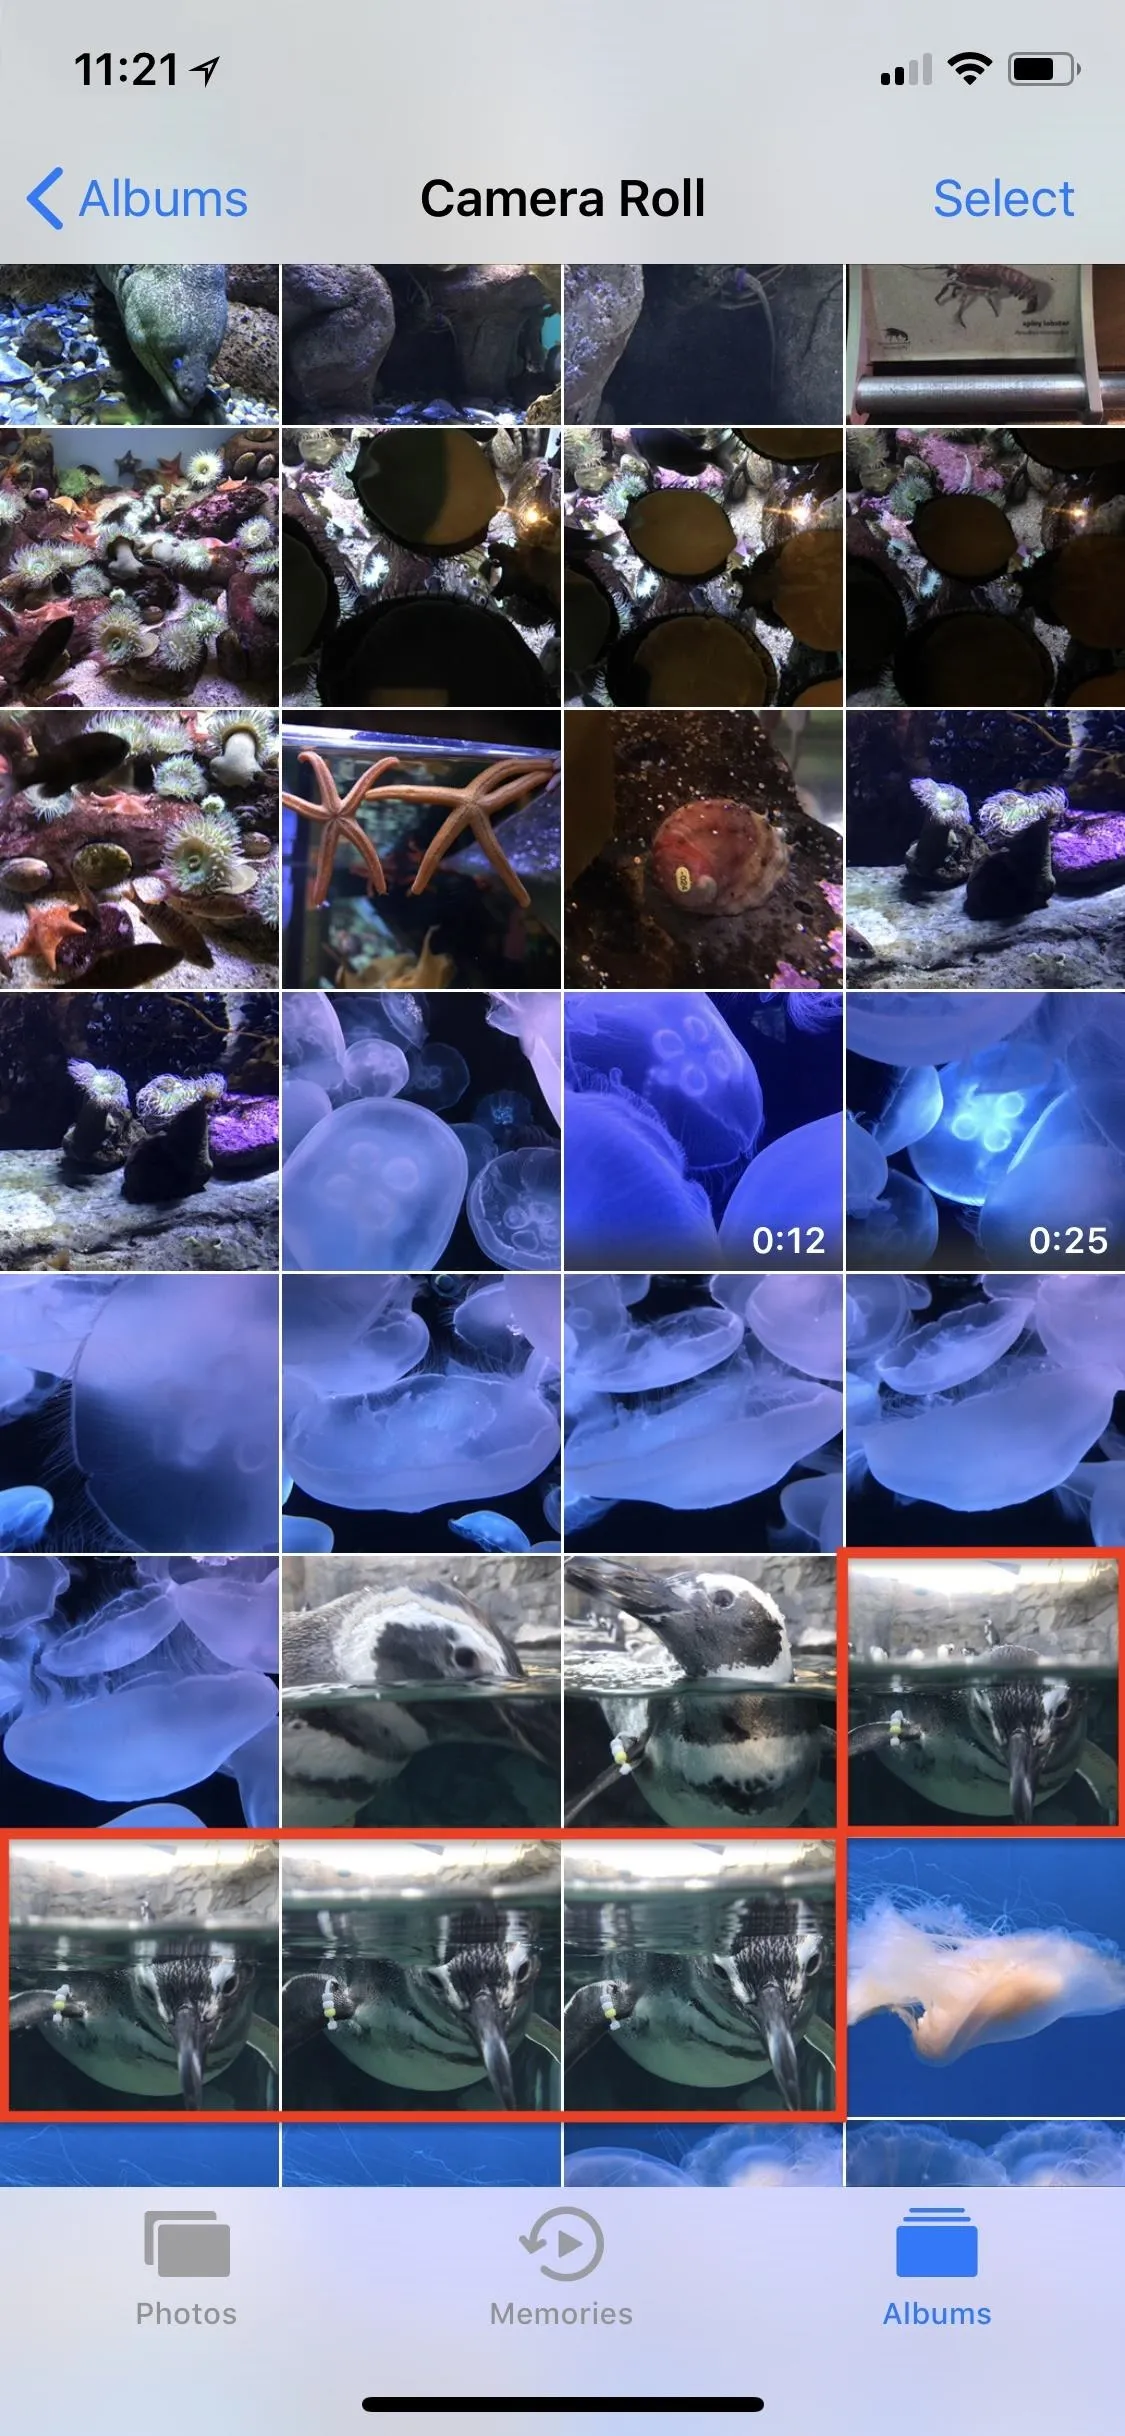
Once you tap on "Keep Only # Favorite/s," all of the photos you selected will pop out of the burst group and into their own spots in your albums. The burst group itself will go straight to the "Recently Deleted" album where it will automatically delete after 30 days.
If you chose to select all of the photos in the group, then hit "Keep Only # Favorites," all photos will appear in the albums separately but nothing will show up in the deleted album.
Editing Your Chosen Photos
If you didn't go into the selection menu at all, you can edit the automatically chosen image just like any other image. Just hit "Edit" and work your magic. Otherwise, the only way to edit the other images is to select them using Step 3 above, then edit them individually. If you chose "Keep Everything," all of the saved edits will also appear in the burst group.
One part that's not great about editing shots in or from a burst group is that they are not Live Photos, which means you can't make use of iOS 11's newer features that lets you Loop, Bounce, or make a long exposure.

And that's all there is to it. It's pretty simple once you understand the difference between keeping everything or just your favorites from the burst.
- Follow Gadget Hacks on Facebook, Twitter, YouTube, and Flipboard
- Follow WonderHowTo on Facebook, Twitter, Pinterest, and Flipboard
Cover photo and screenshots by Justin Meyers/Gadget Hacks


Comments
Be the first, drop a comment!