


In the 21st century, we're all looking for ways to stay private, especially on our electronic devices. We have big tech corporations, enemy countries, malicious hackers, and other prying eyes watching our every move, so it's only natural to want to limit what they can see. Making your web browsing experience on iPhone and iPad more private is one way to do that.
Many of the tips below apply to Safari, Apple's default web browser for iOS and iPadOS, but to keep your web traffic even more private, you'll want to utilize third-party tools as well. While it's tough to be truly anonymous on the web these days, you can get close.
Of course, if you're only worried about specific privacy concerns versus broad anonymity, you can address those without using any of the other features listed below. If you want top-level privacy on your iPhone or iPad, incorporating a lot of these tips will help you get there.
1. Use Safari's Private Browsing
Searching the web in Safari's Private Browsing mode is the easiest way to stay private, but it's not as private as it sounds. It's only useful when you want to hide what you're doing in Safari from Safari itself.
Your Private Browsing activity will not sync to your other iCloud-connected devices. And once you close a Private Browsing tab you were using, Safari won't remember the webpages you visited (your browsing history) or any AutoFill data used.
However, the websites you visit can still build a valuable profile based on your device and browsing habits. They can see your IP address, your interactions with the page, what browser you're using, what device you have, and your browsing activity across websites, to name a few things.
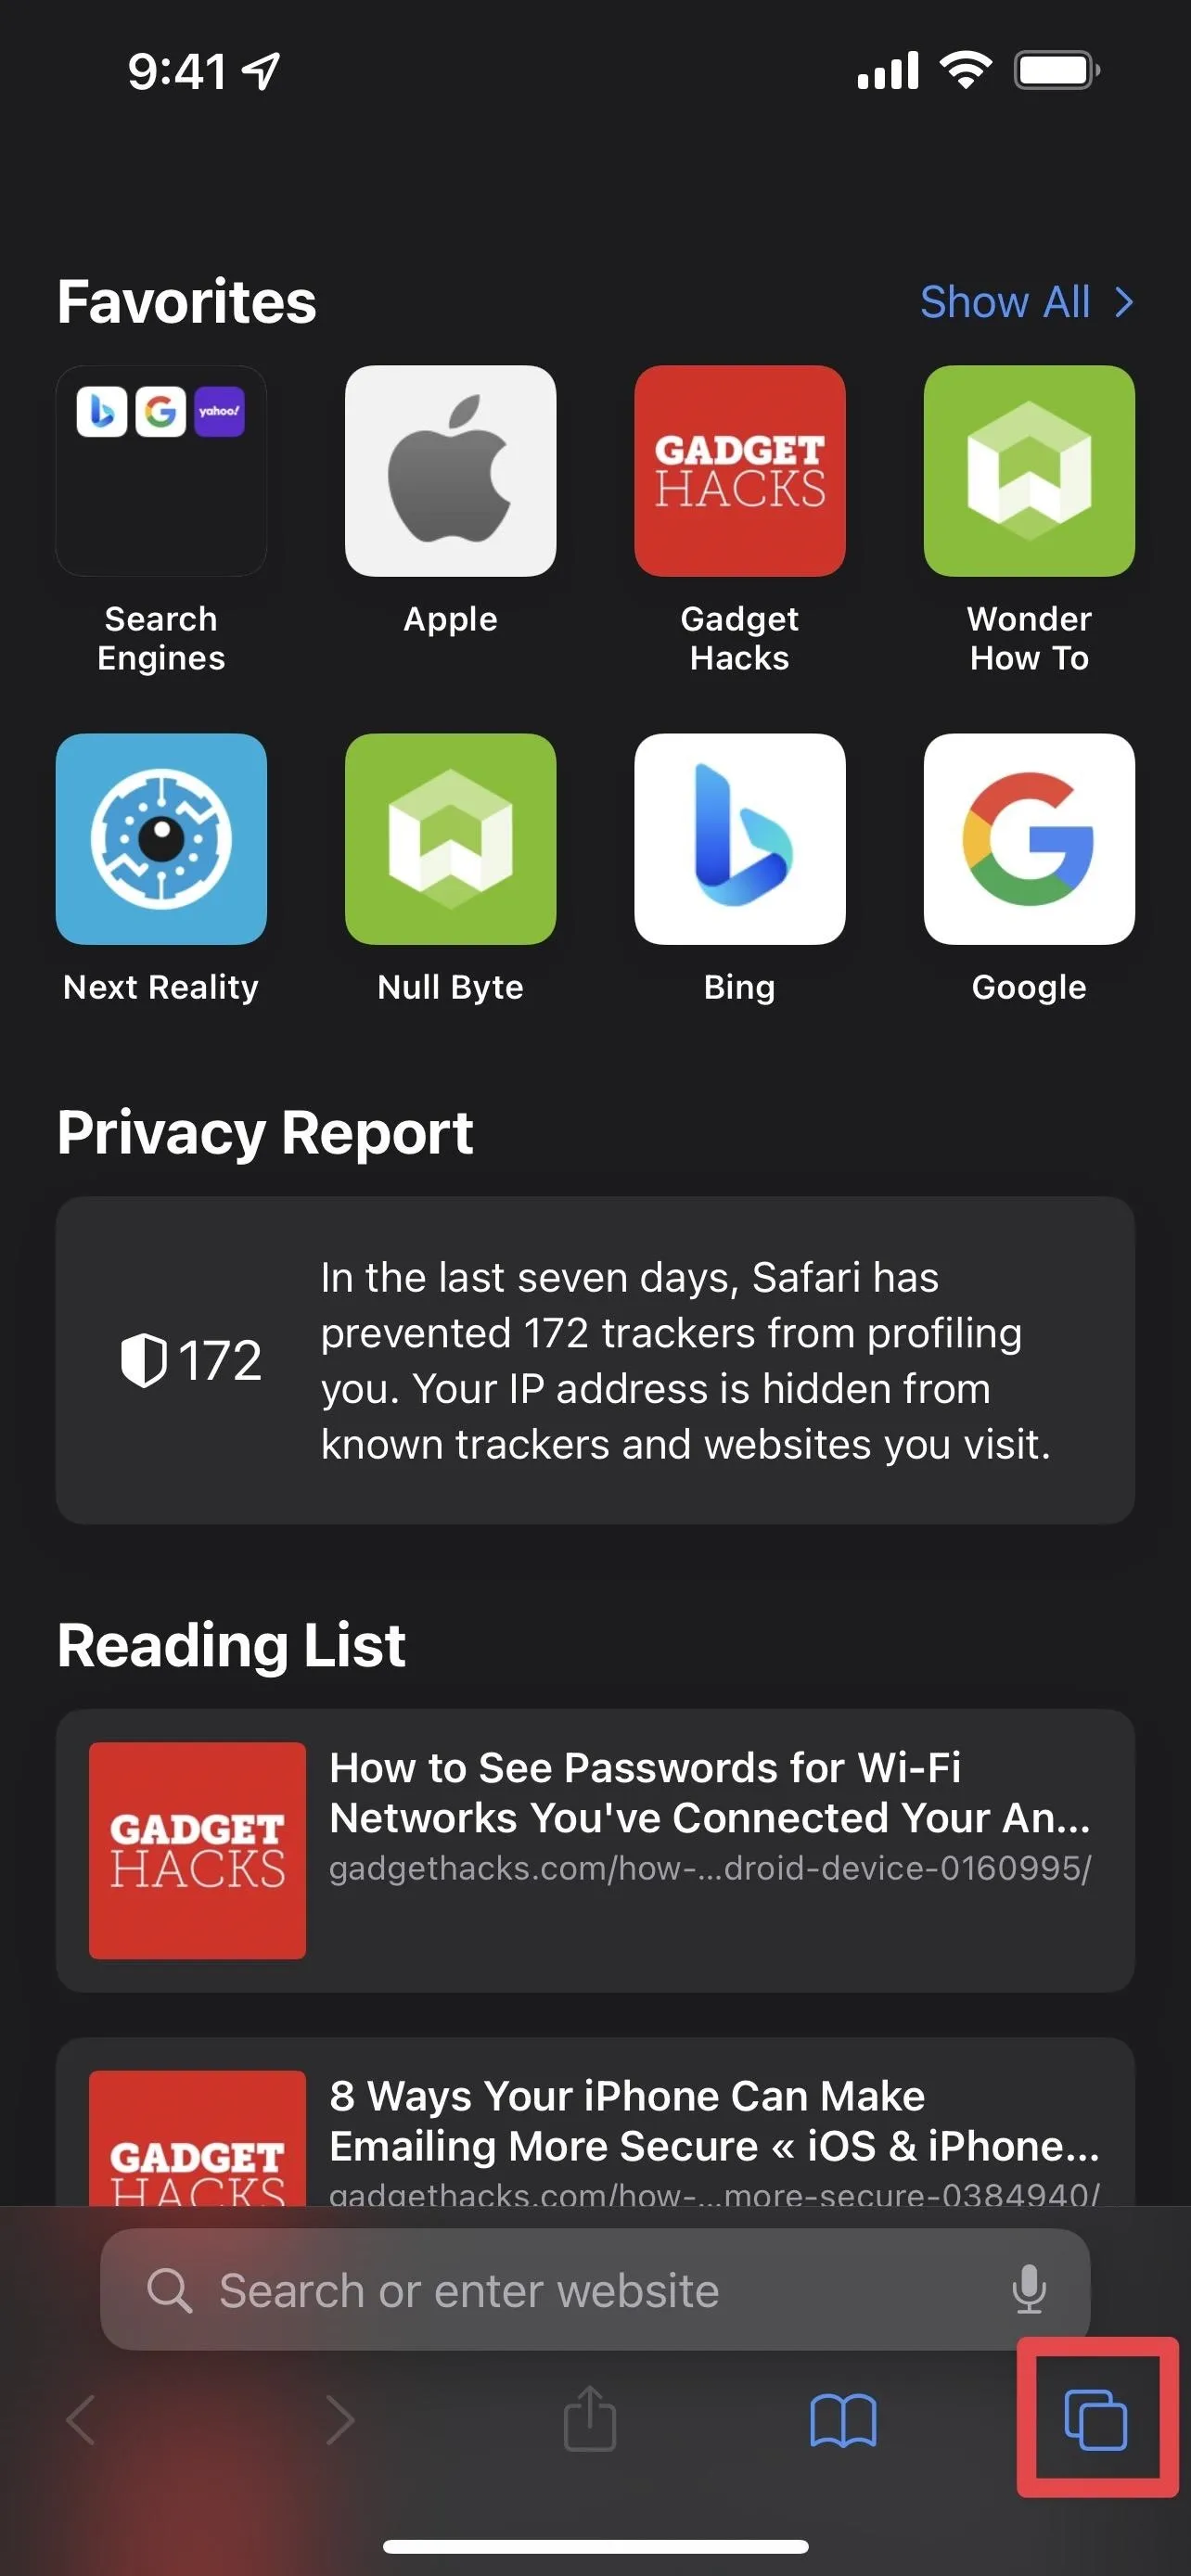
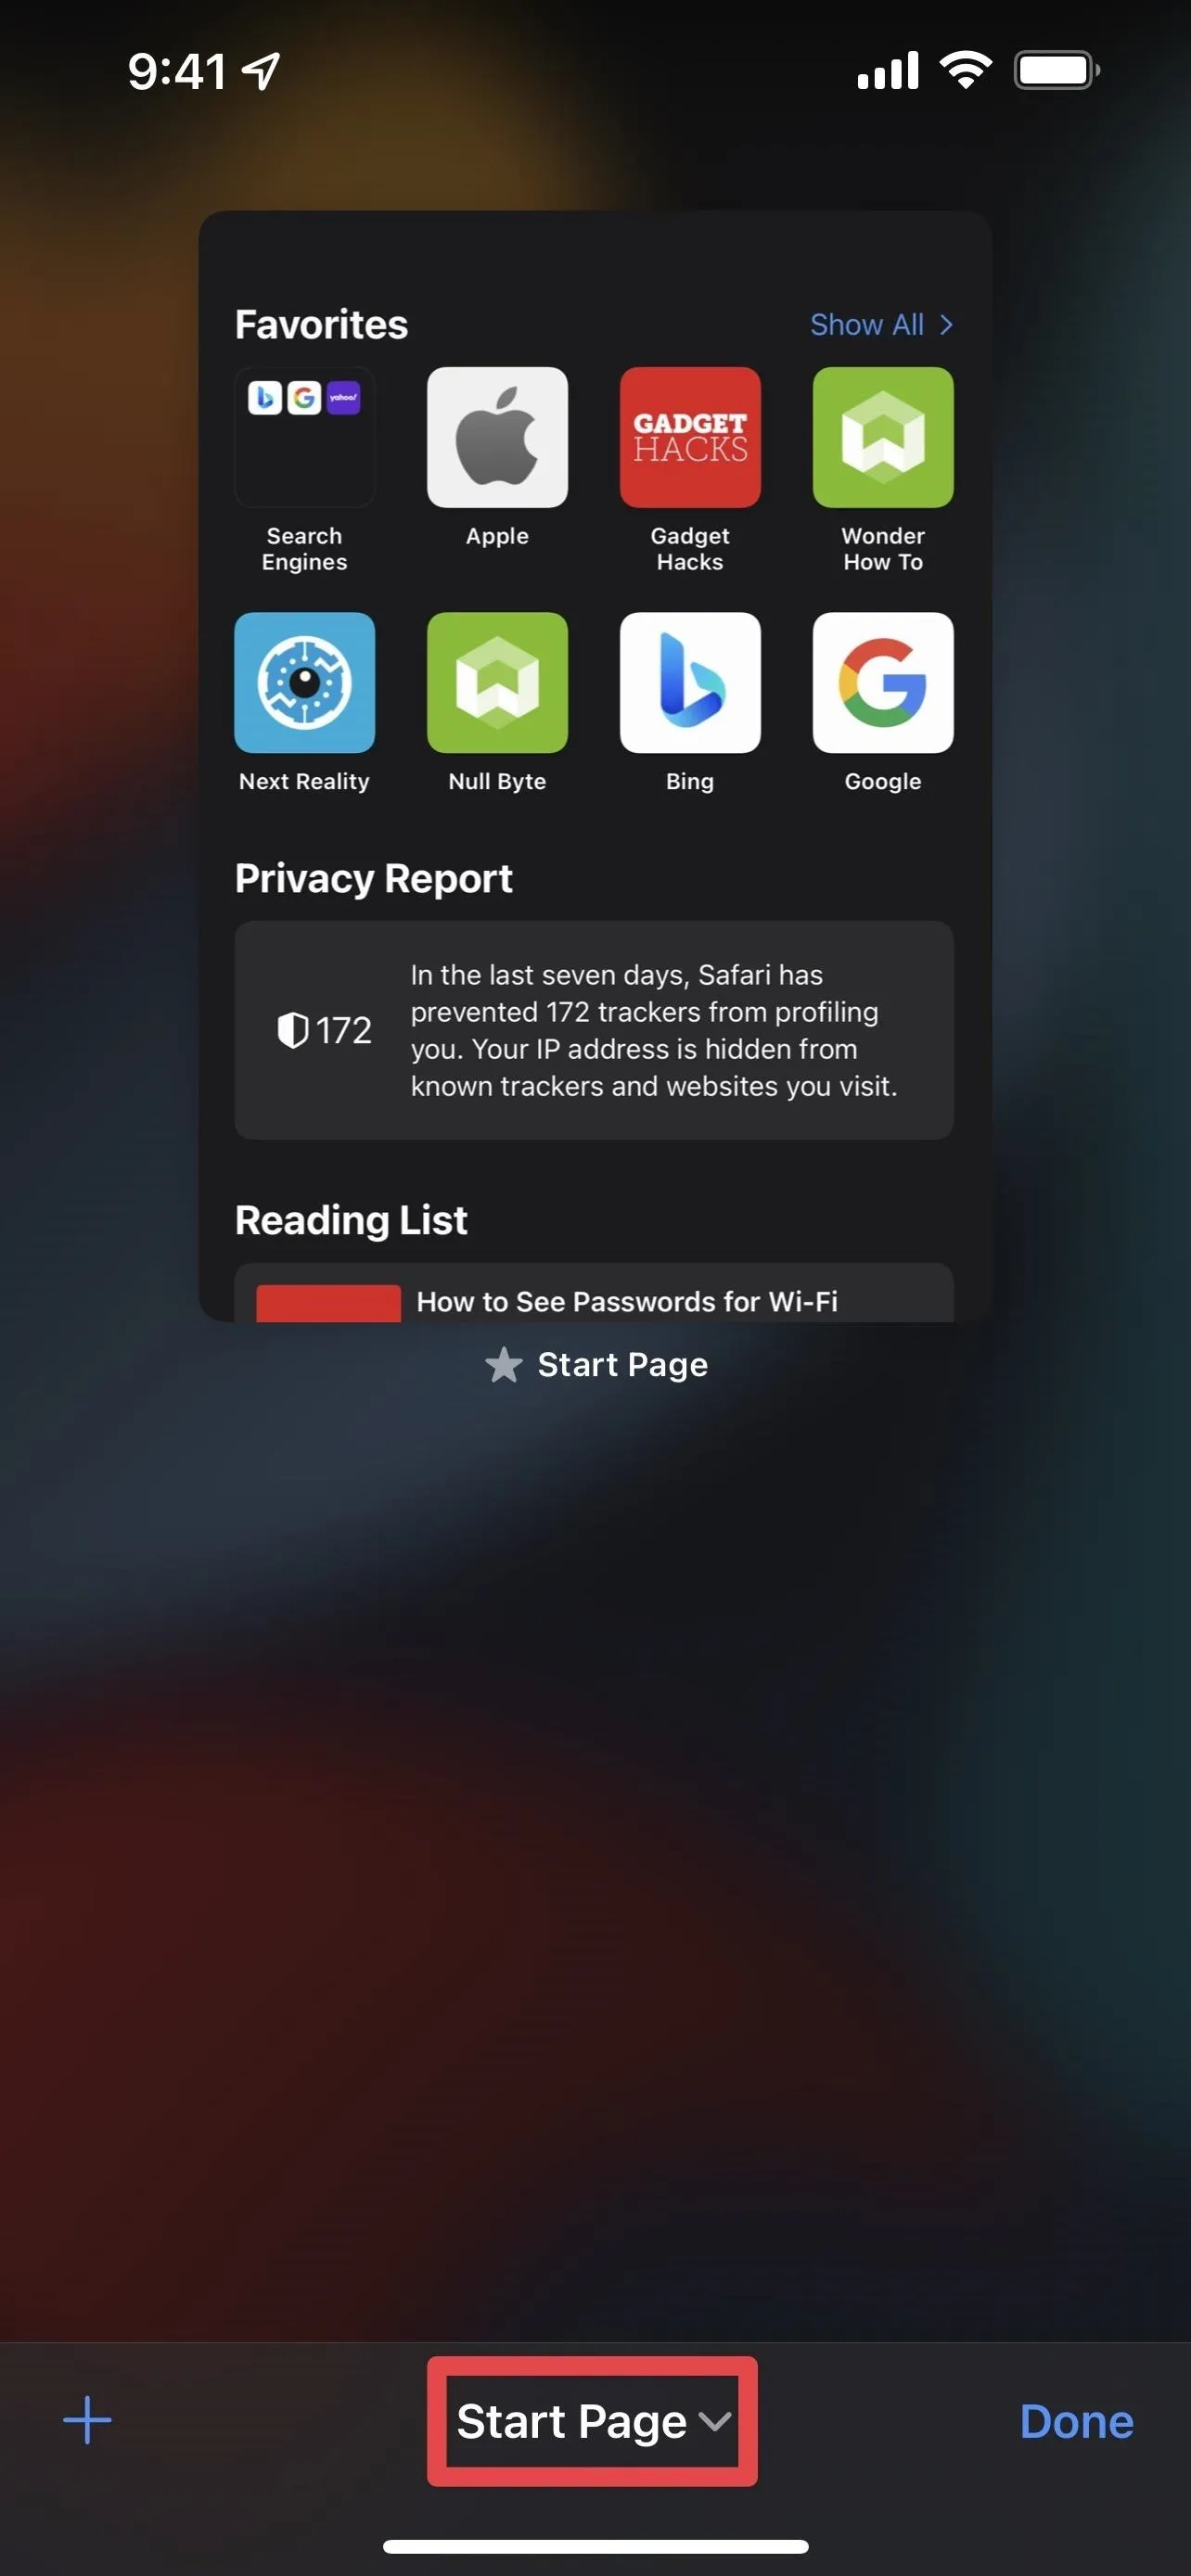
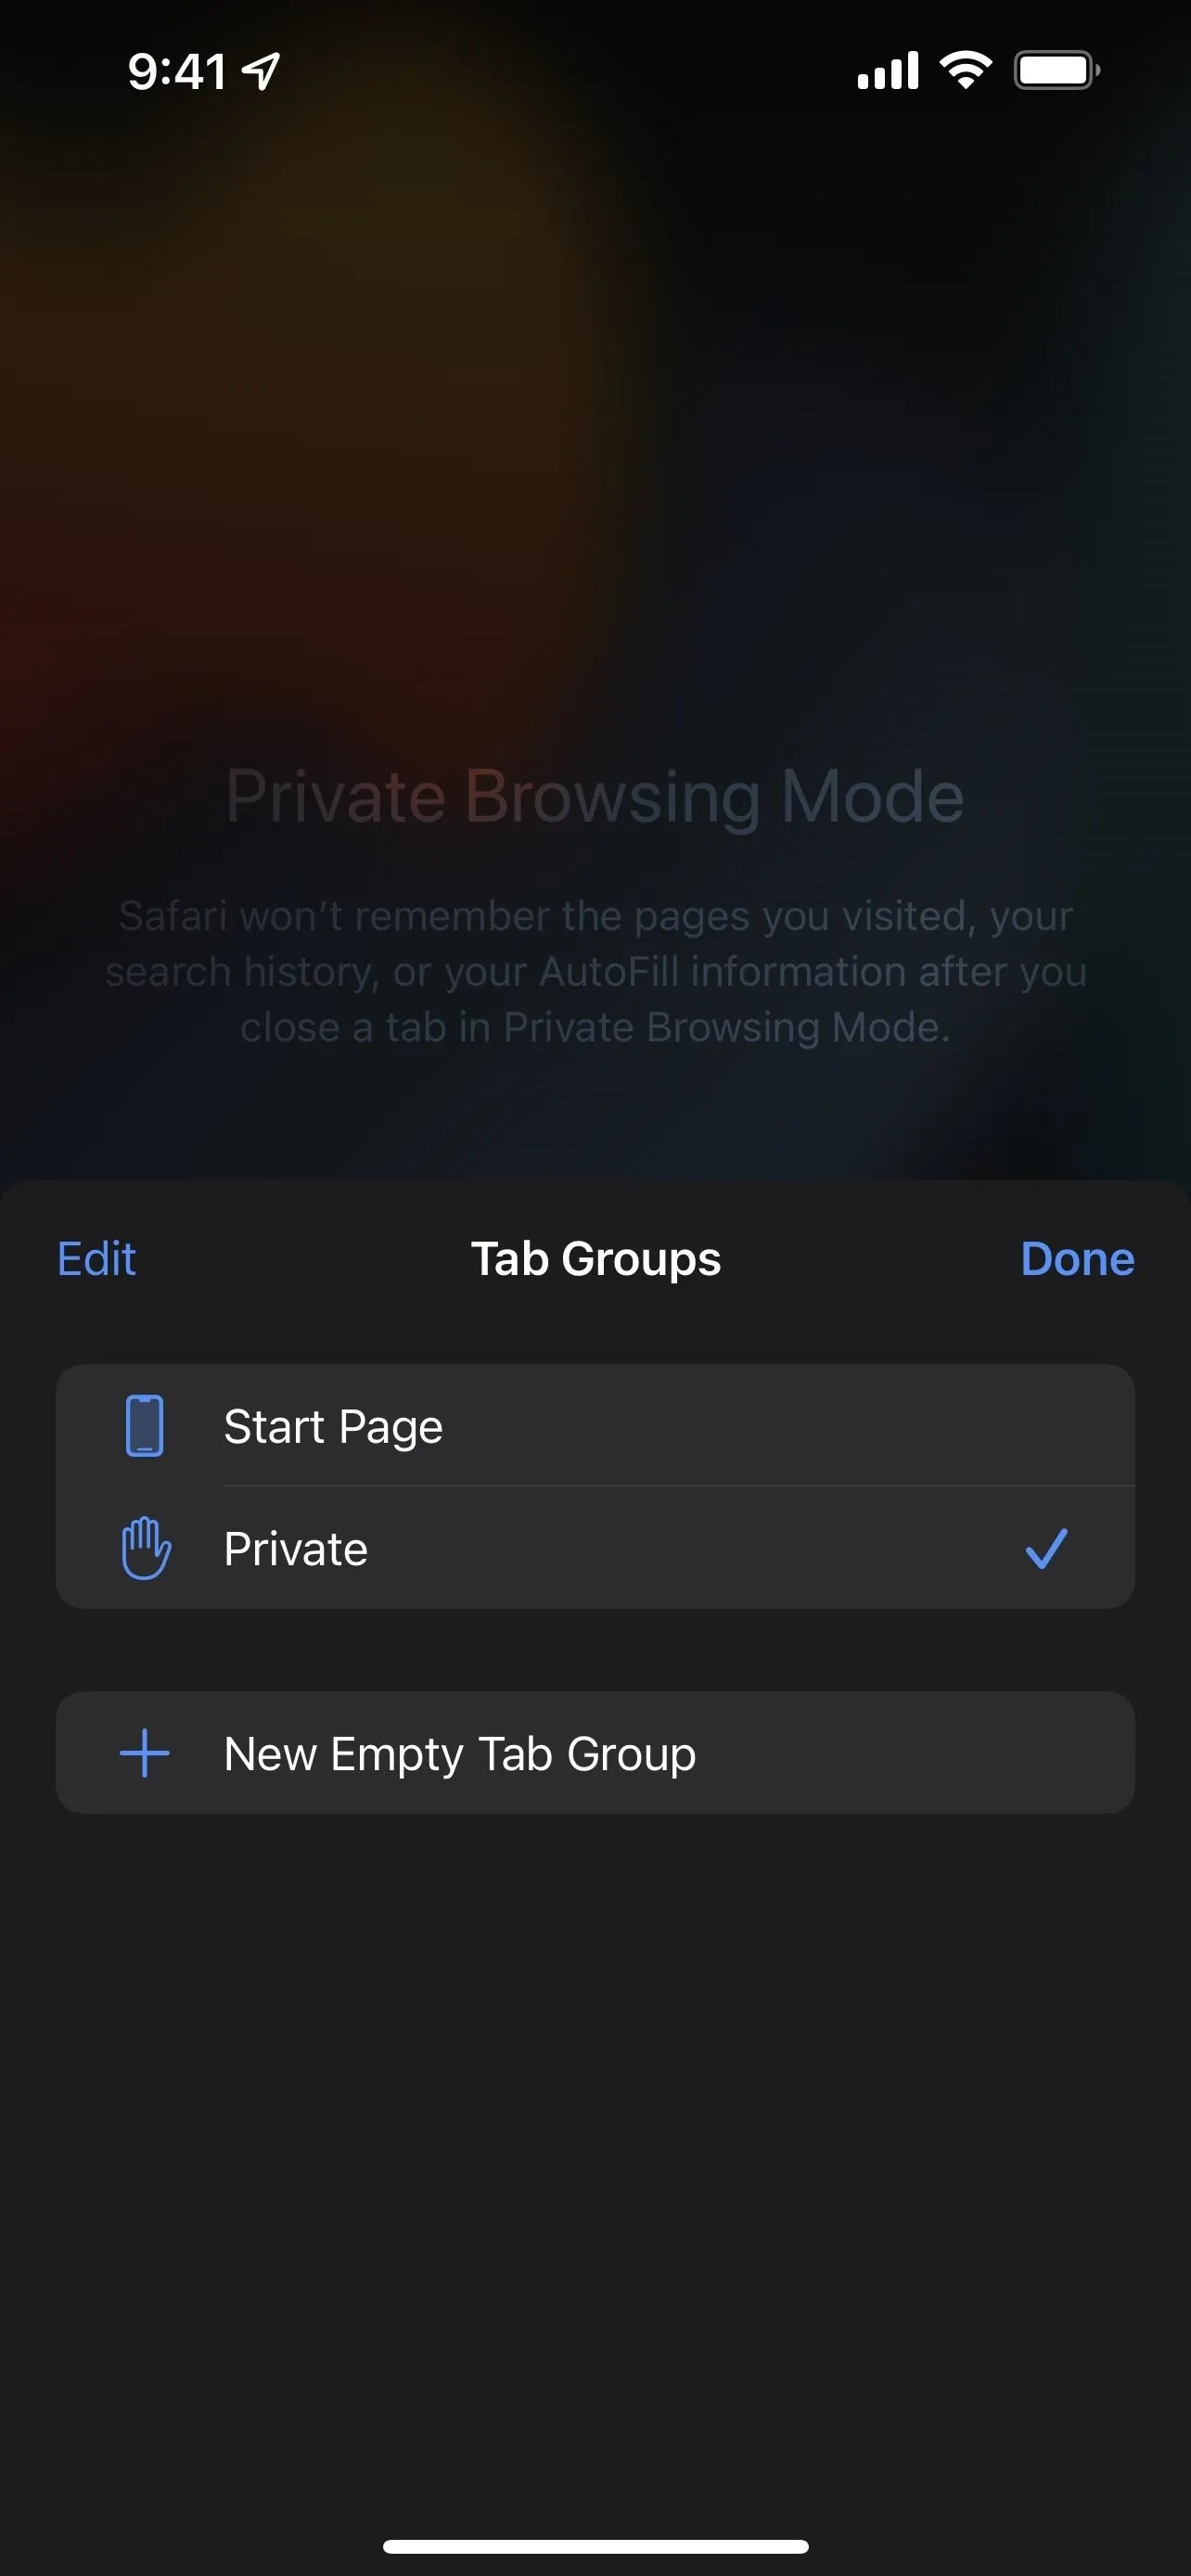
To use Private Browsing, tap the new tab icon in Safari's toolbar, tap the number of open tabs, and choose "Private." You can also long-press the new tab icon and hit "Private" or "New Private Tab."
2. Disable Location Tracking
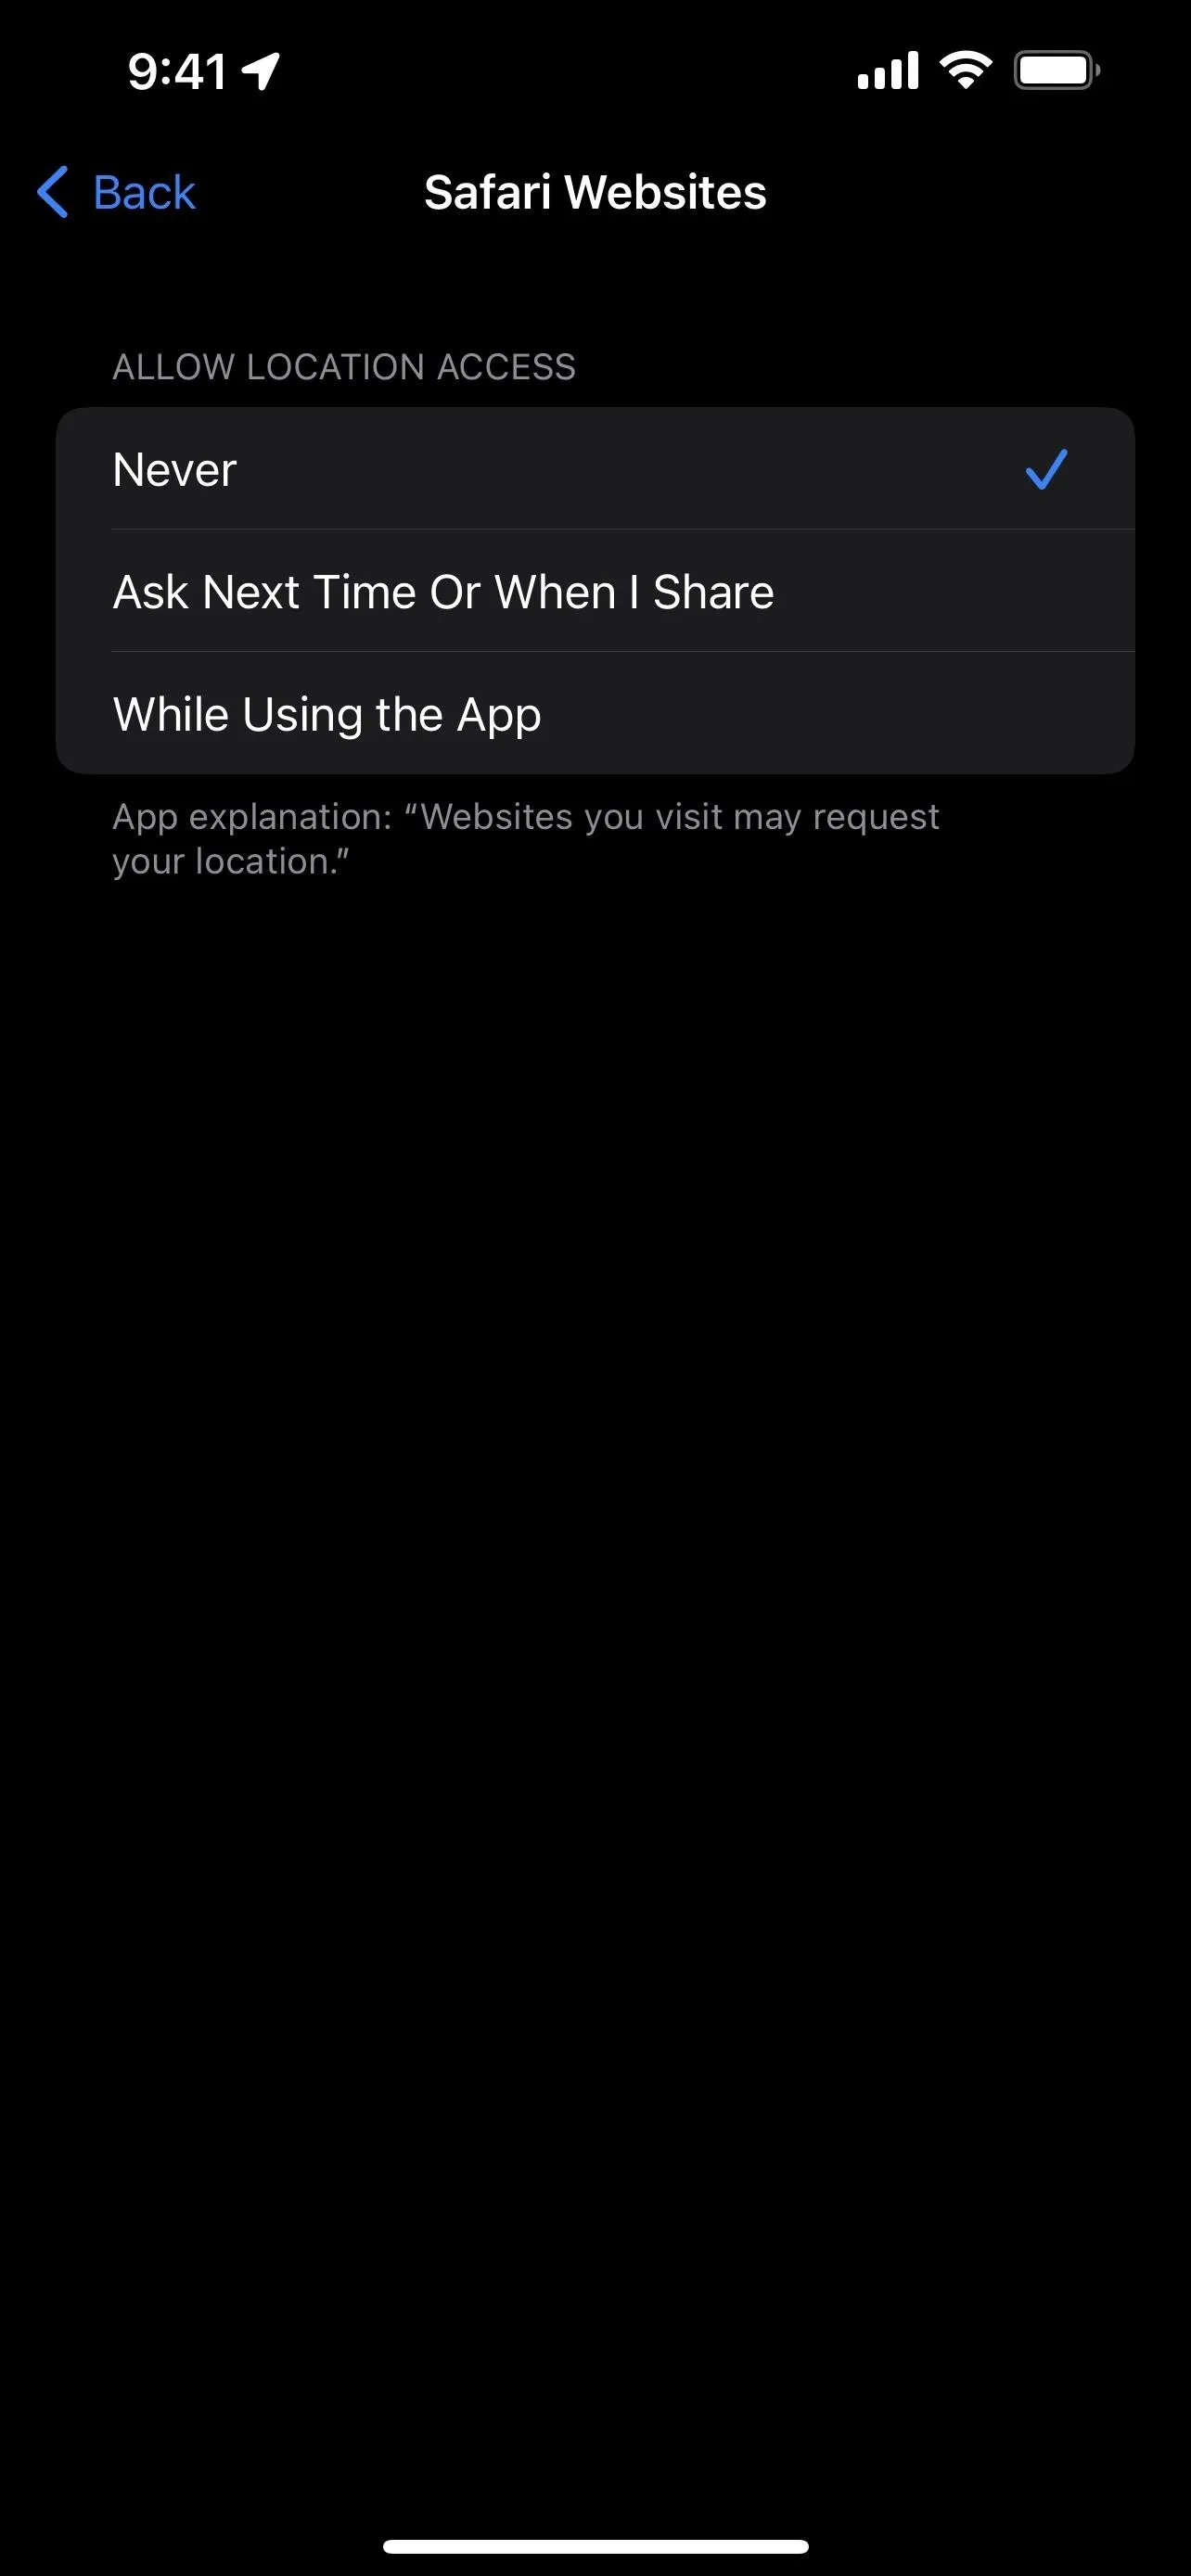
Safari has a setting that lets you block or allow websites access to your location, but it's not located in Safari's settings menu. Instead, it's in Settings –> Privacy –> Location Services –> Safari Websites. You can either set it to "Never " to block access to your location entirely or "Ask Next Time Or When I Share" if you want to approve access on a case-by-case basis.
- Don't Miss: How to Stop Websites from Asking to Use Your Location Every Single Time for Uninterrupted Browsing in Safari
3. Configure Safari's Privacy and Security Settings
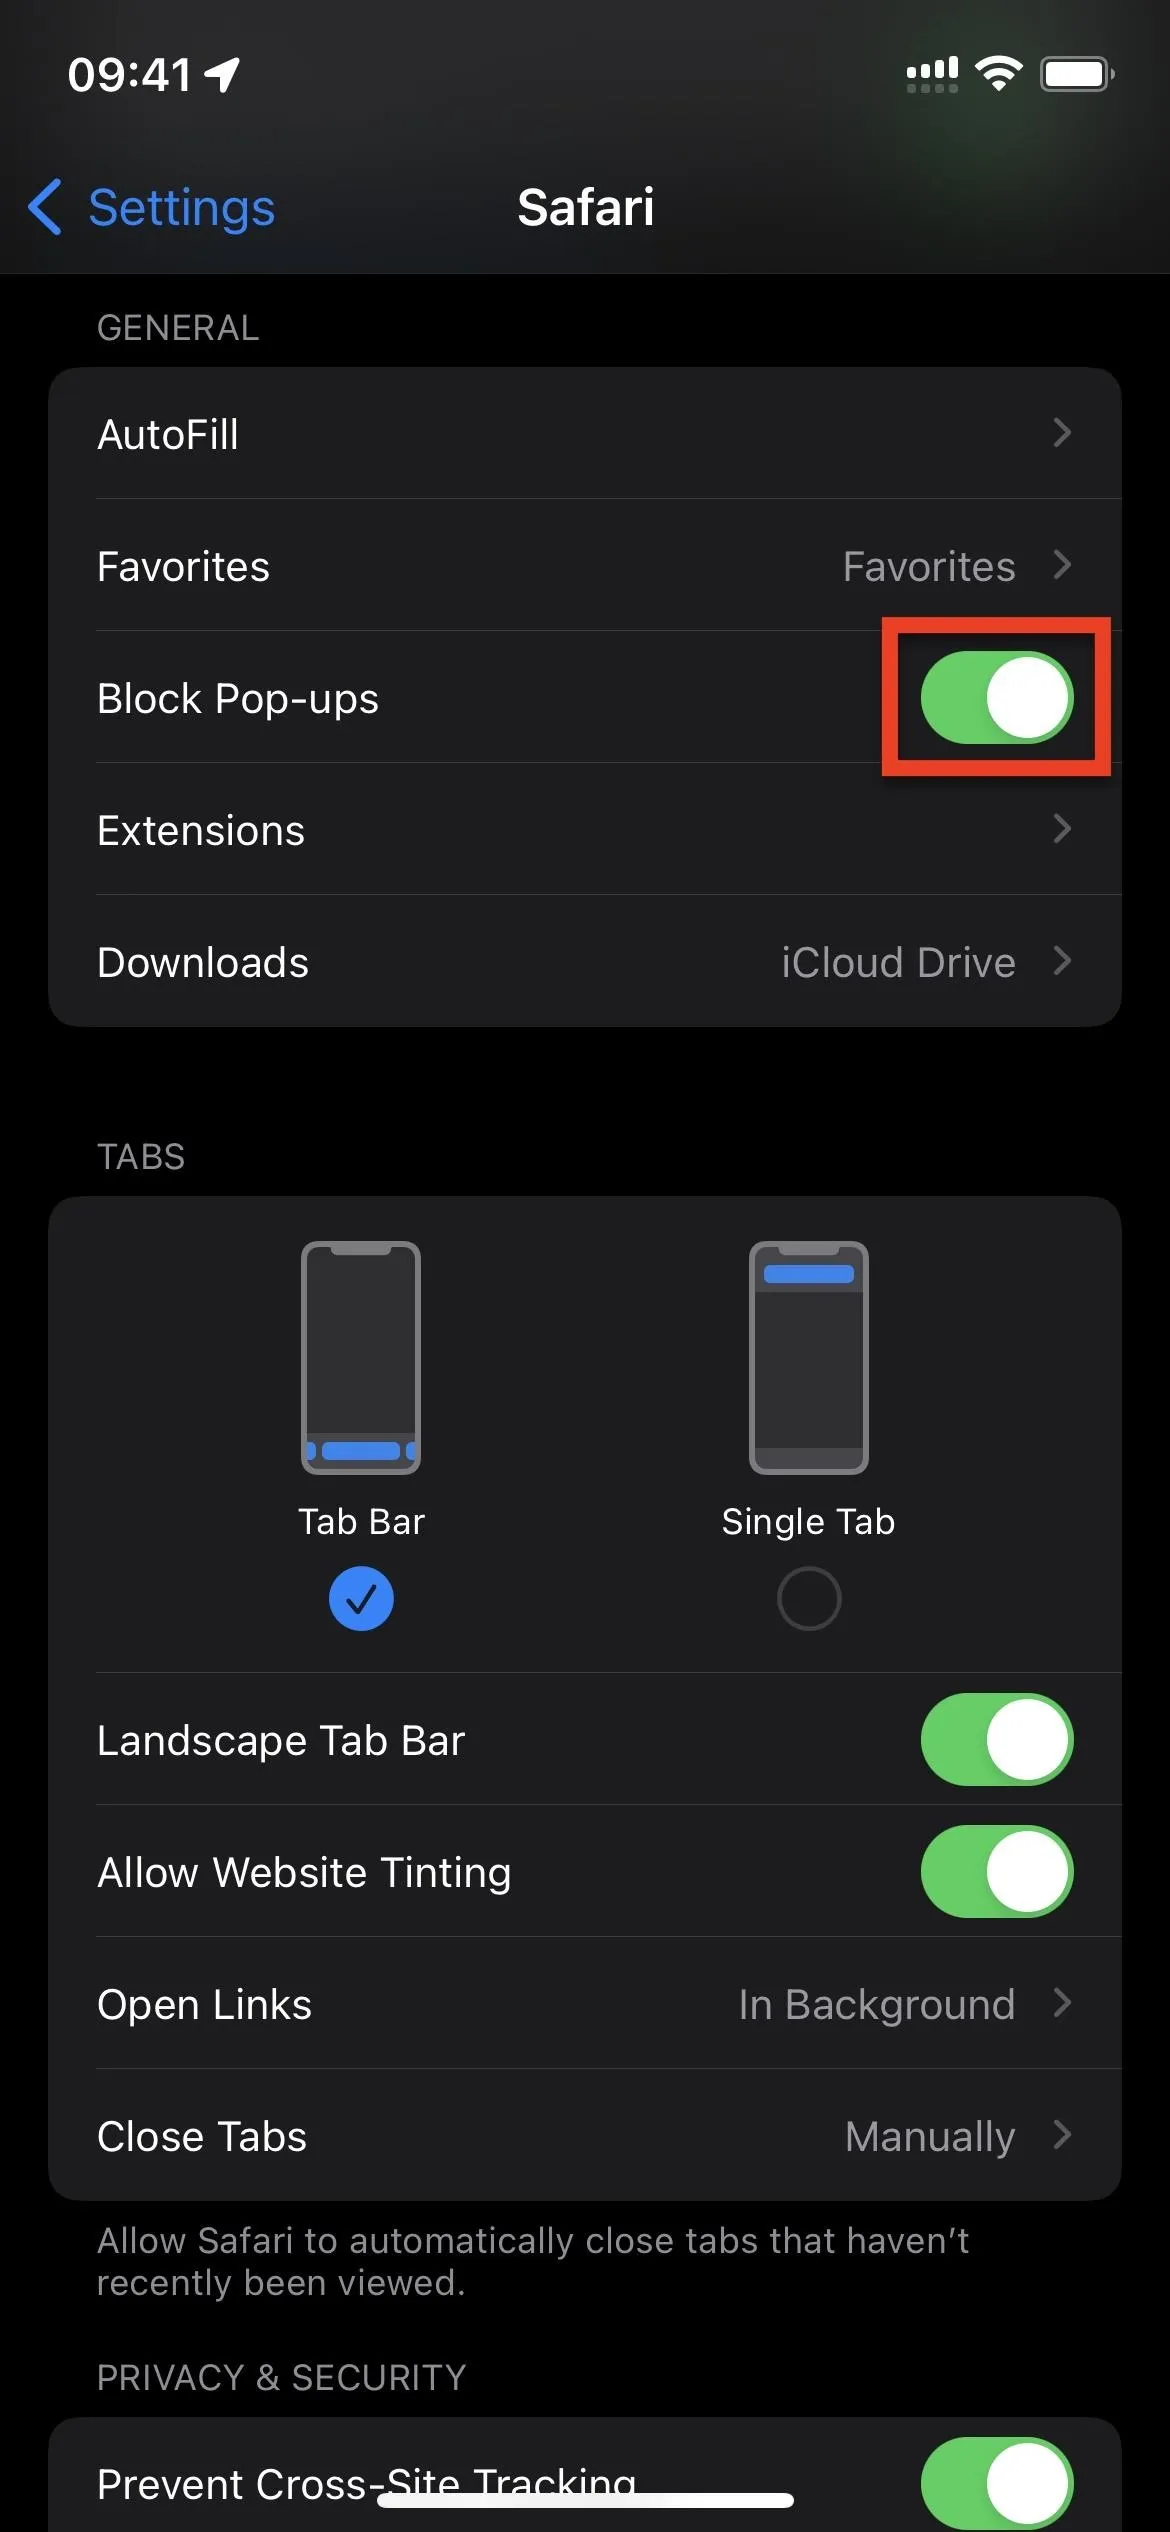
Head to the menu at Settings –> Safari, and you'll see a section for Privacy & Security. You can adjust these preferences depending on your needs, but none of the options will make your web experience completely anonymous. There's so much more to do for better anonymity, but you should still adjust these Safari settings for the foundation of your internet use.
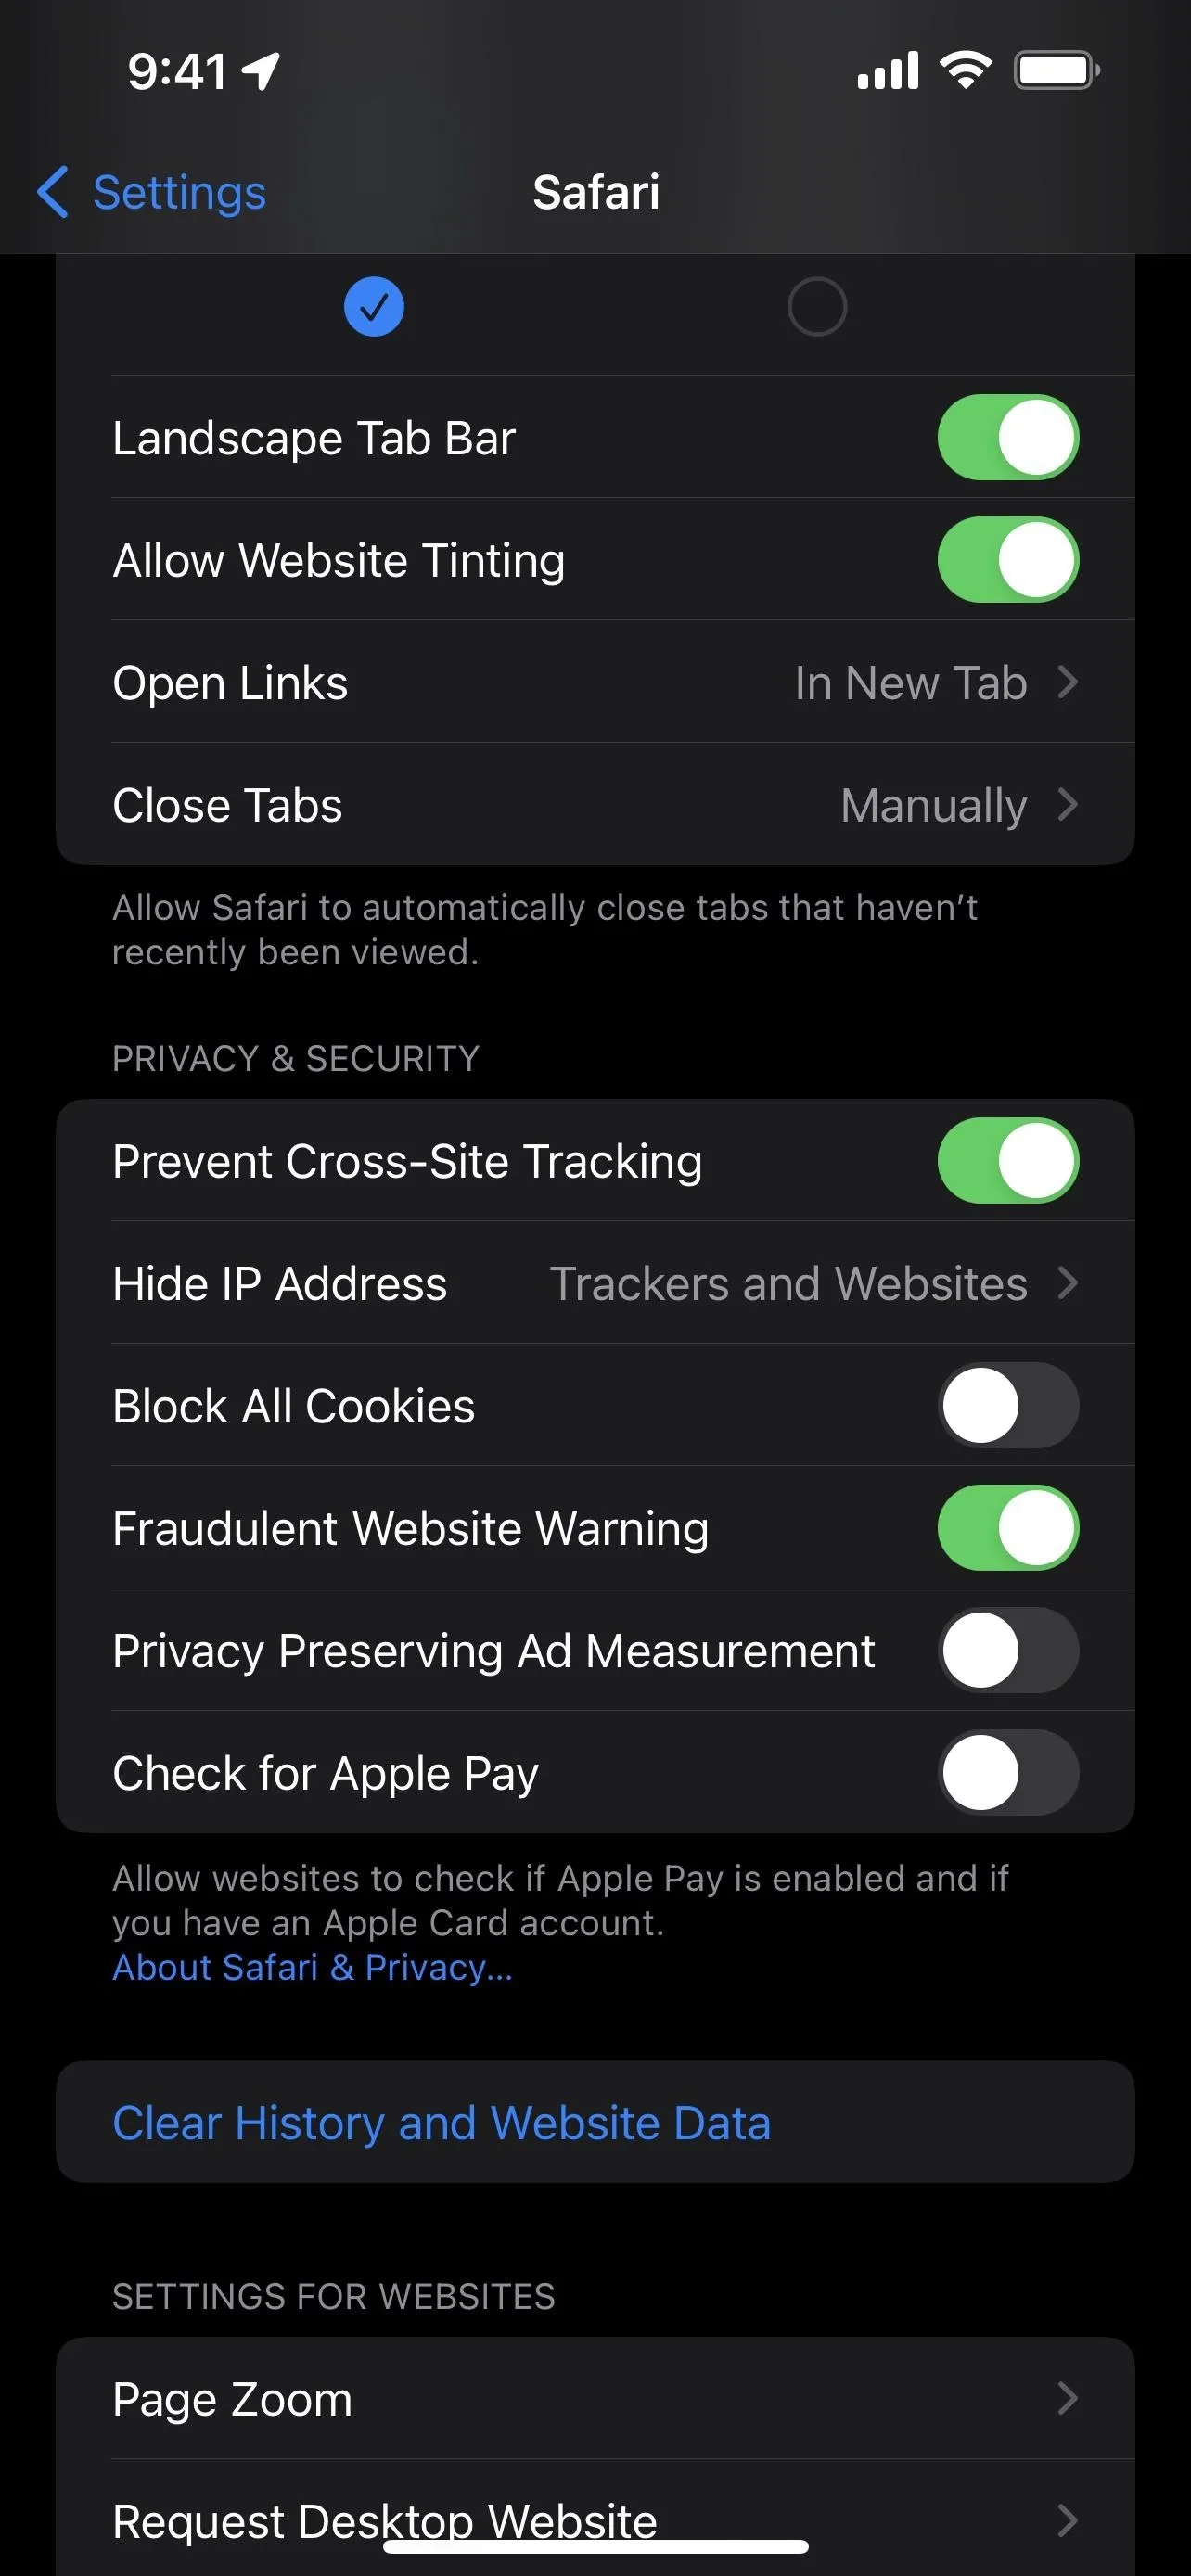
You can hide your IP address from trackers, prevent cross-site trackers, block cookies, enable warnings for malicious websites, and disable Private Click Measurement. The latter makes your ad interactions more anonymous, but you can just not give them anything. You can also block websites from finding out if you use Apple Pay on your device. And I would toggle on "Block Pop-ups" under the General section.
I wouldn't recommend blocking all cookies since it will break a lot of websites, make logging into certain accounts difficult even with the correct credentials, and show other erratic behaviors. If you need to block cookies, try Private Browsing mode.
Recommended Settings:
- Block Pop-ups: On
- Prevent Cross-Site Tracking: On
- Hide IP Address: Trackers Only (if not using iCloud Private Relay); Trackers and Websites (if using iCloud Private Relay)
- Block All Cookies: Off
- Fraudulent Website Warning: On
- Privacy Preserving Ad Measurement: Off
- Check for Apple Pay: Off
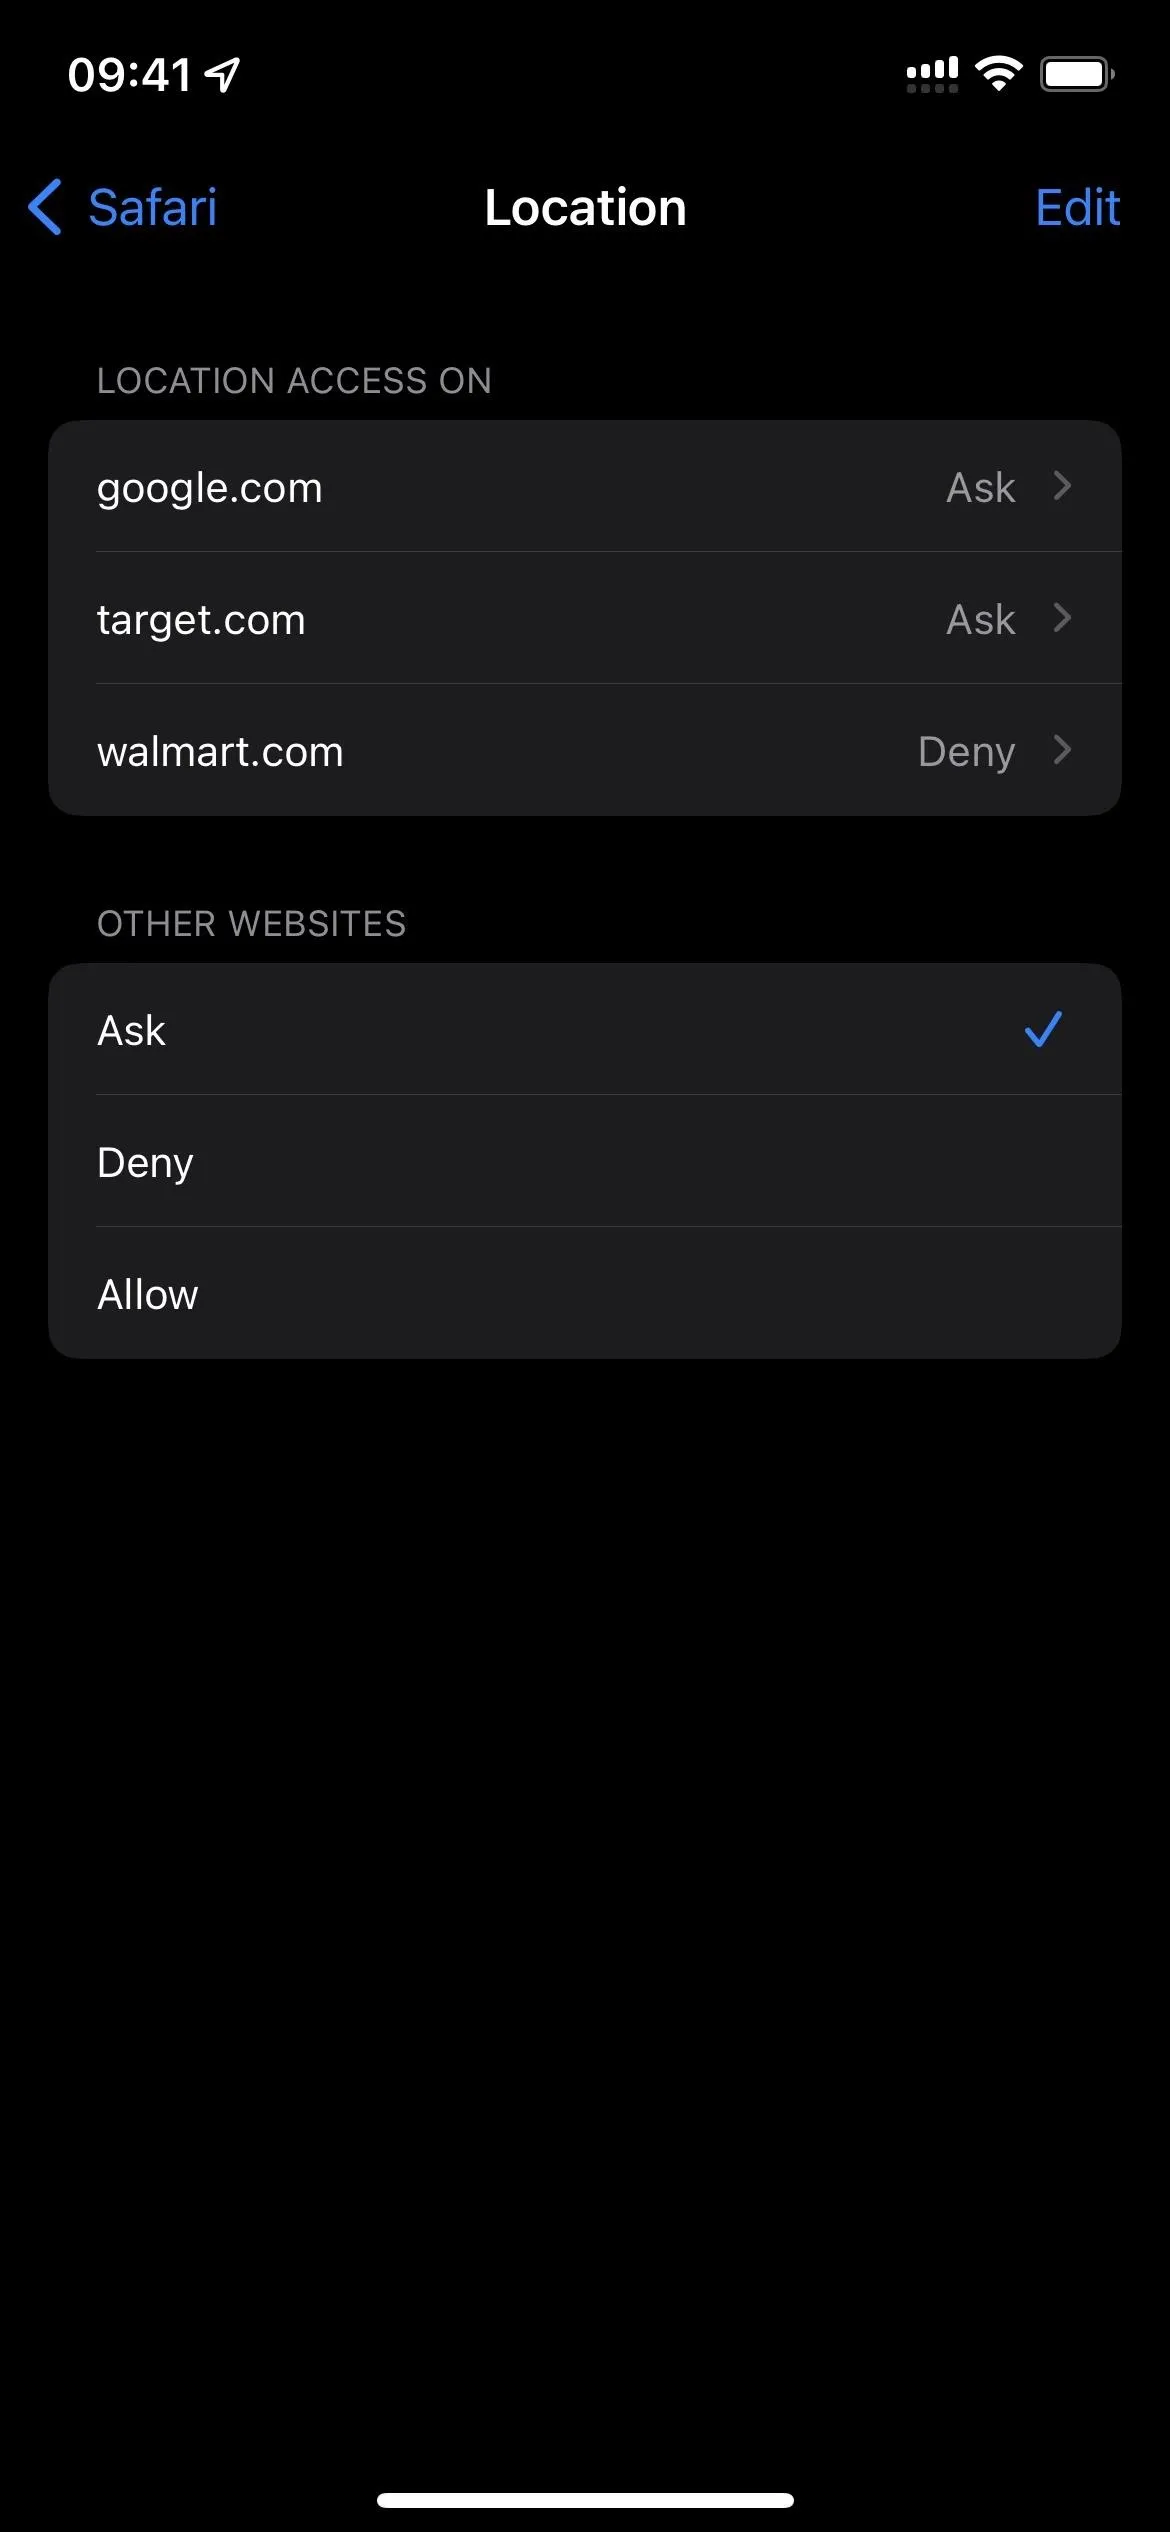
4. Limit Websites' Access to Camera, Location, and Mic
A feature that first appeared in iOS 13 and iPadOS 13 was the ability to control when websites in Safari can use your device's camera, location, and microphone. In Settings –> Safari, select each option in the Settings for Websites section, then choose either "Ask," which will ask you every time a site wants access, or "Deny," to block all access to all sites. I'd recommend using "Ask" as the primary option, then choose "Deny" for sites you don't want to give access to whenever they ask for permission.

5. Reset Safari's Experimental Settings
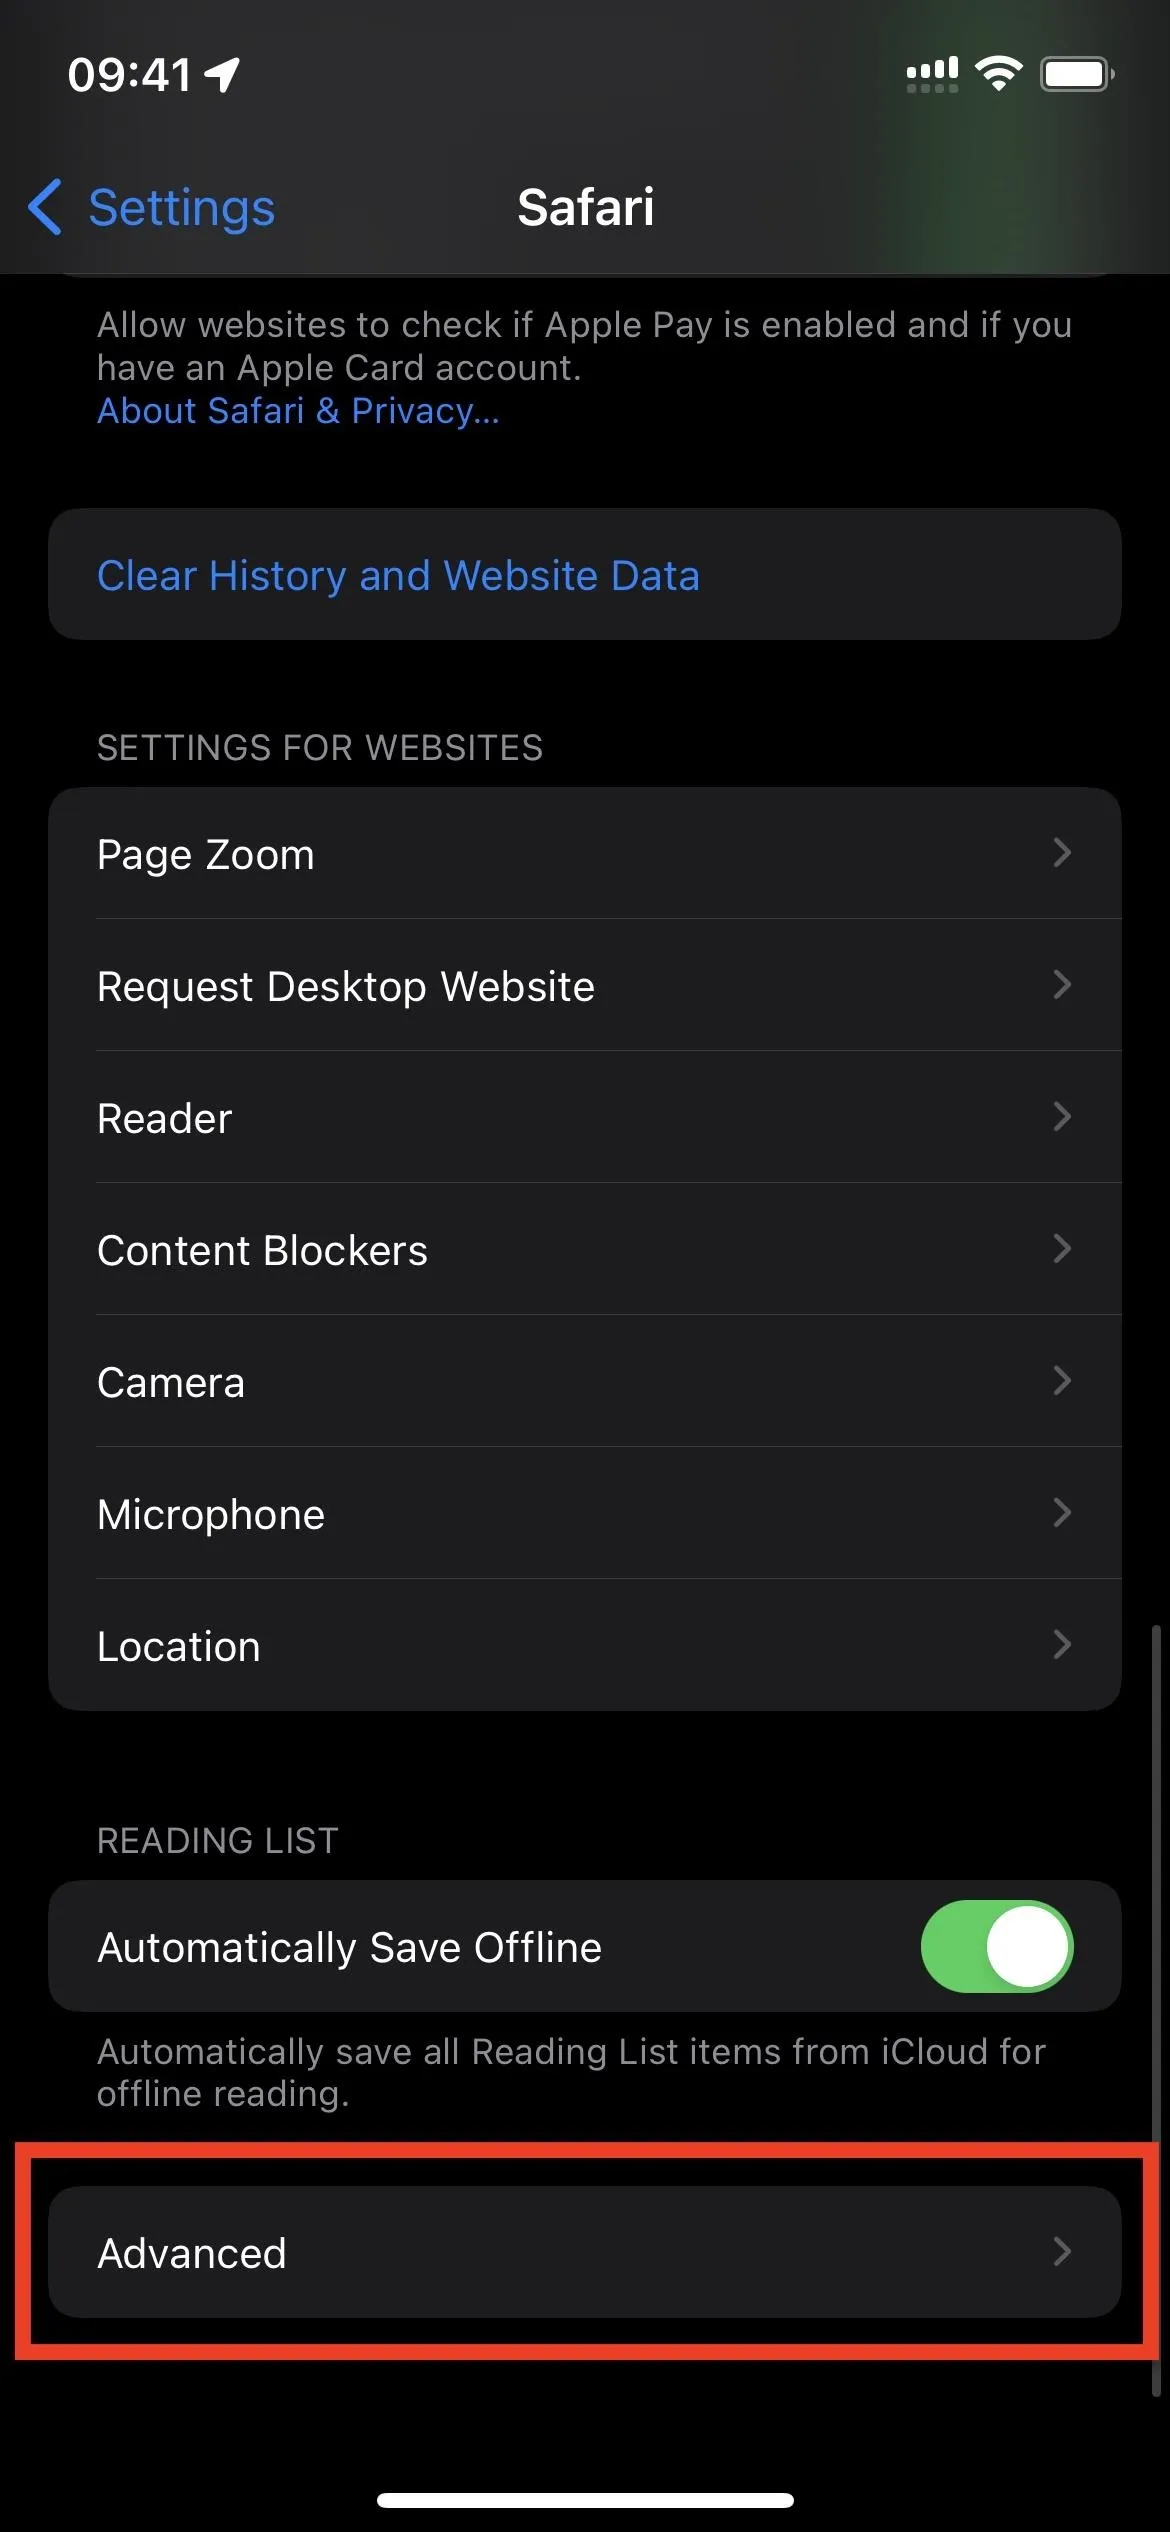
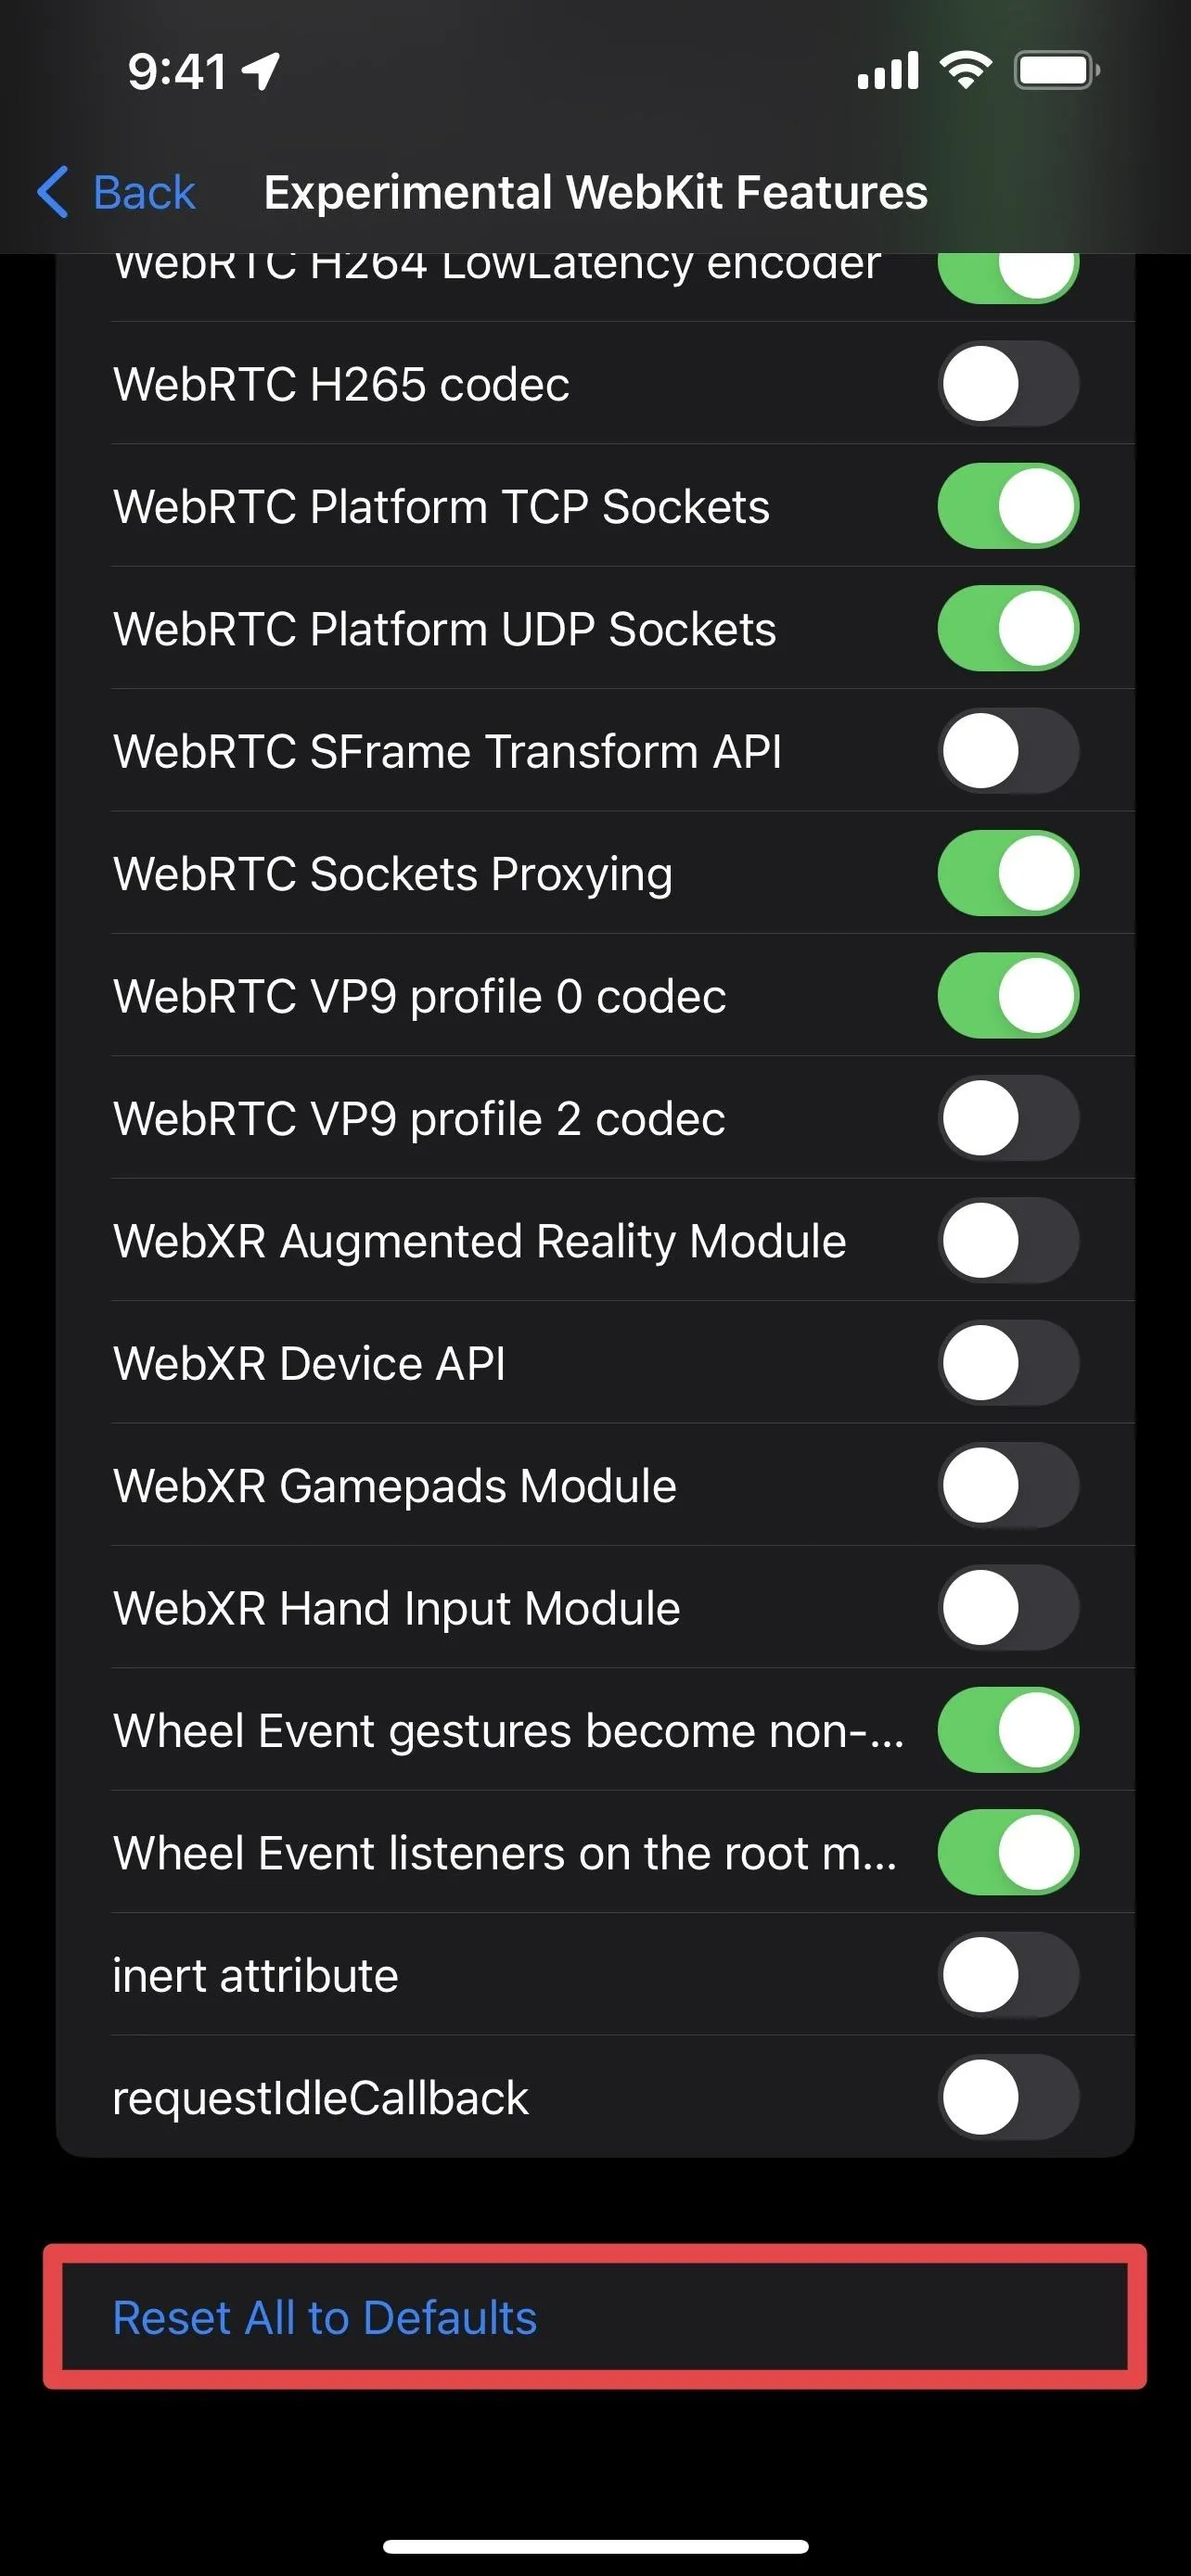
While not a massive issue for most people, I'd also recommend keeping the switches in Settings –> Safari –> Advanced –> Experimental Features set to the defaults. Messing with these preferences could reduce web privacy without you knowing it. Luckily, if your iPhone or iPad is updated to iOS 15.4 or iPadOS 15.4 and later, you can reset everything with a tap of a button.
- More Info: How to Reset Safari's Experimental Features to the Defaults to Fix or Troubleshoot Browsing Issues
6. Use iCloud Private Relay
Apple has a new privacy feature in iOS 15 called iCloud Private Relay, which lets you hide your IP address and browsing activity in Safari. When enabled, it sends your traffic through two different relays, allowing only your internet service provider and Apple to know your actual IP address.
Normally when you browse the web, information contained in your web traffic, such as your DNS records and IP address, can be seen by your network provider and the websites you visit. This information could be used to determine your identity and build a profile of your location and browsing history over time. iCloud Private Relay is designed to protect your privacy by ensuring that when you browse the web in Safari, no single party — not even Apple — can see both who you are and what sites you're visiting.
When Private Relay is enabled, your requests are sent through two separate, secure internet relays. Your IP address is visible to your network provider and to the first relay, which is operated by Apple. Your DNS records are encrypted, so neither party can see the address of the website you're trying to visit. The second relay, which is operated by a third-party content provider, generates a temporary IP address, decrypts the name of the website you requested and connects you to the site. All of this is done using the latest internet standards to maintain a high-performance browsing experience while protecting your privacy.
Unfortunately, iCloud Private Relay only works if you subscribe to an iCloud+ plan. You can get an iCloud+ subscription from $0.99 per month to $9.99 per month. Access to iCloud+ is also included in Apple One plans, costing $14.95 per month to $29.95 per month.
- 50 GB iCloud+ = $0.99/month
- 200 GB iCloud+ = $2.99/month
- 2 TB iCloud+ = $9.99/month
- Apple One Individual with 50 GB iCloud+ = $14.95/month
- Apple One Family with 200 GB iCloud+ = $19.95/month
- Apple One Premier with 2 TB iCloud+ = $29.95/month
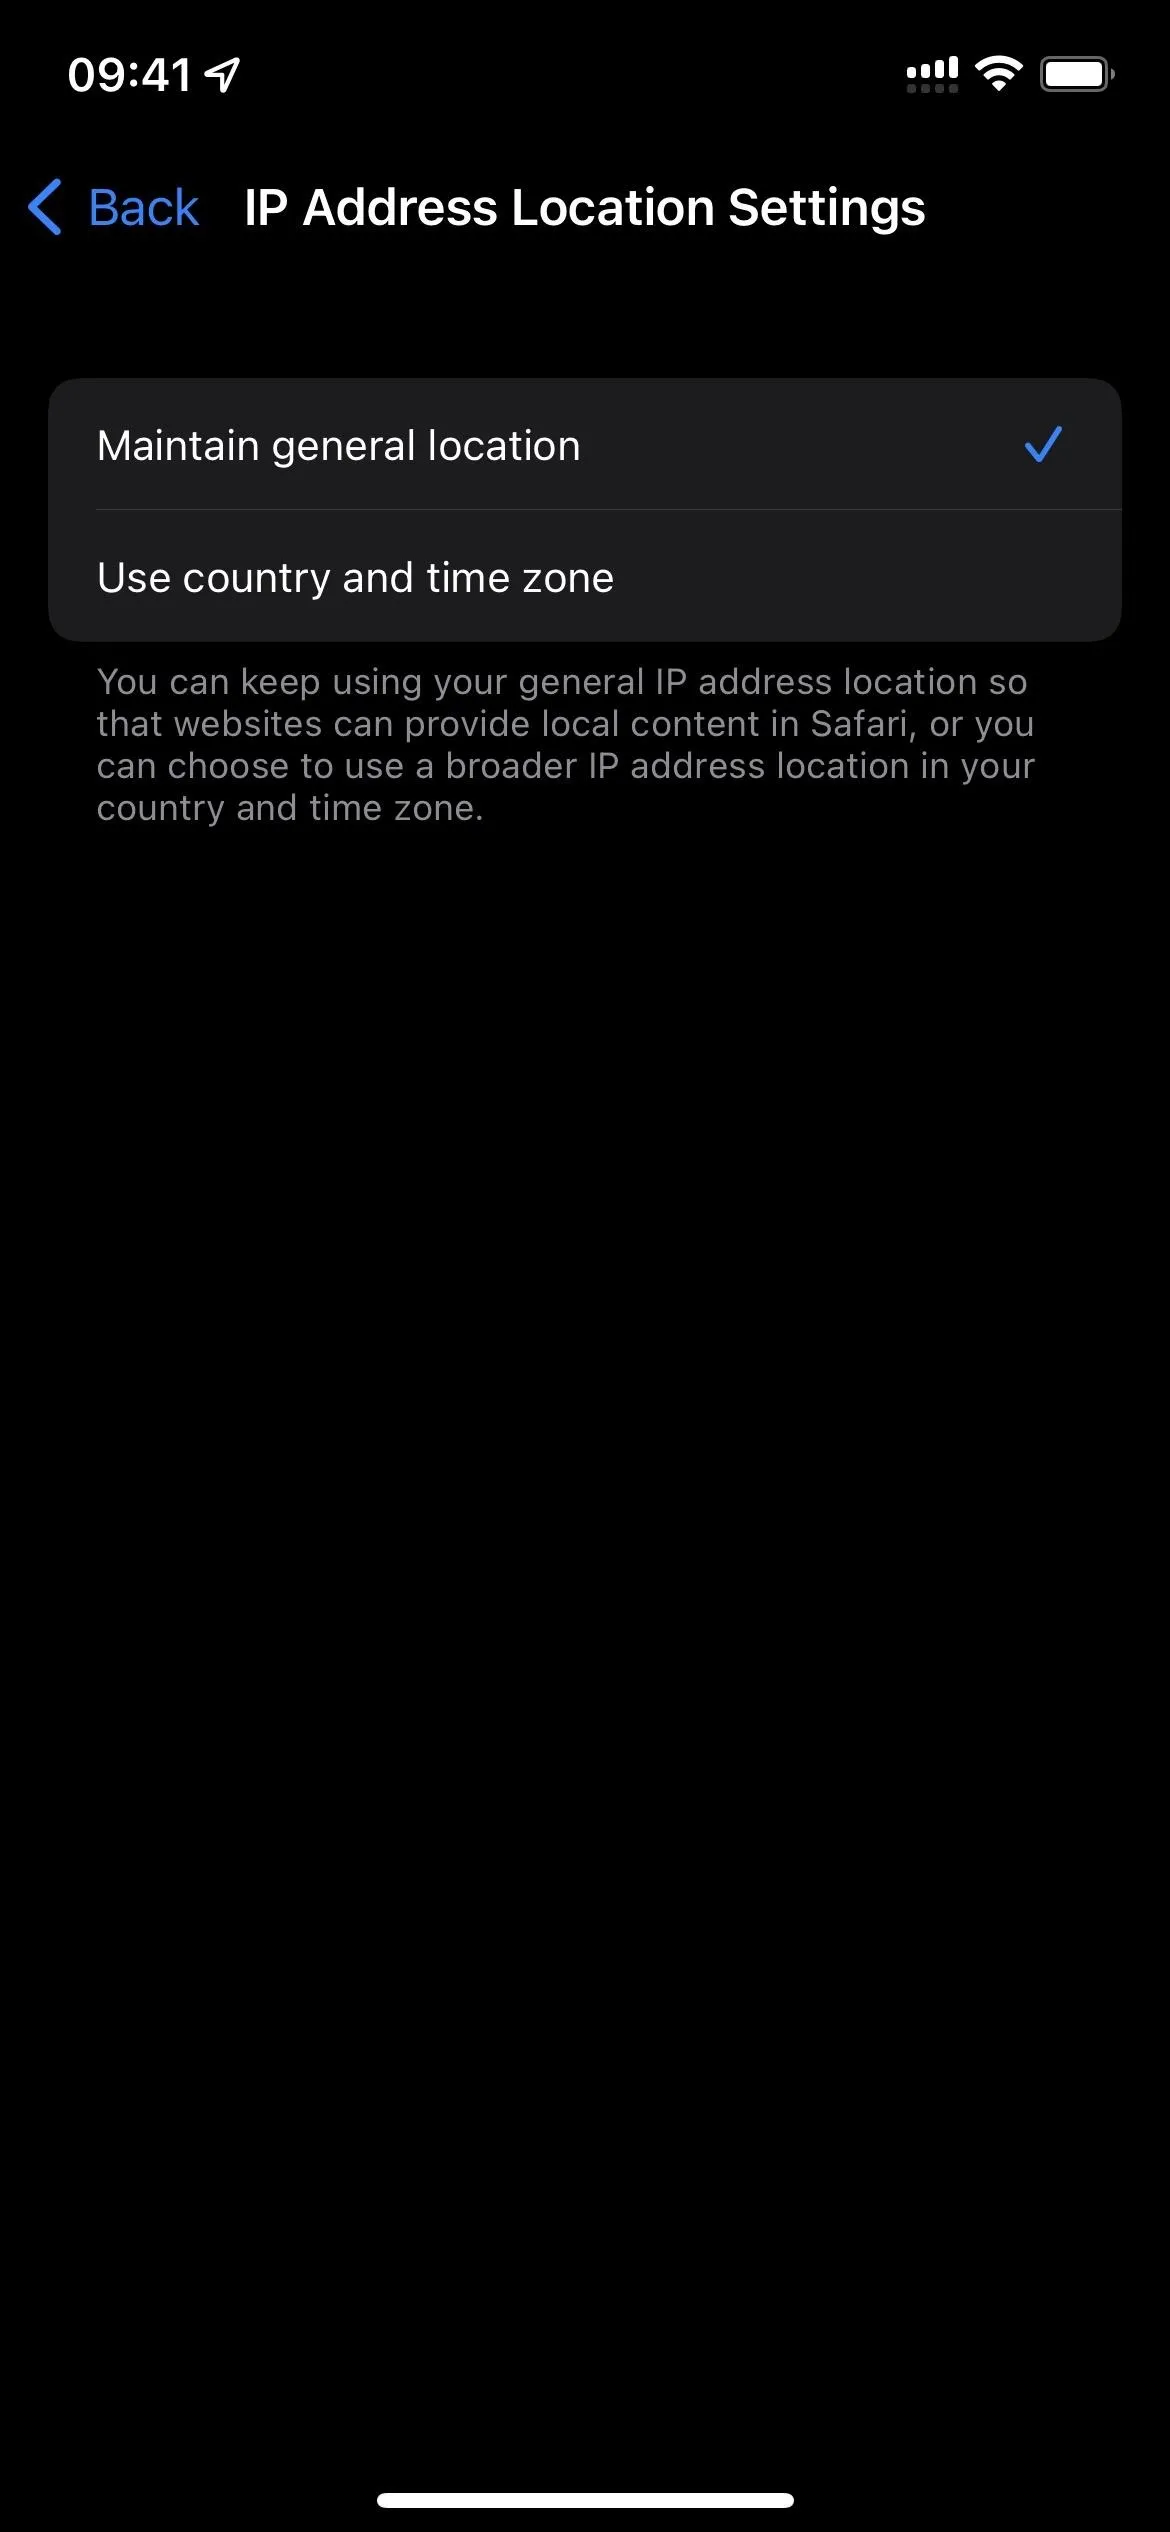
To turn on iCloud Private Relay, go to Settings –> [Your Name] –> iCloud –> Private Relay (Beta). Then, toggle on the Private Relay (Beta) switch. Once enabled, you can tap "IP Address Location" to tell Safari to use your general IP address location or only give out your country and time zone.
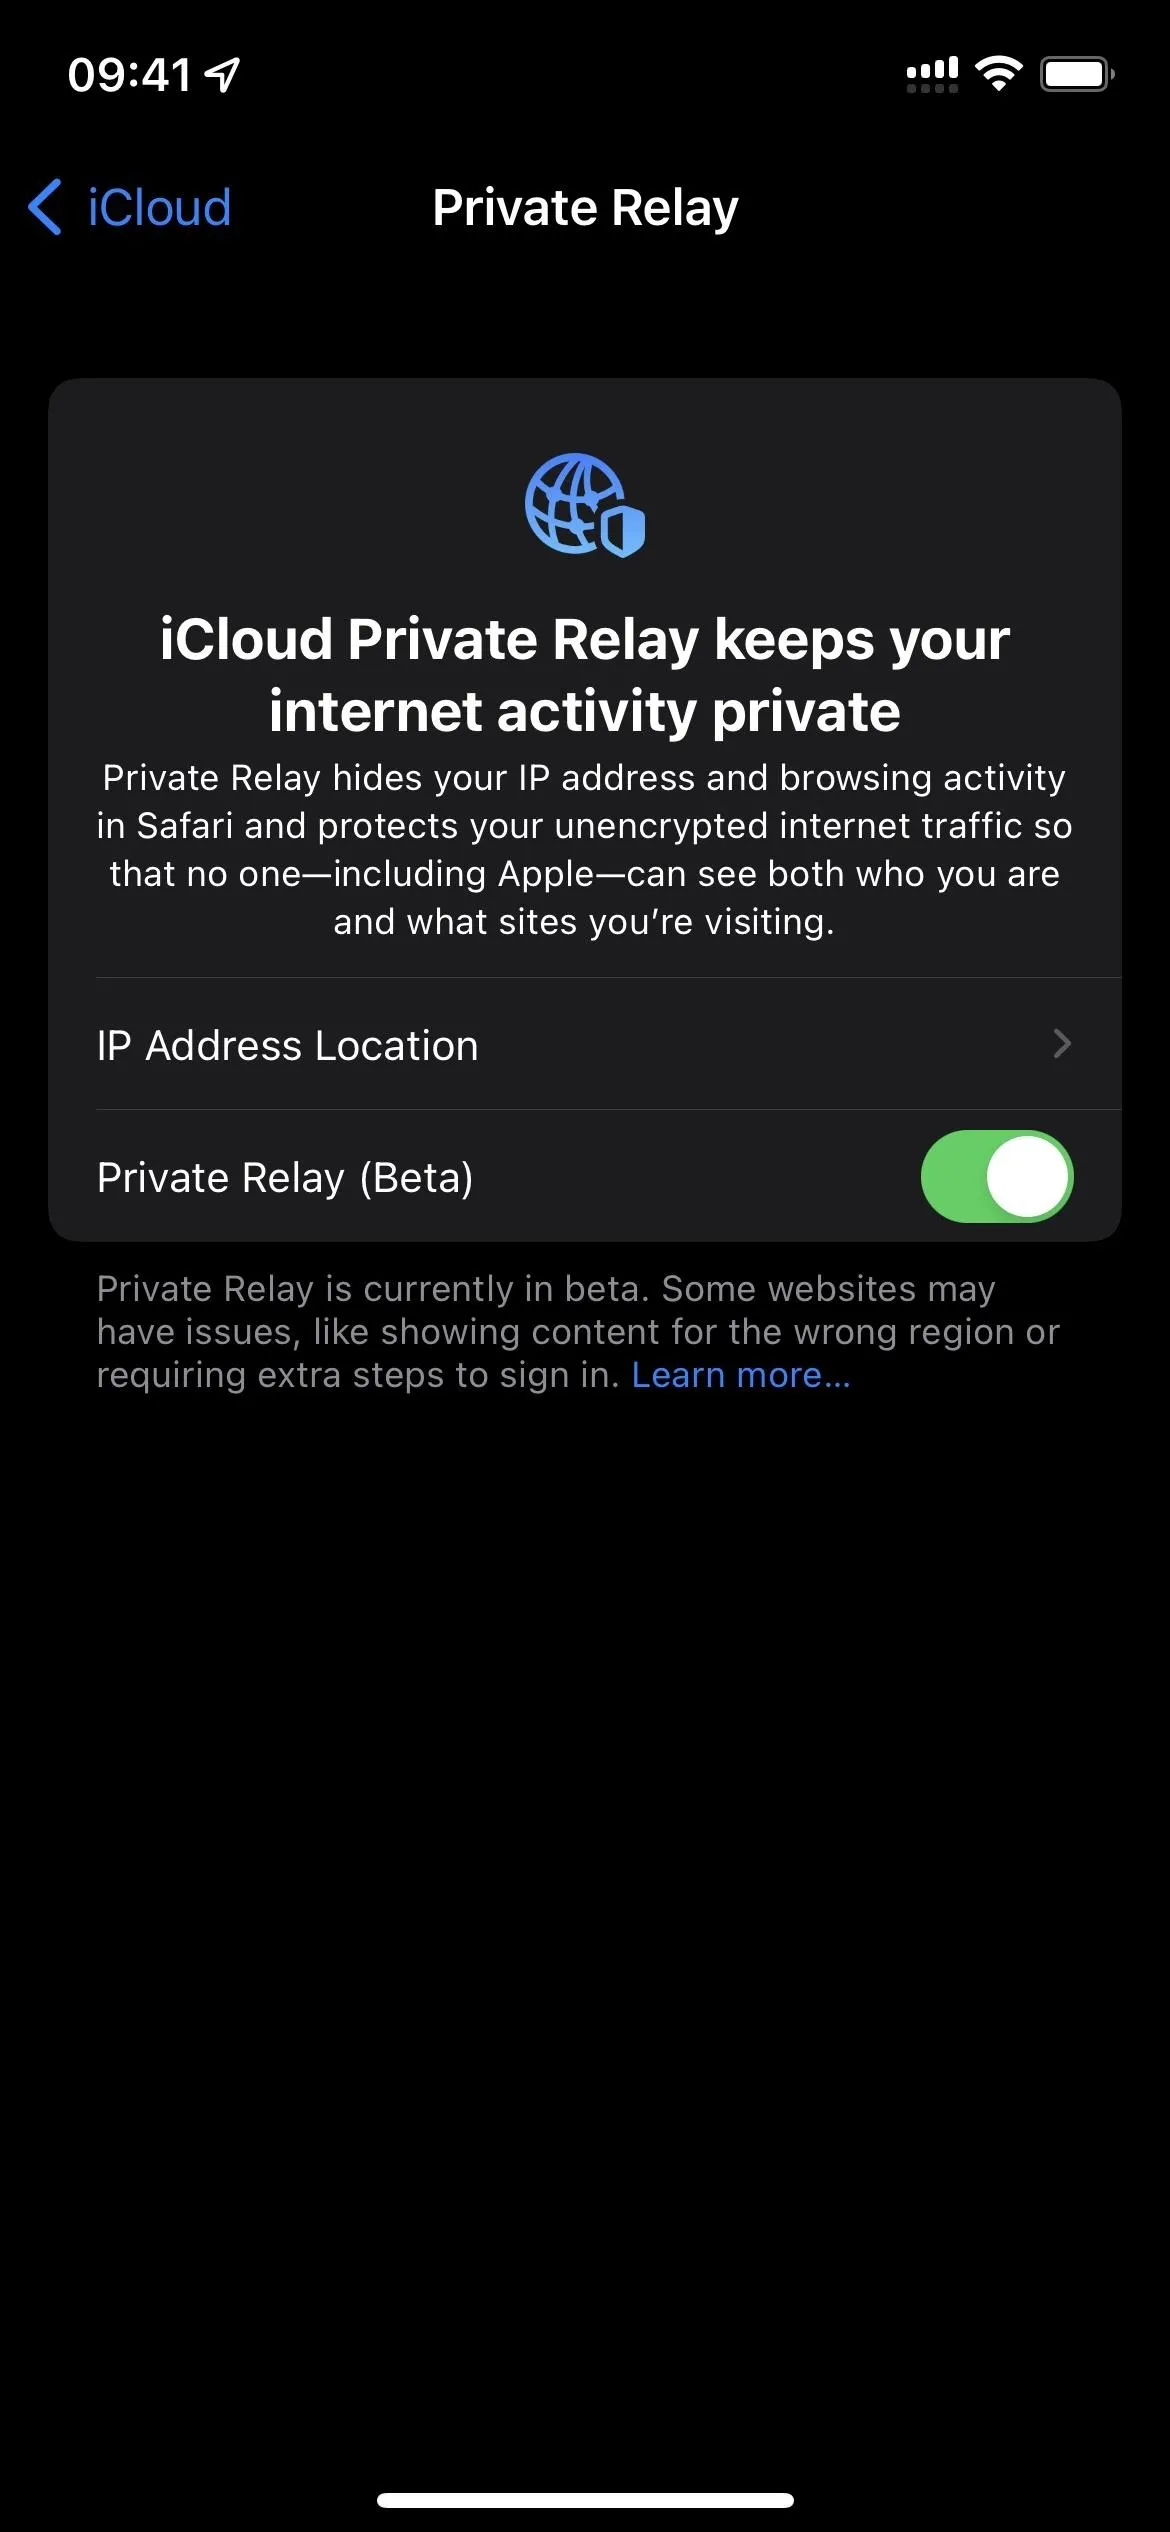
The service is still in beta, so you may experience bugs such as showing the wrong regional content or requiring extra steps to log in. If you have any issues, turning the service off and back on seems to solve most problems. For example, I got human verification prompts on Google when browsing and searching on the web, but they stopped once I turned iCloud Private Relay off and back on.
7. Change Your DNS Servers
A website's real URL is actually an IP address. DNS servers are how your computer translates URLs, or Domain Names, into the website's IP address. By default, your iPhone uses your internet service provider's DNS server to make that translation happen.
But running each website you access through your ISP could have some privacy implications. Some DNS servers allow you to block malicious websites, and it's very likely that your ISP's DNS server does not. Additionally, changing your DNS server could slightly speed up your browsing experience.
If you decide to change your DNS servers, not only will your Safari browsing activity will be affected, but all activity on your iPhone will go through the new servers.
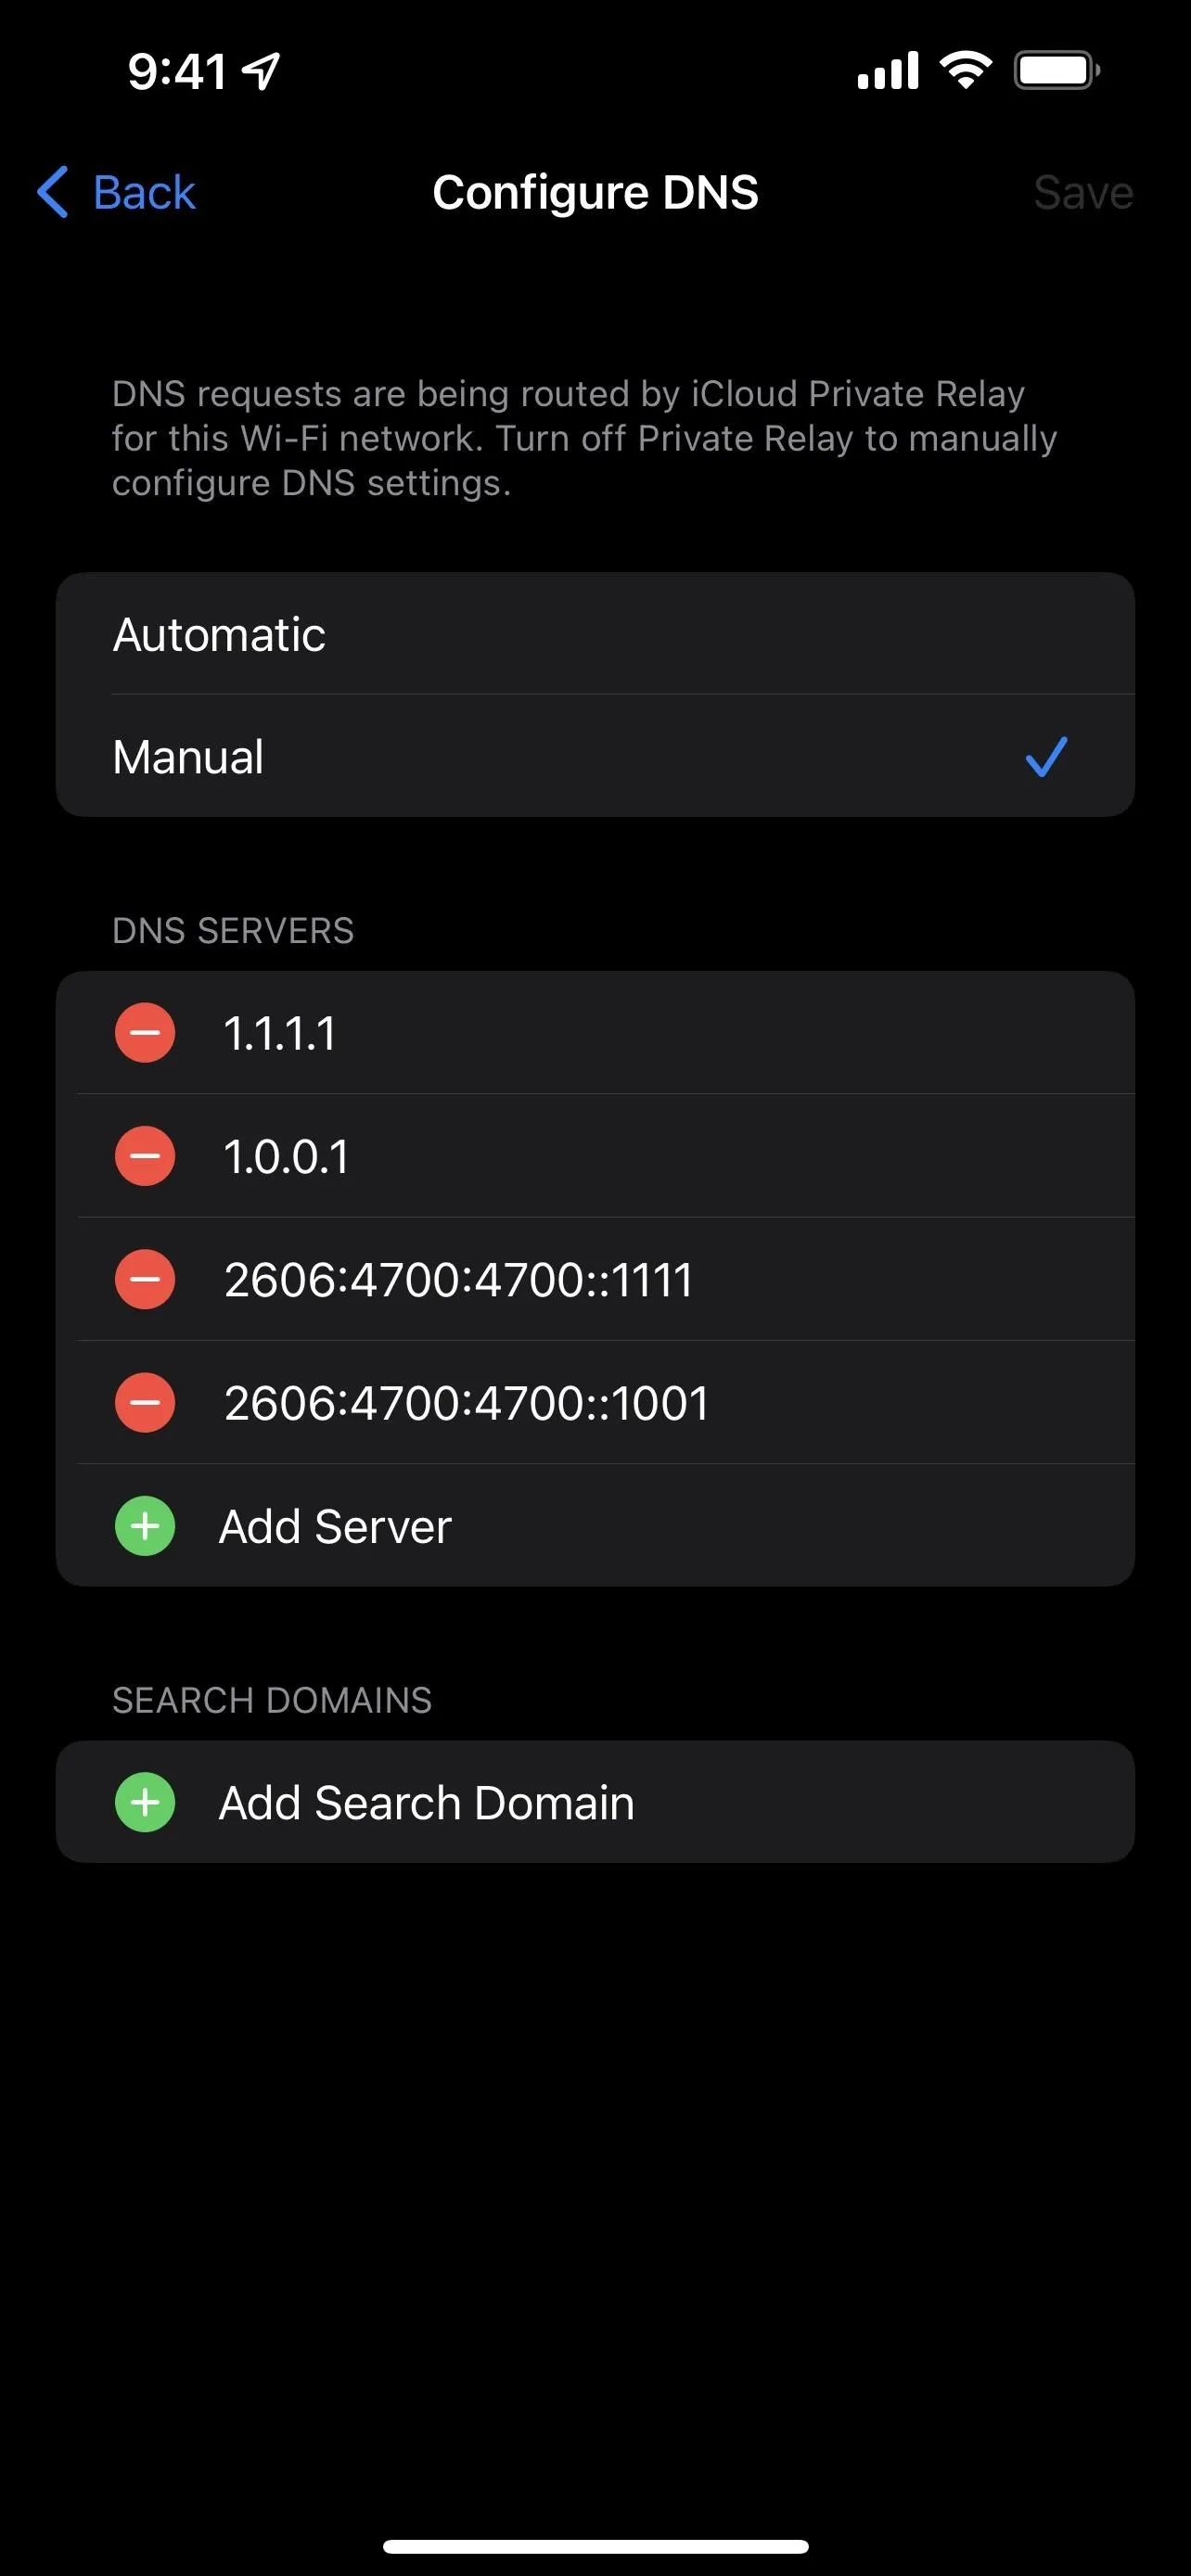
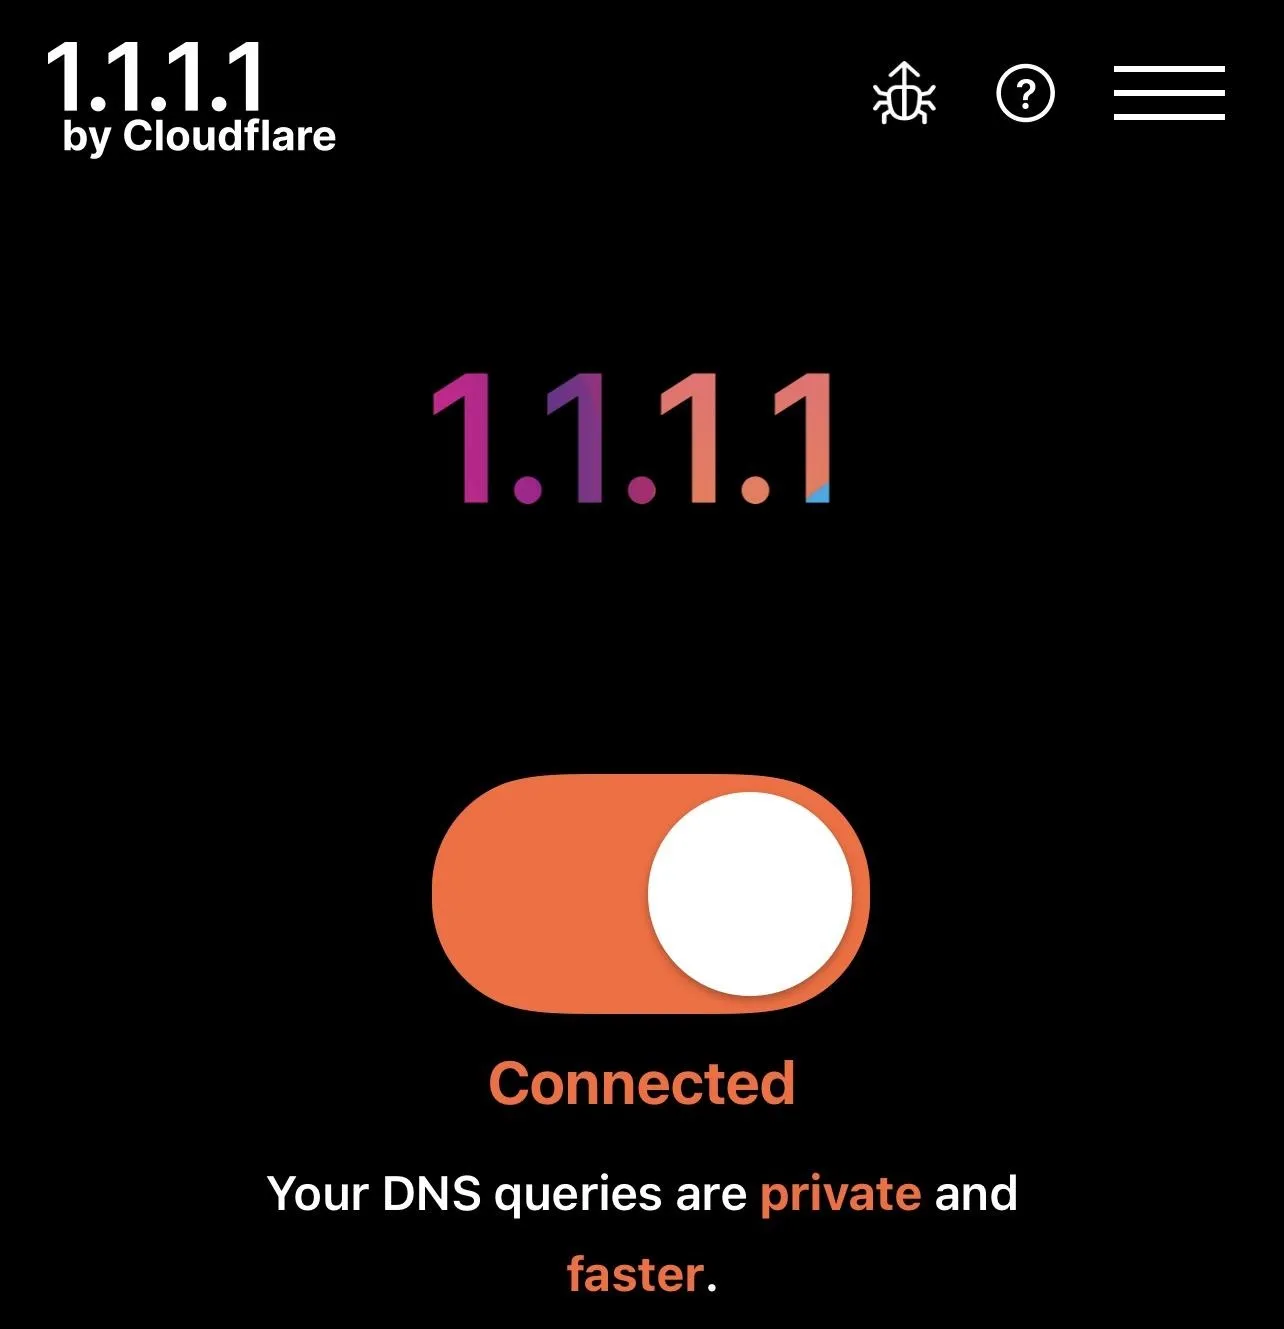
There are several different DNS server options to choose from. Popular ones include 1.1.1.1 by Cloudflare and APNIC, OpenDNS by Cisco, Public DNS by Google, and Quad9 by the Quad9 Foundation. I'm using 1.1.1.1's four servers in my example because they're excellent for privacy.
- 1.1.1.1 (IPv4 address)
- 1.0.0.1 (IPv4 address)
- 2606:4700:4700::1111 (IPv6 address)
- 2606:4700:4700::1001 (IPv6 address)
Changing DNS Servers Over Wi-Fi:
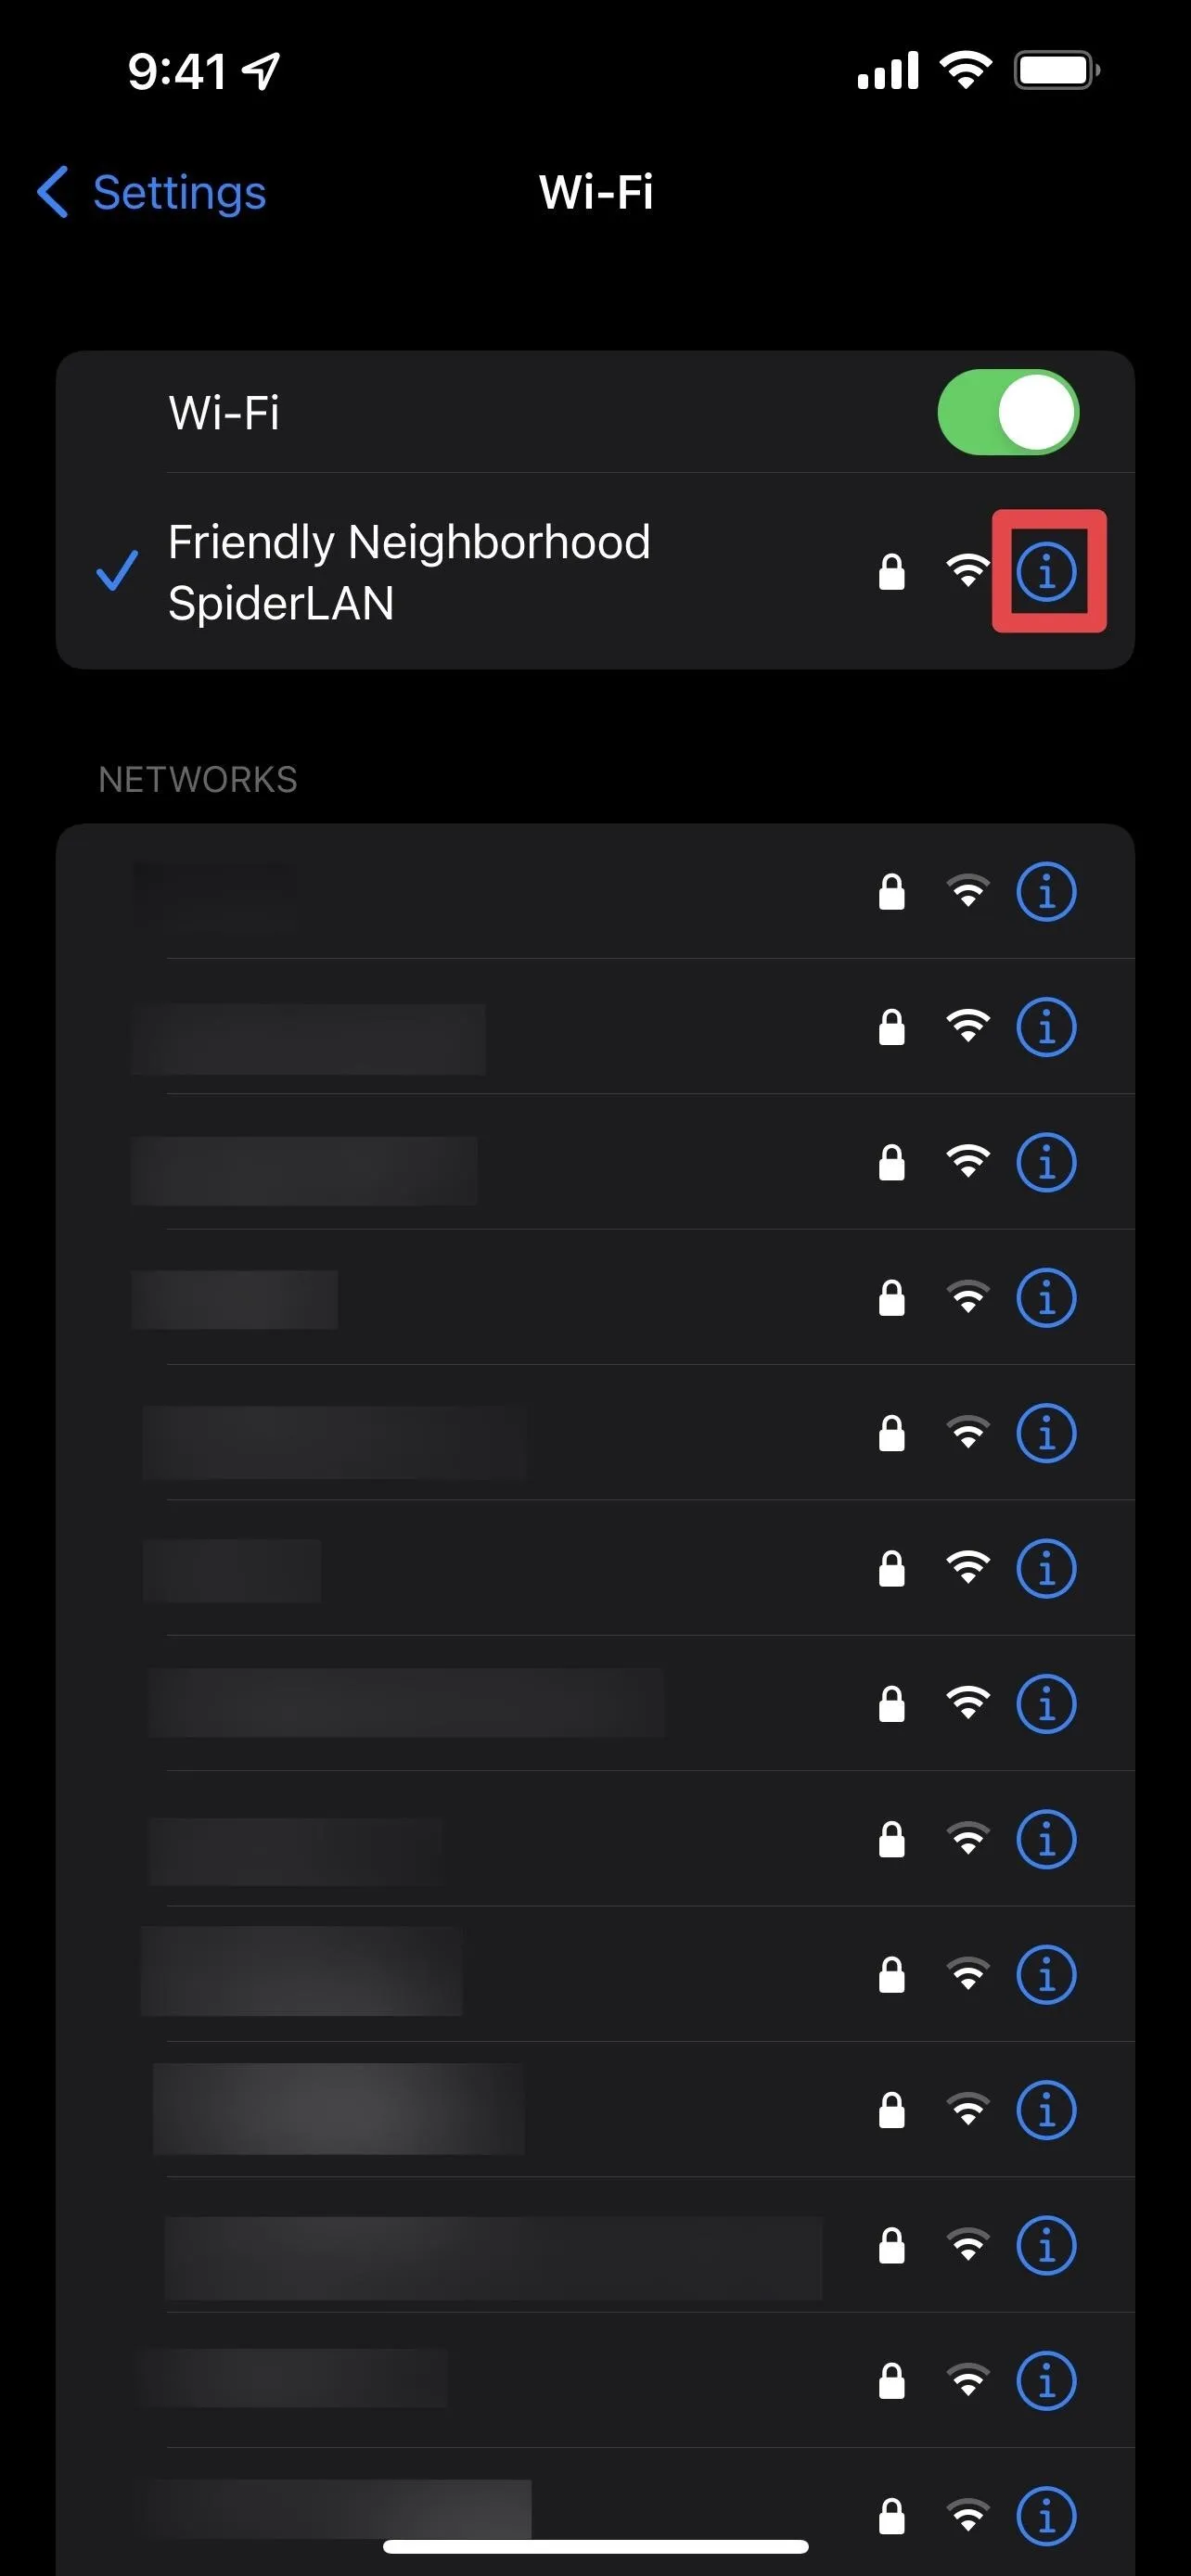
- Go to Settings –> Wi-Fi.
- Tap the info (i) button next to your Wi-Fi network.
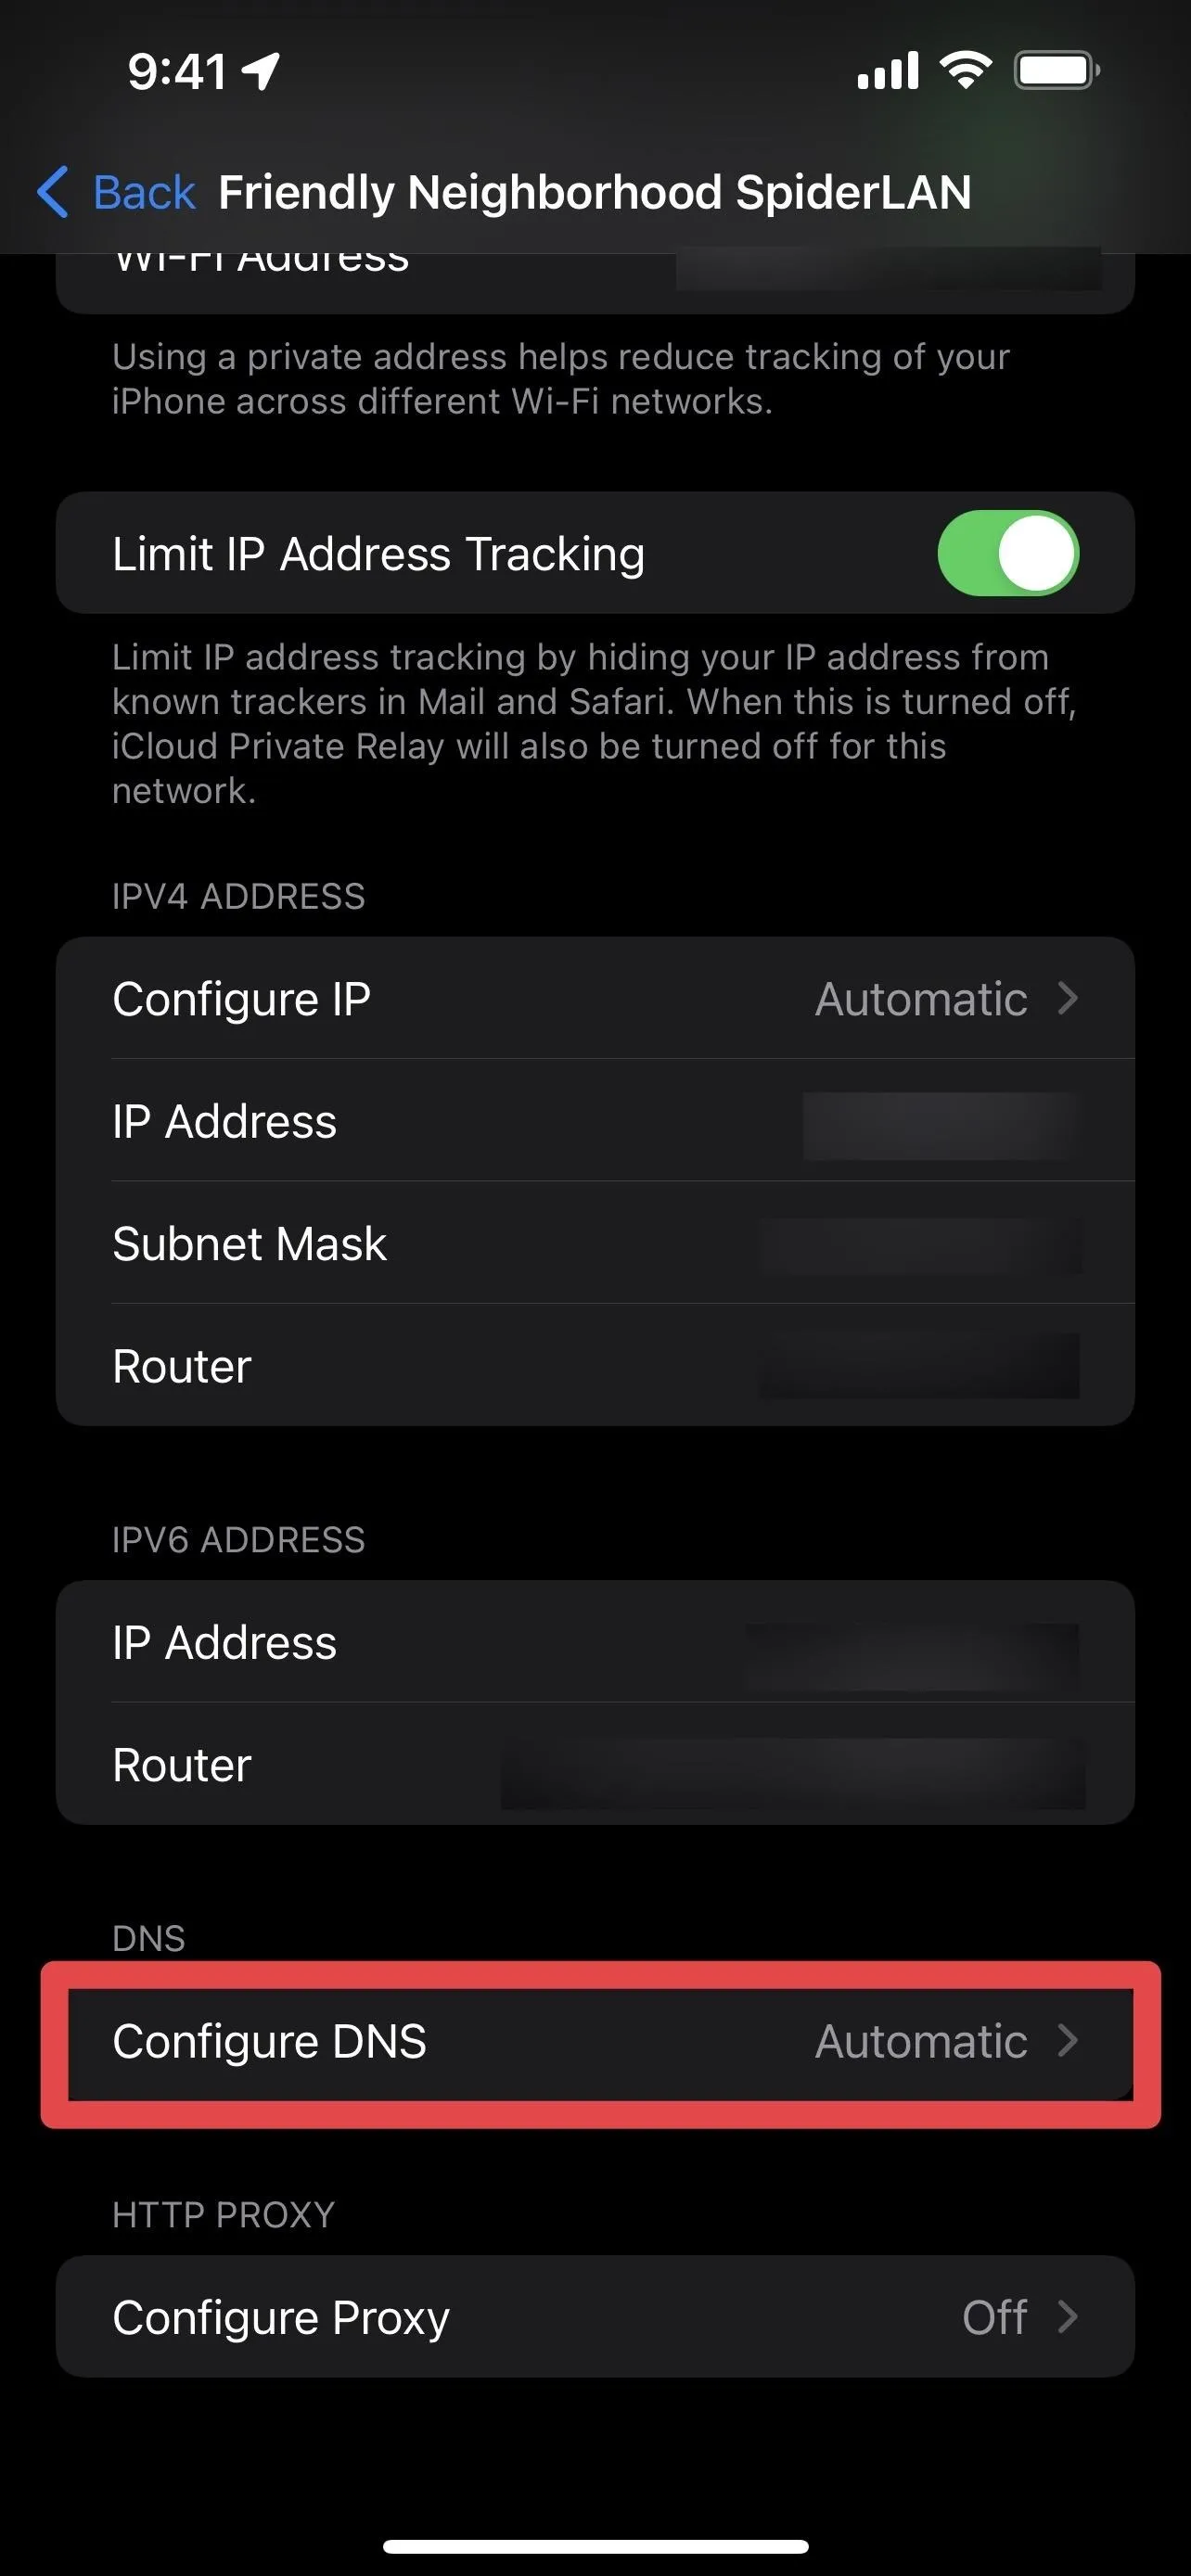
- Tap "Configure DNS."
- Change "Automatic" to "Manual."
- Delete the DNS servers currently there.
- Tap "Add Server."
- Add one of the IP addresses.
- Delete any Search Domains that appear.
- Tap "Save" to finish.
Changing DNS Servers Over a Cellular Network:
Changing your iPhone's DNS servers over a cellular network is more complicated since Apple doesn't supply any direct settings for it. You could create an MDM payload profile, but that's a lot more effort than it's worth. Several different apps allow you to install pseudo VPNs that change your DNS servers. Some of them even allow "native iOS" DNS server changing.
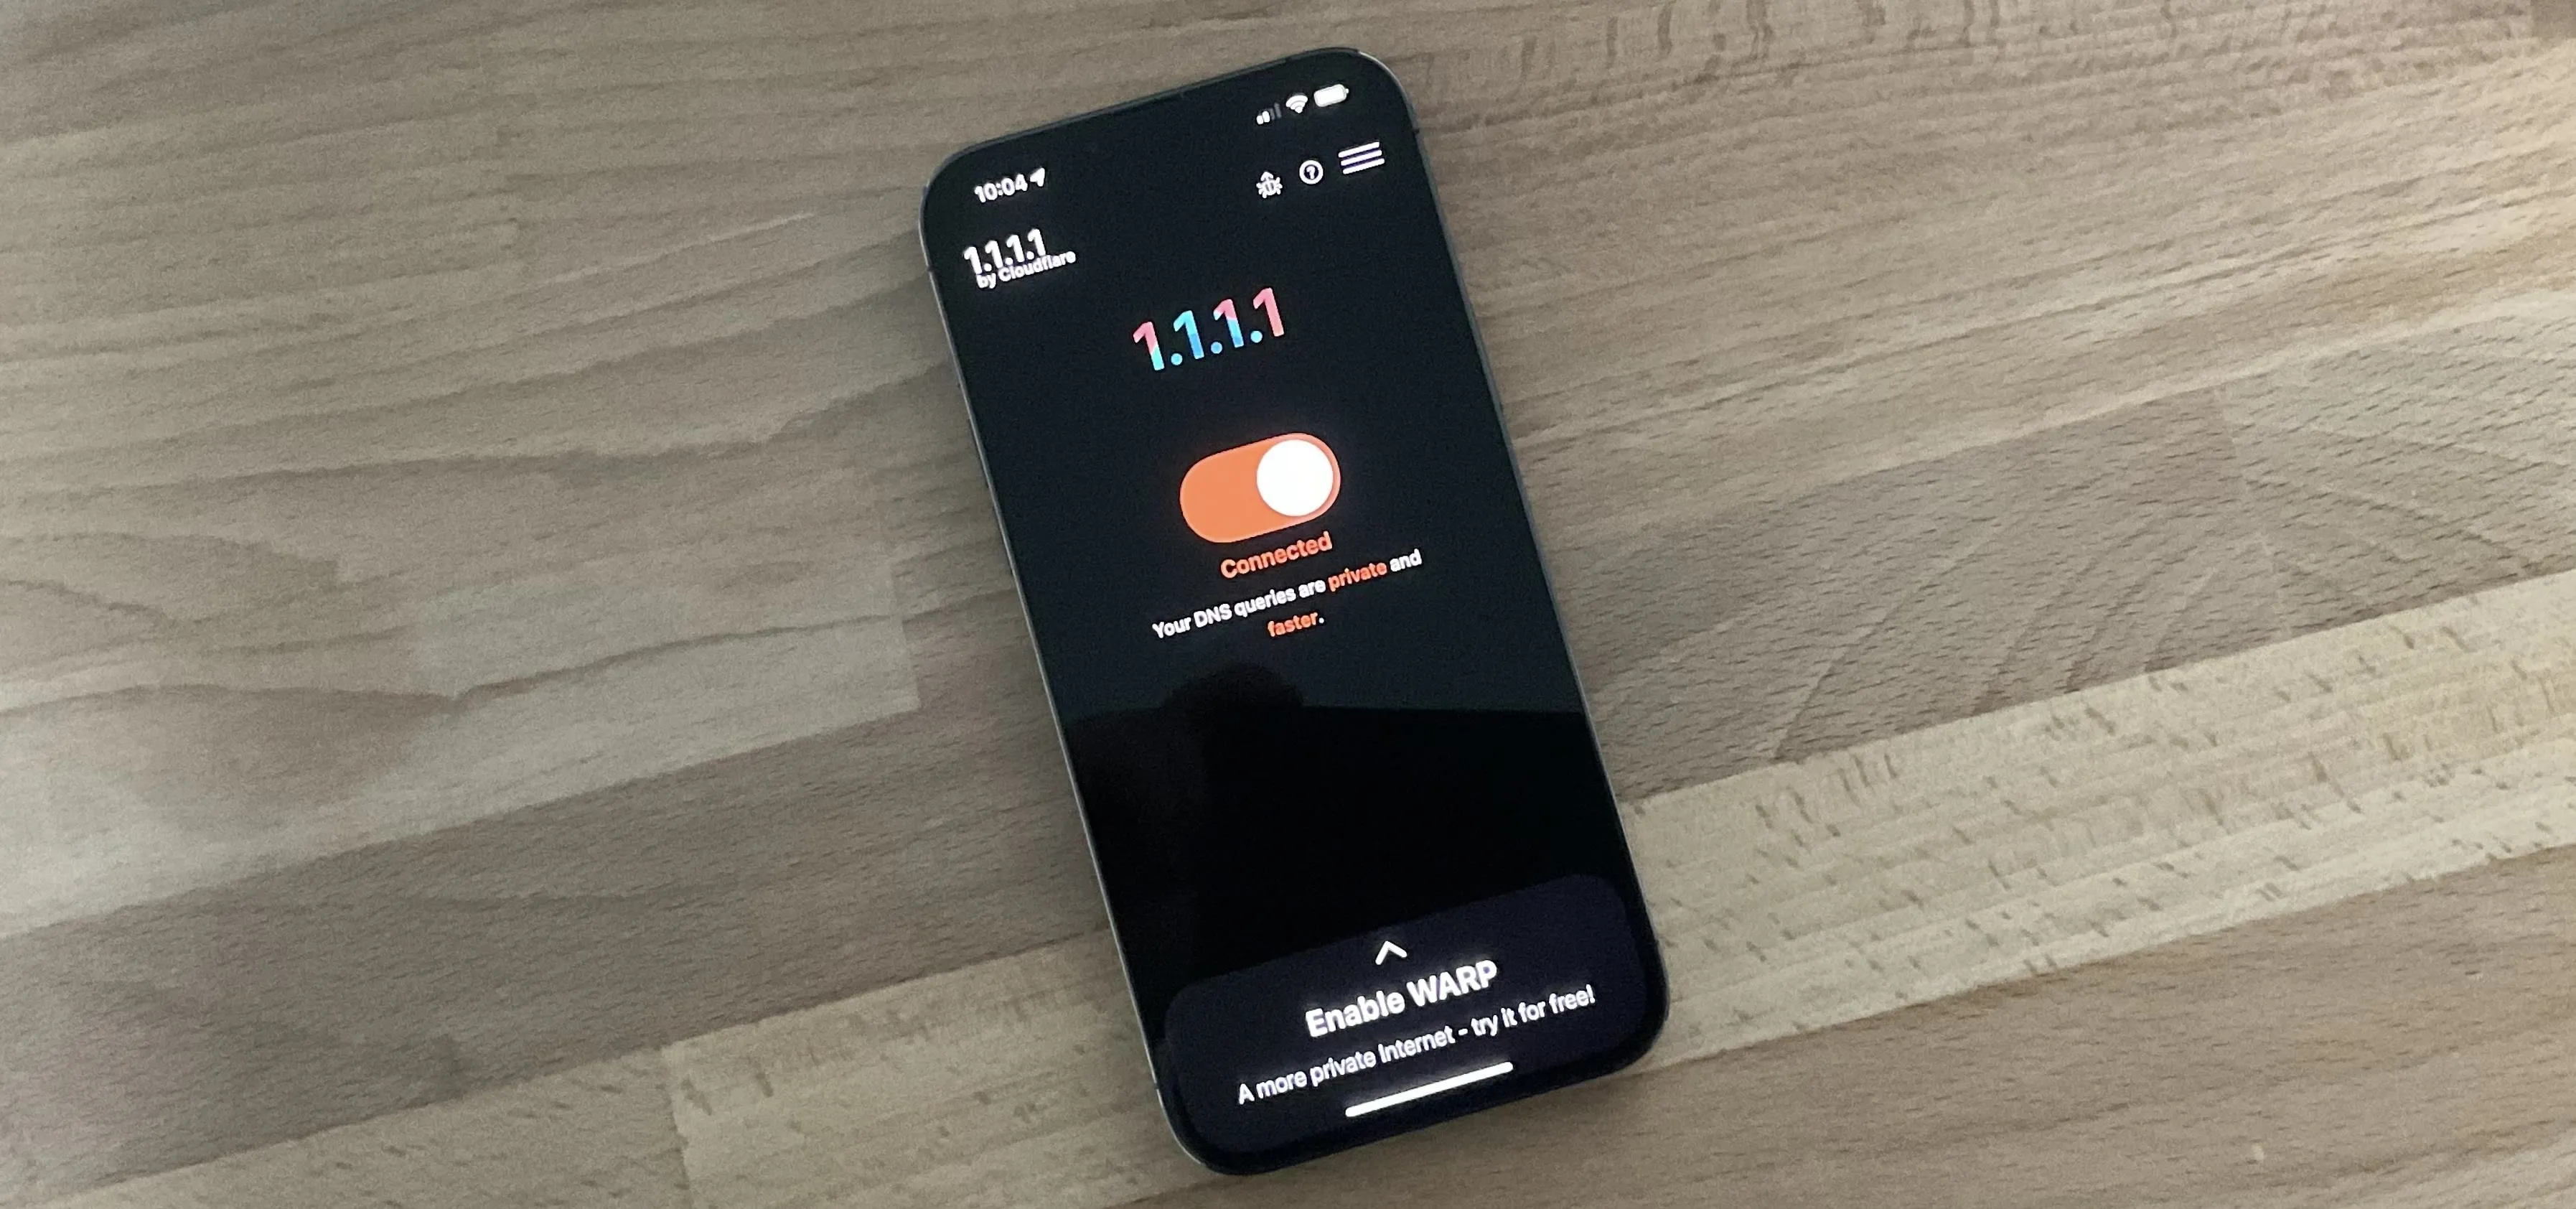
The easiest way to do it with Cloudflare and APNIC's servers is by using the 1.1.1.1 app, which is free to install and use as a DNS tunnel. You do not need to pay for WARP+ to use 1.1.1.1. It's also worth noting that if you install 1.1.1.1, you do not need to change your Wi-Fi's DNS servers, but it won't hurt anything if you do.
8. Use Content Blockers
You can hide your IP address from trackers and prevent cross-site trackers, as seen in tip 3 above, but some trackers will seep through the cracks. That's when content blockers become helpful. While Safari Extensions are new to iPhone and iPad as of iOS 15 and iPadOS 15, content blockers have been available since iOS 9.
Most content blockers available in the App Store will block tracking scripts in addition to advertisements. However, if you'd like to support the websites you visit by not blocking their ads, you can disable ad-blocking on most content blockers without disabling tracker prevention.
Some Popular Content Blockers:
- Hush Nag Blocker (free)
- MobiWall (free)
- Adblock Plus (free)
- Adblock One (free)
- AdGuard Pro ($9.99)
- View our Safari Extensions overview for more options.
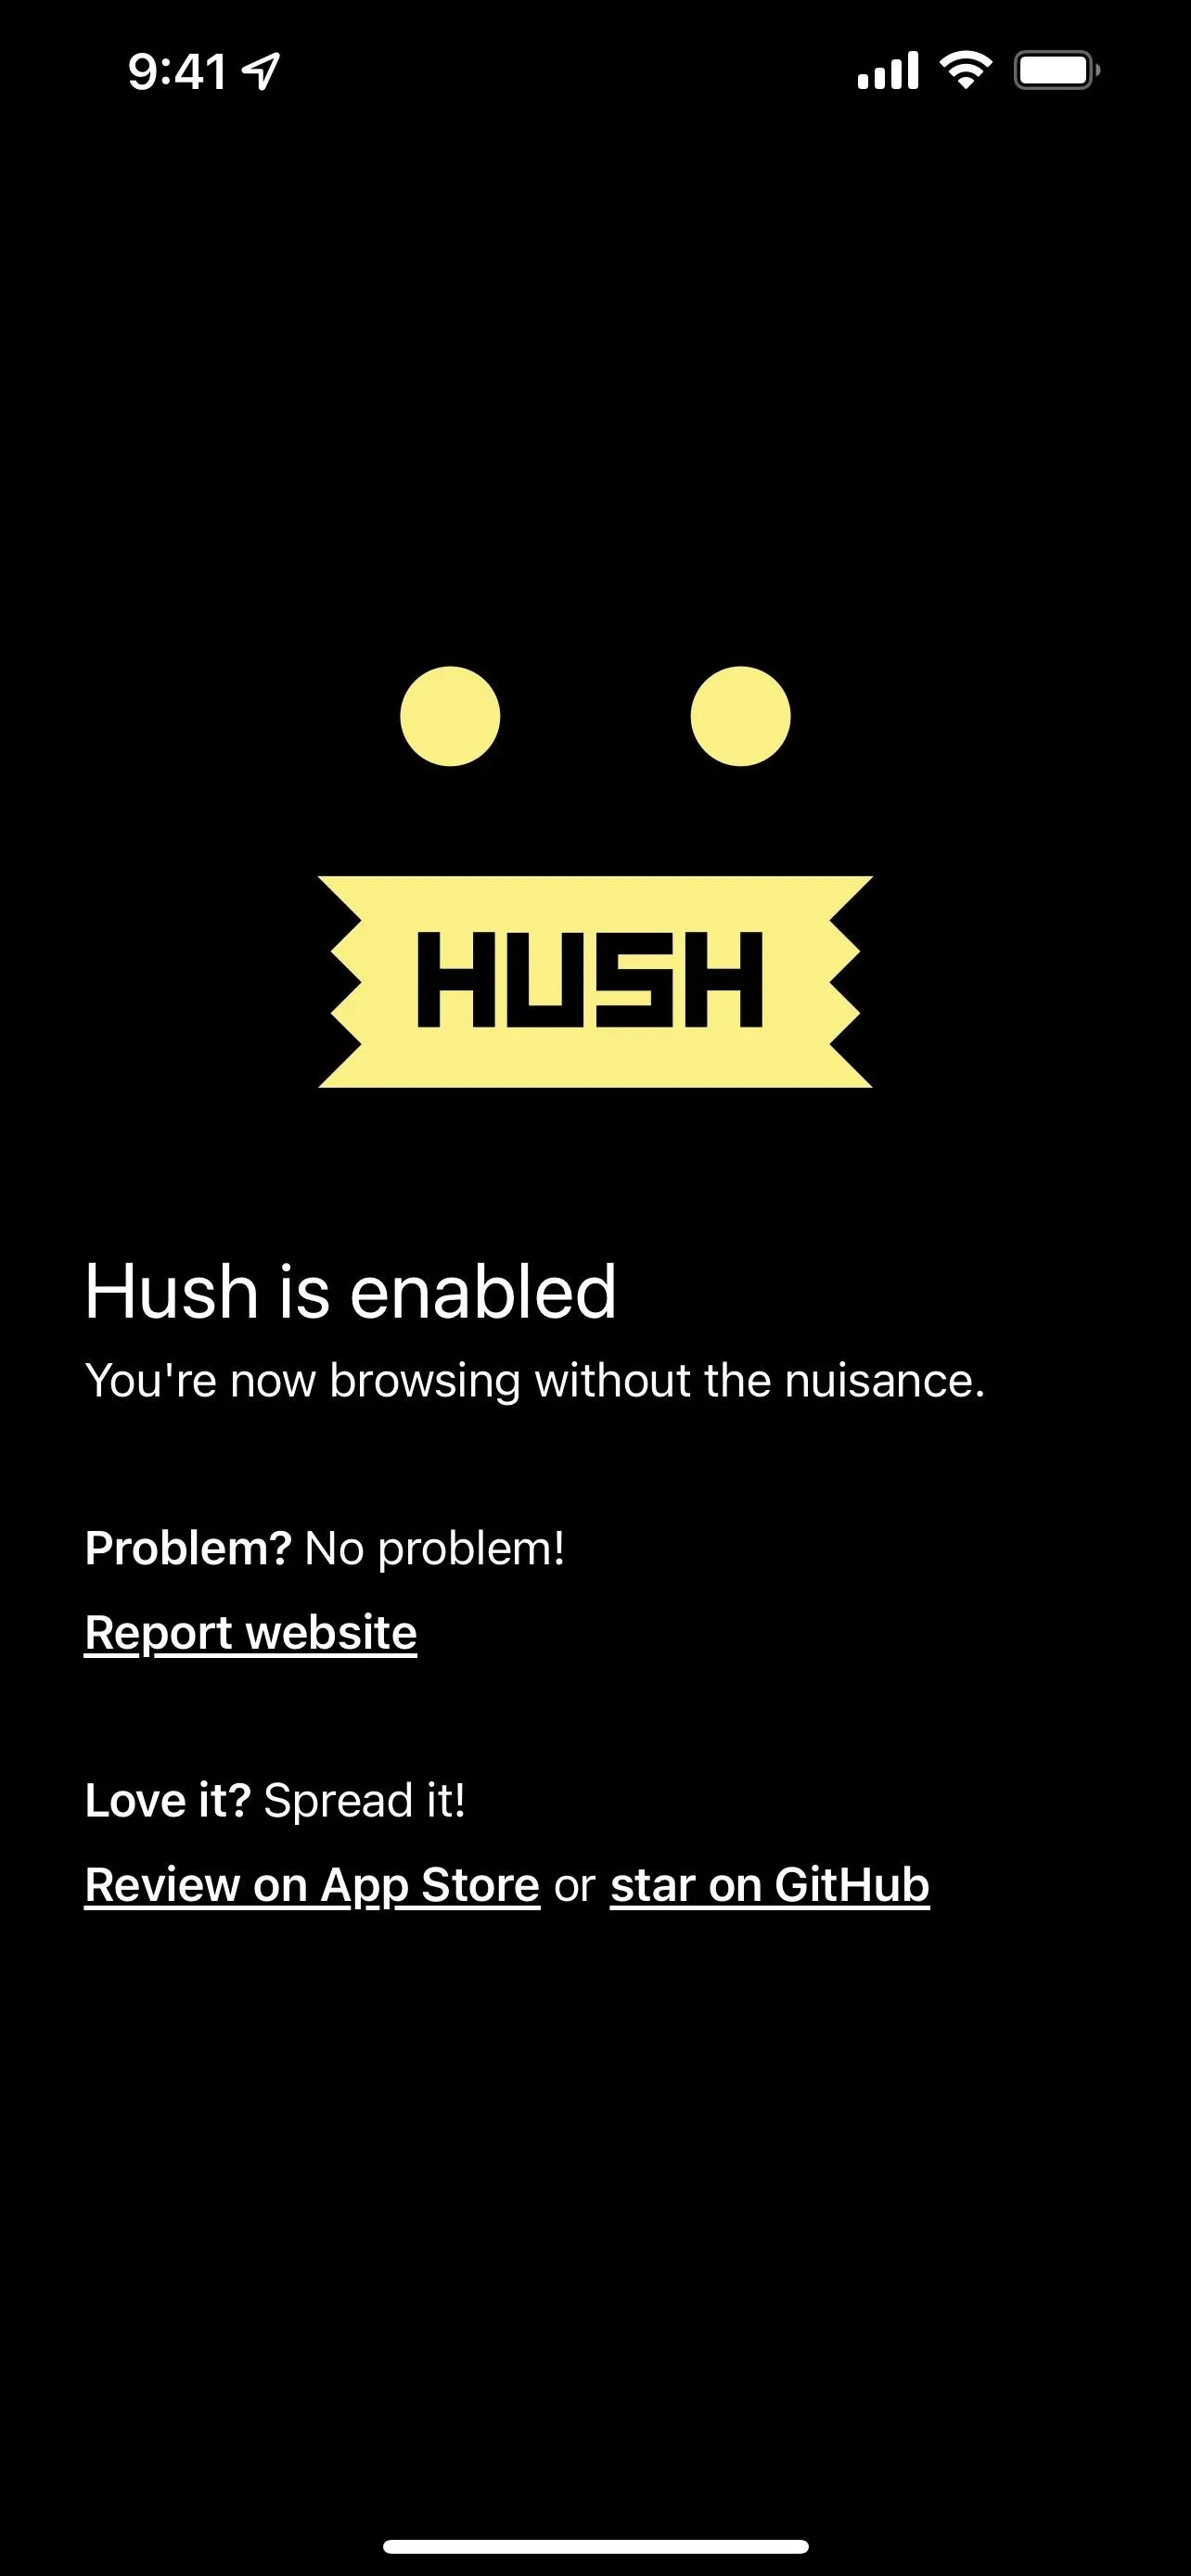
From left to right: Hush Nag Blocker, Mobiwall, and AdGuard Pro.
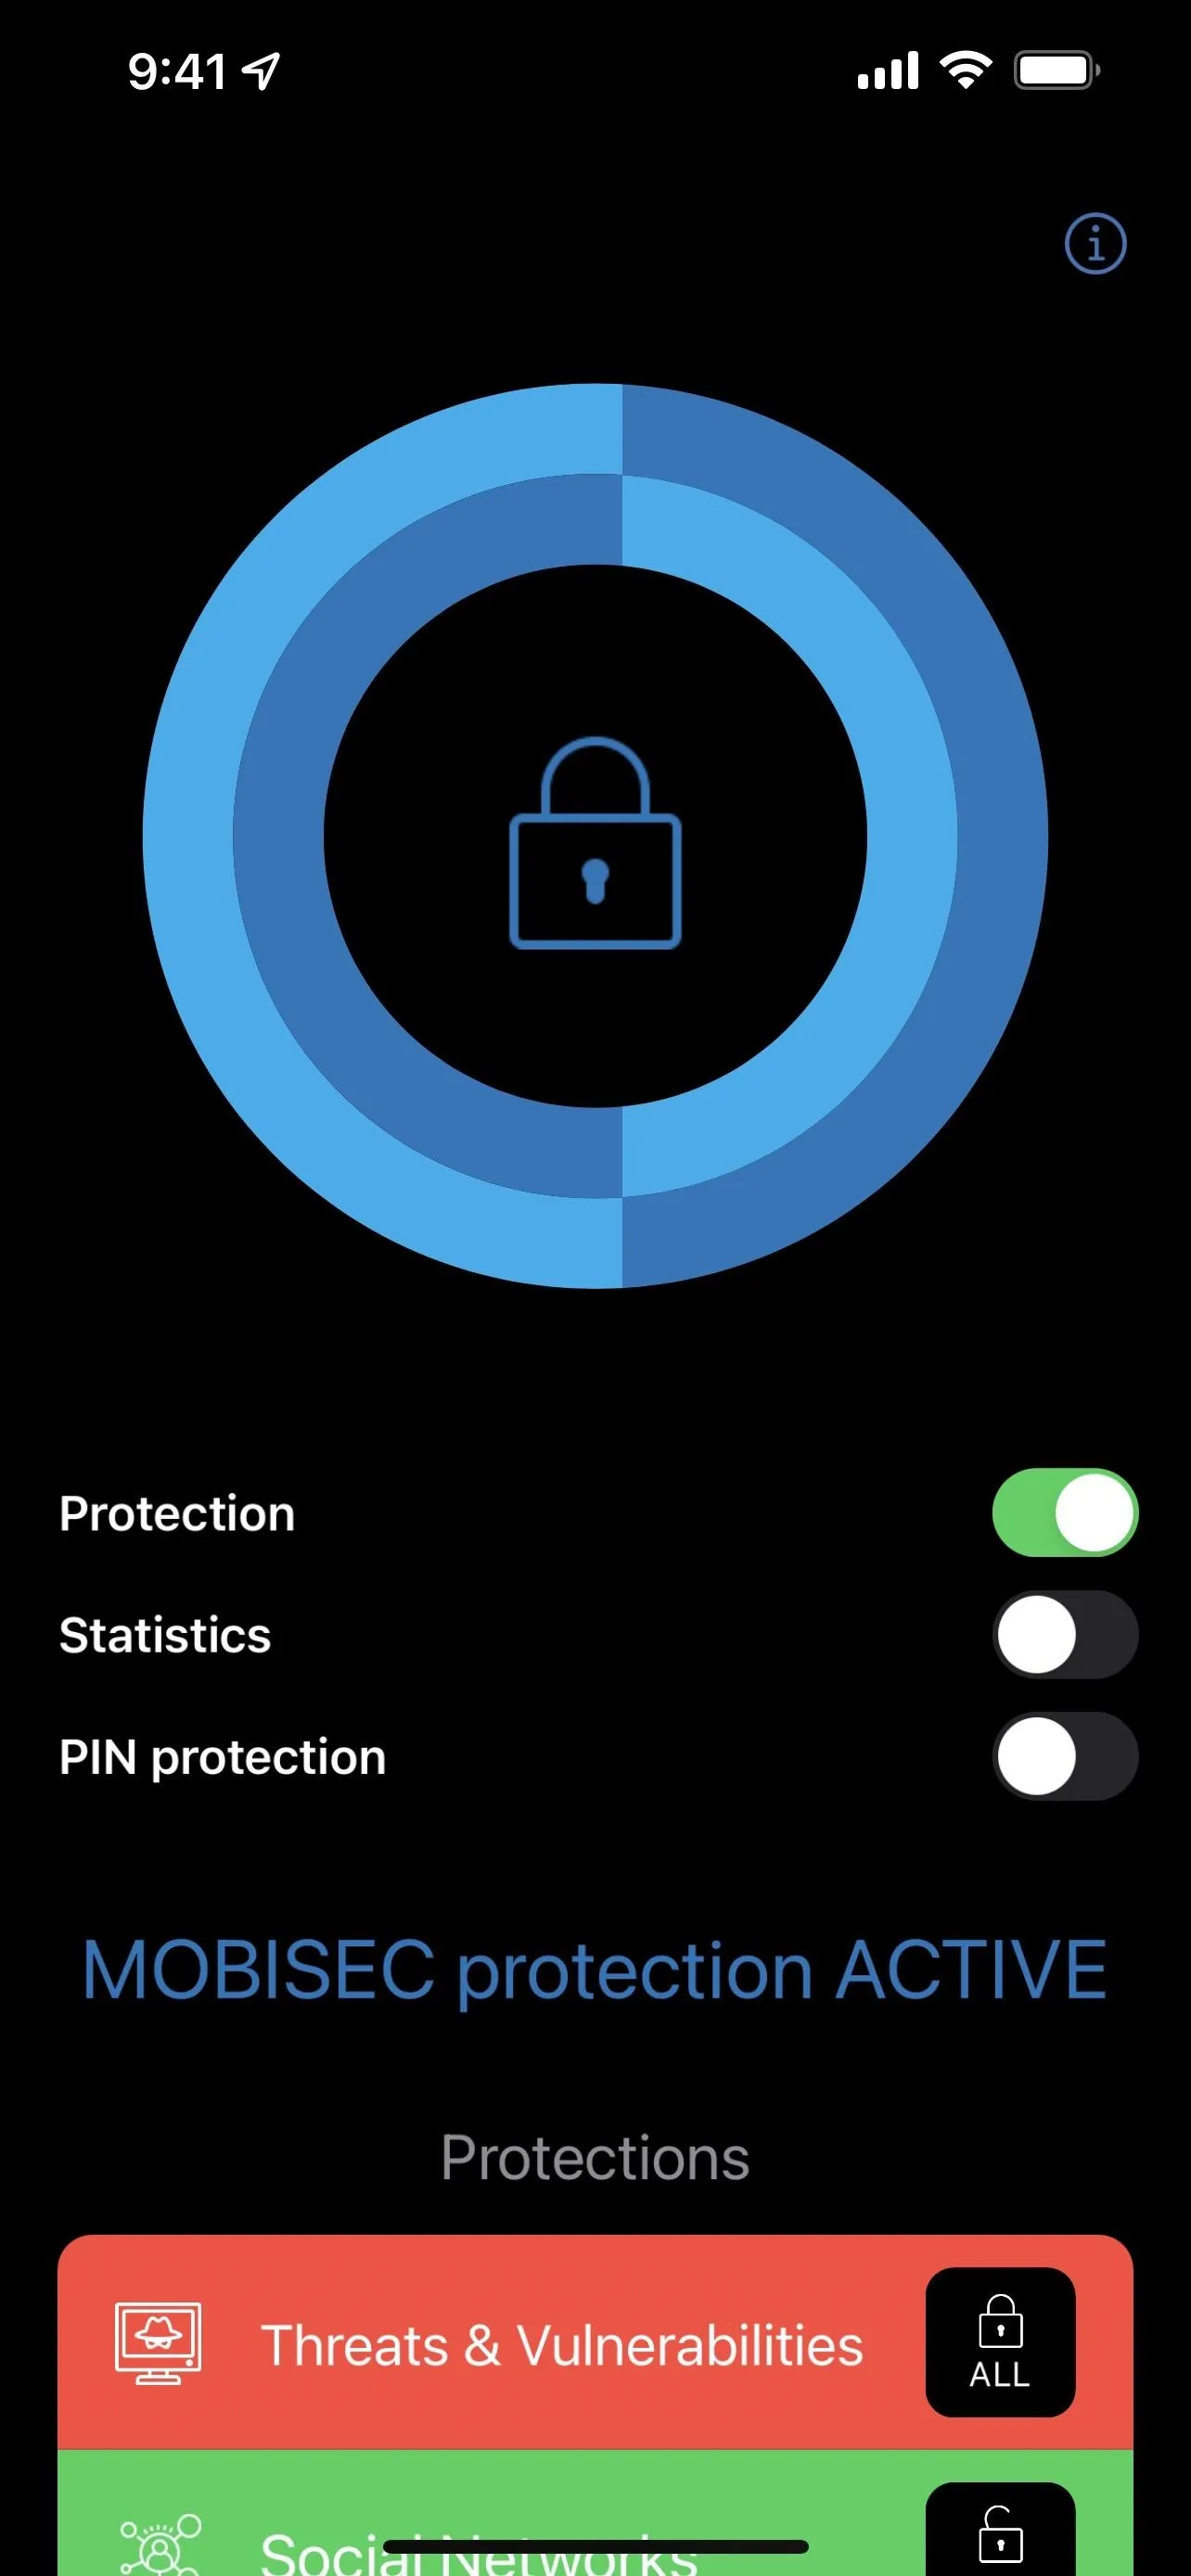
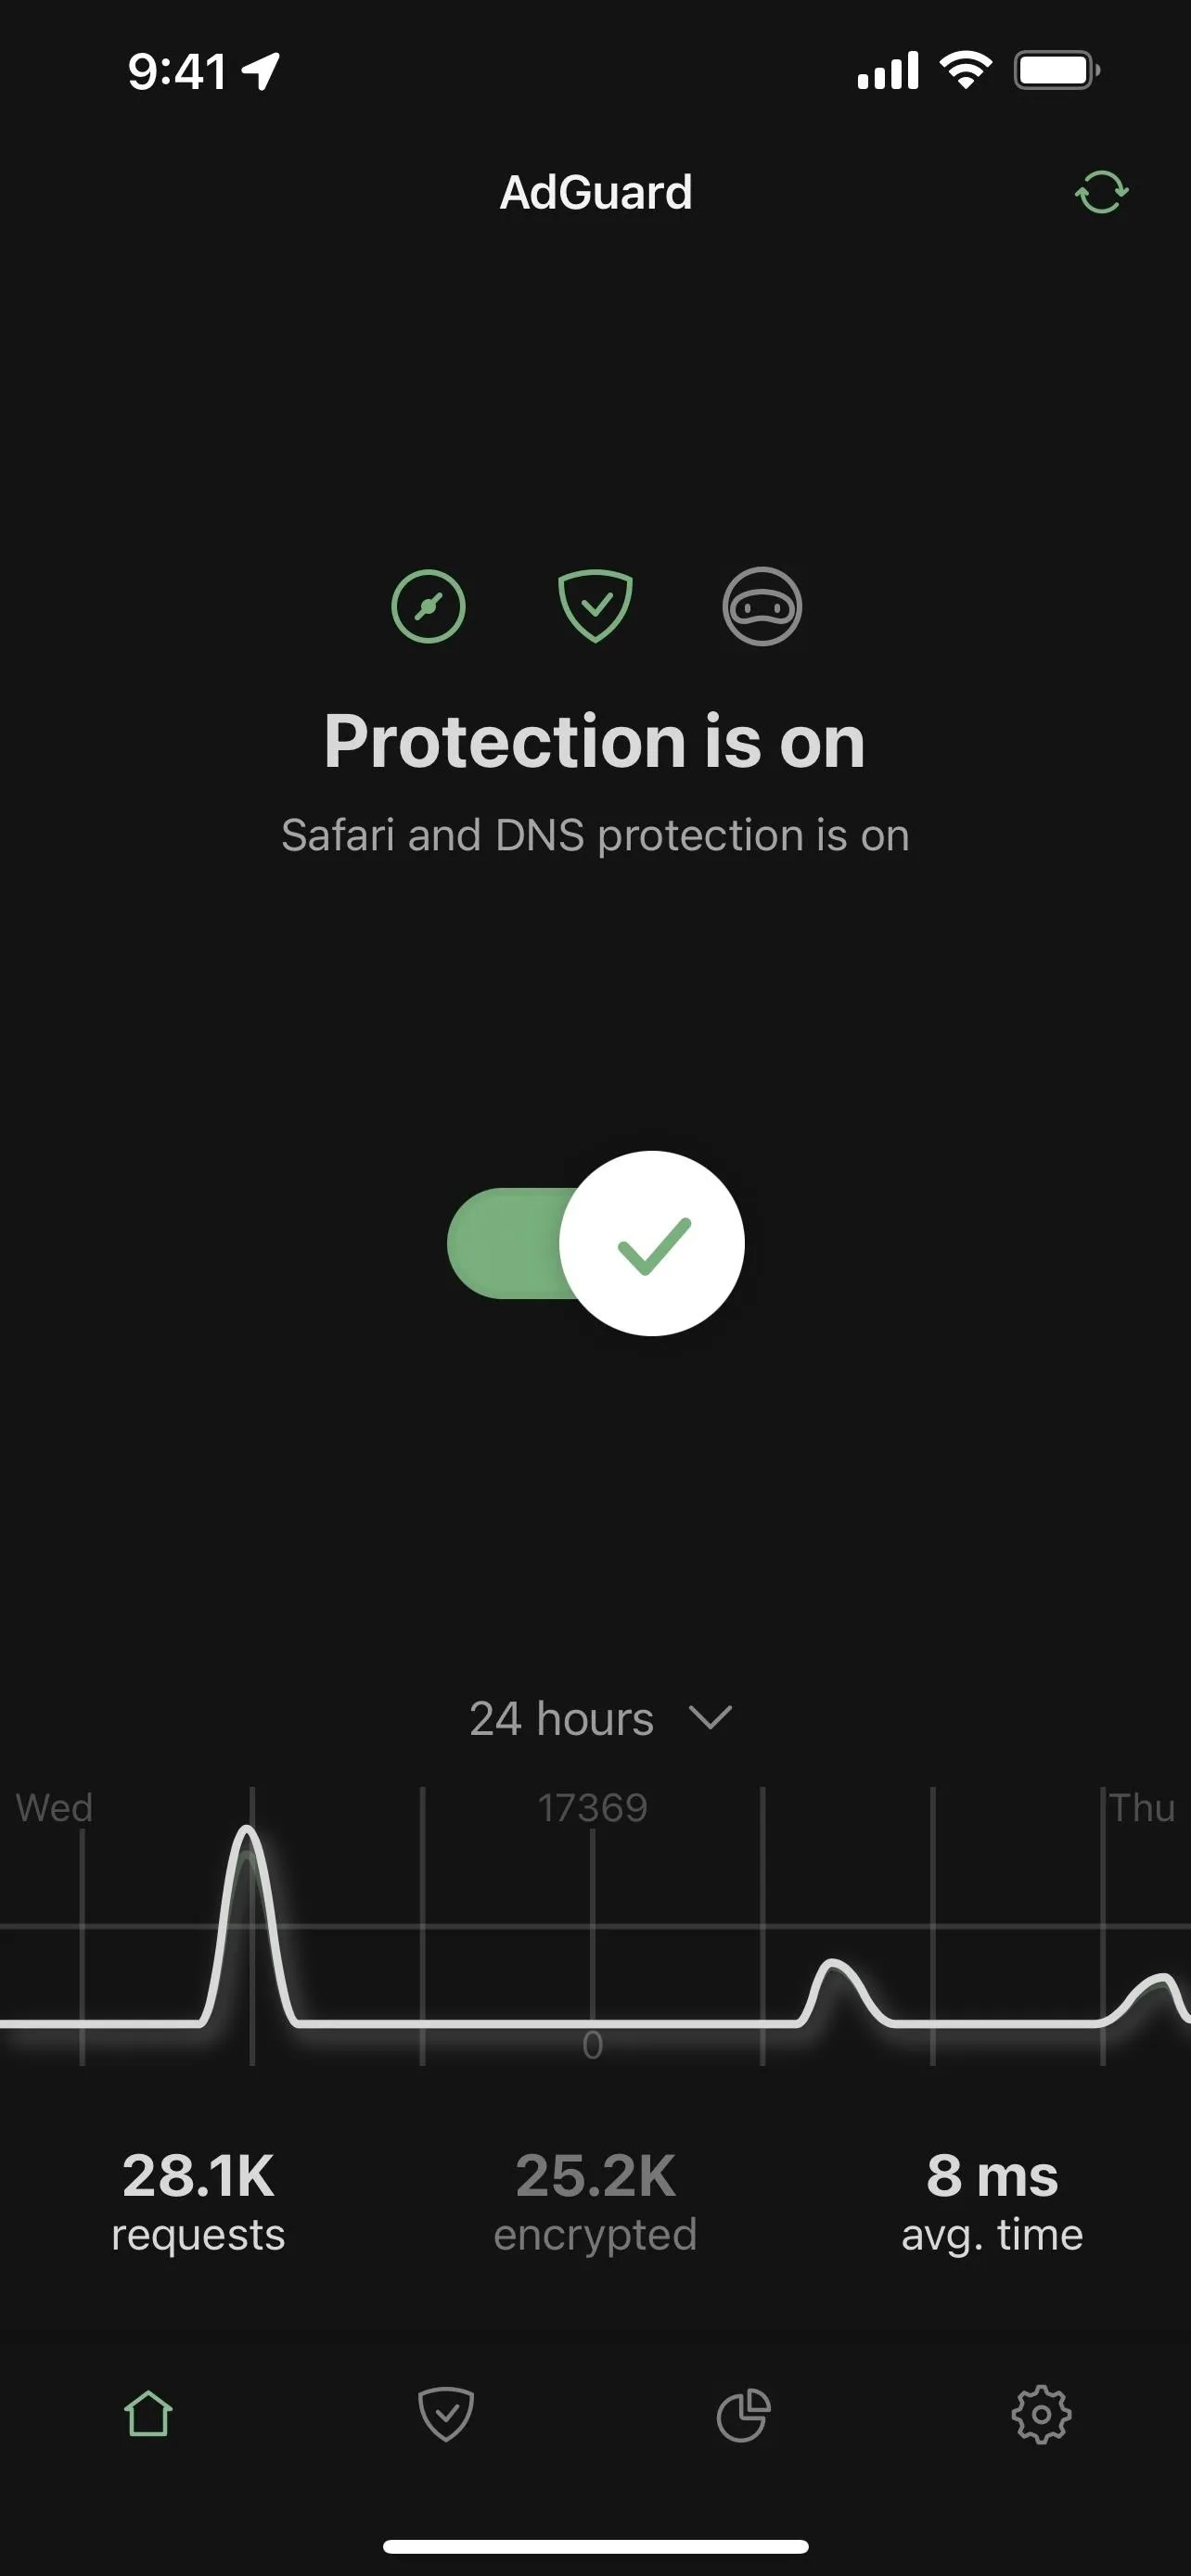
From left to right: Hush Nag Blocker, Mobiwall, and AdGuard Pro.
9. Use a Different Search Engine
Most of you probably use Google's search engine in Safari, which will store your history, IP address, and other user information. For more privacy, you can switch to another search engine like DuckDuckGo, which never stores your history. To switch, go to Settings –> Safari –> Search Engine, and choose "DuckDuckGo."
10. Use a More Private Browser
While Safari has many privacy-centric features on iOS and iPadOS, some third-party browsers go above and beyond them for even more privacy. And as of iOS 14, using a third-party browser is less obnoxious than it used to be because you can make your iPhone or iPad use it as the default over Safari. That means any links you tap on will open in your chosen browser instead of Safari.
- More Info: How to Change Your Default Browser in iOS 14 from Safari to Chrome, Firefox, Edge, or Another App
DuckDuckGo Privacy Browser is a good option because of its Privacy Protection, which offers a built-in tracker blocker, social media blocker, and more. It also gives every website a privacy grade before and after Privacy Protection is enabled, doesn't store your searches, and offers a Fire button that torches your history and cookies for the session. You can even auto-clear data whenever the app restarts.
Other big-name privacy-focused browsers for iPhone and iPad include Brave Private Web Browser, Firefox Focus, and Tor-compatible options such as Onion Browser and Private TOR + VPN Browser. Now, keep in mind that all iOS browsers use WebKit's rendering engine, so third-party browsers are like skins with additional benefits. Some developers are trying to make Apple allow other engines on iOS and iPadOS, but it's unlikely to happen.
Some Popular Privacy Browsers:
- Brave Private Web Browser (free)
- Cake Web Browser (free)
- DuckDuckGo Privacy Browser (free)
- Firefox Focus: Privacy browser (free)
- Neeva Browser & Search Engine (free)
- Onion Browser (free)
- Private TOR + VPN Browser (free, except for VPN)
If you changed your DNS servers (see tip 6 above), the new servers will still work if you choose to use another browser. However, you cannot use any content blockers (see tip 7 above) with other browsers.
From left to right: Firefox Focus, DuckDuckGo, and Cake.
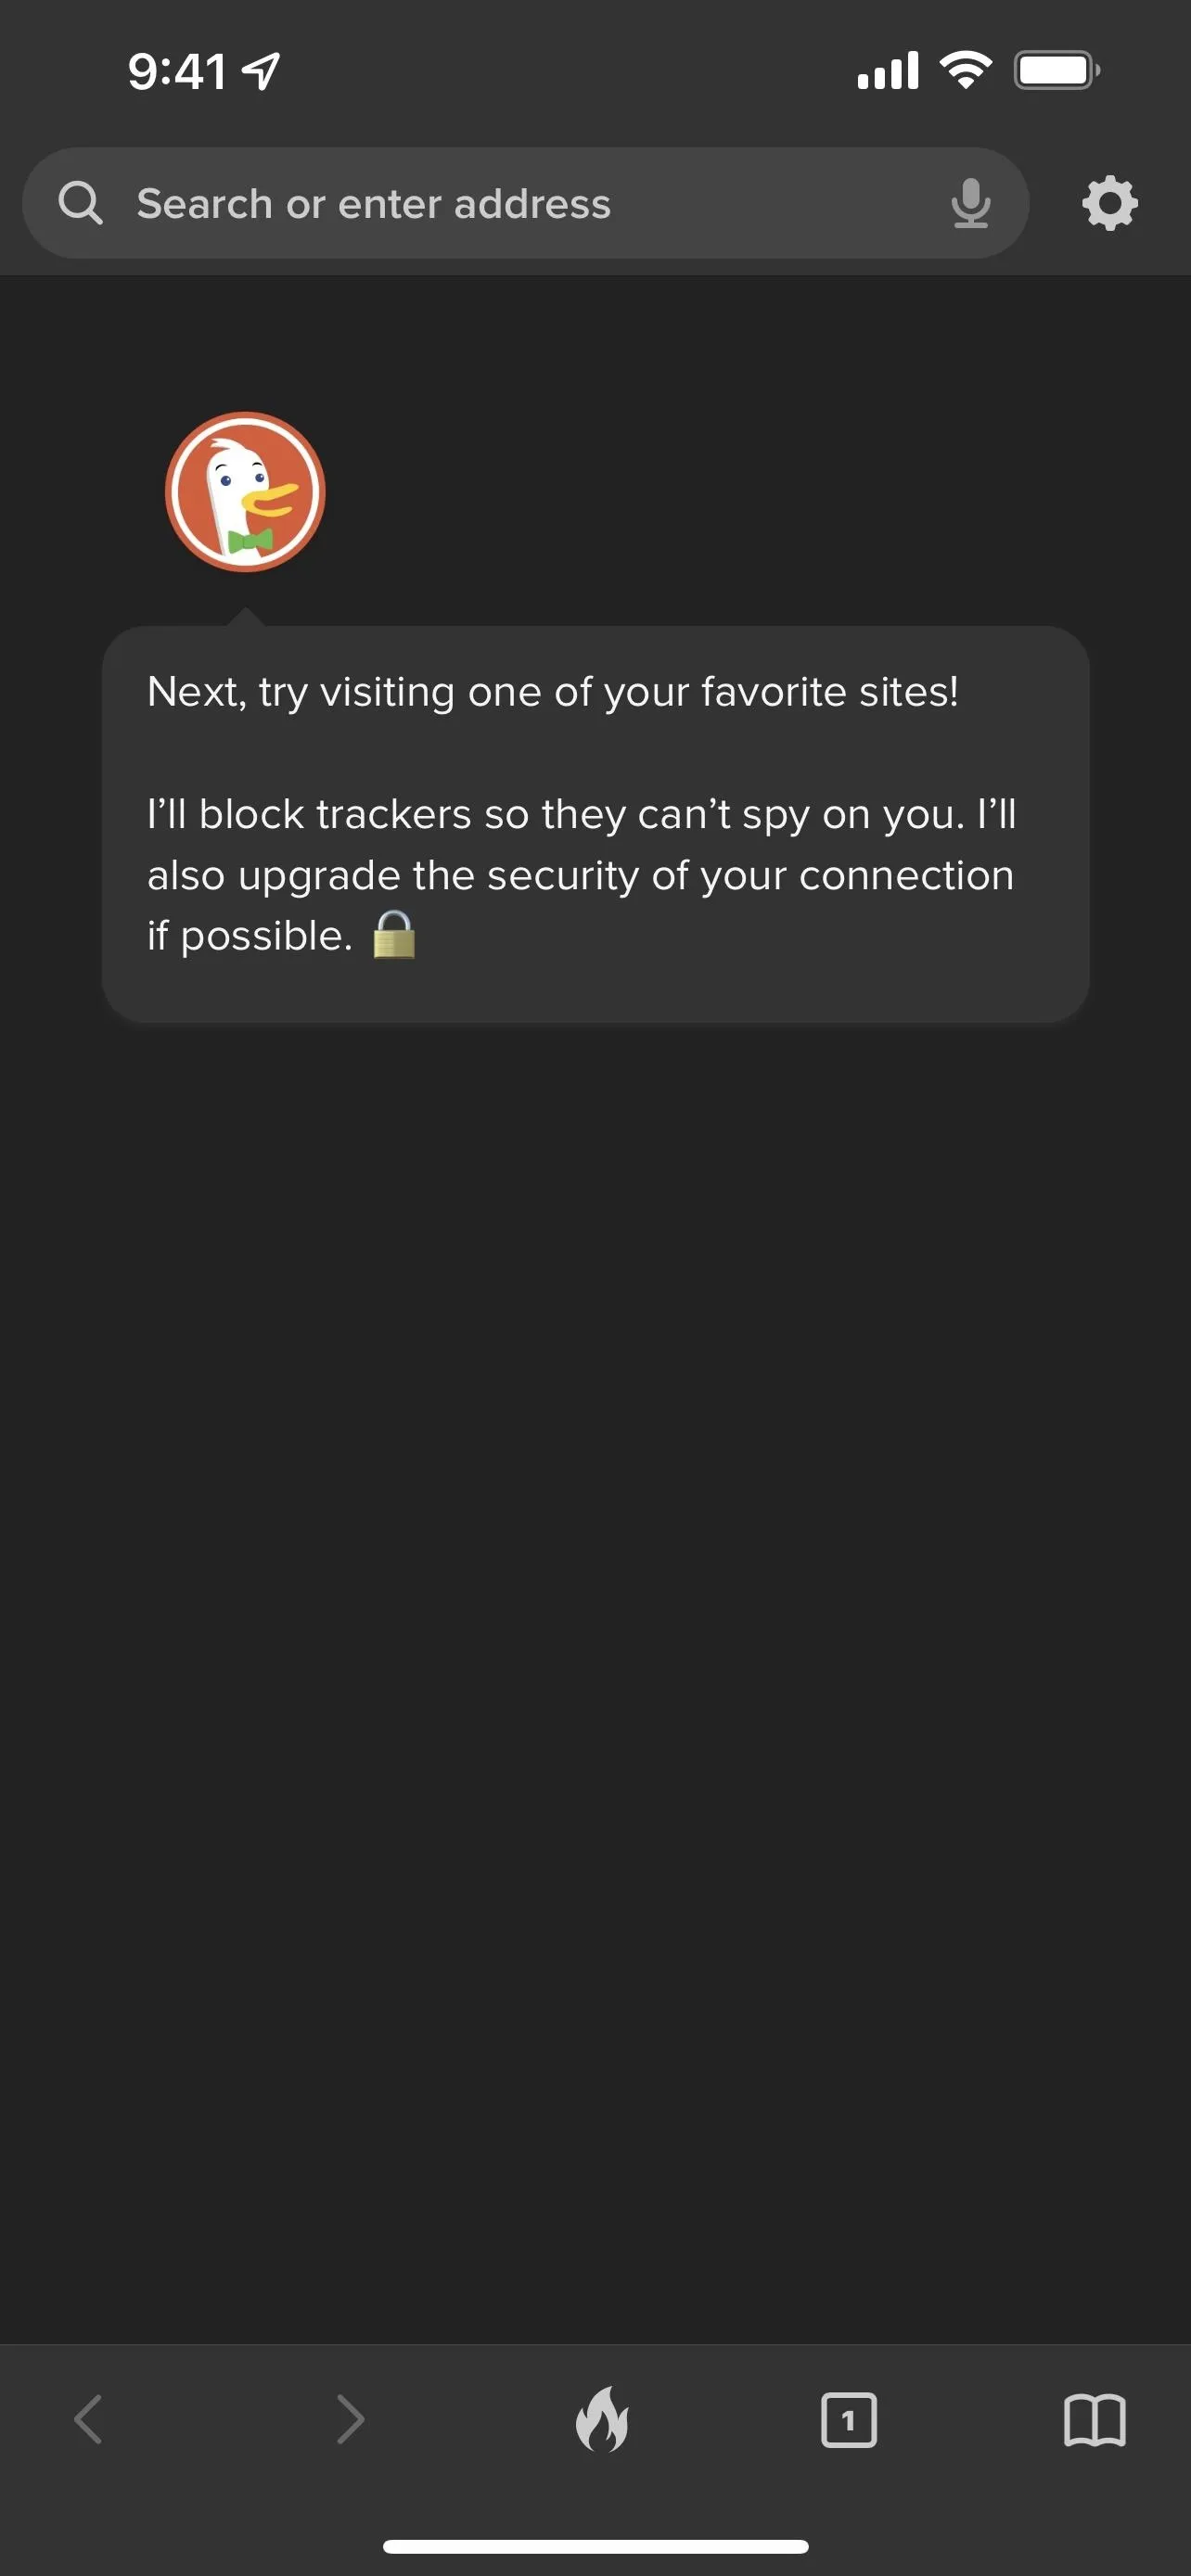
From left to right: Firefox Focus, DuckDuckGo, and Cake.
11. Use a Virtual Private Network (VPN)
The most popular way to keep yourself private while browsing is by using a Virtual Private Network, making it harder for anyone to monitor, track, or intercept your web traffic.
VPNs encrypt all of your outgoing internet traffic while you use public networks, giving you a secure, private tunnel for not only your web browsing but for any internet traffic to and from your iPhone or iPad. It's essential on public Wi-Fi networks where hackers may be lurking. Your IP address is hidden, you can avoid geolocation blocks, and your web traffic is obfuscated so that it seems like you're not using a VPN.
Free VPNs are not recommended because they offer the bare minimum protection, so you'll have to find one that you can afford and has a good privacy policy. CyberGhost was selected by Gadget Hacks a few years ago as the best "no-logs" VPN app, but there are others that are definitely worth a subscription, such as KeepSolid Unlimited VPN.
Some Popular VPNs for iPhone and iPad:
- VPN by CyberGhost - WiFi Proxy (requires a subscription)
- VPN - ExpressVPN: Fast & Safe (requires a subscription)
- NordVPN: VPN Fast & Secure (requires a subscription)
- VyprVPN: VPN & online privacy (requires a subscription)
- VPN Unlimited - IP changer app (requires a subscription — sale available)
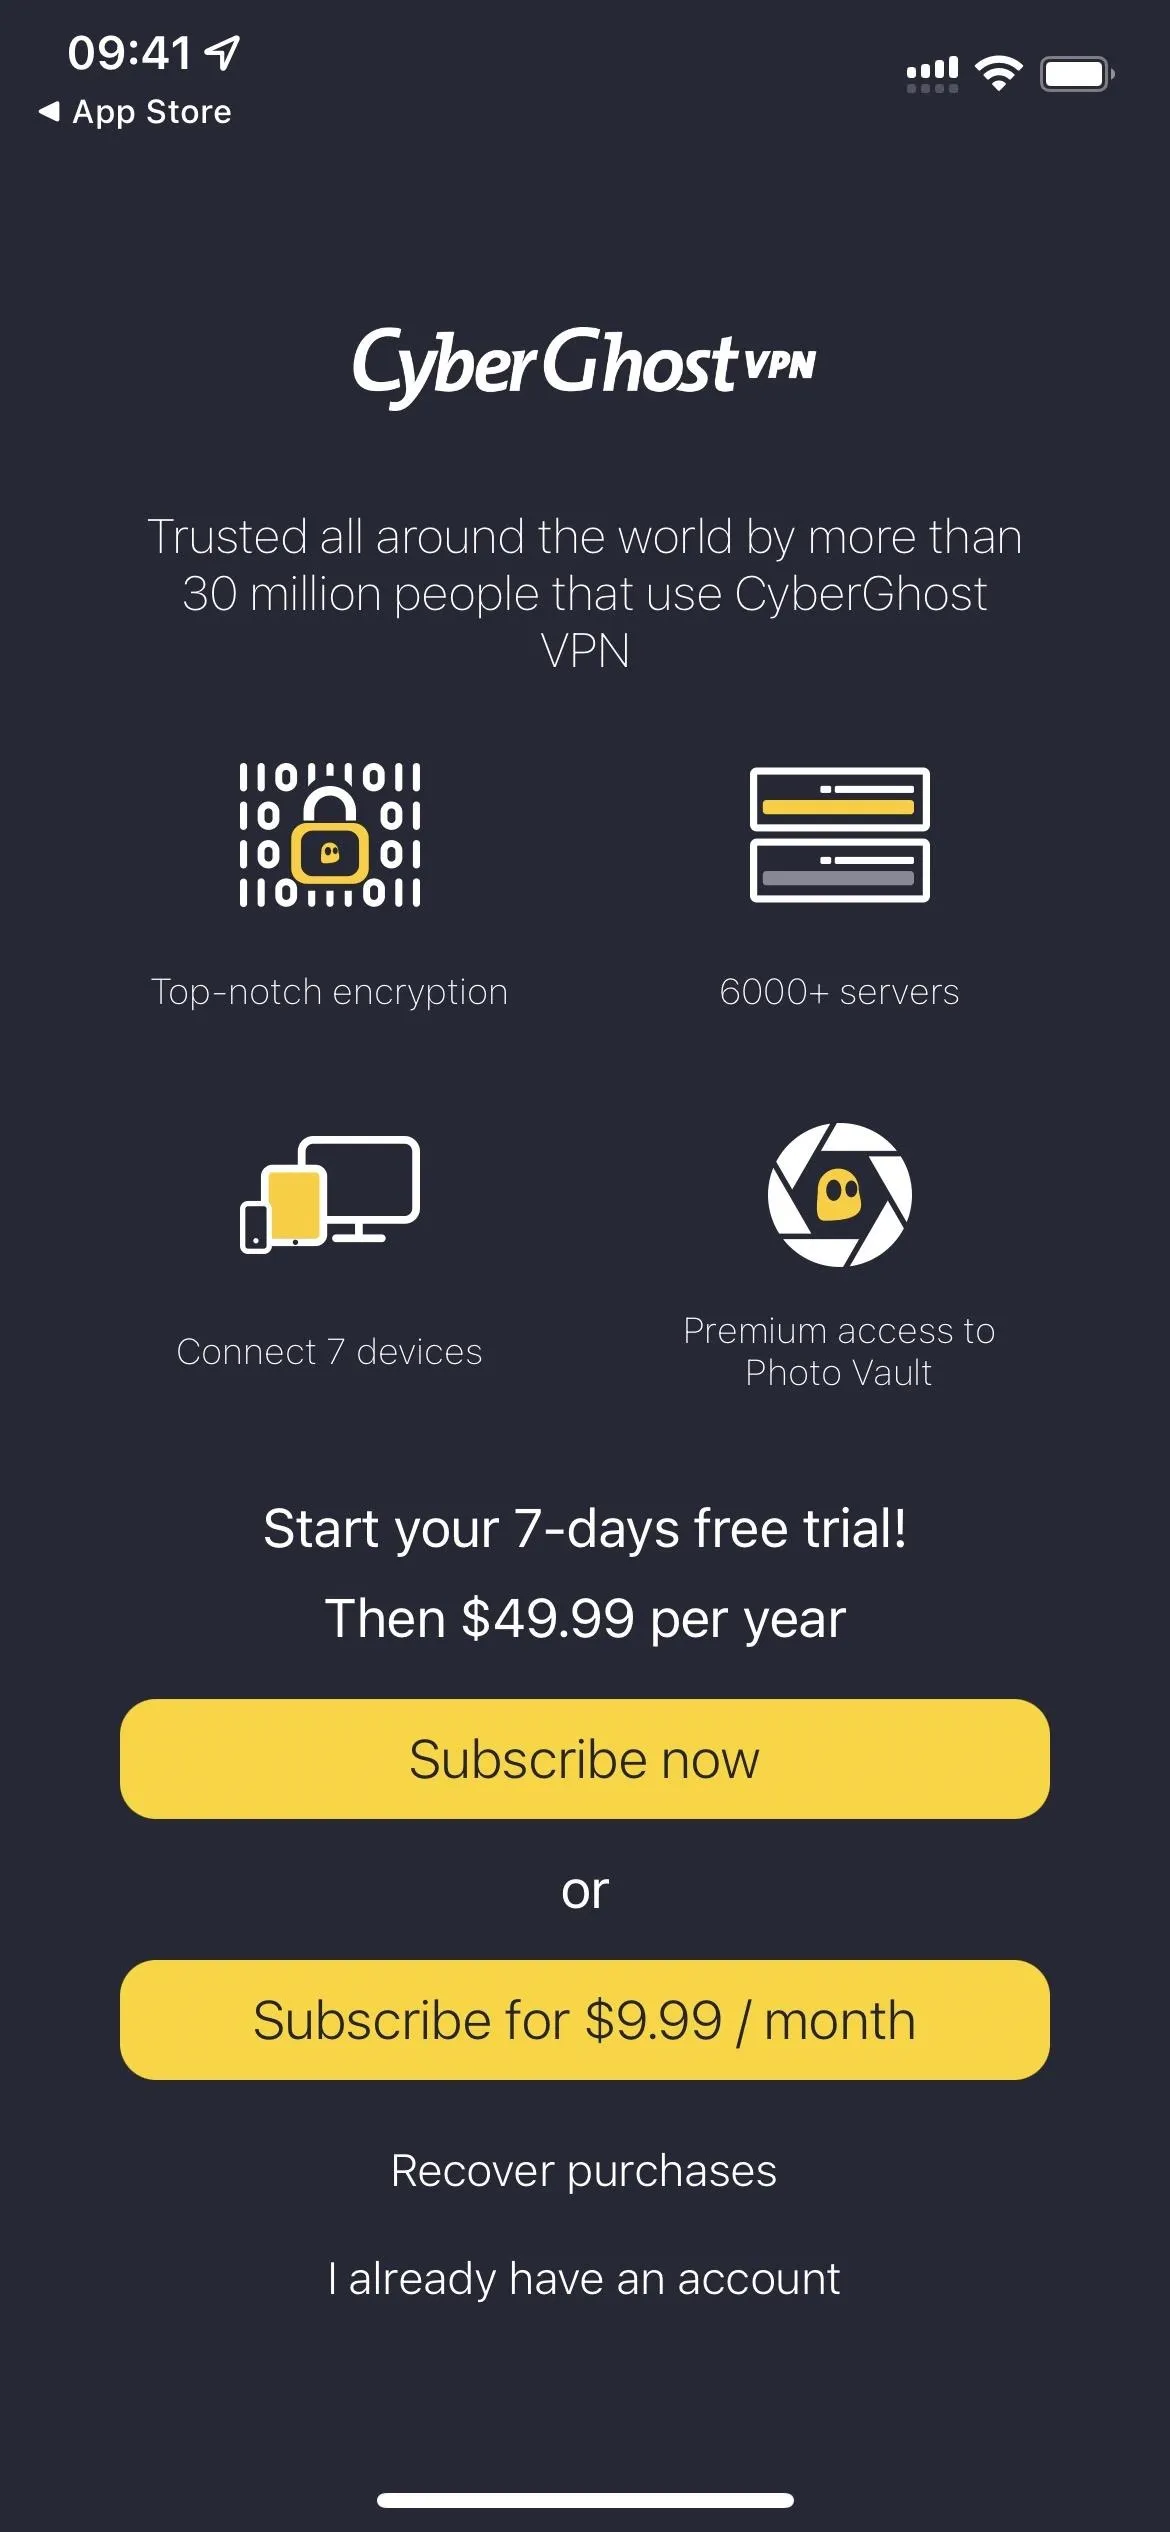
From left to right: CyberGhost, VPN Unlimited, and VyprVPN.
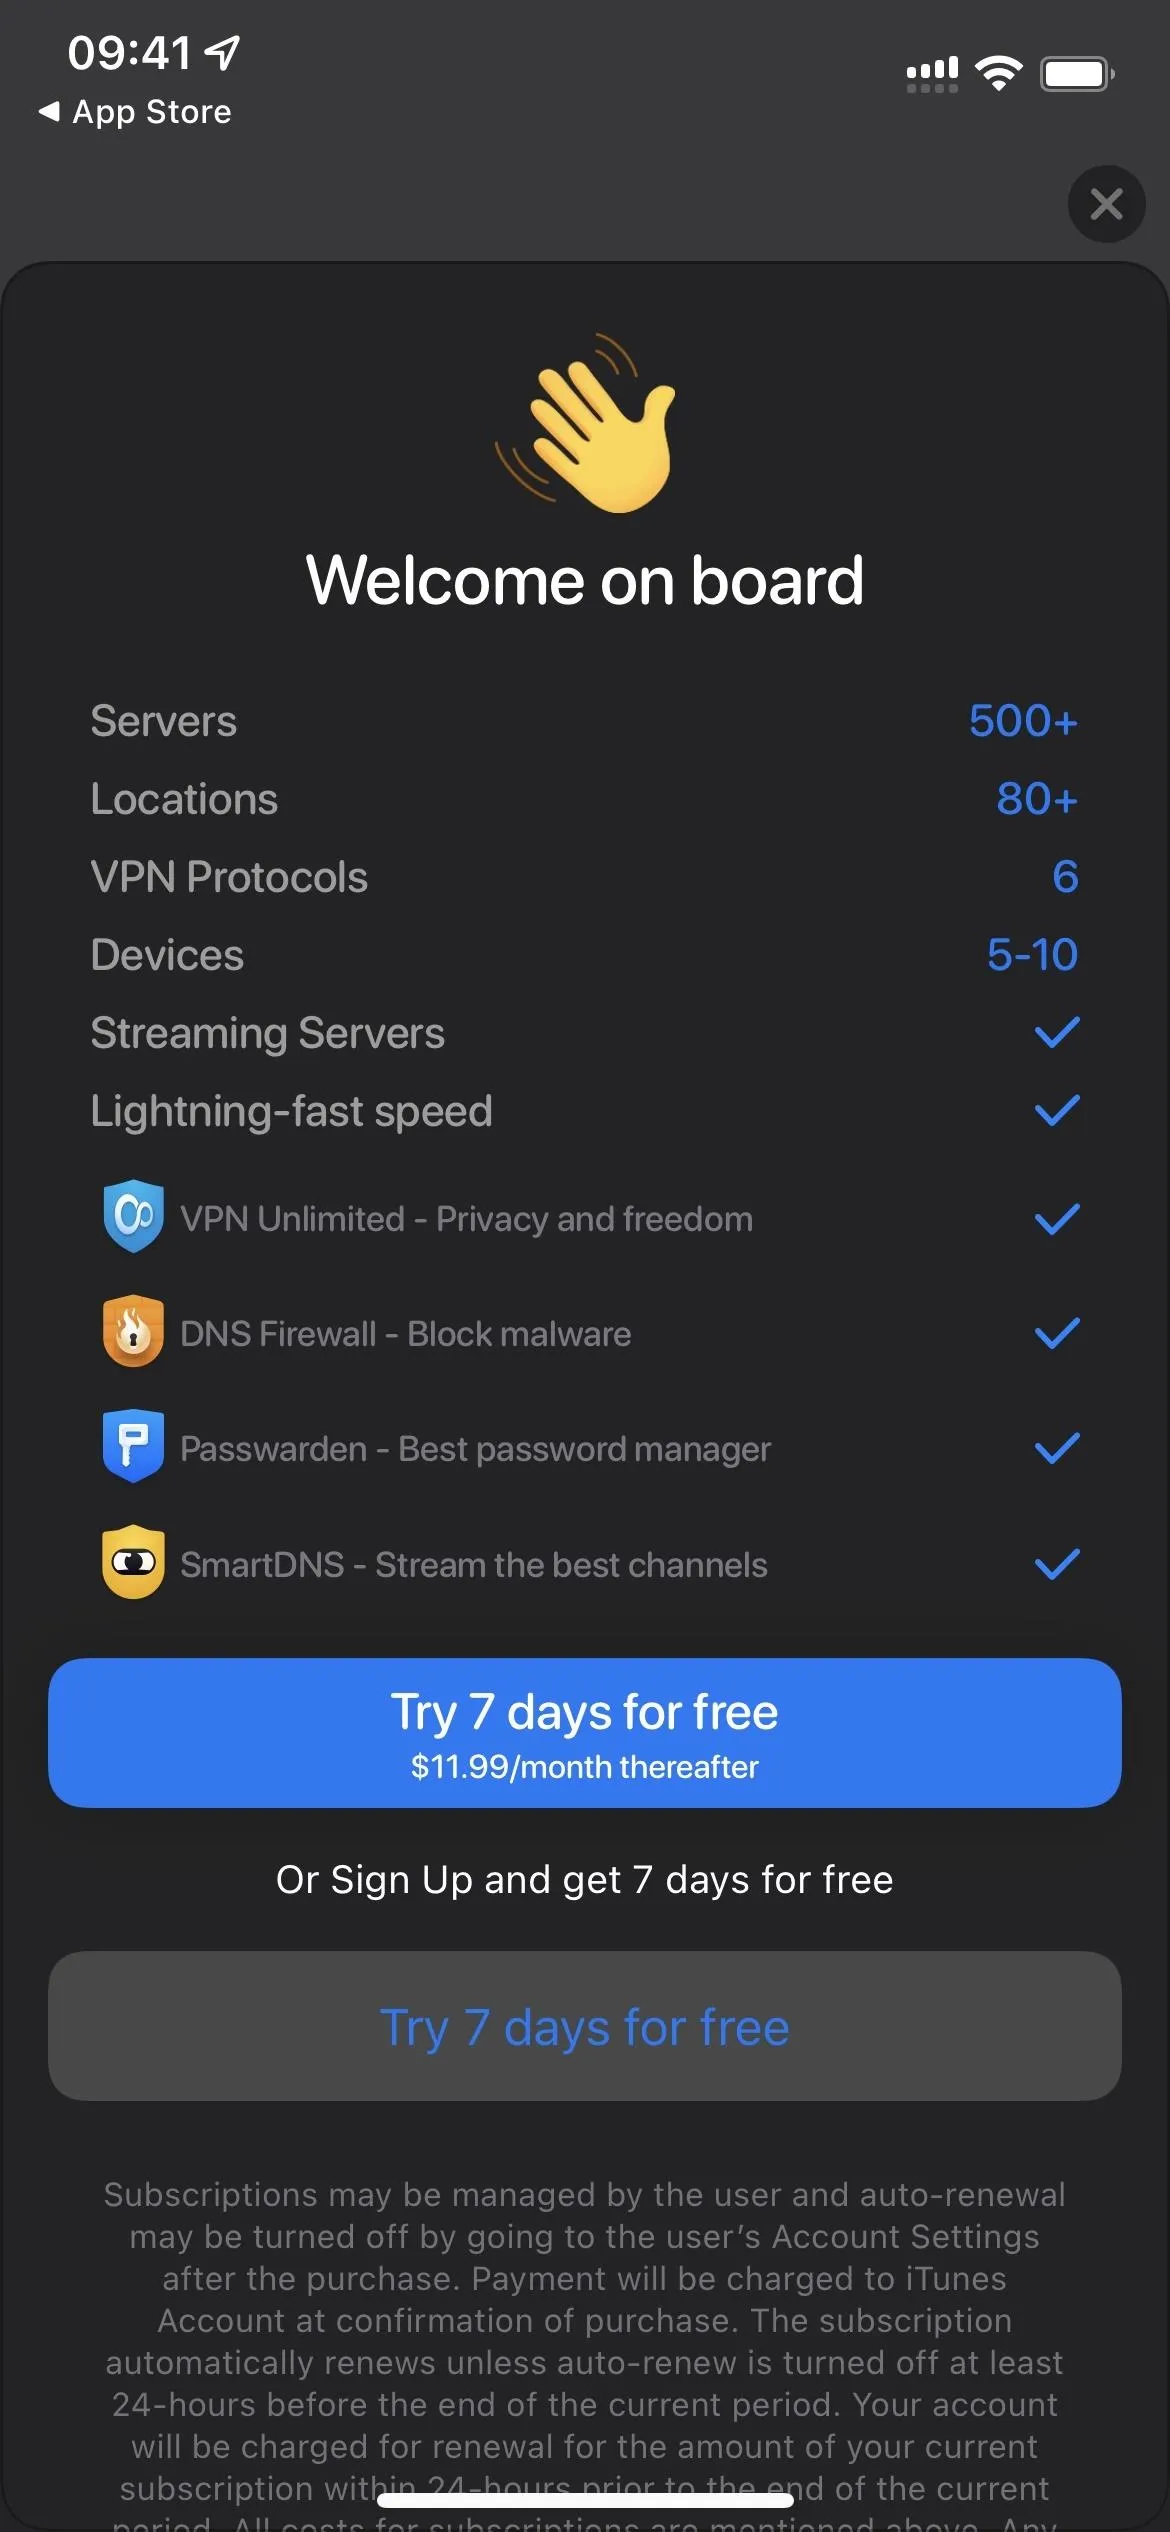
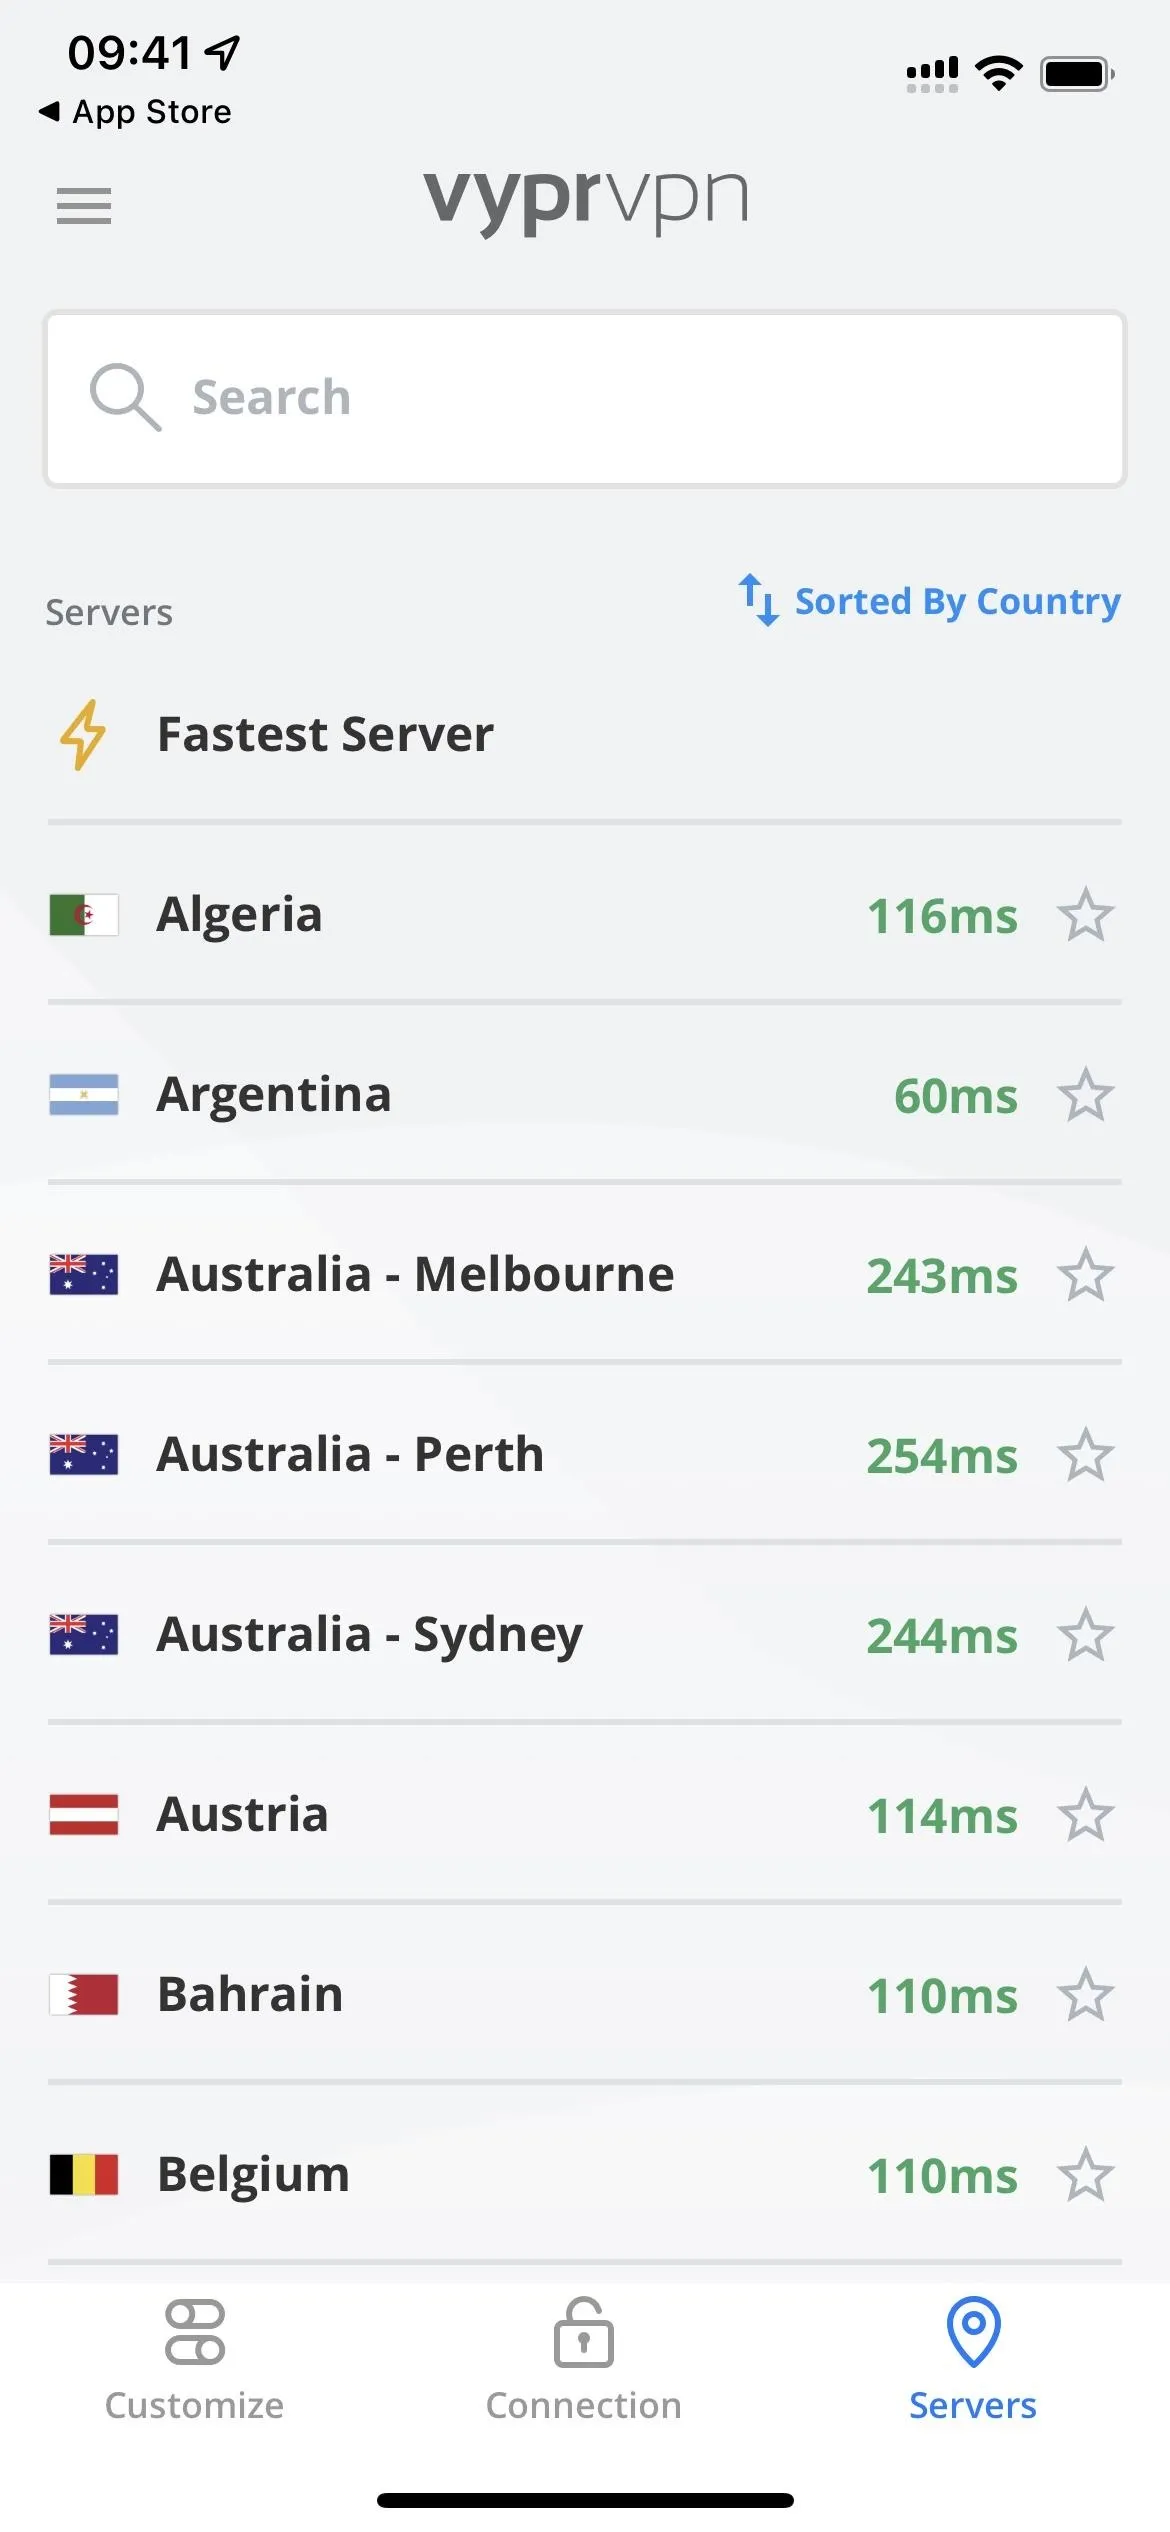
From left to right: CyberGhost, VPN Unlimited, and VyprVPN.
Cover photo, GIF, and screenshots by Daniel Hipskind/Gadget Hacks


Comments
Be the first, drop a comment!