


Apple's iOS 14.0 update has come and gone, and now we're sitting on iOS 14.2, the latest version of the iPhone's operating system. While it may be too late for you to revert to the last iOS 13 version, if the iOS 14.2 firmware is giving you problems or you're not just digging it, you can downgrade to iOS 14.1.
The iOS 14.2 update for iPhone includes 117 new emoji, eight additional wallpapers, Shazam integration in the Control Center, a people detector in Magnifier, and other interesting features, but no software is perfect. If you were running iOS 14.1 before updating and want to go back to that, you can as long as Apple continues to sign it.
- Don't Miss: New Features & Changes in iOS 14.2 for iPhone
To update or downgrade to any iOS version, it needs to be signed by Apple, which authenticates the firmware with Apple's servers as verified and supported. If Apple stops signing an iOS update, it can no longer be installed, and that's exactly what happened with iOS 13.7 (on Sept. 22), iOS 14.0 (on Oct. 1), and 14.1 (on Oct. 27).
But iOS 14.1, which was released on Oct. 20, is still being signed by Apple, which means you can update, restore, or downgrade to it. When Apple stops signing iOS updates varies and could be anywhere from just less than one week to two weeks or more. However, it's good to play it safe and expect a week or less so you're not too late and aren't surprised when you can't downgrade anymore.
Supported Devices You Can Downgrade
- iPhone 12 Pro Max (not released yet)
- iPhone 12 Pro
- iPhone 12 mini (not released yet)
- iPhone 12
- iPhone SE (2nd Generation)
- iPhone 11 Pro Max
- iPhone 11 Pro
- iPhone 11
- iPhone XR
- iPhone XS Max
- iPhone XS
- iPhone X
- iPhone 8 Plus
- iPhone 8
- iPhone 7 Plus
- iPhone 7
- iPhone 6S Plus
- iPhone 6S
- iPhone SE
- iPod touch (7th generation)
If you didn't make an archived backup of your iPhonebefore upgrading to iOS 14.2, you might not be able to downgrade to iOS 14.1 without loss of data.
Disable 'Find My iPhone'
If your iPhone is unresponsive, skip to the next step.
Before your iPhone can be restored, "Find My iPhone" needs to be disabled. You might have needed to do this if you've ever taken your iPhone to the Apple Store. While you can wait to do this until further into the process, as iOS will ask you to disable the feature when applicable, doing so now will eliminate any snags or potential issues.
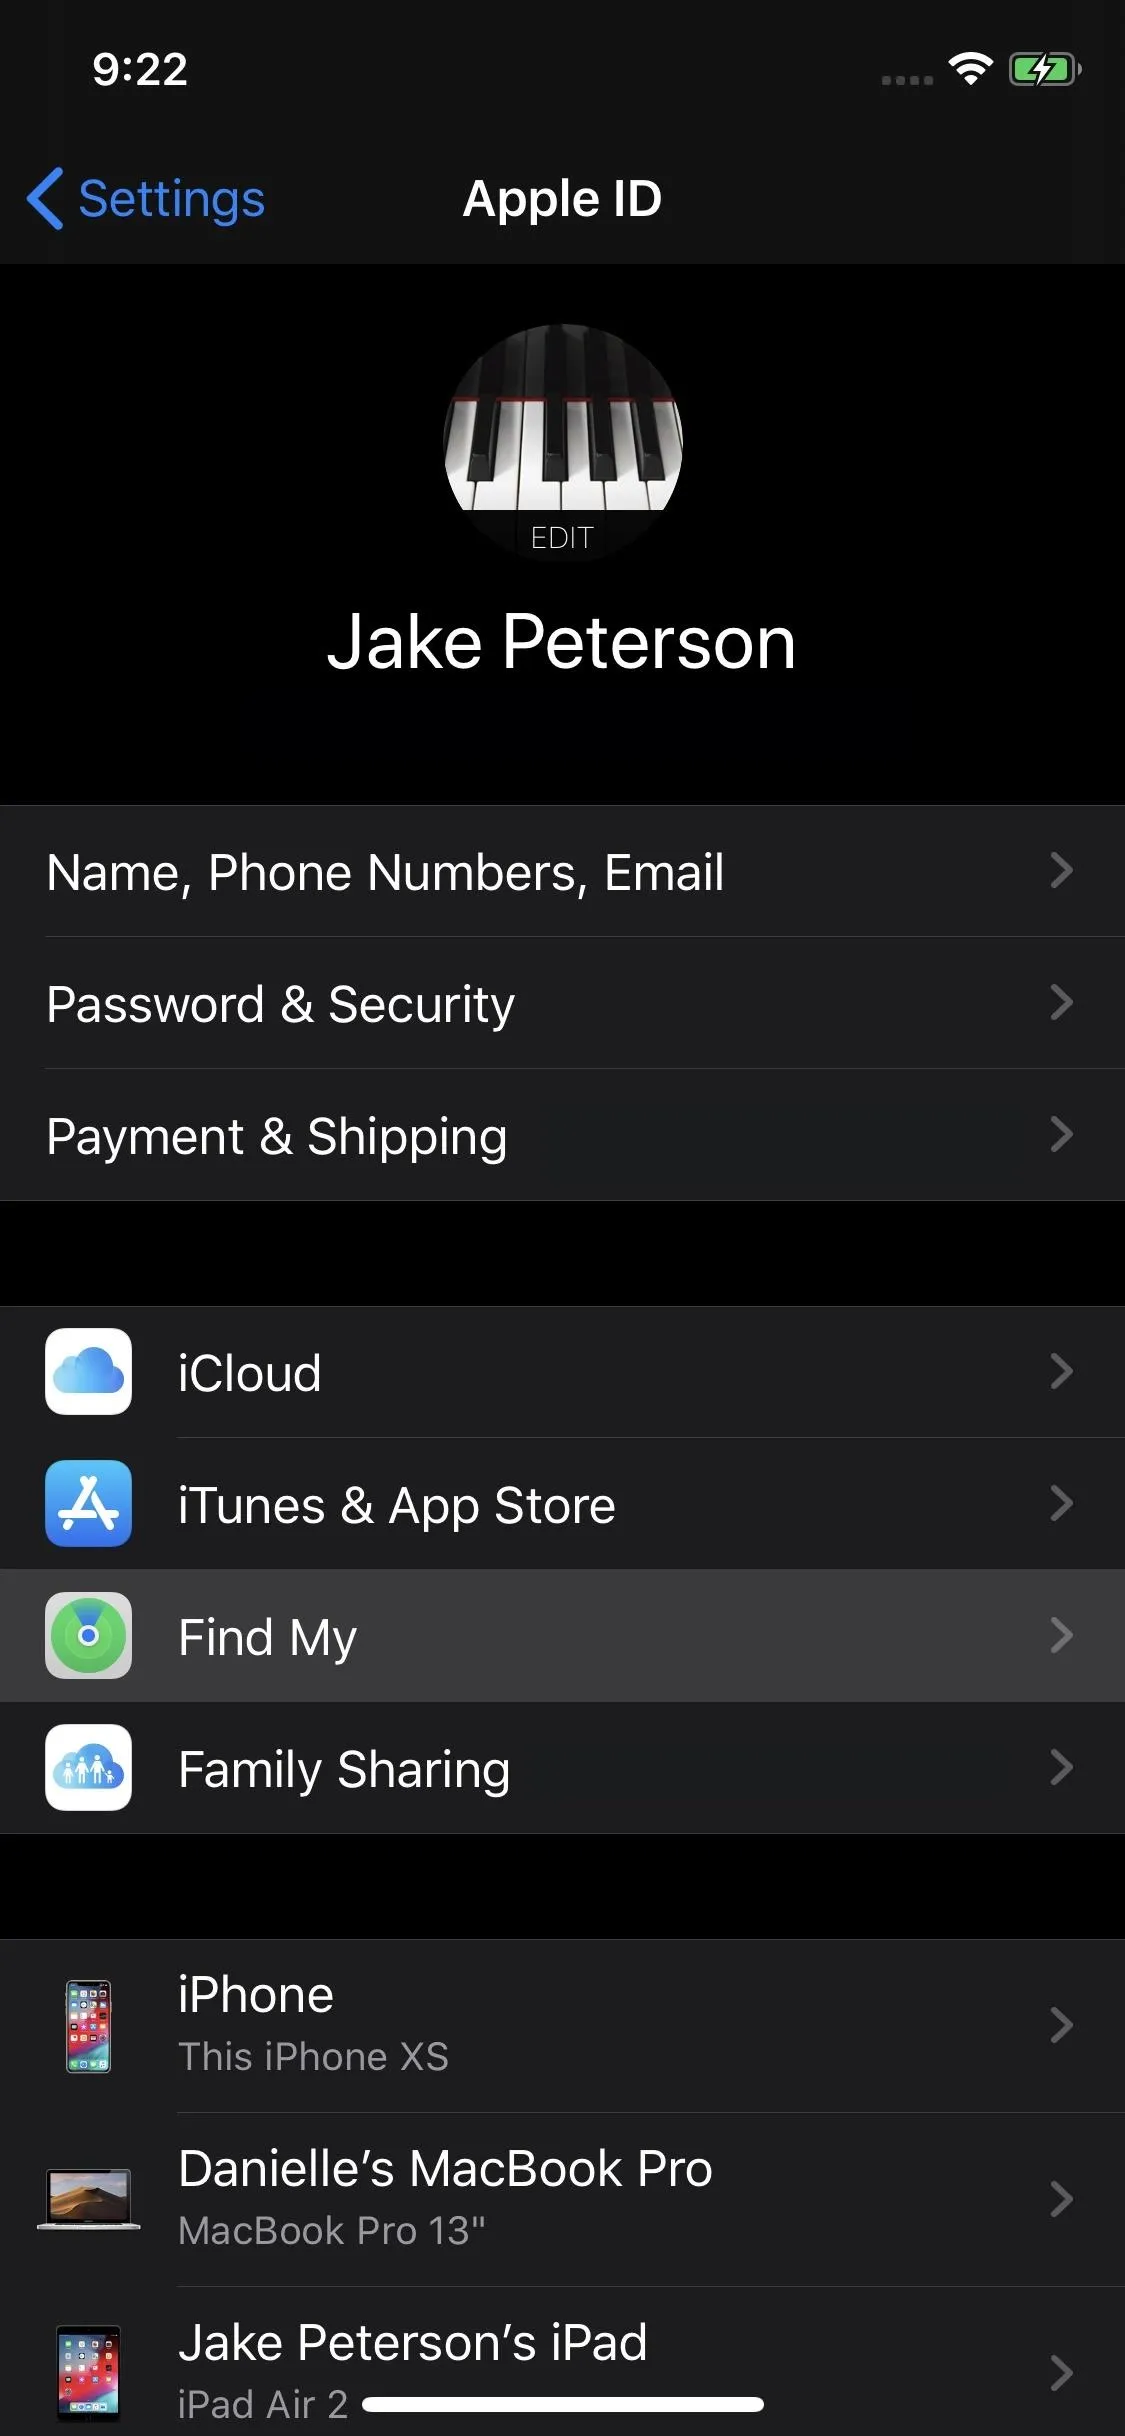
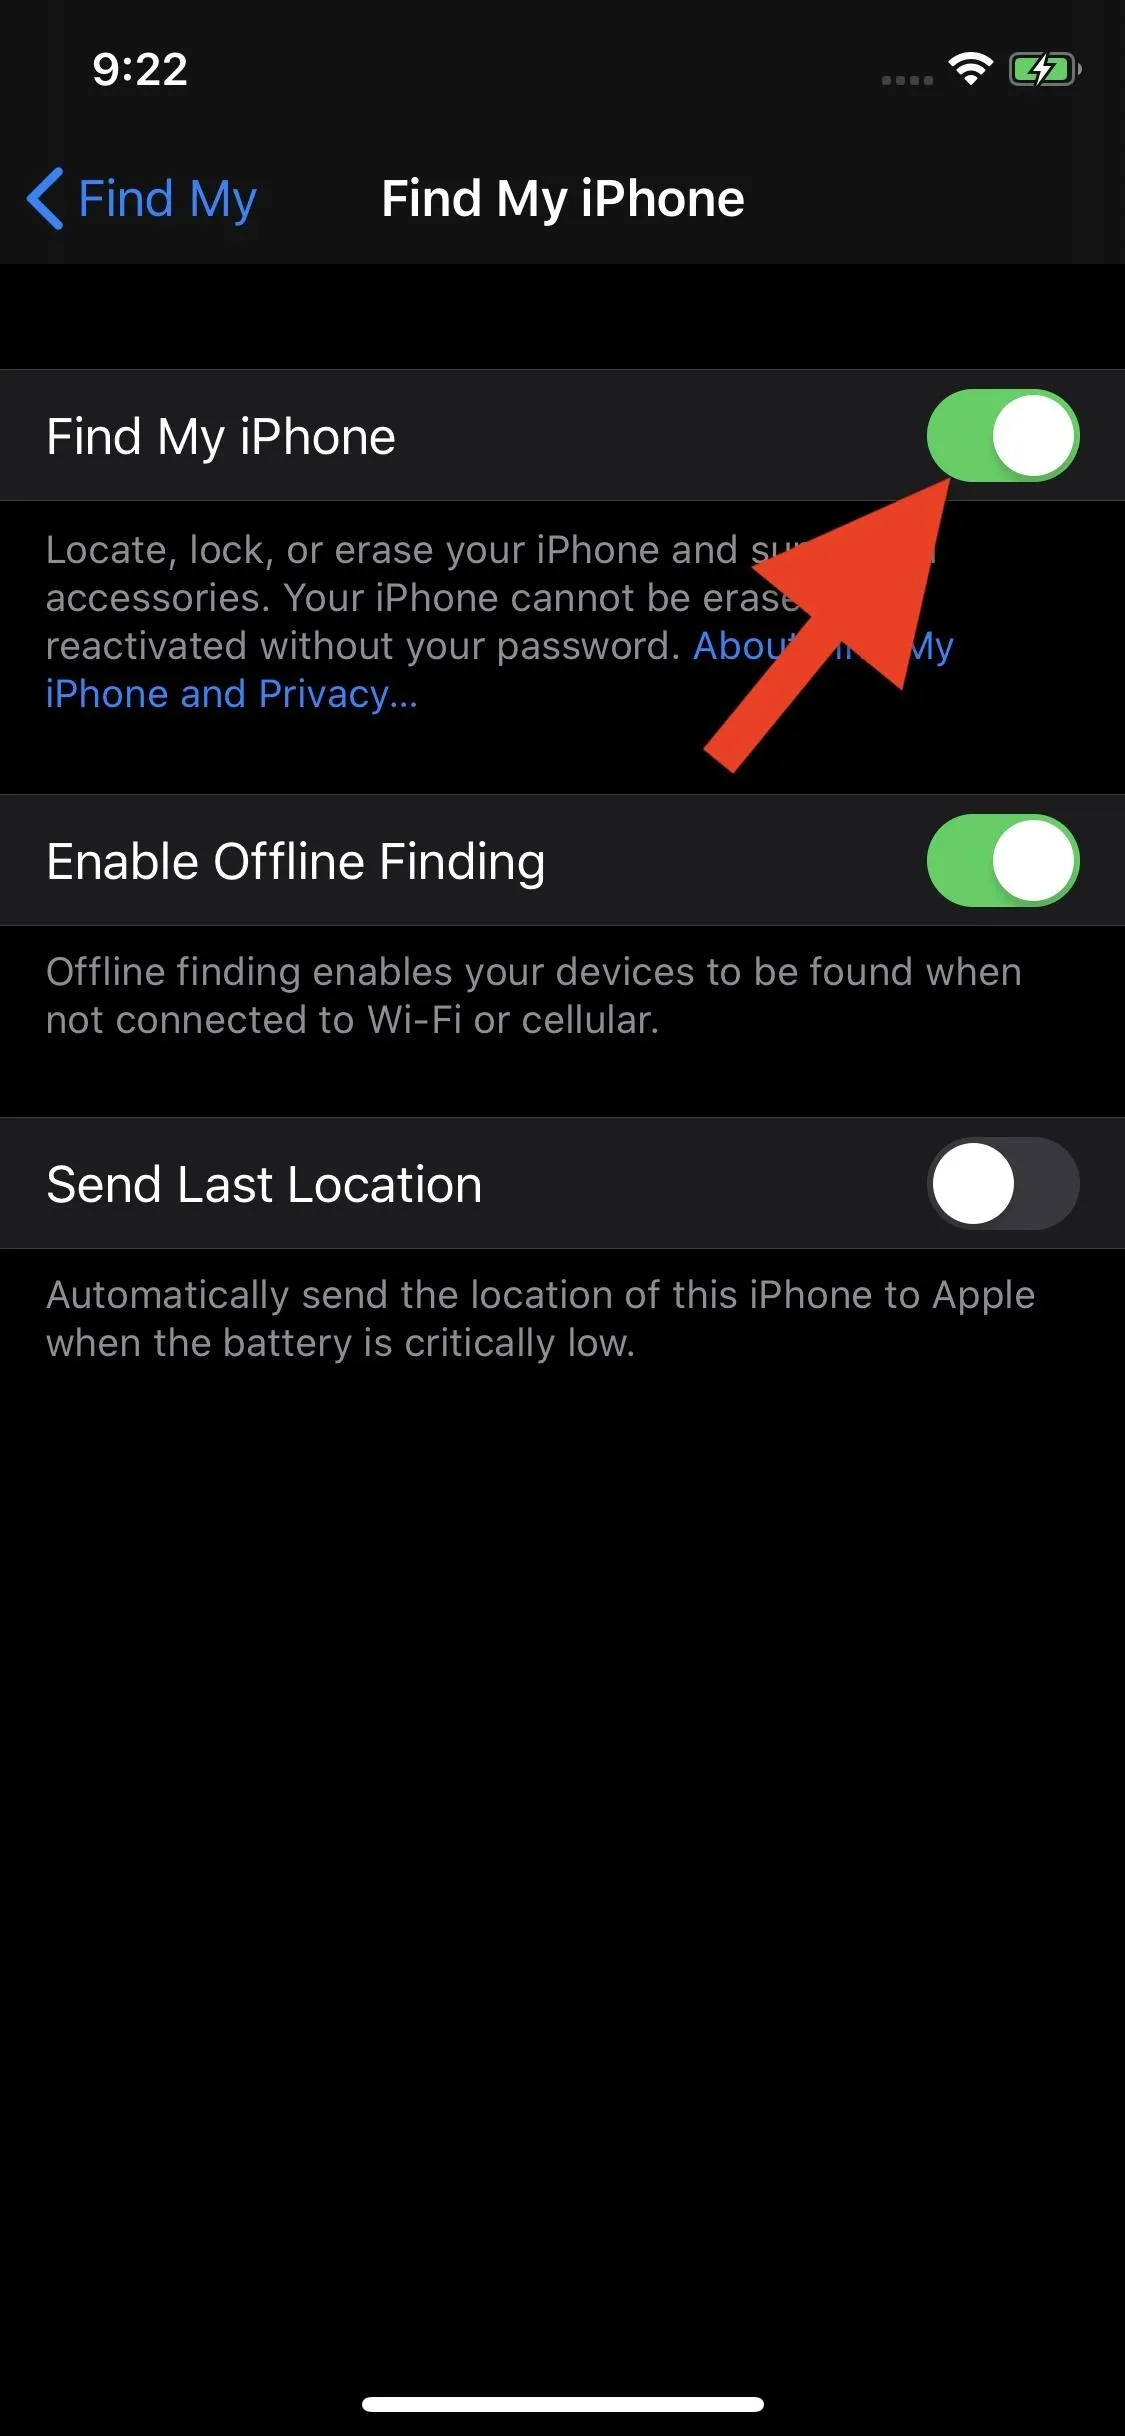
To start, open "Settings," tap your name at the top of the display, then tap "Find My." Now, tap "Find My iPhone," then tap the toggle next to "Find My iPhone" to disable the feature. You'll need to enter your Apple ID and password before iOS can disable Find My iPhone.

Download the Right Restore Image
To restore your iPhone to a previous version of iOS, you'll need the right restore image for both that iOS version and your particular iPhone model. This 14.1 restore image will be an IPSW file and will require a computer to download properly.
We're focusing on iOS for iPhones and iPod touch for this guide, but the process is the same for iPadOS on iPads. You'll find restore images for those devices as well. Keep in mind that these restore images are huge, so don't be surprised if the download time is long. You'll find the downloaded file in your Mac's or PC's "Downloads" folder.
iOS 14.1 Restore Images
- iPhone 12 Pro Max (not released yet)
- iPhone 12 Pro
- iPhone 12 mini (not released yet)
- iPhone 12
- iPhone SE (2nd Generation)
- iPhone 11 Pro Max
- iPhone 11 Pro
- iPhone 11
- iPhone XR
- iPhone XS Max
- iPhone XS
- iPhone X
- iPhone 8 Plus
- iPhone 8
- iPhone 7 Plus
- iPhone 7
- iPhone 6S Plus
- iPhone 6S
- iPhone SE
- iPod touch (7th generation)
iPadOS 14.1 Restore Images
- iPad Air (4th generation)
- iPad (8th generation)
- iPad Pro (4th generation) - 12.9-inch
- iPad Pro (4th generation) - 11-inch
- iPad (7th generation)
- iPad mini (5th generation)
- iPad Air (3rd generation)
- iPad Pro (3nd generation) - 12.9-inch
- iPad Pro (3rd generation) - 11-inch
- iPad (6th generation)
- iPad Pro (2nd generation) - 12.9-inch
- iPad Pro (2nd generation) - 10.5-inch
- iPad (5th generation)
- iPad Pro - 12.9-inch
- iPad Pro - 9.7-inch
- iPad mini 4
- iPad Air 2
Connect Your iPhone to Your Computer
Once your IPSW finishes downloading, connect your iPhone to your Mac or Windows computer via a Lightning to USB or Lightning to USB-C cable.
Unlock Your iPhone
If your iPhone is unresponsive, or you don't use a passcode, skip to the next step.
Your iPhone needs to be unlocked to communicate with your computer. So if it's not already, unlock using Face ID, Touch ID, or your passcode. If you see the "Unlock iPhone to Use Accessories" notification, you'll definitely have to unlock it.
Open Finder or iTunes
For those running macOS Catalina (10.15 or later) or macOS Big Sur (11.0 or later), open the Finder app if it doesn't open automatically to your iPhone. Click on your iPhone's name under Locations in the sidebar if it's not already selected. If you don't see it, skip to the next step.
On macOS Mojave (10.14) or earlier, or on a Windows PC, open up iTunes. If you're on Windows and don't have iTunes yet, install it first. If iTunes was already opened, quit it and reopen it to make sure the line of communication is clear. Once you see the iTunes window, click on your iPhone's icon near the top of the window. You can also click your iPhone's name under Devices in the sidebar. If you don't see it there, skip to the next step.
Trust the Computer
If your iPhone is unresponsive or already trusted, skip to the next step.
Whenever you connect your iPhone to your computer for the very first time, or whenever it first connects after resetting the iPhone's location and privacy settings or network settings, you'll have to trust the computer. In Finder, after choosing your iPhone, click the "Trust" button that appears. On iTunes, click "Continue" instead of "Trust."
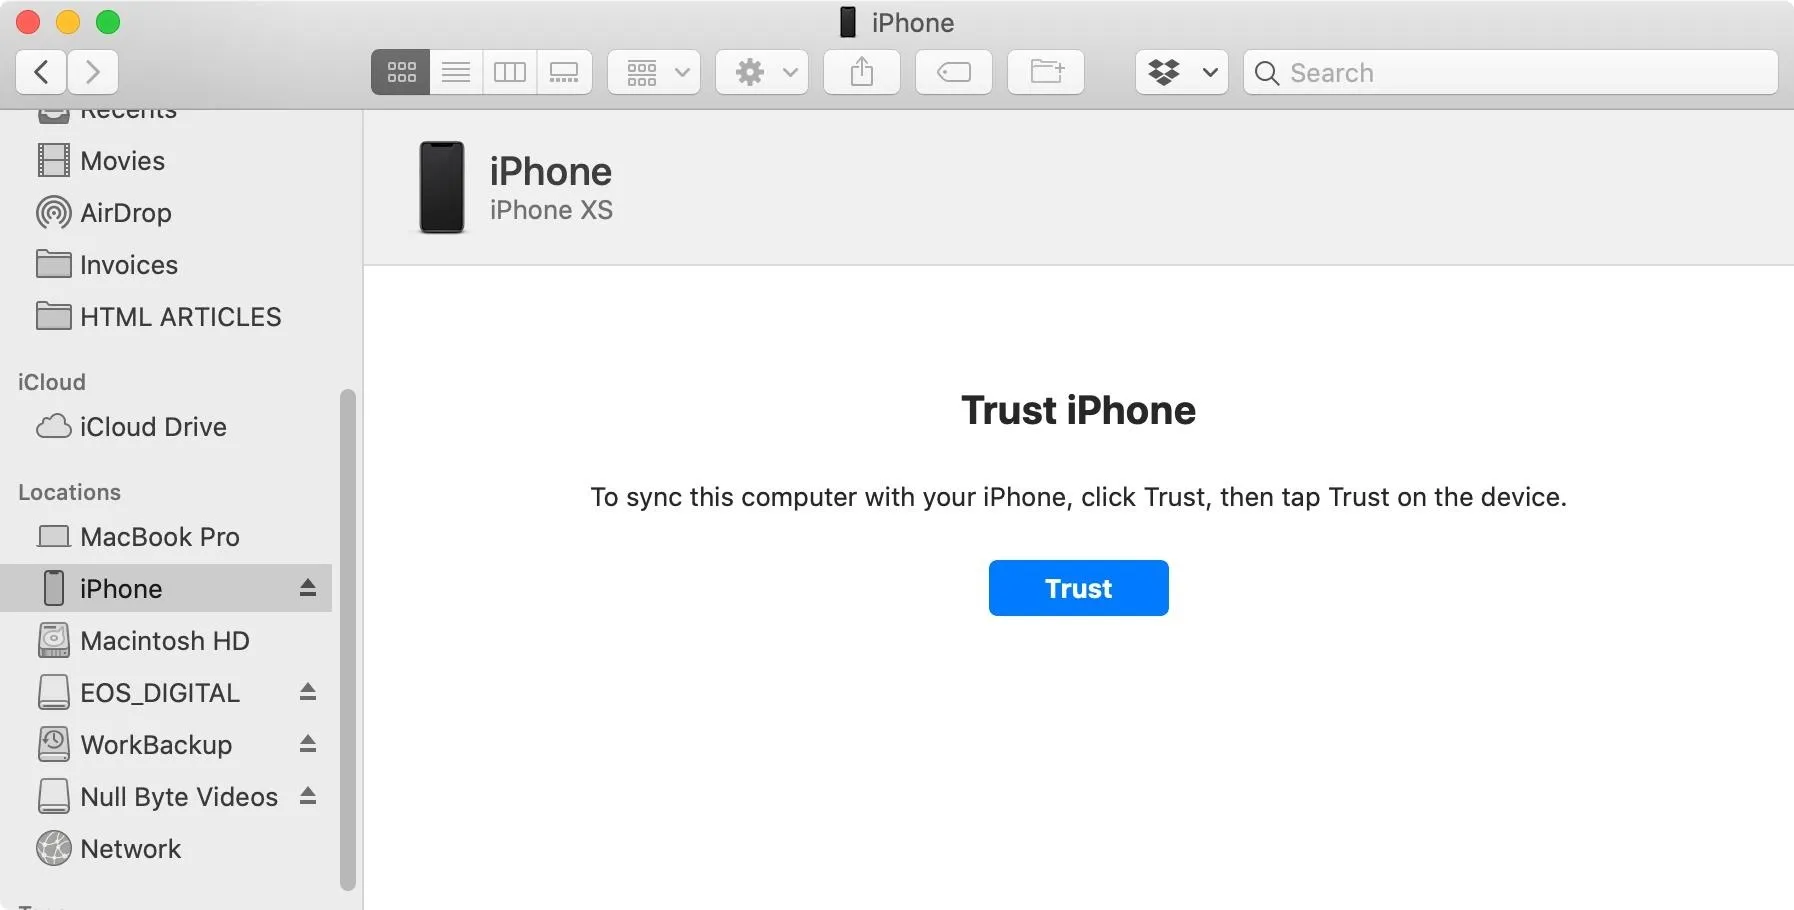
On your iPhone, a prompt will appear on the display unless you're still on the lock screen, in which case you should unlock your device as mentioned above. Tap "Trust," then enter your iPhone's passcode to give your computer rights to access your iPhone's data.
Install the Older iOS Version
With your iPhone selected in Finder or iTunes, make sure you're on either the "General" screen or "Summary" view, respectively. Skip to either the Finder or iTunes sections below to see how to get the older iOS version on your iPhone (the instructions vary ever so slightly).
If your iPhone is not showing up anywhere and is unresponsive, you will need to either enter recovery mode or DFU mode before you can continue.
Using Finder
Hold down the Option key, then choose either "Check for Update" or "Restore iPhone."
- Check for Update: If you want to try and downgrade while keeping your data intact, you could try "Check for Update," but know that it's risky and could cause unwanted behavior once you're back up and running. That's because you're downgrading to an iOS version that's incompatible with some features.
- Restore iPhone: To play it safe, choose "Restore iPhone," which will start you over from scratch. Then, if you have an archived backup file or a compatible iCloud backup, you can restore to it.
Next, a file browser pop-up will appear. Find your IPSW file, click it, then choose "Open." A pop-up will appear, instructing you that iOS 14.1 will be installed on your iPhone. When restoring, it'll look like this:
Your Mac will erase and restore your iPhone to iOS 14.1 and will verify the restore with Apple.
And for updating, you'll see this:
Your Mac will update your iPhone to iOS 14.1 and will verify the update with Apple.
This action will overwrite iOS 14.2. Click "Restore" or "Update" to continue. Keep an eye on your iPhone — you might need to enter your passcode during installation. Make sure to keep your iPhone connected to your computer until it reboots and you see the iOS 14.1 welcome screen. Once that screen comes on, you're safe to disconnect your iPhone.
Using iTunes
If using a Mac, hold down the Option key, then click either "Check for Update" or "Restore iPhone." On Windows, you should do the same, but hold down Shift instead.
- Check for Update: If you want to try and downgrade while keeping your data intact, you could try "Check for Update," but know that it's risky and could cause unwanted behavior once you're back up and running. That's because you're downgrading to an iOS version that's incompatible with some features.
- Restore iPhone: To play it safe, choose "Restore iPhone," which will start you over from scratch. Then, if you have an archived backup file or a compatible iCloud backup, you can restore to it.
Next, a file browser menu will appear. Find the IPSW file, select it, then choose "Open." Depending on your computer, a pop-up may appear, instructing you that iOS 14.1 will be installed on your iPhone. If restoring, you may see:
iTunes will erase and restore your iPhone to iOS 14.1 and will verify the restore with Apple.
If trying to update, you may see:
iTunes will update your iPhone to iOS 14.1 and will verify the update with Apple.
This action will overwrite iOS 14.1. Click "Restore" or "Update" to continue if prompted to do so. Keep an eye on your iPhone — you might need to enter your passcode during installation. Make sure to keep your iPhone connected to your computer until it reboots and you see the iOS 14.1 welcome screen. Once that screen comes on, you're safe to disconnect your iPhone.
Restore Your iPhone from a Backup
Since you downgraded your iPhone with a restore image, your data will be lost unless, by some chance, you used "Check for Update" above and it actually worked; nine times out of ten, it won't work, though. If you chose "Restore iPhone," and you have a compatible backup, either in iCloud, Finder, or iTunes, use the following steps to get back up and running with all your photos, settings, and other data.
Downgrading your iPhone via a restore image erases all of your data. If you made an iCloud, Finder, or iTunes backup for iOS 14.1 before you installed iOS 14.2 and it's still available, you can use the following steps to restore your data on your iPhone running iOS 14.1.
- If you want your iPhone to start with a clean slate, tap "Set Up as New iPhone."
- If you want your saved apps and data restored, tap "Restore from iCloud" if you have a complete iCloud backup for iOS 14.1. If you backed up your iPhone on iOS 14.2, iOS would likely make you update back to iOS 14.2, so you might be stuck with "Set Up as New iPhone" anyway.
- If you made an archived backup in iTunes for iOS 14.1, you can tap "Restore from iTunes Backup." If it were an archived backup in Finder, it'd say something similar.
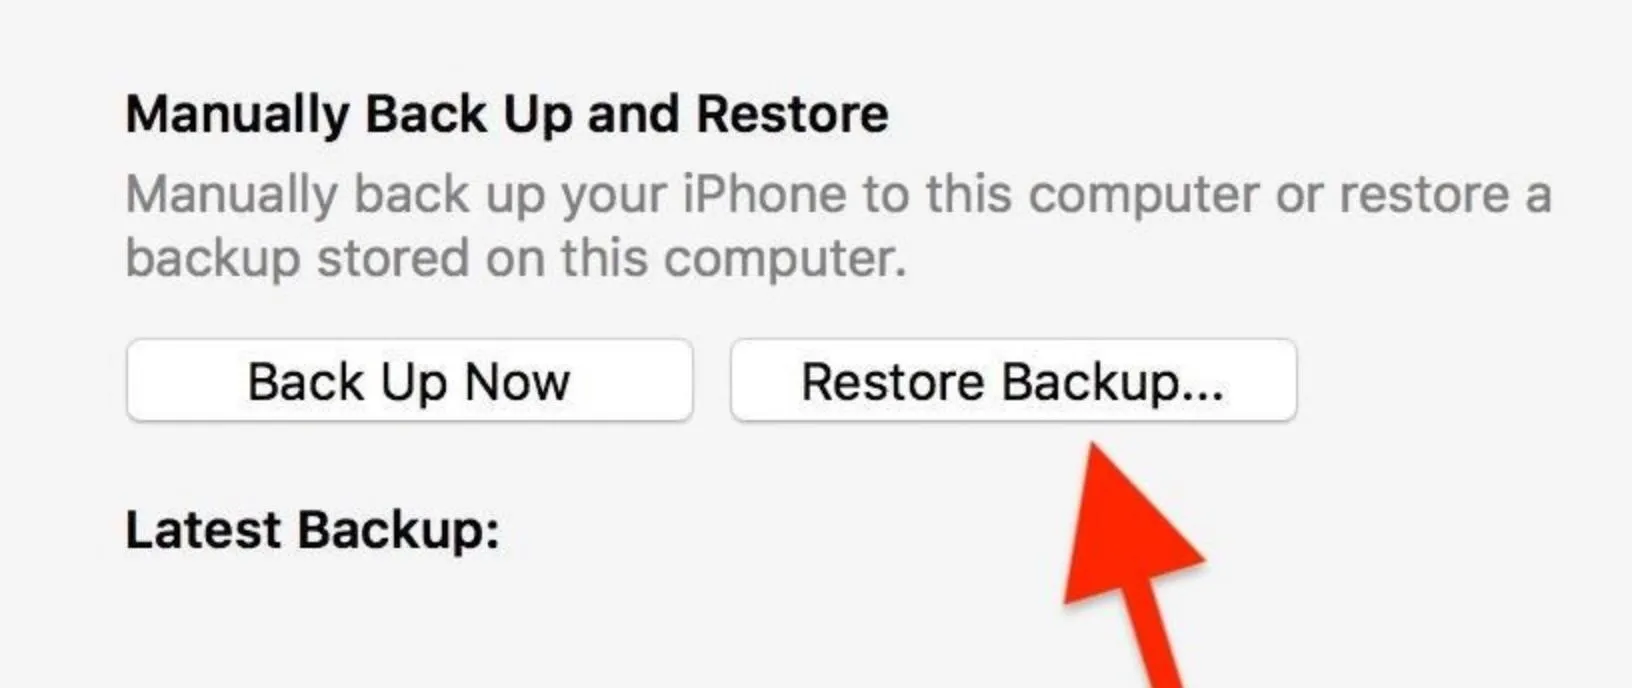
If you decide to restore your iPhone from that archived backup, you'll need to keep your iPhone connected to Finder or iTunes and select your iPhone there. Now, click "Restore Backup," choose your archived backup, then choose "Restore." You can tell if this backup is archived if you see the date and time in the backup name.
If you encrypted your 14.1 backup, you'd need to enter your password to continue. Now, wait for the restore to finish before unplugging your iPhone from your computer. Once syncing is complete, your iPhone will be running your iOS 14.1 version with all data restored.
An encrypted backup for iOS 14.1 will require your password to continue. Just wait for the restore to finish before disconnecting your iPhone from your Mac or PC. Once finished, your iPhone will be running your archived iOS 14.1 version, complete with all the data saved at the time.
Cover image and screenshots by Jake Peterson/Gadget Hacks


Comments
Be the first, drop a comment!