


While iPhone cameras these days are downright impressive, the same can't be said for the Camera app. In true Apple form, Camera is as simple as possible, forcing you to go third-party for pro-level features. With iOS 14, however, Apple adds a little extra professionalism, allowing you to lock focus and exposure separately.
How Focus & Exposure Worked Before iOS 14
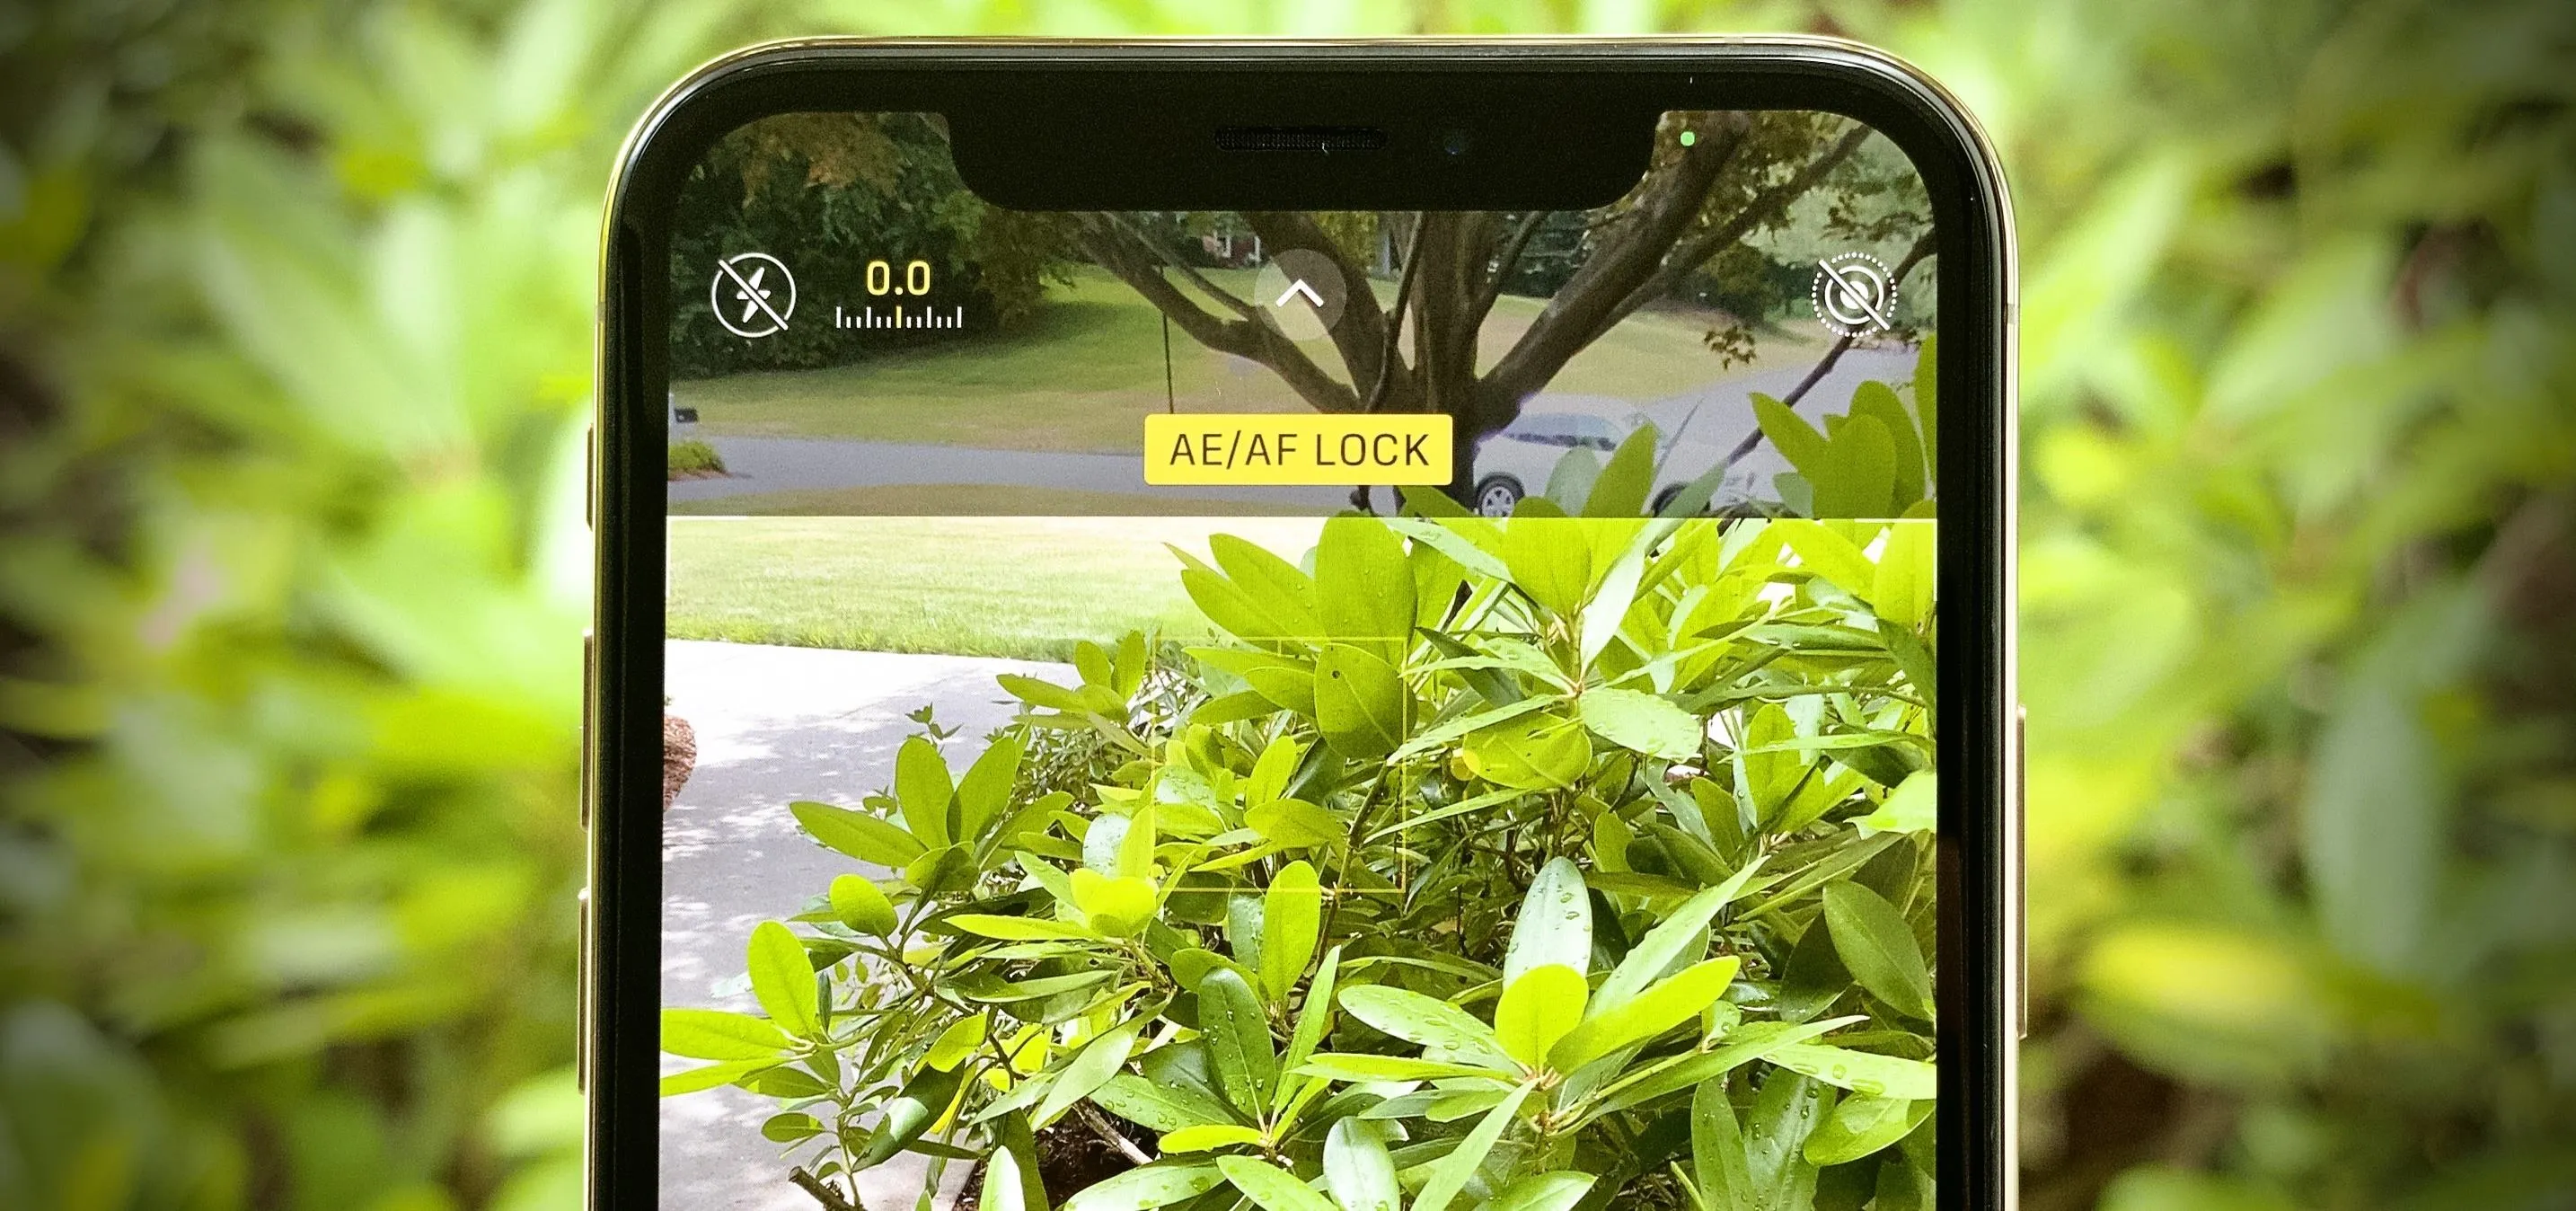
Controlling focus and exposure on an iPhone hasn't changed much over the years. Both settings automatically change as you move the camera around. If taking a portrait or group photo, face detection balances everything out across up to ten faces. To choose your own focus and exposure, tap somewhere in the frame to disable face detection. Afterward, or if no faces are present at all, tap a spot to change focus and exposure to that area specifically. Long-press to lock AE/AF so that the elements won't change as you move the camera away.
- Don't Miss: 200+ New Features & Changes in iOS 14 for iPhone
The Camera app also features an exposure slider next to the focus box, where you can adjust the shutter speed and f-stop manually. Just drag the sun icon up or down to brighten or darken an image quickly, and that remains true in iOS 14 for iPhone.
However, that exposure slider is a bit fickle; if you adjust it without locking AE/AF, your settings will simply change as you move the camera. You can't lock your desired exposure setting without also locking your focus, though, you can refine exposure levels after AE/AF is locked. The big issue is that when you tap somewhere else in the viewfinder, your settings, locked or unlocked, will change.
How iOS 14 Makes Focus & Exposure Control Better
Apple added an exposure compensation value (ECV) control to the new Camera. You can think of it as the "master" exposure. Any change you make to exposure compensation value affects all photos during the entire Camera session — not just for one photo or a small group of photos — until you change it again manually.
The vertical exposure value (EV) slider can still be used to brighten and darken an image past what you set the exposure compensation value to, but it can be reset with the Camera's automated controls or after tapping somewhere else in the viewfinder. The exposure compensation value can't be changed as easily. That's what makes it possible to lock your exposure setting separate from your focus.
Not Every iPhone Applies
While iOS 14 covers a wide range of iPhone models, not every iPhone gets every iOS 14 feature. The exposure compensation value tool is the perfect example. According to Apple, only the iPhone 11, 11 Pro, 11 Pro Max, SE (2nd generation), 12, 12 mini, 12 Pro, and 12 Pro Max are compatible. That leaves out the iPhone XR, XS Max, XS, X, 8 Plus, 8, 7 Plus, 7, SE (1st generation), 6S Plus, and 6S.
Accessing the Exposure Adjustment Tool
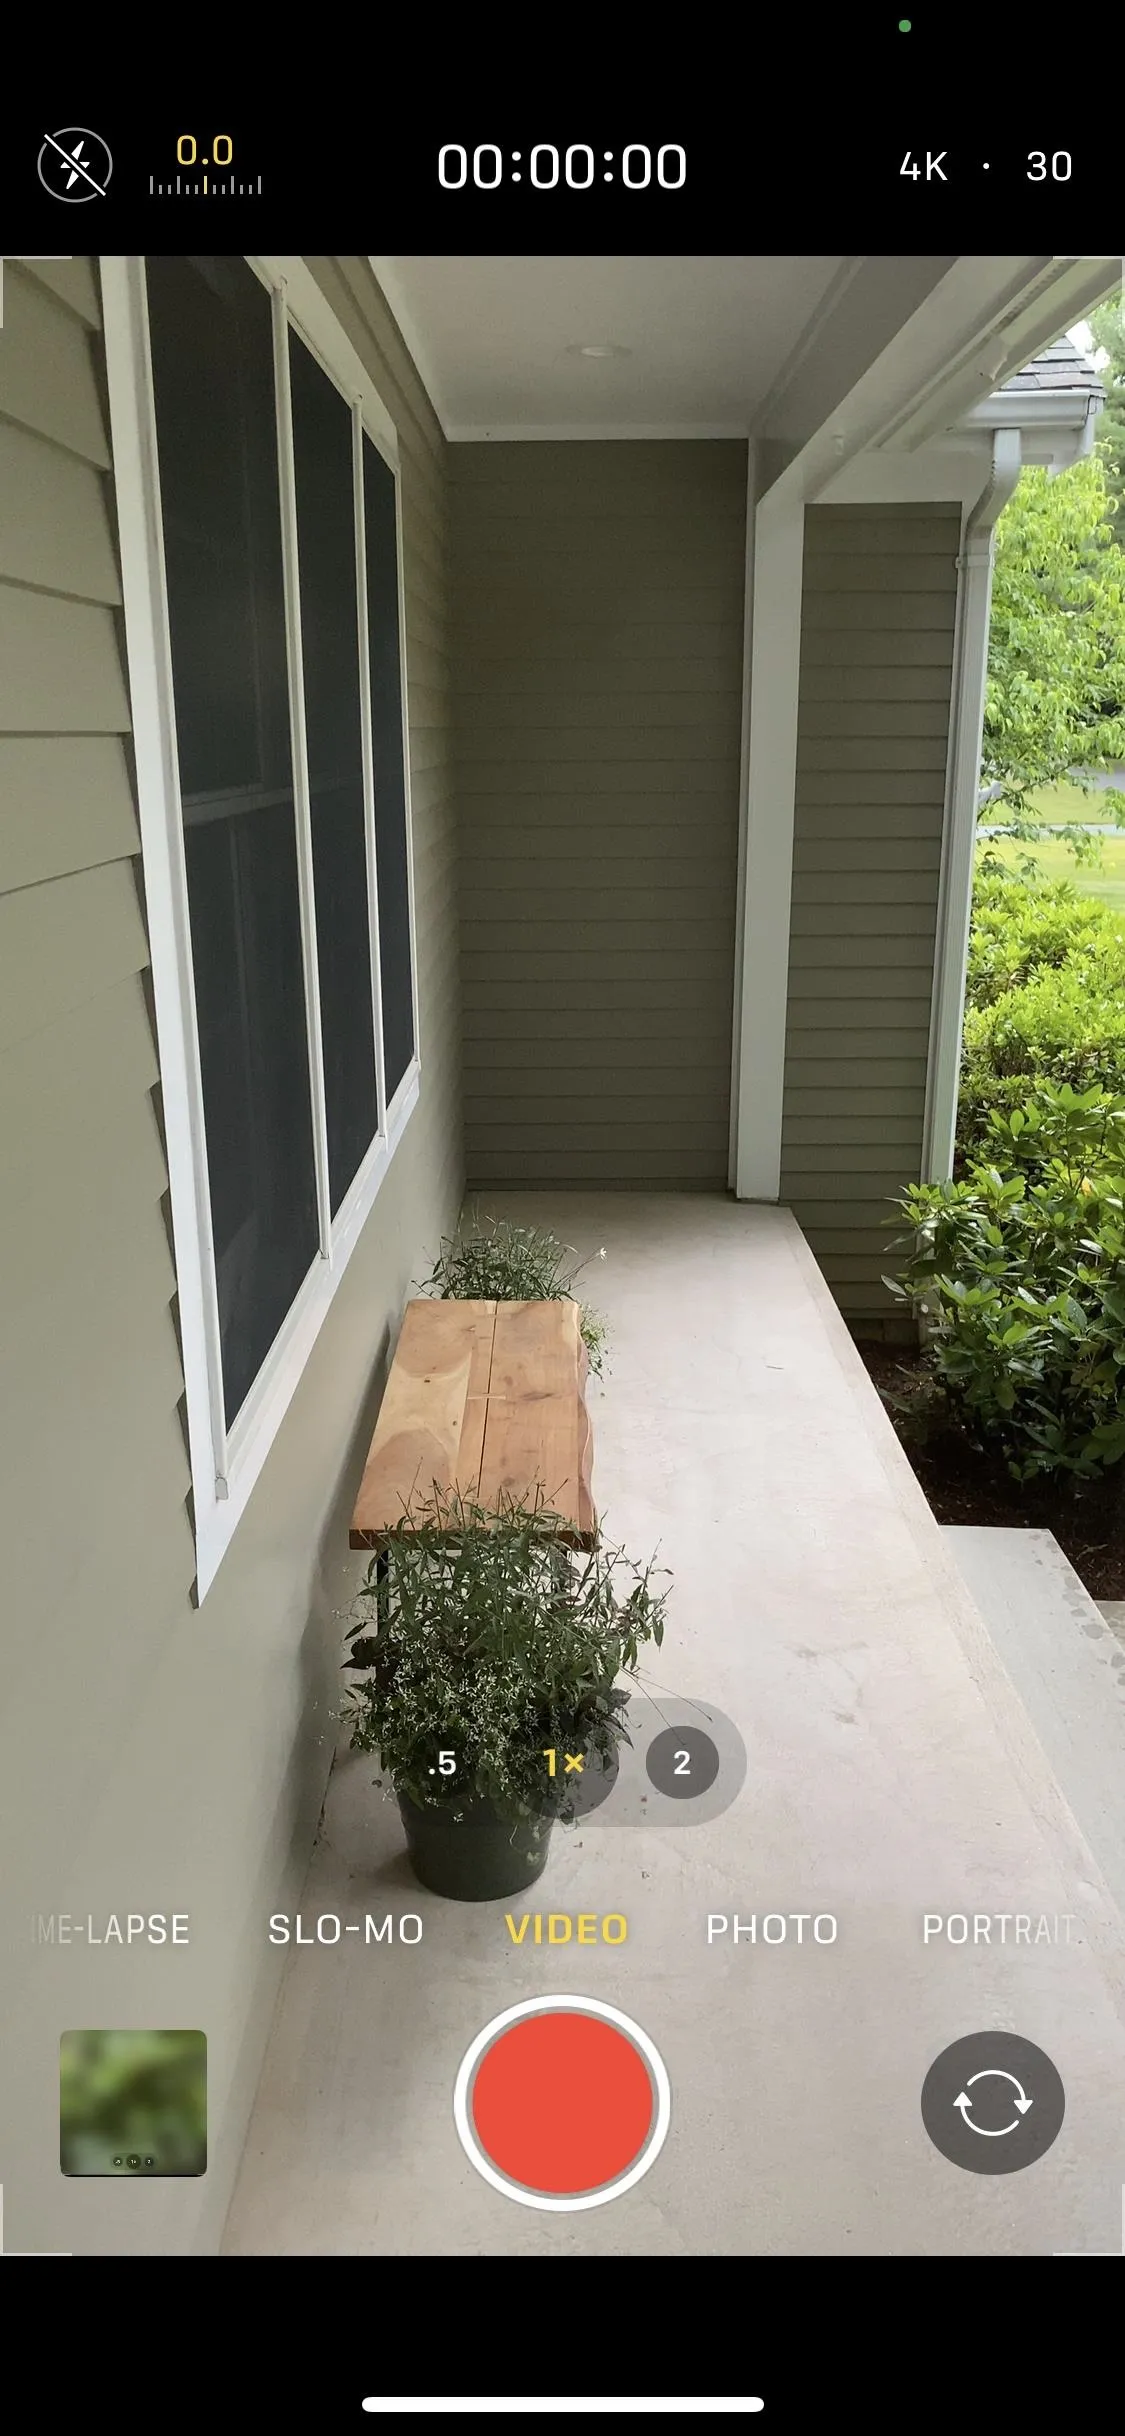
To pull up the new ECV control, swipe up on the displayed image in any shooting mode besides Pano. In the Photo mode, you can also tap the chevron in the main toolbar.
When using Time-Lapse mode, the exposure compensation value control appears automatically, ready to tweak. In other shooting modes, tap the plus/minus (±) button that appears in the hidden toolbar to access it.
A horizontal slider will appear, which allows you to control the shutter speed and f-stop for Camera from –2 to +2 EV. As you move towards –2, the image becomes darker, while moving the slider towards +2 makes the image brighter. Bring the slider back to zero to deactivate the adjustment.
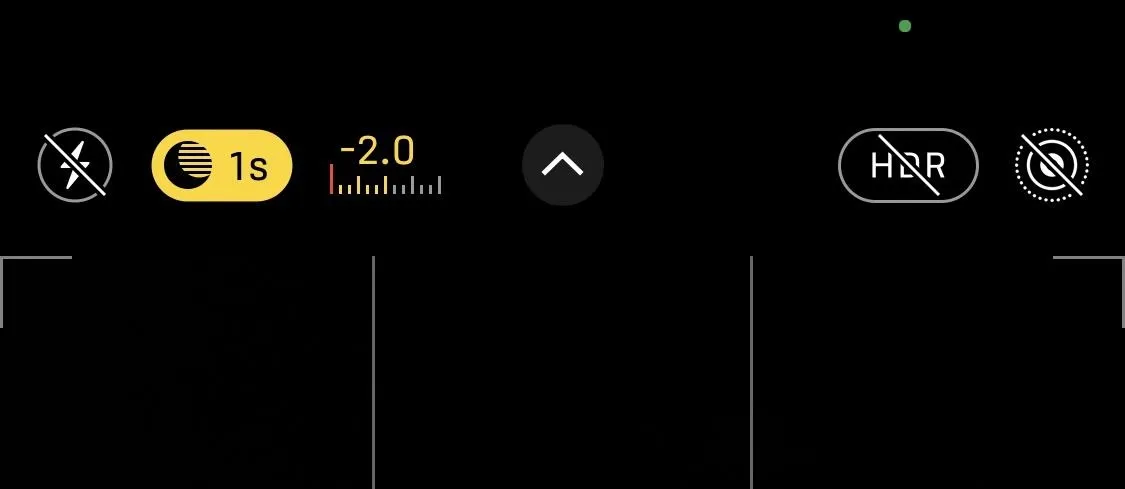
The setting you choose persists for the entire Camera session. You'll notice that Apple adds a small histogram to the main toolbar when the ECV is in use. The yellow markers say where the ECV value is set, with –2 being the far left and +2 the far right. With the secondary toolbar hidden again, the numerical value is represented as well. You can tap on this histogram to pull up or hide the ECV slider when in use.
AE is in full effect when using the ECV option. If you set the ECV to –2, for example, tapping on or moving to a bright area of the display will still darken it, while touching or moving to a darker area will lighten it. To keep iOS from auto-adjusting exposure further, you'll need to lock AE/AF as well, as you'll see next.
Locking Focus & AE with Exposure Adjustment
To lock ECV and the EV as well, you'll need to use the same AE/EF locking gesture that's been around in iOS since what seems like forever. Long-press on the area of the viewfinder that you want to lock AE/AF to (if there were people in the shot, tap somewhere first to disable face detection). From here, you can fine-tune the overall exposure with the EV vertical slider. Easy and simple.

When using both the ECV and EV sliders, you may see some red bars in the histogram in the main toolbar. If it shows red on the left side, you're underexposed (it's too dark), and you're overexposed if it's red on the right side (it's too bright). When you see red, you'll lose some data in the dark or bright areas, respectively.
Preserving the Exposure Compensation Value
The ECV locks to wherever you set it, but only for the current Camera session. Once the app refreshes, it resets the slider back to zero, which, in turn, deactivates the feature. If you'd like Apple to save your exposure compensation value every time you boot up Camera, it's easy to accomplish.
Just head to Settings –> Camera –> Preserve Settings, then tap "Exposure Adjustment." From now on, iOS will remember your last ECV setting. In addition, the option adds the histogram to the top menu of your Camera app at all times, even when the ECV slider is at 0.
- Don't Miss: How to Make Camera Remember Your Last Used ECV
Cover image, screenshots, and GIFs by Jake Peterson/Gadget Hacks


Comments
Be the first, drop a comment!