


Since iCloud's introduction in 2011, you get only 5 GB of complimentary cloud storage with your Apple account. With iPhone backups, app data, iCloud Drive files, and even emails (if you have a Mac, Me, or iCloud email address), you'll quickly run out of space to back up photos and videos. Fortunately, Google offers 15 GB of free storage, making it easy to upload your Camera Roll for safekeeping.
While $0.99 per month for 50 GB total iCloud storage sounds like a good deal, it's not necessary if you only have 10 GB of media you want to store. So if you're continually getting that "not enough storage" alert from Apple on your iPhone, don't hit "Upgrade Storage" just yet. Google Photos may be all you need.
When you sign up for a Gmail account, you automatically get 15 GB of free cloud storage. While it seems like that may all be for emails and Google Drive documents, it also applies to photos and videos you store in Google Photos, which has a free app for both iOS and Android. And if you allow Google to automatically resize your photos and videos, you'll get free unlimited storage you can't beat.
What Google Photos Will Back Up
Google Photos only looks at the "Camera Roll" album in the Apple Photos app, and it will back up any type of video, regular photos, GIFs (animations), and Live Photos. Any photos and videos in the "Hidden" or "Recently Deleted" albums will not be backed up or even appear in Google Photos.
Install or Update Google Photos
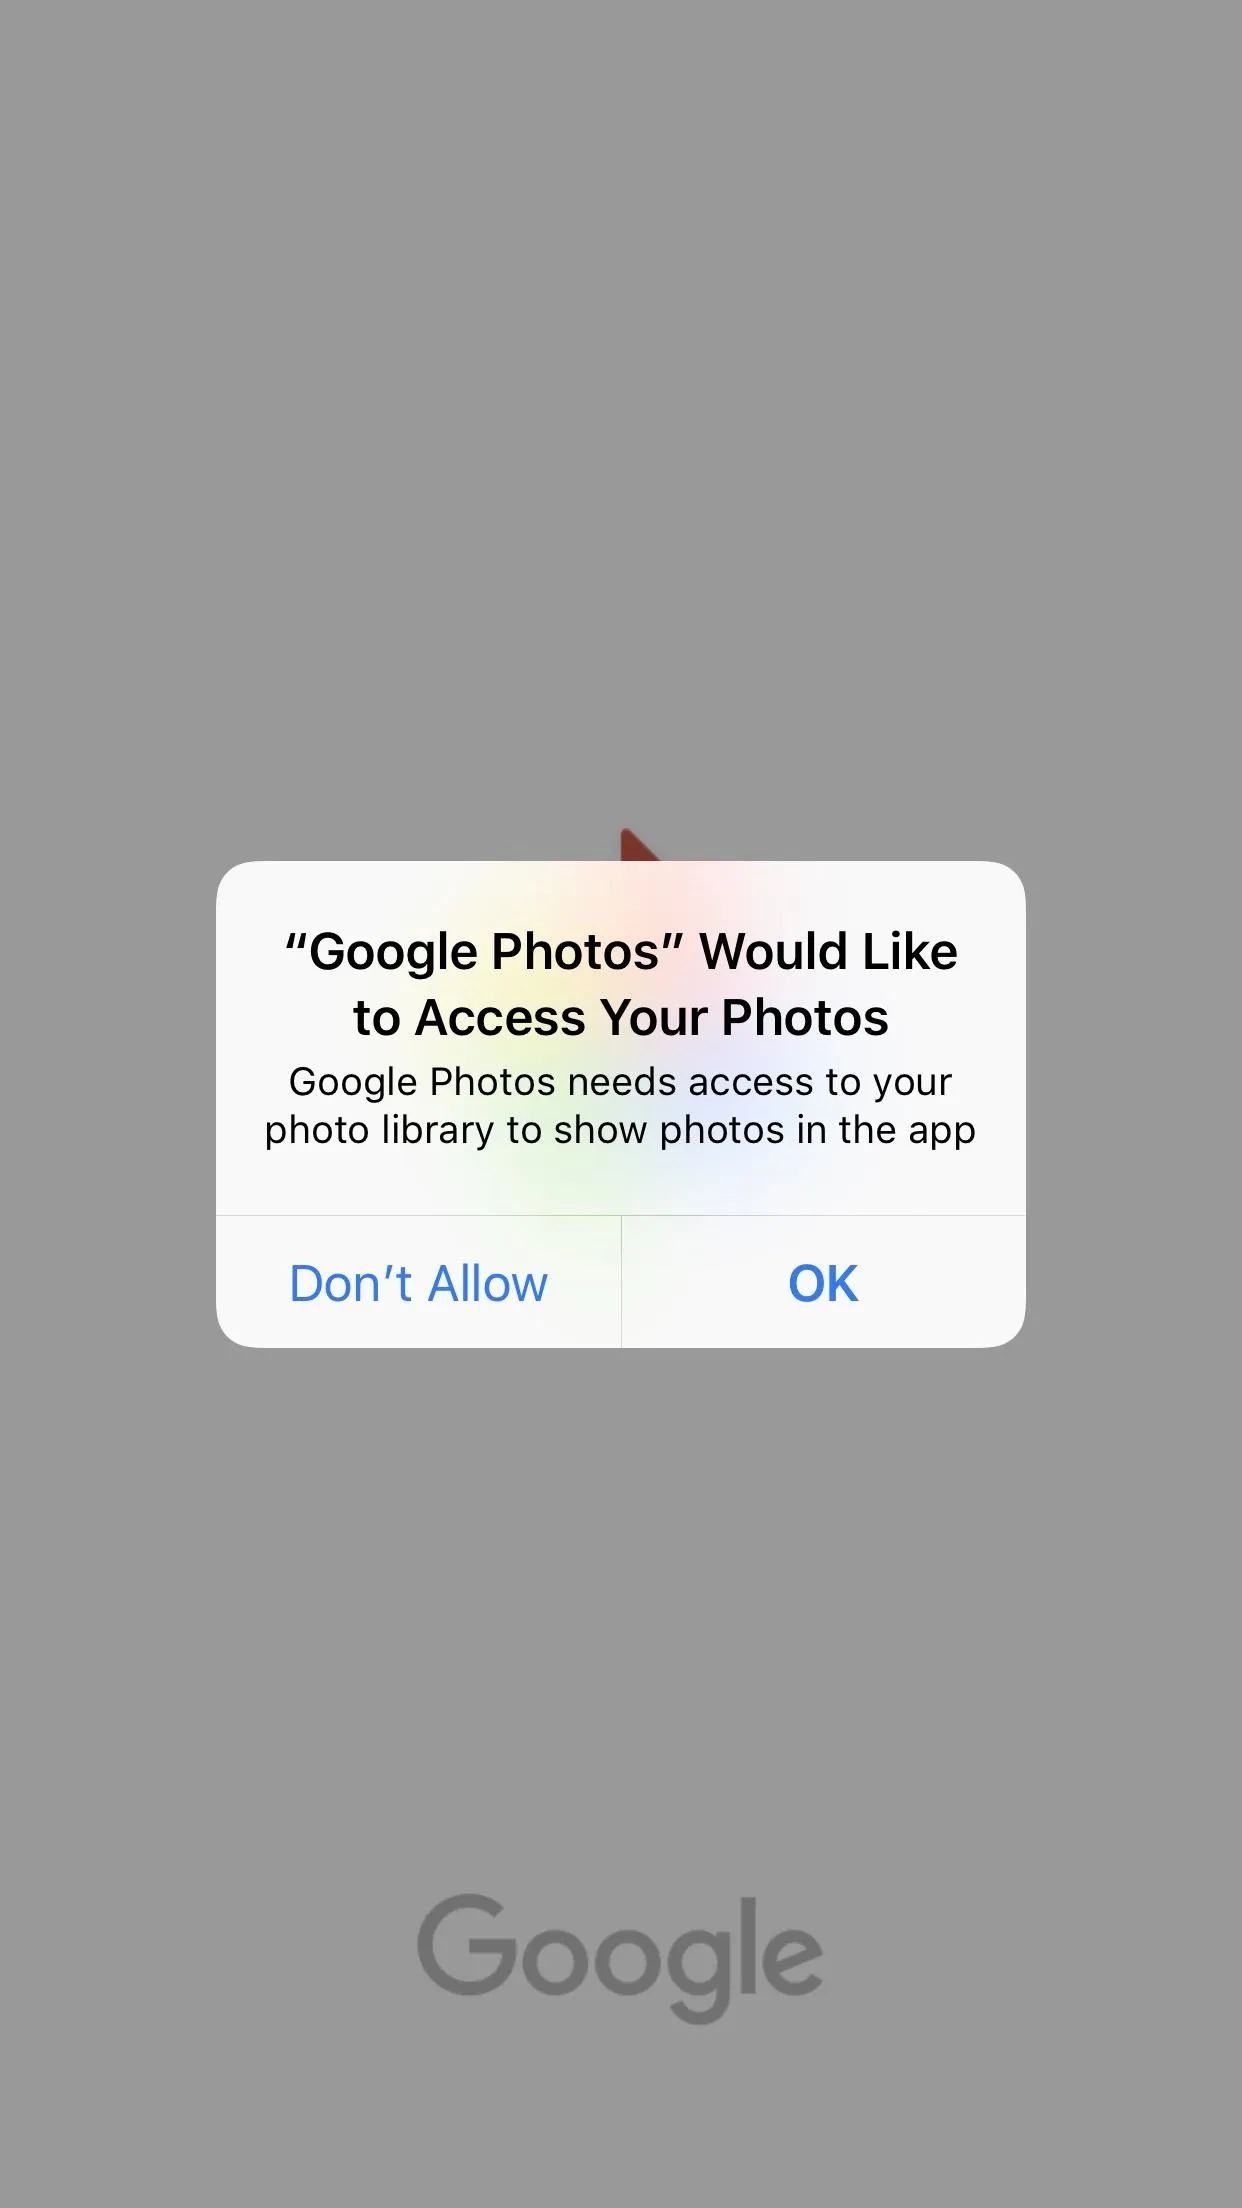
After downloading Google Photos from the App Store, launch the app, and tap on "Allow" when it prompts you to give it access to photos on your device. Also give it access to send you notifications, if you want, which is not necessary. If you already have the app, make sure it's updated to the latest version.
- App Store Link: Google Photos (free)
Choose to Back Up or Wait
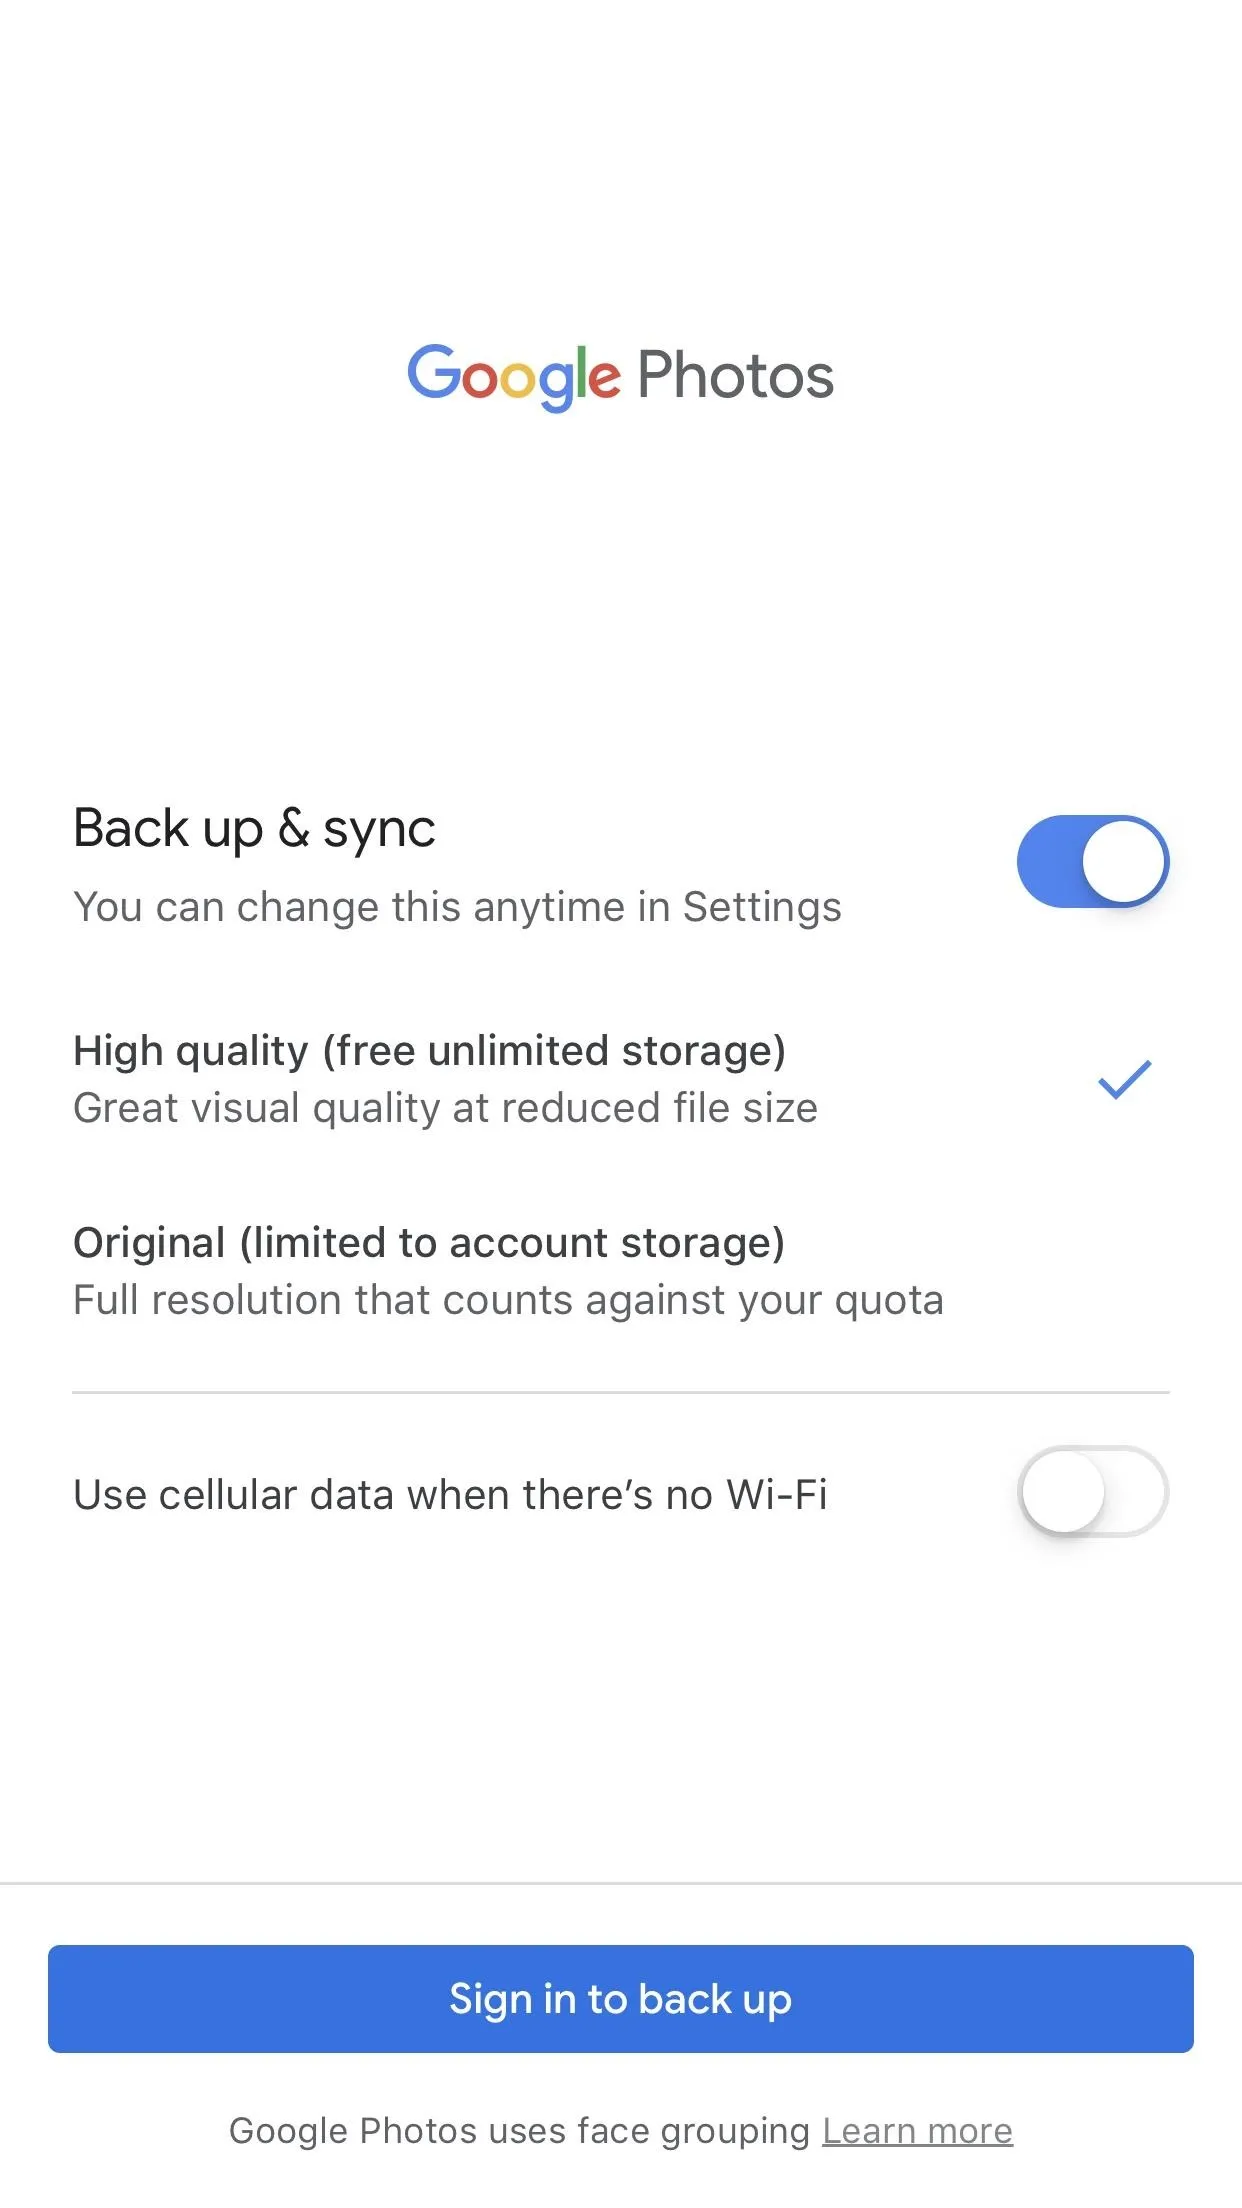
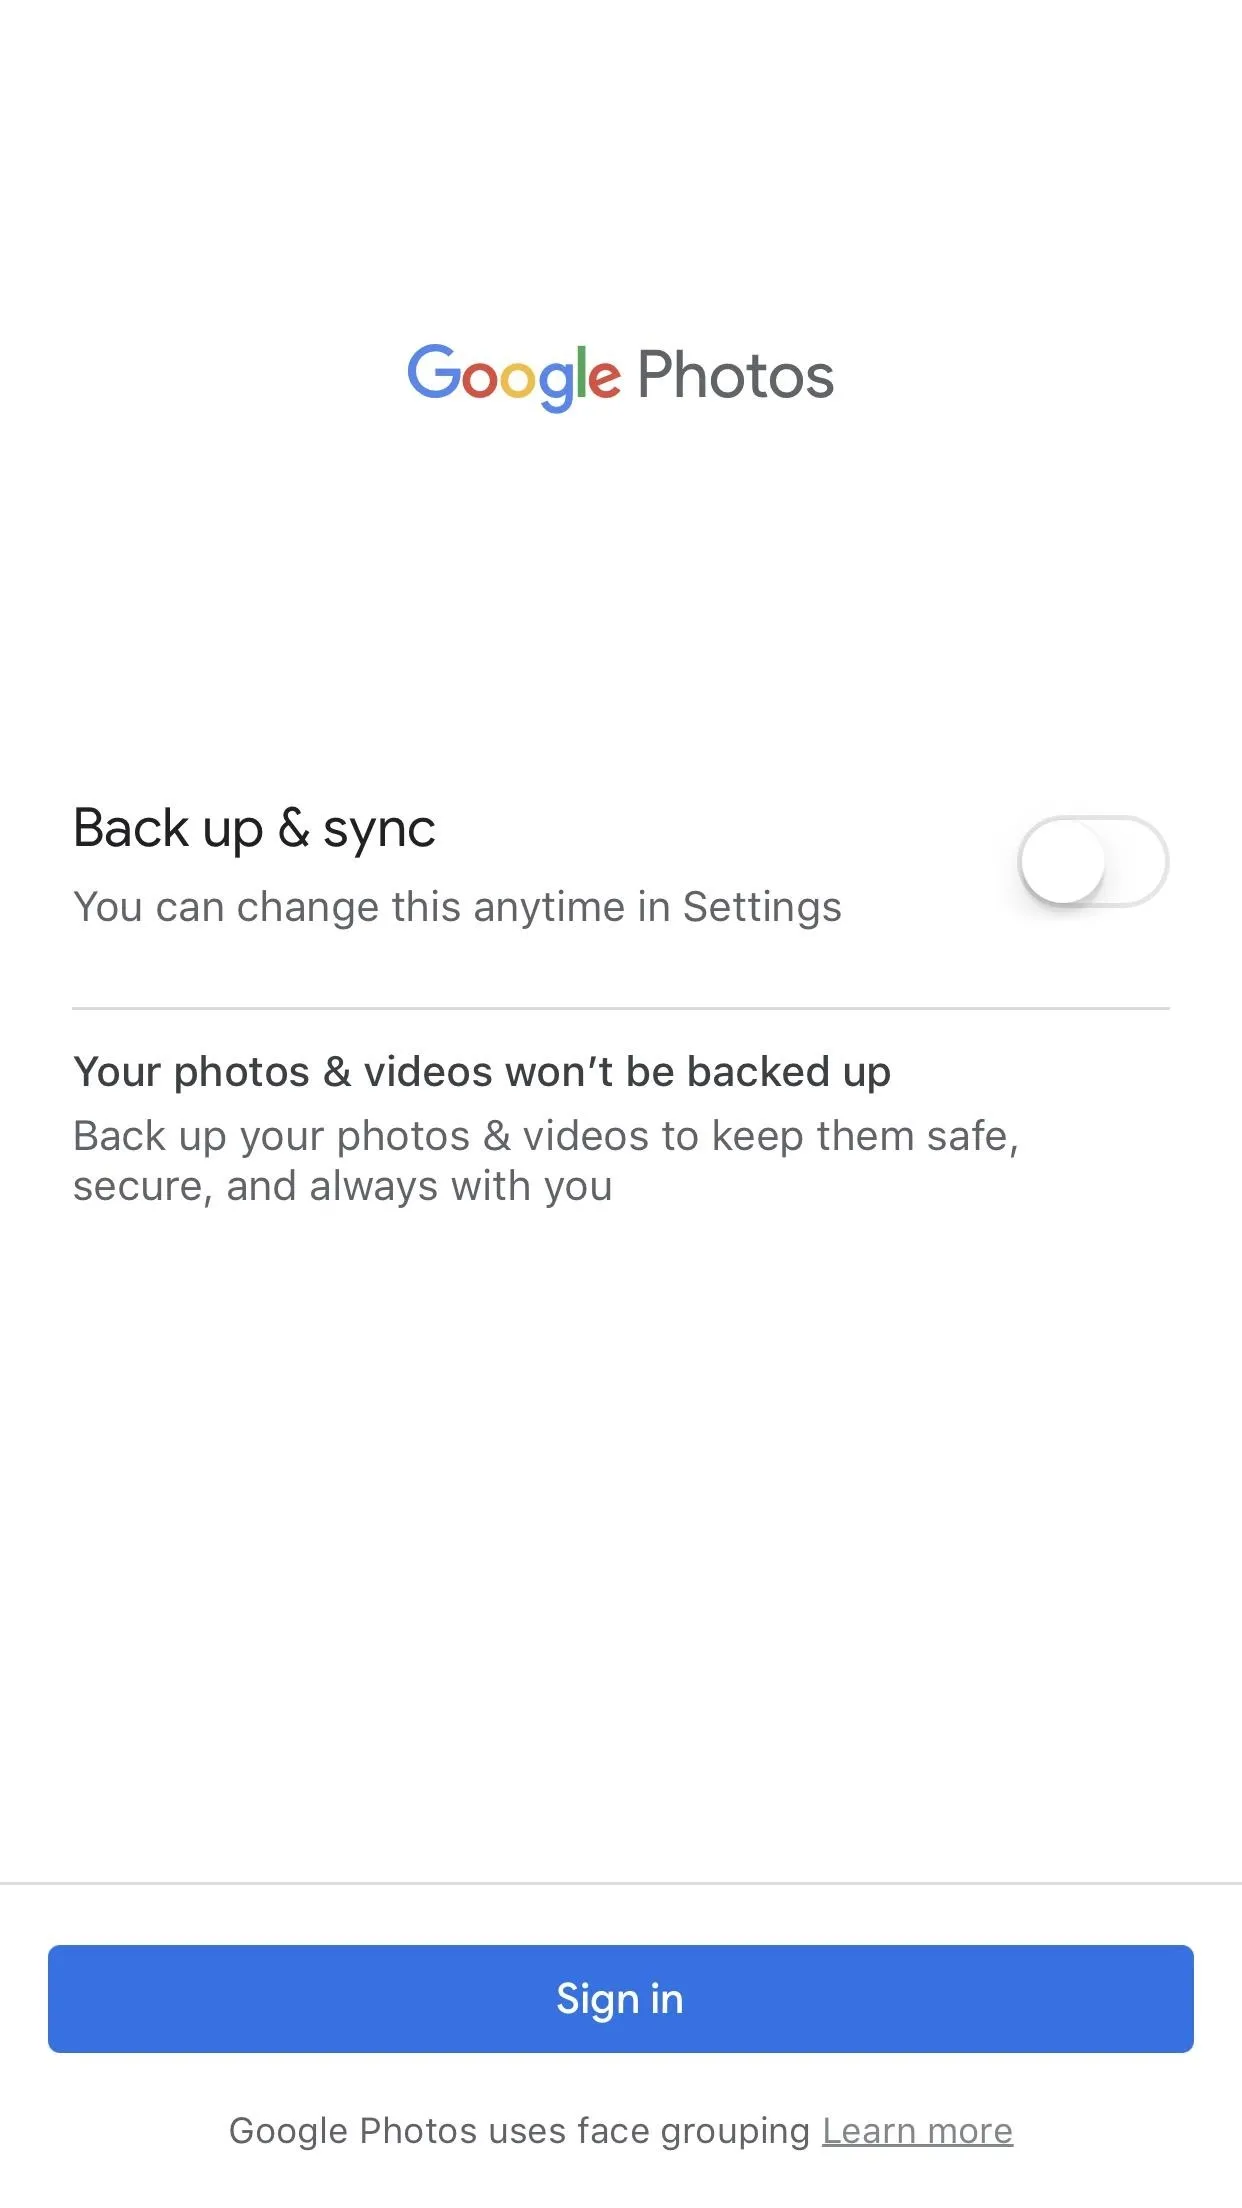
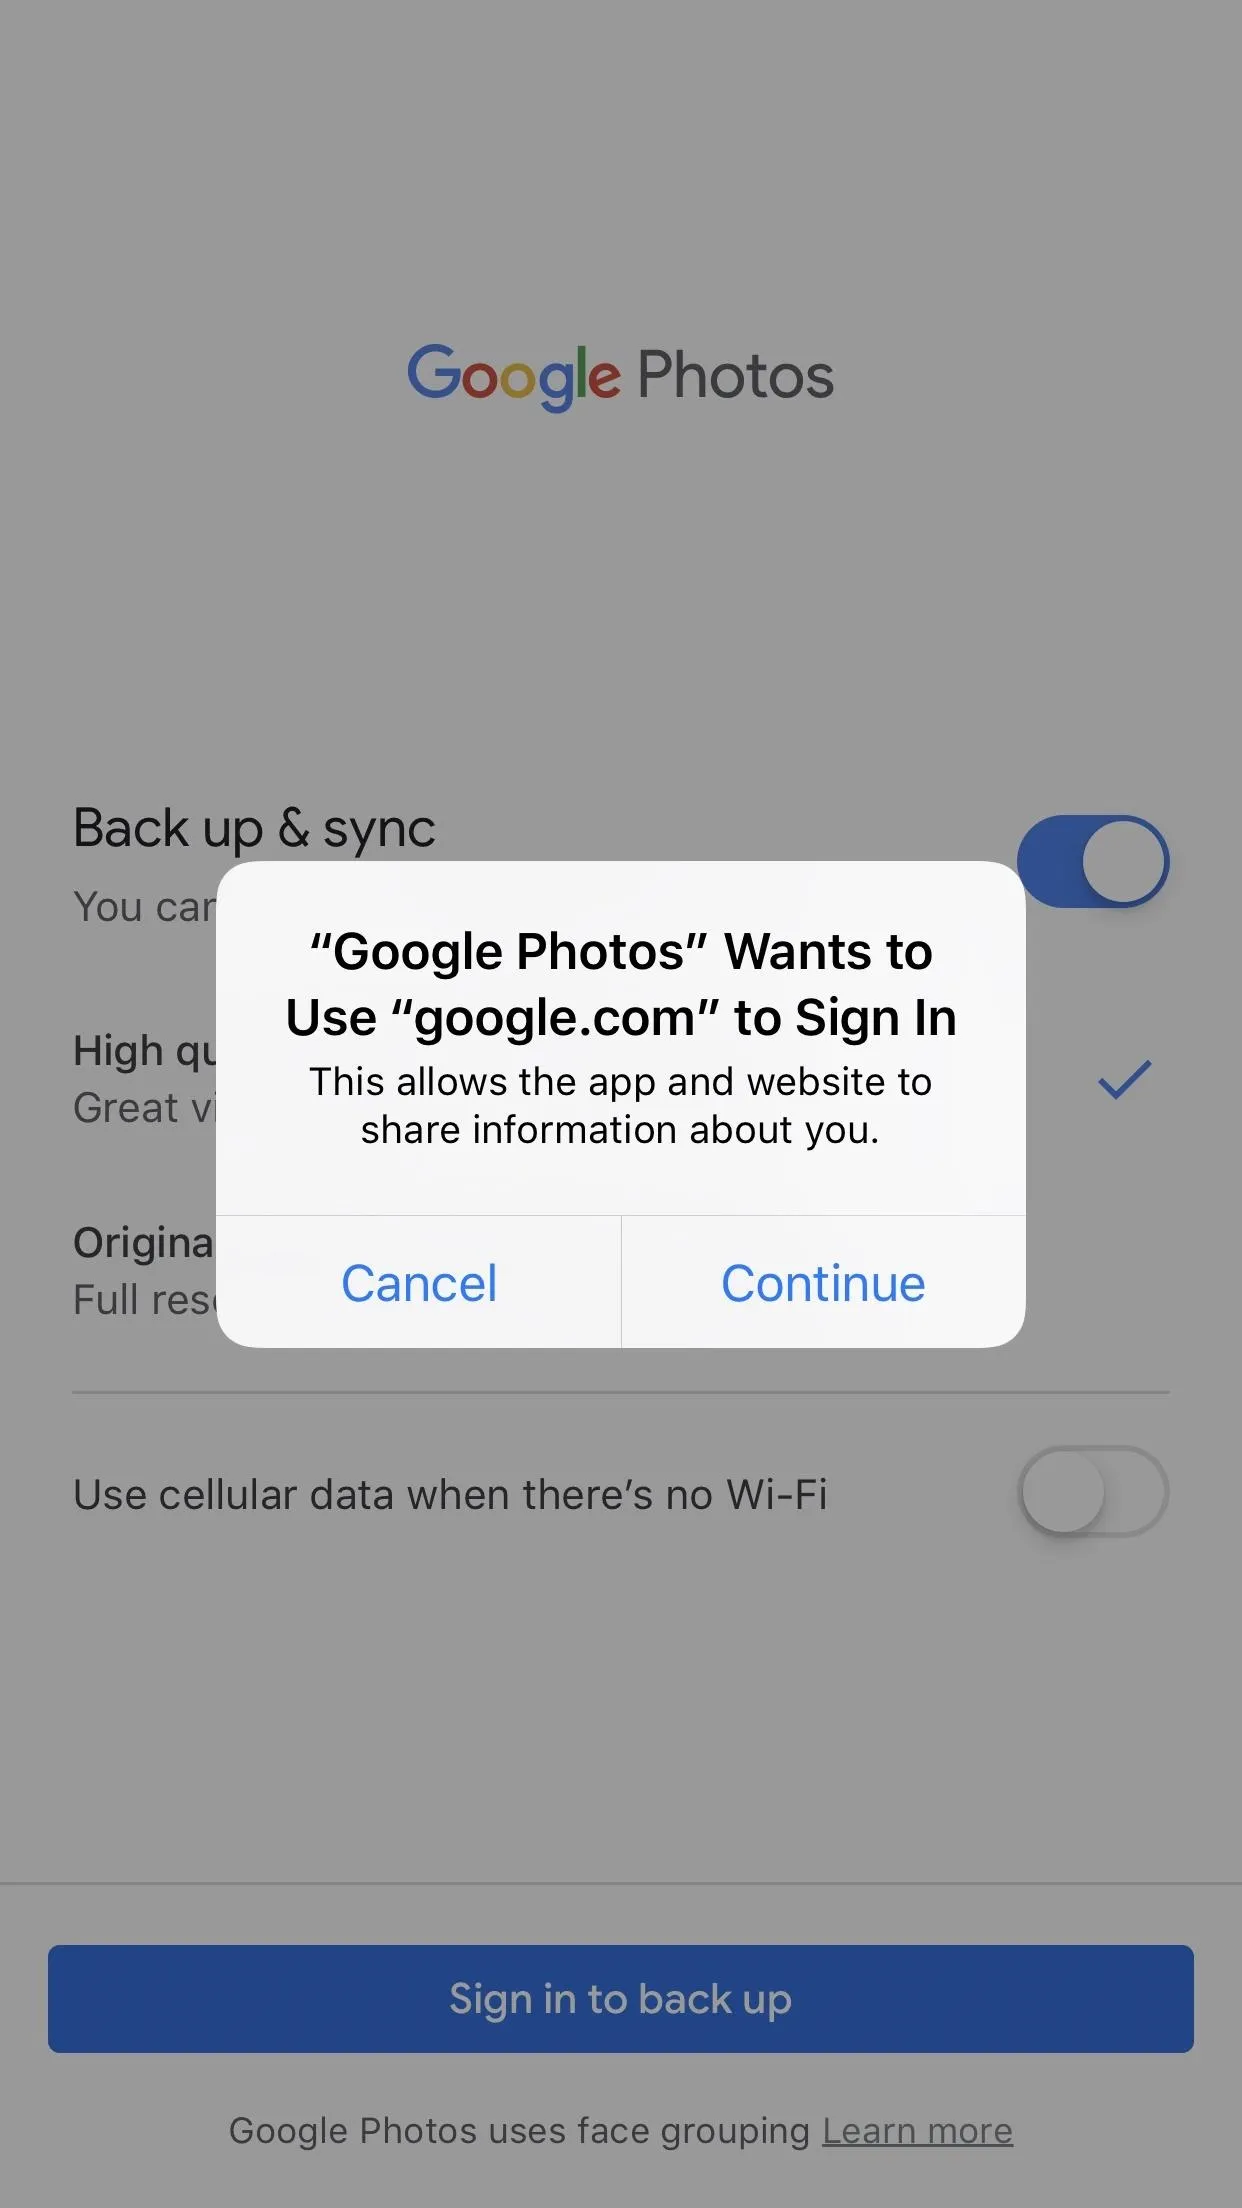
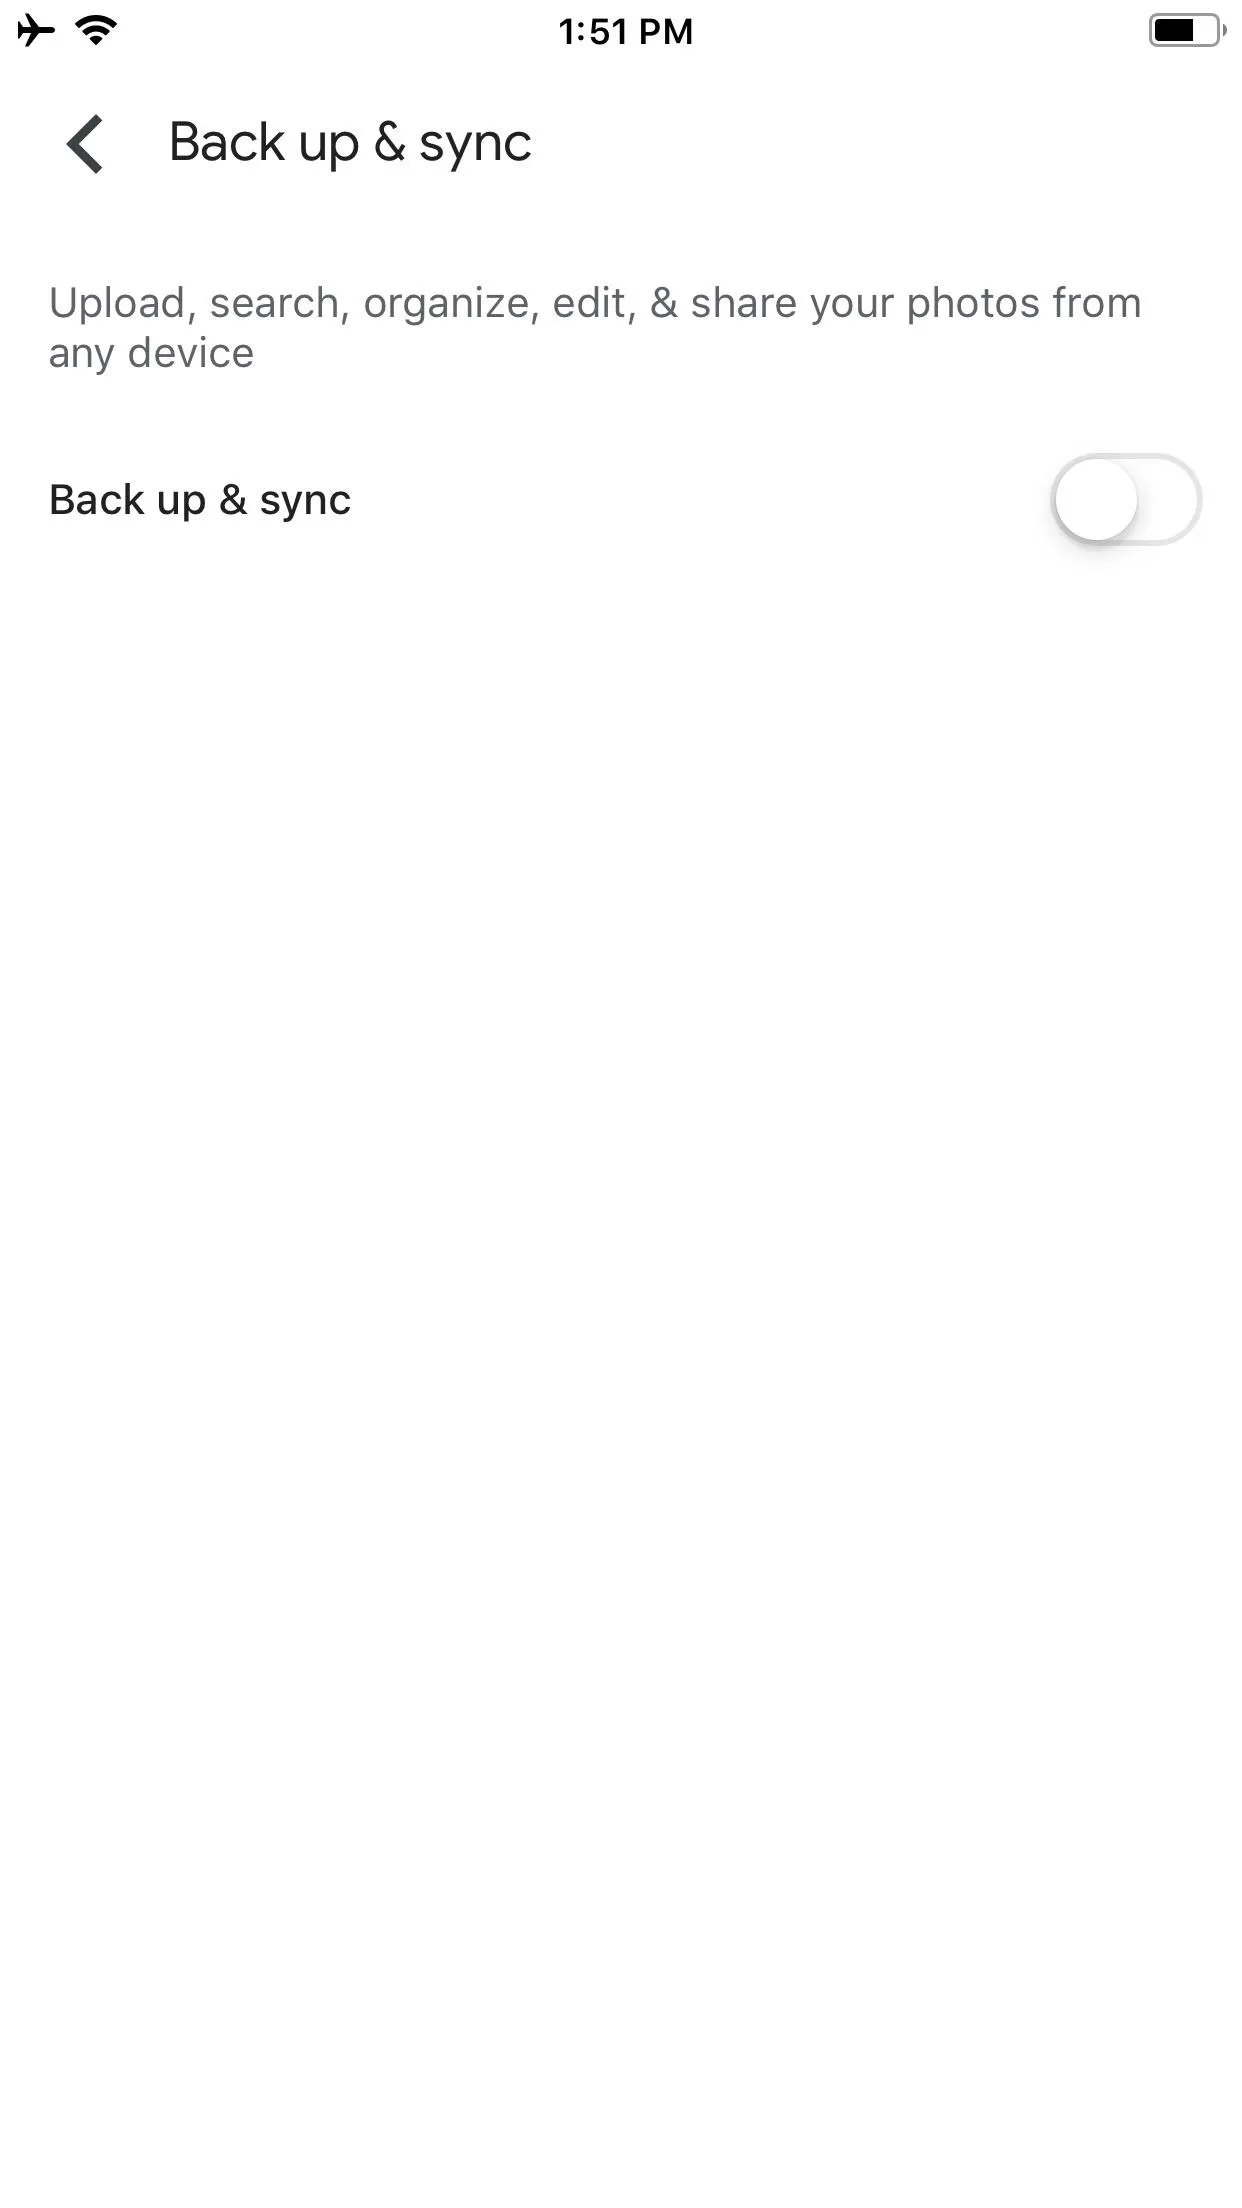
The startup screen will immediately show the backup options available to use. By default, "Back up & sync" is toggled on, so leave that alone unless you don't want back up just yet. If you don't want to back up, which would apply if you only want to back up specific photos and videos and not everything, toggle it off and confirm it on the prompt, then continue in Step 3.
If you want to back up right away, the "High quality" option will be checked, which gives you access to unlimited free storage. Just know that your photos and videos will be compressed to reduced file sizes to save space. If you have no plans to go over the 15 GB limit and would prefer your media not be compressed, choose "Original" instead to save full resolution versions that count against your quota.
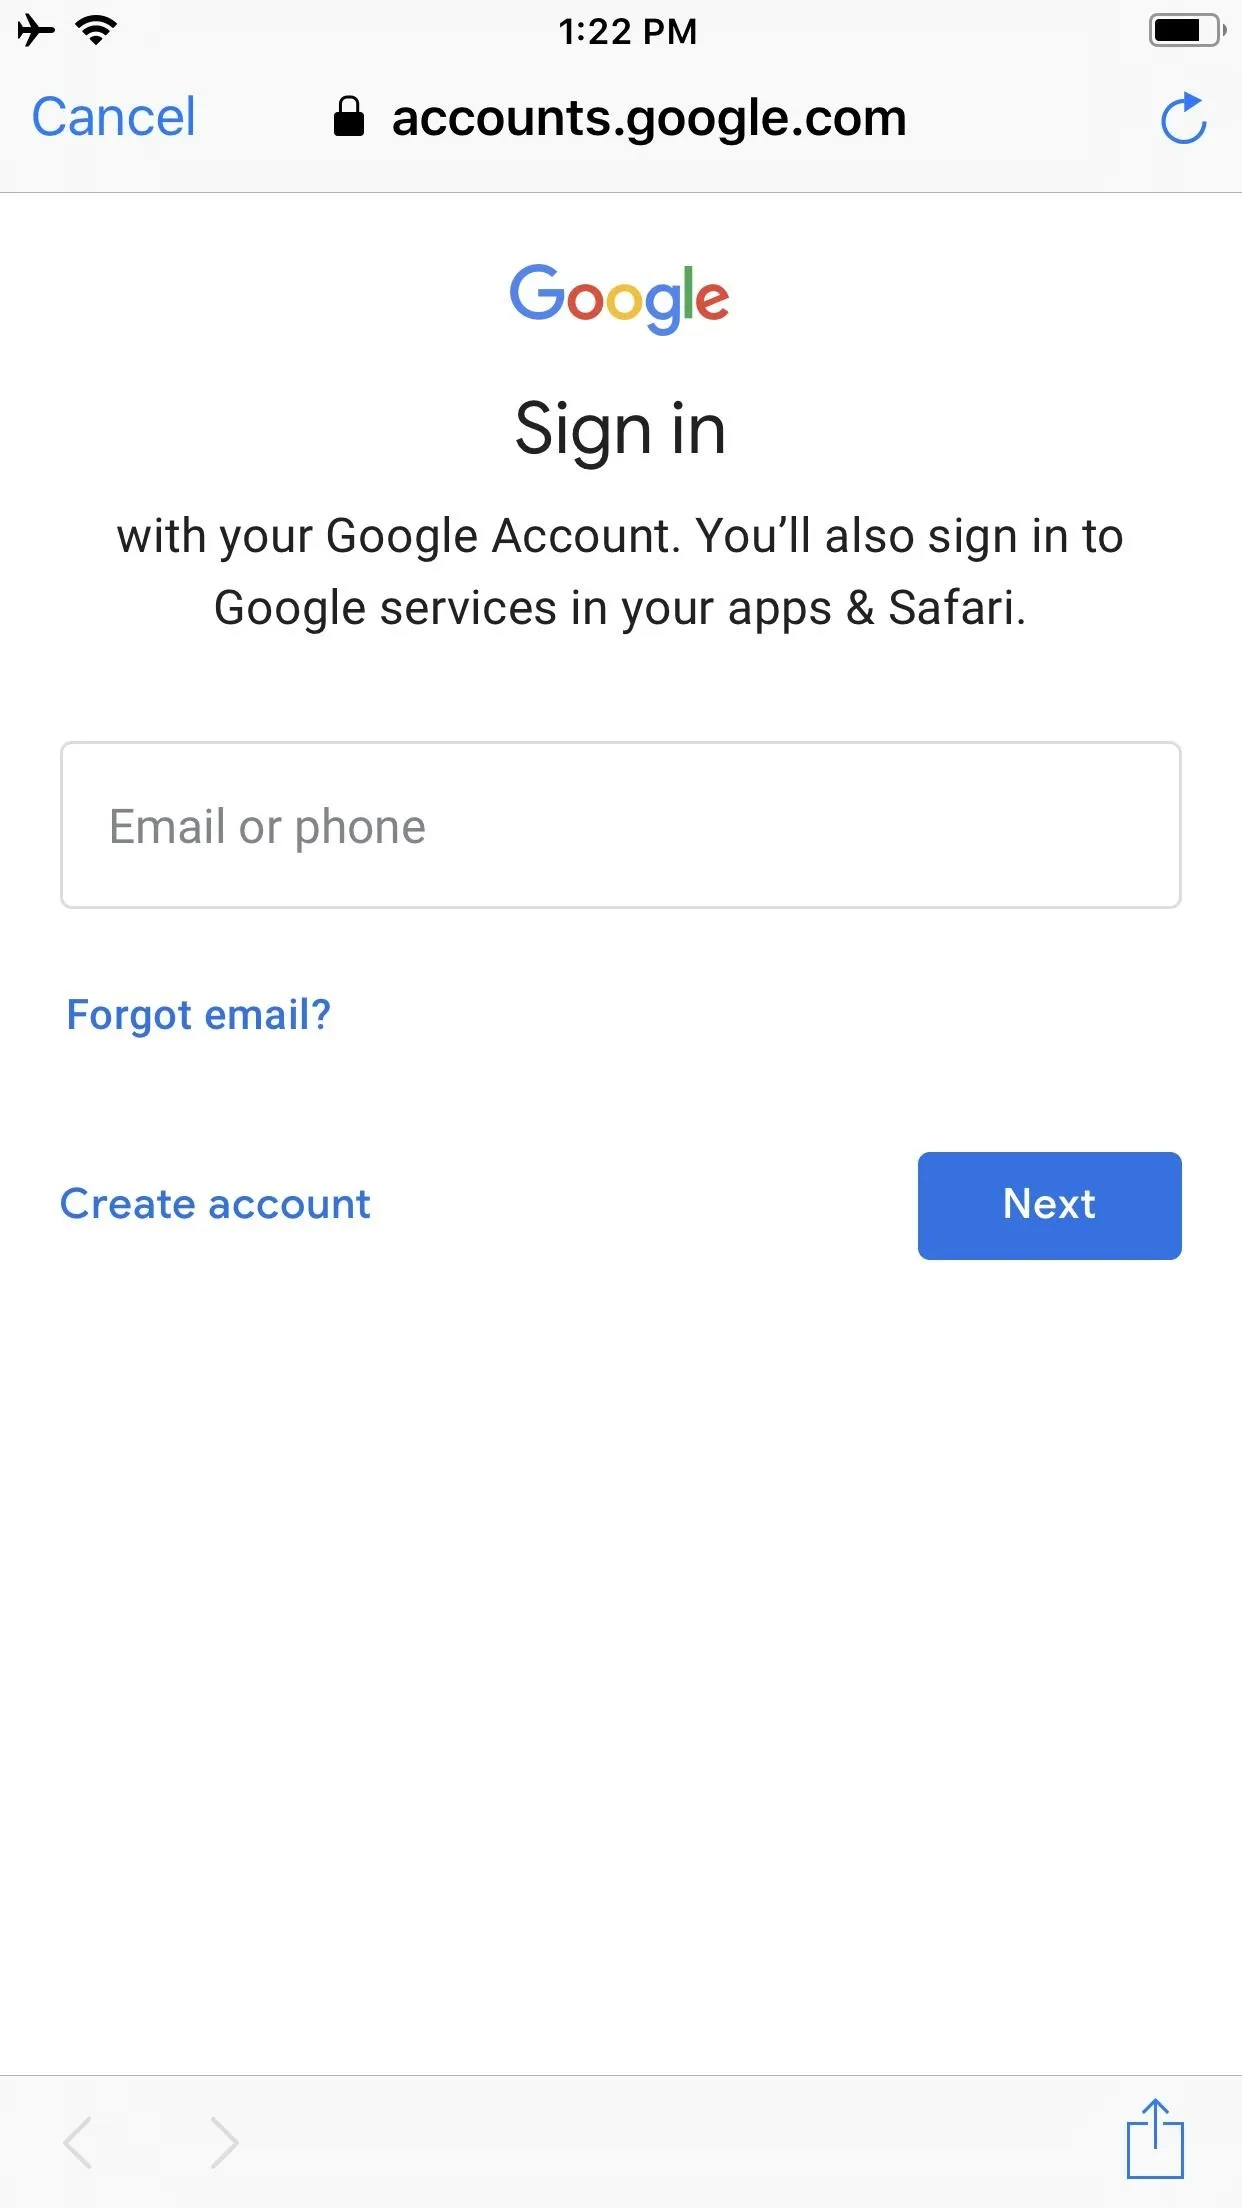
Create or Sign in to Your Google Account
When signing in, it could either be the Gmail credentials you have or just the Google account credentials if you signed up with Google using a third-party email address. As long as you have a Google account, be it with Gmail or without, you'll still get that 15 GB of free storage or unlimited storage when allowing photo compression. If you do not yet have a Google account, you can create one in a second.
Tap on "Sign in to back up" or "Sign in," depending on if you're backing up right away or not, and select "Continue" when prompted to allow Google Photos to use google.com for the sign in process.
If you had previously signed into your Google account on other Google services, such as through YouTube, Hangouts, Chrome, Google Drive, or the Google app, it might show your account name and email address along with "Confirm" instead of "Sign in" options, so select that. If you want to use another Google account, tap the drop-down, and either choose the other account or select "Add account."
When you need to create a new account, after tapping "Sign in" or "Add account," tap "Create account," then follow the on-screen steps. However, note that this method requires you to create a Gmail account. If you just want a Google account, sign up in a browser at accounts.google.com/signupwithoutgmail instead, then log in to the Google Photos app.
Watch It in Action (If You Backed Up Right Away)
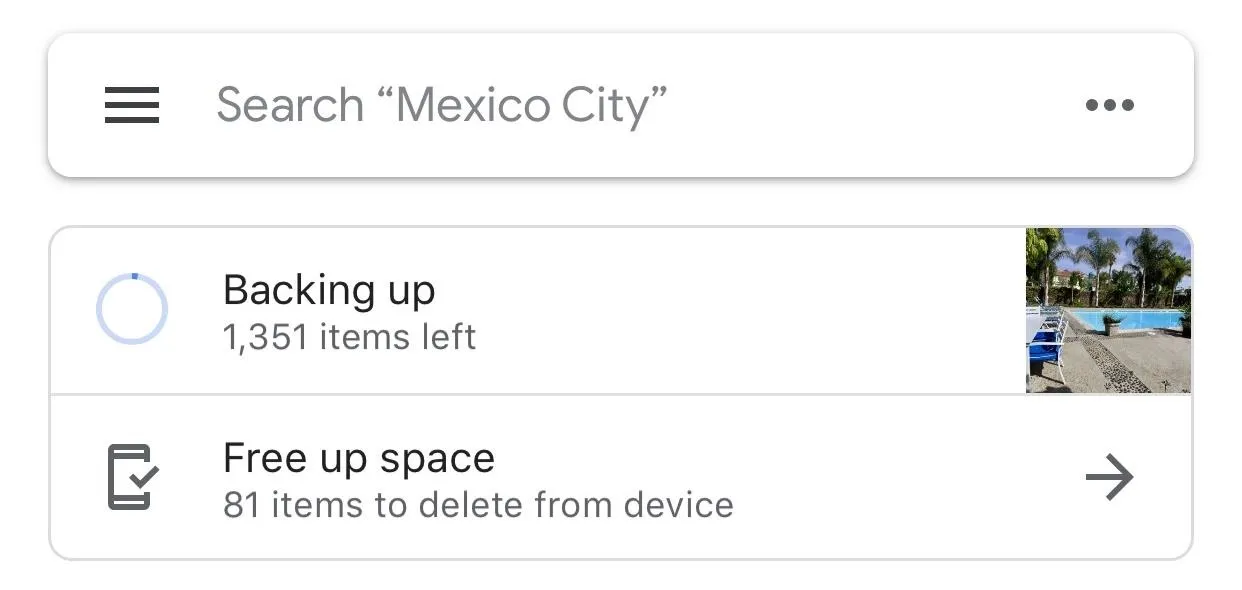
Once you're signed in, in the "Photos" tab, you'll see all of the photos and videos stored in the "Camera Roll" album in the Apple Photos app. If you chose to back up everything right away, there would be an indicator at the top under the search bar showing its progress, as well as a "Free up space" notice which we'll go into later.
Back Up & Sync Later at Any Time
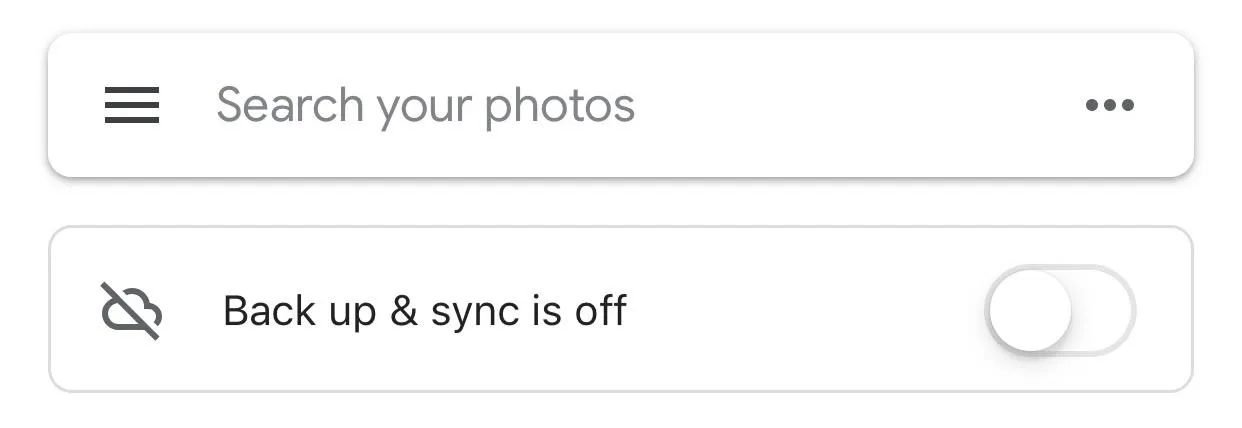
If you did not choose to back up everything right away on the startup page, you could turn on backup now or later, and there are a few ways to do this. At the top of the "Photos" tab under the search bar, there will be a toggle for "Back up & sync." Toggling this on will get the process started.
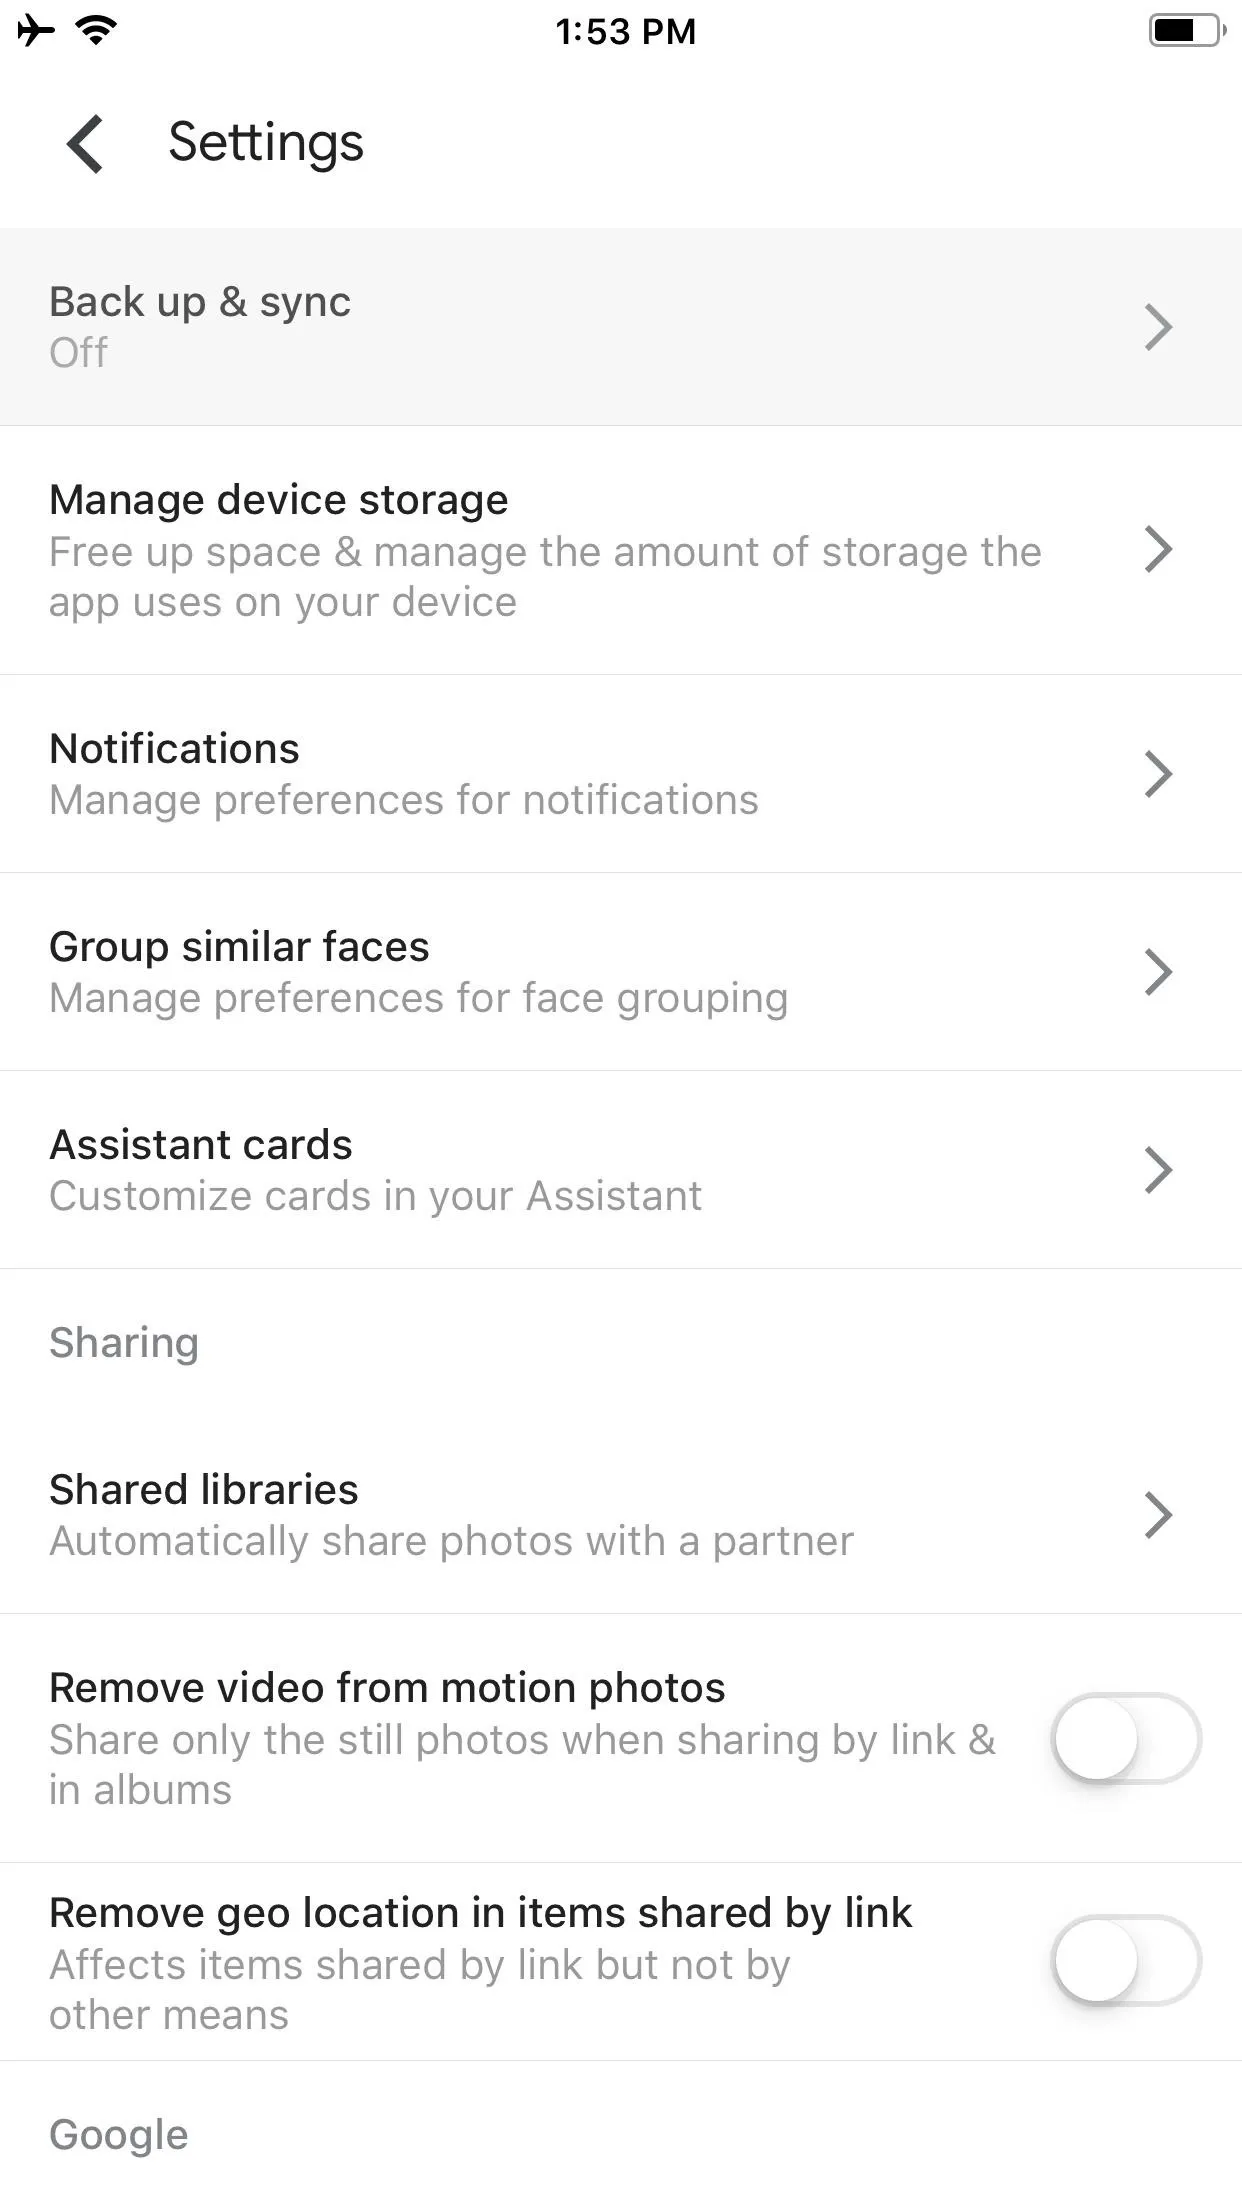
You can also initiate a full media backup by tapping on the sidebar menu icon, selecting "Settings," and tapping on "Back up & sync" at the top of the page. Toggling this on starts the backup immediately.
Back Up & Sync Selected Content Only
If you don't have "Back up & sync" enabled, you can also pick and choose what you want to upload for safe keeping. Photos that have not been backed up will feature a crossed-out cloud icon on top of their thumbnails.
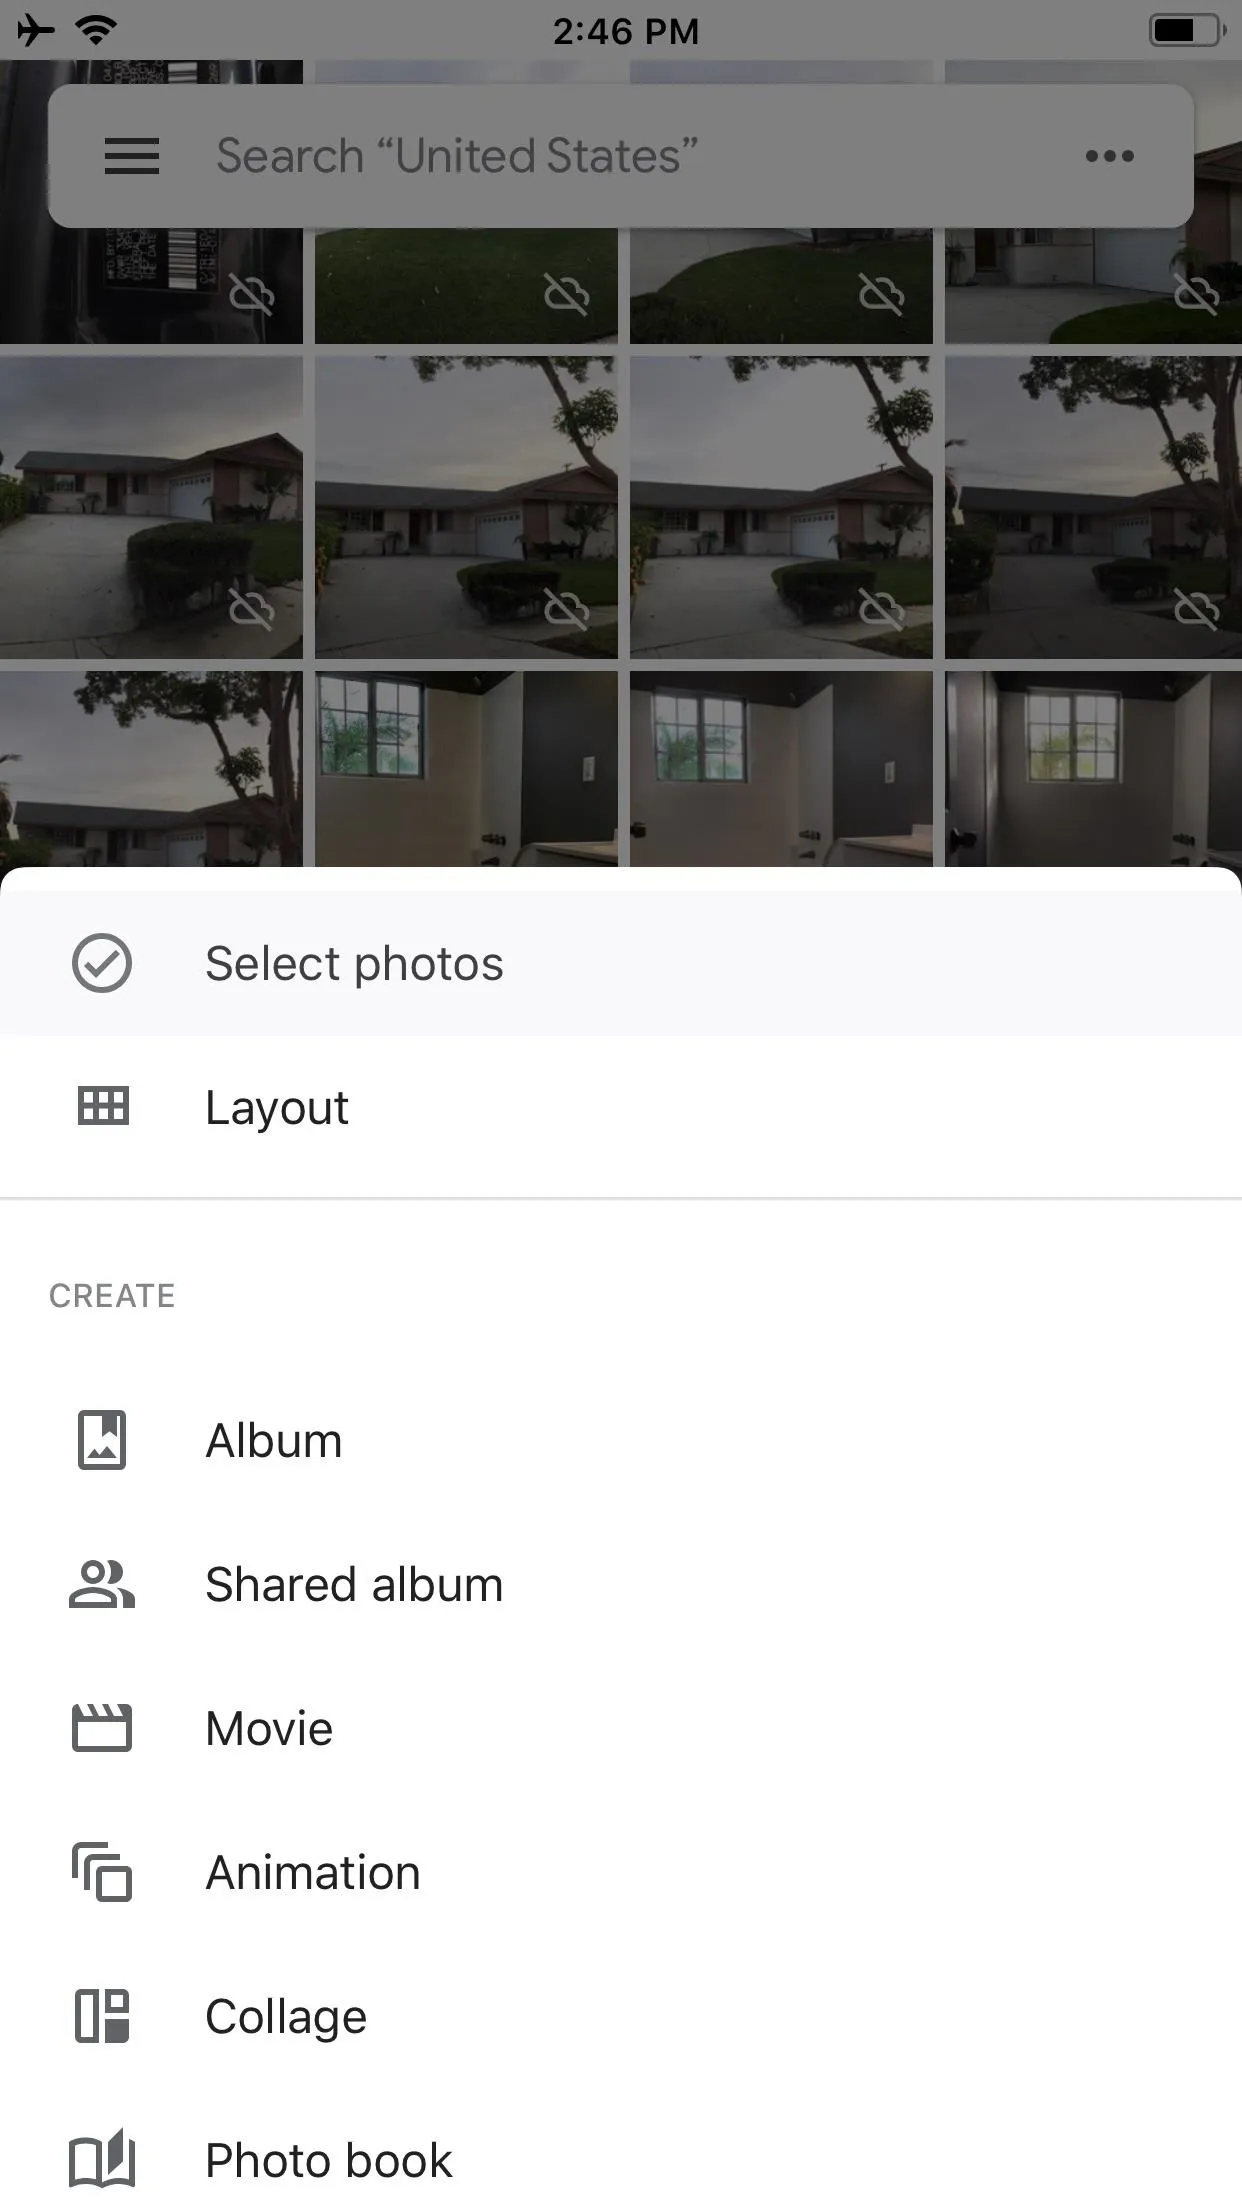
Long-press any photo or video and a blue check mark will appear in the thumbnail. Alternatively, you can tap the ellipsis (•••) in the search bar and choose "Select photos." You can then continue tapping and selecting other images that haven't been backed up to Google Photos yet.
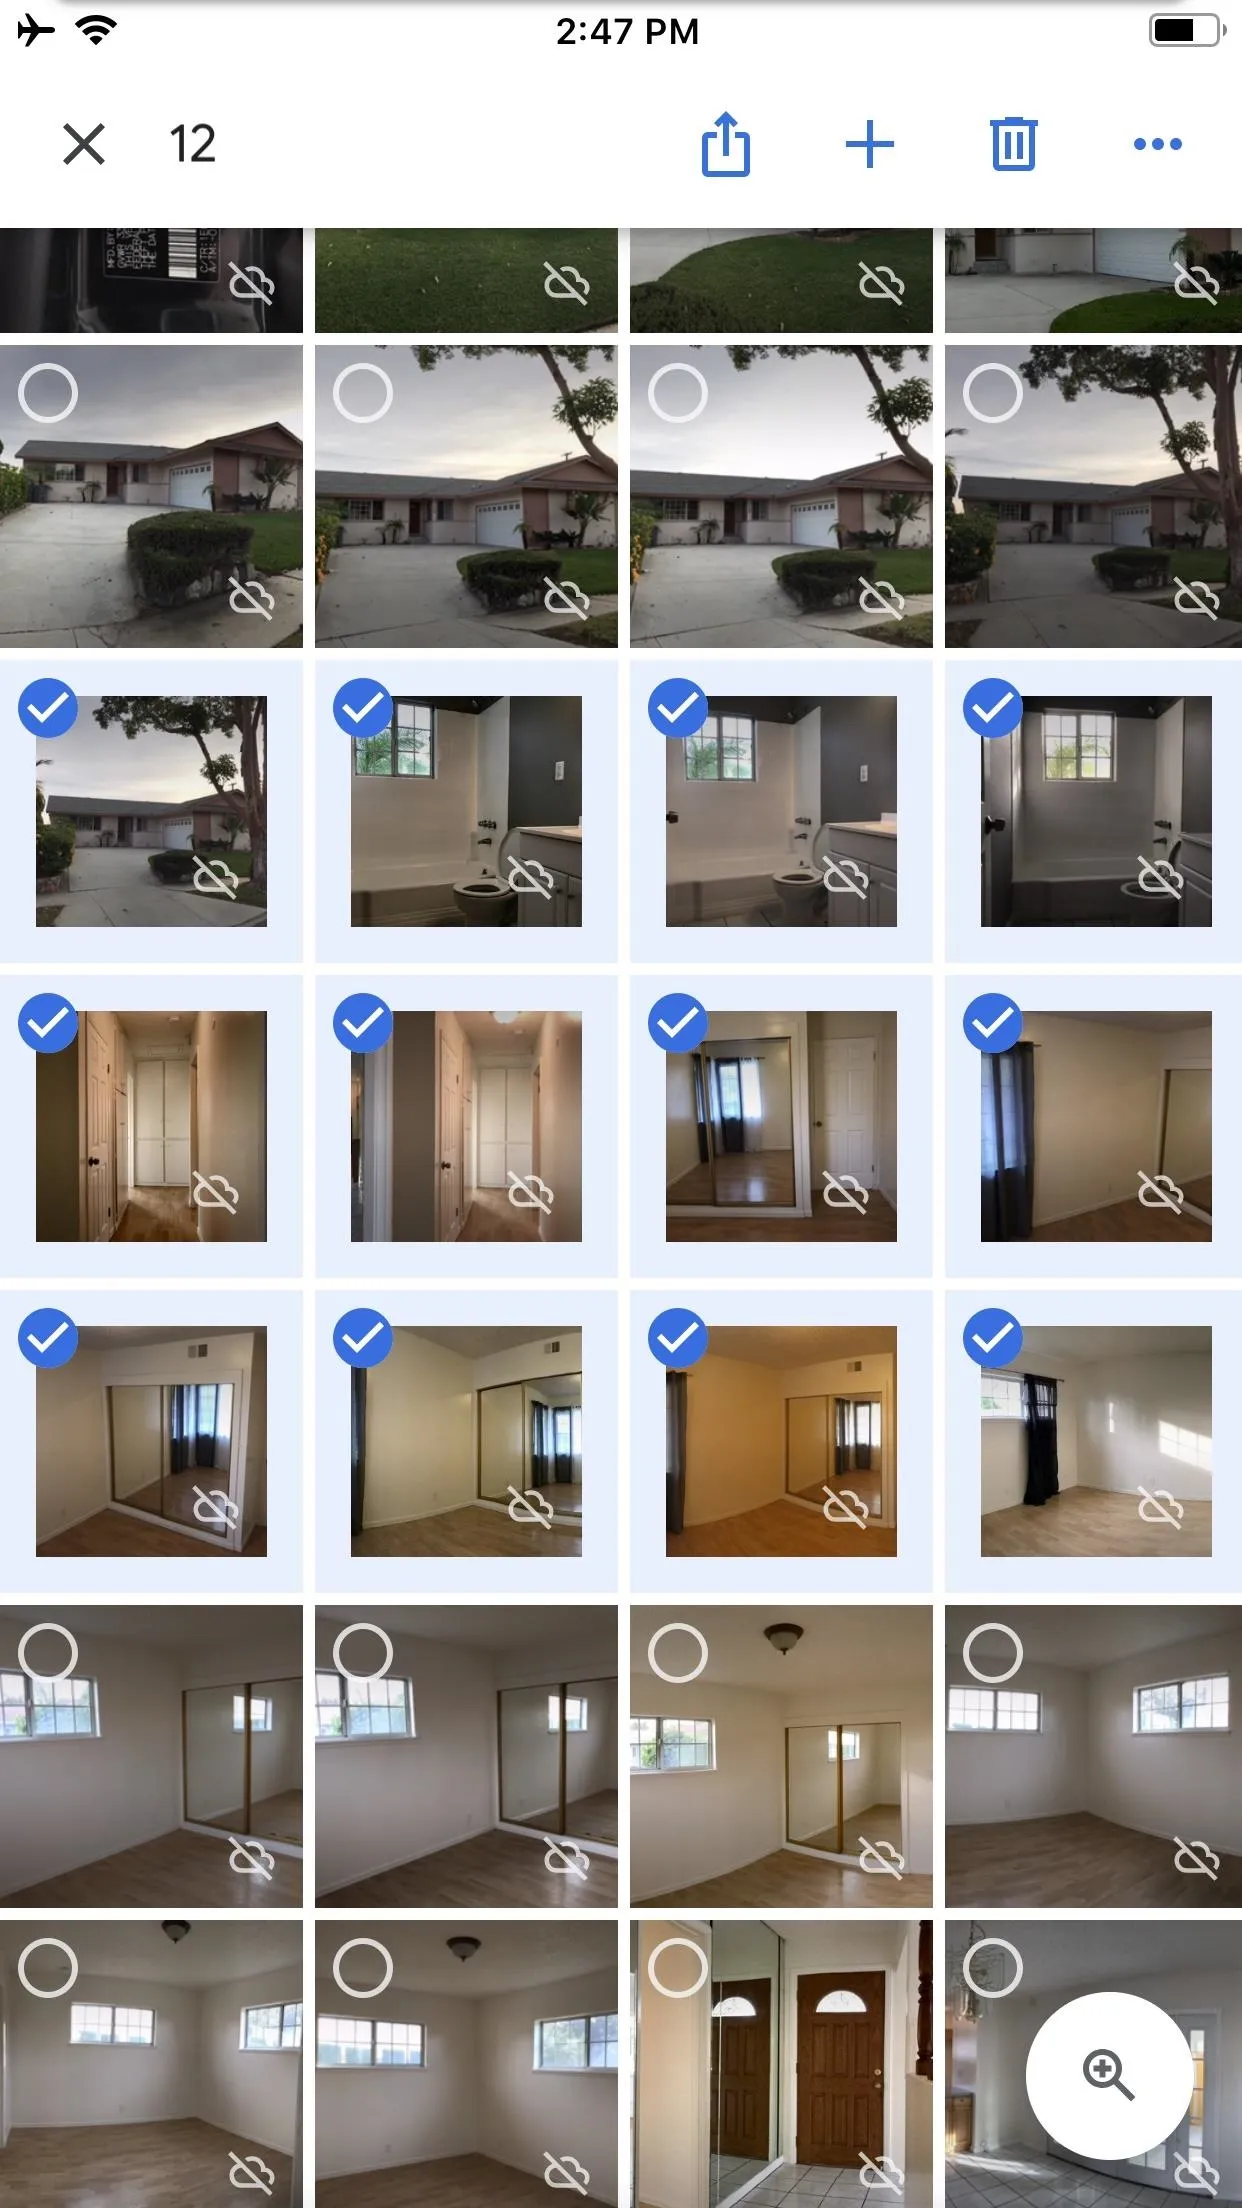
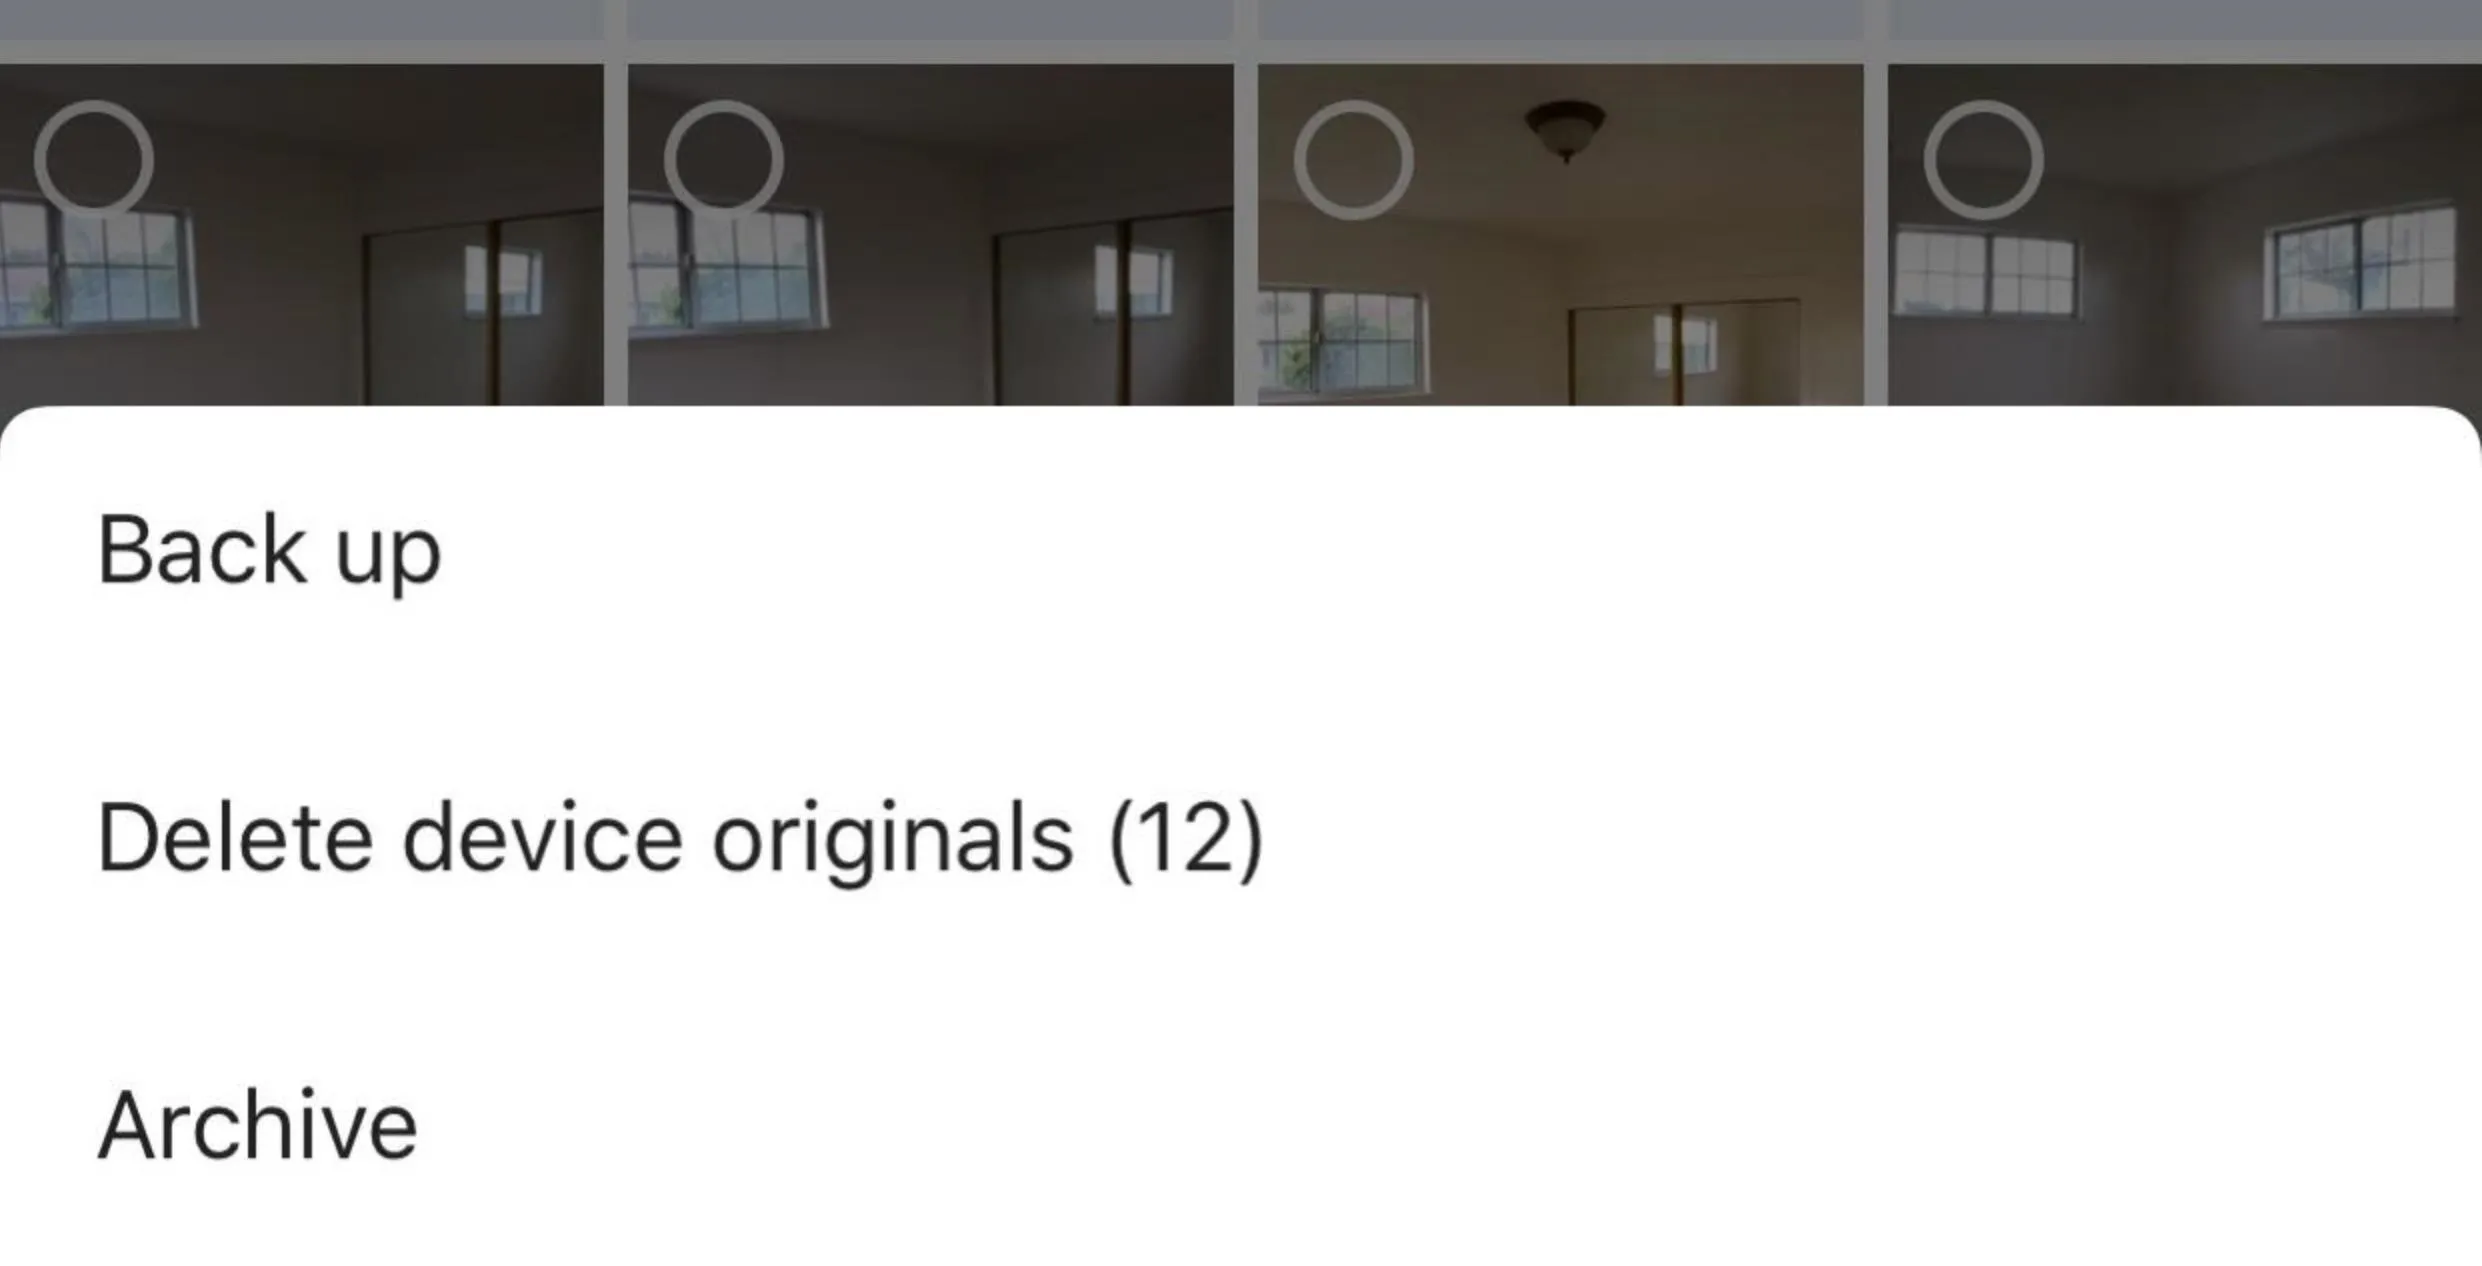
Once you are done, tap on the ellipsis (•••) in the top right, then select "Back up."
You can also back up just one photo when viewing the full image, not the thumbnail. Tap the ellipsis (•••) in the top right of the image, then "Back up."
Free Up Space on Your iPhone
One of the main reasons for backing up your photos is to free up space on your iPhone. Apple's iCloud has a feature to automatically do this if enabled, saving the full-resolution photos and videos online with a slimmed down optimized version on your iPhone. You still have access to your photos and can save full-res versions whenever you need.
Google has a similar feature, where you'll still be able to view uploaded content in Google Photos as optimized versions, but to get rid of all the stuff still residing in your Apple Photos app — the stuff hogging up your local storage — you'll have to do that manually.
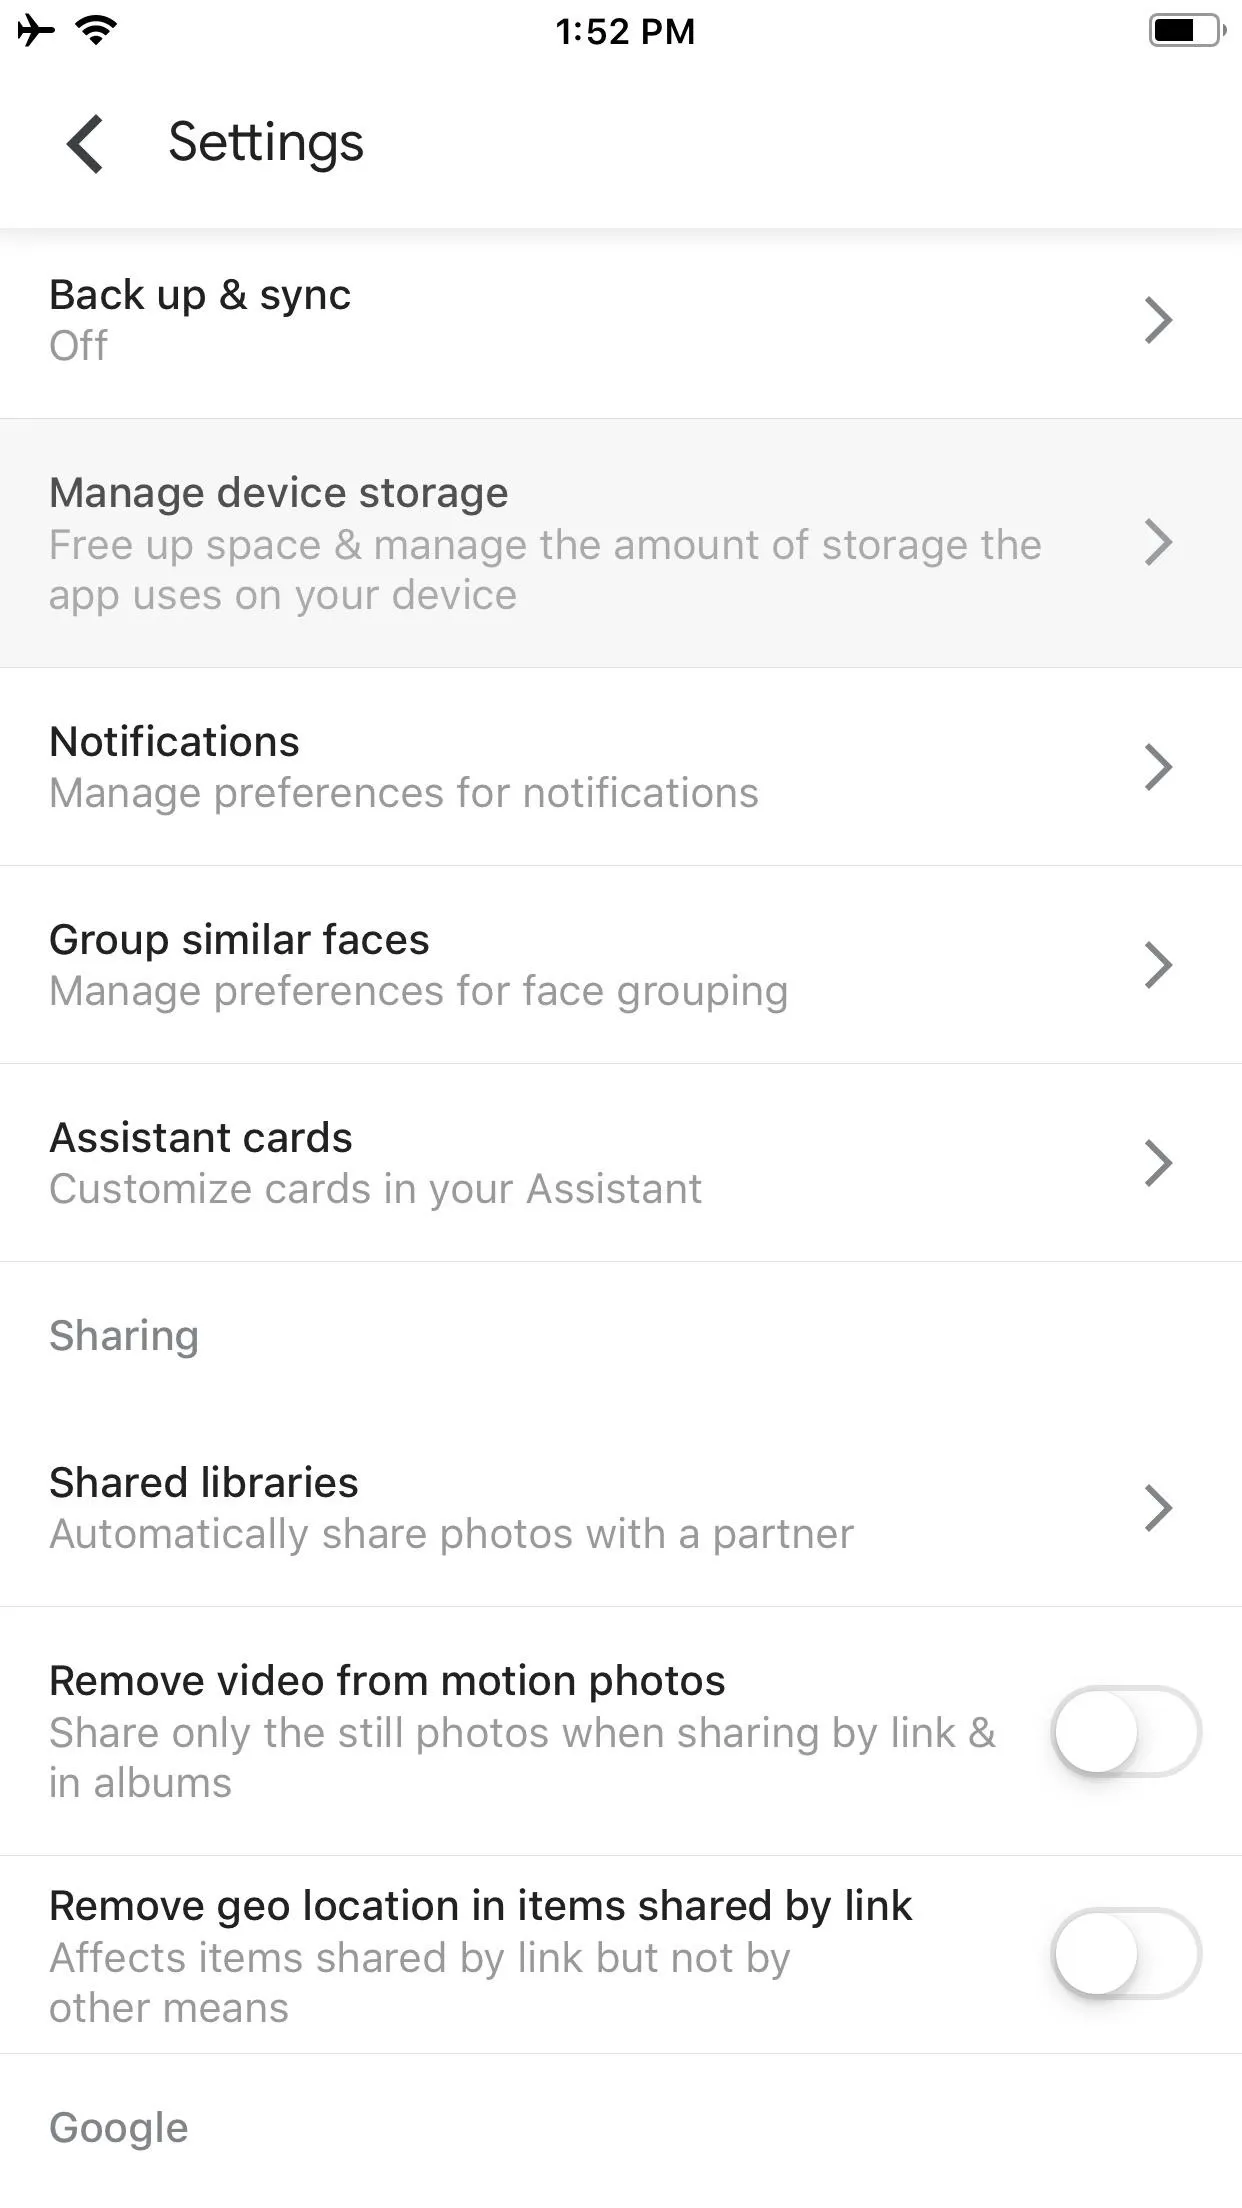
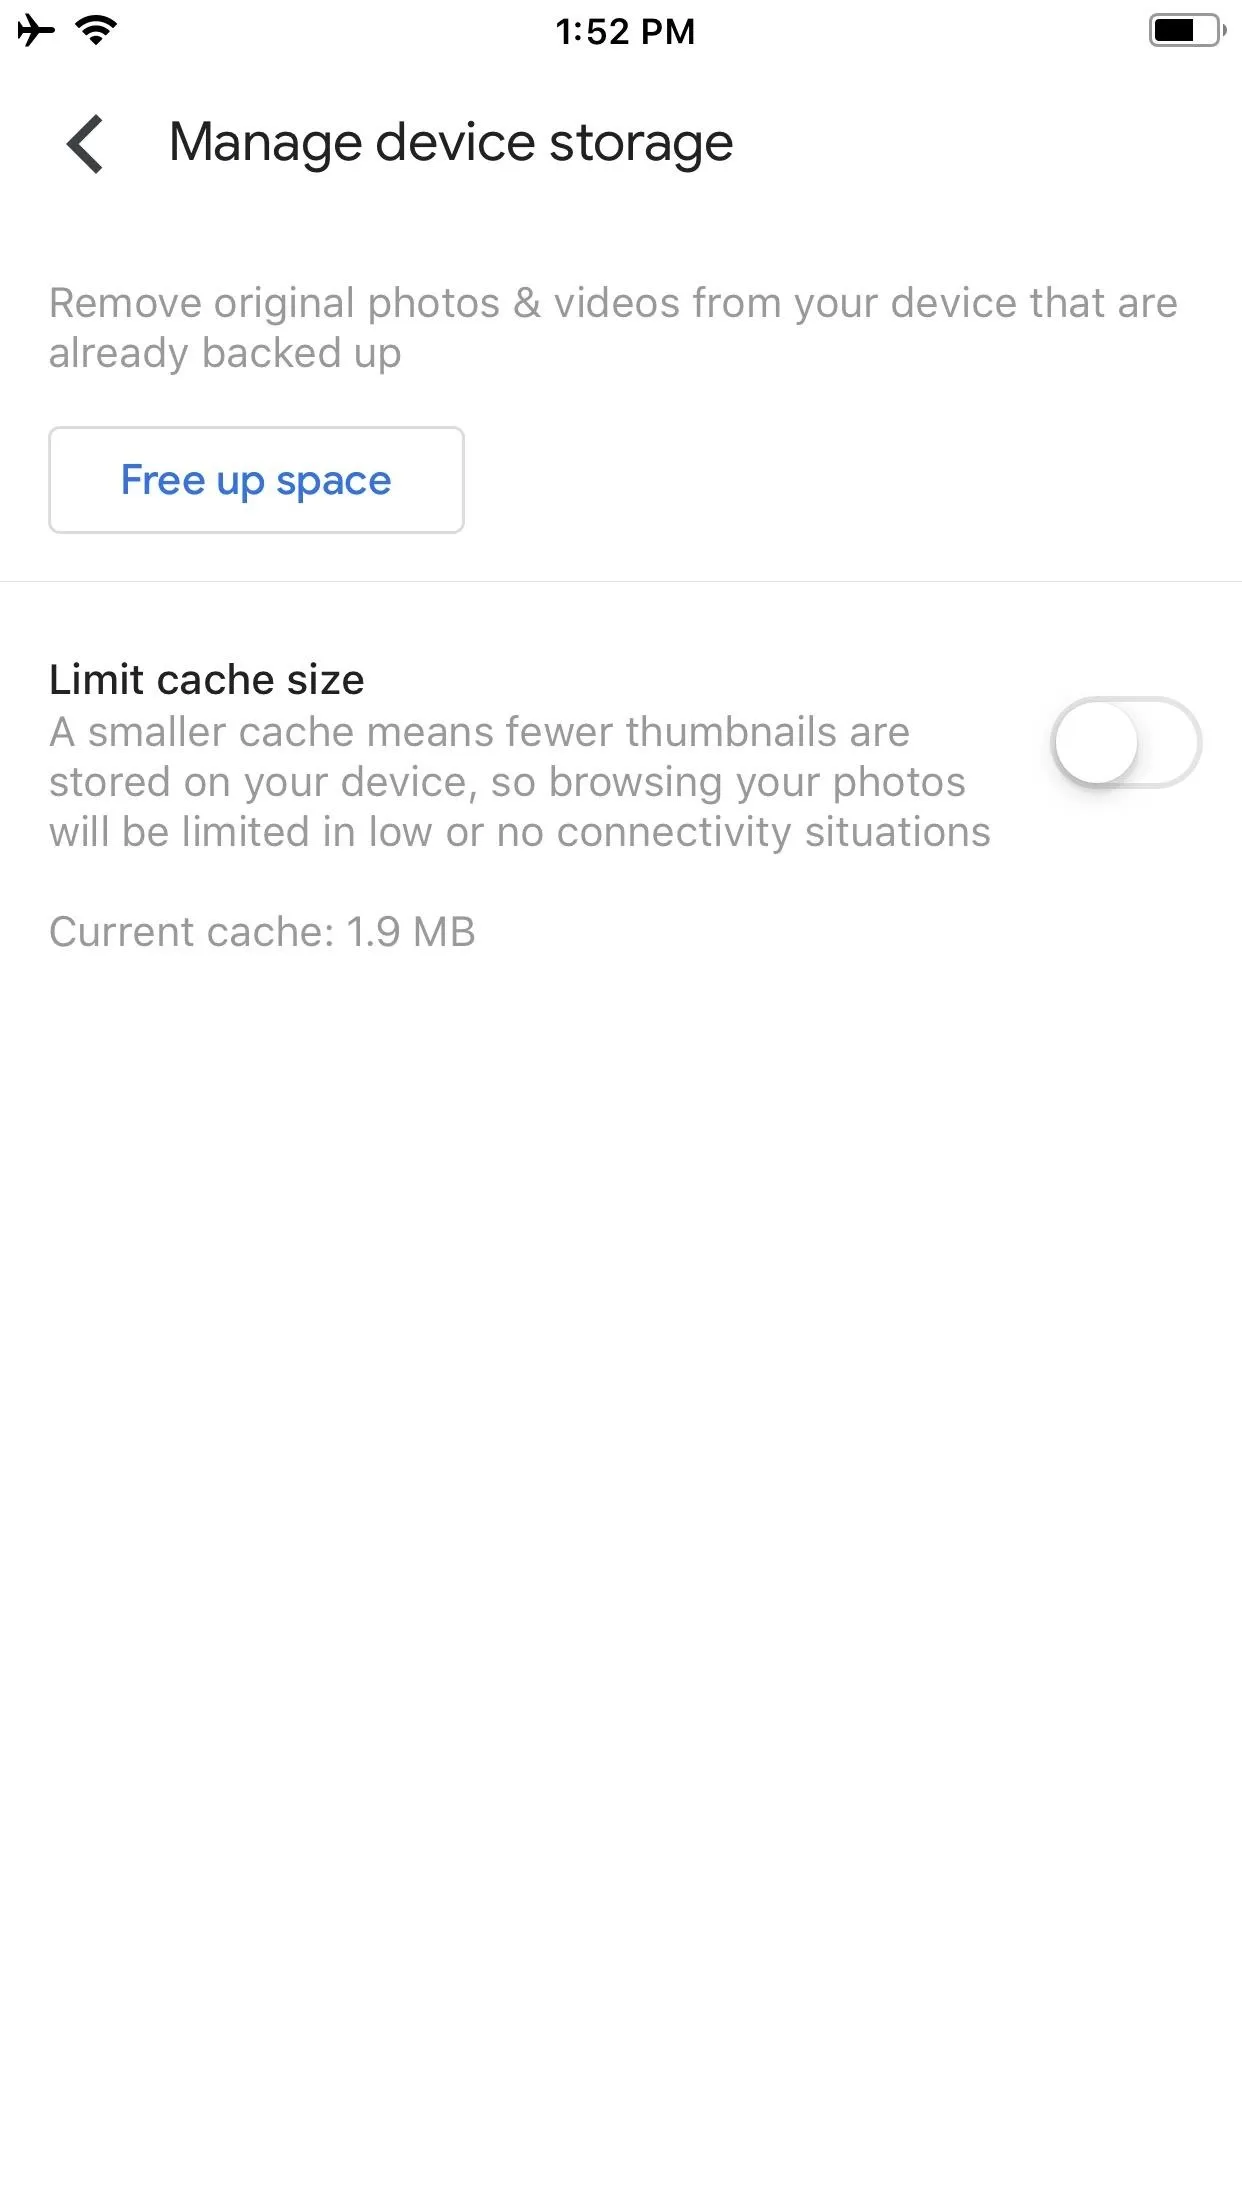
For instance, if you just backed up your entire library, you may see a "Free up space" option under the search bar, which you can tap to start the process. You can also find this option by opening the sidebar menu, tapping on the cog icon to open the Settings, then choosing "Manage device storage." From there, tap "Free up space" and confirm with "Delete" on the pop-up.
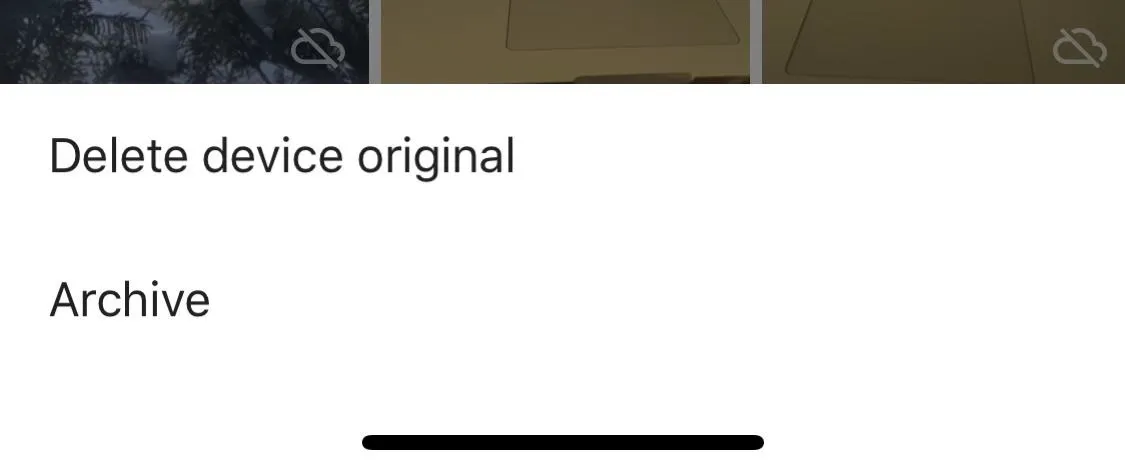
If you decide you only want to delete an image or two, you can select the image as described in the previous step, then choose "Delete device original" from the ellipsis (•••) menu.
Keep in mind that when Google Photos deletes your photos and videos, it is the same as deleting them yourself within the Photos app. What that means is, for redundancy to prevent accidental erasure, the photos and videos are not immediately removed from your device.
Deleted items are parked for 30 days in the "Recently Deleted" album in Apple Photos. They will be permanently deleted after the 30-day mark, but if freeing up space is needed immediately, you should go there, tap "Select," then "Delete All."
Paying for More Storage
As stated earlier, Apple offers 5 GB for free through iCloud, while Google gives you 15 GB. Upgrading to Google One — Google's premium subscription service — is a good idea if your photo and video library is larger. Cooked into Google One are exclusives such as adding family members (to use your cloud storage), direct access to Google support, and other discount perks (such as Google Play credits and special promotions).
Remember that Google storage is an aggregate of Google Drive, Gmail, and Google Photos. For instance, if you have other files in Google Drive that use 10 GB of storage, 5 GB remains for photos, videos, and attachments in Gmail and Google Photos combined.
The current tiers for Google One are as follows (as of February 2019). But, as mentioned earlier, if you do not mind having your images and videos downscaled, there is no need to upgrade to Google One since storage for photos will be unlimited.
- 100 GB for $1.99/month
- 200 GB for $2.99/month
- 2 TB for $9.99/month
- 10 TB for $99.99/month
- 20 TB for $199.99/month
- 30 TB for $299.99/month
It's unlikely that many of us will need more than 10 TB. After all, most external hard drives we would use with our desktops and laptops are 4 TB, max. Most of us will lean on the 100 GB tier for larger libraries. Note that this tier sits between iCloud's 50 GB and 200 GB options. Interestingly, both Apple and Google charge $2.99 for 200GB, though Apple has that nice 50 GB for $0.99 a month.
Using iCloud Photos & Google Photos Together
You can use iCloud Photos and Google Photos at the same time for redundancy if you find that this gives you more peace of mind (an extra backup) and flexibility (pulling up albums on Android platforms).
The following may read more complicated than how it works in practice. The key thing to remember is that both services do play together nicely since Google Photos is aware of how iCloud Photos conducts its backups and storage optimizing.
If you use iCloud Photos without optimizing storage, then Google Photos will back up the full resolution images. However, if iCloud Photos has replaced the original pictures with optimized (low-res) ones, Google Photos will first initiate iCloud Photos to download the original, full-res images from iCloud, back up those files to Google, then iCloud Photos will replace once again the originals with the optimized versions. It appears that the apps know how and when to initiate this if space is limited.
In other words, if there are only 5 GB of storage on the iPhone but 10 GB of original photos need to be pulled back from iCloud, iCloud Photos and Google Photos will automate a gradual download and backup of images without crippling the iPhone and its limited storage. Perhaps 1 GB will be downloaded before it is then removed for the next 1 GB of images to be summoned. This all takes place in the background, outside of our control.
For best practices, make sure this backup (as with any backup you do) occurs while the iPhone is connected to both a power source and Wi-Fi — and that you are not actively taking or editing photos while the process is occurring.
Rest assured, by the end of the backup, iCloud Photos will have restored the optimized versions and Google Photos will have backed up (to Google's servers) the original, full-res images.
Resizing Details During Backup
Let's say you decide on "Original" for upload size (which is what I recommend). Photos — even uniquely Apple formats such as HEIC (High-Efficiency Image Codec) and Live Photos — are backed up to Google Photos without issue. This means when you re-download the images to your iPhone or computer, they are presented in the same format as if you pulled them directly from the iOS Photos app.
Bear in mind that Live Photos, when viewed in Google Photos, will be played back as a short video loop. To download Live Photos back to your "Camera Roll" album in Apple Photos, you'll need to do them one by one, as it's not possible to bulk download Live Photos from Google Photos. When viewing a Live Photo, choose the ellipsis (•••), and pick "Download." If you don't see "Download," you probably never deleted the original from the Apple Photos app.
But there is a caveat to be aware of when it comes to video. Upgrading to Google One for a higher storage tier means all video uploads/backups will be in their full, original resolution. But if you're in the free 15 GB tier, any videos over HD (1080p) will be downsized in the backup to HD (i.e., 4K videos will be lower-res). Apple's space-saving format, HEVC (High-Efficiency Video Codec) is supported in Google Photos, but your mileage may vary — on message boards, some people observe that Google converts these videos to H.264.
It appears that for the free tier, Google implemented this space-saving strategy to give users more mileage. Naturally, this incentivizes upgrading to Google One for those who are serious about backing up videos.
- Follow Gadget Hacks on Pinterest, Reddit, Twitter, YouTube, and Flipboard
- Sign up for Gadget Hacks' daily newsletter or weekly Android and iOS updates
- Follow WonderHowTo on Facebook, Twitter, Pinterest, and Flipboard
Cover photo and screenshots by David Chien/Gadget Hacks


Comments
Be the first, drop a comment!