


You might be proficient at sending your family and friends money using Apple Pay Cash on your iPhone, but what about when you need some digital currency in your wallet to buy in-app purchases or to get back the money you spent on someone's lunch? Requesting some Apple Pay Cash can be done a few different ways, none of which are hard.
Before you start requesting rent money from your roommate or asking someone to pitch in on the dinner bill, you'll need to make sure Apple Pay Cash is properly set up. If you plan on receiving a ton of money, you might also want to add your bank account information if you want to transfer funds from your balance to your checking account, as well as verify your identity so there are no hiccups.
- Don't Miss: What You Need to Get Started with Apple Pay Cash
And to be clear, you can't request Apple Pay Cash via regular text messages, so make sure the discussion bubbles are in blue and not green. Also, both the requester and recipient need to be running iOS 11.2 in order for this to work. So, if you try to request money and get an alert saying that the recipient can't receive Apple Pay currently, it's because they haven't updated yet.
Requesting Money Directly in Messages
Requesting money from someone in the Messages app begins much like paying someone. You can start a request using the Apple Pay button in the iMessage app drawer, from the contact's list or contact's card on your iPhone, or simply by asking for money written out in a message. For more help on either of these methods, see "How to Make Person-to-Person Payments" for examples.
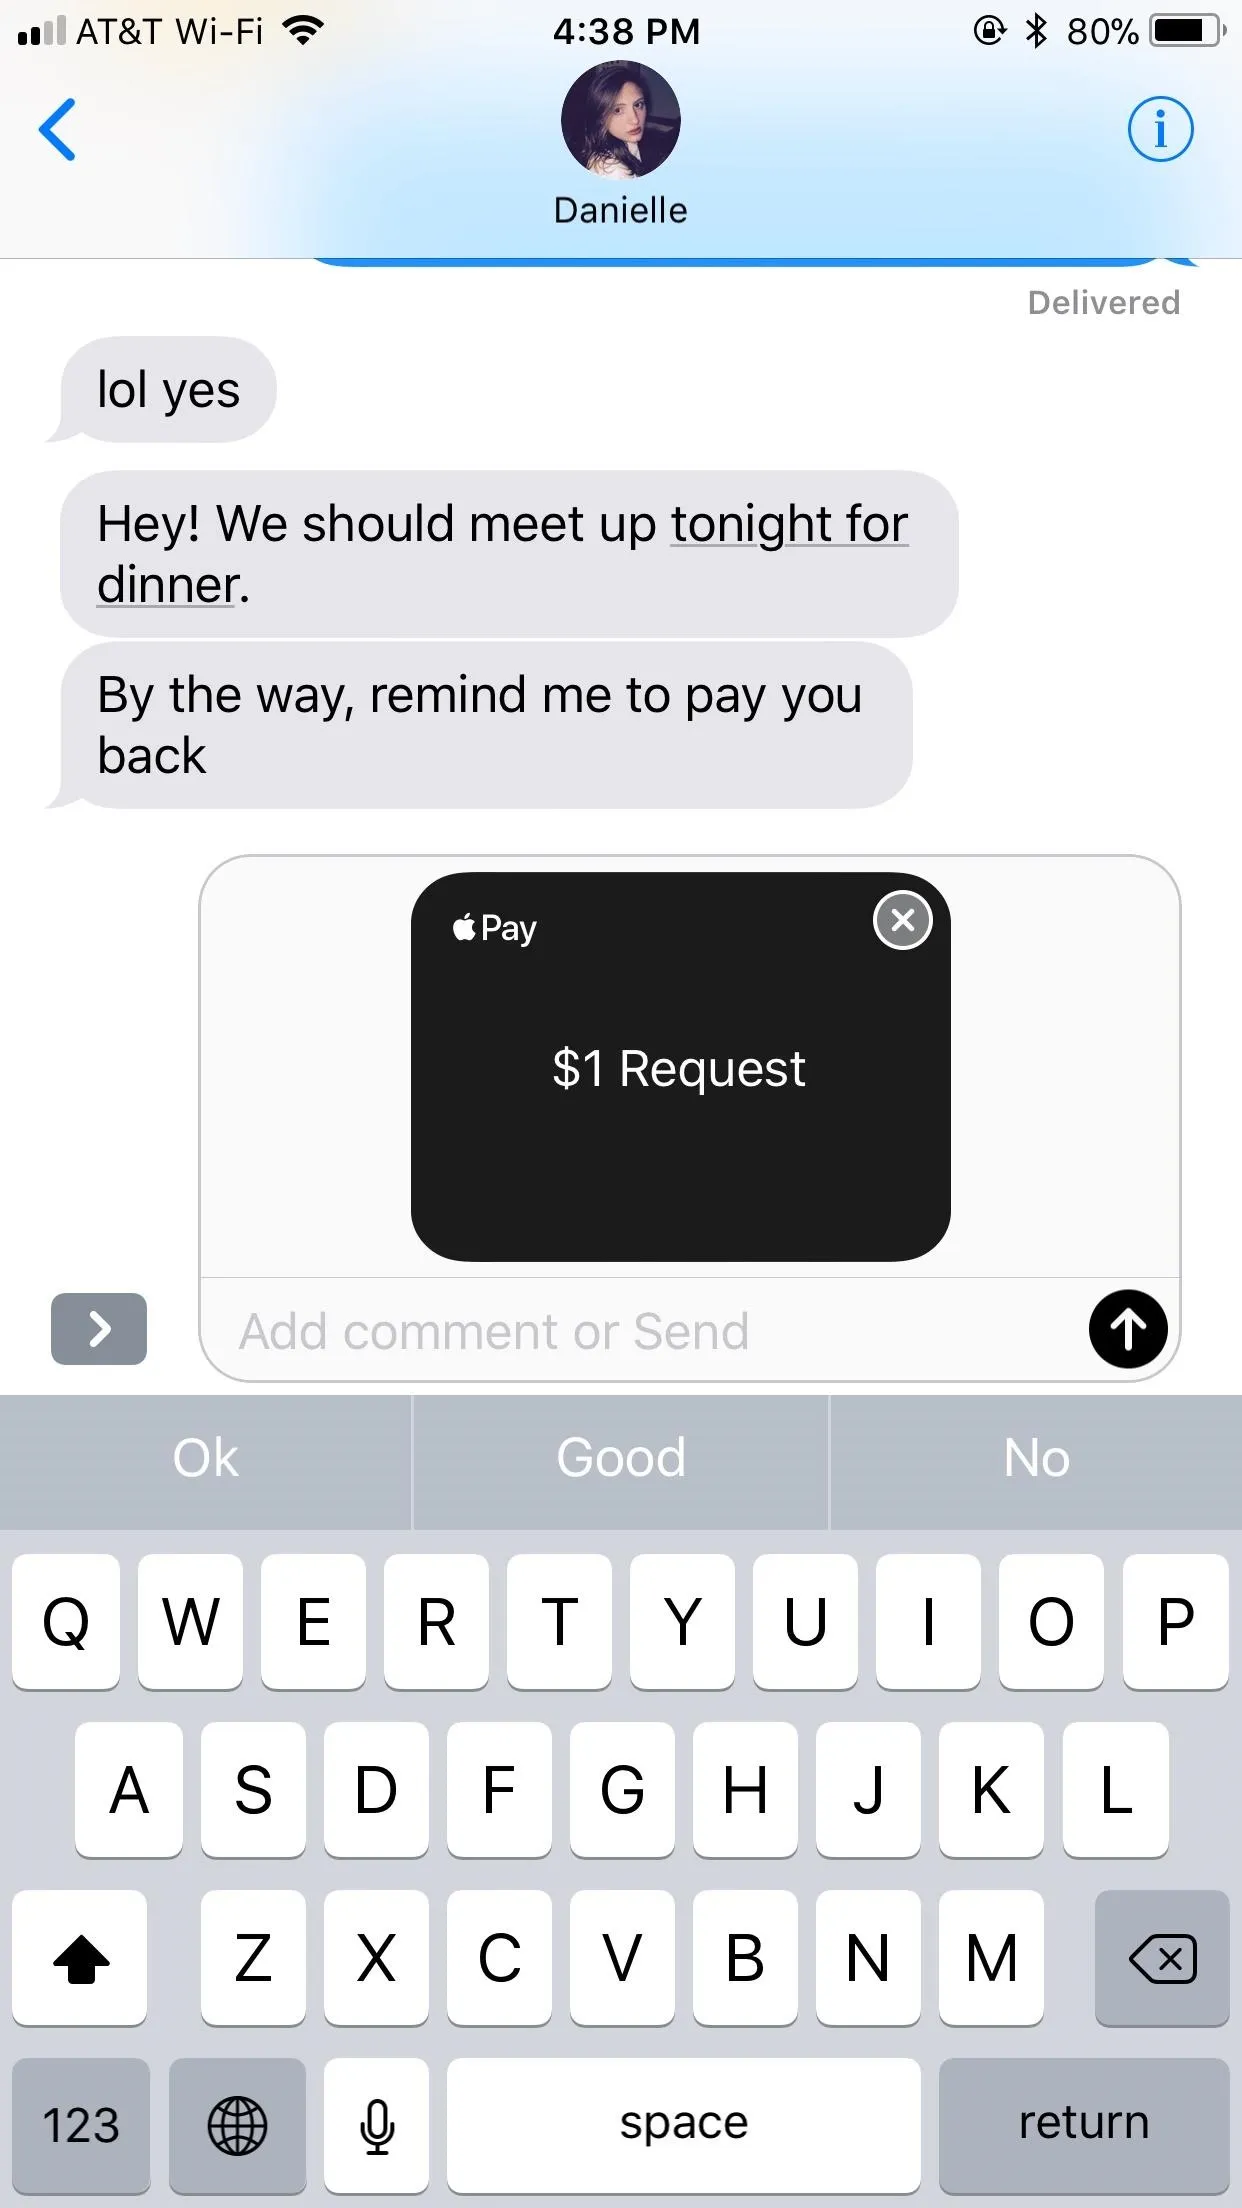
If you chose to just write out "Hey, can you send me $20" or something like that, all you need to do is hit the send button. Note that you need to use the $ sign for this to work. If you're using the Apple Pay Cash menu, set your dollar amount you want, then hit "Request."
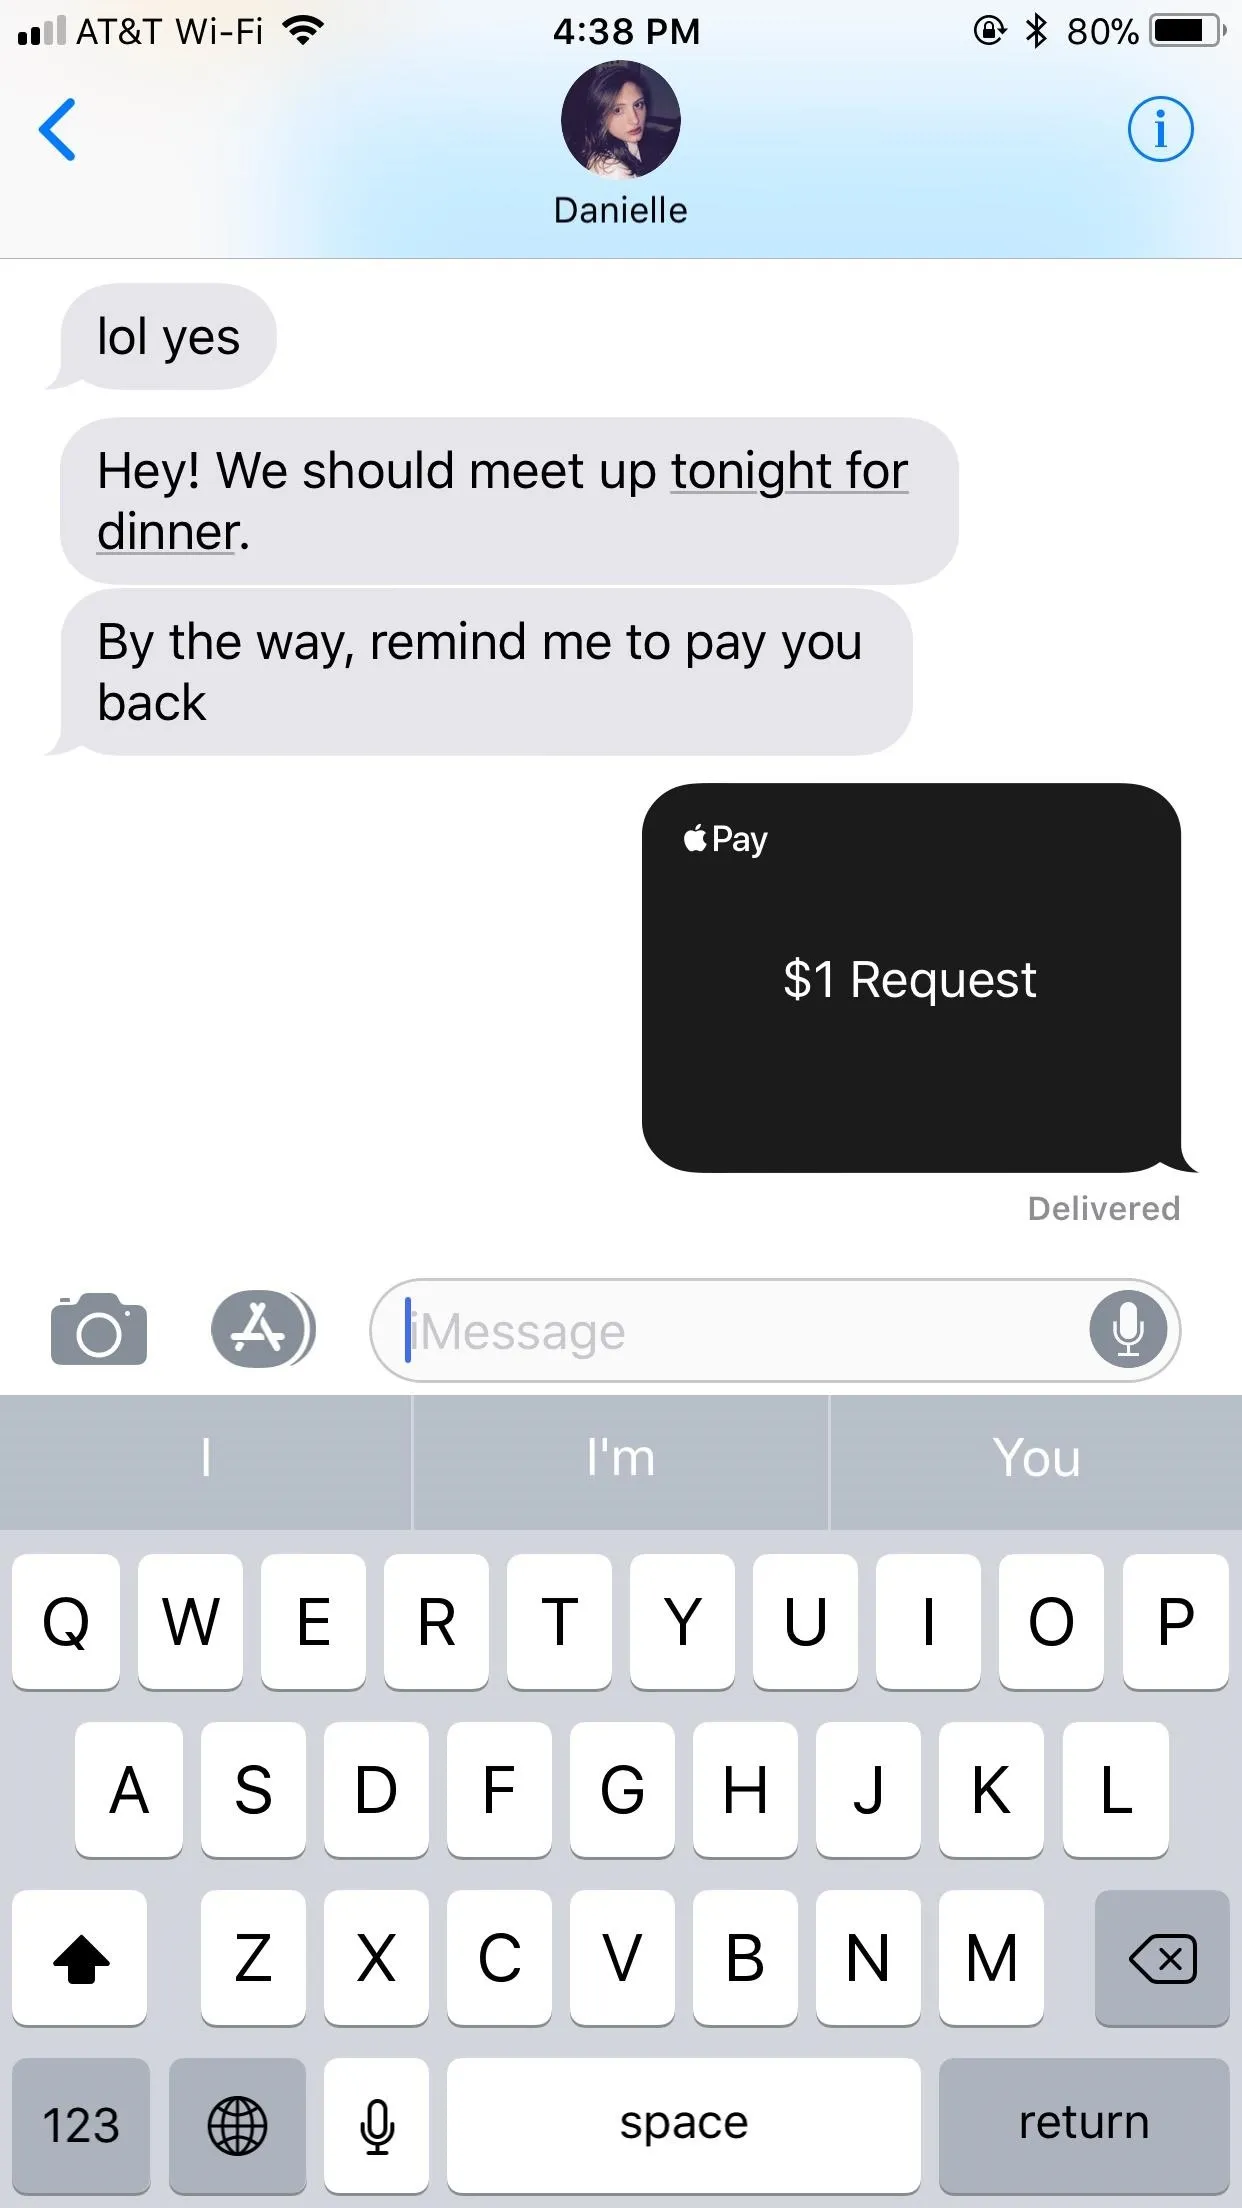
Just as with payments, your request is loaded into your text box where you can add an accompanying message, if necessary. Tap the black send button and you're done — there's no need for Touch ID or Face ID when requesting money.

Requesting Money Using Siri
Just like you can send money using Siri, you can request it. Just activate Siri as you normally would and request money from one of your contacts with a reason why (if necessary).
Ask [name] for $[amount] for [reason].
Request $[amount] from [name].
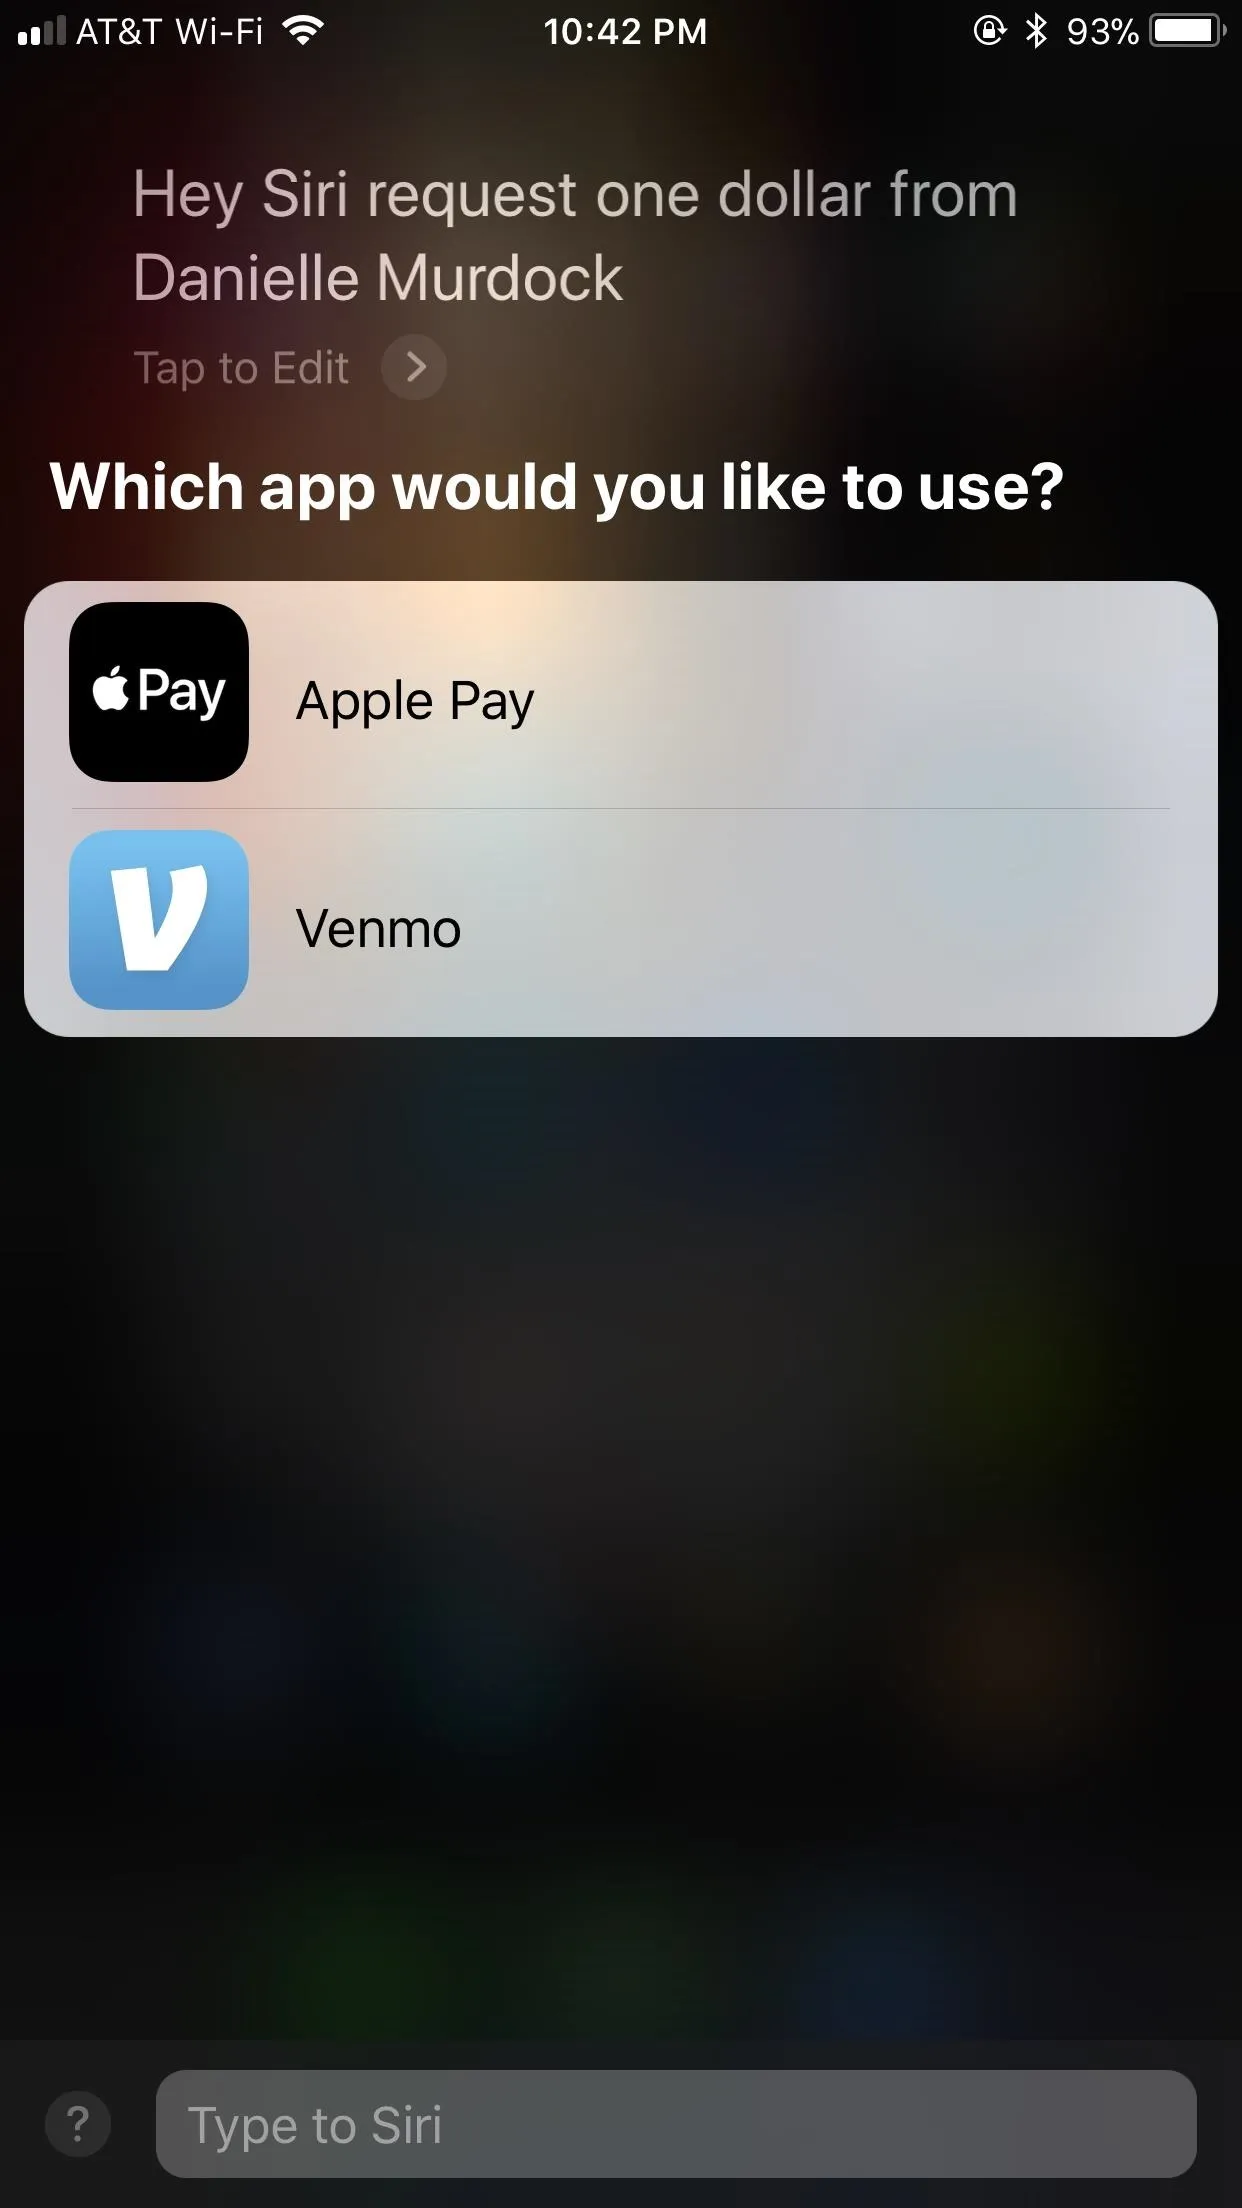
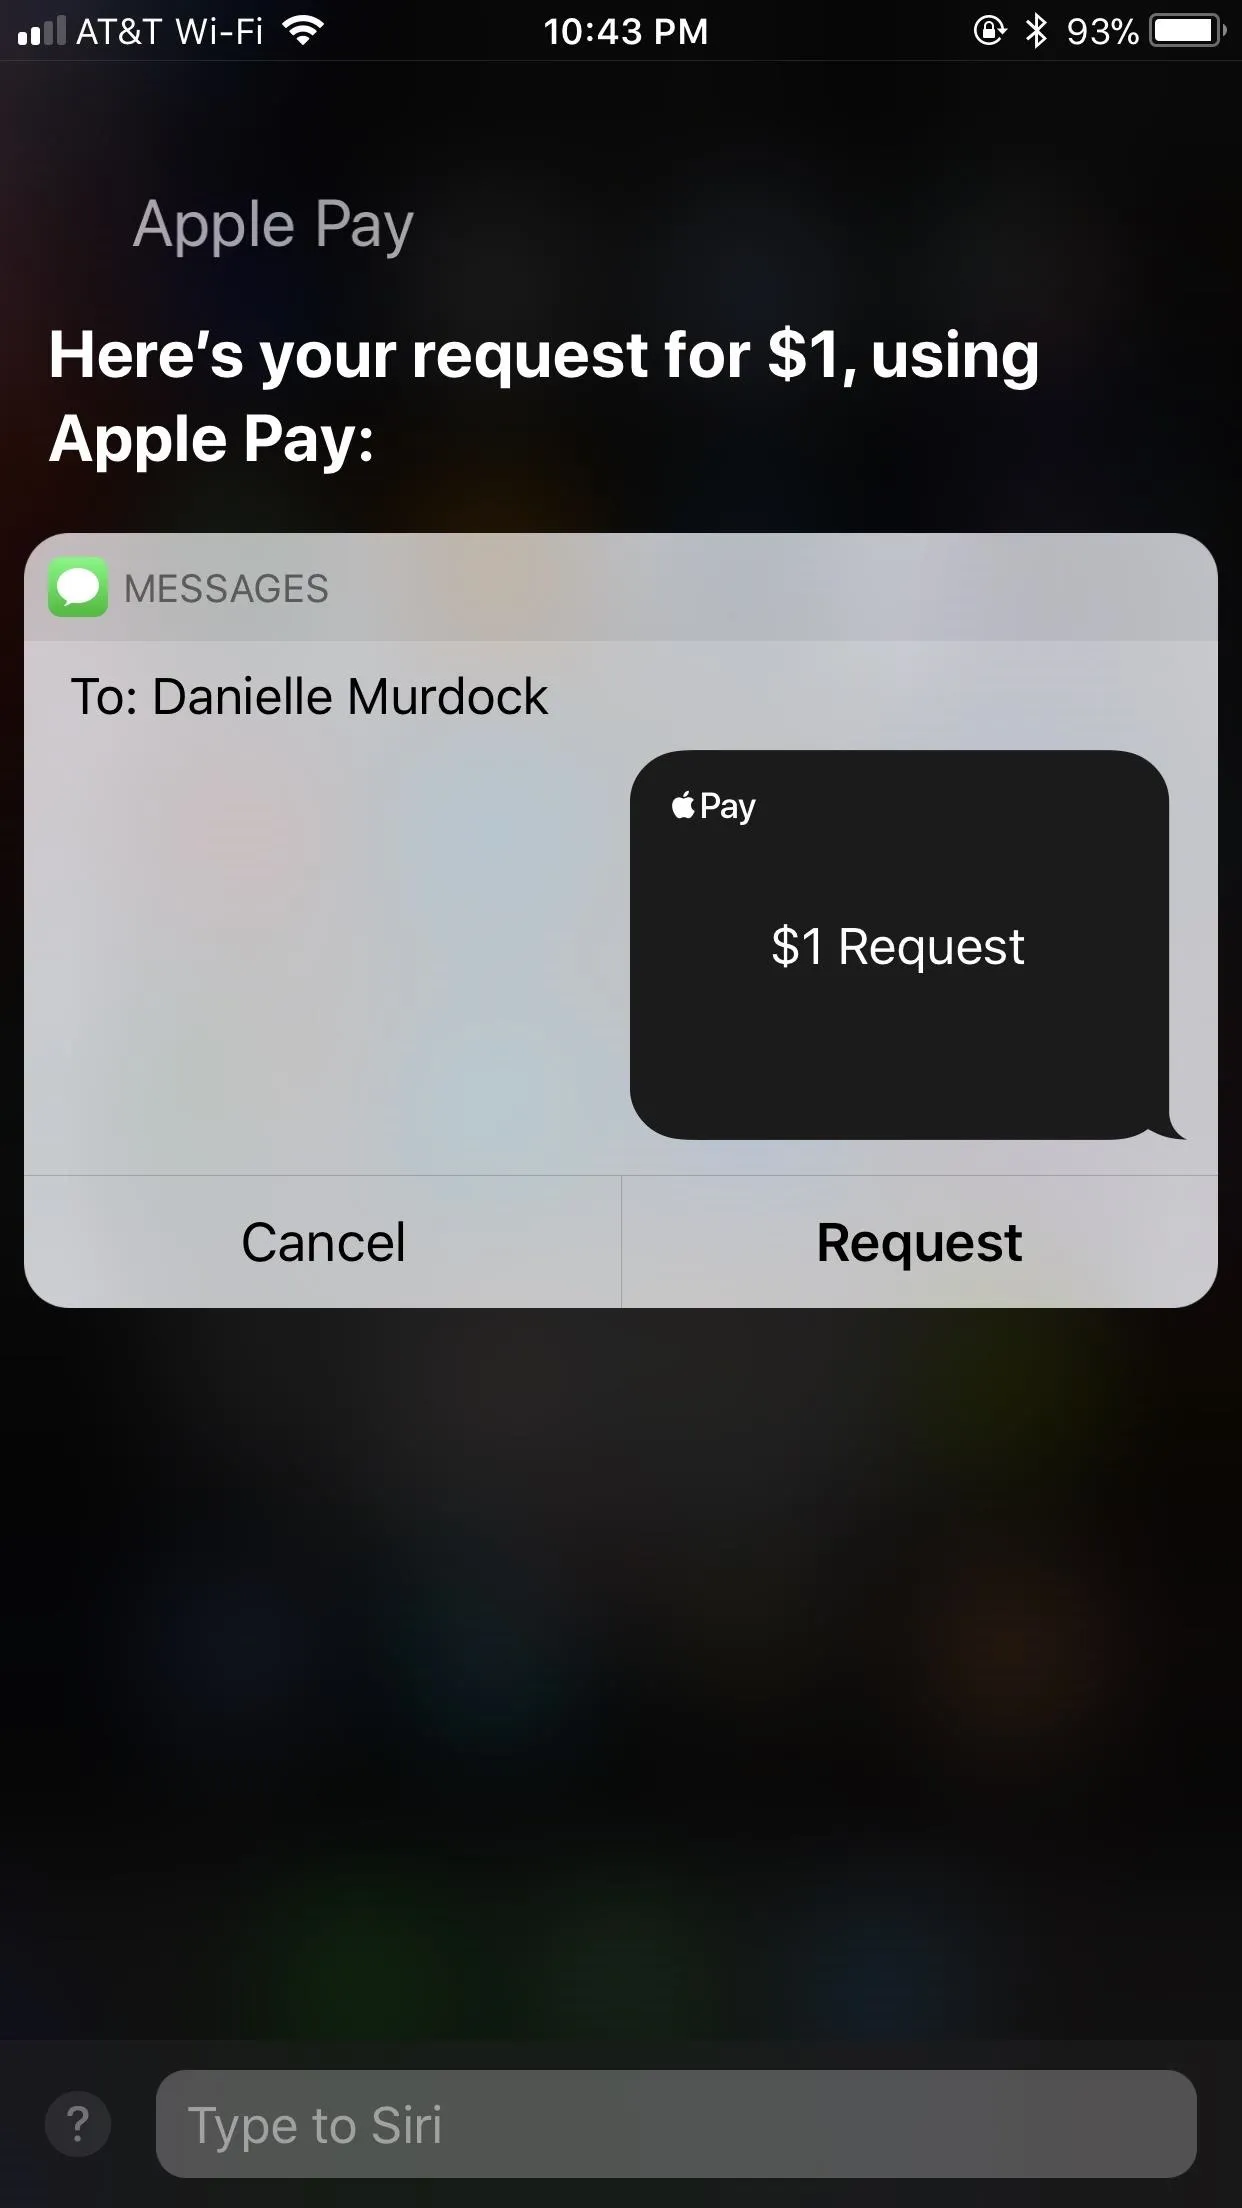
If you use other Siri-compatible payments services besides Apple Pay Cash, such as Venmo and PayPal, Siri will ask which of your apps you would like to use. Tap or say "Apple Pay." If using Siri from the lock screen, you will need to enter your passcode, Touch ID, or Face ID to continue.
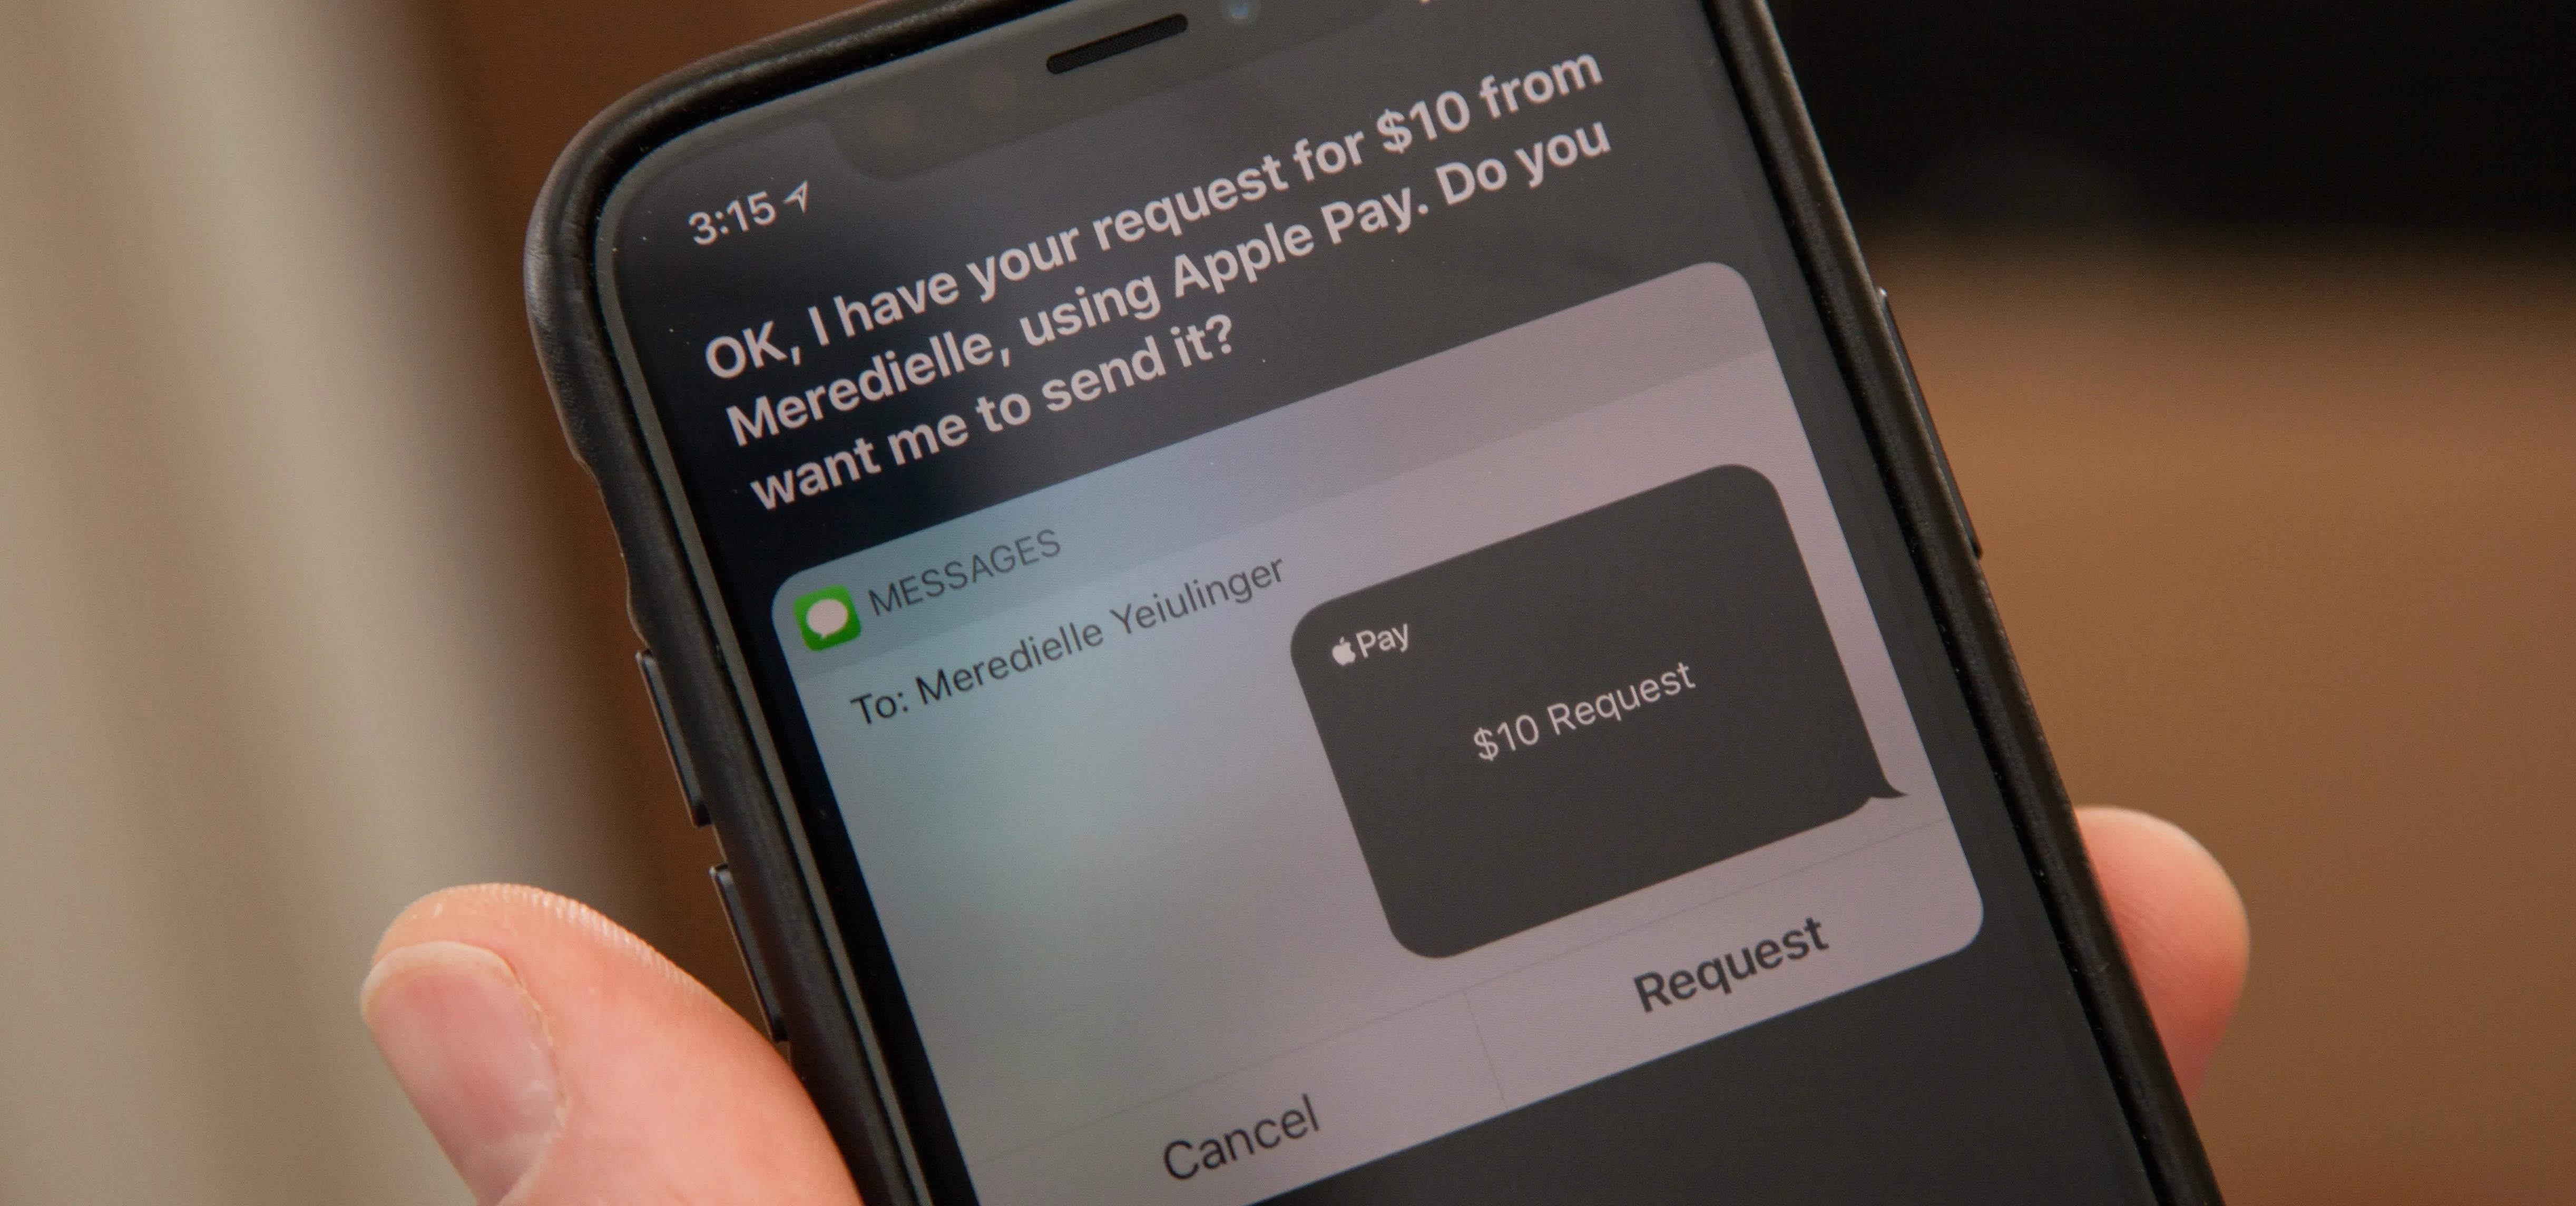
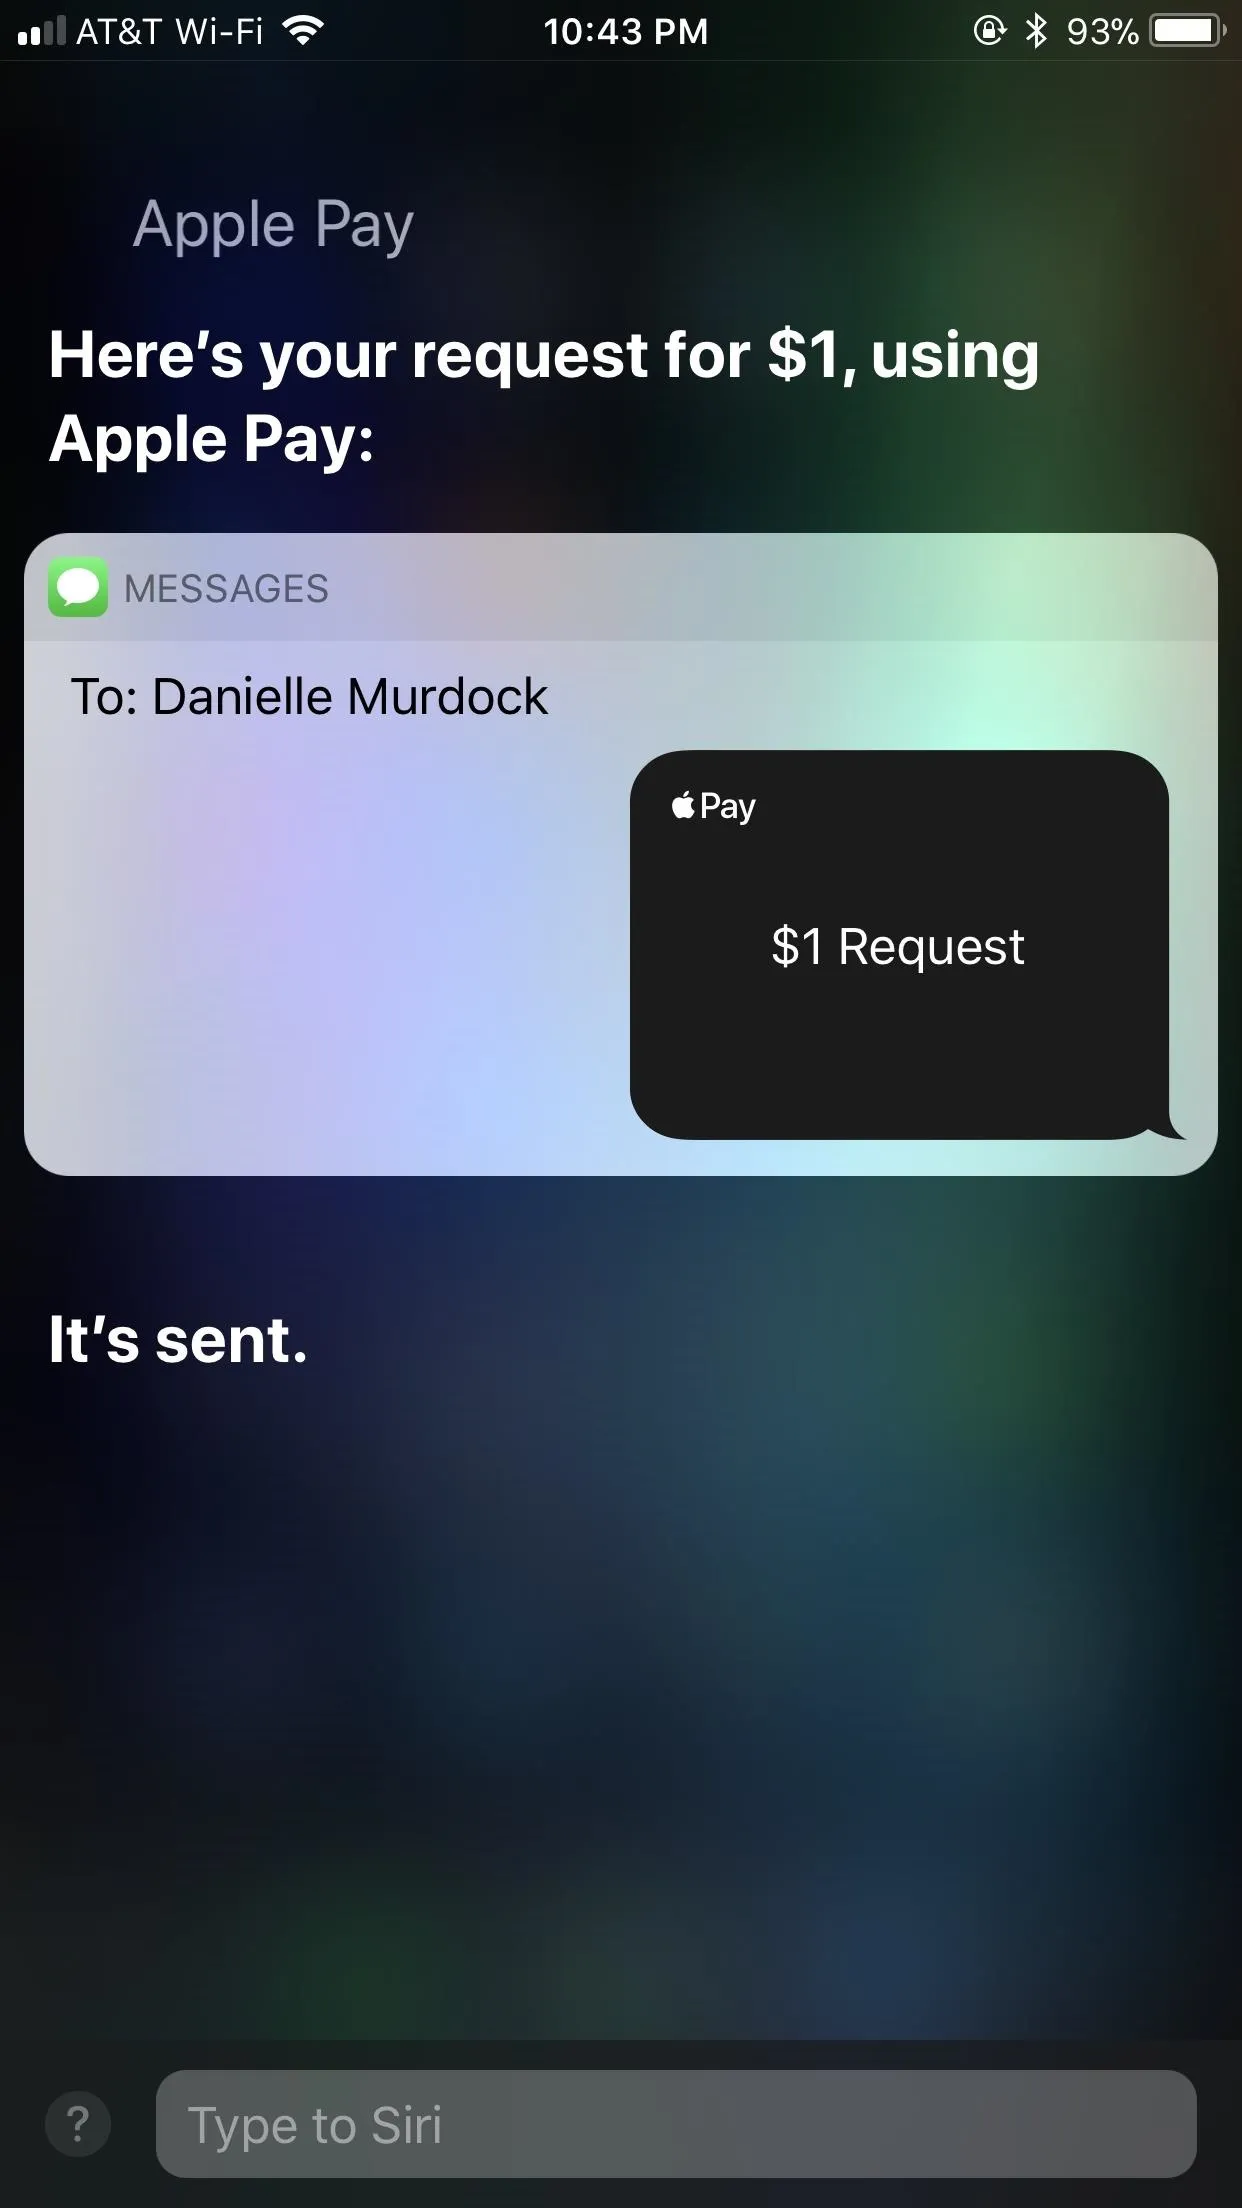
Siri will then display your request in a preview, just as if you were using Siri to craft a message. When Siri asks if you would like to request the money, say "yes" or tap "Request."
Receiving Money from Someone
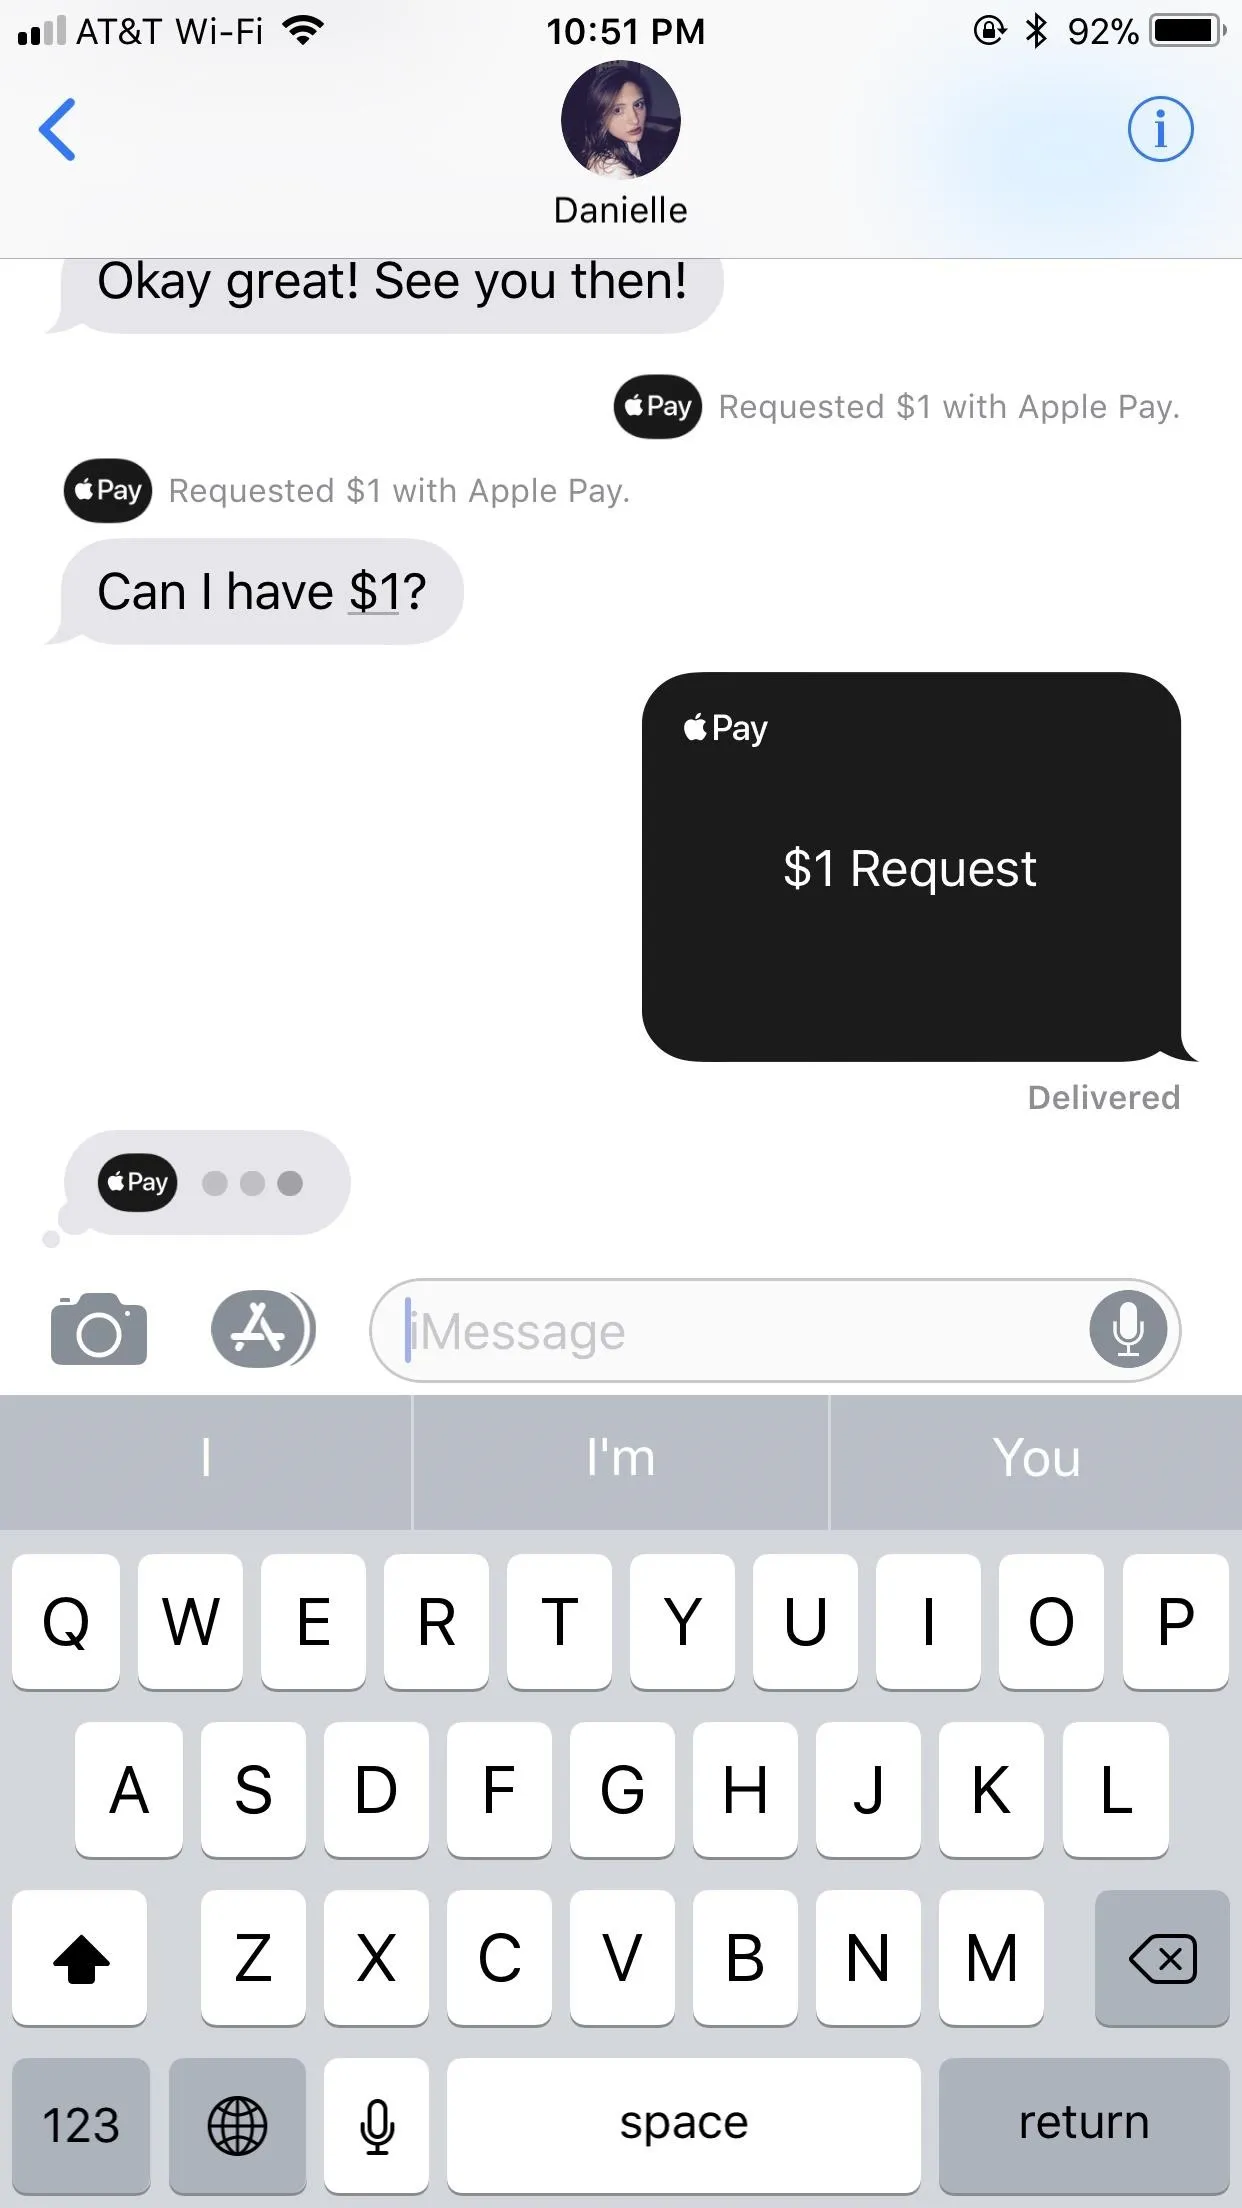
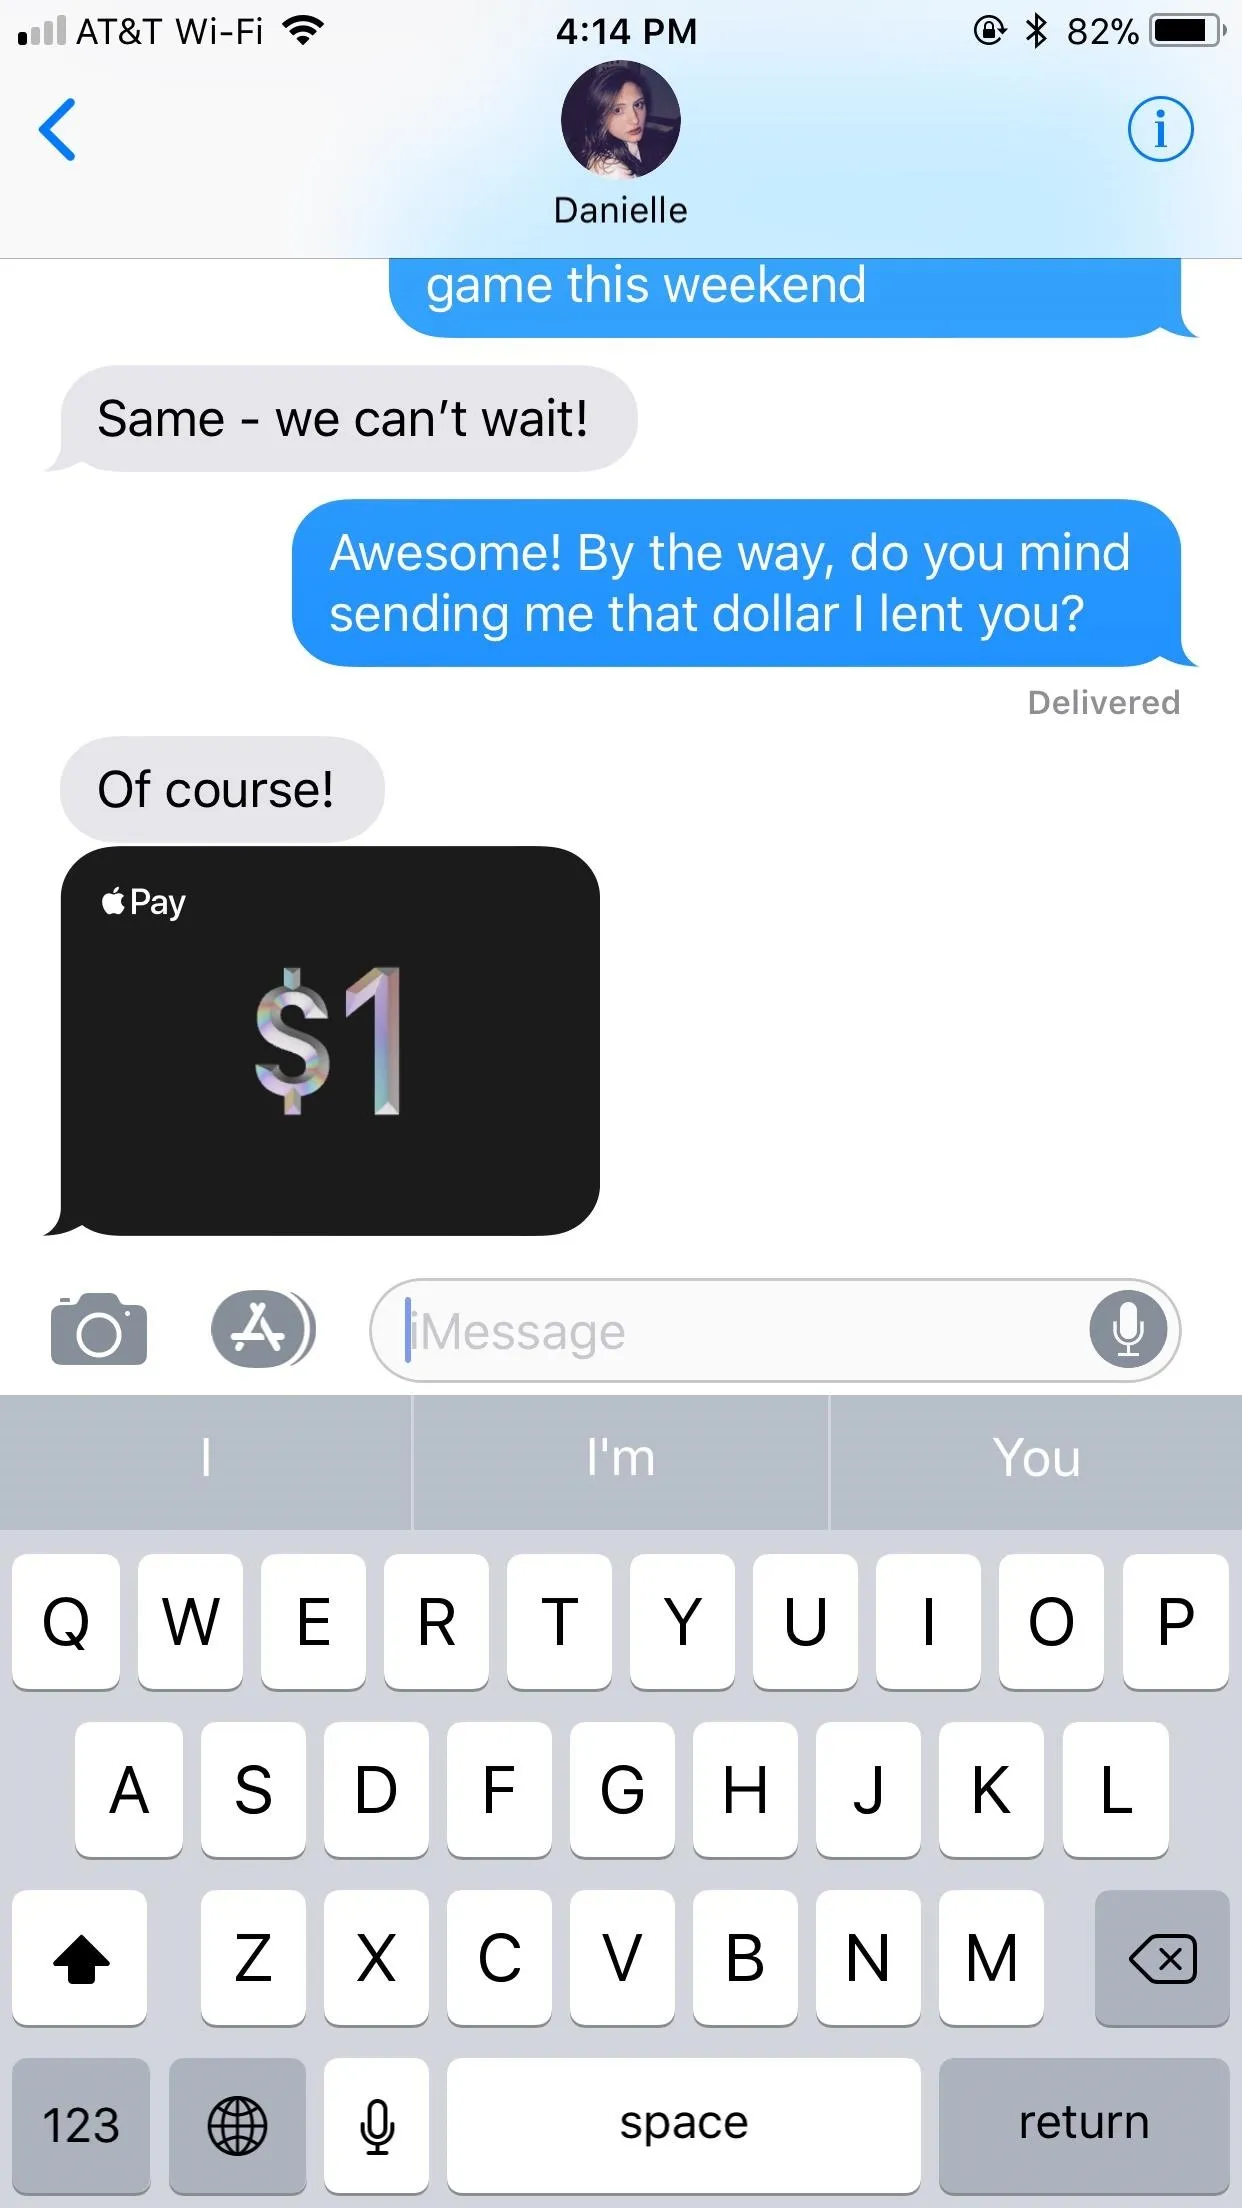
If you're currently in the conversation and see a "typing bubble" with the Apple Pay logo next to it, you know they are using Apple Pay Cash in your chat. You can only hope they are working on fulfilling your whole payment and not a partial payment. When it's done, you'll see a card for the amount given.
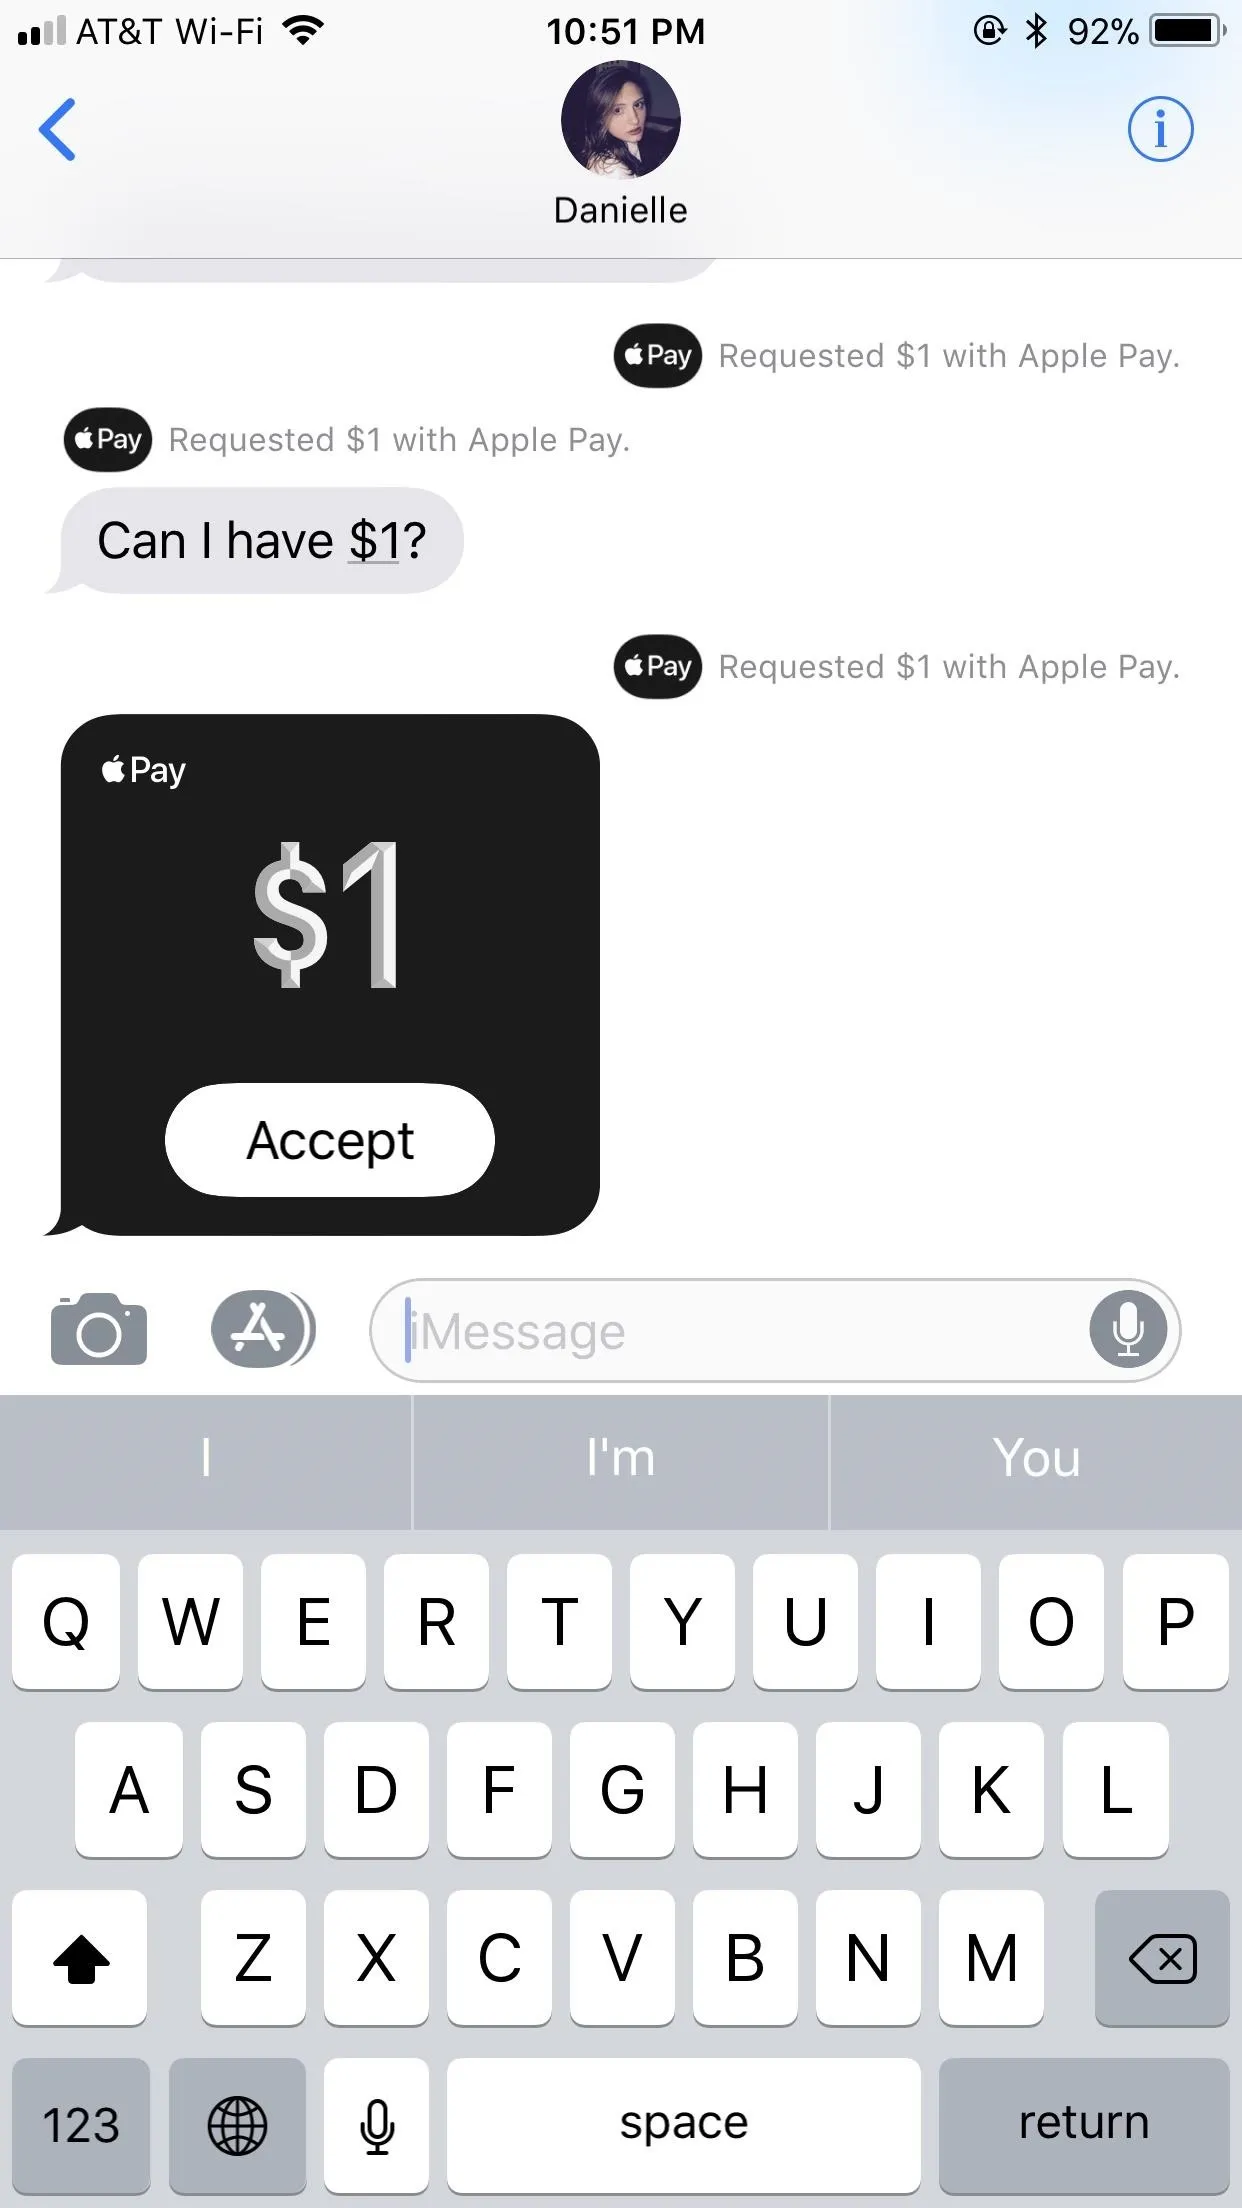
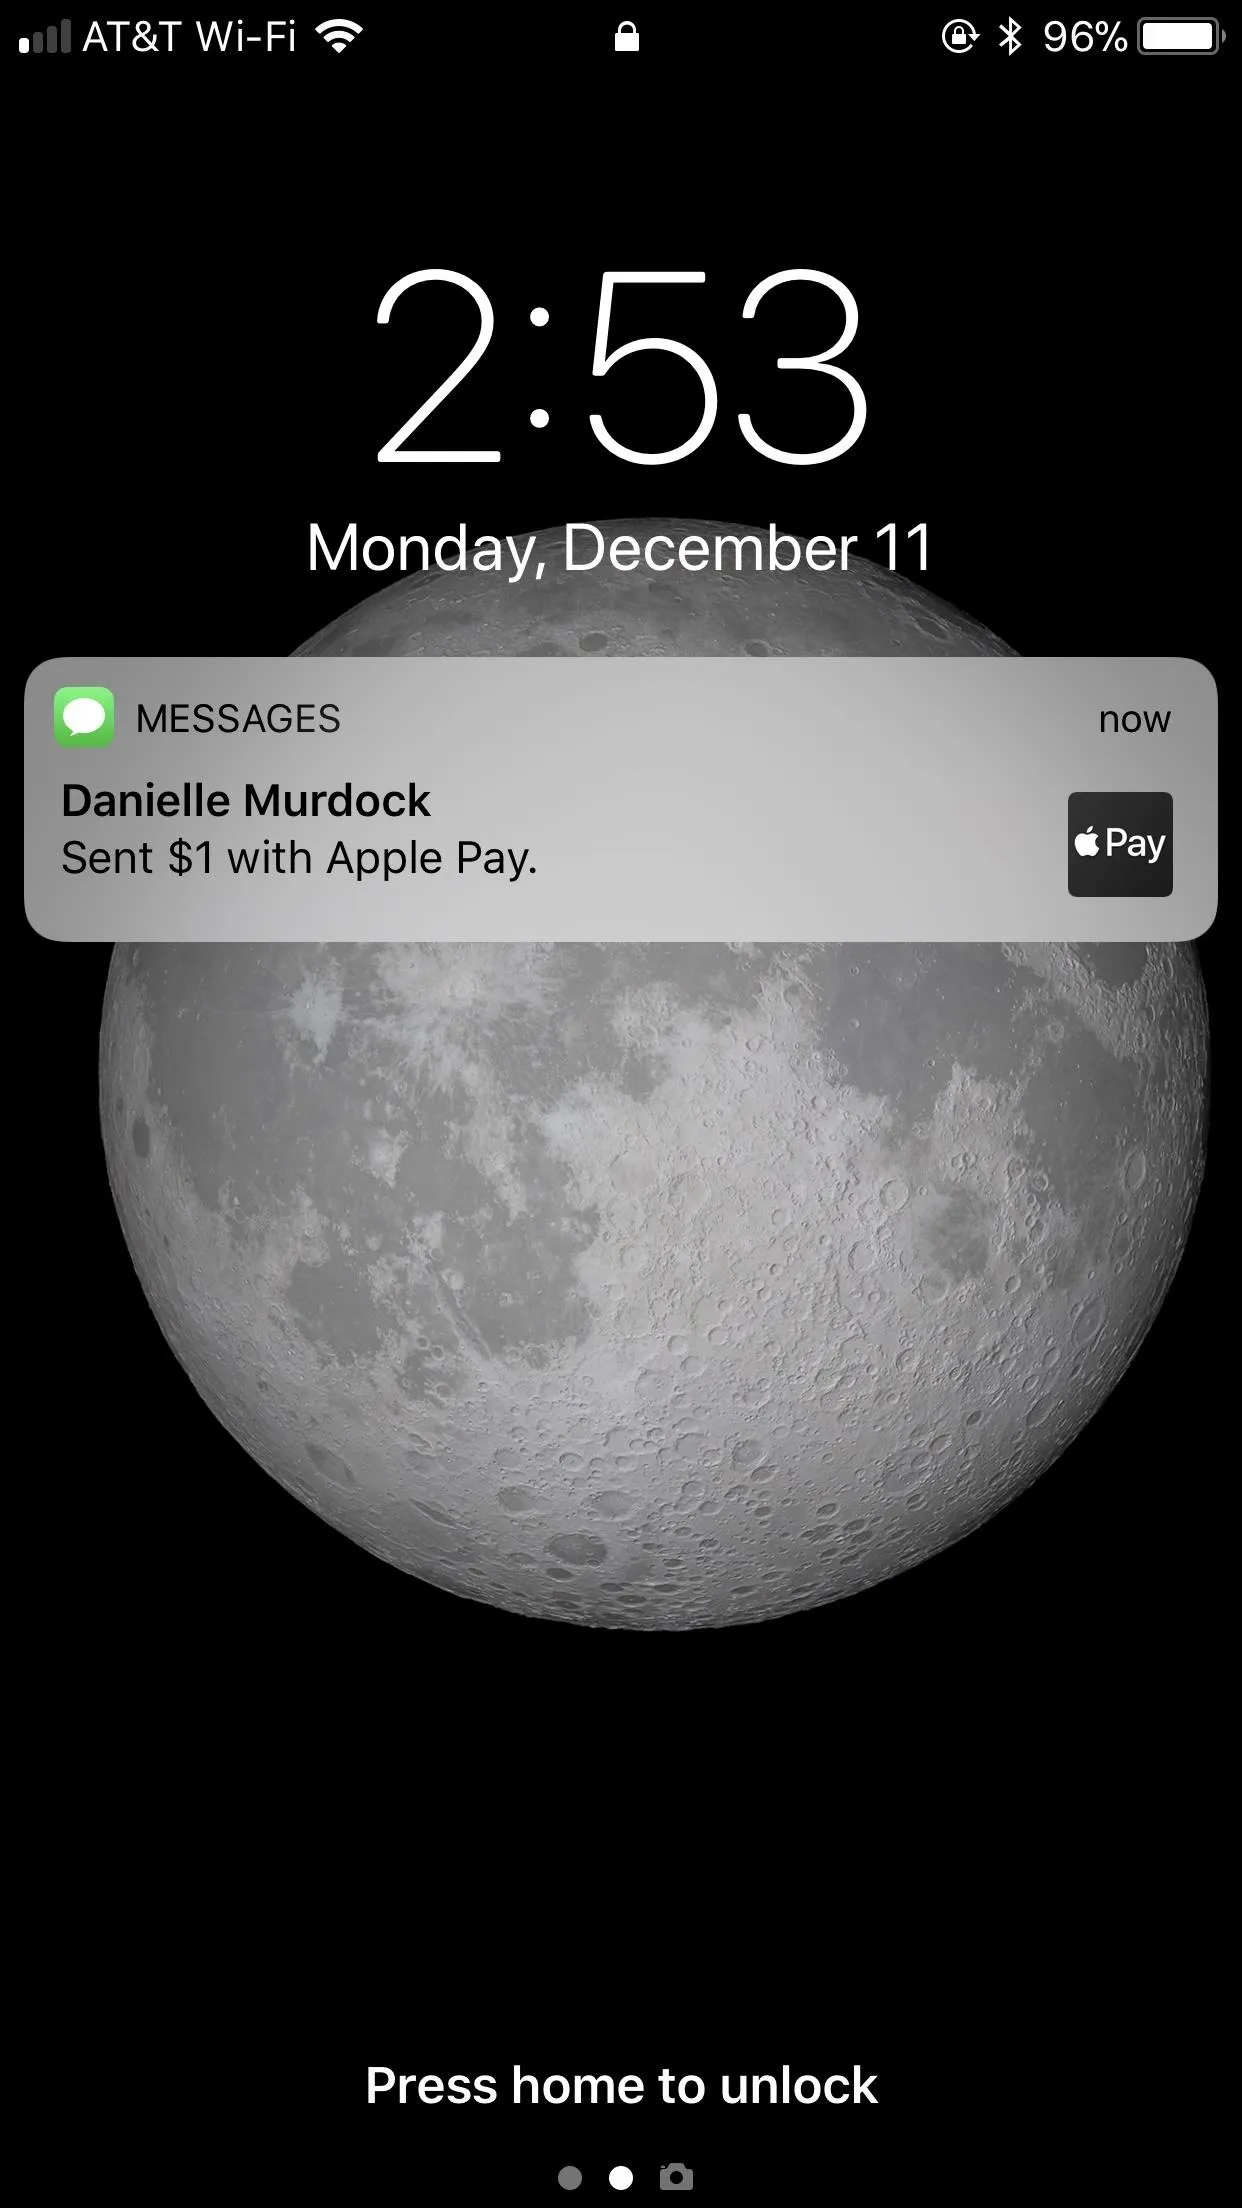
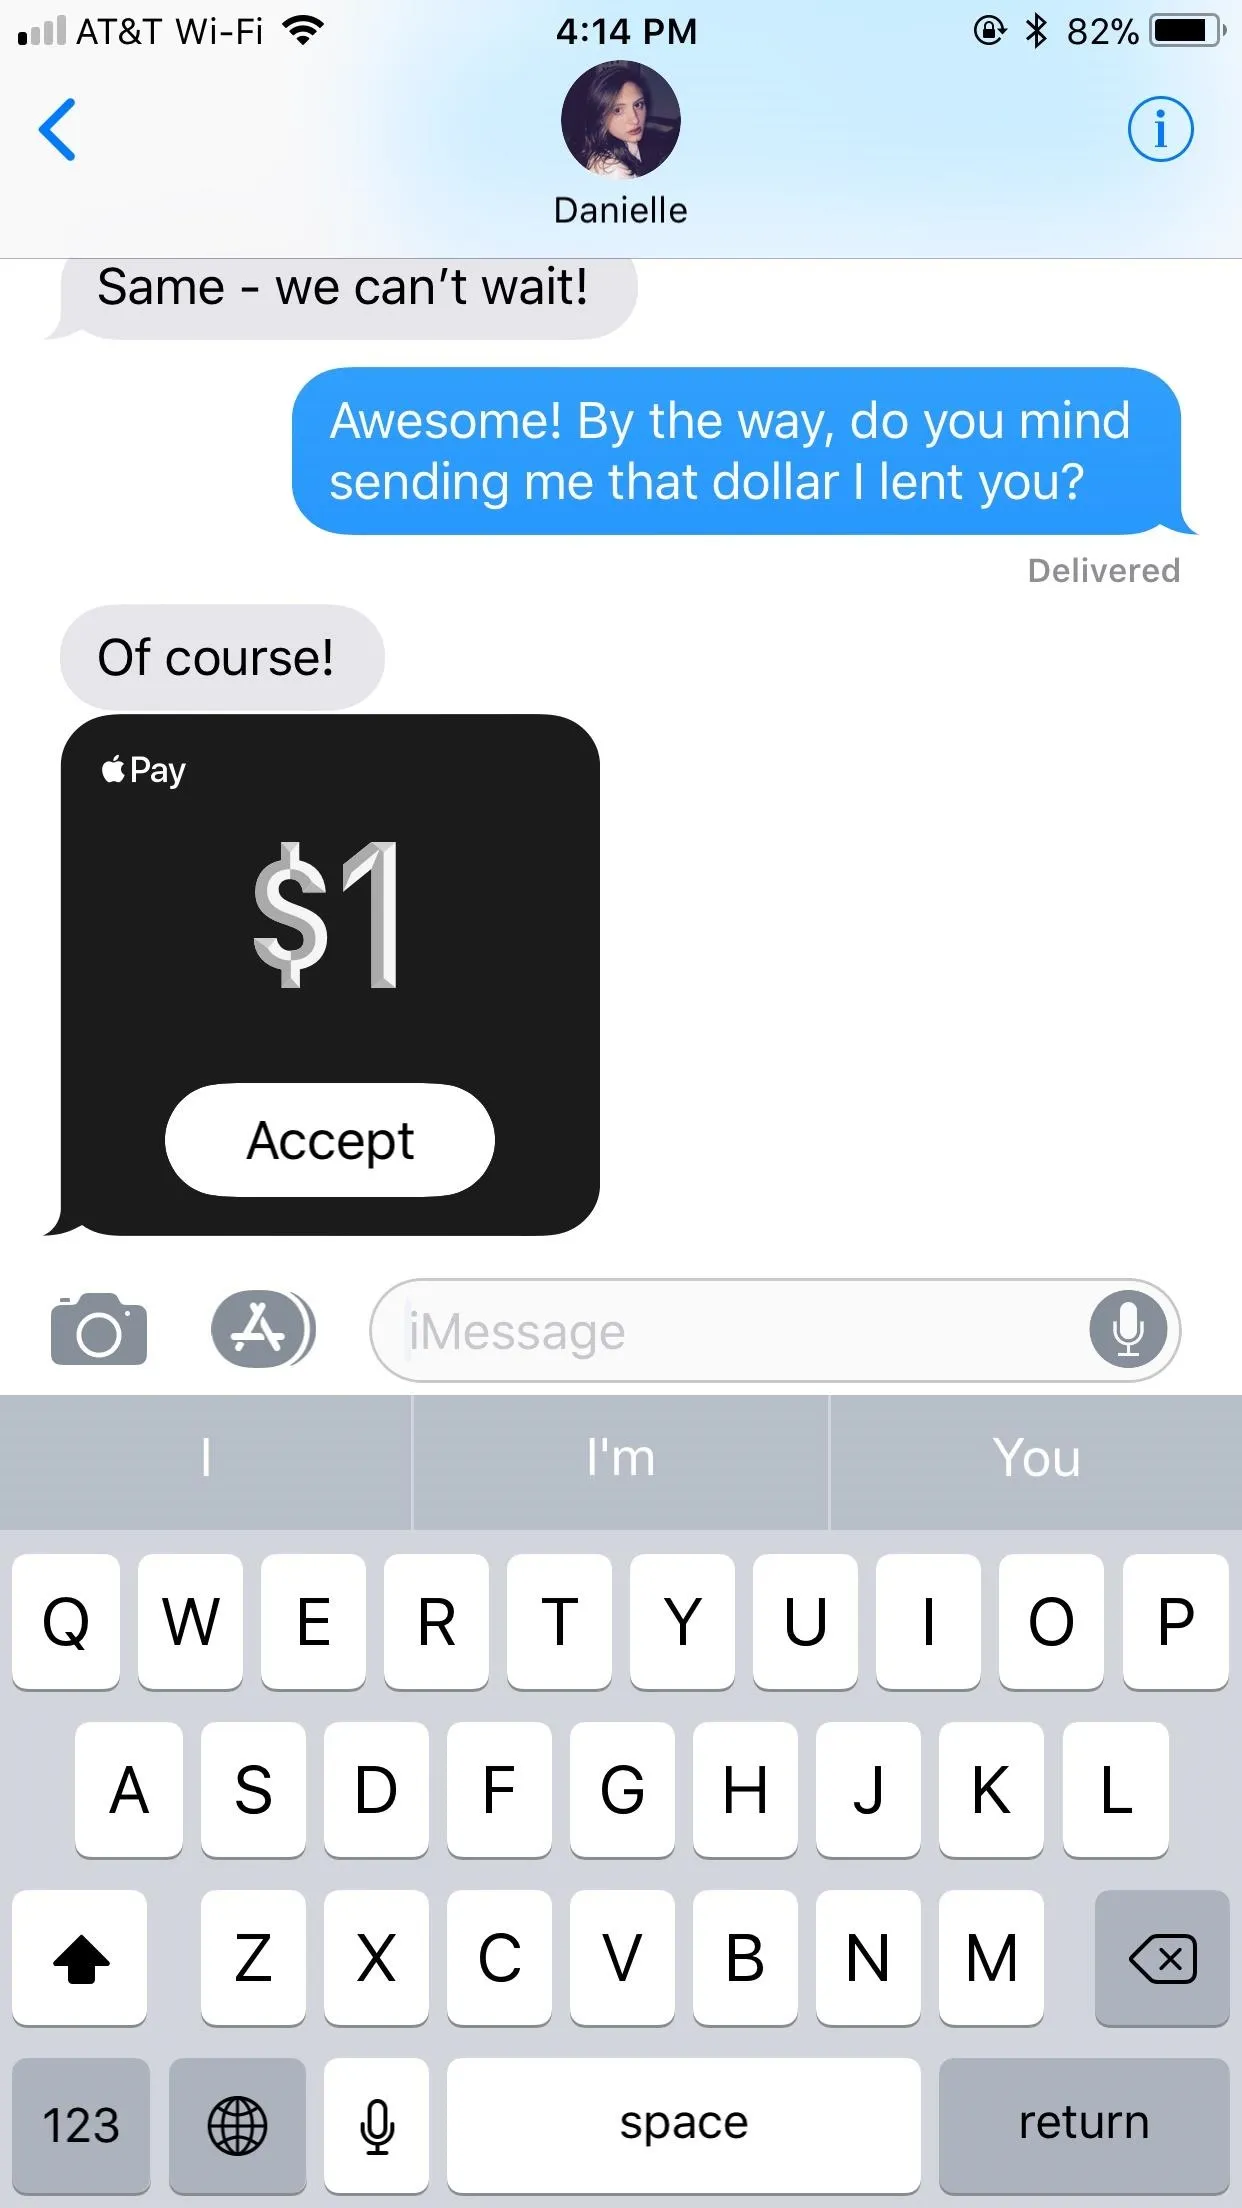
If you're not already in the iMessage conversation, you will receive a notification, which will take you directly to the conversation if you tap on it. You will see their payment to you in the chat, with the dollar amount as well as an "Accept" button underneath. Simply tap "Accept" to approve the payment, and it will be loaded to your Apple Pay Cash card balance.

Automatically Accepting Money
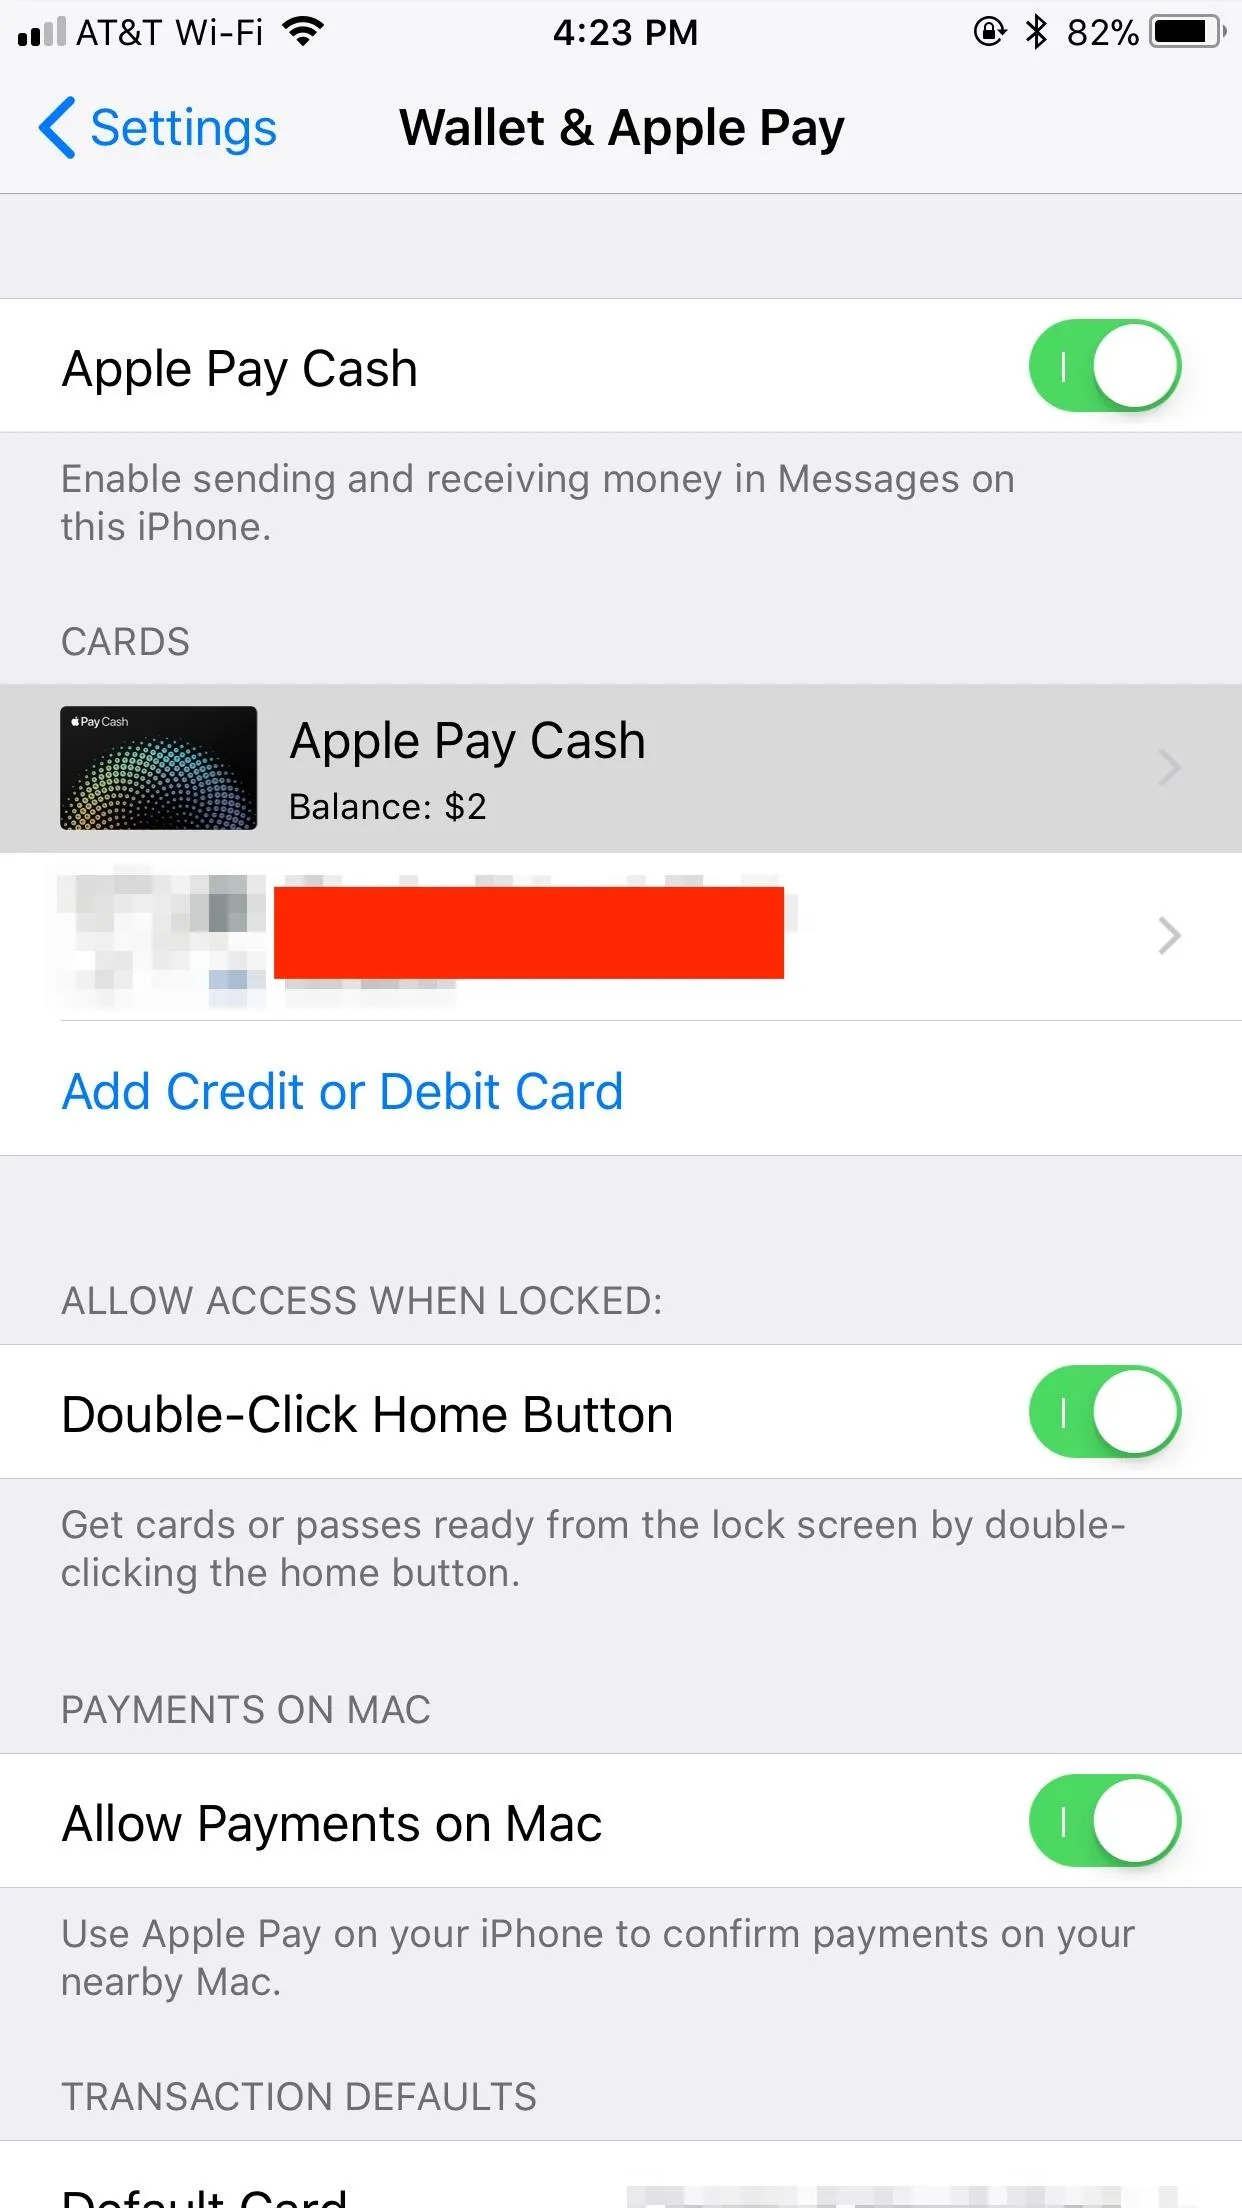
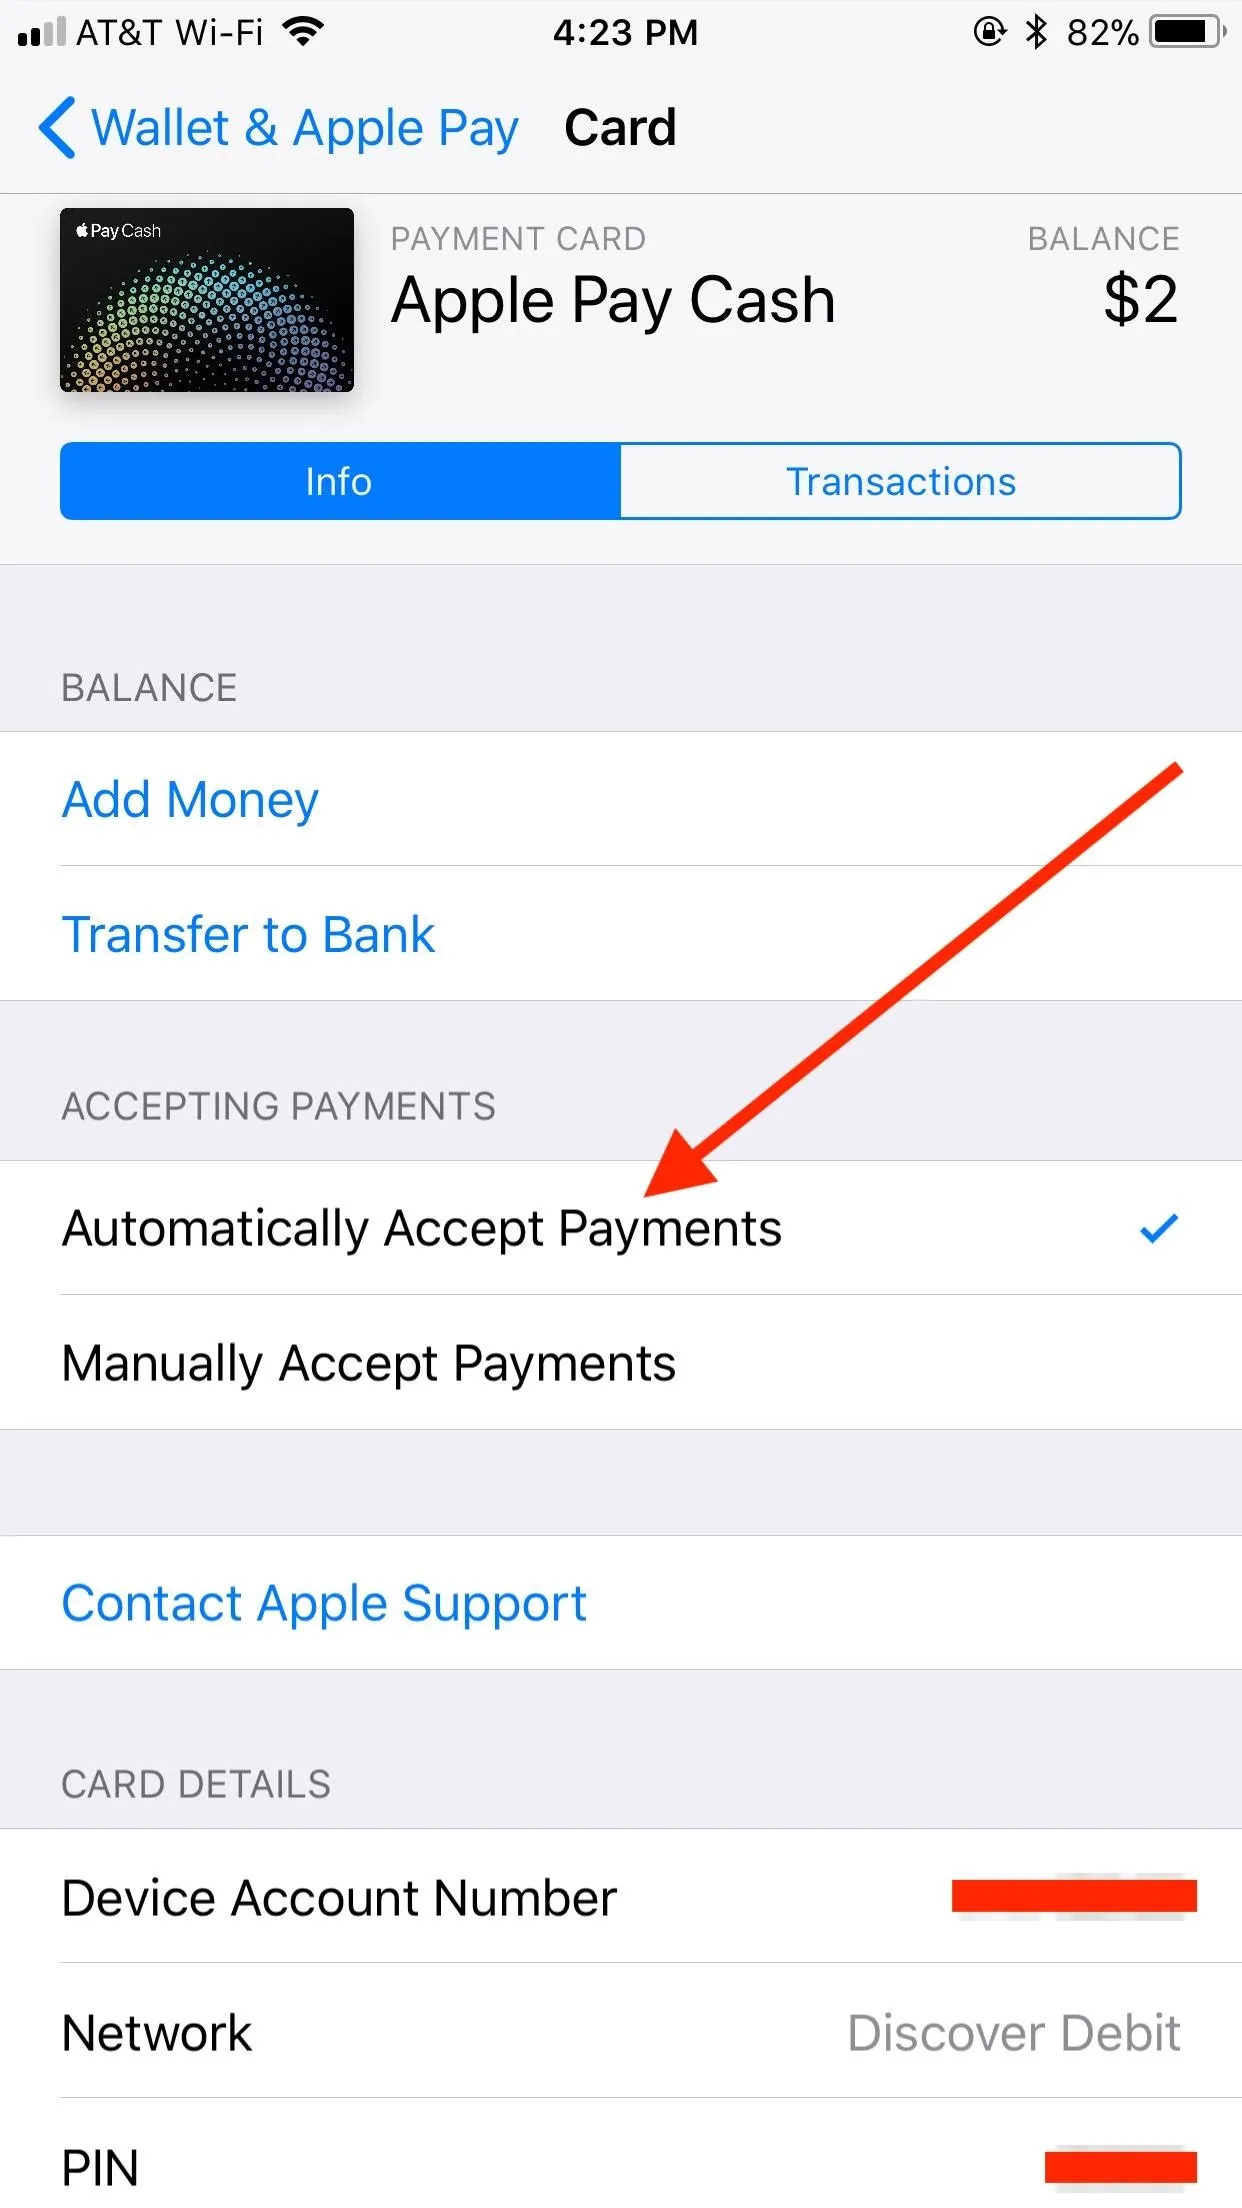
If you don't want to have to manually approve every amount of Apple Pay Cash that comes your way, you can go into your "Wallet & Apple Pay" settings, select "Apple Pay Cash," then choose "Automatically Accept Payments" to have the money applied to your balance right away — without any interaction from you.
Note: the same applies if you are the recipient of somebody's payment — they have up until the time you accept the payment to cancel on you. To avoid that, make sure you have automatic acceptance enabled by first jumping into "Settings" -> "Wallet & Apple Pay" -> "Apple Pay Cash," then by enabling "Automatically Accept Payments."
Rejecting a Payment from Someone
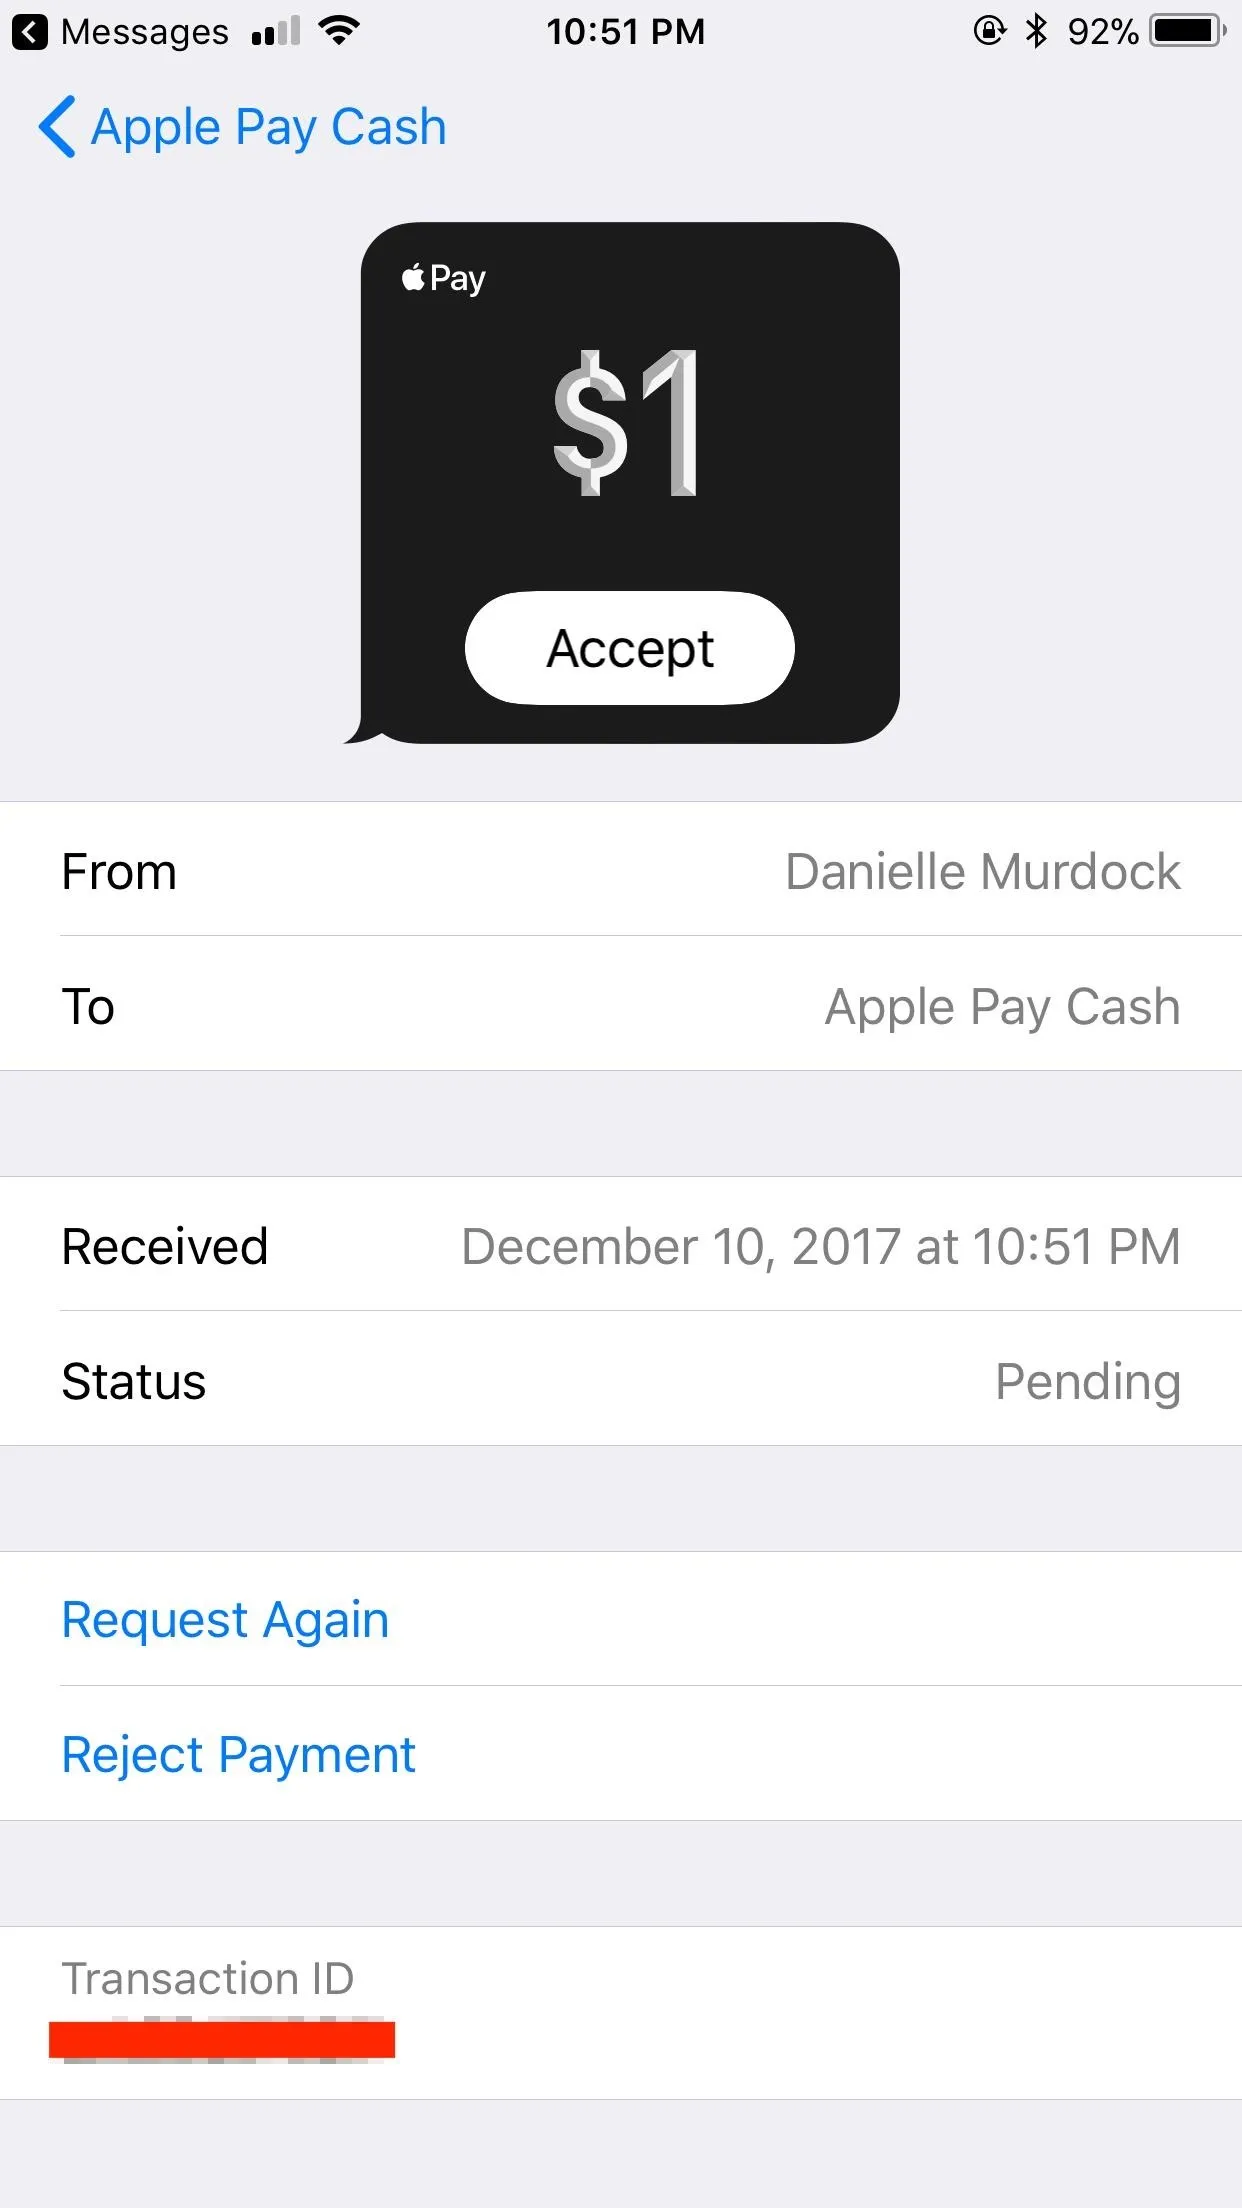
If you receive a payment that you need to reject, it's simple to do so as long as you don't have "Automatically Accept Payments" enabled in your settings. If that's the case, there's nothing you can do except pay them back. But if you have "Manually Accept Payments" enabled instead, you can tap on the payment card (not "Accept" within it) to open the payment receipt. Then, tap "Reject Payment" near the bottom.

- Follow Gadget Hacks on Facebook, Twitter, Google+, YouTube, and Instagram
- Follow WonderHowTo on Facebook, Twitter, Pinterest, and Google+
Cover photo by Justin Meyers/Gadget Hacks; Screenshots by Jake Peterson/Gadget Hacks


Comments
Be the first, drop a comment!